Category: Cakes

Corn-ered in the House, Chili-n, Bakin’ Muffins (Corn Muffins)

Corn-ered in the House, Chili-n, Bakin’ Muffins (Corn Muffins)

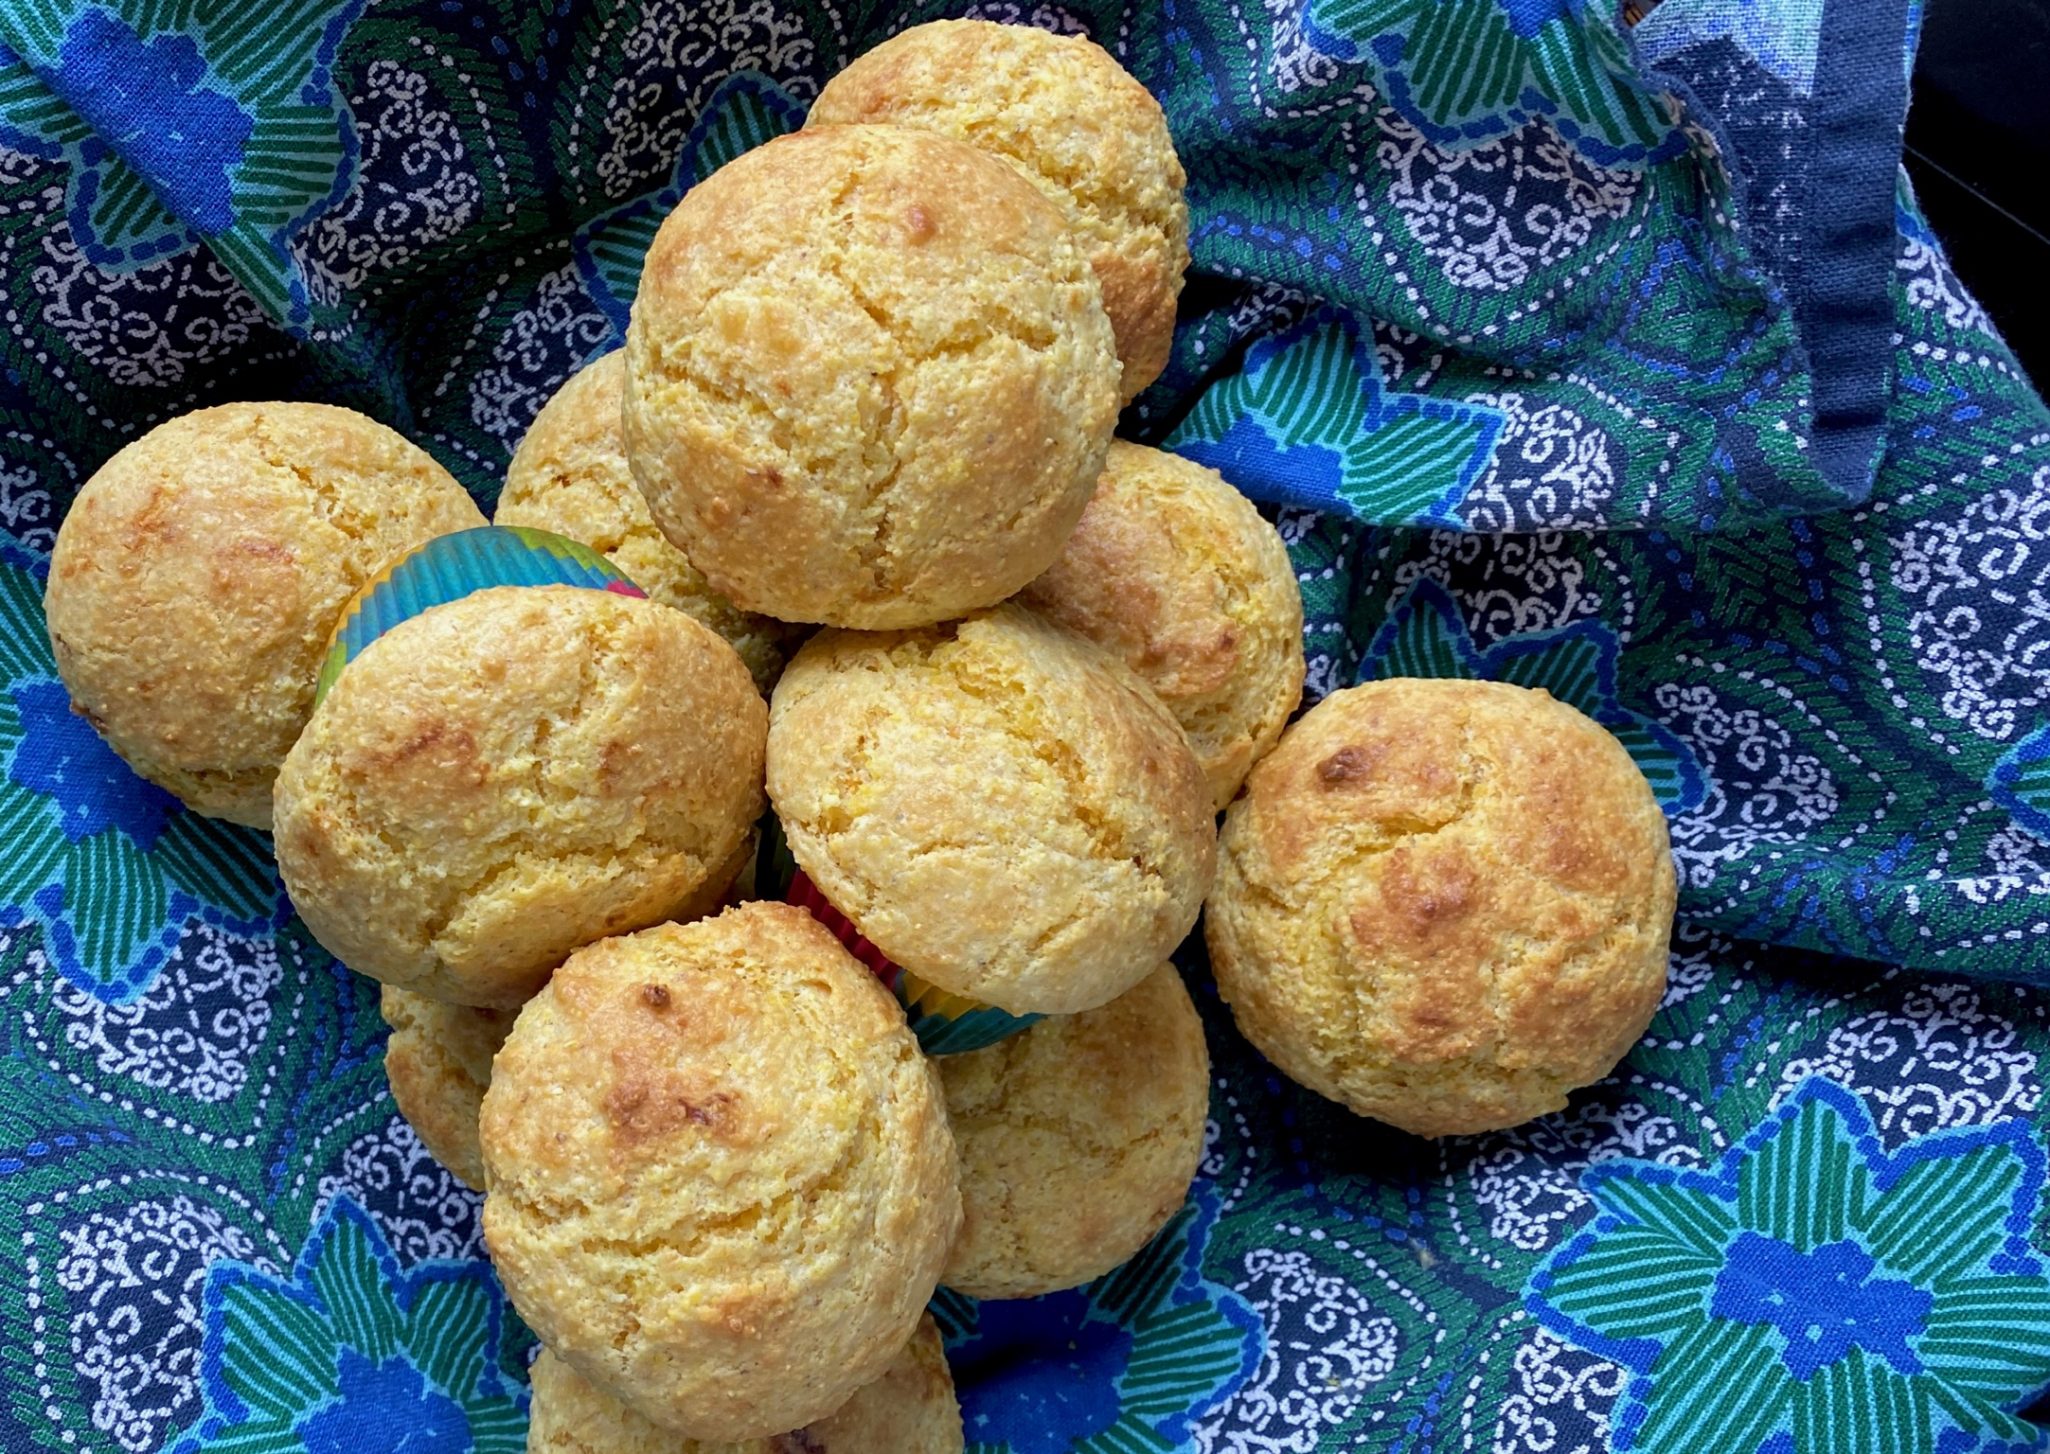
Shhhh…please don’t tell Chef H I messed up his cornbread recipe.  I’m not sure what I did wrong but I’m way too embarrassed to ask him so I went hunting for another cornbread recipe. I’m a Californian, I’m pretty wimpy when it comes to cornbread.  True cornbread is NOT cake-y and sweet, too bad that’s the way I like it.  Another reason I couldn’t call him.  What if he said, “that’s the way southern cornbread is, silly”.  So I tapped my delete key, d-a-e-r-b and pecked m-u-f-f-i-n in on my keyboard hoping to land on a sweet, cakey, cornbread recipe. I hit return and…

…landed on an old friend, Smitten Kitchen.  Her post for Perfect Corn Muffins popped up on my screen. Her post adapts the recipe from Cook’s Illustrated. Uh-oh.  I love CI but it probably means a couple of extra steps.

Yes, it did.

A lot of the recipes I looked at for corn muffins called for proportionally more regular flour than cornmeal, yep-cakey.  Not this one. The cornmeal is divided and much of it is combined with milk to make something akin to cornmeal mush. This keeps the corn muffins moist.  Okay, I went with it.  I used the microwave method included in the recipe to make it, worked like a charm.
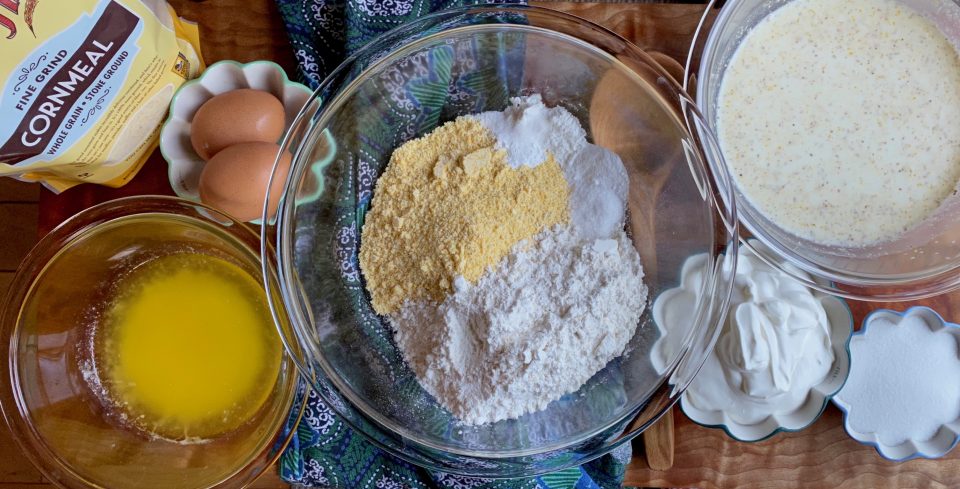
Y’all know what goes into cornbread, flour, butter, flour, baking soda, powder, eggs, sour cream or buttermilk.  So what do I want to talk about?

CORNMEAL

There are a plethora of cornmeal products out there.  Stone-ground, Machine grind, Which are then furthered divided by grade- coarse, medium, and fine.  If you get any product that says stone-ground, you’re going to get a bit of grit as it contains both the bran and germ of the kernel.  This recipe calls for medium grind cornmeal, preferably stone-ground.  I used Bob’s Red Mill fine stone-ground cornmeal and there was still some bite to the muffins. Why? I am not a big fan of grittiness in my cornbread or muffins. If you like that coarse “toothy” texture, use the medium grind.  If you hate that grittiness, don’t use stone-ground. Use the stuff you get at the supermarket, either Quaker Oats or Argo cornmeal-no germ, no bran, no grit.  If you want a light and airy cake-like muffin or cornbread (should we call it cornbread?) use cornflour (superfine grind).

You can find corn flour at Whole Foods (probably Bob’s Red Mill) along with the gamut of cornmeal.  A couple of recipes that use cornflour include Blueberry Cobbler with a Cornmeal-Sugar Cookie Crust from Vivian Howard and Momofuku’s Christina Tosi recipe for KILLER Corn Cookies.  Both amazing.

Then there’s Polenta, Grits, Masa Harina. Polenta or Grits is essentially cornmeal mush.  You can use coarse or medium grind cornmeal.  Bob’s Red Mill makes a Grits or Polenta Cornmeal (yes I fell for it) which makes it easy, it’s just coarse grind.  Masa Harina is corn treated with ash or lime solution (called nixtamalized, now you can file that word away) dried, and ground into masa.  Think delicious tamales and tortillas NOT cornbread, polenta or grits.

I use stone-ground, even though I don’t like grittiness, it’s a compromise.  I love the flavor and the “it’s healthier for you” aspect.

N.B. Cornstarch is not cornflour, cornmeal, polenta, grits, masa, popcorn.  Don’t even go there.  It’s just a thickener made from corn endosperm-see, that doesn’t even sound good.  I use it all the time in Chinese cooking as a thickener, that’s it.

Back to the Corn Muffins
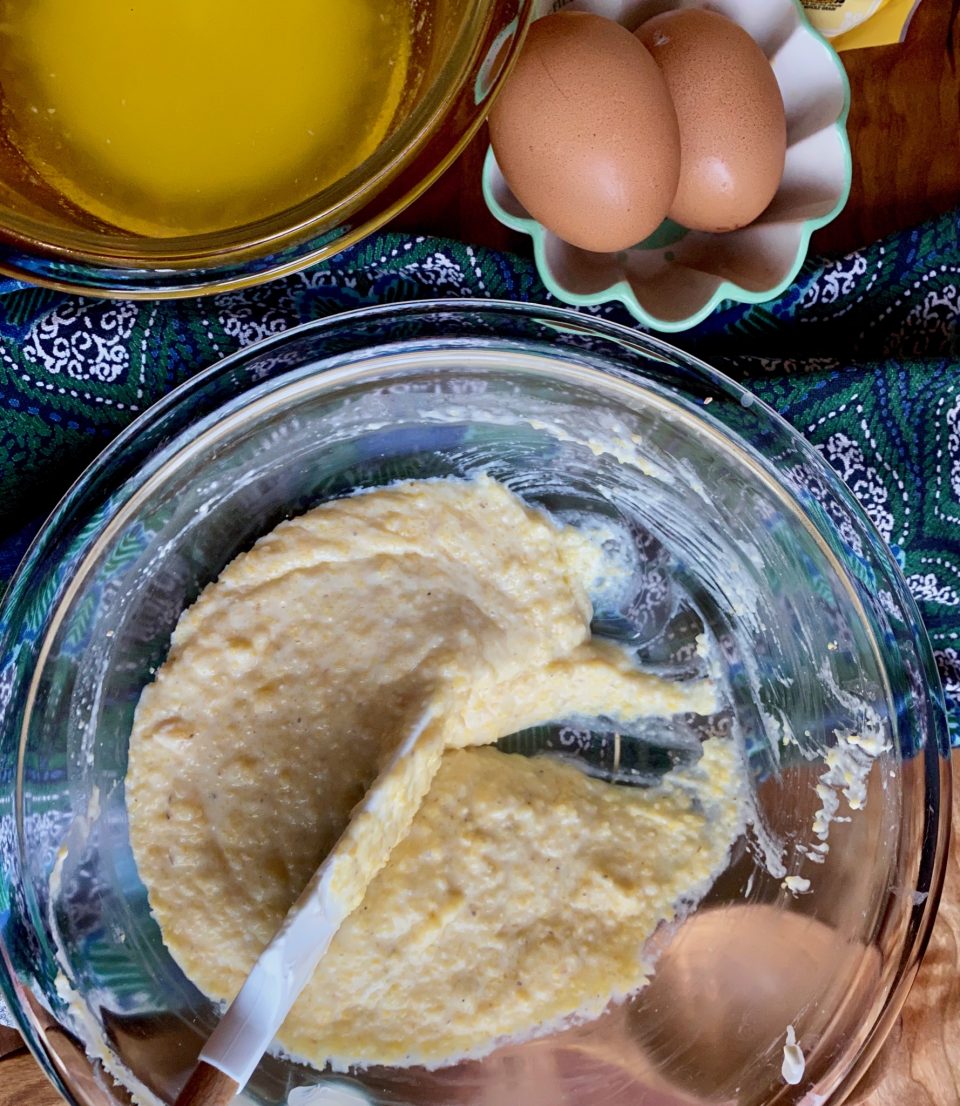
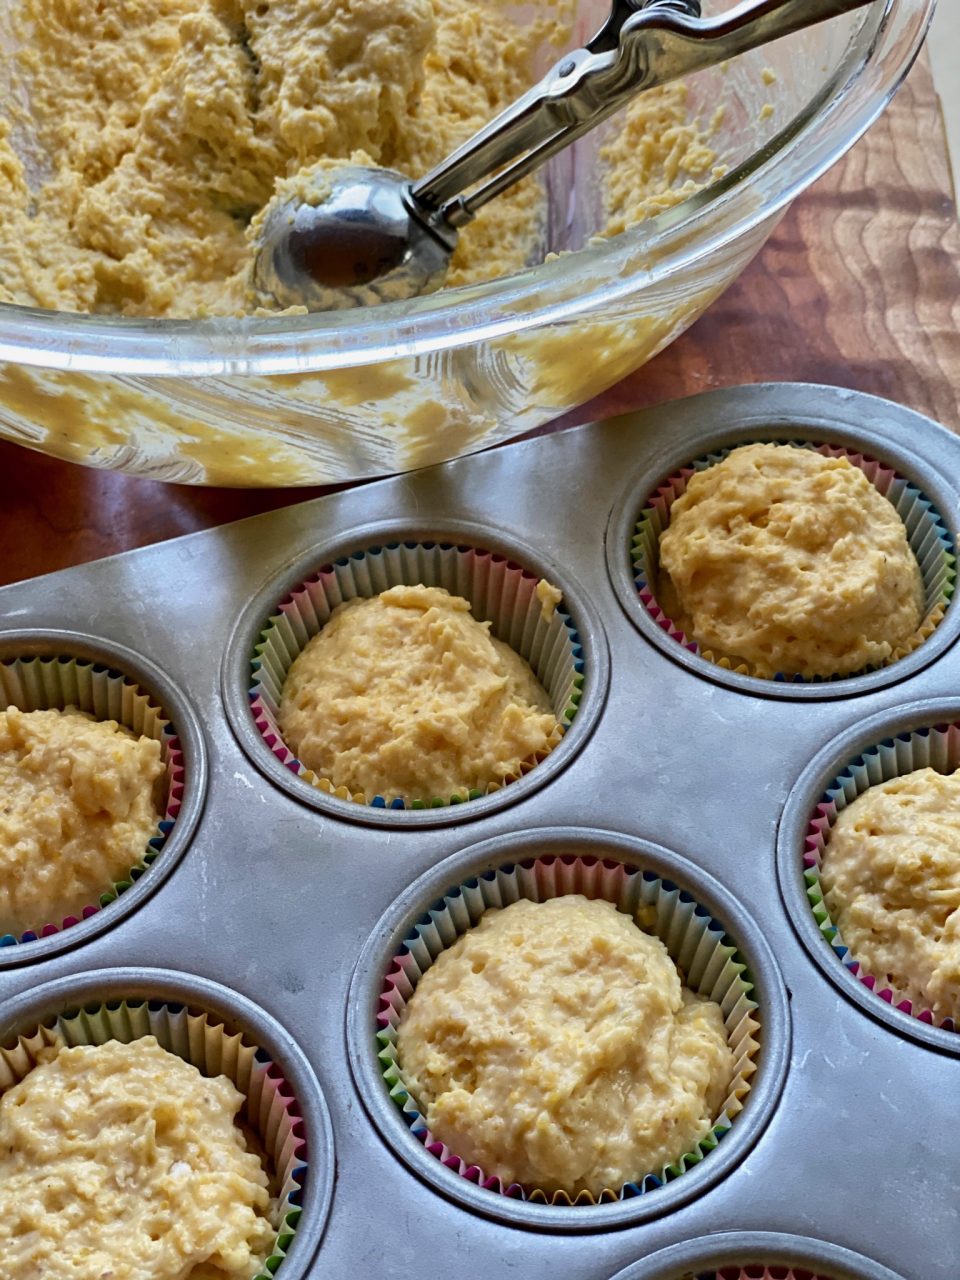
Yes, this is the cornmeal mush that goes into the batter along with dry cornmeal.  Cook until it thickens and you can draw a spatula through it.  Add wet ingredients to the cornmeal mush and then add the dry ingredients.  Your batter will be pretty thick.  Use an ice cream scoop to fill your muffin tin.  Easy peasy.
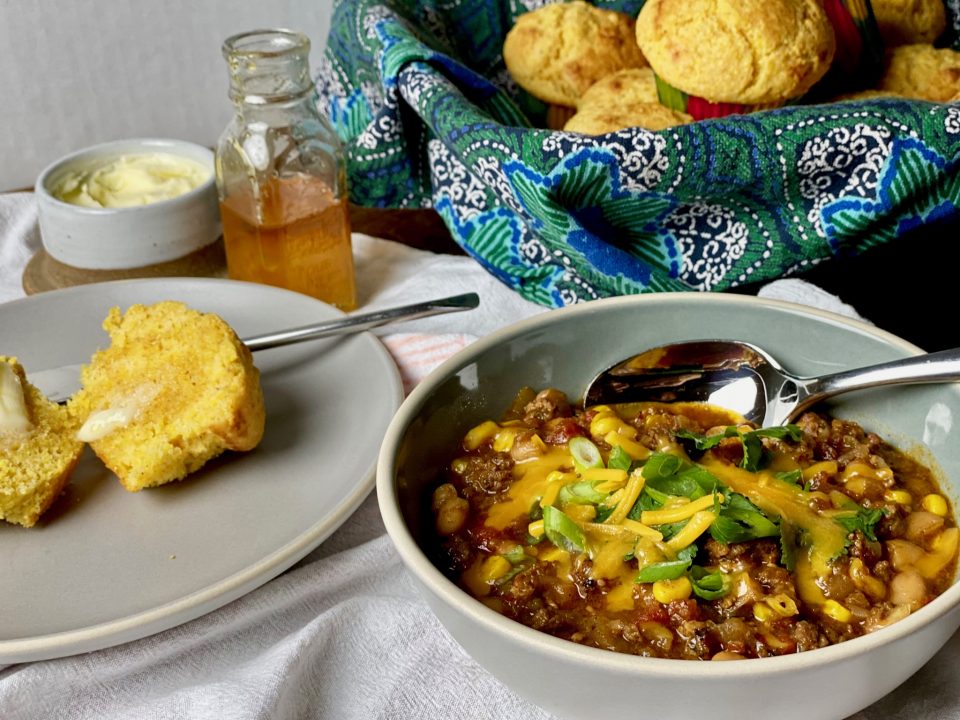
Finally, what to serve with your corn muffins…CHILI of course!  Lucky you, I have two chili recipes, Firemen’s Chili from Friends (yes the TV show) and a super-duper easy Chicken Chili  Both would go perfectly with these corn muffins.
Ok, we have come to the end of this post and I have a confession to make.  These muffins are delicious and I would make them all the time if it weren’t for one thing.

TRADER JOE’S CORNBREAD MIX

It’s that’s good. Throw away the box and tell your friends and family you made them from scratch.  Yep, that good.

Perfect Corn Muffins

Cook's Illustrated Corn Muffins the perfect cross of a cake-like sweet corn muffin and down home cornbread.
Course Muffins
Cuisine American
Keyword Cook's Illustrated, Corn Muffin
Prep Time 30 minutes
Cook Time 20 minutes

Equipment

  • 12-cup standard muffin tin

Ingredients

  • 2 cups (280 grams) yellow cornmeal, to be divided Use stone ground for that characteristic grittiness that cornbread can have.
  • 1 cup (130 grams) all-purpose flour
  • 1 1/2 teaspoons baking powder
  • 1 teaspoon baking soda
  • 1 1/4 teaspoons fine sea or table salt
  • 1 1/4 cups (300 ml) milk, whole is best here
  • 1 cup (240 grams) sour cream (full-fat plain yogurt should work here too)
  • 8 tablespoons (115 grams) unsalted butter, melted and cooled slightly
  • 1/3 cup granulated sugar.
  • 2 large eggs

Instructions

  • Heat oven to 425°F (220°C). Either grease or line a 12-cup standard muffin tin with liners.
  • Whisk 1 1/2 cups cornmeal, flour, baking powder, baking soda and salt together in a medium bowl.

Cornmeal Mush

  • In a large bowl (if you have a microwave) or a medium saucepan (if you do not), combine milk and remaining 1/2 cup cornmeal. In a microwave, cook cornmeal–milk mixture for 1 1/2 minutes, then whisk thoroughly, and continue to microwave in 30-second increments, mixing between them, until it’s thickened to a batter-like consistency, i.e. the whisk will leave a clear line across the bottom of the bowl that slowly fills in. This will take 1 to 3 minutes longer.
  • On the stove, cook cornmeal mixture over medium heat, whisking constantly, until it thickens as described above, then transfer to a large bowl.

Put the batter together

  • Whisk butter, then sugar, then sour cream into cooked cornmeal until combined. At this point, the wet mixture should be cool enough that adding the eggs will not scramble them, but if it still seems too hot, let it cool for 5 minutes longer. Whisk in eggs until combined.
  • Fold in flour mixture until thoroughly combined and the batter is very thick. Divide batter evenly among prepared muffin cups; it will mound slightly above the rim.
  • Bake until tops are golden brown and toothpick inserted in center comes out clean, 13 to 17 minutes, rotating muffin tin halfway through baking to ensure even cooking. Let muffins cool in muffin tin on wire rack for 5 minutes, then remove muffins from tin and let cool 5 minutes longer. Serve warm with honey butter or just honey if you feel guilty.
  • Eat by themselves, with Chili, with just about anything.
Donut Loaf Around, Make This Soon!

Donut Loaf Around, Make This Soon!

I visited my town library recently and requested the cookbook Midwest Made by Shauna Sever. This is a feeble attempt to be more discriminating before buying another cookbook.  The librarian cheerfully responded with, “we can order that from Amazon for you! The book will be sent directly to you and you can then keep the book for any length of time. When you are good and ready, return it to the library.

You’re joking, right?  Nope.

Two days later, I found a brand spanking new copy of Midwest Made sitting on my front doorstep.  I broke open that puppy and started scanning the book for recipes I wanted to try.

I started with her Jammy Winter Fruit and Brown Butter Bars (will post soon).  The cookie dough, studded with walnuts and oatmeal, serves as both the base and topping.  It’s a keeper.  But the filling, an apple and pear jam, didn’t stand out.  I would try a berry jam or use tart apples next time to bump up the flavor.  

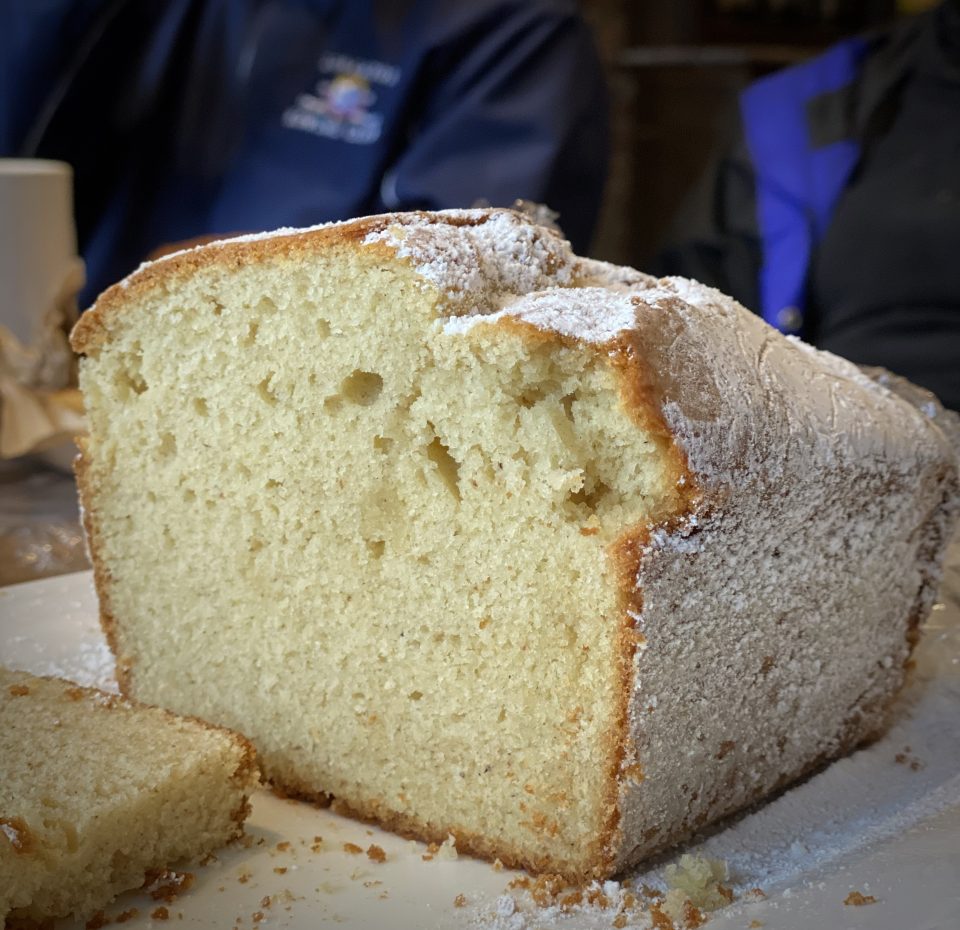
On the other hand, the Donut Loaf was a straight winner!  Initially, the 2 teaspoons of nutmeg threw me for a loop, not my favorite spice. But multiple positive reviews convinced me to take the donut challenge.  I’m glad I did.  Think giant powdered sugar donut but sliced from a loaf.  The inside of the loaf is moist, tender with a nice crumb with just a bit of density like a cake donut.  The outside makes me feel like a kid again, a flurry of powdered sugar with every bite.

The recipe is pretty much a classic loaf bread cake.  Cream butter and sugar.  Add just a quarter cup of the flour mixture, beat and then add eggs one at a time. I’m not sure why she adds a small amount of the dry ingredients before the eggs, maybe it prevents the batter from curdling after adding the eggs.  Just a guess.  Add the dry ingredients by alternating with the buttermilk.  The process results in a fine crumb, tender cake-delicious.  I used freshly grated nutmeg for the cake as recommended.  It wasn’t overpowering but surprisingly subtle.

Donut Loaf from Midwest Made

Powdered sugar donut of your childhood back as an easy to make Donut Loaf
Course Cake, Dessert, Snack
Cuisine American
Keyword Donut Loaf, Loaf bread
Prep Time 15 minutes
Cook Time 1 hour

Ingredients

  • Nonstick cooking spray for pan
  • 2 3/4 cups unbleached all-purpose flour spooned and leveled
  • 2 1/2 teaspoons baking powder
  • 1/2 teaspoon baking soda
  • 1 teaspoon fine sea salt
  • 2 teaspoons freshly grated nutmeg
  • 14 tablespoons unsalted butter at room temperature
  • 3/4 cup plus 2 tablespoons granulated sugar
  • 1 teaspoon vanilla extract
  • 3 large eggs at room temperature
  • 1 cup well-shaken buttermilk at room temperature
  • To finish:
  • 1 cup powdered sugar sifted, plus more as needed
  • 2 tablespoons unsalted butter melted

Instructions

  • Position a rack to the lower third of the oven and preheat it to 325°F. Spray a 9x5-inch light-colored metal loaf pan with nonstick cooking spray and line it with 2 perpendicular strips of parchment paper — 1 cut skinnier to fit lengthwise across the bottom and up the 2 short sides, 1 to fit crosswise and up the 2 longer sides. Cut the strips long enough to have a few inches of overhang on all sides.
  • In a medium bowl, whisk together the flour, baking powder, baking soda, salt, and nutmeg.
  • In the bowl of an electric mixer fitted with the paddle attachment, beat the butter on medium-high speed until creamy. Add the sugar and vanilla and beat until light and fluffy, about 3 minutes. Beat in 1/4 cup of the flour mixture. Beat in the eggs, 1 at a time. Reduce the mixer speed to low, and stir in the remaining flour mixture and buttermilk in 5 alternating additions, beginning and ending with the flour mixture. Finish folding the batter by hand to make sure everything is incorporated — the batter will be very thick.
  • Scrape the batter into the prepared pan and smooth the top. Bake until the loaf is golden with a couple of cracks on top, and a toothpick inserted into the center comes out clean, 60 to 75 minutes. Let cool in the pan set over a wire rack for 15 minutes. Use the parchment paper to lift the loaf from the pan. Let rest for another 30 minutes.
  • When the loaf is cool and firm enough to handle, but still slightly warm, sift the powdered sugar all over a large rimmed baking sheet (keep the sieve handy). Peel the parchment from the cake. Gently turn the loaf over in 1 hand, using part of your forearm to support it. Using a pastry brush, brush the bottom of the cake with some of the melted butter. Carefully set the loaf, right-side up, in the powdered sugar. From there, brush the long sides with the butter, turning the cake from side to side to coat in sugar, then brush and coat the short sides. Lastly, brush the top with the butter, grab a handful or two of sugar from the tray, deposit into the sieve, and sift sugar generously over the top of the loaf. Roll the entire loaf in sugar once more so that it resembles a giant powdered sugar donut. Carefully transfer the cake to a wire rack to cool completely before slicing and serving, touching up the loaf with a quick sifting of sugar as needed.

Notes

Nutmeg: Freshly grated makes a difference.
Is it A Cake Or A Ginormous Muffin! (Blueberry Muffin Cake)

Is it A Cake Or A Ginormous Muffin! (Blueberry Muffin Cake)

A friend mentioned she was making her daughter’s favorite cake, A Blueberry Muffin Cake for her birthday that day. She asked “I think I found the recipe on 3Jamigos, didn’t I?”

I had to tell her there wasn’t a Blueberry Muffin Cake on my site.  I try to tempt her with the Blueberry Boy Bait Cake or  Ottolenghi’s Blueberry Lemon Almond Cake on 3jamigos but to no avail, her response was “Too bad, it’s really easy and super tasty, I’ll have to look for it”.

Challenge accepted

Ok, she didn’t challenge me, but my curiosity was peaked so I googled Blueberry Muffin Cake.  1.01 seconds later, an array of recipes popped up on my feed.  A quick perusal landed me on a Blueberry Muffin Cake by Fine Cooking.  It not only looked yummy but seemed pretty darn easy to make too.  I saved the recipe thinking I would try it one of these days. Well, what should appear in my feed that very day?  A message from my favorite strawberry purveyors, P and K Farms, “no strawberries yet but we have blueberries this weekend!”  No brainer, making Blueberry Muffin Cake after a trip to the Farmer’s Market.

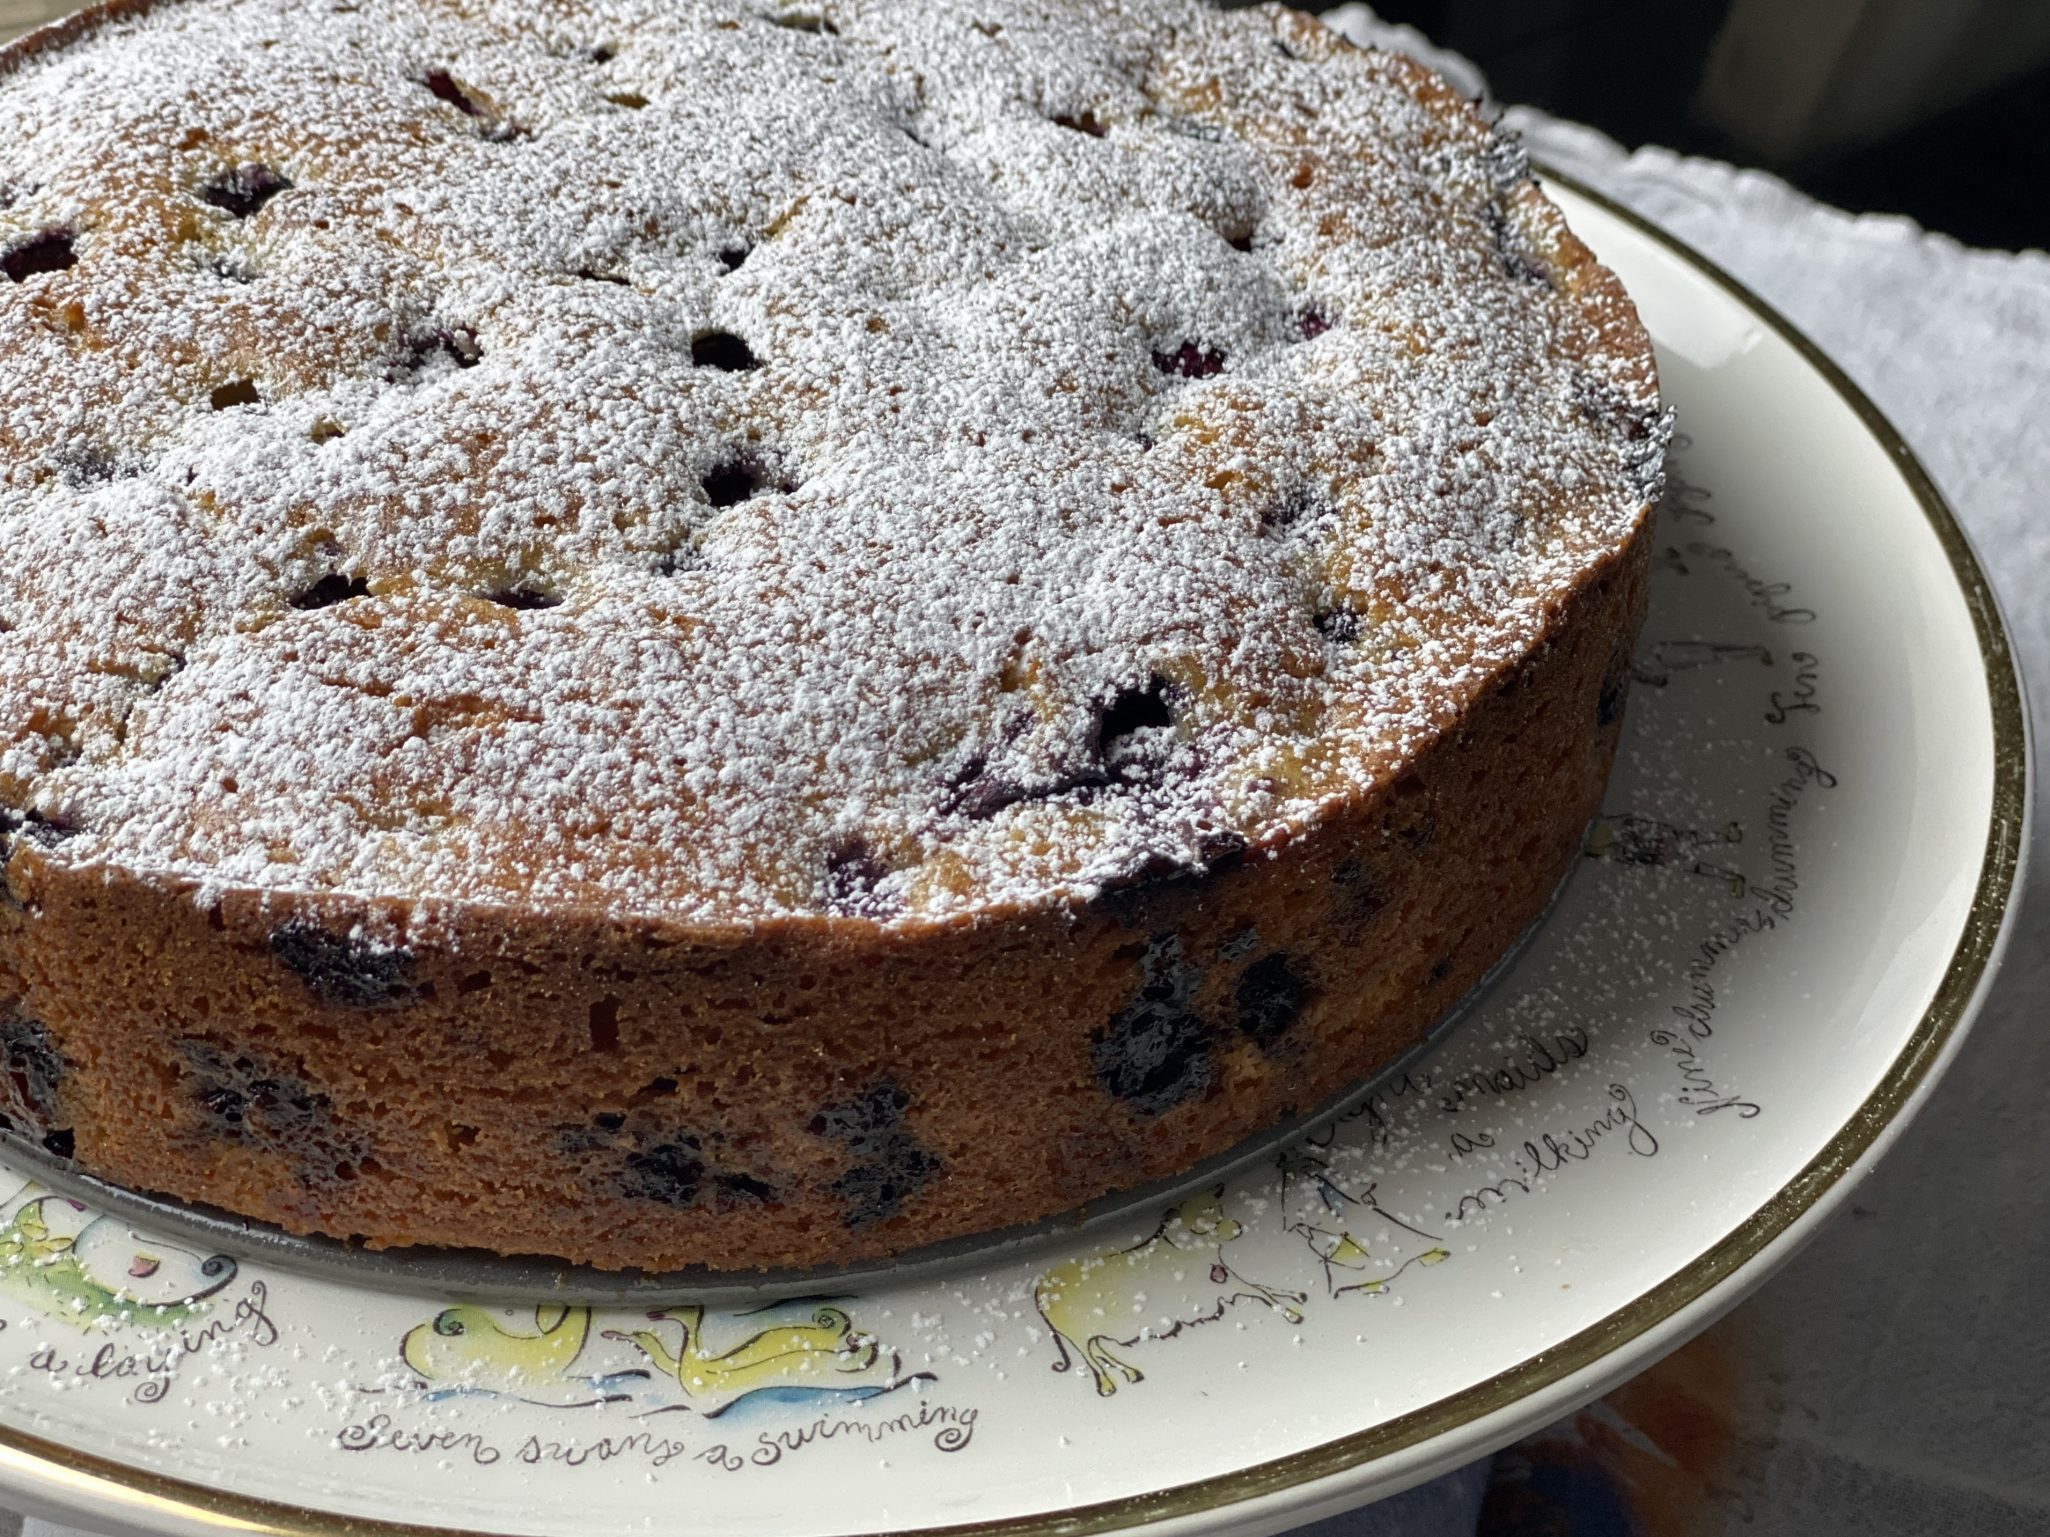
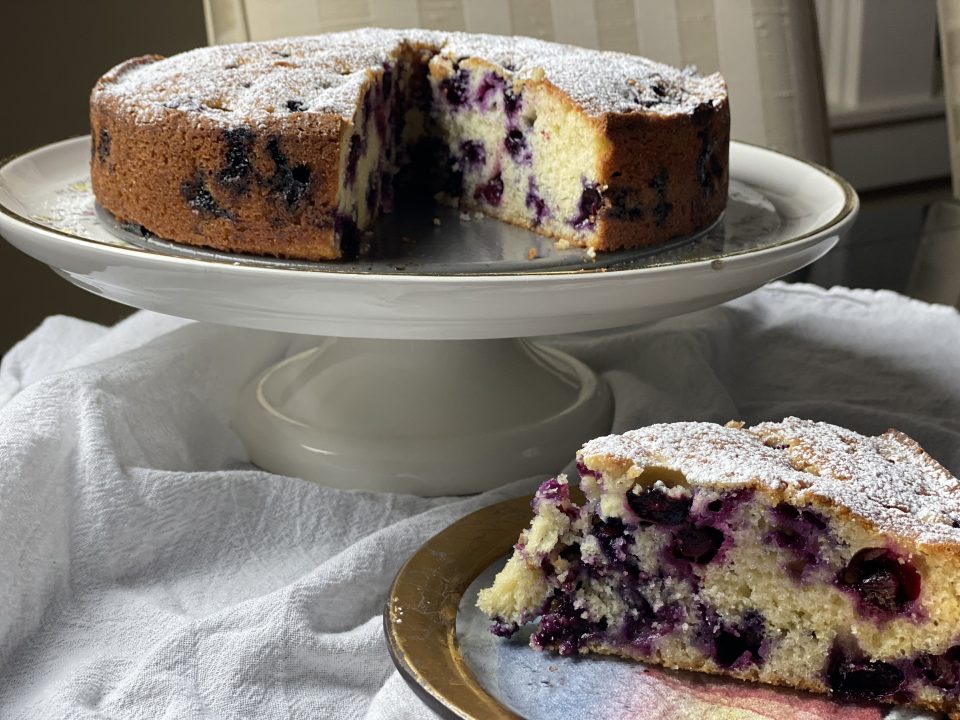
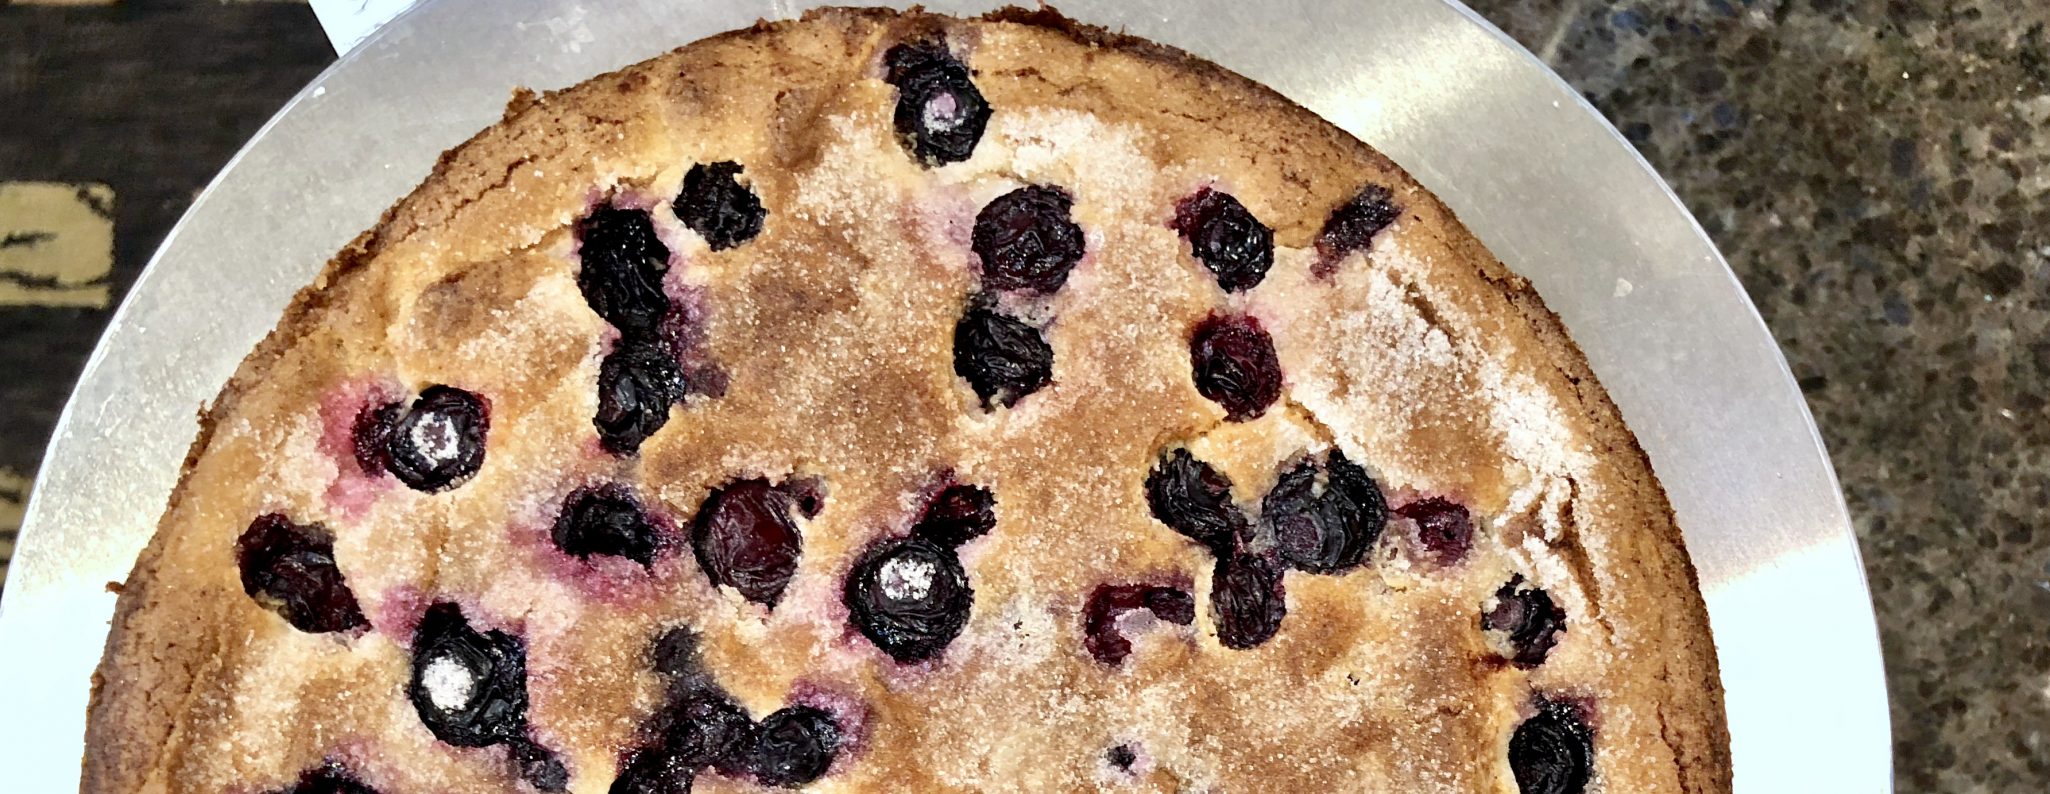
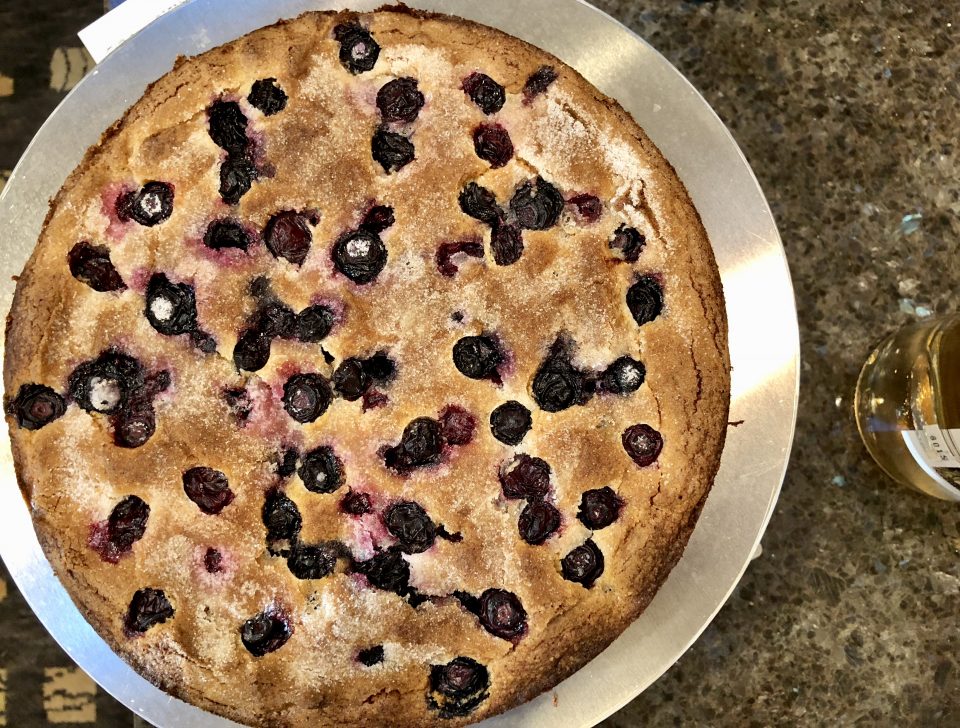
Essentially it is a muffin batter, easily whipped up in one bowl and baked in a springform pan.  The recipe starts with melted butter, no creaming butter and sugar together which makes this incredibly easy.  The cake is not too sweet, tender with a nice crumb and peppered with blueberries.  Perfect for a weekend breakfast or brunch or for an afternoon tea or coffee break.

The cake calls for a generous 2 cups of blueberries.  Which makes this cake a very berry delight.   I added lemon zest for a bit of zing.  Almond extract would also work well as an added dimension of flavor.  Things to remember, don’t over mix your batter once you start combining the dry and wet ingredients. You can substitute other fruit like raspberries, strawberries, diced peaches, or nectarines.  Really, you could knock this cake out in minutes, its that easy.  So what are you waiting for?  Go make this cake.

Course Breakfast
Cuisine American
Keyword Blueberry Muffin Cake
Prep Time 15 minutes
Cook Time 45 minutes

Ingredients

  • 4 oz. 1/2 cup unsalted butter, melted and cooled slightly; more for the pan
  • 9 oz. 2 cups unbleached all-purpose flour
  • 1-1/4 cups granulated sugar
  • 2 tsp. baking powder
  • 1 tsp. kosher salt
  • 1/2 cup whole milk
  • 2 large eggs
  • 1 tsp. pure vanilla extract
  • 3/4 lb. 2 cups fresh blueberries
  • Confectioners’ sugar for dusting (optional)

Instructions

  • Position a rack in the center of the oven and heat the oven to 350°F. Butter the bottom and sides of a 9-inch round springform pan.
  • Sift the flour, sugar, baking powder, and salt into a large bowl. Add lemon zest to dry ingredients, stir to combine. In a small bowl, whisk the butter, milk, eggs, and vanilla. Using a silicone spatula, stir the wet ingredients into the dry ingredients just until incorporated. Gently fold in the berries.
  • Scrape the batter into the prepared pan, spreading it evenly. Tap the pan on the counter once or twice to break any air bubbles.
  • Bake until golden-brown and a tester inserted in the center of the cake comes out clean, 45 to 55 minutes (if the top gets too brown, tent with aluminum foil).
  • Cool on a wire rack for 10 to 15 minutes. Run a paring knife around the edge of the cake and remove the side of the pan.
  • Transfer the cake to a serving plate and serve warm or at room temperature with confectioners’ sugar sifted over the top.

Notes

Use raspberries, blackberries or cut diced strawberries instead.  Stone fruits would work.  Omit lemon zest, add 1/2 teaspoon almond extract.
Kentucky Butter Cake (AVERYbody Should Have a Go To Cake)

Kentucky Butter Cake (AVERYbody Should Have a Go To Cake)

I hosted a postcard session a couple of weeks ago and as an enticement, I provided “snacks” for it.  Snacks in my book aren’t just a bag of chips and a bowl of dip, nope.  I mean to ask people to write and decorate a gazillion postcards, ya gotta have mouthwatering, lip-smacking, delicious food.  Am I right?

That day the weather was a chilly 55 degrees (remember we are talking California), so I made Sam Kass’ slow-roasted pork.  Just salt and pepper the meat, slide it into the oven and fuggedaboutit.  When it is done, shred and serve.  So darn easy and yummy.  I put out corn tortillas, guac, onions and salsa for taco “fixins” to go along.  For those who didn’t want tacos, I made  CRAZY GOOD OOEY-GOOEY Mac and Cheese.  So hard to pick which way to have my pork and eat it too.

No Dessert?

I didn’t have time to make dessert (I know, blasphemous) but luckily my friend’s daughter called while we were hard at work and volunteered to make dessert for us.  Yippee!  So sweet of Avery!  She arrived with a luscious Kentucky Butter Cake that was moist, buttery, sweet…downright delicious.  Oohs and aahs prevailed from all, including my kids who added: “this is the best cake ever”.  I immediately asked for the recipe.

Impatience got the better of me so I googled Kentucky Butter Cake and quite a few recipes popped up on my feed. I picked a recipe (using the scientific eenie-meanie-miney-moe method) from the blog, Cookies and Cups, and added a couple of tweaks from the blog Spicy Southern Kitchen.

I baked it, I glazed it, I cut it, I served it…to a resounding chorus of…

It’s OK, but Avery’s was much better

Repeated, ad nauseam …

I no longer like Avery.  Actually I no longer like my family, Avery is okay.

Just kidding. I got on the horn and called S (her mom), where’s the recipe?!  Her reply was, “I sent it to you days ago”. Oops, my bad…there it was buried in my inbox.

I noticed Avery’s baked at 325, mine at 350, used sour cream instead of buttermilk, and had WAY more of that delicious butter sugar glaze.

The version I used was like the “cooking light” version.  If you didn’t just have a bite of the original, it was perfectly acceptable.  If you put them side by side, fuggedaboutit.  Hands down Avery’s version comes out on top.

Cooking Light

I have included directions for Avery’s version and my “cooking light” version (for transparency’s sake).  A couple of tweaks could bring mine closer to Avery’s.  But then, you might as well just make Avery’s version. Your family and friends will be eating out of your hand.

Instead of that cup of low-fat buttermilk, use sour cream.  Yep, the start to a richer, moister cake.

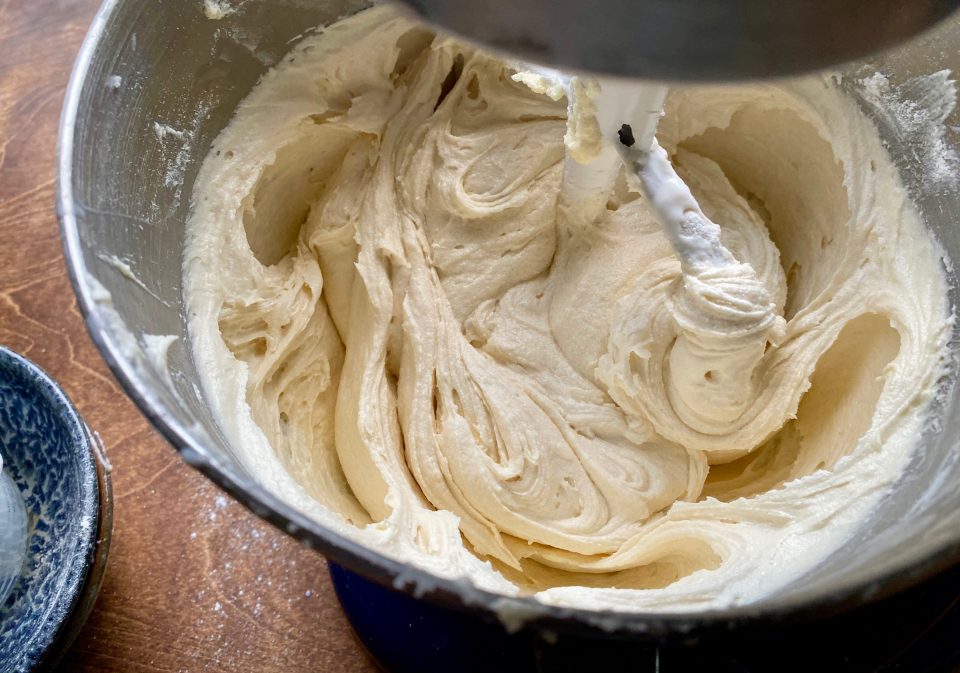
Cream butter and sugar, add eggs, then alternate flour with liquid (start and end with dry ingredients).  You’ll end up with a fluffy but substantial batter.

Bake the cake at 350 and you will get a nice brown crust, at 325 the cake will be lighter in color.  I would definitely bake the cake for less time if you use 350 degrees. Take the cake out and let it cool for 10 minutes.  Remove the cake from the pan to prevent sticking and then put it back in the pan for its luxurious bath of butter sugar syrup.  It will be easier to remove later, trust me, no actually, trust AVERY.

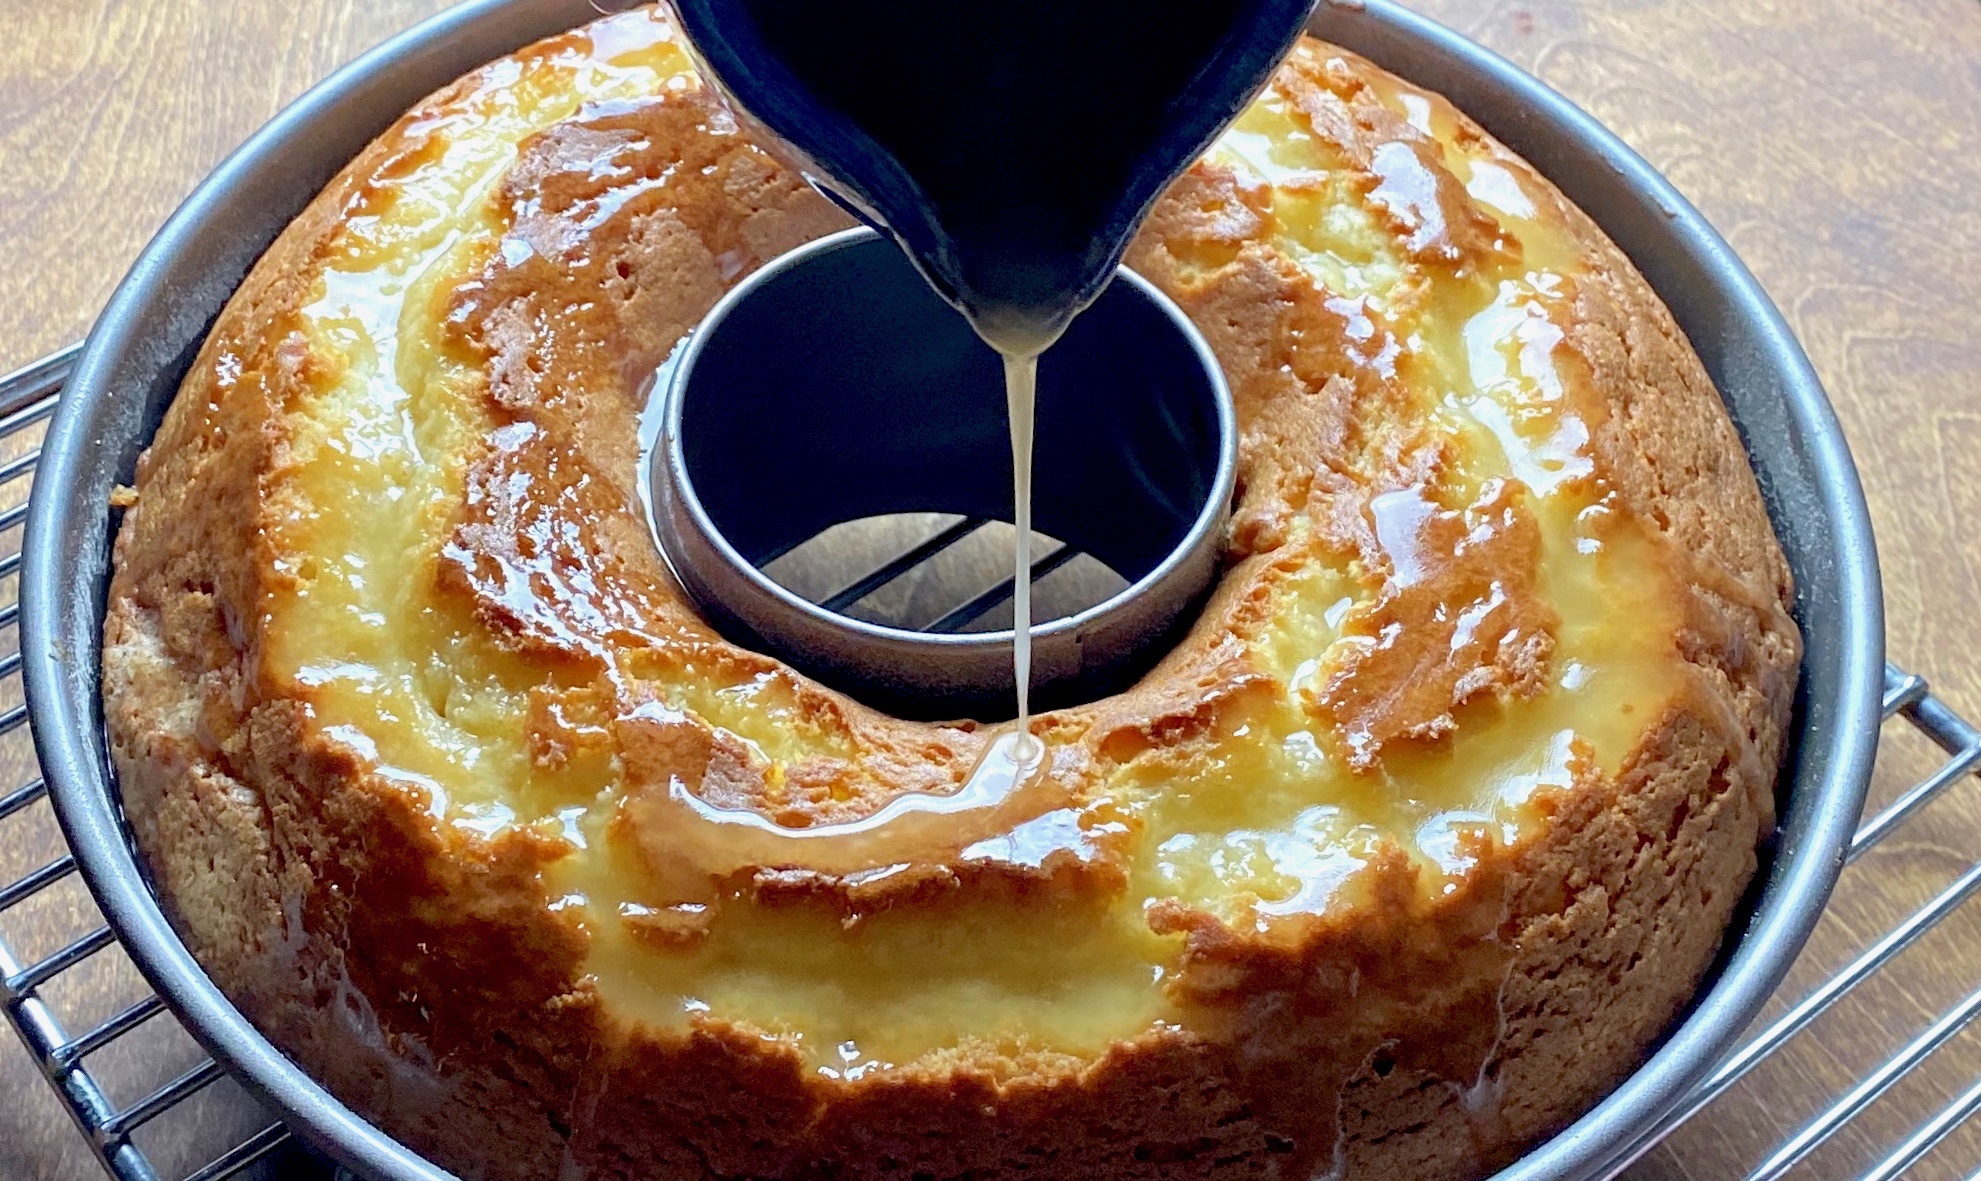
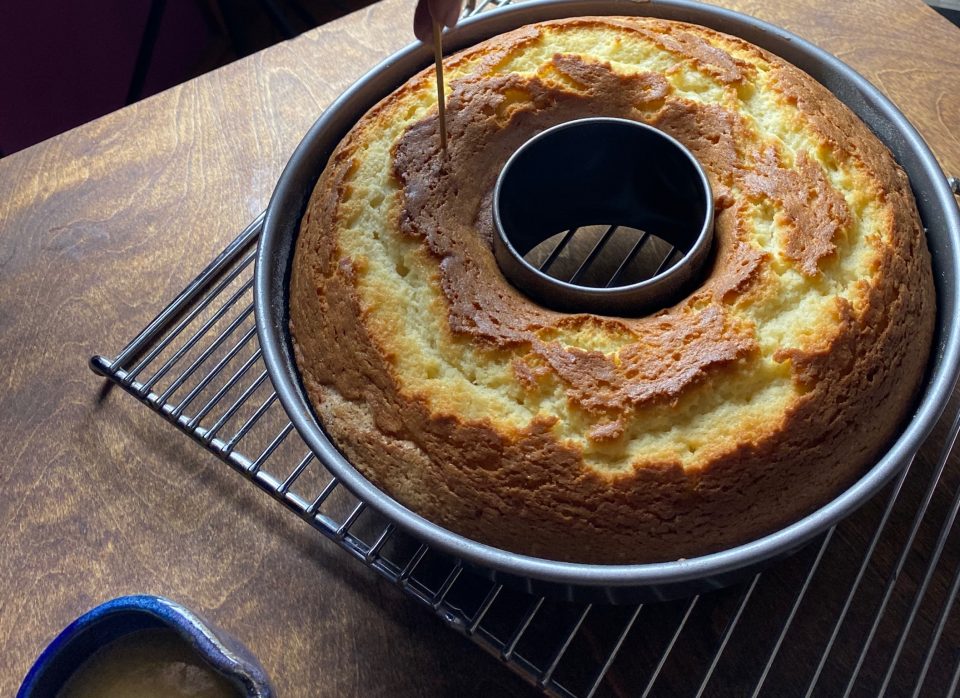
Use a skewer or skinny chopstick to poke holes ALL OVER the cake. Pour the sugar-butter glaze over the cake,  don’t be afraid, it will absorb all of it easily.  Let the cake sit a spell, remove from the pan and dig in!

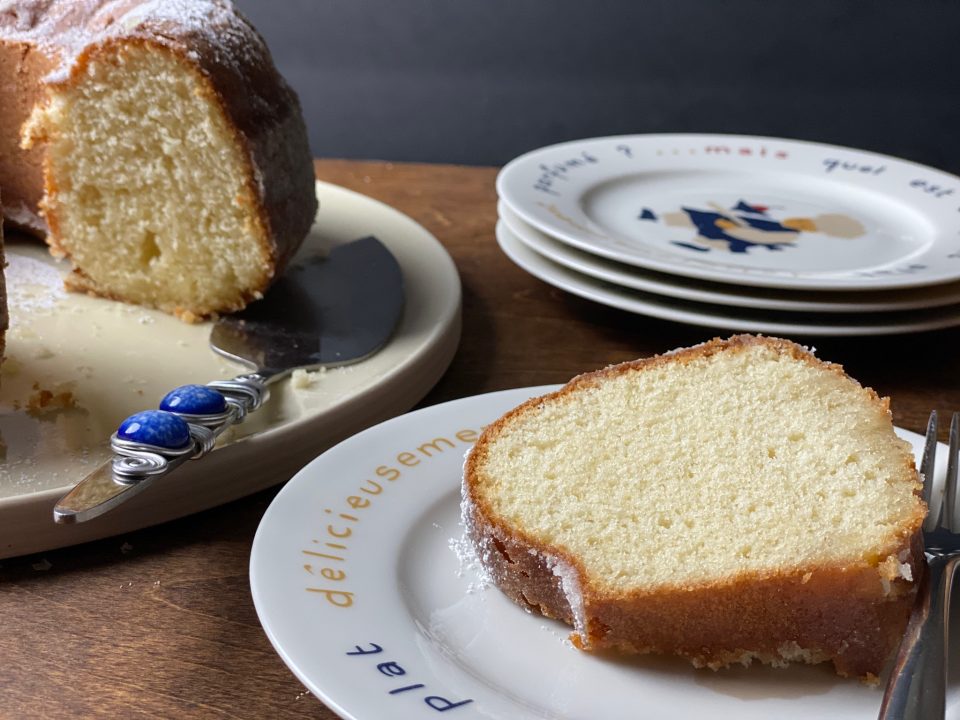
This is a pic of my “cooking light version” which had considerably less glaze and cooked at a higher temp.  With Avery’s (yeah, that cake-baking brat again) you could see the glaze that had soaked into the cake, dreamy and delicious.

Kentucky Butter Cake

Rich, moist, buttery, everything delicious in a bundt cake
Course Dessert
Cuisine American
Keyword Bundt cake, Kentucky Butter Cake
Prep Time 20 minutes
Cook Time 1 hour 5 minutes

Ingredients

CAKE

  • 1 cup butter cubed at room temperature
  • 2 cups granulated sugar
  • 4 eggs
  • 1 tablespoon vanilla
  • 3 cups all-purpose flour
  • 1 teaspoon salt
  • 1 teaspoon baking powder
  • 1/2 teaspoon baking soda
  • 1 cup sour cream or 1 cup buttermilk

BUTTER GLAZE

  • 1/2 cup butter deb version (which really isn't enough syrup) 1/3 cup
  • 1 cup granulated sugar 3/4 cup sugar
  • 1/4 cup water 2 Tablespoons water
  • 1 tablespoon vanilla 2 teaspoons

Instructions

  • Preheat the oven to 325°F/165°C (Deb's version 350, start checking cake at 45 minutes)
  • Grease a 10″ bundt pan with butter or shortening very liberally. Dust the pan with flour and set aside.
  • Cream butter and sugar with mixer until light about 2 minutes
  • Add eggs one at a time and mix well after each addition
  • Add vanilla, baking powder, baking soda, and mix to combine about 1 minute
  • Add flour and sour cream or buttermilk, alternating. Start with flour and finish with flour
  • Pour the batter into the prepared pan and bake for ~65 minutes until a toothpick entered into the center comes out clean.
  • When the cake is done make the glaze. Combine all ingredients into a small saucepan over medium-low heat. Stir continuously until the butter is melted and the sugar is dissolved. Do not bring to a boil.
  • Remove cake from pan and then put it back in pan to glaze cake. This helps keep the cake from sticking after glaze.
  • Poke holes all over the warm cake using a knife or skewer or skinny chopstick and pour the glaze evenly on the cake while still in the pan.
  • Allow the cake to cool completely in the pan and then invert the cake onto a serving plate.
  • Make this cake a day in advance, so the syrup has time to infuse the cake.
Summer Strawberry Cake, Farmer’s Market: A Midsummer Day’s Dream

Summer Strawberry Cake, Farmer’s Market: A Midsummer Day’s Dream

Get thee to a Farmer’s Market now. It is the perfect time to visit your local market, all things fruit and vegetable are at its peak.  You can hardly walk through the market without becoming intoxicated by the aroma of vine-ripened tomatoes, peaches, and strawberries.

At my local farmer’s market, we are lucky enough to have strawberries from P&K Farms, a family run farm in the Monterey area.  I can remember a couple of years ago when I first noticed their stand at the market.  Actually, it was hard not to notice, a line easily 10 people deep had formed in front of their kiosk.  Being a true skeptic, I thought, come on, are their berries really worth the wait?

Flash forward to this past weekend.  Like an idiot, I stopped for coffee BEFORE heading to the market which then meant waiting in the “way more than 10 people” line for my 3-pack of ruby perfection.  Yes, it is worth the wait.  Their strawberries are sweet, full of flavor, and remarkably hardy.

Let Them Eat Cake!…with Strawberries

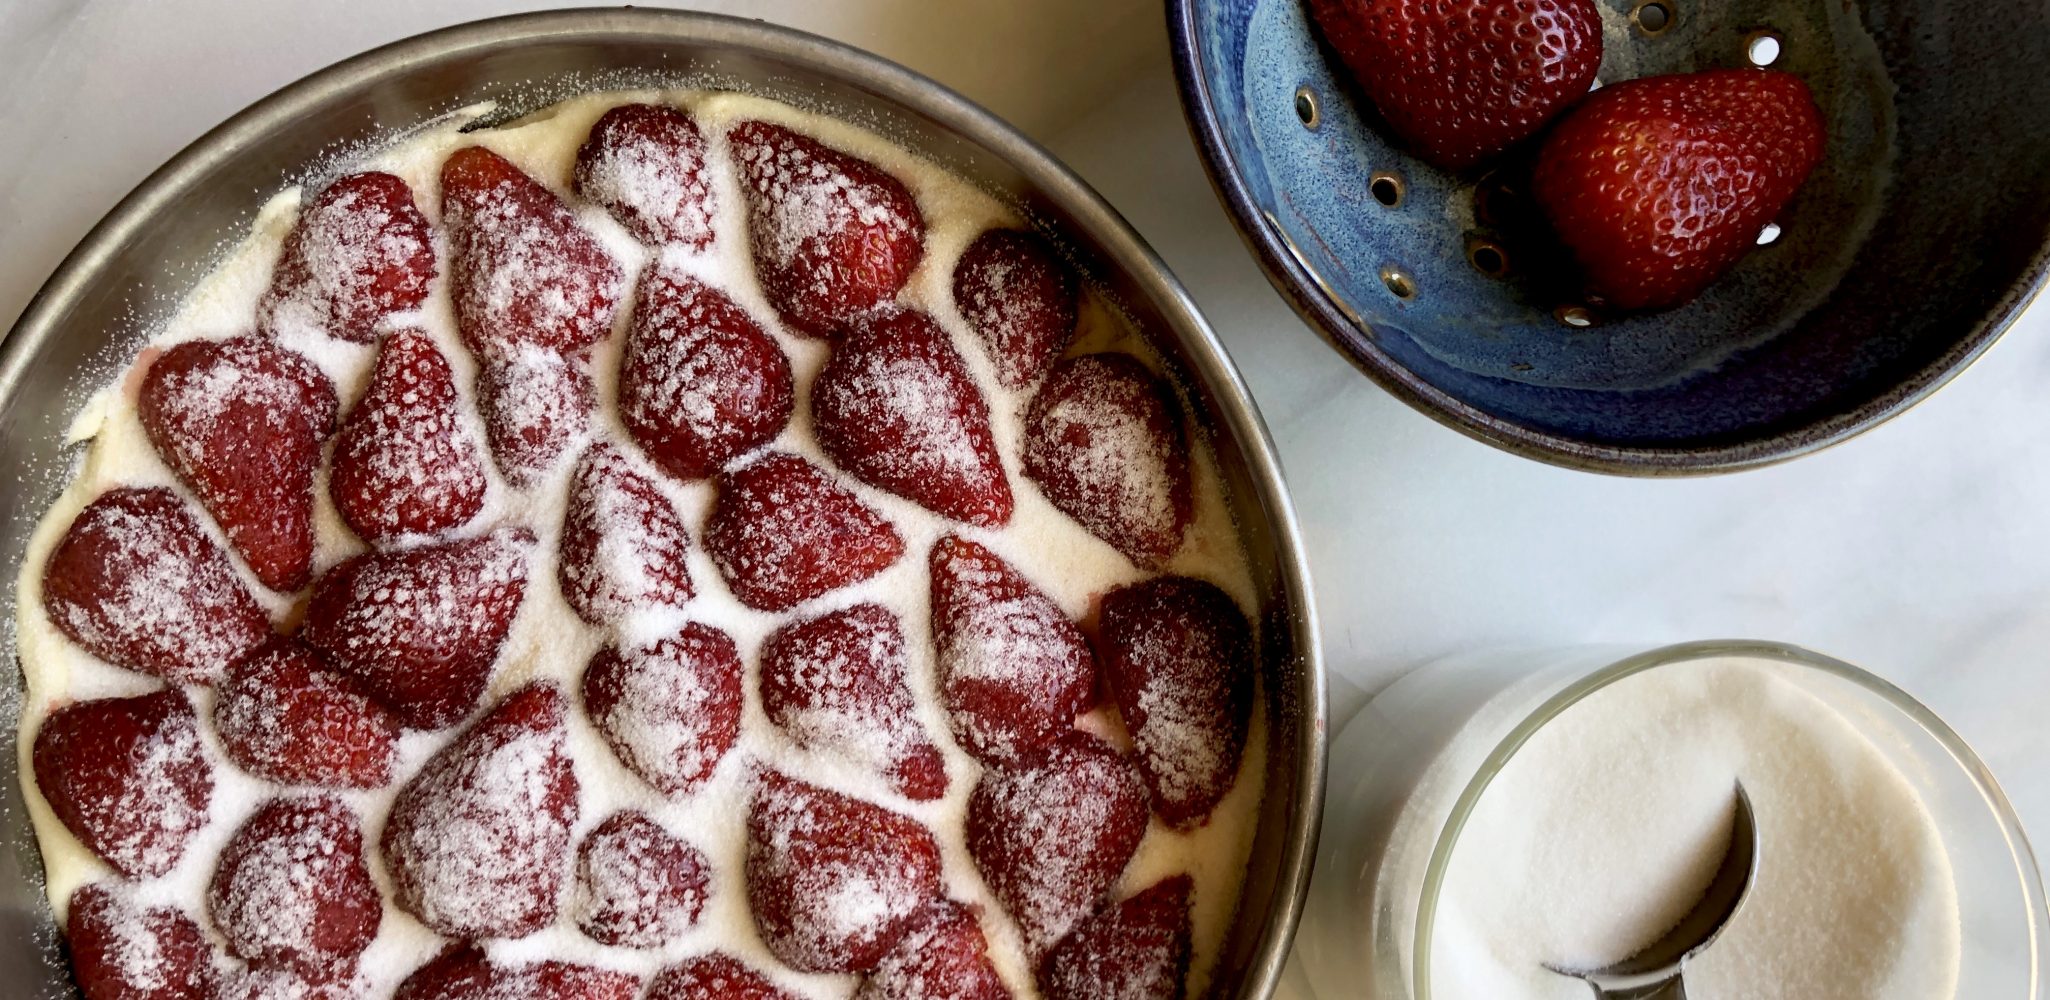
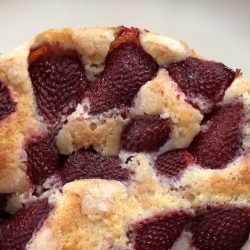
I reserved part of my strawberry treasure trove for a friend’s July 4th BBQ.  I could take the easy way out and just throw them in a bowl, serve them straight up which would be perfectly fine, but what fun would that be?  Time to try that recipe from Smitten Kitchen for a cake that showcases strawberries.  A simple butter cake LOADED with berries.  The 9-inch cake calls for a pound of strawberries which means with every bite, you sink your teeth into sweet, oozy strawberries and really that’s what it is all about.

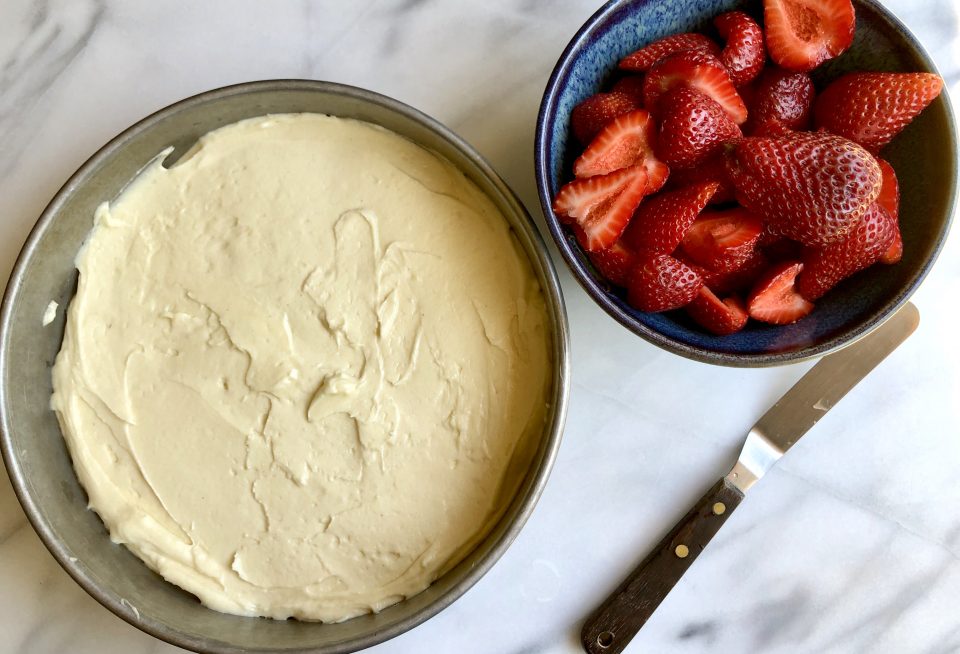
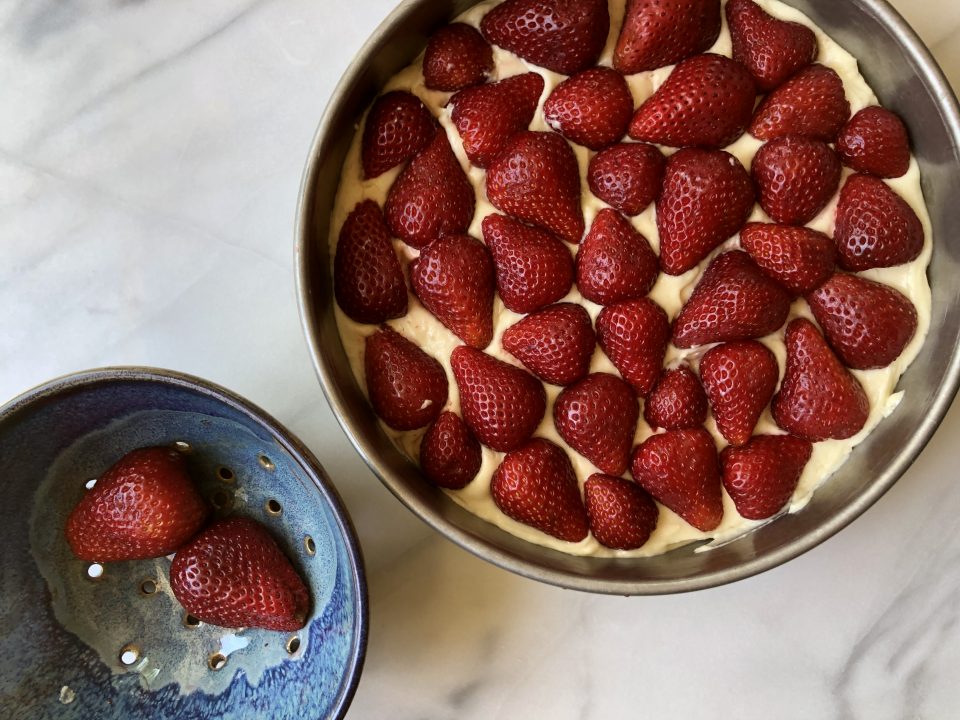
The original recipe is from Martha Stewart and tweaked by Smitten Kitchen.  The recipe calls for combining the egg, milk, and vanilla and then adding it to the creamed mixture.  Adding all the liquid at once made for a very curdled-looking mixture.  I added the dry ingredients and the batter came together.  I found a trick, when the batter looks like it is about to curdle as you are adding the milk, toss 1 tablespoon of the flour mix into the batter.  This small amount of flour prevents the curdling but won’t toughen the cake.  Voila’.  The hulled and halved strawberries are placed cut side down in the batter.

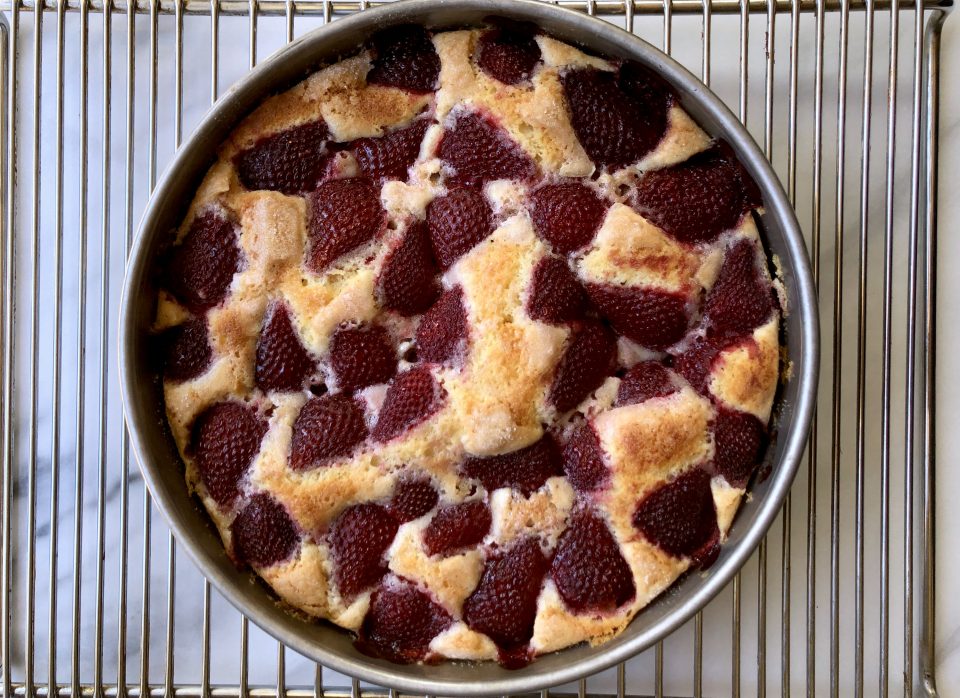
A sprinkling of sugar to finish and into the oven for about an hour.  Bake this cake in a deep dish pie plate or a cake pan lined with parchment.  It will overflow in a traditional 9-inch pyrex pie plate.  Smitten Kitchen recently adjusted the recipe to make a 9×13 cake (two pounds of strawberries!) because let’s face it, everyone is going to want seconds.

Serve this with softly whipped cream or vanilla ice cream.  Make it earlier in the day so the cake can sit. The strawberries will marry with the cake even more.  Sooo luscious.  Sooo good.

So what are you doing this weekend?  Yep, picking up strawberries at the Farmer’s Market, baking this cake, and looking appropriately sheepish as your friends and family shower you with compliments and RAVE about this cake.

Repeat after me, “Aww shucks. It was nothing.”

Strawberry Summer Cake

An easy cake that screams summer is here. Loads of strawberries baked in a buttery sweet tender cake.
Course Cake, Dessert
Cuisine American
Keyword cake, strawberries, strawberry cake, Summer Cooler
Prep Time 20 minutes
Cook Time 1 hour 10 minutes
Servings 8

Equipment

  • 9-inch cake pan or 9-inch deep dish pie plate
  • Mixer

Ingredients

Dry Stuff

  • 1 1/2 cups (188 gram) all-purpose flour
  • 1 1/2 teaspoons baking powder
  • 1/2 teaspoon table salt

Buttah & Sugar

  • 1 cup (200 gram) plus 2 tablespoons (25 gram) granulated sugar
  • 6 tablespoons (85 gram)unsalted butter at room temperature, plus extra for pie plate

The Wet Stuff

  • 1 large egg
  • 1/2 cup 118 ml milk
  • 1 teaspoon vanilla extract

The Top

  • 1 pound 450 grams strawberries, hulled and halved

Instructions

  • Preheat oven to 350°F (180°C). Butter a 9-inch cake pan and line with parchment or 9-inch deep-dish pie pan. Don't use a regular 9-inch pie plate which is too small.
  • Whisk flour, baking powder, and salt together in a small bowl. In a larger bowl, beat butter and 1 cup sugar until pale and fluffy with an electric mixer, about 3 minutes. Add egg and beat to combine. Add milk and vanilla until just combined. The mixture may look a little curdled. It's okay, once you add dry ingredients it will come together* see post for tip. Add dry ingredients gradually, mixing until just smooth but well combined.
  • Pour into prepared cake pan. Arrange strawberries, cut side down, on top of batter, as closely as possible in a single layer, don't be afraid to really squish them together. Sprinkle remaining 2 tablespoons sugar over berries.
  • Bake cake for 10 minutes then reduce oven temperature to 325°F and bake cake until golden brown and a tester comes out free of wet batter, about 50 minutes to 60 minutes. (Gooey strawberries on the tester are a given.)
  • Let cool in pan on a rack.
  • Remove cake from pan by flipping it onto a plate and inverting it onto another. Thank goodness for parchment paper.
  • Serve with lightly whipped cream. Or Lemon Cream from another recipe, see note!

Notes

The cake can be stored at room temperature for up to 2 days, loosely covered. It really won't last that long though.
Lemon Cream
 
Birthday Cake: A Labor of Love (Farmhouse Buttermilk Cake)

Birthday Cake: A Labor of Love (Farmhouse Buttermilk Cake)

We celebrated a couple of family birthdays in June.  Most notably my kid’s and my brother’s.  They share the same day, just different year, different decade, but at least not a different century.  The day my kid was born I had actually invited my brother down for dinner, a birthday bbq, since I was not allowed to travel too far from home.  As we, I should say “they”, my brother, his wife, my mom and hubby enjoyed a dinner of rib eye steaks and the fixings, I sat on the couch, trying to regulate my breathing and ignore the pain.  I finally couldn’t take it anymore and unceremoniously shoved the chocolate birthday cake I had made into his chest; wished him a happy birthday, and told him (with clenched teeth), eat the cake at home, I was headed to the hospital.

Whenever possible, we celebrate their birthdays together.  An excuse for a family get together and to retell (ad nauseam) to unknowing guests, the “birth”day story.  This year’s celebration was a bit more significant, the kid turns 25 and the bro signs up for Medicare, lol. Time marches on.

The request came through from the birthday boys for Wes’s Carrot Cake.  Good choice, it was delicious and I was off the hook.  But what to do with the extra buttermilk in the fridge?

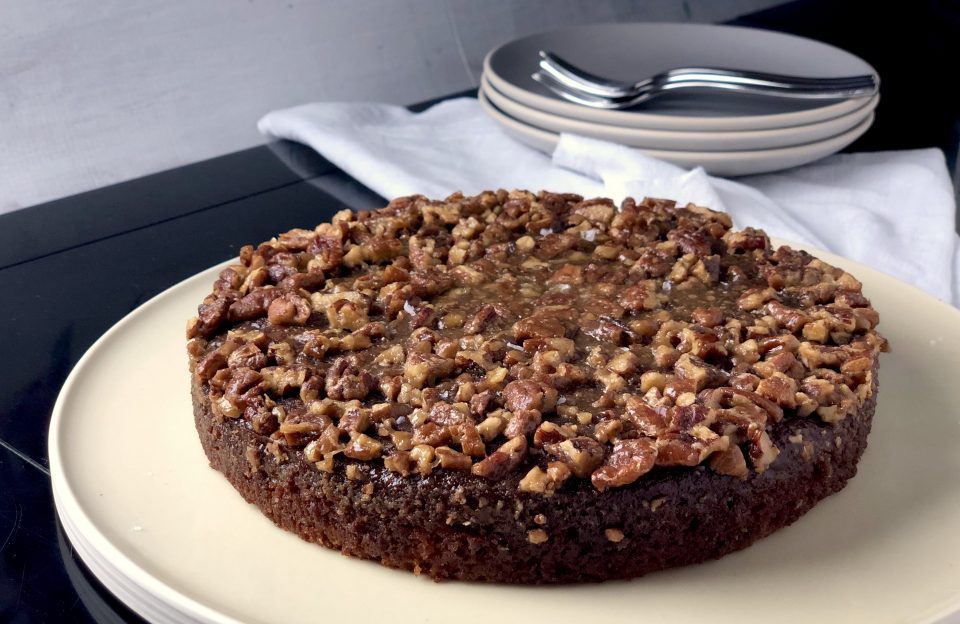
I think my FB page has ESP, smack dab in the middle of my newsfeed,  a recipe popped up for Farmhouse Buttermilk Cake.  Not only did the recipe have buttermilk, it included my favorite nut, pecans, in a caramel-like topping on top of a tender, tangy, buttermilk cake.

Pulling out my cake pan now.

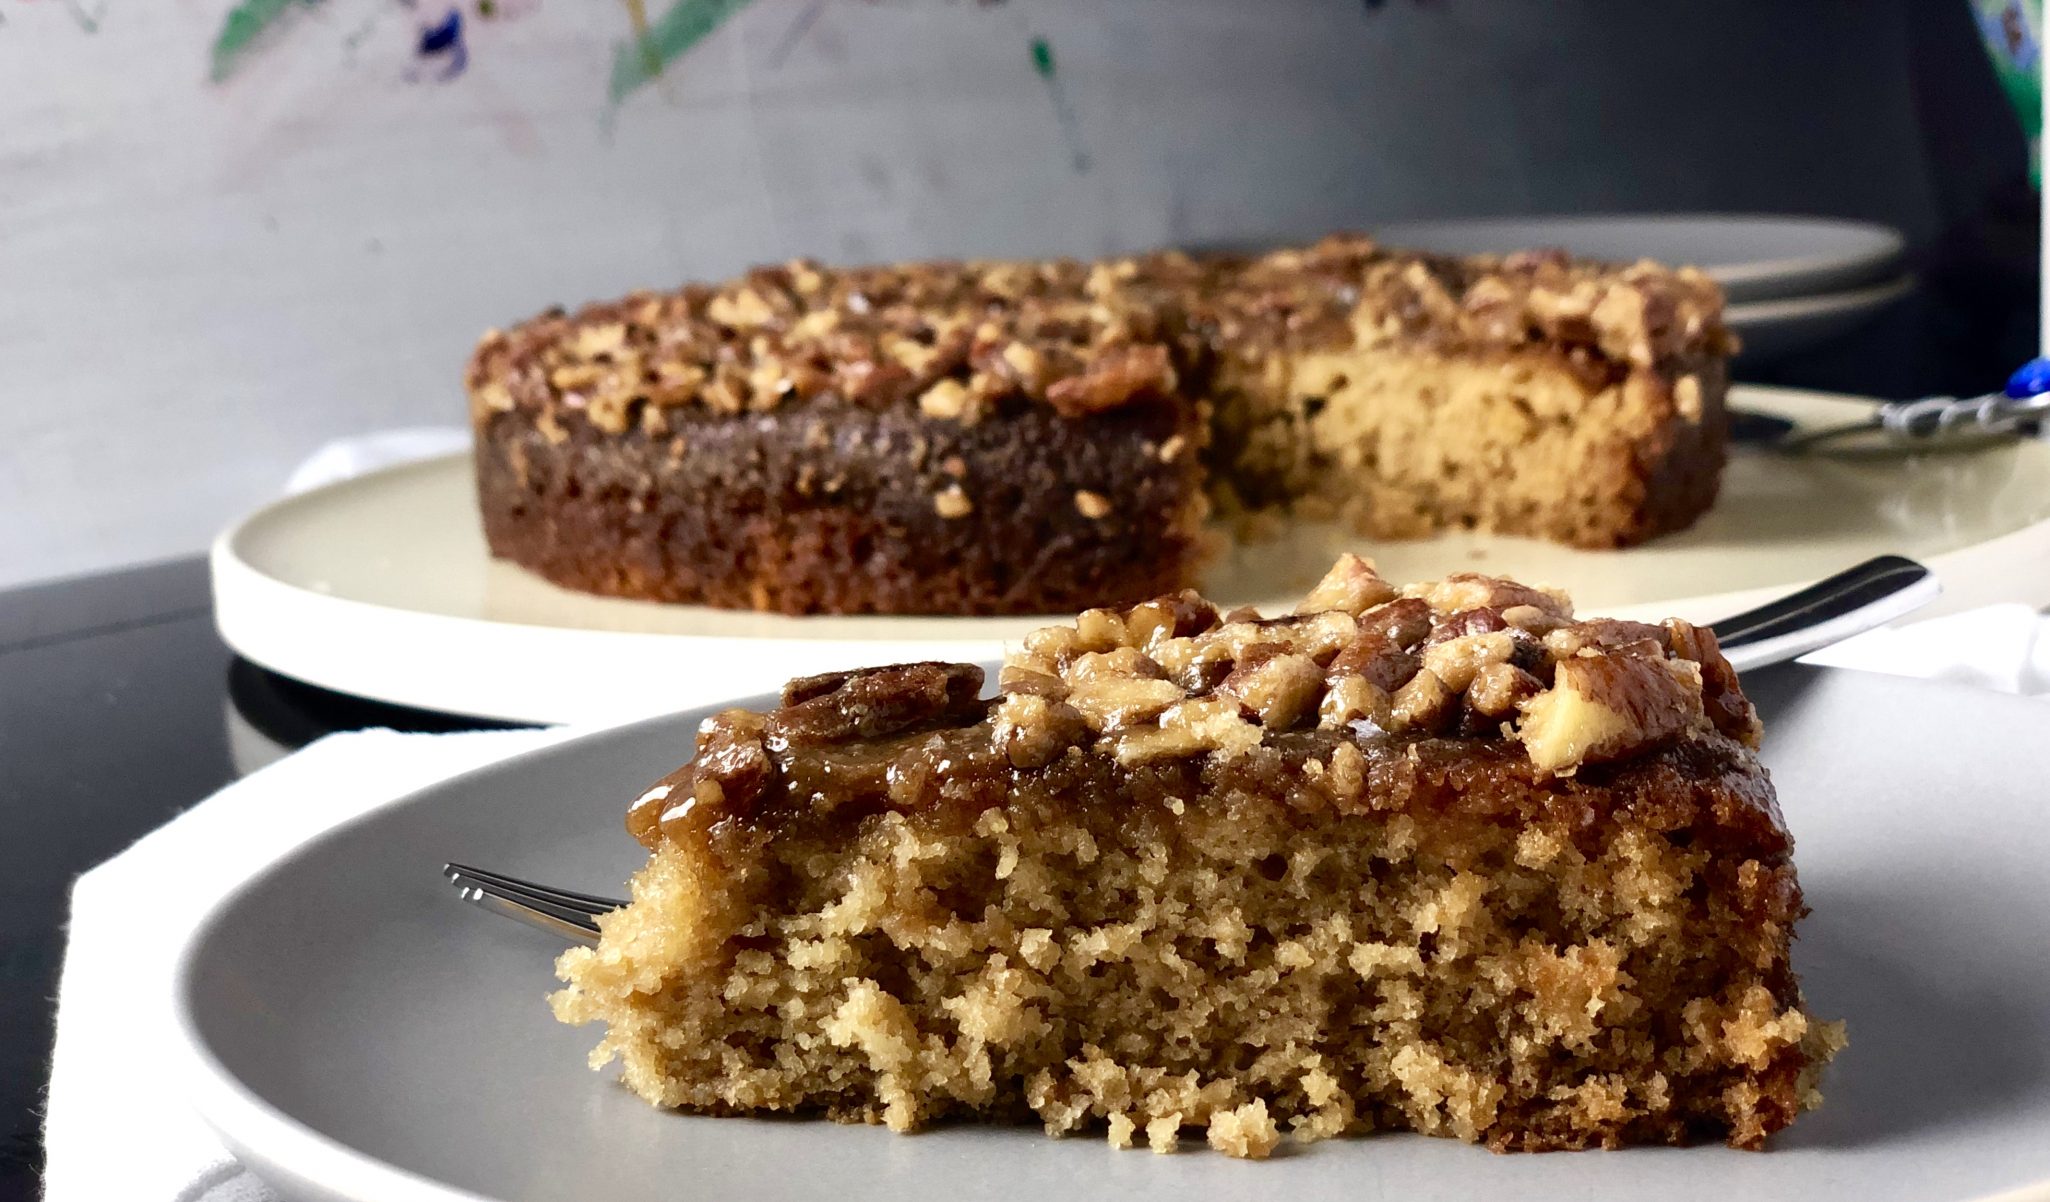
The recipe, originally from King Arthur Flour, and then tweaked by The Cafe Sucre Farine is a winner. A tender crumb cake topped with a caramel-like nutty topping is sweet, salty, and buttery, everything a little slice of heaven should be.

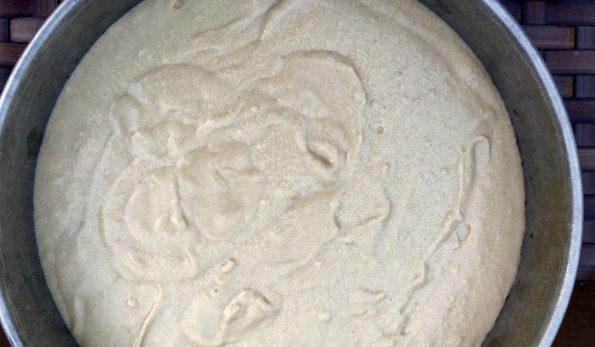
The cake is a snap to make.  You could easily make this with a bowl and a wooden spoon.  Taking the lazy way out, I used my mixer.  Classic directions, cream butter and sugar, add wet then dry, pour into pan and bake.  See, how easy is that?   I used the proportions from Cafe Sucre Farine to make a 9-inch round cake. King Arthur Flour’s recipe makes a 9×13 cake, so if you are feeding a crowd, go to KA site for the recipe.

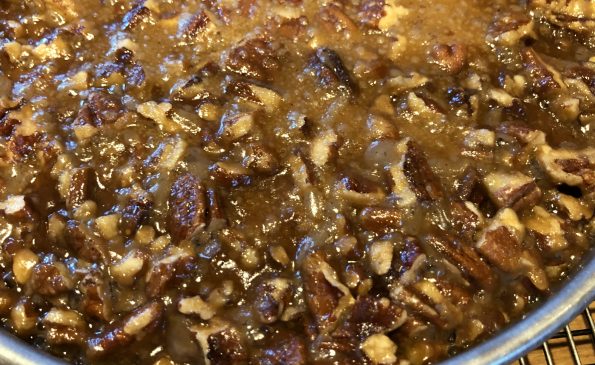
While the cake is baking, make the topping.  Don’t make it too soon as it will cool and thicken.  You want it warm so it is pourable.  You could easily substitute any nut you like, almonds, walnuts or even a mix of nuts would work.  I followed CSF’s lead and sprinkled some flake salt at the end to really pump up that play on sweet and salty.  YUM.

Bake the cake for approximately 30 minutes, top with the pecan-sugar mixture and bake an additional 10 minutes.  Remove from oven and sprinkle with flake salt.  Not TOO much, just a hint.  Let cool.  The cake can be served warm but I think the flavors come out when the cake is allowed to cool and rest.  The topping hardens a bit as it cools.

Perfect with coffee, tea or an ice cold glass of milk!

Farmhouse Buttermilk Cake

Tender buttermilk cake topped with a caramel like pecan mixture
Course Dessert
Cuisine American
Keyword Pecan Topped Buttermilk Cake
Prep Time 15 minutes
Cook Time 40 minutes
Total Time 1 hour
Servings 12 servings
Calories 289kcal

Equipment

  • Mixer
  • 9" cake pan

Ingredients

For the cake:

  • ¼ cup butter soft
  • 1 cup light brown sugar
  • 1 large egg
  • 1 cup buttermilk
  • 1 teaspoon vanilla extract
  • 1 teaspoon baking soda
  • ½ teaspoon salt
  • 1 ½ cups all-purpose flour

For the topping:

  • 3 tablespoons melted butter
  • ½ cup light brown sugar
  • 2 tablespoons half and half
  • teaspoon salt
  • ¾ cup diced pecans

Instructions

For the cake:

  • Preheat the oven to 350°Spray a 9" round cake pan with baking spray and line with parchment paper. Set aside.
  • Combine flour, baking soda and salt in a small bowl and set aside.
  • Combine the butter and brown sugar in mixer bowl on medium-low speed until smooth
  • Add the egg, beating again till smooth.
  • Stir in the buttermilk and vanilla extract.
  • Sprinkle dry ingredient mix evenly over the top and stir until well combined.
  • Pour the batter into prepared pan.
  • Bake the cake for 30 minutes or until a toothpick inserted in the center comes out clean and/or the cake springs back when lightly touched in the center.
  • During the last 10-15 minutes of baking time, prepare topping. Stir the butter and the sugar together. Add the milk, pecans, and salt. The glaze will be thick, but pourable.
  • After the cake has baked for 30 minutes, pour the topping over the cake and return it to the oven for another 10 minutes (for a total baking time of 40 minutes). Remove cake from the oven and allow to cool for 20 minutes in the pan. Sprinkle lightly with flaky sea salt, if desired and serve warm or at room temperature. Topping firms up as the cake cools.
  • Cake can be served with ice cream, well that's my suggestion, vanilla ice cream-nom,nom.

Notes

Adapted from King Arthur Flour and Cafe Sucre Farine


Do You Really Want to Feed Me? Food52 Club Blueberry Cake with Almond & Cinnamon

Do You Really Want to Feed Me? Food52 Club Blueberry Cake with Almond & Cinnamon

For all you Boy George Fans, my title nod to the 80’s.  Have I mentioned the Food52 Cookbook Club?  I’m sure I have.  From the geniuses at Food52, a Facebook group that features a cookbook each month.  A cynic might say “what a great marketing idea!”.  Ok, it is, but it is actually a wonderful way to share insights and critiques on a book.  By the end of each month, you have a pretty darn good idea which recipes are winners and which are not so great or need some tweaking. Photos for each recipe and a comment or two posted by members…invaluable.  I literally have cookbooks I have never made a single thing from but when Food52 features it, I’m trying recipes from the book like a crazy person.

This month’s selection is Dining In by Alison Roman.  I had picked up a copy awhile back at a cute indie bookstore, Leigh’s Favorite Books in Sunnyvale.  Aside from one fantabulous cookie recipe (click on the link to find out which cookie, I’m so evil) I already have thanks to Bon Appetit’. I didn’t see anything I felt compelled to try.  I shoved the book on a shelf and forgot about it.

Until, of course, it became this month’s featured Food52 Cookbook Club book.

My pictures don’t do justice to this Blueberry Cake with Almond and Cinnamon, but the requests for the recipe had me expediting this post.  Made for a happy hour postcard writing session (democracy in action), this cake was the star of the evening. Make it now while sweet, plump, blueberries can still be found at the Farmer’s Market.

This cake is hands down delicious.  Buttery, tender, not too sweet with a nice crunch from the sprinkling of sugar on top and a hint of spice from the cinnamon.  Hmmm, it’s dreamy. The recipe calls for both almond flour and all-purpose flour.  Despite not having any liquid the cake is very tender, actually surprisingly so.  I’m thinking its the almond flour.  Costco has a nice, reasonably priced almond flour.  Whole Foods has Bob’s Red Mill, nice, not so reasonably priced.  Don’t confuse it with almond meal which is not ground fine enough.

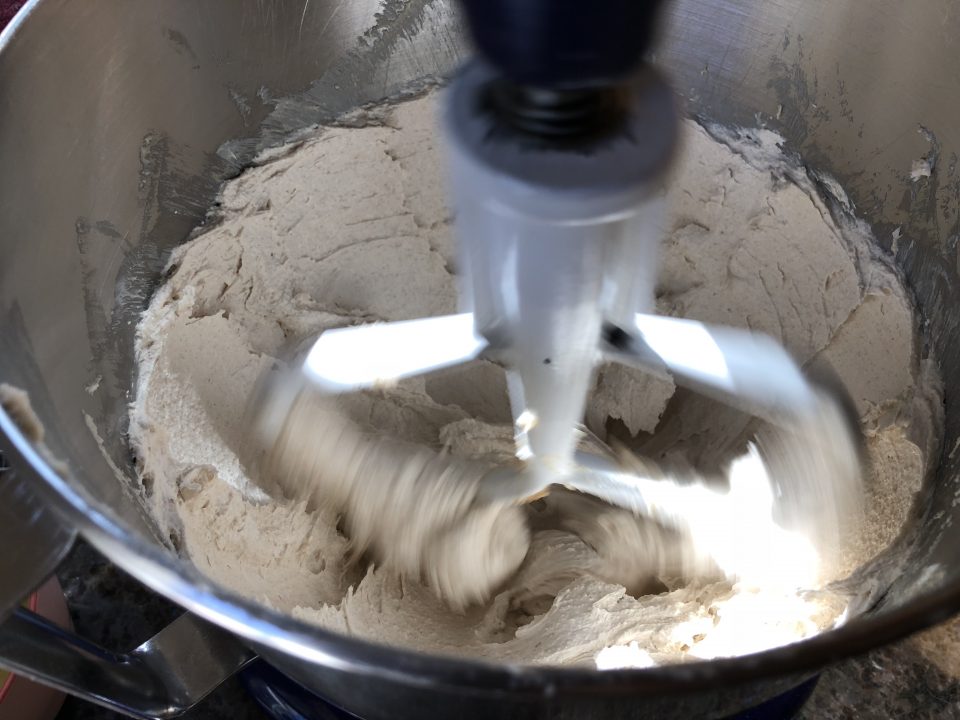
Another key to this recipe, beating the butter until it is nice and fluffy.  This aerates the batter adding to its tenderness.  I was surprised at how difficult it was to incorporate the flour mixture into the batter.  I dumped all of it in at once.  Next time I might try dividing the flour mixture and mixing it in a portion at a time.  The almond flour is a bit heavier than reg flour so use the fold method, like folding egg whites into a batter.  Don’t overdo it. The book has a teeny eeny mistake, it lists 2 cups of blueberries in the ingredients but calls for only 1-1/2 cups in the directions.  Just use 1-1/2 cups of berries, that’s plenty. If you are a blueberry-holic, toss the remaining 1/2 cup berries on top of the batter before sprinkling the sugar on top.

The cake does not rise significantly.  I baked it in a springform, but you could use a tart pan.  But in all honesty, I didn’t want to chance it…too many overflow experiences have caused me to be rather cautious.  I also tried a Honey Yogurt Pound Cake with Raspberries-yummy-ga-nummies. TBP (To be posted) soon.

So, get thee to the Farmer’s Market or grocers, buy some berries and bake this cake.  You’re welcome.  This book is not just a dessert book and judging by the posts on the Food52 page, I’ll be diving into the savory recipes soon.  I’ll get back to you when I do.

By the way, there is a Food52 Baking Club too, if you’re wondering…

Blueberry Cake with Almond and Cinnamon

Blueberry Cake with Almond and Cinnamon

Ingredients

  • Nonstick spray for the pan
  • 1 cup almond flour
  • ¾ cup all-purpose flour
  • 1 tsp baking powder
  • tsp ground cinnamon
  • ¾ tsp kosher salt
  • ¾ cup 1½ sticks unsalted butter, at room temperature
  • ½ cup light brown sugar
  • ¼ cup plus 3 tbsp granulated sugar
  • 2 large eggs
  • 1 tsp vanilla extract
  • 1 ½ cups blueberries

Instructions

  • Preheat the oven to 375°F. Spray a 9-inch fluted tart pan or round cake pan with nonstick spray.
  • Whisk together the almond flour, all-purpose flour, baking powder, cinnamon, and salt in a medium bowl.
  • Using an electric mixer, in a medium bowl, beat the butter, brown sugar, and ¼ cup of the granulated sugar together on medium-high speed until the mixture is super light and fluffy, 3 to 4 minutes.
  • Scrape down the sides of the bowl and with the mixer on medium, add the eggs one at a time, beating until each one is incorporated, followed by the vanilla. Increase the speed to medium-high and beat until the mixture is pale and nearly doubled in volume, 4 to 5 minutes. Fold in the almond mixture until no dry spots remain. Gently add 1½ cups of the blueberries by hand, making sure you don’t totally smush them.
  • Transfer the batter to the prepared tart pan and, using a spatula or the back of a spoon, smooth the top. Sprinkle the remaining 3 tablespoons granulated sugar on top and bake until the cake is deeply golden brown and pulls away from the edges slightly, 30 to 35 minutes. It should start to crackle a bit on top (what you’re looking for).
  • Remove from the oven and let cool completely before slicing.

Notes

The cake can be baked 4 days ahead, wrapped tightly in plastic wrap, and stored at room temperature.
Bananas for Clementine Bakery’s Banana Cake

Bananas for Clementine Bakery’s Banana Cake

I am always on the look-out for recipes that use those over-ripe bananas frequently found on my countertop. I already have an amazing banana bread recipe so what I have been on the prowl for is a banana cake recipe.  There are those occasions when you need to step it up a notch.  When only cake will do, especially cake with a creamy luscious frosting or a rich decadent icing.  Well, I have stumbled across a recipe that fits the bill.

Oh My Darling, Clementine, Love Your Banana Cake

I found it by way of a recent post on Ipso Fatto (love this blog) for a banana cake she made from Sally’s Baking Addiction. Touted as “The Best Banana Cake I’ve Ever Had”, we just had to try it. It was good but “The Best Ever?” Hmmm. It seemed a little too dense for me.  I’ll admit it was a big hit with the “fam”, but I think Jamie’s tweak, a layer of chocolate ganache in the middle, had a-lot to do with that.  At the end of Ipso Fatto’s post was a link to an archived recipe, Clementine Bakery’s Banana Cake (originally posted in the LA Times). I made a mental note, next bunch of over-ripe bananas I was going to try it.  I did, and I LOVE this cake.

Banana Cake with Cream Cheese Frosting

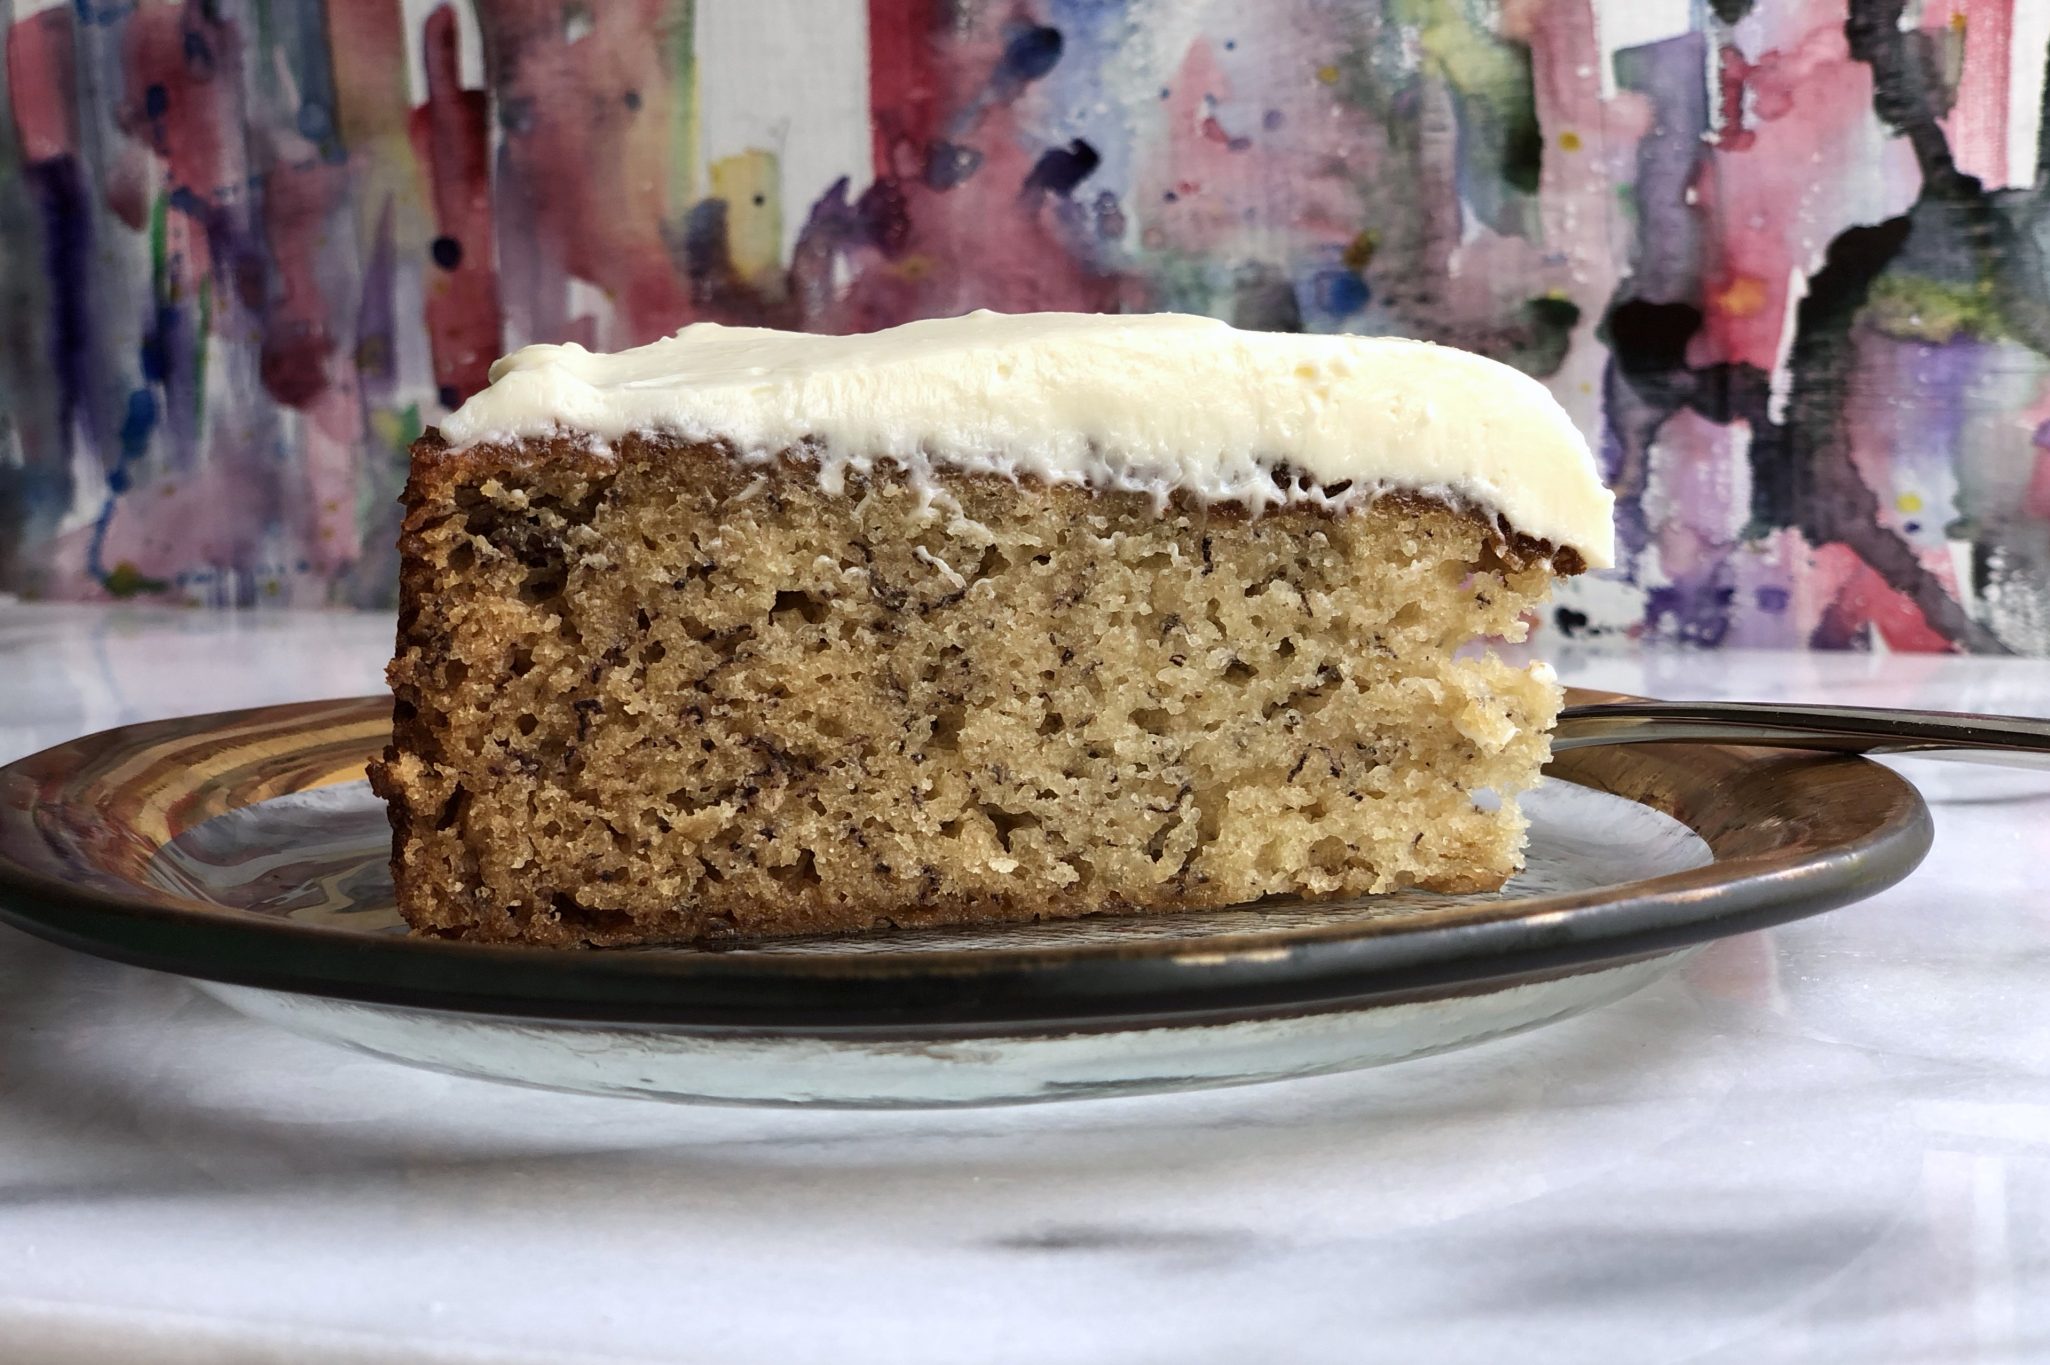
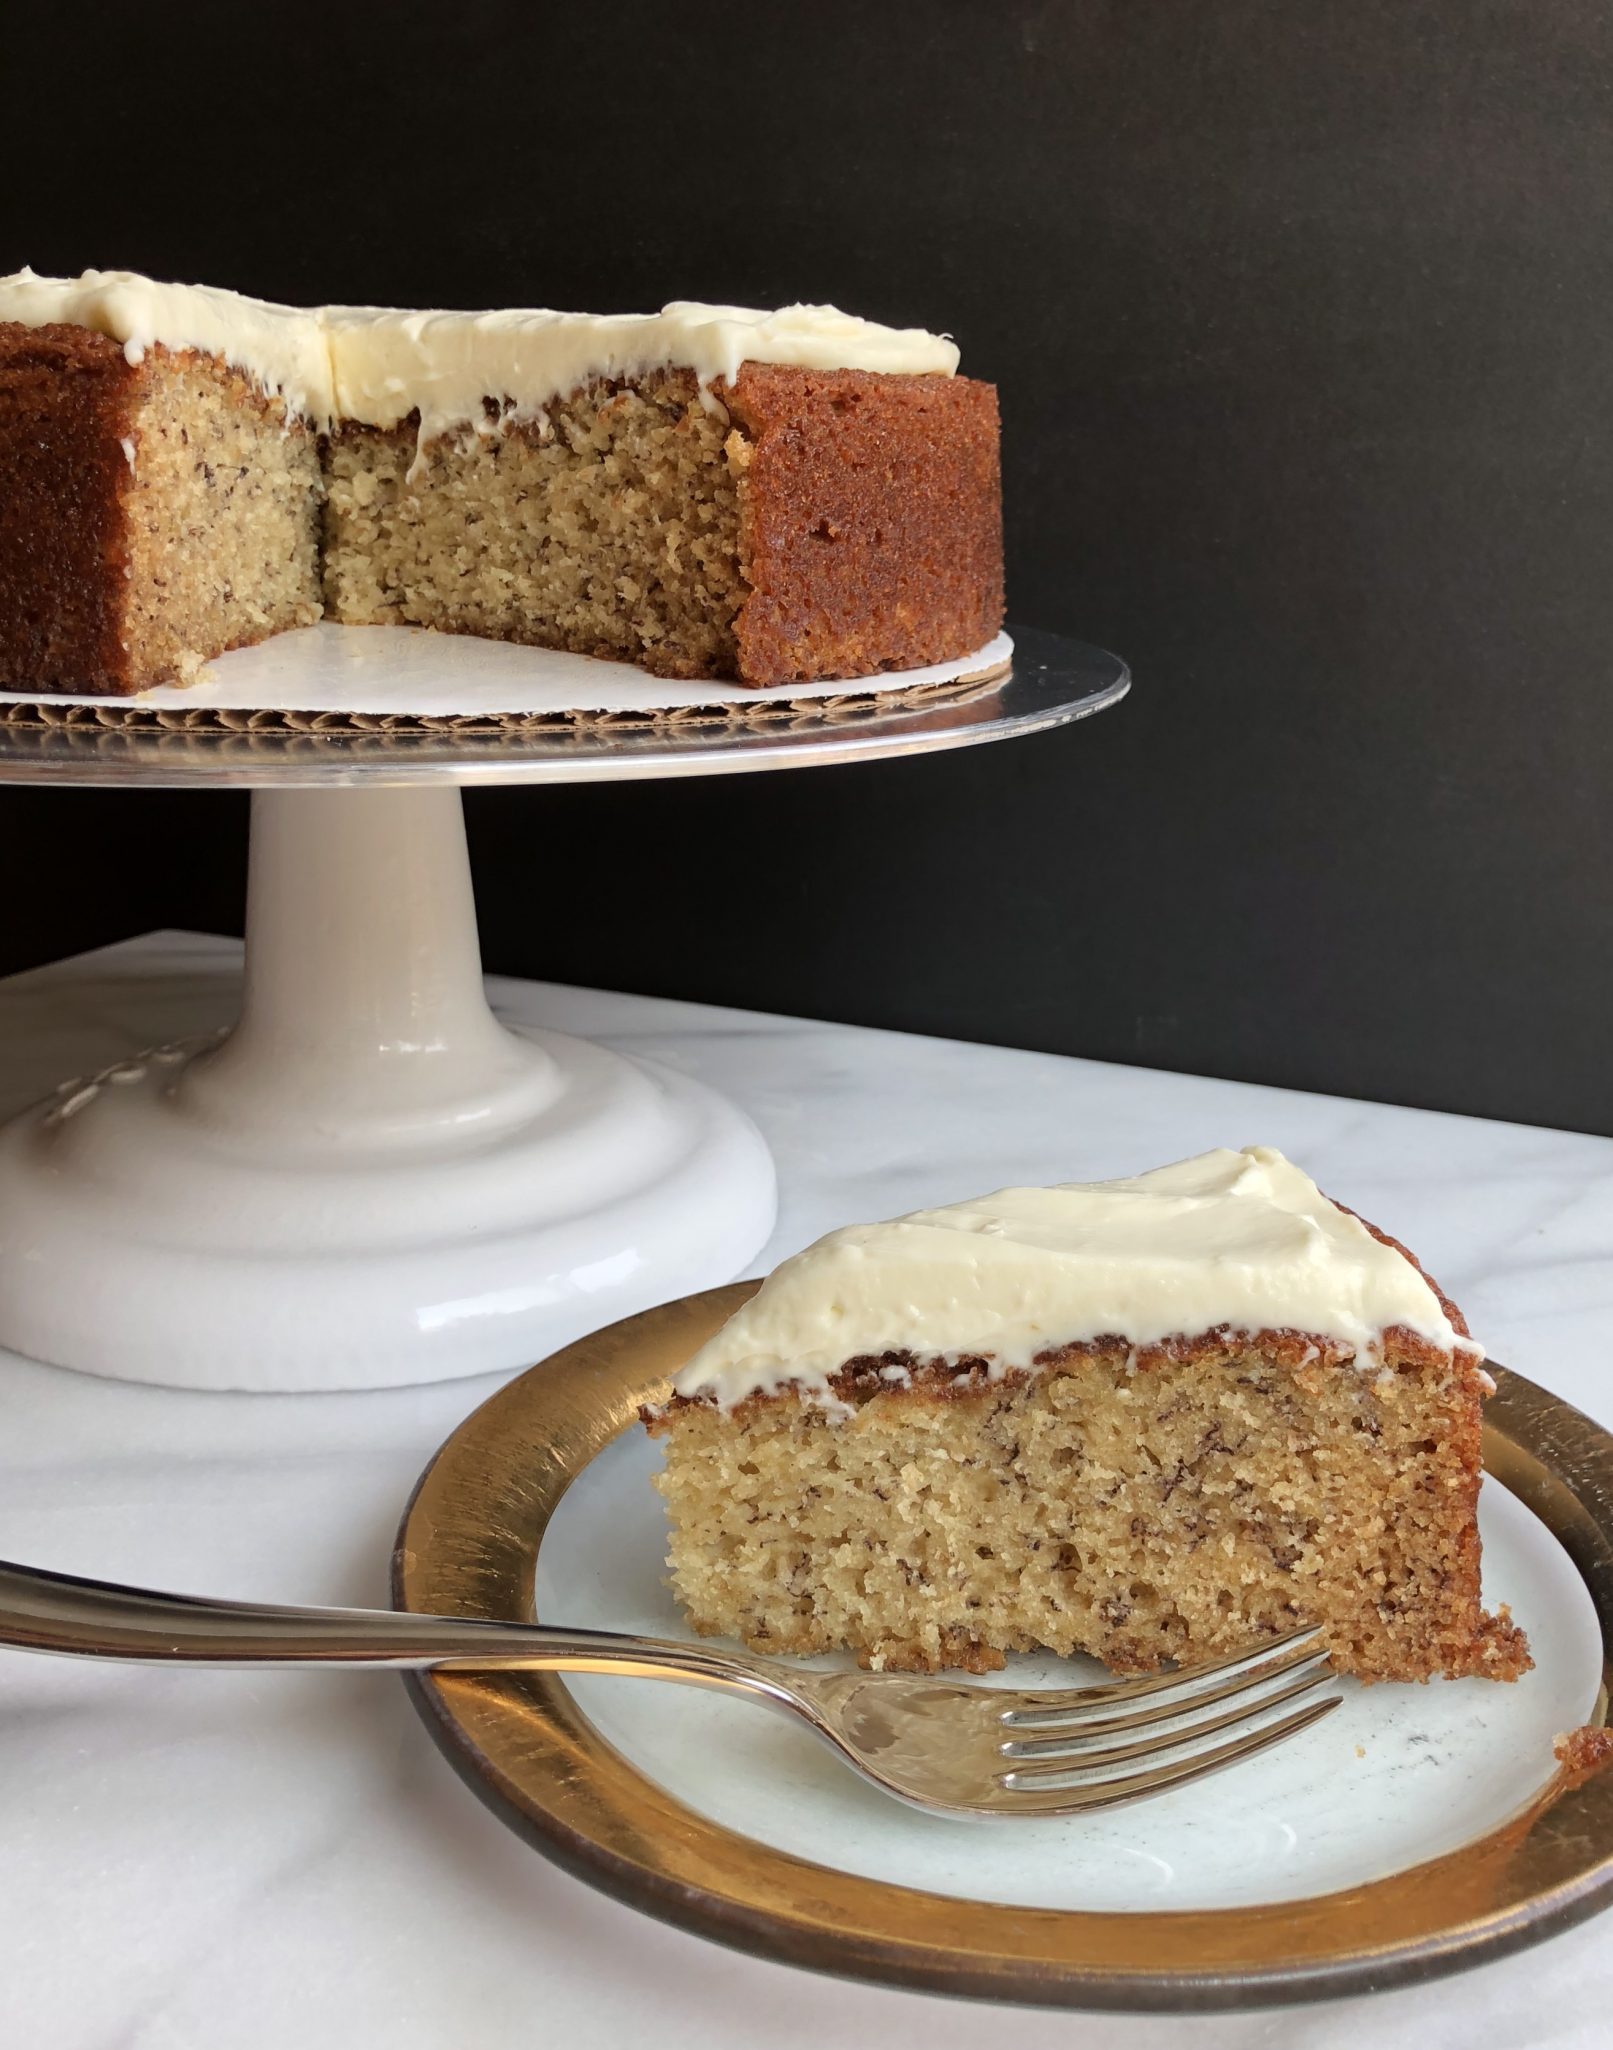
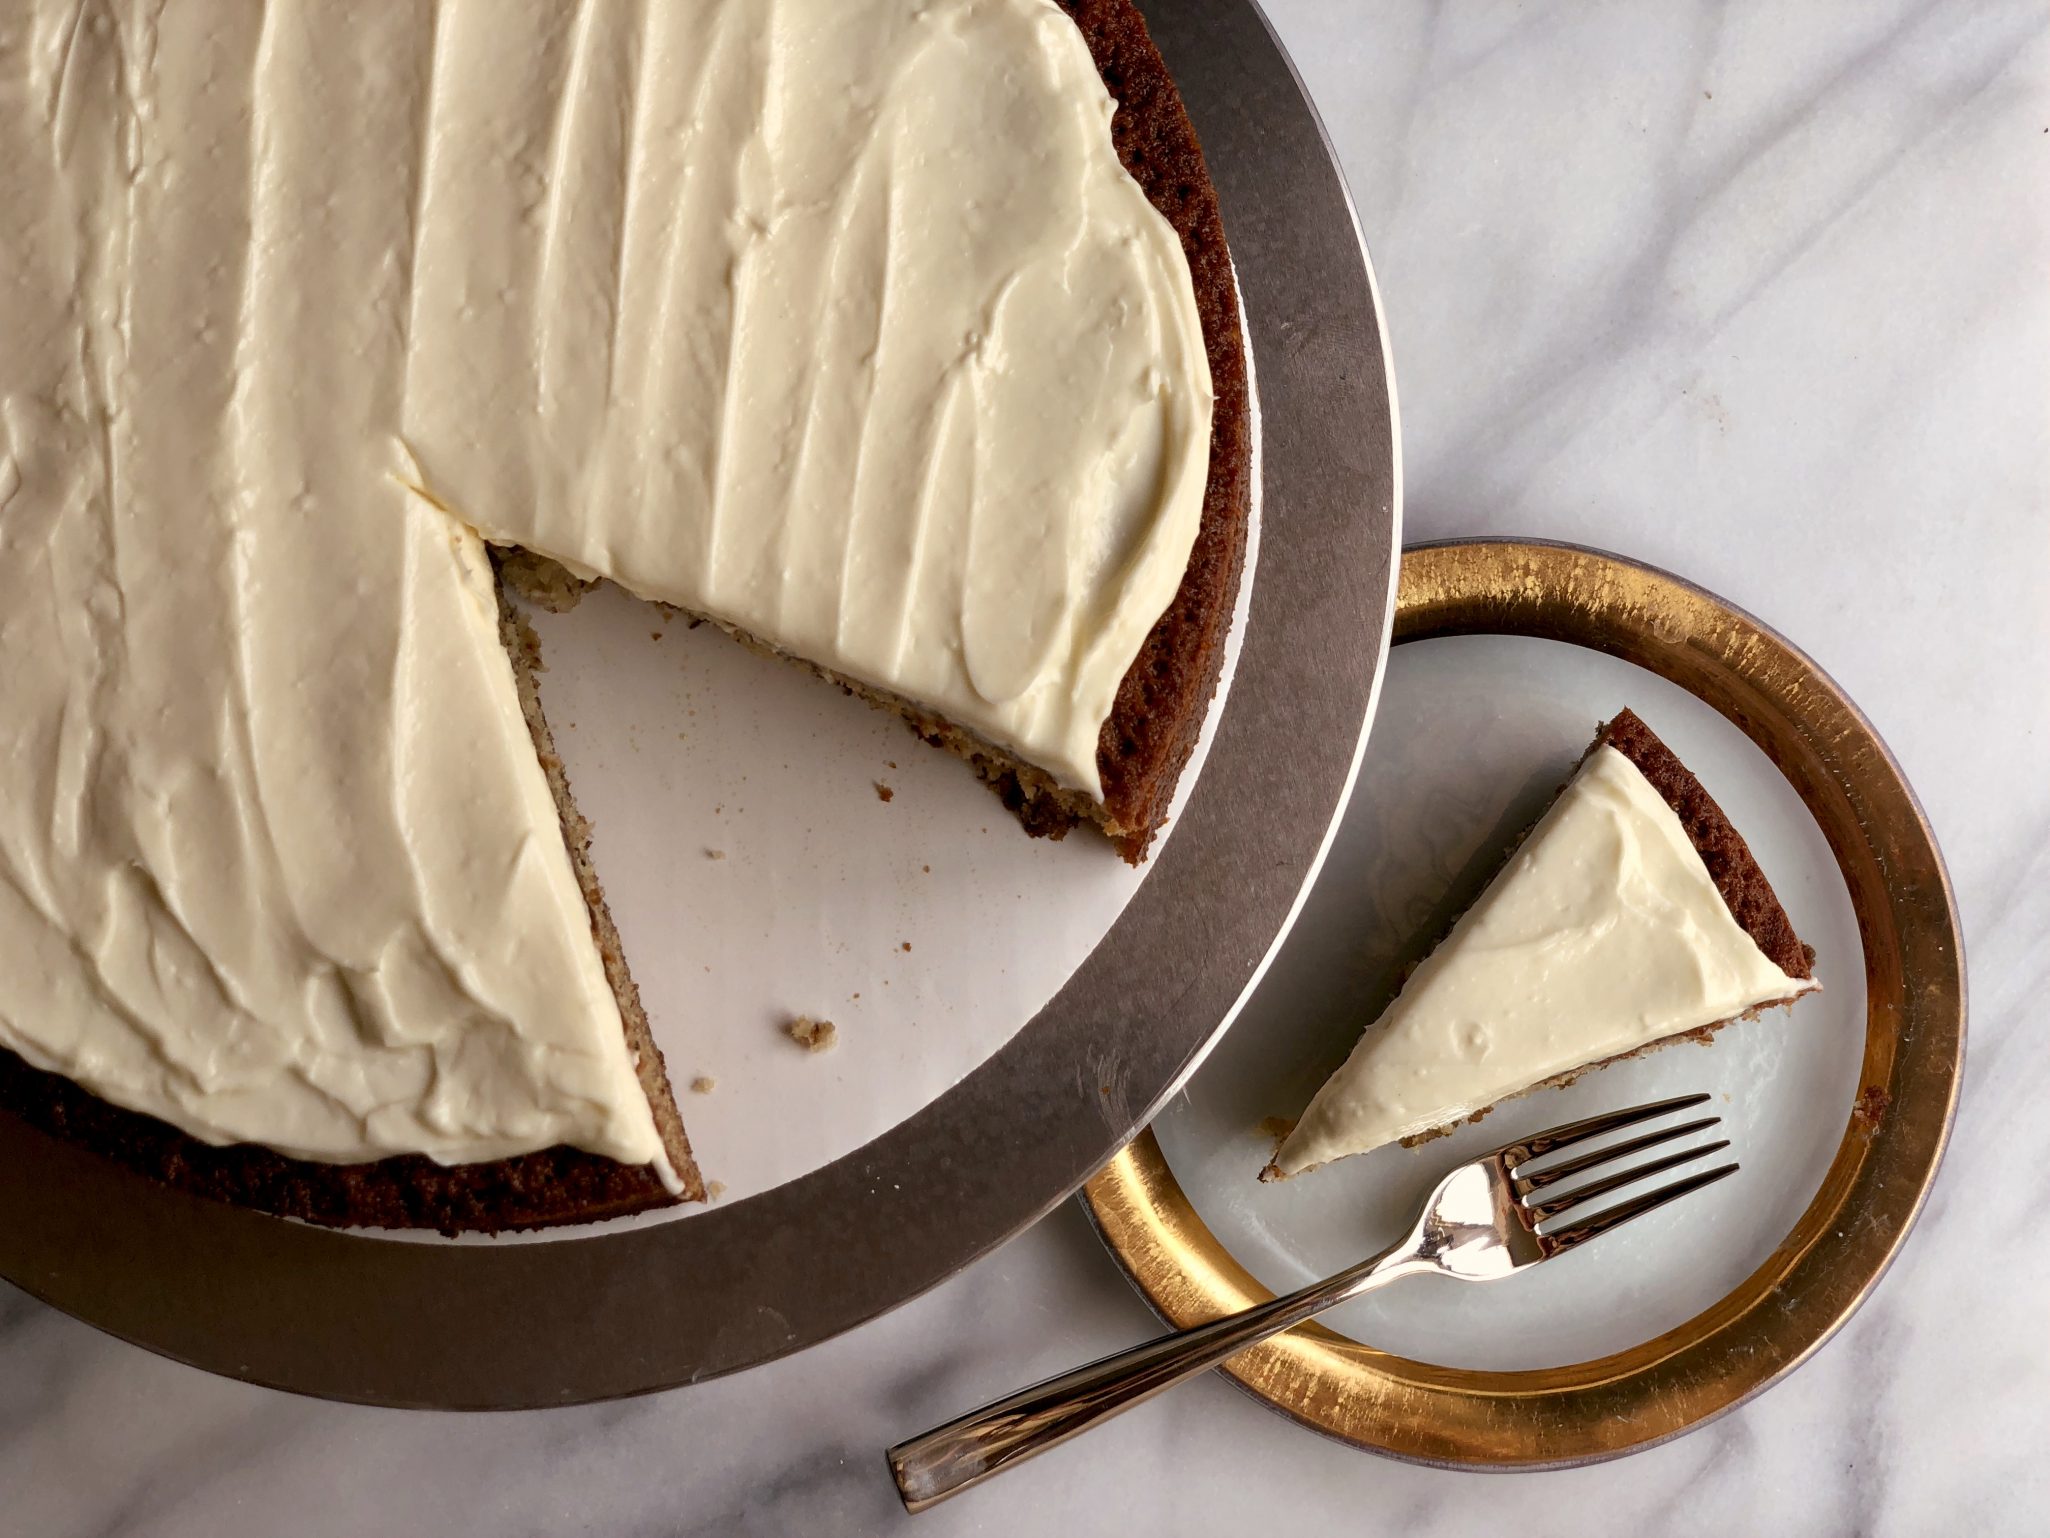
It’s really moist and tender with a very nice crumb.  The addition of buttermilk gives it a slight tang that goes well with the sweetness of the bananas.  It’s topped with a cream cheese frosting that is not too sweet and finished with a bit of sour cream that loosens the frosting making it even creamier. It’s decadent and lovely.

Pastry flour gives the cake its tender bite.  In place of the pastry flour, I used White Lily Flour which has a similar protein content and is milled from soft red winter wheat.  Every trip to Tennessee I return home with bags of White Lily Flour just to make biscuits and it worked perfectly in this cake.  Bob’s Red Mill and King Arthur Flour carry pastry flour which you can find online or at most supermarkets.

To say the bananas I used were over-ripe would be an understatement, they released a ton of liquid. Next time I would drain the liquid, reduce it by half and then add it back to the batter. This will hopefully thicken the batter and concentrate the flavor. If your bananas are super-duper ripe I would definitely reduce the liquid.

The cake can be baked in a 9×13 pan or a 10 inch round cake pan.  I used a 10-inch pan which required a couple of extra minutes.  I had enough batter left to make a couple of cheater’s cupcakes (no one will know you have already had cake) that took about 20-22 minutes to bake.  The center of the cake seems to brown quicker than the rest of the cake.  If this happens, when the cake is set, place a piece of parchment over the center to prevent the cake from getting too brown.

The cream cheese frosting is made with butter, cream cheese, powdered sugar and sour cream.  I added a dash of salt and a 1/2 teaspoon of vanilla to round out the flavor.  The Wednesday Chef also featured this cake with a twist on the frosting. She reduced the sugar and replaced the sour cream with creme fraiche, double decadence. I personally like the “sweet level” of the original recipe but creme fraiche, I’d give that a “swirl”.

Another variation would be a chocolate ganache frosting or chocolate icing like the one from Silver Palate in place of the cream cheese frosting.

So, the next time you have overripe bananas try this cake. It is simply delicious. Clementine Bakery’s cake is exactly what I was looking for in a banana cake; it’s a winner.

Tip Alert: Can’t wait for those bananas to get to that lovely over-ripe state? I found this post on how to ripen bananas quickly from Spoon University, Just in case you want to make this cake NOW. You’re welcome.  Update:  A method I just used that worked beautifully, place unpeeled banana on parchment or a silicon mat in a 300-degree oven for 10-15 minutes.  Boom-manufactured overripe bananas-you’re welcome, again.

Print Pin
5 from 1 vote

Banana Cake

Course Dessert
Cuisine American
Keyword banana cake
Prep Time 30 minutes
Cook Time 45 minutes
Total Time 1 hour 15 minutes
Servings 12 servings

Ingredients

Banana Cake

  • 2 2/3 cups pastry flour
  • 2 2/3 cups sugar
  • 3/4 teaspoon baking powder
  • 1 1/2 teaspoons baking soda
  • 1 teaspoon kosher salt
  • 3 large or 4 small very ripe bananas
  • 3 eggs
  • 1/2 cup buttermilk
  • 3/4 cup canola oil
  • 1 1/2 teaspoons vanilla extract

Cream Cheese Frosting

  • 1 cup plus 1 1/2 tablespoons cream cheese at room temperature
  • 5 tablespoons butter room temperature
  • 1/2 cup powdered sugar
  • 2 tablespoons sour cream

Instructions

  • Heat the oven to 350 degrees. Into a large bowl sift together the flour, sugar, baking powder, baking soda and salt.
  • In the bowl of a stand mixer, or in a large bowl with a hand mixer, mash the bananas. Mix in the eggs, one at a time, until each is completely incorporated, then mix in the buttermilk, oil and vanilla. Finally, mix the dry ingredients into the batter just until thoroughly combined.
  • Pour into a 9-by-13-inch greased pan. Bake for 35 to 40 minutes, until golden-brown on top, a toothpick inserted comes out clean and the cake springs back when lightly touched. Cool on a rack.

Frosting

  • In the bowl of a stand mixer, or in a medium bowl with a hand mixer, beat the cream cheese until smooth and there are no lumps. Add the butter and whip until incorporated, then add the powdered sugar and the sour cream. Frost the top of the cooled cake, then slice and serve.

Notes

From Clementine Bakery in Los Angeles. Pastry flour is available at baking and cooking supply stores. Each serving: 580 calories; 7 grams protein; 79 grams carbohydrates; 4 grams fiber; 29 grams fat; 9 grams saturated fat; 90 mg. cholesterol; 375 mg. sodium.
Marie-Helene’s Apple Cake (An Apple A Day, Have It In Cake)

Marie-Helene’s Apple Cake (An Apple A Day, Have It In Cake)

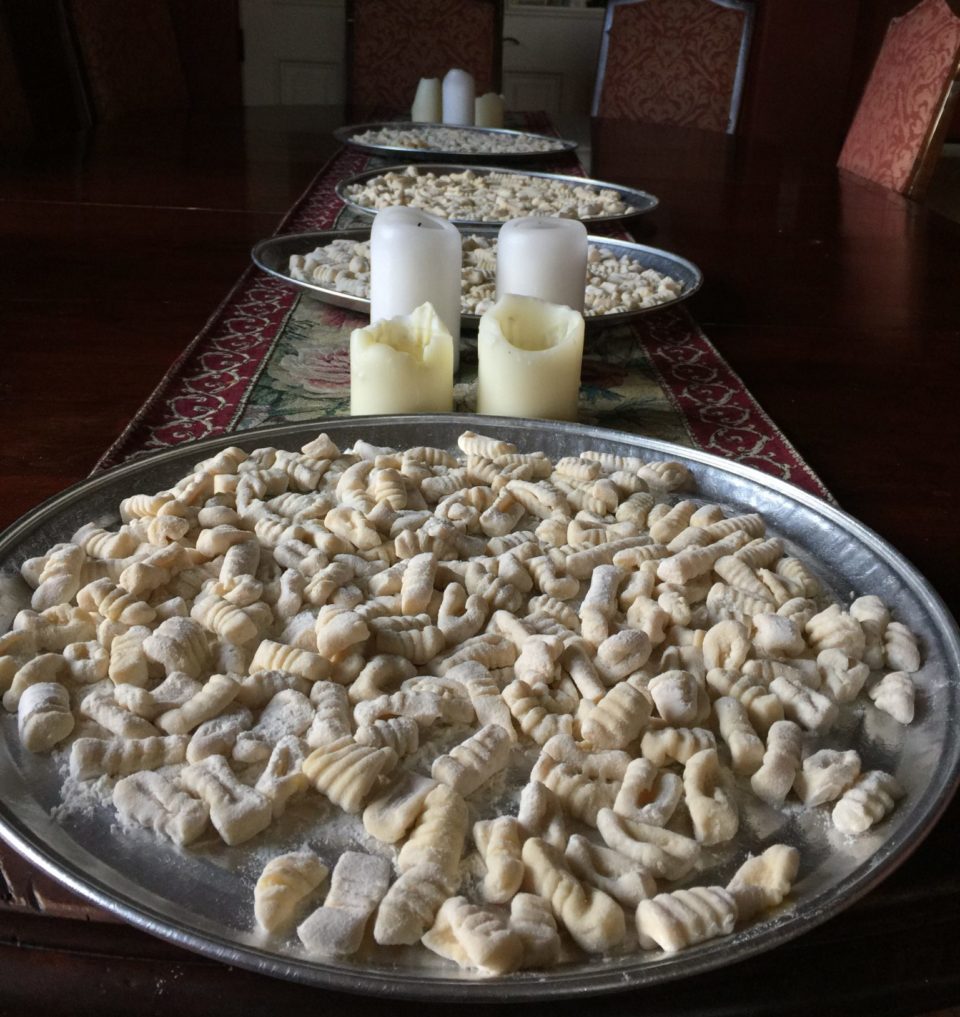
I have been eyeing Dorie Greenspan’s recipe for Marie-Helene’s Apple Cake for awhile and finally found the perfect occasion.  A New Year’s Eve gnocchi party hosted by friends Pam and Paul.  I could hardly show up empty-handed when they were going to teach me how to make gnocchi.  I love gnocchi, feathery light pillows of pasta dough, a dish I have only when dining out.  That was about to change.  Yes, HOMEMADE gnocchi, so excited. If I bring dessert maybe I’ll get to take some home!

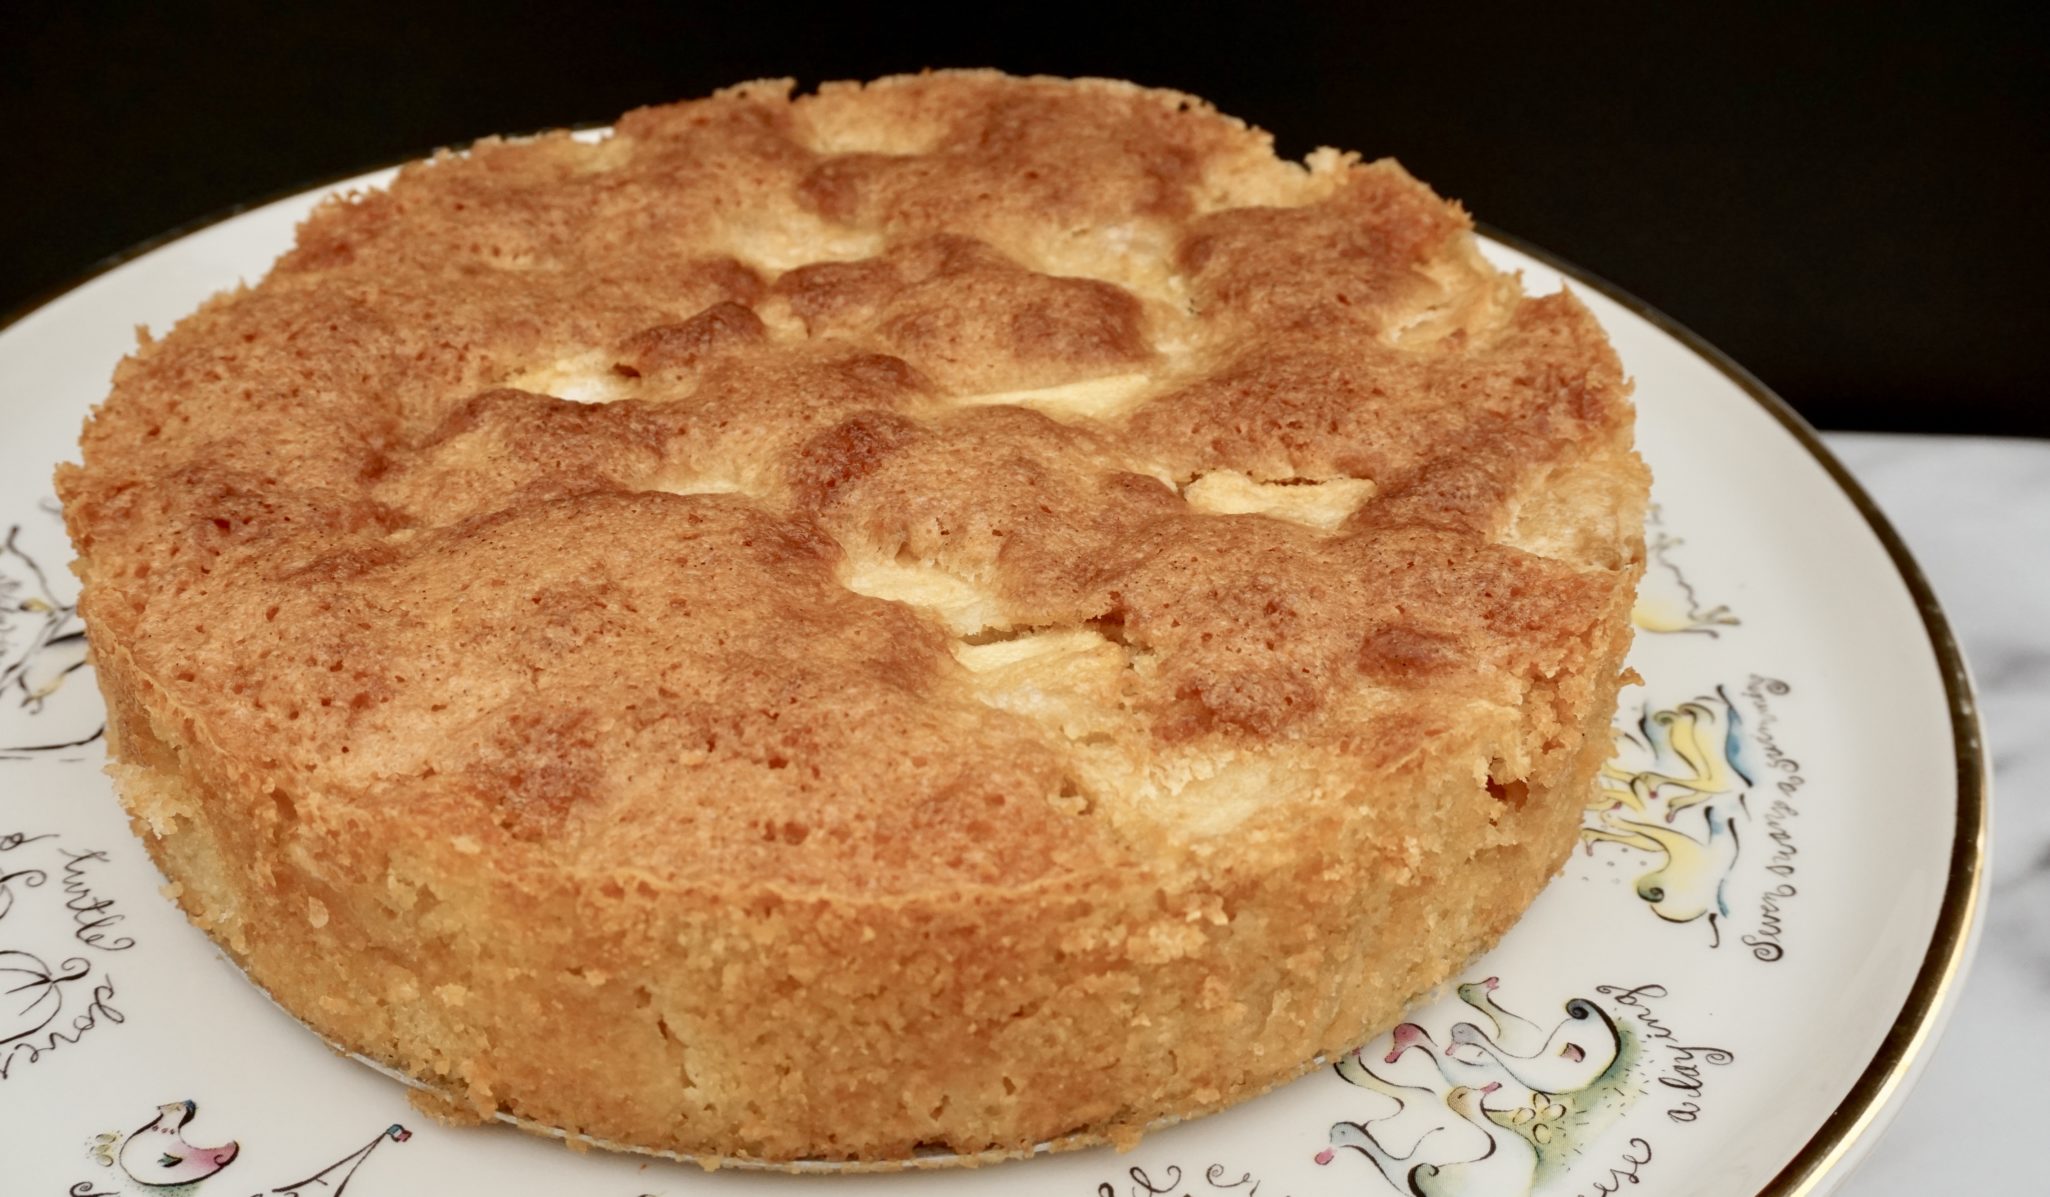
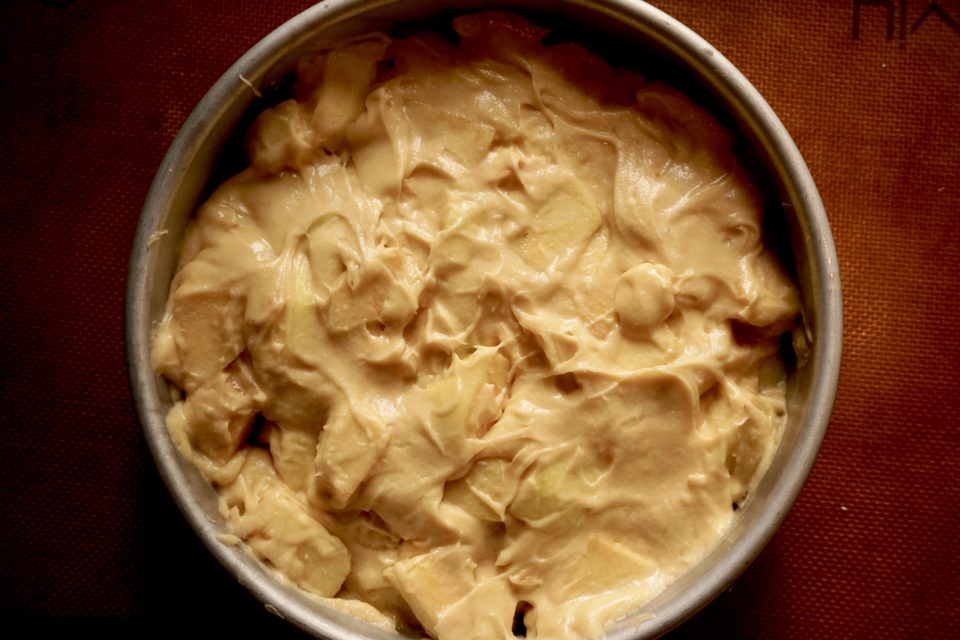
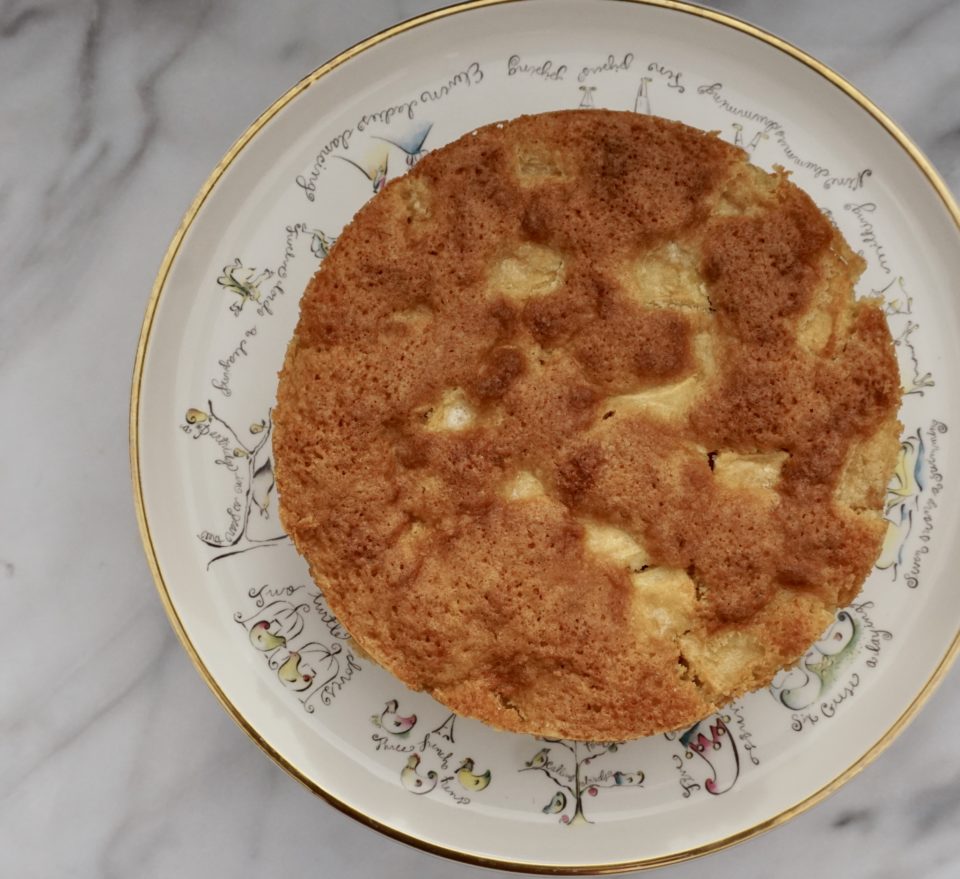
This apple cake is homey, reminiscent of a rustic country dessert, the perfect ending to our gnocchi dinner.  The cake comes together quickly. Dorie suggests using a variety of apples for flavor and texture.  I used a combination of Fuji, Mutsu, Jonagold and Golden Delicious. The batter made of butter, flour, eggs and flavored with vanilla and rum serves to bind the apples together. The apples are the star and definitely shine in this cake.

The cake can be served warm or at room temperature.  Served with whipped cream or ice cream, so delicious.

Yep, scored gnocchi to take home!  Thanks Dorie!

Marie-Helene’s Apple Cake (An Apple A Day, Have It In Cake)

An easy, delicious apple cake to take advantage of apple season
Course Cake, desserts
Cuisine European
Keyword apple, Apple Cake, MArie-Helene's Apple cake
Prep Time 20 minutes
Cook Time 1 hour

Ingredients

The Main Attraction-Cut and cubed in 1-2 inch pieces

  • 4 large apples if you can, choose a variety

Dry Stuff-Combined in a small bowl

  • 3/4 cup all-purpose flour
  • 3/4 teaspoon baking powder
  • Pinch of salt

The Wet Stuff

  • 2 large eggs
  • 3/4 cup sugar
  • 3 tablespoons dark rum
  • 1/2 teaspoon pure vanilla extract
  • 8 tablespoons 1 stick unsalted butter, melted and cooled

Instructions

  • Center a rack in the oven and preheat the oven to 350 degrees F. Generously butter an 8-inch springform pan and put it on a baking sheet lined with a silicone baking mat or parchment paper.
  • Whisk the flour, baking powder, and salt together in small bowl.
  • Peel the apples, cut them in half and remove the cores. Cut the apples into 1- to 2-inch chunks.
  • In a medium bowl, beat the eggs with a whisk until they're foamy. Pour in the sugar and whisk for a minute or so to blend. Whisk in the rum and vanilla. Whisk in half the flour and when it is incorporated, add half the melted butter, followed by the rest of the flour and the remaining butter, mixing gently after each addition so that you have a smooth, rather thick batter. Switch to a rubber spatula and fold in the apples, turning the fruit so that it's coated with batter. Scrape the mix into the pan and poke it around a little with the spatula so that it's evenish.
  • Slide the pan into the oven and bake for 50 to 60 minutes, or until the top of the cake is golden brown and a knife inserted deep into the center comes out clean; the cake may pull away from the sides of the pan. Transfer to a cooling rack and let rest for 5 minutes.
  • Carefully run a blunt knife around the edges of the cake and remove the sides of the springform pan. (Open the springform slowly, and before it's fully opened, make sure there aren't any apples stuck to it.) Allow the cake to cool until it is just slightly warm or at room temperature.
  • The cake can be served warm or at room temperature, with or without a little softly whipped, barely sweetened heavy cream or a spoonful of ice cream.
Gnocchi!