
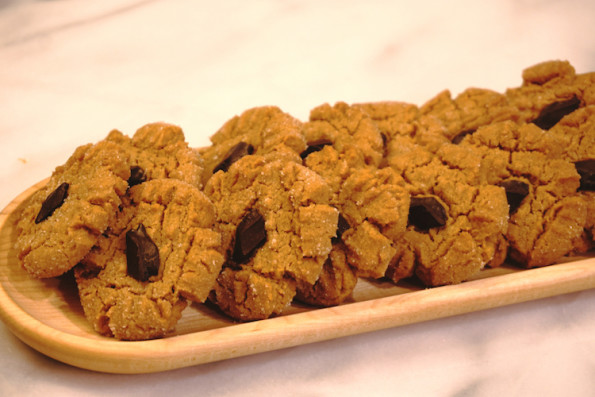
Are you ready to start baking for the holidays? I tried two new cookie recipes yesterday to take to our annual holiday cookie swap, and…
My cooking gadget addiction strikes without warning. Standing in Michaels one day, supposedly JUST browsing with NO intention of buying anything when BAM! I became…

Hard to believe the holidays are just around the corner! Unfortunately, I am not a brick and mortar shopper, thank goodness for online shopping. I’m…
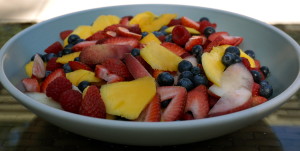
I love alfresco dining, and today was the perfect day to enjoy breakfast outside. Banana blueberry pancakes made by my daughter, crispy bacon, a big…