
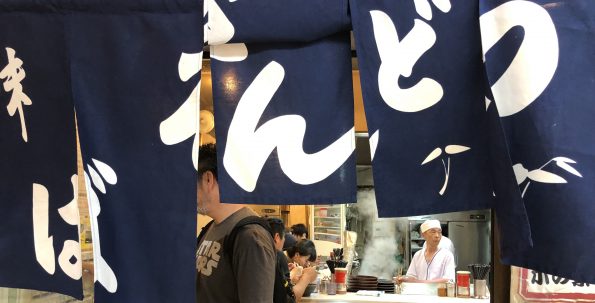
Hang on to your hats, imagine Times Square, with all its neon signs and flashing lights dedicated solely to FOOD. Yep, that’s the only way…
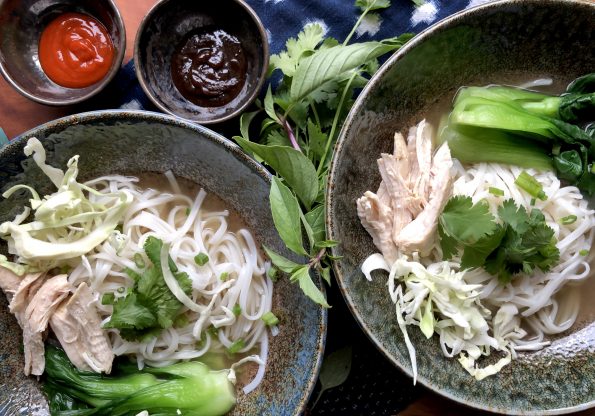
Last week I posted a teaser on Instagram and FB of a really quick version of Pho Ga, Vietnamese chicken rice noodle soup. “In less…
I found a recipe in the Los Angeles Times for a quick delicious Vietnamese Chicken Noodle Soup, Pho Ga. The author, Andrea Ngyuen also tacked…
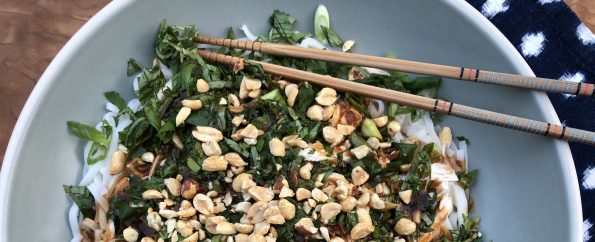
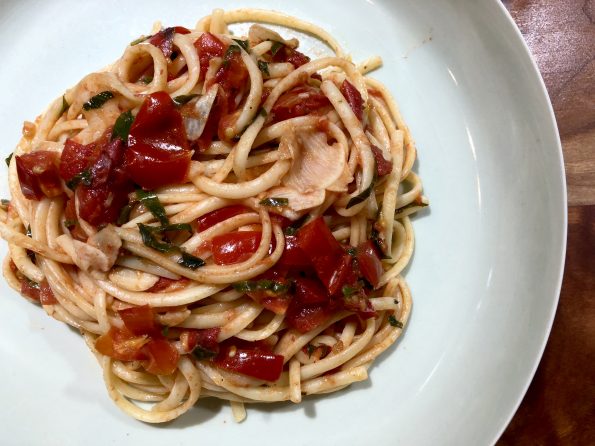
Another cold and rainy day in normally sunny California. To combat the soggy blues I pulled out my favorite therapy tools. A pot, a bowl,…
Sometimes other events dominate your life for a bit…but I’m back! After weeks of knocking on doors to get out the vote, I was ready…
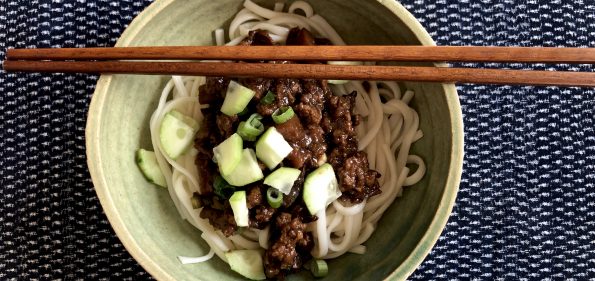
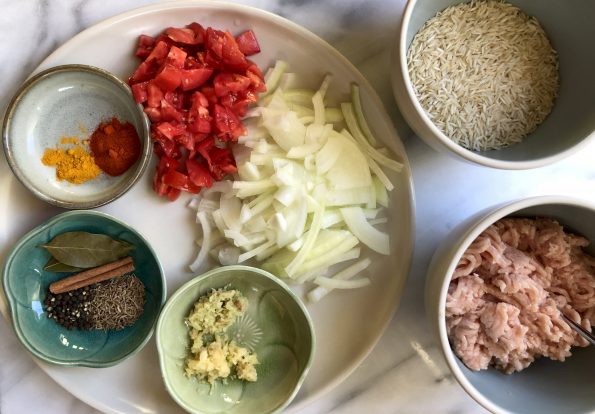
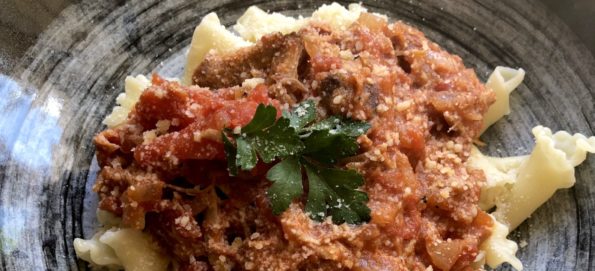
This is going to be a short post. I wanted to make sure I posted while all of you are harvesting your bushels of homegrown…
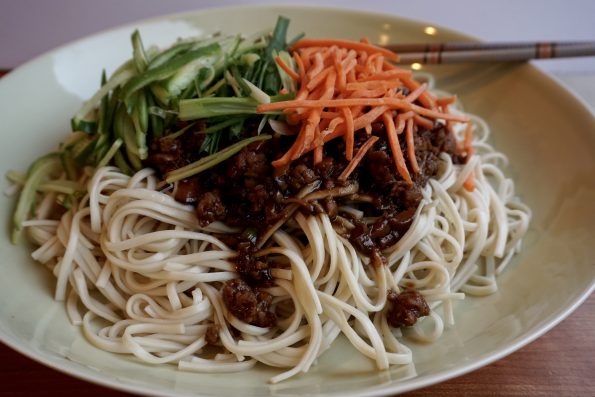
When I lived in Los Angeles my favorite place to eat was a tiny dumpling shop in Chinatown. Before entering I would stop and watch…
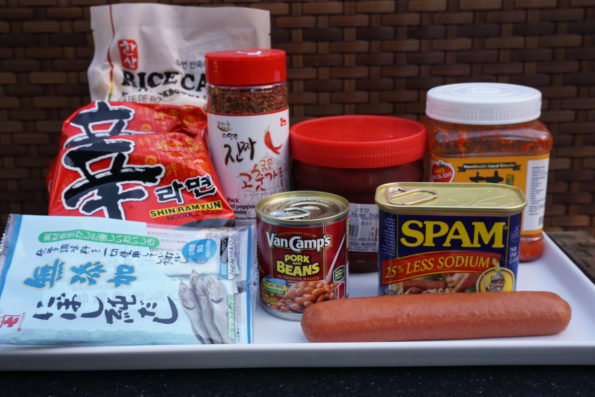
Ok. Are you looking at the pic above and thinking WHAAAT? Hot dogs? Spam? Kimchi? VanCamps BAKED Beans? ARE YOU KIDDING ME? It’s like Mom pulling…
If you are like me, an empty nester still transitioning from cooking for a family of 5 to cooking for 2, you probably still have…