
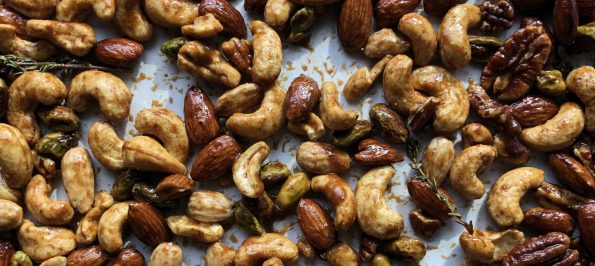
This would not be the first post I have written on nuts. I’m nutty bout’ nuts. What shrimp was to Bubba in Forrest Gump is what…
The other morning I met a friend I hadn’t seen in a while for coffee. Thanksgiving had us talking about the holidays. We caught up…

Maybe it’s a way to stay connected to my kid who is living in South Korea and teaching English. My current obsessions are K-Dramas and…
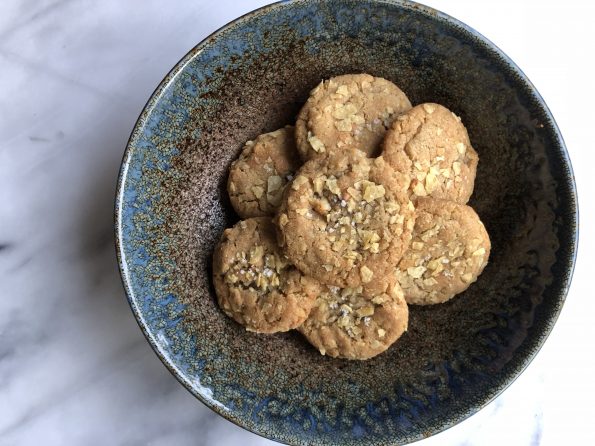
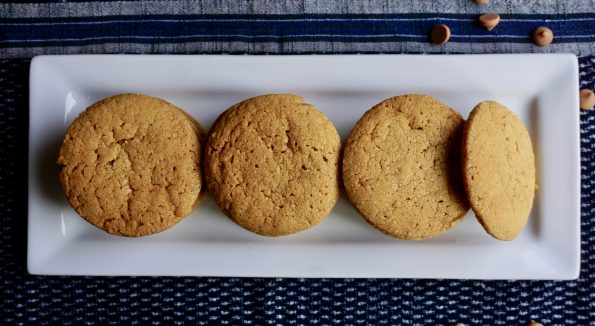
The classic potato chip cookie, updated in The Vintage Baker by Jessie Sheehan. Add butterscotch chips and triple the amount of potato chips, for the…
Sometimes other events dominate your life for a bit…but I’m back! After weeks of knocking on doors to get out the vote, I was ready…
A second recipe from The Perfect Cookie by America’s Test Kitchen caught my eye for a different reason. I had just made a batch of Potato…
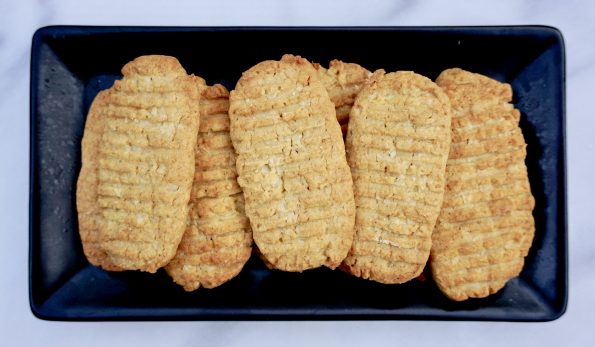
My grandma had a washboard she kept next to the bathtub in a round, white tin basin. For those of you thinking “washboard?”, picture a…
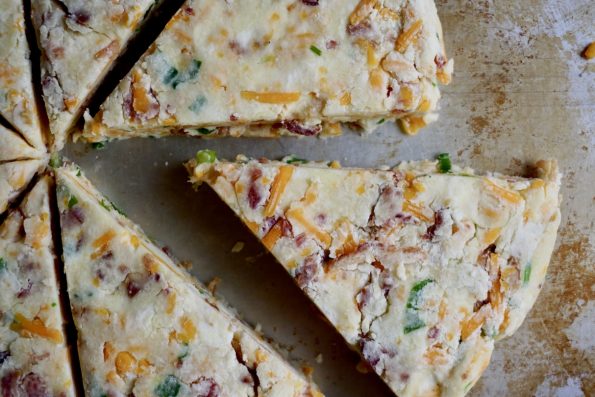
It is not surprising that I love scones. Scones are the British version of biscuits and as you all know, I am obsessed with biscuits. …
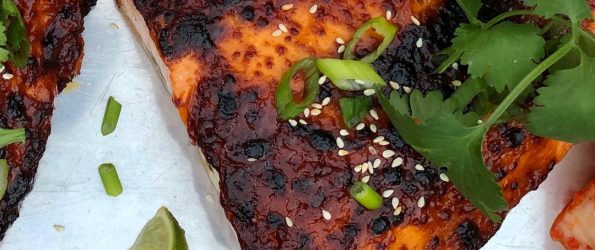
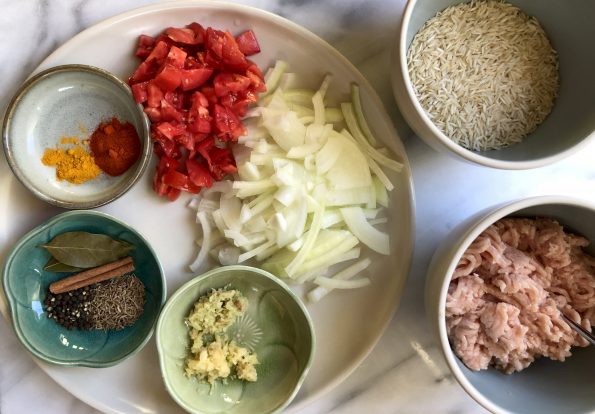
Growing up, most meals included at least one seafood dish. Steamed rock cod with ginger and scallions, flounder with brown bean sauce sitting on a…