

I found the cookie of my dreams at a family wedding a couple of years ago. Strolling around the reception, waiting for the happy couple…
I am the happy owner of Anyday Cookware, a set of bowls designed for the microwave. A podcast junkie, I am hooked on “All Things…
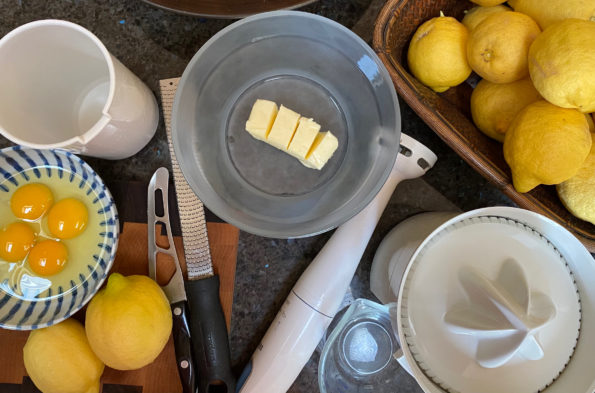
When Tree Gives You Lemons…..Make Lemon Curd! Outside my kitchen window grows one of my few garden successes, a lemon tree. While Meyer Lemon trees…
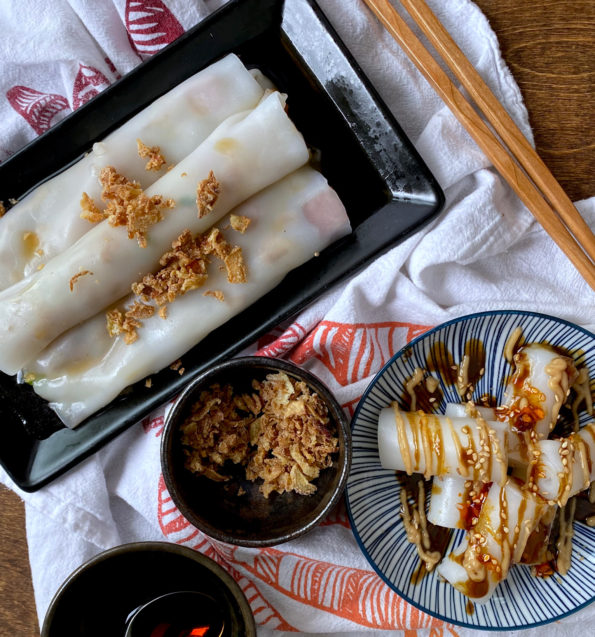
One of our favorite lunch outings is going for Dim Sum or Yum Cha. Dim Sum refers to the dazzling array of bite-size dumplings and…
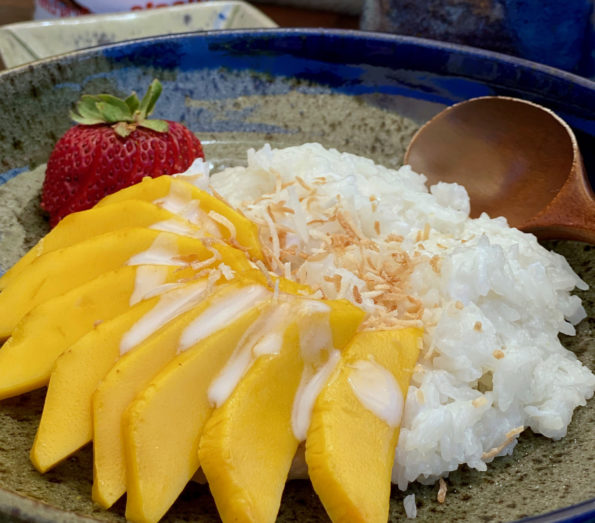
Raise your hand if you have had Mango Sticky Rice. Just trying to gauge in the pantheon of delicious desserts, where Mango Sticky Rice lands. …
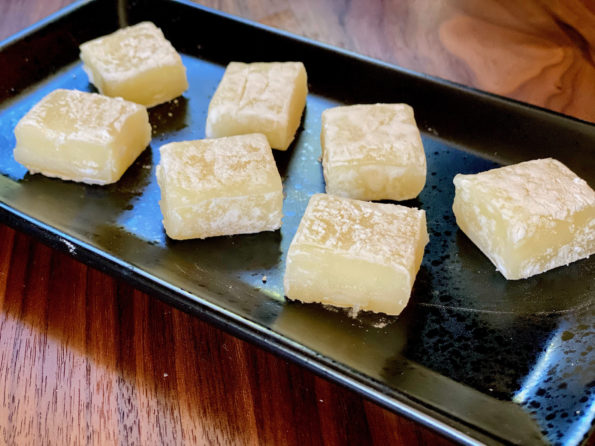
Yes, on the Mochi treat trail once again. Aside from being delicious, Mochi is pretty darn easy to make thanks to Mochiko Sweet Rice Flour. …
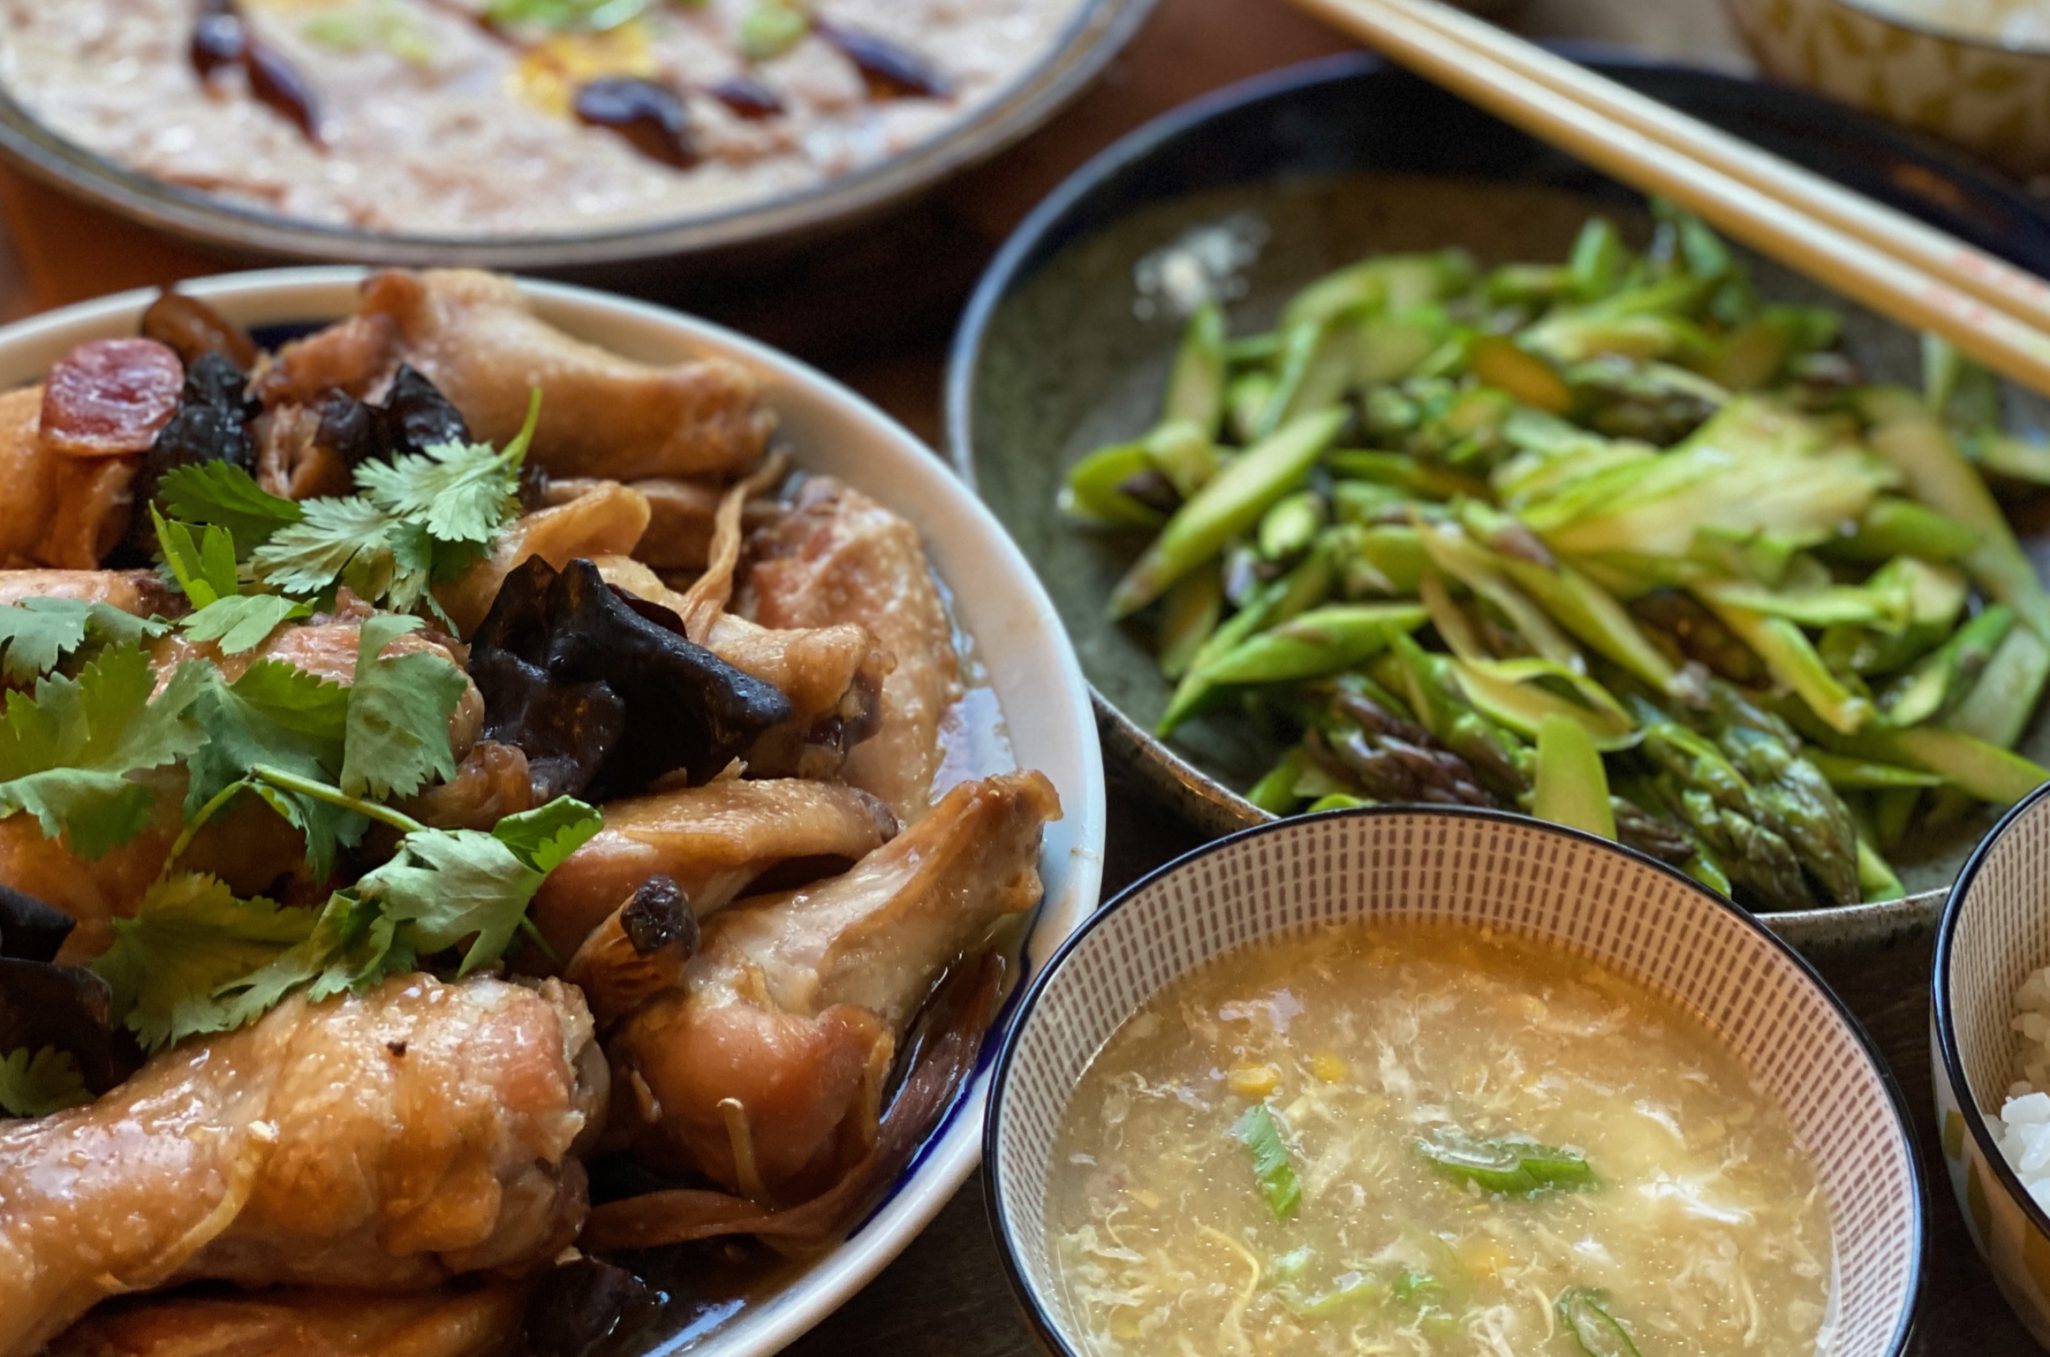
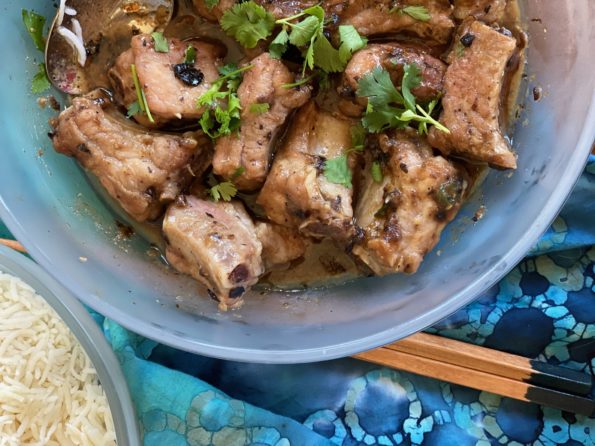
Steamed Chicken with Chinese sausage, Delicious down home dish
There are dishes that with the first bite I am instantly transported back to the dinner table of my childhood. My dad clanging pots and…
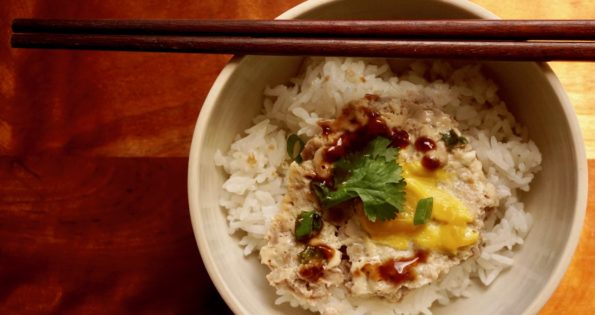
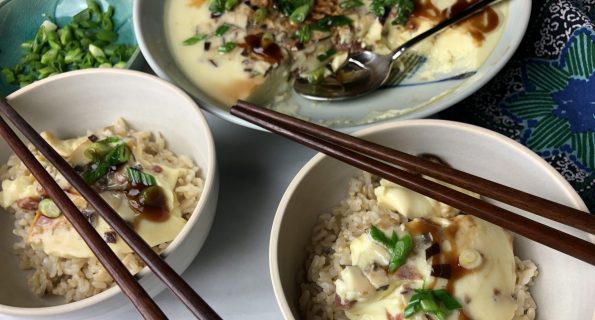
In Asian speak, this is how we say I love you… “Have You Eaten Yet?” When my kids come home I get busy in the…