
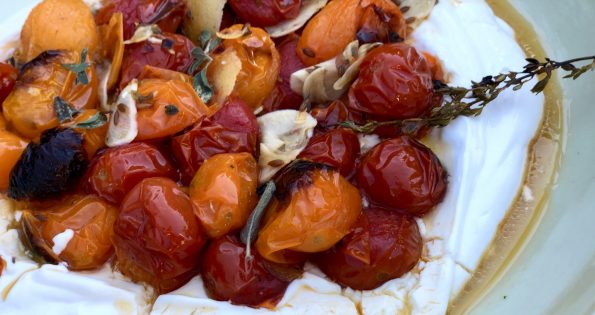
I have a couple of go-to appetizer dips that I use ALOT (a certain Artichoke Dip comes to mind). Every time I make one of…
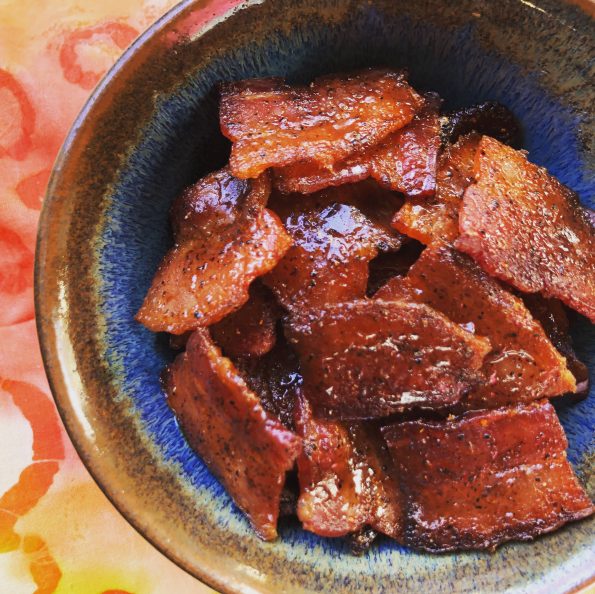
Looking for something sweet and salty to round out a cheese board for a weekday meeting, I thought of the Bloody Mary I had at…
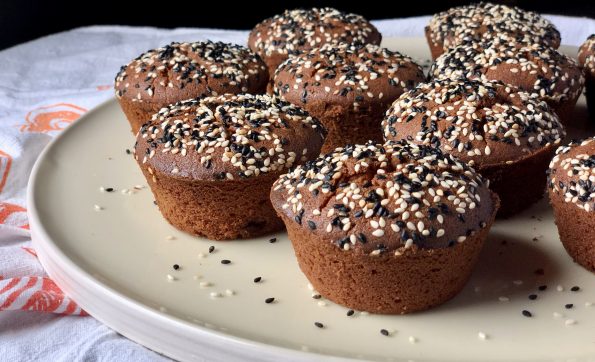
Always searching for new and different treats, I came across an article that spotlighted Third Culture Bakery in Berkeley. The baker is an alum of…
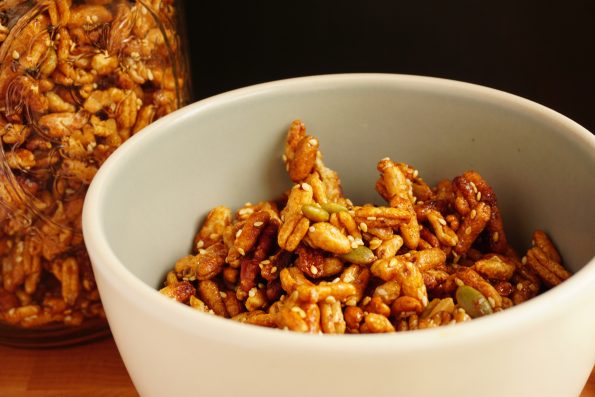
A delightful cereal made with puffed cereal and flavored with cinnamon, Mahaleb and cardamon. Delicious over yogurt or straight out of the jar. A nice…
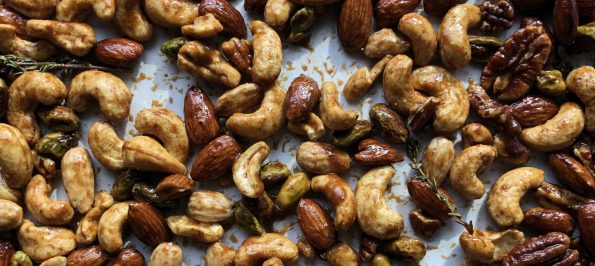
This would not be the first post I have written on nuts. I’m nutty bout’ nuts. What shrimp was to Bubba in Forrest Gump is what…
Right around this time, I catch myself wondering how quickly the year has flown by. Summer was a blip on the screen and now Labor…

Korean bbq comes to mind when summer rolls around and barbecue gets top billing. I love Korean barbecue especially Kalbi and Bulgogi. Kalbi, cross-cut or flanken-style beef…
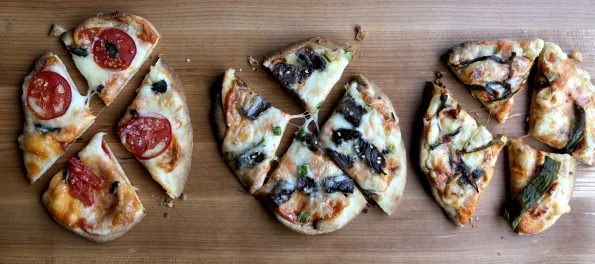
A while back on a visit to The Big Apple, we stopped at Brookfield Place for a quick bite. Near the World Trade Center, The…
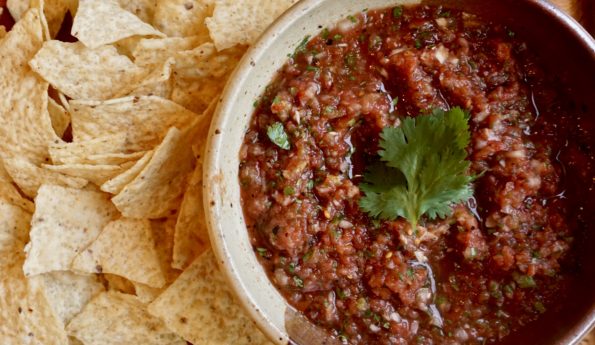
Jamie and I love happy hours so whenever she comes home we usually throw together a couple impromptu gatherings. Drinks and finger foods are part…