Category: Cookies

Bite Size Desserts

Rice Krispy Treats (Double Your Pleasure, Double Your Fun)

Rice Krispy Treats (Double Your Pleasure, Double Your Fun)

Oh Snap

It’s the last day of January and in order to avoid total embarrassment… here is the last cookie to complete my 12 Days of Cookies list. I give you the stupid easy, childhood favorite- Rice Krispy Treats!  Wait, do not roll your eyes and think “lame”. This is not your mama’s, on the side of the Snap, Crackle and Pop box, recipe. This is Rice Krispy Treats with a twist that is not for the faint of heart.

Little Crackle

No, there isn’t booze in these treats.  The recipe comes by way of Smitten Kitchen (love that site).  I had been looking for a way to jazz up this childhood favorite (not just add multi-colored sprinkles) and bring a bit of pizazz to them.  I found a couple of recipes that were just crazy, too much stuff, too complicated, just yuk. At the end of the day, a riff on Rice Krispy Treats should still transport you back to the ones you ate as a kid but at the same time your brain should be going “holy cow-what did she do to these!”

The Pop

Ladies and Gentlemen, I give you…

SALTED BROWN BUTTER RICE KRISPY TREATS

Yep, the exact same ingredients as the original recipe plus a sprinkle of flaked salt and well, DOUBLE the amount of butter. Yep, mo’ buttah, mo’ betta.

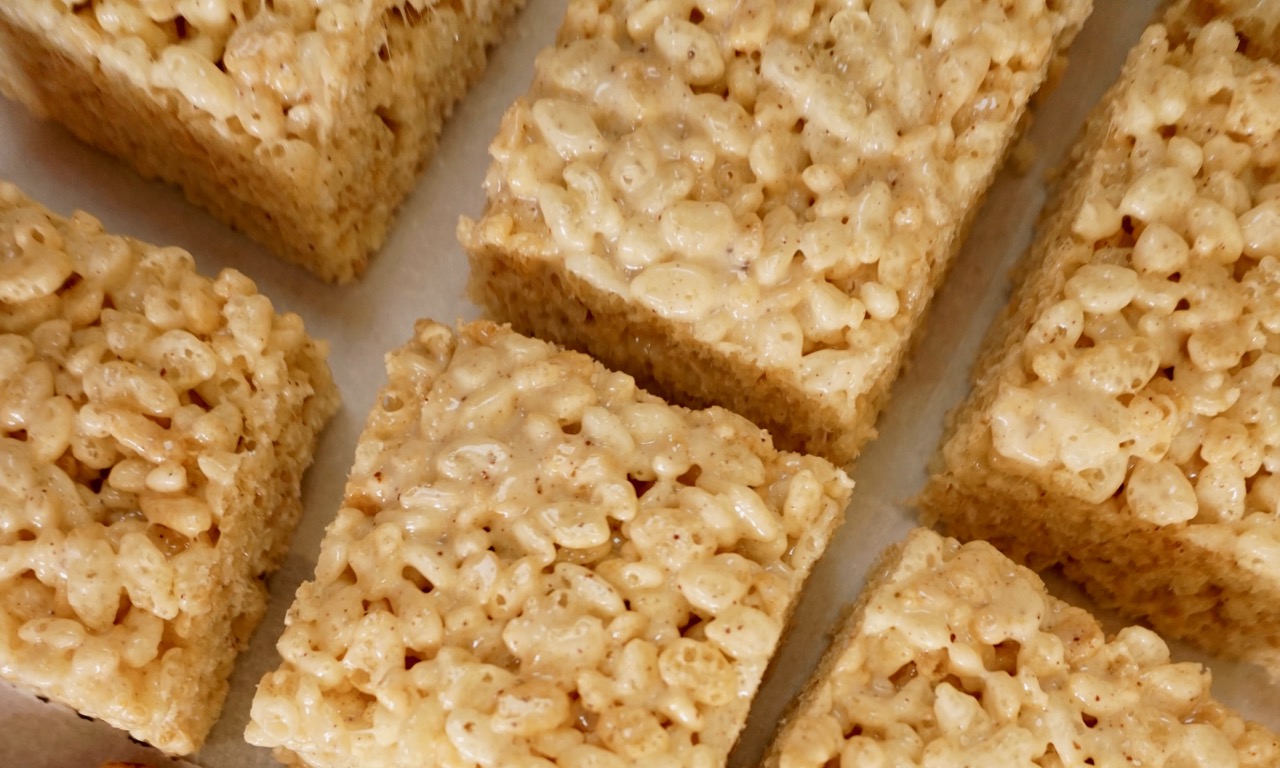
And if that wasn’t enough, you kick it up another notch by browning the butter!  Great balls of butter!  You end up with a Rice Krispy treat that is gooey, sweet and salty, nutty and buttery.  YES, scream it from the rooftops, DOUBLE BUTTER!

Up your Krispy Game, reserve half the salt to sprinkle on the treats at the end.  Use Fleur de Sel or grey salt, your hipster friends will ooh and aah.  Oh, snap.

That’s it folks, cookie number 12. Drop the mic, done.

Brown Butter Rice Krispy Treats
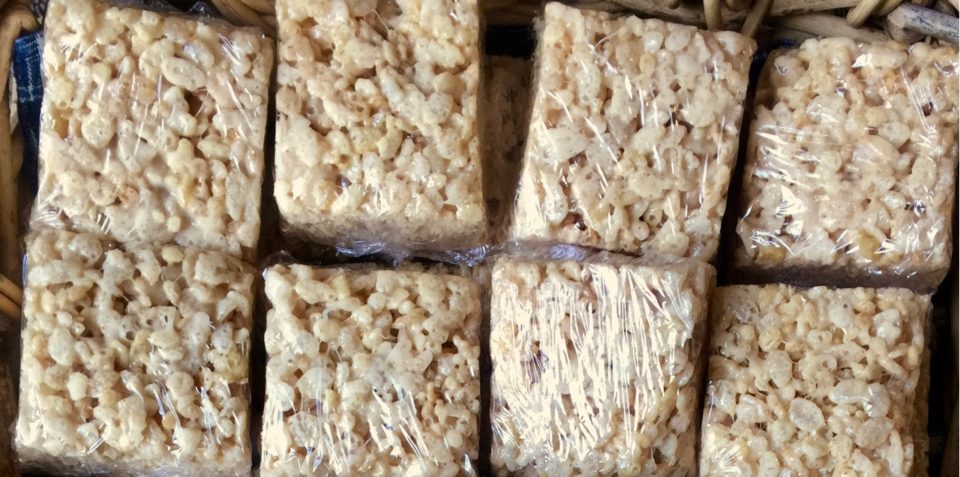
These went to a Bake Sale for a Bird Sanctuary that would be obliterated by Trump’s stupid wall. Jason renamed them Double Buttah “R-aah-ce”  (he’s from Tennessee!) Krispy Treats.

Salted Brown Butter Rice Krispy Treats (Smitten Kitchen)

Not your mama's Rice krispy treats! Brown butter and more marshmallows madke these devilisly delicious
Course bar cookies, cookies
Cuisine American
Keyword rice krispies
Prep Time 15 minutes
Cook Time 5 minutes

Ingredients

  • 1 stick unsalted butter 4 ounces
  • 1/4 -1/2 teaspoon flake salt such as Fleur de Sel or Grey Salt or coarse kosher salt
  • 1 10 ounce bag of miniature marshmallows DO NOT BY FANCYSCHMANCY ONES, they don't work
  • 6 cups Rice Krispy cereal

Instructions

  • Butter a 9x9 inch square pan, set aside.
  • In a large saucepan or pot, melt butter over medium heat, The butter will begin to foam and the milk solids will start to brown. Watch it like a hawk, you don't want it to burn. It will smell nutty and toasty. Serious Eats has a great tutorial on brown butter
  • Remove pan from heat, add marshmallows and salt. Stir continuously until the marshmallows melt and blend with the butter into a homogenous mixture.
  • Add Rice Krispies and stir until well coated.
  • Pour into 9x9 inch prepared pan and press firmly to compress. If you want, decorate with Sprinkles on top.
  • Cool, run a knife around the perimeter of the rice krispies, invert pan and tap the bottom. The rice krispies should release fairly easily from the pan. Cut into approximately 2 inch squares.
  • Enjoy!
Want A Bakehouse Pecan BLONDIE – CALL ME

Want A Bakehouse Pecan BLONDIE – CALL ME

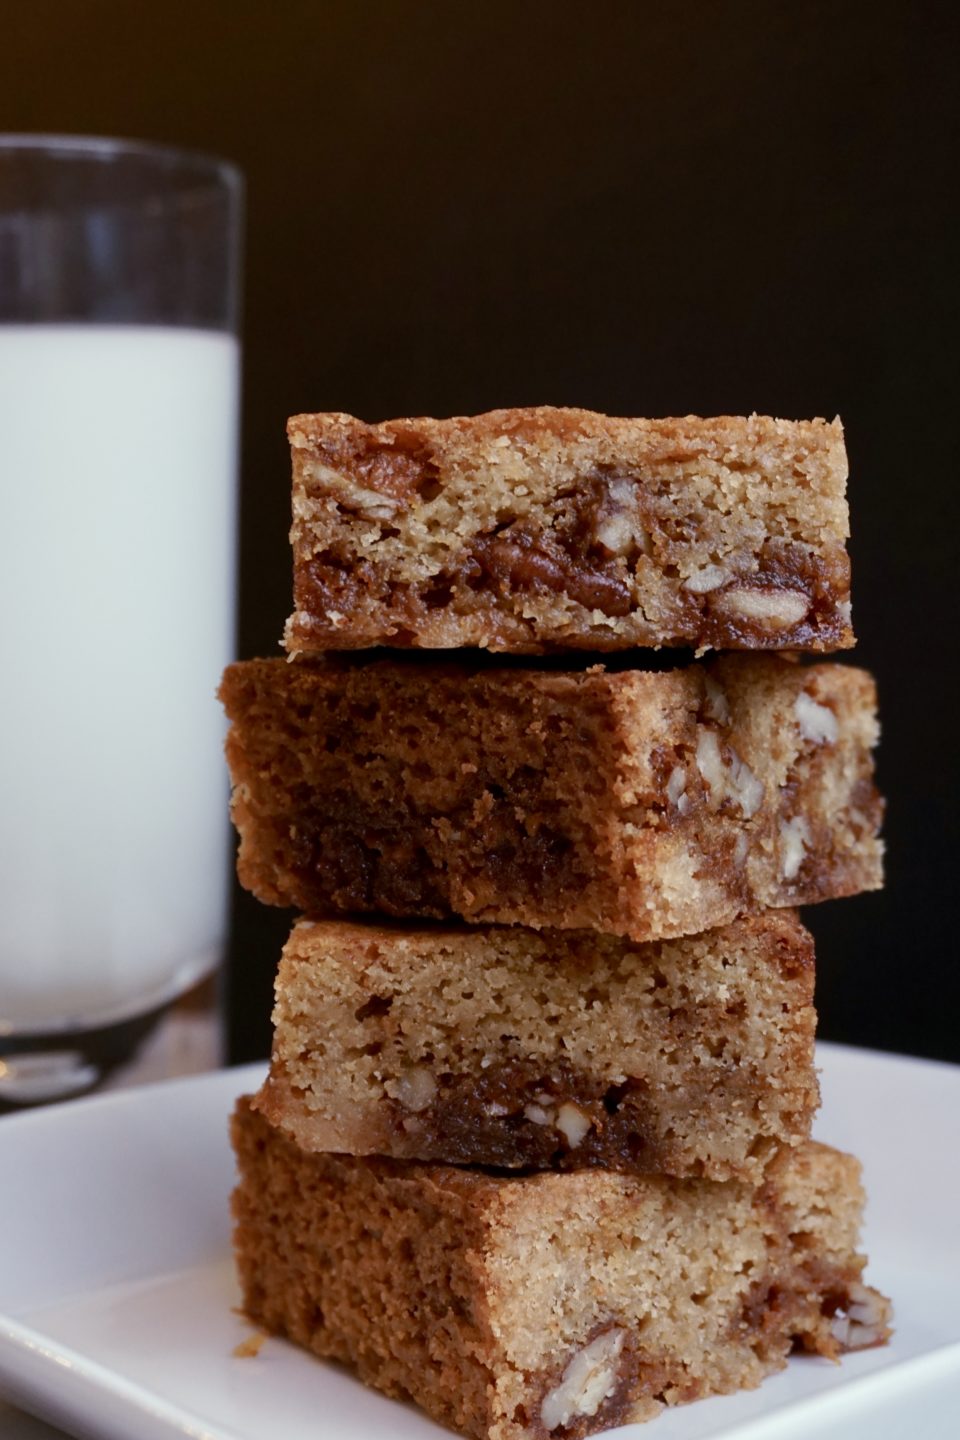
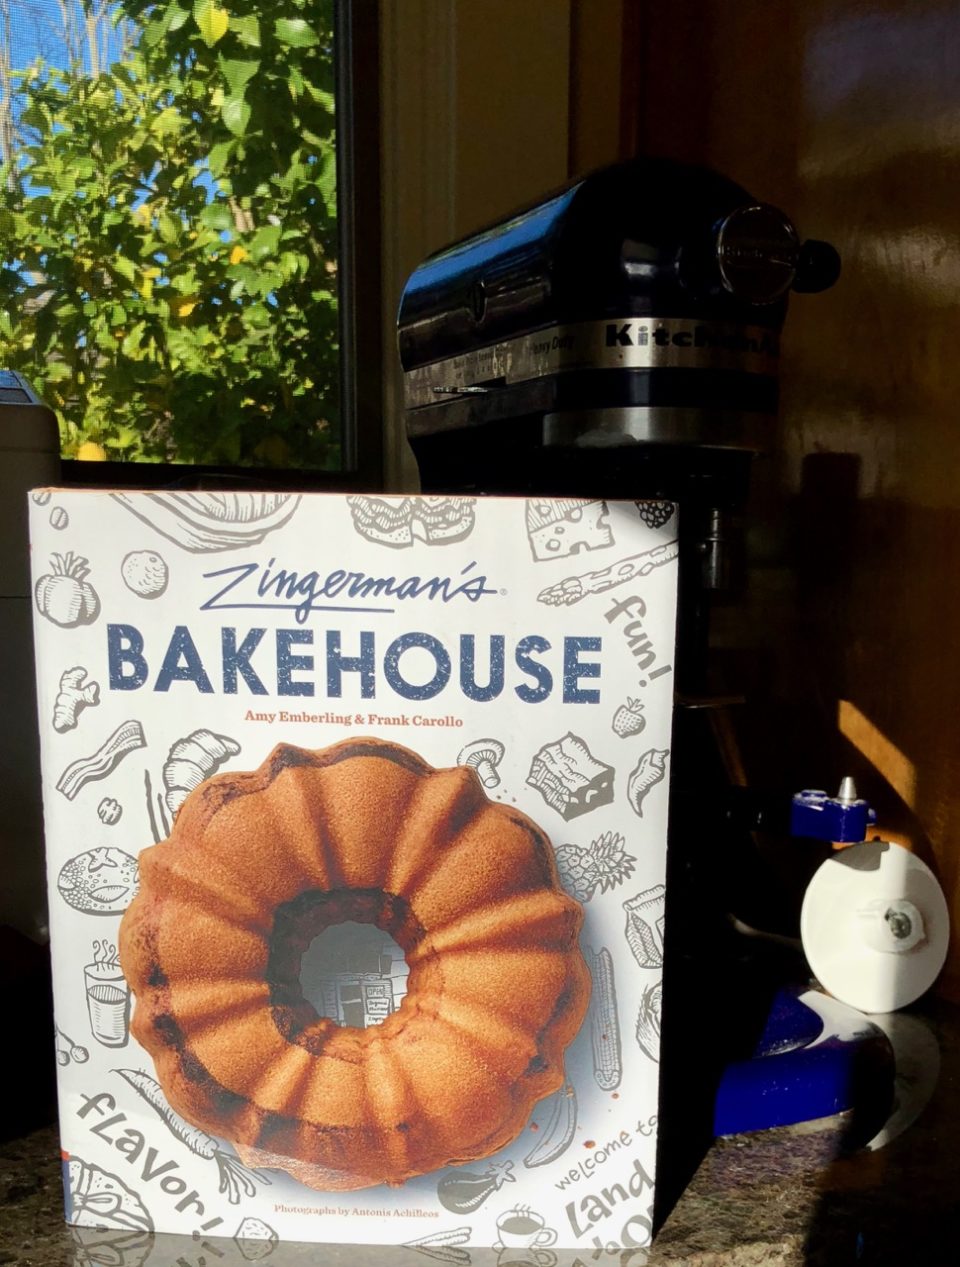
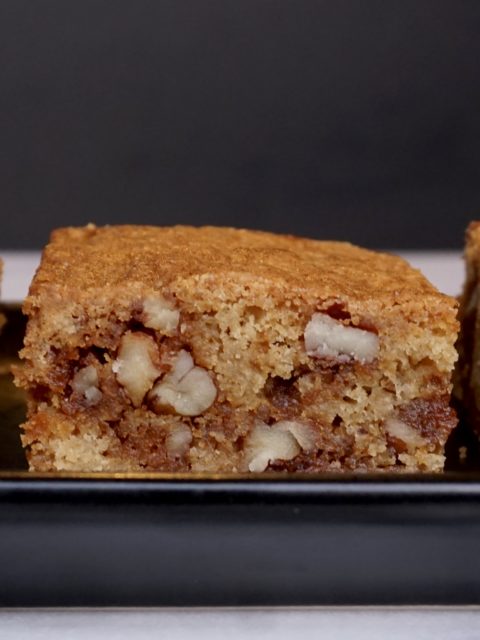
I can see the light at the end of the tunnel…Cookie #11 and it’s a good one. Bakehouse Pecan Blondies from Zingerman’s Bakehouse Cookbook.

Ipso Fatto posted her review of these delicious Pecan Blondies which then began the usual dance in my head I like to call the Cookbook Tango.  Like mental Pong, do I or don’t I, should I or shouldn’t I?  Really, I don’t need another cookbook… but it looks so good. Well, I could “kick the tires” so to speak beforehand, try some of the recipes, see if I like it.  Okay, I’m gonna be tough and really scrutinize the book before getting it. Yes. Yes. Yes.

Who am I kidding, it took one recipe and I caved.

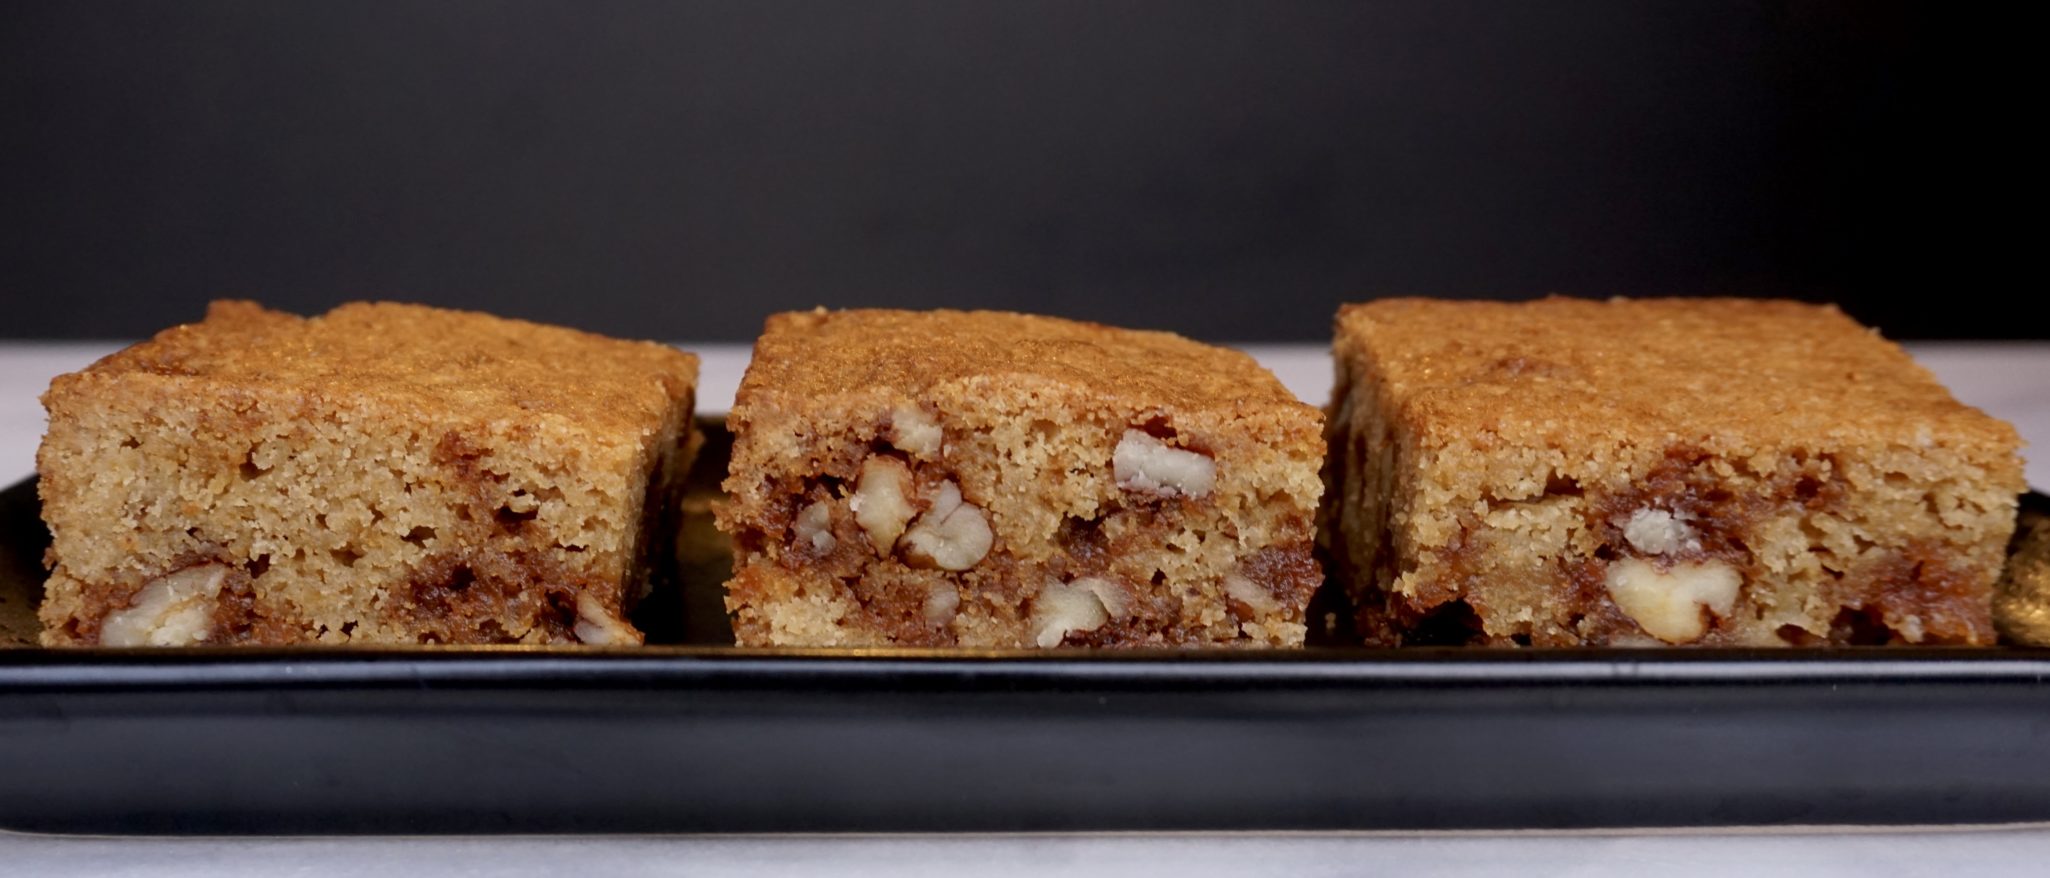
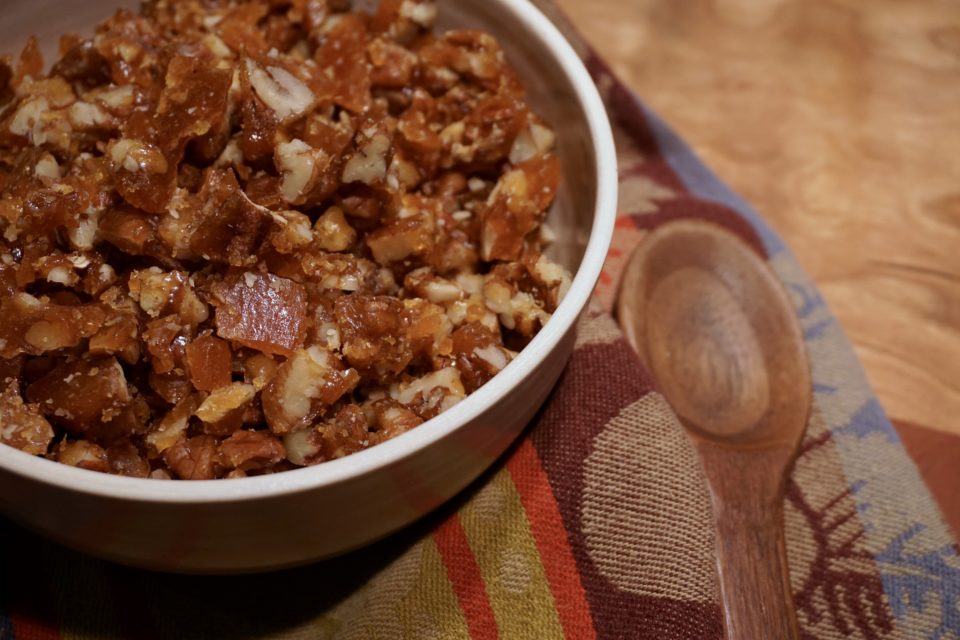
In my defense, Bakehouse Pecan Blondies are absolutely fabulous and justifies my quick surrender.  Why?  You take pecans, toast them in butter and salt, then toss them in a simple sugar-water caramel.  Once the pecan-sugar mixture cools and hardens it literally turns into pecan crack. Chop it up and fold the pieces into the blondie batter and shazam, deliciousness is born!  Pecan praline the zinger in Zingerman’s blondies.

Zingerman's Pecan Blondies

The batter is simple and comes together quickly-melted butter, eggs, brown sugar (you can use dark brown sugar for the Muscovado brown sugar) and flour.  Fold the pecans in, bake, dunzo.  It’s not as dense as a brownie and not as airy as a cake.  It’s just right.

Let’s get busy baking!

This is a beautiful book, filled with great stories about the bakery and the folks that are or have been a part of Zingerman’s tradition.  This is not cutting edge, new wave fou-fou food, more like all-American homey food, desserts and artisanal bread done really well and with love. Photos for most recipes are included and informative crib notes on the side.  The recipes are organized well and include both volume and metric weight measurements (yay!). Definitely making more treats out of this book soon!


Want A Bakehouse Pecan BLONDIE – CALL ME

Ingredients

Praline

  • 2 Tbs 57gm unsalted butter
  • 1 cup 115gm pecan pieces
  • 1/2 tsp sea salt
  • 1/2 tsp vanilla
  • 2 Tbs 27gm water
  • 1/2 cup 115gm granulated sugar

Blondies

  • 1 cup + 3 Tbs 230gm packed Muscovado brown sugar
  • 1 cup 230gm unsalted butter, melted
  • 2 large eggs
  • 1 tsp vanilla
  • 1-1/2 cups 200gm all-purpose flour
  • 1/2 tsp sea salt
  • 1 tsp baking powder

Instructions

For the praline

  • Preheat oven to 325 degrees, spray a 9x9 square baking pan with non-stick cooking spray
  • Brown the butter: Haven't done that? Serious Eats step by step is really good
  • When butter is browned, remove from heat and add pecan pieces, salt and vanilla and toss to coat nuts.
  • Toast the pecan mixture on a sheet pan at 325 degrees for approximately 12 minutes until they are toasty brown. Start checking at 8 minutes. Set aside.

Caramelize the sugar: Stir together sugar and water in a small saucepan. Cook over medium-high heat without stirring until it is caramelized to a rich reddish-brown. Careful not to burn or go to dark, it will take on a bitter taste. Immediately add the pecans and stir to combine and then spread pecans evenly in the prepared 9x9 pan. The praline will start to harden so work quickly and spread as thin as you can. Set aside to cool. Once cooled, remove pecans from pan and chop into small irregular pieces, 1/4-1/2 inch size. The praline can be made ahead and stored in a cool, dry spot.

    Blondies!

    • The easy part of this recipe
    • In a small bowl, combine the flour, salt and baking powder. Stir to combine and set aside.
    • In a large bowl, whisk the brown sugar, melted butter, eggs and vanilla. Whisk until mixture is homogenous and thick.
    • Add dry ingredients to butter-sugar mixture and stir to until it is homogenous. Add the chopped pralines, stir to combine.
    • Pour batter into prepared 9x9 pan, spread evenly and bake for approximately 45 minutes until puffed in the middle and golden brown and a toothpick comes out clean. Cool on wire rack.
    • Cut into rectangles and serve with ice cold milk, coffee, tea..just about anything and wait for the smiles.

    Mui-road trip to Ann Arbor from Minneapolis is on the bucket list!


    Happy New Year! Bouchon’s Gougeres

    Happy New Year! Bouchon’s Gougeres

    Happy Gougere!

    What?!  Too cheesy?

    I had writer’s block when I sat down to compose this post.  Staring at my screen, fingers poised on the keyboard, sipping a glass of wine and munching on these cheese puffs I had just pulled out of the oven, I was drawing a blank. Then my cell phone rang, “Happy New Year!”  blurted a voice at the other end. Ta-da! Blogger’s block gone.

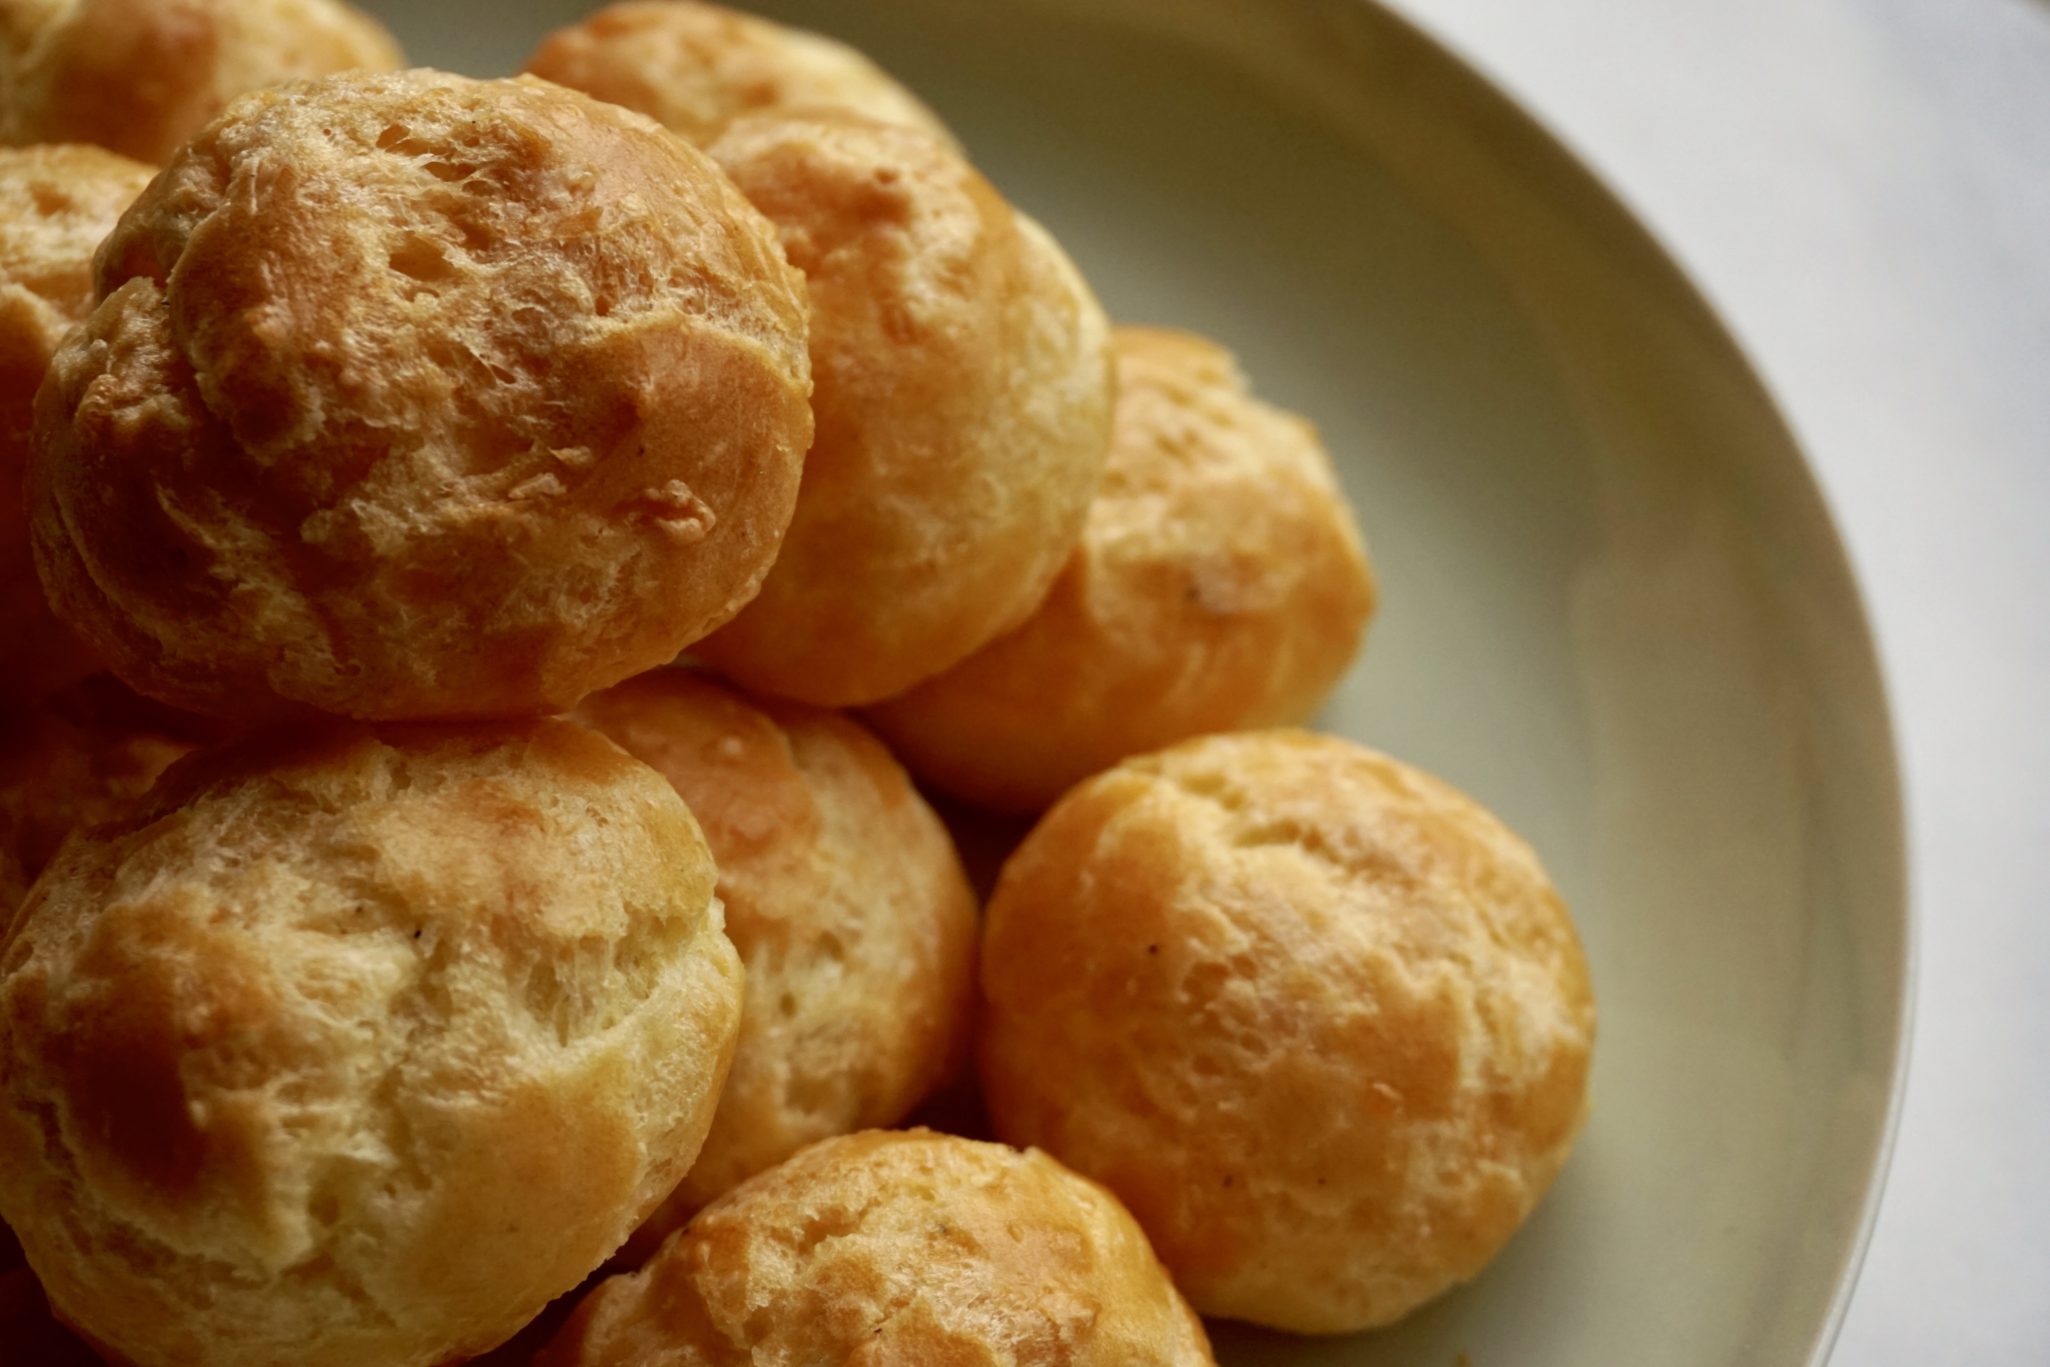
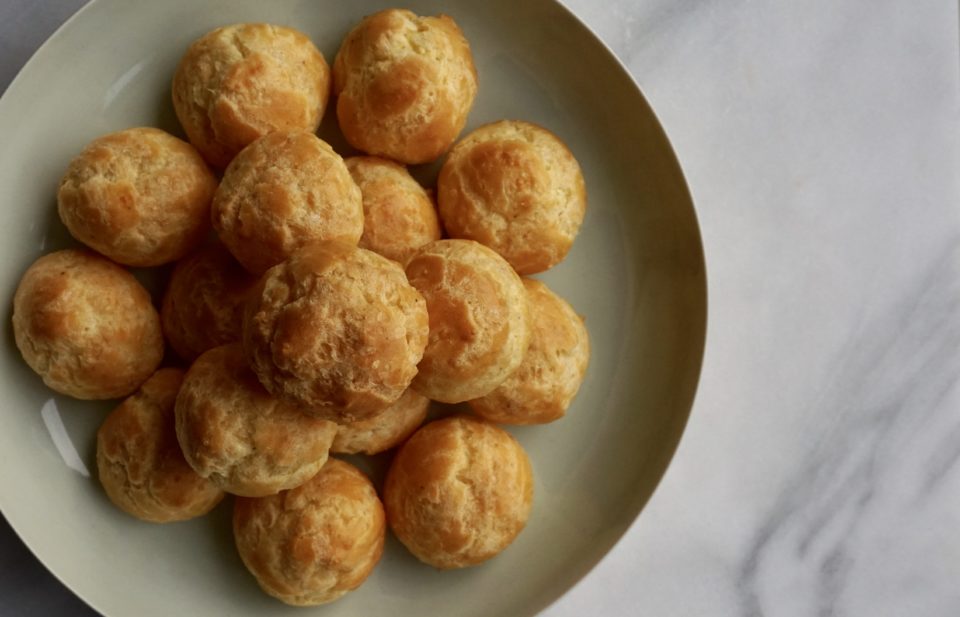
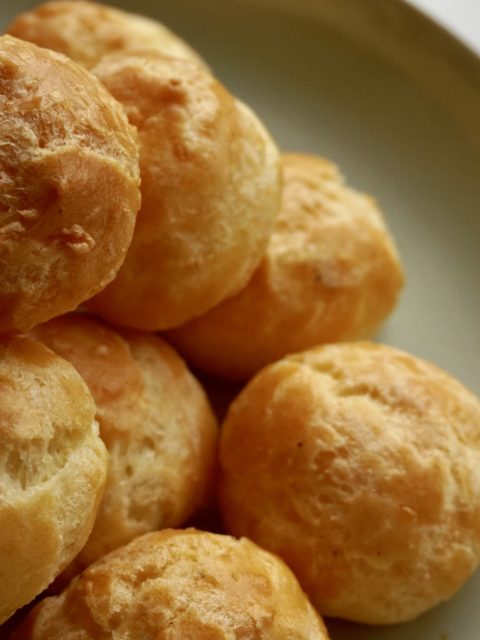
    Continuing with my exploration of the Bouchon Bakery book I ooh-ed and aah-ed my way through the chapter on pate a choux (aka cream puff pastry).  Dreamy cream puffs with a crackle finish, Chocolate Eclairs, Paris Brest-all looked exquisite. I wanted something simpler plus I had a wedge of Comte cheese in the fridge so I chose his recipe for the humble Gougere.  Cheese, finely shredded, is added to choux pastry to create a savory, airy, small bite, perfect with wine or champagne.  My next happy hour nibbler board will definitely include these little gems.

    The recipe is straightforward. Be sure to have all your ingredients out and prepped before you begin. Water and butter are heated to which flour is added and stirred until it forms a ball that pulls away from the sides of the pot. Transfer the dough to a mixing bowl, blend briefly to release heat and moisture and add eggs a couple of tablespoons at a time. NOTE: TK uses weights for measurements in this book.  Very helpful to have a scale.

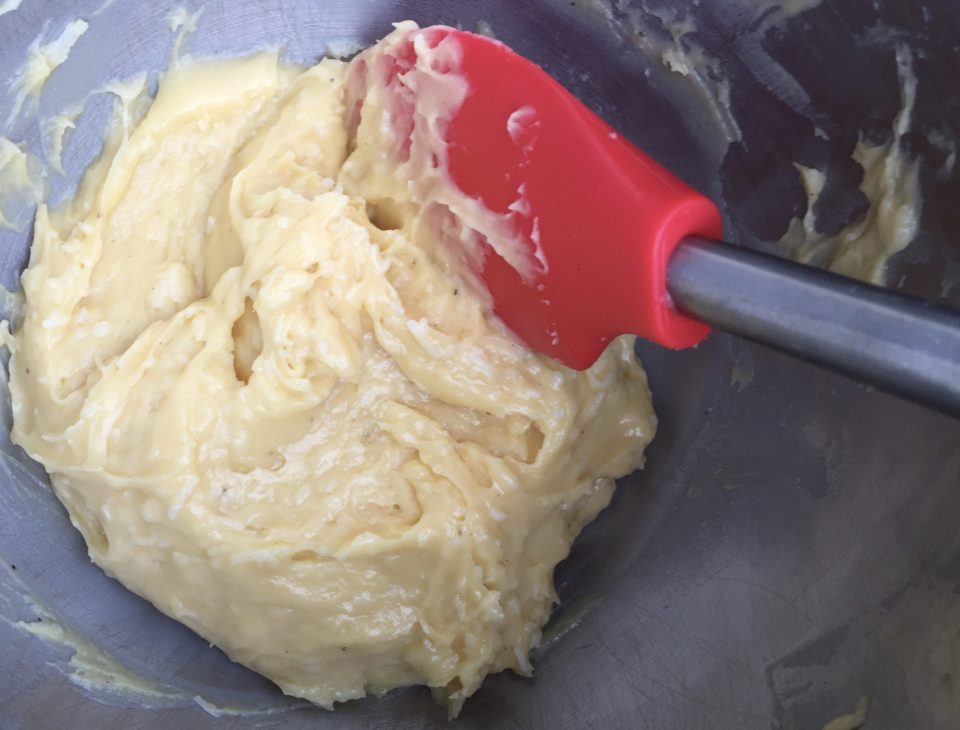
    The batter will look like this after adding eggs and blending.

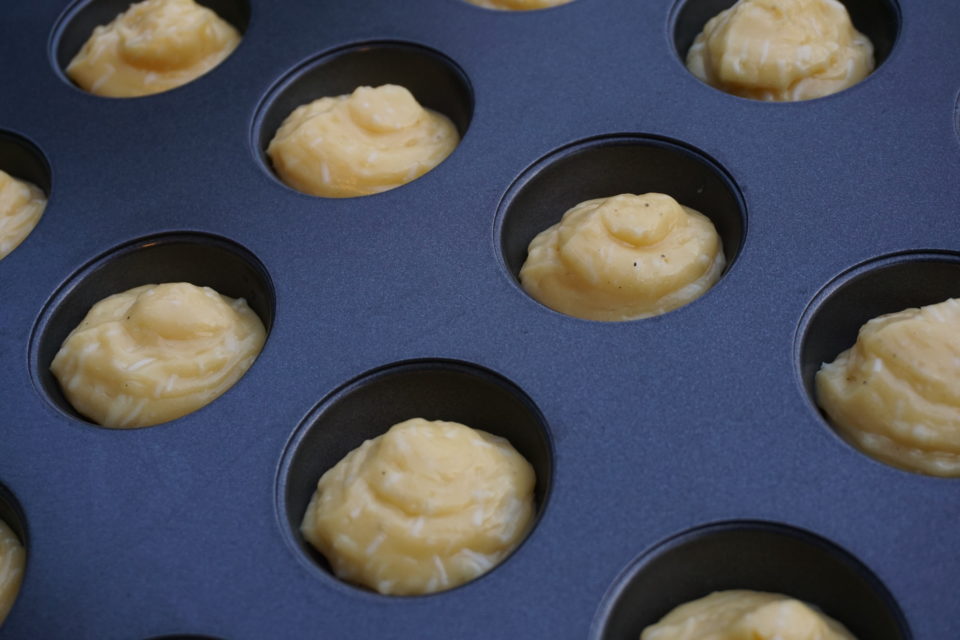
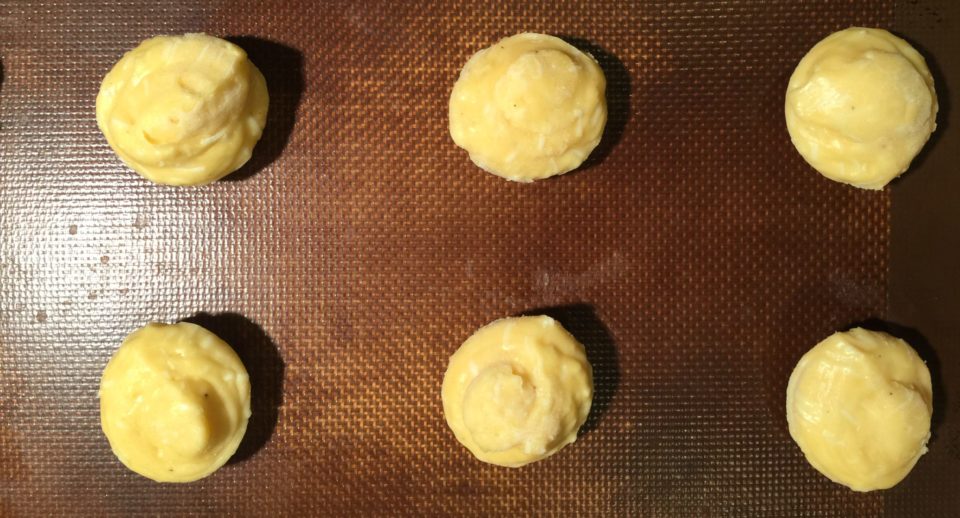
    I cheated. I didn’t have the silicon round pan so I used my non-stick donut hole pan instead (yay, I used it for something!) It worked well though they needed to sit a couple of minutes before I could remove them easily.  I also didn’t have a pastry bag handy so I used a gallon-sized Ziploc bag and snipped off a corner.  Piping directly onto parchment or a Silpat probably works just as well.

    Next time I make these I may change up the type of cheese (gruyere cheddar), add chili pepper instead of black pepper and add chopped chives or green onions, yum!  The batter freezes well so you can keep a supply of shaped ones in the freezer for impromptu get-togethers.

    Stretching the boundaries, I’ve decided to make this Cookie #10 on my 12 days of holiday cookies list. They’re small and bite-size just like a cookie.  I’m tackling Bouchon’s Cream Puffs one of these days!

    Bouchon’s Gougeres


    Happy New Year! Bouchon’s Gougeres

    Ingredients

    • 1/2 cup + 1 1/2 tbsp water
    • 2.2 ounces unsalted butter 4.5 Tablespoons
    • 1/2 + 1/8 tsp kosher salt
    • 0.3 grams freshly ground pepper
    • 1/2 cup + 2 1/2 tsbp all purpose flour
    • 150 grams eggs approximately 2 eggs-crack eggs into a bowl, blend eggs and weigh out amount
    • scant 1 cup aged shredded gruyere cheese
    • options: Add chopped green onions or chives to batter 2 T, sprinkle tops with additional shredded cheese

    Instructions

    • Combine the water, butter, salt, pepper in a medium saucepan, place over medium heat and stir until butter is melted. Once the butter has melted, increase heat to medium-high and then bring to a simmer, then remove pan from the heat, with a wooden spoon, stir in all the flour.
    • Continue to stir for 1 1/2 minutes until the mixture has a paste-like consistency, then place over medium-high heat and stir rapidly for 1 minute, until the dough pulls away from the sides of the pan and the bottom of the pan is clean. The dough should be glossy and smooth but not dry.
    • Immediately transfer the dough to a mixer bowl and mix on low speed for 30 seconds to release some of the moisture. Slowly begin to add the eggs, 50 grams at a time, beating until each addition is completely absorbed before adding the next one. Continue adding the eggs, mix until the dough pulls away from the sides of the bowl pulled with the paddle but immediately grabs back on again.
    • Increase speed to medium for 15 seconds to ensure that all the eggs are incorporated. Stop the mixer. When the dough is lifted, it should form a bird's peak- it should hold it's shape and turn down on itself but not break off. Add the cheese and pulse to incorporate (I used my mixer and blended the cheese in quickly)
    • Put batter into pastry bag. Pipe into molds (I didn't have molds, I used my donut hole pan) Or pipe little free form balls, slightly less than 1 inch in diameter onto a baking sheet, spread about 1 1/2 inches apart. When finished piping, I used my finger dipped in water, to push down and get rid of the little tip that is left on top of each one from the piping.
    • Freeze the gougeres for about four hours until firm.
    • If you want to bake some right away. Preheat oven to 350F. Bake for 18-20 minutes until golden brown.
    • If you are baking from frozen: Preheat oven to 375F. Line baking sheet with frozen gougeres, leaving about 1 inch between them. Spray lightly with water. Place in the oven, immediately lower temperature to 350F and bake for 25 to 30 minutes until golden brown. Serve warm.


    Bouchon’s Shortbread Cookie

    Bouchon’s Shortbread Cookie

    This month’s Food52 Baking Club pick is Thomas Keller’s Bouchon Bakery Book. A gorgeous, very heavy (a workout just lugging it around) opus on all things delicious. My copy has languished on a shelf for quite some time but this gave me a reason to take it off the shelf and dive in.  Let the baking games begin.

    I start with a cookie recipe. After all, I still need to complete my holiday cookie list (wow, that’s embarrassing). I open the book and what do you know, the first chapter of the book is all about cookies. Fate. I peruse the chapter and settle on, drum roll, please……..Bouchon’s SHORTBREAD cookie. Surprised? Didn’t think so.

    This is a tall order as I am convinced I already make the perfect shortbread.  A recipe saved from the long out of print Cuisine magazine has become a non-negotiable tradition in our house. The recipe was accompanied by the story of the author’s father making shortbread each Christmas.  An homage to her father and to traditional Scottish shortbread.  Crisp at first bite, meltingly tender, slightly sweet, and oh so buttery.  The perfect cookie.

    Yep, tall order.

    The trial:

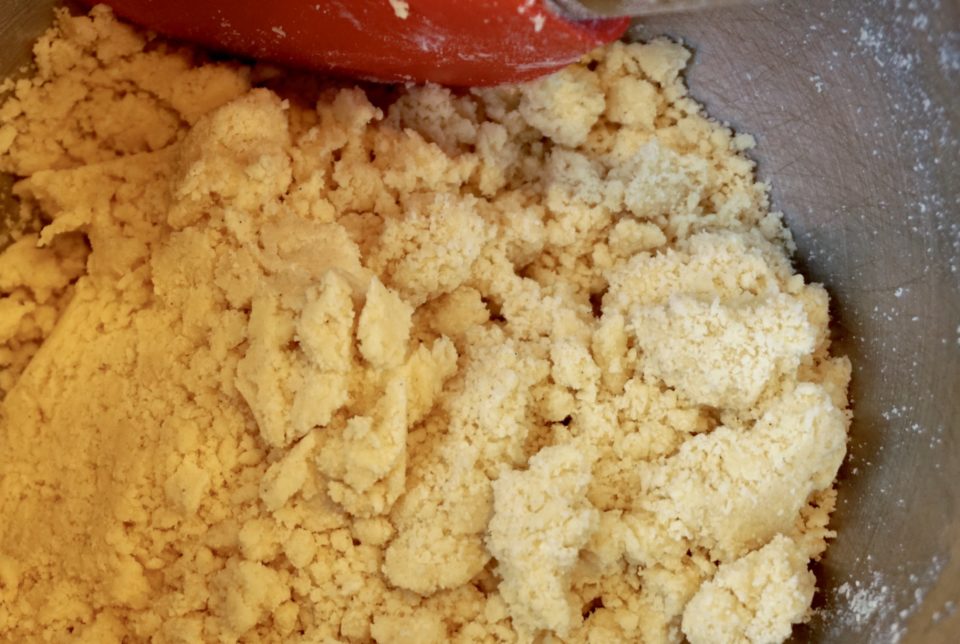
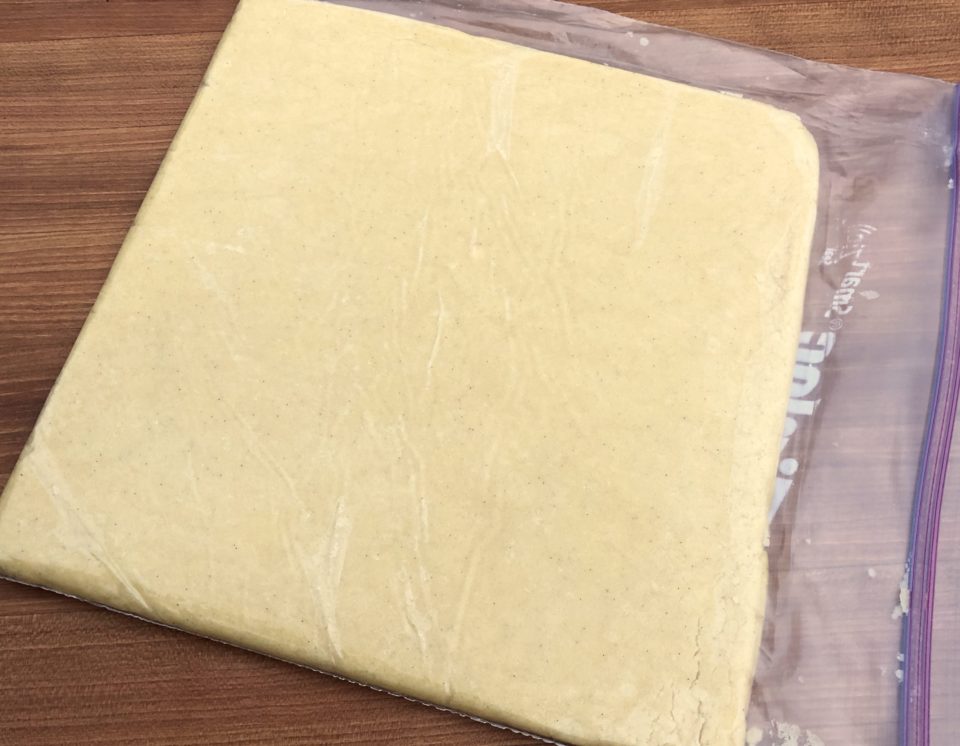
    I used a European butter for it’s higher fat content after reading several comments that the dough was dry and crumbly. With a little kneading (in a Ziploc bag), it came together nicely.

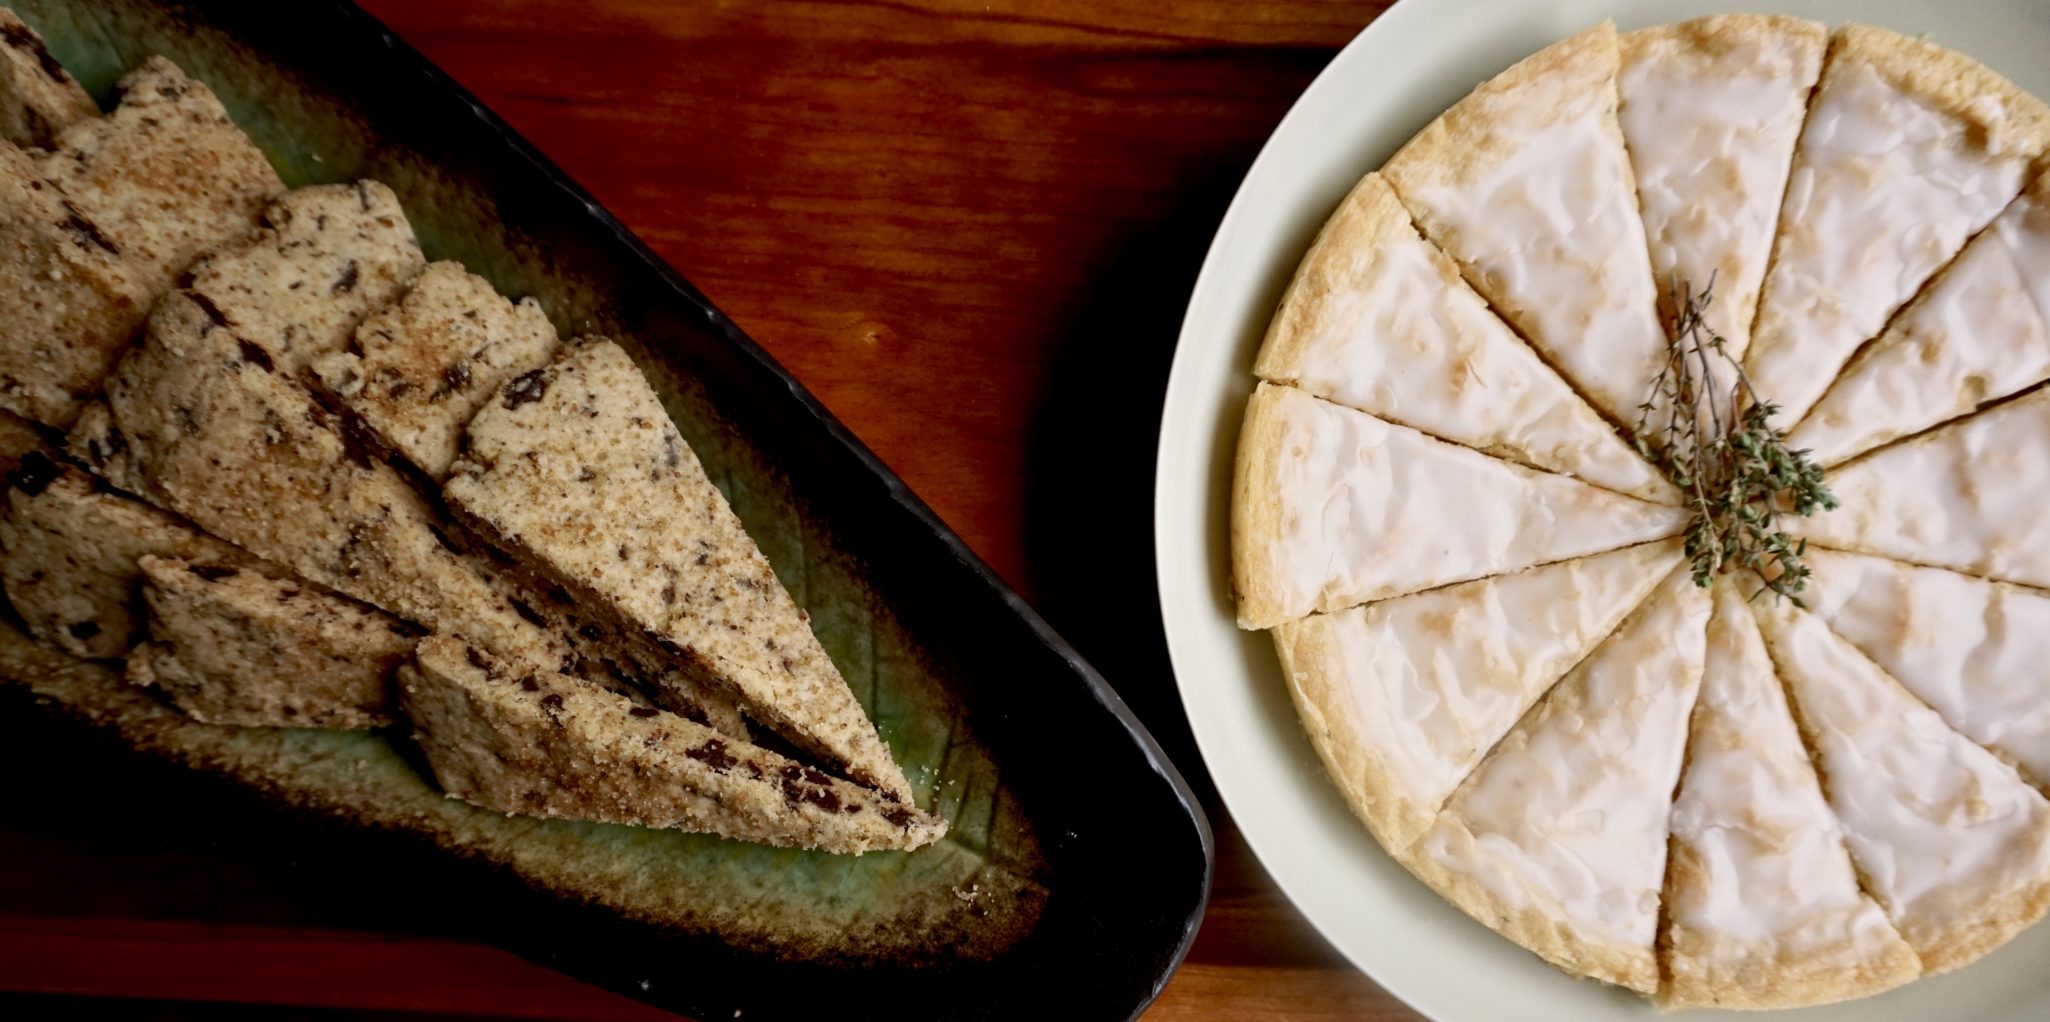
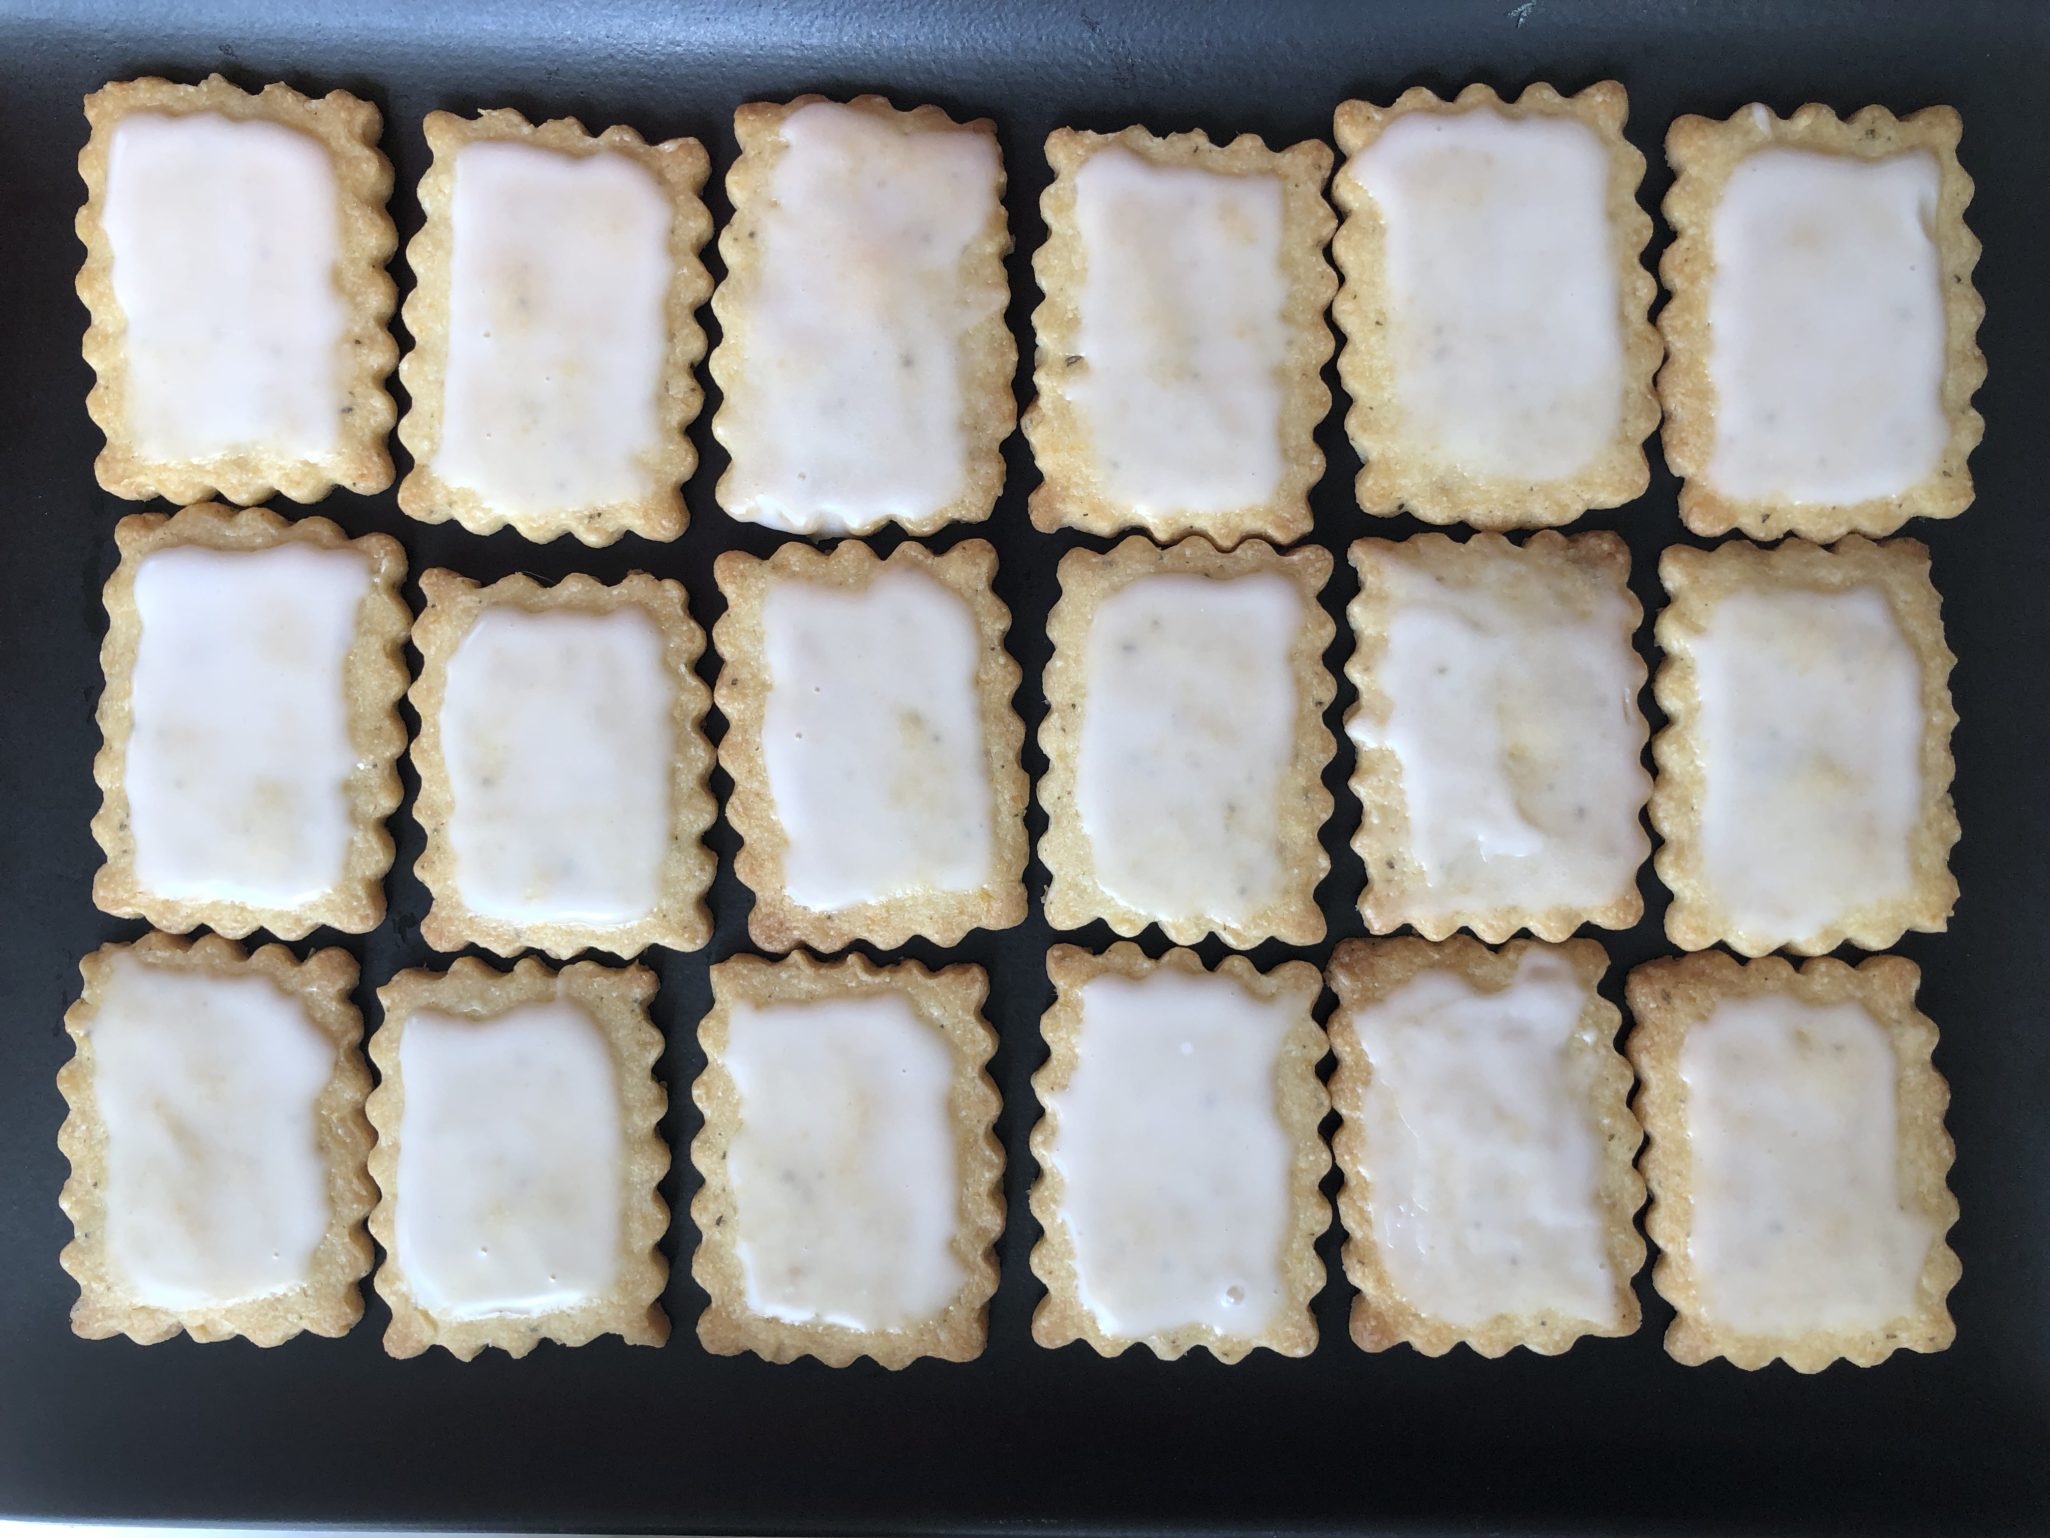
    The The recipe calls for shaping the dough into a 5×5 inch block and chilling it before rolling it out.  I opted to roll the dough into the final 9-inch square before chilling as the dough was easier to work with at this stage.  After chilling the dough, cut it into 2-1/4  x 1-1/2 inch pieces.

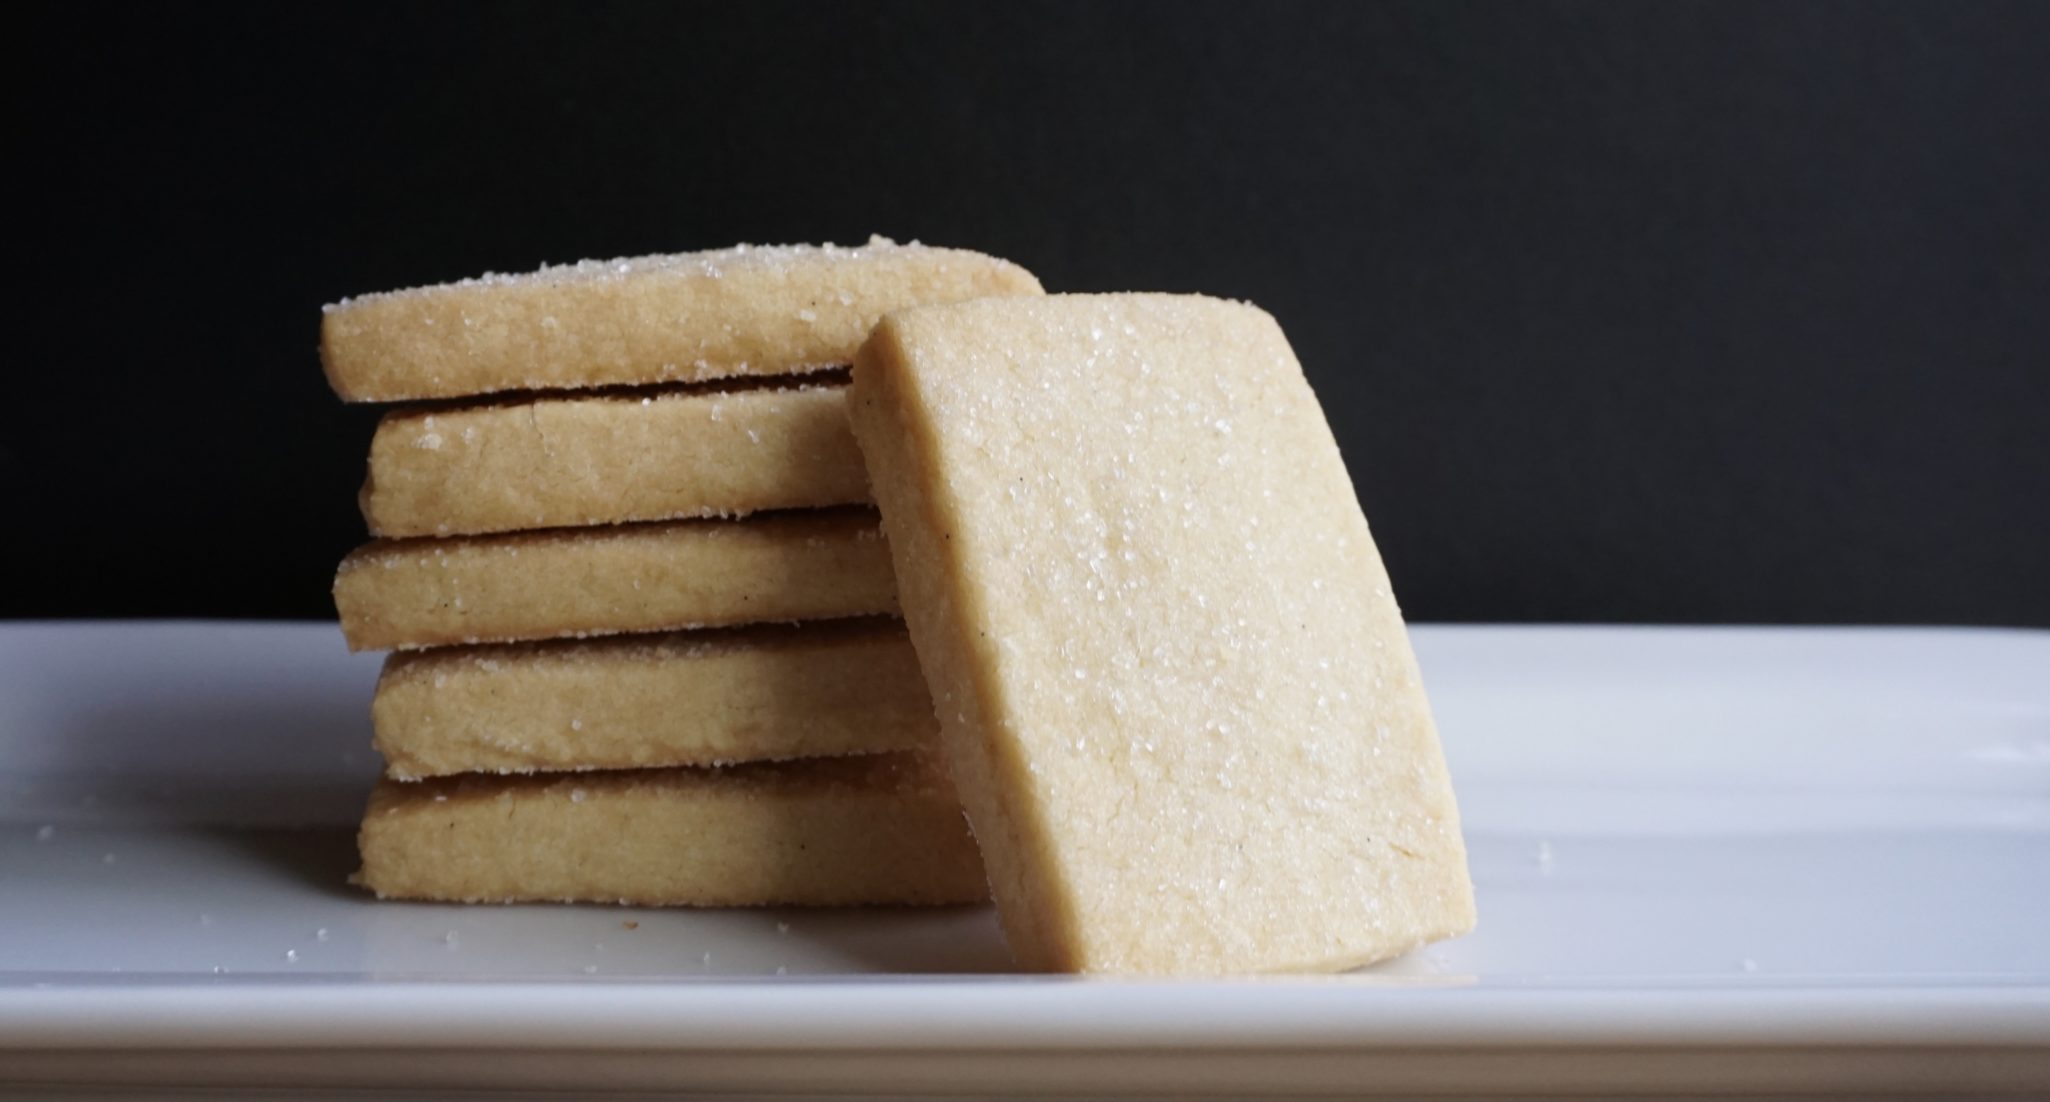
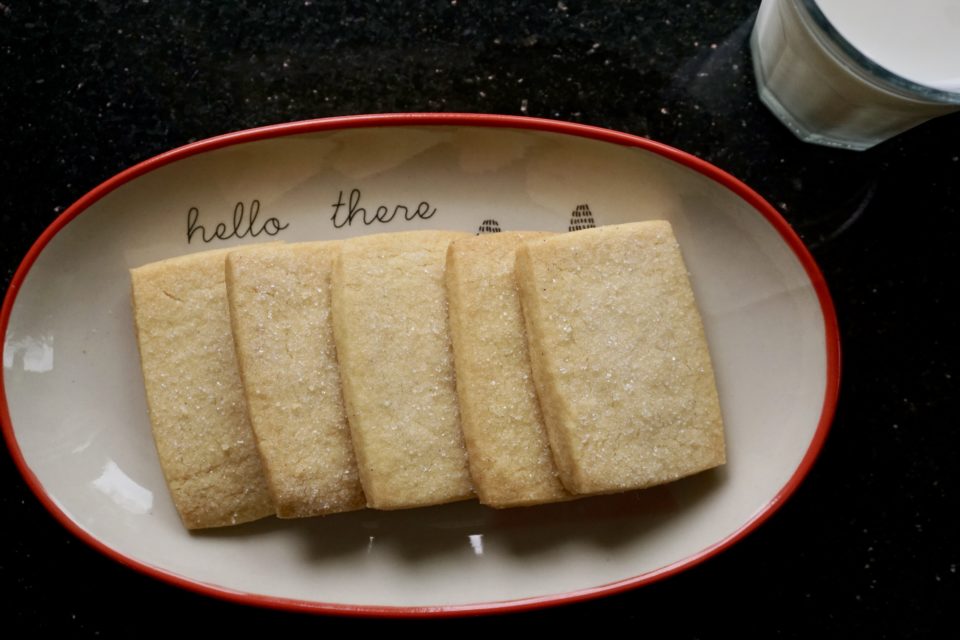
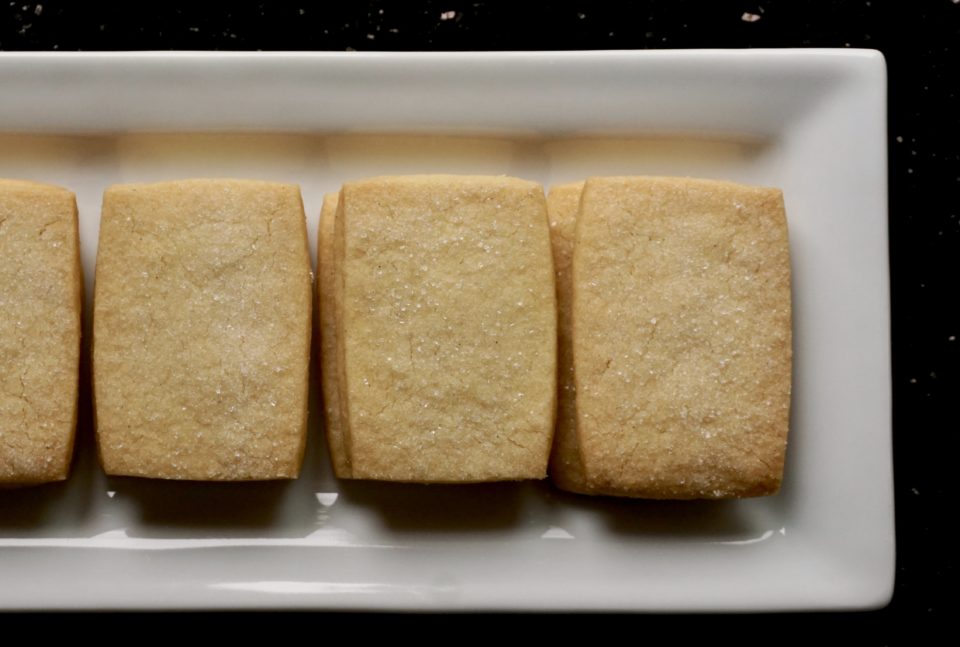
    Use a pizza cutter and ruler to cut the dough, you could get fancy and use cute cookie cutters instead.  Though the recipe calls for granulated sugar, I used sanding sugar which gave the cookies a nice sparkle. Sugar bling.

    The verdict:

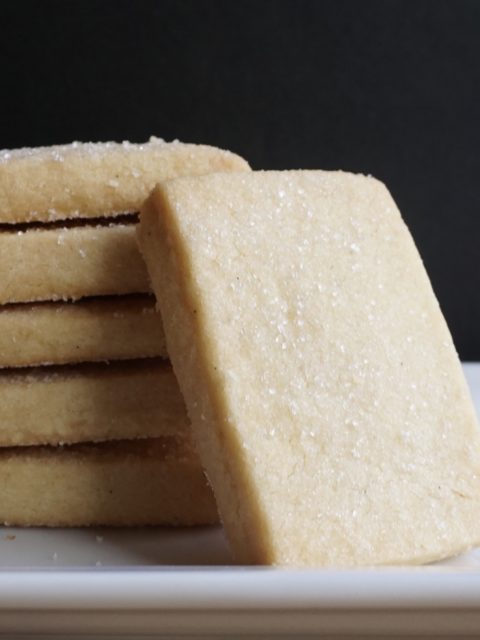
    Buttery? Yes. Crisp? Yes. Sweet? Yes. The dusting of sugar adds sweetness and a delightful crunch.  Better than the shortbread I already make? No, but I am biased.  I might try this with salted butter to see if it adds even more depth of flavor. These cookies are simple and sophisticated. Totally worth making a batch to enjoy with a cool glass of milk or a hot cup of tea depending on your mood! *The flavor improved, this was a better cookie a day later than right after baking.  

    Bouchon's Shortbread

    The Path of Least Resistance TK Shortbread

    Buttery, sandy texture, melt in your mouth Shortbread from Bouchon
    Course cookies
    Cuisine American, European
    Keyword biscuits, butter, cookies

    Ingredients

    • 180 grams unsalted butter, room temperature 6.3 ounces
    • 90 grams granulated sugar 1/2 Cup
    • 2 grams Kosher salt 5/8 tsp-3/4 tsp
    • 5.9 grams vanilla bean paste 1 tsp
    • 270 grams all-purpose flour 1-3/4 Cup plus 3 T
    • 2 to 3 Tbsp sanding sugar for sprinkling

    Instructions

    • In the bowl of a stand mixer, cream butter with the paddle attachment on medium-low speed until smooth. Add sugar and salt and mix on medium-low for 2 minutes. Add the vanilla and mix for 30 seconds.
    • Add half of the flour, and mix until just incorporated, about 30 seconds. Repeat with the second half of the flour.
    • Place a large piece of plastic wrap on the counter, and mound the dough on top of it. Form the dough into a 5 inch by 5 inch block. Wrap it with the plastic wrap, and refrigerate for at least 2 hours and up to 2 days.
    • or
    • Roll dough into 9 inch square in between parchment, or in a Ziploc bag. Cover with plastic wrap and chill.
    • Roll the dough out to a 9 inch by 9 inch square between two pieces of wax or parchment paper. You may have to pound it a bit with your rolling pin to get it to roll out. If it gets too soft, you can put it back into the refrigerator to firm up.
    • When ready to bake, place a rack in the middle of the oven and preheat it to 325 degrees F. Line a baking sheet with parchment.
    • With a sharp knife, and using a ruler, score the dough into four 2 1/4 inch wide horizontal strips. Next, score the dough into six 1 1/2 inch vertical strips. Sprinkle the dough with sanding sugar or granulated sugar.
    • Cut the dough along the scoring into 24 individual rectangles. Place the rectangles about 1/2 inch apart on the baking sheet.
    • Place sheet in oven and bake, using convection, for 13 to 15 minutes, or if not using convection, for 17 to 19 minutes.
    • Cool on baking sheet for about 5 minutes, and then move the cookies to a wire rack to cool completely. Store in an airtight container for up to three days.
    Salted Chocolate Chip Tahini Cookies Revisited

    Salted Chocolate Chip Tahini Cookies Revisited

    I reserved some of the  Salted Chocolate Chip Tahini Cookie dough to bake knowing I would be going to Monday morning coffee with the moms. Who can resist freshly baked cookies?  Having scooped out all my dough on the first day, I had cookies ready to bake in the fridge.  I came home from the gym (New Year’s Resolution number 1), turned on the oven, plopped the little doughboys on a sheet and popped them in the oven.  Easy peasy-freshly baked cookies in a jiffy.  I had lined the cookie sheet with a Silpat and whoa, what a difference.  This latest batch was much more reminiscent of a Mrs. Field’s cholate chip cookie (who remembers those, lol), a bit denser, definitely softer and lacking that lightness and crispy edge from the first day.

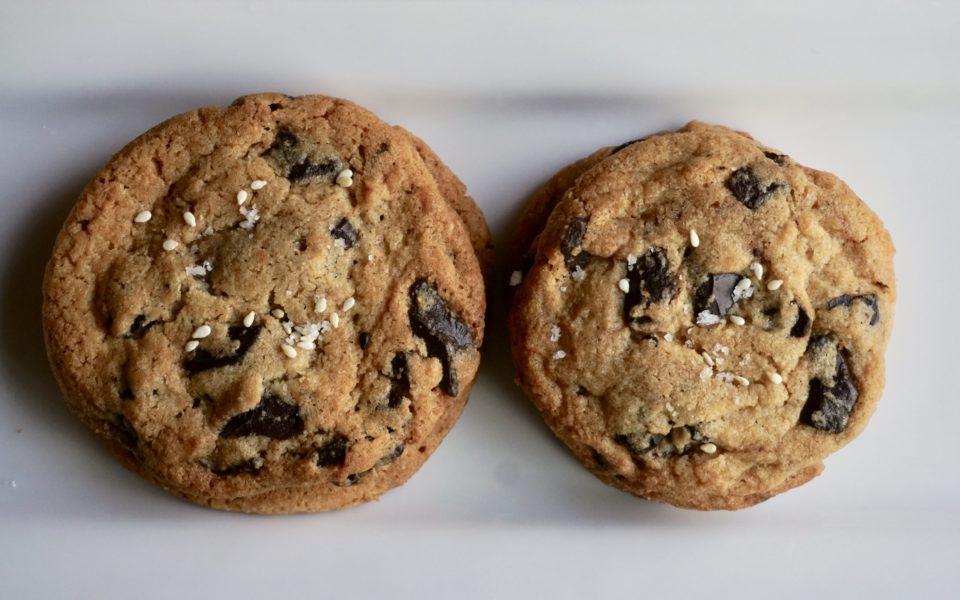
    The moral of the story: If you like crisp and light, bake on parchment and after 12 hours of chilling.  If you like a classic chewy cookie, bake on Silpat and chill the dough for longer.  The next time I bake these I will test my theory again.

    Cookie on the left baked after 12 hours of chilling time and on parchment.  The cookie on the right after 48 hours in the fridge and baked on a Silpat mat.

    But do bake these cookies, they are absolutely scrumptious!

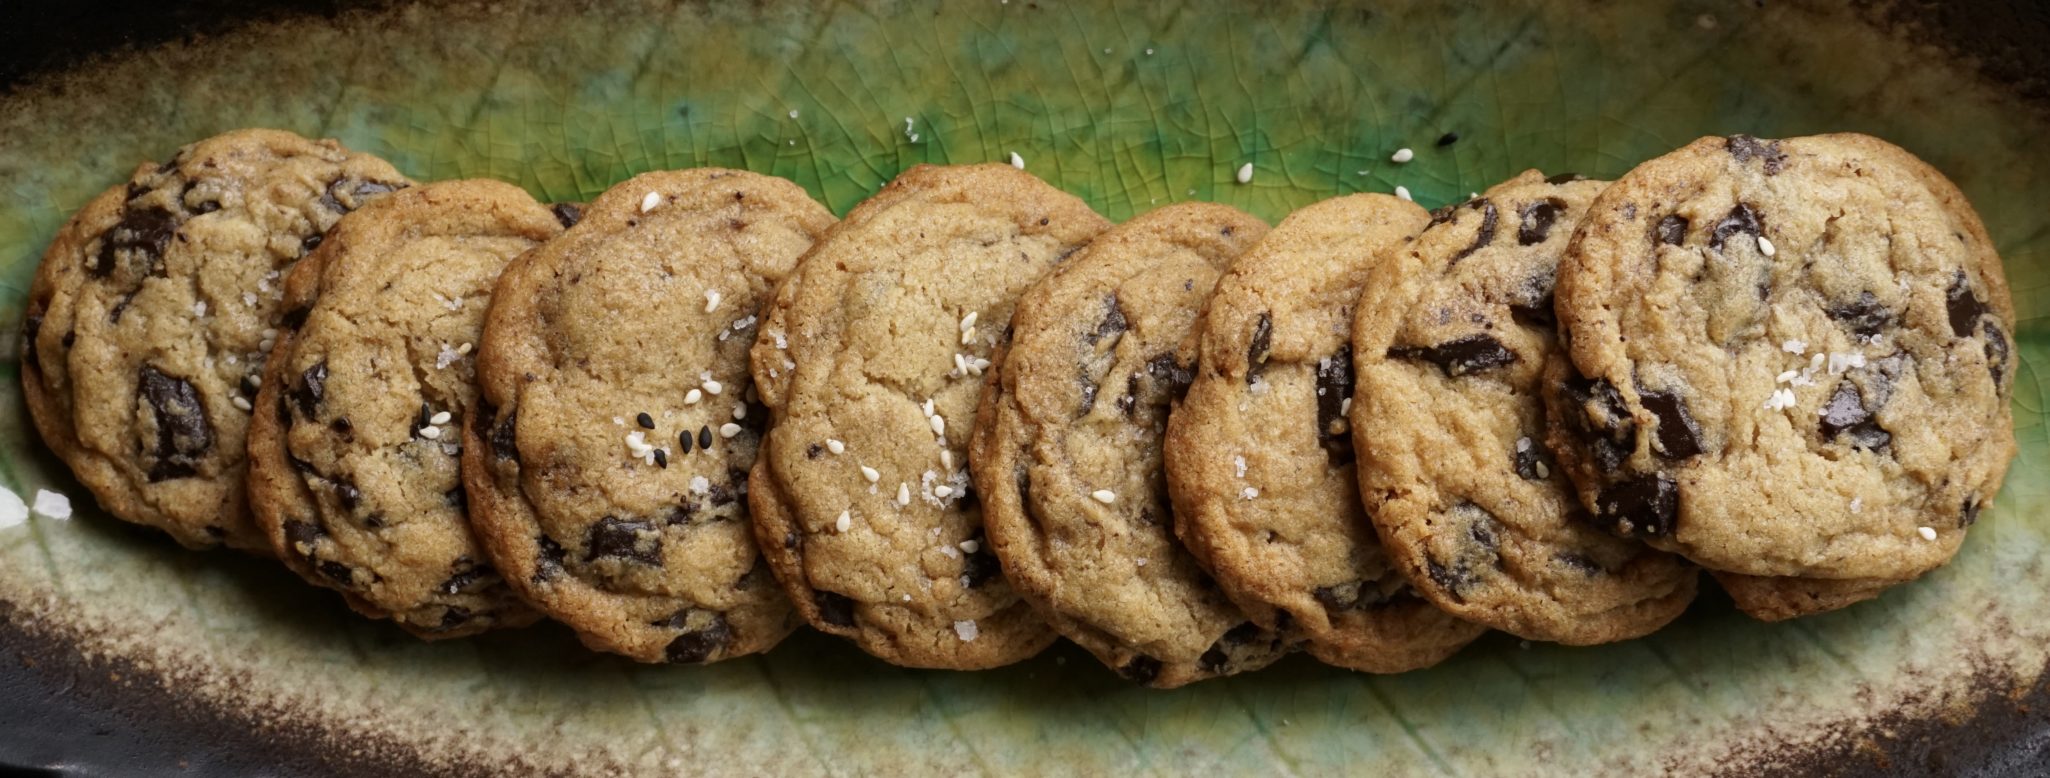
    “Open Sesame” Salted Chocolate Chip Tahini Cookie Revealed

    “Open Sesame” Salted Chocolate Chip Tahini Cookie Revealed

    Holiday Cookie List: Number EIGHT. Very LATE. But worth the WAIT!

    My friend Mel mentioned a recipe she had tried recently from the NYTimes for Salted Chocolate Chip Tahini Cookies.  She could not stop raving about them, light, crispy, buttery, hint of sesame, they sounded scrumptious. Always on the lookout for riffs on classic cookies, I immediately made a mental note to put the recipe on my Cookie Bucket List.

    I checked out NYTcooking and noticed the recipe contained only granulated sugar which may account for its crisp texture.  I like a crispy and chewy chocolate chip cookie so I googled chocolate chip tahini cookies.  Judging by the number of recipes that popped up in my search, this cookie is a winner. The grand dame for this cookie recipe appears to be from Danielle Oron’s Modern Israeli Cooking: 100 New Recipes for Traditional Classics.  I settled on Davie Lebovitz’s version which calls for both granulated and brown sugars.  Perhaps the moisture in the brown sugar would add a bit of chewiness to the cookie.

    Sherlock Wanna Be

    My aspiration to be an ATK food investigator.  I baked the first sheet of cookies on parchment paper and the second on Silpat.

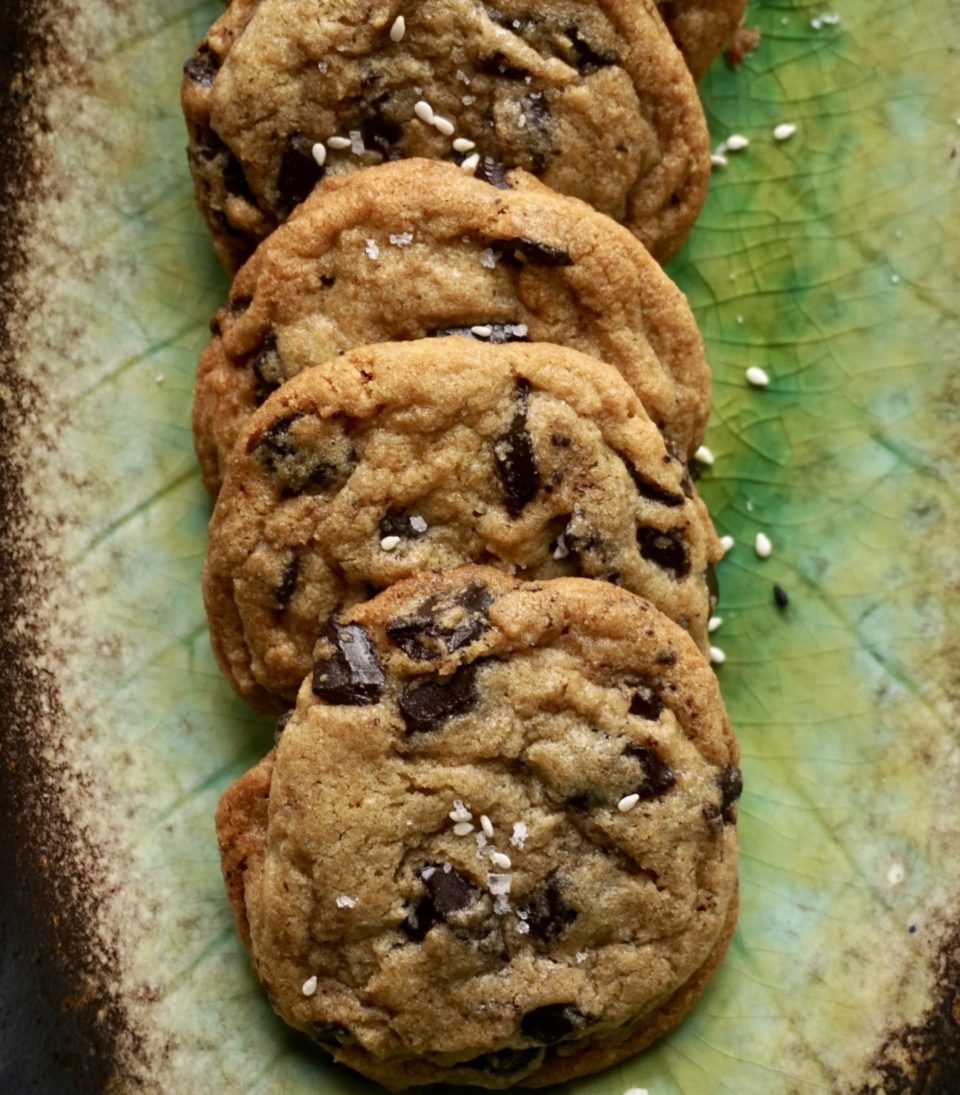
    The difference was small but noticeable.  The cookies baked on parchment were just a bit thinner and had a crackly top.  The Silpat cookies did not spread as much and the top did not have the crackly appearance.  Both were delicious and texturally quite similar.  Of note about a minute before the cookies were done I rapped the pan on the rack which causes the cookies to deflate giving them the signature crackly top. The parchment-baked ones appeared to have more cracks.  A trick I learned from SaraBeth’s Kitchen baking book.

    Cookies on the left were baked on parchment, the cookies on the right on Silpat

    It is super important to chill the dough.  The dough is very soft and light and benefits from the time in the fridge.  I used a 2 tablespoon scoop for a bit smaller cookie and baked the cookies for approximately 12 minutes.  As soon as the cookies are removed from the oven, sprinkle them with a mix of fleur de sel or flaky salt and black and white sesame seeds.  Cool on a rack.

    BAKE THESE COOKIES NOW

    They are delicious. Crispy edges, a little bit of chewiness in the center, buttery, chocolatey (there’s my fake word again) with a subtle hint of sesame. So, so, good.  The Tahini seems to lighten the cookie.  If you want a crisper cookie I would use granulated sugar only.  A definite keeper.

    “Open Sesame” Salted Chocolate Chip Tahini Cookie Treasure Revealed

    A delicious twist to chocolate chip cookies by adding tahini
    Course cookies
    Cuisine American
    Keyword Chocolate Chip Tahini Cookie, cookies
    Prep Time 20 minutes
    Cook Time 15 minutes

    Ingredients

    The Stuff to be Creamed First

    • 8 tablespoons 115g, 4 ounces unsalted butter, at room temperature
    • 1/2 cup 120ml tahini, well stirred
    • 1/2 cup 100g granulated sugar
    • 1/2 cup 90g packed light brown sugar (For a crisper cookie omit brown sugar and use 200gm granulated sugar or 1 cup)

    The Wet Stuff

    • 1 large egg at room temperature
    • 1 large egg yolk
    • 1 teaspoon vanilla extract

    The Dry Stuff

    • 1 cup plus 2 tablespoons AP FlourThe 150g
    • 3/4 teaspoon baking soda
    • 1 teaspoon kosher Diamond Crystal or sea salt (DL uses a french sea salt which is similar to a kosher salt, it is not like our sea salt, if using table salt use 1/2 teaspoon, if using Morton's kosher salt use 3/4 teaspoon)

    The Bling

    • 2 cups 280g bittersweet or semisweet chocolate chunks (I used TJ's chocolate chunks)
    • flaky sea salt such as Maldon or fleur de sel
    • black and white sesame seeds

    Instructions

    • 1. In a small bowl, whisk together the flour, baking soda, and kosher or sea salt, set aside.
    • 2. In the bowl of a stand mixer, beat the butter, tahini, granulated sugar and brown sugar on medium speed for 2 to 3 minutes, until fluffy.
    • 3. Stop the mixer and scrape down the sides. Add the egg, the yolk, and vanilla, and continue to mix for another minute, stopping the mixer to scrape down the sides of the bowl during mixing
    • 4. With the mixer on low speed, add the dry ingredients until just combined, then add the chocolate chips. Do not overmix.
    • 5. Cover the dough and refrigerate overnight.
    • 6. Preheat the oven to 325ºF (160ºC). Line two baking sheets with parchment paper or silicone baking mats.
    • 7. Form the cookies into rounds using an ice cream scoop. For small cookies make each 1 1/2-inch (3.5cm), for larger cookies, 2-inches (5cm) diameter. Place them evenly spaced on the baking sheets, 3-inches (8cm) apart.
    • 8. Bake one sheet at a time, so you can keep an eye on them, use themiddle rack of the oven.
    • 9. Bake the cookies, turning the baking sheet midway during baking, until the cookies are golden brown around the edges but still pale in the center. For small cookies, about 12 minutes, for larger cookies, about 14 to 15 minutes.
    • 10. Remove from the oven, sprinkle cookies with a bit of flaky sea salt and sesame seeds.
    • 11. Let the cookies cool on the baking sheet.
    • Storage: These cookies will keep for two or three days at room temperature, but are definitely better the same day they're baked. The unbaked dough can be refrigerated for up to one week, and frozen for up to two months.
    Salted Butter & Chocolate Chunk Shortbread (New Year’s Resolution #2: Finish 12 Days of Cookies)

    Salted Butter & Chocolate Chunk Shortbread (New Year’s Resolution #2: Finish 12 Days of Cookies)

    Let’s get the apology over with first. Yikes, I wasn’t able to complete my 12 days of cookies. I started early, had help from Jamie and still came up short. Shouldn’t make excuses BUT, I am going to.  A family trip to Vegas is the clear winner of excuses and reasons why I stumbled. Of course, if I included cookies sampled at Bouchon in Vegas, I would have easily made 12, but not quite within the rules.  Second, a faulty oven. When the oven takes over 45 minutes just to reach 325 degrees, Houston, we have a problem. The last time my oven went on the fritz (a few years ago), I was baking Thanksgiving pies. Now that was a disaster.

    BUT, I am determined to complete the list, after all, cookies can be made and enjoyed year around. So, without further ado…
    #7 of the 12 Days of Cookies: Salted Butter & Chocolate Chunk Shortbread

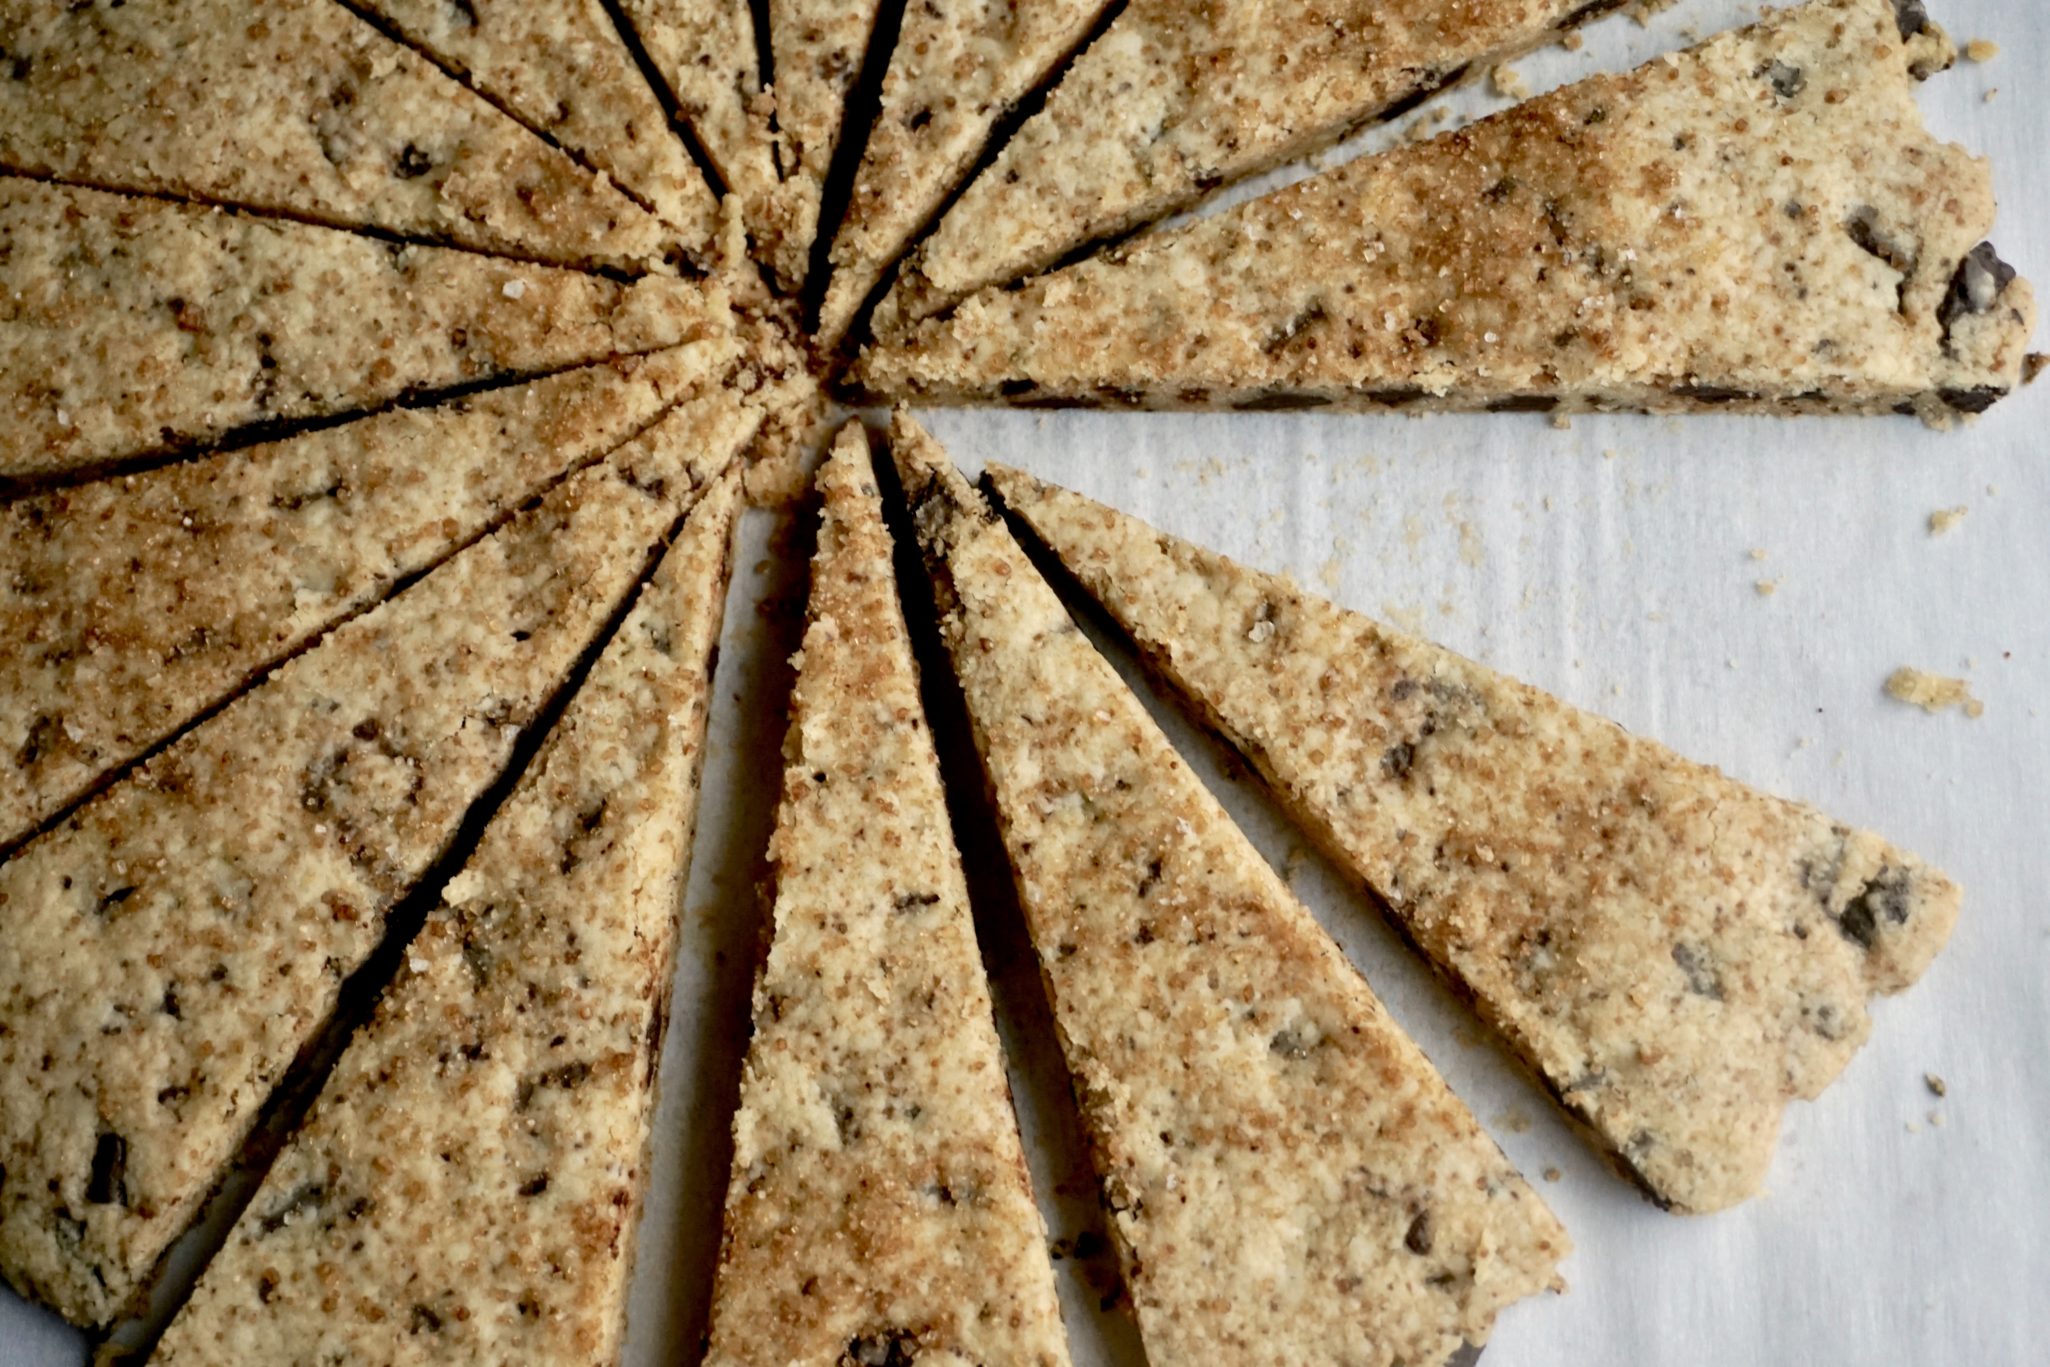
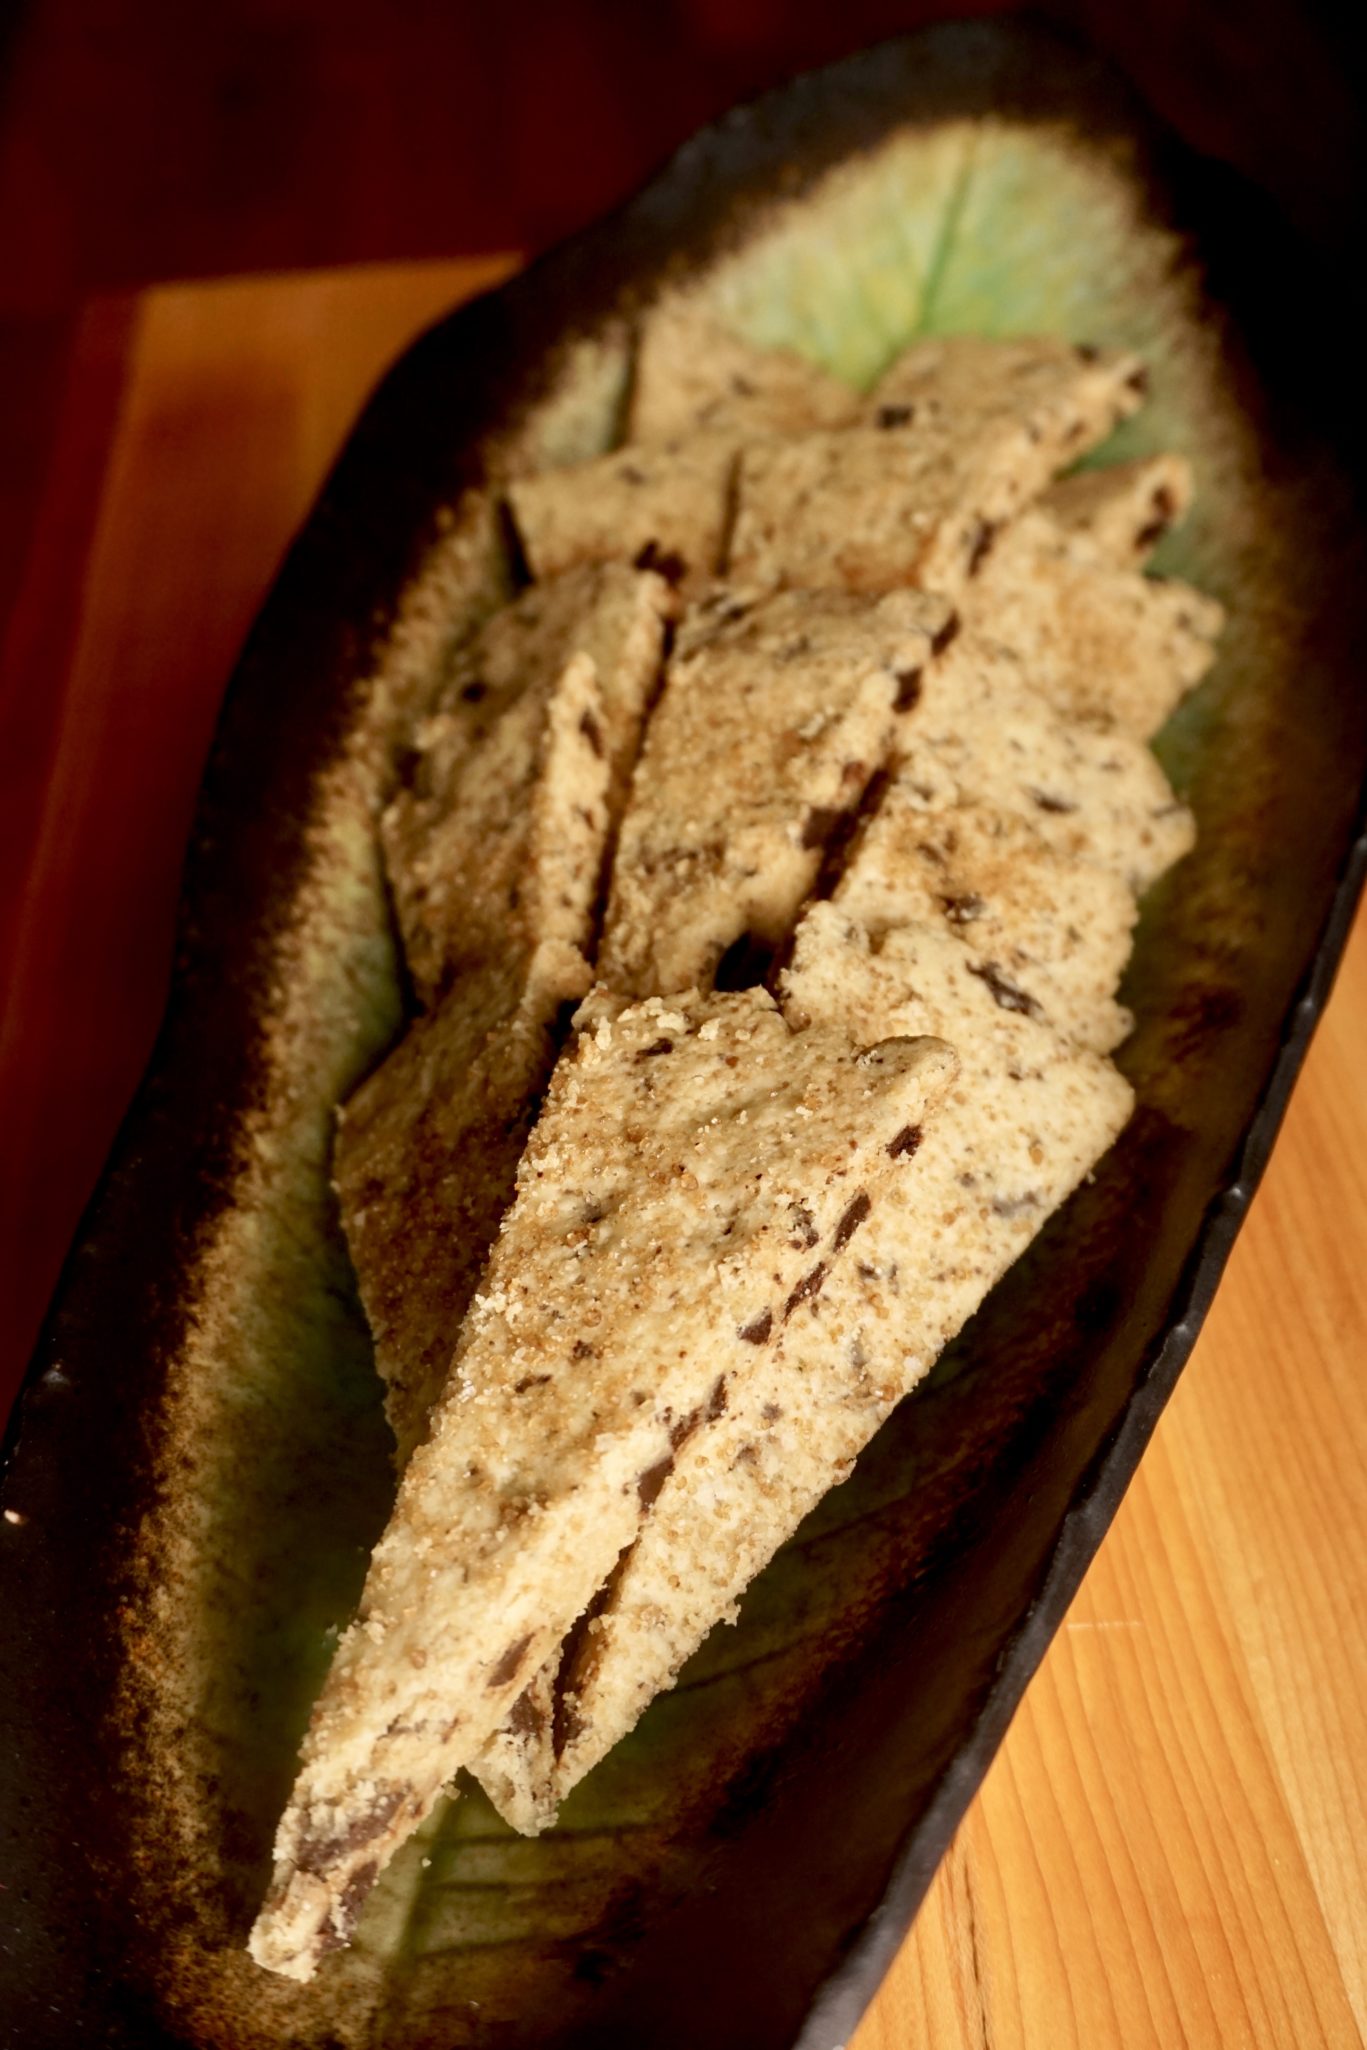
    After seeing this cookie pop up on various sites and blogs I knew it was destined for the 12 Days of Cookies list.  The recipe comes from the book Dining In by Alison Roman (what do you know, I am not buying this book-have I turned a new leaf? Nope, it is currently out of stock). This was a no-brainer.  Butter. Chocolate. Shortbread.  Like I was going to be able to ignore this recipe.

    This is a slice and bake cookie, my favorite kind of cookie.  You can make the dough in advance and bake off as few or as many cookies as you like. You can freeze some of the dough for a rainy day, which in California, might not happen for awhile.

    The dough was a bit crumbly straight out of the mixer so I kneaded it a couple of times until it came together.  Shape the dough into logs using parchment paper. Form the dough roughly into a log on the parchment, fold parchment over the log, and with a straight edge (ruler) placed up against the log on top of the parchment, gently pull the bottom piece of parchment while pushing the straight edge into the dough. This creates a round log. Wrap each log in the parchment and slide into a round tube (I use 3-inch diameter PVC pipe) and chill in the fridge.

    You can use raw turbinado sugar for the Demerara Sugar.  Don’t skip this step as it adds a nice crunch to the cookie. I would use semi-sweet chocolate which results in a sweeter cookie.  There is quite a bit of chocolate in this cookie which can make slicing the dough a bit tricky.  It’s okay if it crumbles when cut, just smoosh the dough back together, it will bake up fine.

    An utterly delicious cookie, buttery, sandy, chocolatety (my new word), and sweet with a surprise pop of salt.  It hits every taste sensation, and if that wasn’t enough, a crispy edge from the demerara sugar.  Cookie Heaven.  The keys to this cookie are salted butter, a sprinkling of Fleur de Sel, an edge of Demerara Sugar and of course CHOCOLATE chunks.  Hmmmmmm.

    I made a batch for a friend’s New Year’s Eve Party, but unfortunately, I was too tired to attend.  I ended up in my jammies, on the couch, ringing in the New Year with a glass of milk in one hand and a cookie in the other and then promptly fell asleep.  Oh well, there is always next year.

    Happy New Year Everyone!

    Dilemma-A bit of bubbly or milk?


    (Salted Butter & Chocolate Chunk Shortbread) New Year’s Resolution #2 Finish 12 Days of Cookies

    Ingredients

    • 1 cup plus 2 tablespoons 2 1/4 sticks salted butter, cut into 1/2-inch pieces
    • 1/2 cup granulated sugar
    • 1/4 cup light brown sugar
    • 1 teaspoon vanilla extract
    • 2 1/4 cups all-purpose flour
    • 6 ounces semi- or bittersweet dark chocolate chopped (but not too fine, you want chunks)
    • 1 large egg beaten
    • Demerara sugar for rolling
    • Flaky sea salt for sprinkling

    Instructions

    • The cookie dough can be made ahead and stored, tightly wrapped in plastic, up to 1 week in the refrigerator, or 1 month in the freezer. Cookies can be baked and stored in plastic wrap or an airtight container for 5 days.
    • 1. Line a rimmed baking sheet with parchment paper.
    • 2. Using an electric mixer and a medium bowl or a stand mixer fitted with the paddle attachment, beat the butter, both sugars, and vanilla on medium-high till it’s super light and fluffy, 3 to 5 minutes. Using a spatula, scrape down the sides of the bowl and, with the mixer on low, slowly add the flour, followed by the chocolate chunks, and beat just to blend.
    • 3. Divide the dough in half, placing each half on a large piece of plastic wrap. Fold the plastic over so that it covers the dough to protect your hands from getting all sticky. Using your hands (just like you’re playing with clay), form the dough into a log shape; rolling it on the counter will help you smooth it out, but don’t worry about getting it totally perfect. You can also do this using parchment paper, if you prefer, but I find using plastic wrap easier when it comes to shaping the log. Each half should form two logs 2 to 2 1/4 inches in diameter. Chill until totally firm, about 2 hours.
    • 4. Preheat the oven to 350°F.
    • 5. Brush the outside of the logs with the beaten egg and roll them in the Demerara sugar (this is for those really delicious crispy edges).
    • 6. Slice each log into 1/2-inch-thick rounds, place them on the prepared baking sheet(s) about 1 inch apart (they won’t spread much), and sprinkle with flaky salt. Bake until the edges are just beginning to brown, 12 to 15 minutes. Let cool slightly before eating them all.
    Soft Gingerbread Tiles with Rum Butter Glaze: Day 6, 12 Days of Cookies!

    Soft Gingerbread Tiles with Rum Butter Glaze: Day 6, 12 Days of Cookies!

    My kitchen gadget addiction got the best of me yet again. The culprit? A beautiful holiday cookie from Ottolenghi’s latest book, Sweet, Soft Gingerbread Tiles with Rum Butter Glaze. The cookies are made with either an embossed rolling pin (which I purchased to make graham crackers not so long ago) or cookie stamps holiday or all season, which I had to have.  After my cookie stamps arrived I immediately set out to make these.

    Soft Gingerbread Tiles

    The dough is a snap to make. The aroma that filled my kitchen while they baked made me smile. The cookies are soft, cakey and spicy.  Just like a classic gingerbread cookie.

    The recipe calls for blackstrap molasses which is the last extraction of sugar from sugarcane.  It’s pretty bitter.  The first extraction produces cane syrup (like Golden Syrup), the next produces molasses and the final extraction, with even less sugar left, produces blackstrap molasses.  I wanted to be faithful to the recipe so I used blackstrap molasses.  The cookies are not very sweet at all. I learned that regular molasses is about 70% sugar whereas blackstrap is about 40%, BIG difference.  I plan on trying this recipe with both cane syrup and regular molasses just for the added sweetness.

    The most difficult part of the recipe is stamping the cookies.  During baking, the cookies will rise and the pattern blurs a bit so be sure to press the cookies well so the imprint is really bold and defined in the dough.

    I tried two methods for stamping the cookies. For the first method, the dough is rolled into a sheet about 1/4 inch thick, stamped and cut out with a round cookie cutter.  For the second method, the do/ugh is rolled into a ball (about 1.5-2 tablespoons of dough) which is then pressed with the stamp to create a cookie.  Both methods worked well.

    I love the rum butter glaze. It was really easy to put together and added a sheen and sweetness/flavor to the cookie.  Though I brushed the glaze on, I think dipping the cookie or spreading the glaze with a spatula would make a nicer finish.  The cookie does need to be warm when glazing.

    These cookies are a showstopper.  I can’t wait to bake another batch.

    Gingerbread Tiles with Butter Rum Icing: Day 6, 12 Days of Cookies!

    A delicious and festive gingerbread with rum glaze from Ottolenghi
    Course cookies, sweets
    Cuisine American, British
    Keyword gingerbread, holidays, ottolenghi, Peanut and Bittersweet Chocolate Cookie
    Prep Time 30 minutes
    Cook Time 10 minutes

    Ingredients

    Dough: Da Wet Mix

    • 6 tbsp 85 g unsalted butter, at room temperature
    • 1/3 packed cup plus 2 tbsp 90 g dark brown sugar
    • 1/4 cup 100 g blackstrap molasses (can substitute golden syrup or reg molasses 1:1 for sweeter cookie)
    • 1 large egg yolk*

    Da Dry MIx

    • 1 3/4 cups plus 2 tbsp all-purpose flour (235 gms) plus extra for pressing
    • 1 tbsp Dutch-processed cocoa powder
    • 1/2 tsp baking soda
    • 1 tsp ground ginger
    • 1/2 tsp ground cinnamon
    • 1/8 tsp ground cloves
    • 1/4 tsp salt
    • 1/4 tsp freshly ground black pepper

    Rum-Butter Glaze:

    • 2/3 cup 80 g confectioners' sugar
    • 1/8 tsp ground cinnamon
    • 1 tbsp 15 g unsalted butter, melted and warm
    • 1 tbsp dark rum or lemon juice
    • 1 tsp warm water

    *On Food52 it was suggested to use extra-large egg yolk or add 1 teaspoon-1 tablespoon of water to dough if it doesn't come together. I added about 1 teaspoon water. It won't come together until you knead it). Makes 12–14 depending on the size of stamp and cutter

    Instructions

    • Preheat the oven to 375°F/190°C.
    • Place the butter, sugar and molasses in the bowl of an electric mixer with the paddle attachment in place.
    • Beat on medium speed until smooth and incorporated. Add the egg yolk and continue to beat until fully combined.
    • Sift the flour, cocoa powder, baking soda, ginger, cinnamon, cloves, salt and pepper into a bowl. Turn the speed of the mixer to low, and add the dry ingredients to the butter and molasses. Once the mix comes together, tip the dough onto a lightly floured work surface and knead gently.
    • Line two baking sheets with parchment paper and set aside.

    Forming Cookies: Rolling dough

    • Roll out the dough so that it is about 1/4 inch/ 0.5 cm thick. If the dough is very soft, you will need to chill it.*
    • Dip cookie stamp in a small bowl of flour, shake off any excess, then press them firmly into the dough, one at a time to create a deep imprint. How far you need to press to get an imprint will depend on your stamp; the patterns on some are more deeply cut than others. Bear in mind that the cookies rise a little when cooked, so any soft imprints will disappear.
    • Using a round cookie cutter that is slightly larger than the pattern, cut out the pieces of imprinted gingerbread. Transfer the cookies to the lined baking sheets, spaced about 3/4 inch/2 cm apart. Reroll the dough and continue to stamp and cut cookies until all the dough is used up.

    Stamping Cookies: No Rolling

    • I also tried instructions from the cookie stamps, roll 2 tablespoons of dough into a ball and flatten with cookie stamp. With both methods, make sure you press firmly enough to create a bold definite pattern in dough!
    • Bake for 9–10 minutes, rotating the sheets halfway through, until firm to the touch. They will continue to firm up as they cool, so don’t be tempted to bake them for any longer.

    Rum Glaze

    • Make the rum butter glaze while the gingerbreads are in the oven, as the glaze needs to be brushed onto the cookies while they are still warm.
    • Sift the confectioners’ sugar and cinnamon into a small bowl. Add the melted butter, rum (or lemon juice) and water and mix with a spoon until smooth. The glaze will thicken slightly if it sits around, if so stir a little more warm water in if you need—it should be the consistency of runny honey.
    • Remove the cookies from the oven, leave them to cool for 5 minutes, then brush or dab the glaze all over with a pastry brush. Transfer to a wire rack to cool completely.

    Notes

    If you want to keep the glaze booze-free, the rum in the icing can be replaced with lemon juice.
    Make-Ahead: Once the dough is made, it can be covered in plastic wrap and kept in the fridge for up to 2 days before baking.
    Storage:  These will keep for up to 5 days in an airtight container. The glaze will discolor and crack a little, but this will not affect how they taste.
    Swedish Visiting Cake Bars Day 3 of 12 Days of Cookies

    Swedish Visiting Cake Bars Day 3 of 12 Days of Cookies

    If you like almonds you are going to LOVE this cookie. A crispy almond topping layered on a chewy slightly dense cake. Perfect with a cup of tea. A nice addition to any cookie tray. Find the thinnest sliced almonds possible, they seem to work better to ensure your meringue has a nice crunch but is still light.

    Swedish Visiting Cake Bars Day 3 of 12 Days of Cookies

    Ingredients

    For the Topping

    • 1 cup confectioners' sugar
    • 3 large egg whites
    • 1 1/2 cups sliced almonds blanched or unblanched

    For the Bars

    • 3/4 cup sugar
    • 2 large eggs at room temperature
    • 1/4 teaspoon fine sea salt
    • 1 1/2 teaspoons pure vanilla extract
    • 1/4 teaspoon pure almond extract
    • 1 cup all-purpose flour
    • 1 stick unsalted butter melted and cooled
    • Confectioners' sugar for dusting optional

    Instructions

    • Center a rack in the oven and preheat it to 350 degrees F. Lightly butter a 9-inch square baking pan and line it with parchment paper.

    To make the topping:

    • Put the sugar in a medium bowl and pour over the egg whites. Using your fingers or a form, mix until the sugar is moistened. If there are lumps, ignore them. Toss in the almonds and stir them around until they're coated with the sugared whites. Set aside while you make the batter.

    To make the bars:

    • Working in a large bowl, whisk the sugar, eggs, and salt together until the mixture lightens in color and thickens a little, about 2 minutes.
    • Whisk in the vanilla and almond extracts. Switch to a flexible spatula and gently stir in the flour. When the flour is fully incorporated, gradually fold in the melted butter. You'll have a thick batter with a lovely sheen.
    • Scrape it into the pan and use the spatula to work the batter into the corners. The layer will be very thin.
    • Give the topping another stir, or a run-through with your fingers, and turn it out onto the batter. Use a spatula or your fingers to spread the almonds evenly over the mixture, making sure to get nuts into the corners too.
    • Bake for 28 to 32 minutes, or until a tester inserted into the center of the cake comes out clean or with only a few crumbs stuck to it. The meringue topping will be pale golden brown. If you'd like a deeper color on the topping, run it under the broiler until you get the shade of gold you like best.
    • Transfer the pan to a rack and let rest for 5 minutes, then run a knife around the edges of the cake and unmold it onto the rack. Very gently peel away the parchment and invert the cake onto another rack to cool to room temperature.
    • Transfer the cake to a cutting board and, using a long, thin knife, slice it into nine 3-inch squares. For smaller portions, cut each square into two triangles. If you'd like, you can dust the bars with confectioners' sugar just before you serve them.