
After one Head of the Charles Regatta, we headed to Vermont for some R&R. Our first stop was King Arthur Baking. We stayed at a…
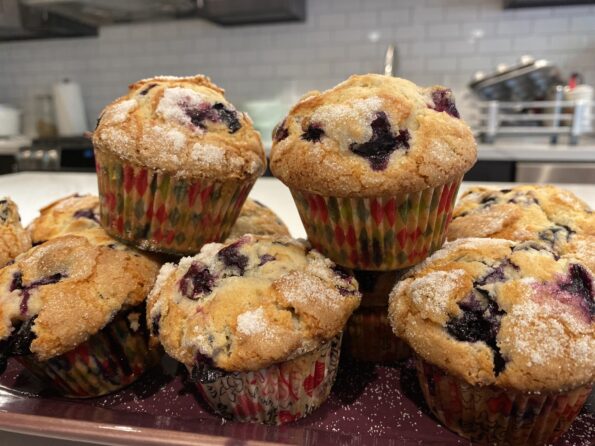
My first stop at the farmers’ market is the blueberry stand. I love those little blue gems and find myself adding them to salads, eating…
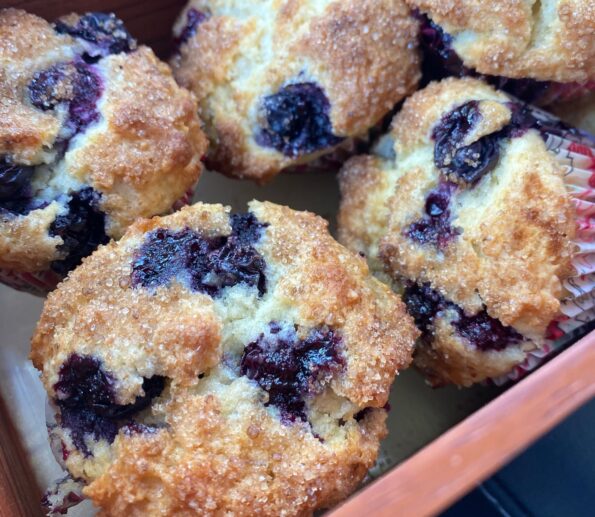
The last few weeks our favorite blueberry vendor has been at the local farmer’s market. These sweet, plump, juicy nuggets have made their way into…
Bleary-eyed, I arrived home at 6:15 AM after dropping off Jamie at the airport at 5 AM. I actually live only 10 minutes from the…
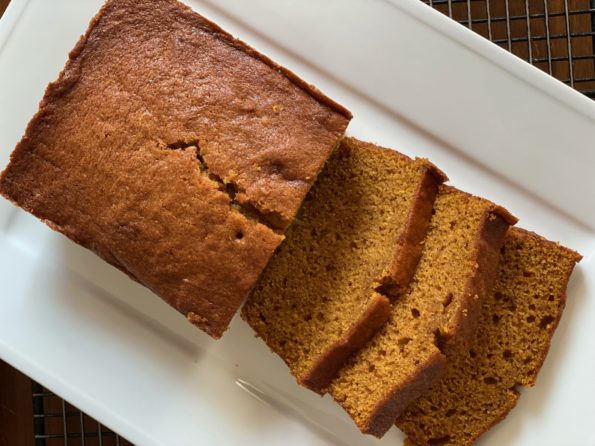
Who else besides me groans at the first sign of the fall season. You walk outside, take in the fall air, admire the color of…
Are you like me? Our farmer’s market in the summer is like a candy store and I’m the kid in it, running around and grabbing…
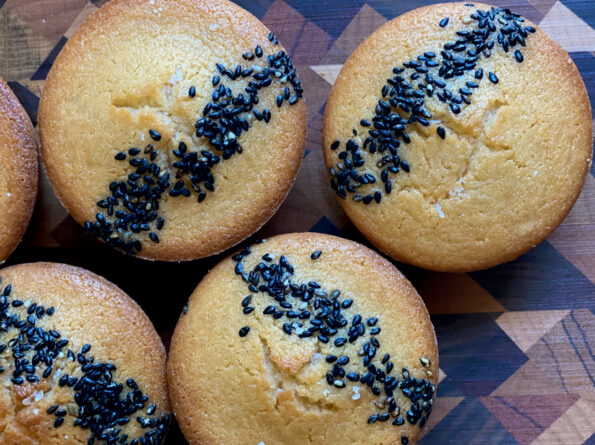
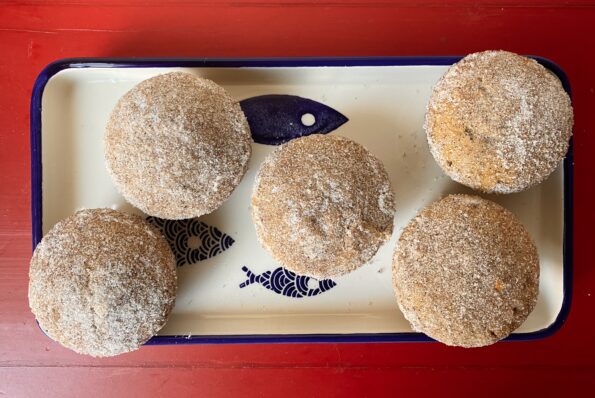
You might be wondering why this post is named Muffins de Mochi con Misugaru. WELL, let me tell you why… Apparently, I’m not supposed to…
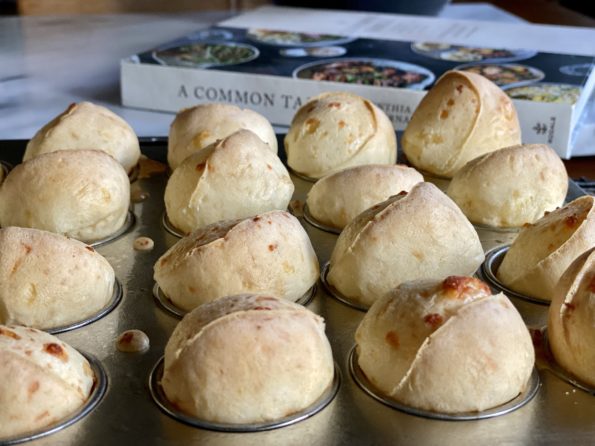
Earlier in the year as I was clicking through my Instagram, perusing what my favorite bloggers and IGers were up to, I landed on Two…
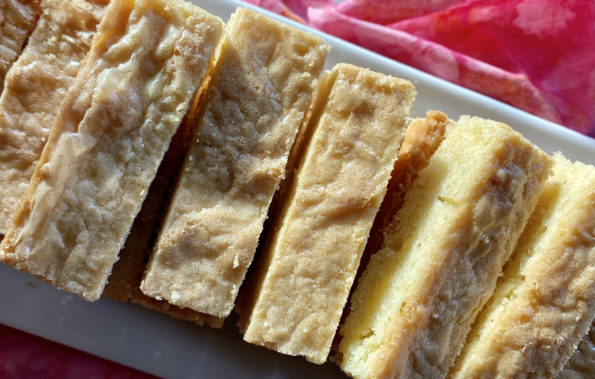
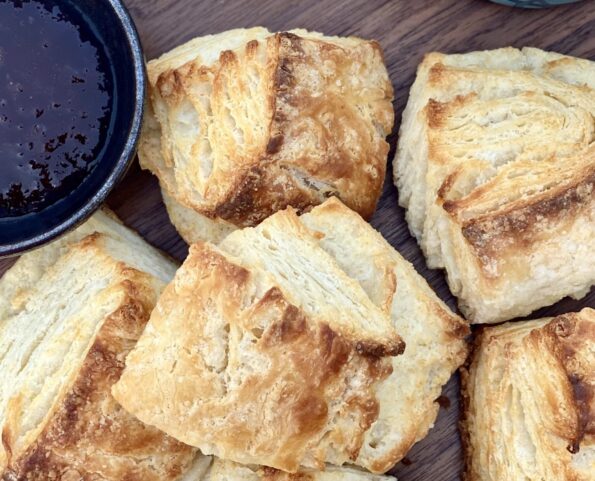
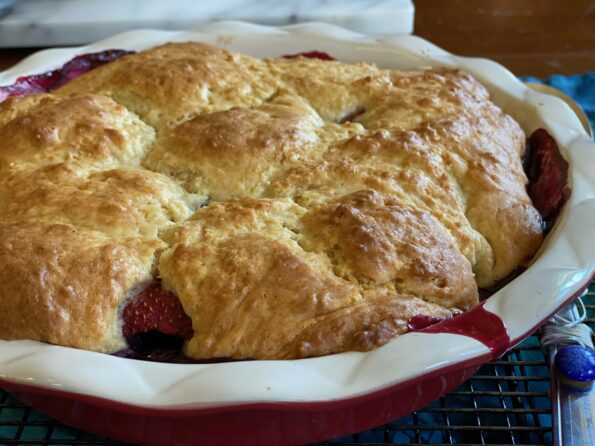
Yes, you are not seeing double, this is a different recipe for Ted Lasso’s biscuits! AND it’s a good one. I am a Johnny come…