
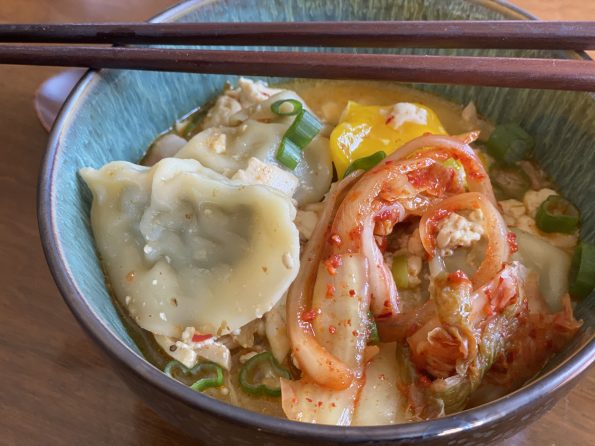
Y’all know I love soup, right? I have about a dozen recipes for different soups on 3jamigos and now I am adding one more, Kimchi…
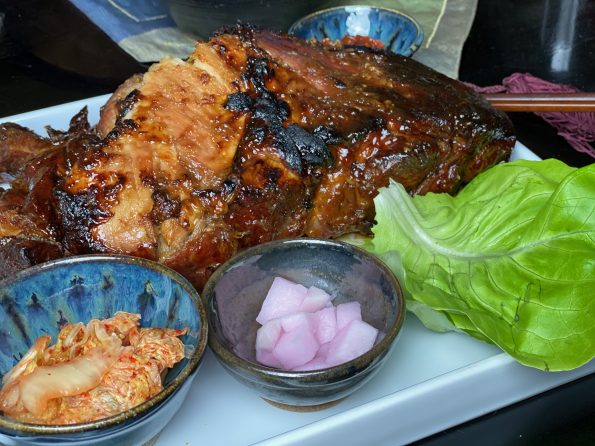
Need a dish to feed a big crowd? A dish that is easy to make and requires little attention? I have just the dish! Bo…
My favorite dish at Thanksgiving, excluding dessert, is dressing. I adore bread stuffing. My Mom’s version is delicious. It’s a pretty traditional bread dressing with…

Greetings from rainy Quebec City! Hubby and I decided to take a quick trip to Montreal and Quebec City. Our last trip to the eastern…

I love the fall season. Aside from all things pumpkin and apples, I start thinking about foods that go hand in hand with watching football. …
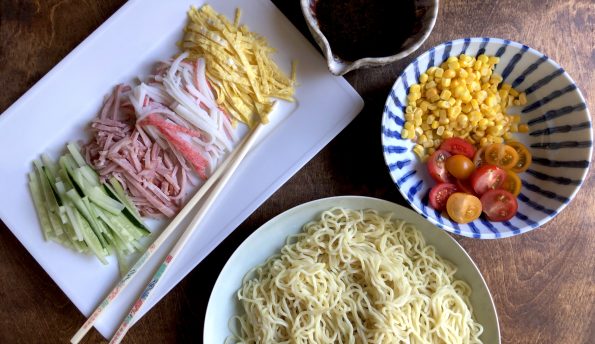
TAs temps edged upward this past week, I began thinking about cold noodle dishes to counter the heat. One of our favorite ramen joints in…
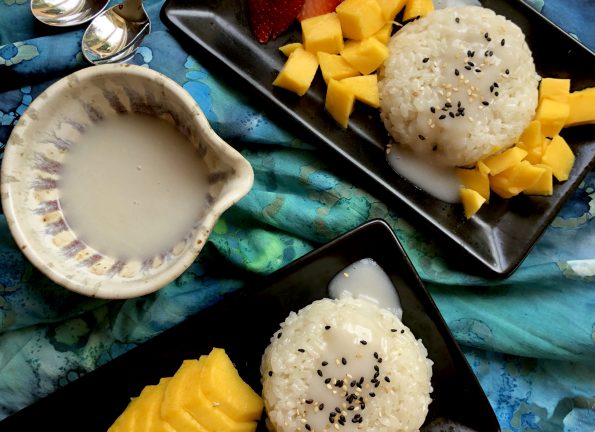
A delicious gluten-free dessert, Thai Mango Sticky Rice with Coconut. And it’s Vegan.
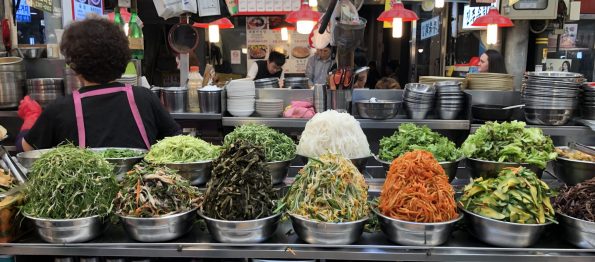
On our trip to South Korea, we spent a lot of time roaming around the various street markets in Seoul. Rows of stalls filled with…
Off to see Jorge in Korea! Do you have a bucket list of things to do when traveling, if so, what’s yours? I’d love to…