
This month’s Food52 Baking Club pick is Thomas Keller’s Bouchon Bakery Book. A gorgeous, very heavy (a workout just lugging it around) opus on all…
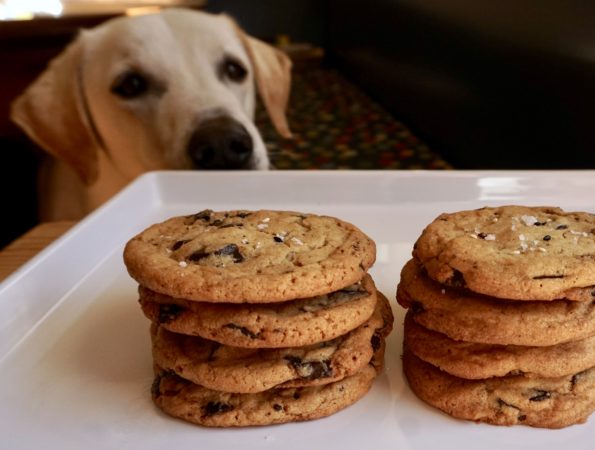
I reserved some of the Salted Chocolate Chip Tahini Cookie dough to bake knowing I would be going to Monday morning coffee with the moms. Who…
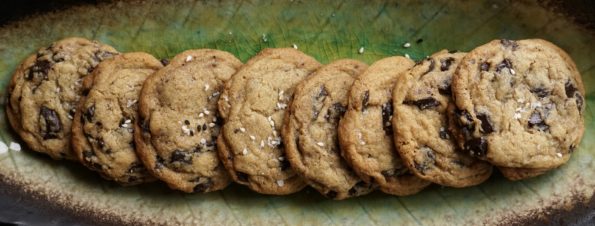
Holiday Cookie List: Number EIGHT. Very LATE. But worth the WAIT! My friend Mel mentioned a recipe she had tried recently from the NYTimes for Salted…

The kids were home for the holidays and have now gone back to school. It was nice having them home although our house looks like…
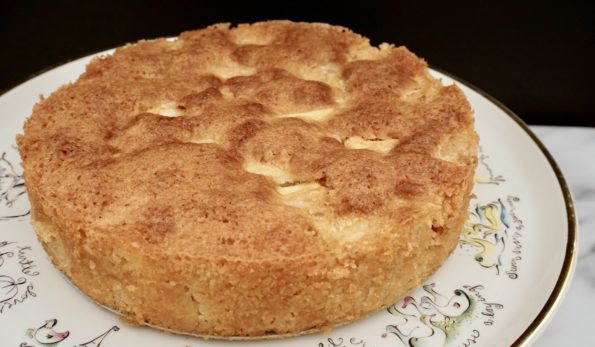
I have been eyeing Dorie Greenspan’s recipe for Marie-Helene’s Apple Cake for awhile and finally found the perfect occasion. A New Year’s Eve gnocchi party…
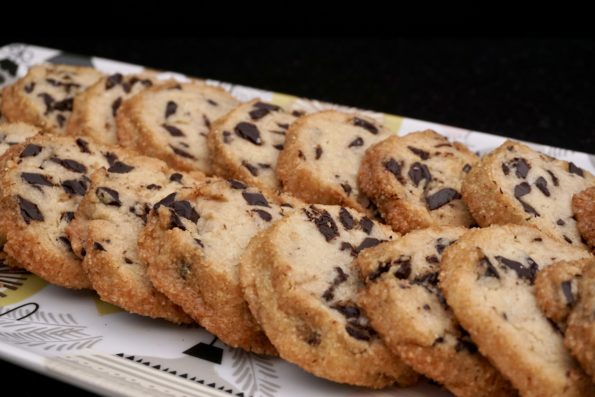
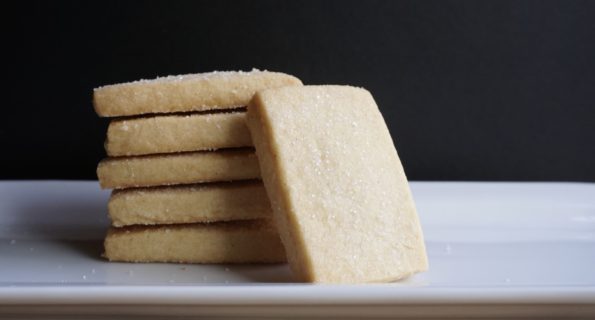
A rift on CCC! Salted Butter & Chocolate Chunk Shortbread, buttery, filled with chocolate topped with fleur de sel and edged with sugar. Delicious!

I have a bucket list of New Year’s resolutions this year. Resolution #1, “EAT MORE VEGGIES and less meat”. This is going to be EASY…

My kitchen gadget addiction got the best of me yet again. The culprit? A beautiful holiday cookie from Ottolenghi’s latest book, Sweet, Soft Gingerbread Tiles…
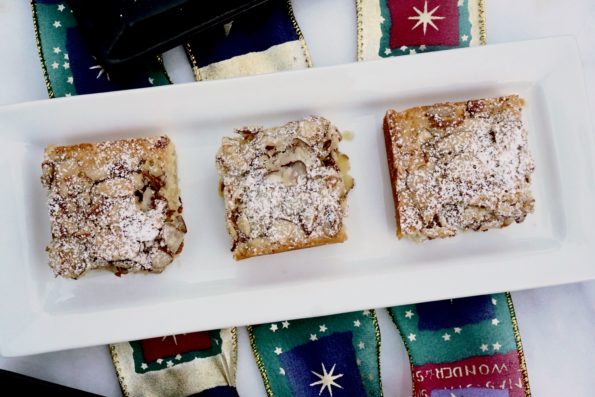
If you like almonds you are going to LOVE this cookie. A crispy almond topping layered on a chewy slightly dense cake. Perfect with a…