
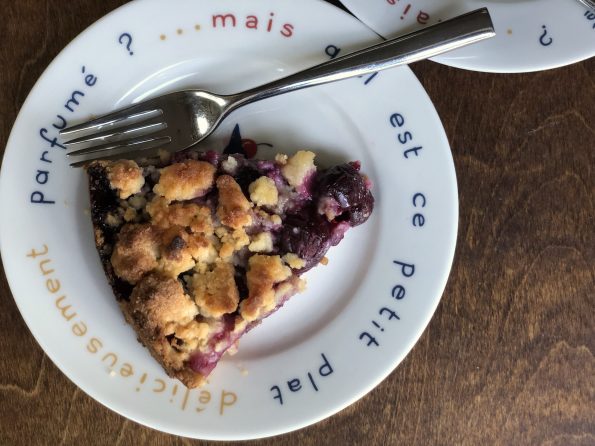
Right next to my favorite strawberry stand at the farmer’s market is a cherry stand. A couple of weeks ago was their last time at…
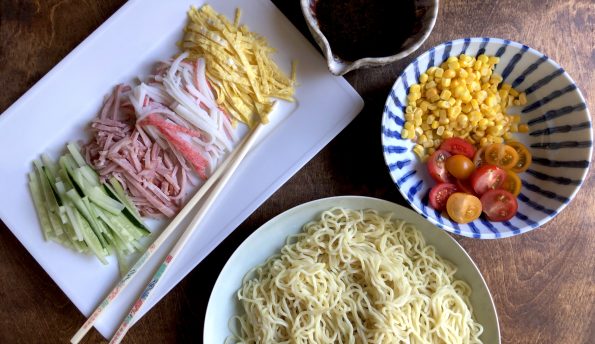
TAs temps edged upward this past week, I began thinking about cold noodle dishes to counter the heat. One of our favorite ramen joints in…
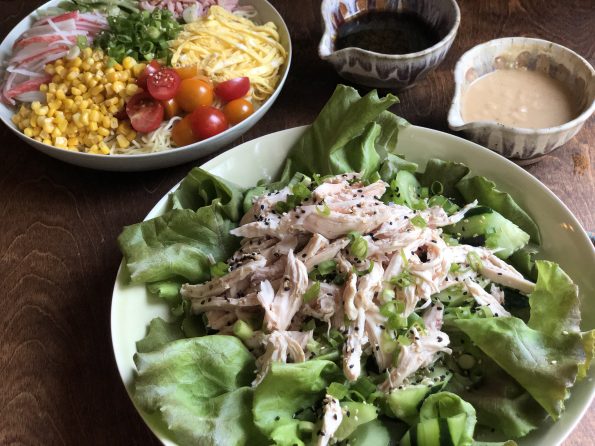
The weather has been pretty darn warm. Actually, I’d say damn hot lately. I grew up in San Francisco, a warm day meant temps in…
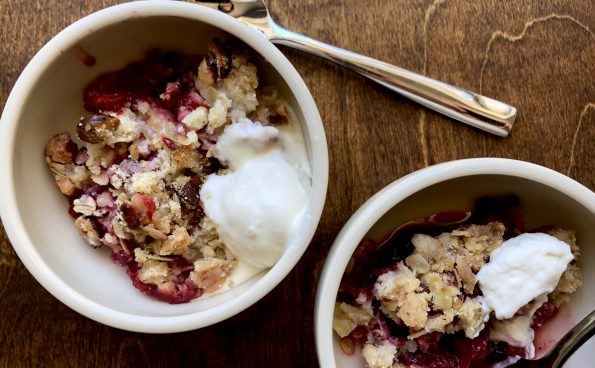
On my recent foray to the Farmer’s Market I came home with not only strawberries and blueberries but rhubarb too. I thought about making a…
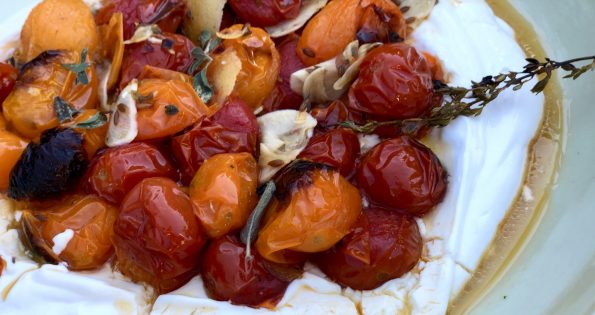
I have a couple of go-to appetizer dips that I use ALOT (a certain Artichoke Dip comes to mind). Every time I make one of…
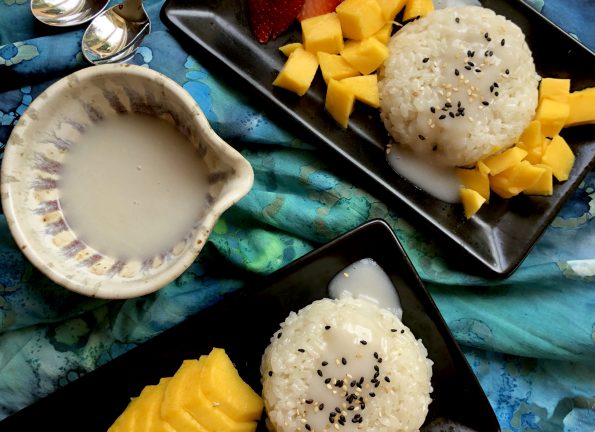
A delicious gluten-free dessert, Thai Mango Sticky Rice with Coconut. And it’s Vegan.

Get thee to a Farmer’s Market now. It is the perfect time to visit your local market, all things fruit and vegetable are at its…
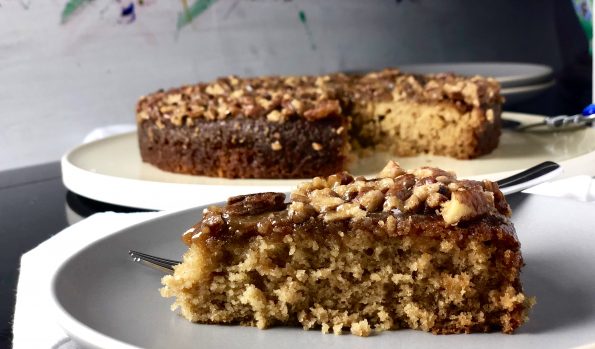
We celebrated a couple of family birthdays in June. Most notably my kid’s and my brother’s. They share the same day, just different years, different…
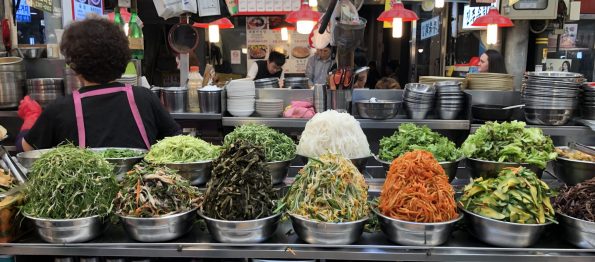
On our trip to South Korea, we spent a lot of time roaming around the various street markets in Seoul. Rows of stalls filled with…