
Last week I headed up to the City to run some errands, check on my mom’s house and visit her at the assisted-living home. We…
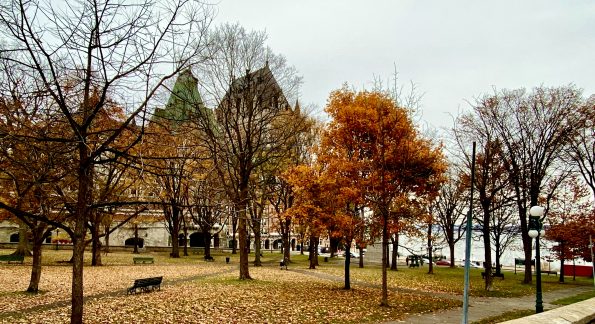
Greetings from rainy Quebec City! Hubby and I decided to take a quick trip to Montreal and Quebec City. Our last trip to the eastern…
I’m pretty jazzed, a friend is gifting me a fig tree! She took a cutting, threw it in dirt and whaddya know, it grew into…
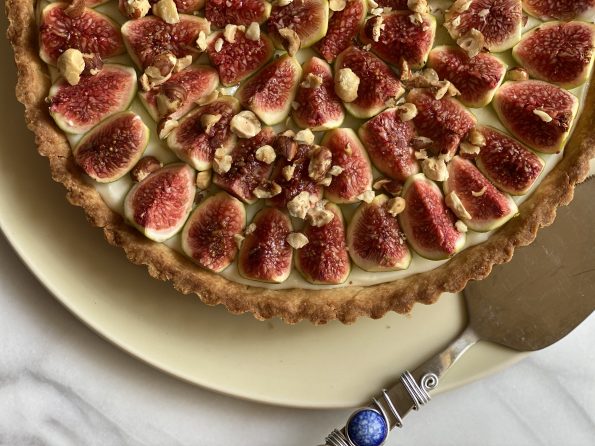
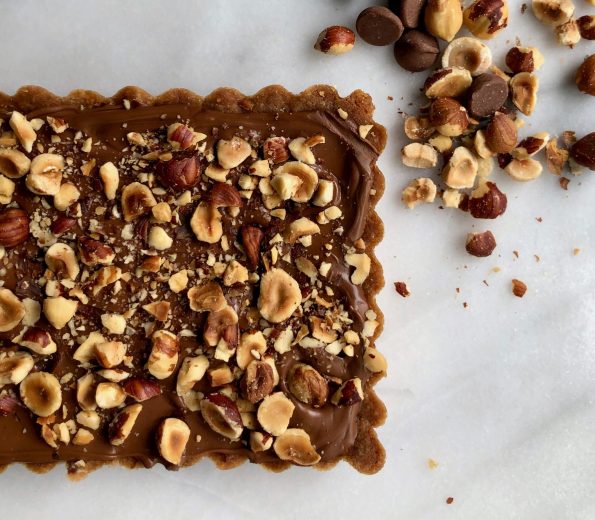
We were invited to Rosh Hashanah dinner the other night and I volunteered to bring dessert. It’s usually a no brainer since our host LOVES…
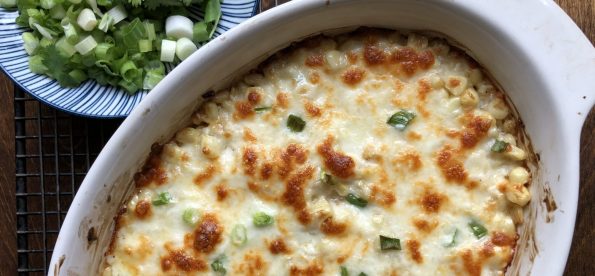
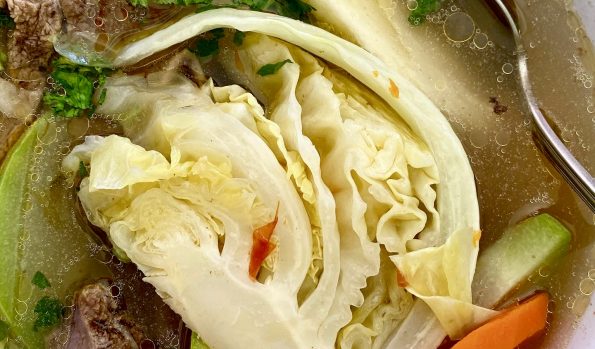
I love the fall season. Aside from all things pumpkin and apples, I start thinking about foods that go hand in hand with watching football. …
Joy is one of my oldest friends. We went to school together and I mean that literally. We lived a few blocks from each other,…
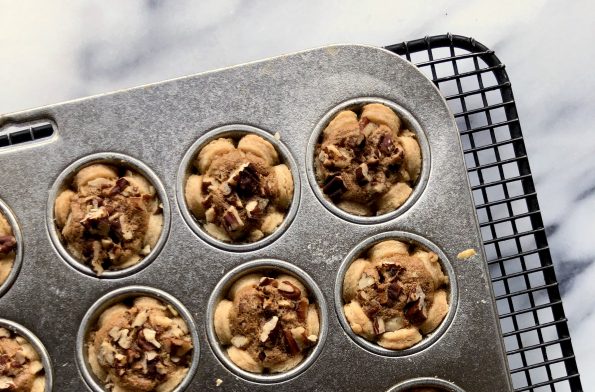
I walked out this morning and for the first time, there was a slight chill in the air. Is Fall finally here? Hmmm. Let me…
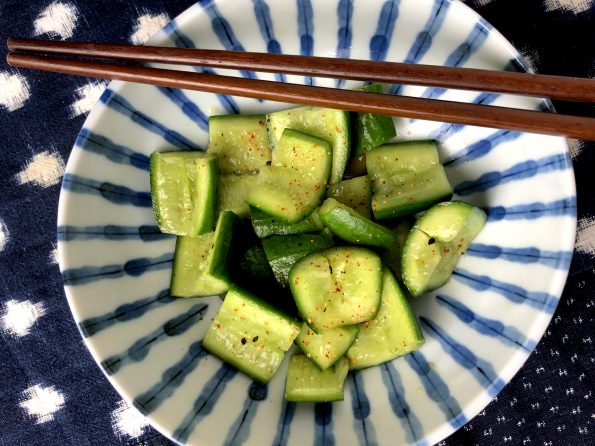
This summer I have been the lucky recipient of what seems like a bushel of cucumbers from the gardens of friends and neighbors. Luckily, I…
It has been 1610 days since I sat down and penned my inaugural post, Jamigos 2.0 to launch 3jamigos. As I reflect on that number…