
Hi everyone! Hope you are all staying sane out there sheltering in place! It is me, Jamie, your favorite blogger. As I am clearly the…
Day 2 of Shelter in Place. I receive a text from a friend that the supermarkets are a little calmer than yesterday. That’s my cue…
I visited my town library recently and requested the cookbook Midwest Made by Shauna Sever. This is a feeble attempt to be more discriminating before…
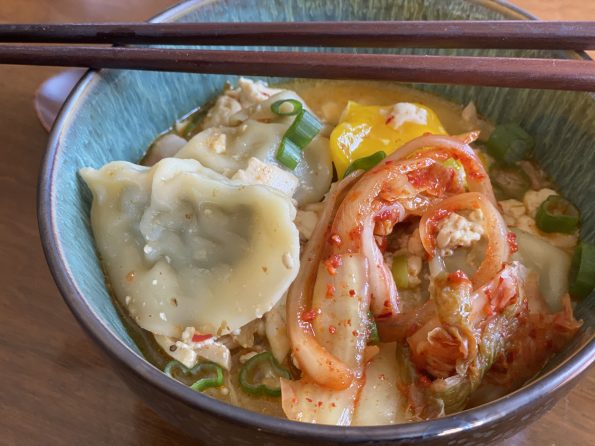
Y’all know I love soup, right? I have about a dozen recipes for different soups on 3jamigos and now I am adding one more, Kimchi…
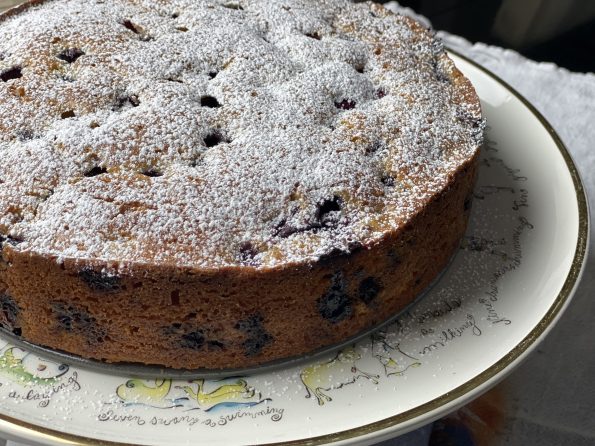
Is it a cake or a giant muffin, Blueberry Muffin Cake. Delicious and easy to make. Perfect for breakfast or an anytime snack.
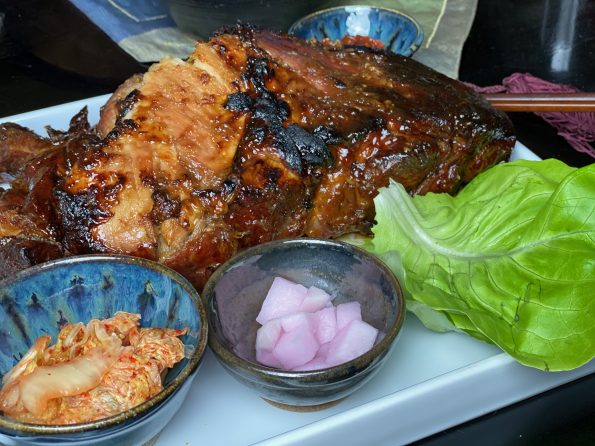
Need a dish to feed a big crowd? A dish that is easy to make and requires little attention? I have just the dish! Bo…
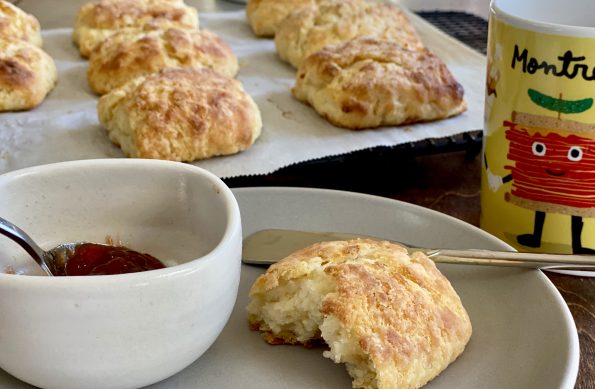
Delicious, incredibly easy buttermilk biscuits that start with melted butter to create a tender, flaky, buttery biscuit.
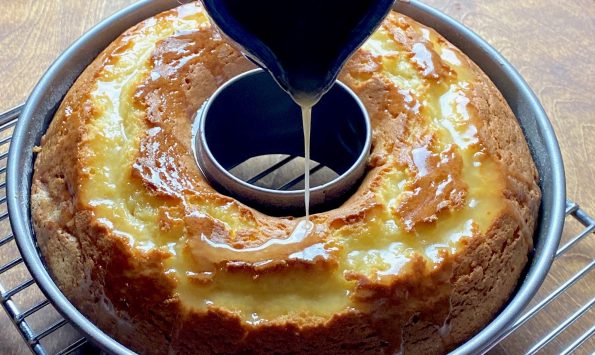
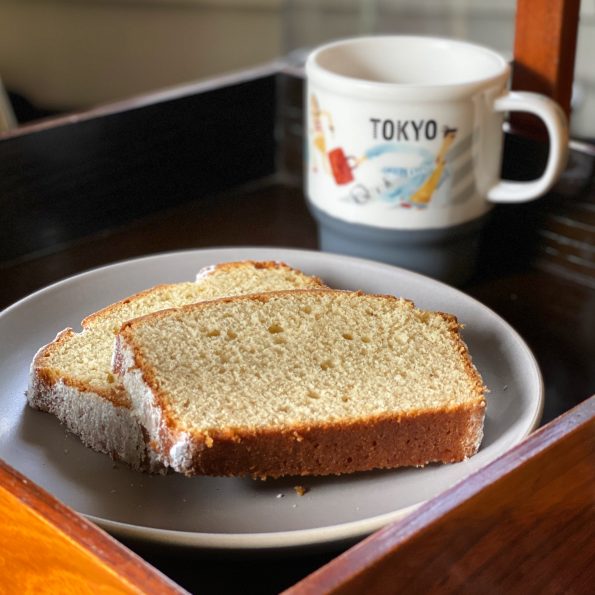
Kentucky Butter Cake. Butter, flour, sugar…more butter, and sugar. What’s not to like?
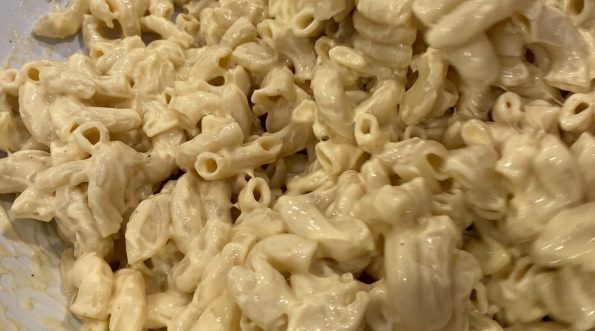
Happy National Cheese Day! Any excuse to make a family favorite, mac and cheese. I love mac and cheese. I unabashedly admit as a kid,…