

Friday night…my mind was thinking about the upcoming Memorial Day weekend. The plan, grilling on Monday. Something classic, burgers, potato salad, strawberry shortcake, the “Summer…
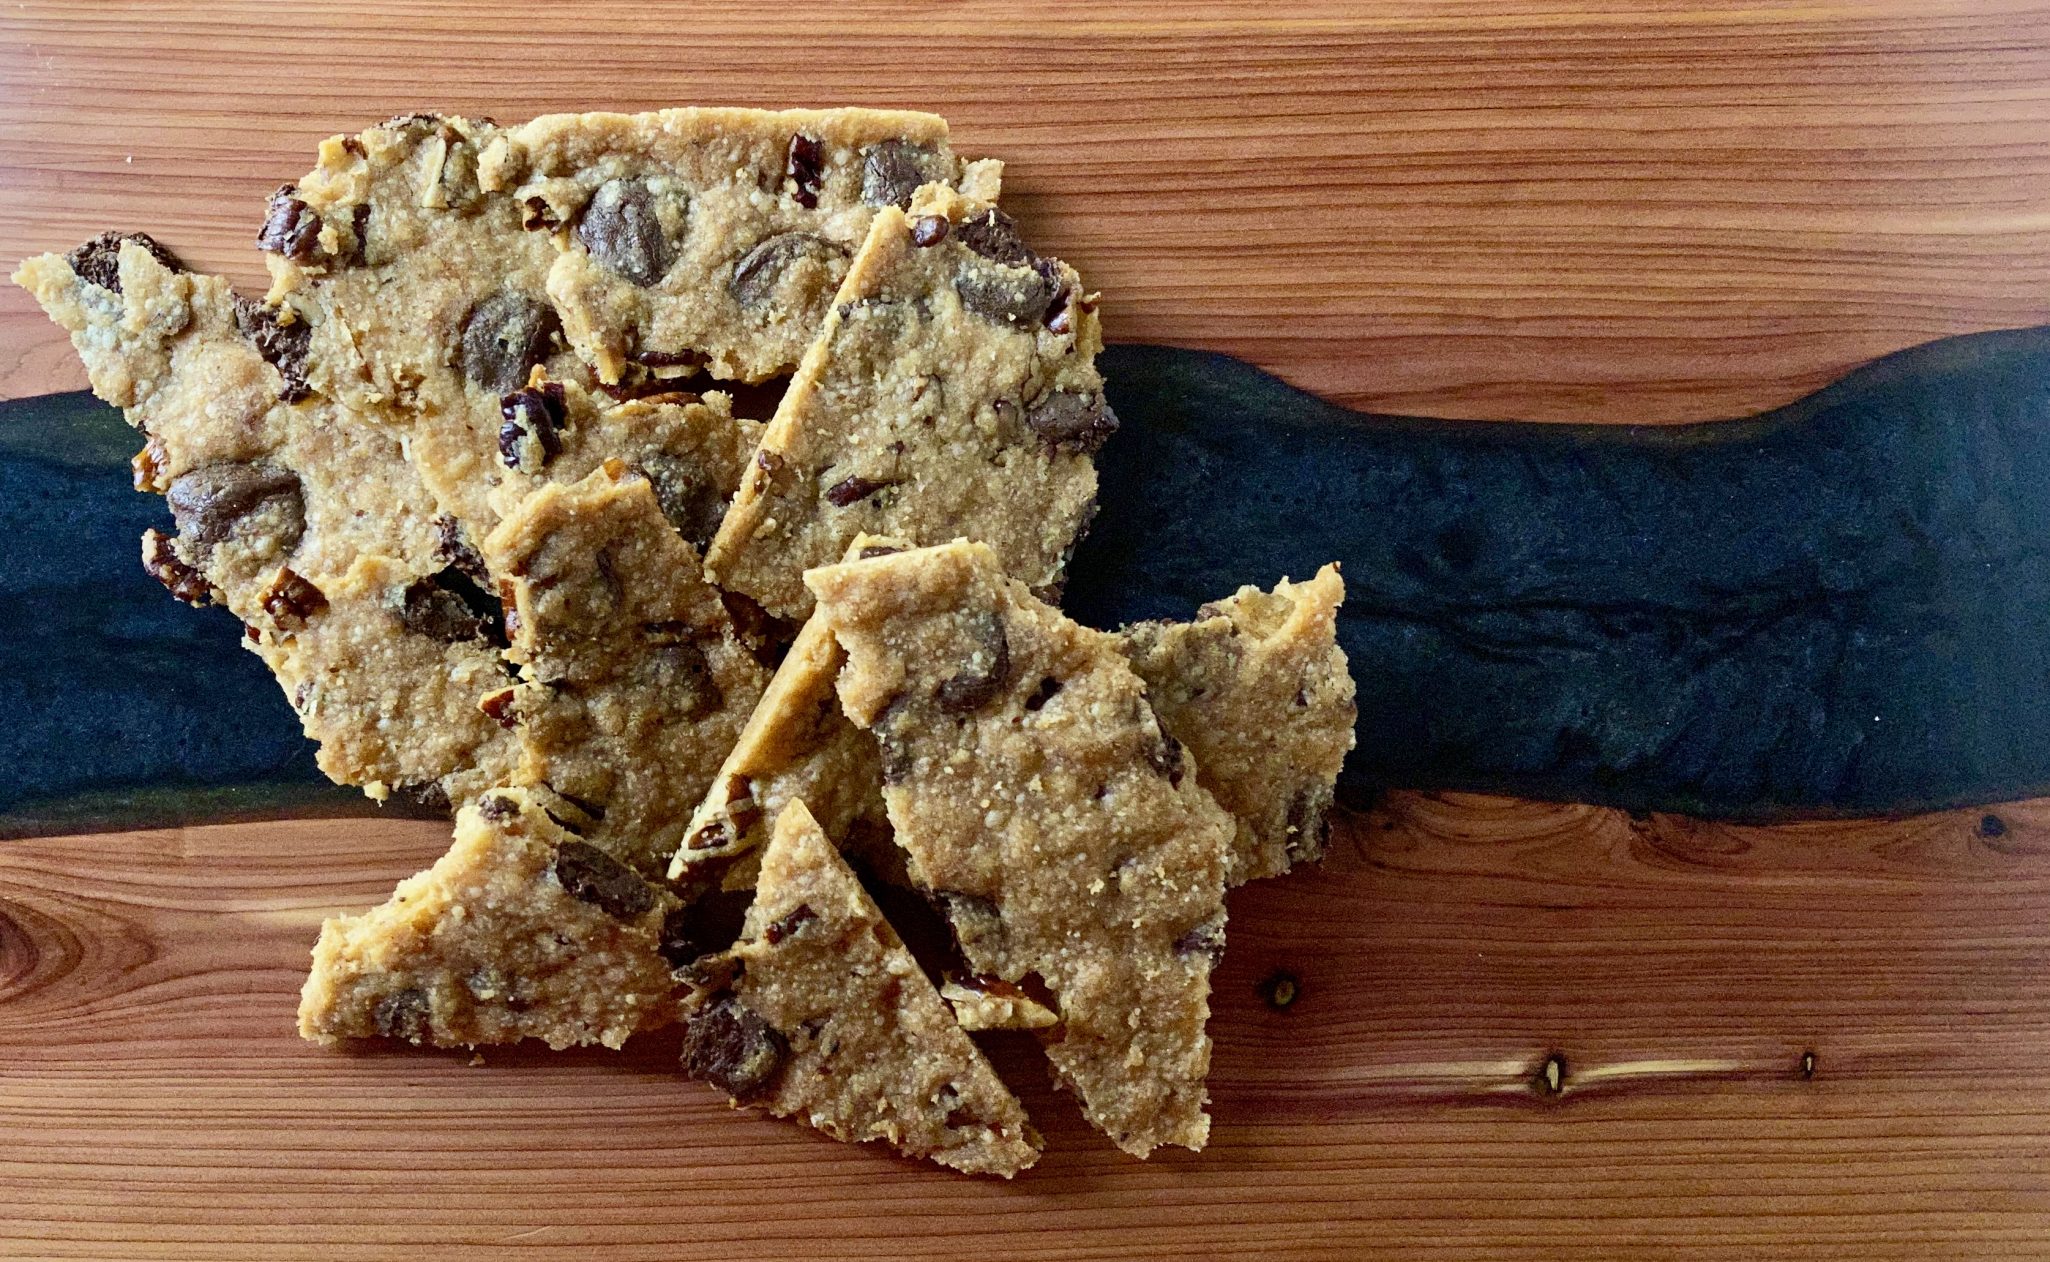
Hello? Why didn’t someone tell me it was National Chocolate Chip Cookie Day…a couple of days ago? Yep, I missed it. Well, I almost missed…
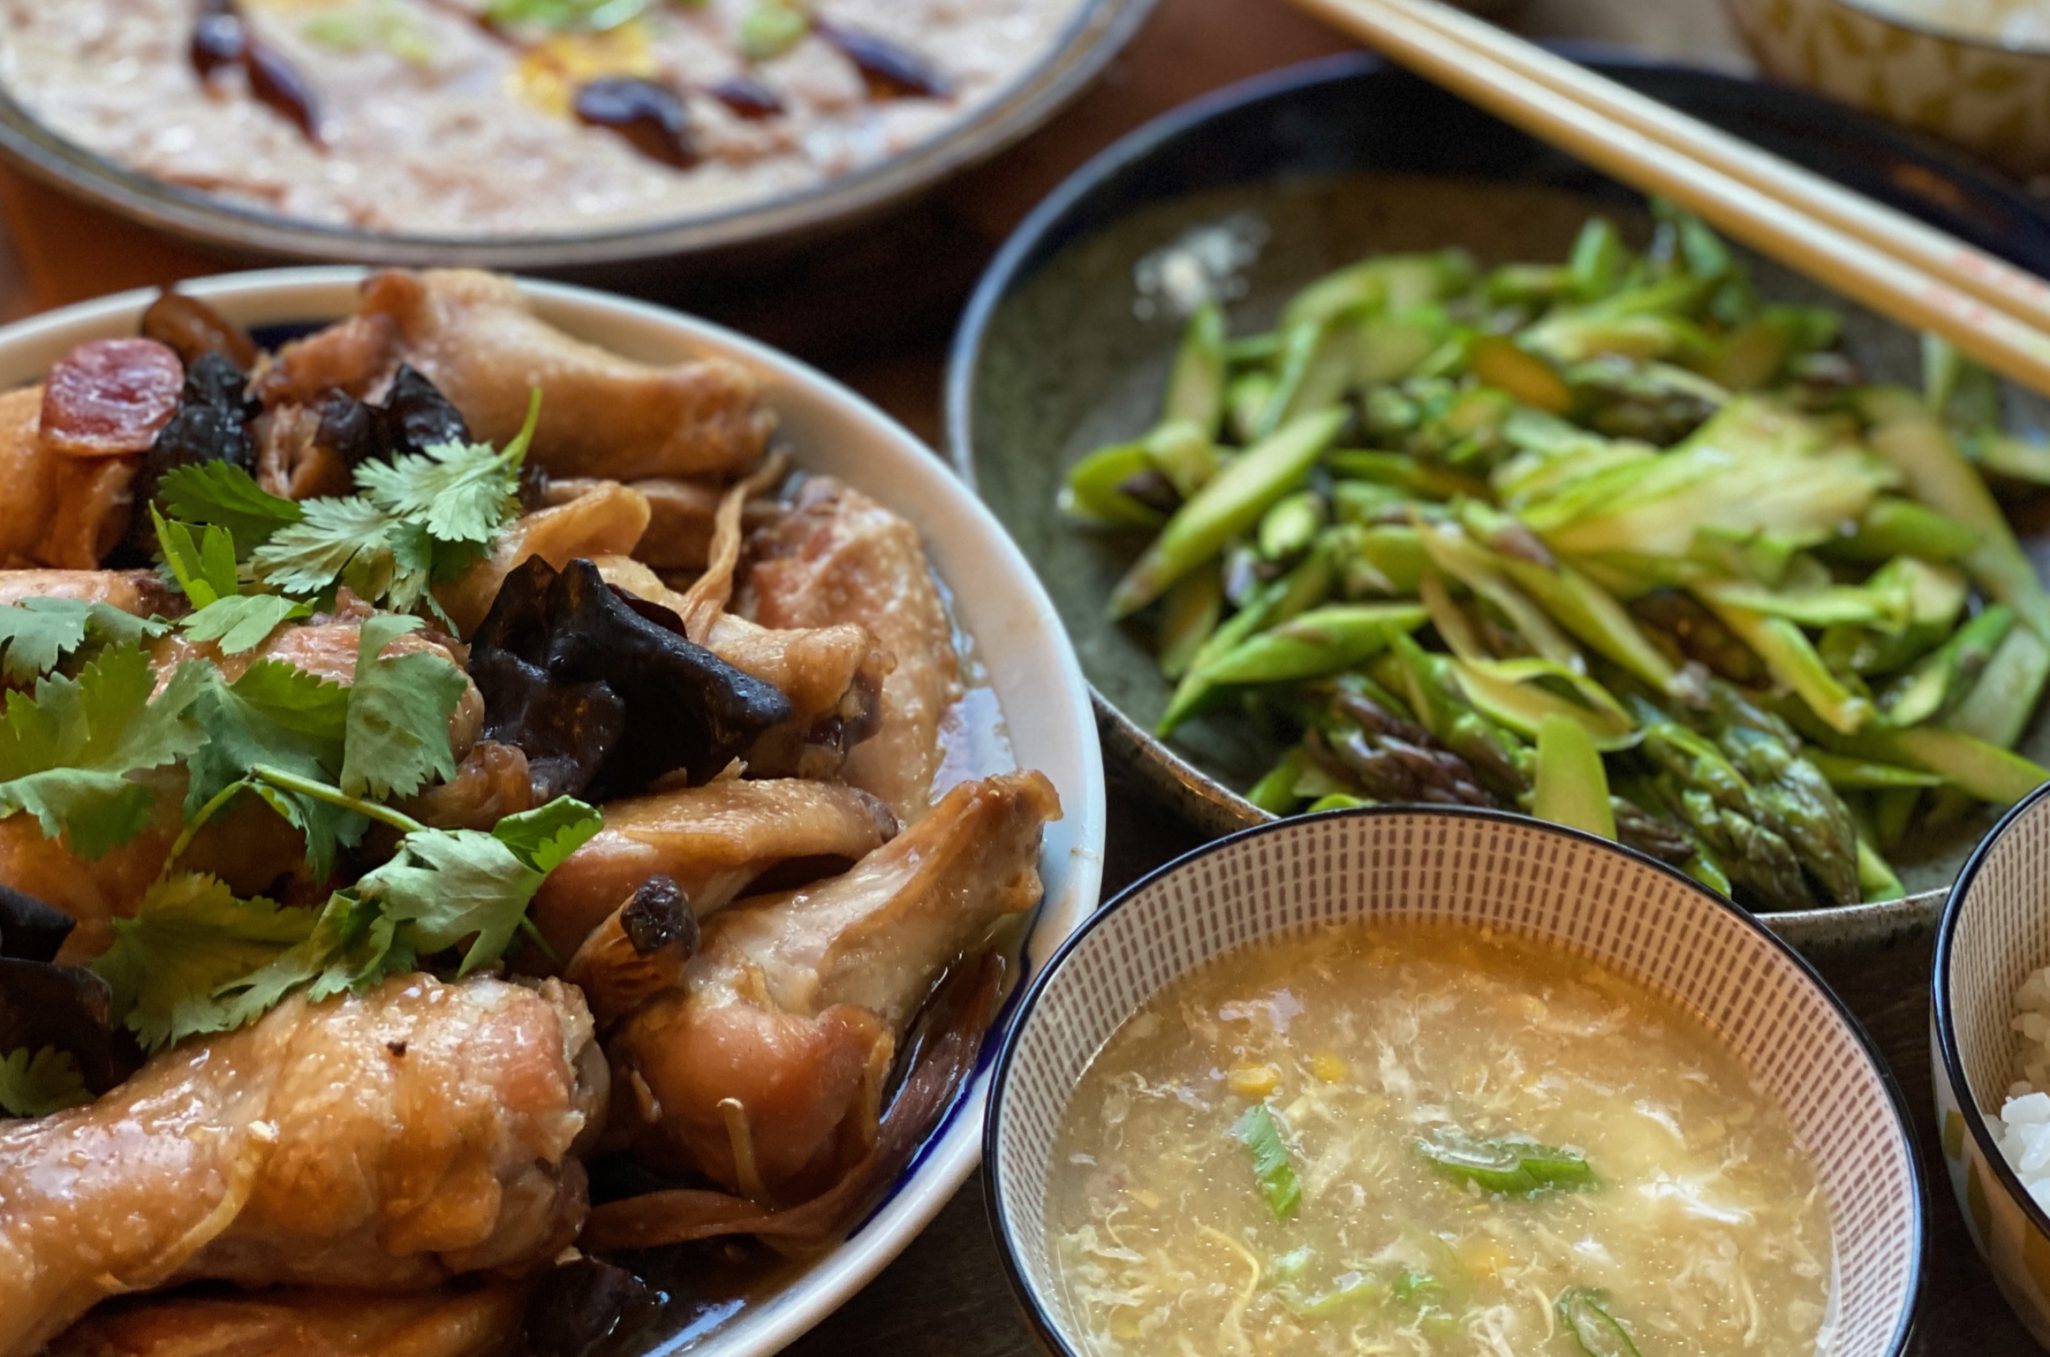
Steamed Chicken with Chinese sausage, Delicious down home dish
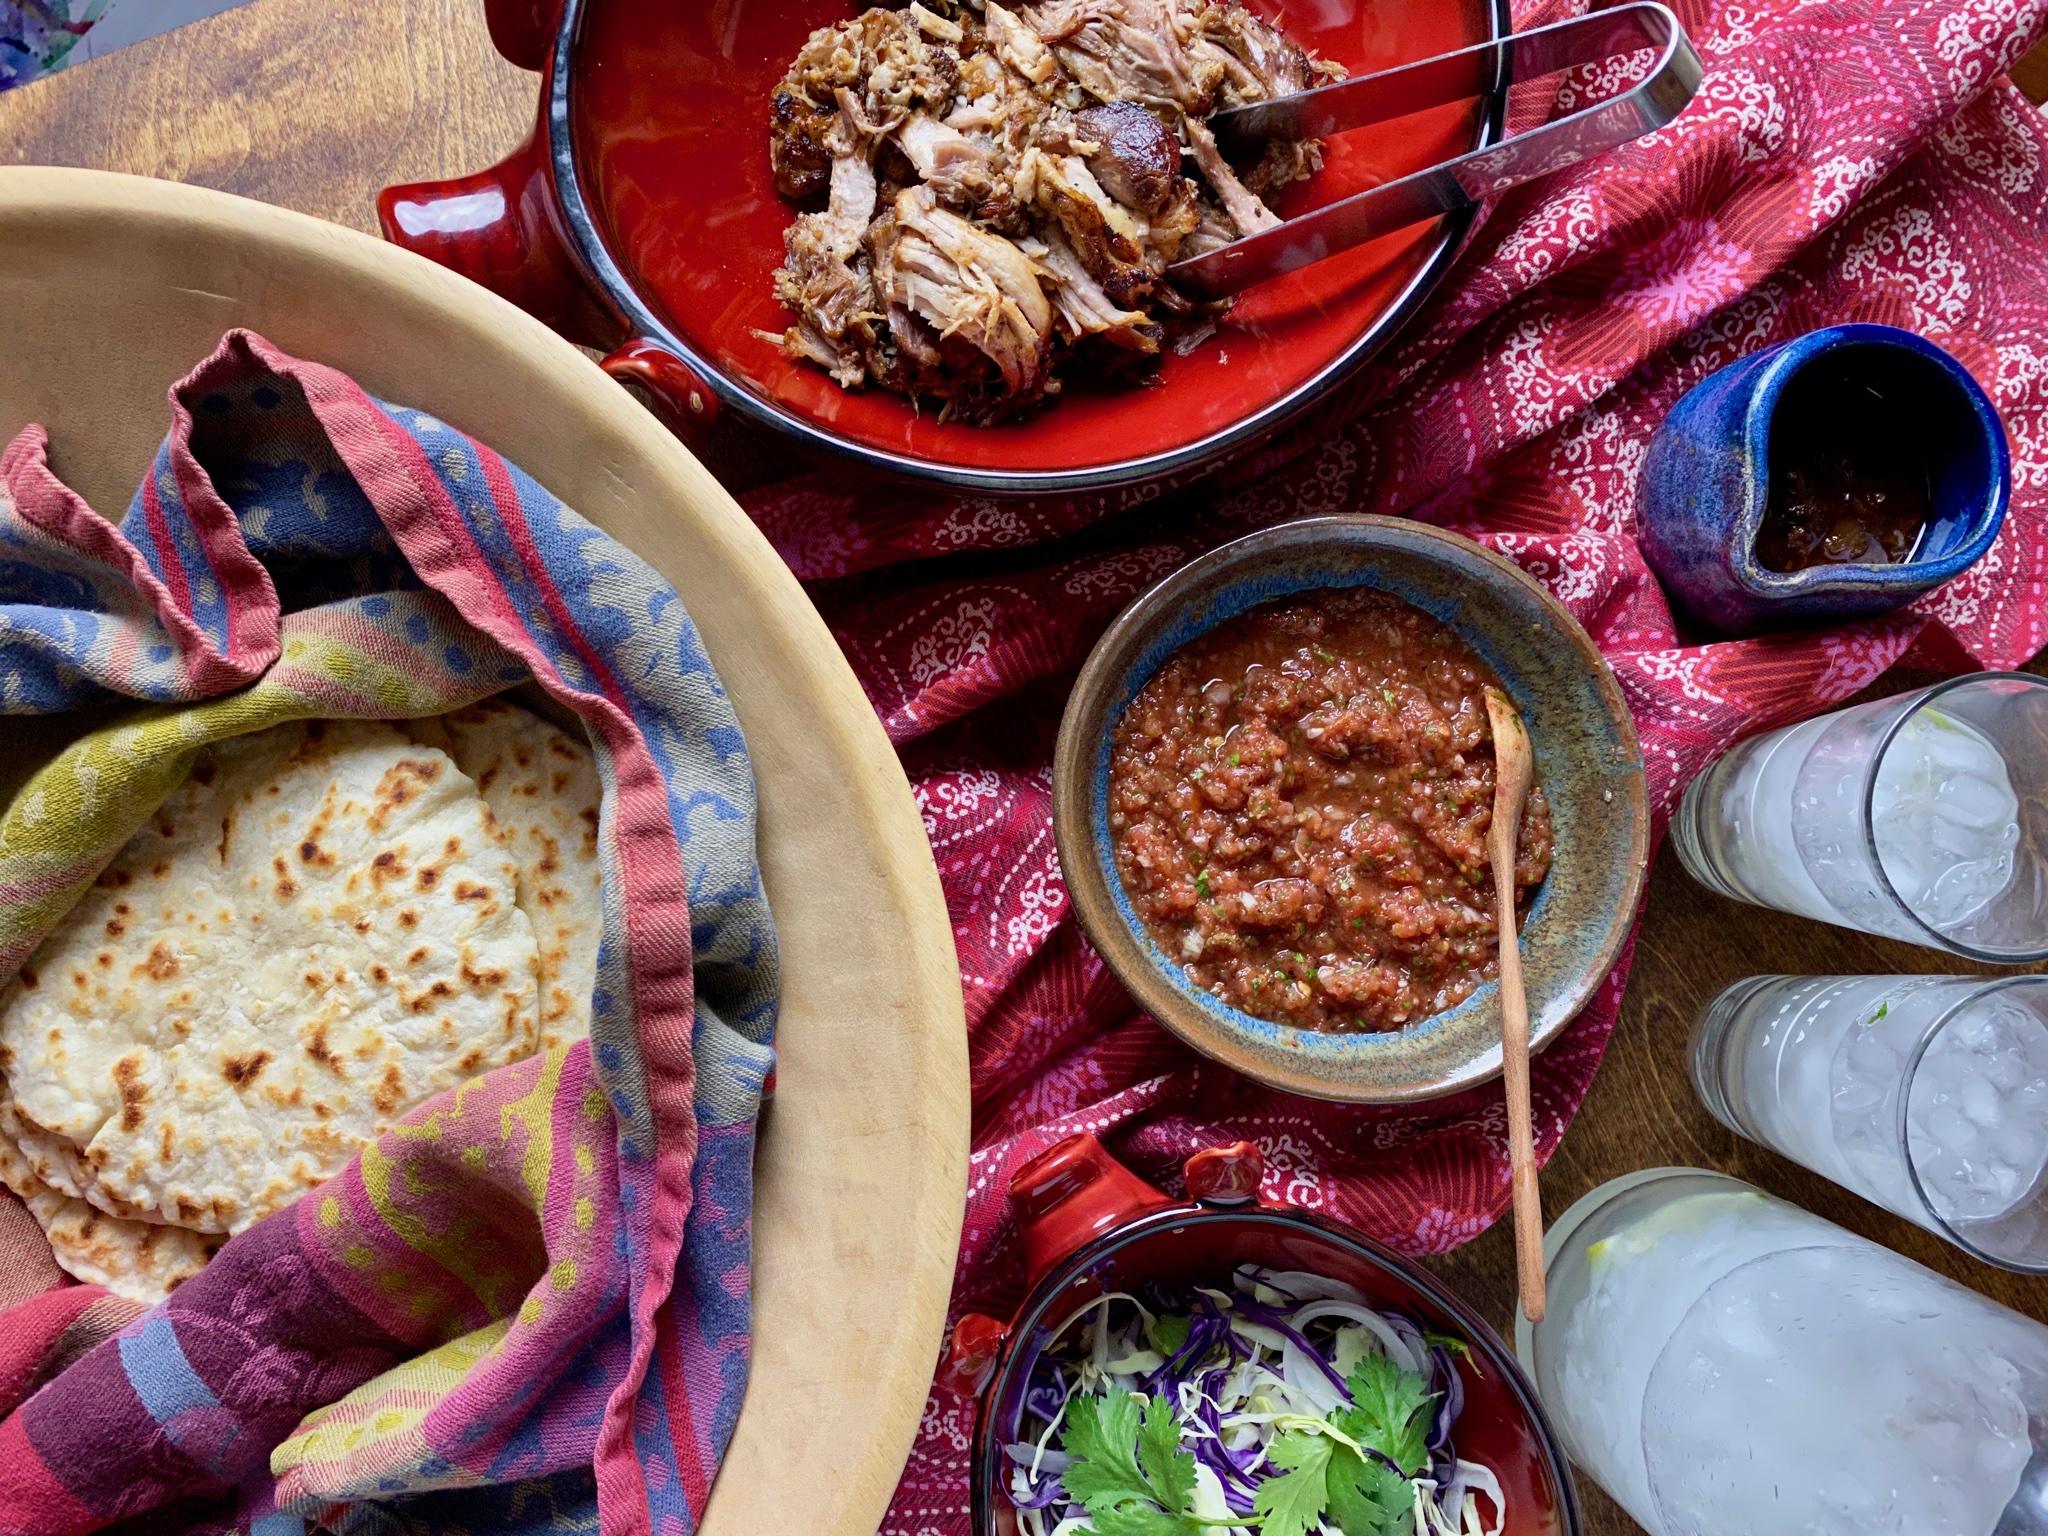
A brief moment of escape from the reality of our world right now to enjoy a Margarita and celebrate Cinco de Mayo. I got the…
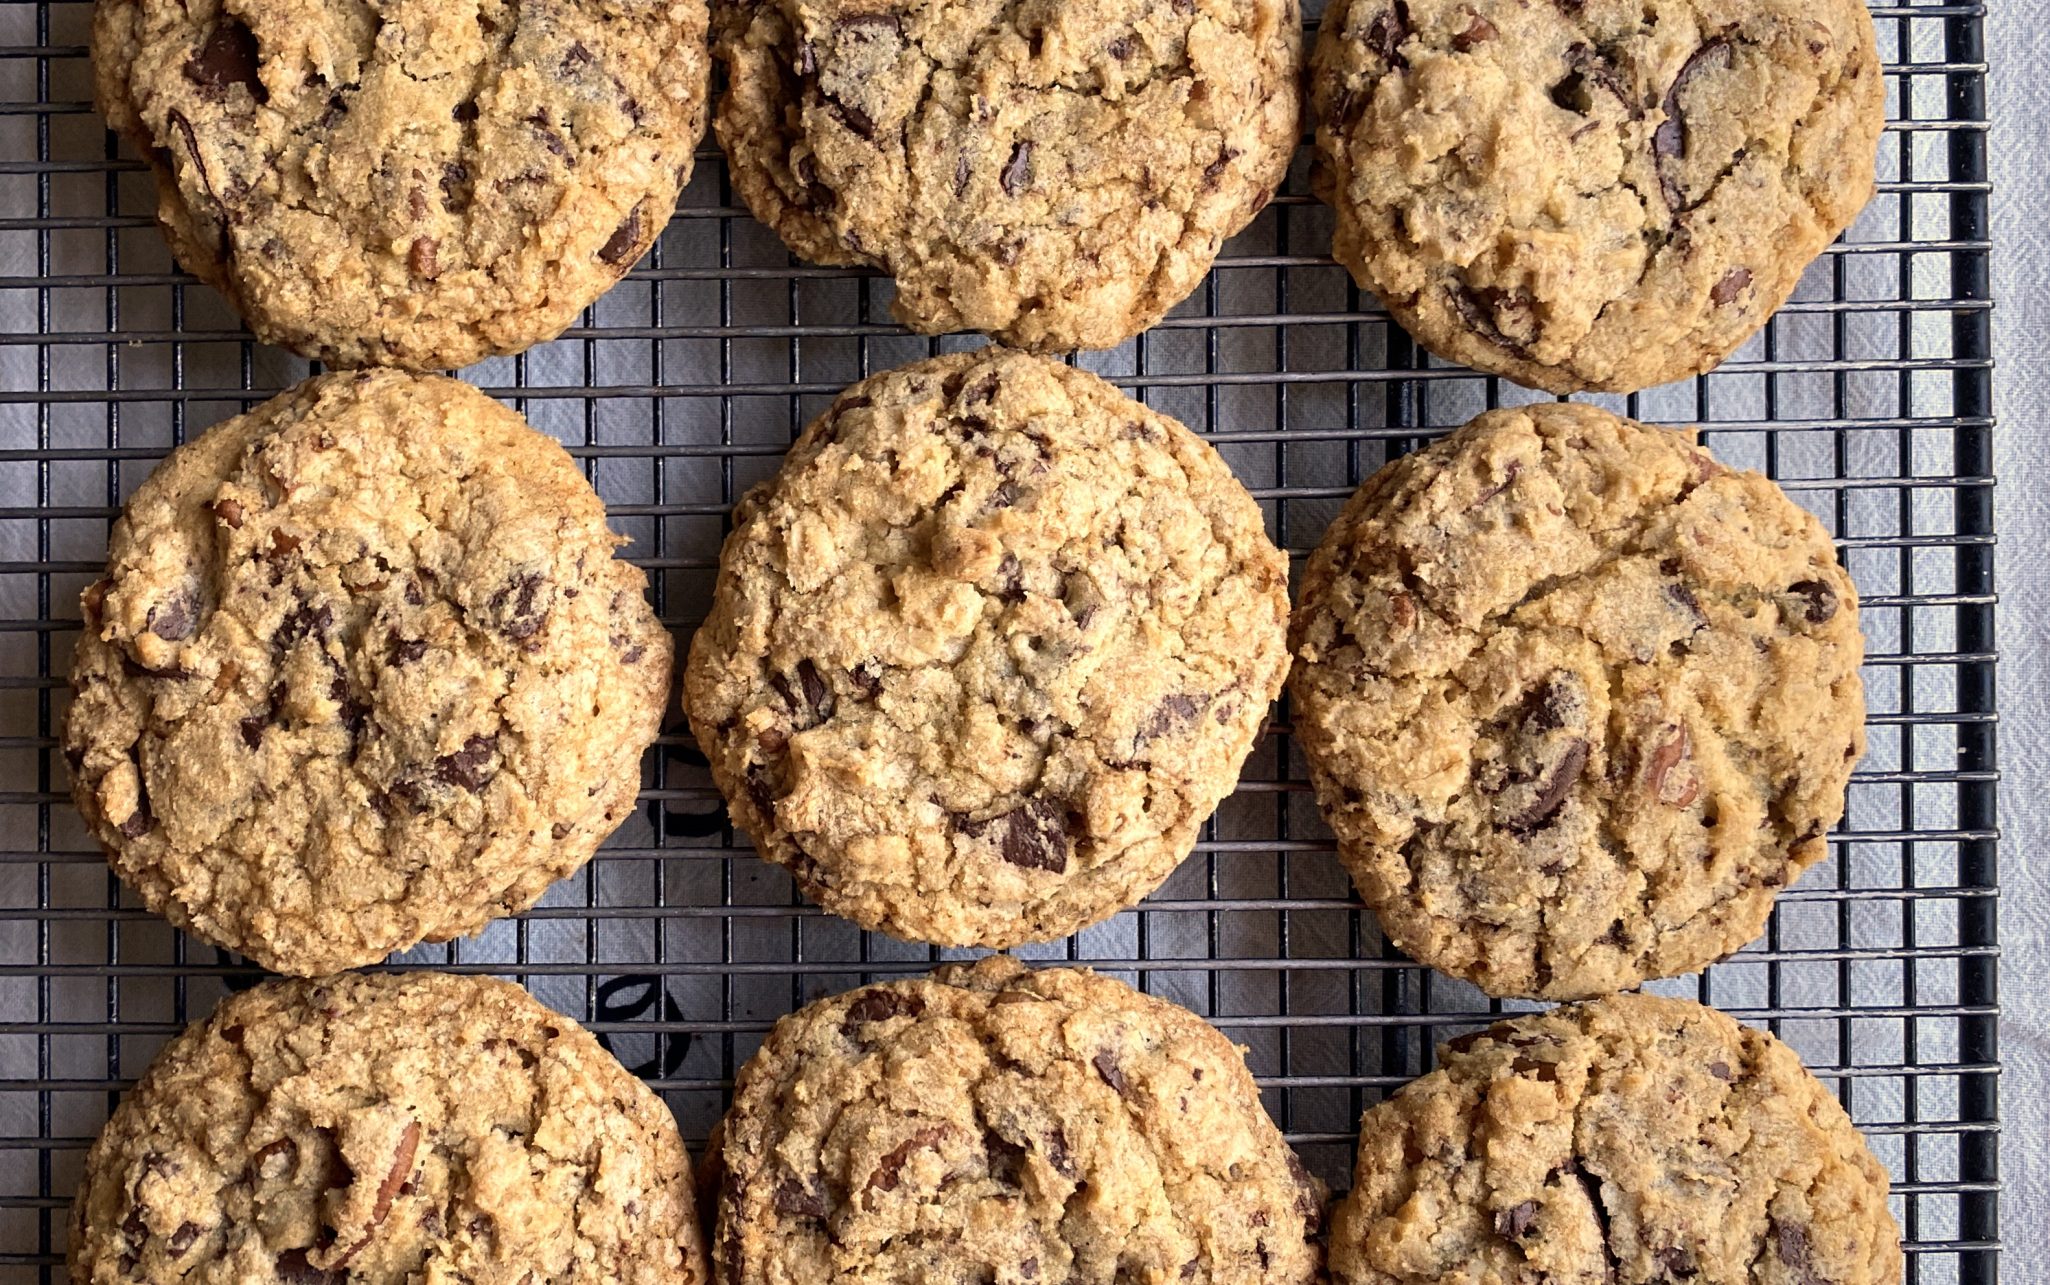
I LOVE my Chocolate Chip Cookie recipe. I have been using it for years, folks who try them have asked for the recipe to which…
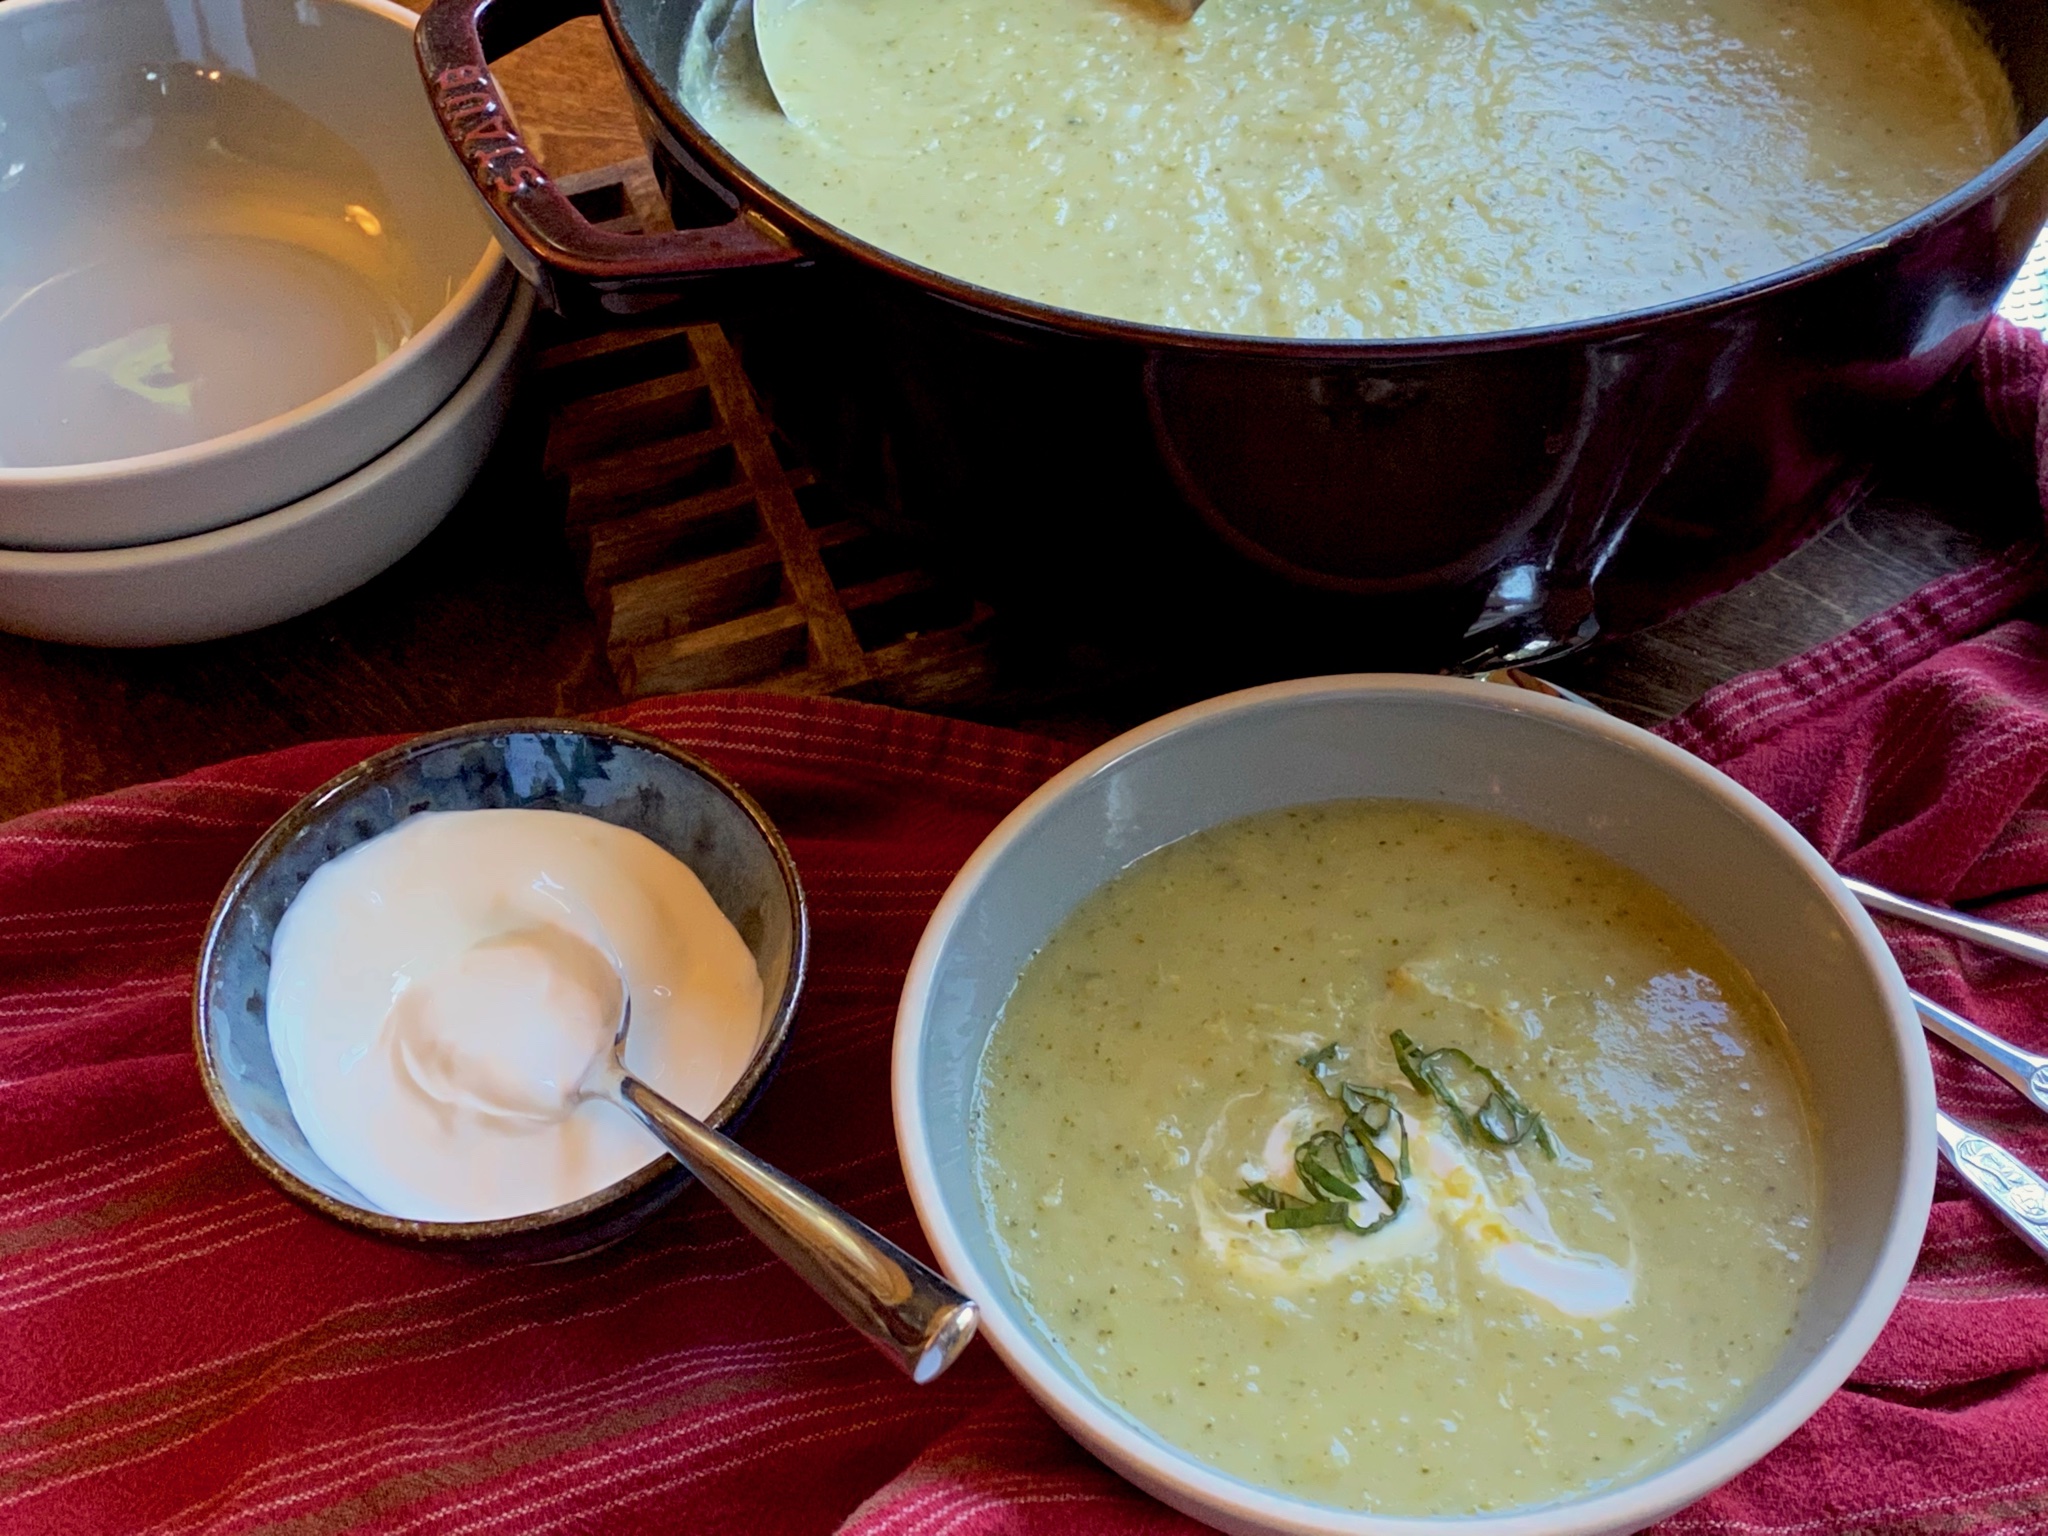
My guilty pleasure during the time of COVID has been Sunday morning outings to our local farmer’s market. A chance to get out of the…
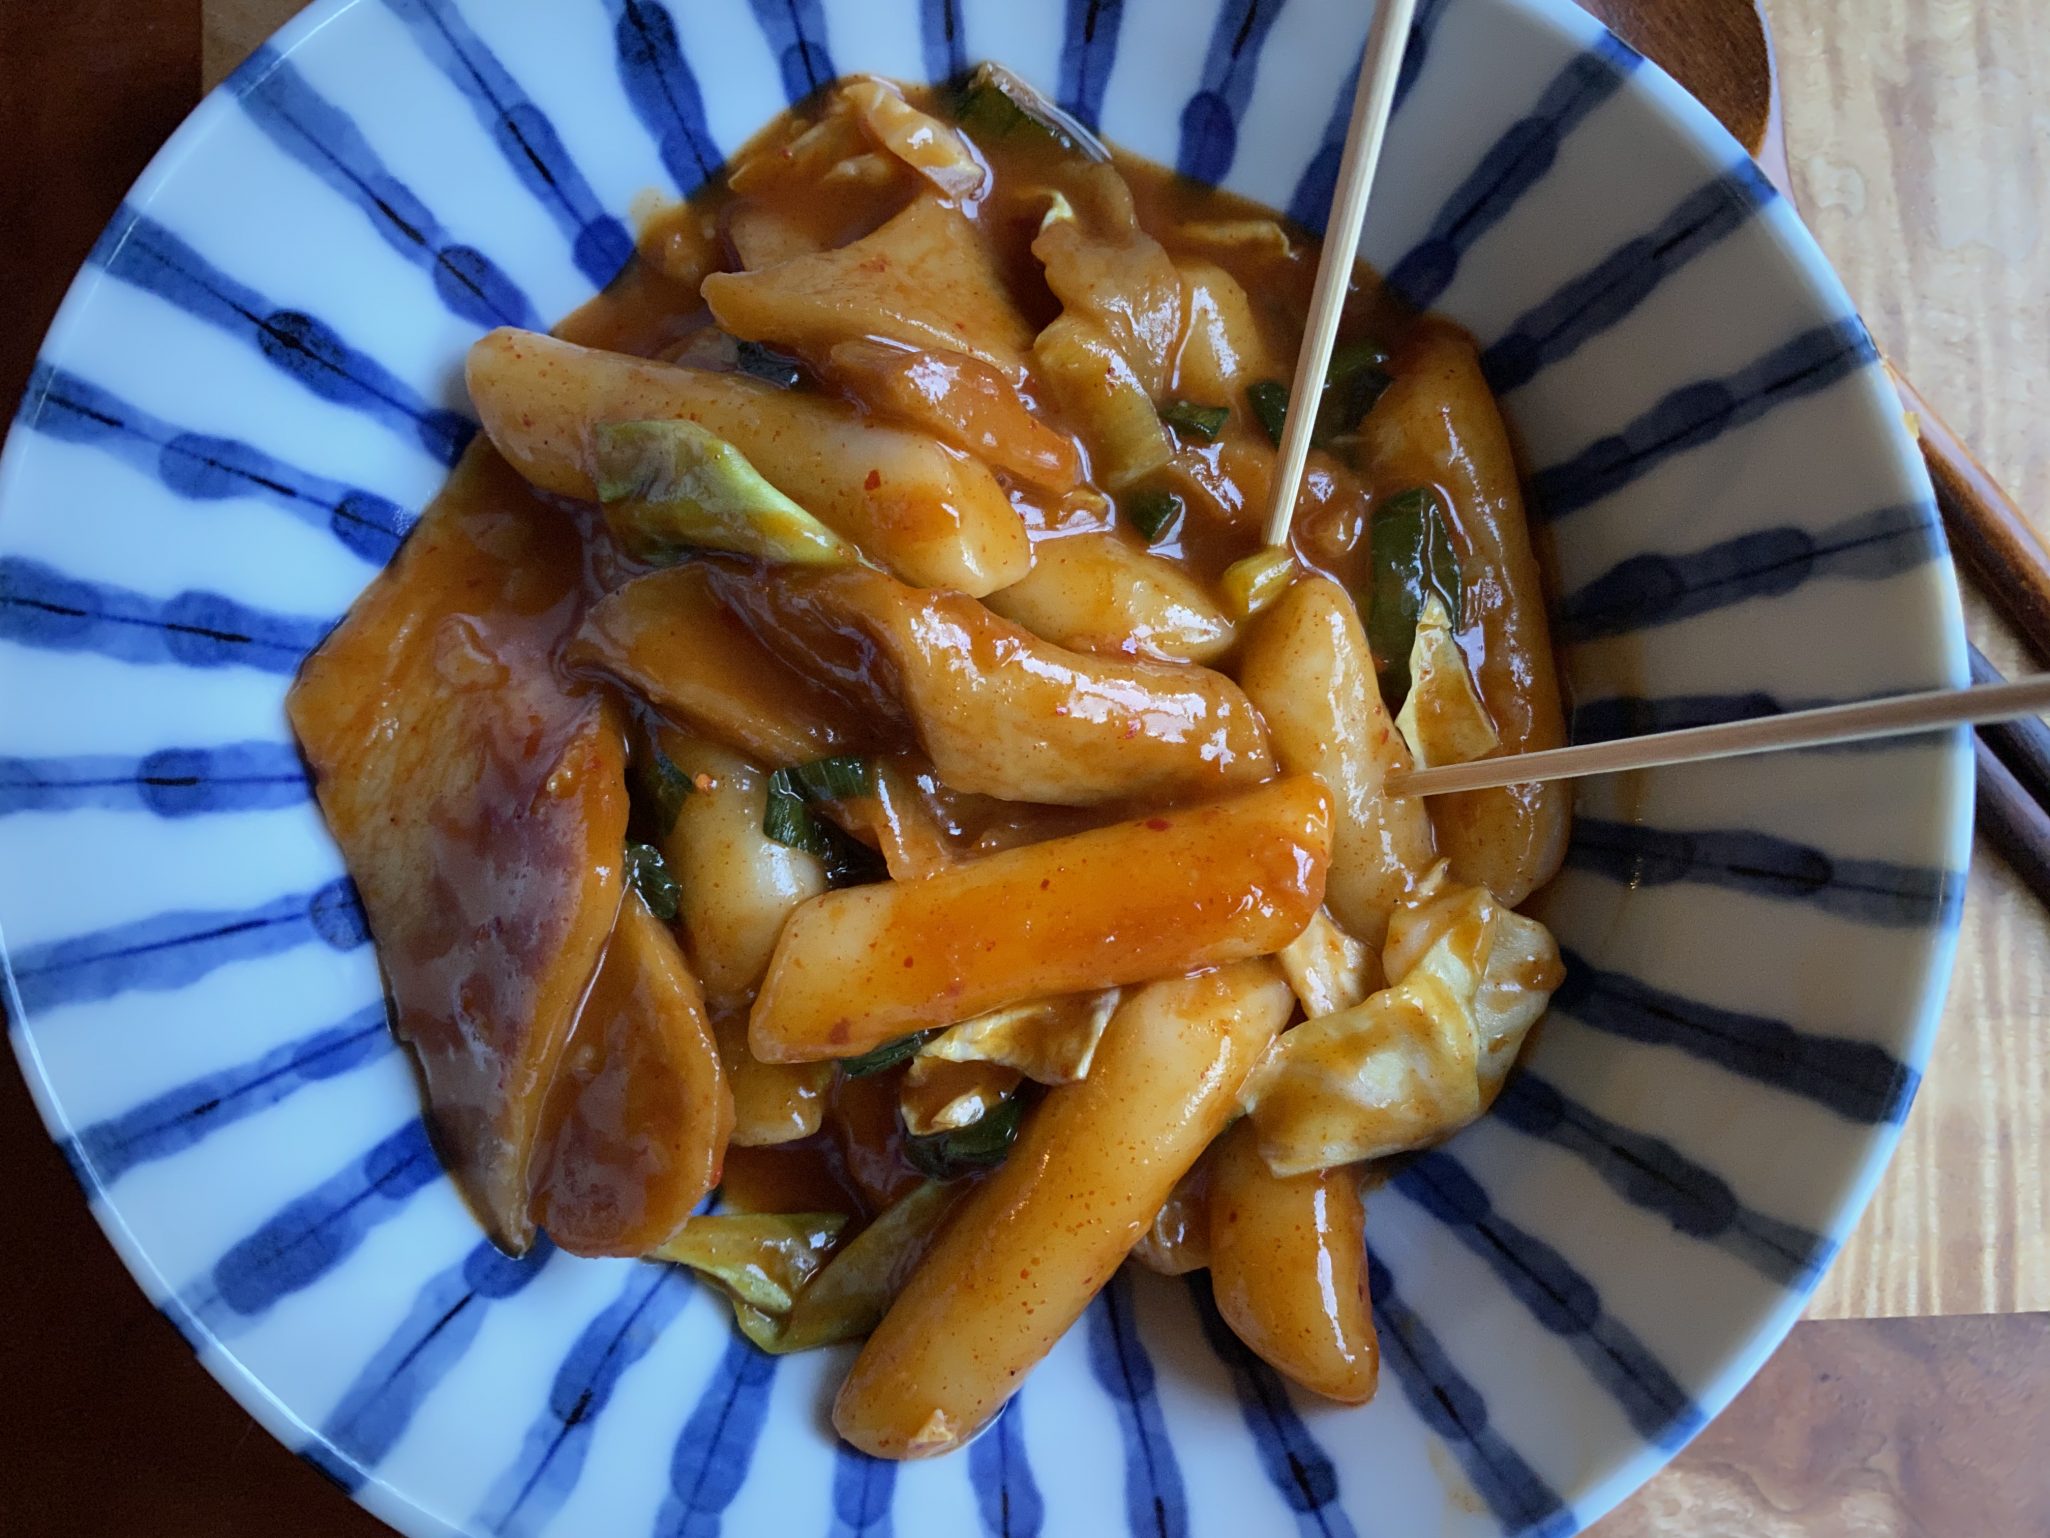
‘My fondest memories of traveling abroad, not surprisingly, revolve around food. It started when my parents sent me on a summer exchange program in Taiwan…
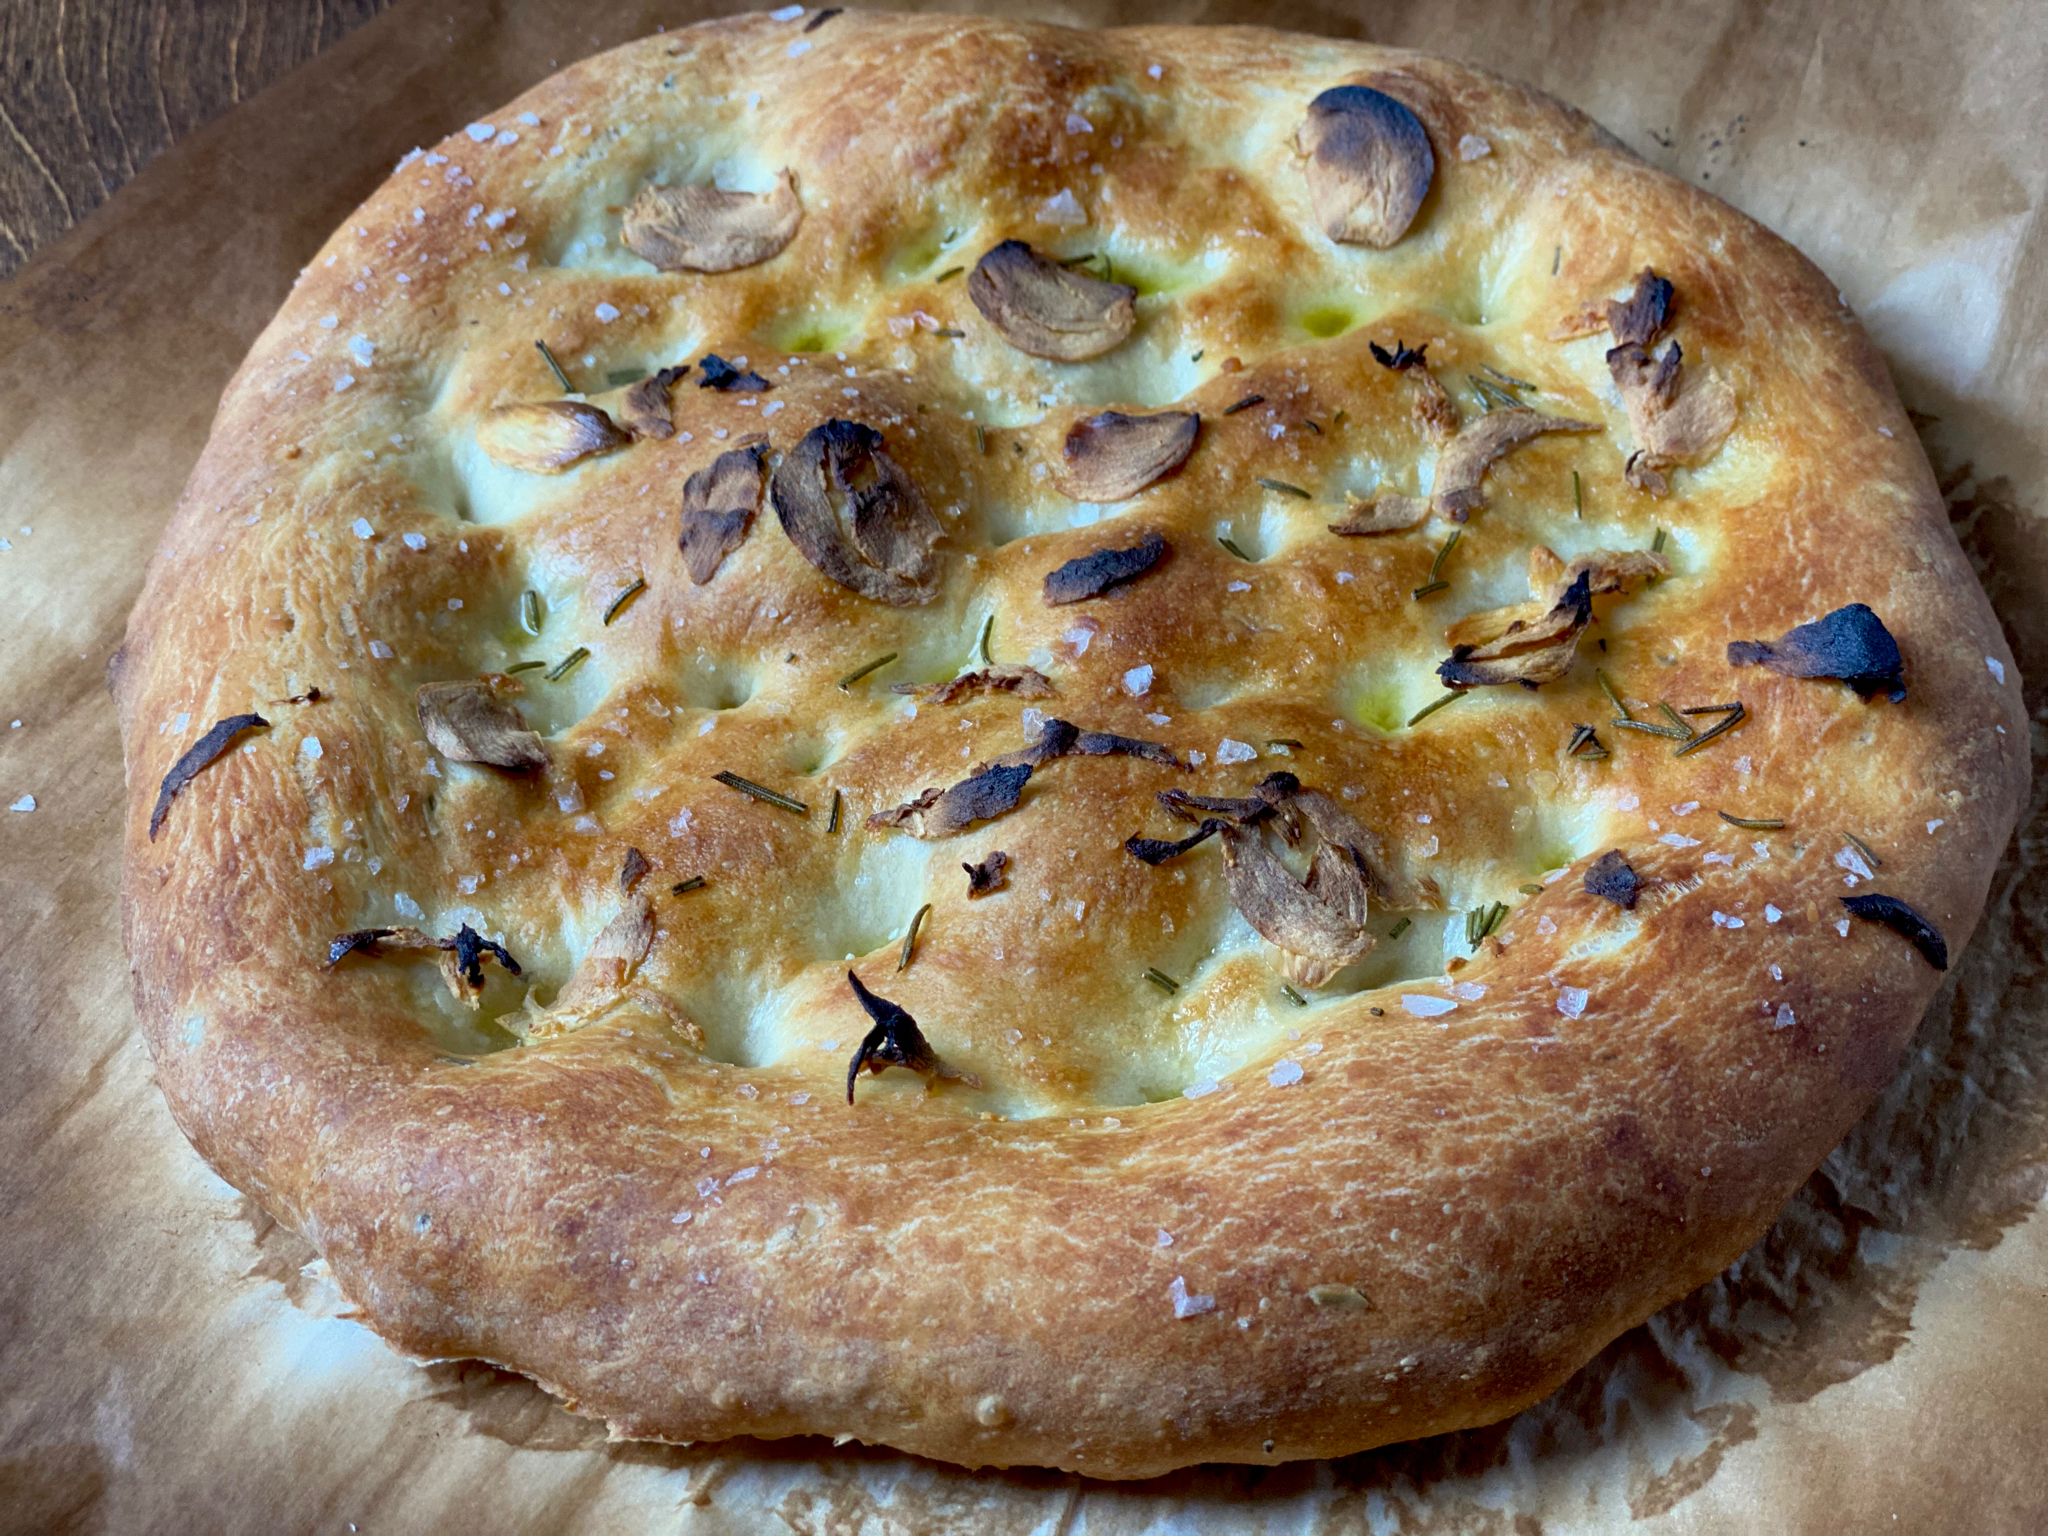
Yes. In the Time of COVID, where the staple shelves at the supermarket look like a scene out of Mad Max, I still have flour…
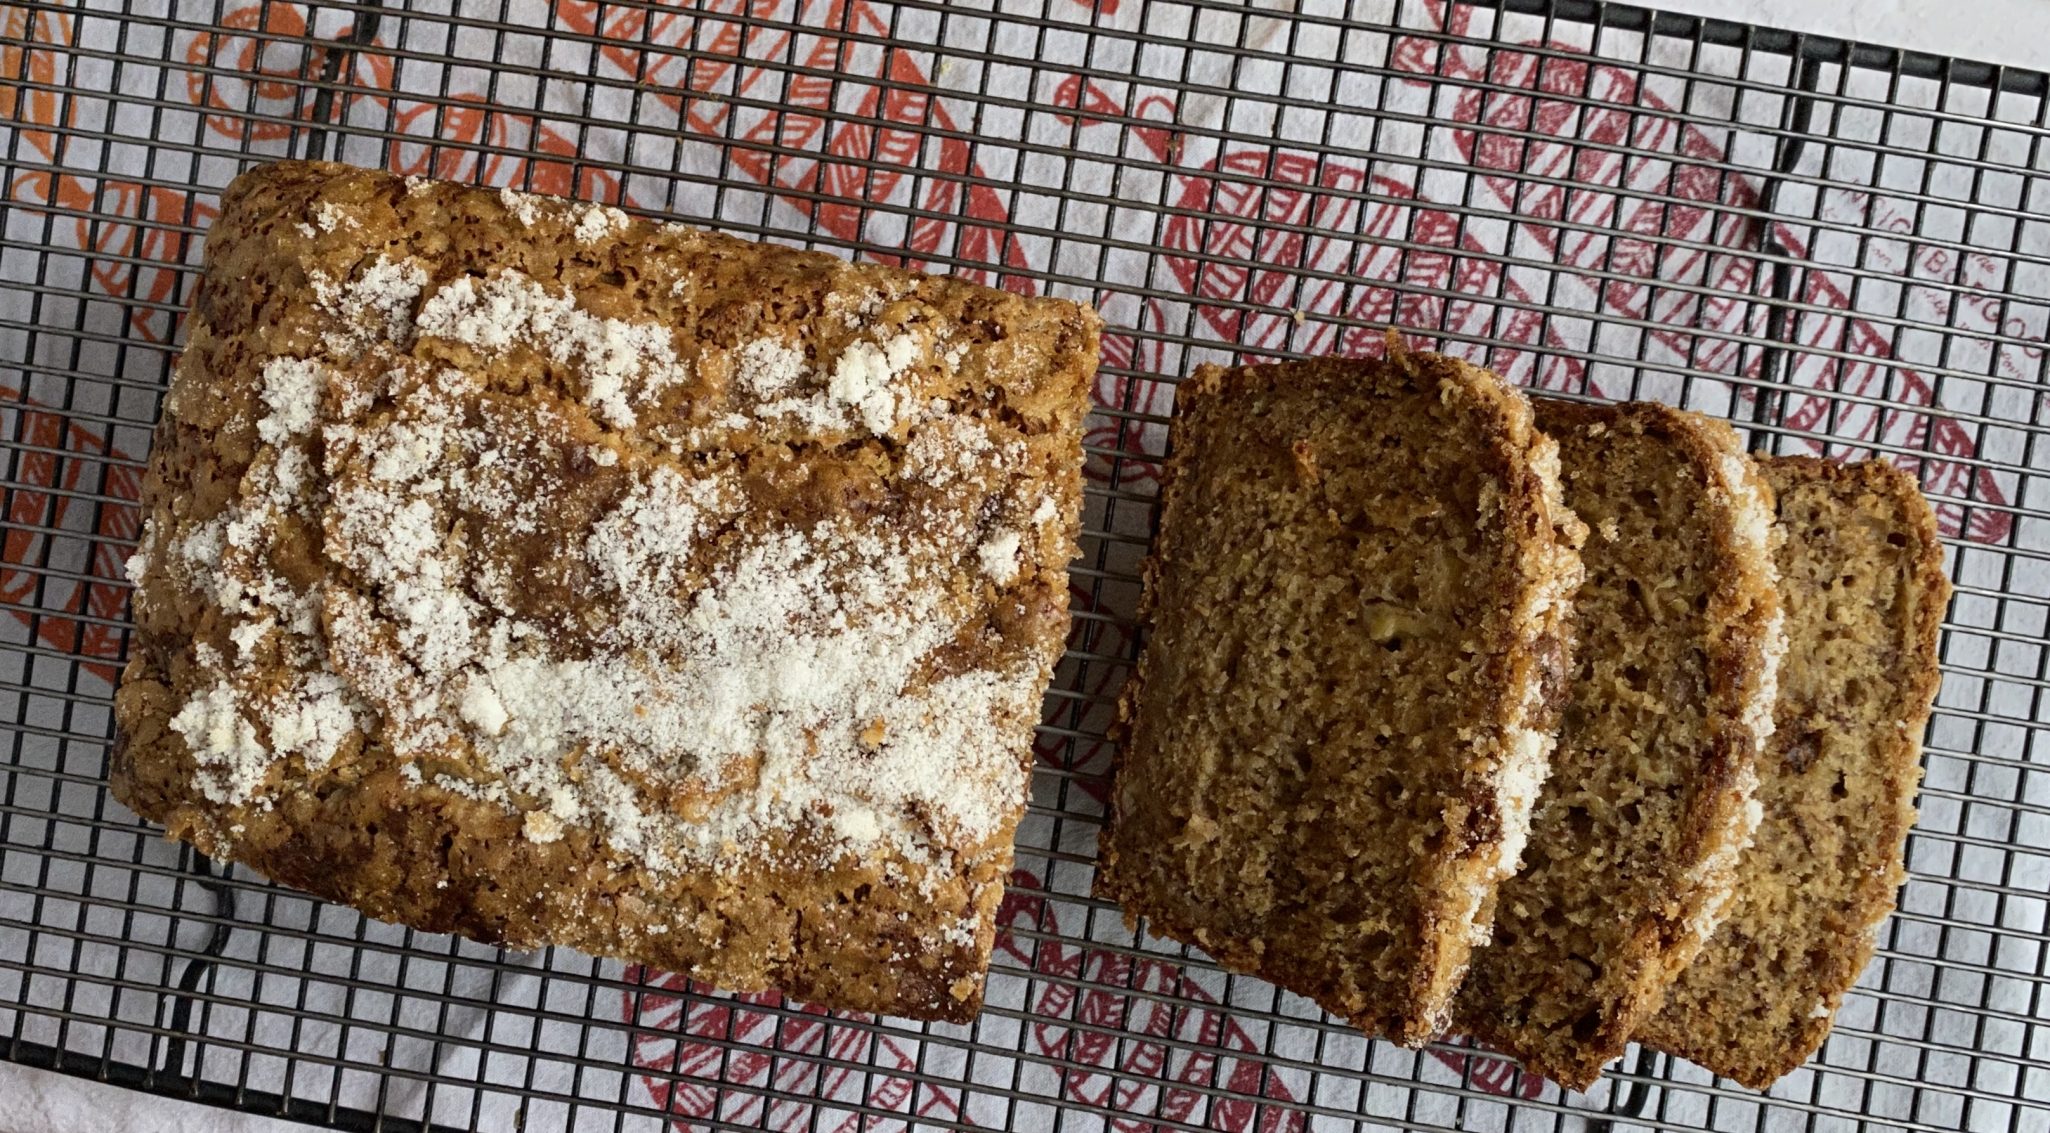
Yes, I tried yet another banana bread recipe. Unlike biscuits, I am not in search of the best banana bread in the universe. I LIKE…