
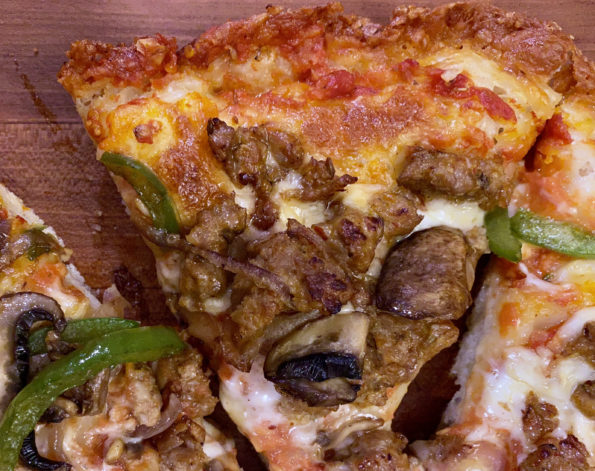
A couple of years ago King Arthur Baking’s Recipe of the Year was Crispy Cheesy Pan Pizza. Not surprisingly it was delicious. It became our…
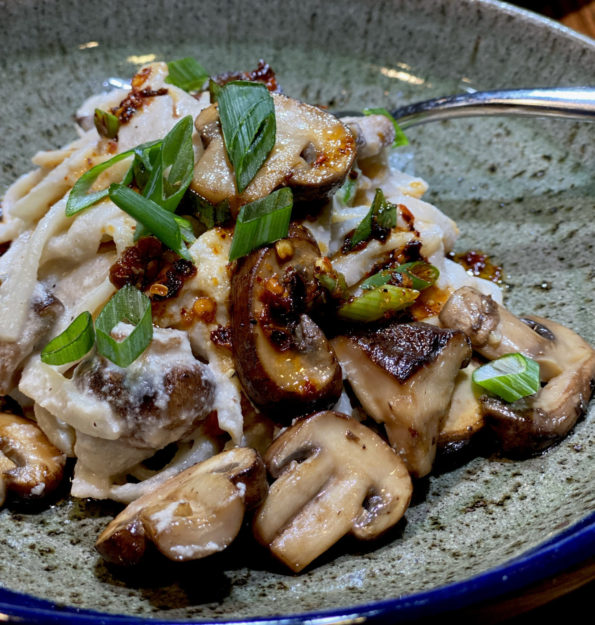
I’m not a vegetarian but we are making a concerted effort to eat less meat and more veggies. Good for us and good for the…
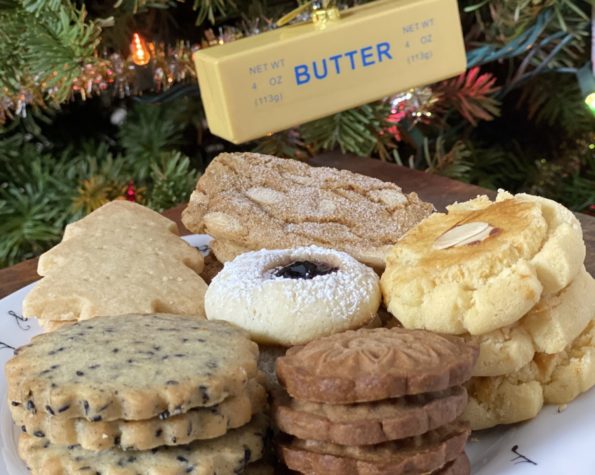
Growing up in Chinatown, the standard plate of cookies found on our table was not Chocolate Chip Cookies, but Almond Cookies. Every Chinese Bakery proudly…
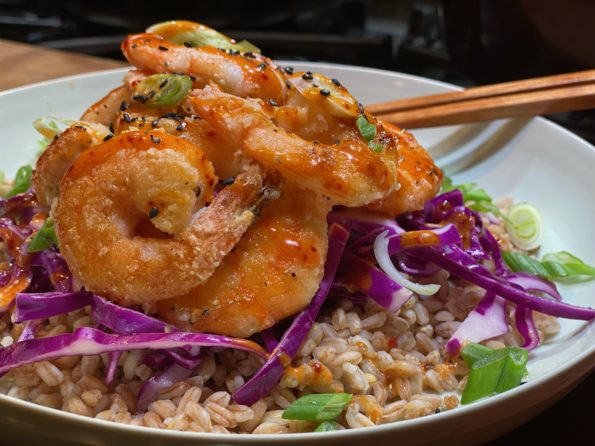
I came home from work the other day and ANNOYINGLY, with a couple of kids home and the hubster, no one had even thought about…
Mochi Ado about Something. I tried quite a few mochi recipes this year so it seems fitting that 2021 should end on a sweet rice…
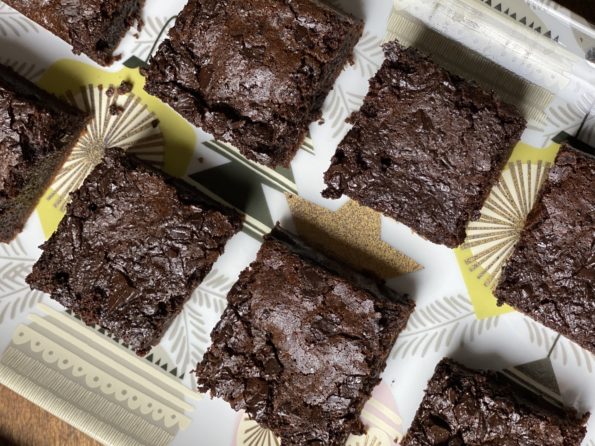
Cookie Number Two-Twelve Days of Cookies Last year my absolute favorite cookie was Eric Kim’s Grocery Store Cookie. I called it my Marie Kondo cookie,…
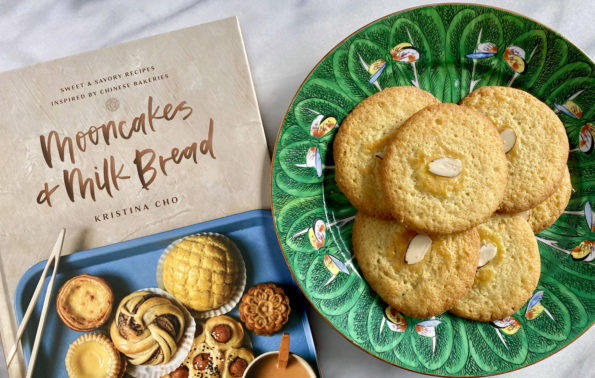
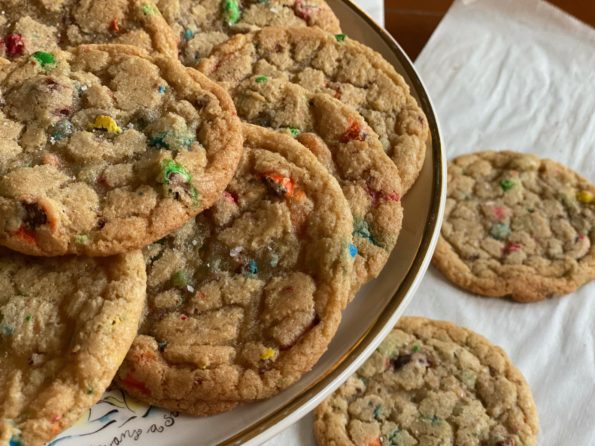
Here we go, Twelve Days of Cookies to kick off the holiday season!. From one of my favorite cookbooks this year, Kristina Cho’s Mooncakes and…
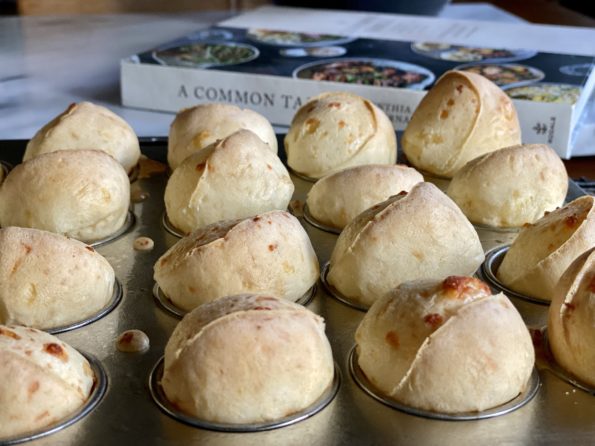
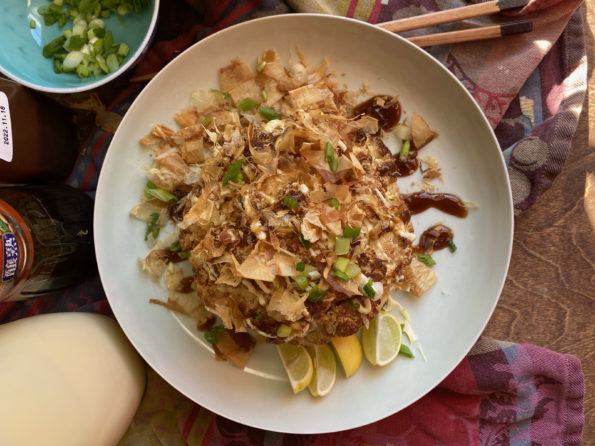
Earlier in the year as I was clicking through my Instagram, perusing what my favorite bloggers and IGers were up to, I landed on Two…
So, you drew the short straw, didn’t you? Yep, the proverbial boring Thanksgiving dish, vegetables, sheesh. Auntie has drawn dessert, ugh, which means lime green…