
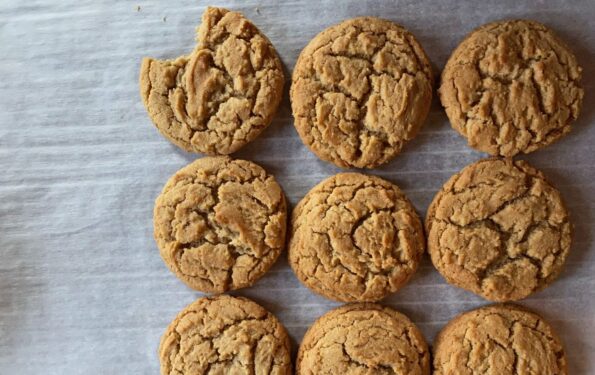
Peanuttttt, peanut butter….cookie! If asked what my favorite cookies are, Shortbread, Snickerdoodles, and Thumbprints immediately come to mind. Peanut Butter Cookies would not make the…
Cracker for crackers like me? I love crackers, the perfect vehicle for dips, spreads, and cheese…it is the ultimate edible utensil. Taking its place as…

About this time of year, I wax nostalgic about one of my passions (not food this time), rowing. Say what? Yes, rowing. I started rowing,…
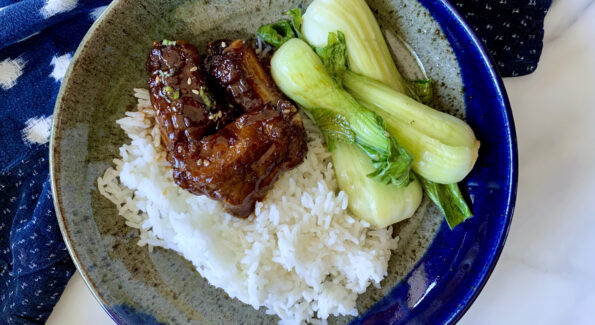
As I was driving home the other day I called the Hubster and asked “What’s for dinner?”. The retired guy replied, “I thought you were…
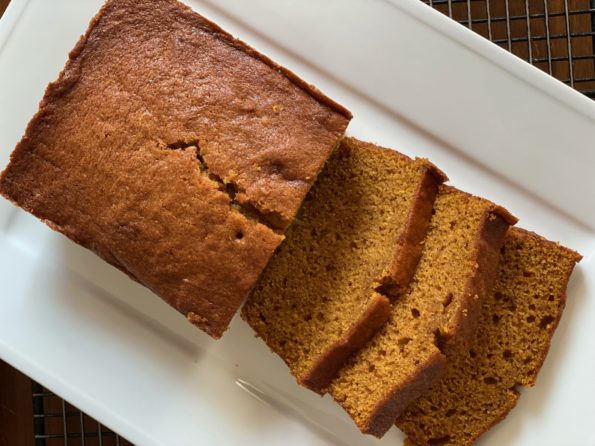
Who else besides me groans at the first sign of the fall season. You walk outside, take in the fall air, admire the color of…
We’re baaackkkkkkk! In person meetings, dinners in restaurants instead of take-out, classes on campus instead of on Zoom, we are adjusting to living with COVID.…
Finally, after months of being a COVID couch potato, I got off my duff and headed up to the reservoir to row again. I had…
This past weekend the hubster went up to Tahoe to do maintenance on our cabin. So I was flying solo at home with Sammy our…
Are you like me? Our farmer’s market in the summer is like a candy store and I’m the kid in it, running around and grabbing…