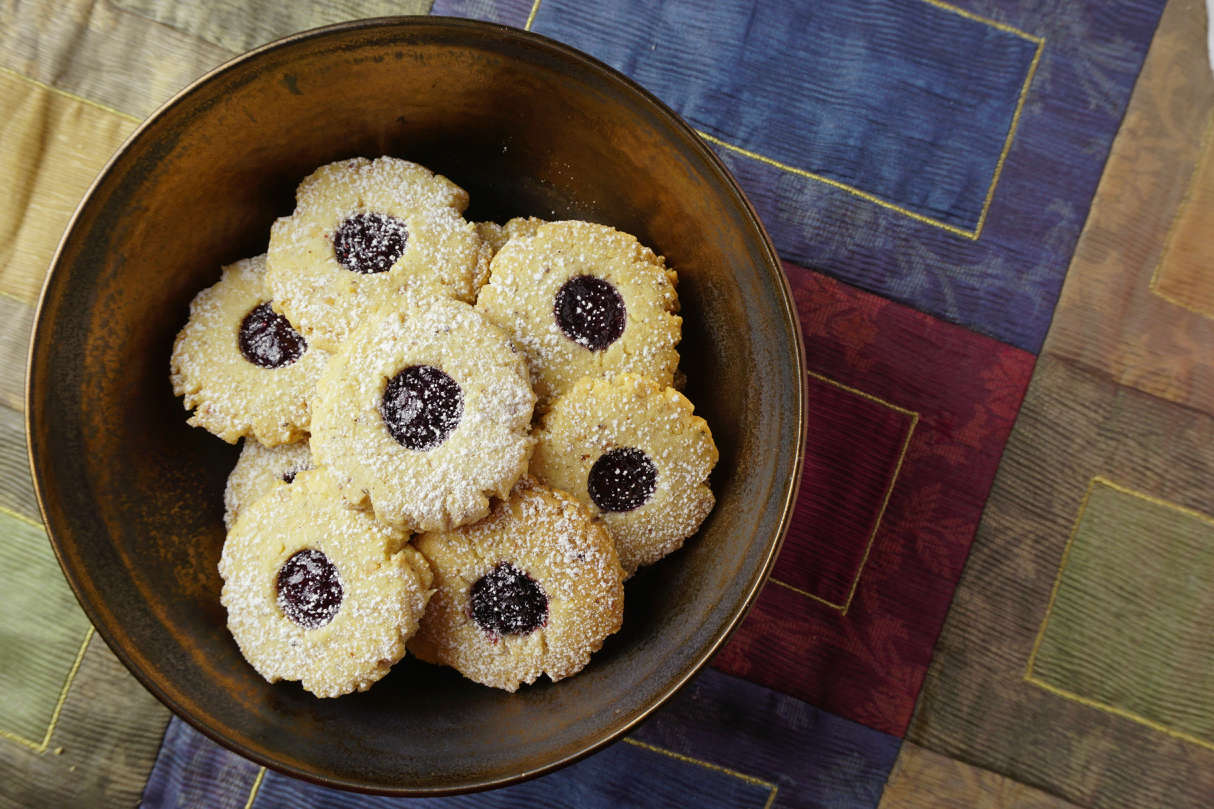
Alfajores (Bells Rang for this Cookie)
I found the cookie of my dreams at a family wedding a couple of years ago. Strolling around the reception, waiting for the happy couple to arrive, I grabbed a glass of bubbly and gravitated towards the table of sweets, a dazzling array of desserts.
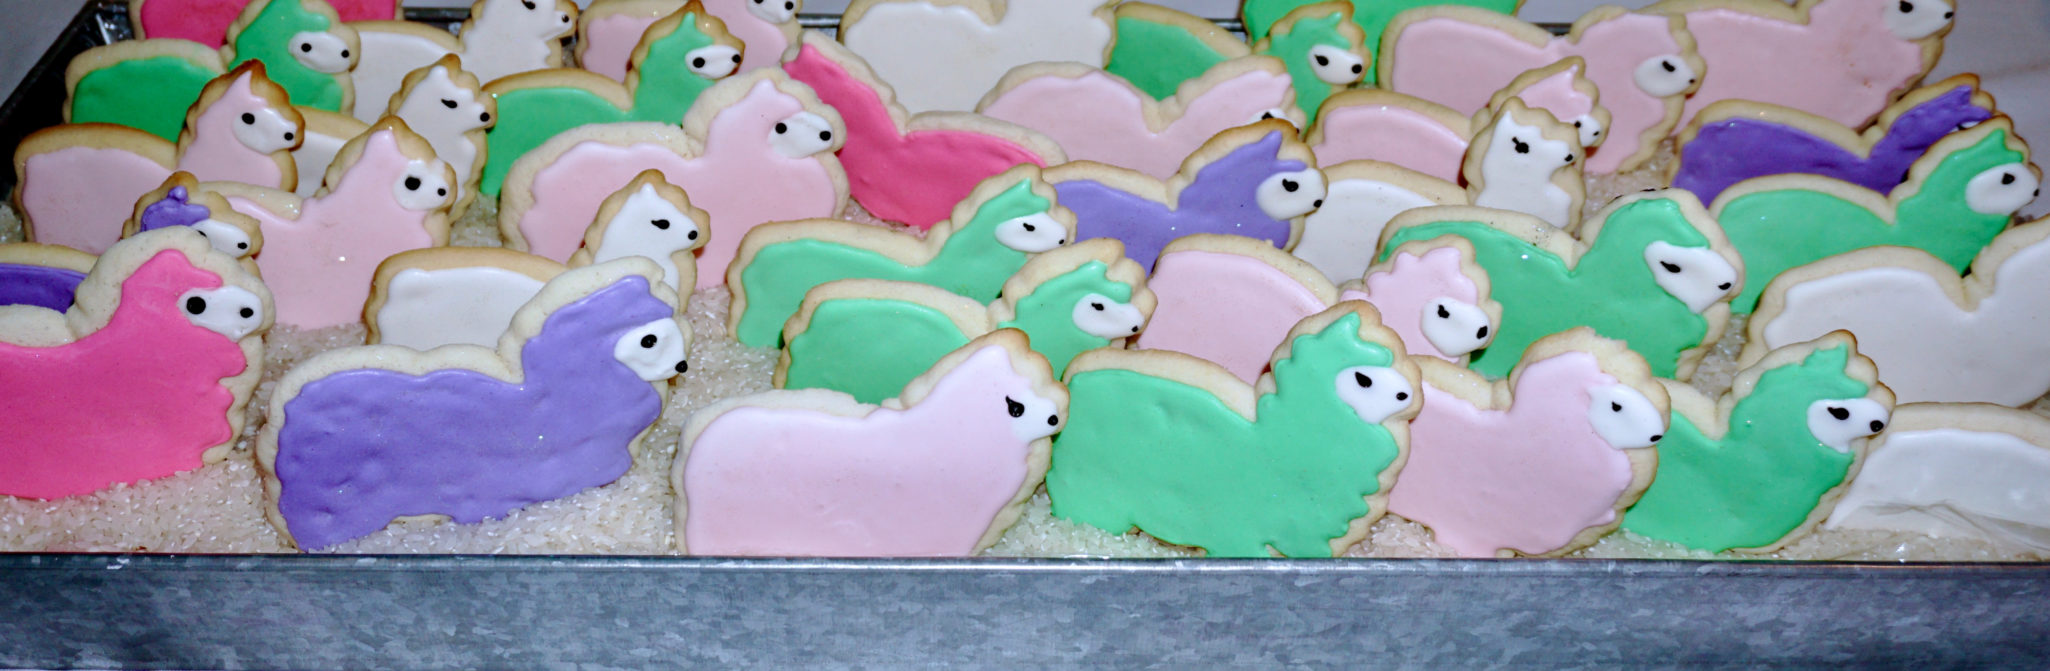
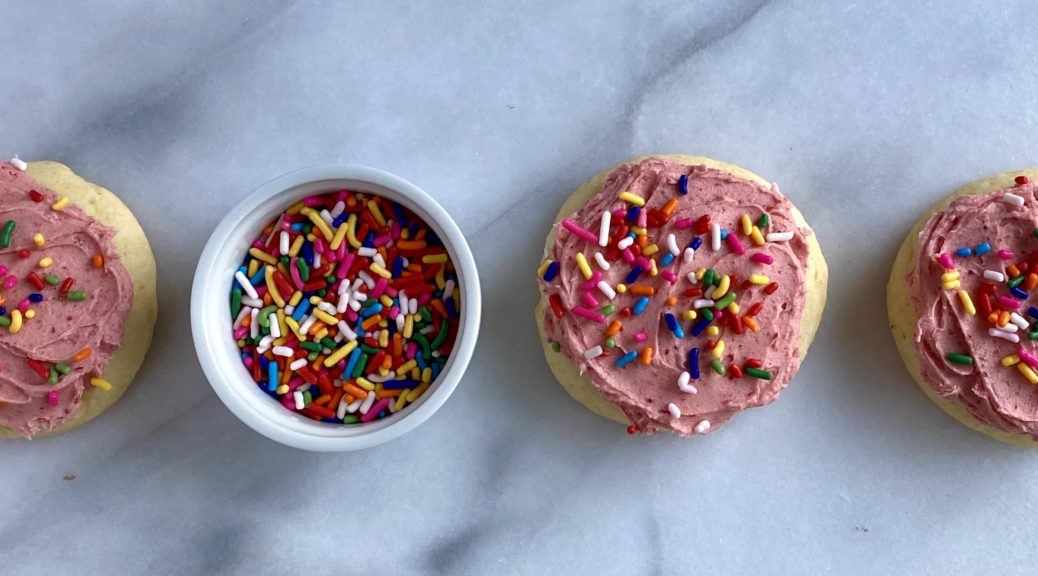
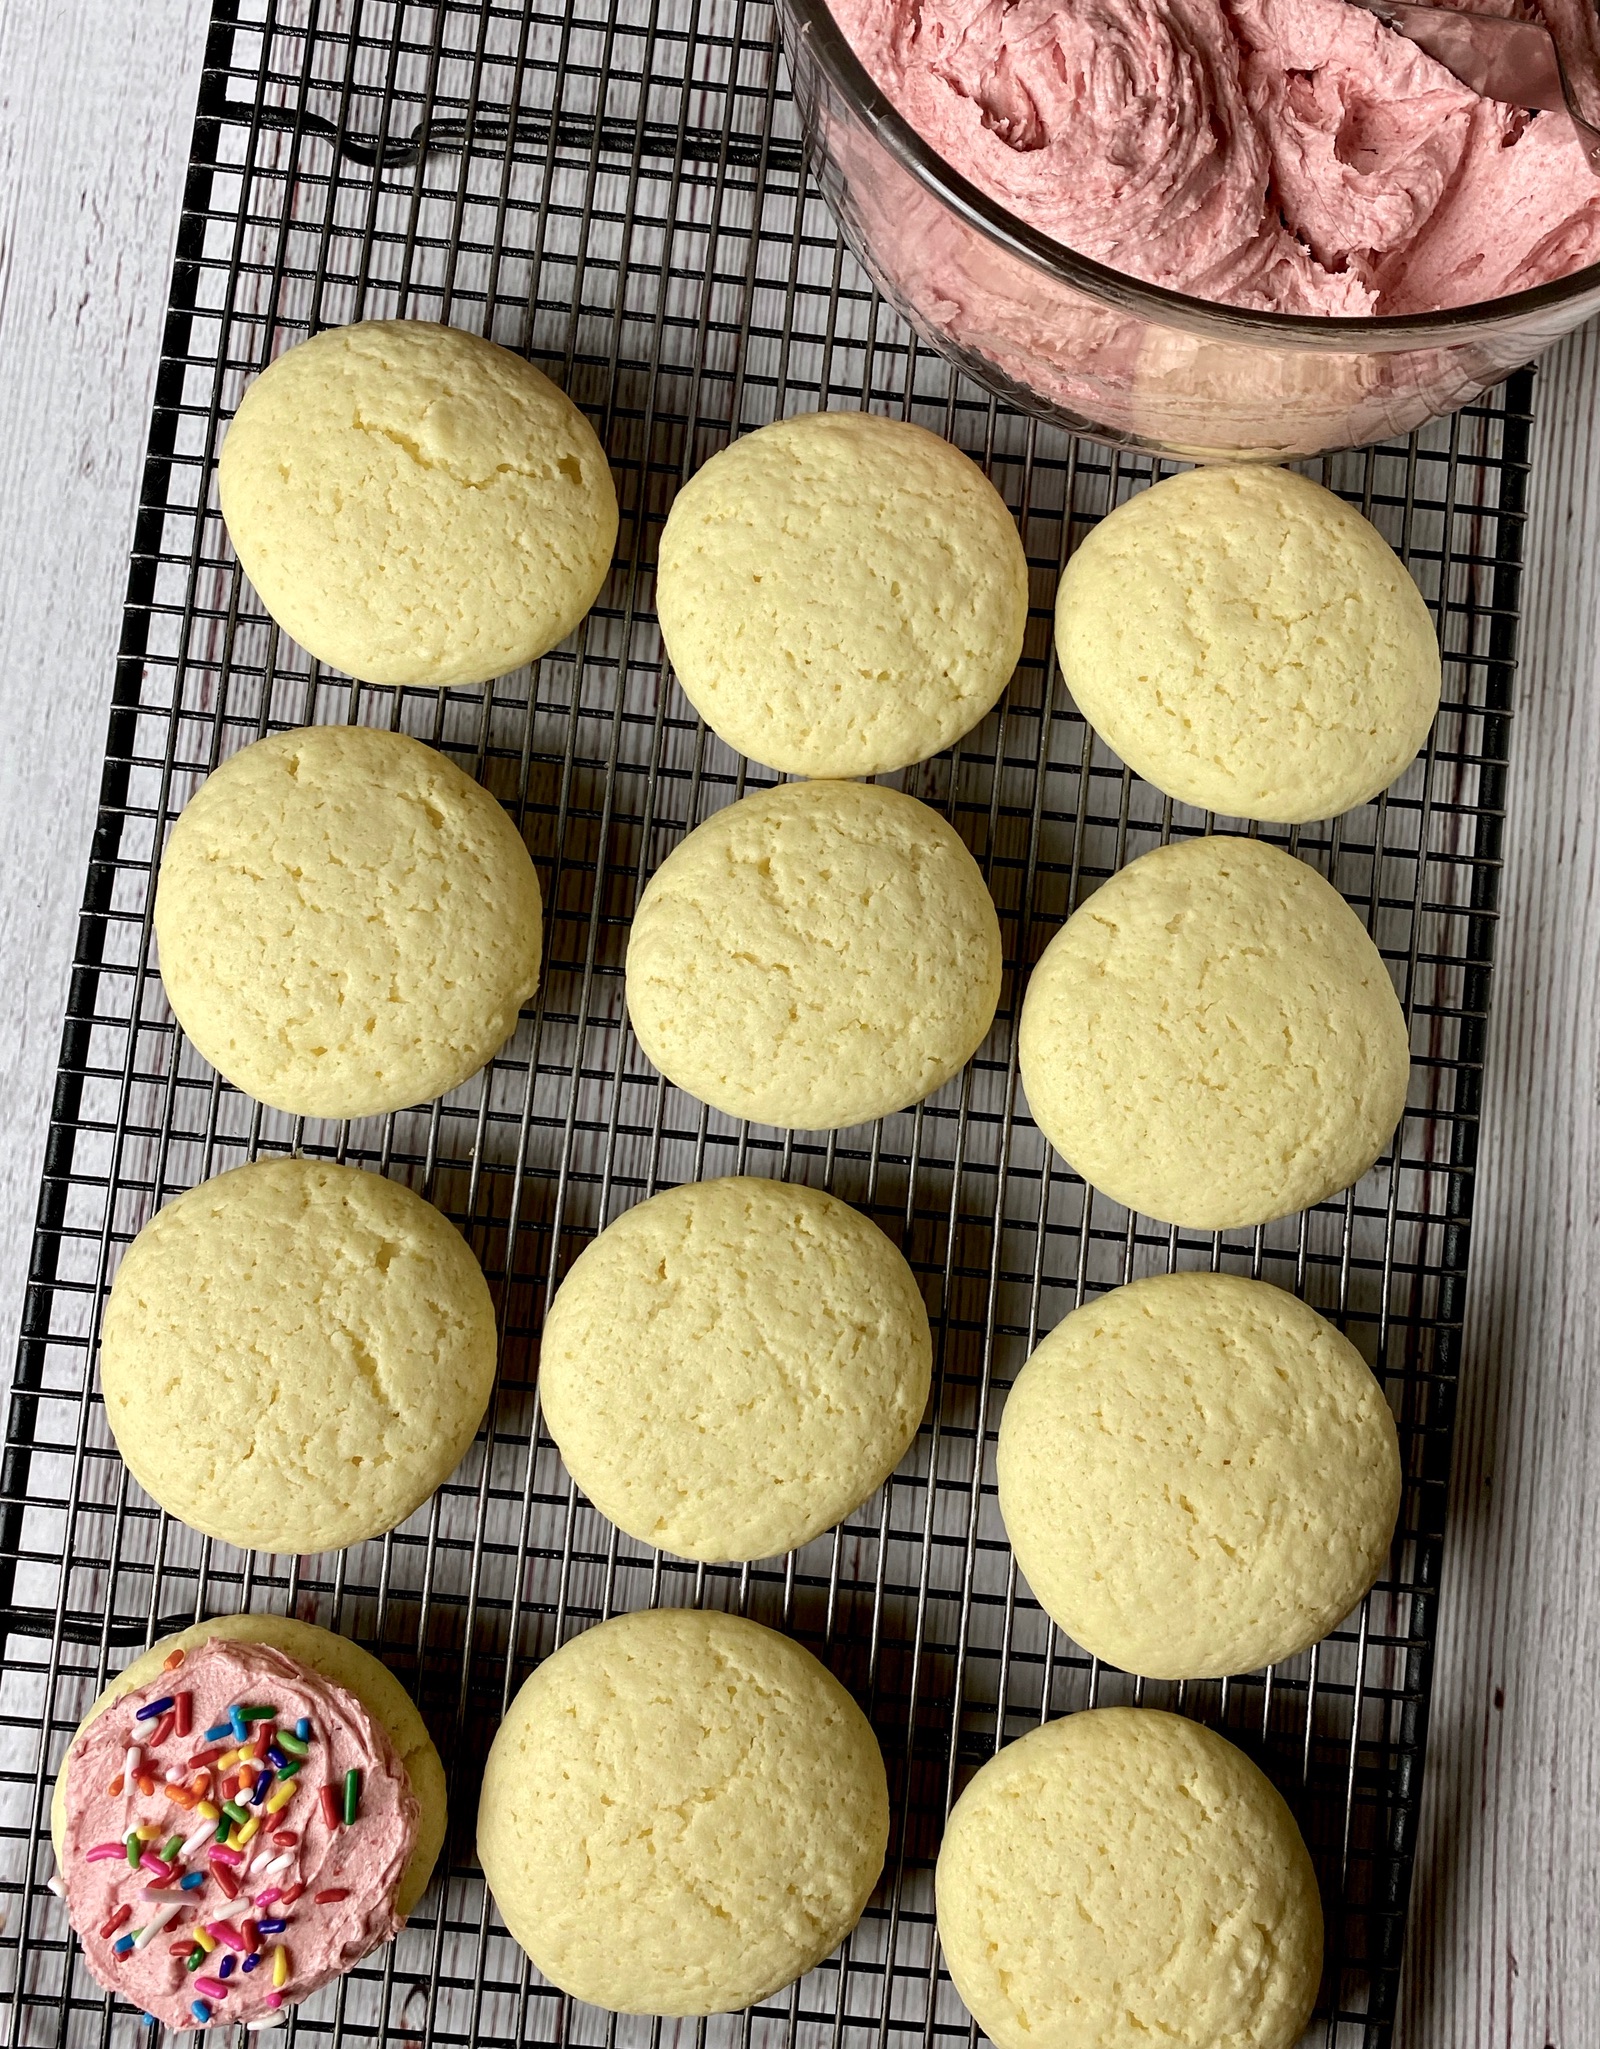
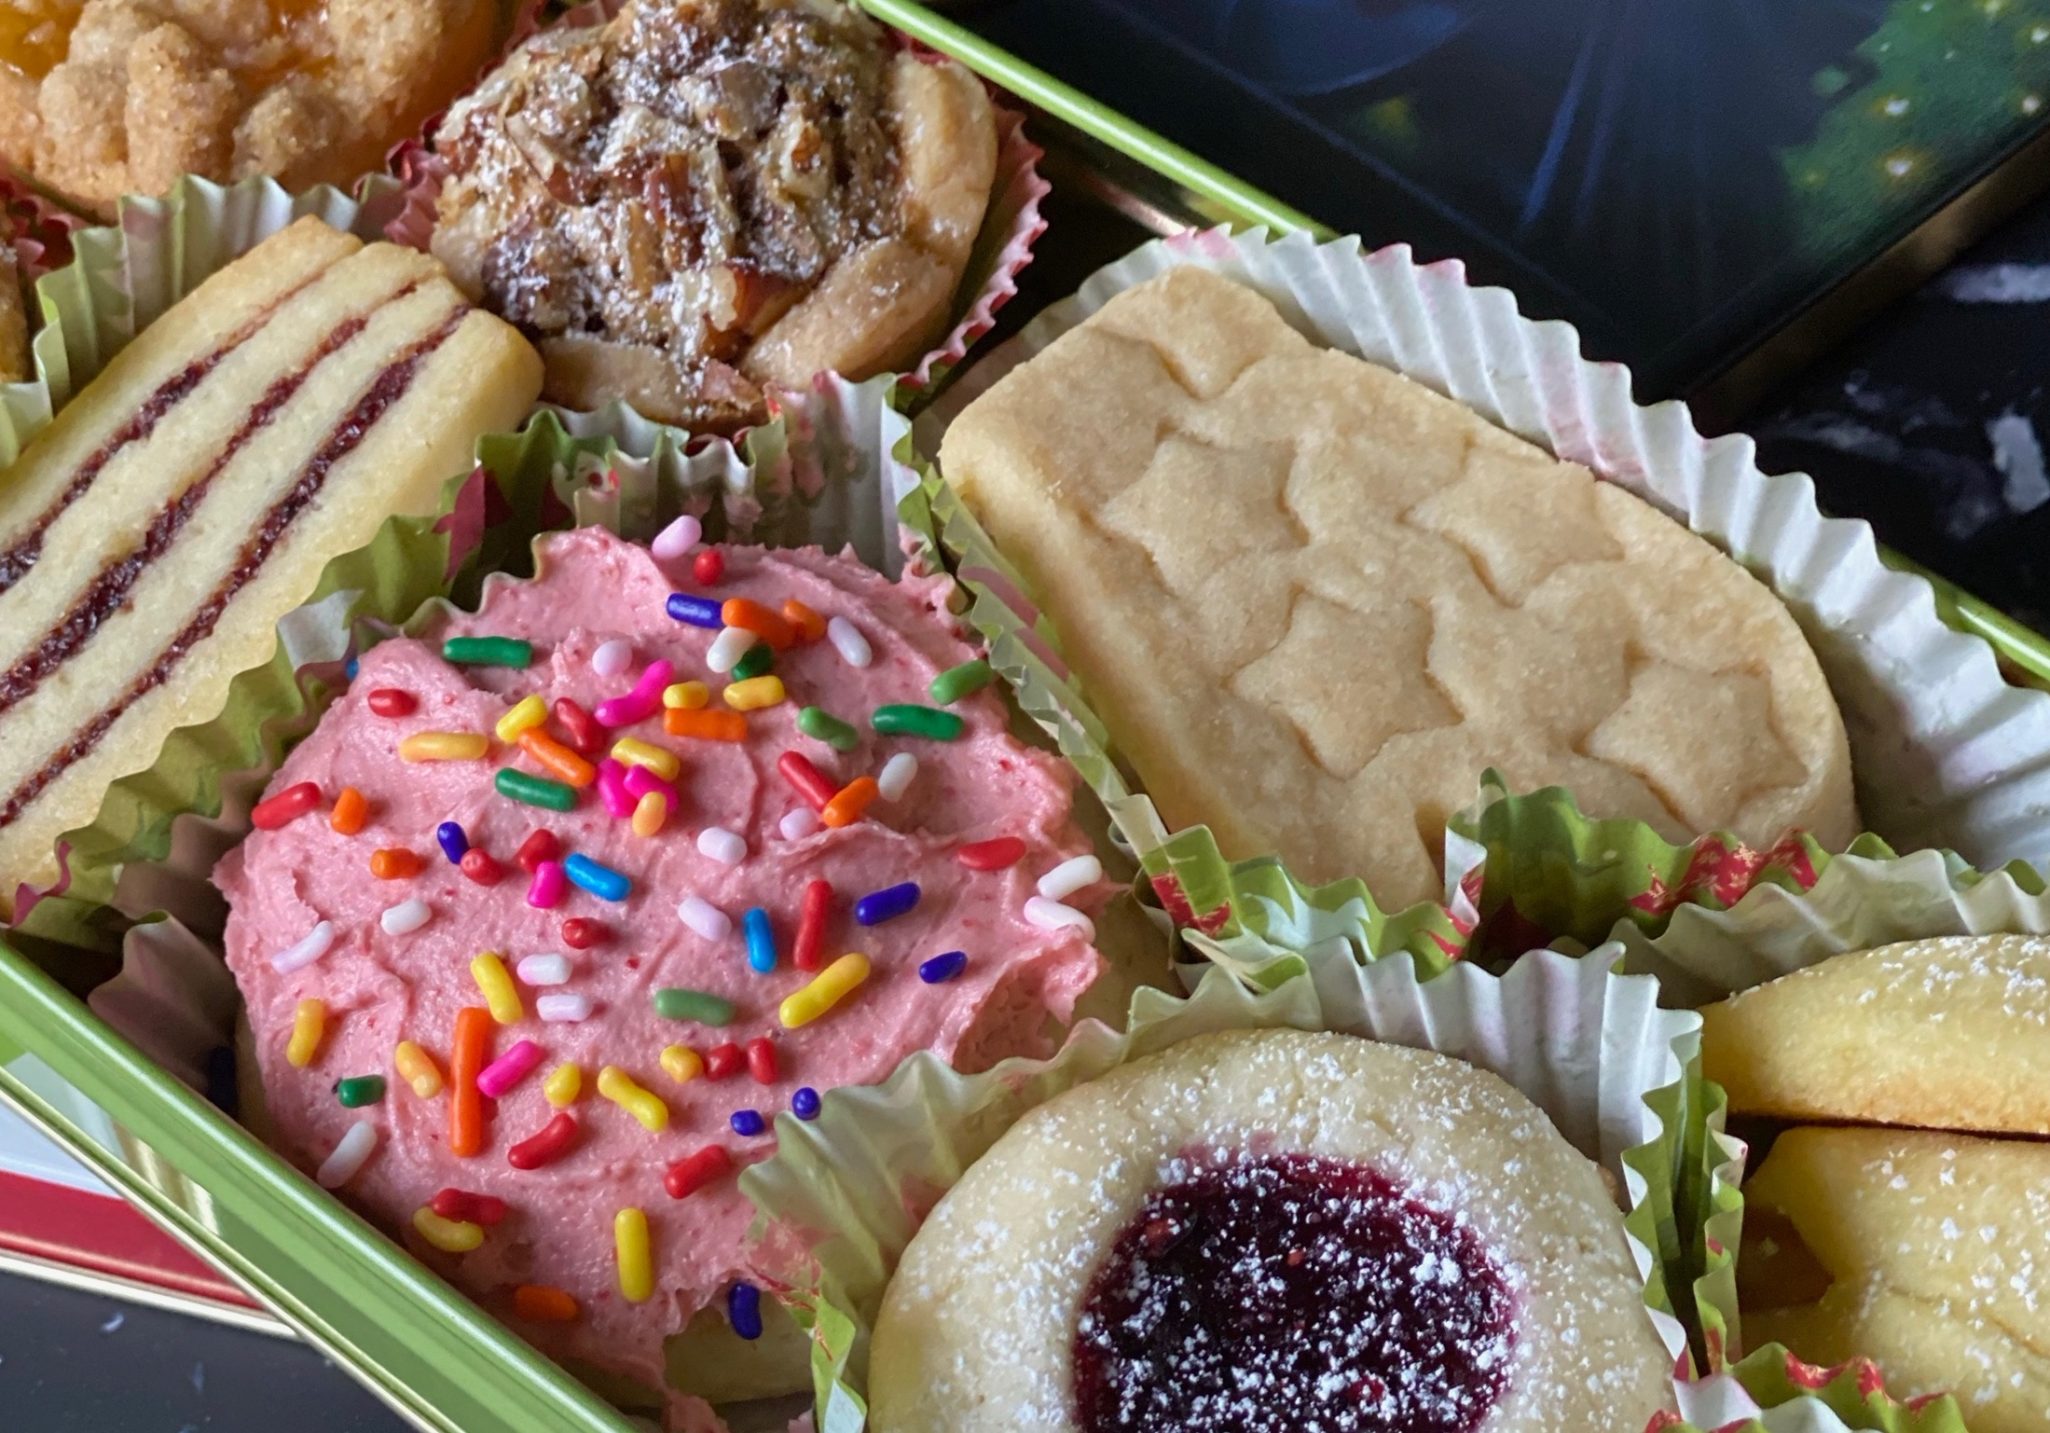
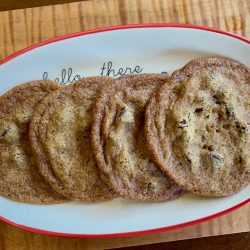
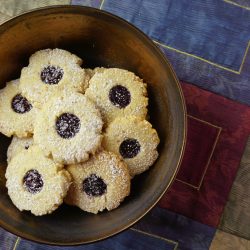
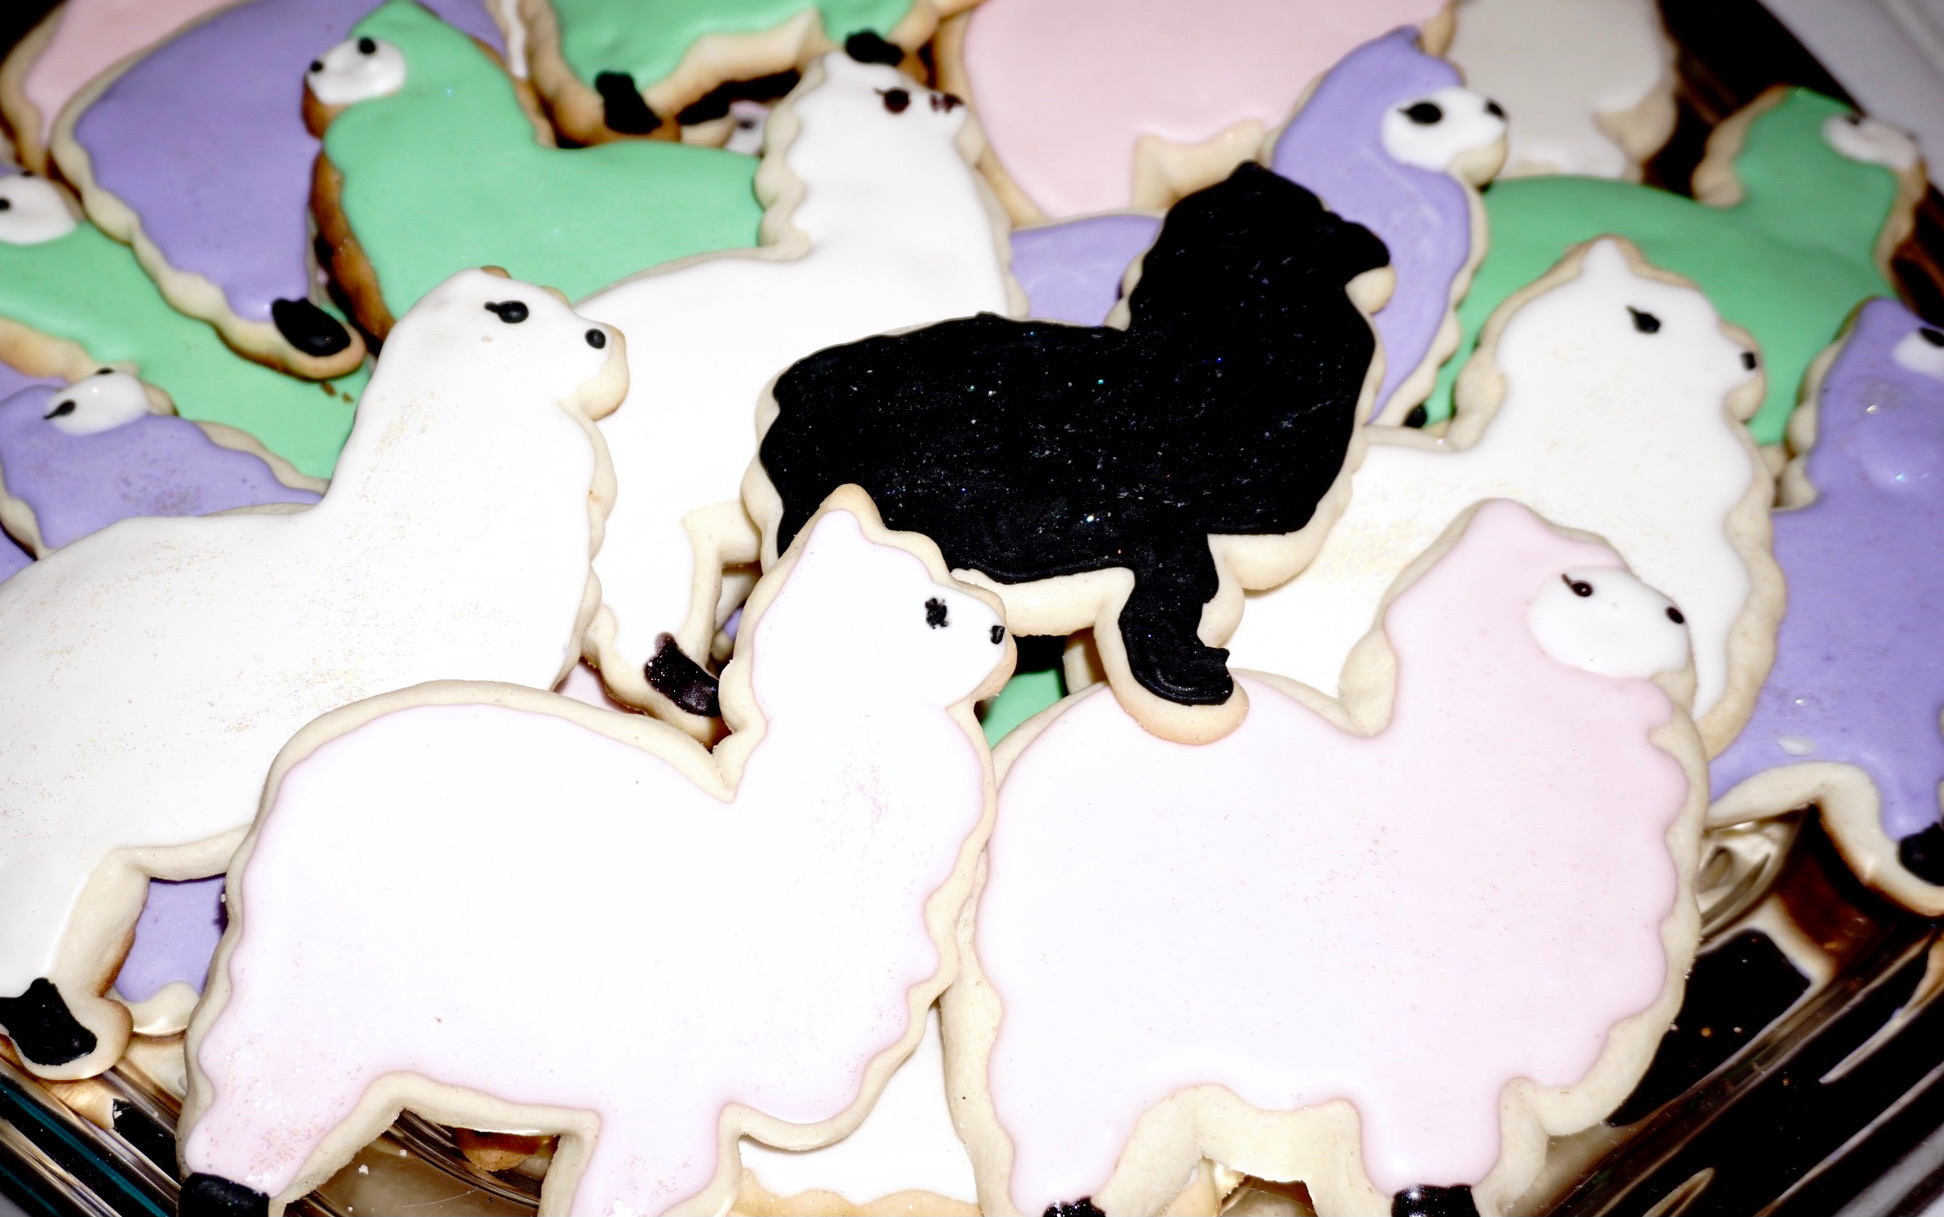
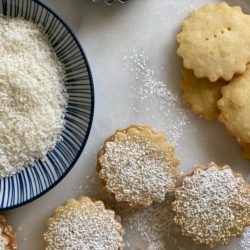
In the center of the table was an amazing assortment of cookies. I chose the sugar cookie sheep, so cute I couldn’t resist. In fact, too cute to eat so I chose a second cookie, a petite round sandwich cookie covered with powdered sugar. I popped one in my mouth.
Wowza, Score One for the Round Cookie
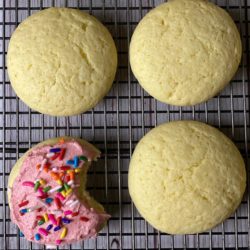
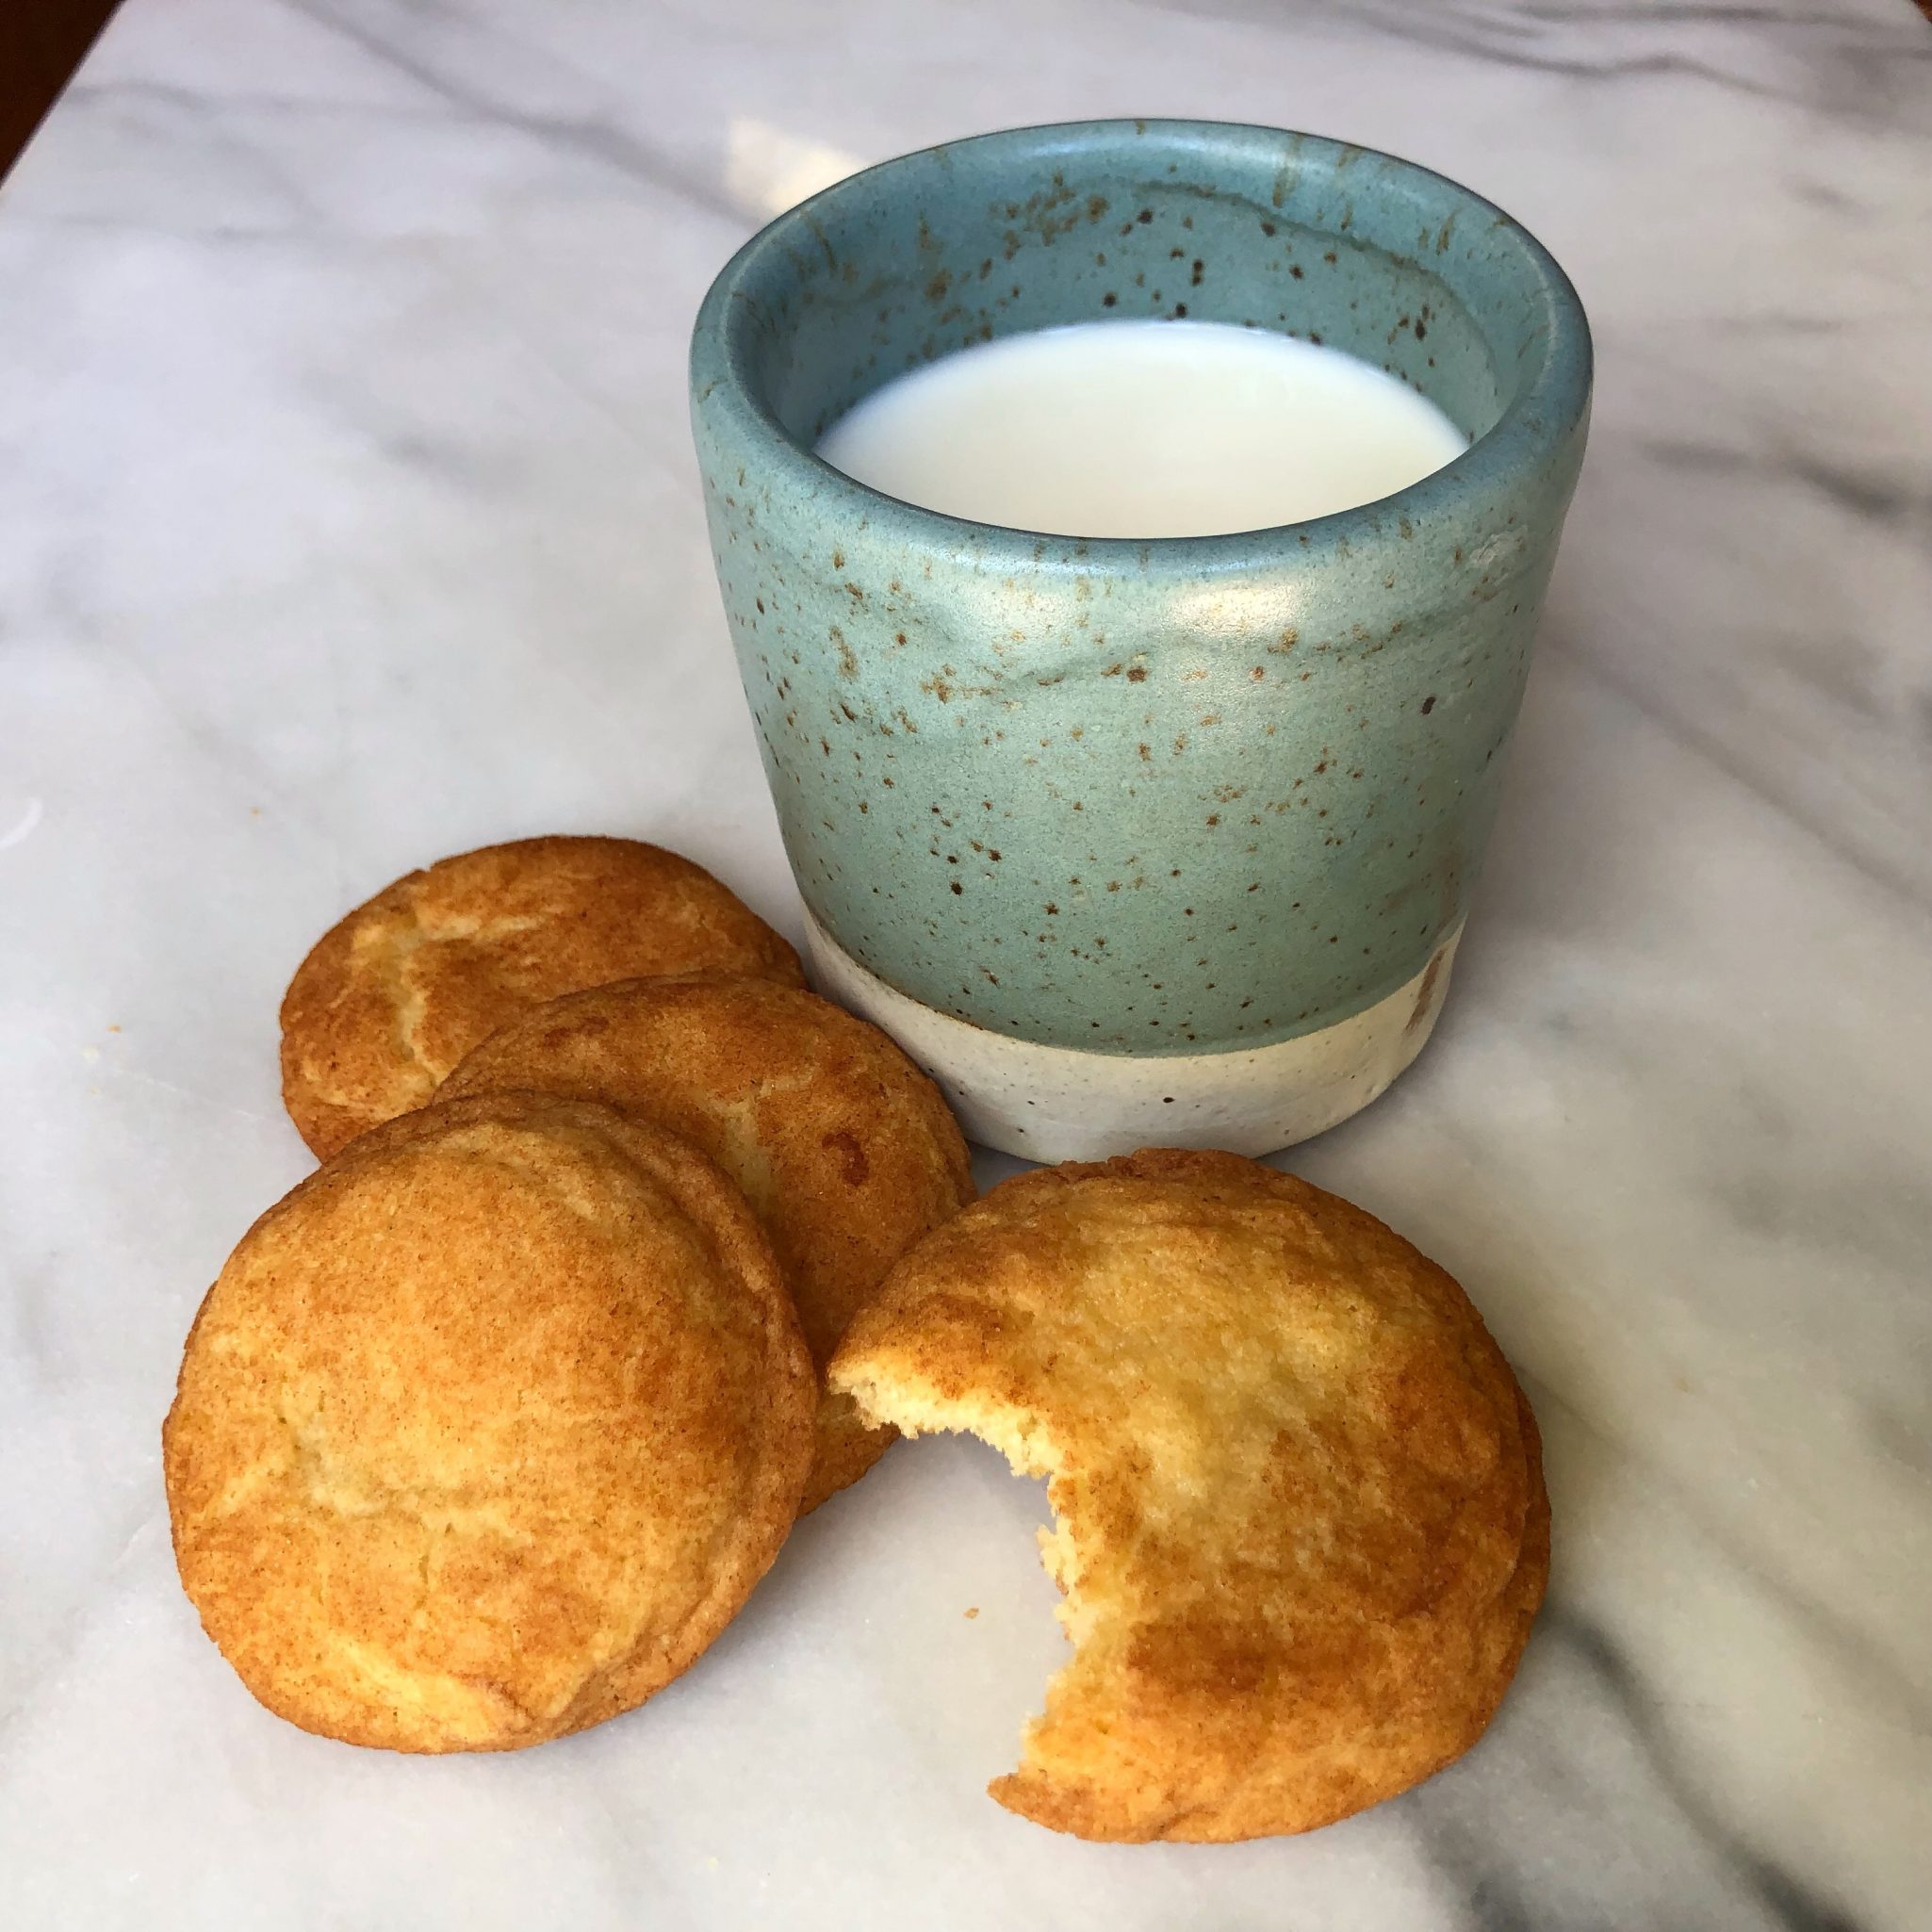
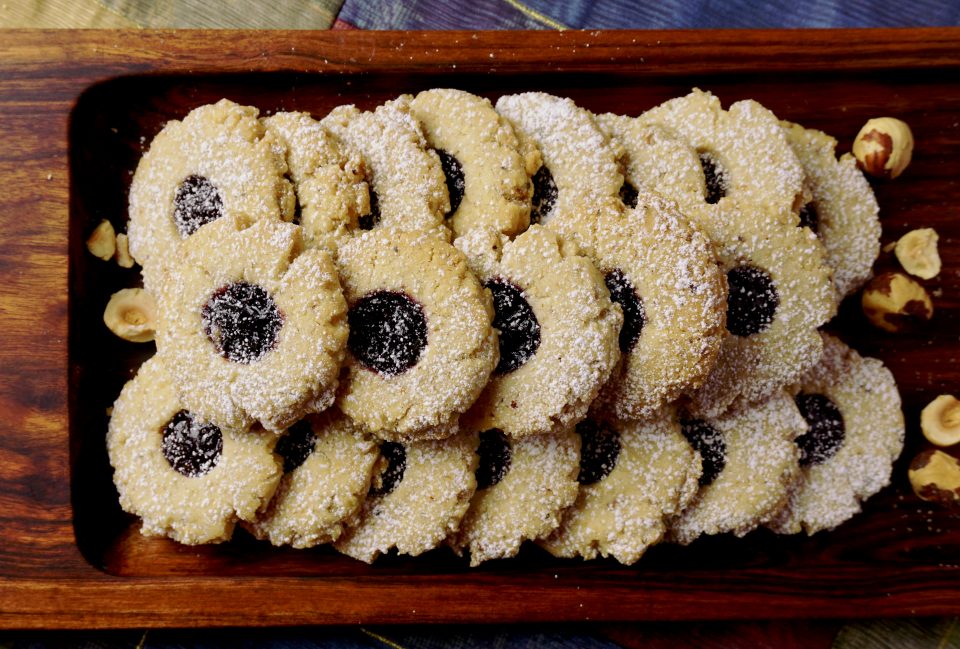
HELLOOOO…little cute as a button sandwich cookie. Where have you been all my life? Tender, light, buttery, melt-in-your-mouth crumb with a rich-brown lovely caramel sandwiched in between. The rest of the wedding festivities were a blur as I fixated on the cookie, just kidding, it was a very nice celebration. I did eat as many cookies as I could, lol. I stealthily circulated the room casually asking, friends and relatives about the cookies. Ok, I’m lying…nothing stealth or casual about my inquisition. I learned the cookies were made by the bride’s aunt who had lived in South America for a while. The cookies were her version of Alfajores which originated in Spain and made its way to many Latin countries. A tender shortbread-like cookie filled with caramelized milk and sugar mixture known as Dulce de Leche. So good.
Yep, made by the bride’s aunt! I had an “in”. I was wowed, they were so damn good and she made enough cookies for 300+ people. This put me squarely in the Auntie Hall of Shame.
It did take 5 years to finally get the recipe from her. I badgered my niece occasionally to no avail (in her defense, she was pretty busy). Finally, at her baby shower a couple of weeks ago, gracing the dessert table, a tray of cute sheep and Alfajores-ahhh, those lovely cookies, again.
Lucky for me her aunt was there and I POLITELY (I accosted her) asked for the recipe. She proceeded to rattle it off the top of her head ending with, “it’s the orange rind that really adds to the cookie, don’t forget it”.
Thank you, Auntie
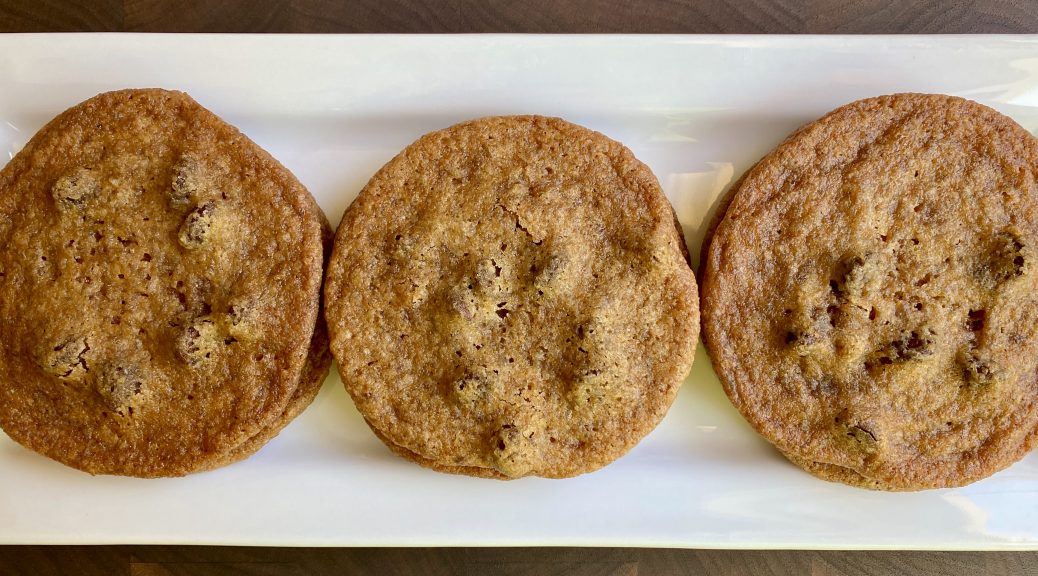
This is actually a pretty simple cookie. Unlike many recipes for Alfajores, no egg in it. It’s flour, sugar in the form of powdered sugar, butter, salt, and a touch of orange rind. The powdered sugar lowers the protein content creating a tender, melt-in-your-mouth cookie.
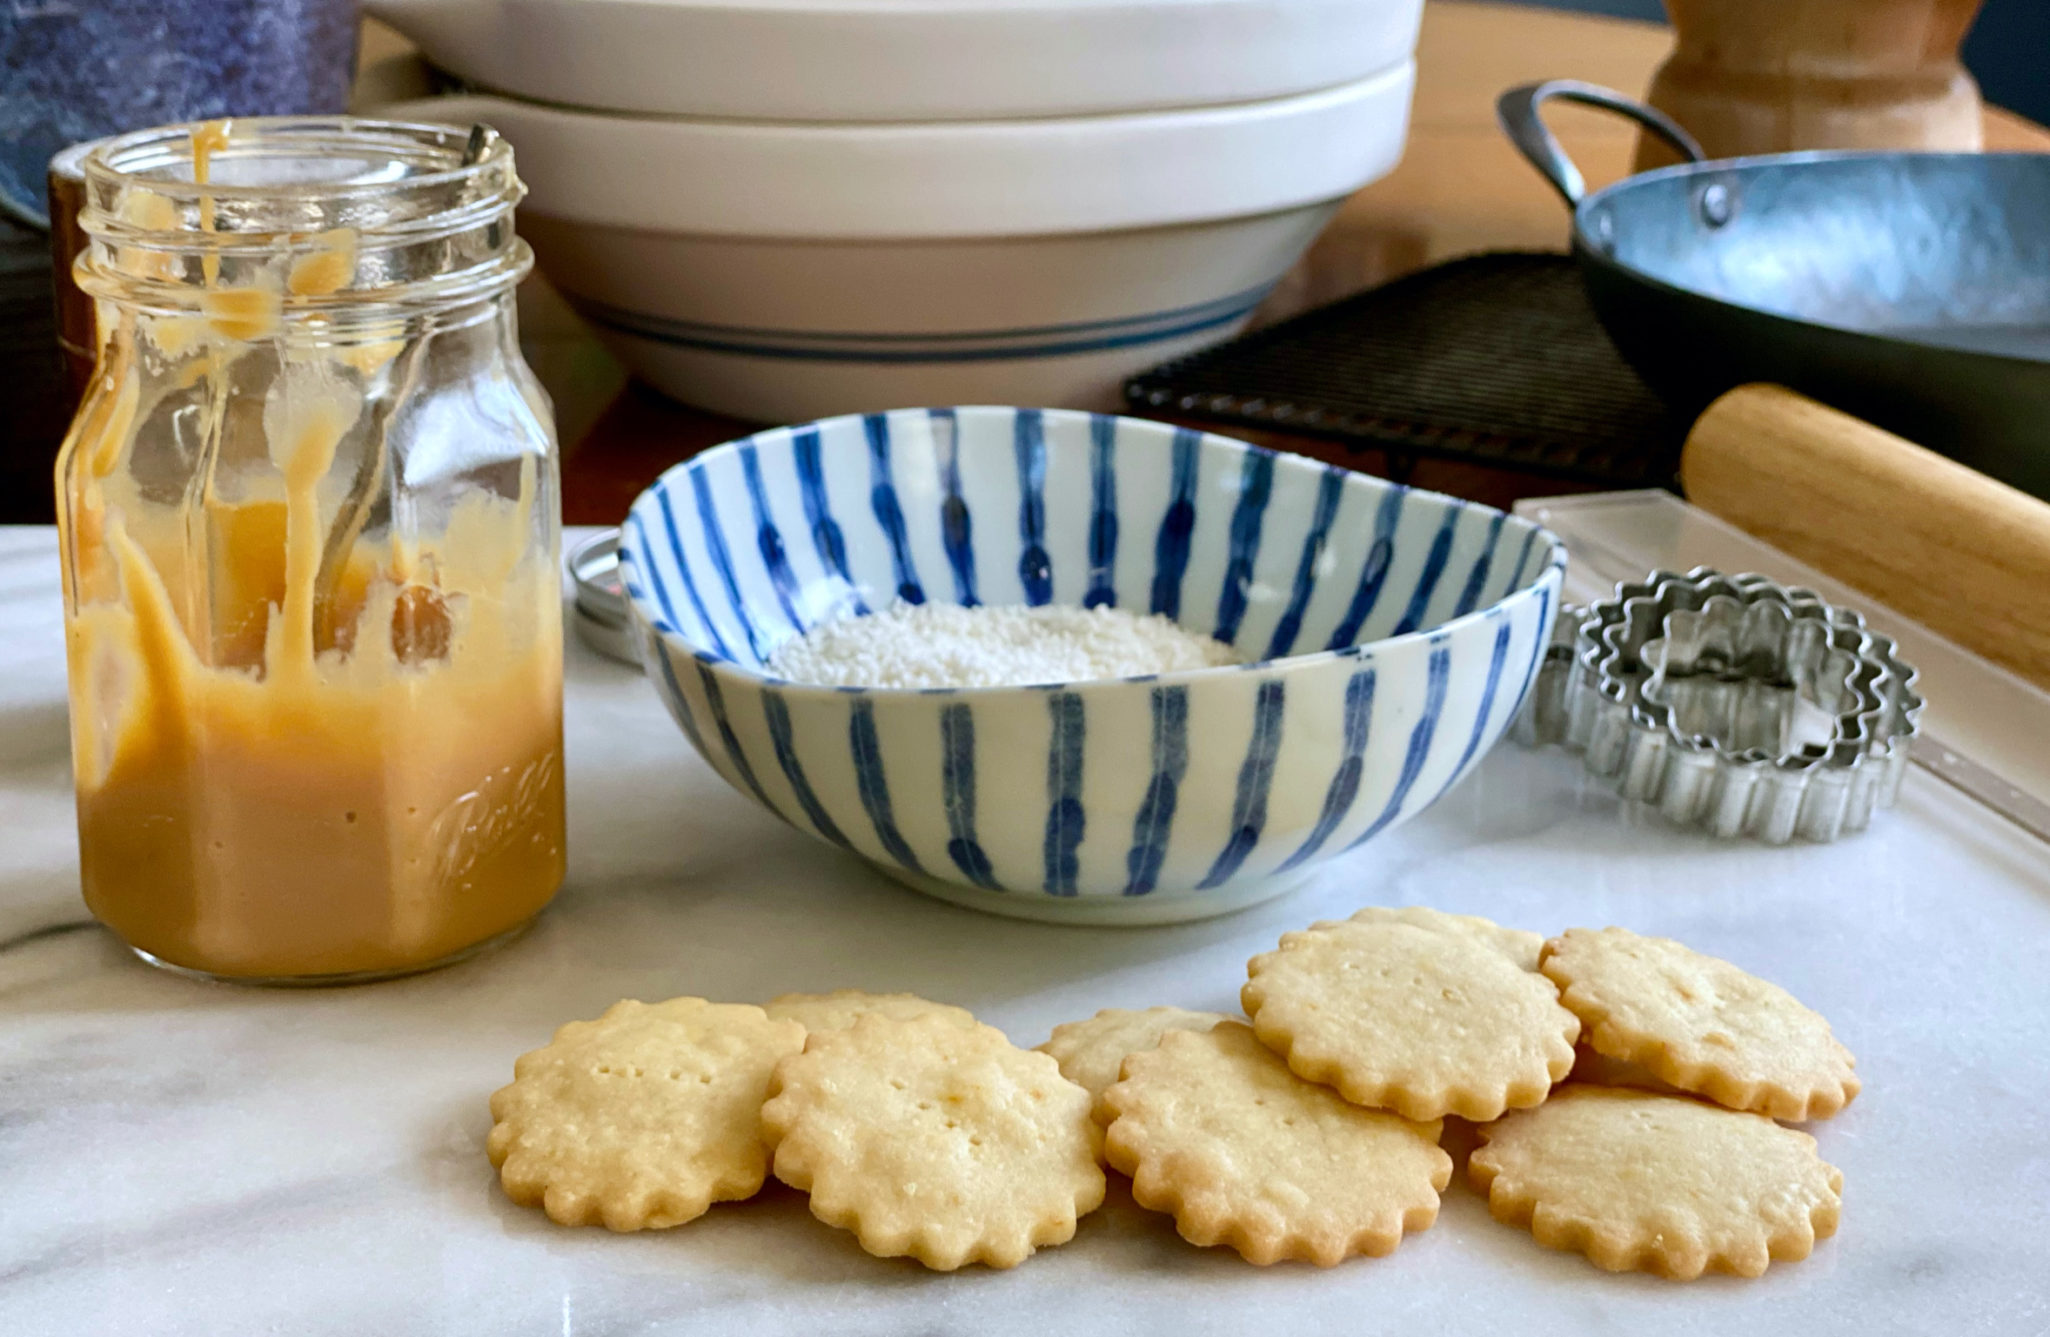
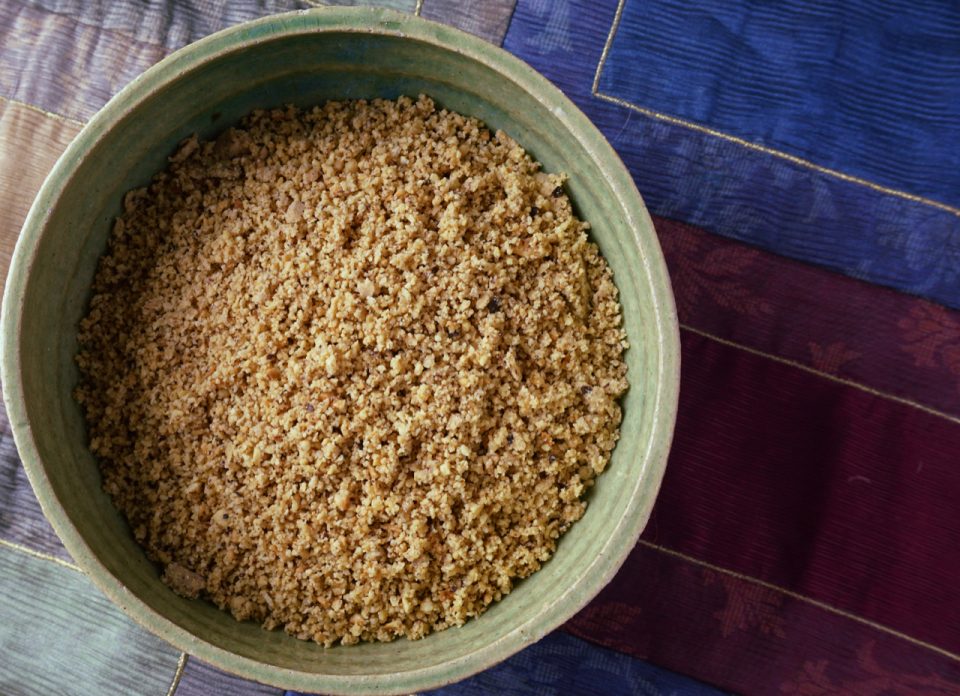
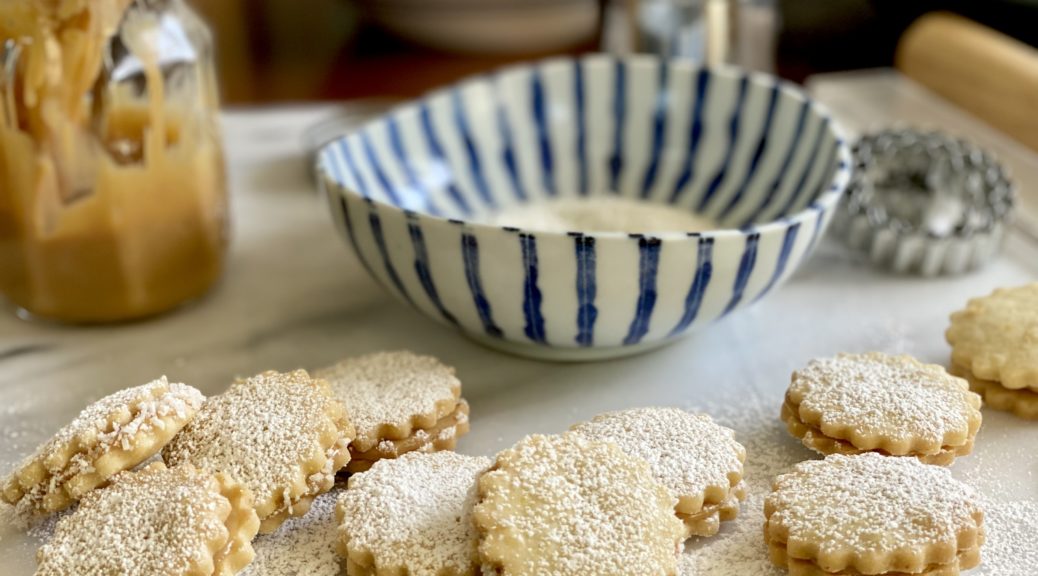
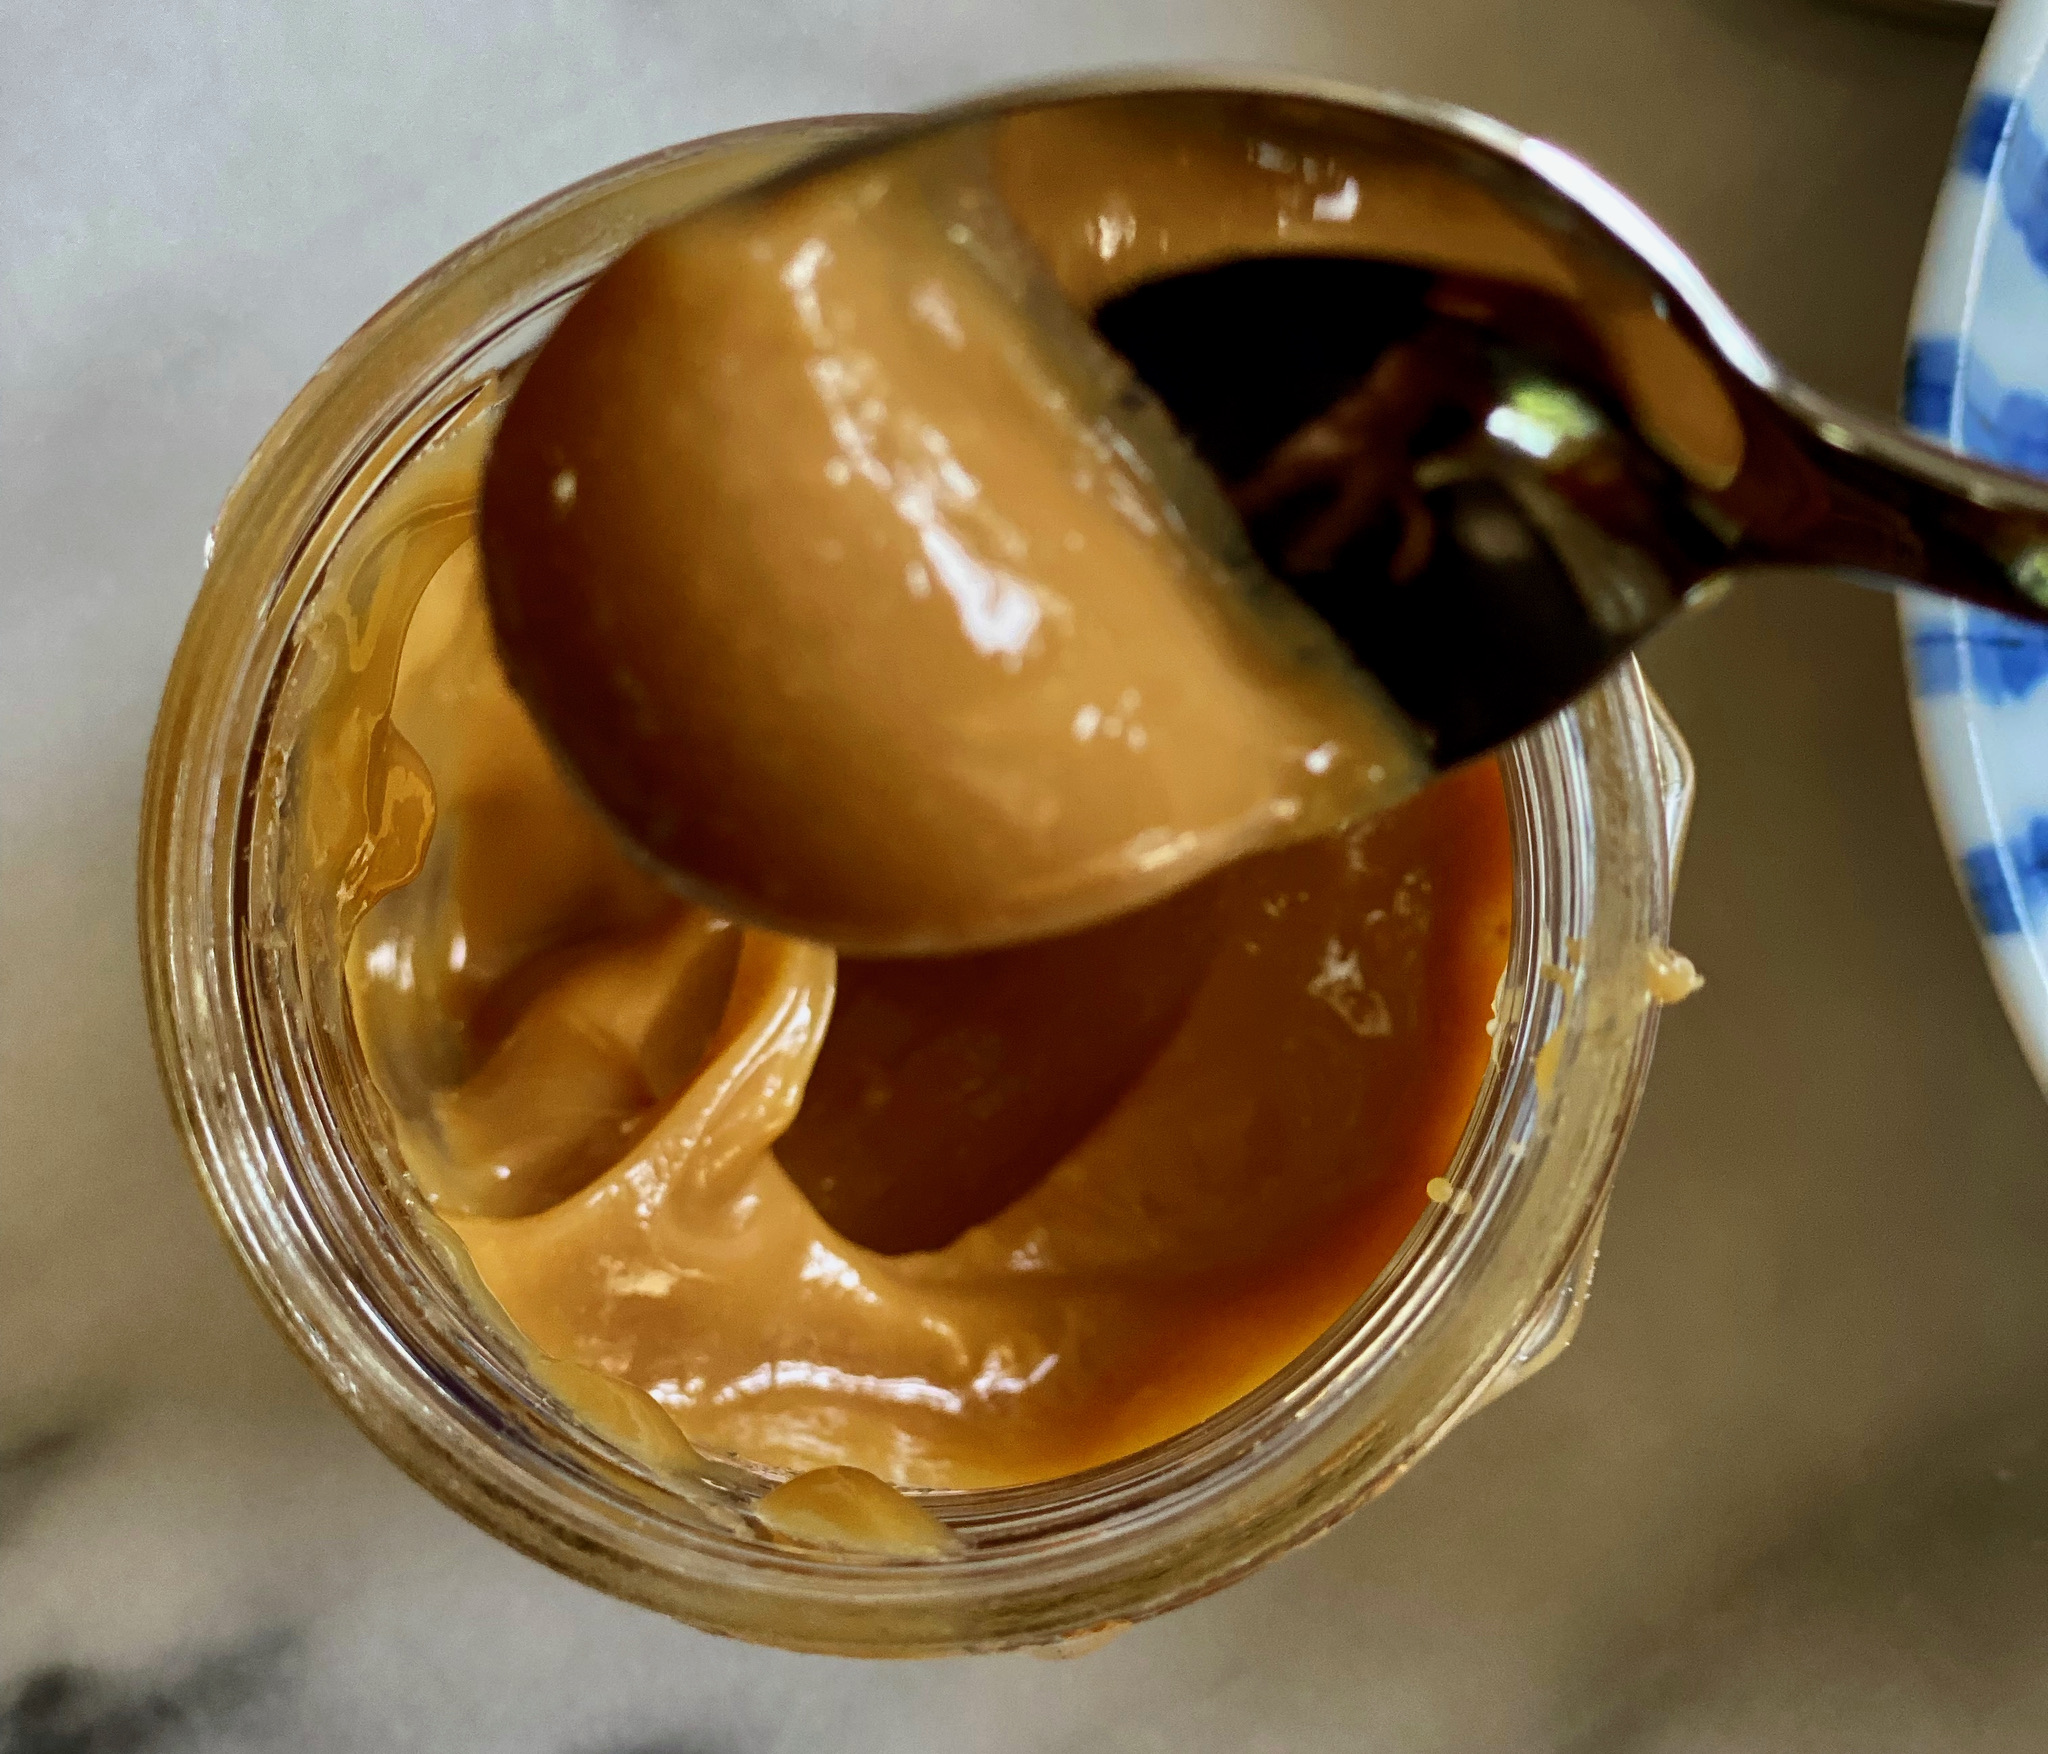
The other component is the Dulce de Leche. You could buy ready-made dulce de leche but what fun is that? You could also make your own by cooking sweetened condensed milk, in the can, in a water bath. This is simple but takes hours, and the remote chance of the can exploding loomed in my mind. So I made my Dulce de Leche in the microwave. Worked like a charm but it did have some stumbling blocks.
What You Need
A can of sweetened condensed milk (14 ounces) and a VERY LARGE microwavable bowl. The milk will bubble and boil over if your bowl is too small, yep, exactly what happened to me. Use a 2.5-quart bowl. I recently bought microwave ware, Anyday Cookware, which I love, but the bowl was not quite big enough to avoid overflow.
Liquid Gold
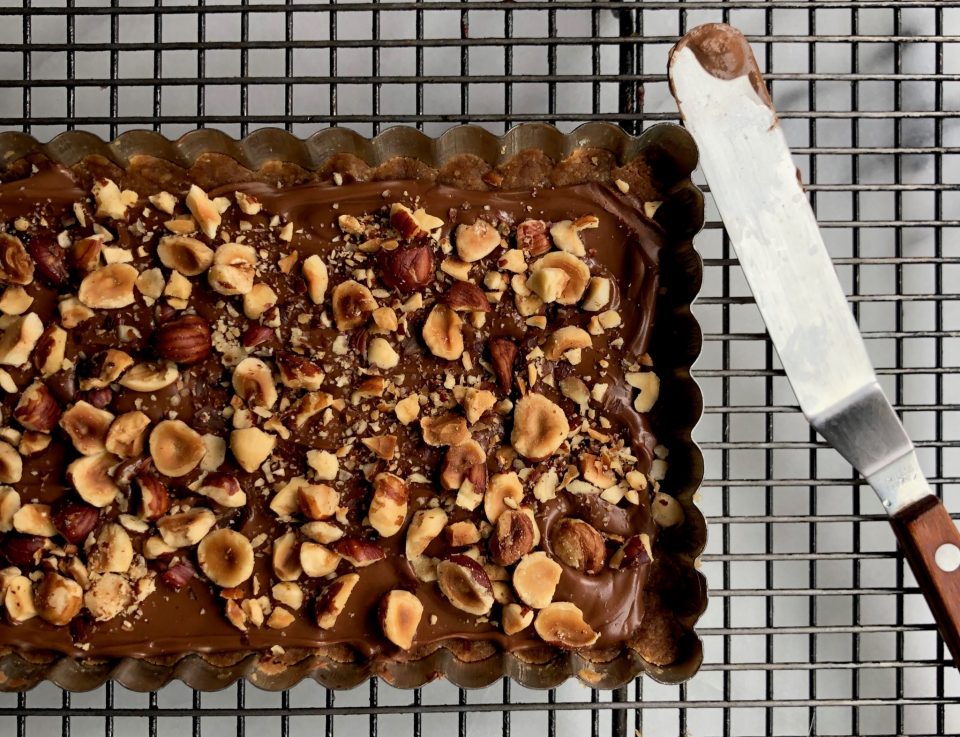
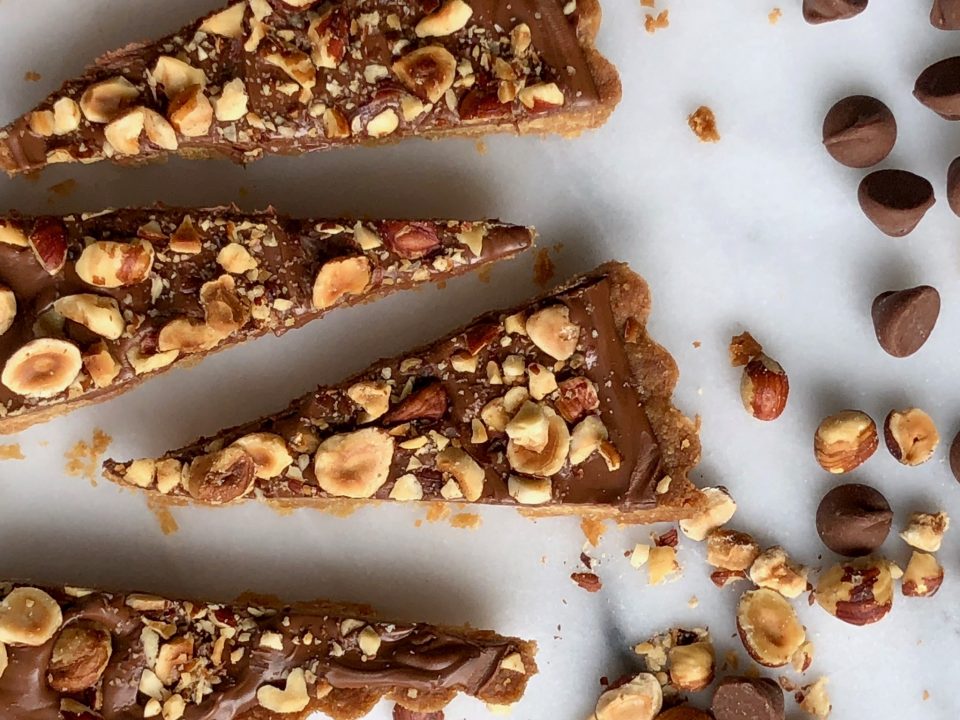
The entire process takes 12-15 minutes. In roughly 2 minute intervals you zap the mixture, remove stir and nuke again. The mixture will bubble and then caramelize leaving you with liquid gold aka Dulce de Leche. It will thicken as it cools down, but you do want a nice deep brown color and it shouldn’t be runny to avoid the “ooze factor” in a sandwich cookie. Use oven mitts, stir and let it cool. You can spoon the filling onto the cookies or use a piping bag to fill the cookies. If you like butter & caramel flavor, you are going to love these cookies.
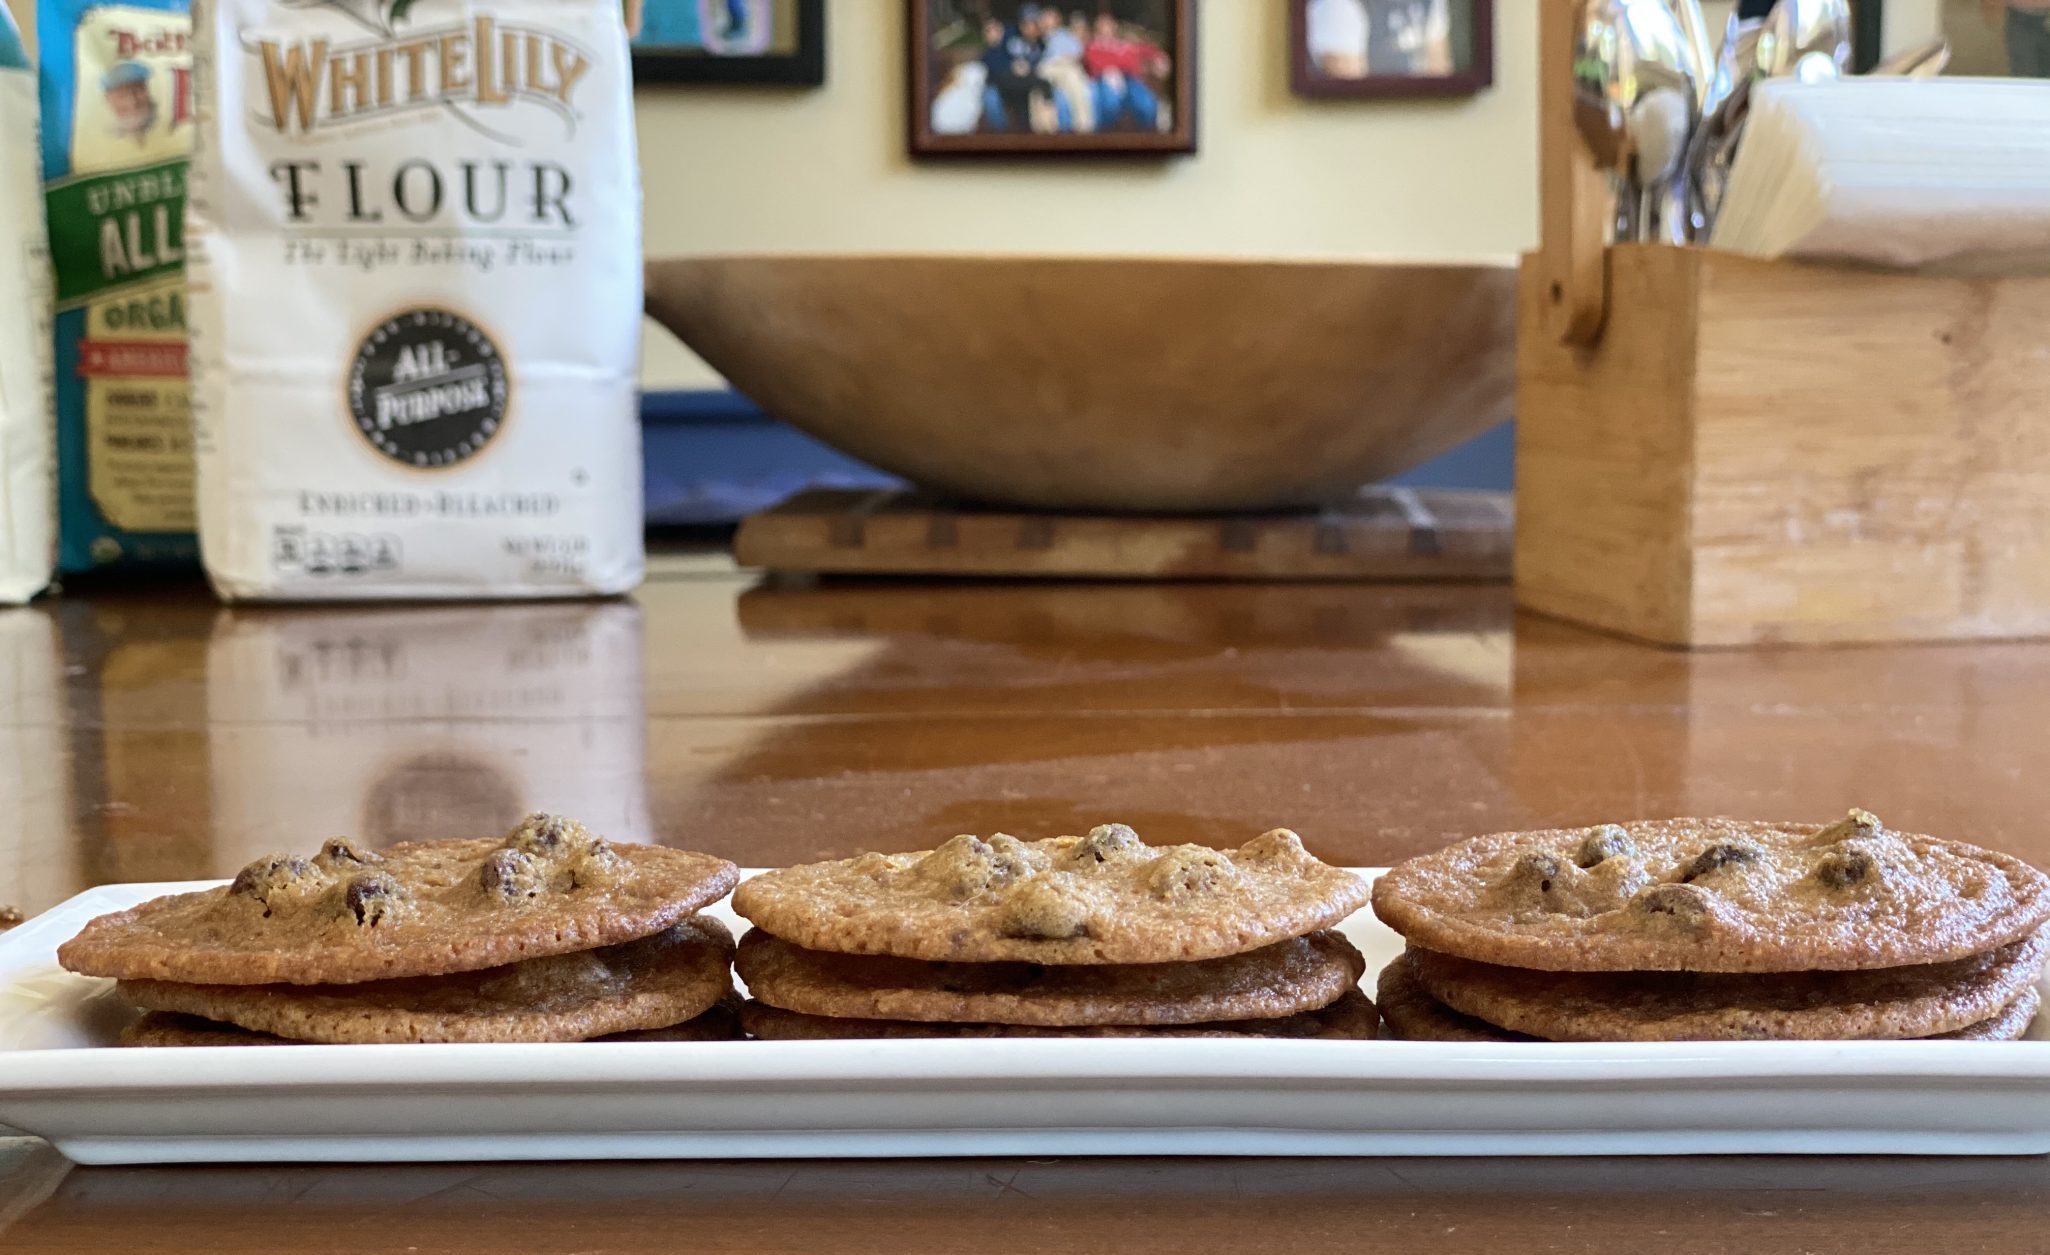
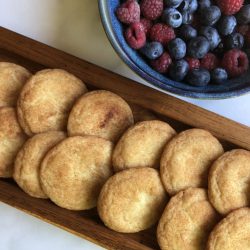
There you have it, the cookie of my dreams. Make a batch, I guarantee it will put a smile on your face.
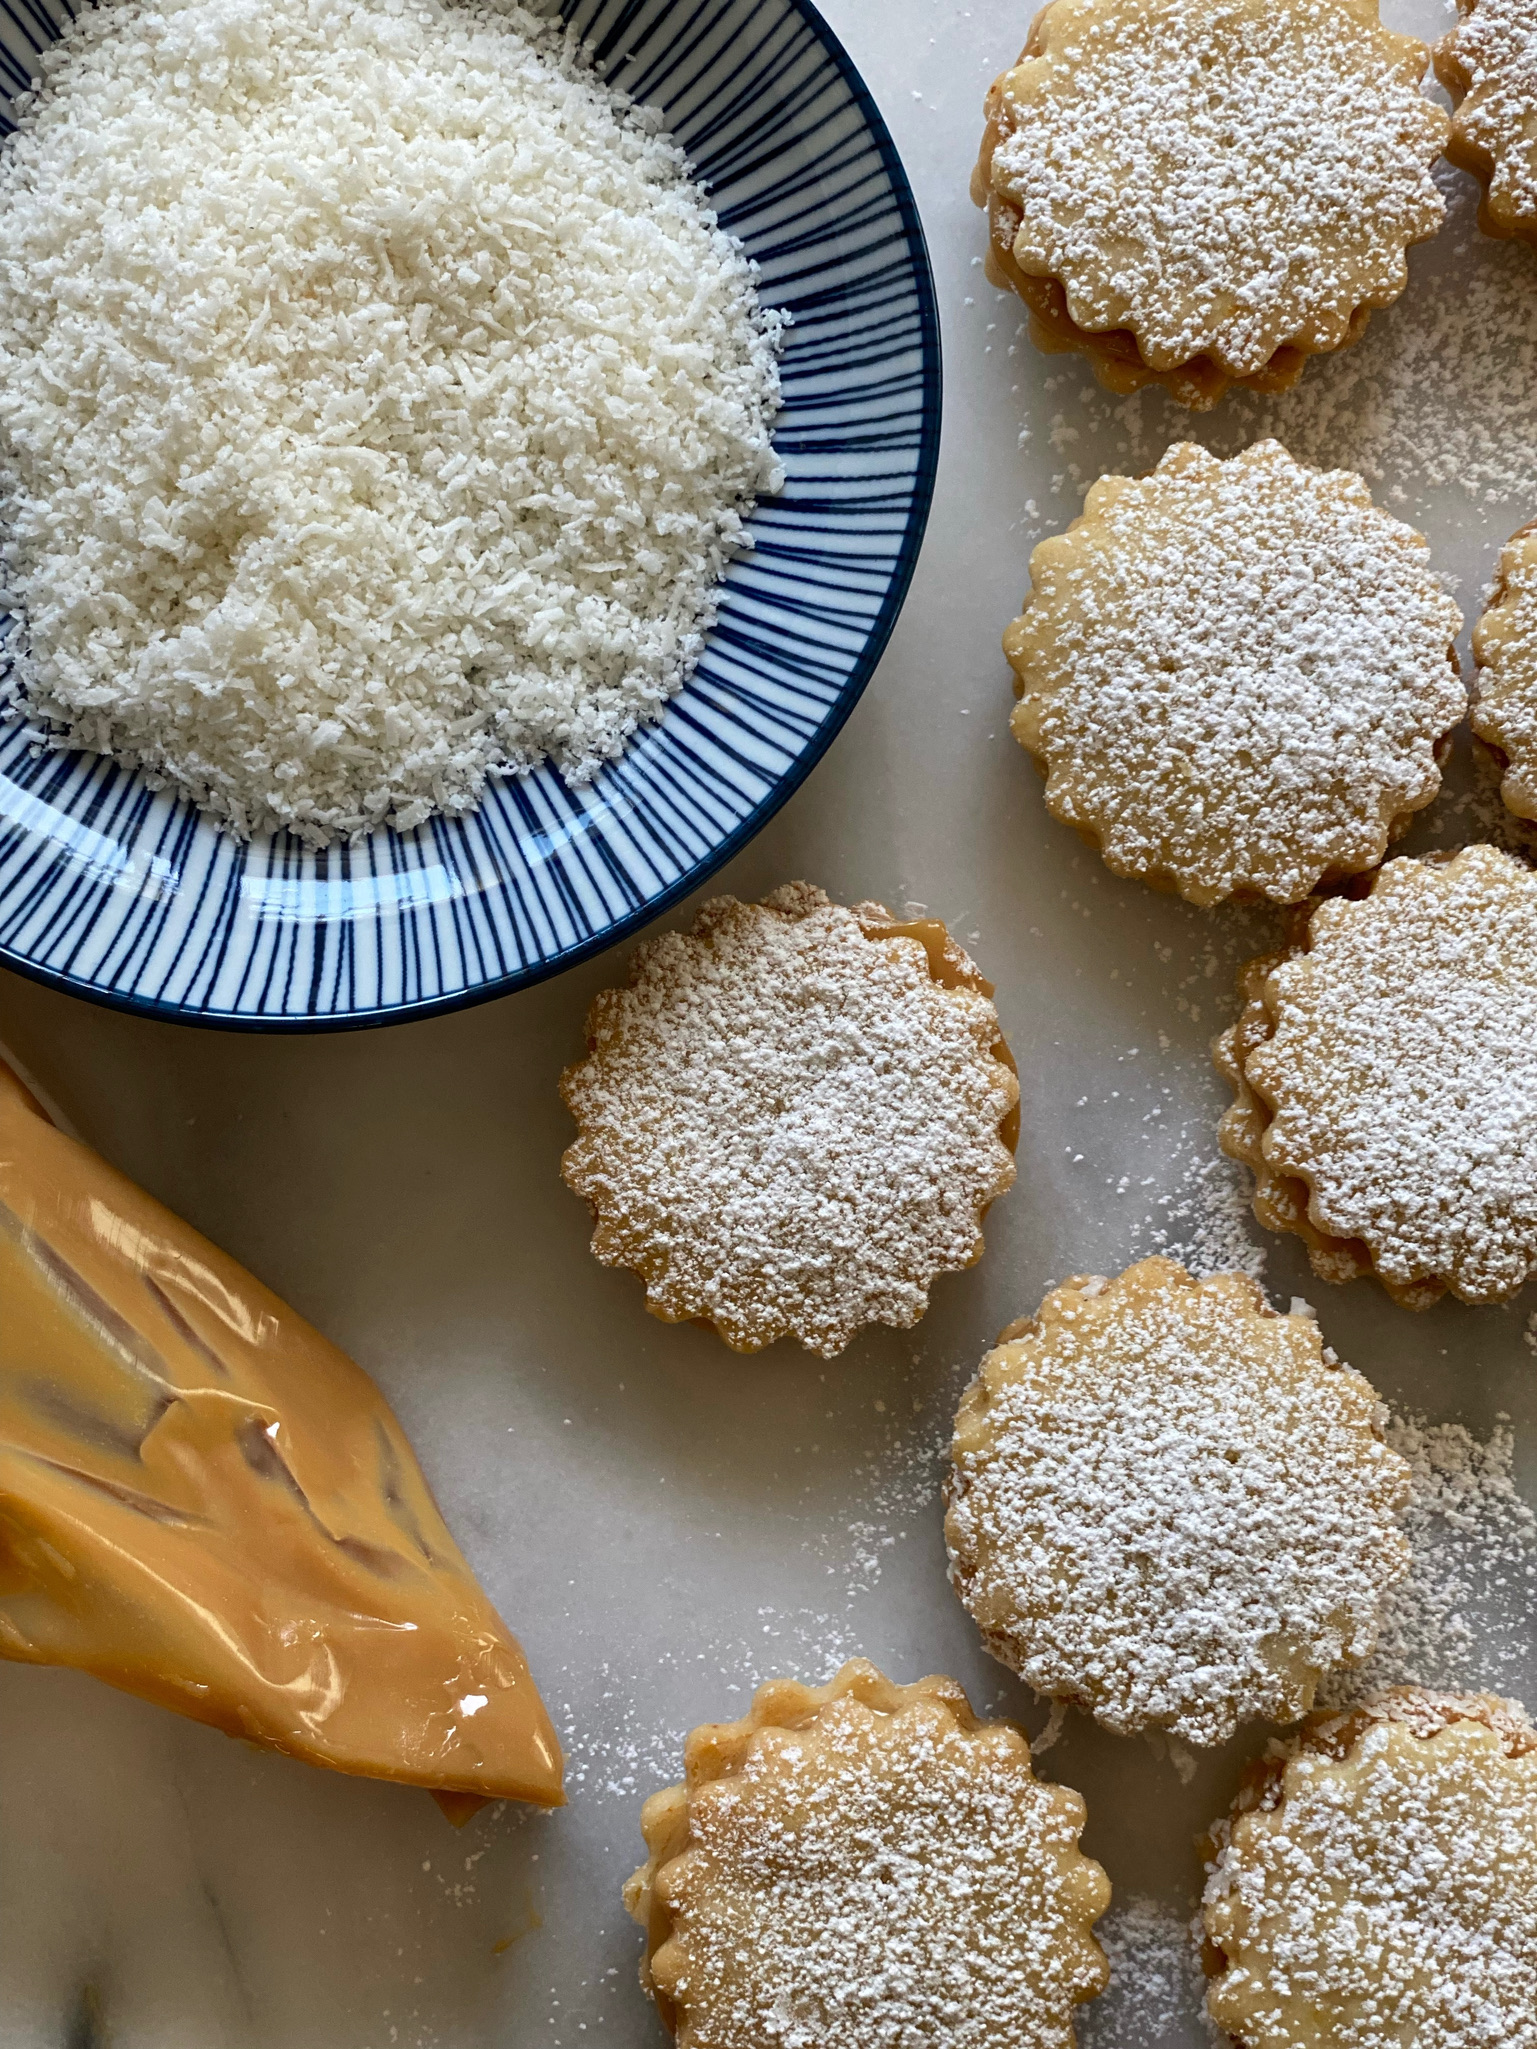
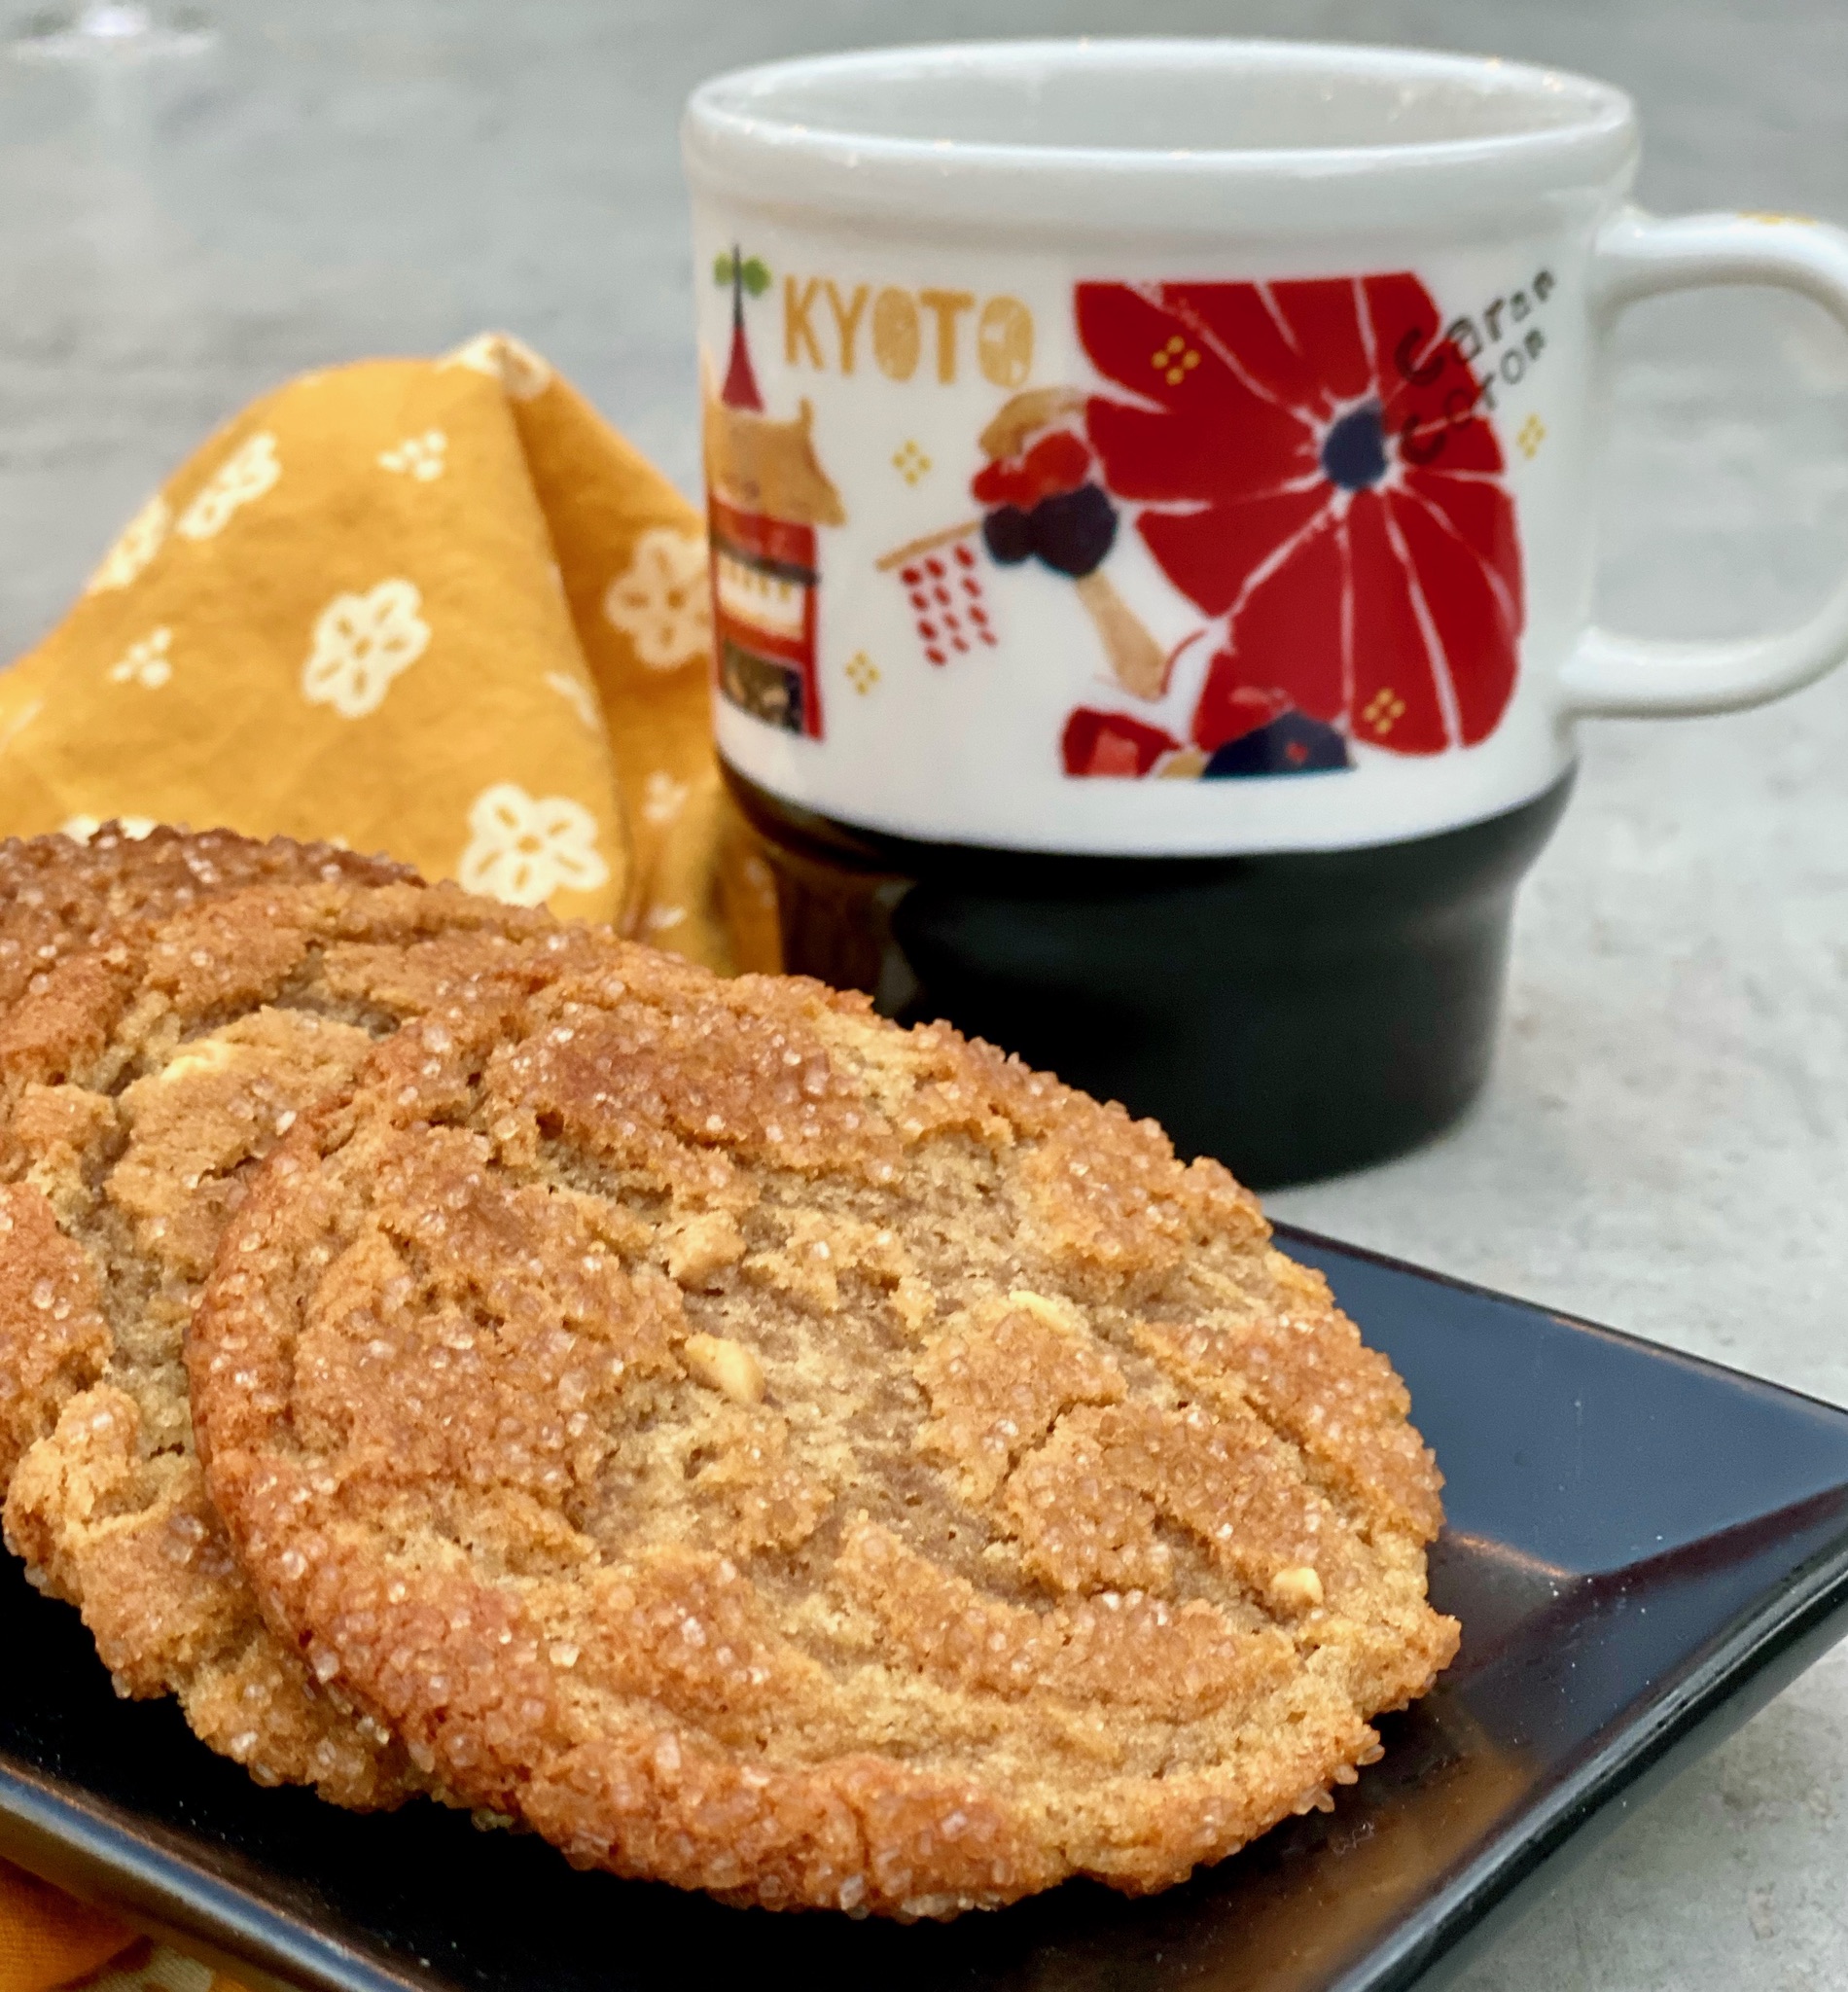
The finishing touch is optional but nice, roll the edge of the cookie in shredded coconut. Delicious.
Alfajores
Ingredients
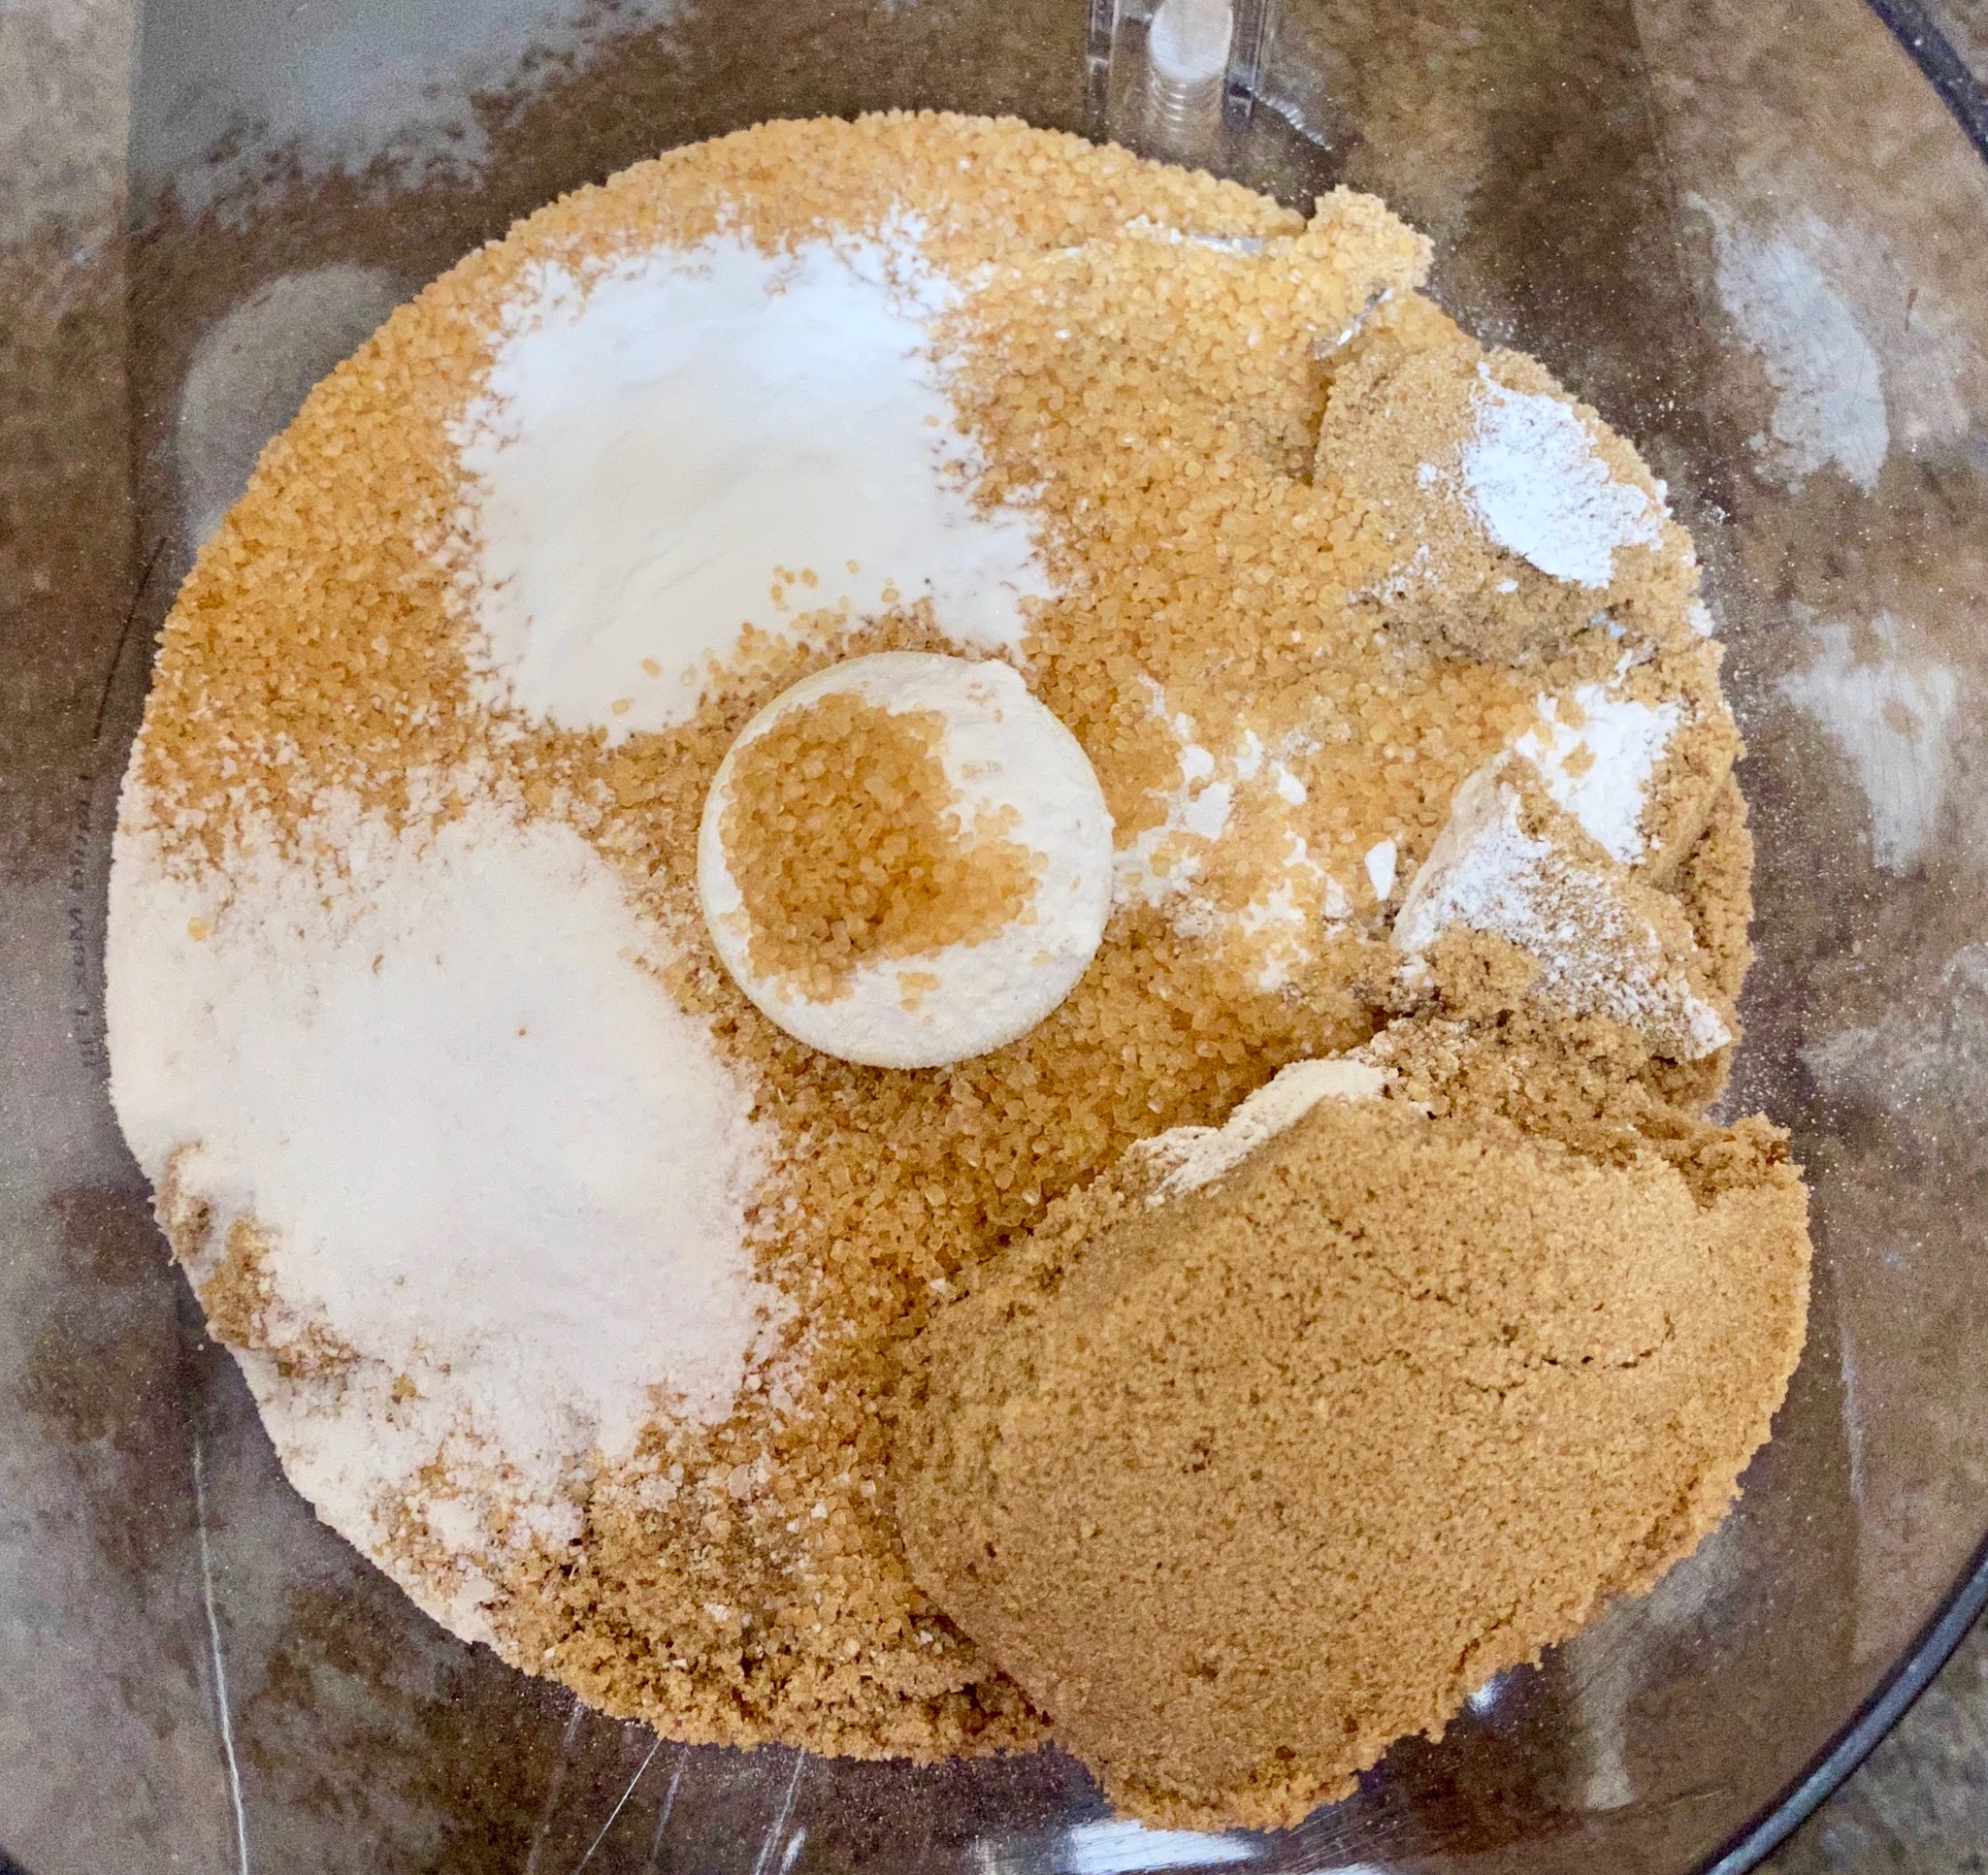
Cookie
- 1 cup unsalted butter softened 2 sticks
- 6 tablespoons powdered sugar
- 2-1/4 cups all-purpose flour
- 1/2 t salt
- Orange zest from 1/2 orange
- 1 teaspoon vailla extract or paste optional
- finely shredded coconut, unsweetened preferred but sweetened is ok too
Dulce de Leche
- 1-14 ounce can of sweetened condensed milk
- Pinch of kosher salt or Fleur de Sel
- 1/4-1/2 teaspoon cinnamon optional
Instructions
Cookie
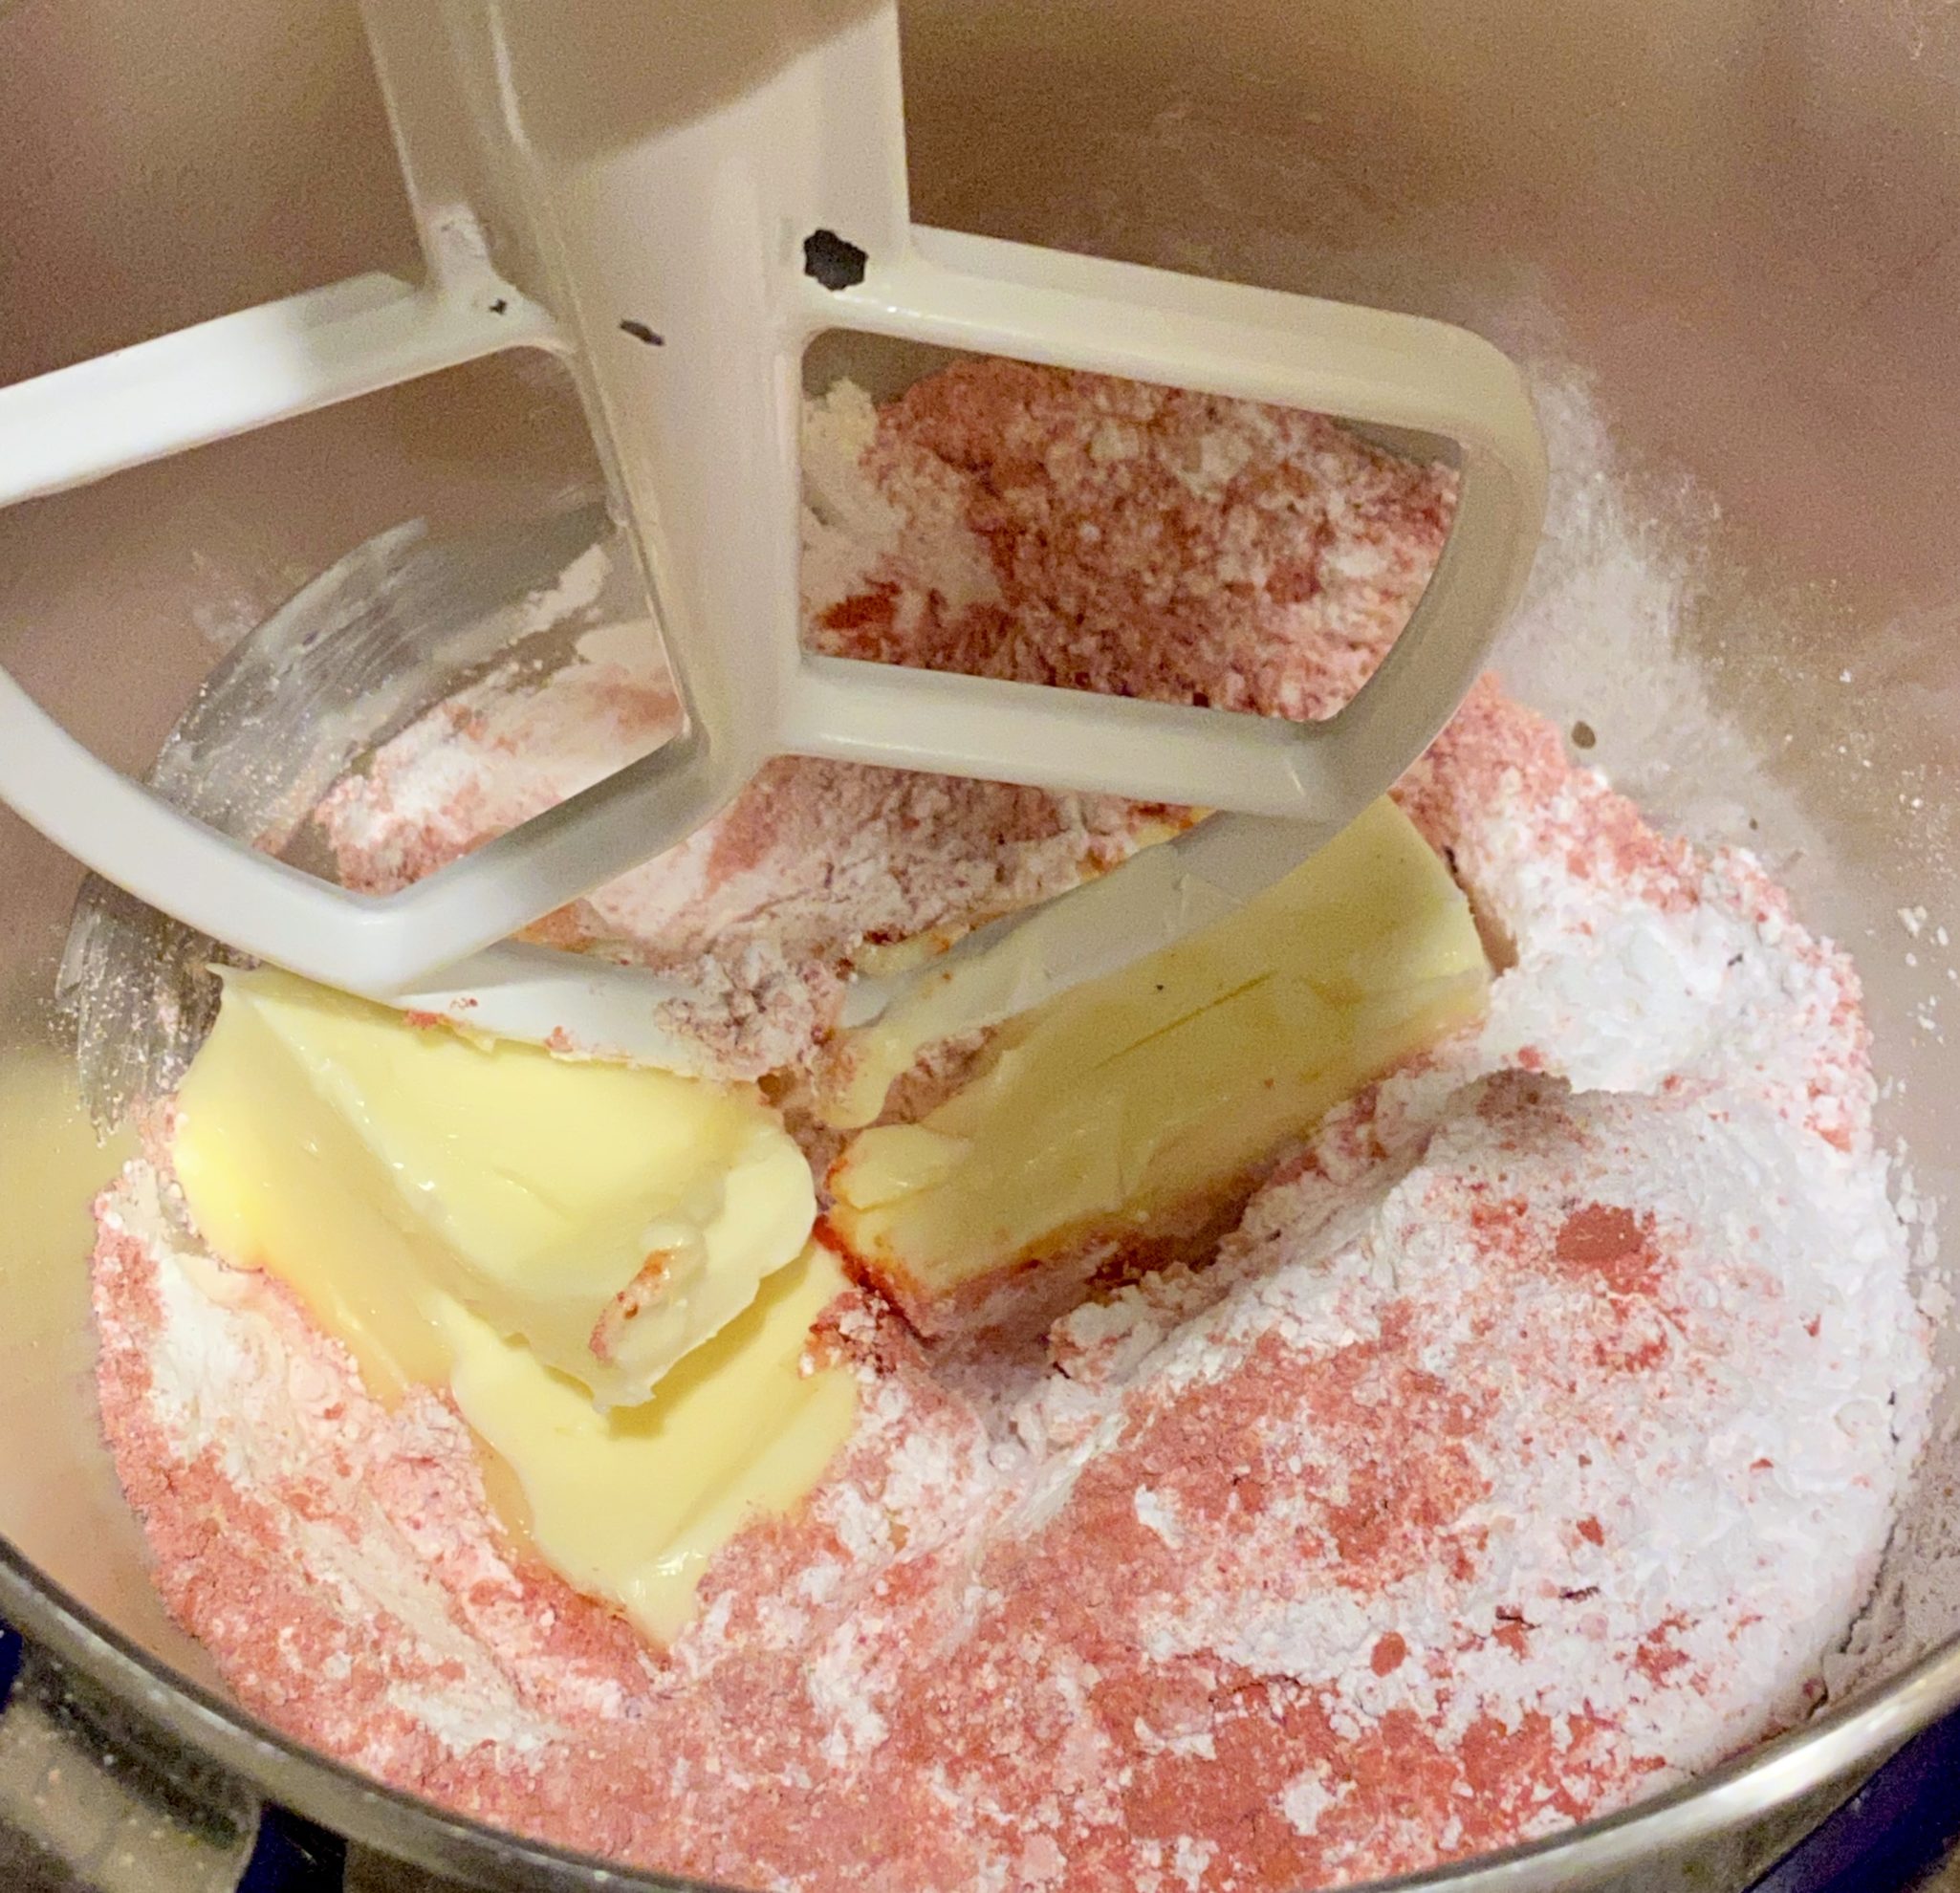
- Combine flour and salt in a small bowl and set aside. Zest orange.
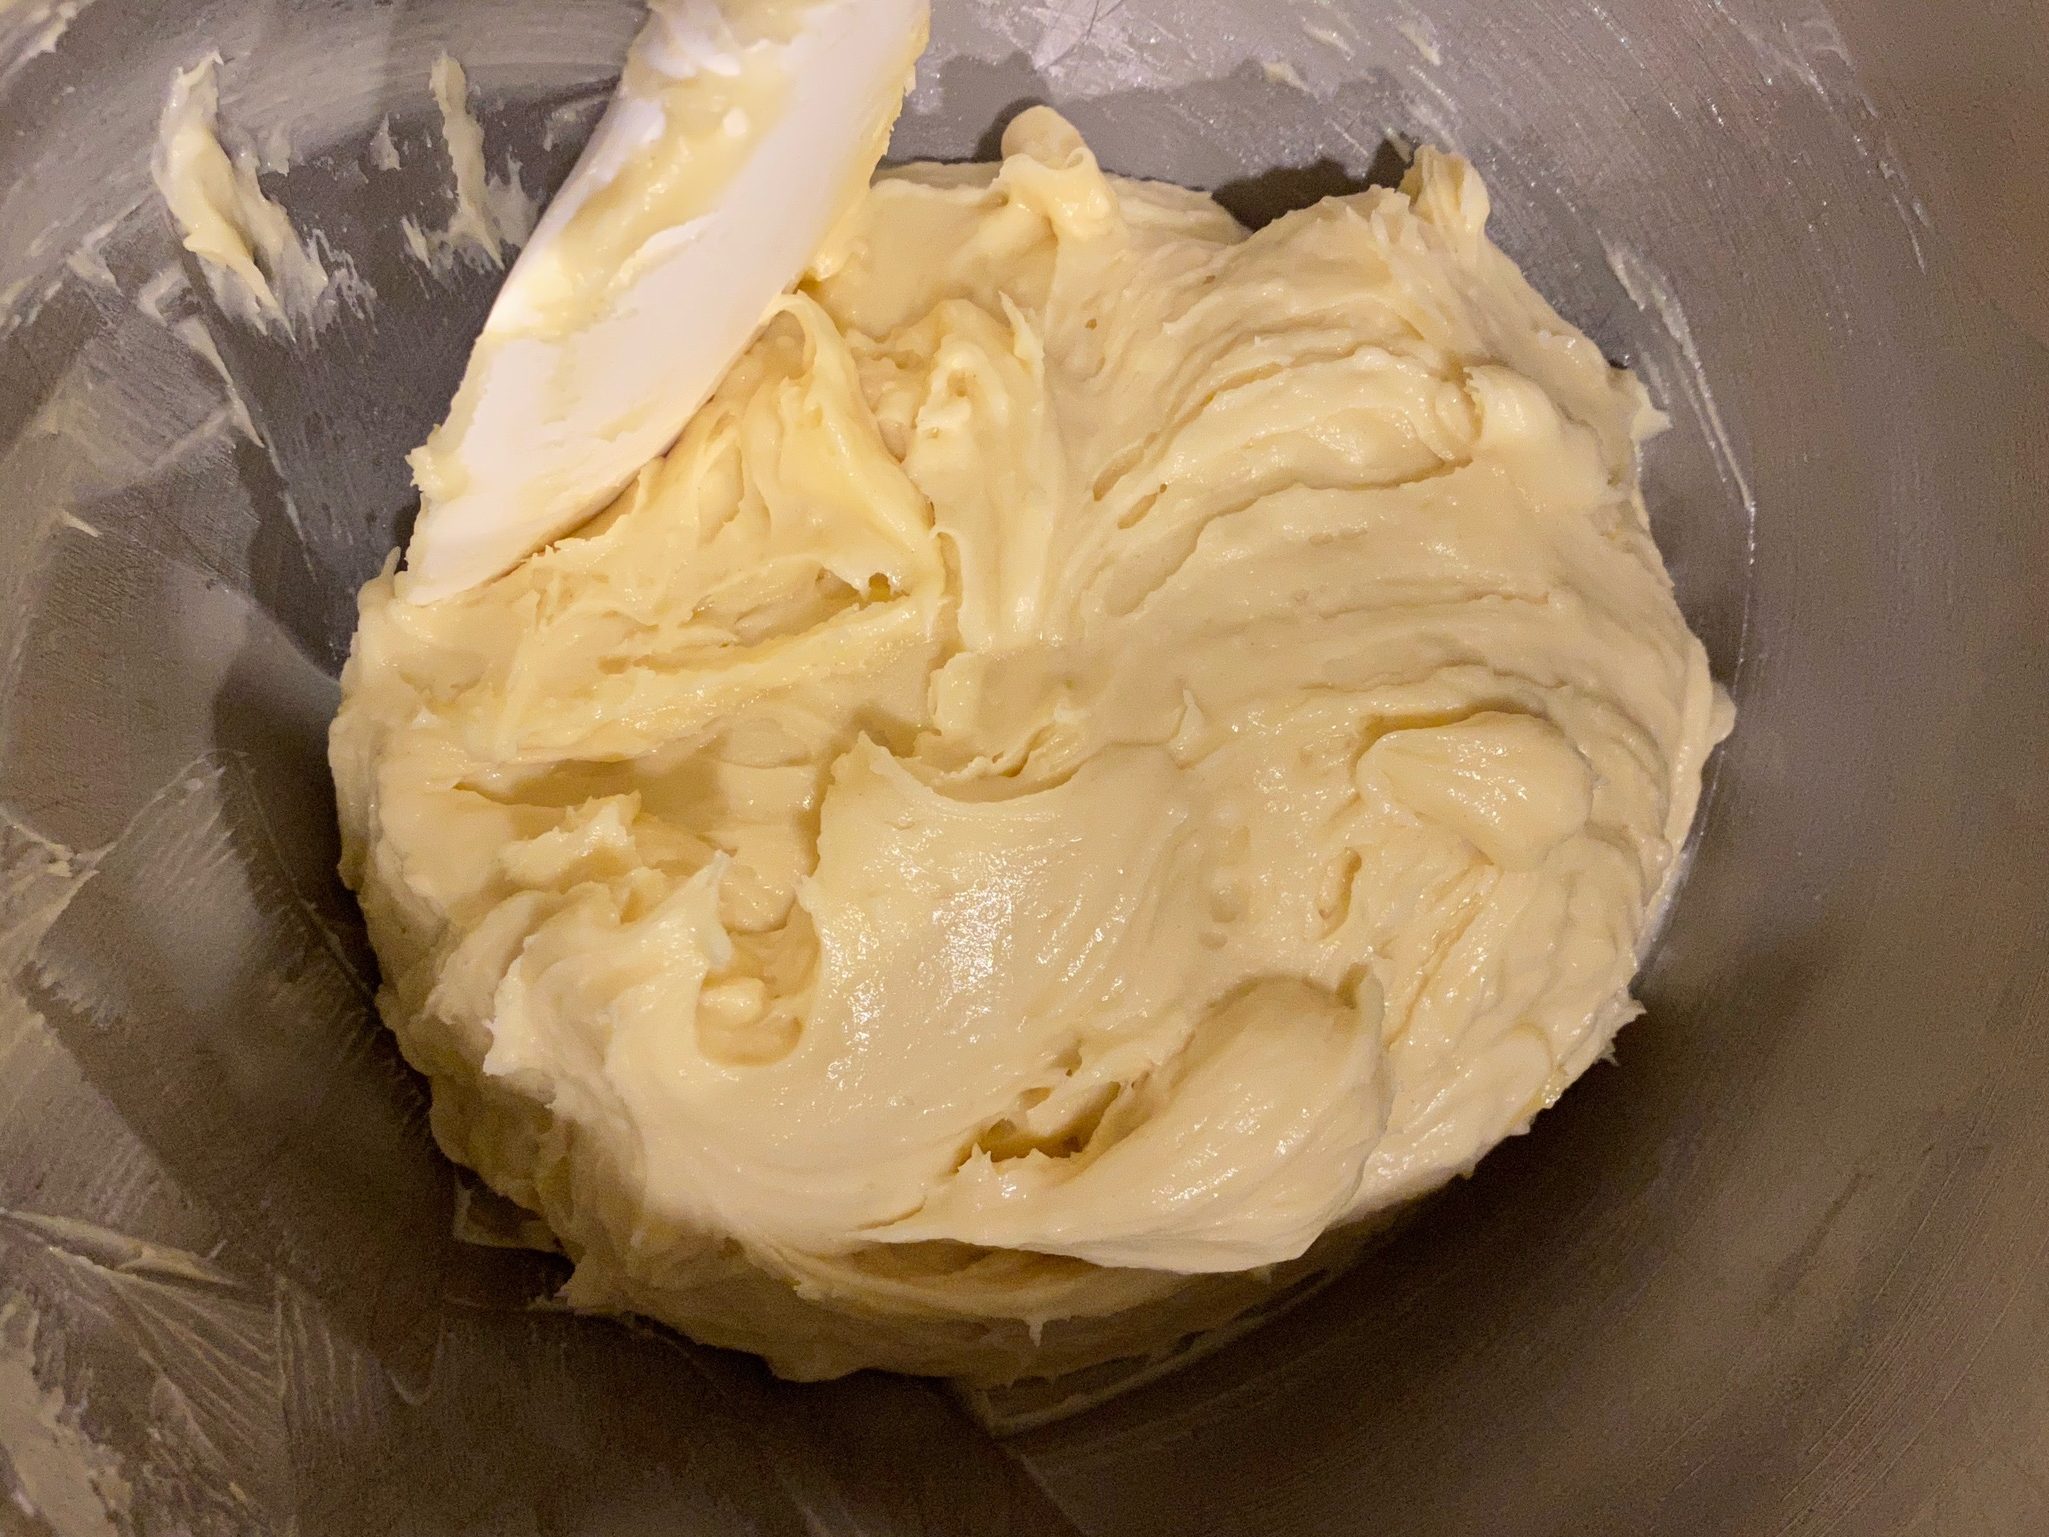
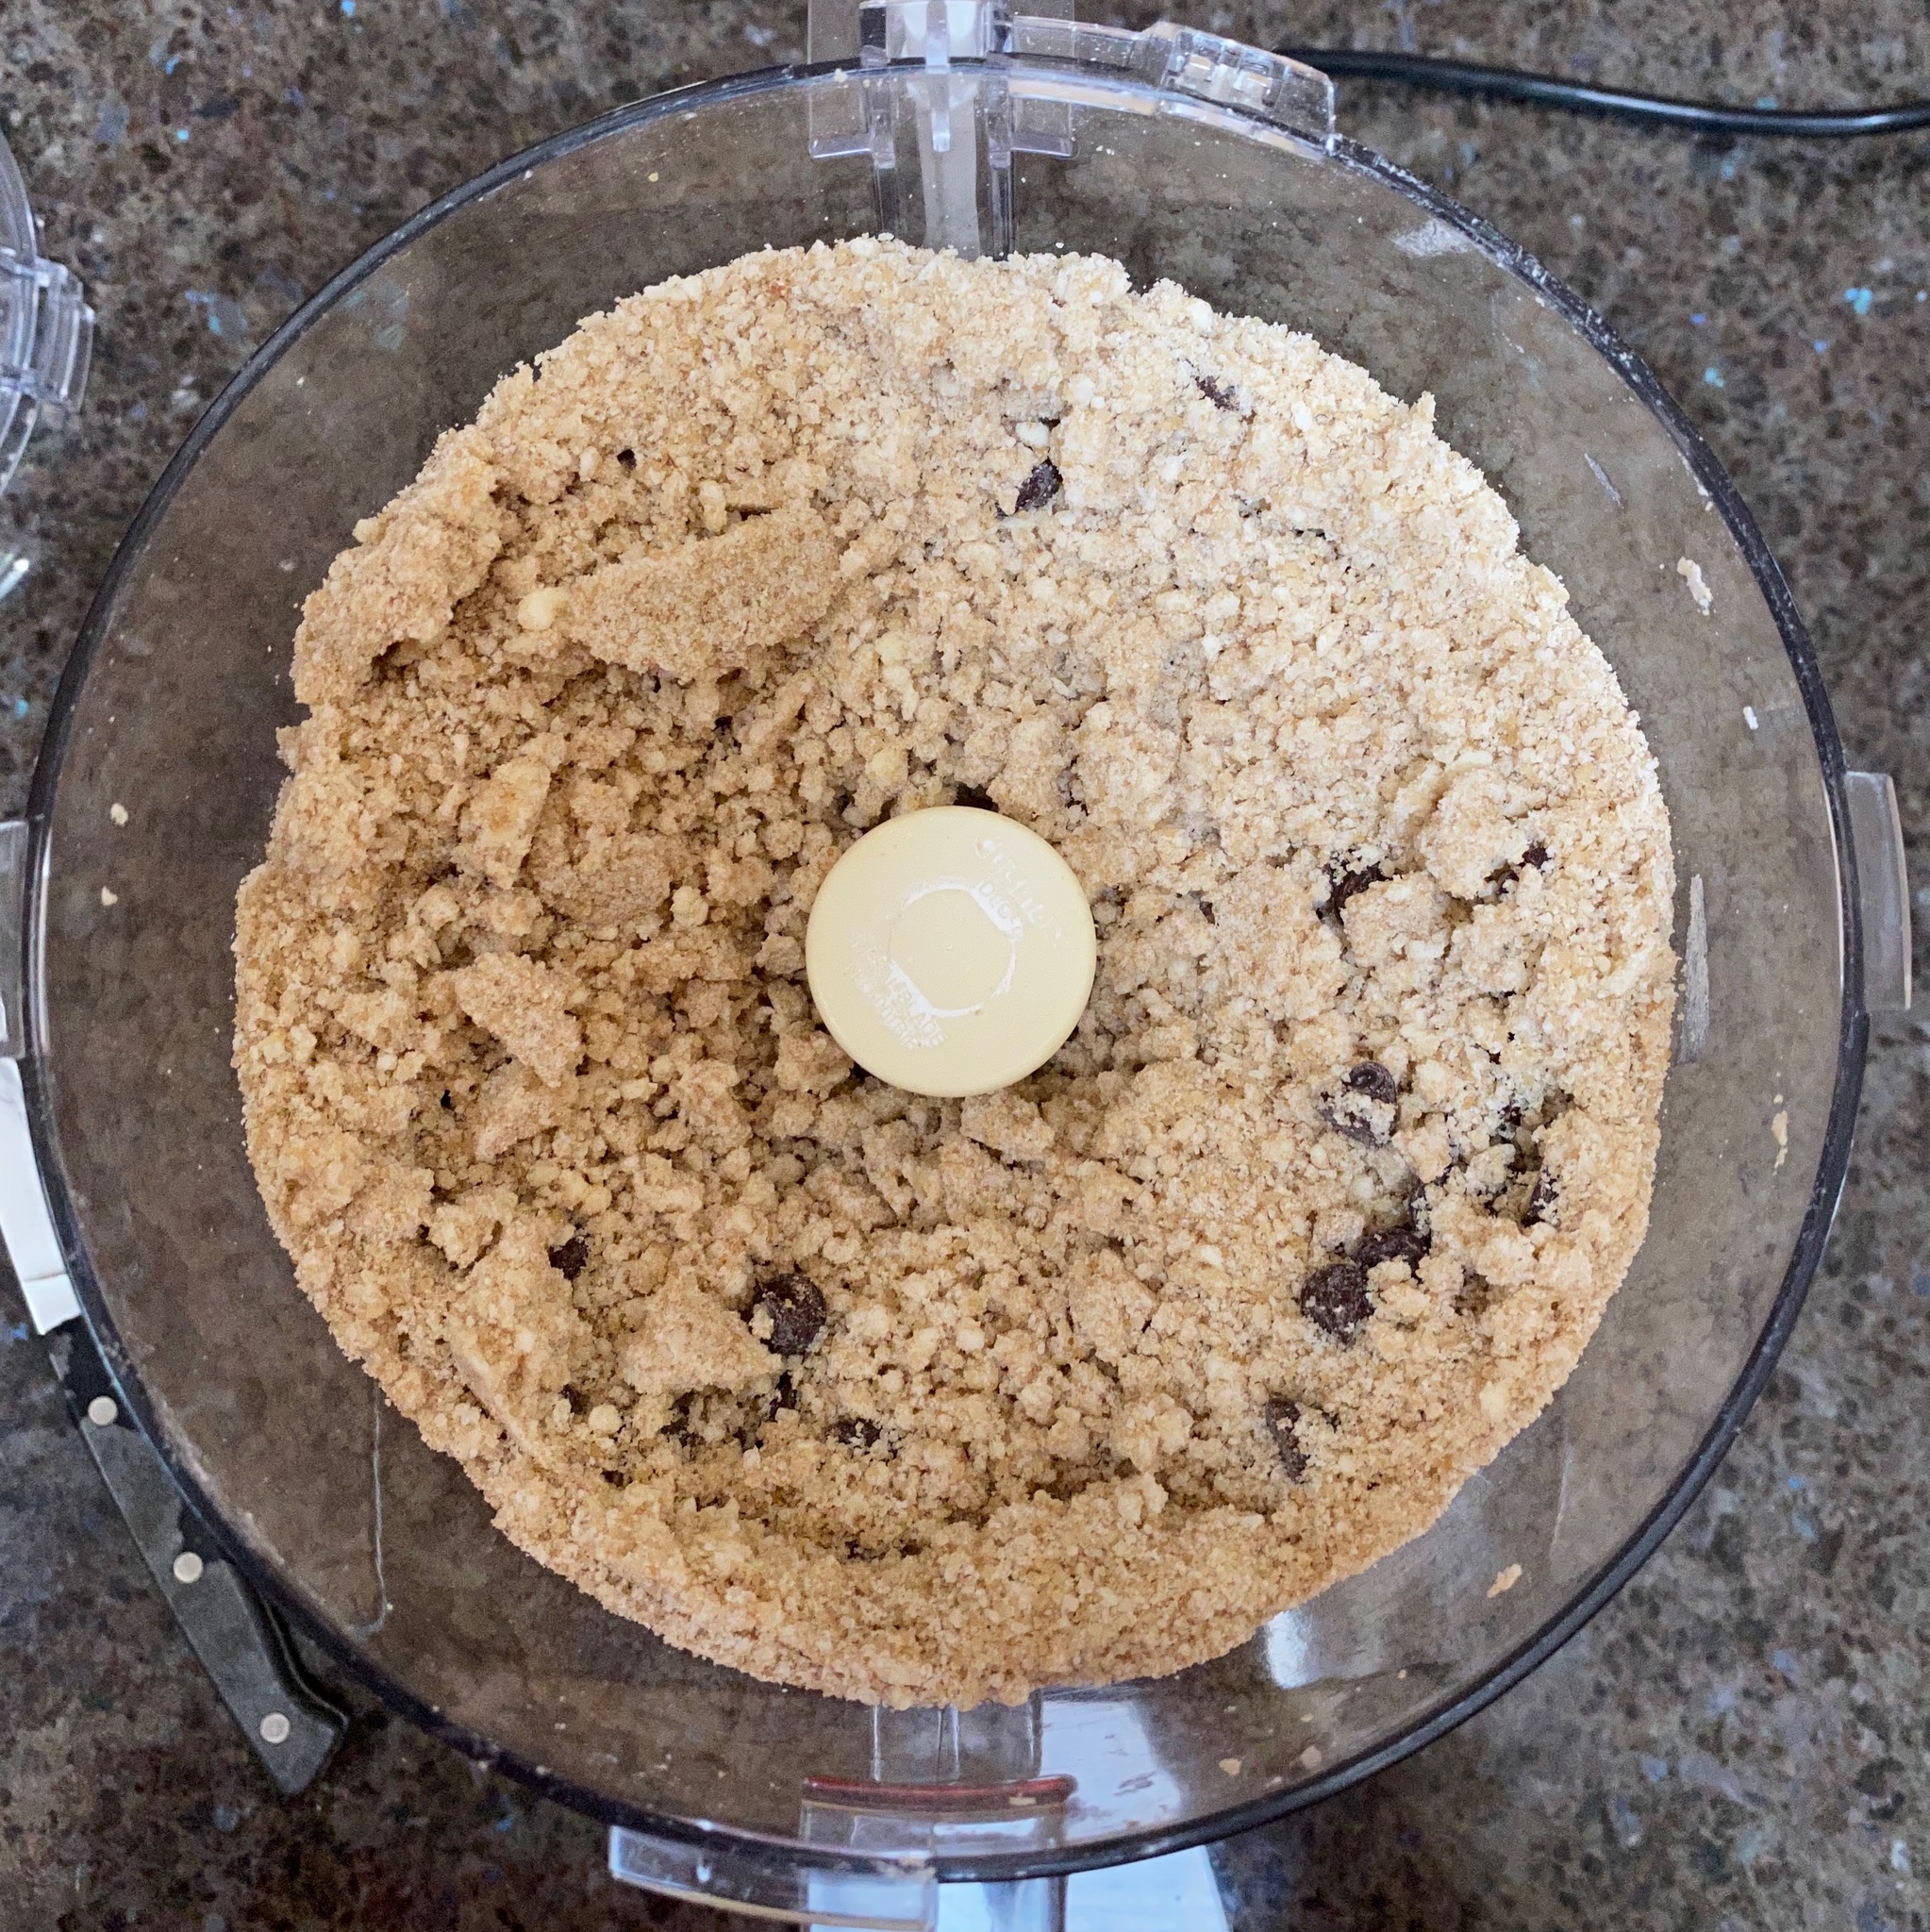
- Cream together butter and powdered sugar. Beat until smooth and creamy looking, should not get to the light and fluffy stage. Add orange zest, and vanilla if using, stir to incorporate.
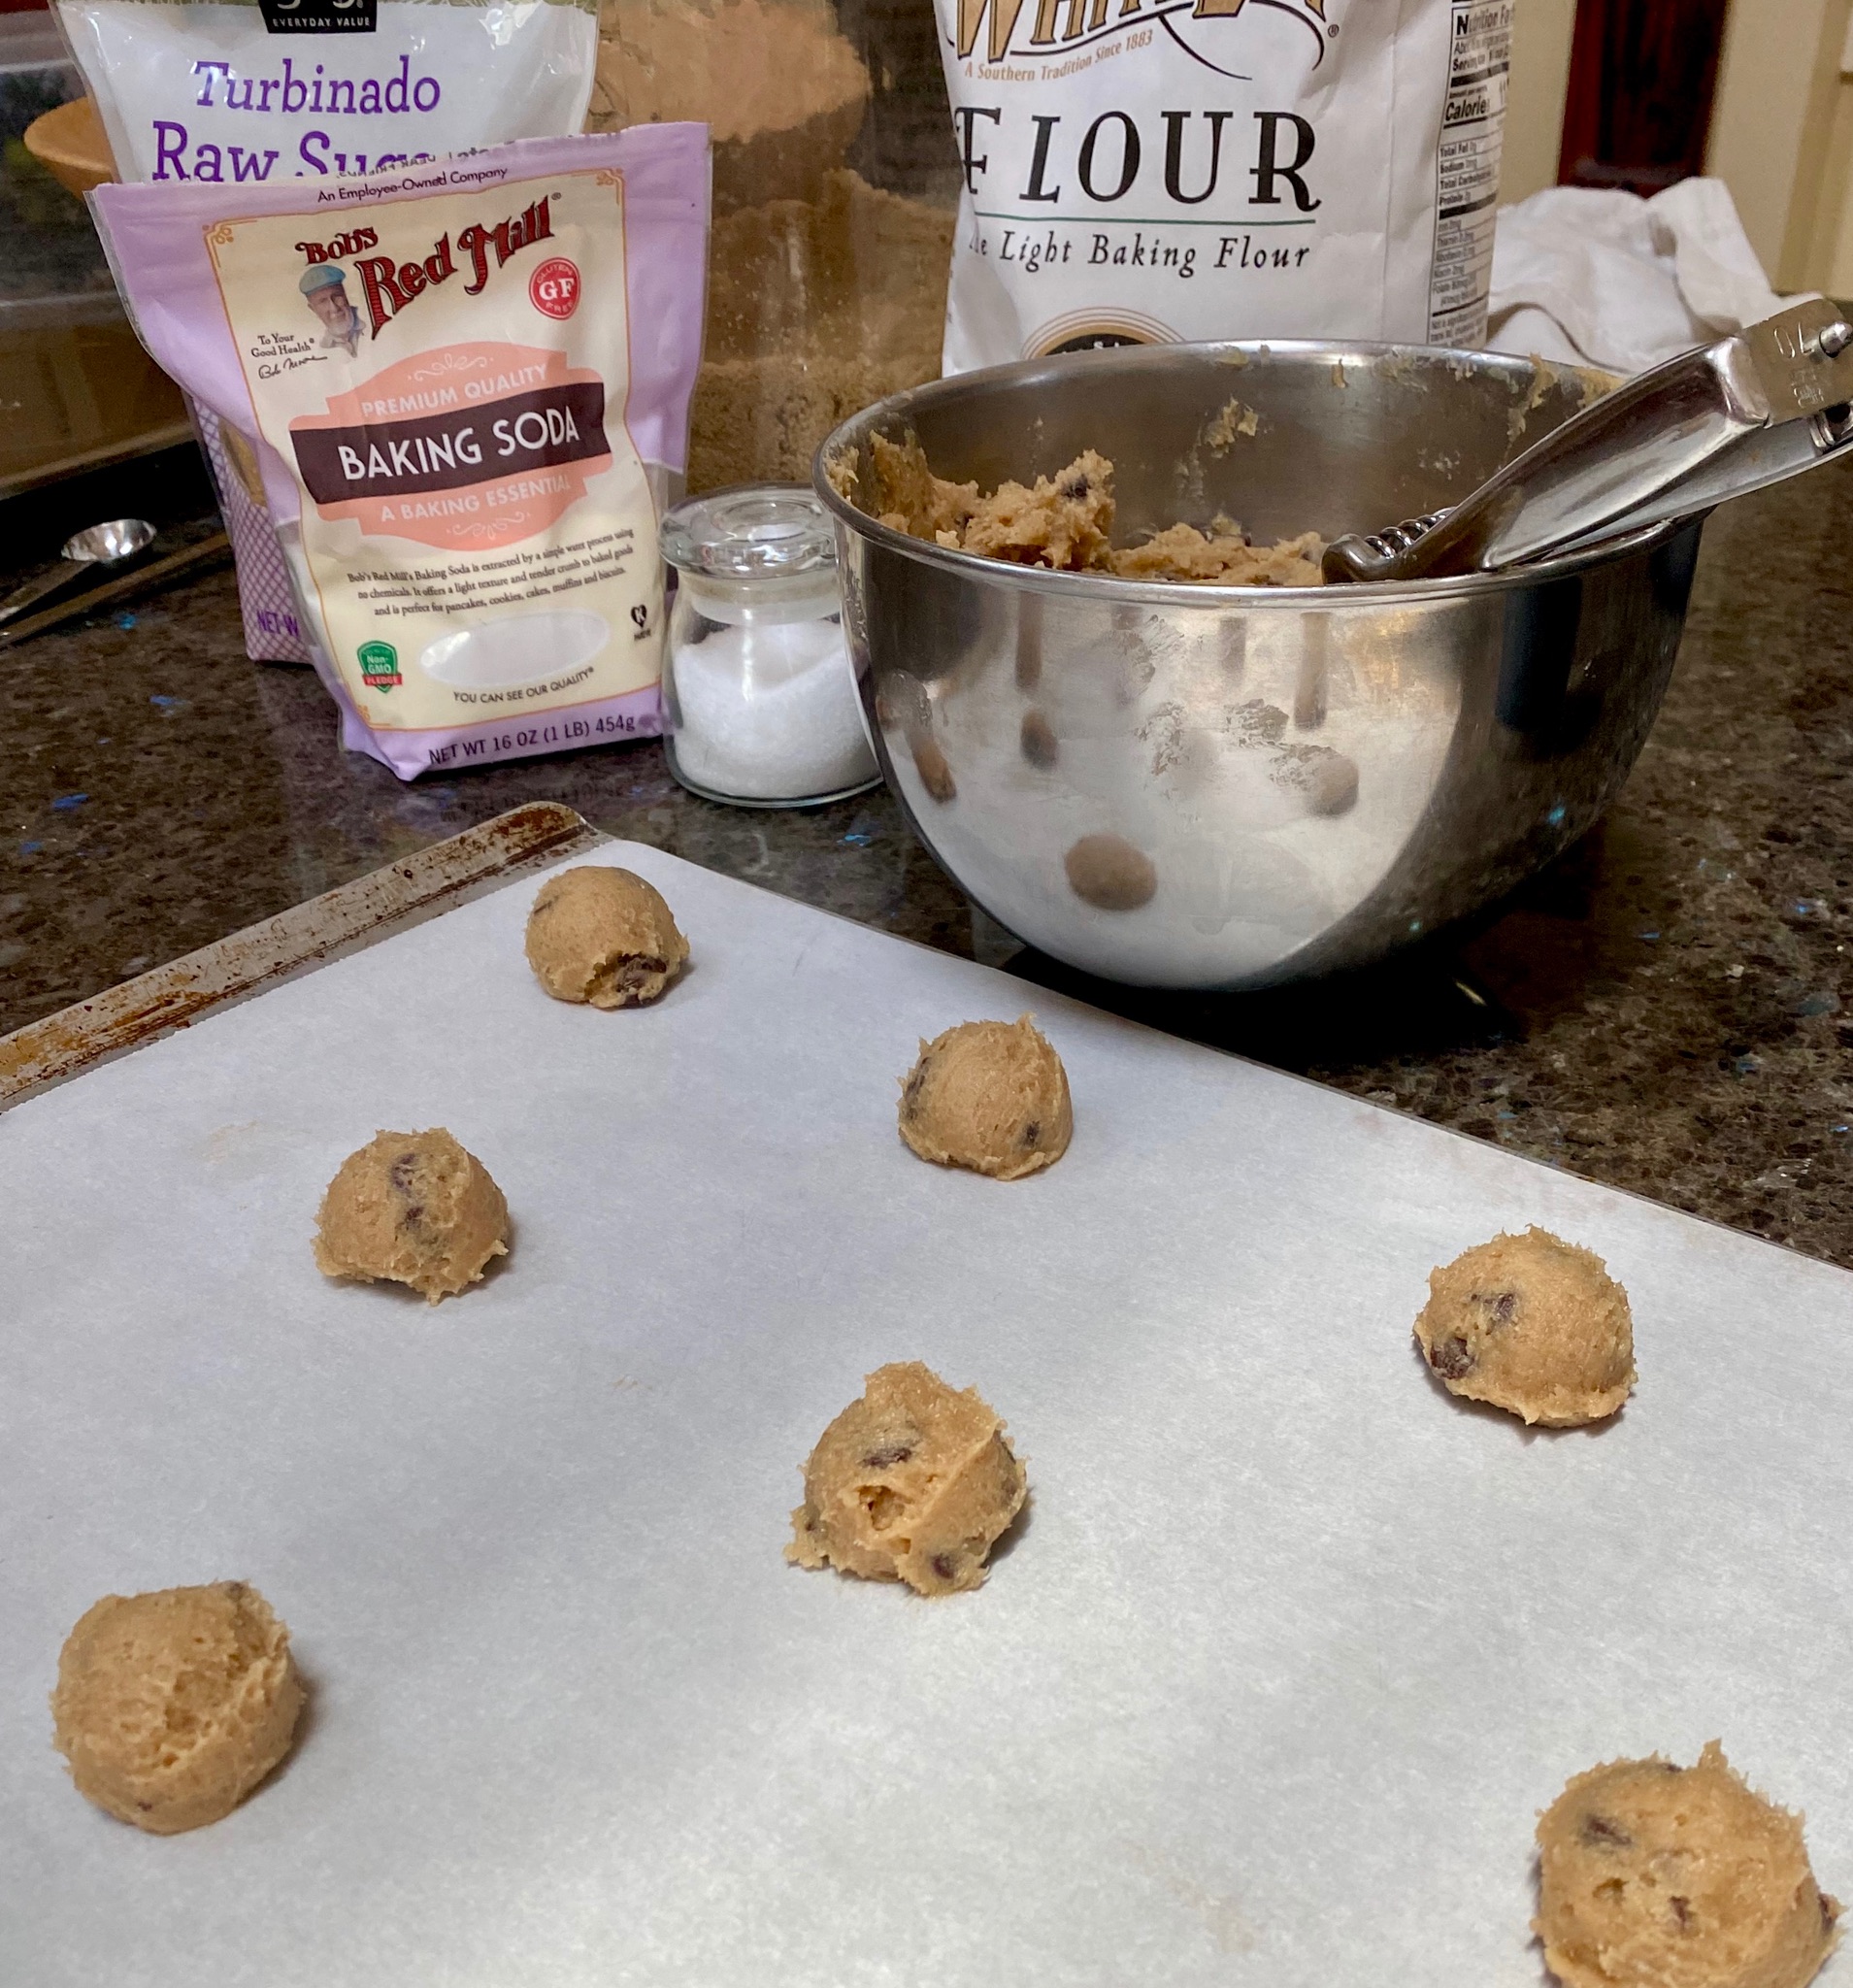
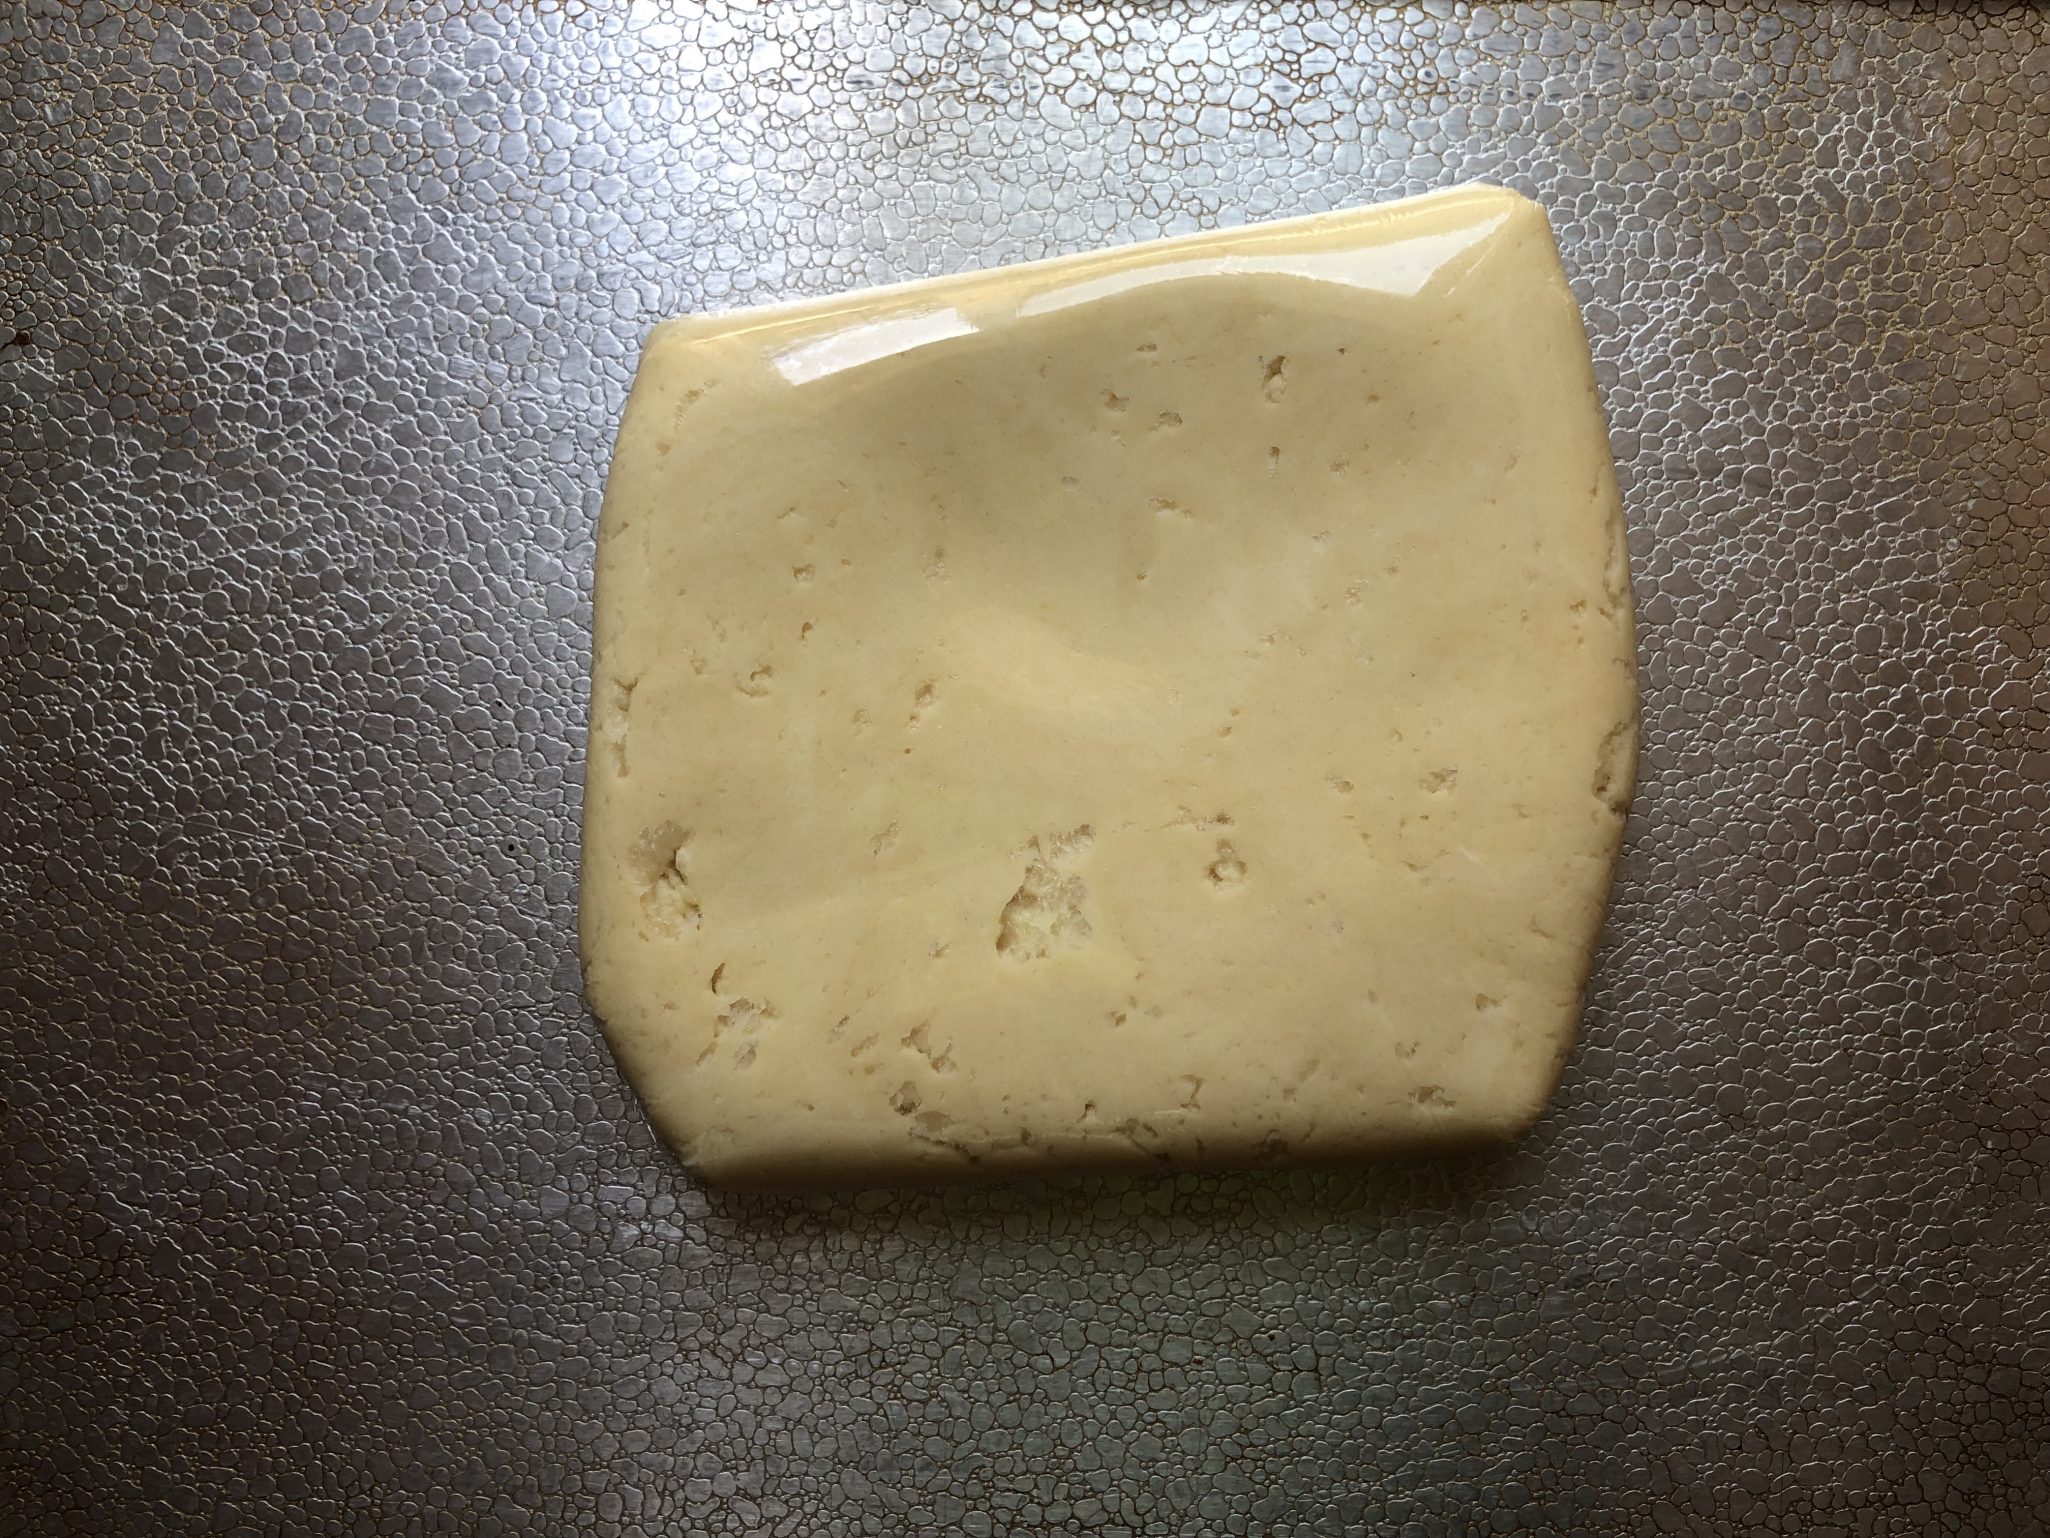
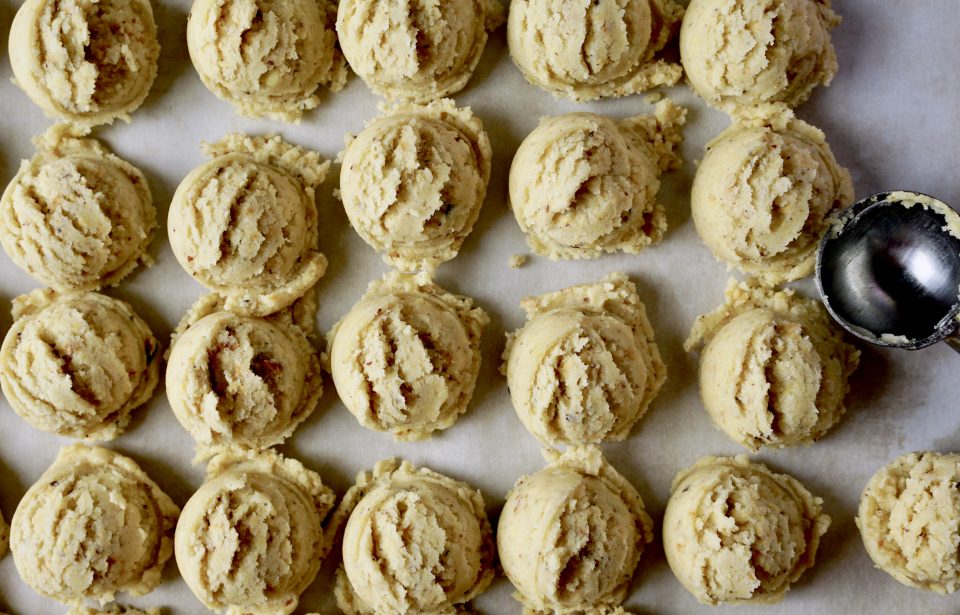
- Gradually add the flour mixture to the butter-sugar mixture, beat on low speed. Once the flour is incorporated, stop, do not overbeat. Remove dough from the bowl, shape into a ball and wrap with plastic wrap. Flatten the ball into a disc about 1 inch thick. Chill for at least an hour.
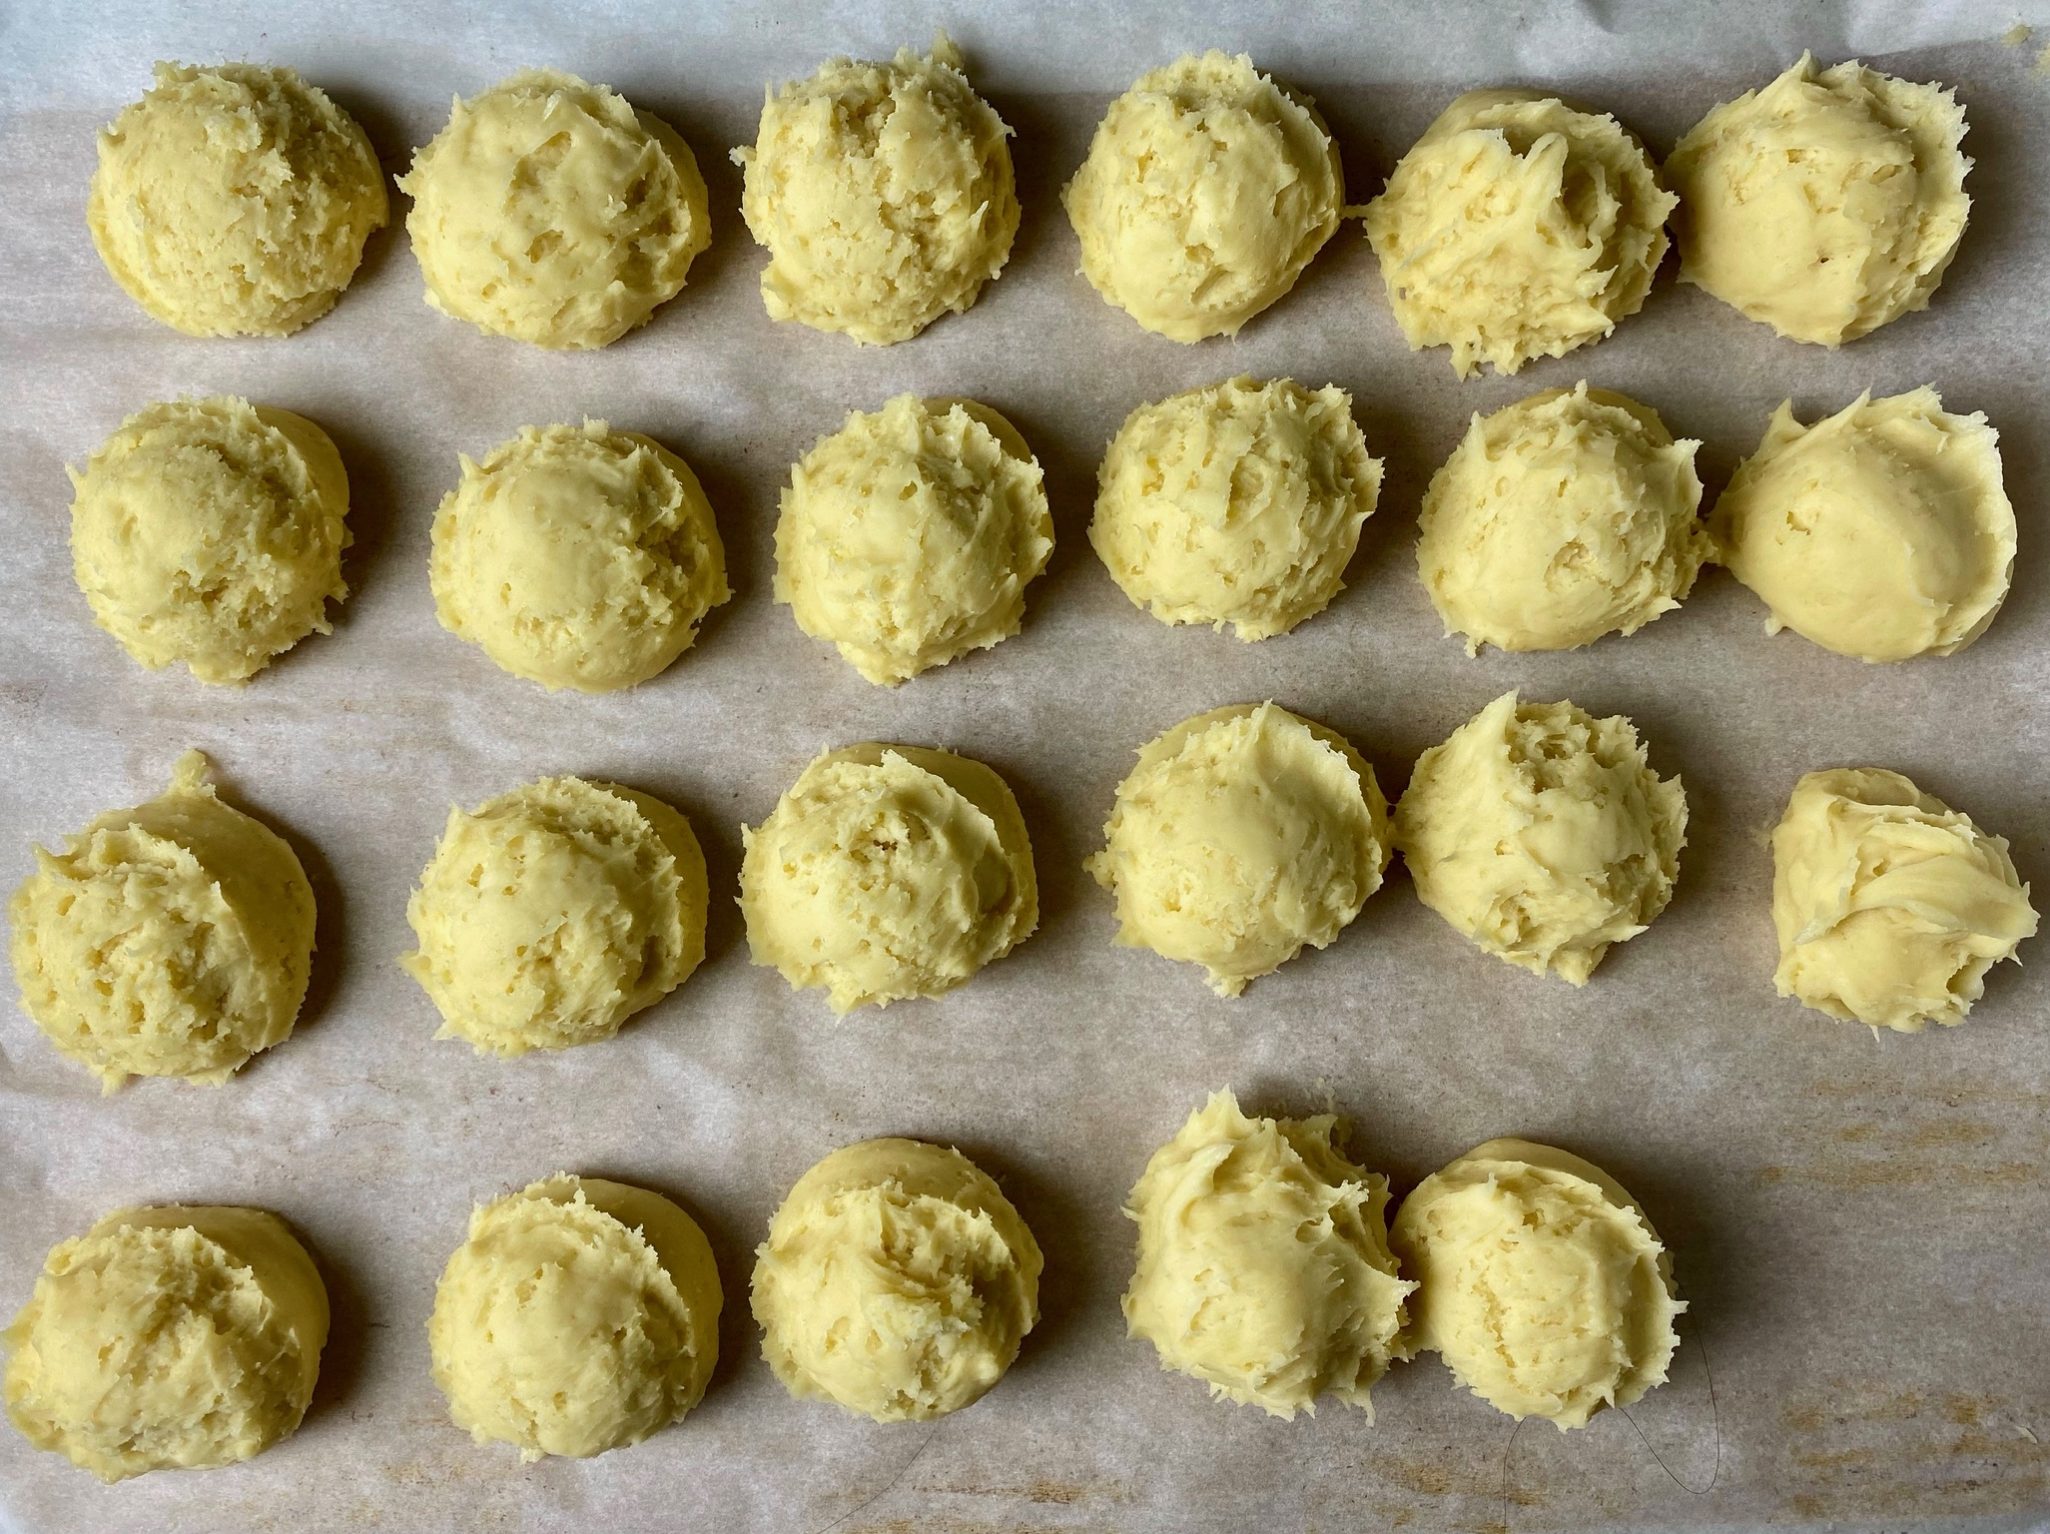
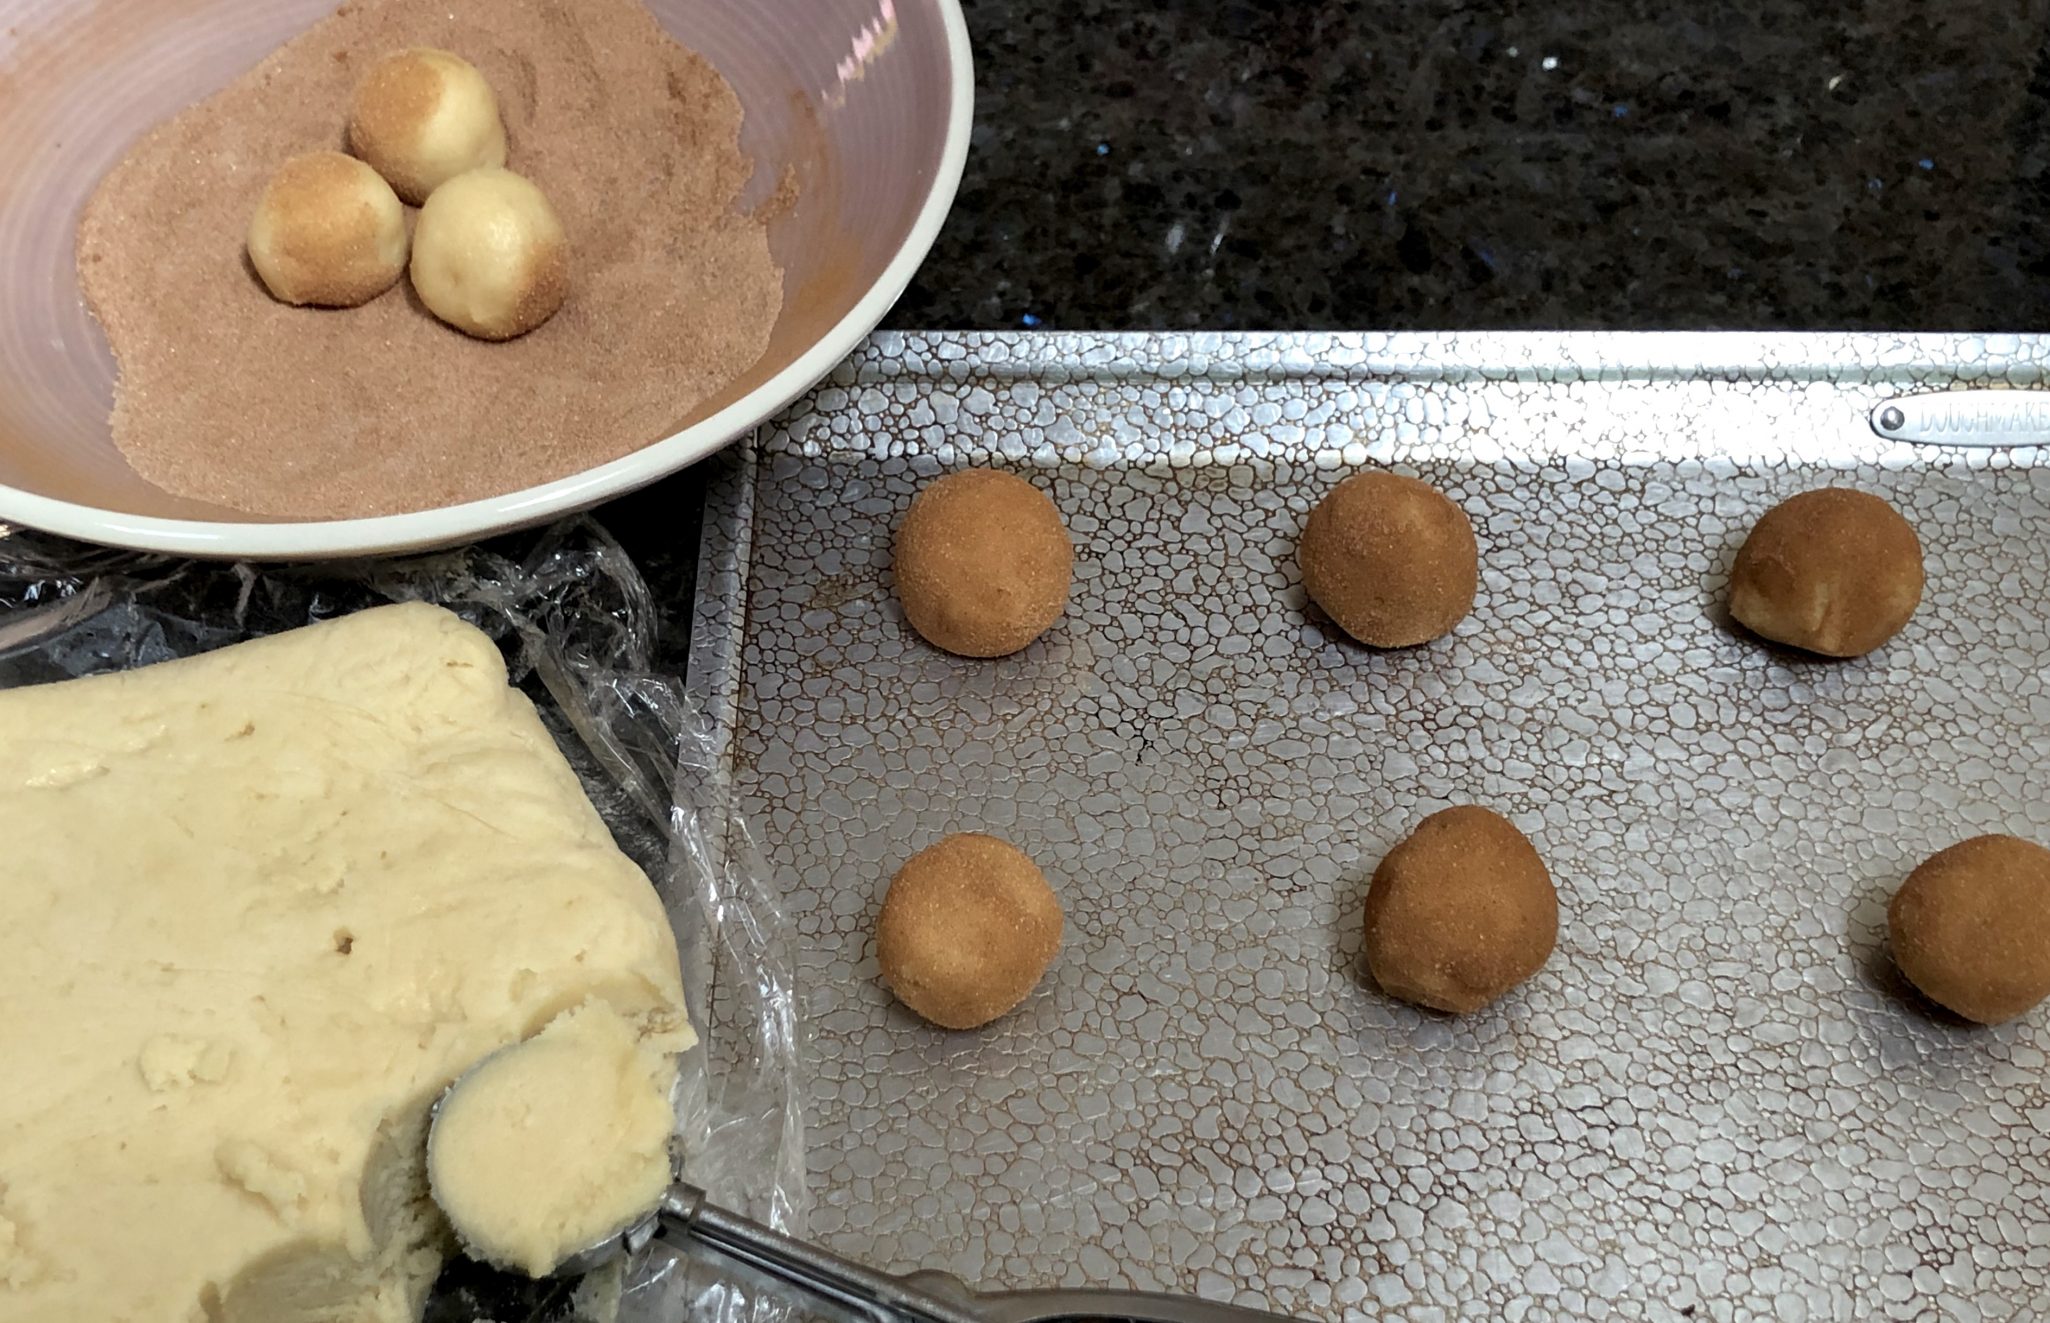
- Roll dough out to 1/8 inch thickness. Using a cookie cutter, I use a 2 inch fluted cutter, cut out rounds of dough and place 1 inch apart on a parchment lined cookie sheet.
- If dough seems soft at any time, re-chill.
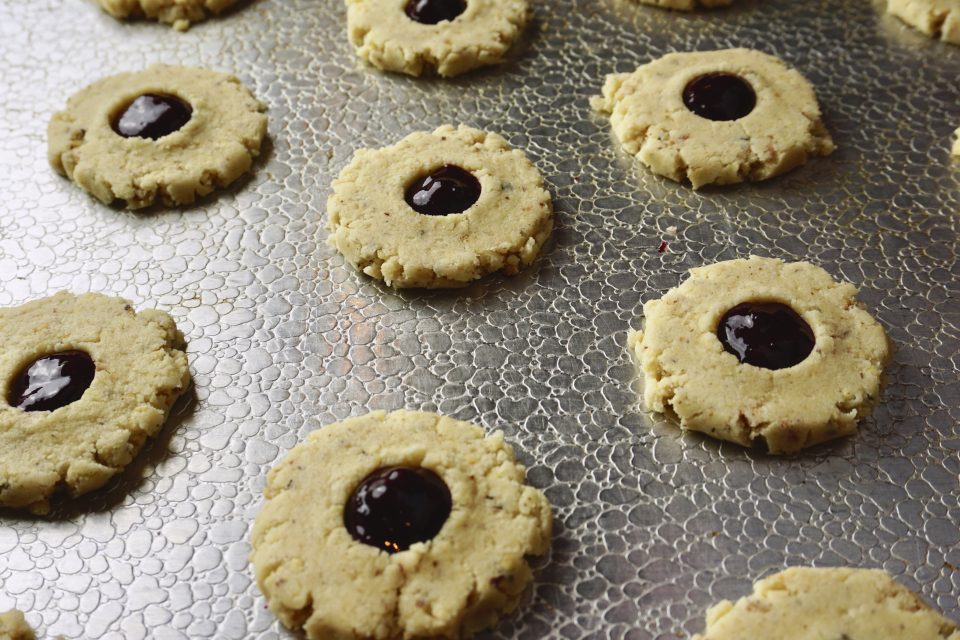
- Bake at 340 degrees for 12-15 minutes or until the edges just begin to color on the edges. They should be pale color. Remove and place on a rack to cool completely.
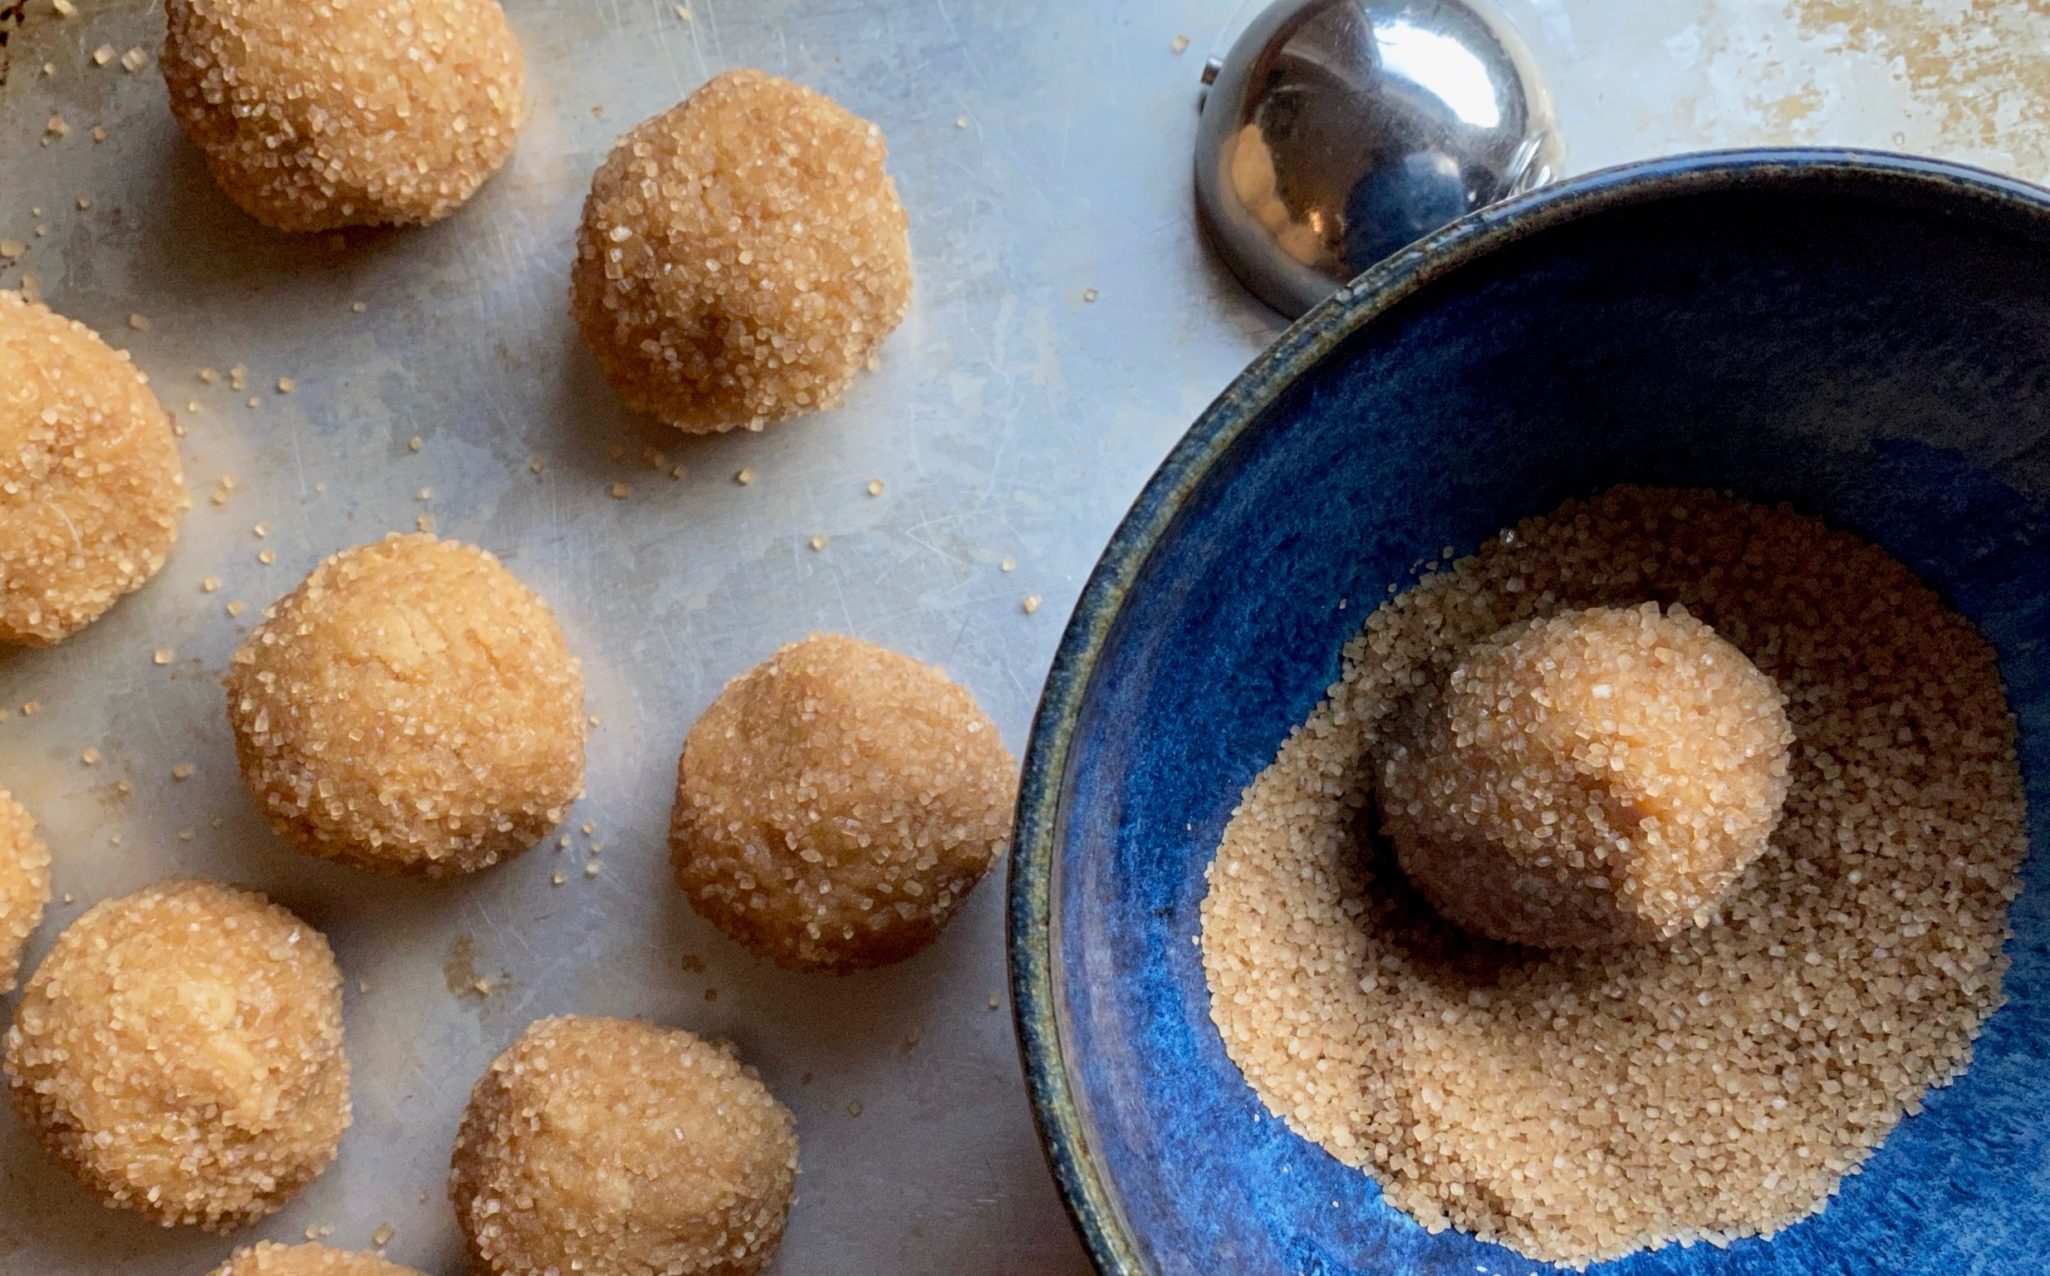
- Once the dulce de leche is cold, fill a piping bag or use teaspoons to place dulce de leche on bottom side of half of the cookies. Use approximately 1 teaspoon of filling.
- Top filled cookies with the remaining cookies and gently press to distribute filling. You want it to come to the very edge of the cookie. Roll edge of cookie in finely shredded coconut if you want. Dust both sides of cookies with powdered sugar.
- Filled cookies can be kept for a couple of days at room temperature or in the fridge a little longer. The moisture in the dulce de leche will soften the cookies with time. If you want to make them ahead, don't fill them until you are ready to serve.
Dulce de Leche (Adapted from Food.com)
- Microwave directions:
- You will need a 2-1/2 quart microwave bowl for this recipe. If you don’t have one that big, make half at a time. Trust me on this unless you like having caramel all over your microwave.
- Pour sweetened condensed milk into bowl. If you have a vented lid, put it on. If not, cover bowl with plastic wrap and poke a couple of holes in it so the steam can escape.
- The gold standard will be a 1000 watt microwave, adjust accordingly.*
- Set microwave to 50% power and microwave milk for 2 minutes. If you are adding the salt and cinnamon, add it now.
- Remove, (use oven mitts please!) Stir and put it back in the microwave. Then nuke at half power in two and a half minute intervals, stirring in between each time, for a total of ten minutes. As you cook the milk, it will boil, expel steam and gradually turn a nice rich brown. Keep in mind, you will need a pretty thick sauce for the cookies. You may need to nuke the milk for another 2-3 minutes. You want a deep rich brown. It will thicken a little as it cools.
- *If you have a 1200 watt microwave, set it at 40%. I have a tiny 600 watt microwave so I set the power at 60%.
- The Other Method:
- Requires a lot more time. First, remove the paper label from the can and place it in a heavy duty pot on its side. Fill pot with enough water to cover the can by 2 inches. Bring the water to a boil and reduce heat so the water is at a simmer.
- Make sure the water level stays 2 inches over the can at all times!!!!!! Or the can might explode!!!! Why I use the microwave method, lol. This method comes from Serious Eats.
- Bring the water to a boil and then reduce the heat to a simmer. Simmer milk for 2-3 hours CHECKING WATER LEVEL EVERY 30 MINUTES. Add hot water as needed. 2 hours will give you a golden caramel while 3 hours will yield a deep, dark caramel.
- Remove can from water. Allow the can to cool completely before opening, about 4 hours.