Nutty for Almond Meltaways
I contemplated using the tiniest font size possible when I typed “cookie #12 of my 12 days of cookies” when I realized I actually can’t change the font size. Damn! It’s the second week in January and here I am finally posting the last holiday cookie.
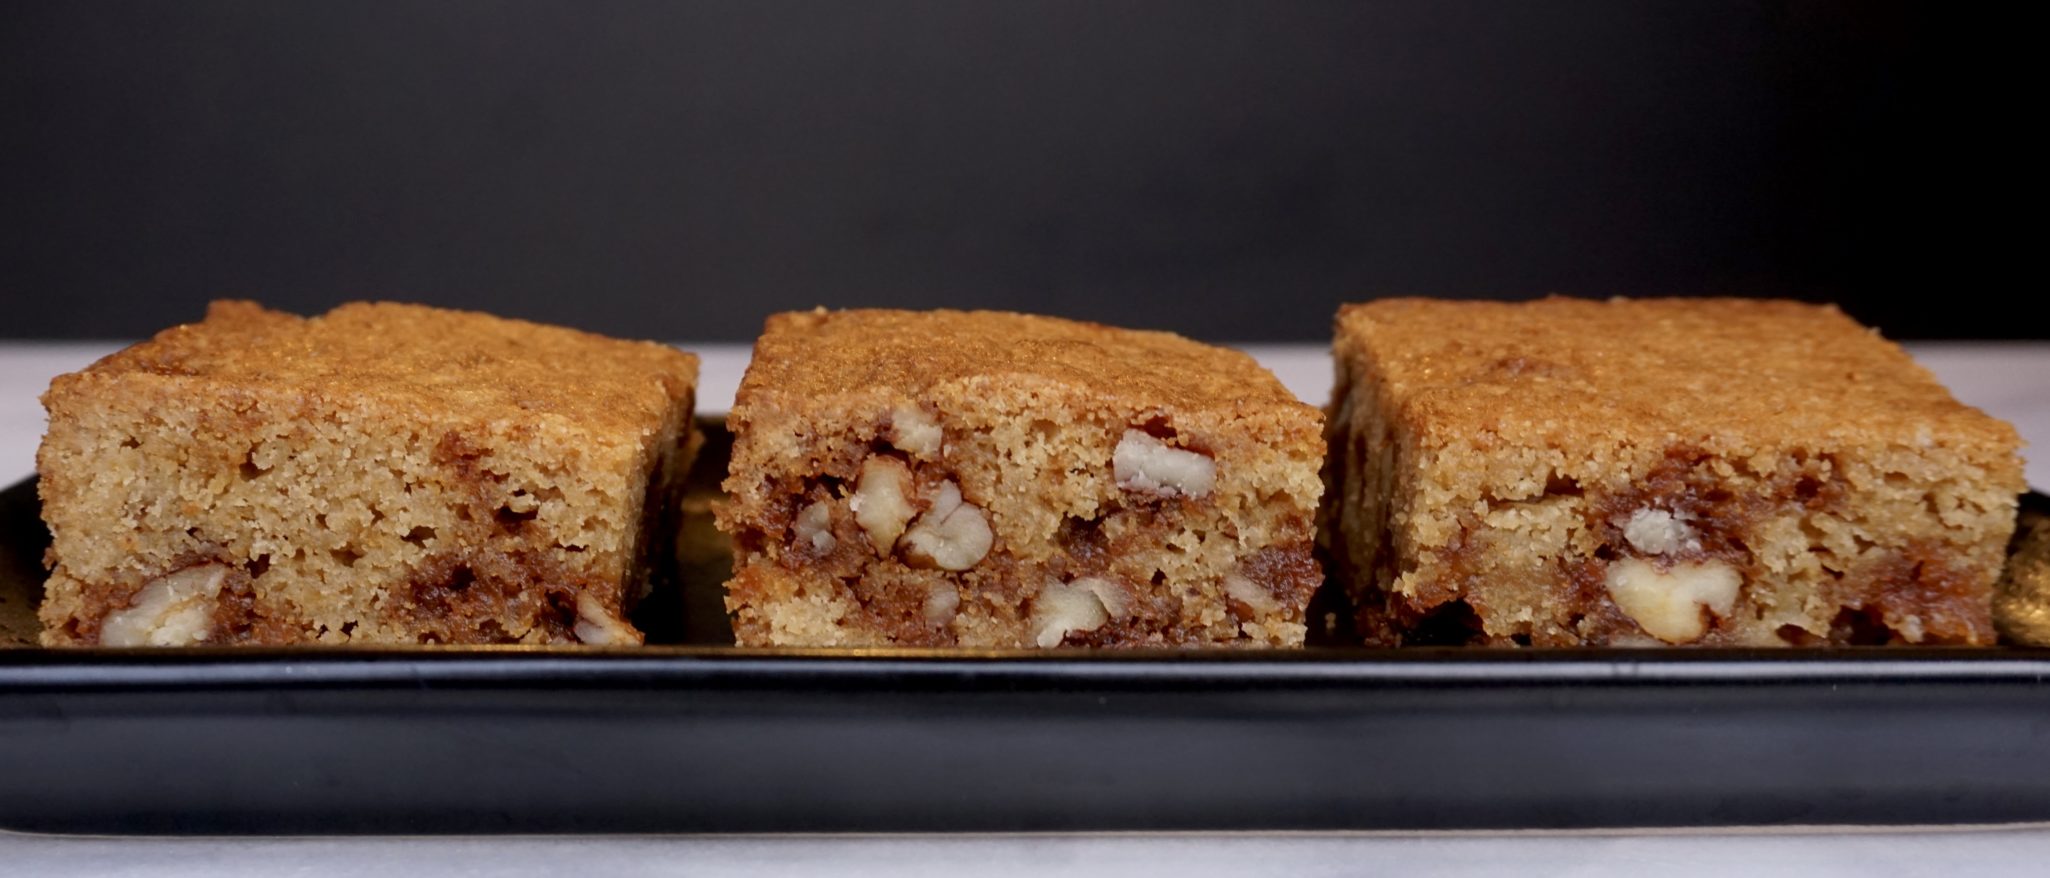
At least it is a good one, Almond Meltaways.
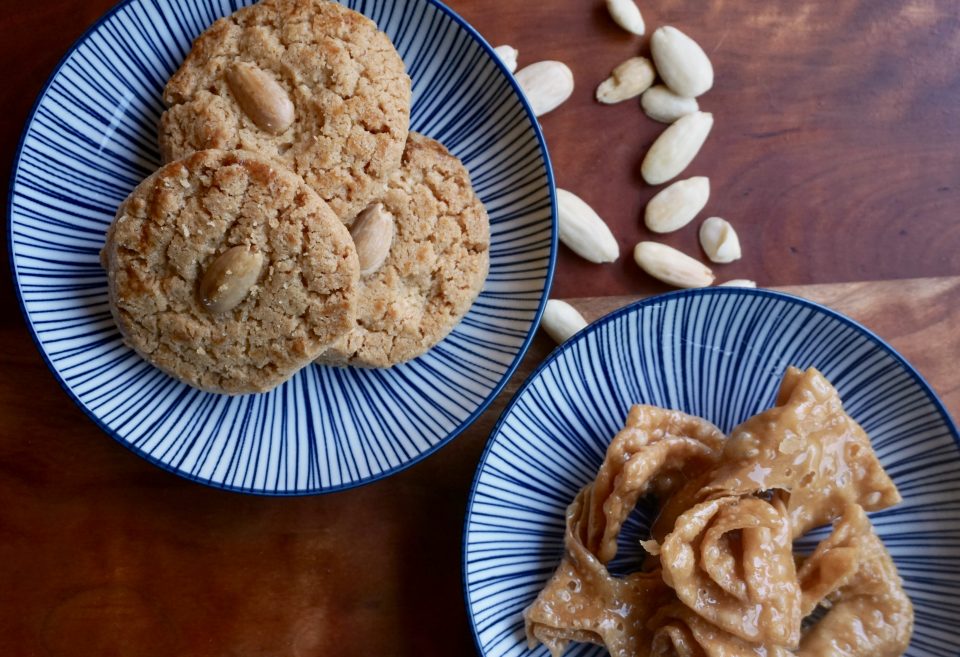
I would not be surprised if one of the first cookies I ever nibbled on was an almond cookie. Every bakery in Chinatown makes a version of the egg-washed, crinkly cookie with a hallmark whole almond pressed in the center of each. Made with lard or shortening these cookies are crumbly, sandy, crisp, and redolent of almonds. In a nutshell-yummy. While friends pulled out sugar or chocolate chip cookies from their lunch bags, I pulled out almond cookies from mine. Those days are a distant memory but I still love eating almond cookies.
On my last jaunt to Los Angeles, I made a quick pitstop at a family favorite in Chinatown, Phoenix Bakery. When we were kids, my mom, distantly related to the owners, always made it a point to stop there when we were in LA. After catching up with the latest news of our families, they would pack boxes of Almond Cookies and Butterflies for us to bring home. I love their Butterflies, a bow-shaped sheet of dough deep-fried to make them shatteringly crisp and covered with a sweet, sticky, gooey syrup-a dentist’s dream. If you are ever in LA, do yourself a favor and pick up a box. The bakery just celebrated its 80th anniversary, no small feat for a family-run business and a testament to their delicious sweets.
I enjoy almond cookies anytime. But almond cookies are a must during New Year and an integral part of any New Year’s celebration. Symbolizing coins, they represent good fortune and prosperity in the New Year.
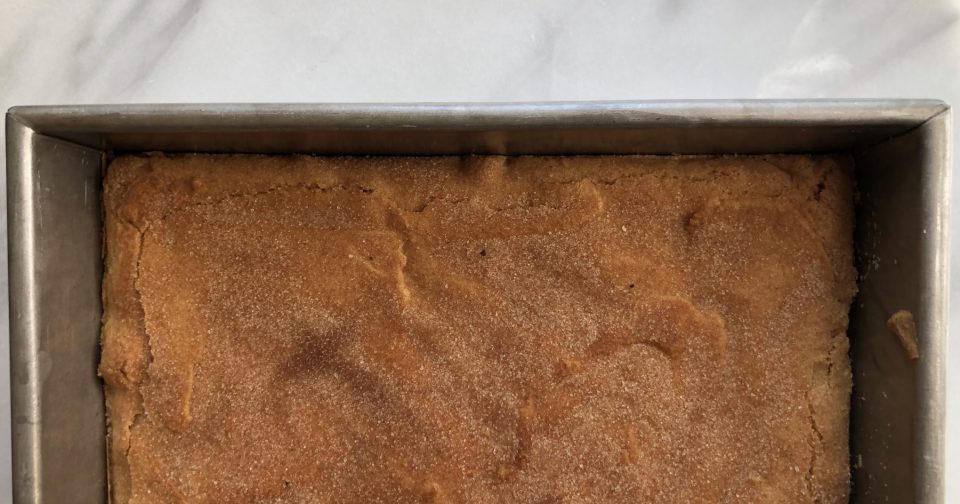
Although it would be hard to beat the almond cookie of my youth, I am always trying new recipes for almond cookies. I’m glad I tried this one. They’re delicious. The recipe comes from the blog The Beach House Kitchen and is a wonderful stand-in for Chinese Almond Cookies. The fine grain texture and tenderness come from the use of cornstarch, confectioners’ sugar, and shortening while the butter and almond extract provide the flavor.
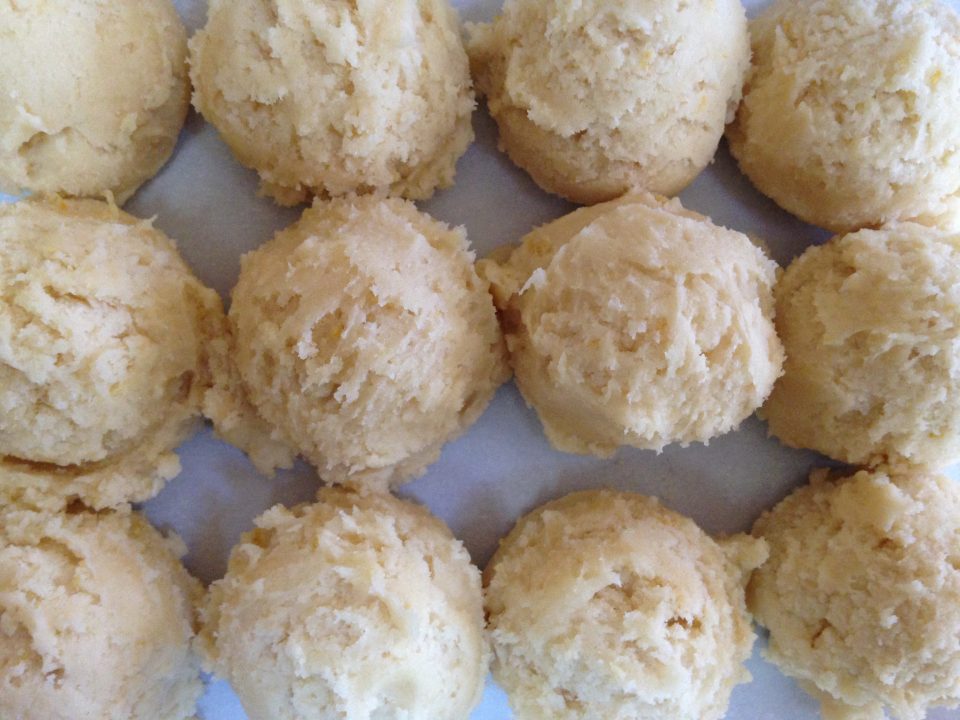
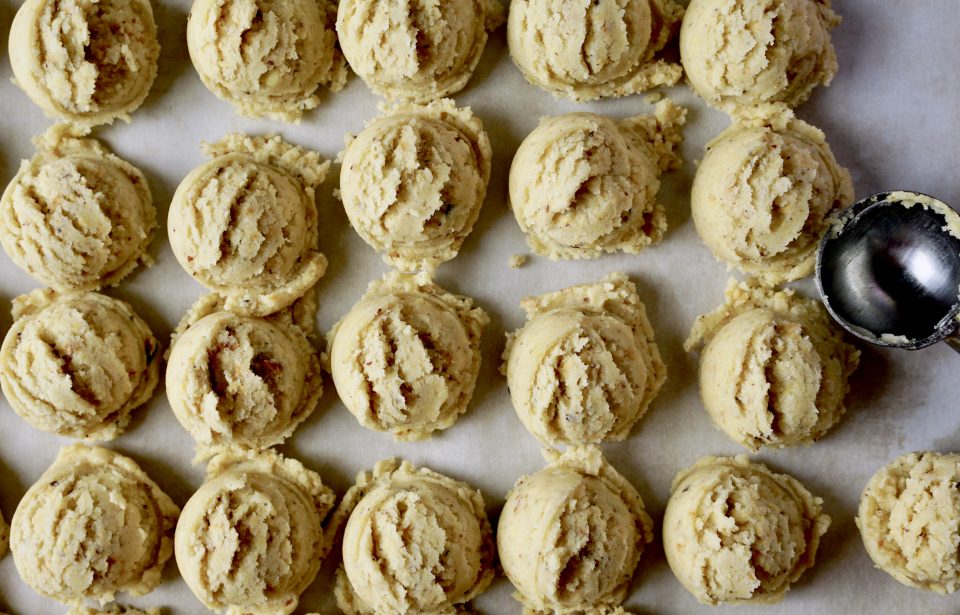
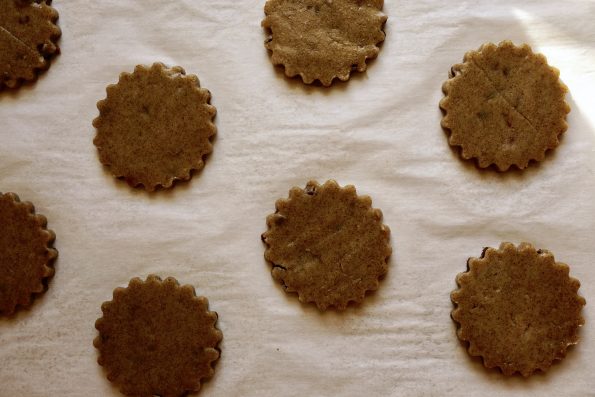
The dough comes together in a snap. Use a tablespoon ice cream scoop (#70 scoop) to portion out the dough.
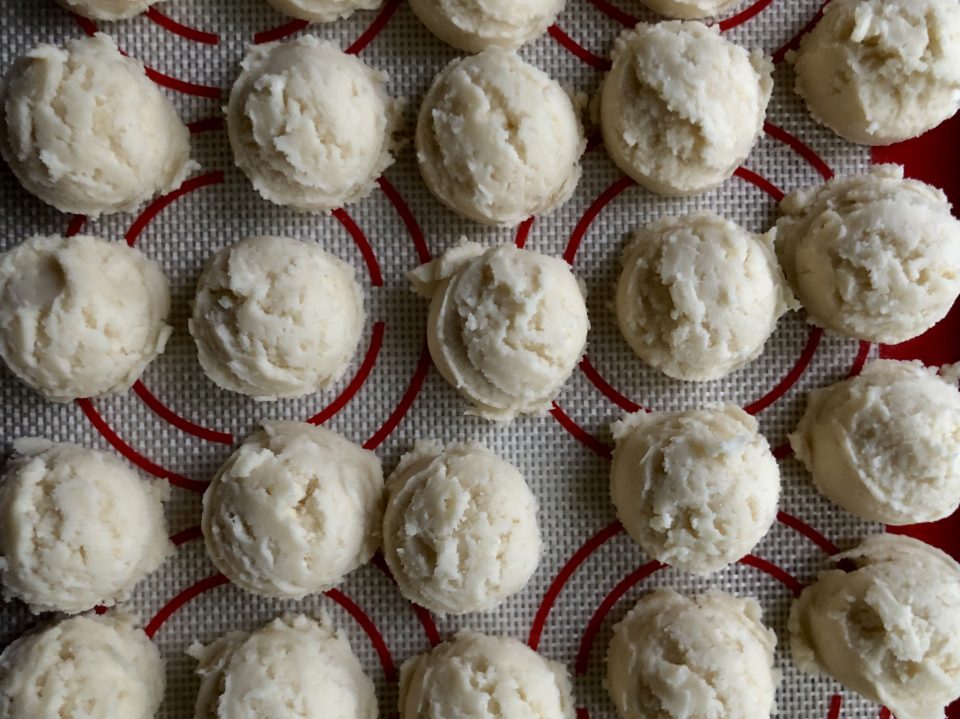
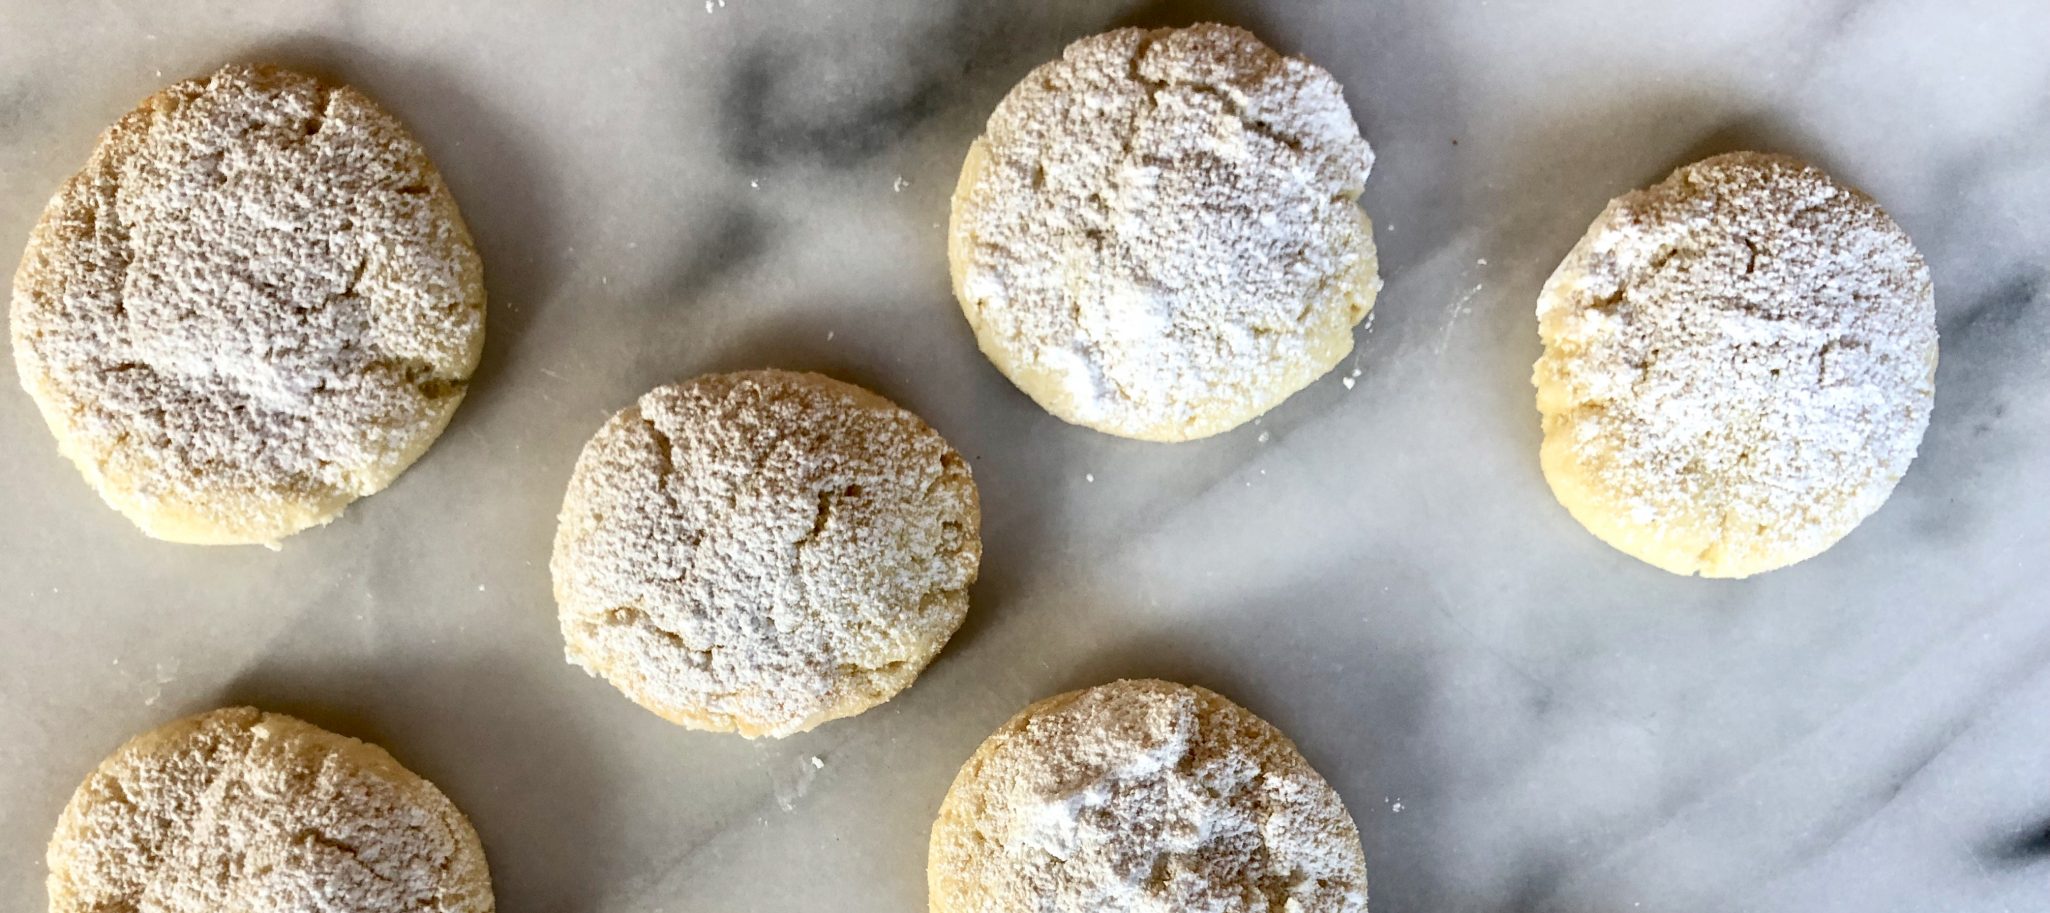
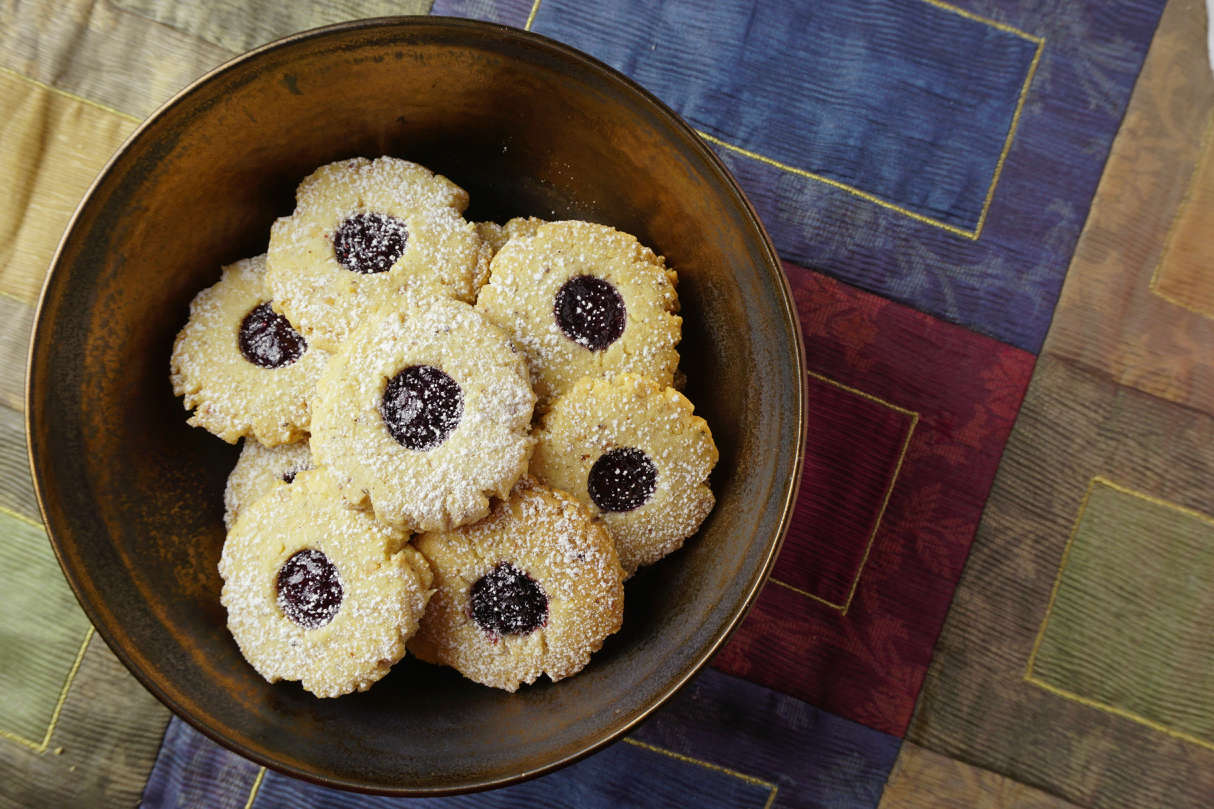
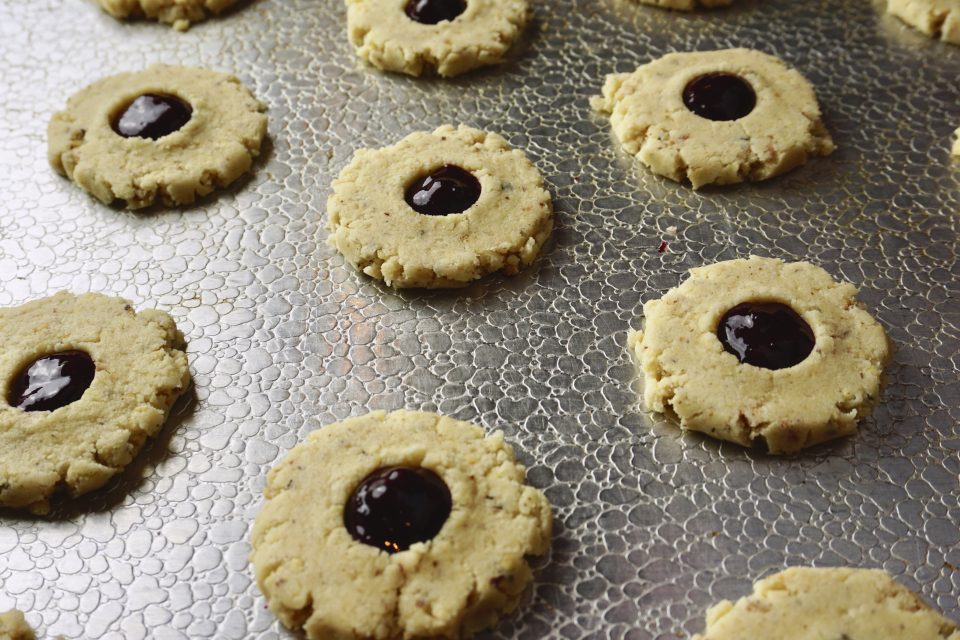
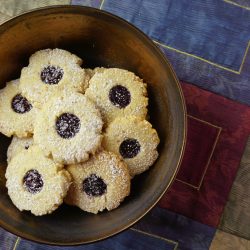
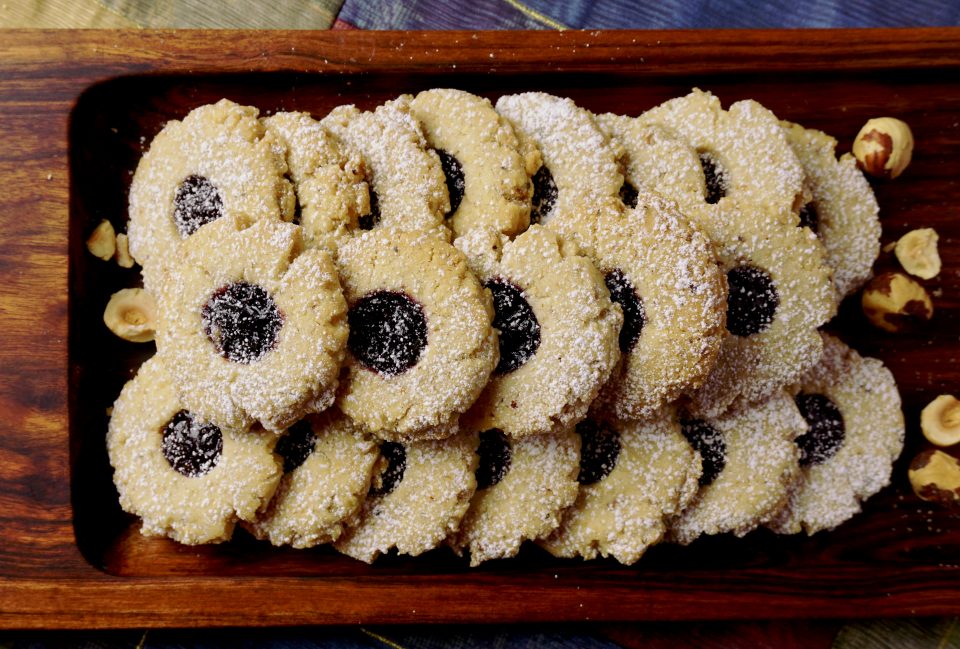
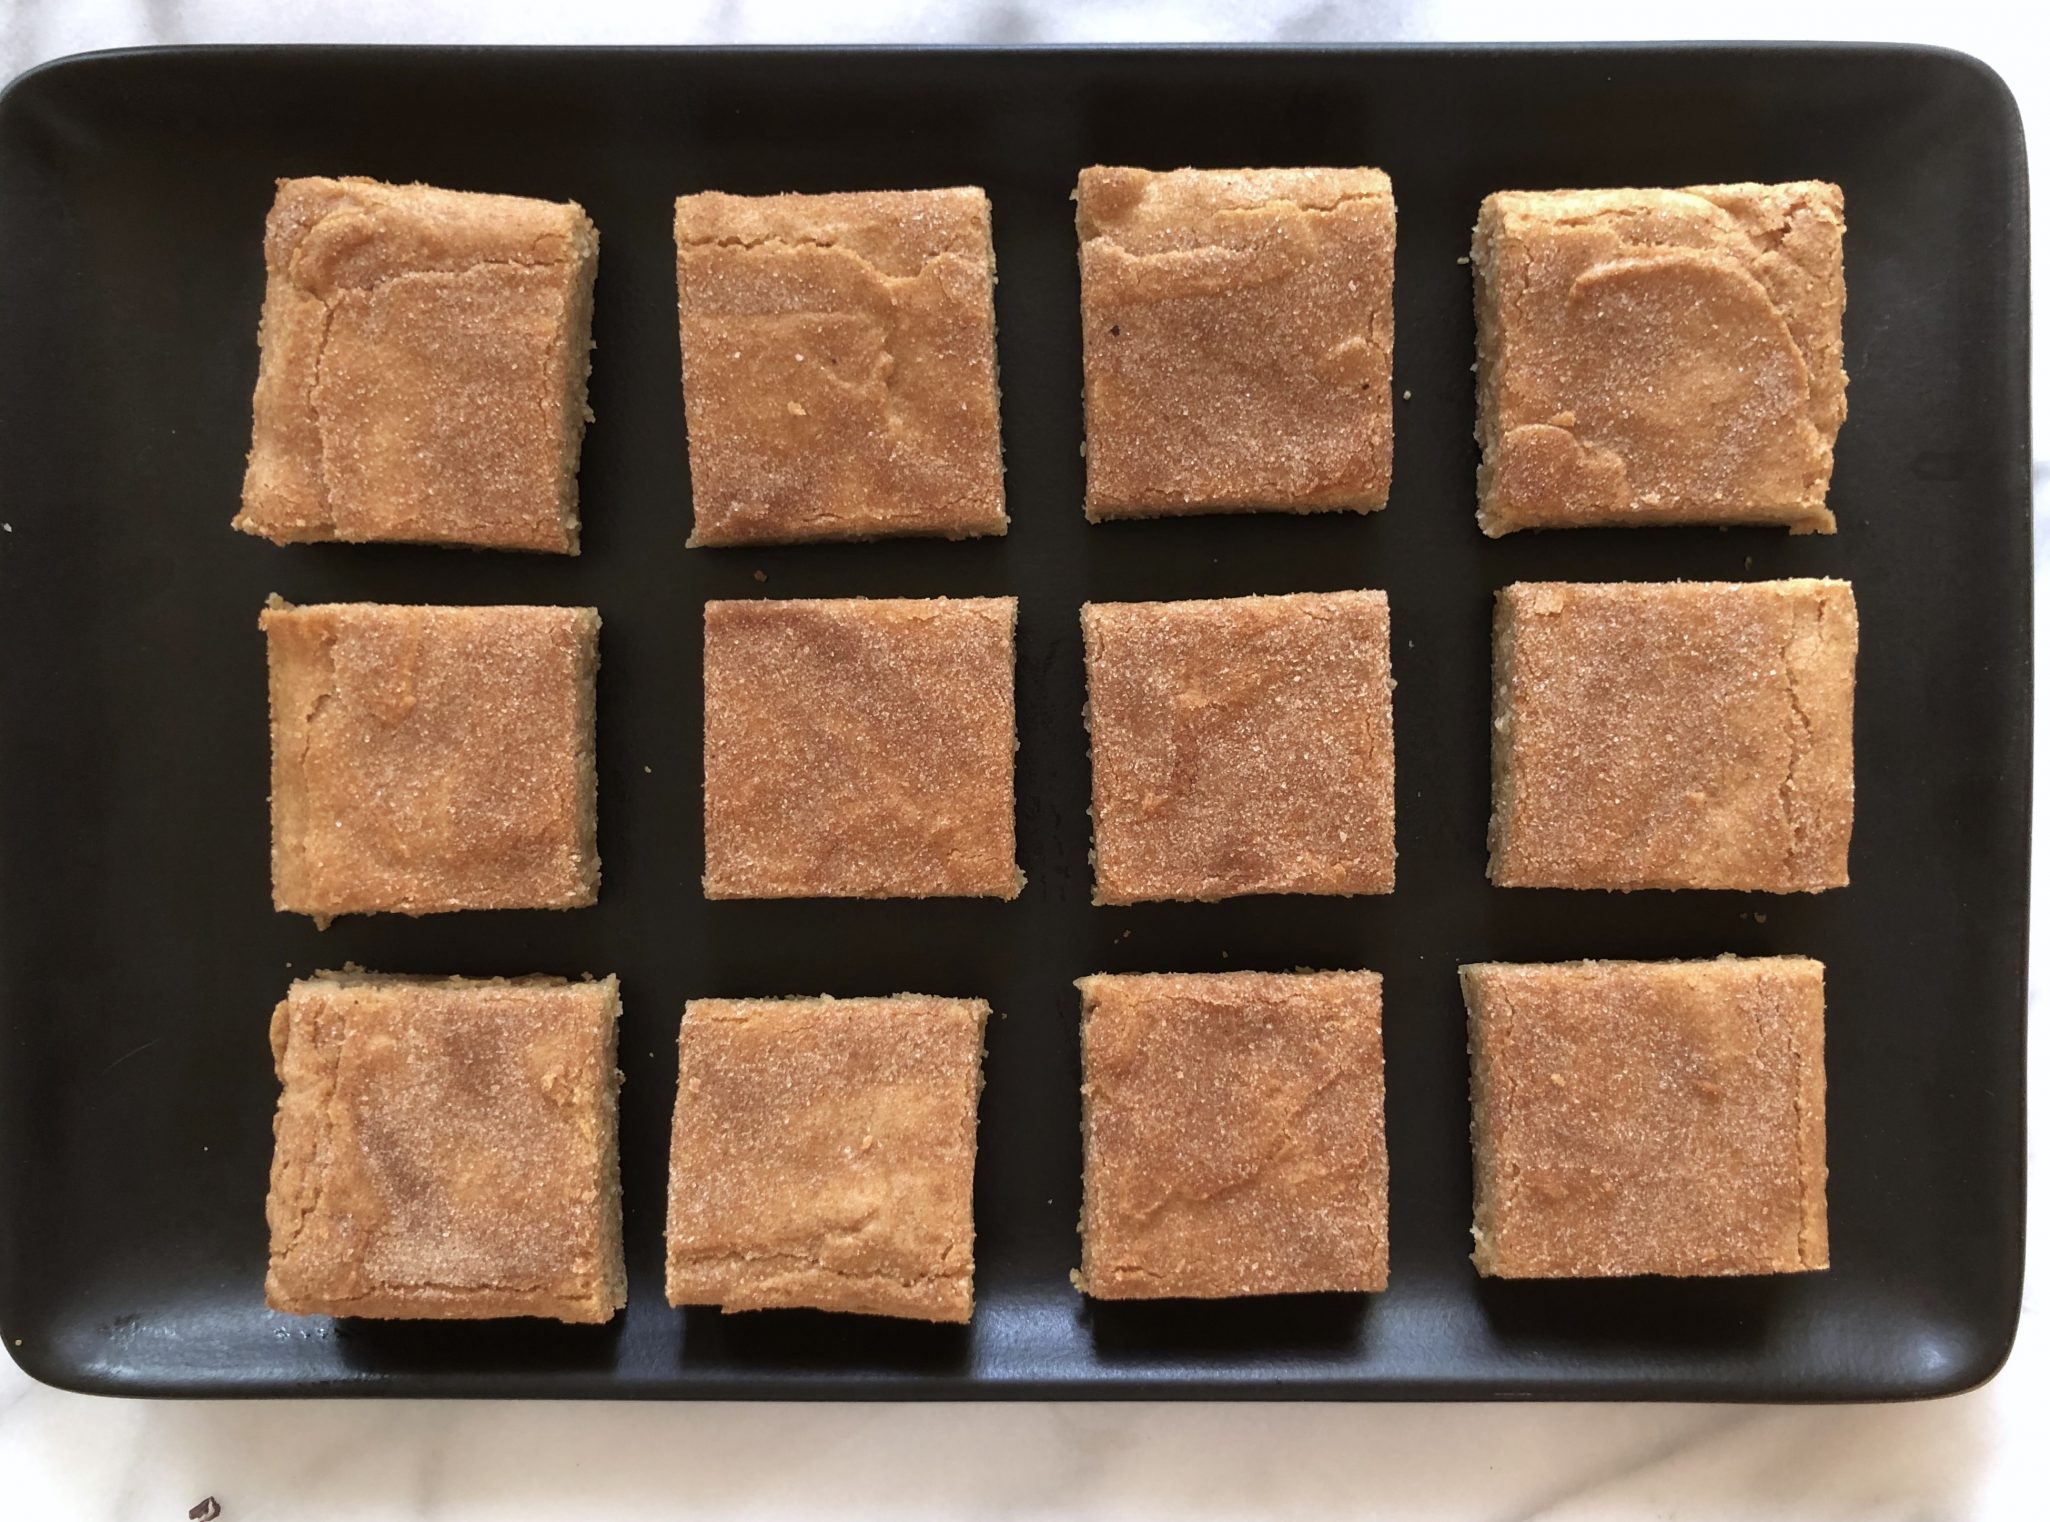
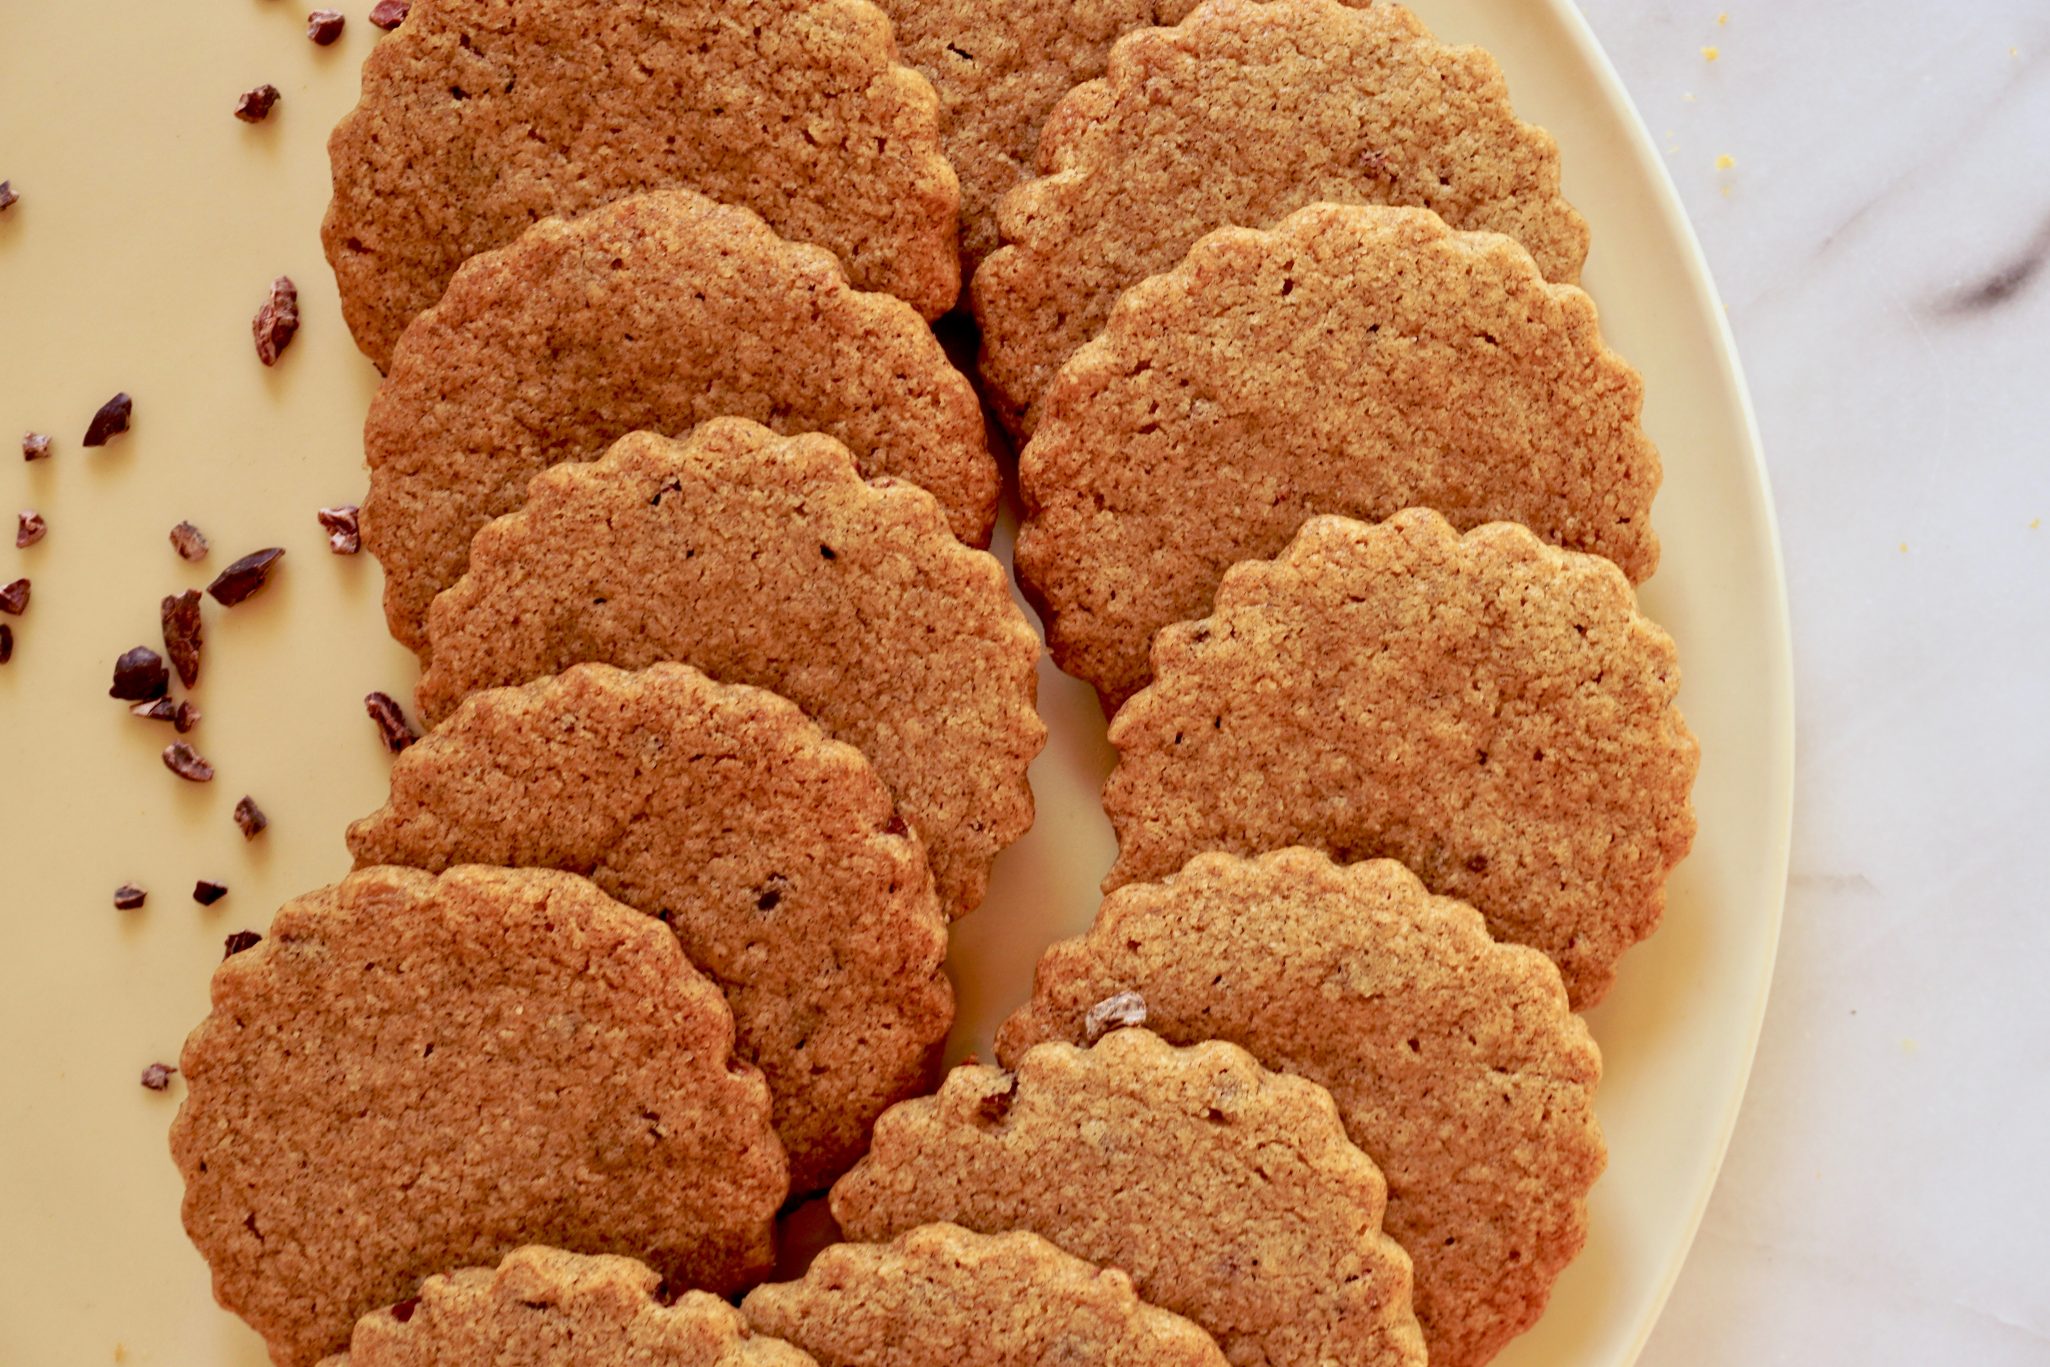
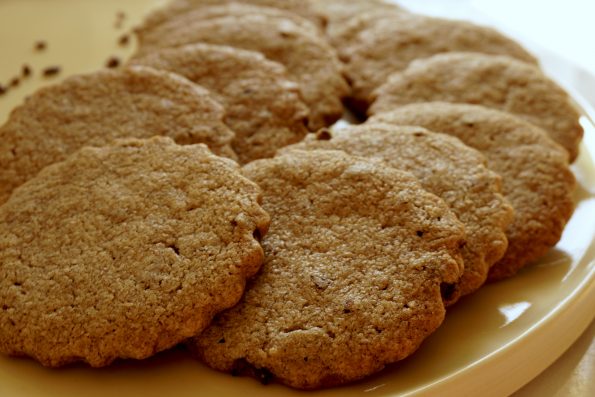
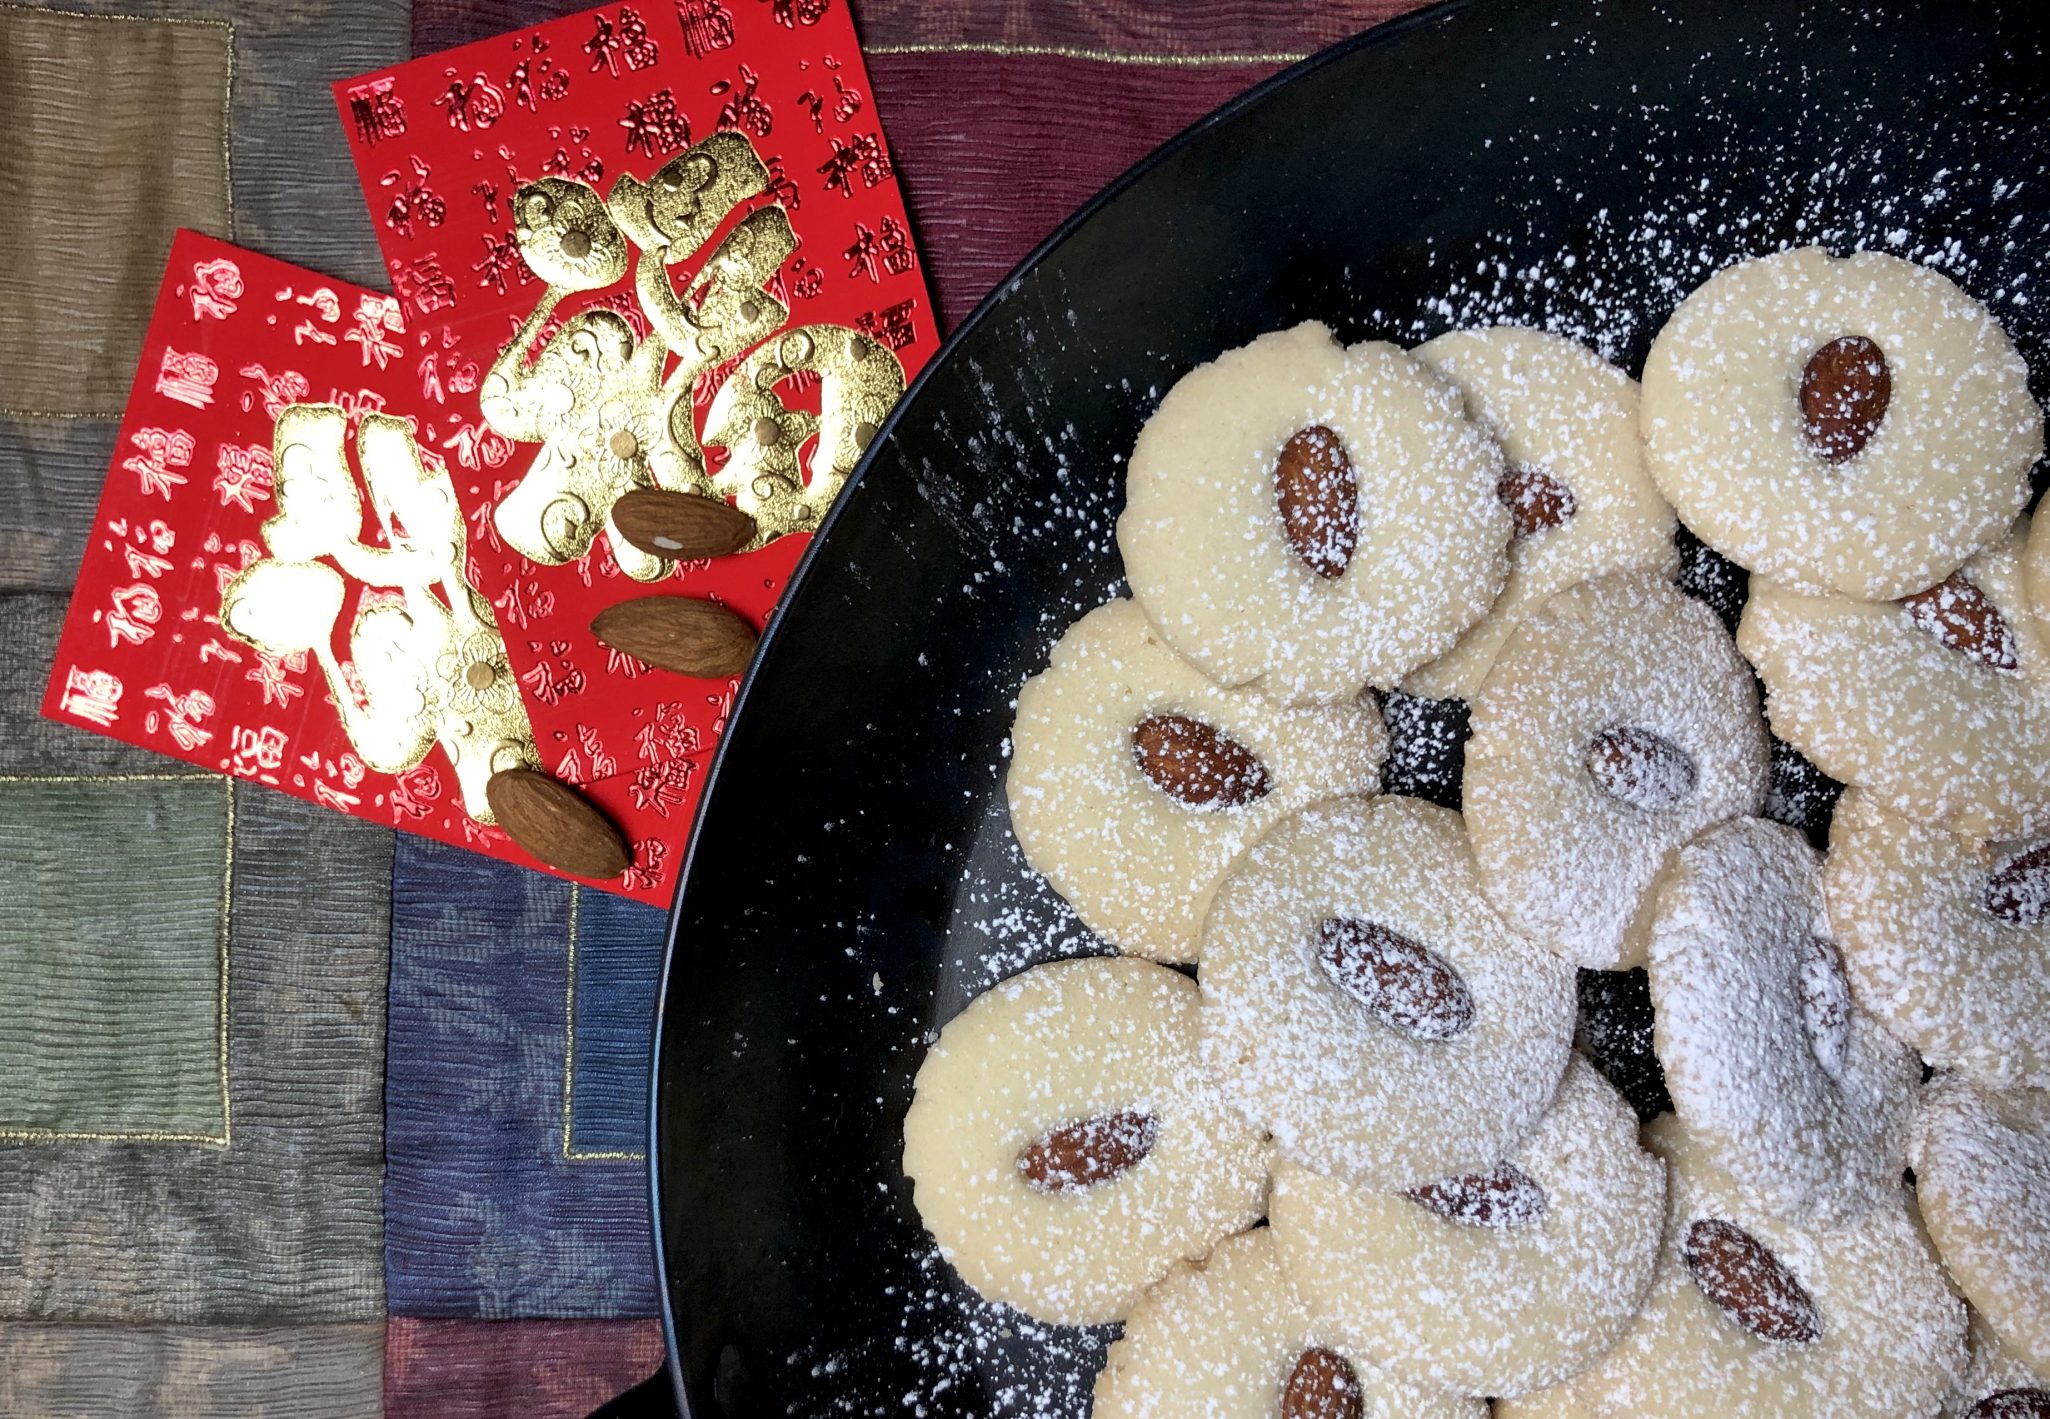
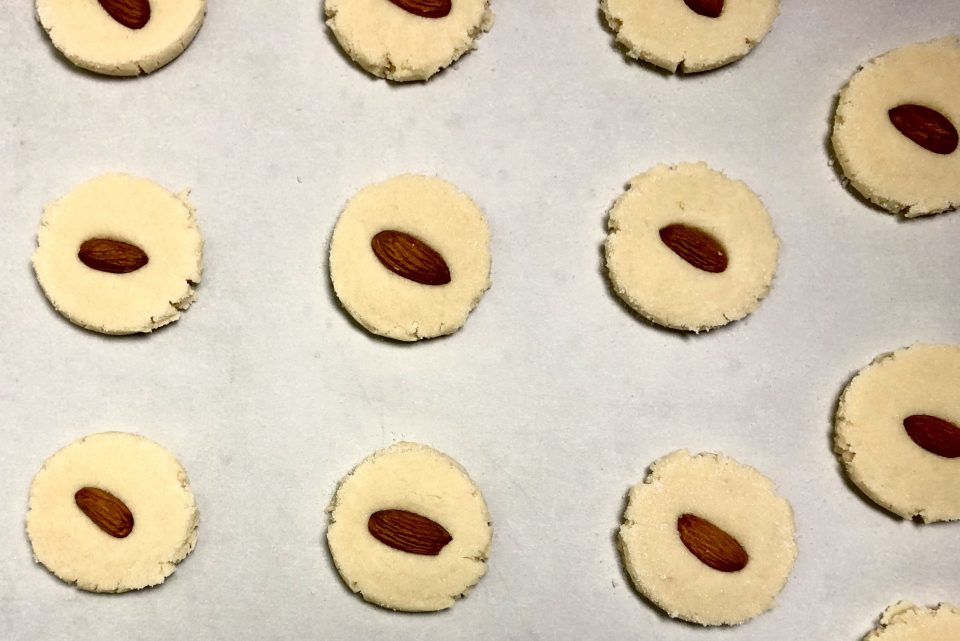
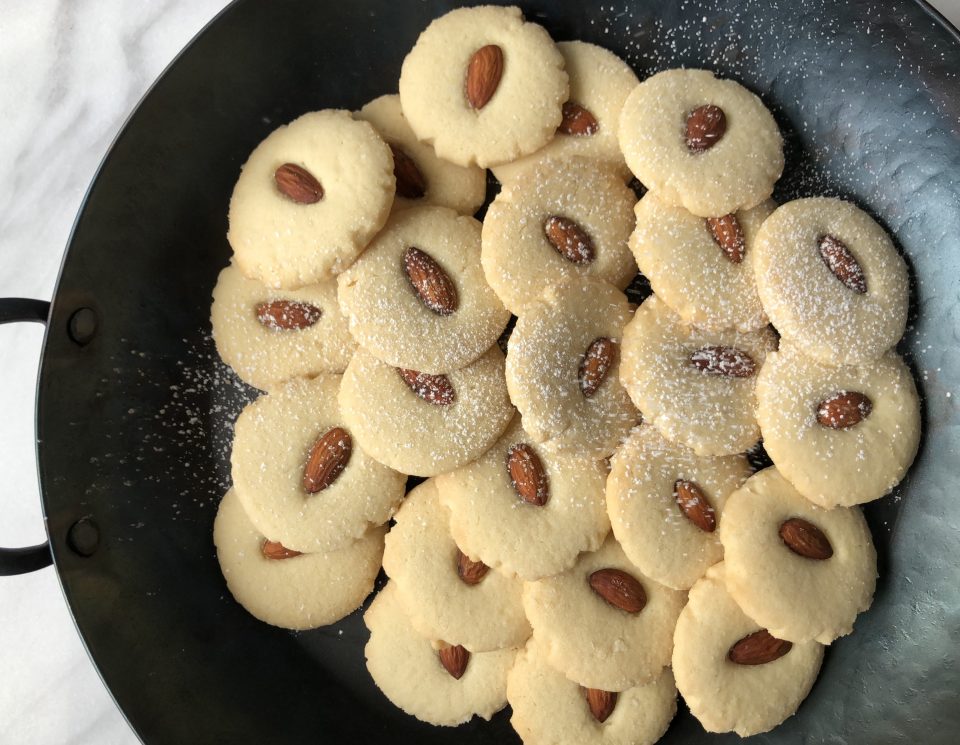
The dough is flattened with a glass dipped in sugar and a whole almond pressed in the center. After baking, a quick dusting of powdered sugar is the final touch before serving these gorgeous cookies.
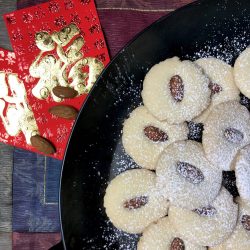
I can’t wait to bring these to this year’s celebration, Happy Year of the Pig!
Like Almond Cookies? Here are a couple of other favorites, Almond Clouds from King Arthur’s Flour and Almond Cookies from B’s Patisserie in San Francisco.
Almond Meltaways
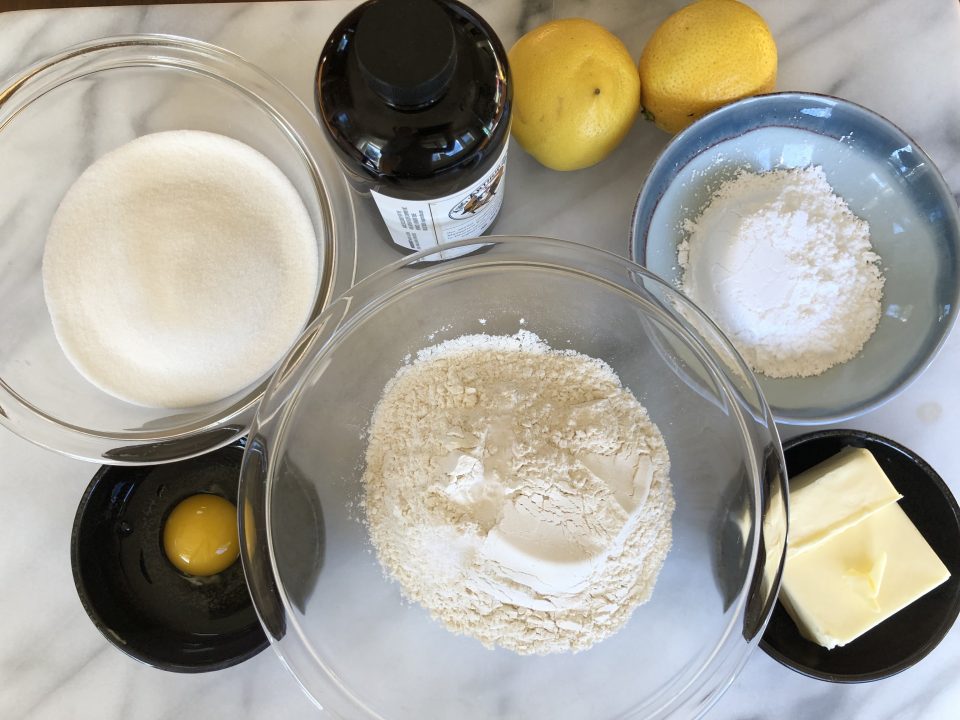
Ingredients
- 1 1/3 cup all purpose flour 167 gm
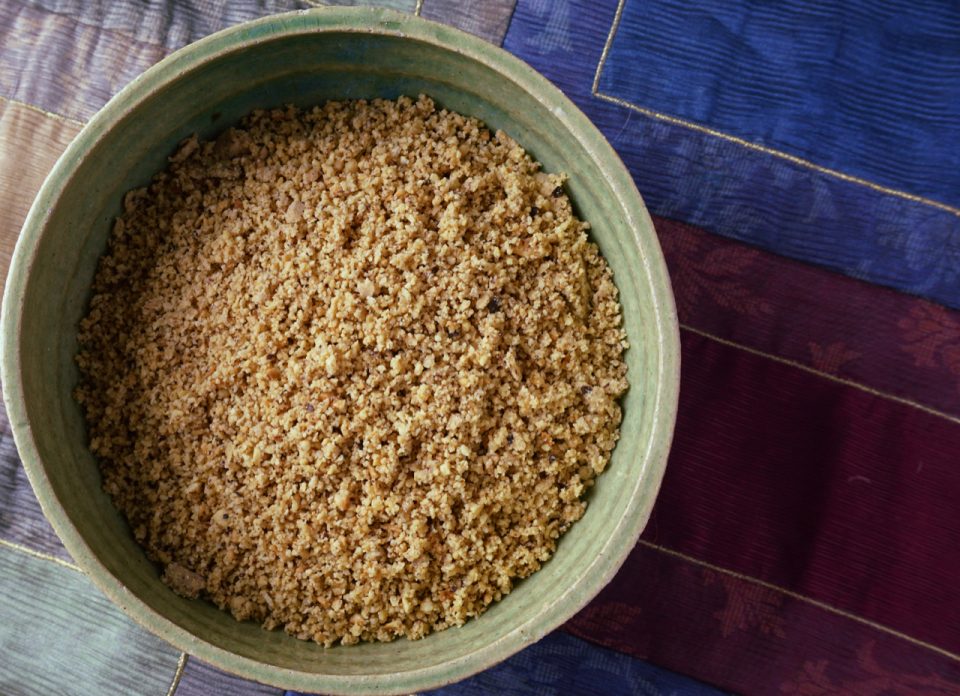
- 1/2 cup whole almonds finely ground 75gms
- 2/3 cup confectioners' sugar 71gm
- 1/2 cup cornstarch 56gm
- 1/8 tsp. salt
- 1/2 cup unsalted butter, room temperature one stick
- 1/2 cup shortening room temperature
- 2 tsp. almond extract
- whole almonds for garnish
- granulated sugar for dipping
- confectioners' sugar for garnish
Instructions
- Preheat oven to 325 degrees. Line a large baking sheet with parchment paper. Set aside.
- In a large bowl, whisk together flour, almonds, confectioners' sugar, corn starch and salt until well combined. Set aside.
- Combine butter and shortening in the bowl of a stand mixer fitted with paddle attachment, on medium speed beat until fluffy, about 2 minutes. Add almond extract.
- Turn the mixer to low and slowly add the flour mixture, beating until the dough begins to clump and form a ball around the paddle.
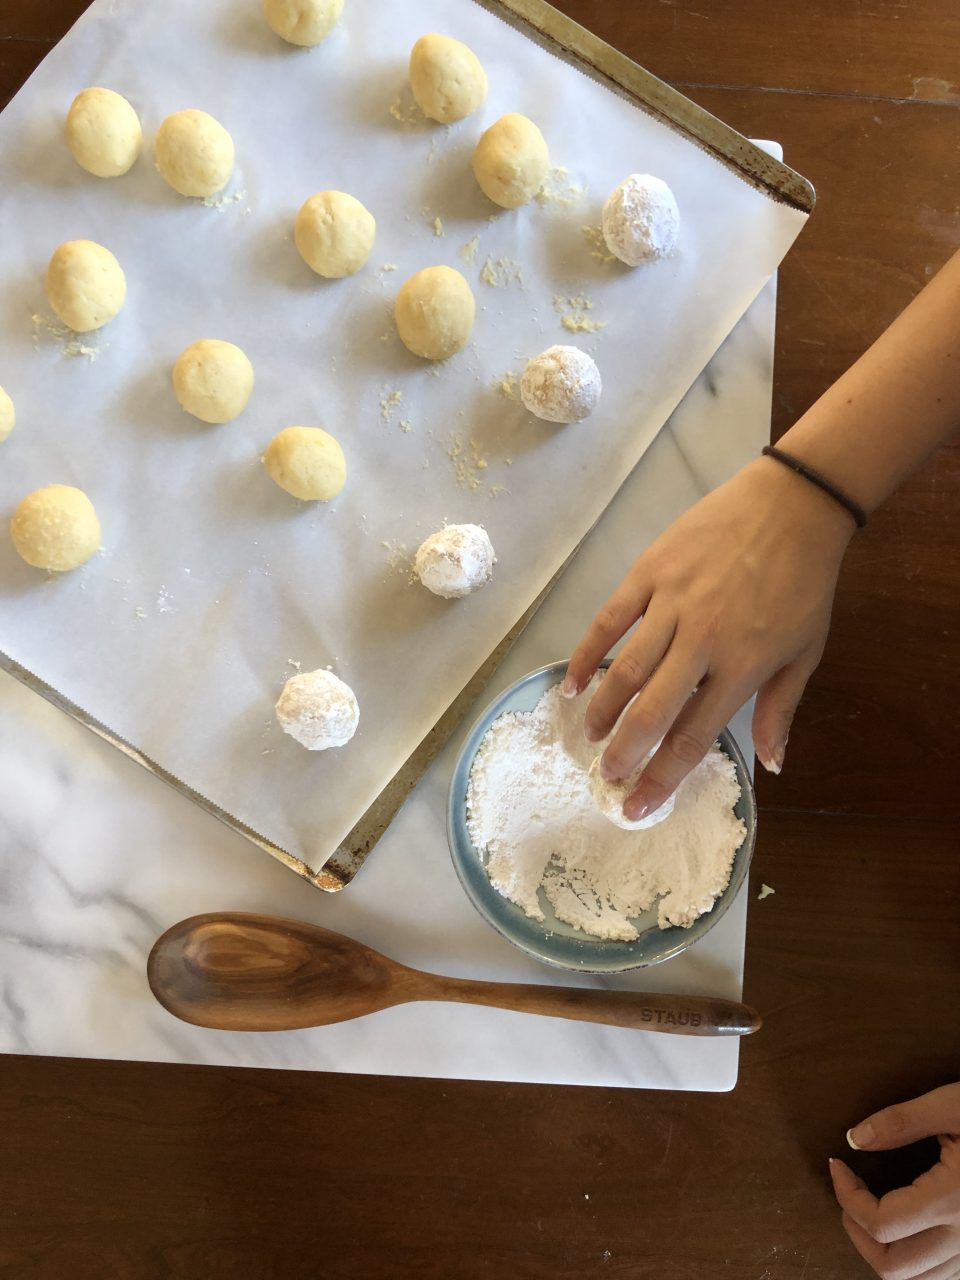
- Shape the dough into balls, about one tablespoon each and place on baking sheet, about 2 inches apart. Flatten each cookie with the bottom of a glass that has been dipped in some granulated sugar and then press a whole almond into the center of each cookie.
- Bake for 12-14 minutes, until just lightly browned and firm when gently touched. Let stand on baking sheet for 5 minutes, before transferring to wire rack to cool completely.
- Shake confectioners' sugar on tops of cookies