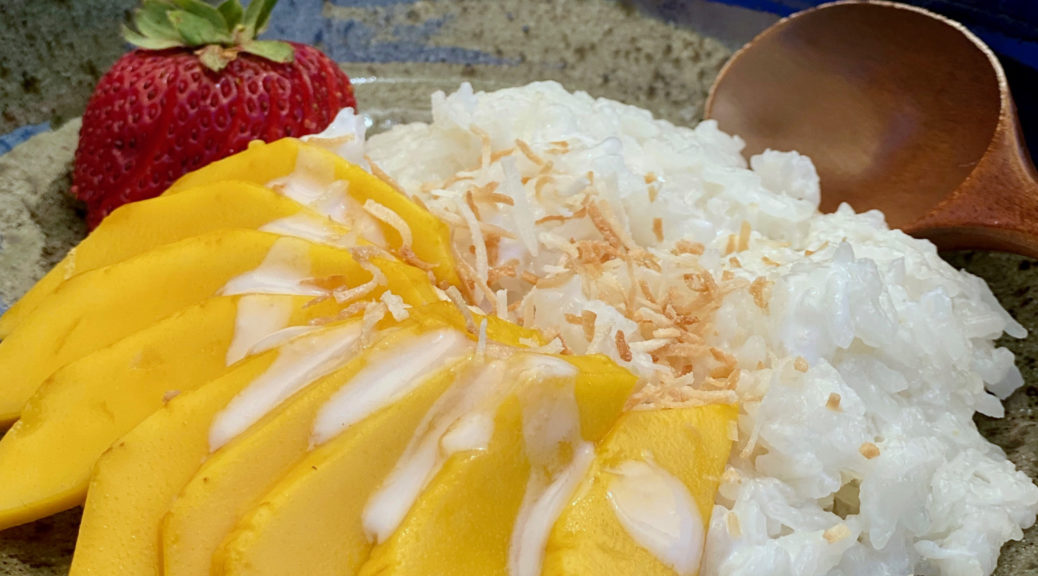
Mango Sticky Rice-Nuked!
Raise your hand if you have had Mango Sticky Rice. Just trying to gauge in the pantheon of delicious desserts, where Mango Sticky Rice lands. I live in a bubble in the Bay Area where you can be in an Asian restaurant or supermarket be it Thai, Chinese, Japanese, Korean, in minutes. Mango Sticky Rice is a mainstay dessert. I use to think it was intimidating to make at home but it really isn’t. Now, making the rice in the microwave takes any trepidation down to zero!

Vegan and Gluten-Free, Shazam!
Asian desserts generally are not too sweet. If I had to pick predominant flavors, I’d say mango, coconut, almond, and sesame are pretty popular. Sticky rice is a cornerstone, as is Tapioca (hello, boba). Many Asians are lactose intolerant so dairy is not a major player in Asian cuisine. Mango Sticky Rice is a win-win-win, coconut milk is used for the sauce and flavoring component, sticky rice-the base, so, no butter, eggs or wheat. Vegan, gluten-free, and dairy-free-mindblowing.
Stuck on Sticky Rice
The foundation of this dessert is sticky or glutinous rice which can be found in most Asian stores. I use either Sweet Rice from Koda Farms or Thai Three Ladies Sweet Rice (the OG for this dessert). Normally, the rice is steamed, which is a long process, and then flavored with sweetened coconut milk.
I came across an article on Epicurious that featured Chrissy Teigen’s Mom and her cookbook. One of the recipes included is Mango Sticky Rice made easy, and not to mention quicker, in the microwave. This recipe is a mash-up of her recipe and my own recipe. My original post also has tips on what rice to buy and coconut milk, call it a mango sticky rice primer.
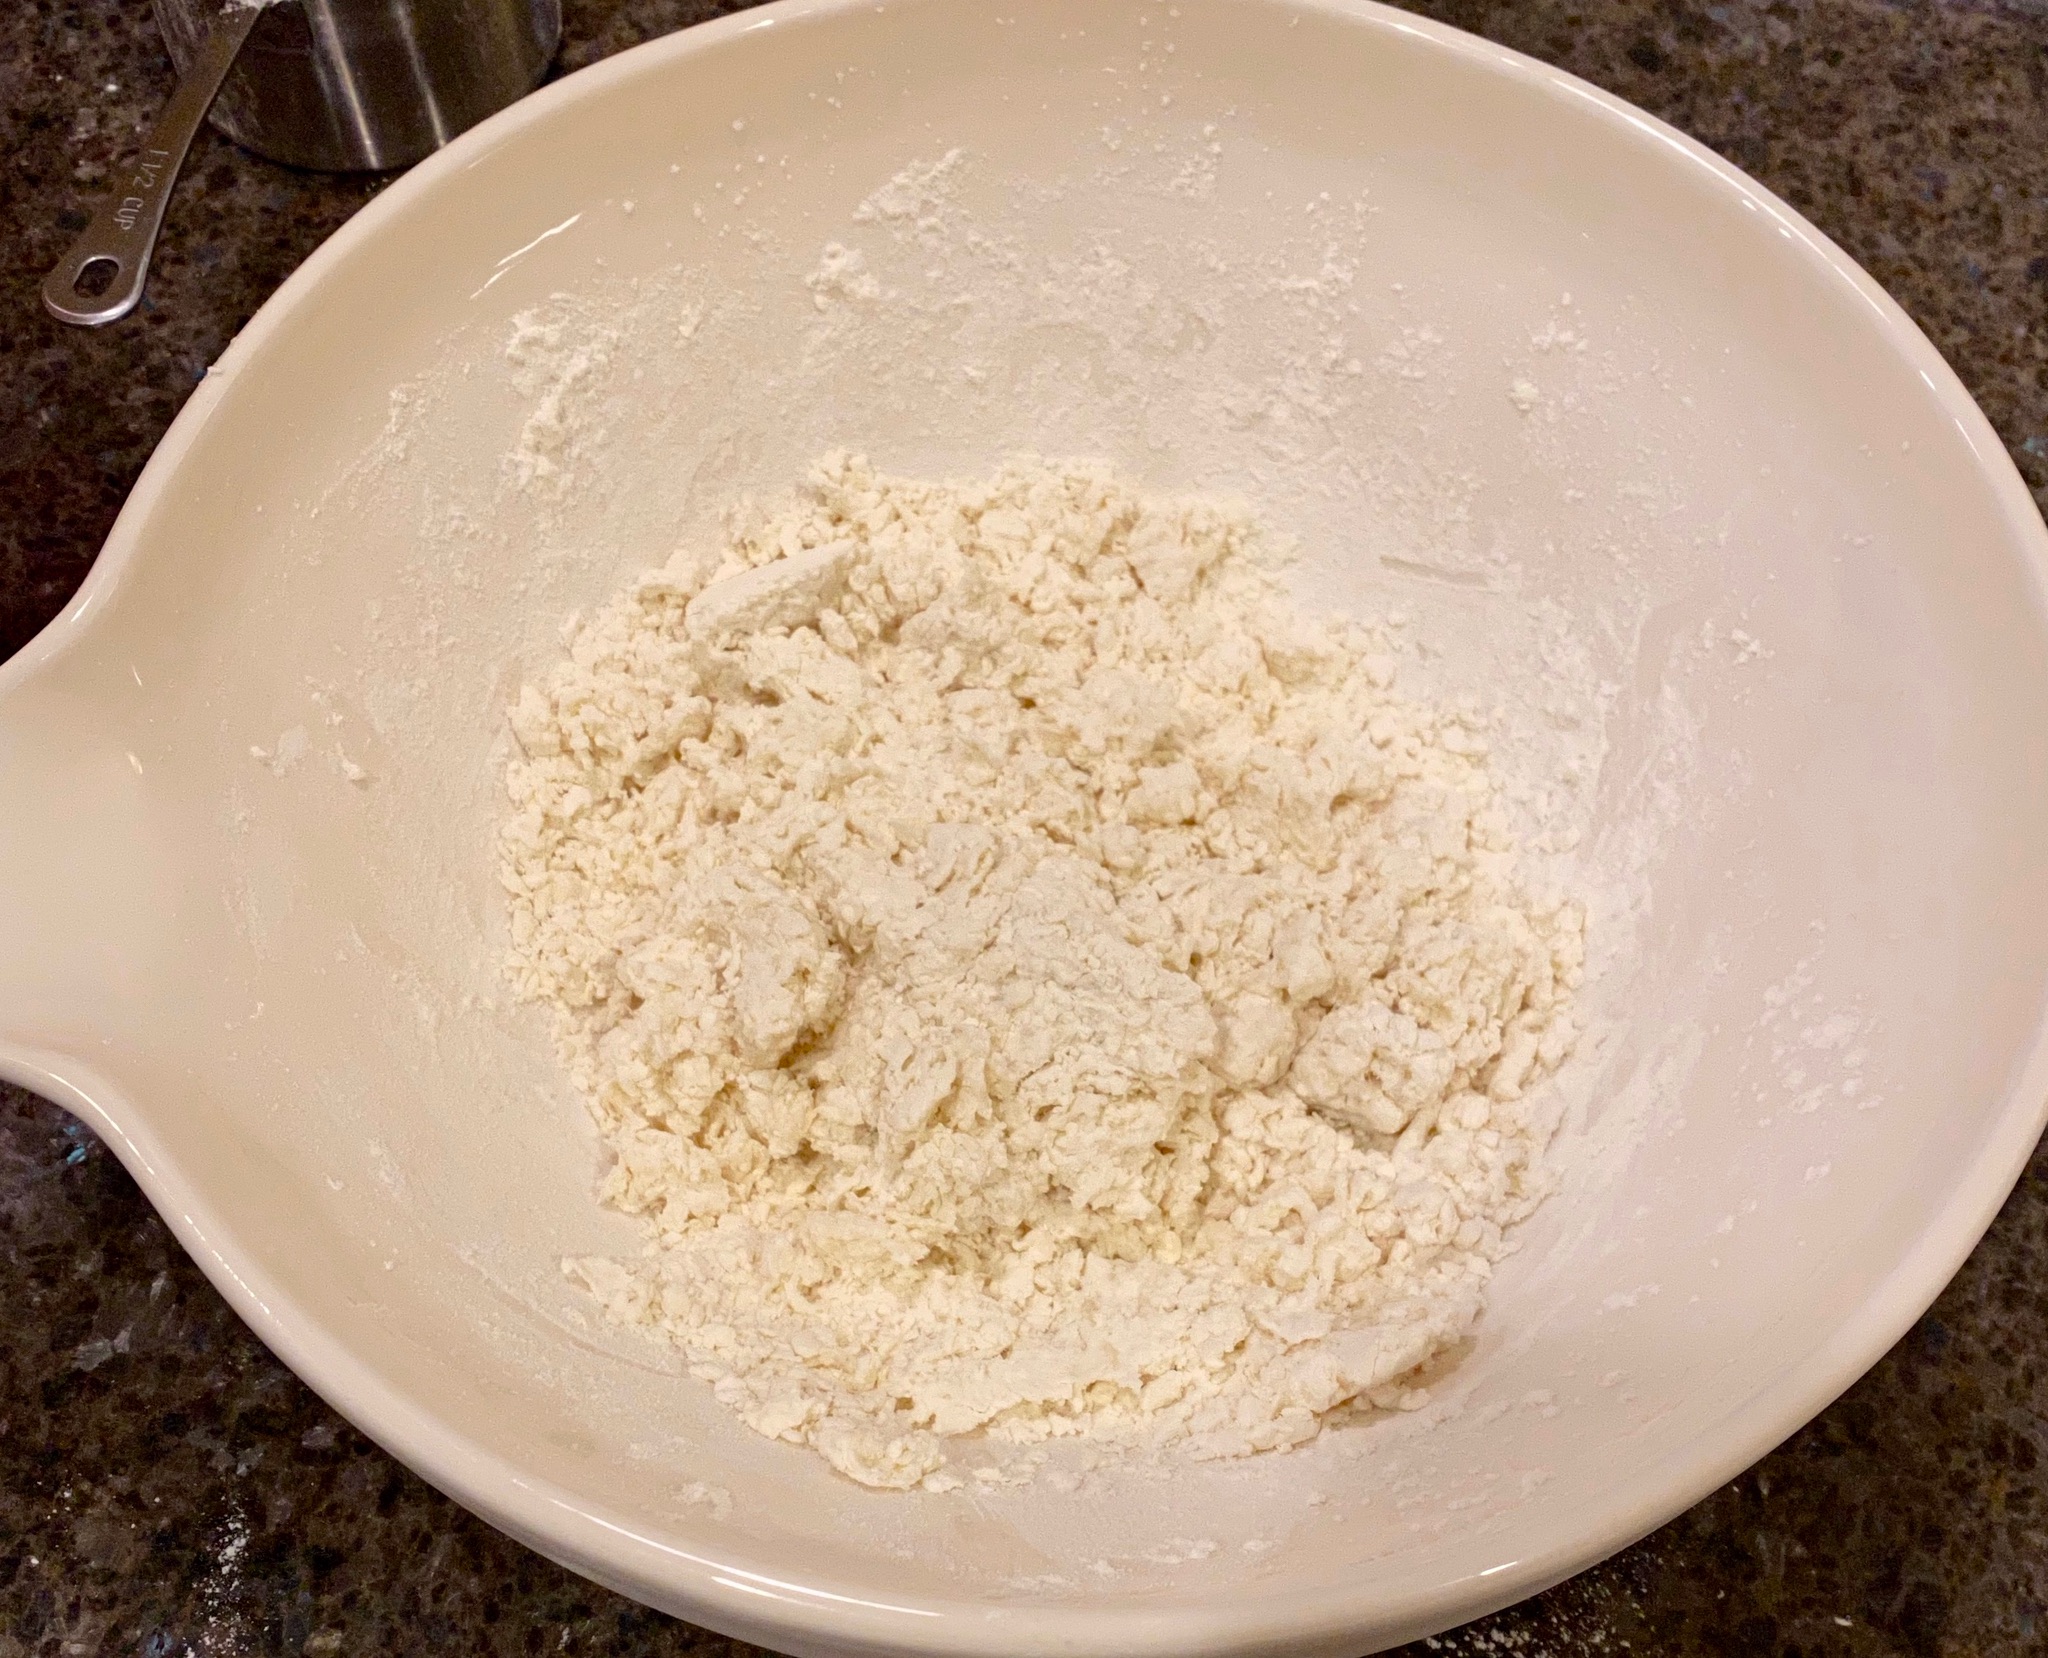
I used my Anyday Microwave Cookware, which worked like a charm-one bowl cooking, very convenient. Soak the rice for 10 minutes or up to 60 minutes in the same container you will use in the microwave. I inadvertently soaked the rice longer than 60 minutes (chatting with a neighbor) and the rice was a bit soft. I tried it again and soaked the rice for only 20 minutes and I washed the rice first (which isn’t in the Epicurious version), definitely recommend washing your rice.
Microwave Magic
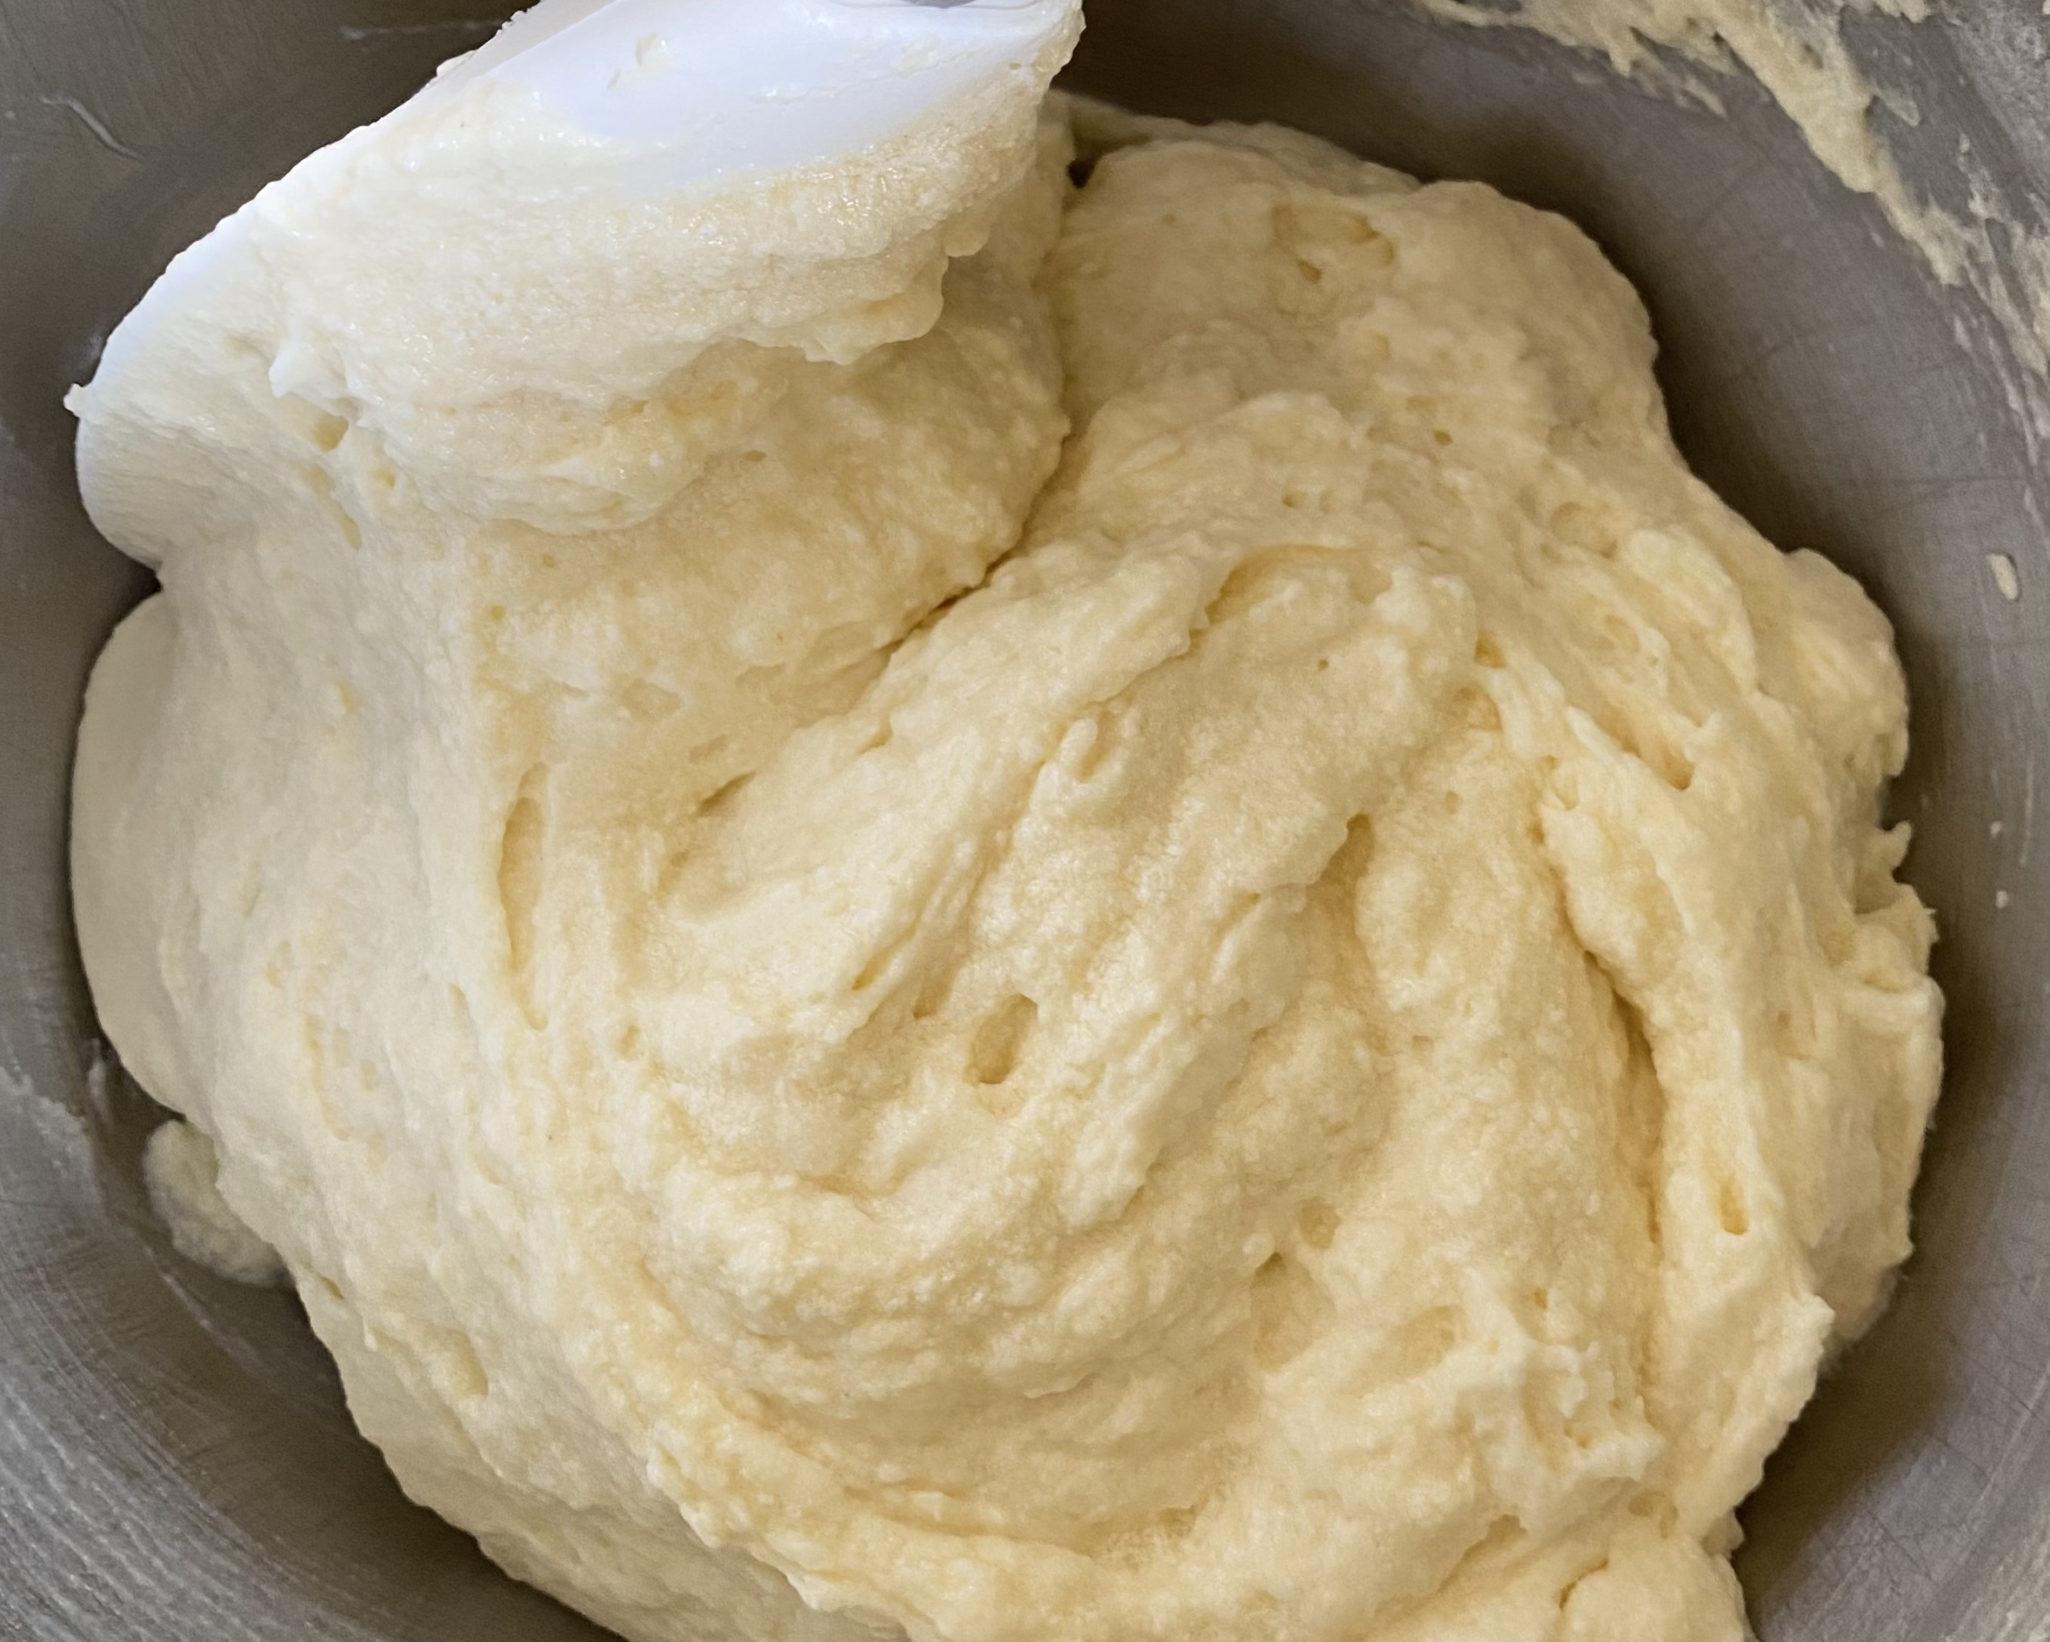
Once the rice has soaked, cover the bowl with a vented lid or plastic wrap and place it in the microwave.
Cook for 3 minutes on high power, take it out, and stir the rice bringing the bottom rice up to the top, like a scooping motion.
There was still quite a bit of liquid left and the color of the grains was still opaque. So I placed it back in the microwave and cooked for another 3 minutes. After the additional 3 minutes, the liquid had been absorbed in the rice. The grains were a mix of translucent and opaque and had a bit of a bite, so I stuck it in for another minute.
This was 30 seconds too long along, the grains were a little too soft, the combination of a too-long soak and overzealous nuking.
I have a 700-watt Spacesaver GE Microwave, it’s on the low-end power-wise. Adjust time and power level based on the wattage of your microwave. The key is to get to know your microwave and how it cooks. Just keep in the back of your mind that the dish will only take 6-8 minutes so start fine-tuning the amount of time you microwave the rice at the 5-6 minute mark.
The Sauce
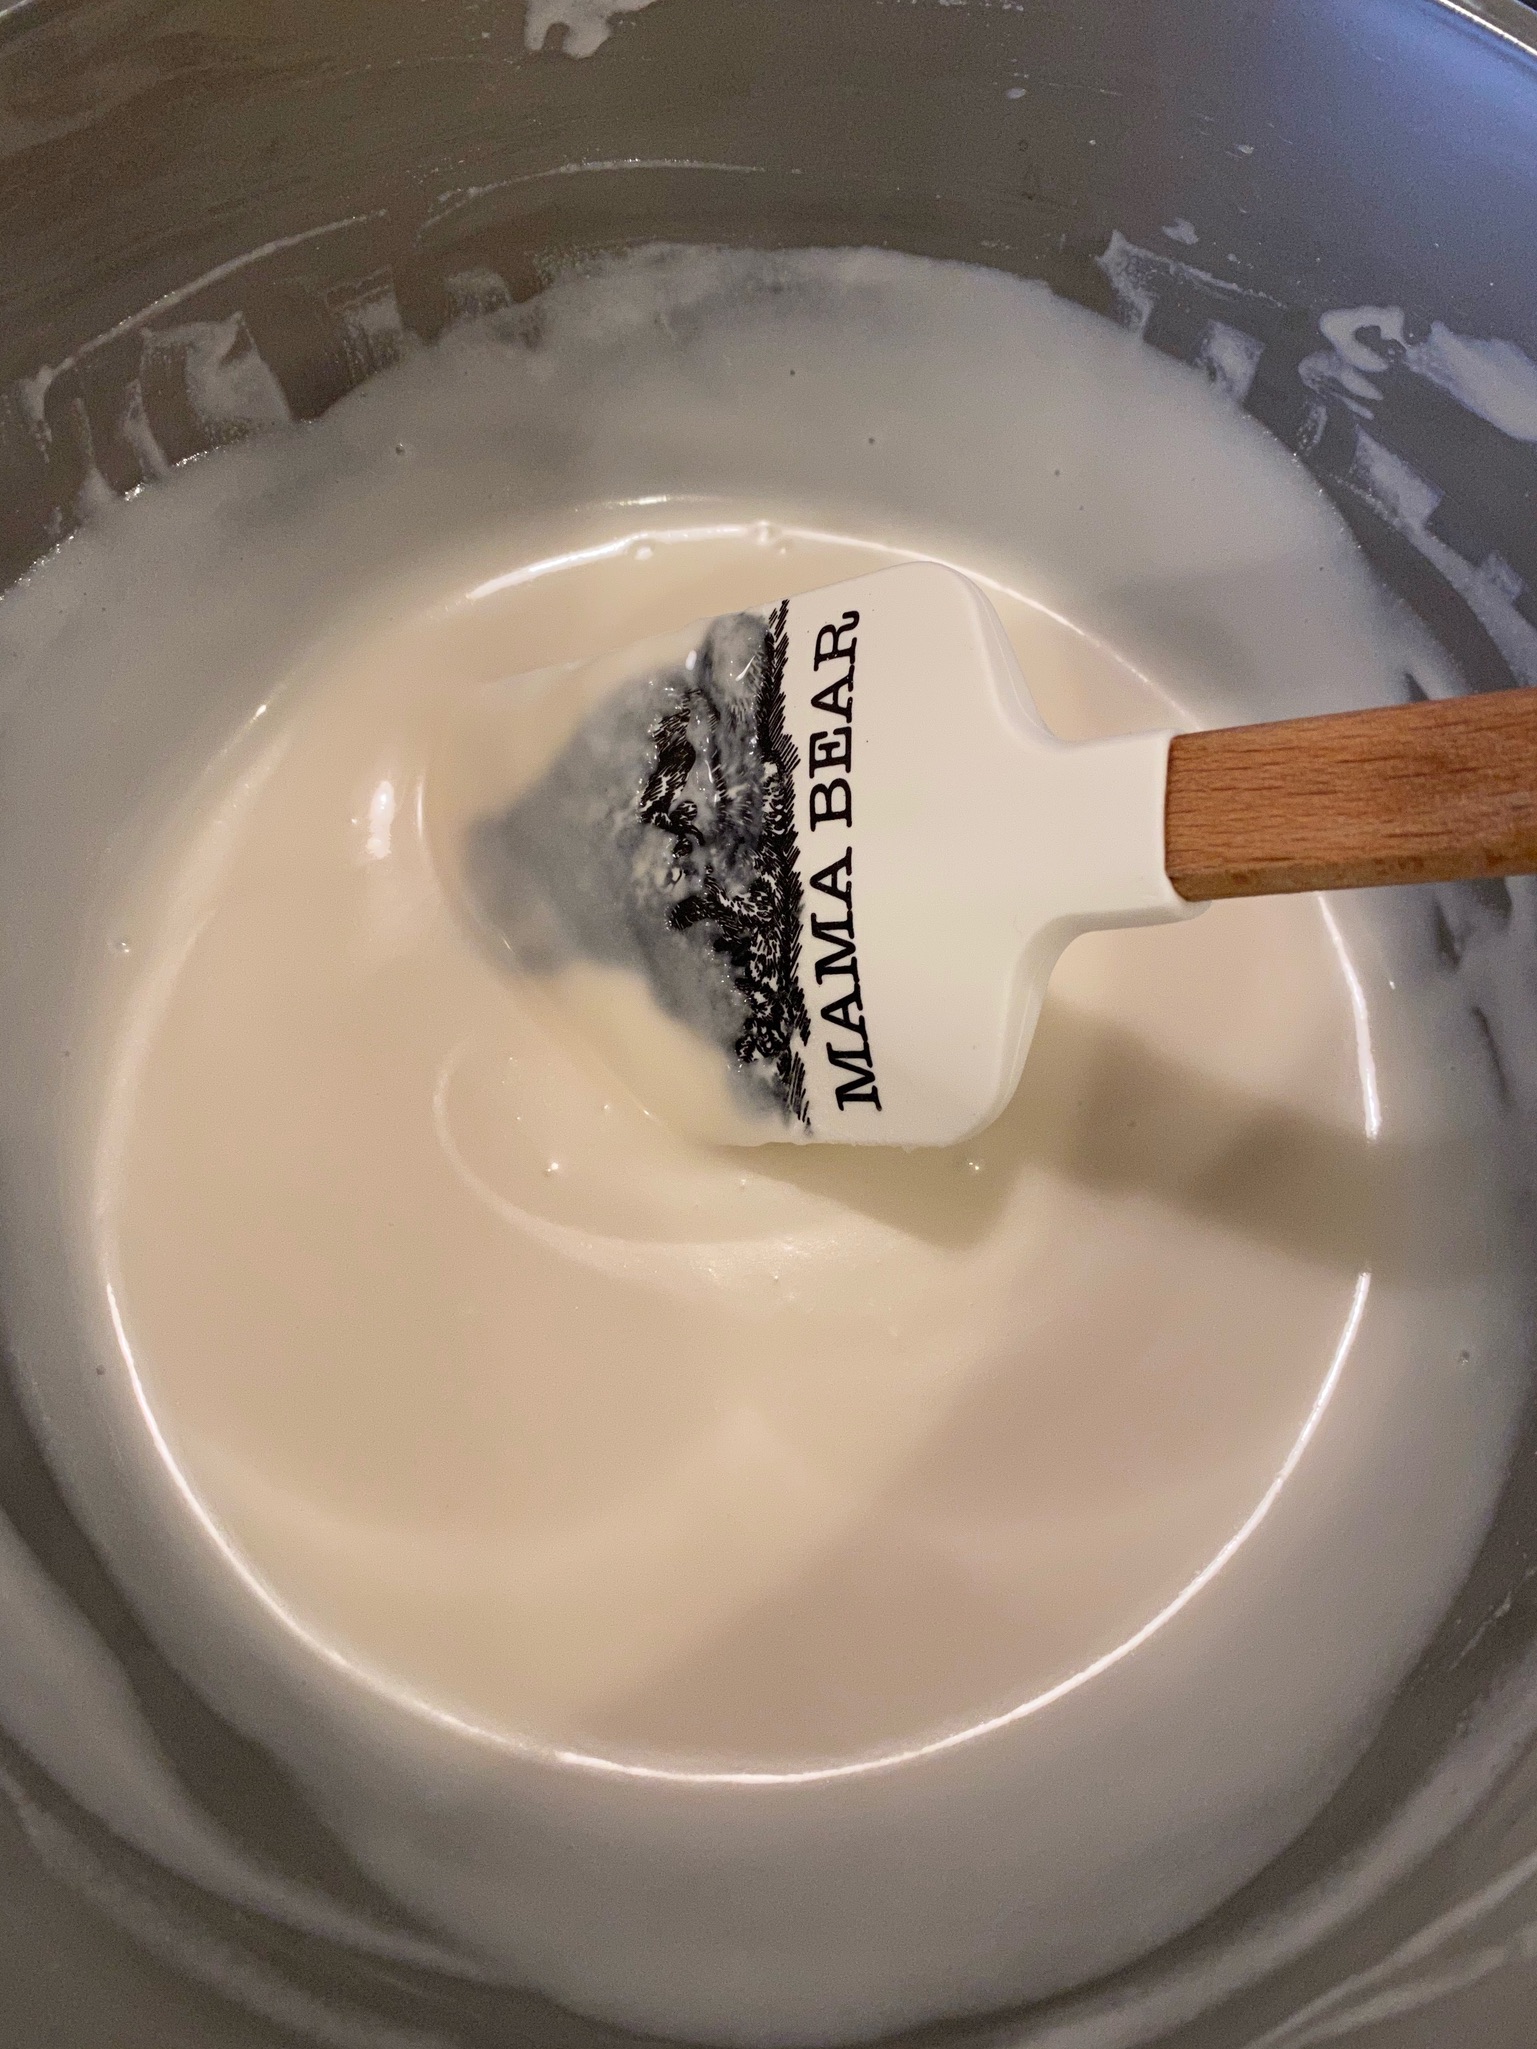
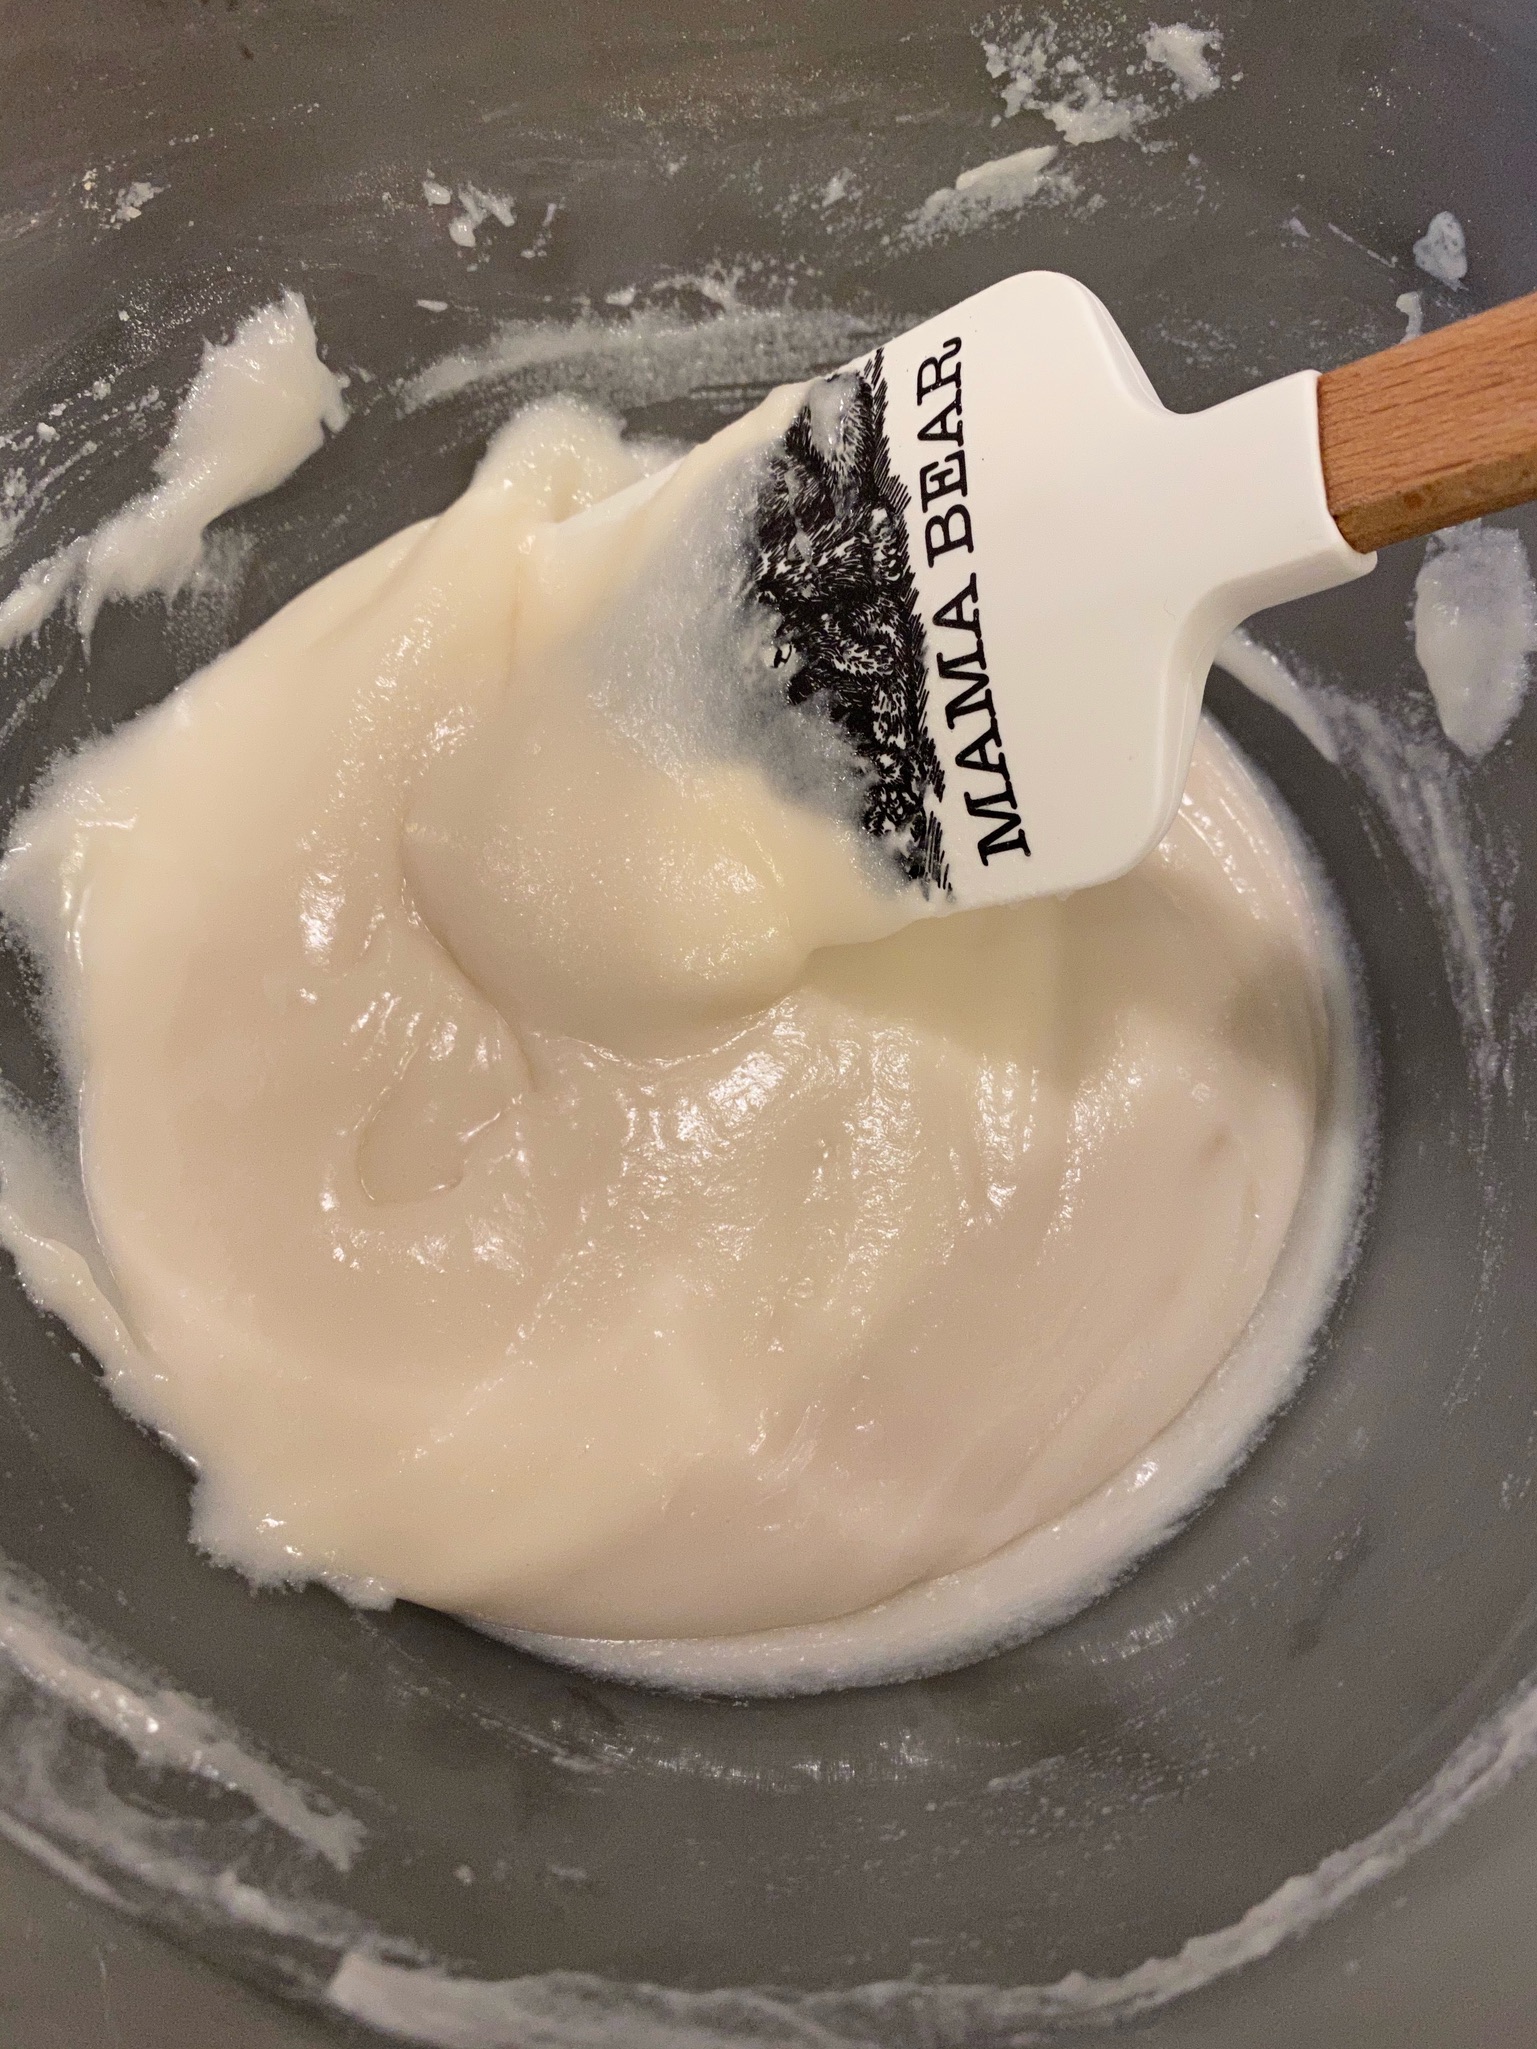
The coconut milk sauce is quick and easy to prepare. Use full-fat coconut milk, for the best flavor and consistency. Don’t let the milk boil, you just need it hot enough to dissolve the sugar. I hold some of the sauce back to serve on the side. Pepper’s recipe calls for 1-1/2 teaspoons of salt, I couldn’t bring myself to put that much salt. I used 1 teaspoon of Kosher salt which I thought was fine. I added 2 tablespoons of sugar which brought it more in line with my original post.
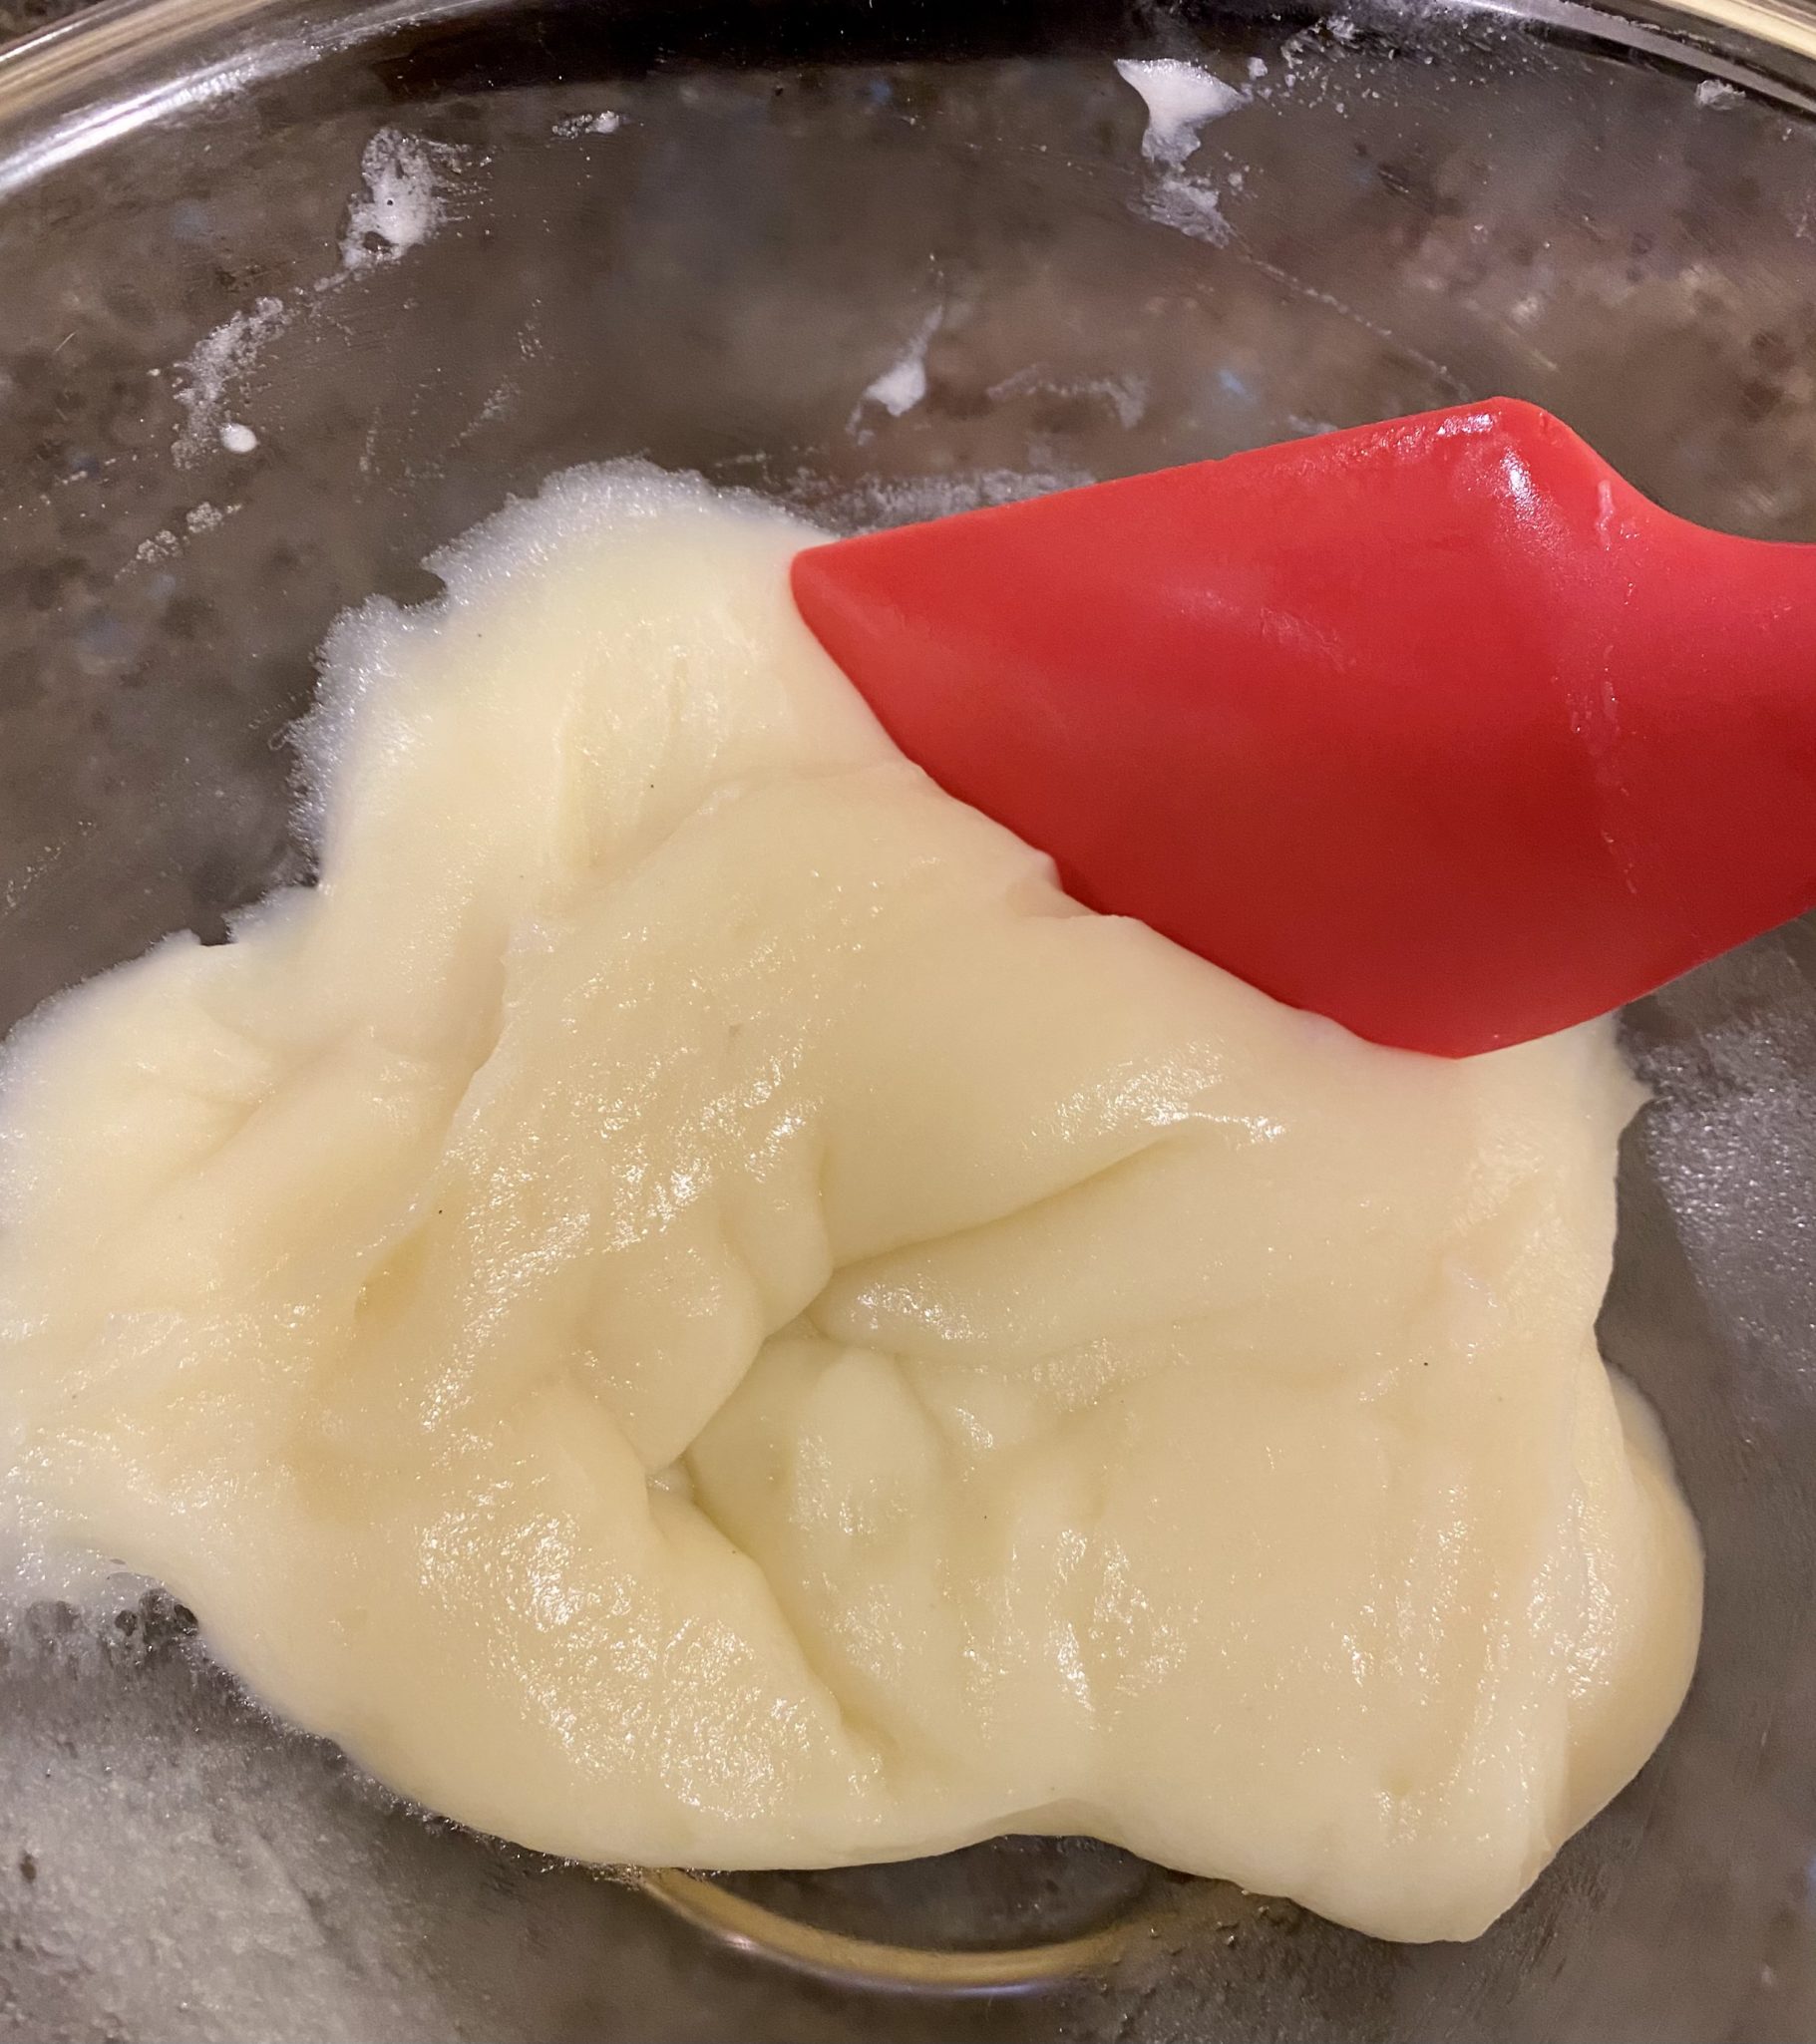
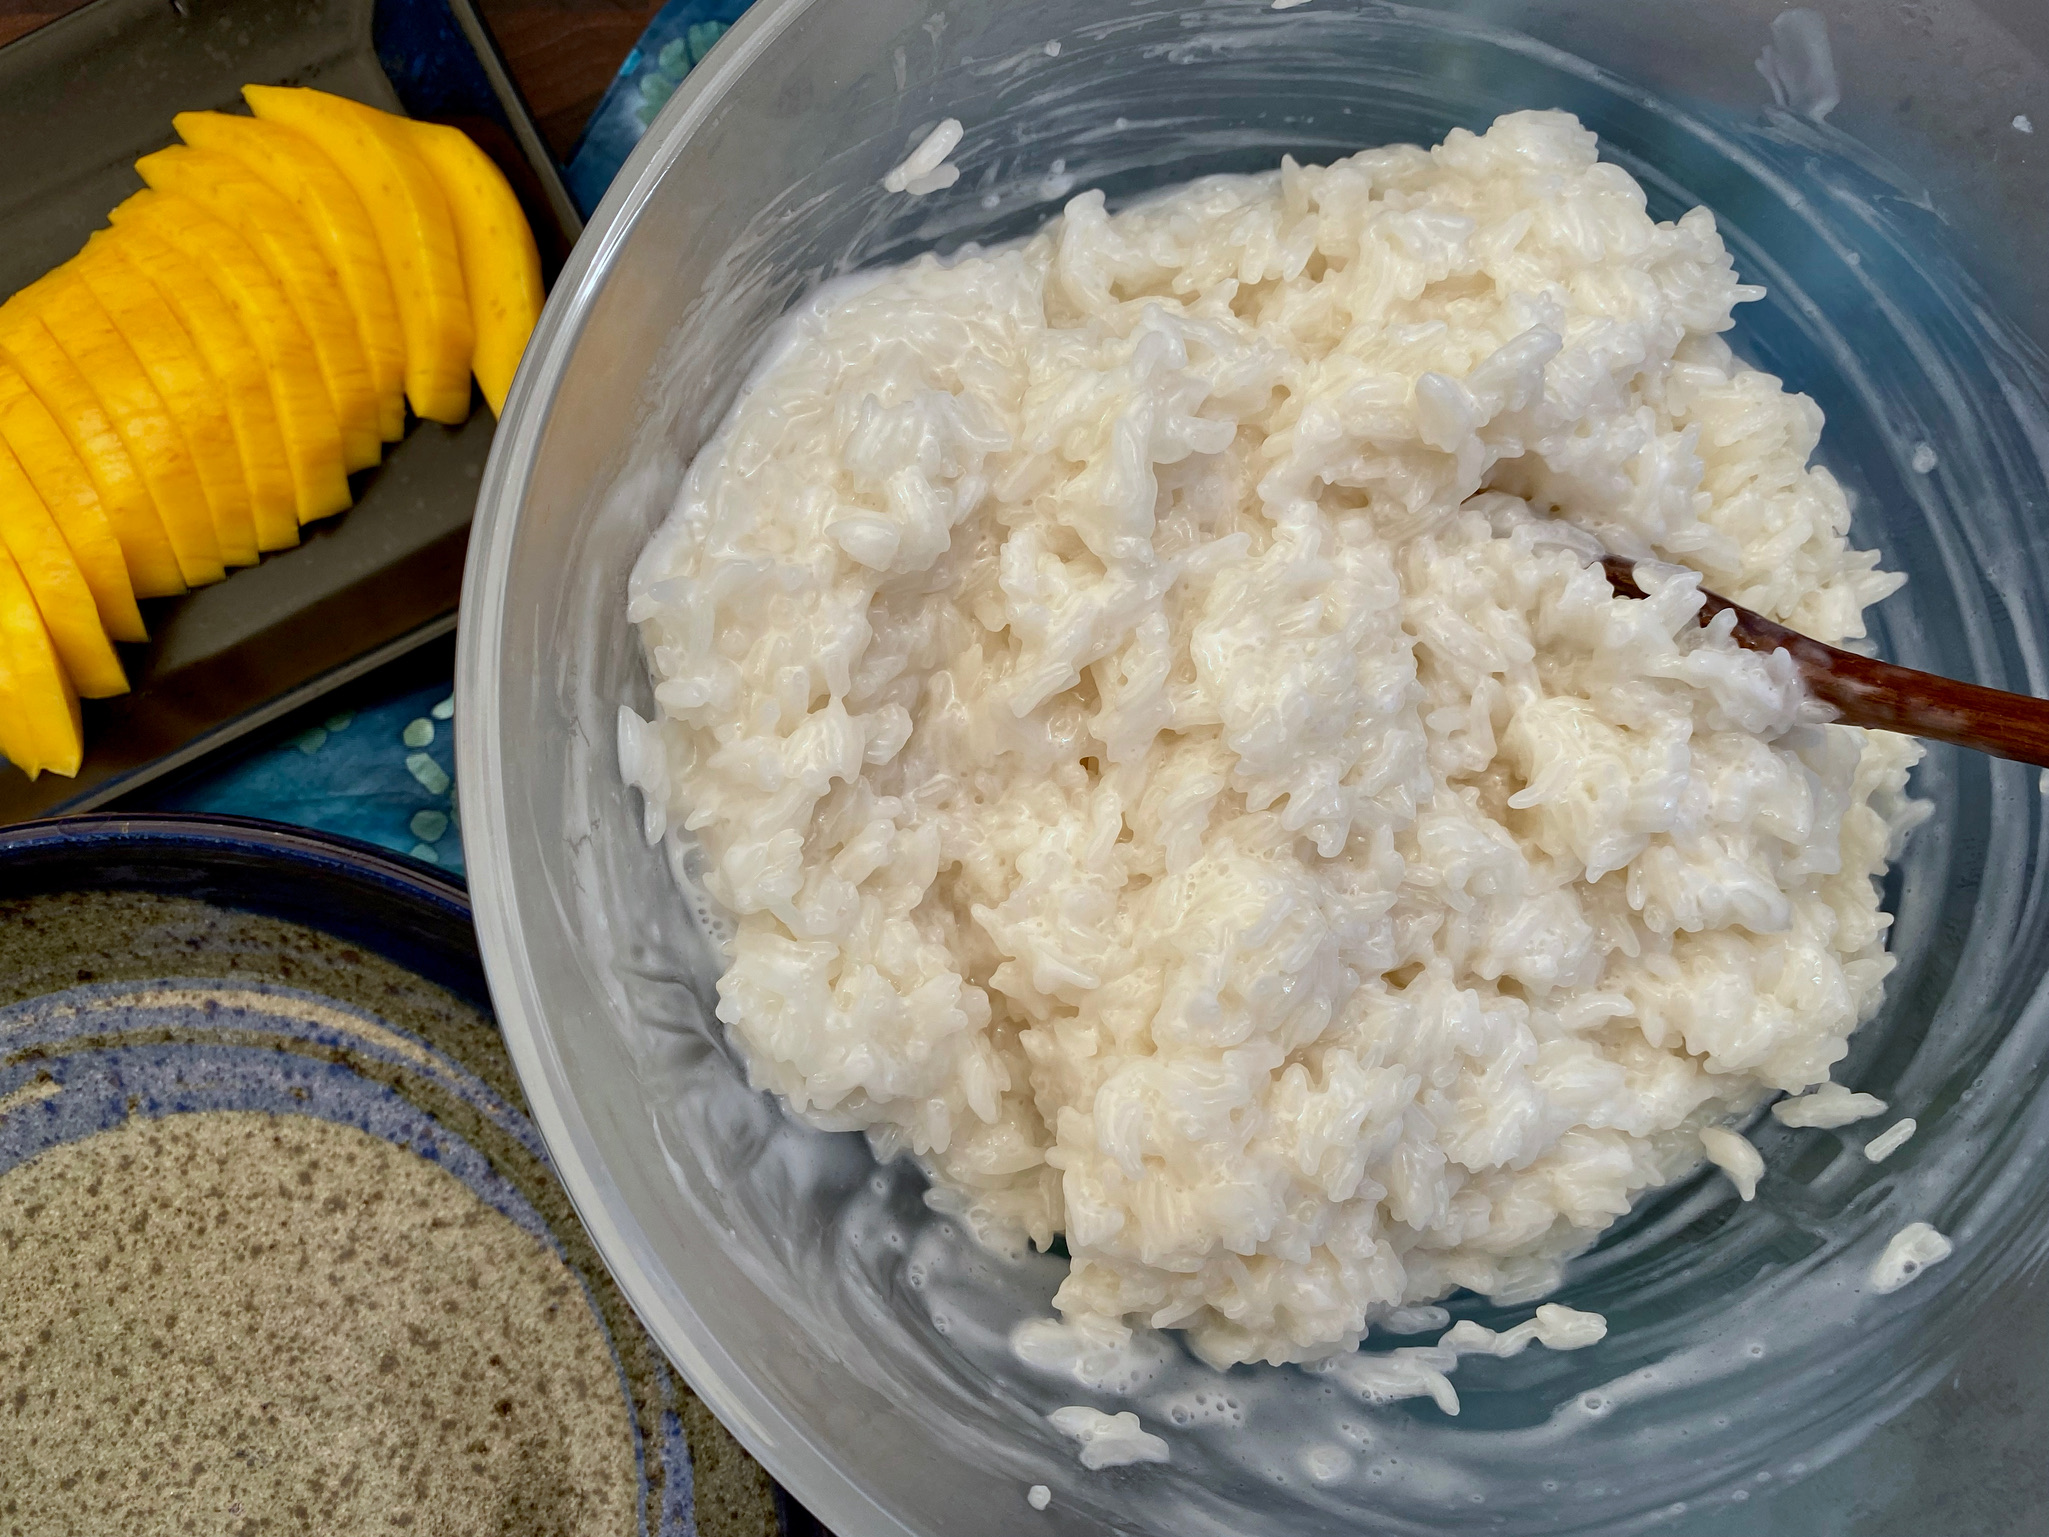
Pour the hot coconut milk over the cooked rice. Don’t be alarmed if it looks like a wet gloppy mess, stir well and let it sit for 10-15 minutes so the rice absorbs the milk.
So time savings? The original recipe calls for soaking the rice for 2-8 hours and steaming for 25 minutes. The microwave recipe calls for soaking the rice for 10-60 minutes and nuking it for 7-8 minutes. Hmm, don’t need to be a CPA to figure out the time savings. Enjoy!

Microwave Mango Sticky Rice
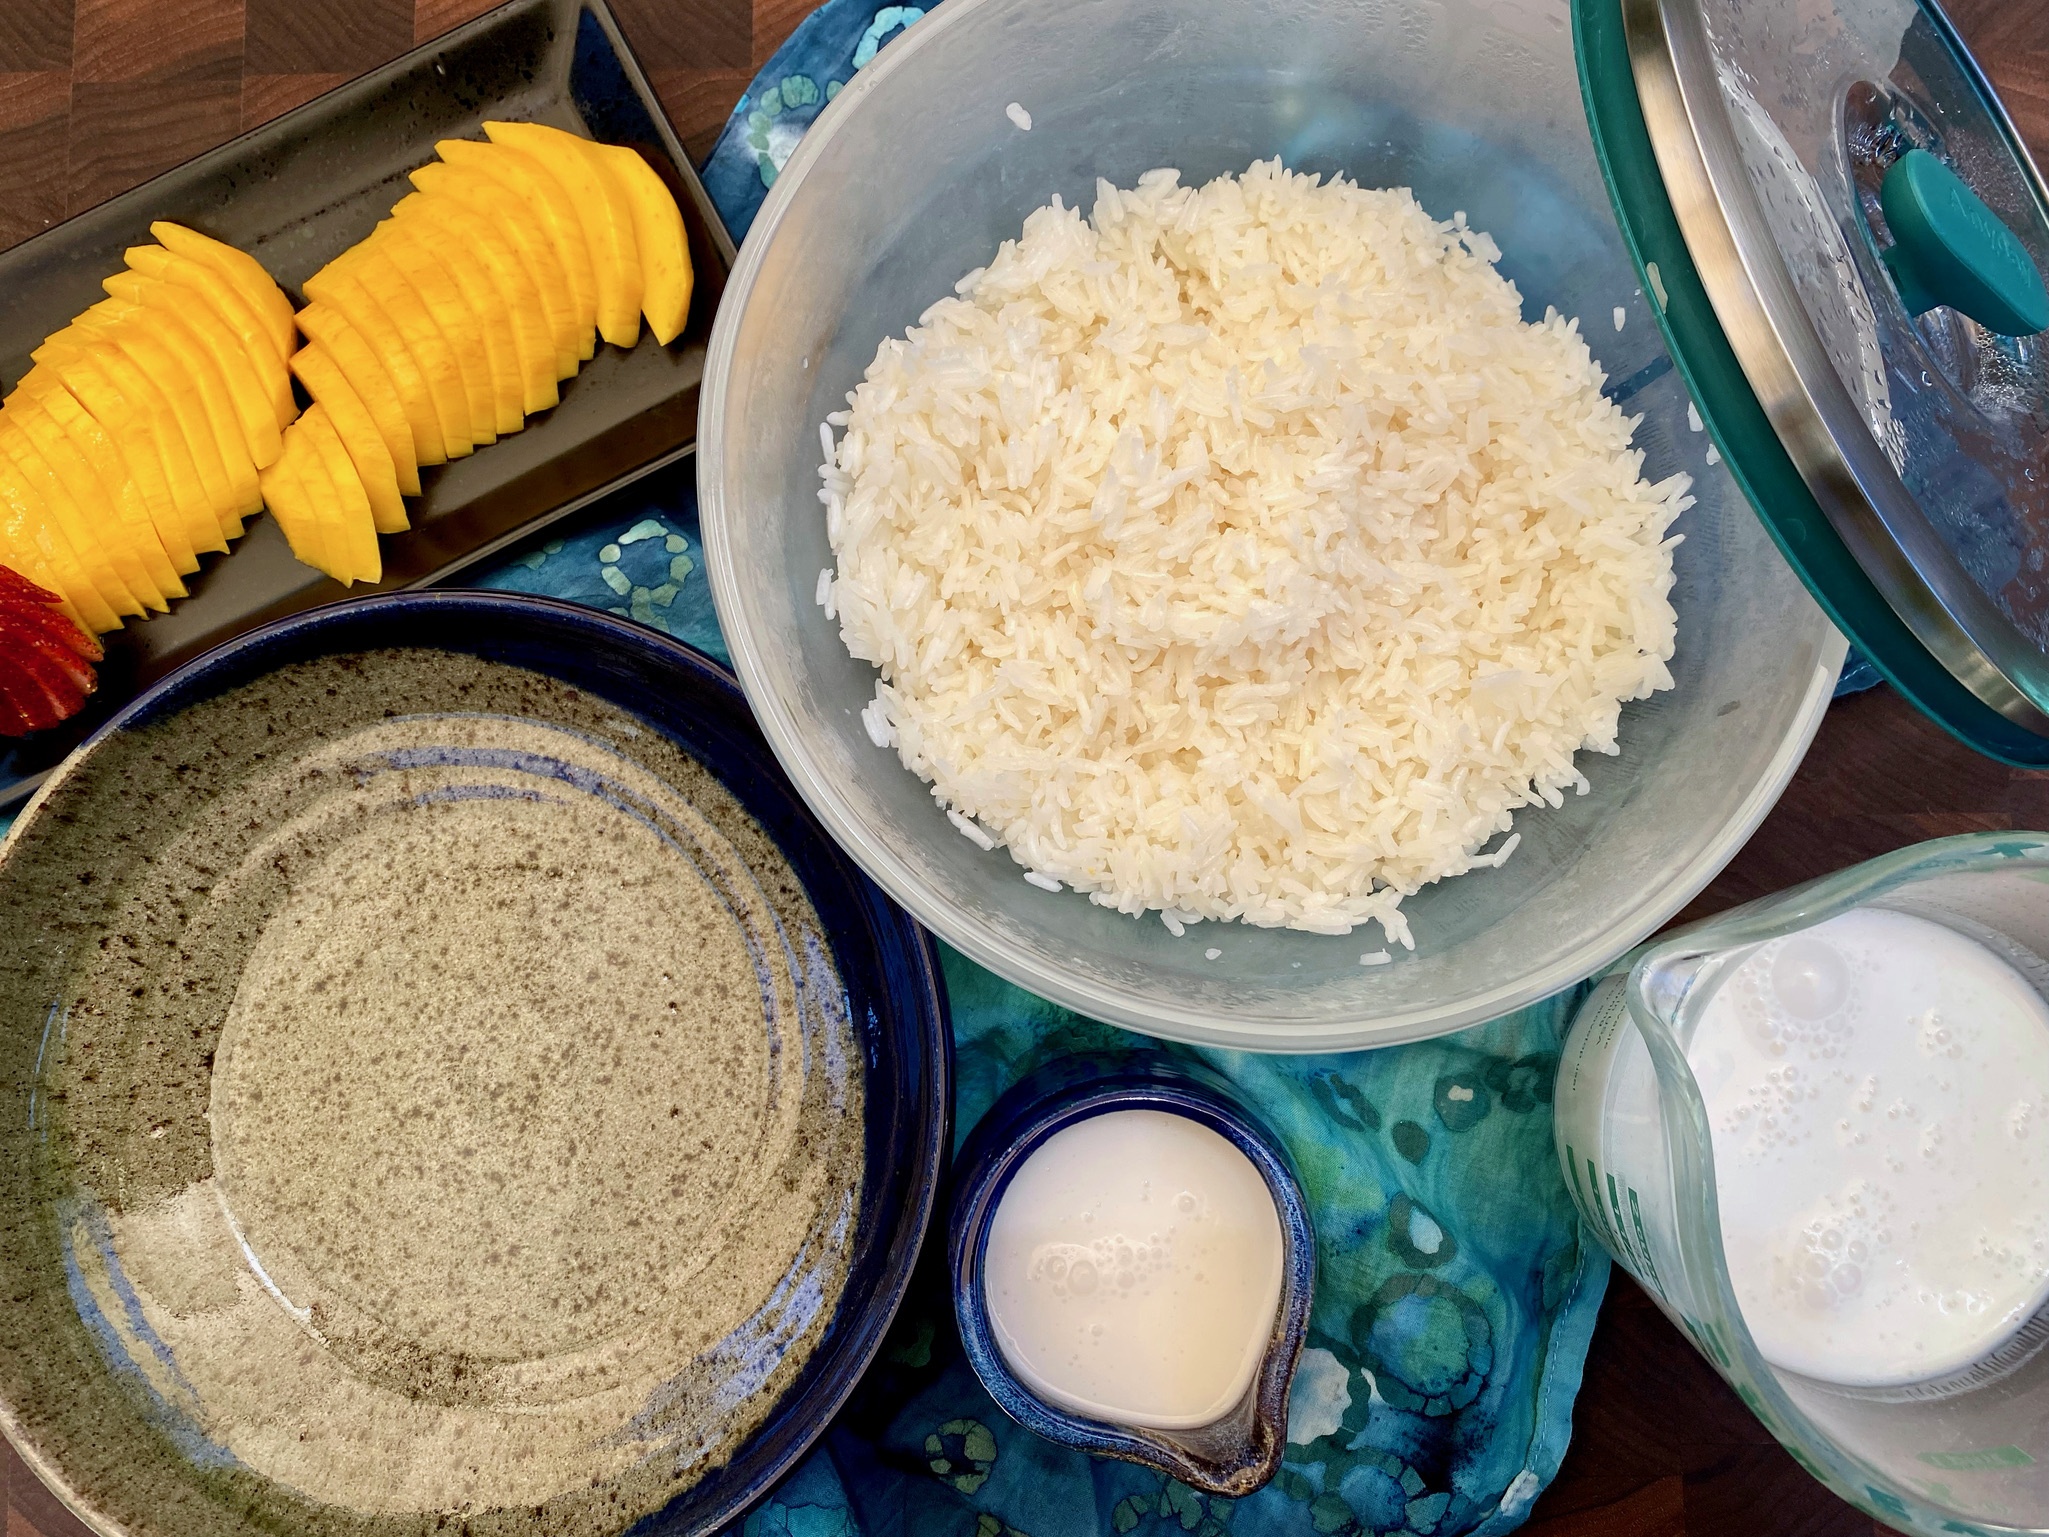
Ingredients
- ½ cup unsweetened shredded coconut Toast and reserve for garnish.
- 1½ cups Thai sticky rice Three Ladies Thai Glutinous Rice or Sweet (Glutinious) Rice from Koda Farms
- 1 can 13.5-ounce full-fat coconut milk
- ¼ cup sugar + 1-2 tablespoons Sweeten to taste, if you have a sweet tooth, add additional 1 tablesppon of sugar.
- 1 teaspoon kosher salt or 1/2 teaspoon reg salt
- 2 large ripe mangoes peeled, pitted, and thinly sliced
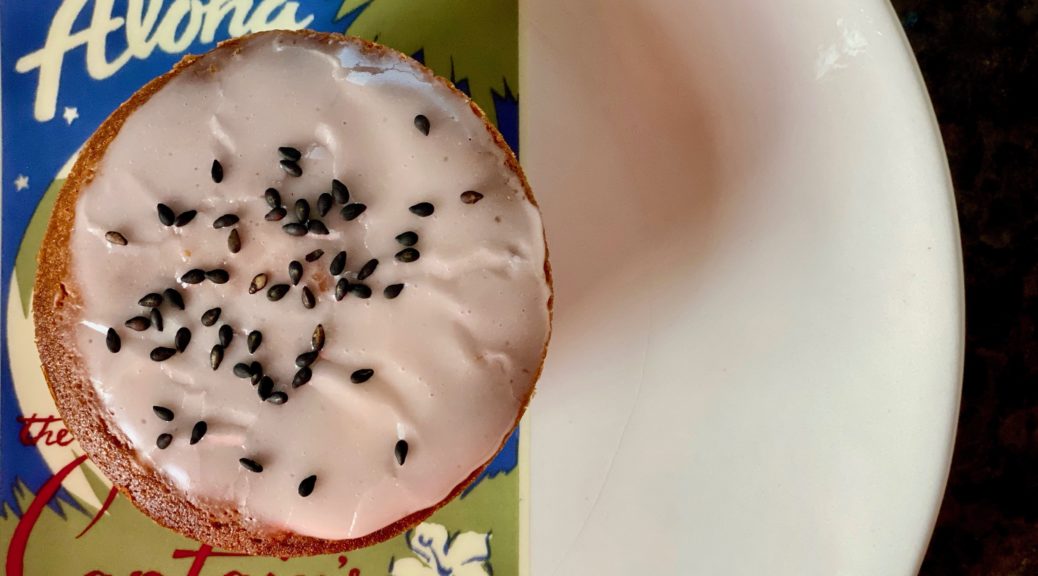
- Toasted sesame seeds for garnish (optional)
- Mint leaves for garnish (optional)
Instructions
- In a dry skillet, toast the coconut over medium-low heat, stirring, until lightly browned and fragrant, 4 to 5 minutes. Transfer to a small dish and set aside.
- Wash rice to remove excess starch, rinse twice. Drain well and place sticky rice in a microwave-safe bowl and cover with 1¾ cups warm water. Let sit for 20 minutes.
- Cover bowl with an upside-down plate or plastic wrap. Microwave on high for 3 minutes. Carefully stir the rice from top to bottom, then cover and cook the rice for another 3 minutes. Repeat the process, stirring and microwaving 3 minutes at a time*, until all the water has been absorbed and the rice has turned translucent (this means it’s cooked). Set aside to cool slightly.
- In a medium saucepan, heat coconut milk just until it starts to bubble. Reduce the heat to a simmer, add the sugar and salt, and stir until they dissolve. Remove from the heat, pour 1-1/4 cups of hot sweetened coconut milk over the warm sticky rice, and stir to combine. Let sit for 5-10 minutes so the rice can absorb the coconut milk. Pour rest of coconut milk into a serving container.
- Place a scoop of rice in a shallow bowl or plate. Top with slices of mango. Serve with reserved coconut sauce on the side. Garnish with toasted coconut, sesame seeds and mint leaf.
- This is a substantial dessert, serve small portions or sharable portions. I often garnish with sliced strawberries too.