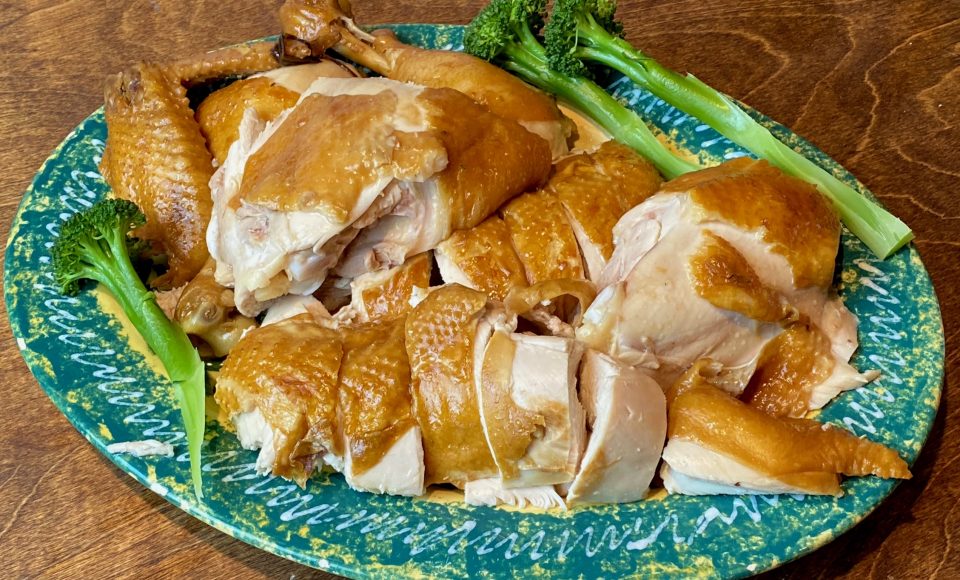
Chicken, Woman, Man, Soccer, Beer-Extra Points For Fried (KFC)
The Hubster is still on his quest for the perfect fried chicken. He is getting pretty darn close if you ask me. This time a recipe for Fried Chicken Wings caught his eye, which was okie-dokie with me. I love any kind of fried chicken.
KFC
When we were in Seoul last year (seems like forever ago), one of the first things we did was hit the streets looking for KFC, no, not Kentucky Fried Chicken, but Korean Fried Chicken. We found a place, there are zillions to choose from (there are more fried chicken stores in South Korea than McDonalds in the world, its not even close) that serves Chicken and Beer or Chimaek as it is called. Apparently, back in the early 2000s, when South Korea made a serious run at the World Cup, Koreans ate a ton of fried chicken and drank a lot of beer while watching the matches. Their love for KFC persisted after the soccer tourney and whenever a soccer match is broadcasted, chicken sales go crazy in S. Korea.
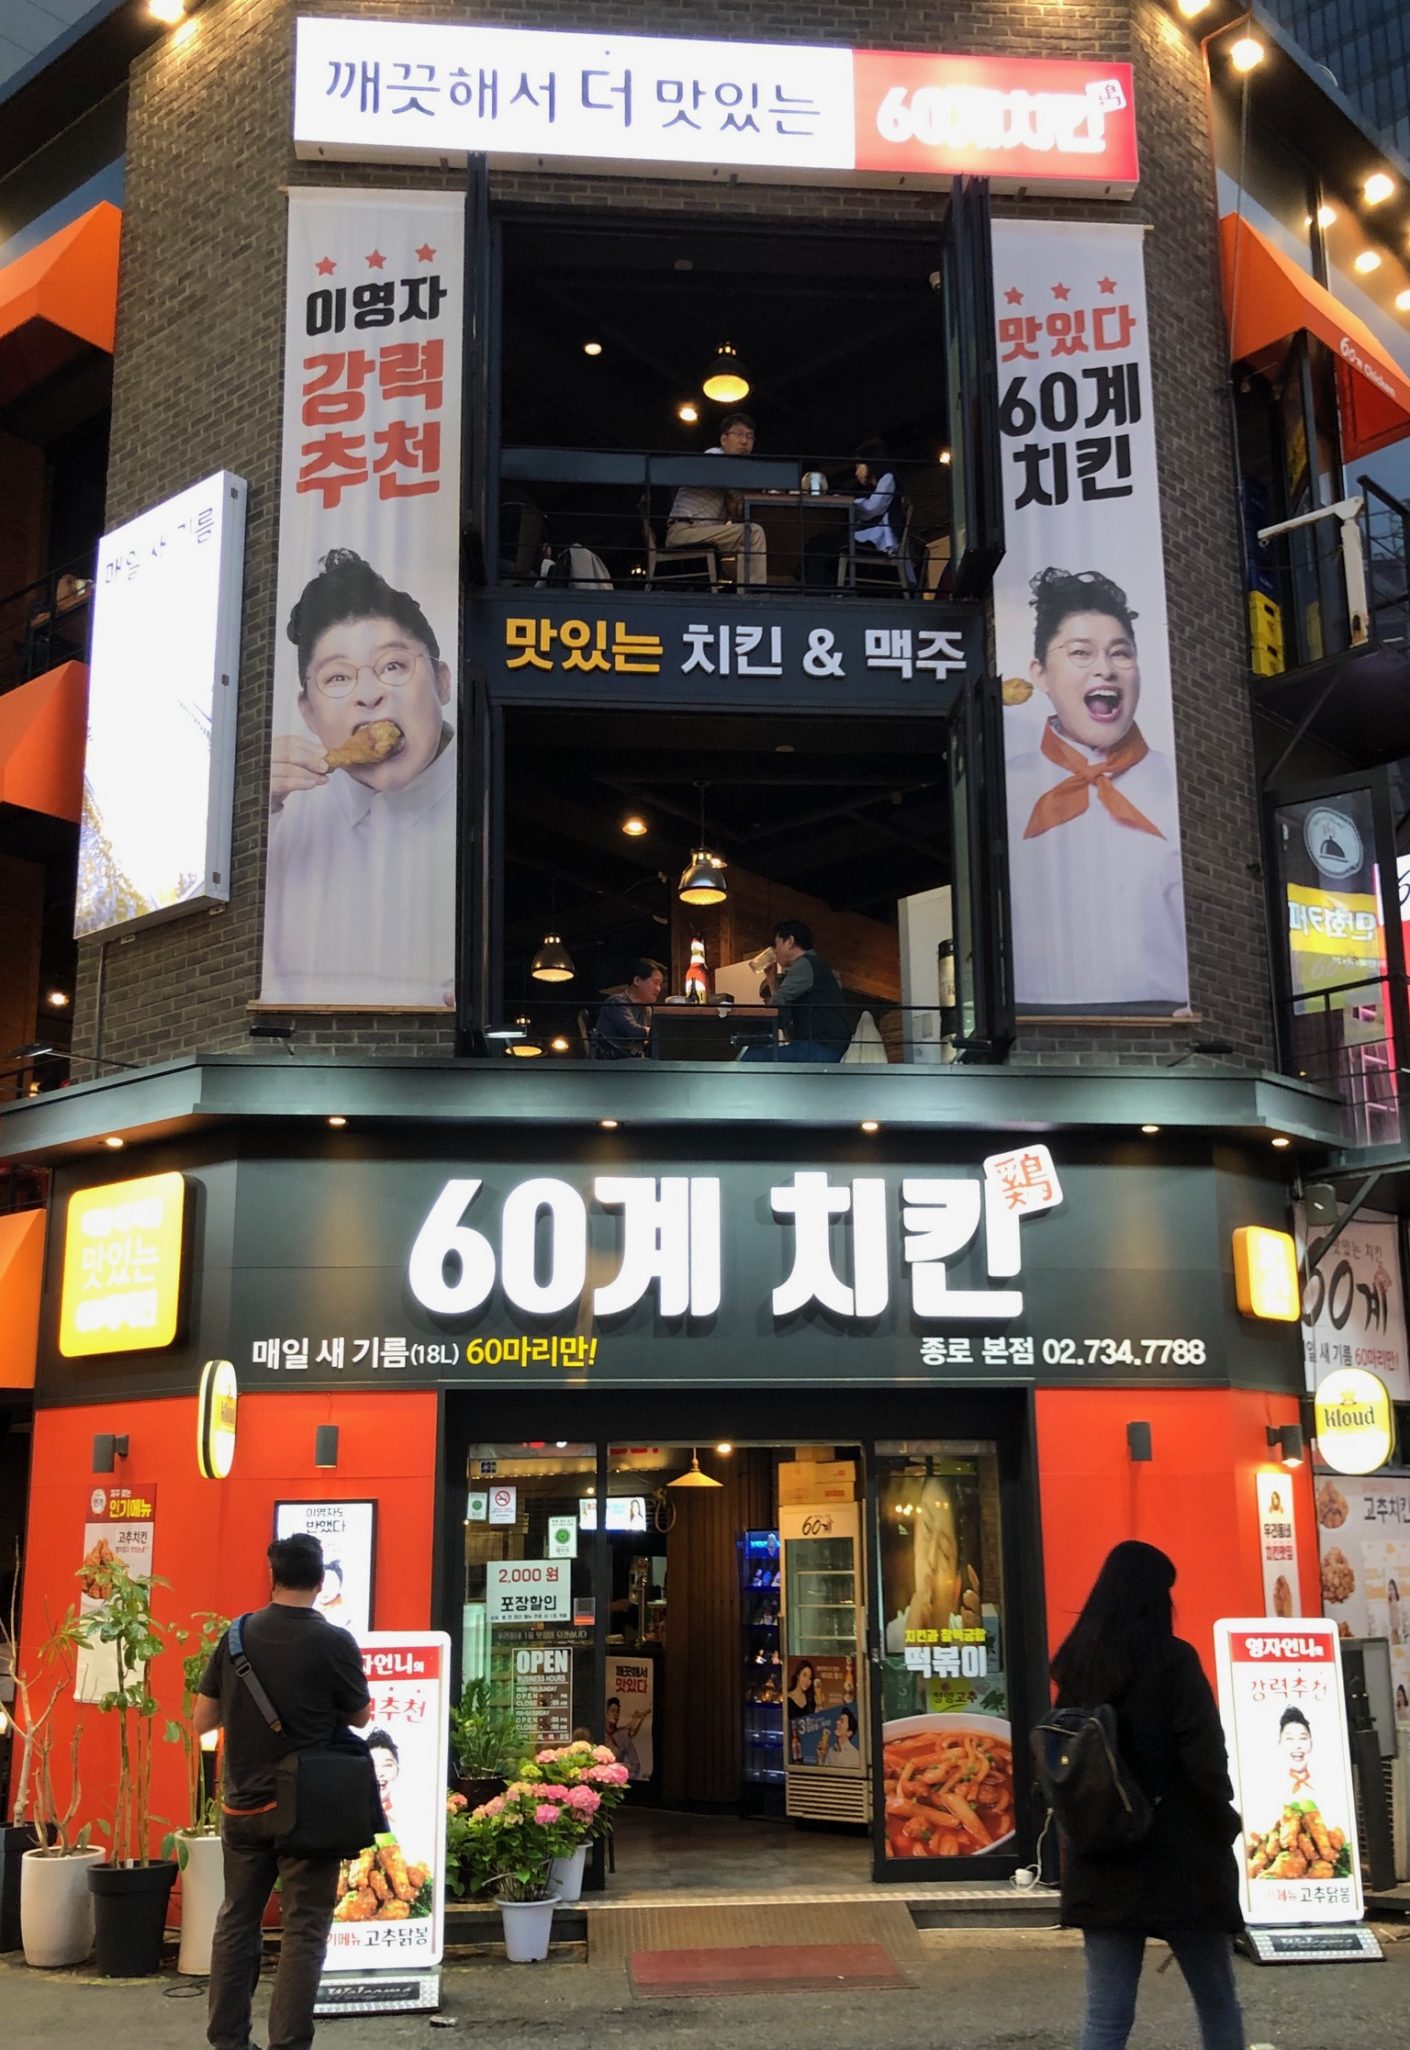
Yes, in Myeongdong Market, one of many restaurants, for chicken and beer. My kinda town.
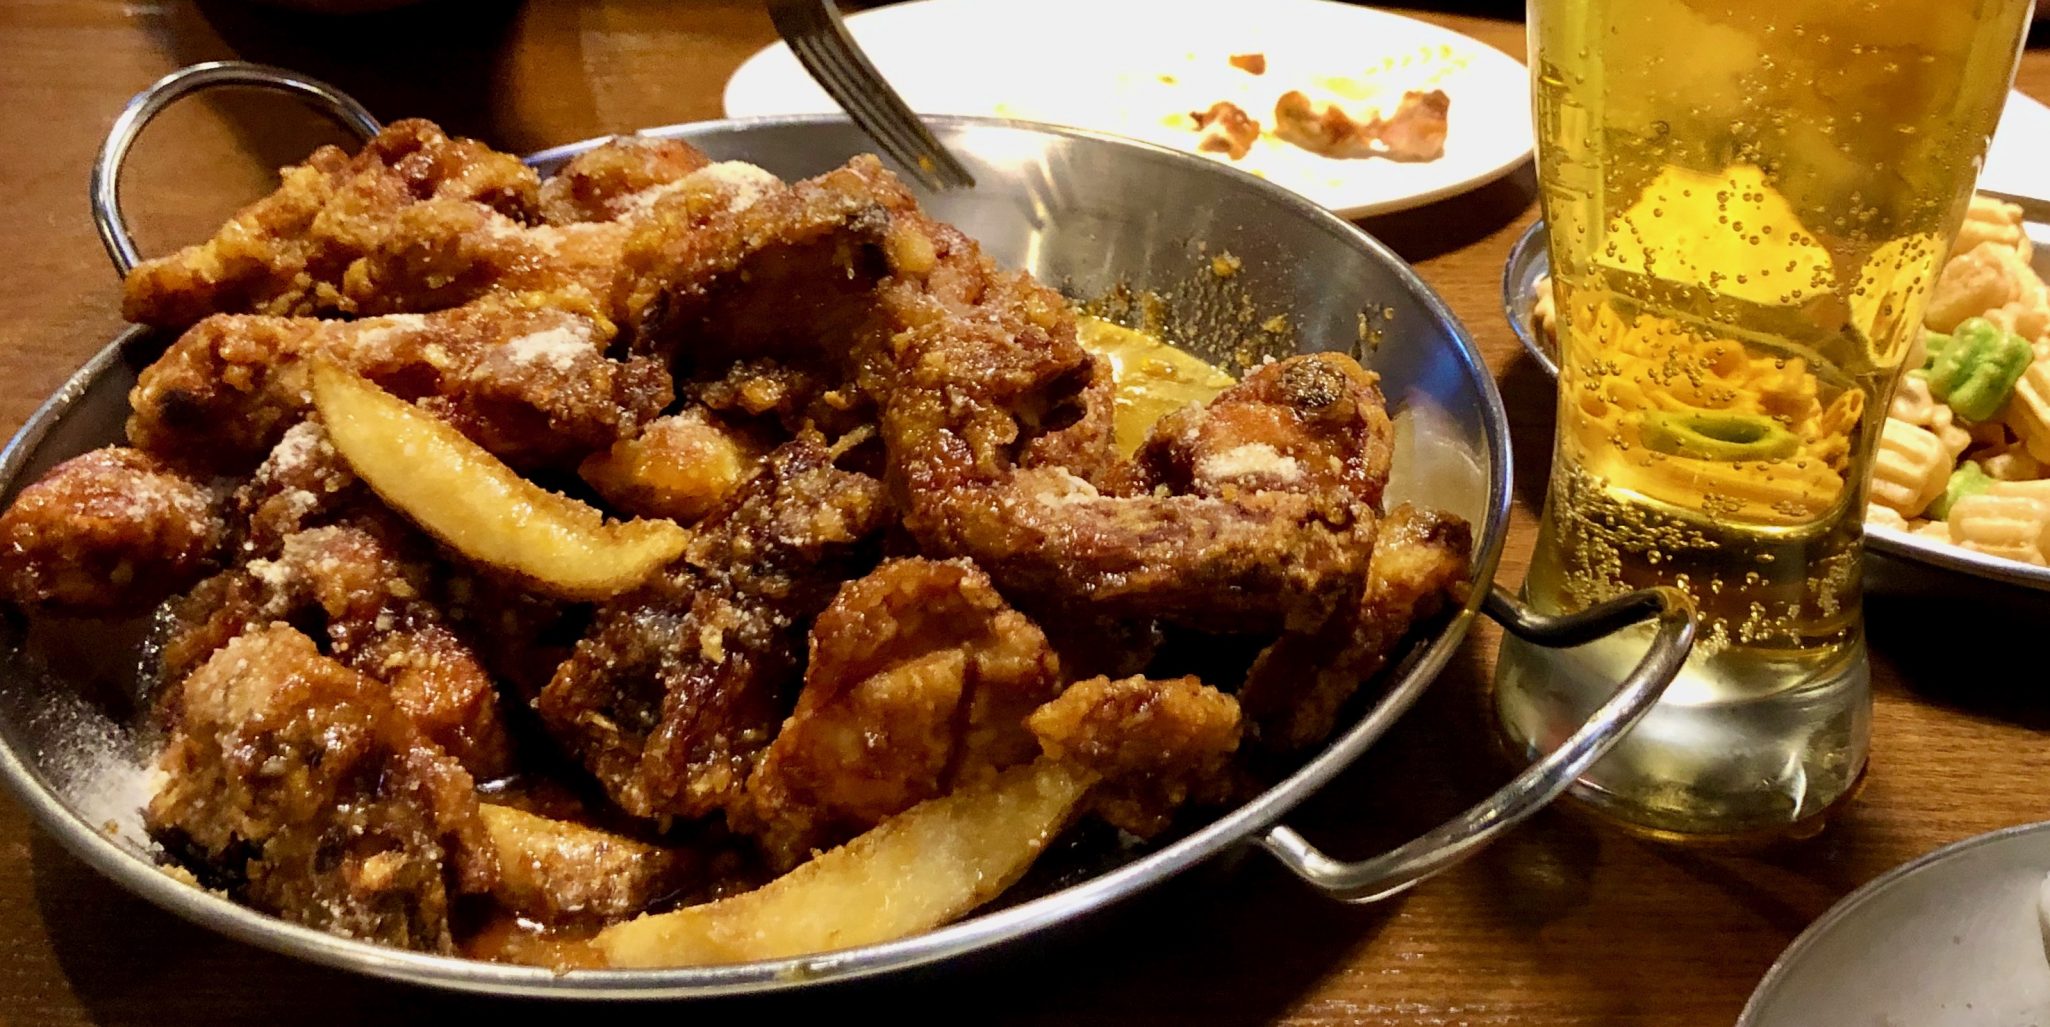
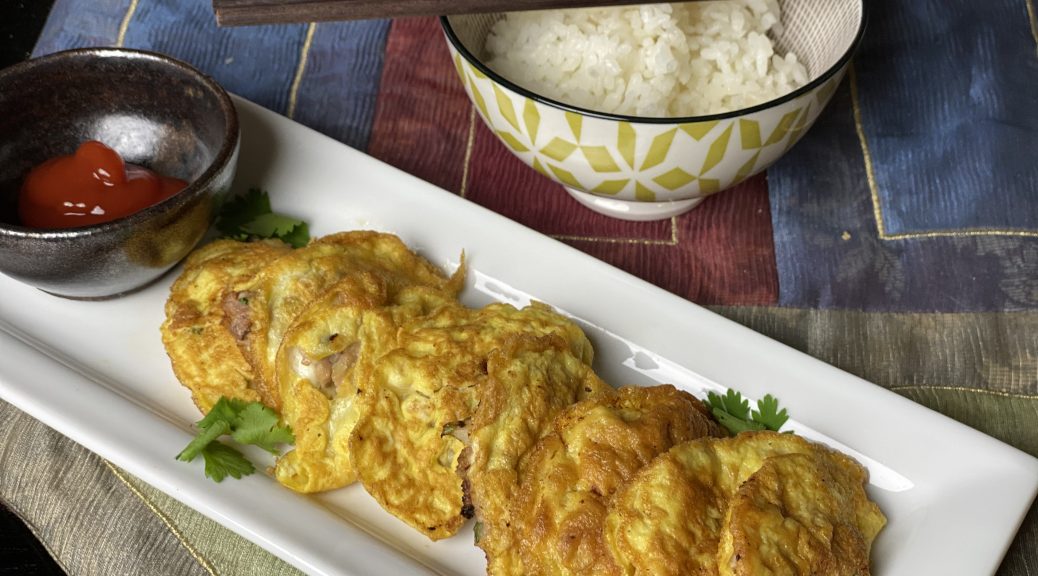
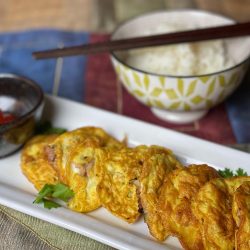
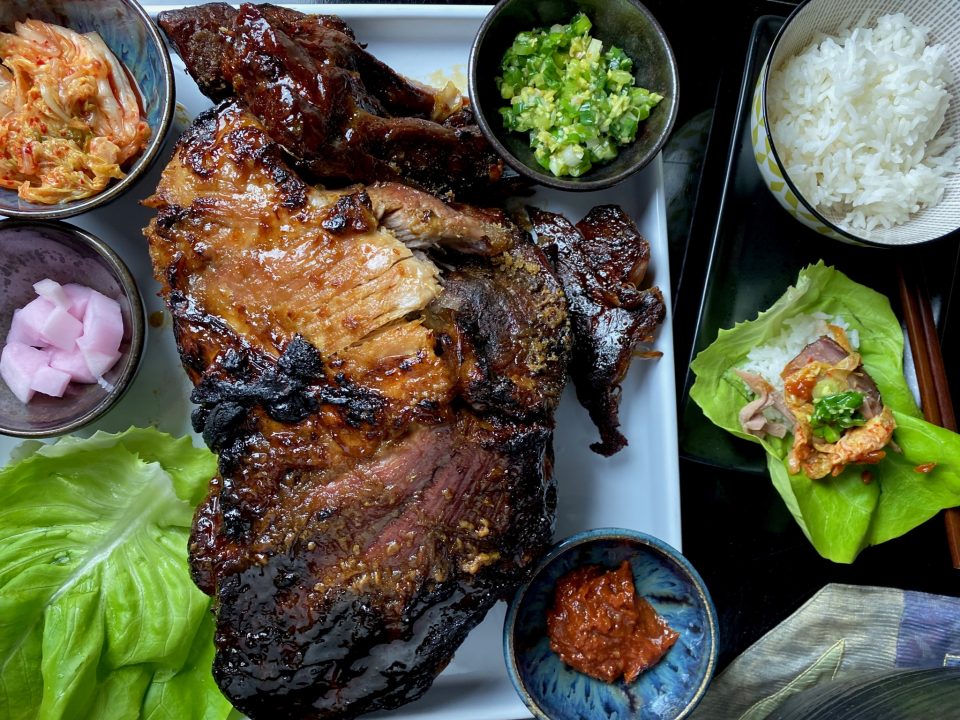
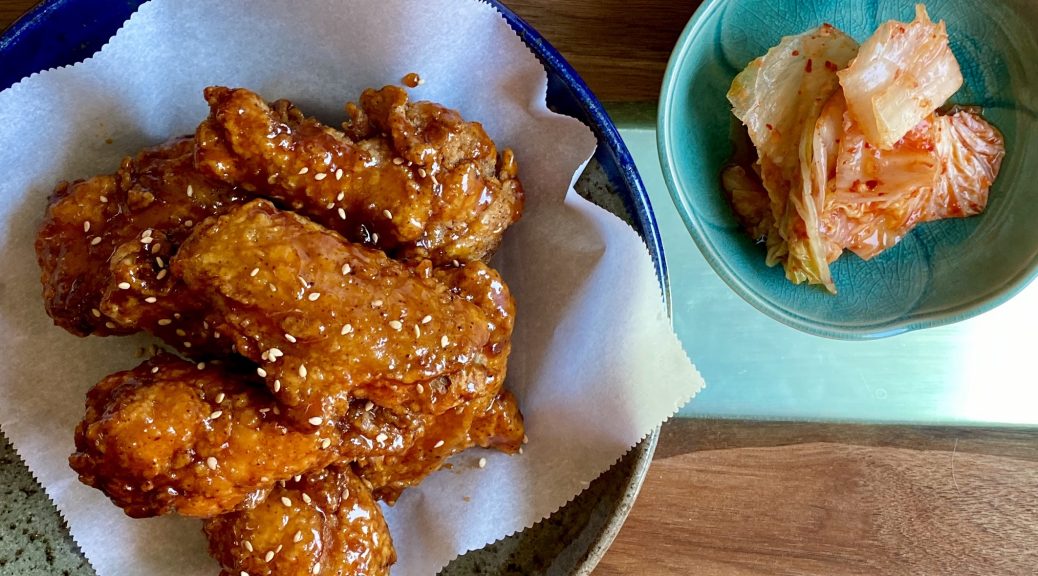
I don’t drink beer normally (I’m a wine gal) but it did go REALLY well with the sweet and spicy fried chicken. Serve wings with savory crackers and radishes for a complete meal-protein, veggies, and starch. See?
The Secret to Captain K-runch
KFC is super crunchy and crispy and the secret to the extra crunch, drum roll please, is twice-fried chicken. The first fry is to cook and seal the chicken and the second fry is to give it that extra crunch. The other secret is to use potato starch as part of the batter for the chicken to kick up the crispiness even more.
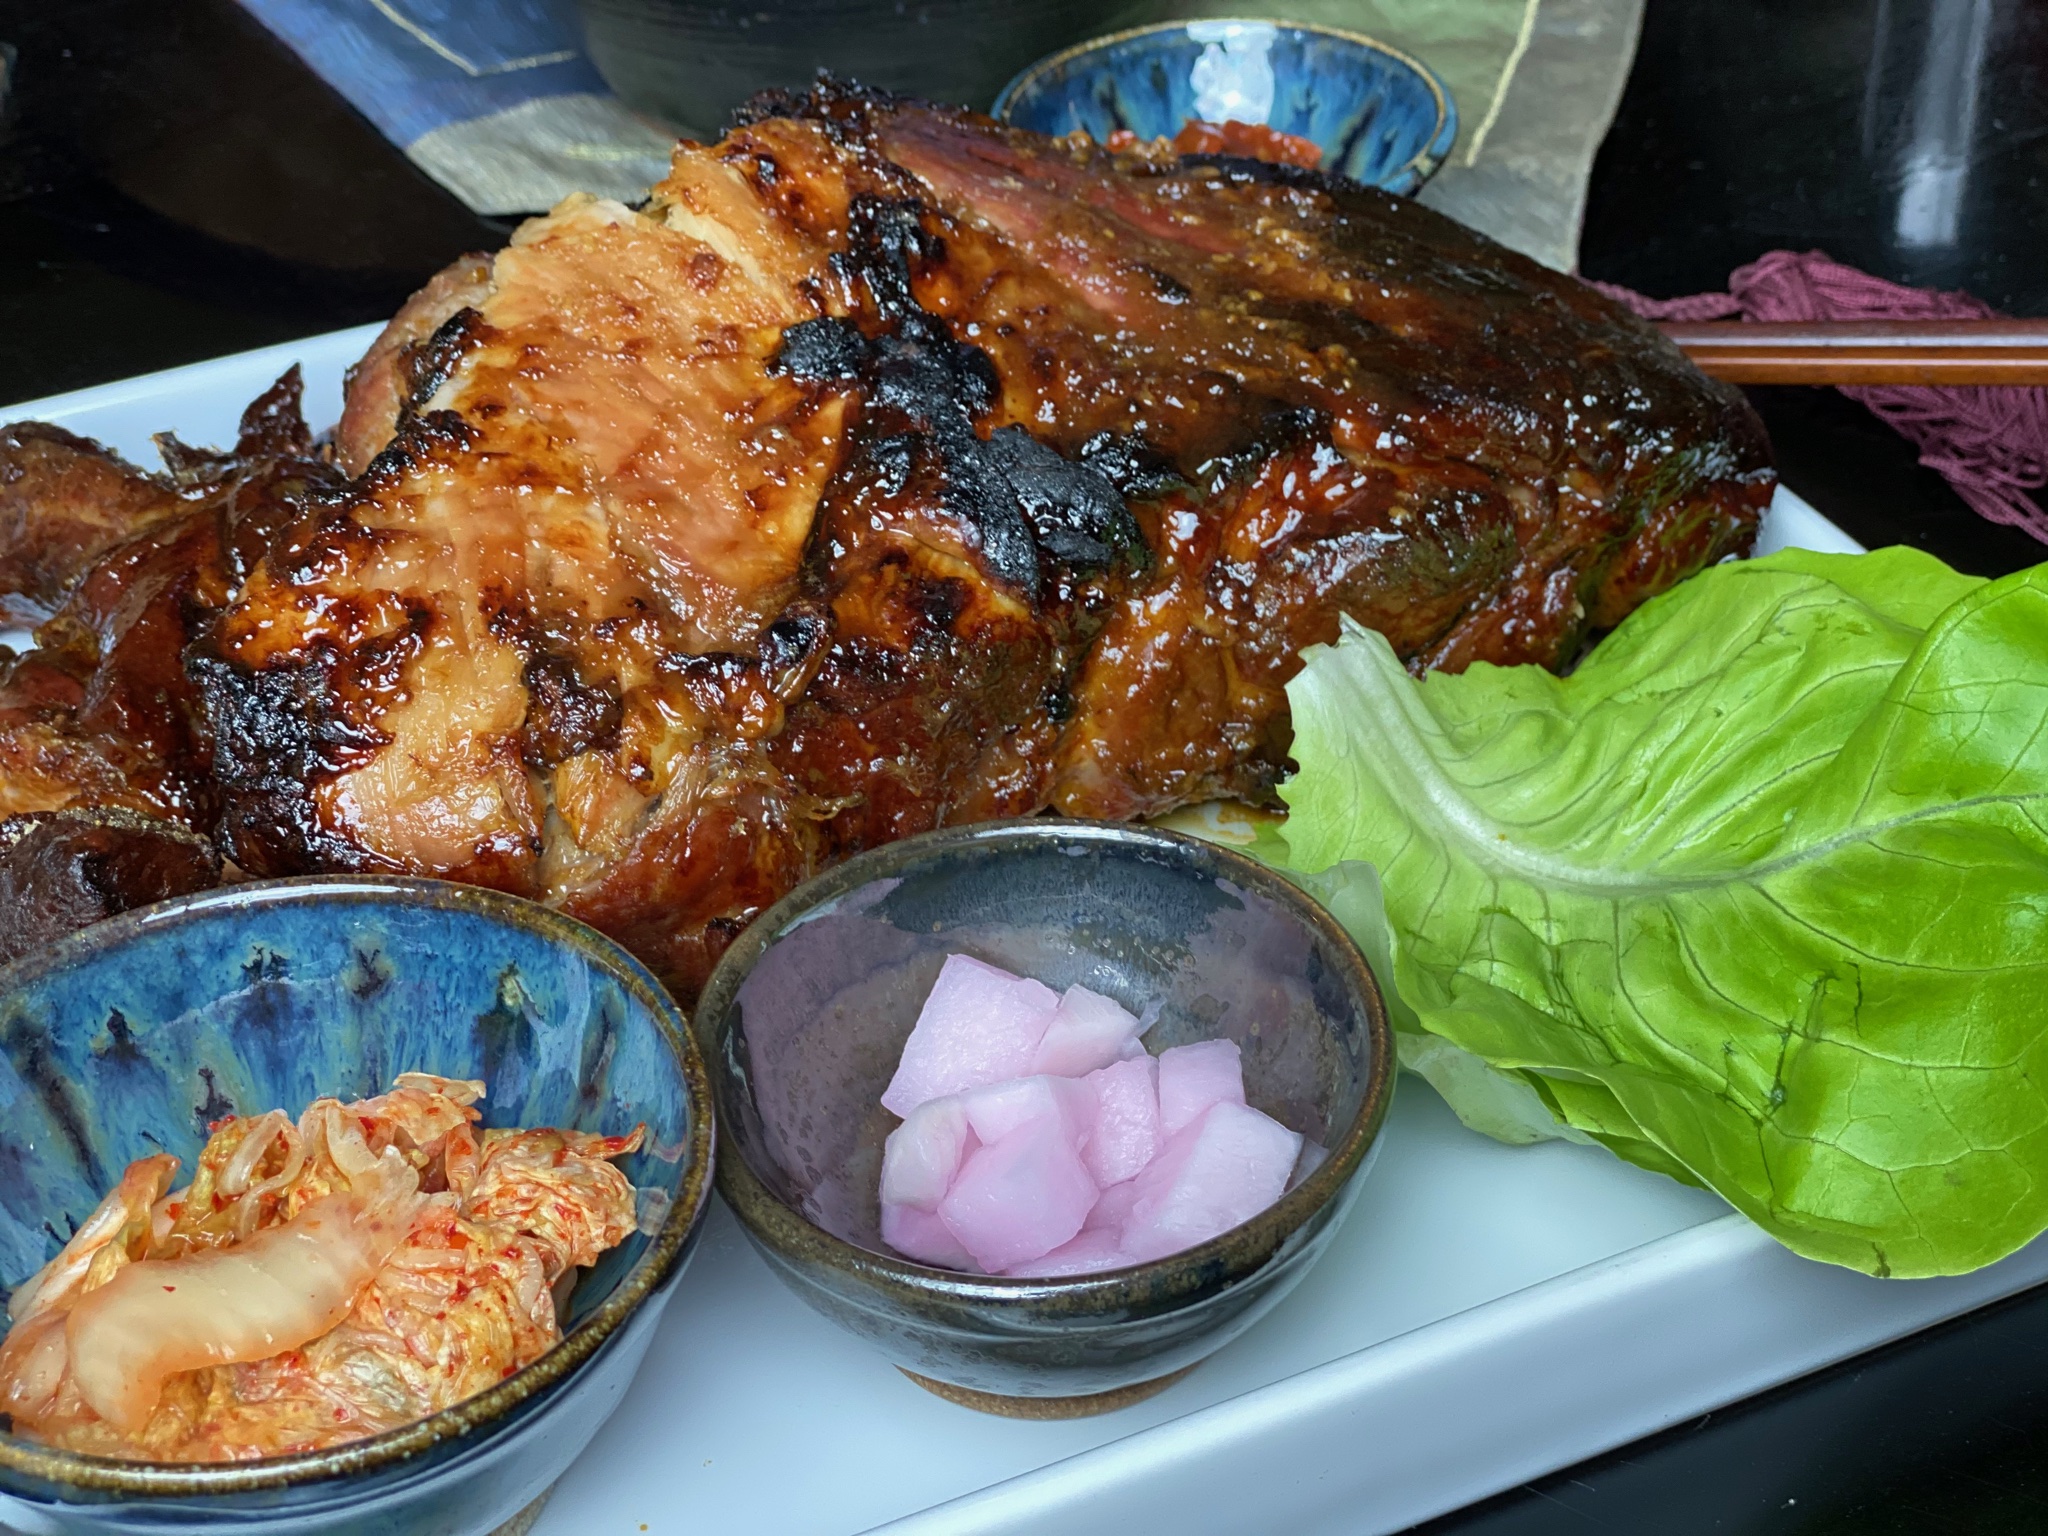
The chicken is marinated so its pretty tasty as is after frying, BUT what fun would that be? I found a delicious sweet and spicy sauce for fried chicken from one of my favorite sites, Korean Bapsang. We transferred the fried chicken into the sauce and rolled the chicken in the sauce to coat. So good, it immediately transported me back to our visit to Seoul and having DakGangjeong in the street markets. 맛있는! Delicious!

Korean Sweet and Crispy Fried Chicken (DakGangjeong)
Equipment
- Deep Fryer
Ingredients
Chicken and marinade
- 2 to 2.5 lbs chicken wings
- 1/2 tsp 2 3/4 g salt
- 1 tsp fresh ginger minced
- 1/2 tsp Gochugaru Korean chili powder
- 1 tsp fresh garlic minced
- 1 Tbsp yellow onion minced or grated
- 1/4 cup rice wine or sherry
- cooking oil to deep fry
Fry Mix
- 1 cup 125 g potato starch can sub cornstarch for potato starch
- 1 cup 125 g all purpose flour
- 1 tsp baking powder optional
- 1 tsp salt
- 1 tsp granulated sugar
- 1 tsp ground ginger
- 1 tsp Gochugaru powder fine grind not coarse
- 2 tsp granulated garlic powder
- 2 tsp granulated onion powder
The Sauce
- 1 tablespoon soy sauce
- 3 tablespoons rice wine or mirin
- 2 tablespoons apple cider vinegar or rice wine vinegar
- 1 tablespoon gochujang Korean red chili pepper paste
- 3 tablespoons honey or corn or rice syrup
- 2 teaspoons sesame oil
- 2 tablespoons brown sugar
- 1 teaspoon minced garlic
- 1 teaspoon grated ginger
- pinch pepper
Instructions
The Chicken
- Combine marinade ingredients and add to chicken wings, get in there and mix the marinade into the chicken. Marinade in fridge at least a couple of hours to overnight
Fry Mix
- Combine flour and starch and seasonings in a bowl. Mix well.
- Remove 1/2 cup of dry mix to a separate bowl. This is for the batter. Add approximately 1/2 cup cold water to the 1/2 cup fry mix shoot for pancake bstter like consistency.
- Heat vegetable oil in a pot big enough to hold a quart and half of oil. Or if you are lucky enough to have a deep fryer-ues as directed. (I don't have one so you are on your own)
- As the oil heats to 350 degrees. Prep your chicken.
- Set up your station like this: chicken, wet batter, dry mix, rack. Place chicken pieces in wet batter and coat thoroughly. Take each piece and roll it in the dry mix to coat well, pat down the dry mix on each piece. Place on rack and repeat with remaining pieces.
- When the oil reaches 350 degrees add chicken a few pieces at a time to fryer. Fry approximately 7-8 minutes until a nice crust forms on the chicken. It will still be pale in color. Remove chicken to rack and continue to all the pieces are fried. Heat oil to 375 degrees. Fry chicken a second time until golden brown about 2 minutes.
- You can serve chicken as is or coat pieces with the sweet and spicy sauce, my favorite.
Sweet and Spicy Sauce
- In a pan large enough to hold the chicken, combine sauce ingredients, and stir well. Bring it to a boil. When it starts to bubble, reduce the heat to medium low, and simmer until it thickens slightly, about 3 to 4 minutes.
- Add chicken to sauce mixture. Stir to coat and pour onto a platter. Garnish with sesame seeds and diced green onions.