Tag: serious eats

Thin Crispy Chocolate Chip Cookies, In Search of Grandma’s Cookie

Thin Crispy Chocolate Chip Cookies, In Search of Grandma’s Cookie

My grandmother, who we called Pau Pau, was the classic iron fist in the velvet glove.  She was outspoken and strong-willed, bossy, pragmatic, the protector of her family.  

Not gonna lie. She was kind of scary.  I see where my mom gets her strength, her willfulness, and her disciplinarian streak.  When my brother and I got in trouble, it was mom we answered to, not dad, Mr. Marshmallow.  

This isn’t surprising about my grandmother. After all, you have to pretty tough to be a new bride, leave your family, get on a boat (pregnant), and travel thousands of miles to a place where you don’t speak the language and nobody knows your name.

She Was a Bad Ass
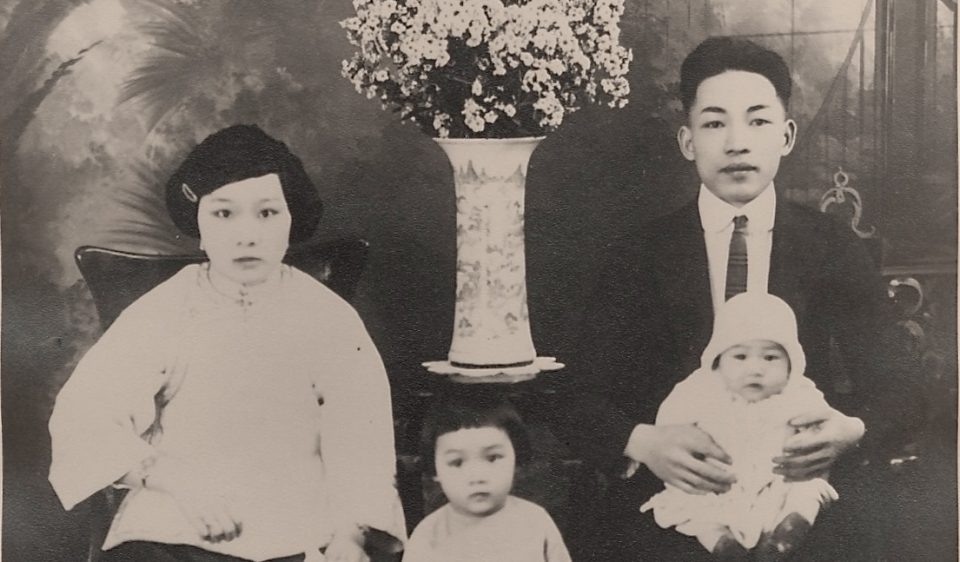
My mom next to Pau Pau and Auntie Jessie on Granpa’s lap, four more kids followed.

It was a tough life, six kids, my grandfather working different jobs-farmer, grocery store clerk, restaurant worker, and moonshine maker.  Ultimately, they settled in Chinatown and Pau Pau ran a sewing factory, all the kids pitched in and worked the factory.  She employed other Chinese women struggling to make ends meet and care for their families.  Her six kids grew up to serve in the military, become business owners, a chemist at Stanford, an elementary school teacher, and the first Chinese woman real estate broker in the City. 

Ours is the story of the immigrant dream of America

Growing up we spent a lot of time at my grandmother’s house in Chinatown. We usually migrated to the dining room while she cooked up a storm in the kitchen.  In one corner of the dining room was a memorial to my grandfather complete with his picture, incense, banners to ward off spirits, and dishes of food. Food is such an integral part of life, like so many Asian parents, feeding us was her way of showing that she cared for and loved us.  She cooked mainly Chinese food.  Two exceptions, both sweets, were fruitcake (amazingly good, no one used her fruitcake for a doorstop) and Chocolate Chip Cookies.

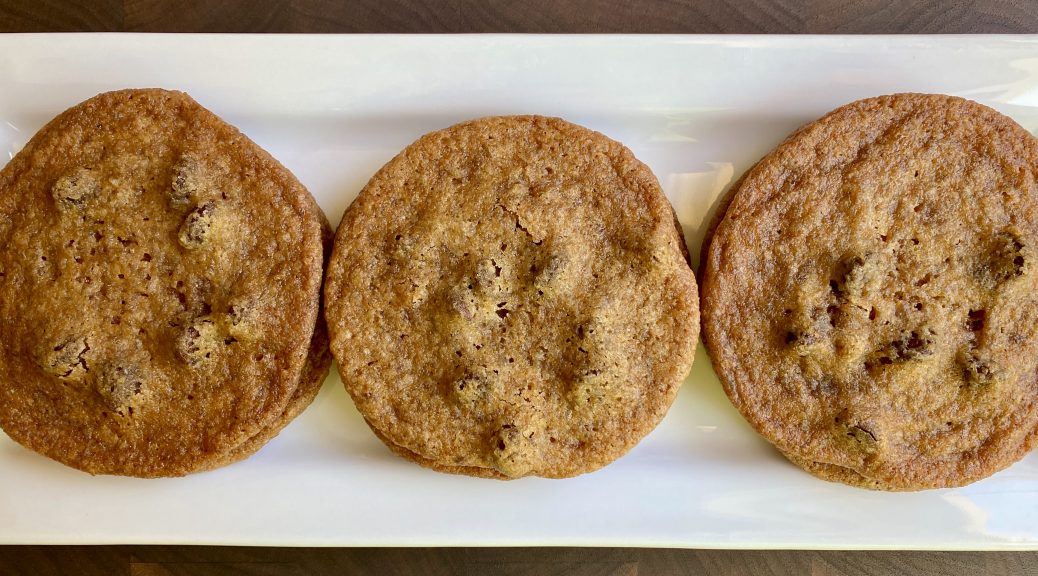
Pau Pau’s Chocolate Chip Cookies were thin, crispy, and buttery.  I could eat a zillion of them, I’m sure I tried.  She always kept a tin of cookies on her dining table to tempt everyone that visited. 

I remember watching her make cookies.  She flattened each ball of dough and carefully placed 3 chocolate chips on each cookie then finished with a sprinkle finely chopped walnuts. When I asked her for the recipe she rummaged through her cabinet, pulled out a package of Nestle’s Semi-Sweet Chocolate Morsels, and tossed it to me.  I was incredulous, no way were her cookies the same as the Nestle’s Toll House Cookies.  Years later I asked my Aunt if she had Pau Pau’s recipe, nope, but she did recall Grandma would melt chicken fat if she didn’t have enough butter.  

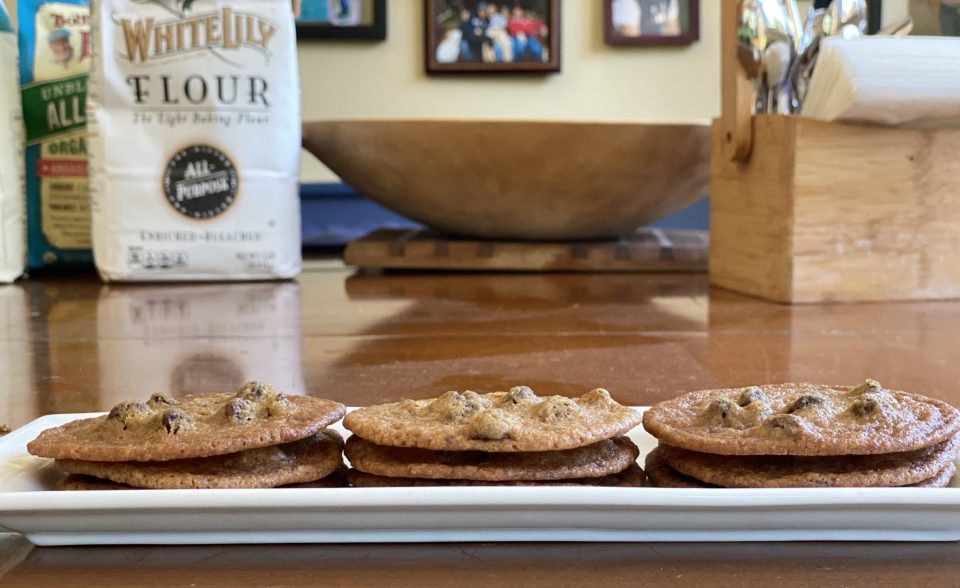
So armed with bits and pieces of info, I set out to replicate those darn cookies.  I found a recipe on Serious Eats by Stella Parks for “Thin, Crispy CCC, just like Tate’s (never had em).  They were buttery, caramelized, sweet, but only the very edges were crispy while the center was a bit chewy.  Not the cookies of my childhood.  Disappointed I threw the cookies in a Tupperware and left them on the table.

My kids inhaled them.  In fact, my nieces, my moms’ coffee group (which met practicing COVID guidelines) loved these cookies.  It’s all about expectations.  I wanted crisp, buttery, light, and just a couple of chips just like Grandma’s.  

But if I didn’t compare these to the cookies of my childhood, they’re really darn good.  The best analogy, thanks to my kid is as follows.  It’s like you’re going crazy looking for your lost keys…and you find your lost wallet.  Yay!  But damn it, you still haven’t found your keys.  

Here are my notes and the recipe for Stella Park’s Thin, Crispy, Chewy Chocolate Chip Cookies.  Make them soon. 

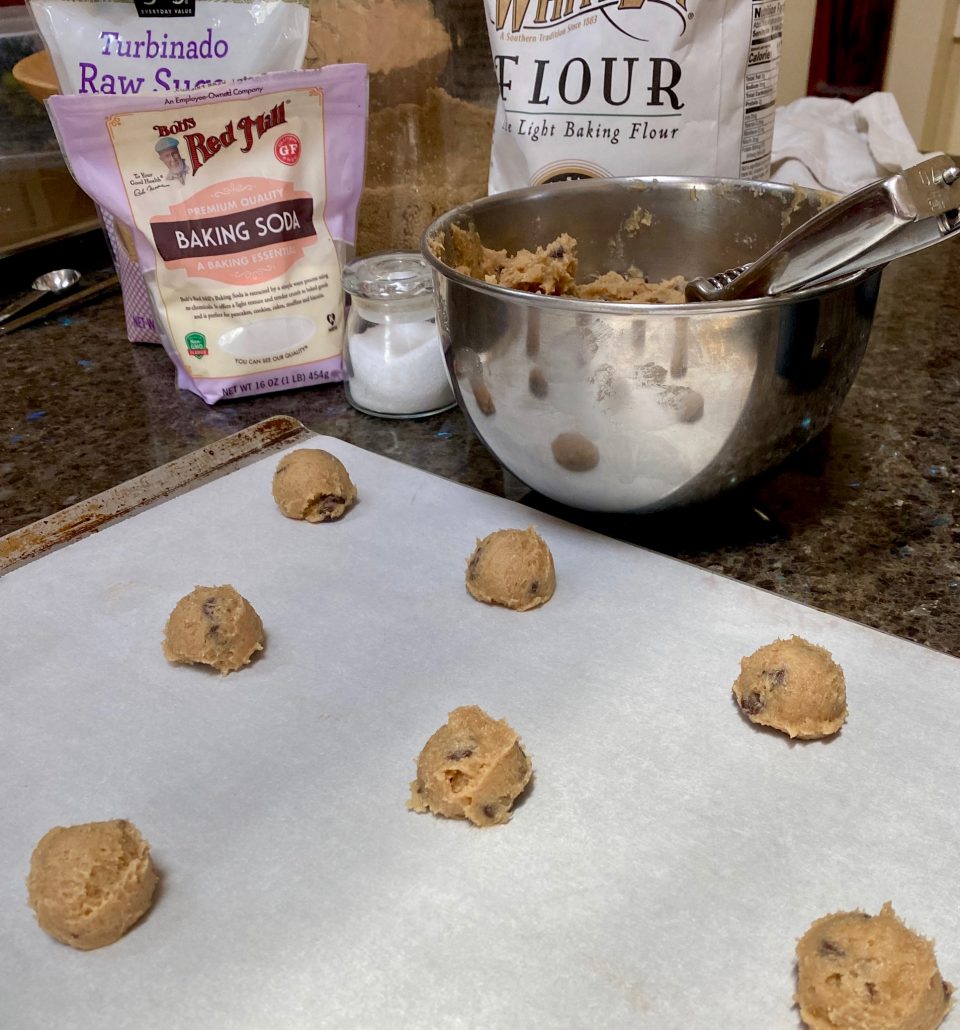
The recipe calls for a moderate protein flour like Gold Medal AP Flour.  Do not use King Arthur or Bob’s Red Mill both of which have a higher protein content.  It will throw off the texture and the spread.  Stella’s recipes are tested with Gold Medal, readily available, and easy to find, that is unless there is a pandemic.  I tried these with White Lily, a low protein Southern flour.  The cookies were soft and barely held their shape.  My kids liked them (lifetime members of the ooey-gooey cookie club), I thought they were too soft.  I used GM for the second batch, the extra protein provided needed structure and crispness, a winner.

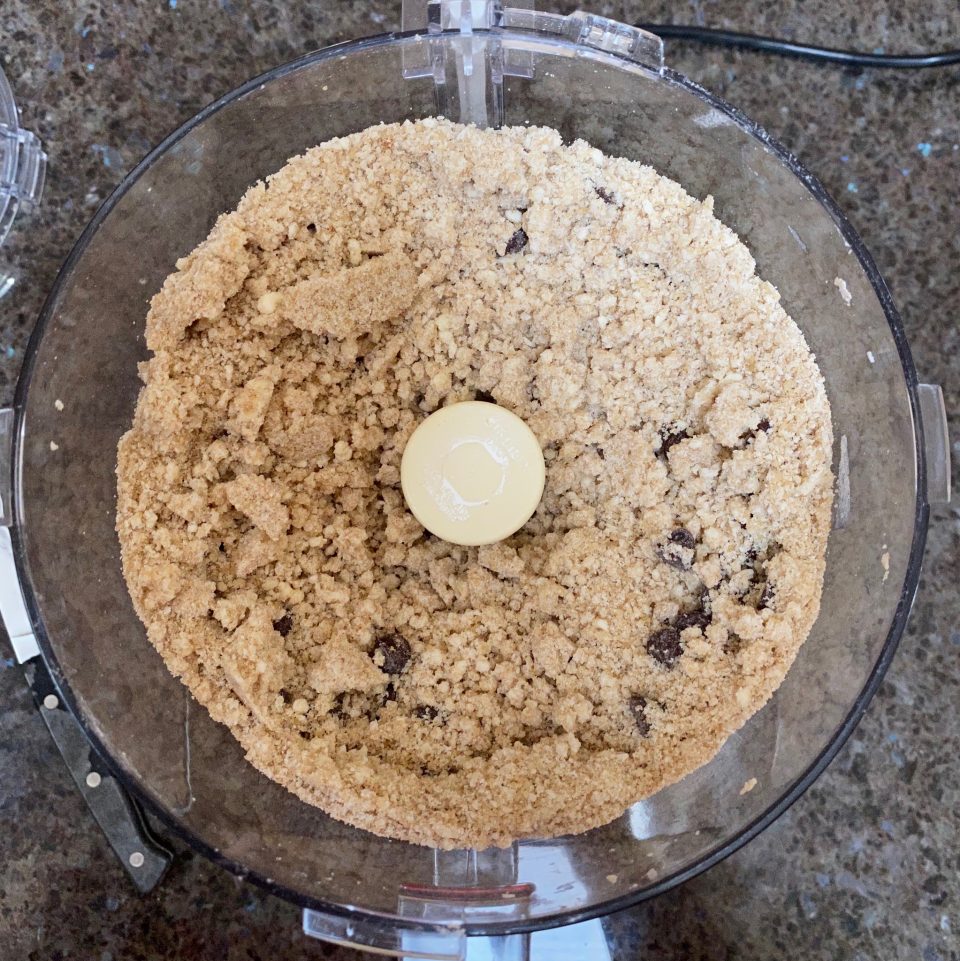
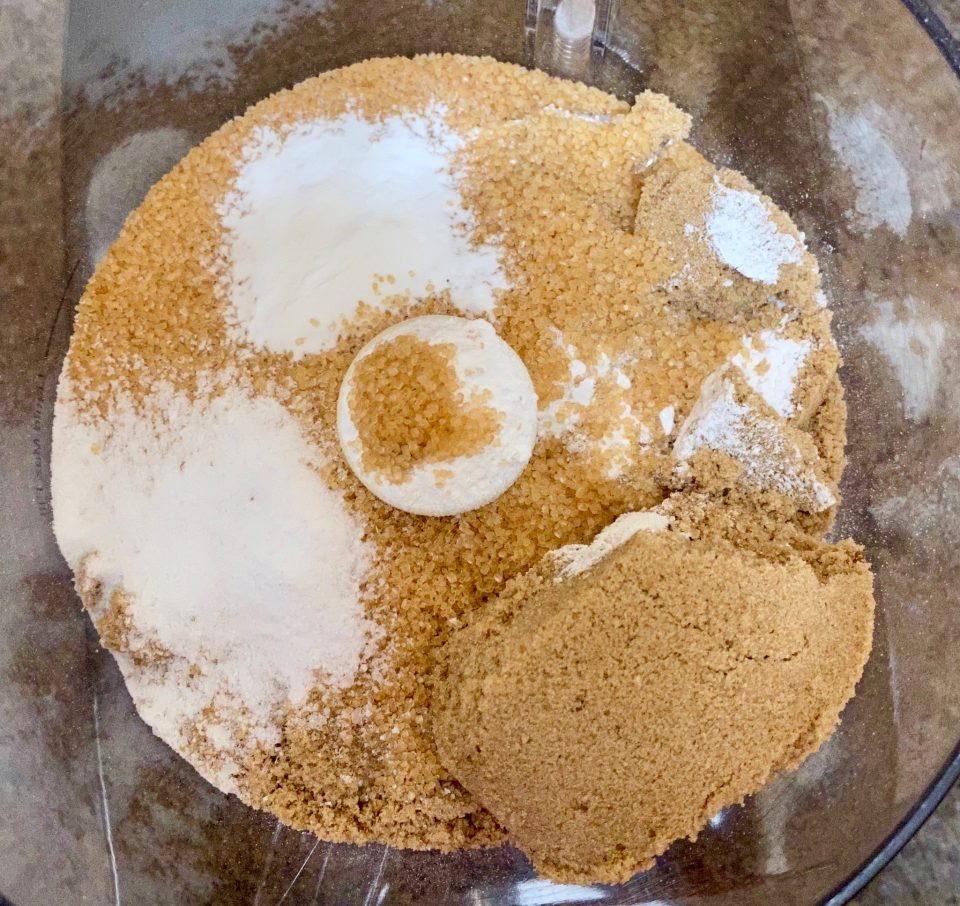
Make the dough in a food processor which Stella says is key. Place dry ingredients into the processor and whirl to combine.

Pulse butter into the dry mix until crumbly, add chips, and process 1-2 short pulses.  Pour the dough into a bowl and add egg and vanilla, knead until it comes together. Put the soft dough in the fridge to firm it up so it is easier to scoop.  With a tablespoon scoop, I measured out over 60 cookies, more than the expected yield.  The cookies took 10-11 minutes to bake to a deep rich caramel brown.

The search continues for Grandma’s cookies but I will gladly make another batch of these.

Thin Crispy Chocolate Chip Cookies

Stella Parks version of Tate's thin Crispy Chocolate Chip Cookies. Crispy, buttery studded with chips, delicious and easy to make!
Course cookies
Cuisine American
Keyword chocolate chip cookies, Crispy, stella parks, tates, thin
Prep Time 15 minutes
Cook Time 12 minutes

Ingredients

  • 8 ounces med protein all-purpose flour such as Gold Medal blue label or Whole Foods 365 blue label (about 1 3/4 cup, spooned; 225g)
  • 8 ounces light brown sugar not dark brown (about 1 cup, firmly packed; 225g)
  • 3 1/2 ounces raw cane sugar not white (about 1/2 cup; 100g)
  • 2 teaspoons Diamond Crystal kosher salt; 8g or table salt, use about half as much by volume or the same weight
  • 1 1/2 teaspoons 8g baking soda 8g
  • 8 ounces cold unsalted butter, cut into 1-inch chunks (about 16 tablespoons; 225g)
  • 8 ounces assorted chocolate chips preferably no darker than 70%, see note (about 1 1/3 cups; 225g)
  • 1 large egg straight from the fridge, well beaten (1 3/4 ounces; 50g)
  • 1/2 ounce vanilla extract about 1 tablespoon; 15g

Instructions

  • Adjust oven rack to middle position and preheat oven to 350°F (180°C). In the bowl of a food processor, combine flour, light brown sugar, raw cane sugar, salt, and baking soda. Process until well-combined; add cold butter and pulse to form a dry and powdery mix; comparable results cannot be produced by hand or with a stand mixer. Add chocolate chips and pulse once or twice to combine.* Chill to make it easier to handle dough.
  • Transfer the cookie "mix" to a large bowl; add egg and vanilla, stir well; the mixture will seem alarmingly crumbly and dry at this stage. Once the wet ingredients have been absorbed, knead mixture by hand until it comes together like classic soft dough.
  • Divide into about 56 portions with a 1-tablespoon scoop. If you like, these can be transferred to a zipper-lock bag and refrigerated for up to 1 week or frozen for up to 3 months; soften to about 68°F (20°C) before baking.
  • Arrange portions on a parchment-lined half-sheet pan (do not use a silicone mat), leaving about 2 or 3 inches between cookies to account for spread. Bake until thin and golden brown, with an even color from edge to center, about 16 minutes (check earlier). I used a tablespoon scoop, yield over 60 cookies that took 10-11 minutes to bake.
  • Cool cookies directly on the baking sheet until room temperature. Transfer to an airtight container and continue cooling an hour more; the cookies will not be fully crisped until then. At cool room temperature, the cookies will keep at least six weeks in an airtight container.
Notes

*The mixture can be refrigerated up to one week in an airtight container or used immediately in the next step.

Focaccia: The Deb Breadbake Trio-Take Three

Focaccia: The Deb Breadbake Trio-Take Three

Yes. In the Time of COVID, where the staple shelves at the supermarket look like a scene out of Mad Max, I still have flour and yeast.  Now don’t get your Hot Crossed Buns in a bunch, in all fairness, I normally have lots of flour and yeast on hand.  I love to bake.  Although, after 3 batches of Focaccia, I find myself perusing my King Arthur Flour wishlist to see if yeast or flour have made it back on their virtual shelves.  Bread has become an obsession for me and so many others.  The result of staying home and harkening to a simpler time.

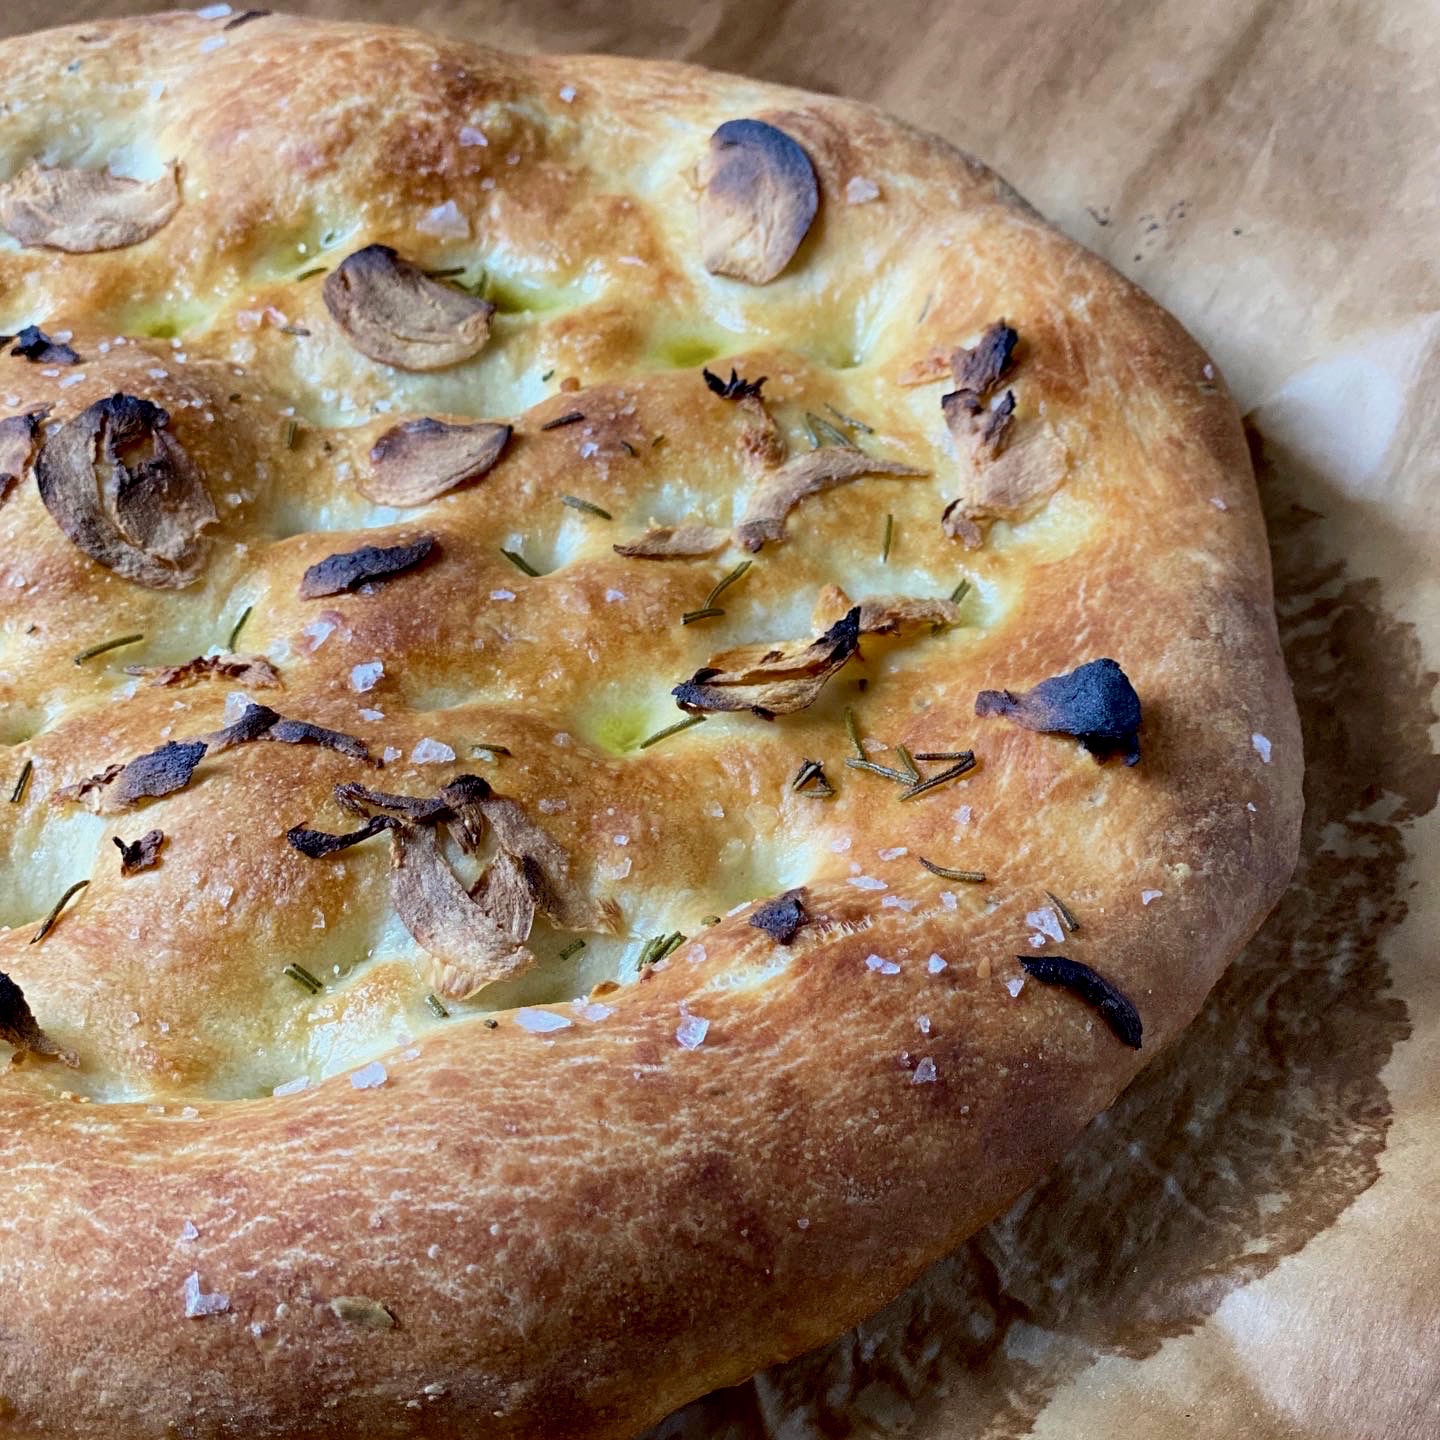
The trio of Focaccia I tried were all pretty good but one stood out, Serious Eats No-Knead Olive-Rosemary Focaccia with Pistachios.  But they’re all excellent.  I’ve included links to the two “runner-ups” since they are both totally worth making.  My favorite is the finale of this post along with the full recipe.  Enjoy!

Foccacia Number One

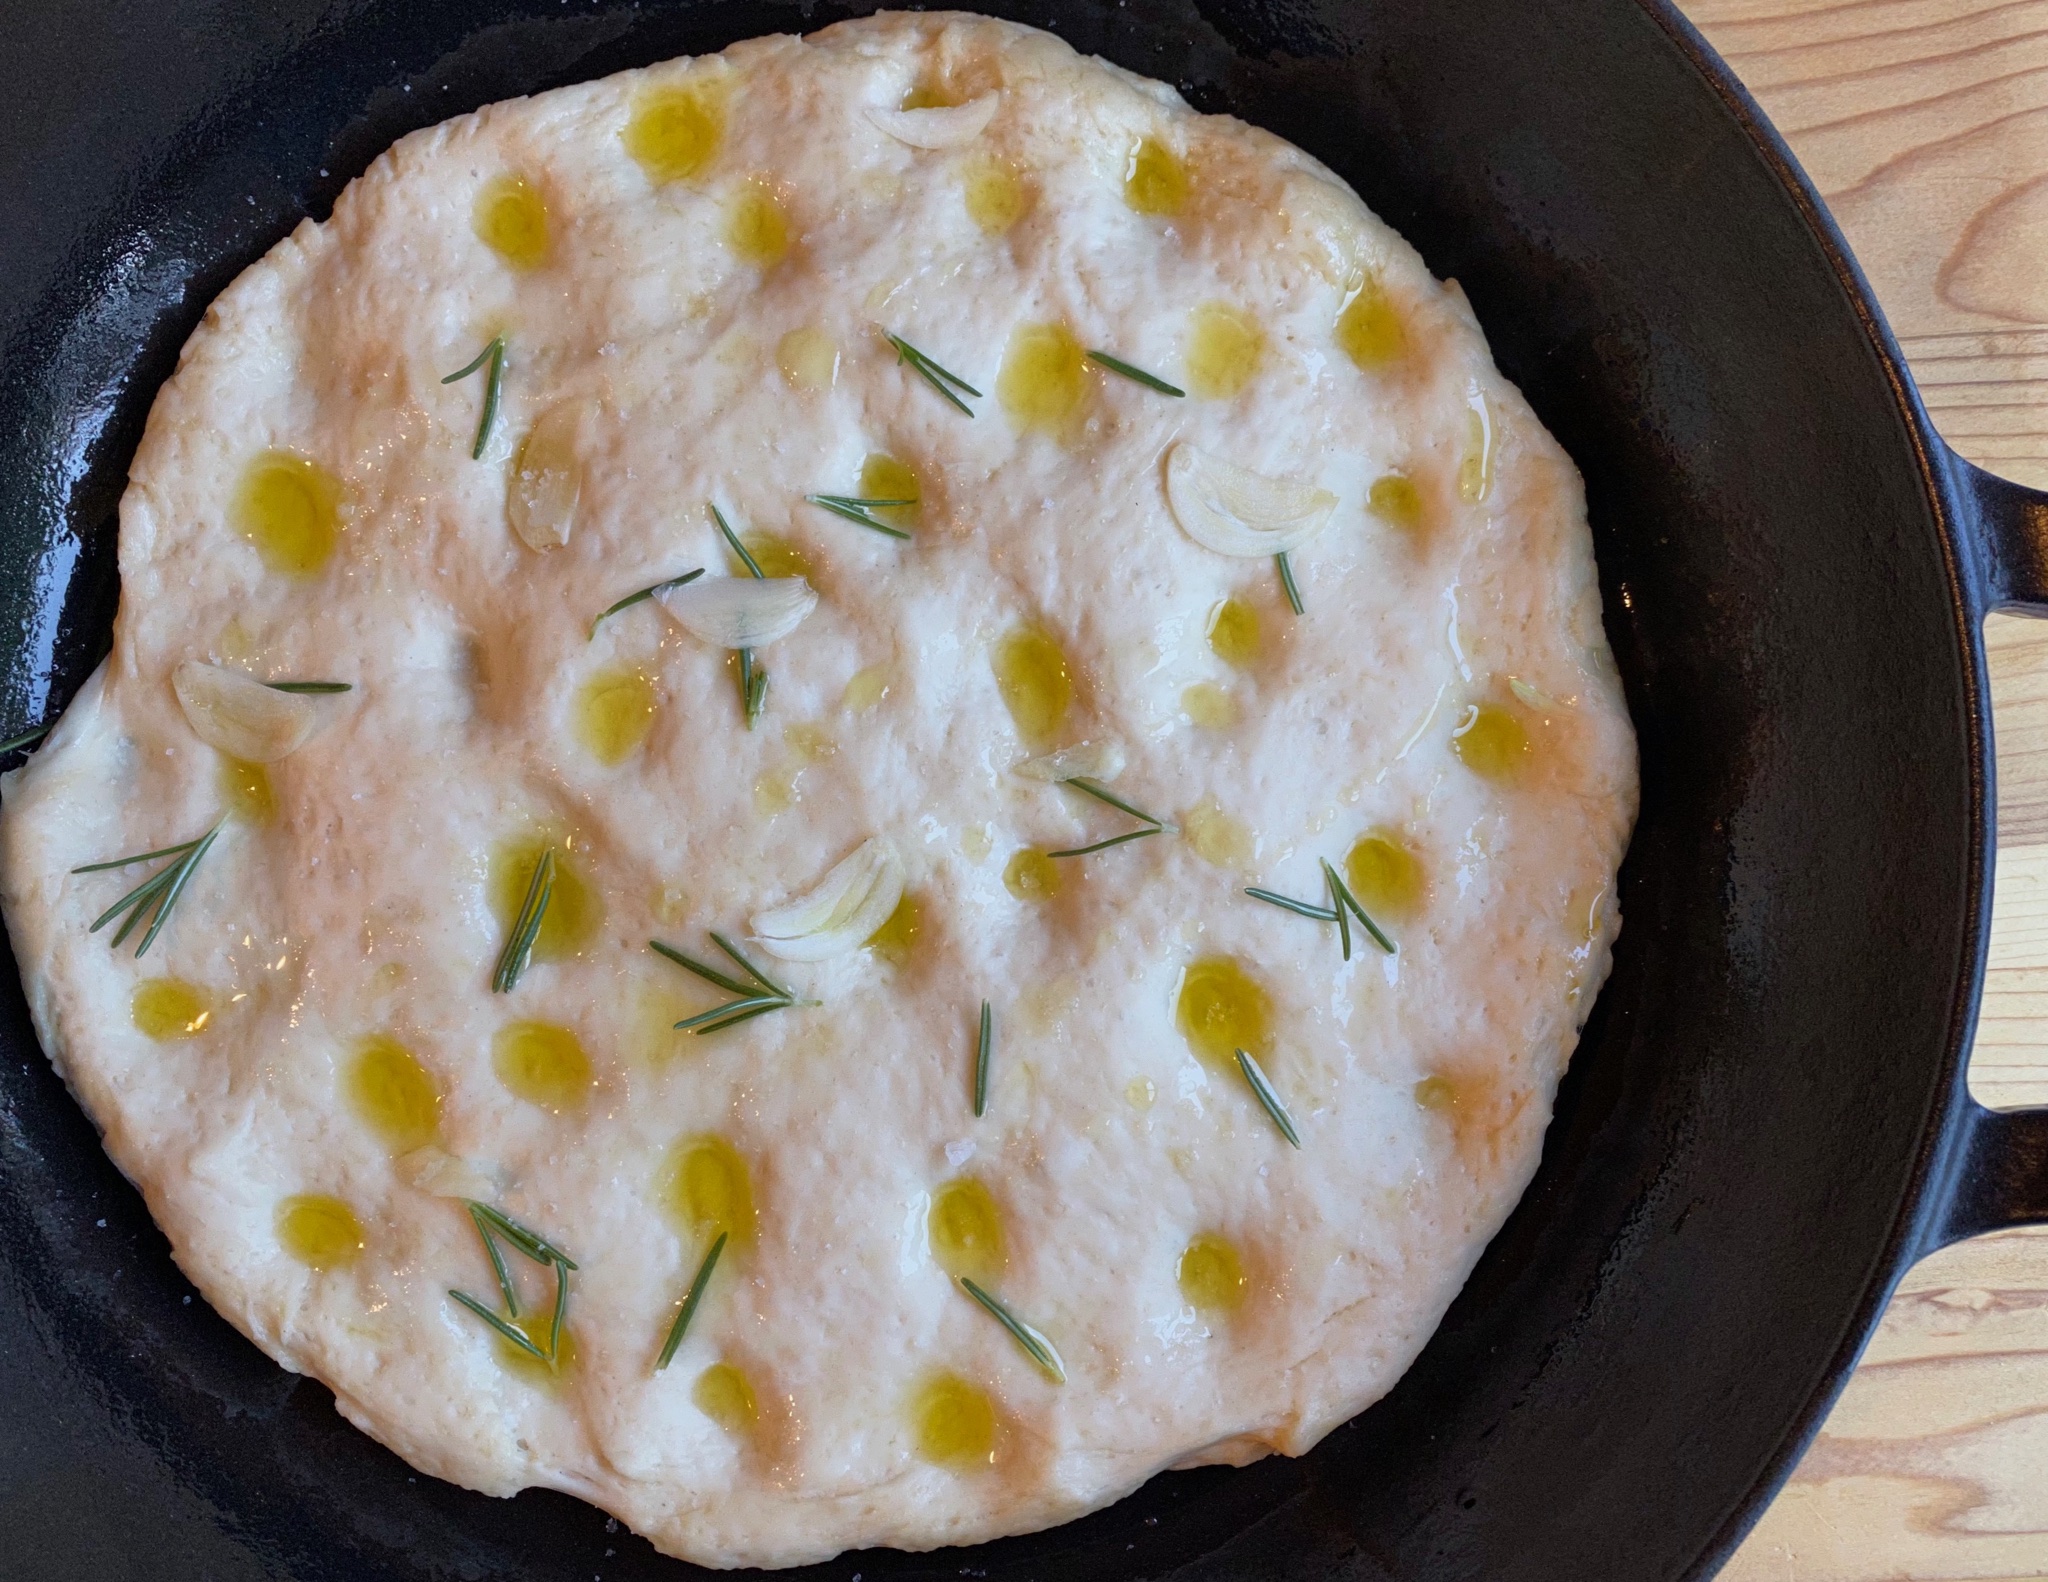
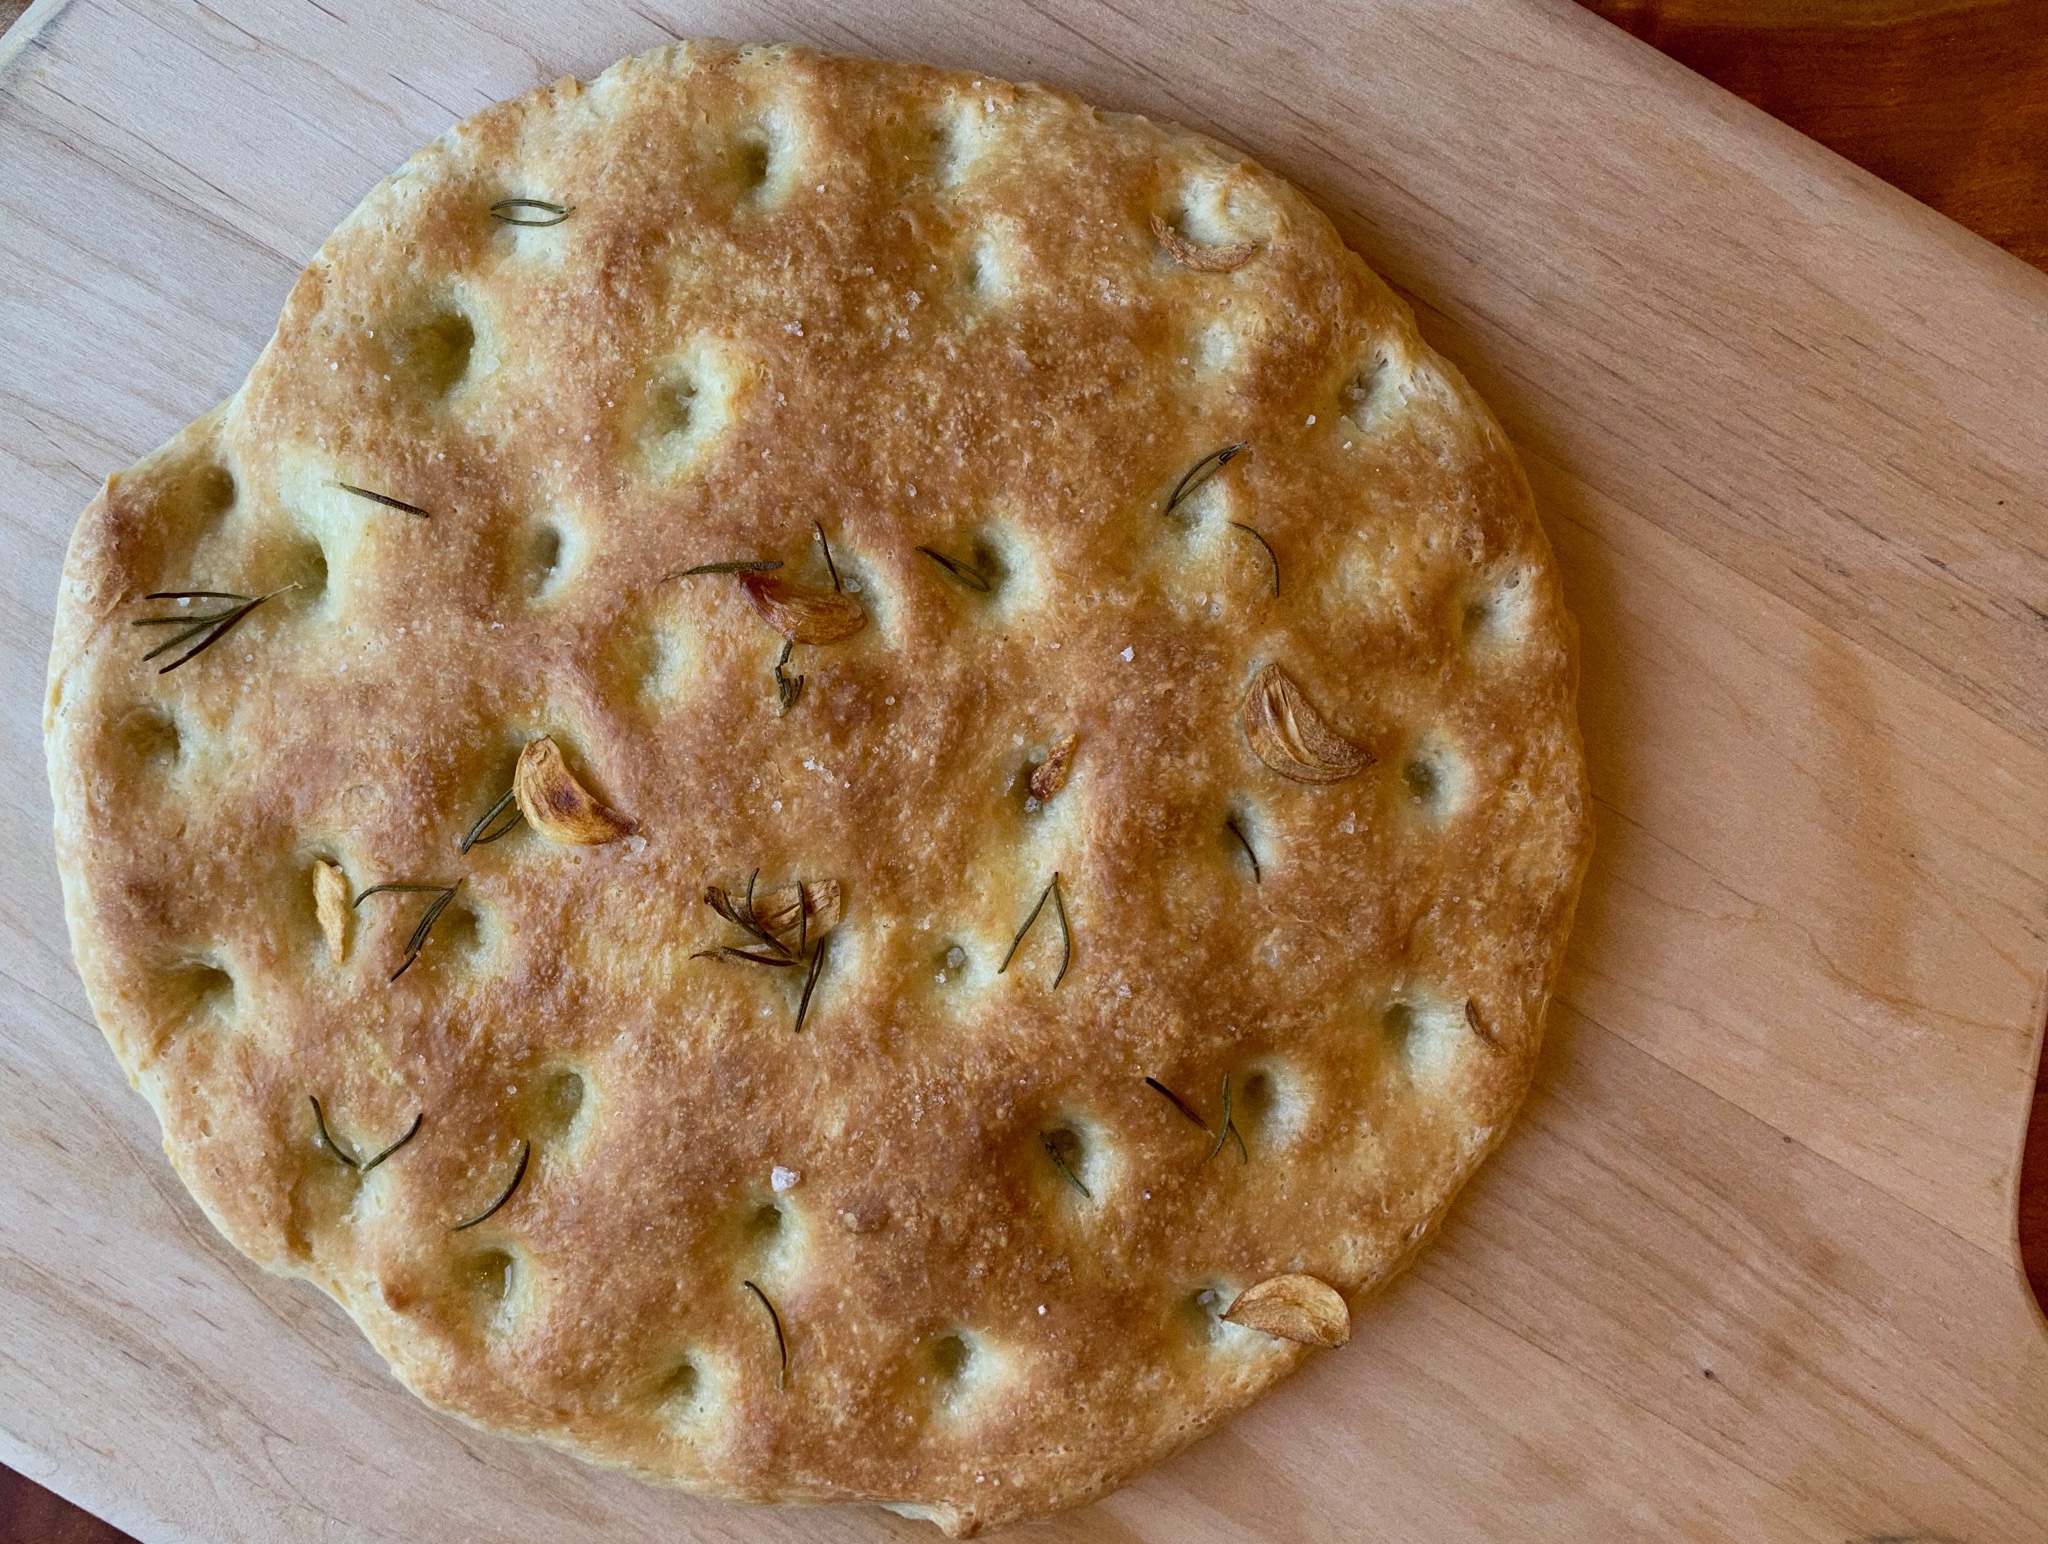
From Kitchn, a recipe for No-Knead Focaccia that takes the least amount of time of the three we tried.  It does start with a food processor which makes quick work of making the dough.  The dough needs to sit for only 2-3 hours before spreading the dough in a 10-inch iron skillet, letting it rest for 30-40 minutes before baking.

I put the dough in the fridge overnight before proceeding.  The dough did not rise as much as expected, operator error?  Overzealous pressing it into the skillet?  Too long in the fridge?  Dense and chewy, reminiscent of pizza crust with a nice flavor from the garlic and rosemary.  I’d like to try this recipe again, wondering if I had compressed it too much or inadvertently used water that was too hot.  If it didn’t rise any more I’d just use it to make mindbogglingly good pizza.  Oh, and my skillet is probably wider than the classic 10″ inch iron skillet, did I pat down my dough too much?  My inquiring mind wants to know.

Guess I’ll have to bake more Focaccia


Focaccia Number Two

Back In the day, Jenny Jones was a singer, comedian and talk show host…now she does cooking and baking videos from home.  Go figure. How I stumbled upon her site, I don’t know, but her No-Knead Focaccia Bread is pretty darn good.  Easy to make, the end result leans towards a pizza-like consistency, chewy inside with nice air bubbles with an exterior that was a wonderful toasty brown and so crispy.  She describes her Focaccia aptly, “This is no ordinary focaccia. It’s not the soft kind that you bake in a pan. This is focaccia the way I like it: thin and crispy. It’s like a slice of pizza without the pizza stuff”  The search was still on for that soft, pillowy texture of classic Focaccia.  Still, this was so good, I’d make it again in a heartbeat (if it wasn’t for my hipspread, lol)  You will need a pizza stone or steel to bake this on.

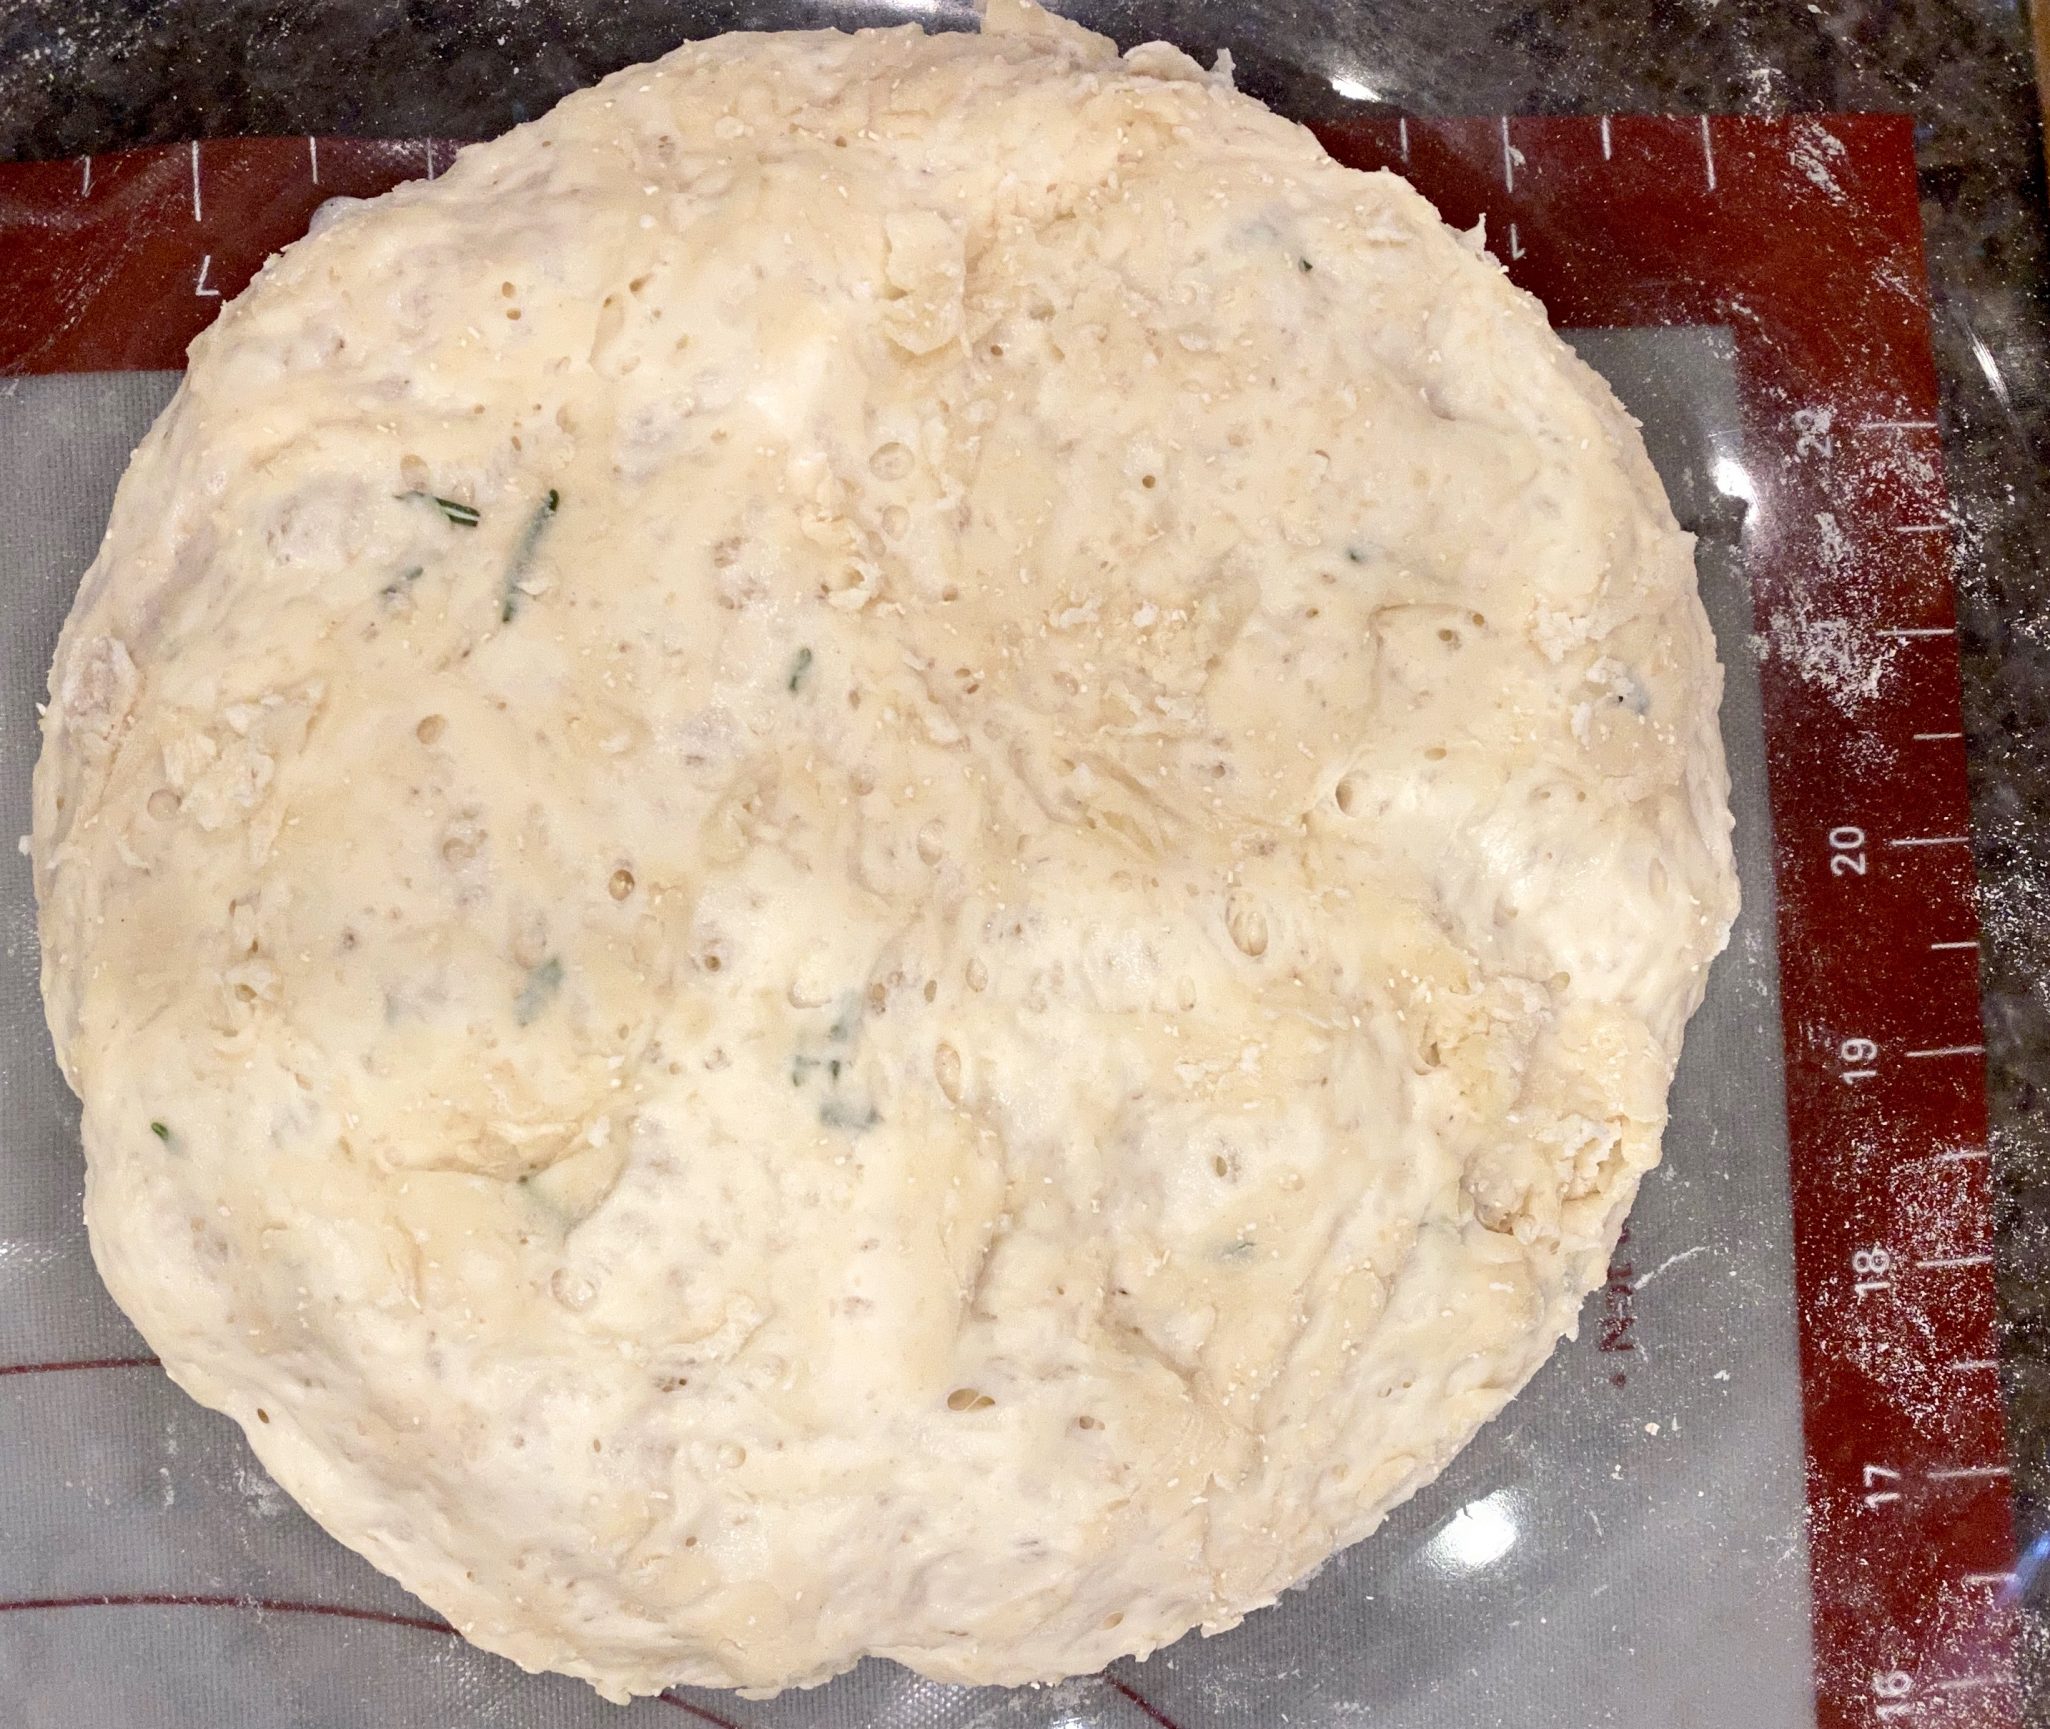
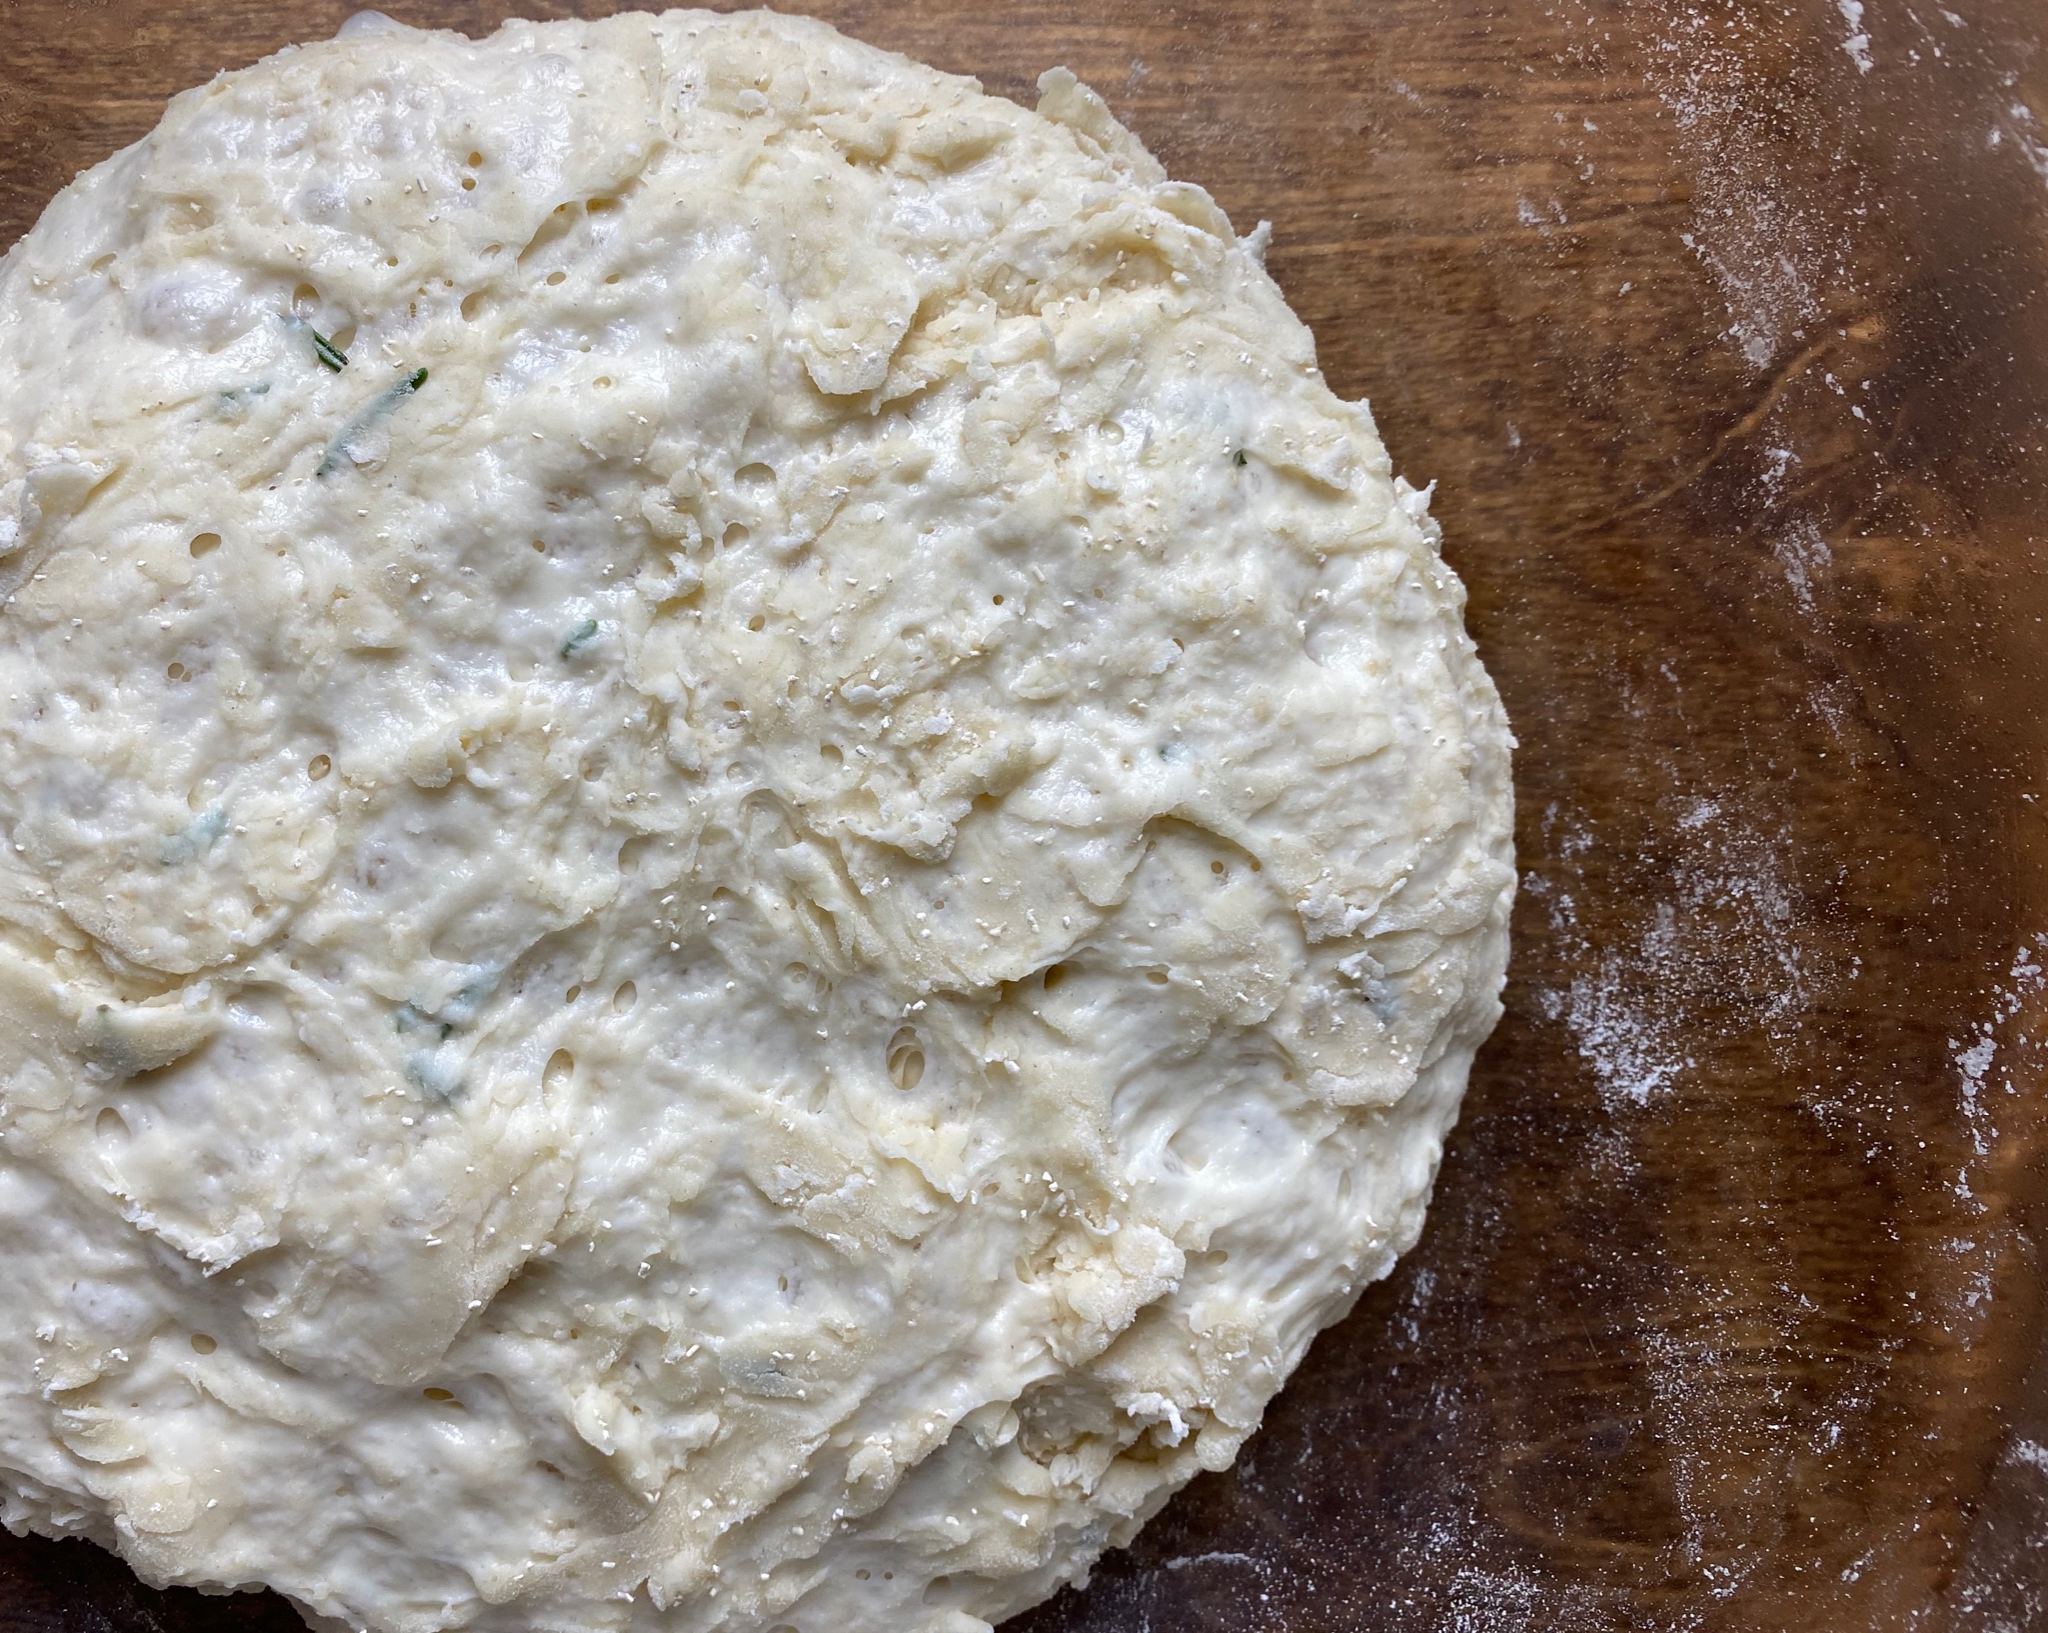
Above is what the dough looks like after resting in the bowl.  It doubled in size.

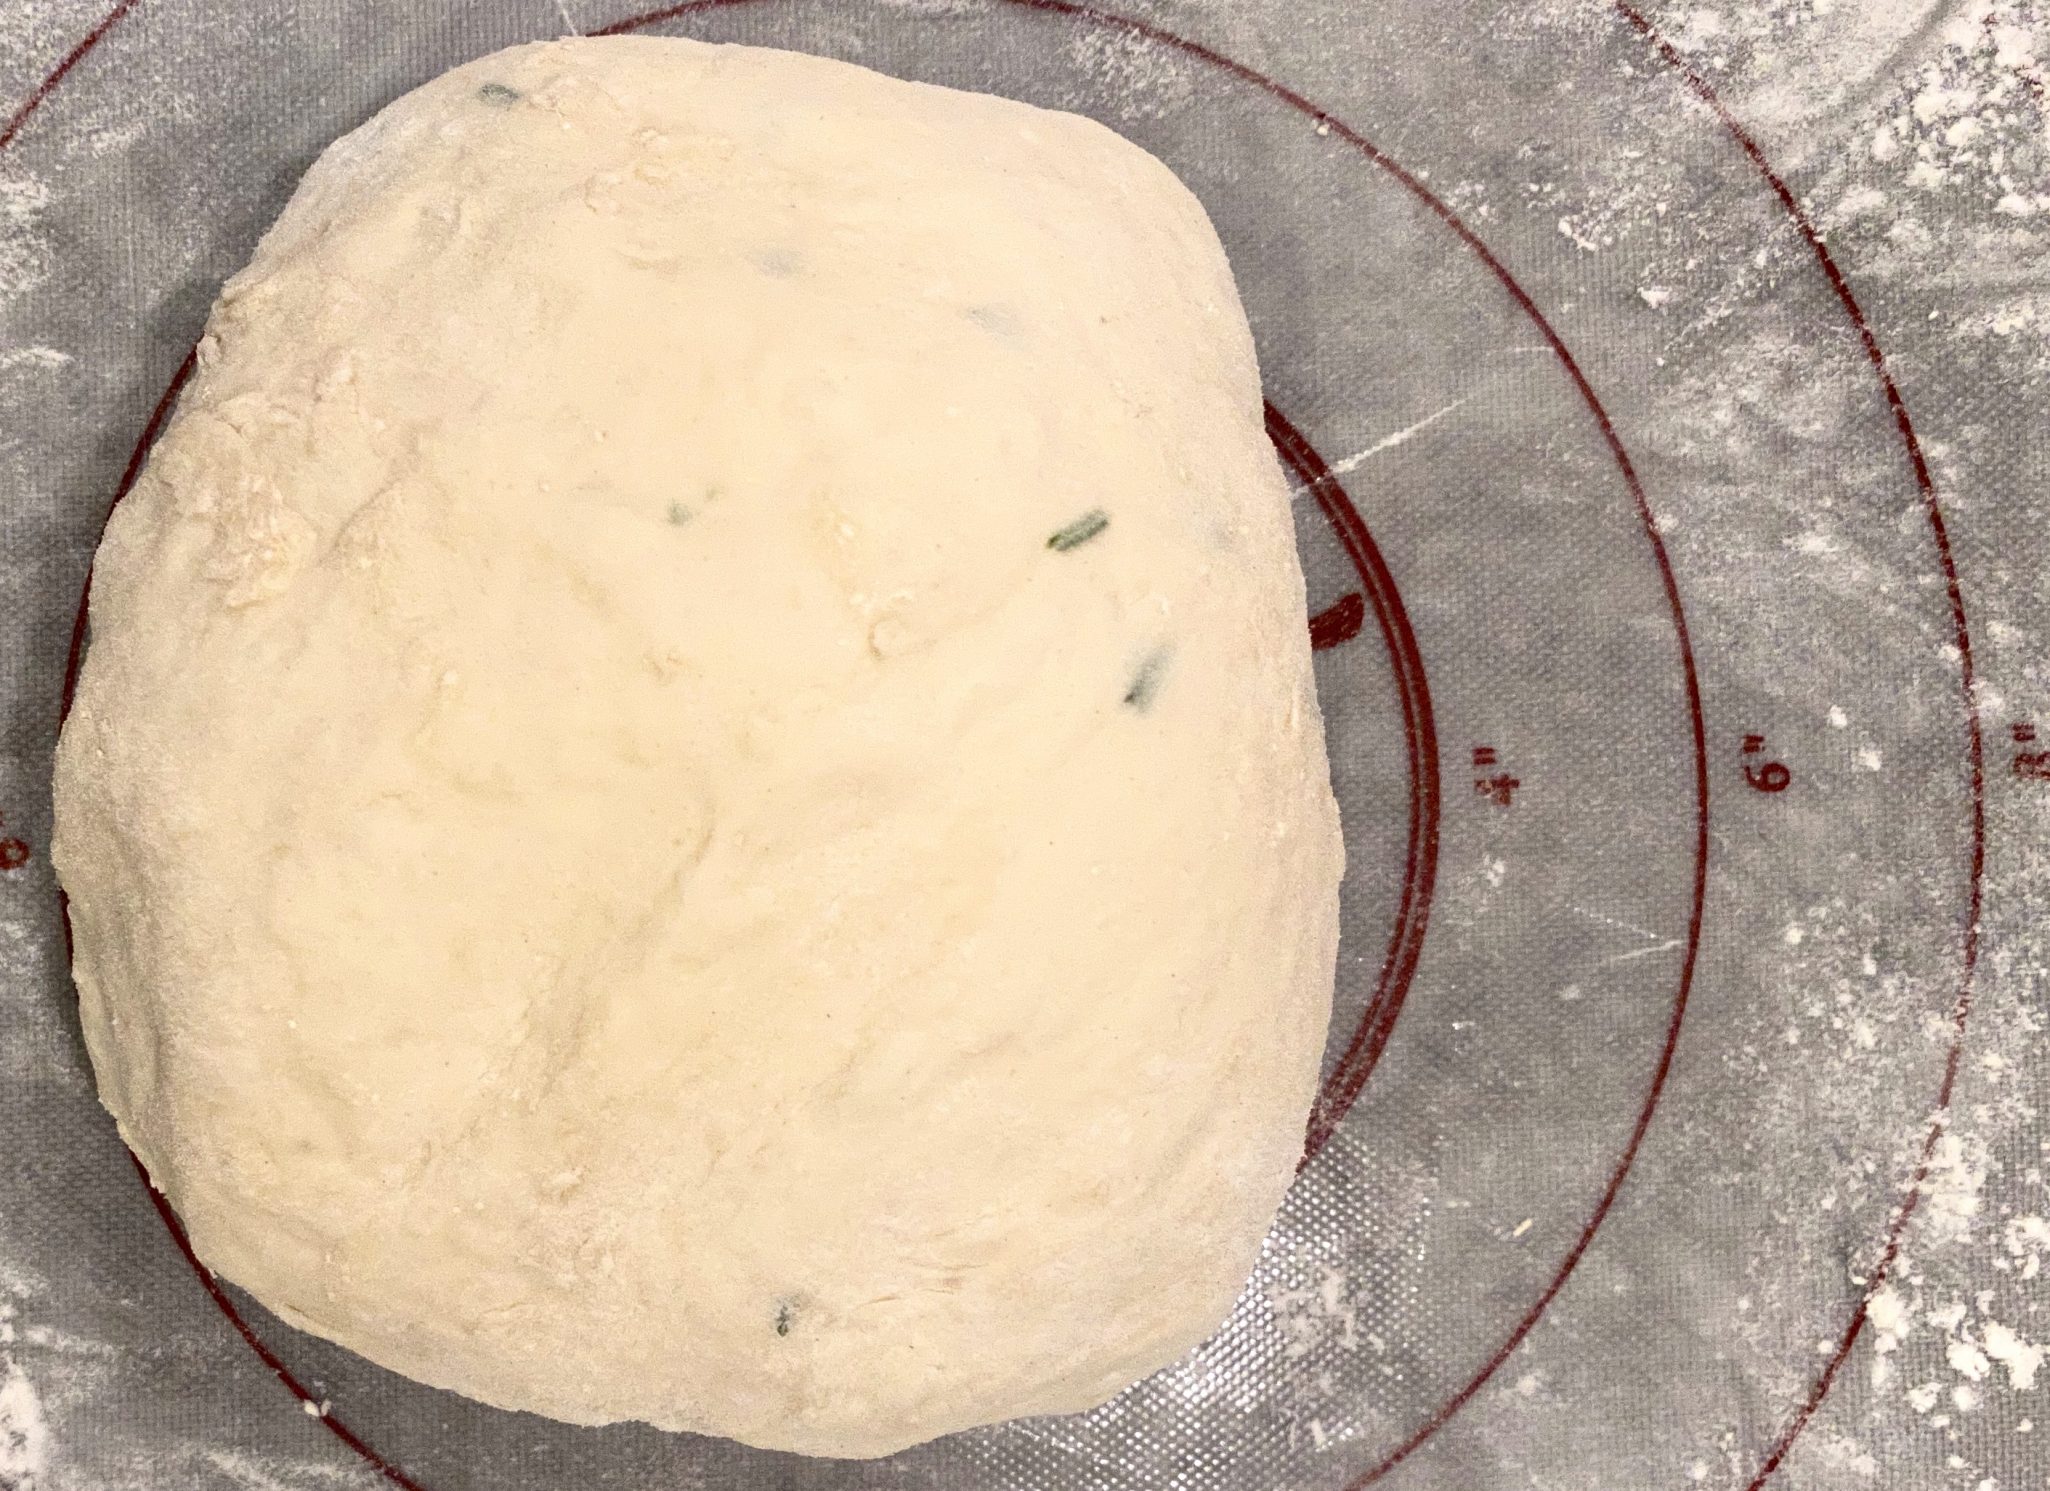
Below is after tucking (folding) the dough under a couple of times

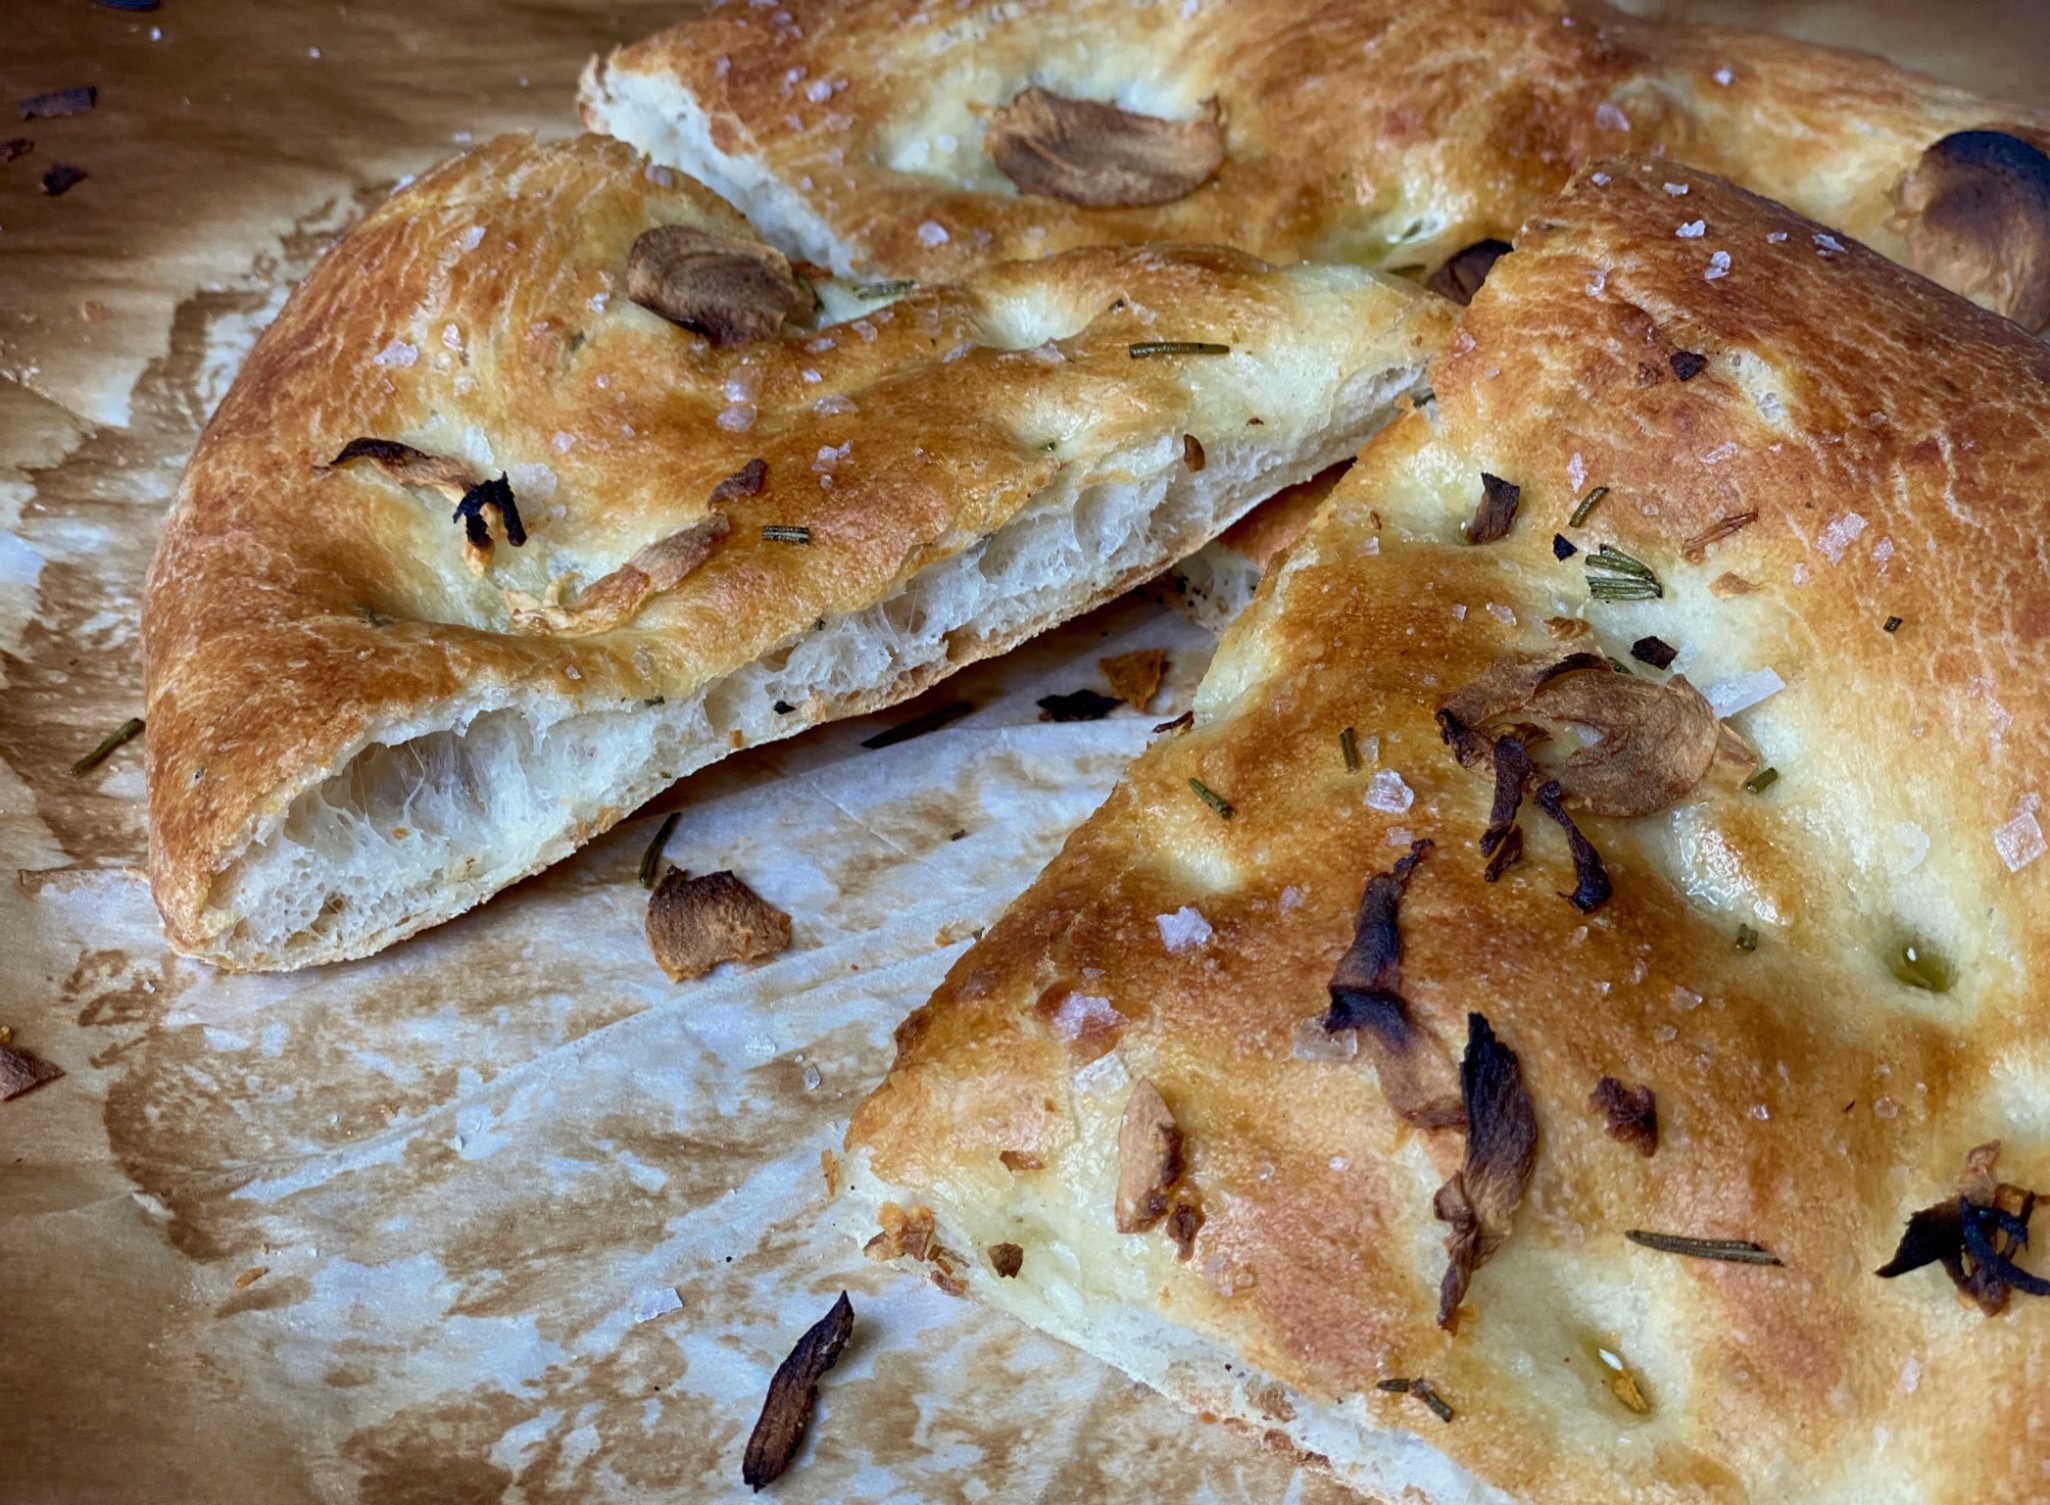
The finished Focaccia! Airy and springy and soft inside, crispy and chewy on the outside, it’s delicious.

And the winner is…Serious Eats No-Knead Olive Rosemary Focaccia with Pistachios

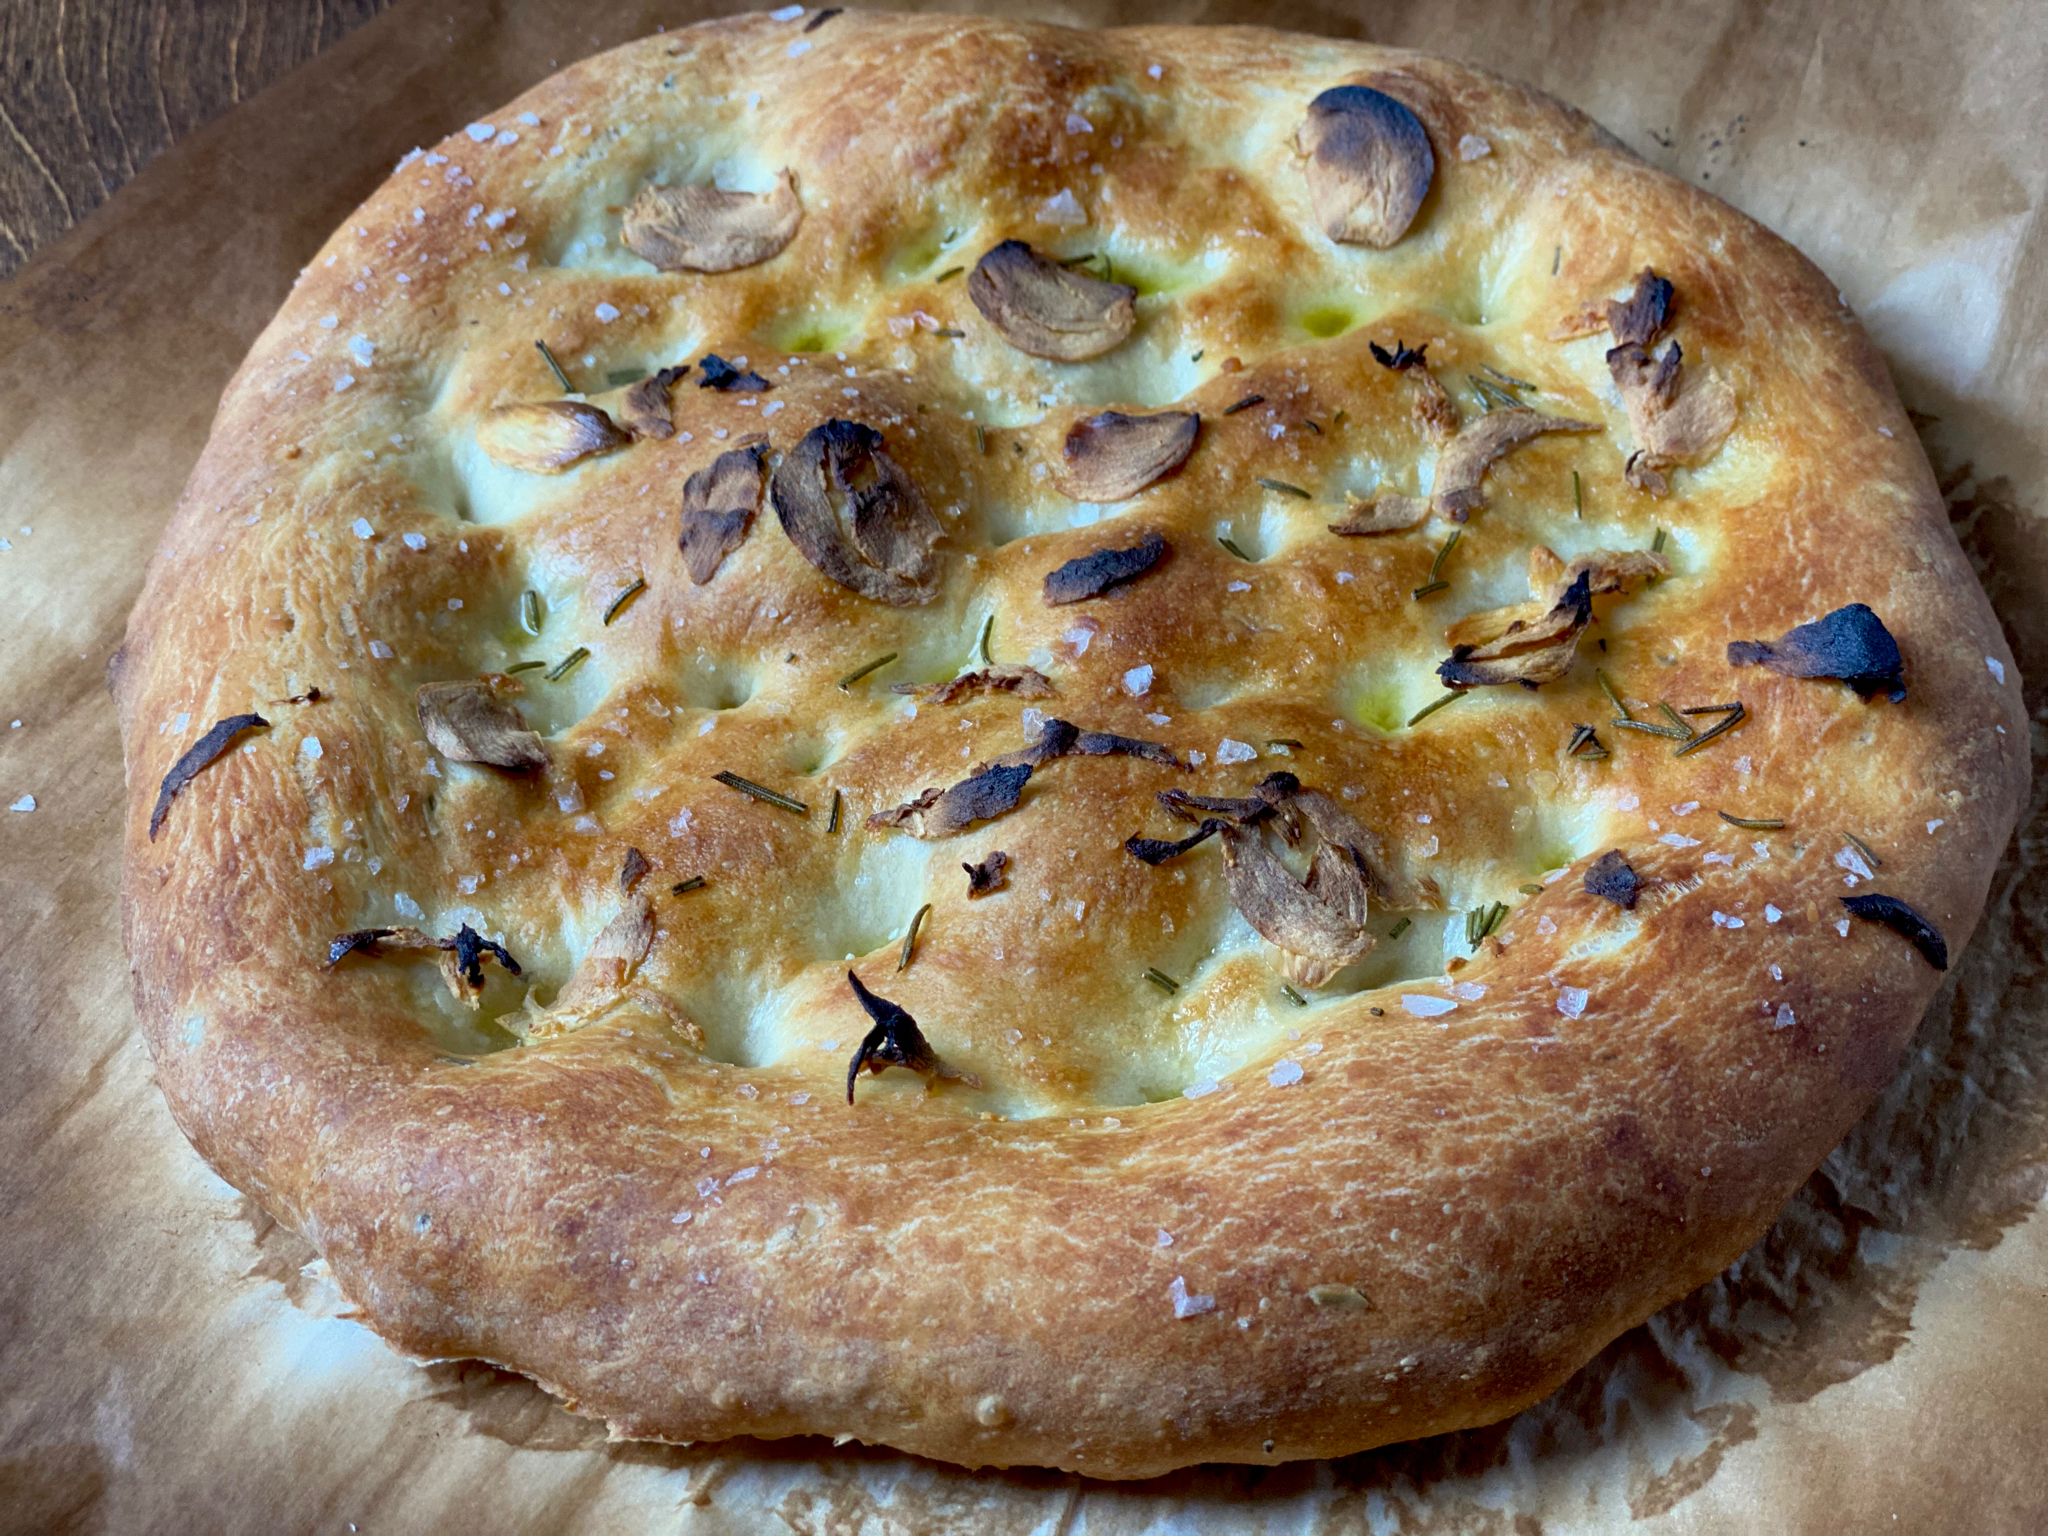
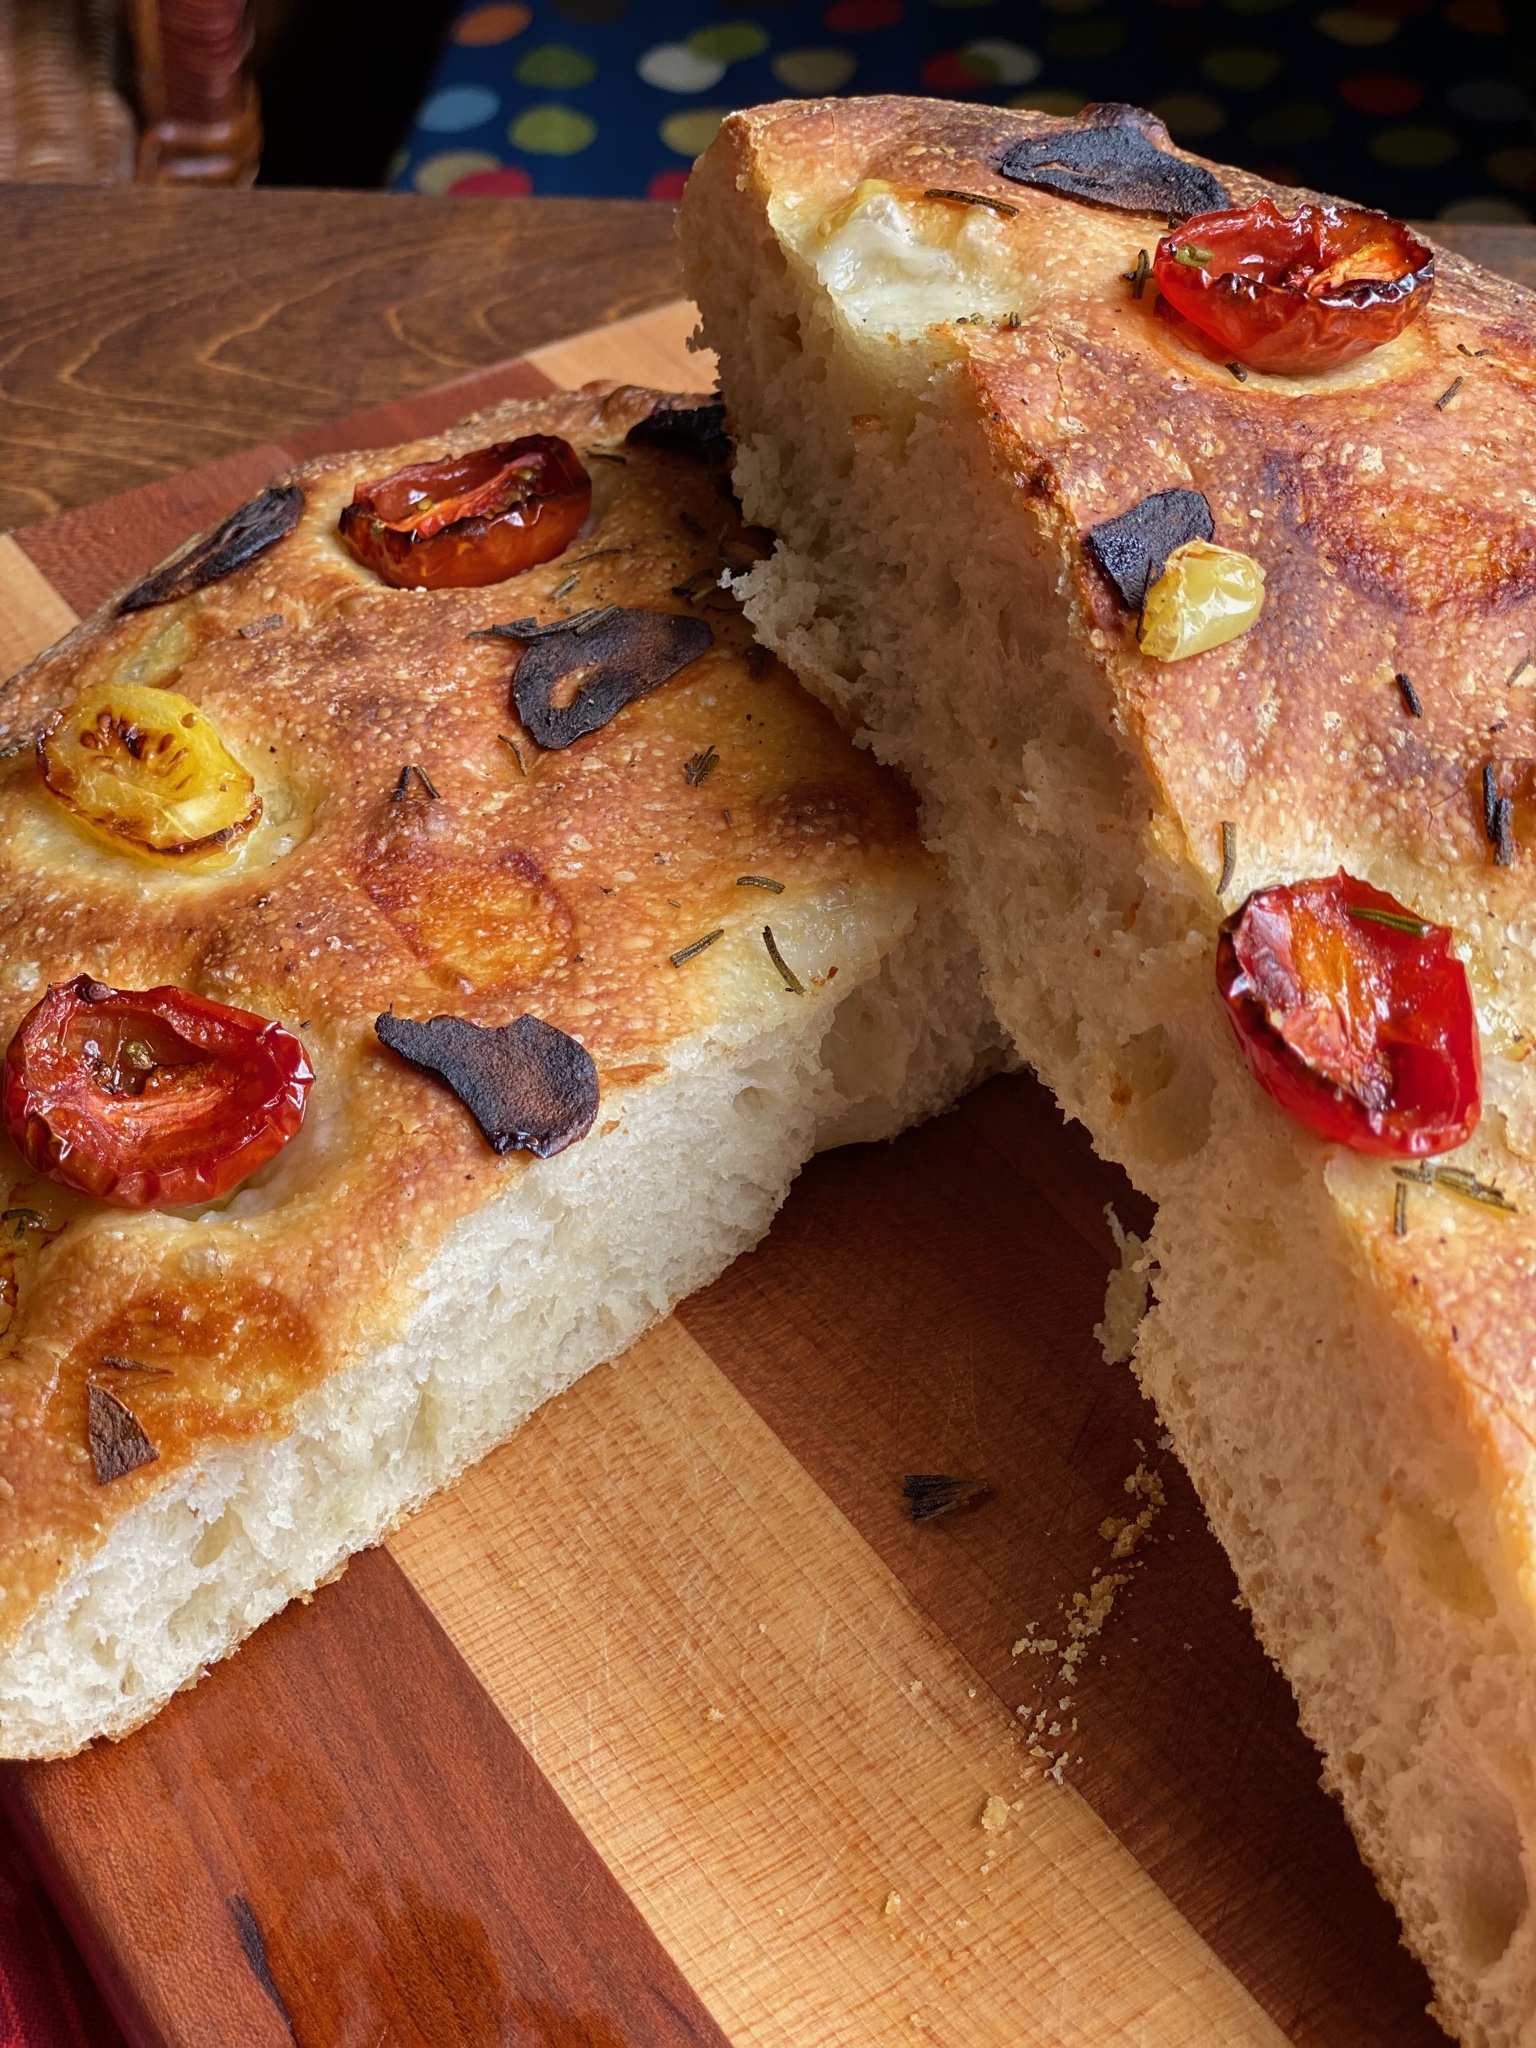
I think we have found a Focaccia recipe that my entire quarantined family likes!  Serious Eats Focaccia by Kenji-Alt Lopez has that soft, pillowy texture inside like traditional Focaccia and a nice crispy outside.  With that first bite, we were all nodding our heads-this is it!  Not a moment too soon as my bread flour supply is dangerously low.

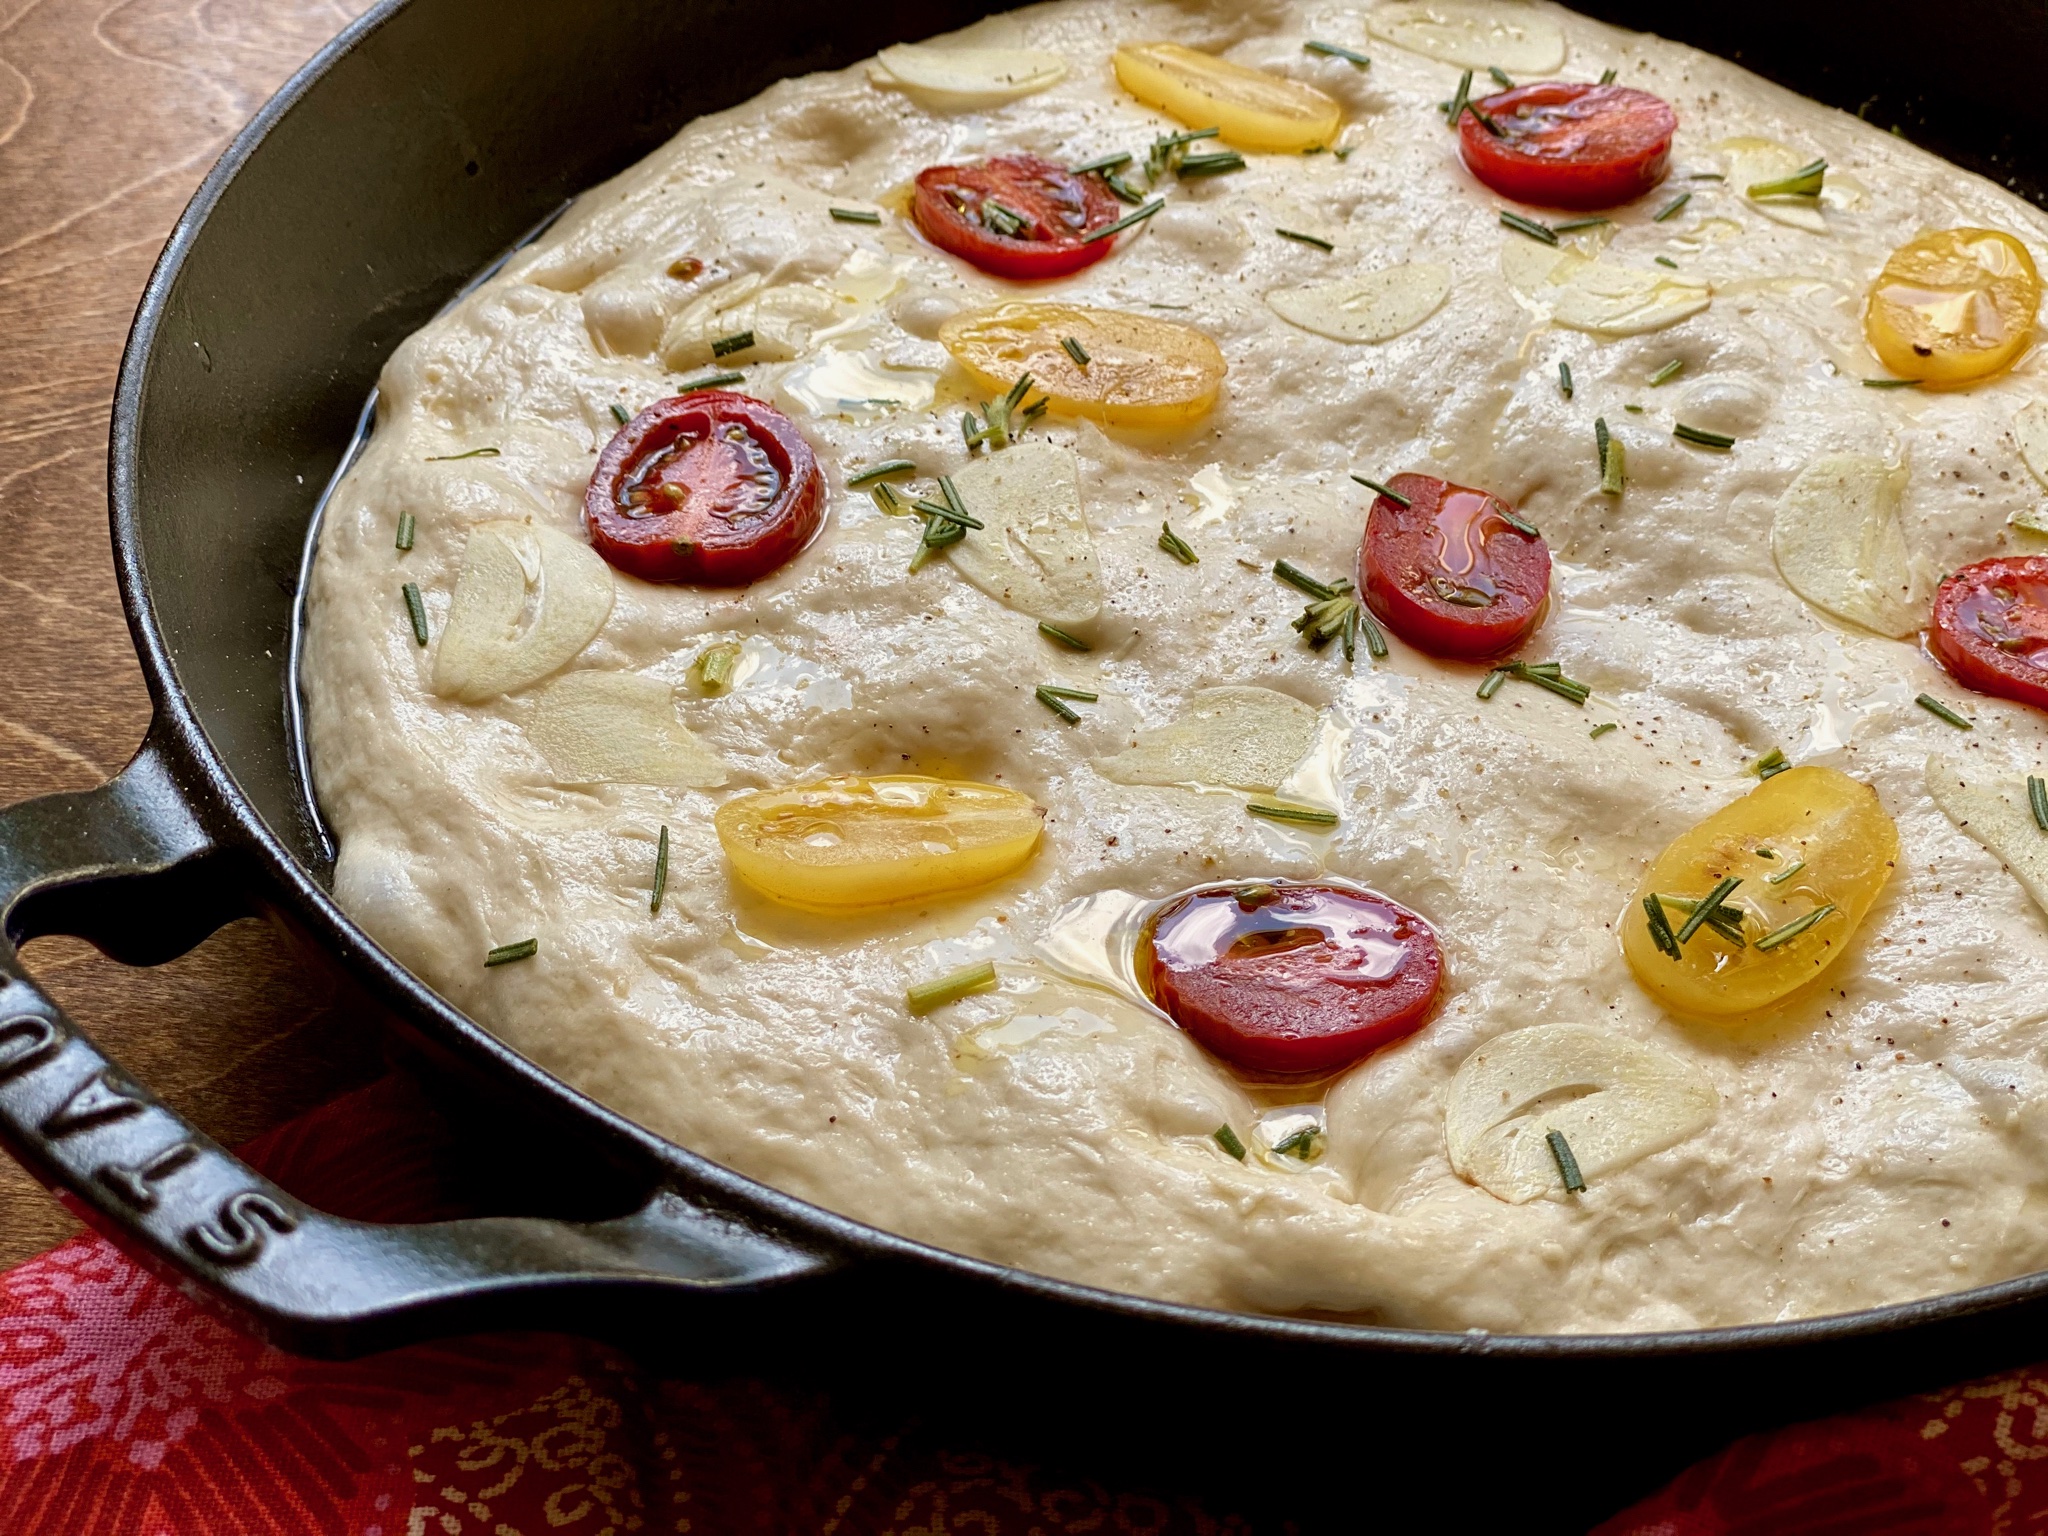
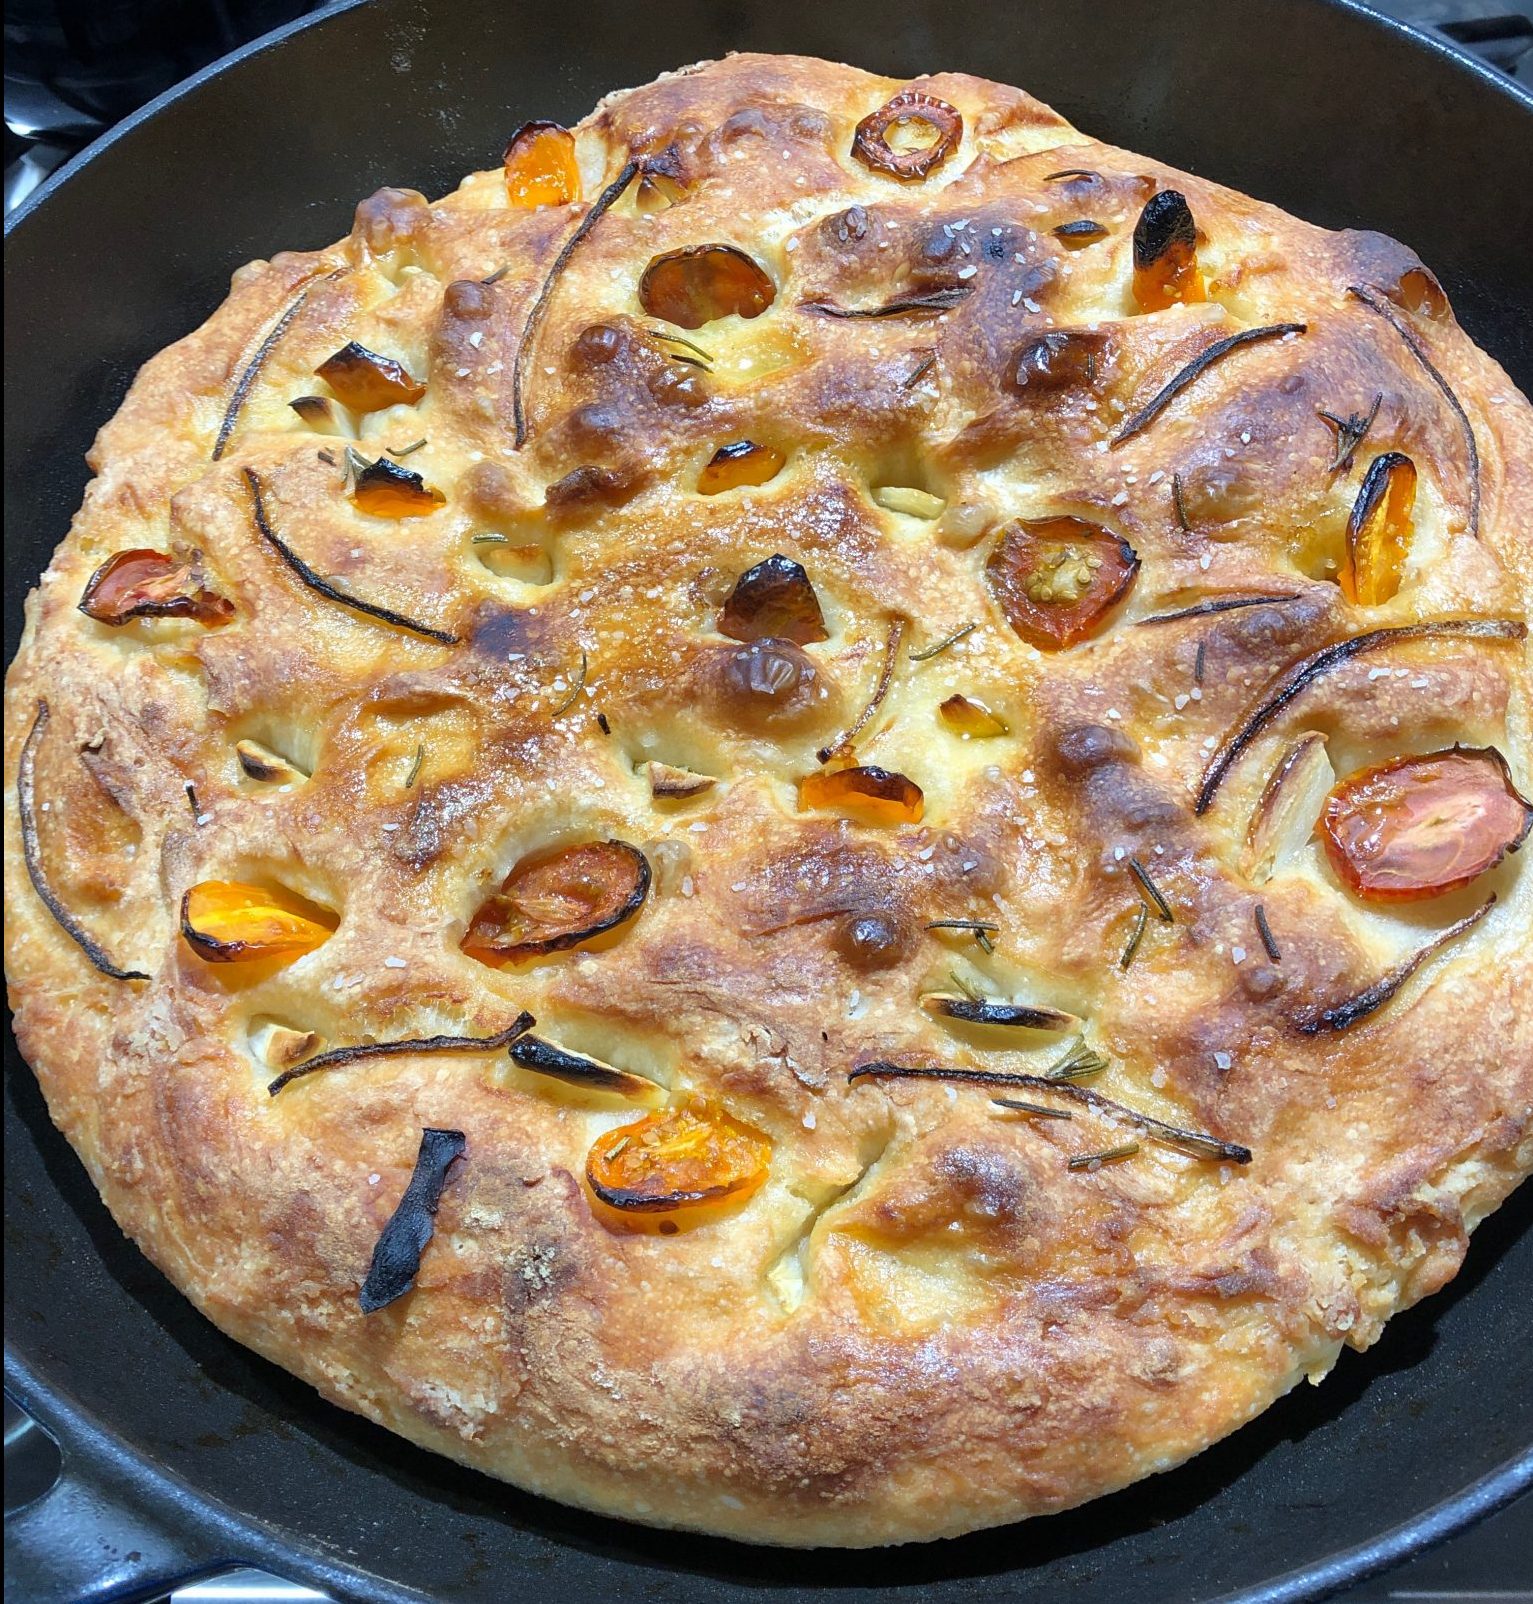
Start the day BEFORE you want bread on the table, like all no-knead bread, time takes the place of kneading.  We did not use olives or pistachios.  Quarantine forces improvisation, instead, we used cherry tomatoes, garlic, red onions, and rosemary from our herb box.  A tasty combination.  Feel free to add your own toppings! #Lunchleftovers found me making Ottolenghi’s Charred Tomatoes with Labneh to dip into with my focaccia-absofrigginlutely delish.

This is the Serious Eats dough after resting 12 hours, at most, it tripled in size but more like two and half times (pure eyeball measurement).  My bowl was plenty big enough.  I thought it would rise more and was a bit worried, but the Focaccia turned out beautifully.  Sorry, I will not doubt the master Kenji Alt-Lope again!


Olive Rosemary Focaccia with Pistachios

Delicious, easy to make No-Knead Focaccia from Serious Eats
Course Breads
Cuisine American, Italian
Keyword Homemade No-knead focaccia
Prep Time 15 minutes
12 hours
Servings 10

Equipment

  • iron skillet

Ingredients

  • 500 grams all-purpose or bread flour 17 1/2 ounces, about 3 1/4 cups, prefer bread flour
  • 15 grams kosher salt .5 ounces, about 1 tablespoon Diamond brand) reduce by a third if using Mortons
  • 4 grams instant yeast .15 ounces, about 1 teaspoon
  • 325 grams water 11 1/2 ounces, about 1 1/2 cups minus 1 tablespoon
  • 1/4 cup extra-virgin olive oil divided
  • 4 ounces pitted green olives sliced
  • 1/4 cup roasted pistachios roughly chopped or lightly pounded in a mortar and pestle
  • 2 tablespoons fresh rosemary leaves very roughly chopped
  • Coarse sea salt

Alternate Toppings

  • thinly sliced red onion
  • fresh thyme leaves
  • cherry tomatoes, halved
  • garlic, slivers

Instructions

  • Place flour, salt, yeast, and water in a large bowl. Mix with hands or a wooden spoon until no dry flour remains. The bowl should be at least 4 times the volume of the dough to account for rising.
  • Cover bowl tightly with plastic wrap, making sure that edges are well-sealed, then let rest on the countertop for at least 8 hours and up to 24 hours. Dough should rise dramatically and fill bowl, although mine did not rise that dramatically, it spread more than rise.
  • Sprinkle the top of the dough lightly with flour, then transfer it to a lightly-floured work surface. With well-floured hands, form into a ball by tucking the dough underneath itself.
  • Pour half of oil (1/8 cup)in the bottom of a 12-inch cast iron skillet or large cake pan (your Le Creuset or Staub pan would be perfect)Transfer dough to pan, turn to coat in oil, and position seam-side-down. Using a flat palm, press the dough around the skillet, flattening it slightly and spreading oil around the entire bottom and edges of the pan.
  • Cover tightly with plastic wrap and let the dough stand at room temperature for 2 hours. After the first hour, adjust an oven rack to the middle position and preheat oven to 550°F. My oven only goes to 500 degrees, this works fine. It actually baked in about the same amount of time, but you may need to go at least the full 24 minutes at 500 degrees.
  • At the end of the 2 hours, dough should mostly fill the skillet up to the edge. Use your fingertips to press it around until it fills every corner, popping any large bubbles that appear. Lift up one edge of the dough to let any air bubbles underneath escape and repeat, moving around the dough until there are no air bubbles left underneath and the dough is evenly spread around the skillet.
  • Spread olives and pistachios or your choice of toppings, over the surface of the dough and press down on them with your fingertips to embed slightly. Drizzle with remaining olive oil. Sprinkle with rosemary and coarse salt.
  • Transfer skillet to oven and bake until top is golden toasty brown and bottom is golden brown and crisp when you peek underneath, 16 to 24 minutes. Using a thin spatula, loosen focaccia and peek underneath.
  • Transfer to a cutting board, allow to cool slightly, slice, and serve. Serve with cheesy butter or Ottolenghis tomatoes and Labneh, so good.
  • Extra bread can be stored in a brown paper bag at room temperature for up to 2 days. Reheat in a 300°F oven for about 10 minutes.