That’s a WRAP! Manduvision (Homemade Dumpling Wrappers)
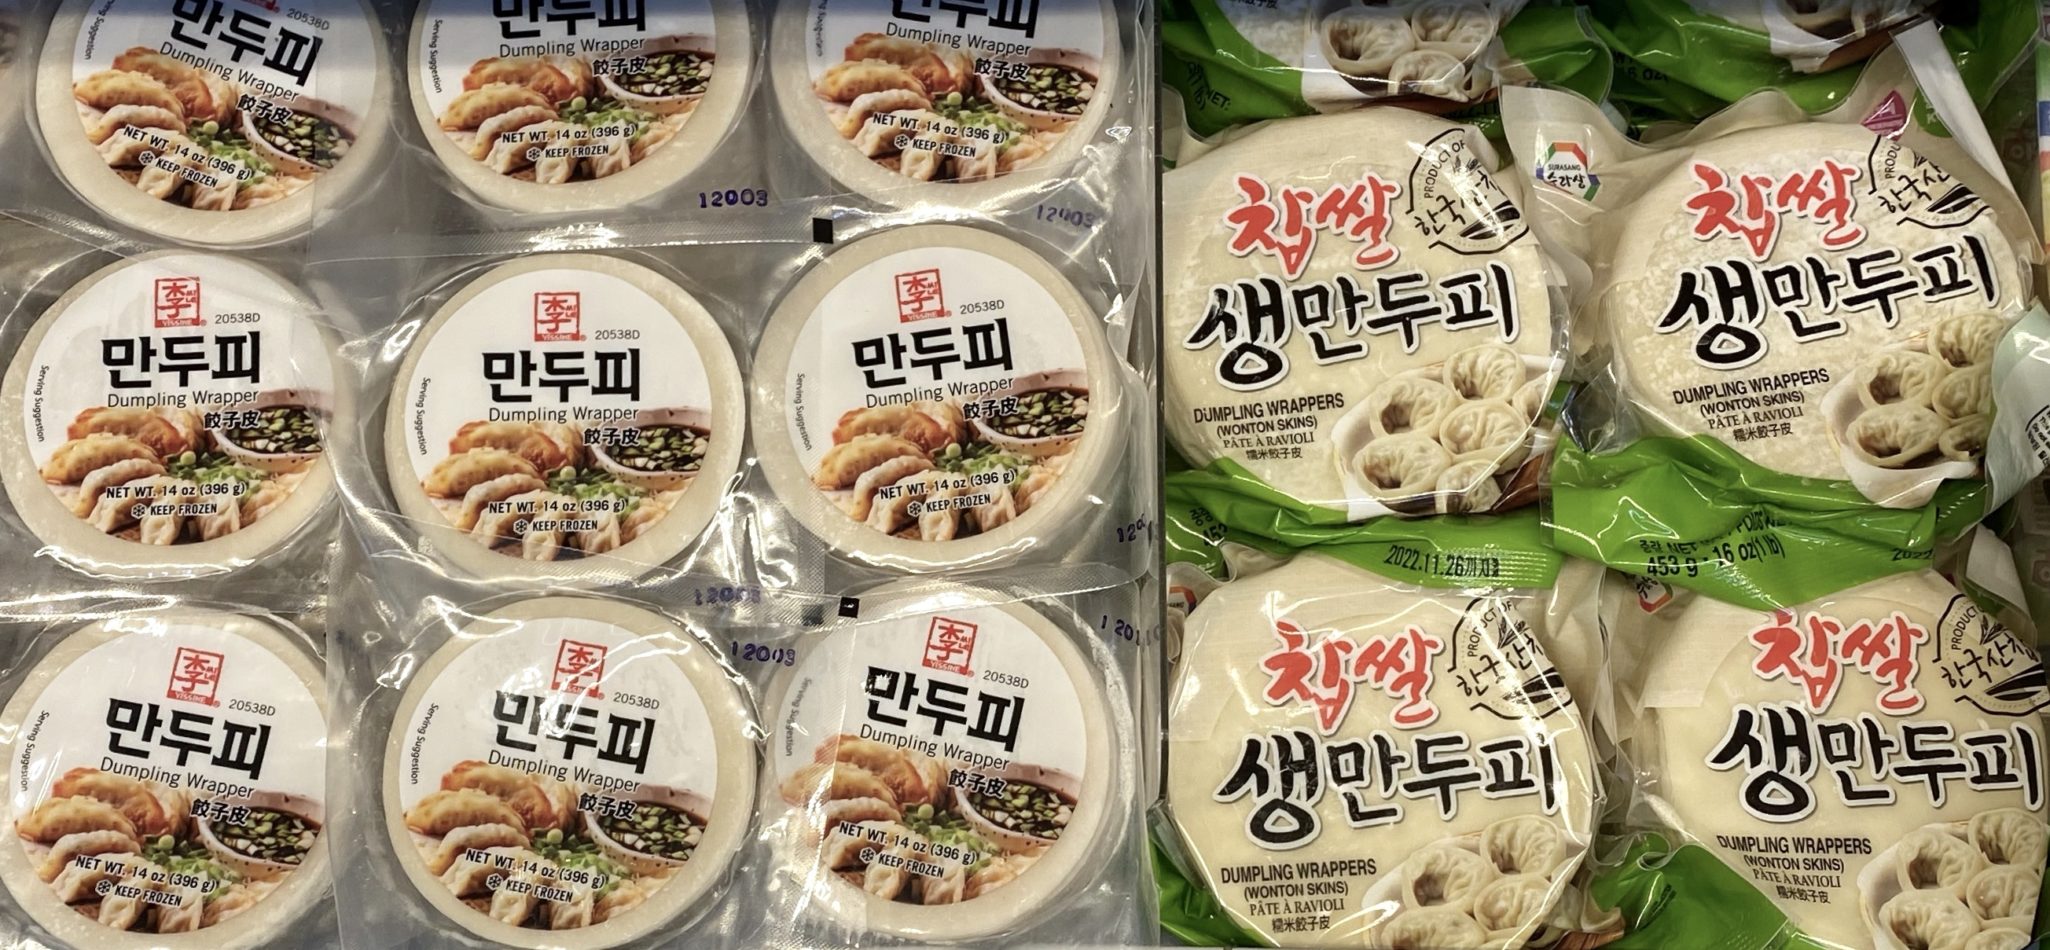
I cannot tell a lie. Most of the time, (we are talking 99.99 percent of the time) we use commercially available wrappers when making dumplings. Wrappers can be found in most Asian stores and your larger supermarkets. Asian markets will have a plethora of choices, you will have to sift through the different kinds of wrappers by shape- round versus square, thickness-depends on what dumpling you are making, and by brands. At non-Asian markets, I have seen Dynasty, Azumaya, and Nasoya. I would go with Nasoya (potsticker) and Dynasty (wonton) first.
Whichever brand is available, do the test. Pick up a package and bend the wrappers at a corner. They should separate and not break. This is a freshness test. If they break, put them back, go home and make your own…really.
That’s A Wrap
At Asian markets, there is no shortage of wrappers to choose from. Choose round wrappers for mandu and potstickers. For mandu I would use a medium thickness, generally labeled as dumpling wrappers. Potsticker wrappers are thicker, good for frying and then steaming but too thick for soup dumplings. I tend to stay away from potsticker wrappers, they are super thick.
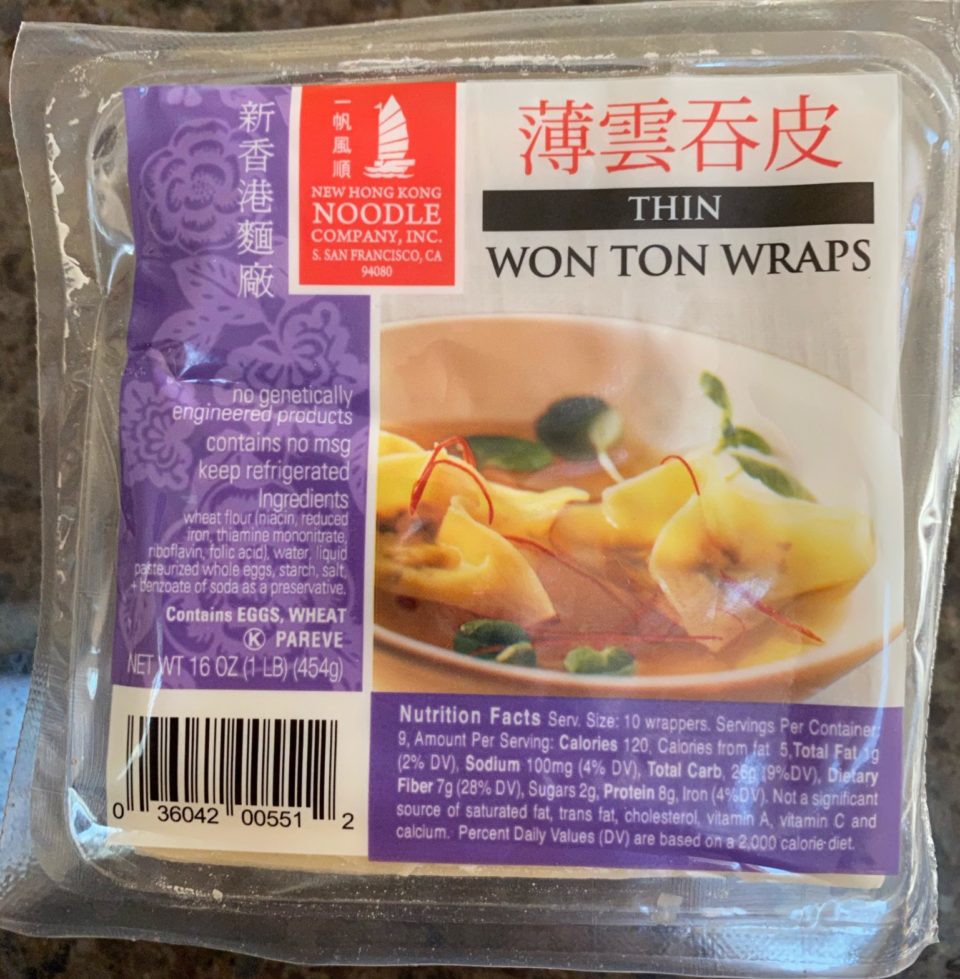
Wonton wrappers are square and come in different degrees of thickness. From pretty darn thick to Hong Kong-style which is extra thin. My preference is Hong Kong Noodle Co. Thin Wraps. Not too thin, not too thick, just right. Great for soup or fried wontons.
Yep, my go-to wrappers. But do the freshness test on these too cause you just never know.
But I Digress
This post is supposed to be out making your OWN dumpling wrappers. It’s pretty easy, it might take a little practice to get them right and to get speedy. But doesn’t everything worth doing take practice? I’ll be candid, probably not making my own wonton wrappers, the commercial ones are bomb. But potstickers and mandu? You betcha.
YES, You Can!
I perused some of my favorite sites and decided to try a recipe that used AP flour, potato starch, salt and water. That’s it. Alot of recipes call for just flour, water and salt. I wanted to see if the potato starch texturally made a difference, I think it adds a bit of chew and tenderness to the wrapper. Nothing scientific to my conclusion but I can say the wrapper is delicious and just what I was looking for.
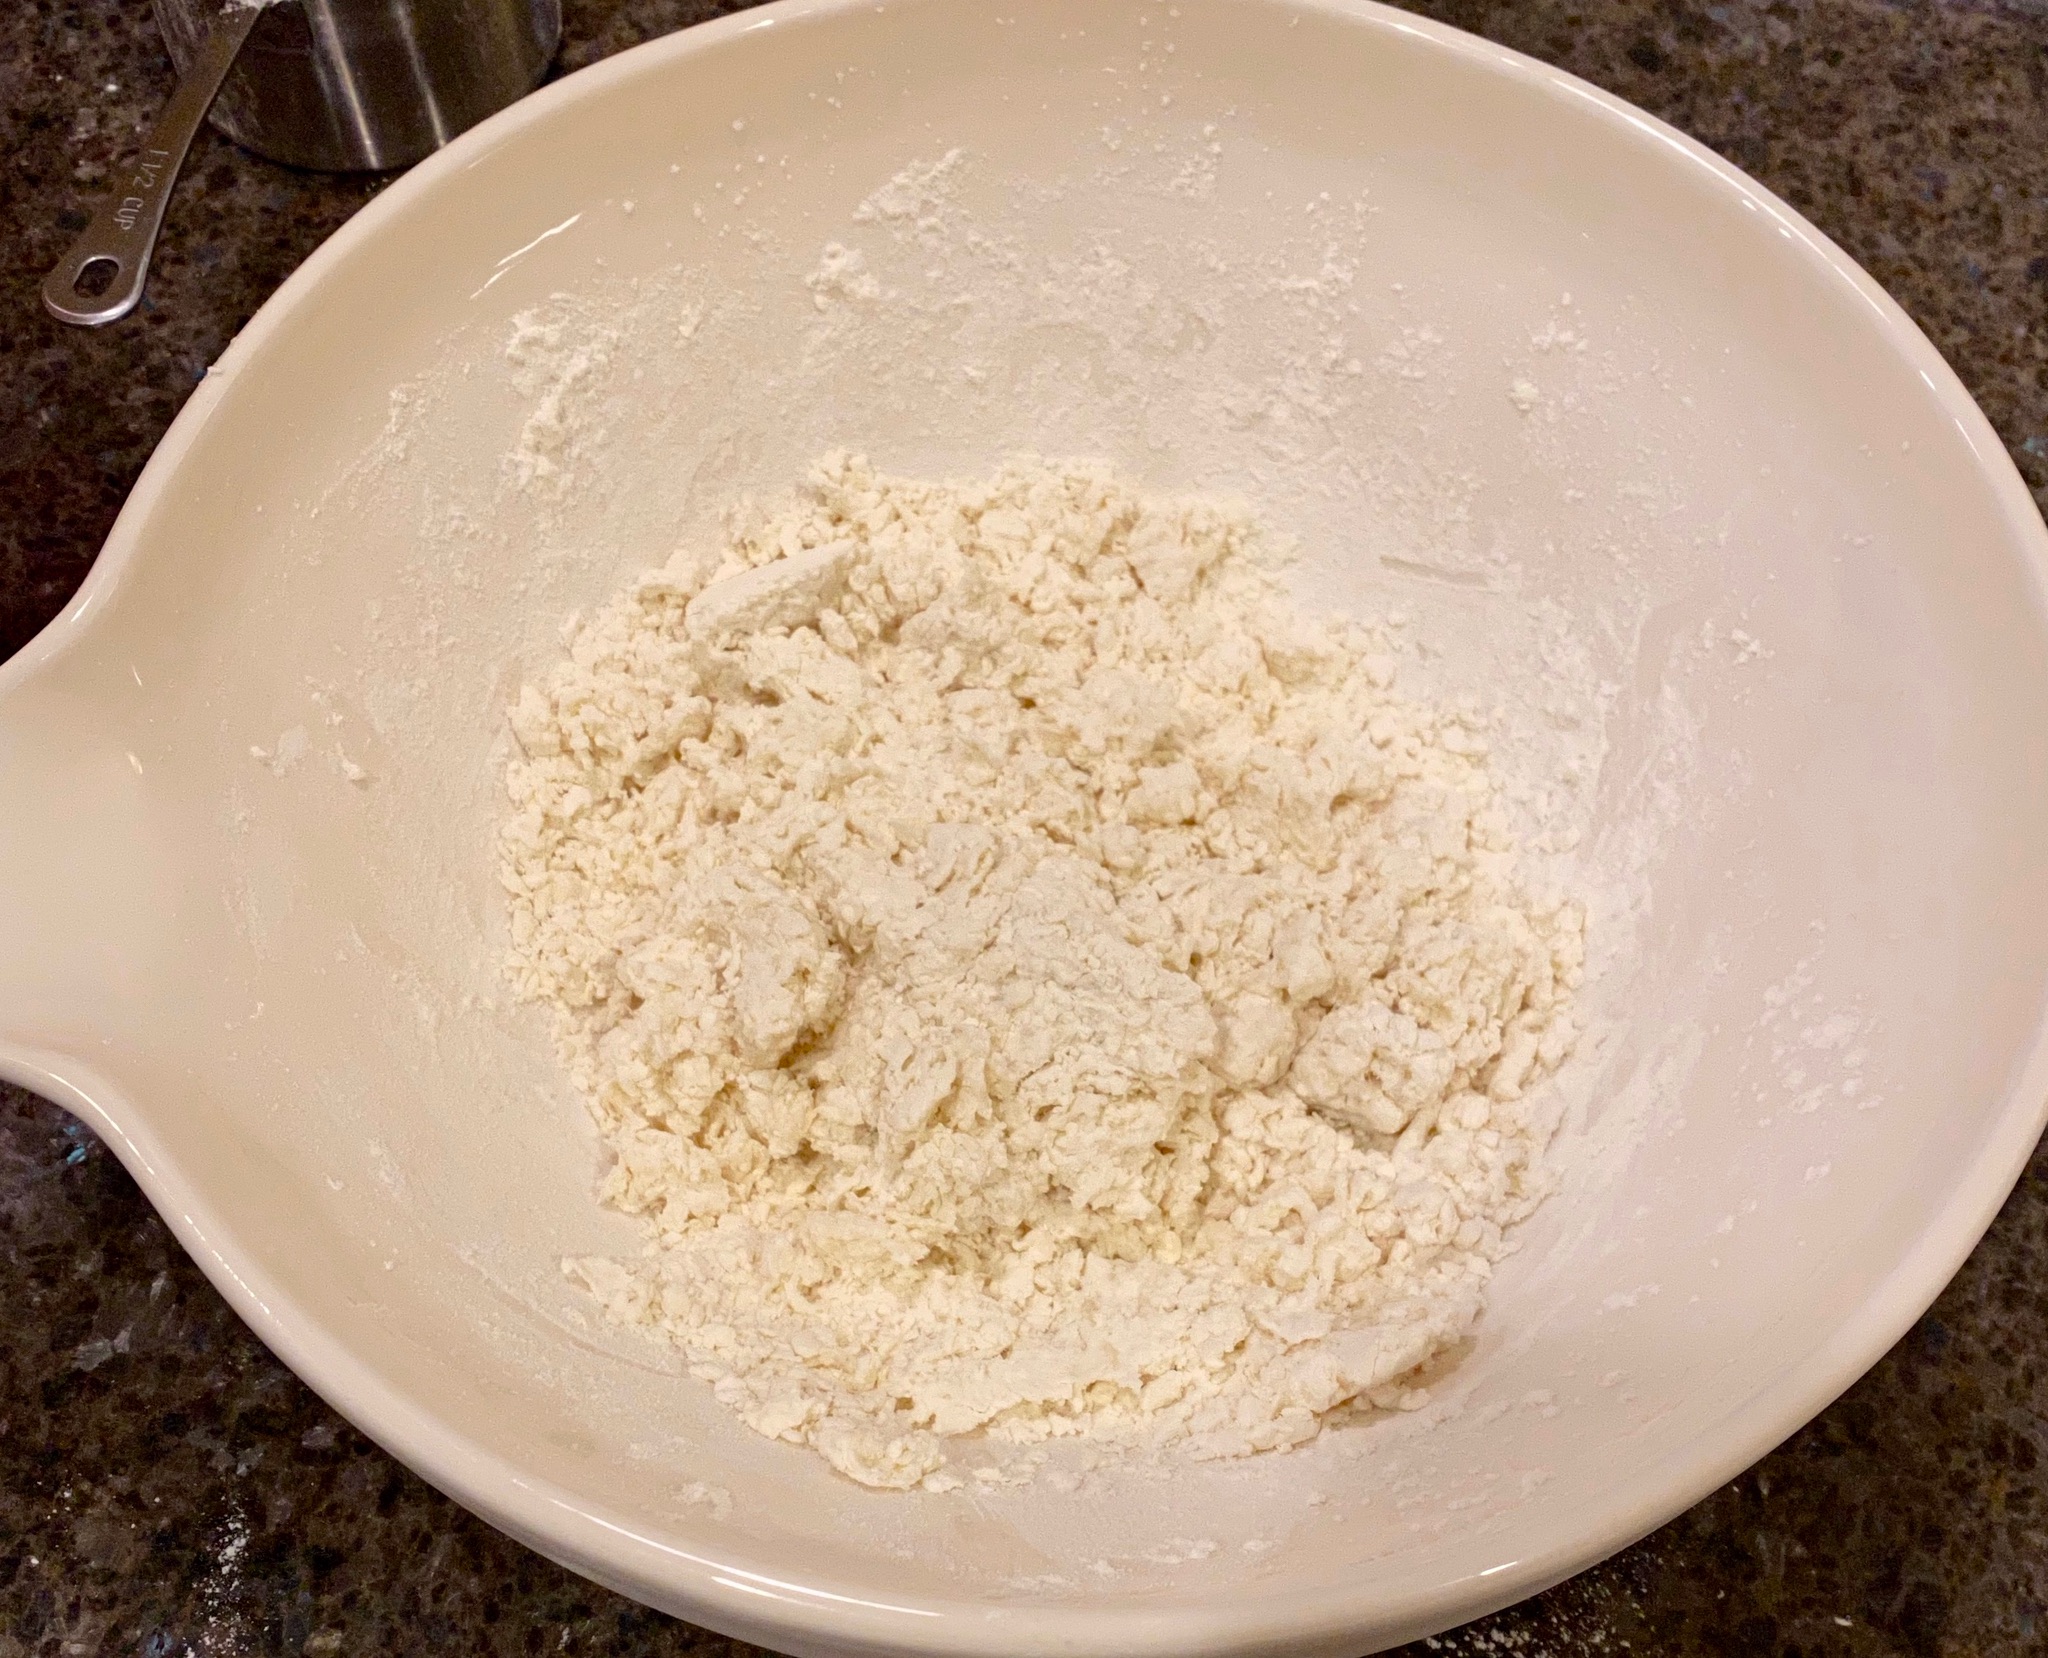
Super easy to put together. This is a hot water dough, which helps speed up the process. Throw the dry ingredients in a large bowl, stir to combine, and then add the hot water. Use a dough whisk or wooden spoon to stir the water into the dry mix. It may seem like too little water but just be patient, it will come together.
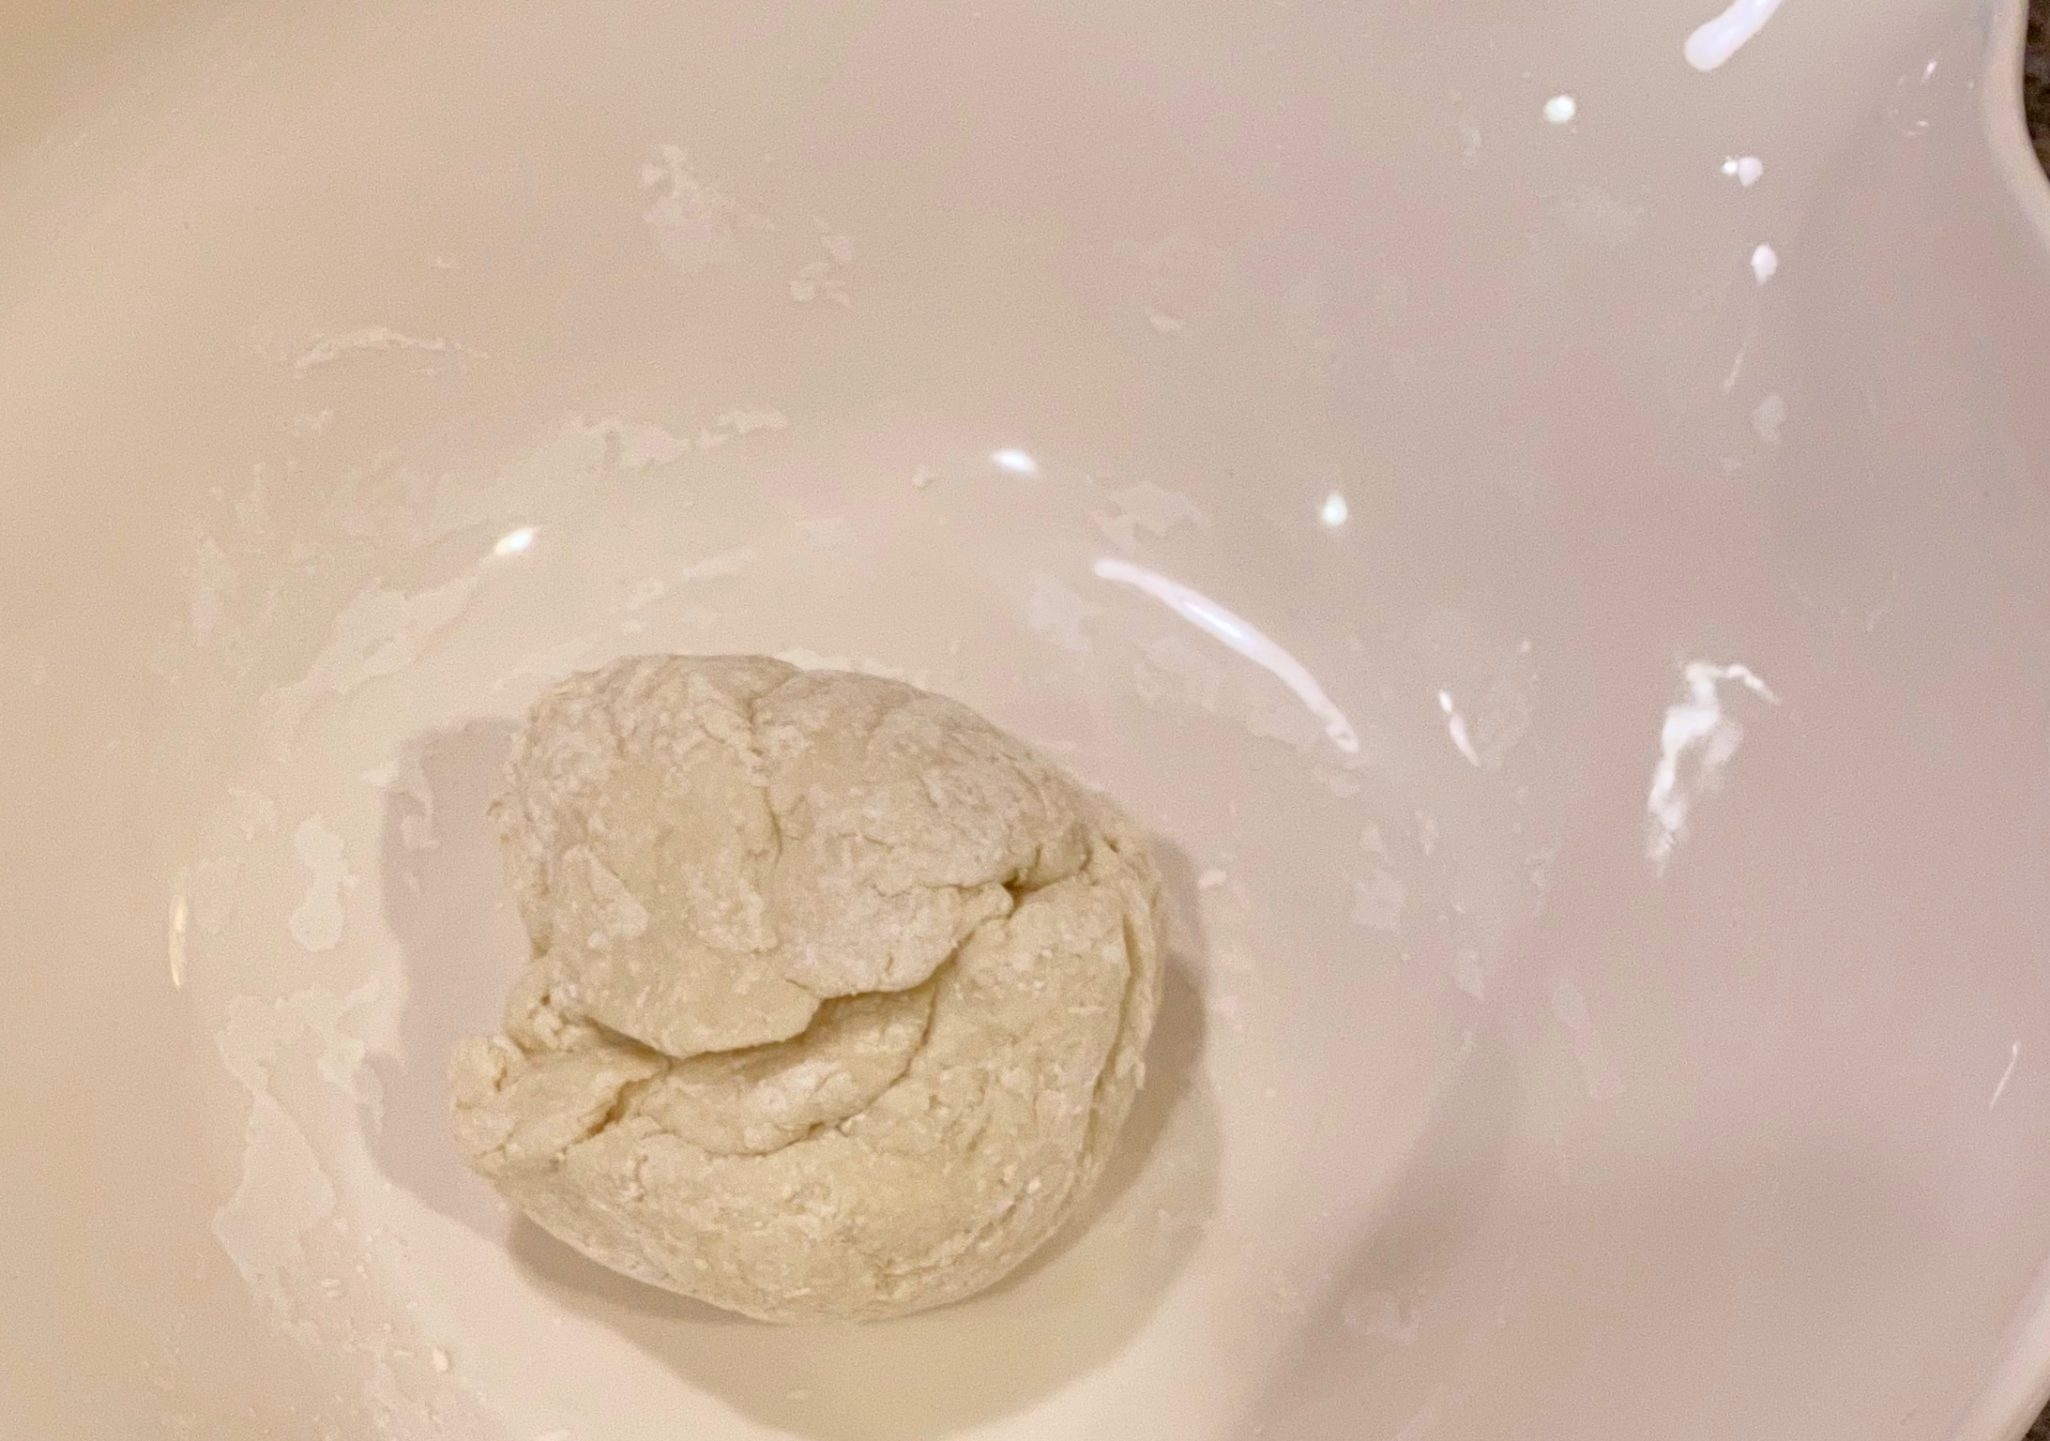 Switch to using your hands to smoosh the shaggy stuff together to form a ball. Don’t worry, it will look rough. Remove the dough from the bowl and knead the dough on your counter. Knead until the dough becomes smooth, soft, and pliable.
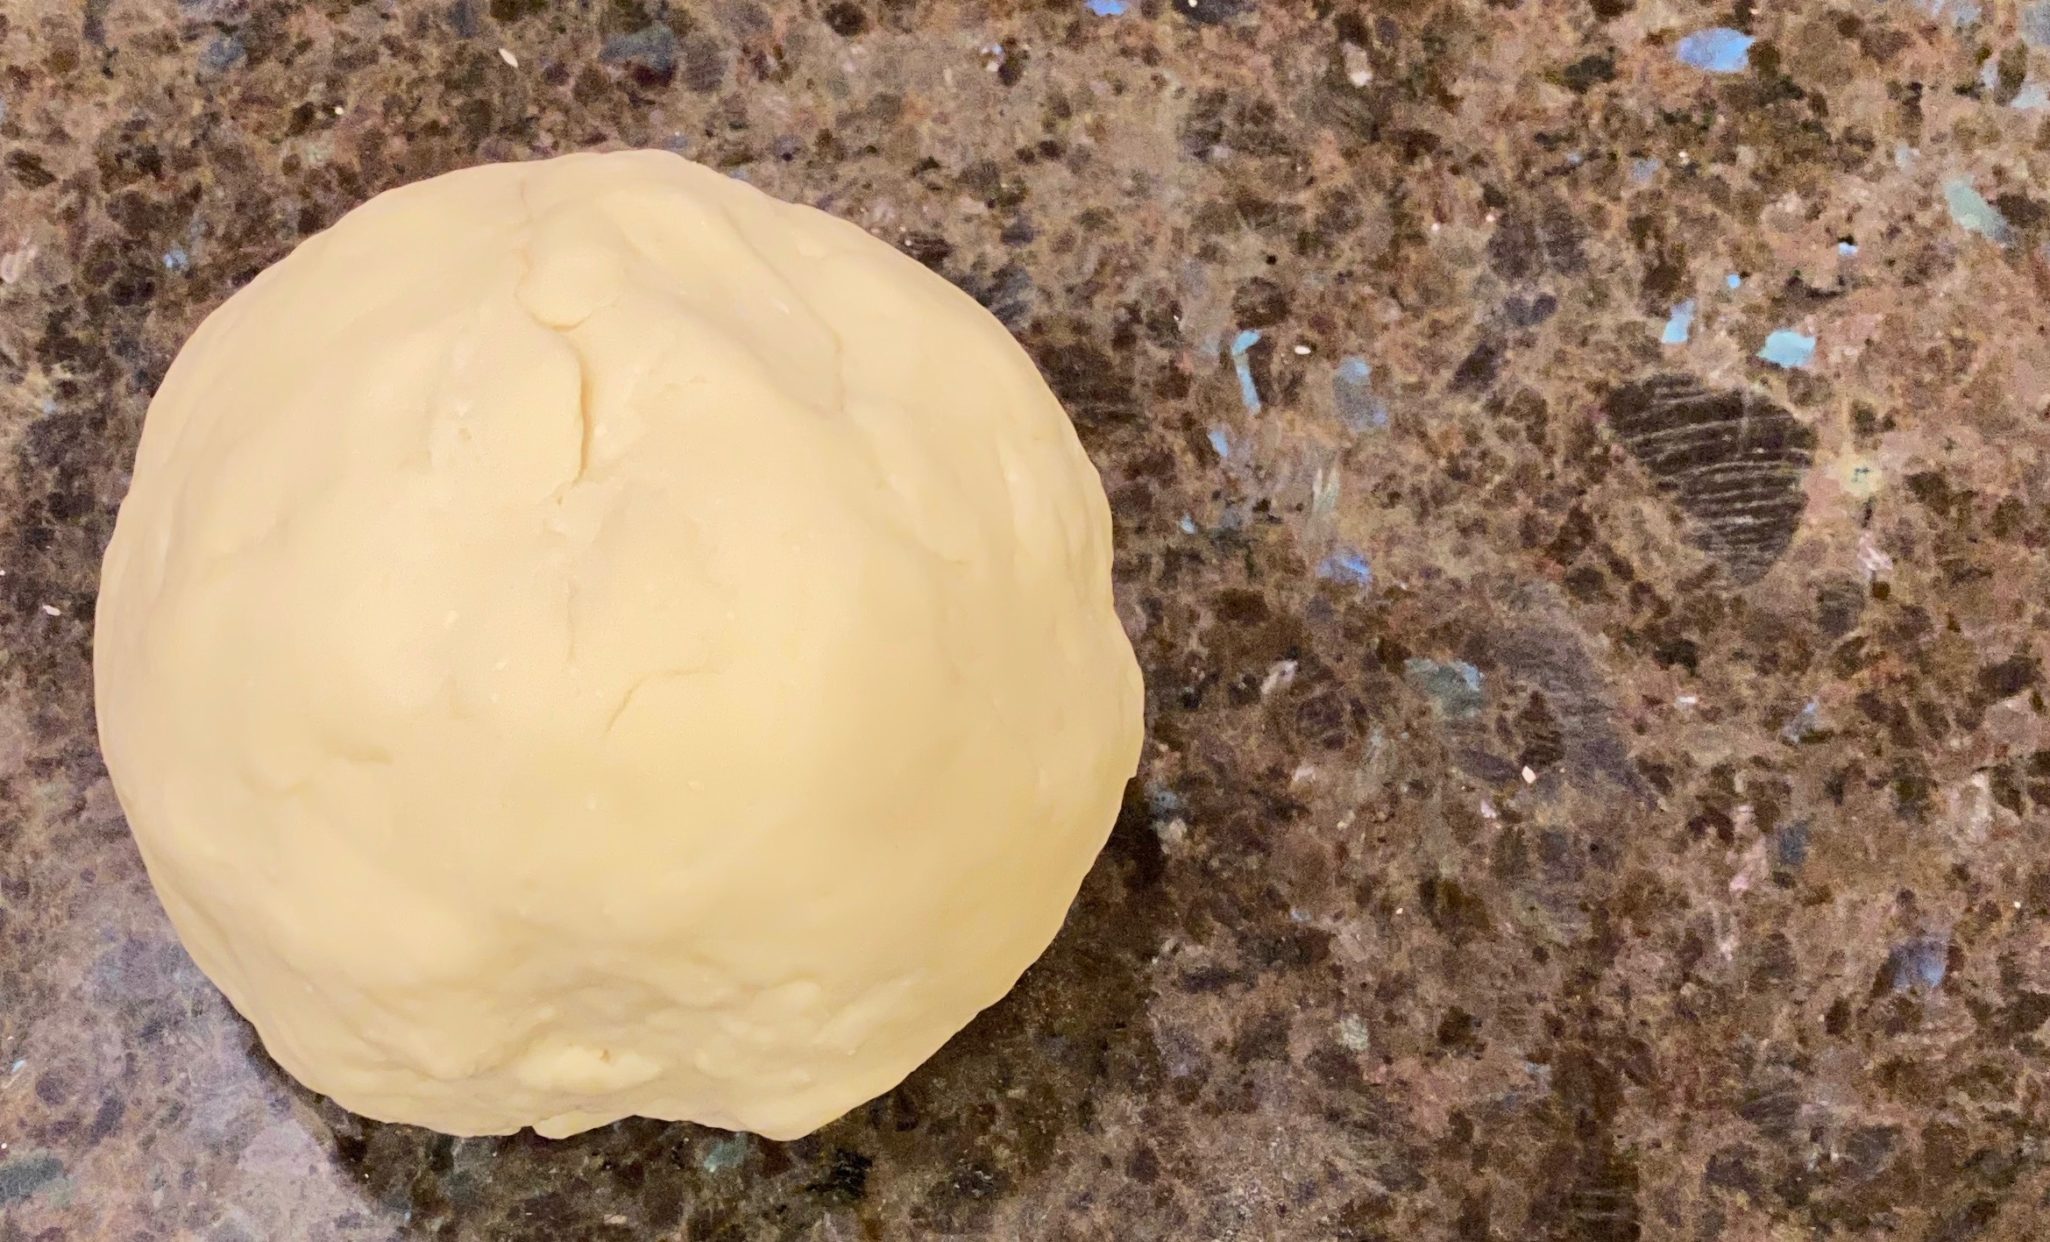
See? Smooth, pretty dough after about 5 minutes of kneading. Put the dough ball back in the bowl and cover it with plastic wrap. Let the dough sit for 40-45 minutes. This allows the gluten to relax so it won’t contract when you roll the wrappers out.
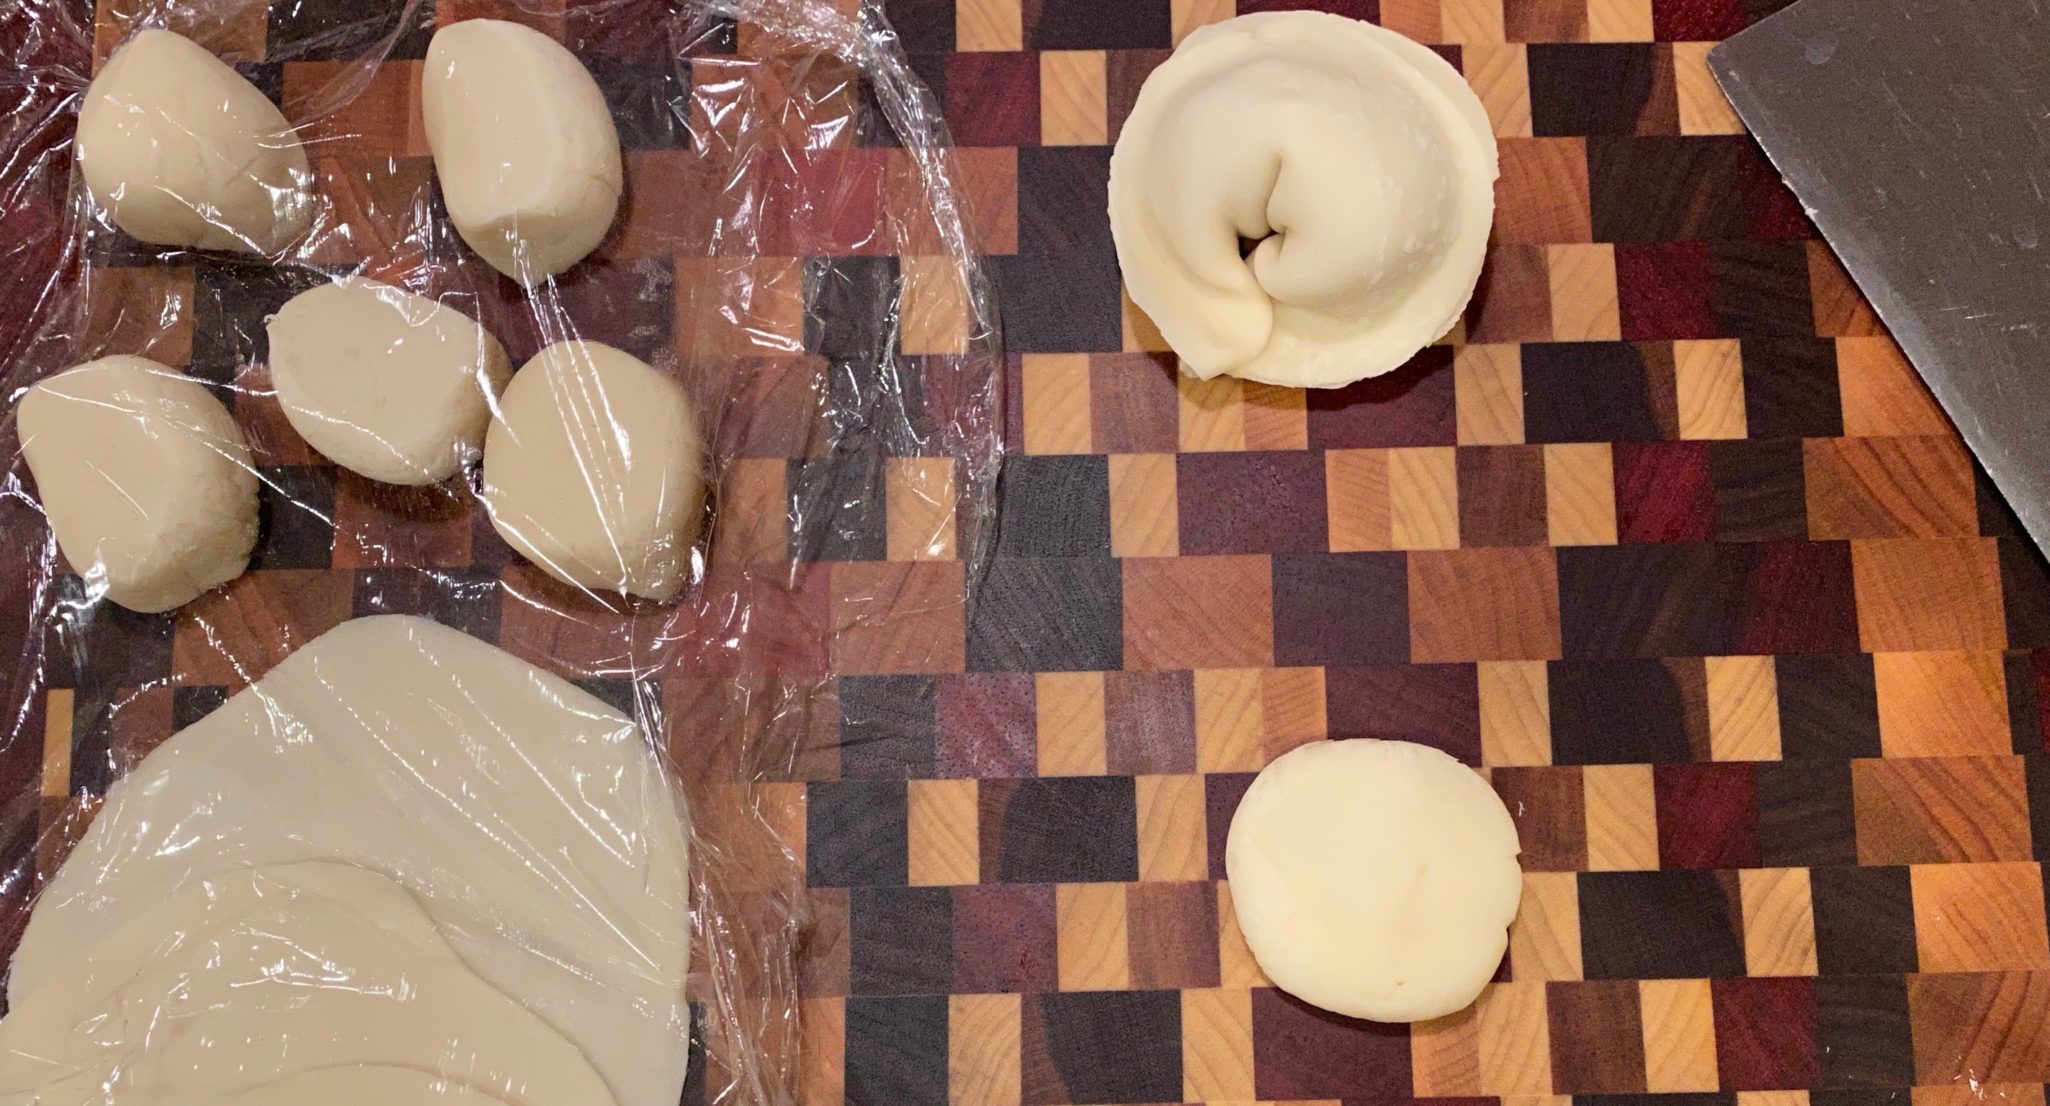
Divide the dough into two and shape each into logs around 6-8 inches long. Work with one log at a time. Cover the rest of the dough so it doesn’t dry out. OR, a neat trick to making your logs -> Take the ball of dough and poke your thumb through the center creating a center hole, like a donut. Gently pull out from the center hole creating a bigger hole so it forms a ring. Keep stretching and pulling until the ring is around 1.25 inches in thickness and stop. Cut crosswise through the dough creating two logs. Ta-da!
Let’s Roll!
Cut each log into 10 equal pieces approximately 1/2 inch thick. For regular size dumplings, you are looking for pieces that weigh about 12-14 gms each. The pieces will look like little discs. Working with a piece at a time, covering the rest, flatten the disc with your hand. Then, using a small rolling pin roll the dough once, give it a quarter turn and roll again. You should have a rough circle. Pick up the outside edge further away from you and elevate it slightly, push the rolling pin onto the wrapper towards the center of it. Rotate the dough another quarter turn and roll again. Repeat going around the entire wrapper. Essentially you are flattening the wrapper, making it thinner especially on the edges. You should end up with a circle about 3.5 inches in diameter.
To make dumplings like Kimchi Mandu. Place a heaping tablespoon of filling in the center on a wrapper. Fold into a semicircle and pressing the air out of the inside of each dumpling and sealing the edges. If you are using fresh dough you won’t need to wet the edges much if at all. Commercial wrappers will need some moisture, use water or an egg wash on the edges to seal. Rolling and wrapping video!
Proceed to Filling! My mom’s wontons here. Kimchi Mandu here
Dumpling Wrappers (Potstickers or Mandu)
Equipment
- 6-10 inch small diameter rolling pin
Ingredients
- 1 1/2 cup All-purpose flour AP like Gold Medal will work or Asian AP Flour for dumplings and noodles. Moderate protein content
- 1 Tbs. Potato starch sub cornstarch
- 1/4 tsp. Salt
- 1/2 cup Hot water not boiling, approximately 105-110 degres,
Instructions
- In a large mixing bowl, combine flour, potato starch, and salt. Make a well in the middle of dry ingredients mixture, pour in hot water. Slowly incorporate with a dough whisk or wooden spoon.
- As you mix, the flour-water will begin to look shaggy. At this point switch and use your hands to form a dough ball.
- When there are no dry bits left in mixing bowl, take the dough out of the mixing bowl and start kneading thewith both hands on a flat surface.
- Knead dough 3-5 minutes until it’s soft and smooth.
- Place dough back in the bowl and cover with plastic wrap. Let it rest for 40-45 minutes.
- Divide dough in half and shape each piece into a 6” to 7” log. Cut logs in half and then cut into 1/2” wide pieces, you should end up with 10 equal pieces from each log and 20 equal pieces total.
- Work with one piece of dough at a time, cover the remaining pieces with a damp towel to prevent it from getting too dry. Slightly flatten each disc with your palm.
- Using a rolling pin, flatten dough by rolling once, then turn the dough a quarter turn and roll.
- The next step is creating the final 3 1/2” circle that is slightly thinner around the edges and thicker in the middle. Keep your pin on the surface and roll towards the center of the circle and back. Rotate dough as you are rolling to create an even circle.
- Place dumpling wrapper on a flour dusted plate and dust each dumpling wrappers so they won’t stick together. Cover dumpling wrapper with a plastic wrapper to prevent drying.
- Repeat with remaining rounds.
Notes
Enjoy!
