Tag: Eric Kim

Cold Noodles with Tomatoes (Tomato Triple Play)

Cold Noodles with Tomatoes (Tomato Triple Play)

I have taken over tomato duties from the hubby who has given up on becoming an urban farmer.  We just haven’t had any luck with turning our garden into a summer veggie paradise.  My bounty from 5 tomato plants so far has been a grand total of 4 tiny red orbs 🤦🏻‍♀️

FORTUNATELY, we have a wonderful farmer’s market in town.

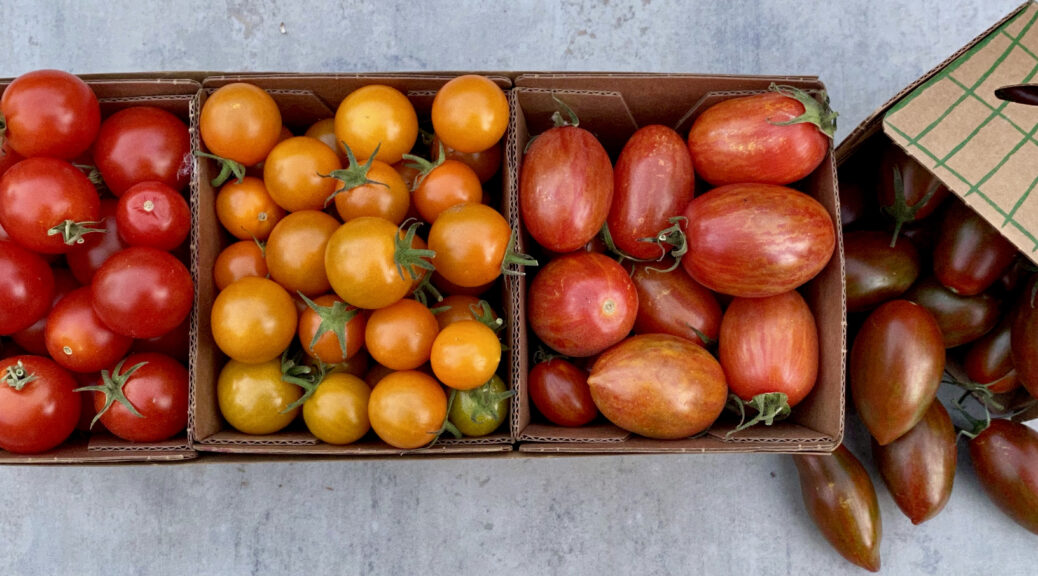
My haul from last week’s farmer’s market included a variety of cherry tomatoes including Bronze Torch Cherry Tomatoes (pictured on the right above) from Live Earth Farm in Watsonville. We have been buying Live Earth produce since my kids were toddlers and they’re in their twenties now!  The Bronze Torch Cherry Tomatoes are simply AH-MAZING.  Sweet, tomatoey, delicious.

Tomato Trifecta

I am a big fan of Eric Kim.  He writes regularly for New York Times Cooking and just published a wonderful cookbook, Korean American.  It is hands down one of my favorite books. His recipes are easy and delicious and his writing is even better.  You can also find him on YouTube making many of his recipes, he’s funny, personable, and charming.  I went to his book signing at Omnivore Books in SF, fun, I’m such a food groupie.

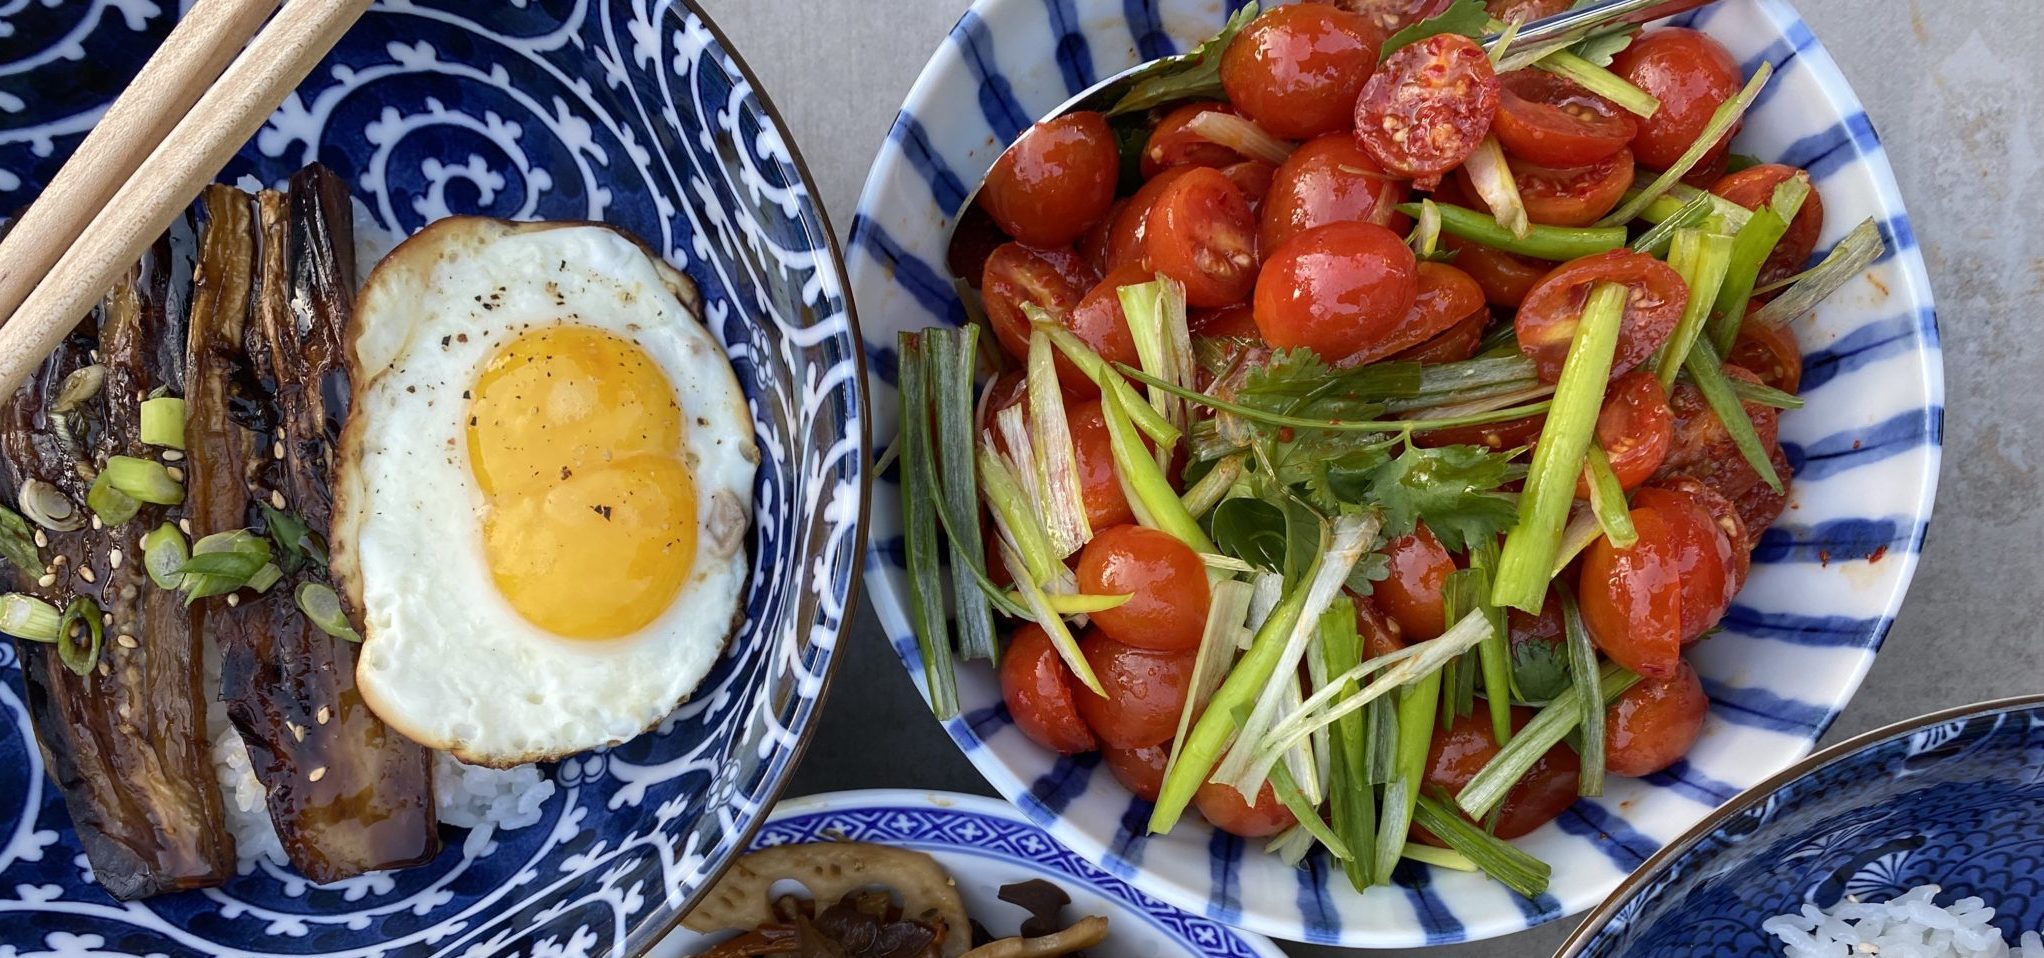
I love his Grape Tomato Quick Kimchi which I make all the time.  Serve as Banchan (side dish-pictured on the right above) one day and as a sauce over noods the next day.  It is downright delicious.  As soon as I saw his Cold Noodle with Tomatoes recipe I jotted it down on my MAKE ASAP list.  It is so easy and incredibly delicious.  It should go on your list too.

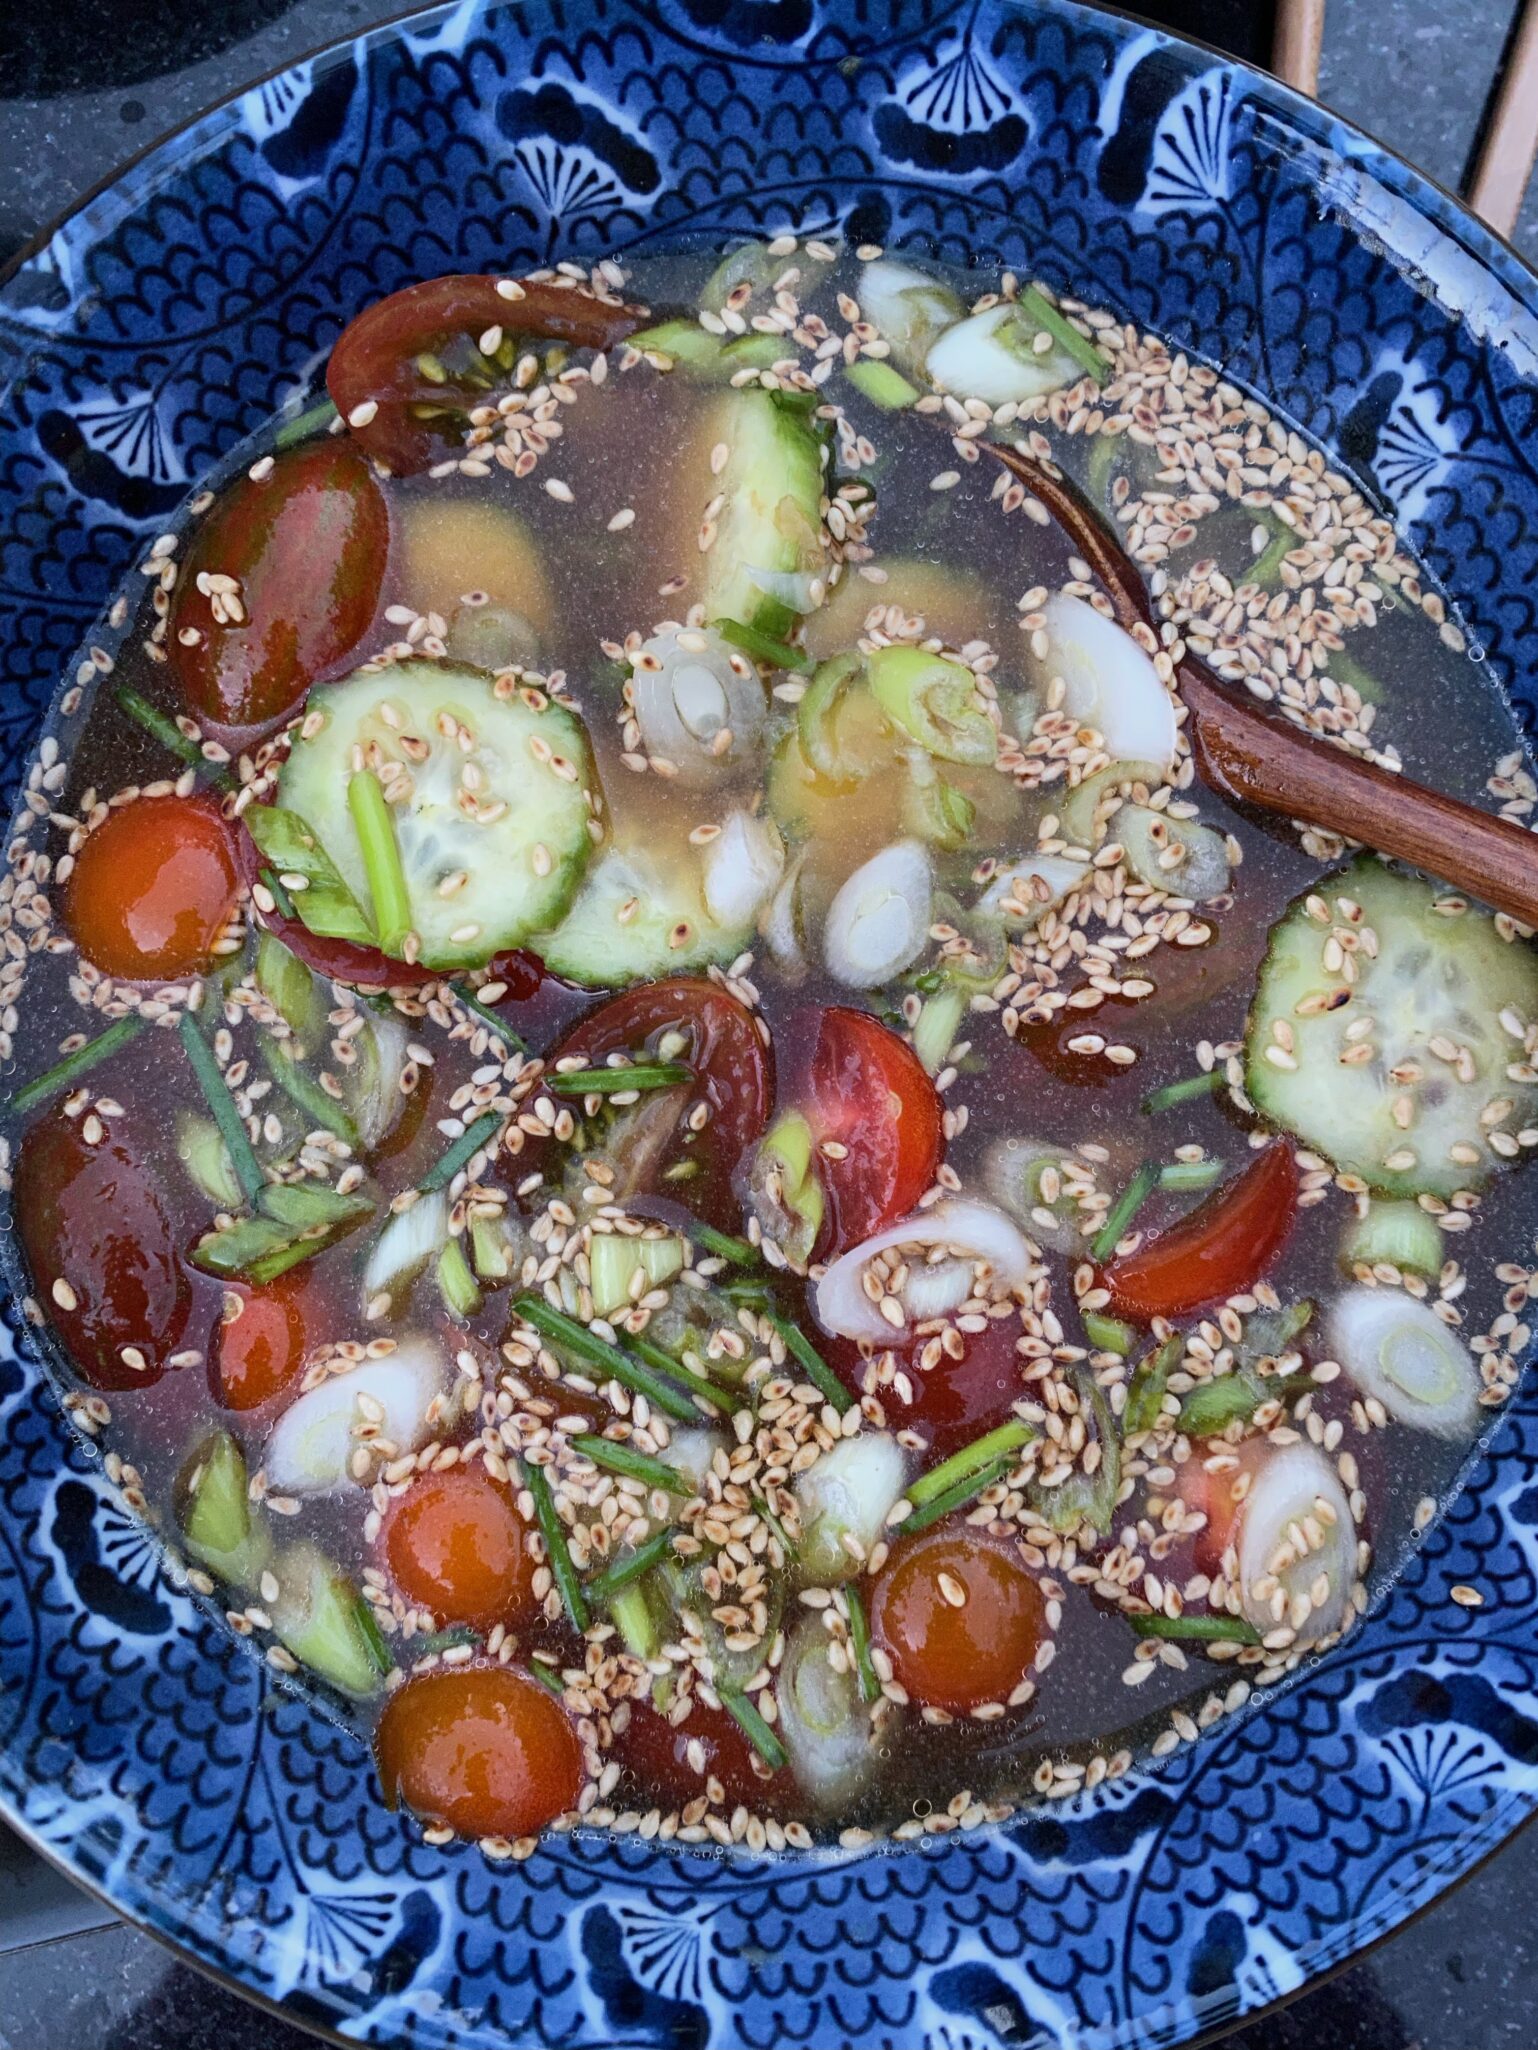
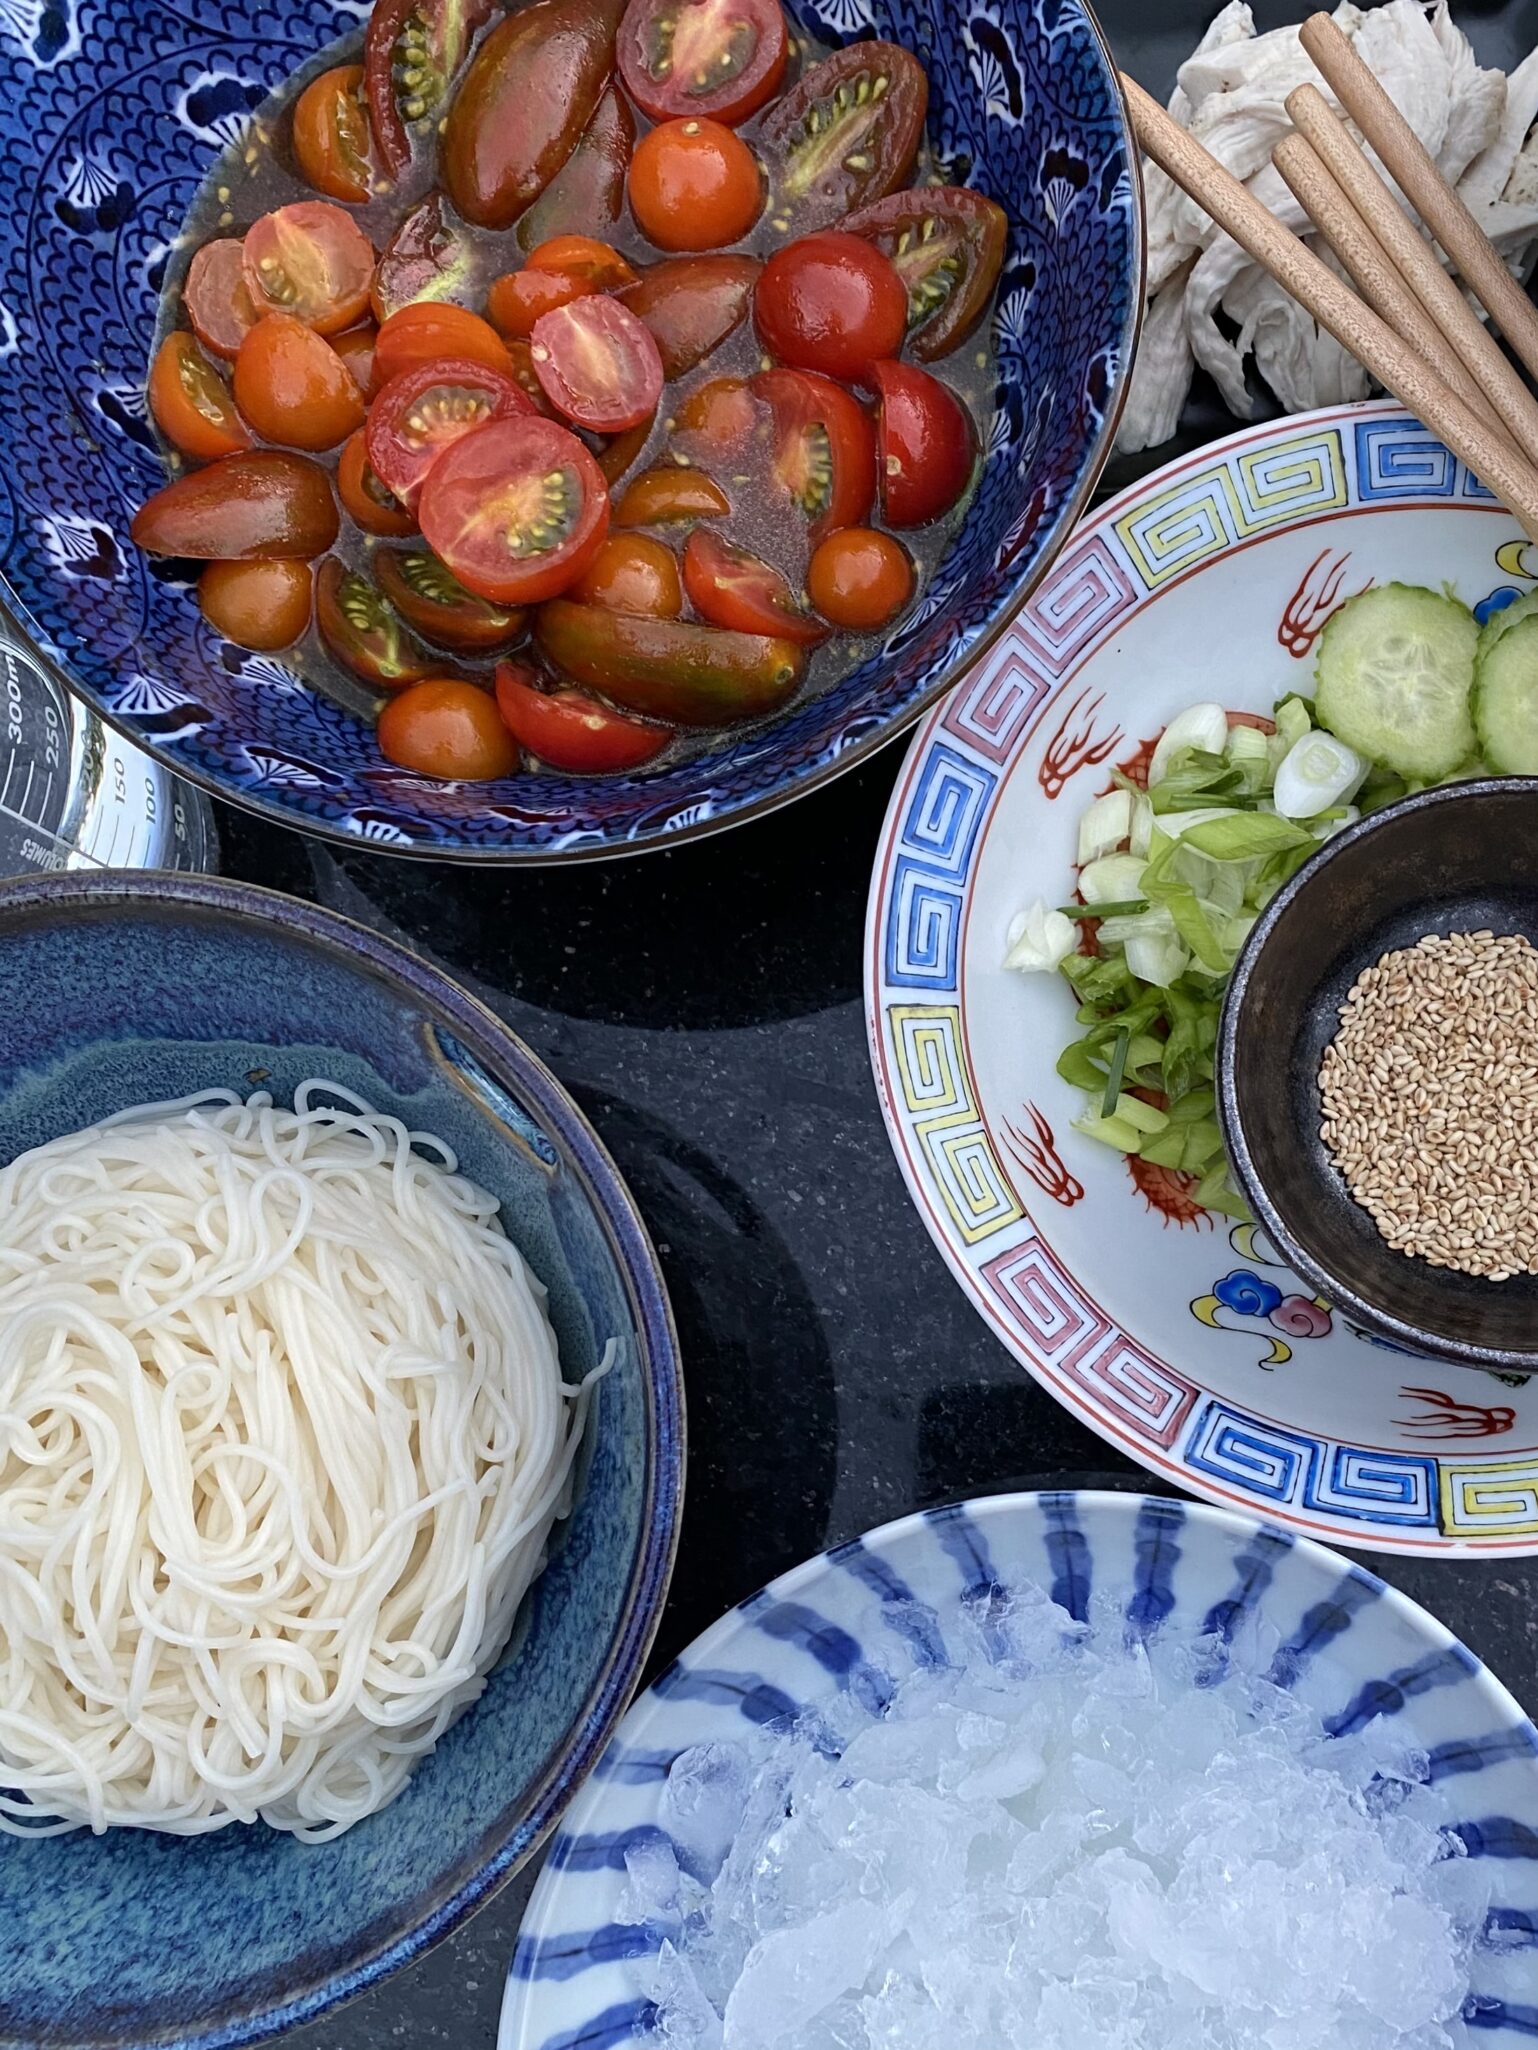
Start with cherry tomatoes, slice them in half, and sprinkle with salt.  Let the tomatoes sit in the bowl while you put together the rest of the dish.  No need to use a strainer as the juices from the salted tomatoes become part of the broth.  Mince garlic, get out the rice vinegar, soy sauce, Dijon mustard, and sesame oil, and toss it all in a bowl along with the tomatoes.  Next, add cold-filtered or bottled water to the bowl (use water that tastes good).  Add diced scallions, and slices of radishes (the little red ones) or cucumbers to the broth. Set the broth aside.

Here’s the Hard Part

How to cook your somen.  DO NOT COOK YOUR SOMEN while you are getting the other components together. Make the broth and set it aside.  Focus on the noods so you don’t overcook them.  For somen (thin Japanese wheat noodles), start with plenty of unsalted water.  Somen has salt in it. If you use too little water, the noods will absorb too much water because of the salinity. Watch them like a hawk, and stir them with chopsticks or tongs while cooking to separate the noodles, this takes 3-4 minutes TOPS.  Remove from heat, rinse thoroughly under cold water and drain well.

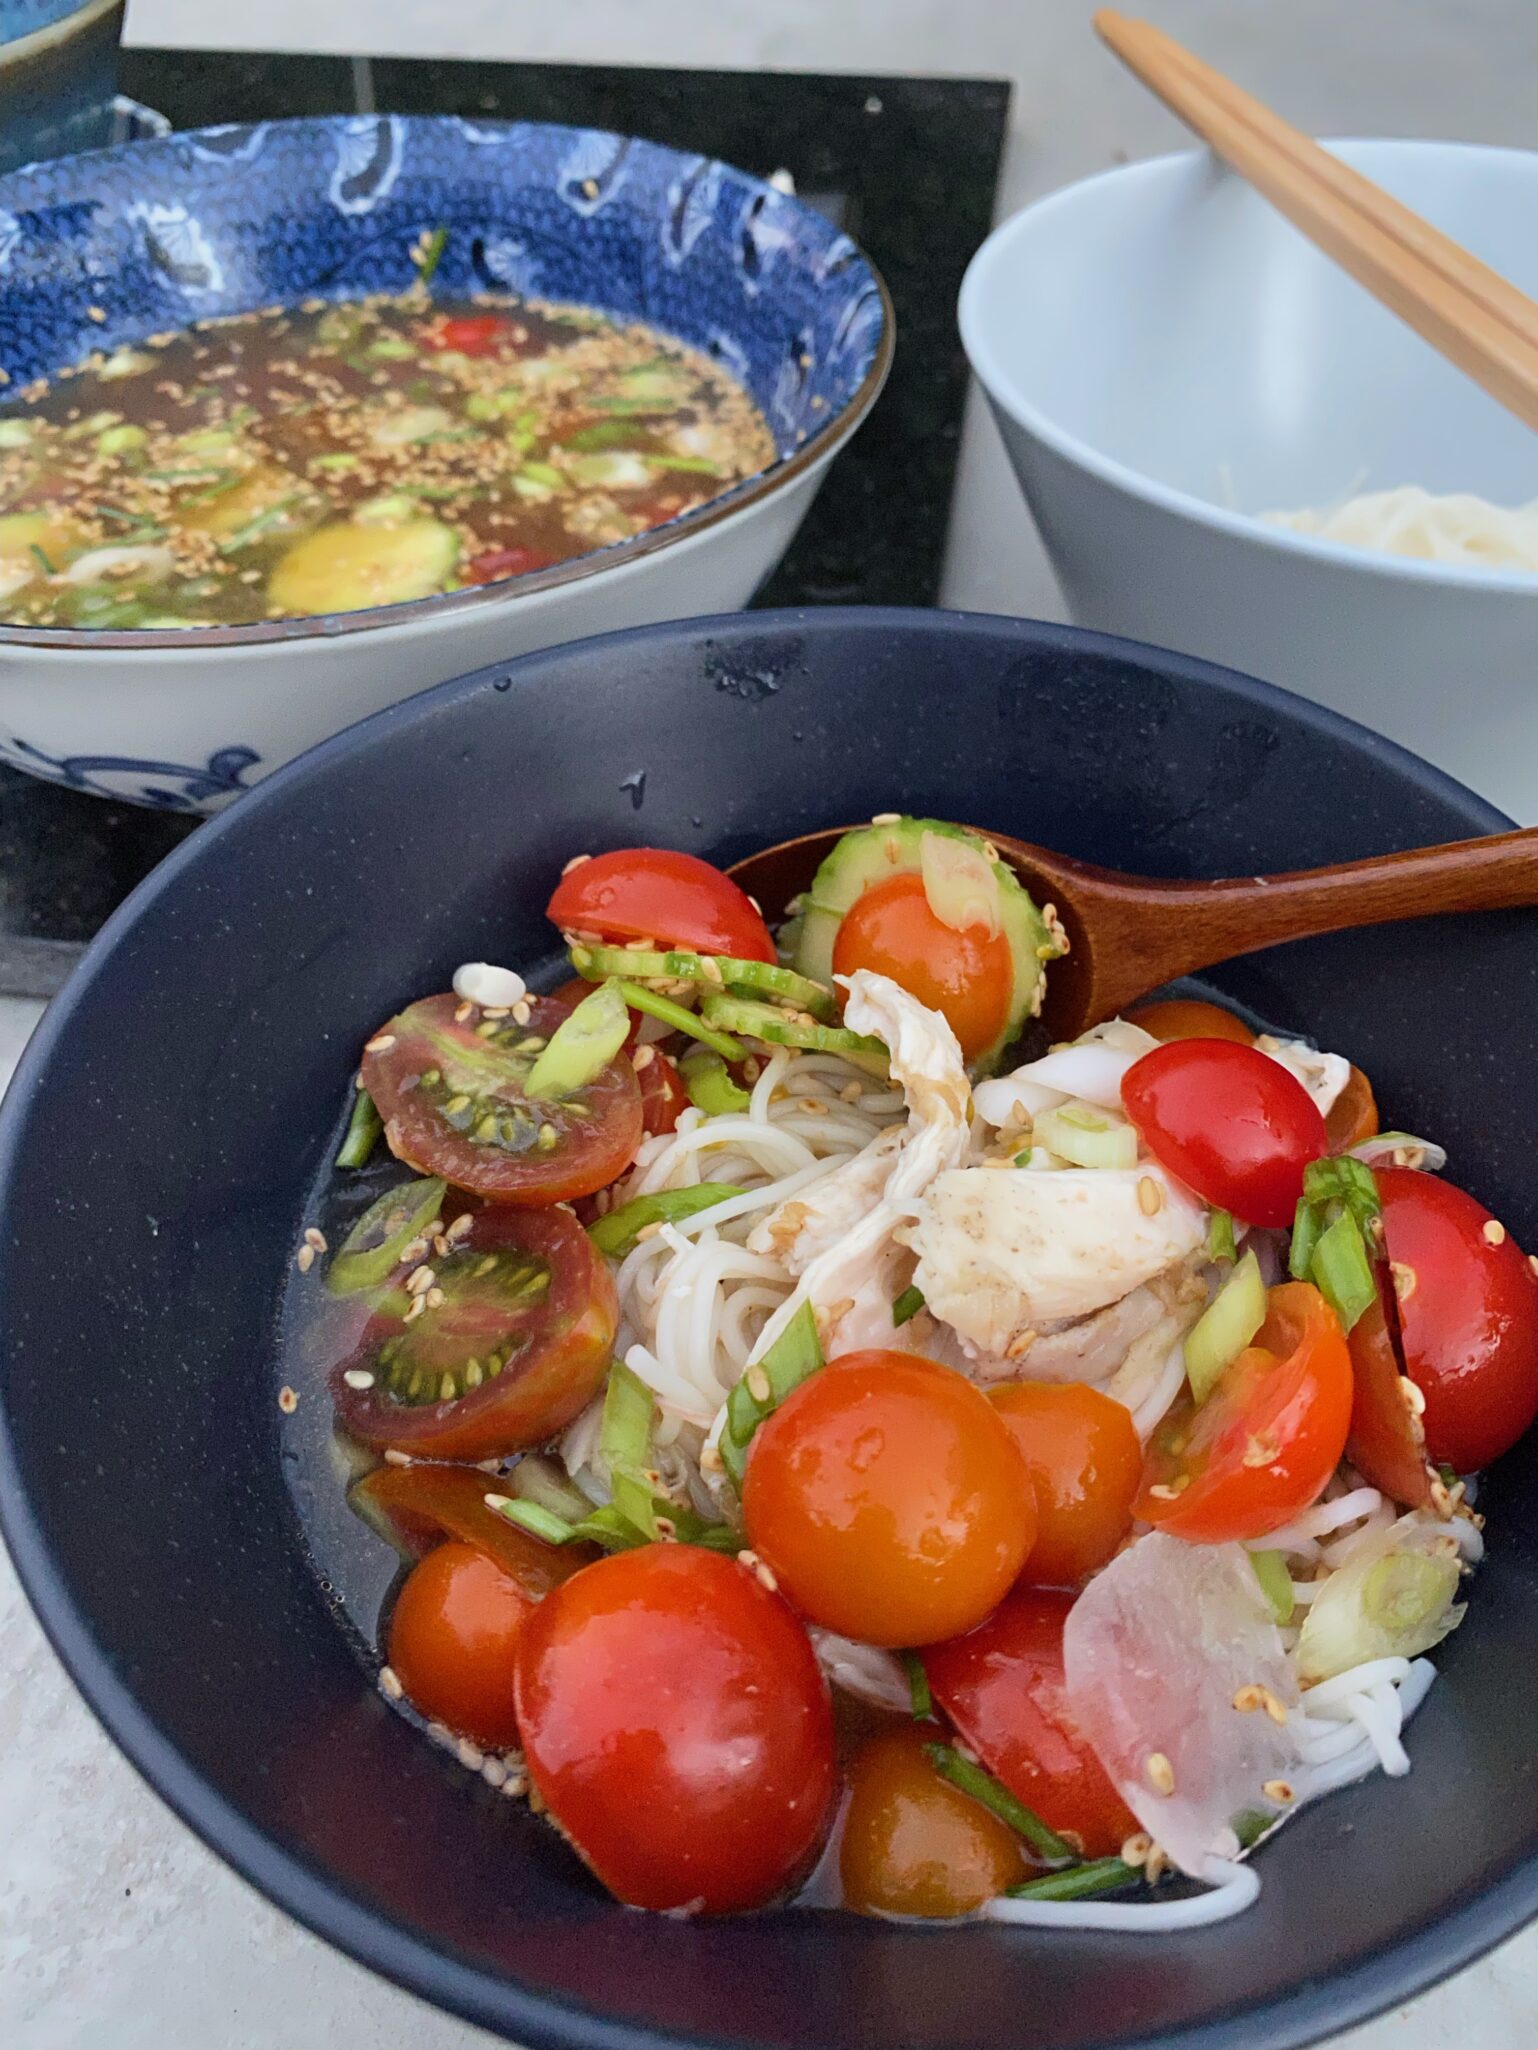
Before serving, twirl noodles into a bundle and place them in a bowl.  Add crushed ice to the tomatoes and pour it over your noodles.  Garnish with additional scallions and sesame seeds.  It’s so refreshing, the perfect summer meal.  Carnivores, feel free to add shrimp or chicken or half of a hard-boiled egg.   Serve asap on a hot summer day.  Sooooooo good.

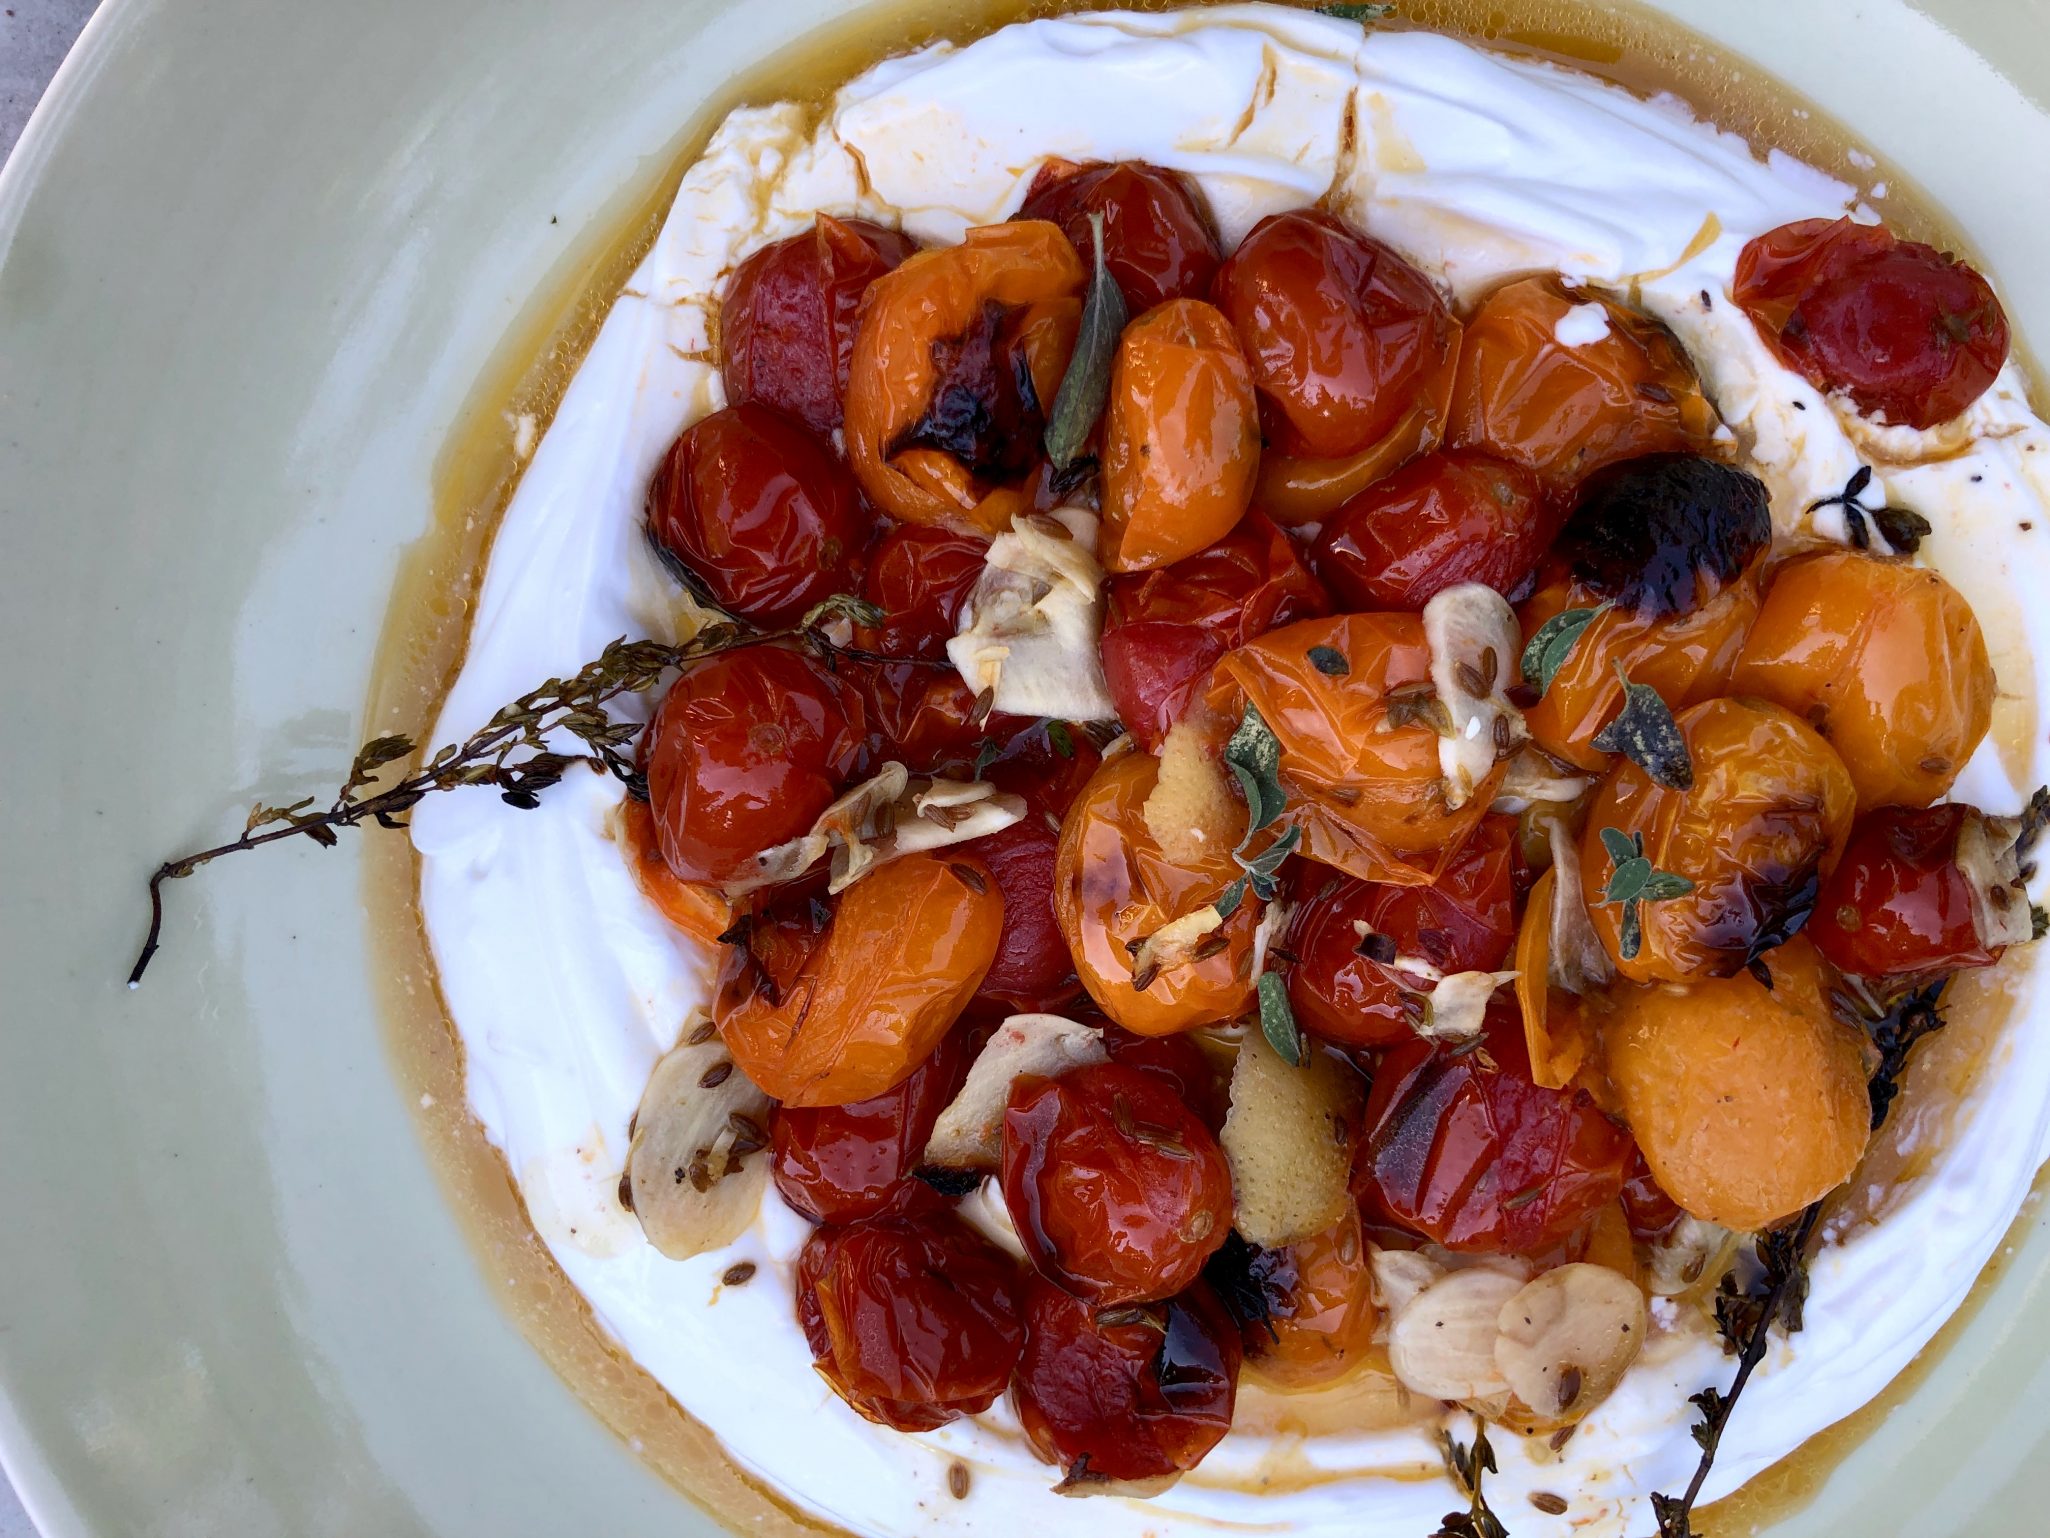
BONUS,  Ottolenghi’s Charred Tomatoes and Cold Yogurt.  Yes, my trifecta of tomato recipes.  Tomatoes, roasted with thyme, cumin seeds, lemon, and garlic,  served over yogurt or Labneh. It’s my go-to party appetizer, especially in the summer.  It’s “lick the bowl clean” good.  A showstopping, easy dish.  Make it, you’ll thank me.

Cold Noodles with Tomatoes

Refreshing, delicious, and easy to prepare, Eric Kim's Cold Noodles with Tomatoes
Course noodles, one bowl meal, pasta, Soup
Cuisine Asian, Asian-American, Korean
Keyword cherry tomatoes, Cold noodles, Cold Noodles with Tomatoes, soup
Prep Time 15 minutes
Cook Time 5 minutes

Ingredients

The Star

  • 2 pints ripe cherry tomatoes halved
  • 2 teaspoons kosher salt (Diamond Crystal)

The Noods

  • 12 to 14 ounces somyeon somen, capellini or other thin wheat noodle

Soup and Seasonings

  • ¼ cup rice vinegar
  • 2 tablespoons soy sauce Kikkoman, Sempio 501 or 701 or LKK Premium Soy
  • 2 tablespoons granulated sugar
  • 1 large garlic clove finely grated
  • ½ teaspoon Dijon mustard
  • ½ teaspoon toasted sesame oil
  • 2 cups cold filtered water or bottled water of your choice.
  • 1 tablespoon toasted sesame seeds

The Garnishes

  • 2 radishes thinly sliced, or cucumbers work in a pinch
  • 2 scallions thinly sliced at an angle
  • 2 cups crushed or cubed ice

Omnivore Options

  • cooked shrimp or shredded chicken
  • hard boiled eggs, but not too hard-boiled lol

Instructions

  • In a large bowl, toss together the tomatoes and salt. Let sit until juicy, about 10 minutes.
  • Bring a large pot of water to a boil. Cook the noodles according to package instructions, drain and rinse under cold water. Set aside. See post for how to cook somen noodles.
  • Add the vinegar, soy sauce, sugar, garlic, mustard and sesame oil to the tomatoes, and toss with a spoon until well combined. Stir water into the tomatoes and sprinkle the surface of the broth with the sesame seeds, radishes and scallions.
  • Right before serving, add the ice to the broth. Divide the noodles among bowls, and ladle in the broth and any unmelted ice, making sure each serving gets a nice sprinkling of tomatoes, radishes, scallions and sesame seeds.
Chamomile Tea Cake with Strawberry Icing (Slice of Tea Cake & A Cuppa Tea)

Chamomile Tea Cake with Strawberry Icing (Slice of Tea Cake & A Cuppa Tea)

He needs to stop.  I would like to dive into Eric Kim’s cookbook, Korean-American but have not been able to and it is all his FAULT.  Yep, the blame lies squarely on his shoulders.

Eric is on staff at the NYT Cooking.  I’m not sure what his obligation is to the venerable paper, a column every week, every couple of days.  Don’t know.  What I do know is he keeps coming up with tasty recipes for the NYT that prevent me from cracking open his book.

Sheesh

So I am asking Eric to please STOP, or at least, slow down with the content for NYT cooking so I can finally try the recipes in your beautiful book.  I’ve only had time to read the stories, which I love, while making your recipes in the NYT.

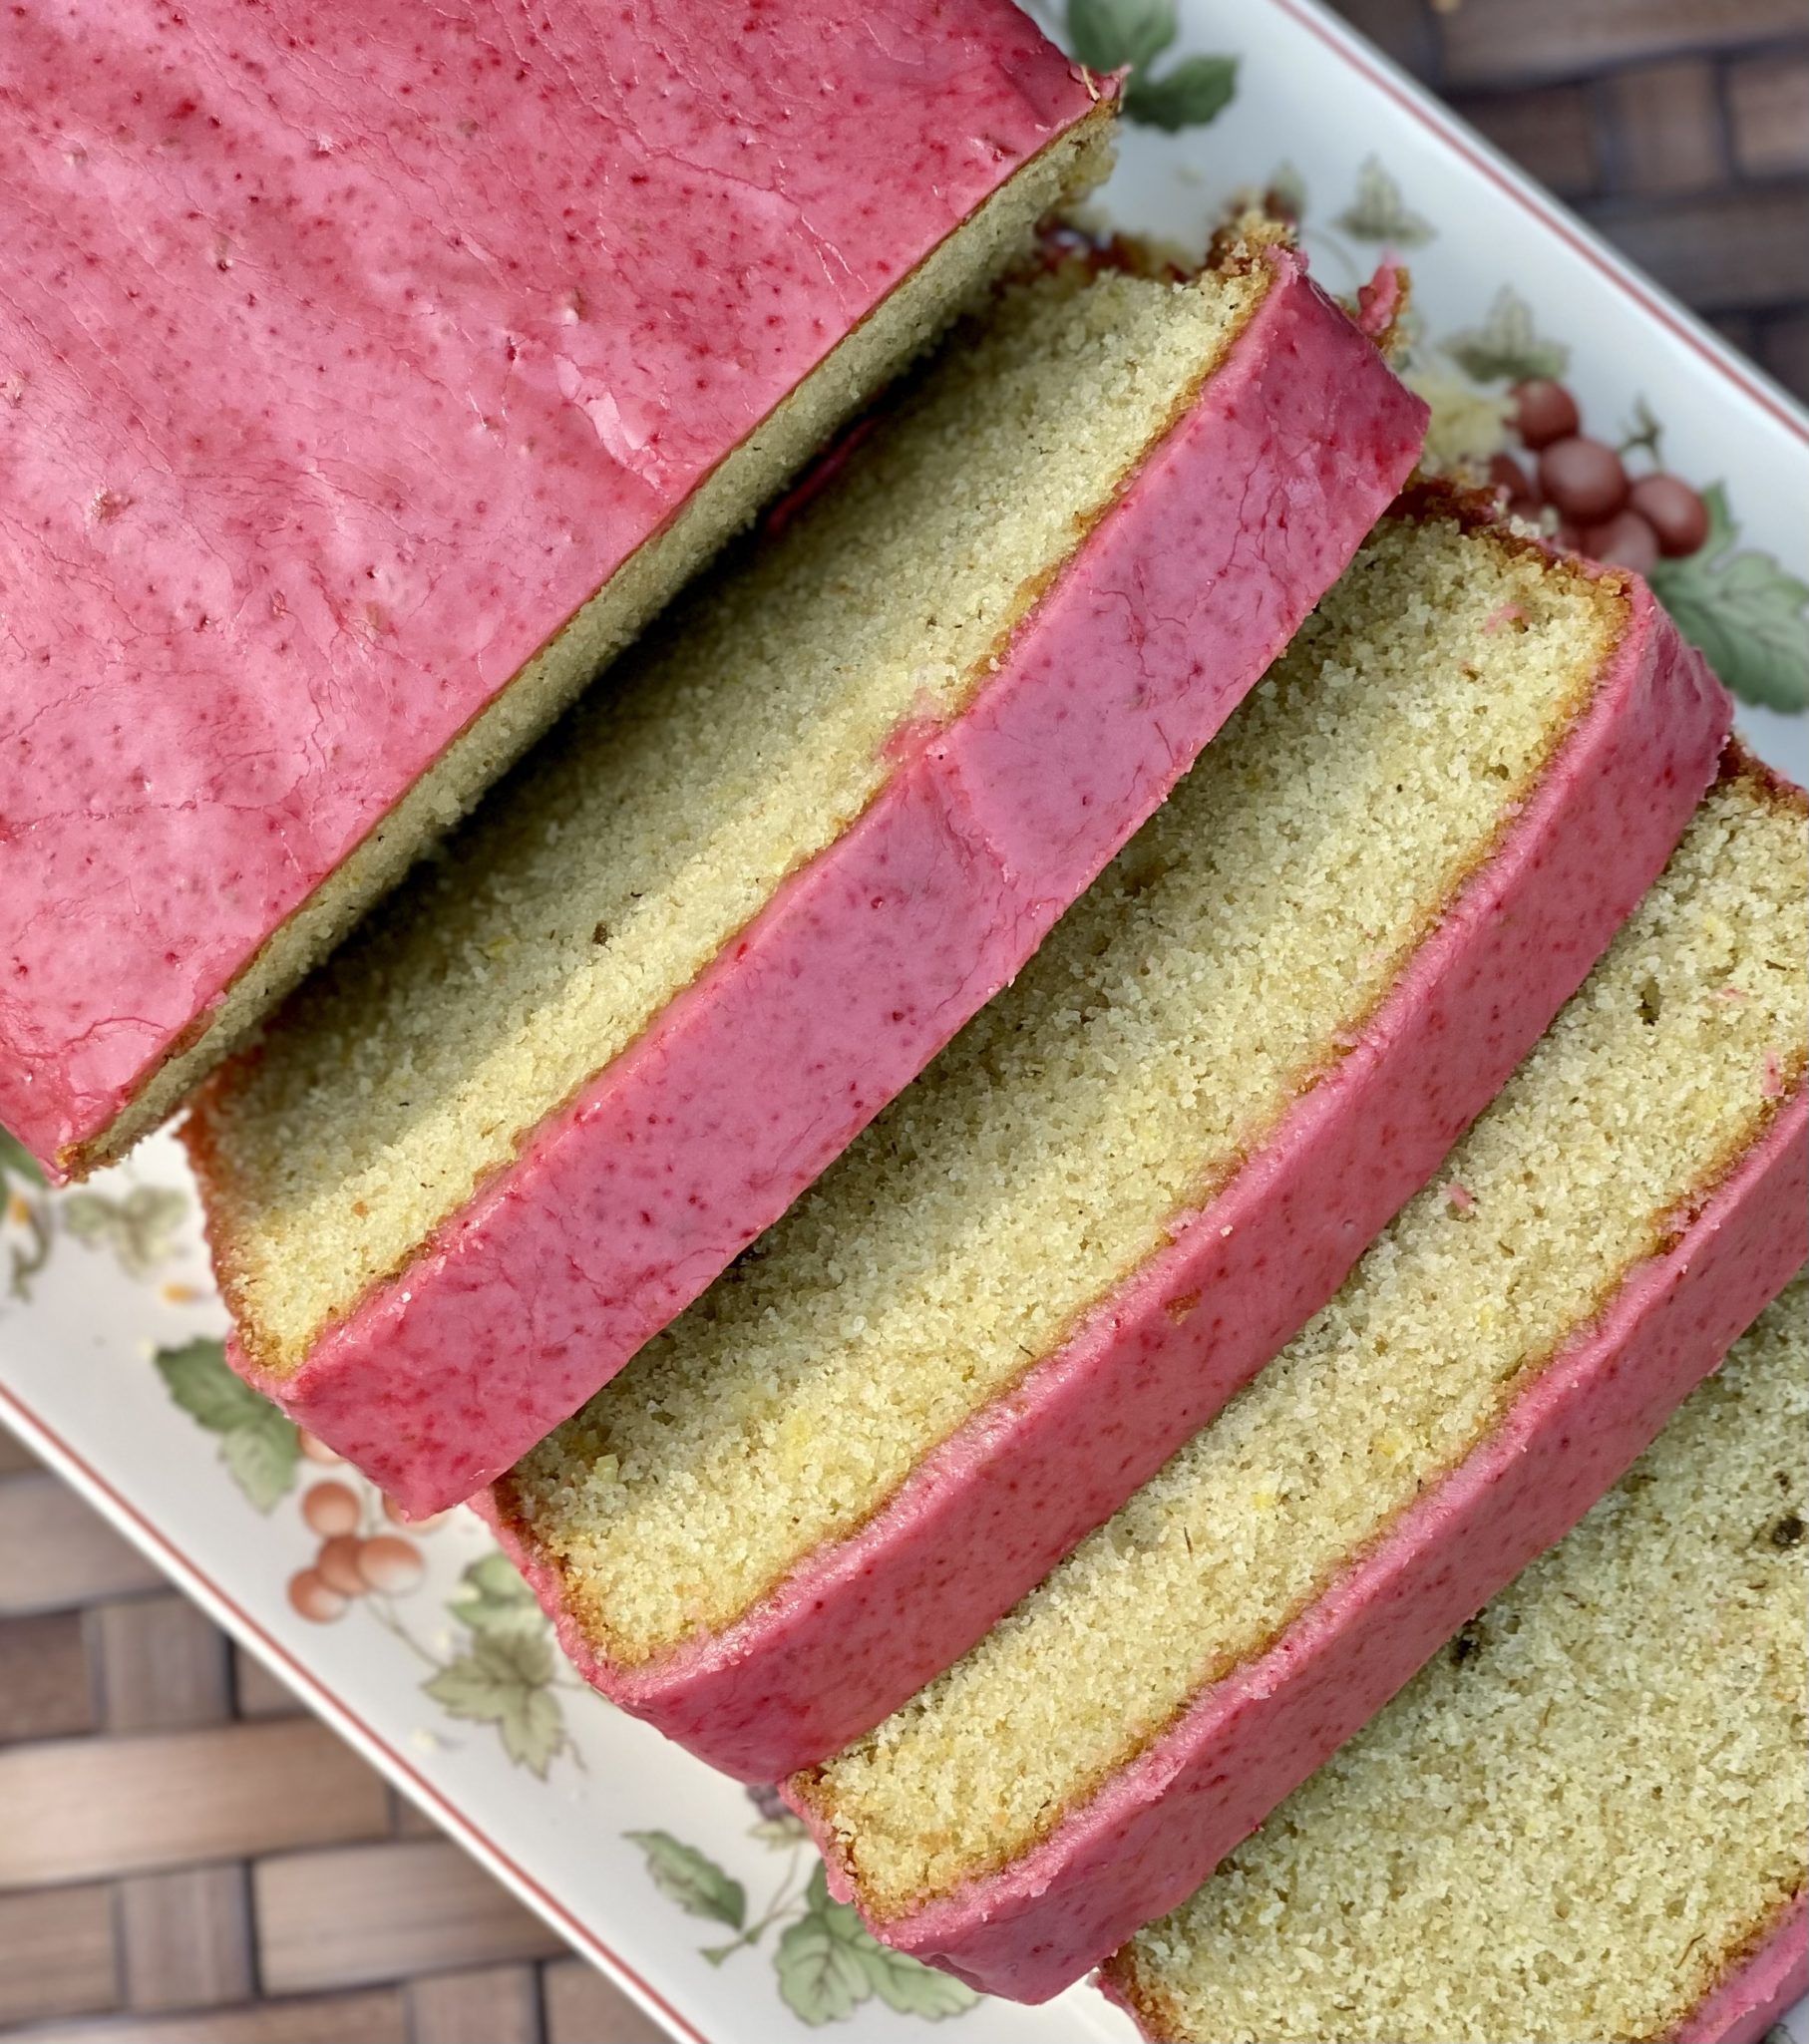
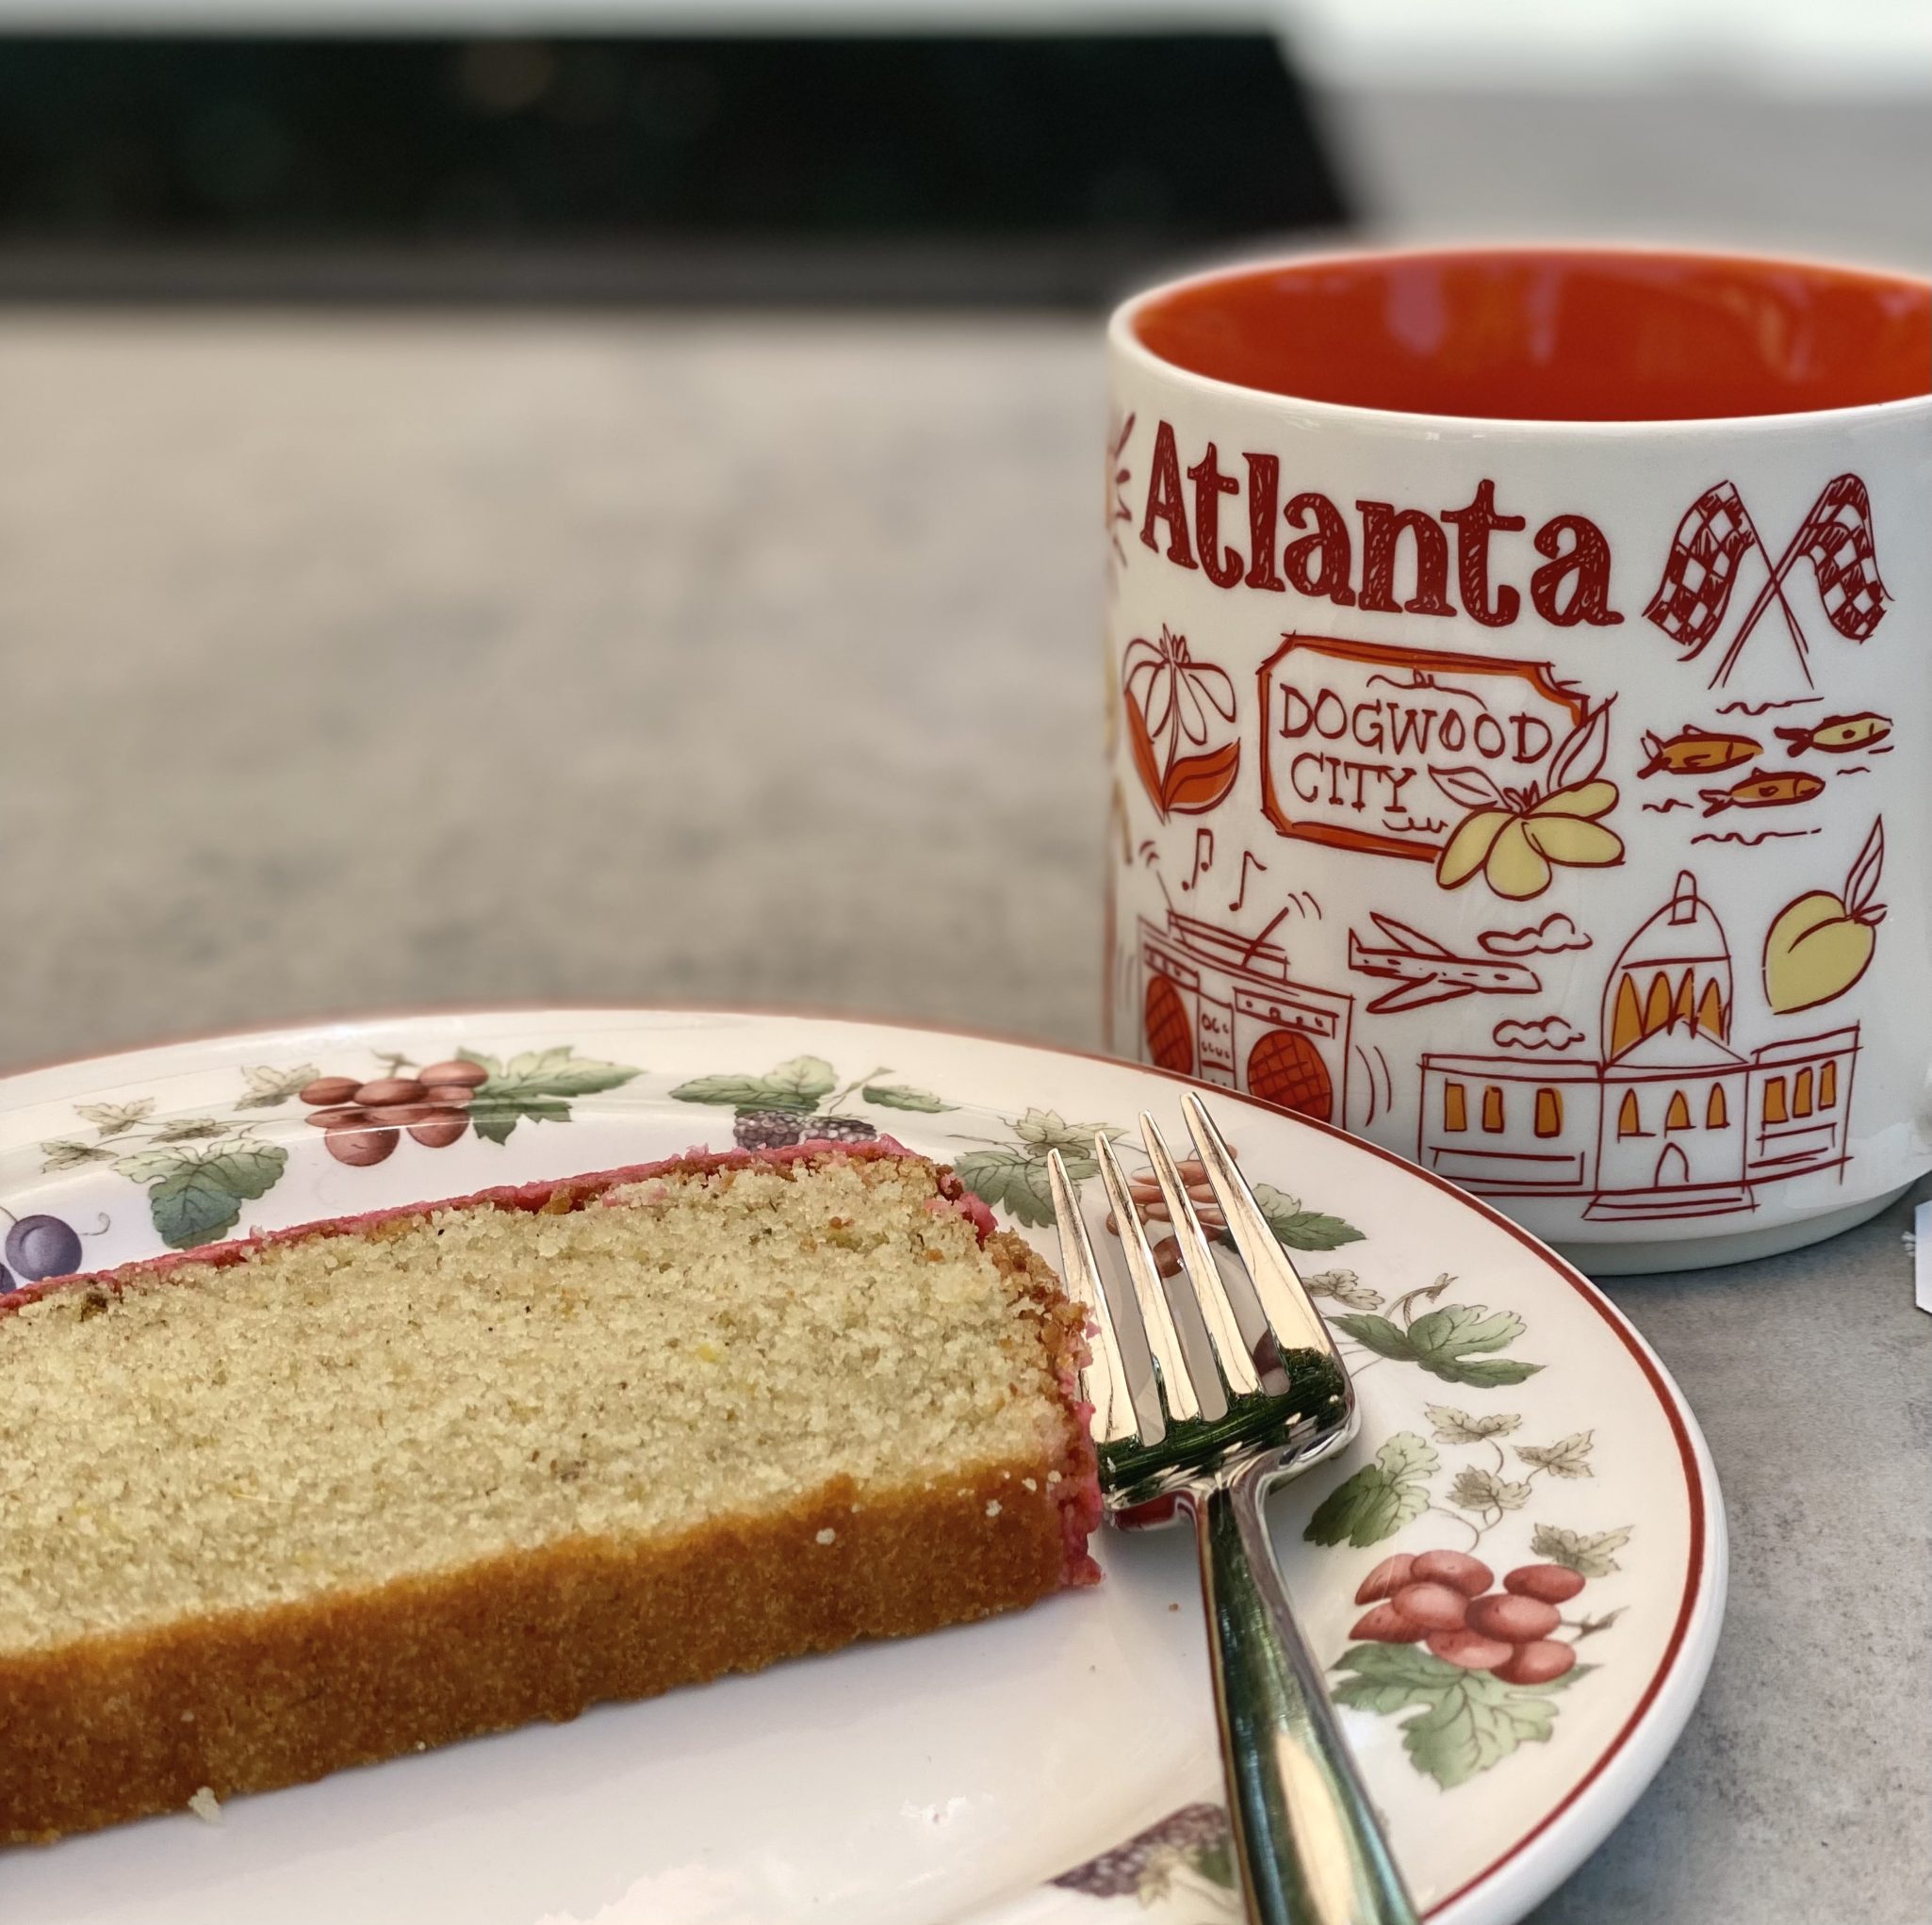
I’m kidding of course (am I?).  His recent contribution to NYT was a Chamomile Tea Cake with Strawberry Icing.  It looked luscious and sounded delightful …so of course, I made it. His cookbook, Korean-American, will just have to wait a little longer.  Although, in all fairness, many of the recipes printed in the NYT are also in his wonderful book.

But Not This Cake

I adore this cake and I wasn’t sure I was going to.  First, I’ve never had a cup of Chamomile Tea in my life.  I’m Asian…it’s Oolong, Jasmine, Roasted Barley, Green Tea…no herbal teas in my house.  My only non-Asian Tea is Lipton”s Black Tea (I’m not even sure I would call it non-Asian, lol)  and that’s to make Hong Kong-style Milk Tea. But the cake looked luscious, very maker-friendly and is an Eric creation, so my knee-jerk reaction after seeing the recipe was to pull out my loaf pan.

A Cup of Tea

This cake can be made by hand, yep, you don’t need to drag out that 50-pound mixer BUT I was lazy so I pulled mine out. This makes the cake incredibly easy to make.  The key is to not overmix to avoid toughening the cake…this is the universal problem when using your mixer, too much muscle.

I bought a box of Chamomile teabags, and the first thing I did was make a cup of tea and try it.  It was soothing, mild, and refreshing…in other words, perfect for this cake.

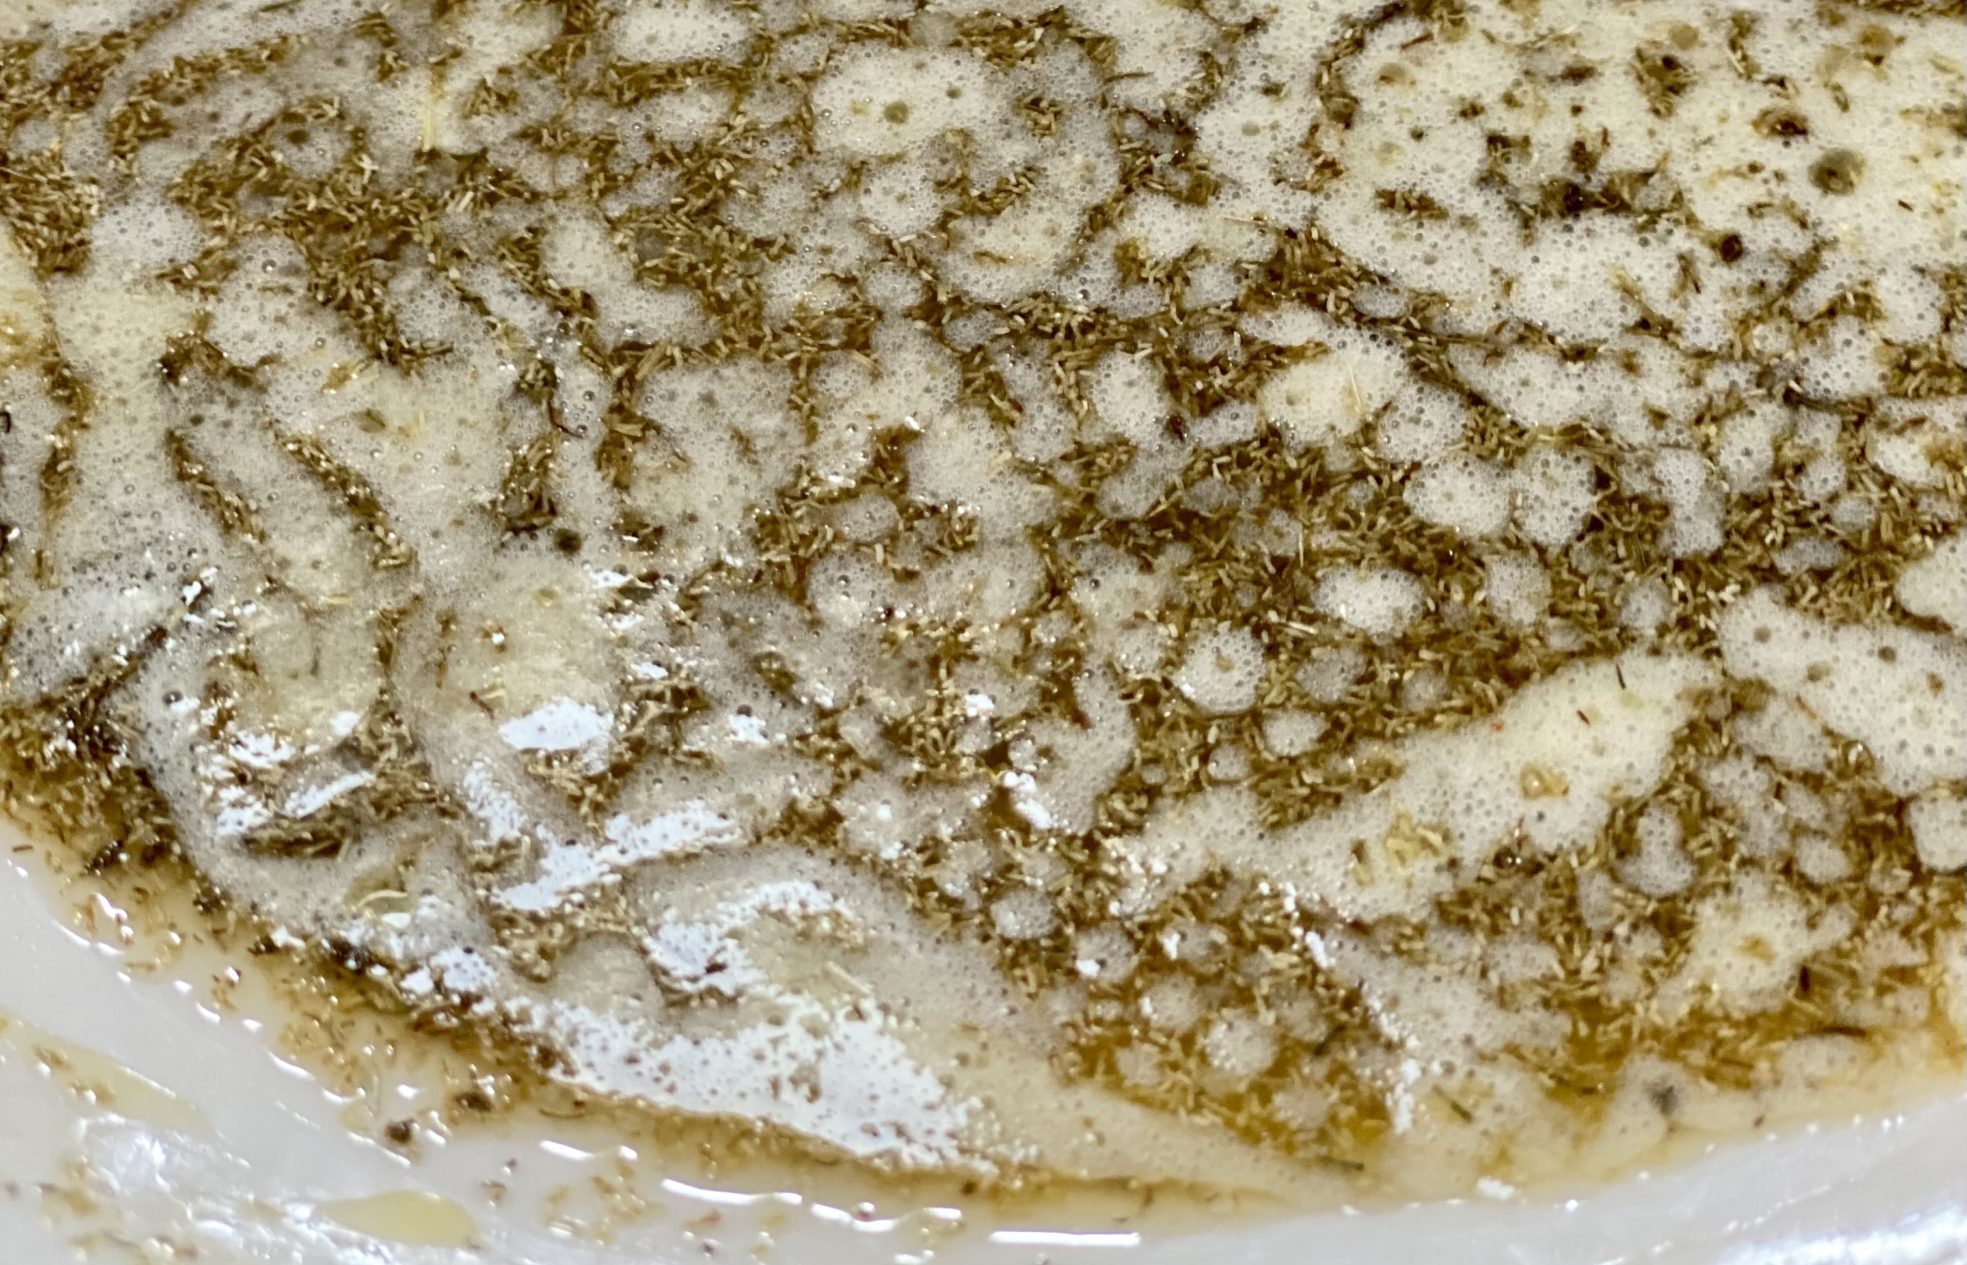
Chamomile Tea swimming in a butter bath, the life.  The tea is infused in every step of this cake, the butter, and the milk, so the flavor of the tea really shines. I might try it with different teas in the future, like Jasmine, my favorite.

Back to Cake by the Machine.  The butter will solidify a bit as it sits with the tea.  Beat the butter, sugar, and salt until light and creamy, about 1 minute on medium speed.  It will be light in color and fuller in volume, add your eggs one at a time.  The eggs should be at room temperature which helps minimize curdling or breaking of the batter when liquid is added to your fat mixture.

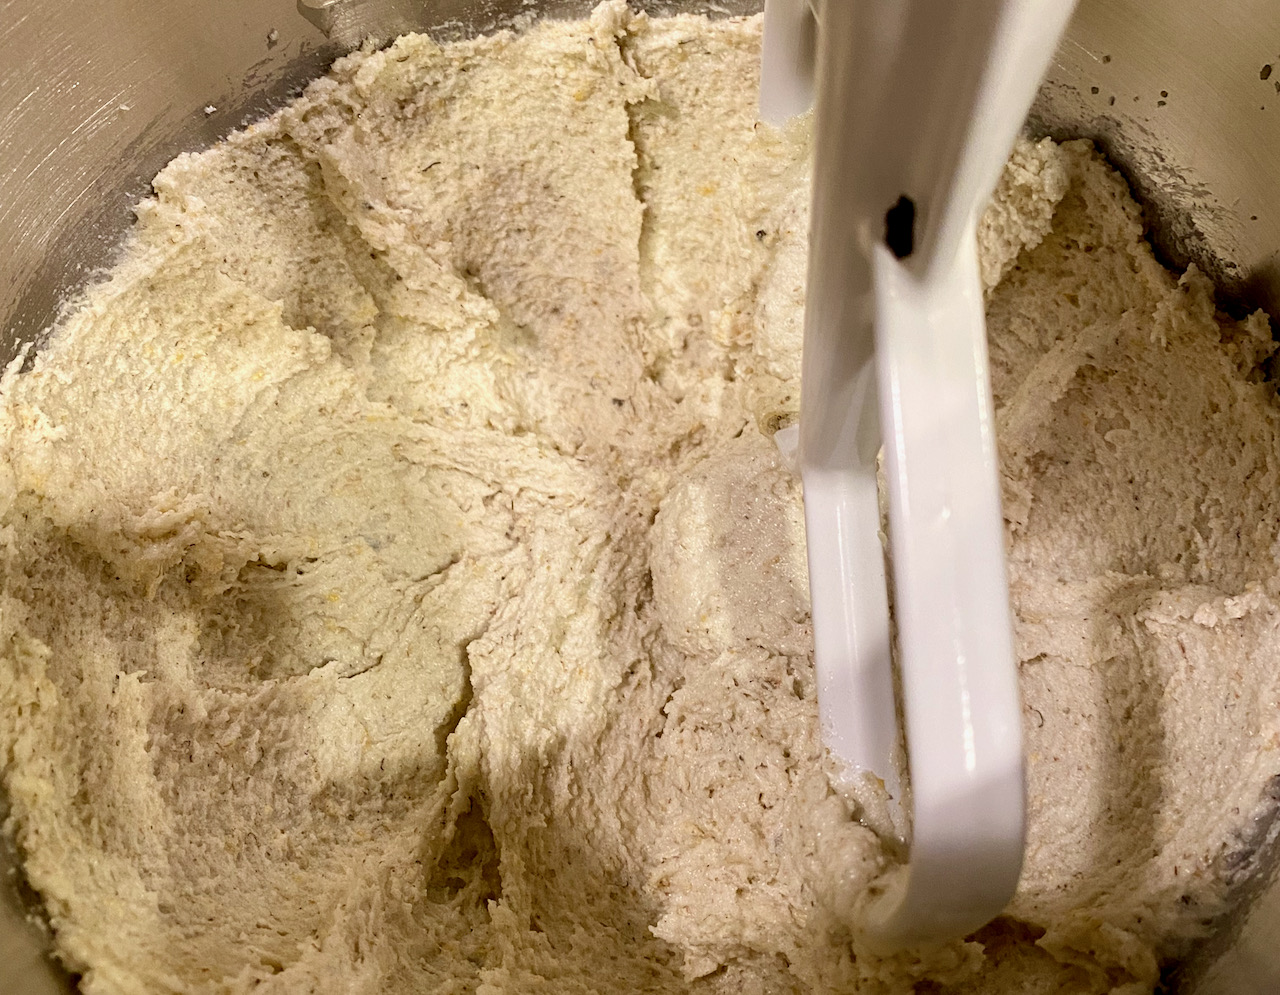
Creamed butter and sugar

Deb Tip-when adding zest to a recipe. I reserve a couple of tablespoons of sugar from the recipe and run that with the zest in a mini-food processor, then add it back to the original sugar.  No big pieces of zest and the citrus flavor is well distributed.  That’s just me though.

You can add your zest, baking powder, and vanilla as listed in the recipe.  The recipe calls for adding vanilla, and leavening agent into the creamed mixture before adding the flour.  This works since you haven’t added the flour yet, no worries about overmixing and developing gluten.

Flour Power

First, add half the flour, mix on medium just until the flour disappears, then add the milk, mixing just to incorporate.  Finally, add the remaining flour and mix at medium speed.  Mix until you don’t see any streaks of flour, it should look cohesive.  Avoid overbeating which can lead to a tough cake (gluten development) did I already mention that, lol.

The Icing On the Cake

The icing is key. It adds a bit of sweetness and a textural complement to the cake.  I saw a few complaints that the cake was overly sweet.  I didn’t think so although I did use freeze-dried raspberries instead of strawberries which have a bit more tartness.  The raspberries made a vibrant garnet-hued icing that was very eye-catching.

The weight to volume of freeze-dried fruit was off, possibly due to humidity.  I used the half-cup volume measurement, you can adjust the taste and color to your liking.

Print
5 from 1 vote

Chamomile Tea Cake With Strawberry Icing

From Eric KIm, tea cake flavored with Chamomile Tea that is as delicious as it is easy to make!
Course Cake, Dessert
Cuisine American, Asian-American
Keyword chamomile tea, ERic KIm, Strawberry, tea cake
Prep Time 1 hour 25 minutes
Cook Time 50 minutes

Equipment

  • 1 9x5 loaf pan

Ingredients

  • Nonstick cooking spray To prep loaf pan

Steep 2 Tea Blends: butter + tea and milk + tea and set aside

  • 2 tablespoons (6 grams) chamomile tea, divided in half approximately 4 to 6 tea bags, crushed fine if coarse
  • 1⁄2 cup (115 grams) unsalted butter
  • 1 cup (240 milliliters) whole milk

Cream Tea + Butter Mixture

  • 1 cup (200 grams) granulated sugar
  • 2 large eggs

Add to Creamed Tea-Butter Mixture

  • 1 tbsp lemon zest (original recipe calls for zest of 1 large lemon) You can increase or decrease zest to your taste or use combination of orange and lemon zest 1.5 teaspoons of each. Keep the lemon, yiu will use the juice in the icing
  • 1⁄2 teaspoon Morton's coarse kosher salt or increase to 3/4 tsp if using Diamond Kosher Salt
  • 1 teaspoon pure vanilla extract
  • 2 teaspoons baking powder
  • 1 1⁄2 cups (192 grams) all-purpose flour

Icing

  • 2 tbsp Lemon juice from zested lemon
  • 1 cup (124 grams) confectioners’ sugar
  • 1⁄2 cup (8 grams) freeze-dried strawberries

Instructions

  • In a small saucepan, melt the butter over medium heat (or microwave until melted). Add 1 tablespoon chamomile to a large mixing bowl. Pour the hot melted butter over the chamomile and stir. Set aside to steep and cool completely, about 1 hour.
  • Use the same saucepan (without washing it out) to bring the milk to a simmer over medium-high heat, keeping watch so it doesn’t boil over. Remove from the heat, and stir the remaining 1 tablespoon chamomile into the hot milk. Set aside to cool
  • Heat oven to 350 degrees. Grease a 9-by-5-inch loaf pan with the nonstick cooking spray and line with parchment paper so the long sides of the pan have a couple of inches of overhang to make lifting the finished cake out easier.
  • Add the sugar and salt to the bowl with the butter, and whisk until smooth and thick, about 1 minute. Add the eggs, 1 at a time, vigorously whisking to combine after each addition. Zest the lemon into the bowl; add the baking powder and vanilla, and whisk until incorporated. Add the flour and stream in the milk mixture while whisking continuously until no streaks of flour remain.
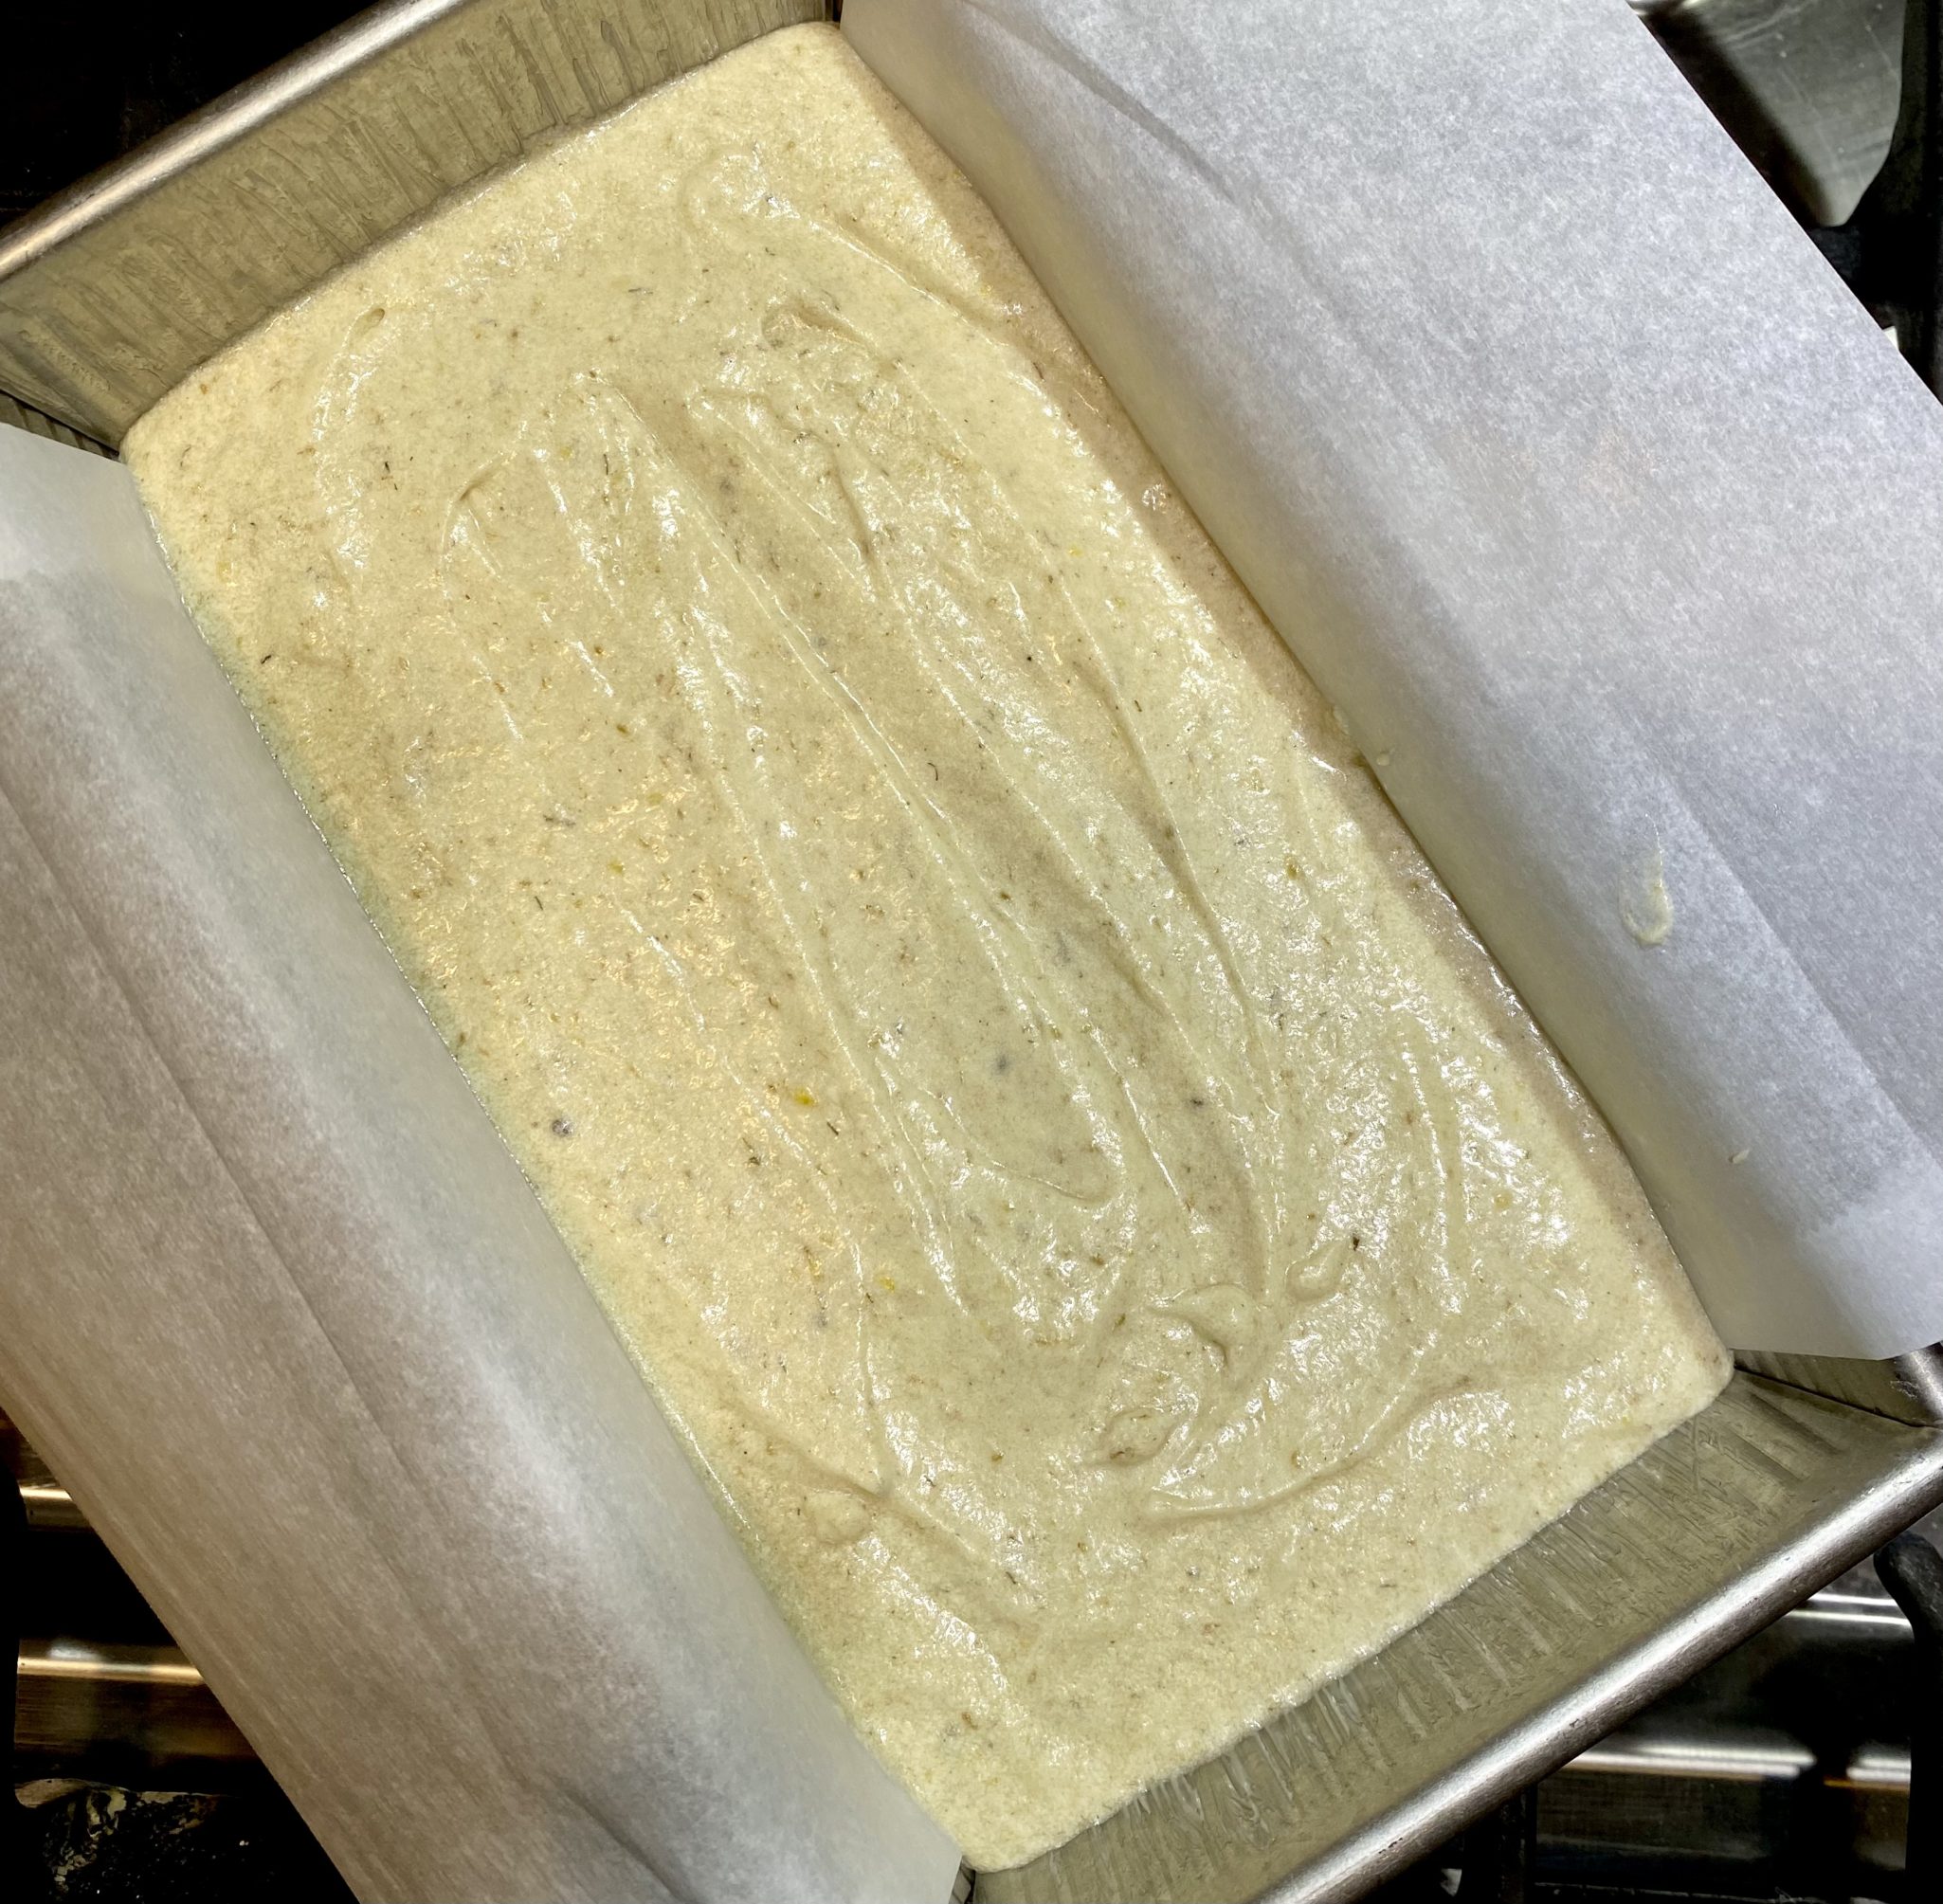
  • Transfer the batter to the prepared pan and bake until a skewer or cake tester inserted in the center comes out clean (a few crumbs are OK, but you should see no wet batter), 40 to 45 minutes. Cool in the pan on a rack for 30 minutes.
  • While the cake cools, make the icing: Into a medium bowl, squeeze 2 tablespoons juice from the zested lemon, then add the confectioners’ sugar. Place the dehydrated strawberries in a fine-mesh sieve set over the bowl and, using your fingers, crush the brittle berries and press the red-pink powder through the sieve and into the sugar. (The more you do this, the redder your icing will be.) Whisk until smooth.
  • If needed, run a knife along the edges of the cake to release it from the pan. Holding the 2 sides of overhanging parchment, lift the cake out and place it on a plate, cake stand or cutting board. Discard the parchment. Pour the icing over the cake, using a spoon to push the icing to the edges of the cake to encourage the icing to drip down the sides dramatically. Cool the cake completely and let the icing set.
M&M Cookies For the Kid In You (Day 2)

M&M Cookies For the Kid In You (Day 2)

Cookie Number Two-Twelve Days of Cookies

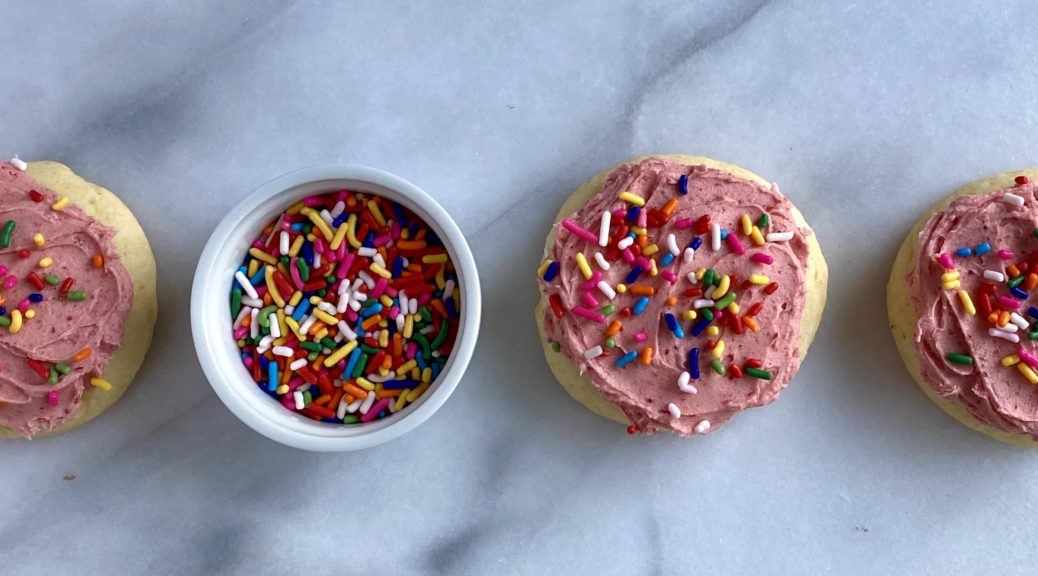
Last year my absolute favorite cookie was Eric Kim’s Grocery Store Cookie.  I called it my Marie Kondo cookie, it brought me JOY.  The original Lofthouse cookies, a cakey blob, packed in plastic trays covered with copious amounts of fake frosting and sprinkles…elevated to a wondrously delicious cakelike, buttery, tender cookie topped with raspberry buttercream frosting.  The only thing the two cookies had in common was the SPRINKLES.

Guess which one is the Grocery Store Cookie?

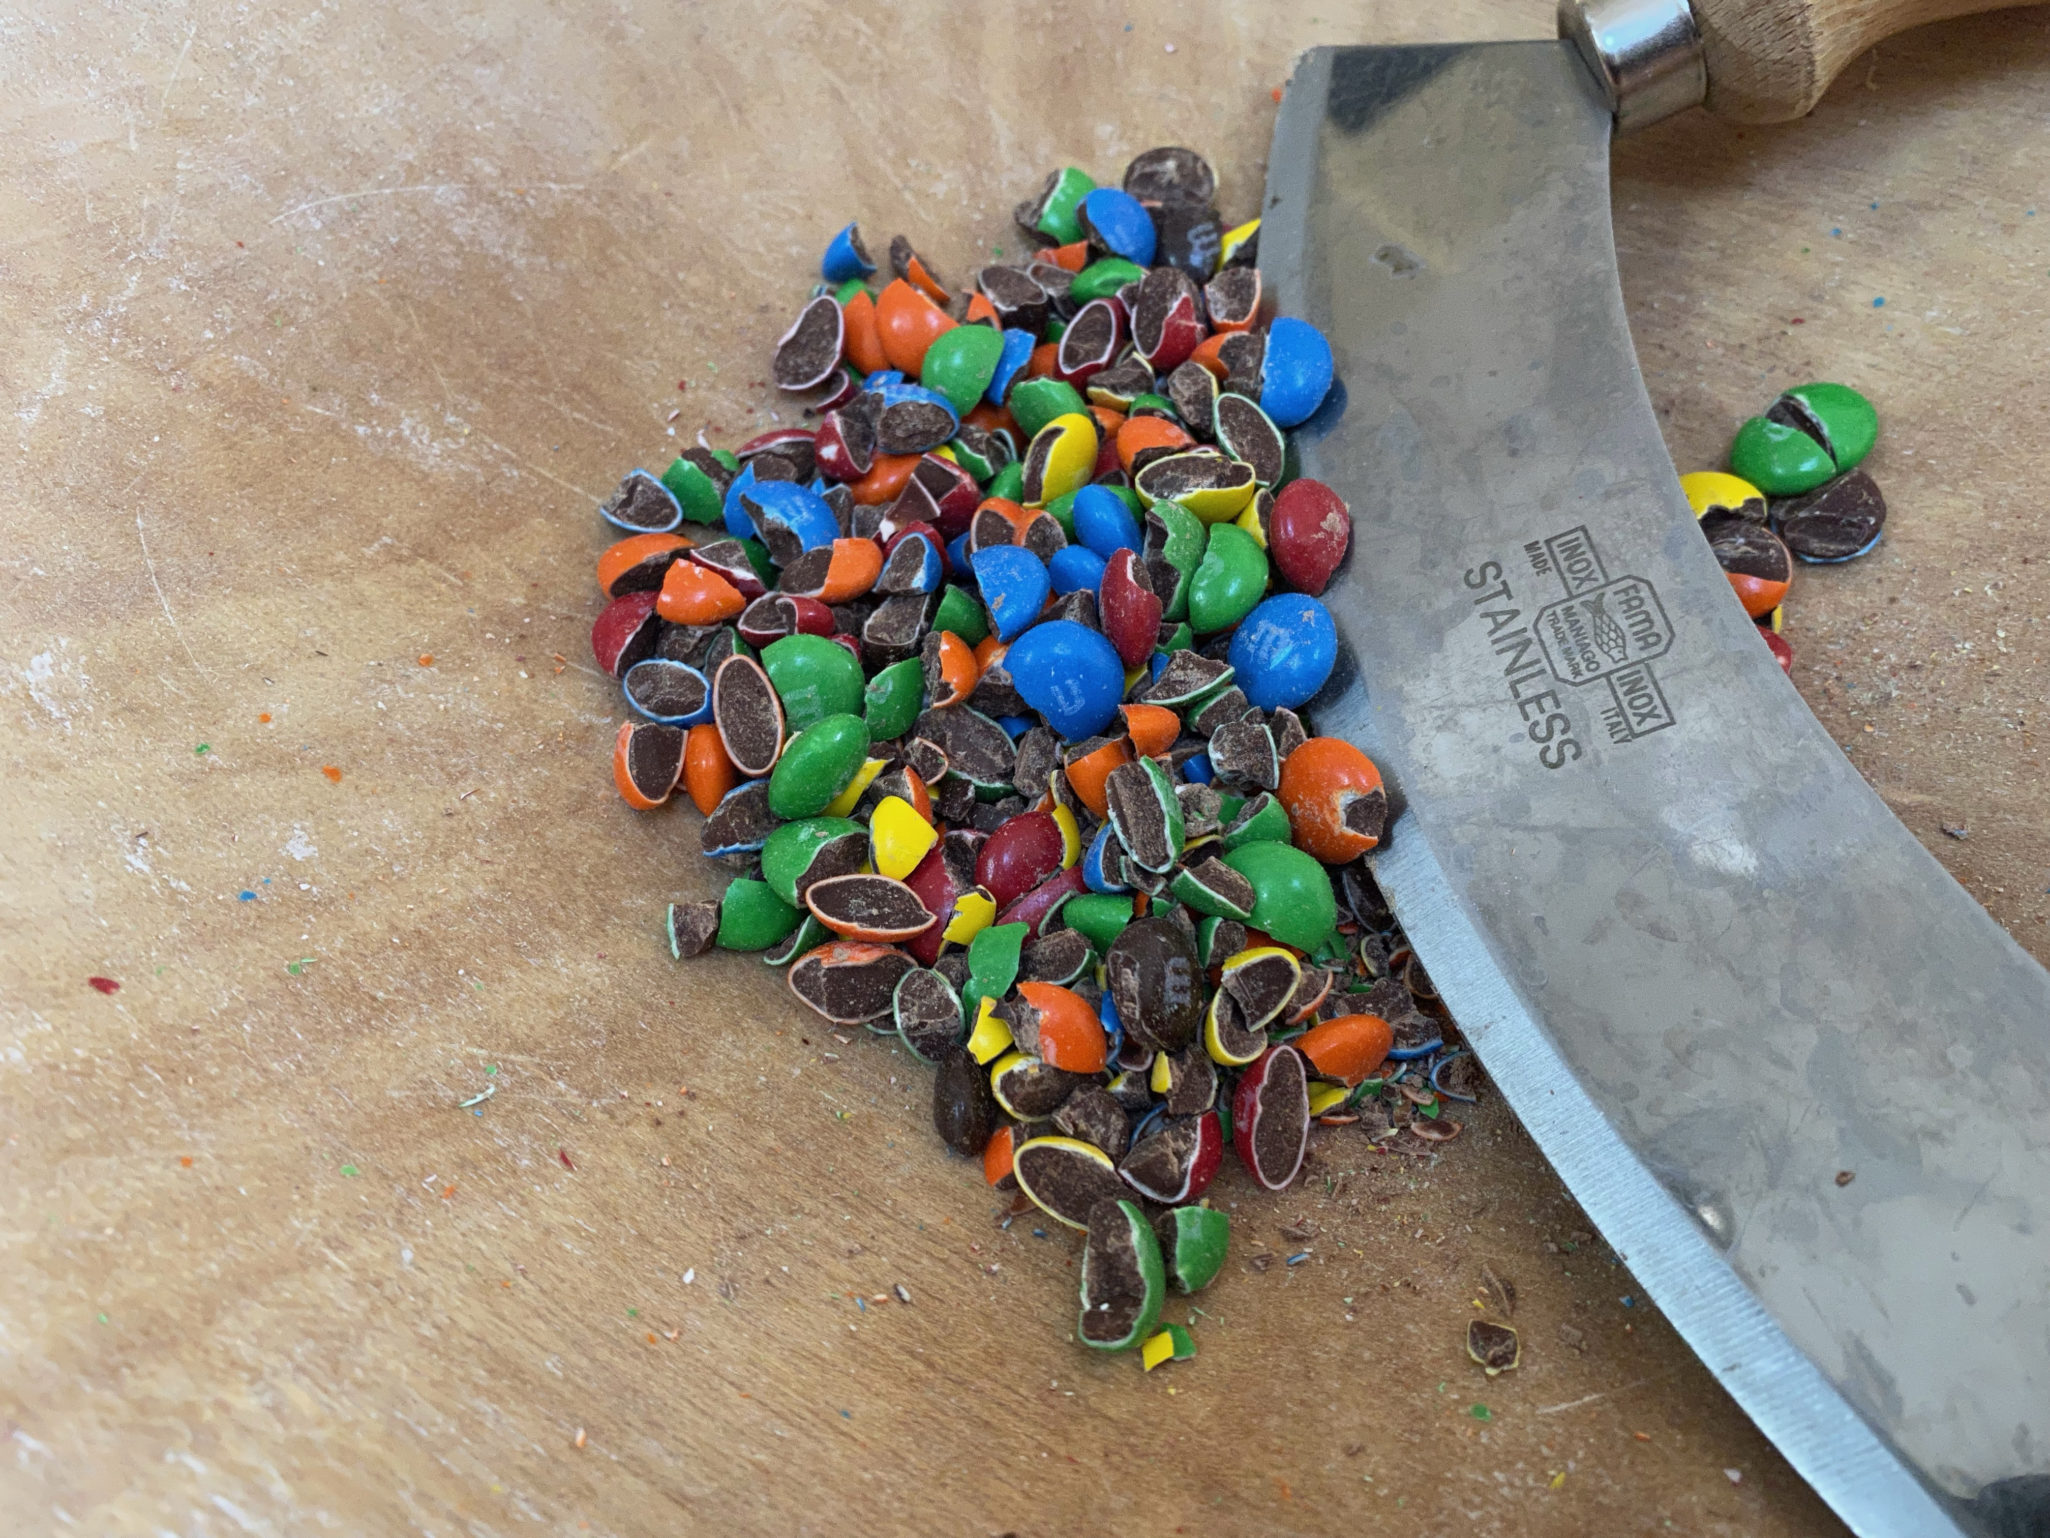
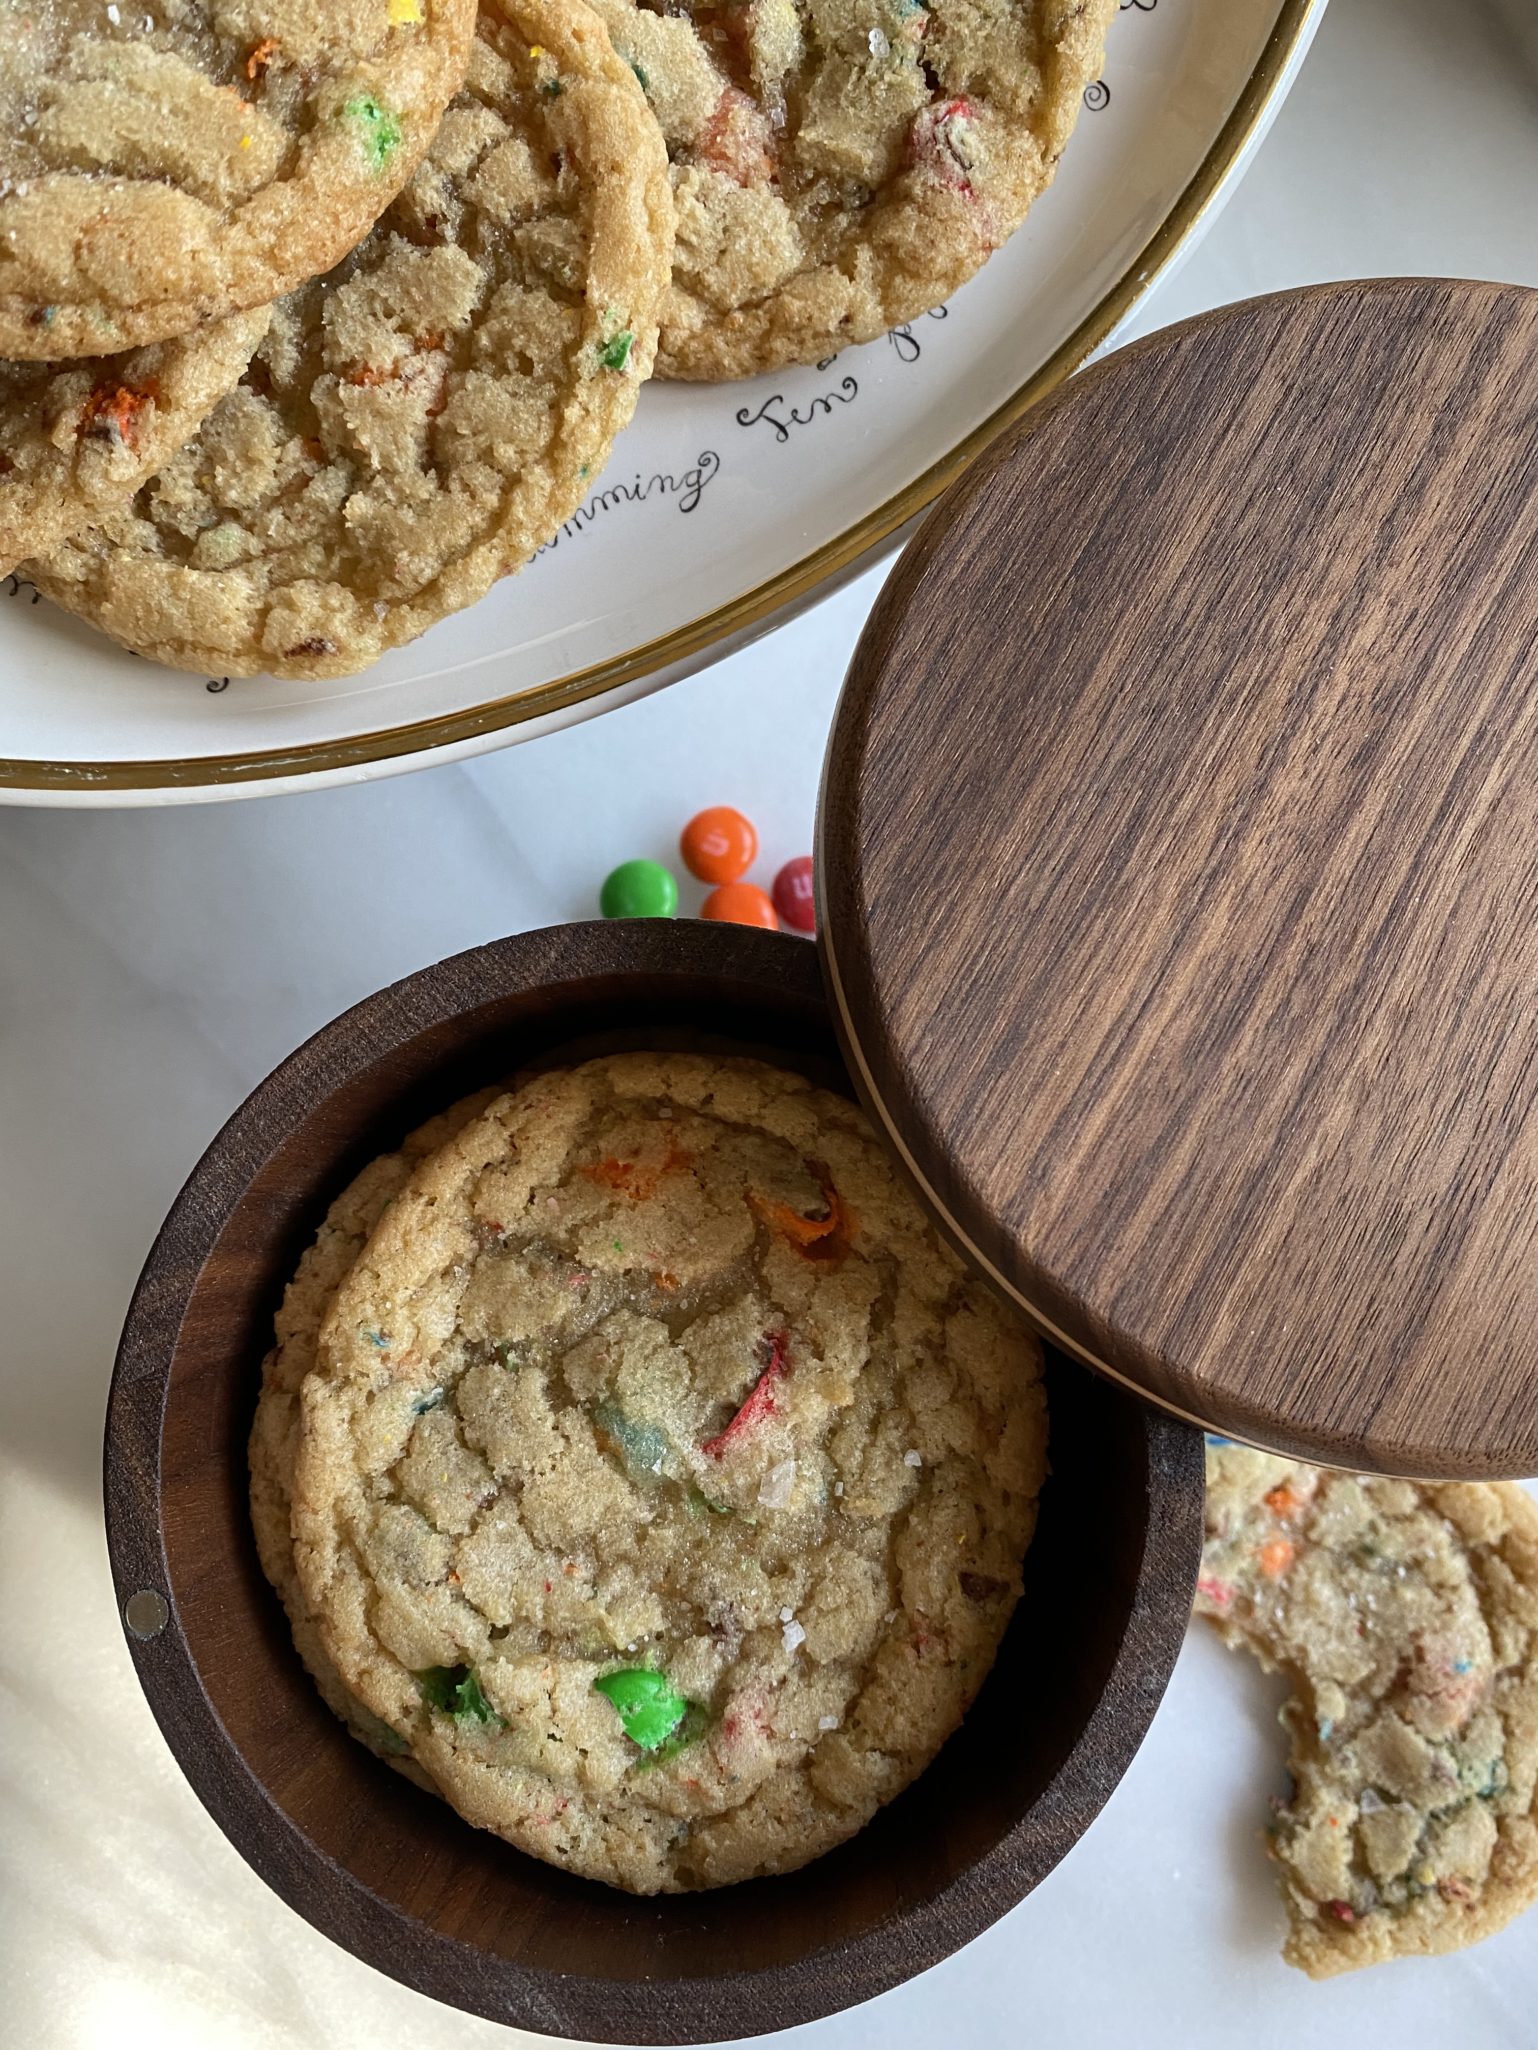
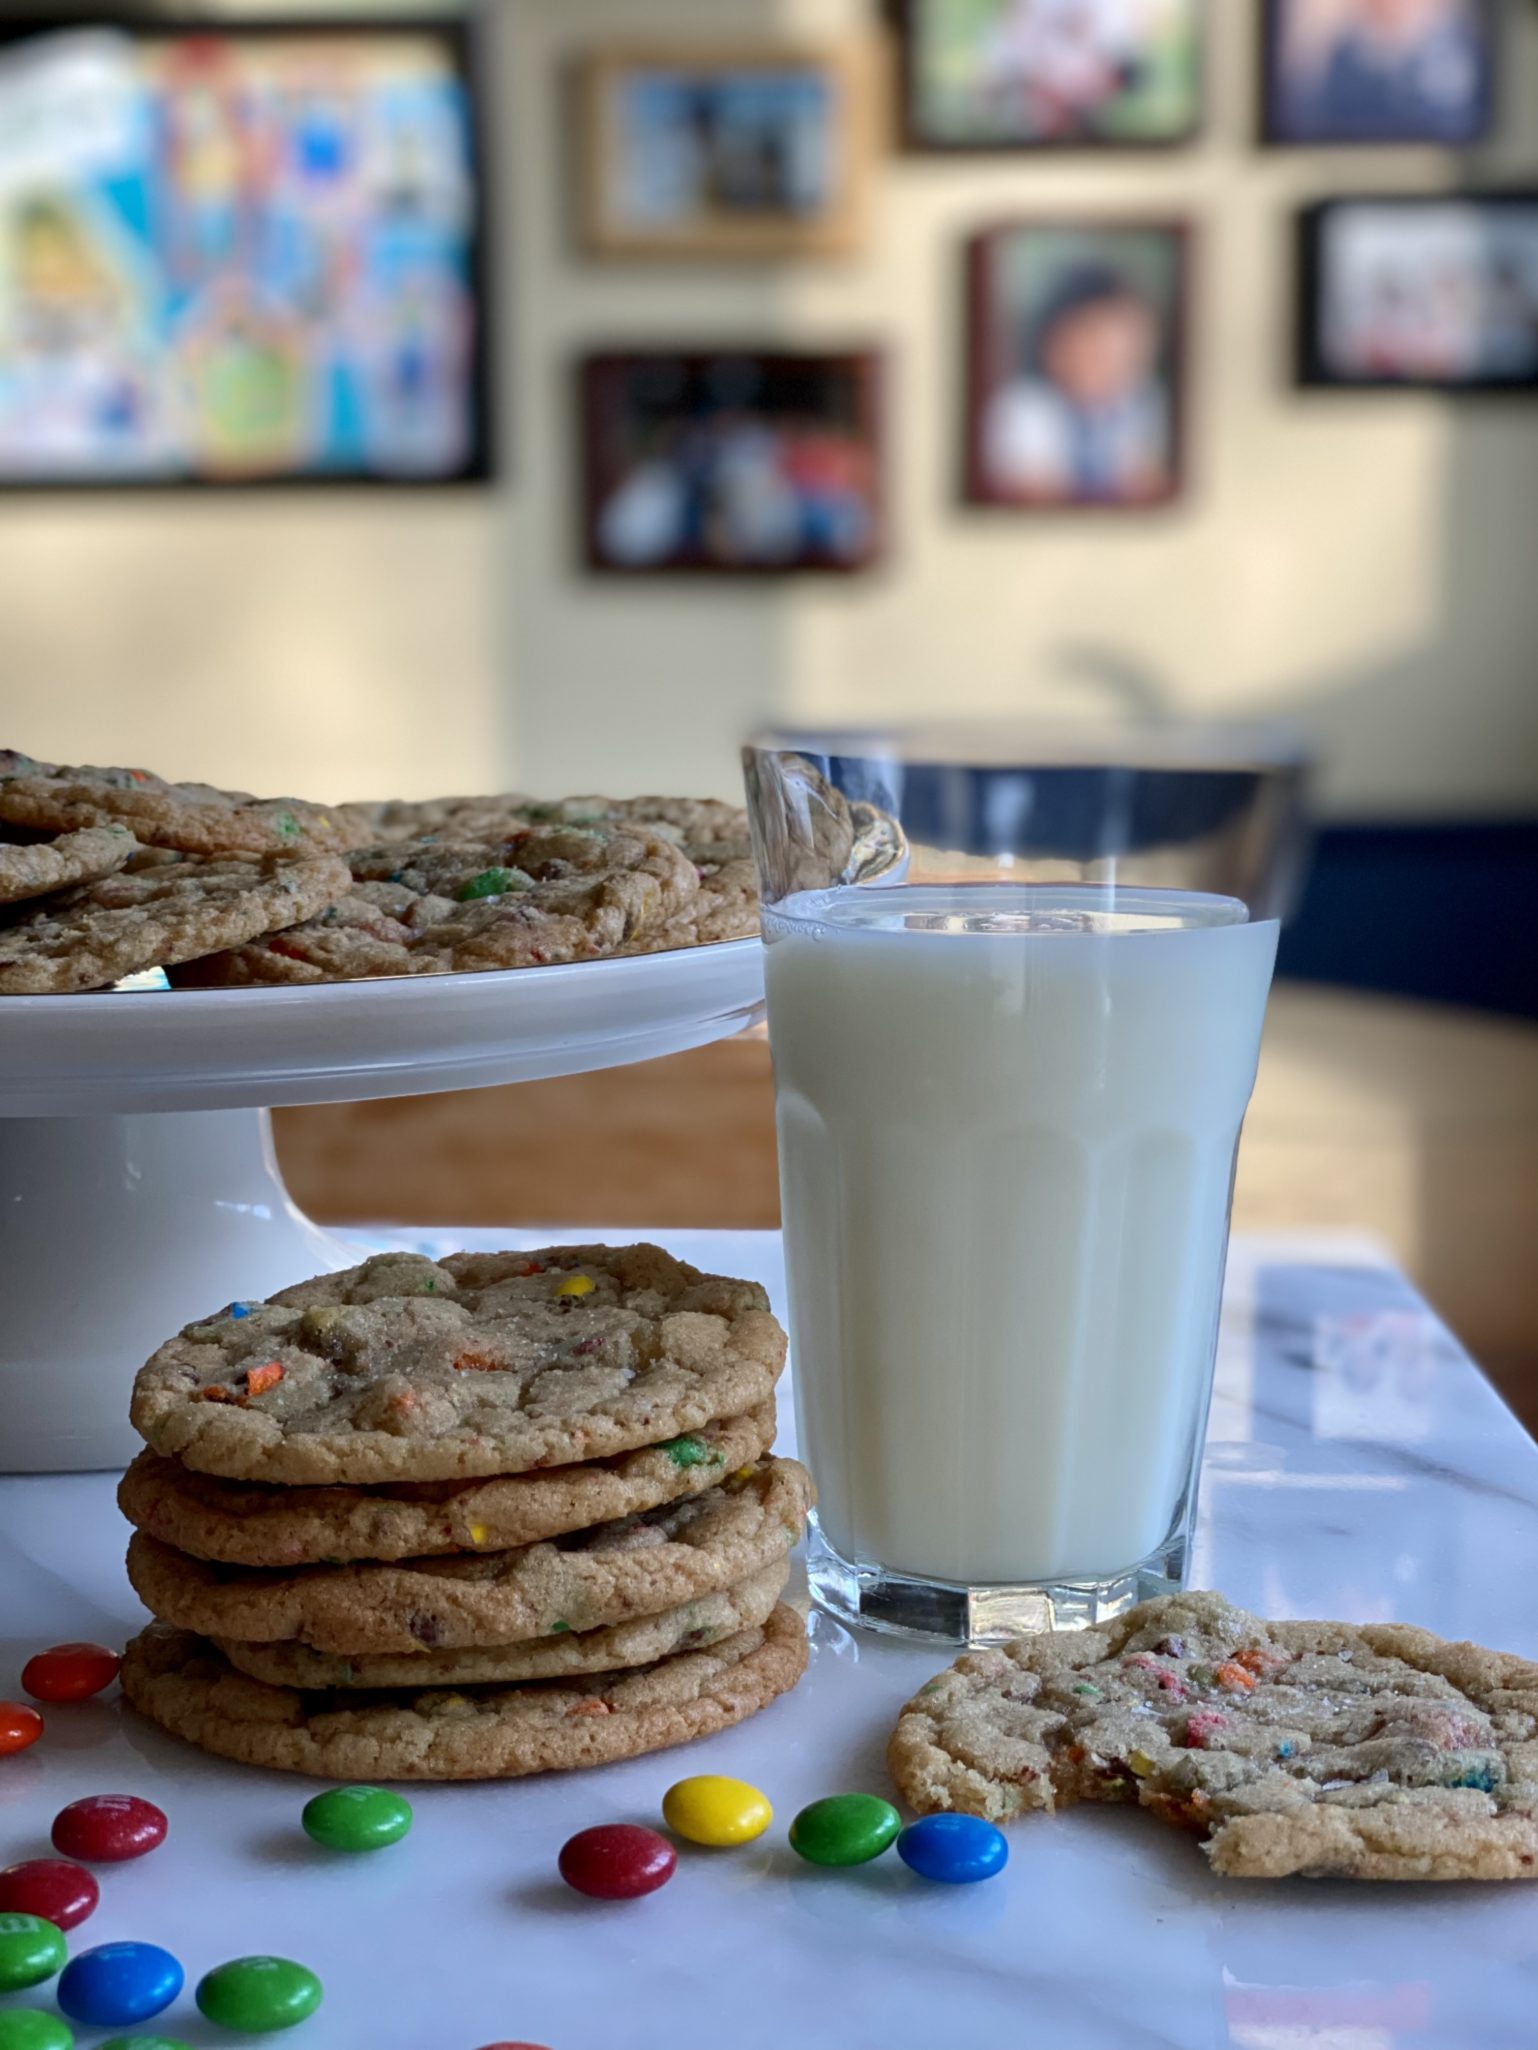
As soon as NYTcooking posted this year’s Holiday Cookies, I looked for Eric’s cookie.  It wasn’t hard to find, his was first on the list.  For the kid in all of us, Eric developed a recipe for festive M&M Cookies. (Bonus: Video of Eric making these!)  Simple, nostalgic and YUMMY.  A hint of crispiness on the edge, surrounding a chewy cookie dotted with M&Ms.  The M&M’s are cut into pieces so you get this really nice distribution of the candy coating and chocolate center.  With the first bite, I was transported back to my 9-year-old self.

M&Ms aren’t easy to cut and not bounce around! My dough bowl and mezzaluna came in handy!

Cookie Workout

The cookies can be made with one bowl, whisk, and spatula (or wooden spoon) with the caveat that you start with soft butter (not melted) butter.  If you have a thermometer, it’s around 65-68 degrees.  You will also need some arm power as the recipe calls for beating the mixture for one minute to smooth and fluffy.  One minute, whisking a dough by hand is pretty long. Opt for your mixer unless you haven’t done your workout for the day.

Geeking Out

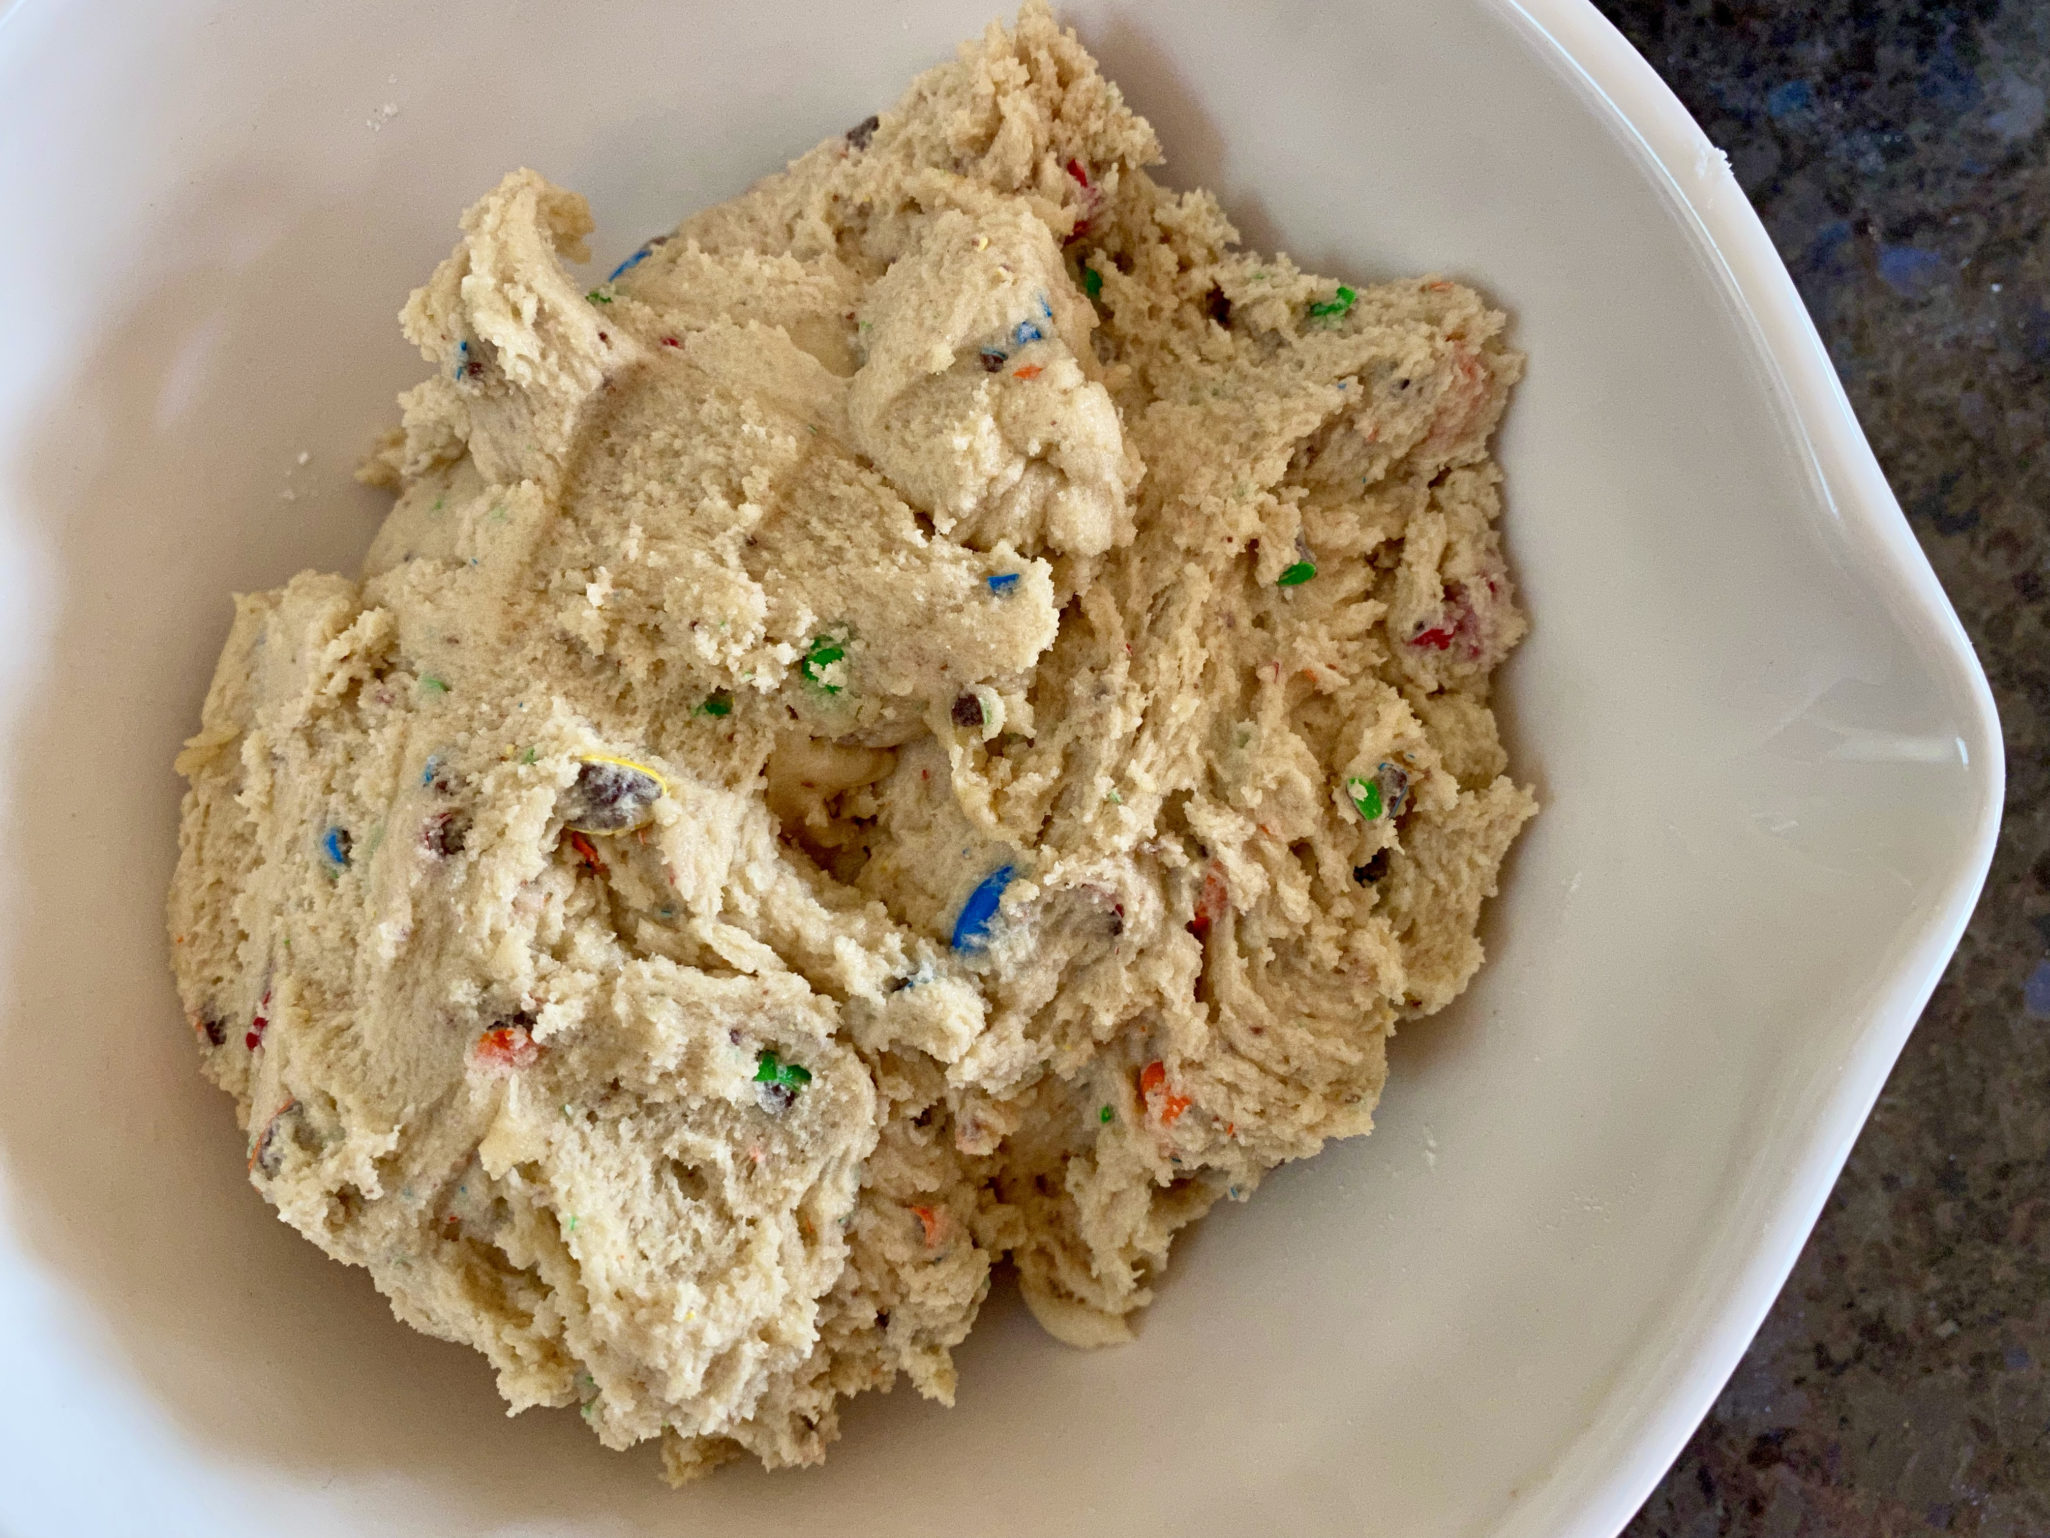
The baked cookies ended up with crevices that weren’t apparent in Eric’s batch.  I have a theory, I chilled my dough overnight which meant the dough was pretty cold, the butter had solidified and the dough had additional time to hydrate.  The chilled dough is a tad more resistant to spreading and collapsing thus creating fissures.  Here’s a great geek article on chilling your dough from Buzz Feed.  Next time I’ll bake them off with just a short chilling time to see if they don’t develop cracks.  I don’t think it impacted the flavor or texture too much.  If you try different M&Ms please leave a comment! I think it would be amazing with peanut M&Ms or almond M&Ms.

I like these, I LOVE the Grocery Store Cookie. I’ll be making both for the holidays.

So, make these cookies, pour yourself an ice-cold glass of milk, grab a cookie and enjoy the holidays.  I’m going to watch BIG, the perfect movie to go with these cookies!

M&M Cookies by Eric Kim

Straight back to childhood, M7M Cookies, are chewy and a delight to eat.
Course cookies
Cuisine American
Keyword Almond Cookies, ERic KIm, M&M Cookies, NYTcooking
Prep Time 20 minutes
Cook Time 15 minutes

Ingredients

  • ½ cup (115 grams) unsalted butter very soft
  • 1 cup (200 grams) granulated sugar
  • ¼ packed cup (57 grams )dark brown sugar
  • 1 large egg at room temperature
  • 1 tablespoon vanilla extract
  • 1 teaspoon kosher salt Diamond Crystal or ¾ teaspoon coarse kosher salt
  • ¼ teaspoon baking soda
  • 1 ½ cups (185 grams) all-purpose flour
  • ½ cup (96 grams) M&M’s

Instructions

  • Heat the oven to 350 degrees and line 2 large sheet pans with parchment.
  • In a large bowl, whisk together the butter, sugars, egg, vanilla and salt by hand until smooth and fluffy, at least 1 minute.
    Whisk in the baking soda, then switch to a rubber spatula or wooden spoon. Add the flour, then carefully and coarsely chop the M&M's, and add them, too. Gently stir to combine. Place the bowl in the refrigerator while you wait for the oven to finish heating.
  • Using two spoons or a cookie scoop, plop out 2-tablespoon/50-gram rounds spaced a couple of inches apart on the sheet pans. (You should get about 8 cookies per pan.) Bake until lightly golden at the edges, 10 to 12 minutes. Let cool completely on the sheet pan; they will continue to cook as they sit.

Notes

If you really want to use your ixer.  The key is not to overmix.  On a Kitchen-aid when making cookies I rarely go above setting 4 (medium) when mixing cookie dough.  YOu don't need turbo which would increase the chance of overbeating.
YOu might want to fold in the flour and M&Ms to avoid overmixing.  If not, set mixer to stir and mix until you don't see any flour and stop.  Finish it off with a spatula.
Grocery Store Cookies! Sprinkle a Little Holiday Cheer

Grocery Store Cookies! Sprinkle a Little Holiday Cheer

My favorite holiday cookie of the season is Eric Kim’s  (check out his site, wonderful essays,  beautiful writing) Lofthouse Style Grocery Store Cookie.  It’s surprising since I am not a fan of those ubiquitous cookies with the toothachingly sweet, artificial tasting frosting and eye-popping sprinkles.  But his homemade rendition looked so appealing, I had to try them.

Eric’s homage to the grocery store cookies is part of NYTcooking’s week-long video series on Holiday Cookies.  He takes the concept of the grocery store cookie and creates a small-batch, no preservatives, all-butter, cream cheese, tender cakey-cookie topped with a sweet, slightly tart raspberry buttercream.  The only resemblance to the supermarket cookie is the sprinkles on top!

These cookies are simply DIVINE

The directions are straight forward and if your ingredients are at room temperature, a bowl and a wooden spoon are all you need to make these cookies. How easy is that?  But you can be lazy like me and use your stand mixer, especially for the frosting.

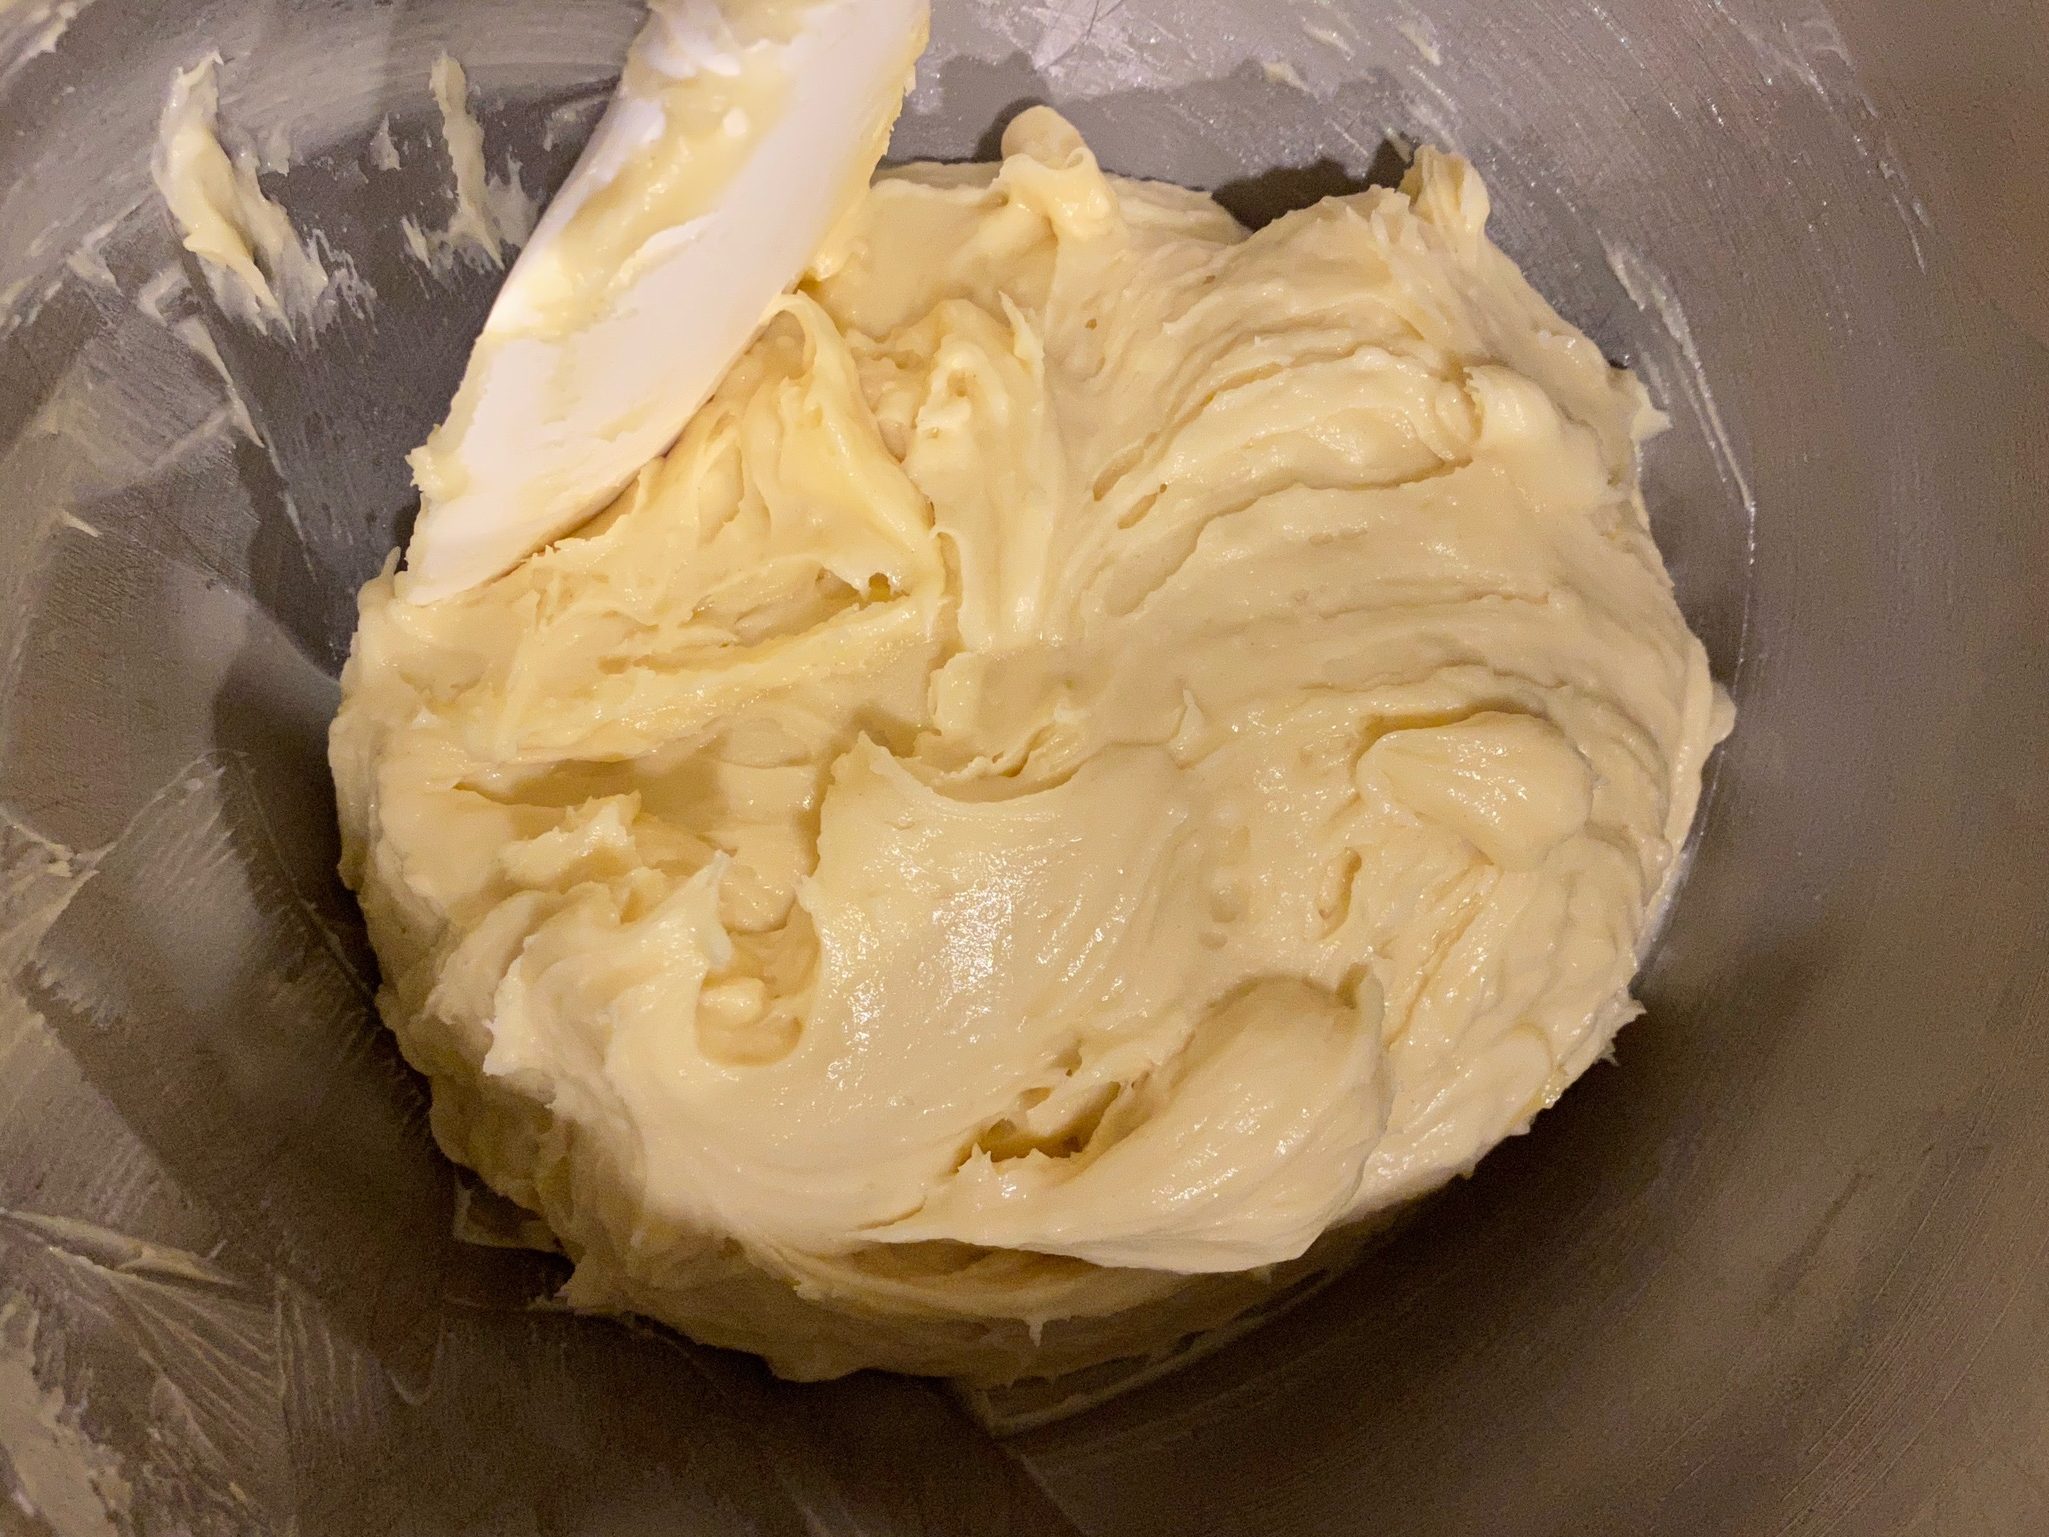
Though hand mixing the dough is very doable, if time is short, go ahead and bust out your Kitchen Aid mixer.  Combine cake flour and baking powder in a small bowl and set aside.  Cream butter, cream cheese, salt, and sugar at medium speed until fluffy.  Add the eggs and vanilla extract (yes, 1 tablespoon) and beat mixture on medium for approximately 1 minute to aerate and incorporate sugar.  Reduce mixer speed to stir or low setting and add flour mixture.  Mix just until flour is incorporated.  The dough will be very very soft. Toss the bowl into the fridge for 15 minutes to chill the dough so it is easier to scoop.

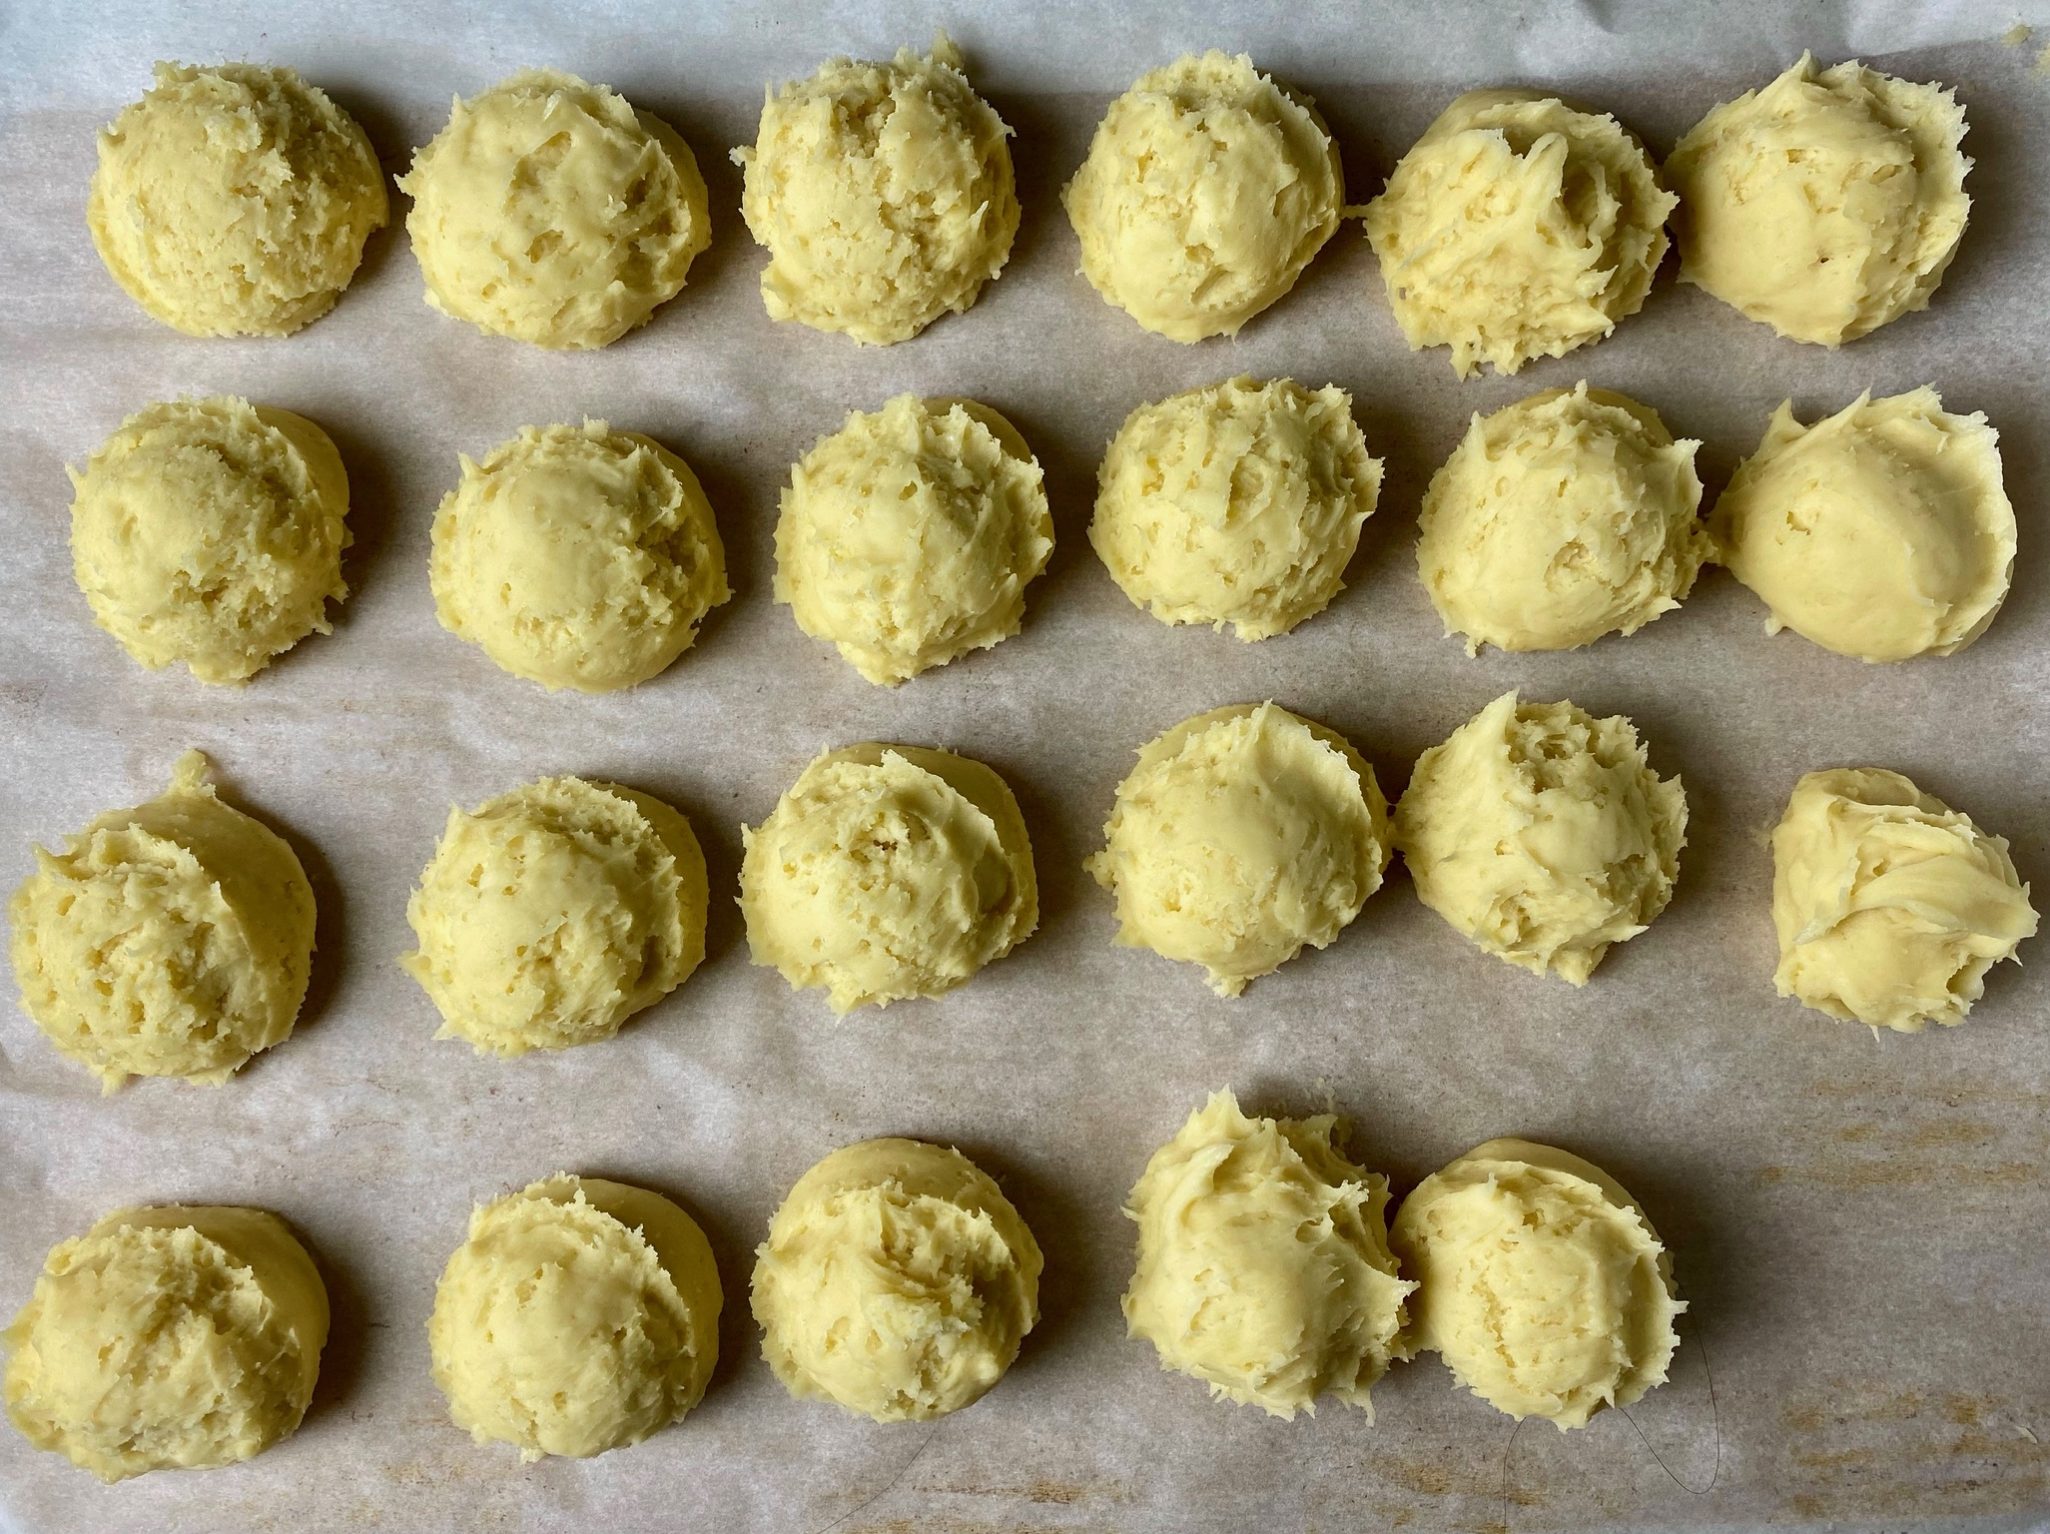
Use a two-tablespoon ice cream scoop to measure out the dough.  Scoop all of the dough and place it on a pan that will fit in your freezer.  Place the pan in the freezer to chill the dough (min 10-15 minutes).  Do not skip this step, makes the dough much easier to work with, keeps it from spreading, and gives the flavors time to meld.

Frosting Goodness

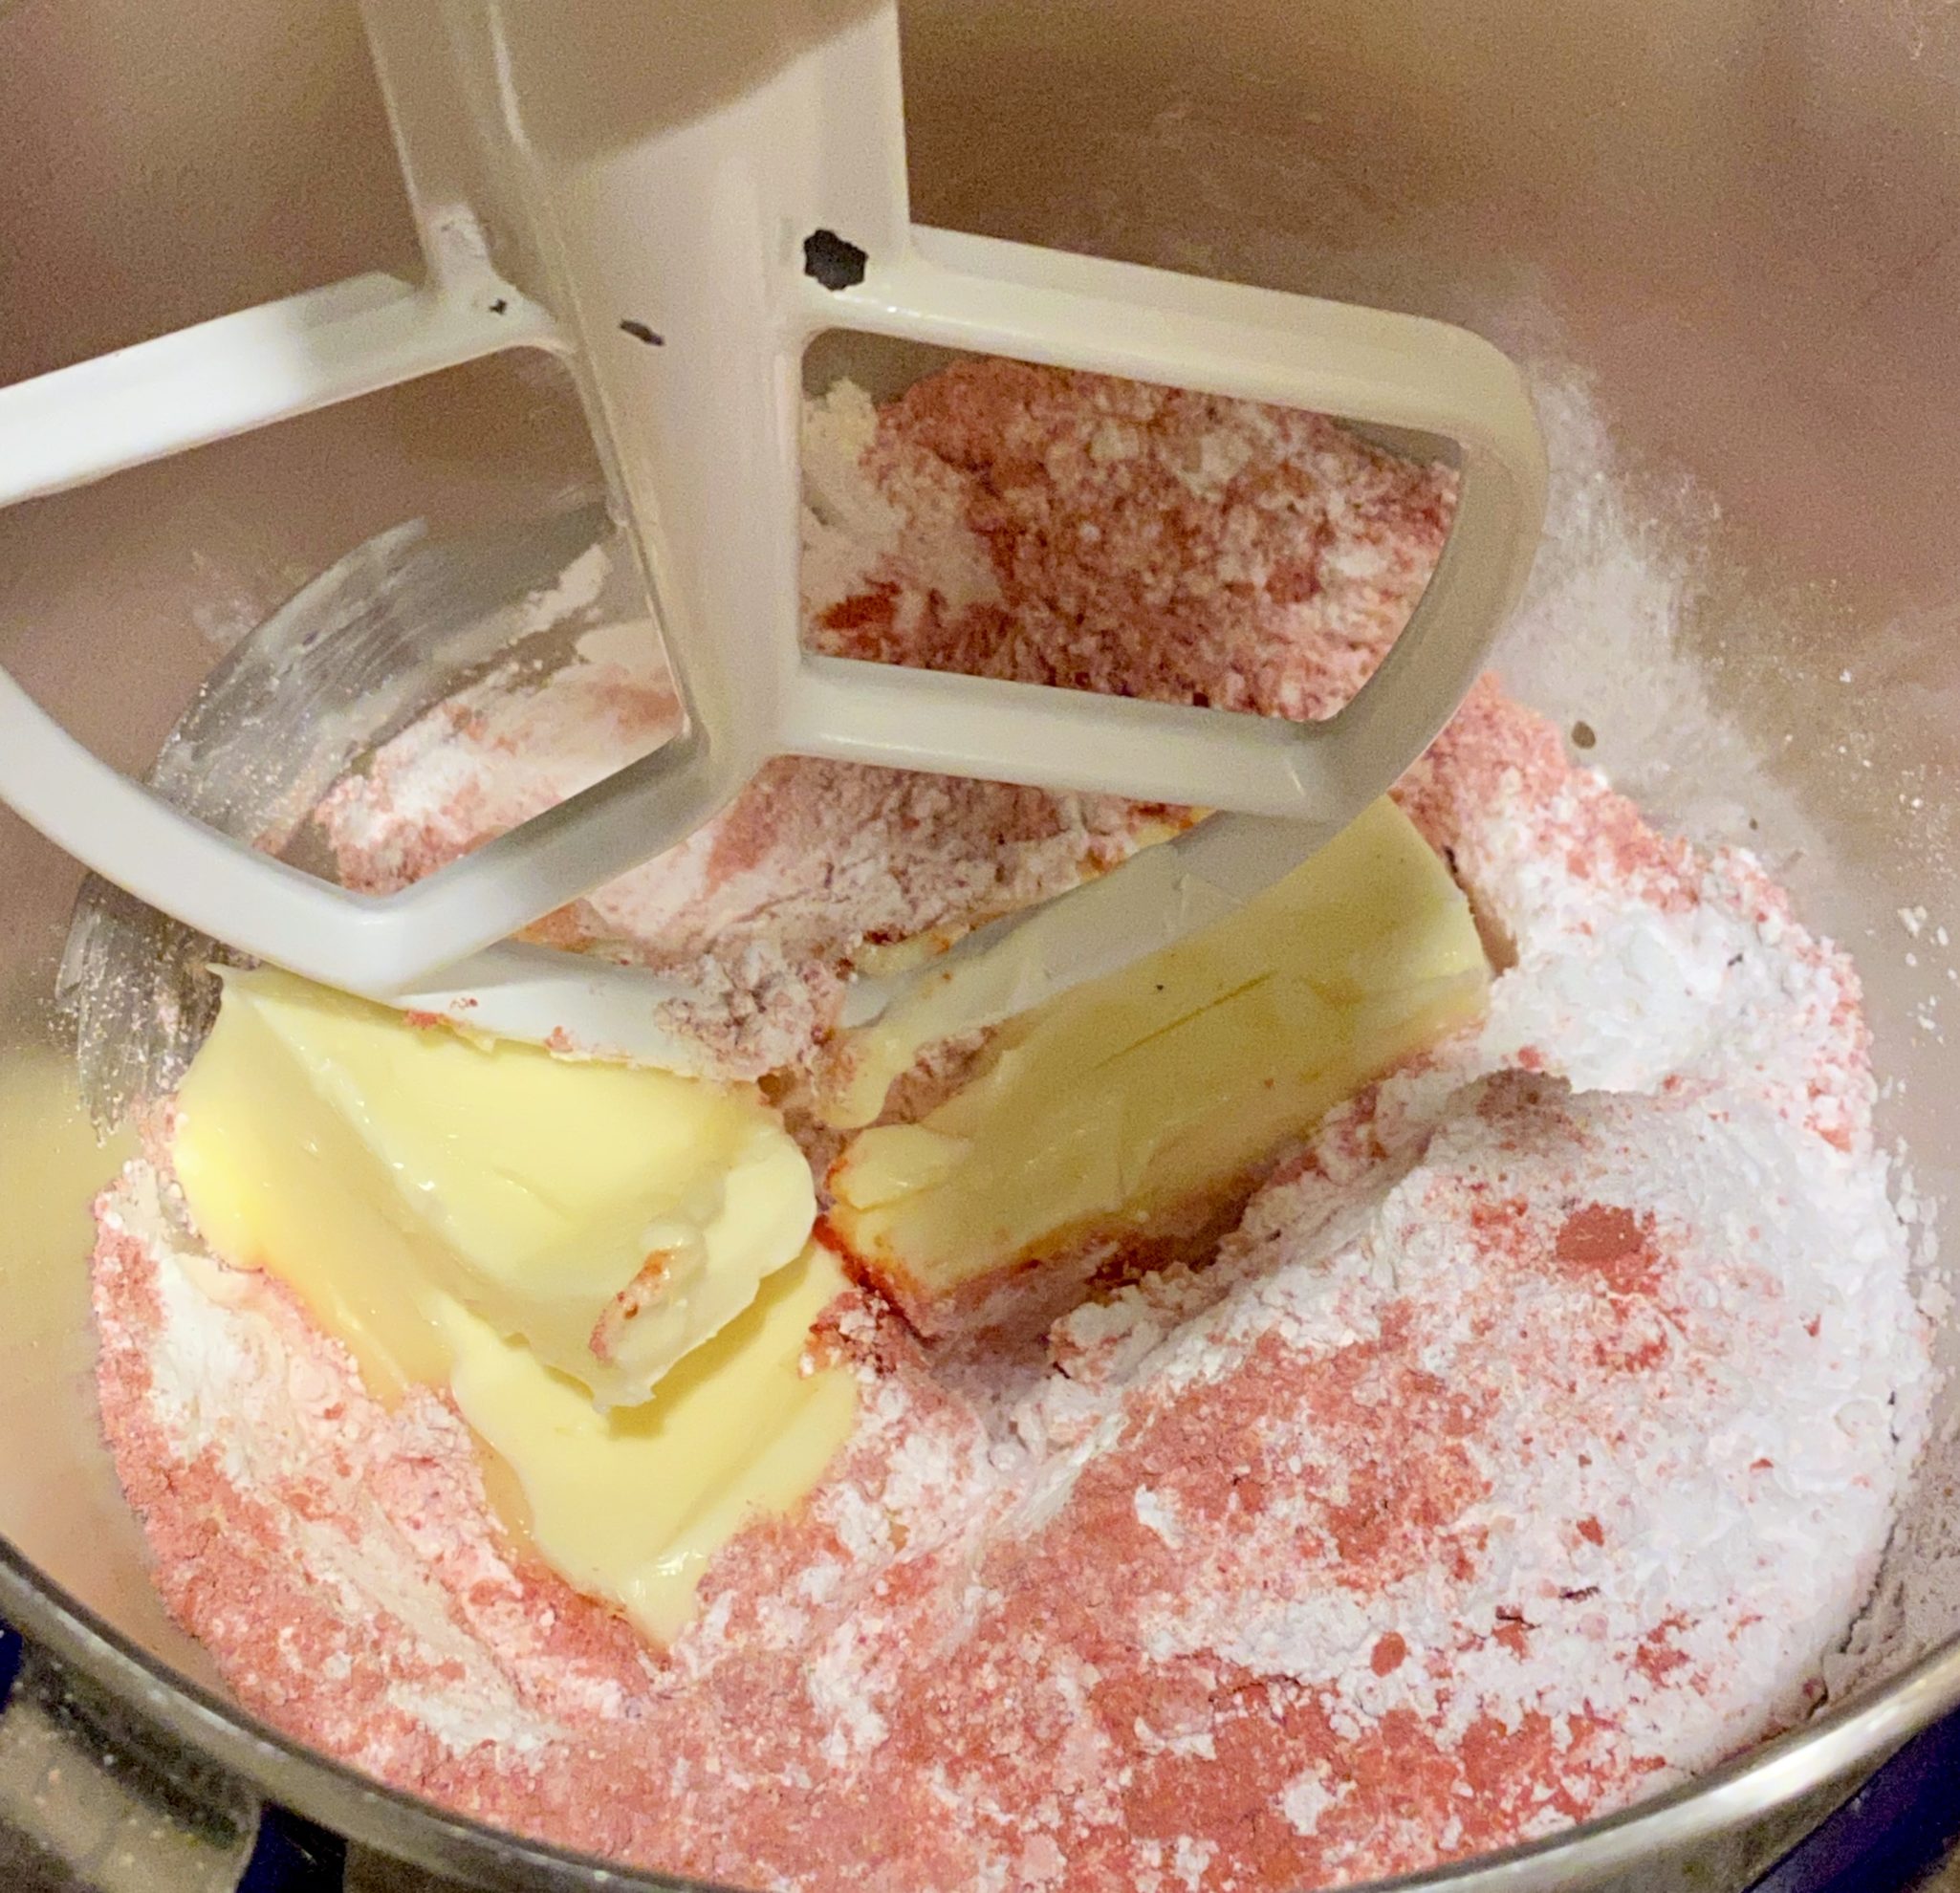
While the dough is in the freezer, make the frosting.  Freeze-dried fruit is the magic that provides both color and flavor to the frosting- it is this tweak that provides the spark in this cookie.  The recipe calls for raspberry but strawberry, blueberry or mango freeze-dried fruit would work. I like raspberry not just for flavor but for color, it gives the frosting a hot pink happy glow.  Freeze-dried fruit can be found at Trader Joe’s, Whole Foods, and Target.  Grind the fruit into a powder in a mini food processor or place in a Ziploc bag and use a rolling pin to pulverize it.  Sift to strain the seeds out of powder.  The frosting is sweet, tart, and fruity, just delightful.

Combine the softened butter, fruit, vanilla, salt, and sugar in a mixing bowl.  Blend on low speed until the ingredients are mixed together then increase the speed to high and beat until light and fluffy, a couple of minutes, and about double in volume.  Set aside.

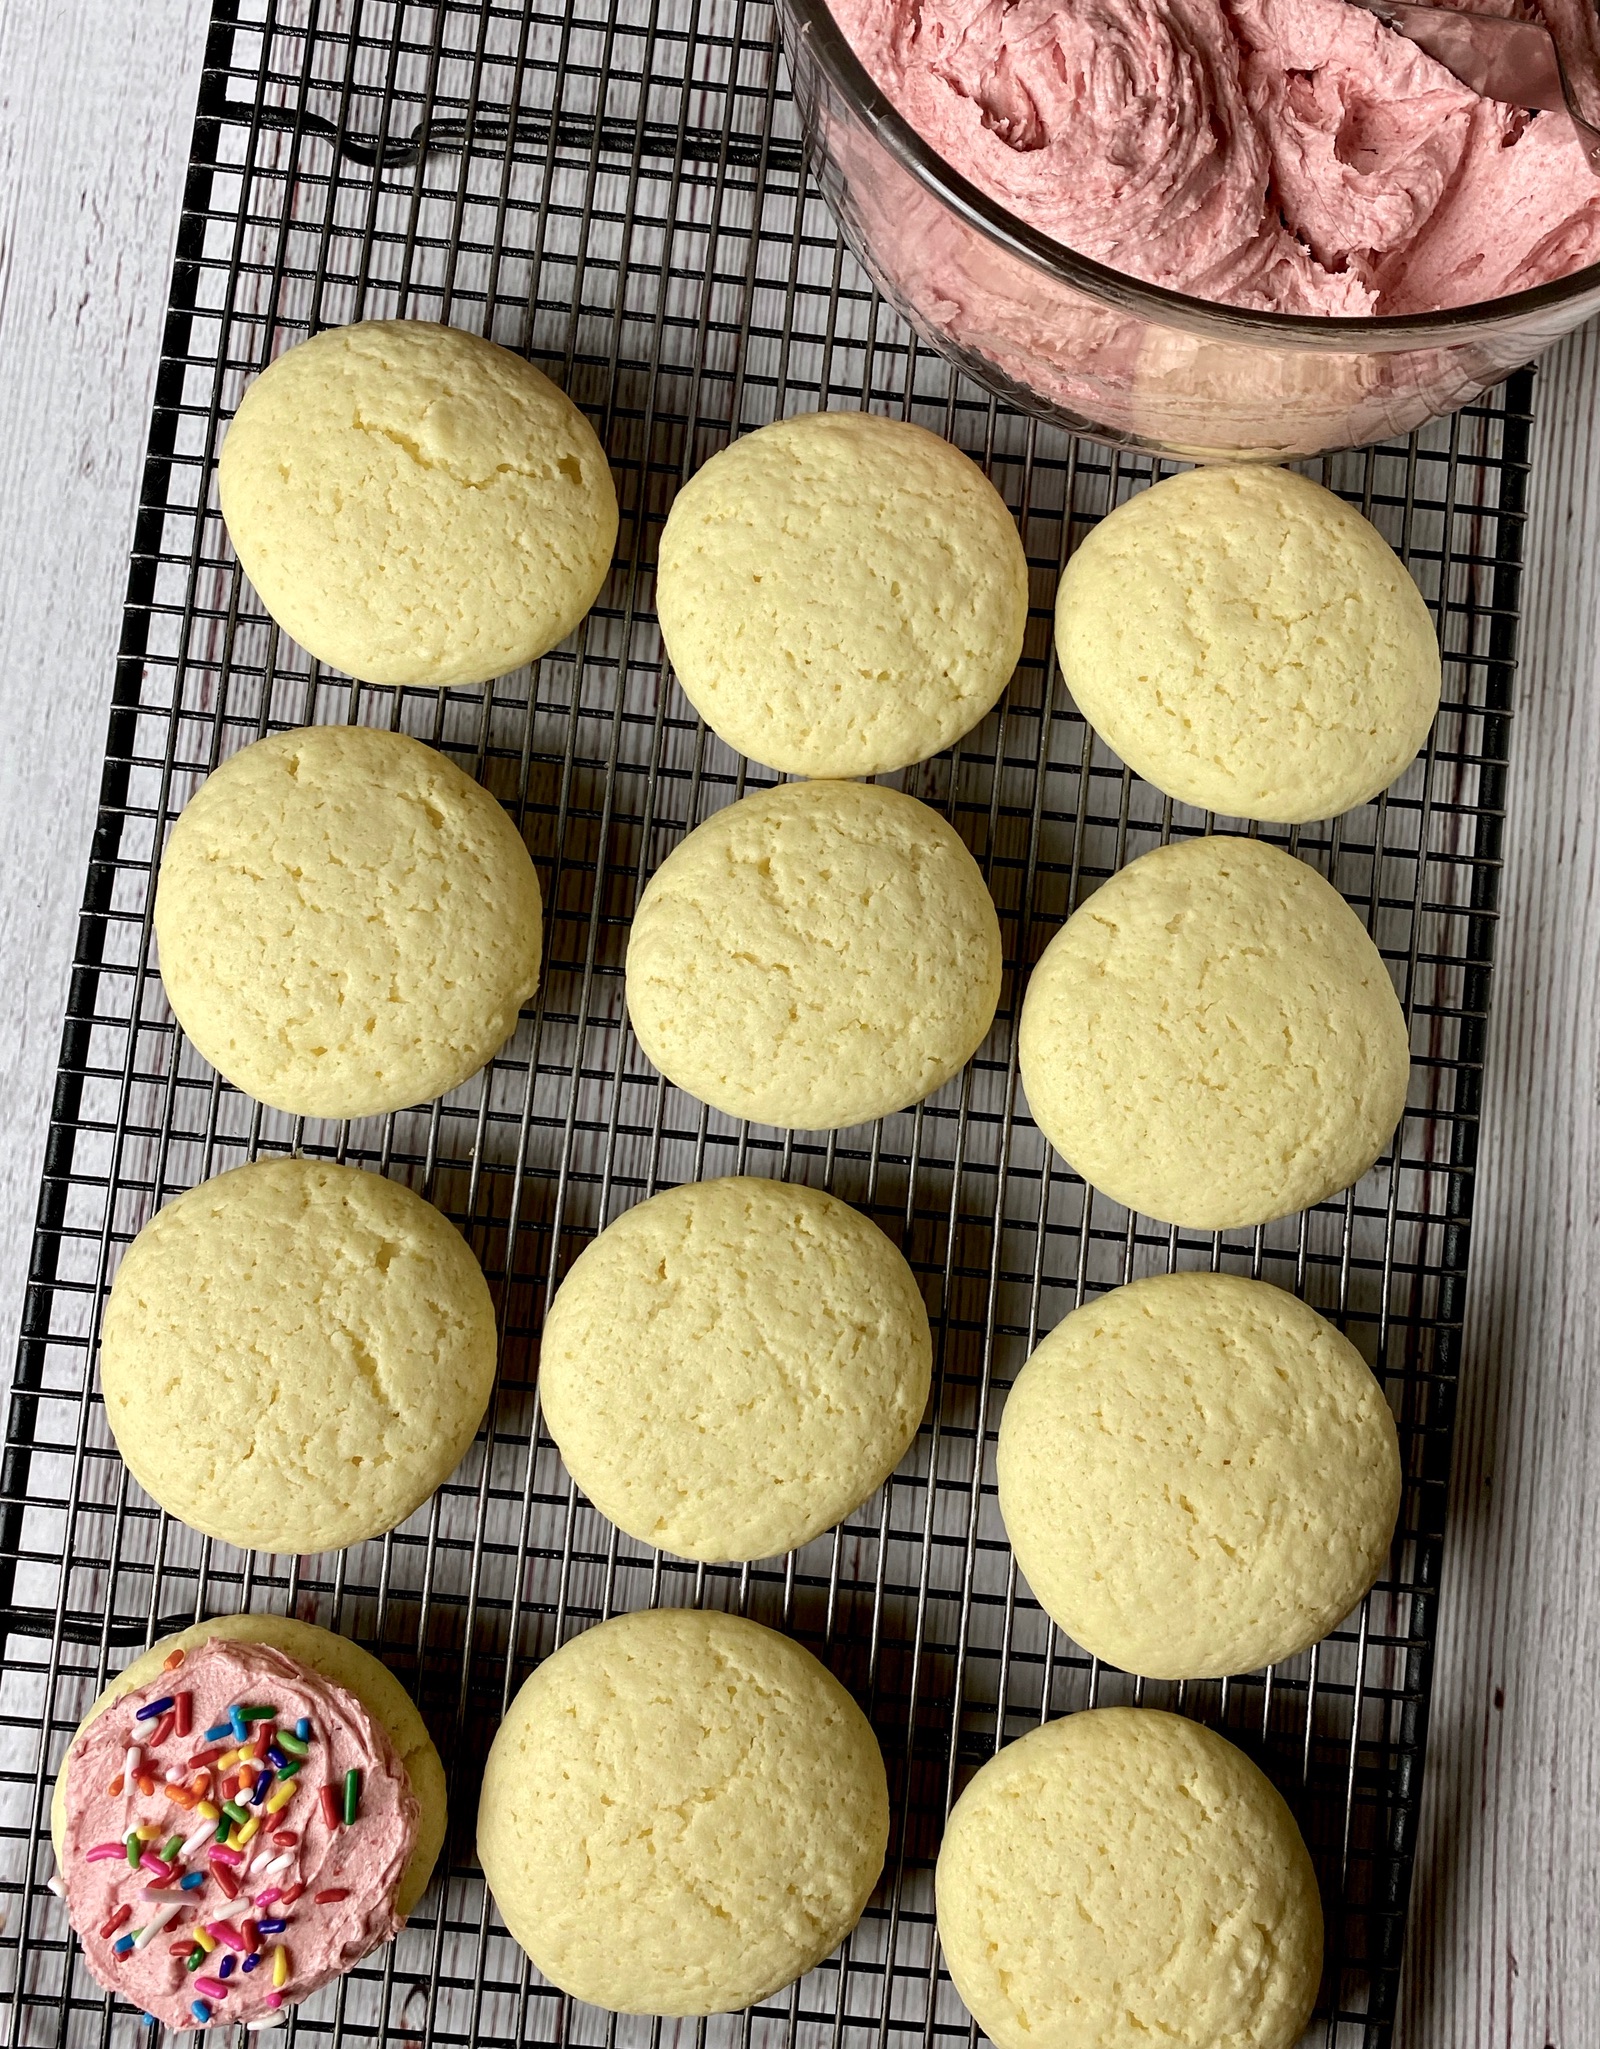
Take the cookies out of the freezer and roll them into balls (eminently doable thanks to freezing). Place each ball on a parchment-lined cookie sheet 2-3 inches apart.  If the dough gets too soft or sticky to work with,  return it to the freezer.  Flatten each to approximately two inches in diameter and one-inch thickness.  Bake 13 to 15 minutes or just until the edge starts to color, don’t over bake.  You will be rewarded with a tender, buttery, light cakey-cookie with a wonderful vanilla punch.

The Finale:  Cookie + Hot Pink Frosting x Sprinkles = Happy

Swirl a generous amount of the frosting on each cookie and then SPRINKLE-FY each one.  These cookies are so indescribably good, put them on your BAKE THESE COOKIES list now. 

Ladies and Gentlemen, I give you the 2020 Holiday Cookie Box!

Eric Kim's Grocery Store Cookie

Remember Lofthouse Cookies from the Supermarkets? Every little league game, school bake sale featured those sprinkle adorned, frosting laden, cakey cookies in the plastic trays. Imagine a homemade, luscious, delicious, version.
Course cookies
Cuisine American
Keyword Grocery Store Cookie, Lofthouse Cookie, sprinkles, Supermarket
Prep Time 30 minutes
Cook Time 15 minutes

Equipment

  • Small sheet pan that will fit in your freezer I have a side by side so sadly a regular-sized cookie sheet will not fit
  • Cookie sheets
  • 2 Tablespoon Ice cream scoop #40 the size of the scoop will be on it somewhere! Sometimes on the handle or the rim of the scoop, even on the little thing-a-ma-jigger that pushes the dough out of the scoop

Ingredients

Cookie

Da Dry Stuff- Combine in small bowl and set aside

  • 2 ¼ cups cake flour (285 grams)
  • 2 teaspoons baking powder

Da Wet Stuff

  • ½ cup unsalted butter (115 grams) 1 stick, at room temperature
  • 3 ounces cream cheese (85 grams) at room temperature
  • 1 cup granulated sugar (200 grams)
  • ½ teaspoon kosher salt
  • 2 large eggs at room temperature
  • 1 tablespoon vanilla extract

Frosting

  • 1 cup freeze-dried raspberries (30 grams) finely ground in a food processor or spice grinder
  • 1 cup unsalted butter (225 grams) 2 sticks, at room temperature
  • 2 cups confectioners’ sugar (245 grams)
  • 1 teaspoon vanilla extract
  • Pinch of kosher salt

Da Bling

  • Multi-colored Sprinkles Happy dust!

Instructions

  • Make the cookies: In a large bowl, using a spoon, cream the butter, cream cheese, sugar and salt until smooth and fluffy. Add the eggs and vanilla extract, and whisk to incorporate some air and to dissolve the sugar crystals, about 1 minute. Stir in the flour and baking powder until just incorporated.
  • Heat oven to 350 degrees and line two rimmed sheet pans with parchment paper. Using two spoons or a cookie scooper, plop out 2-tablespoon/50-gram rounds spaced a couple of inches apart. (You should get about 7 to 8 cookies per sheet pan.) Place the sheet pans in the freezer for 15 to 20 minutes until the dough is no longer sticky and easier to handle.
  • While the dough chills, make the frosting: In a fine-mesh sieve set over a medium bowl, sift the ground raspberries, using a spoon to help pass them through, until most of the ruby-red powder is in the bowl and most of the seeds are left behind in the sieve. (Discard the seeds.)
  • To the bowl, add the 1 cup butter, confectioners’ sugar, vanilla extract and salt and, with an electric hand mixer, mix on low speed until the butter absorbs the sugar. Then, turn the speed up to high and beat until the frosting doubles in size, about 2 minutes, scraping down the sides of the bowl with a rubber spatula to ensure all the ingredients are incorporated. Transfer the frosting to a small container, cover tightly, and set aside. (You should have about 2 cups of frosting.)
  • Remove the sheet pans from the freezer. Roll the chilled dough into even balls and flatten them slightly with your fingers so they’re about 2 inches wide and 1 inch high. Bake the cookies for 13 to 15 minutes, rotating the pans and switching racks halfway through, or until they no longer look wet on top, are still light in color and spring back to the touch. They will puff up and crack slightly. Let cool completely on the sheet pan. (They will continue to cook as they sit.)
  • Using a butter knife or offset spatula, frost each cooled cookie with the raspberry frosting and adorn with the sprinkles.