Category: Soul Food

Missing Anthony Bourdain (Roast Chicken)

Missing Anthony Bourdain (Roast Chicken)

I admit to being a foodie.  I love to cook, I love to eat out at restaurants, I love to dissect everything I eat.  When I travel I hunt out the local favorites, my philosophy, eat where the locals eat. Hot chicken in Nashville, BBQ in Austin, Tacos in Los Angeles, Lox and Bagels in NYC, my bucket list goes on and on.  I drove four hours for pie for Pete’s sake. My favorite movies include Chef and Tampopo. I binge watch Japanese & Korean dramas on Netflix like Samurai Gourmet and Let’s Eat-Must See Foodie TV, and re-watch episodes of Chef’s Table over and over again.

Parts Known and Loved

Sunday evening CNN’s Parts Unknown is appointment TV for me.  My foodie world was rocked last week when Anthony Bourdain committed suicide.  Parts Unknown was unique. Not content with showing places through rose-colored glasses, the show found the edgy parts, counter-culture, fringe elements or disenfranchised.  He didn’t shy away from talking about politics, injustice, or controversial topics.  But his approach was disarming, ask the hard questions over a shared meal and drinks and be genuinely interested in the answers.  His journeys strove to capture the heart and soul of each place he visited, to tell a story.  My favorite episodes? Hanoi with President Obama, Koreatown and Eastside episodes in Los Angeles, Iran, and Shanghai, I traveled vicariously through his show.

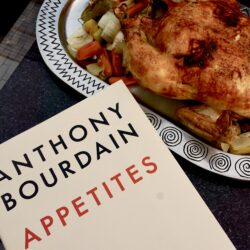
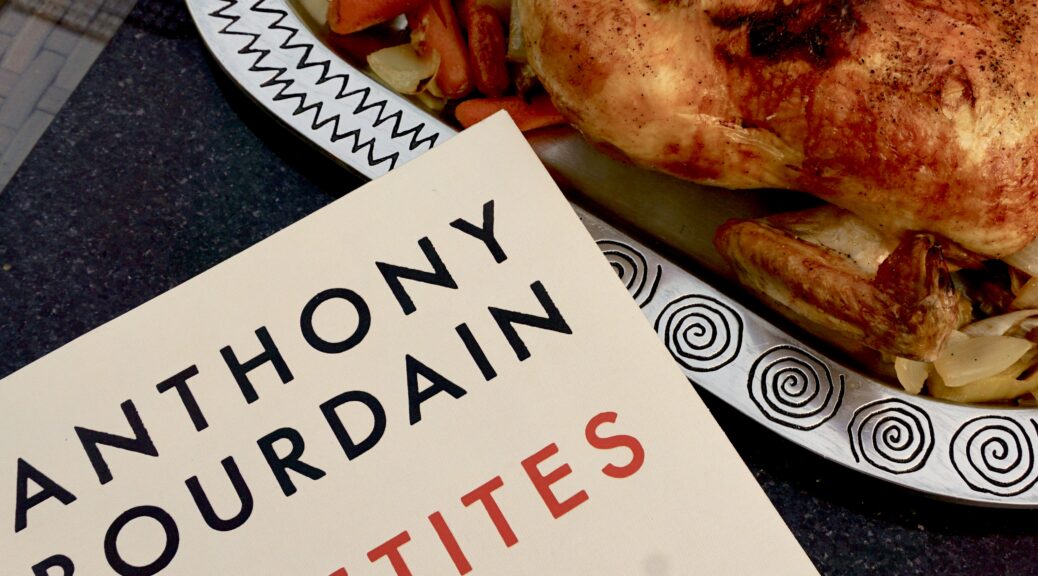
When his book, Appetites came out, I eagerly snatched up a copy.  I loved just flipping through it. I read, laughed and savored his storytelling and irreverence.  His recipes screamed, “this is the stuff I like to eat and share with family and friends, I don’t give a shit if you like it or not”  Now, I felt I had to cook out of it, my own tribute to Mr. Bourdain and personal catharsis.

I made his Roast Chicken, it just seemed like a good starting point.
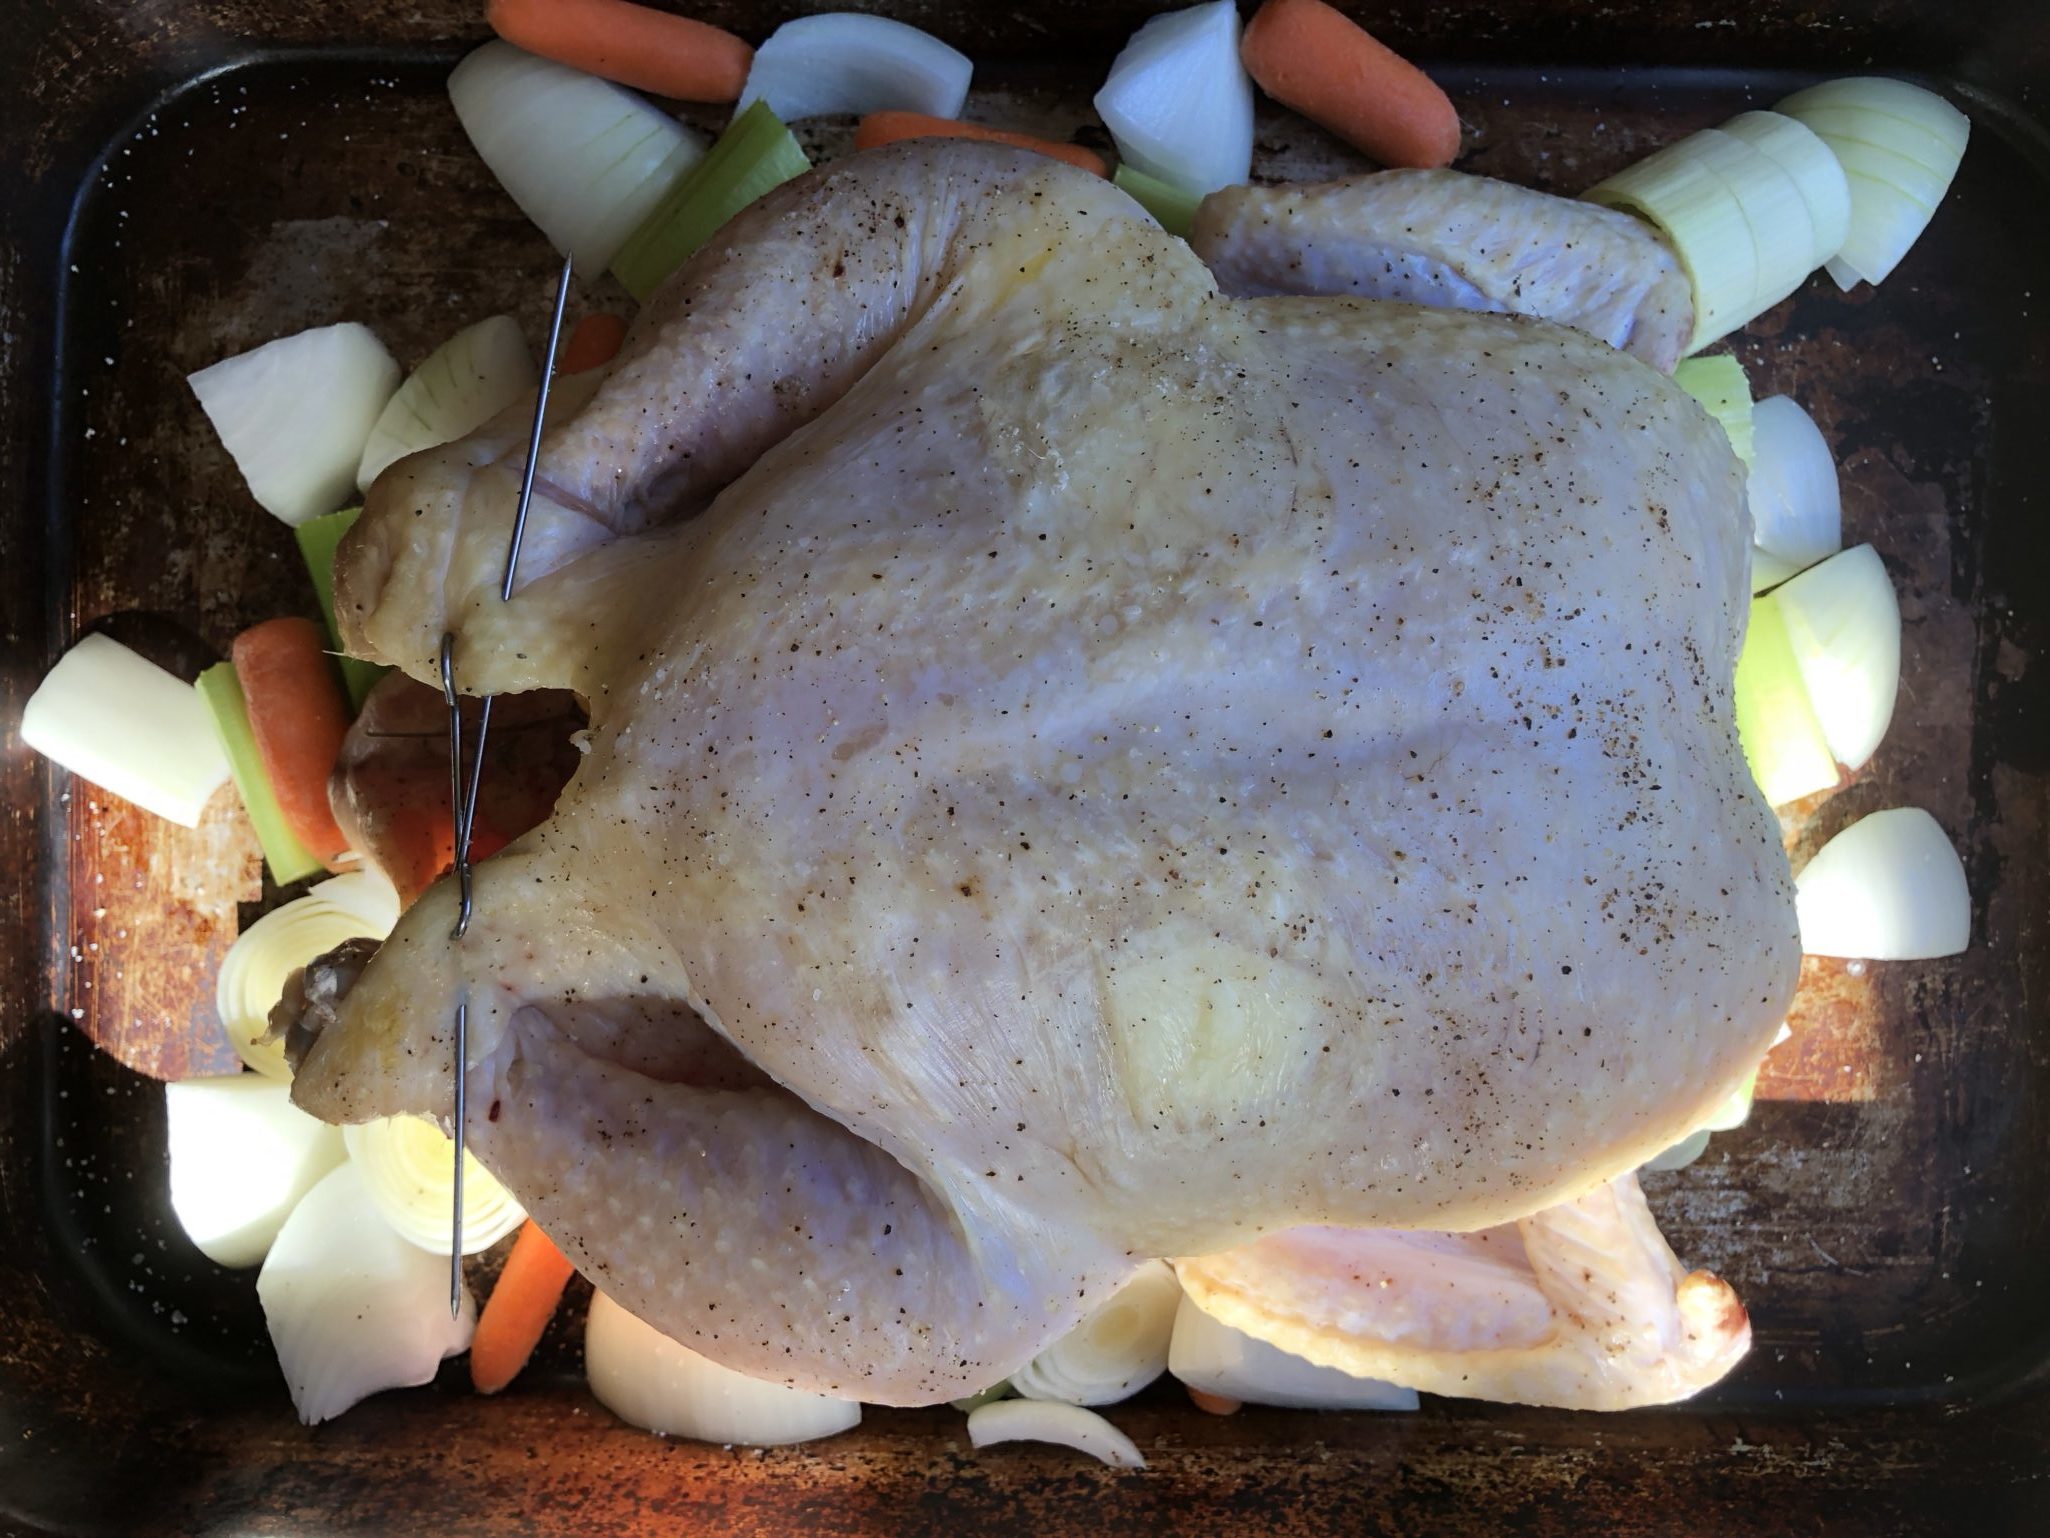
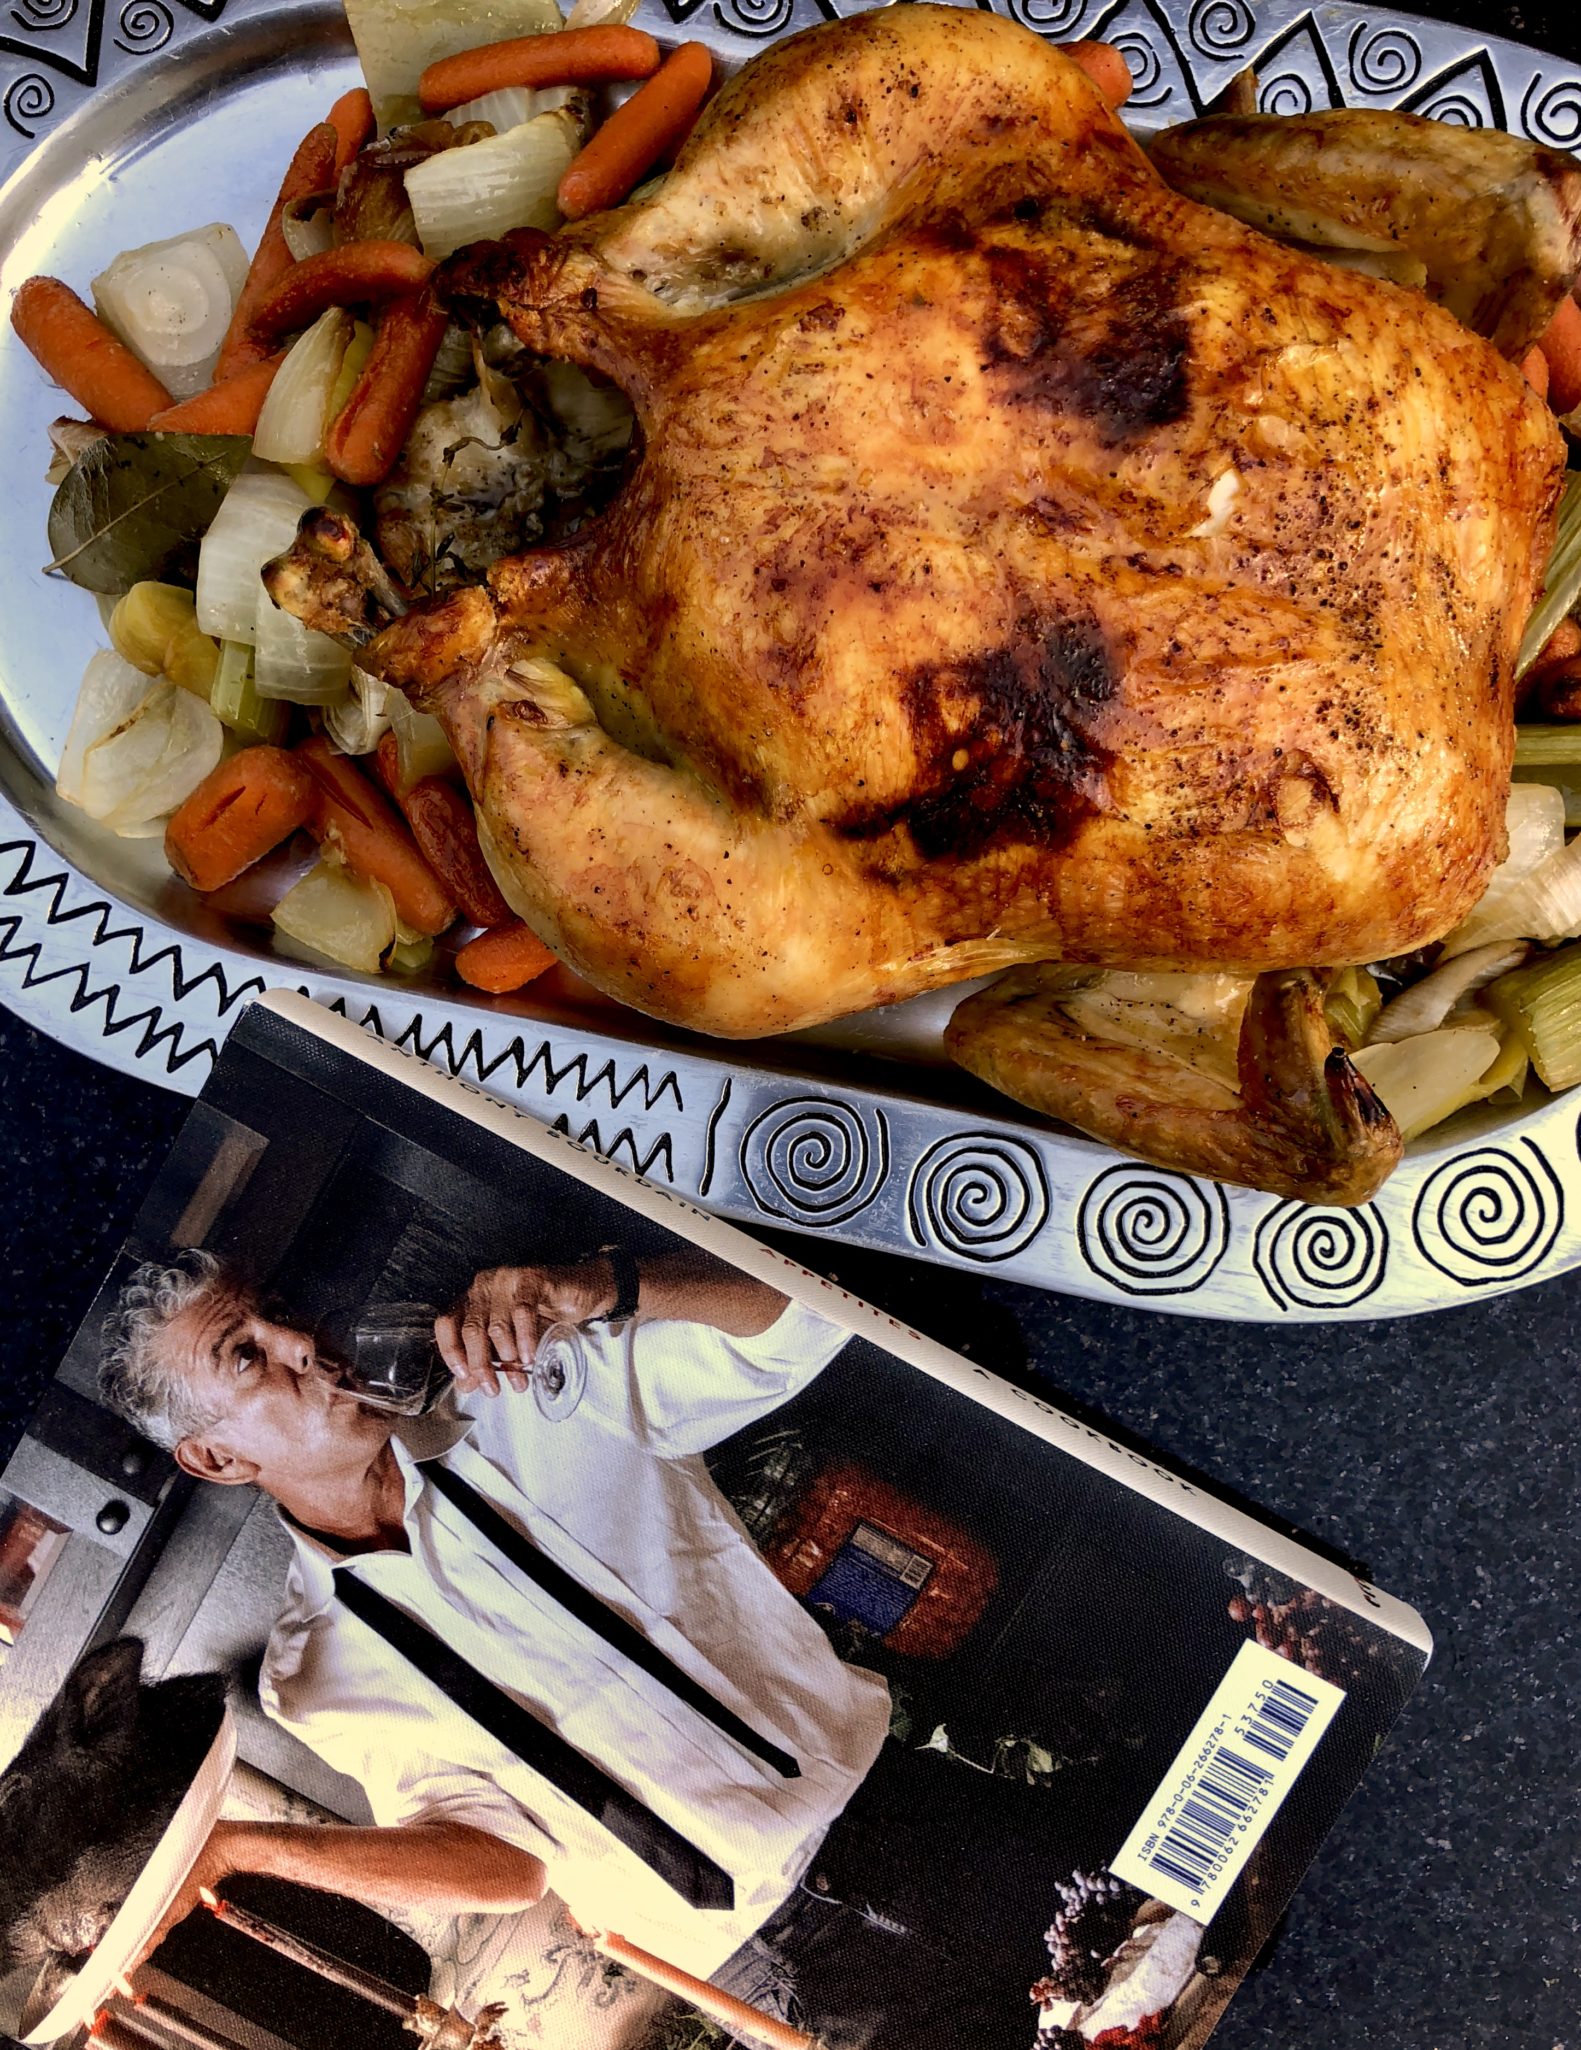
The recipe is loosely written (is that code for poorly edited? You be the judge).  A 2-1/2 pound chicken?  I used a 4-1/2 pound chicken which worked fine.  I placed the chicken on a bed of chopped carrots, onions, leeks, garlic, and celery to roast just like the photo in his book despite the fact that the recipe does not call for veggies. Does it make a difference?  Don’t know, but I have a sneaking suspicion it would be fine either way.

It was simple, delicious, the perfect comfort food to soothe the soul and mend the heart.
Roast Chicken Anthony Bourdain

Roast Chicken by Anthony Bourdain

Roast chicken by Anthony Bourdain, to soothe the soul and mend your heart.
Course comfort food, dinner
Cuisine American
Keyword anthony bourdain, roast chicken, Soul Food
Prep Time 20 minutes
Cook Time 1 hour 10 minutes
Servings 4 servings

Ingredients

  • 1 best-quality chicken about 2 1/2 pounds, preferably organic (ok, my chicken was 4-1/2 pounds) where you get a 21/2 pound chicken 🤷🏻‍♀️
  • Sea salt to taste
  • Crushed black peppercorns to taste
  • 4 tablespoons 1/2 stick unsalted butter
  • 10 sprigs fresh thyme
  • 1 fresh bay leaf
  • 1/2 lemon cut into 4 wedges
  • 1 cup dry white wine
  • Juice of 1 lemon about 2 tablespoons
  • 1 1/2 cups chicken stock
  • 1/4 cup finely chopped fresh parsley
  • Freshly ground black pepper to taste

Instructions

  • Preheat the oven to 450˚F.
  • Rub the bird inside and out with salt and crushed peppercorns.
  • Stuff a 1/2-tablespoon pat of butter under the skin of each side of the breast, and under the skin of each thigh.
  • Stuff the thyme, bay leaf, and lemon wedges into the chicken’s cavity.
  • Use the tip of a paring knife to poke a small hole in the skin just below each of the chicken’s legs, and tuck each leg carefully into that hole. (You may also truss the chicken with butcher’s twine if you know how, but this is much simpler.)
  • Place the chicken in a flame-proof roasting pan* and roast for 30 to 40 minutes, rotating the pan, moving it to different parts of the oven to account for hot spots, and basting the bird two or three times with a bulb-top baster or long-handled metal spoon.
  • *Place chicken on a bed of chopped vegetables including carrots, onions, celery and garlic.
  • Reduce the oven’s heat to 300˚F and continue to roast, basting frequently, for another 30 to 40 minutes or until the bird is done: When you poke the fat part of the thigh with the paring knife, the juices should run clear.
  • Remove the bird from the oven, let it rest 15 minutes, then remove the breasts and legs from the carcass, reserving everything. Use a ladle to skim off and discard as much surface fat from the pan juices as possible.
  • Place the roasting pan on the stovetop over high heat and stir in the wine and lemon juice, scraping the bottom of the pan with a wooden spoon to dislodge and dissolve the browned bits. Bring this mixture to a boil and cook until it is reduced by half. Stir in the stock with the wooden spoon, bring to a boil, and reduce again by half. Remove from the heat and strain this sauce through a sieve into a medium, heavy-bottom saucepan over medium heat. Whisk in the remaining 2 tablespoons butter, a tablespoon at a time, until the sauce is thick and glossy. Fold in the parsley and adjust the seasoning with salt and pepper as necessary.
  • Serve the chicken—half of the breast plus a drumstick or a thigh per person—with the sauce ladled over, and any remaining sauce in a sauceboat on the table.
  • Appetites
Let’s “Taco Bout” It (Carnitas Tacos)

Let’s “Taco Bout” It (Carnitas Tacos)

I have been working my way through Sam Kass’s Cookbook Eat a Little Better and have to say it is pretty darn good!  A family favorite has been his Roasted Pork recipe. Start with a nice 5-6 pound pork shoulder and slow roast it in the oven for 5 hours.  You are rewarded with a beautiful mahogany colored, crispy on the outside, meltingly tender on the inside, hunk of deliciousness.  Yum.

But as delicious as it is, IT IS STILL A WHOLE LOTTA PORK.

And as much as I enjoyed standing at my kitchen counter and pulling shreds of warm, succulent, salty pork off the roast and popping them in my mouth, I hardly made a dent.

Variations on a Pork Roast to the Rescue.

First on the list…TACOS

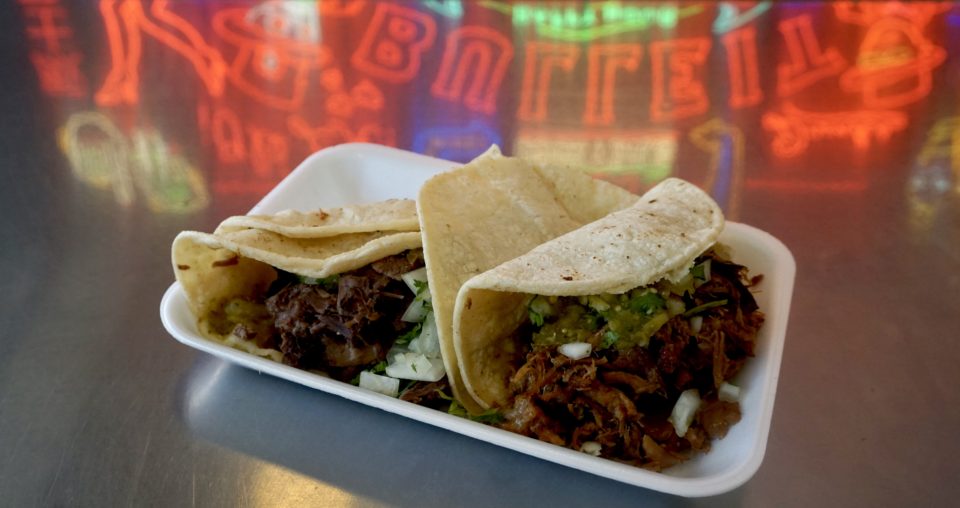
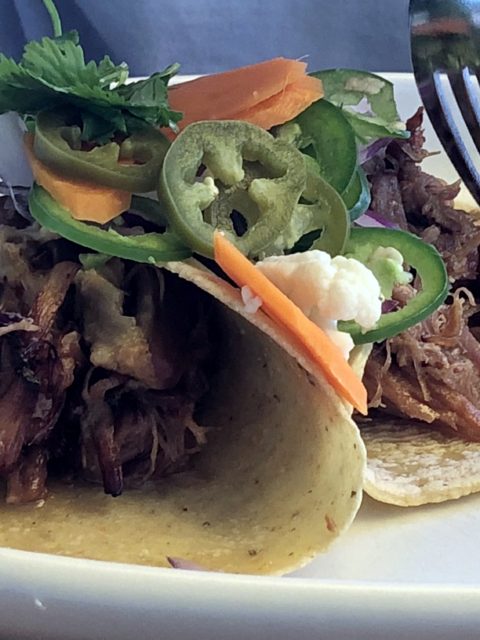
CArnitas tacos Villa Moreliana

THE HISTORY OF TACOS by 3Jamigos

1960s: Taco shells out of a box-the equivalent of Chinese chow mein noodles out of a can (I can’t even), ground beef with tomato sauce, Lawry’s Taco Seasonings packet, iceberg lettuce, shredded yellow cheese, and tomatoes. They were good when I was a kid, now-not so much.  The perils of growing up.

1970s: Tex-Mex Tacos:  Visited San Antonio and had a Puffy Taco Moment. OMG! How can a taco shell be crispy and soft at the same time? Another, please.

1980s: Tacos in Mexico City: Tacos come on a plate with soft corn tortillas and toppings piled on top.  A sprinkle of onions and cilantro, splash of salsa. #SoDamnDelicious. Mom and I sneak off the tour bus to eat tacos…..#RealTacos

1980s:  I’ll take 2 1980s and skip the 1990s.  Roadtrip to San Felipe and Ensenada.  First stop: Buy a six-pack of Coronas and head for the nearest taco stand then head to beach.  Freshly caught fish or shrimp, batter-fried, tossed in a soft tortilla with cabbage, salsa and crema…3 for a dollar.  I have died and gone to seafood taco heaven.

2000s: Live and Eat in LA:  Just about to order Lengua and Carne Asada tacos from fav Taco truck (cheap and open “All Night Long”, props to Lionel Ritchie)when… Wait, there’s a crazy ass long line at that truck over there called Kogi Truck, let’s check it out. Korean BBQ Tacos?!  Mind blown.

2010: Kids work health fair at local church.  After service, Carne Asada Tacos served fresh off the grill for 1.00 a piece.  Kids (3 of them) eat 26 tacos.  The next year the tacos go up to 1.50!  La Vic’s Orange Sauce, say no more.

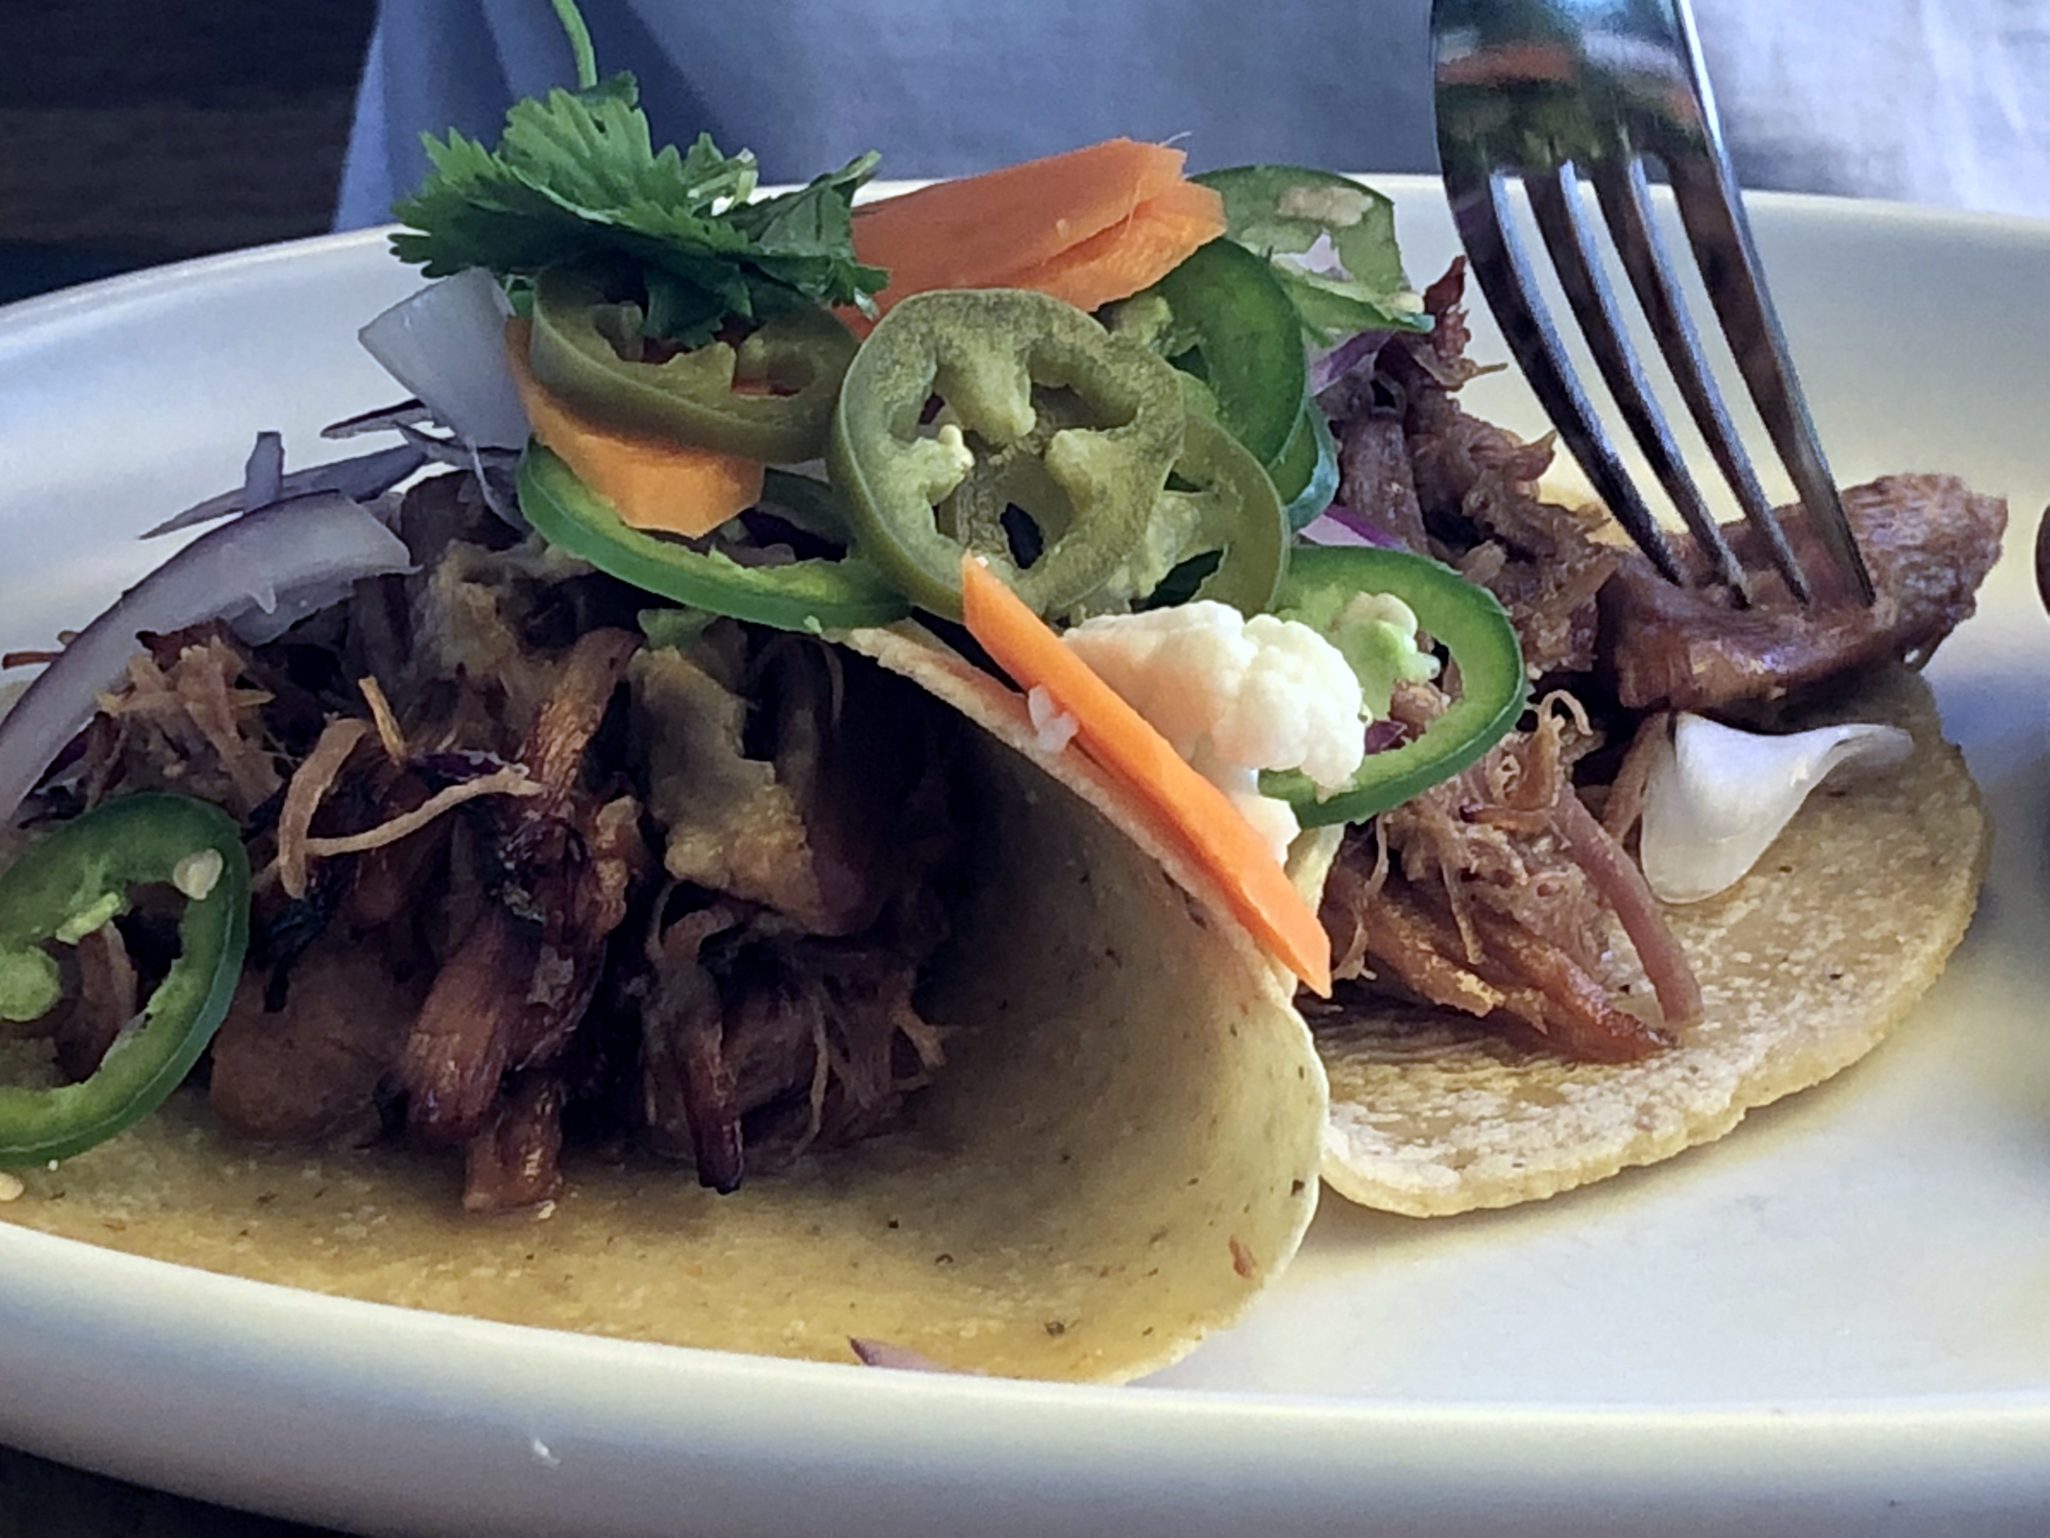
2018:  Villa Moreliana in LA Grand Central Market 1.75 per taco.  My favorite, Mixed Carnitas Taco.  Comes with shredded pork, tongue, snout, trotter, and chicharrones.  Go. Now. Eat.

NopalitoSF  Carnitas tacos in a hipster setting near Divisadero Street, $14.50,  Really? Afraid so. But damn, they are good.

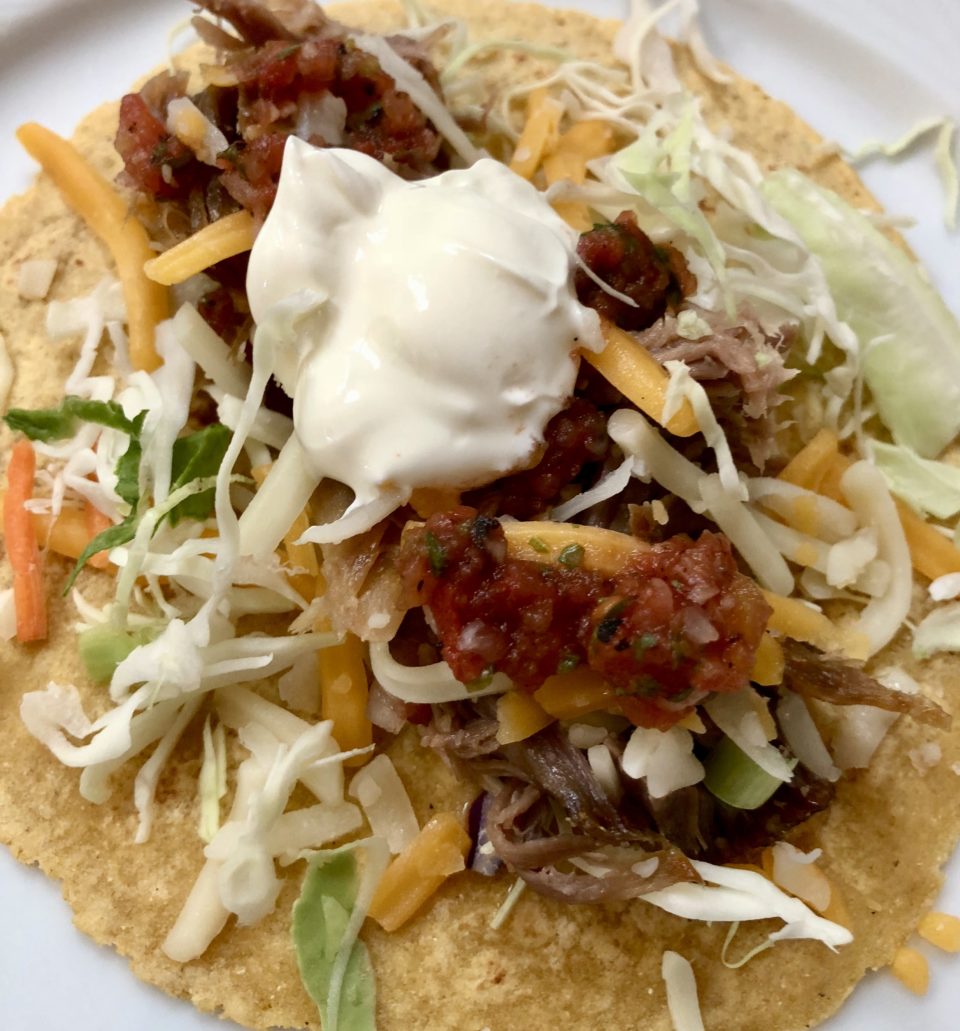
Making my own with Sam Kass’s Roasted Pork Shoulder and homemade salsa.   #SoDamnDelicious #EatAtHome #AsManyTacosAsIWant

Make your own tortillas too! Easy flour tortillas or corn tortillas from King Arthur Baking.

Carnitas tacos

Let’s “Taco Bout” It Carnitas Tacos

Ingredients

  • Slow Roasted Pork
  • Corn Tortillas Trader Joes makes a nice corn tortilla or La Tortilla Factory has a nice corn & Wheat handmade tortilla

Toppings: Put them all out or keep it real with onions, cilantro and lime wedges

  • shredded cabbage
  • chopped white onions or red onions Soak in cold water to mellow onion
  • Cilantro
  • Avocado slices
  • Pico de gallo
  • Your favorite salsa or try the easy homemade salsa on my blog

Instructions

  • Shred 1-2 cups of roasted pork. To crisp the edges and reheat pork, place shredded meat in a saute' pan with 1-2 tablespoon of oil until heated thru and crispy on the edges. Transfer to warm plate.
  • Heat tortillas. Put different toppings out and let people go crazy.
  • Allow everyone to make their own tacos.
  • #TacoTime
Fast, Flavorful, Pho-tastic(Instant Pot Pho Ga, Vietnamese Chicken Noodle Soup )

Fast, Flavorful, Pho-tastic(Instant Pot Pho Ga, Vietnamese Chicken Noodle Soup )

I can’t think of anything more comforting than a steaming bowl of noodle soup.   If marooned on an island, what would you eat and what 3 books would you want to have with you.  My response would be immediate, a no-brainer, noodle soup.  The caveat being noodle soup would include Pho, Ramen, Udon, Won Ton Noodle Soup, Guksu, Laksa….  and one of my 3 books would be Andrea Nguyen’s The Pho Cookbook.

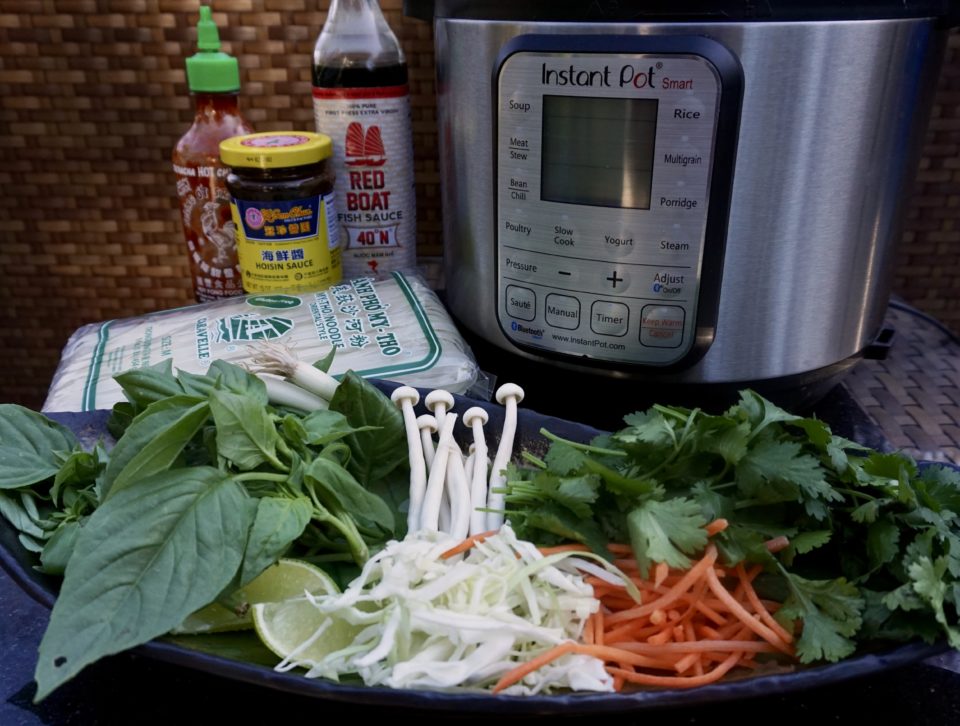
I have always wanted to try my hand at making Pho. But the stock for this popular Vietnamese Noodle Soup is a labor of love.  Hours of simmering on the stove coaxing the flavors out of chicken, beef, and aromatics like ginger, onions, and cilantro. Intimidating to say the least.  Andrea’s recipe for Pho Ga (Chicken Pho) made in a pressure cooker was the “kick in the pants” I needed.  Pho in less than an hour?  I immediately headed to the store for ingredients. Slurp City here I come. Thanks to Andrea Nguyen and Instant Pot, I was about to make Pho in a fraction of the time.  Ms. Nguyen has written quite a few cookbooks on the cuisine of Vietnam and I snapped up her ode to soup noodles after an interview on KQED.

Instant Pot Pho Ga

This makes homemade Pho eminently doable. One pot cooking, woohoo.  Increase the cooking time if you have an Instant Pot.  It works at a slightly lower pressure (11.5psi) than a conventional pressure cooker.   Remove the cilantro and ginger after the cooking process as both herbs continue to flavor the stock and may overpower the flavor of the broth. Modify the natural pressure release by letting your Instant Pot sit for 5 minutes before venting and opening. Once you remove the chicken, place it in a cold water bath.  This keeps the chicken tender and moist. If you like your chicken a bit more done, leave it in the pot for about 15 minutes before removing. The chicken can be shredded or sliced whatever your preference.

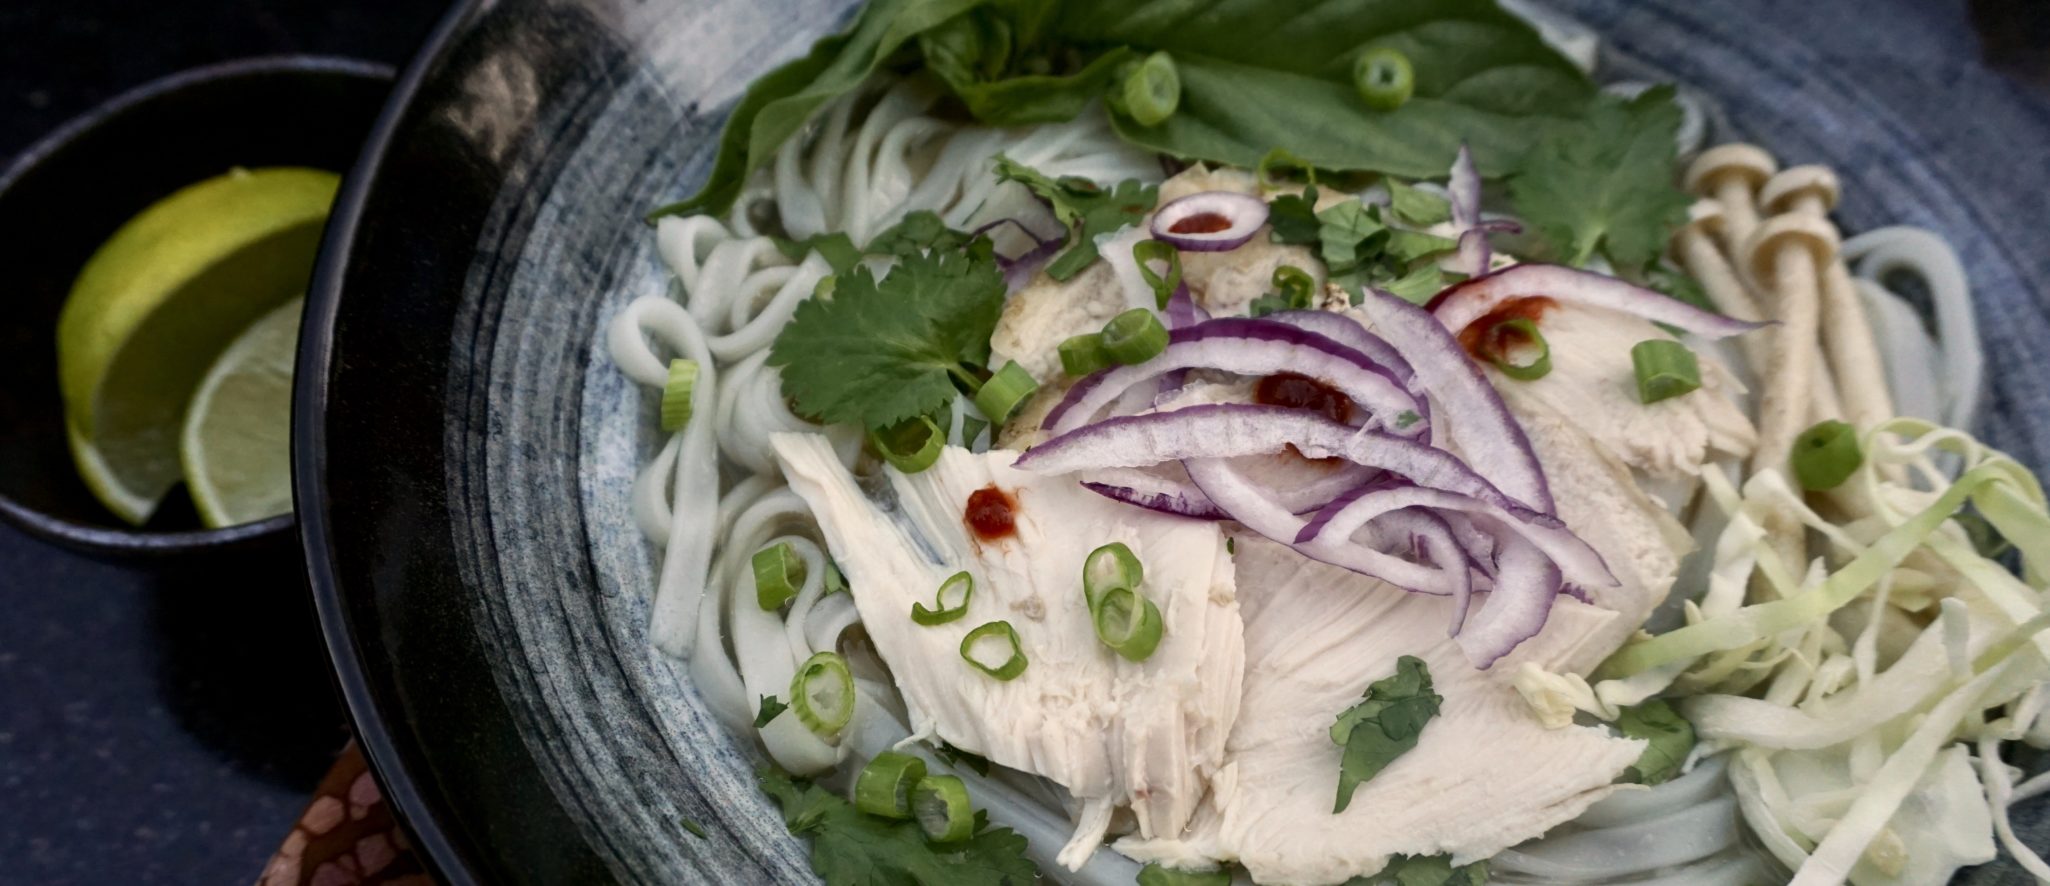
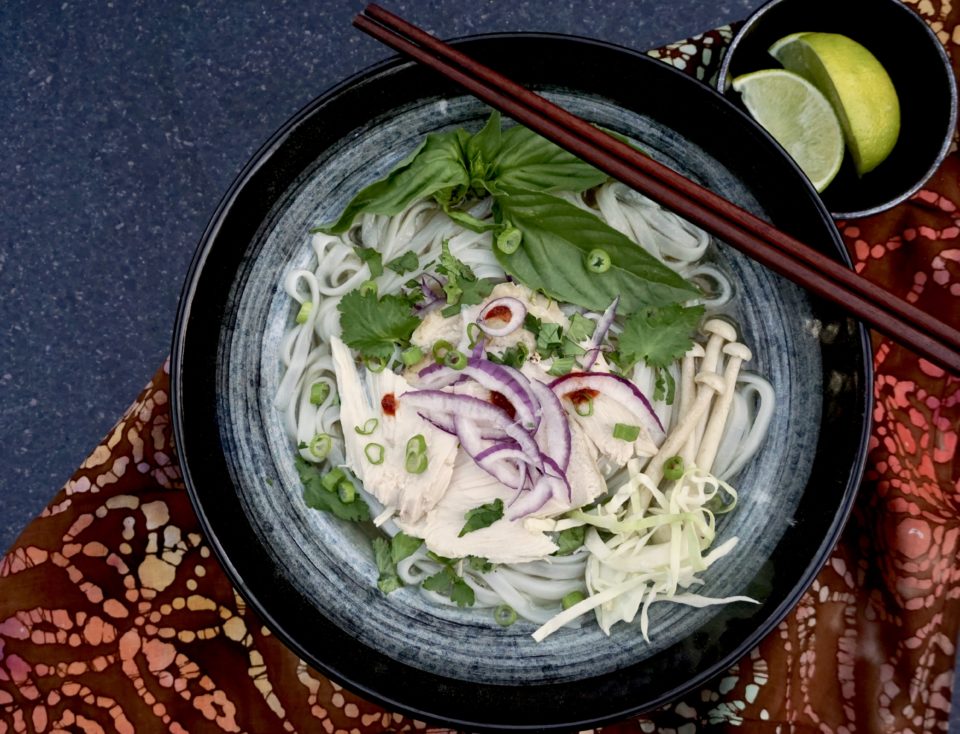
With your broth done, your noodles softened.  It is now Topping Time!  Toppings, toppings, toppings galore. You can be traditional and top your pho with basil, mint, and bean sprouts or you can keep going and add ABSOLUTELY ANYTHING YOU WANT.  I didn’t have bean sprouts so I used shredded carrots and cabbage. Thinly sliced red onions add a nice bite.  Delicious.  Mushrooms, let those fungus fly..into your bowl.  Condiments include Siracha for spice, Hoisin for a bit of sweetness and a squeeze of lime.  S cubed-sweet, salty, spicy and so good!

Now you and I can make our own bowls of deliciousness.

Instant Pot Pho Ga

Fast, Flavorful, Pho-tastic (Instant Pot Pho Ga)

A faster and simpler way to make a tasty bowl of Pho!
Course comfort food, noodles, one bowl meal, Soup
Cuisine Asian, Vietnamese
Keyword Chicken, Pho, Pho Ga, rice noodles, soup
Prep Time 15 minutes
Cook Time 1 hour 45 minutes

Equipment

  • 1 Pressure Cooker or Instant Pot

Ingredients

BROTH

  • 1 whole chicken 4 lbs.
  • 1 rounded tbsp. coriander seeds
  • 3 whole cloves
  • 1 medium yellow onion peeled, halved, and sliced 1/2 in. thick
  • 1 3- in. piece ginger peeled and thickly sliced
  • 1 small Fuji apple peeled, cored, and cut into thumbnail-size chunks
  • 1/2 cup coarsely chopped cilantro sprigs
  • 2 1/4 tsp fine sea salt
  • 1 1/2 tbsp fish sauce
  • 1 tsp About. organic sugar* or 2 tsp. maple syrup if needed to round out flavor

Noods and Bowls

  • 10 ounce dried narrow flat rice noodles*
  • About half of cooked chicken from the broth
  • 1/2 small red onion halved lengthwise, then thinly sliced and soaked in water 10 minutes
  • 1/4 cup thinly sliced green onion green parts only
  • 1/4 cup chopped fresh cilantro leaves
  • white or black pepper

Garnishes & Condiments

  • Vietnamese Herb Garnish Plate
  • Vietnamese Ginger Dipping Sauce
  • Siracha Sauce, Hoisin Sauce, lime wedges

Instructions

  • Make broth: Rinse chicken and set aside to drain. Put coriander seeds and cloves in a dry 6- to 8-qt. pressure cooker. Over medium heat, toast until fragrant, shaking, several minutes. Add onion and ginger and cook, stirring, until browned on edges, 2 to 3 minutes.
  • Add 4 cups water, then the chicken, breast side up. Add apple, cilantro, salt, and another 4 cups water. Lock the lid in place.
  • Following your cooker's instructions, bring to low pressure (8 psi) over high heat. Lower heat to maintain pressure. Cook 15 minutes, or a few minutes longer if your cooker's low setting is less than 8 psi. If your cooker has only a high-pressure (15 psi) setting, cook 12 minutes. The Instant Pot setting is approximately 12 psi so I increased the time to 14 minutes. If you like your chicken falling off the bone leave the chicken in the Instant Pot for 20 minutes before pressure release. I waited 5 minutes and then did a quick release. The chicken was tender much like white cut chicken.
  • Transfer the chicken to a bowl; if parts fall off in transit, don’t worry. Add cold water to cover the chicken and soak for 10 minutes to cool and prevent drying. Pour off the water, partially cover, and set the chicken aside to cool.
  • Skim some fat from the broth before straining it through a muslin-lined mesh strainer positioned over a medium pot. Discard the solids. You should have about 8 cups. Taste and season the broth with the fish sauce, extra salt, and perhaps a bit of sugar.
  • Use a knife to remove the breast halves and legs from the chicken. Set aside half of the chicken for another use. Reserve the remaining chicken for pho bowl assembly.

Prep and assemble the bowls

  • About 30 minutes before serving, ready the ingredients for the bowls. Soak the noodles in hot tap water until pliable and opaque. Drain, rinse, and drain well.
  • Step 7
  • Cut or tear the chicken breast and leg into pieces about 1⁄4 inch thick. Place the onion, green onion, and cilantro in separate bowls and line them up with the noodles, chicken, and pepper for a pho assembly line.
  • Bring the broth to a simmer over medium heat as you are assembling the bowls. At the same time, fill a pot with water and bring to a rolling boil for the noodles.
  • For each bowl, use a noodle strainer or mesh sieve to dunk a portion of the noodles in the boiling water. When the noodles are soft, 5 to 60 seconds, pull the strainer from the water, shaking it to drain excess water back into the pot. Empty the noodles into a bowl.
  • Top with chicken, then garnish with onion, green onion, cilantro, and pepper and any toppings you want.
  • Check the broth flavor once more, raise the heat, and bring it to a boil. Ladle about 2 cups broth into each bowl. Enjoy immediately.
Corn Soup (玉米湯) Chinese Soul Food

Corn Soup (玉米湯) Chinese Soul Food

Though I was only gone for 4 days, I’m glad I am back. Even paradise doesn’t compare to home.  As much as I like trying new restaurants and not having to do dishes, I love getting in the kitchen and cooking.  My go-to “I’m home!!” meal?  SOUP. The ultimate comfort food that tells me I’m back where I belong.

Our plane touched down in the evening so a long-simmered pot of soup was not in the cards. I needed something quick, easy and yummy. I looked in the pantry and fridge to see what I could rustle up and what do you know, perched front and center on the shelf, a can of Del Monte Creamed Corn.  A sign, obviously.

Does It Sound Corny?

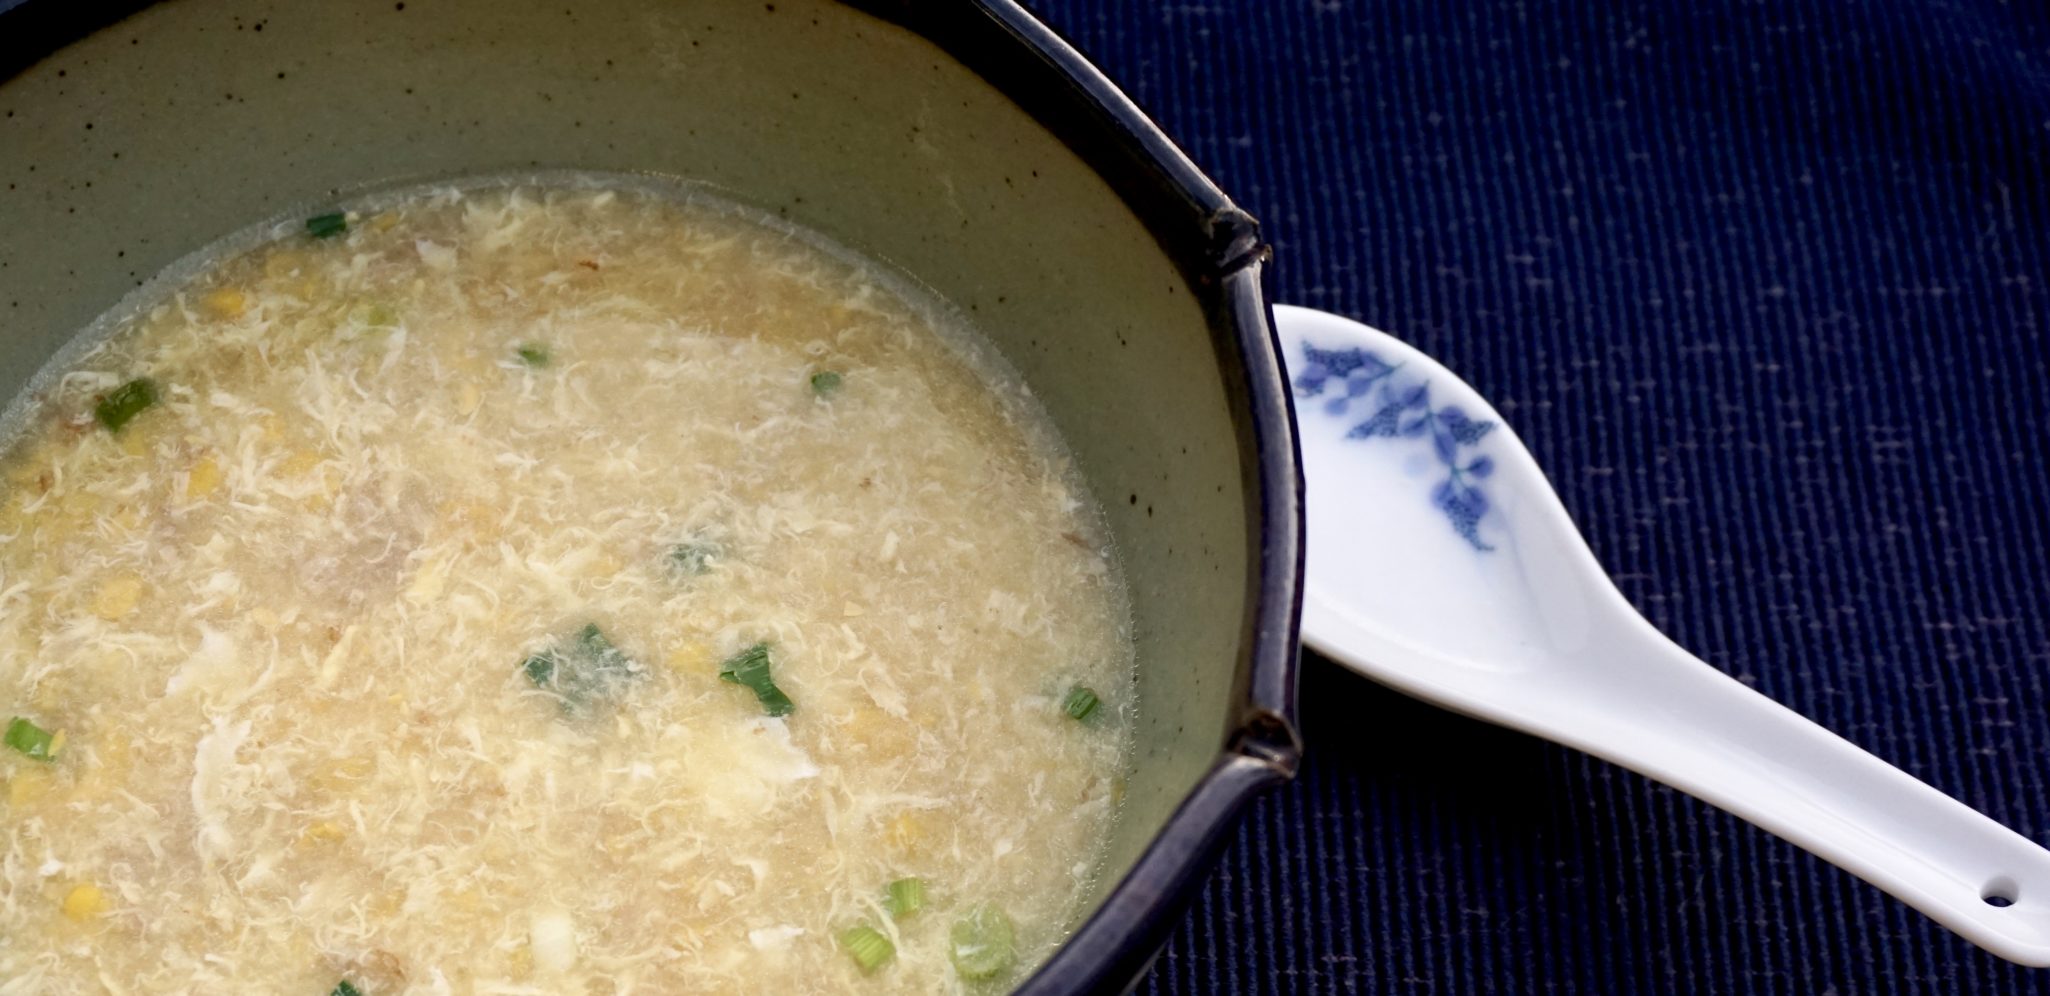
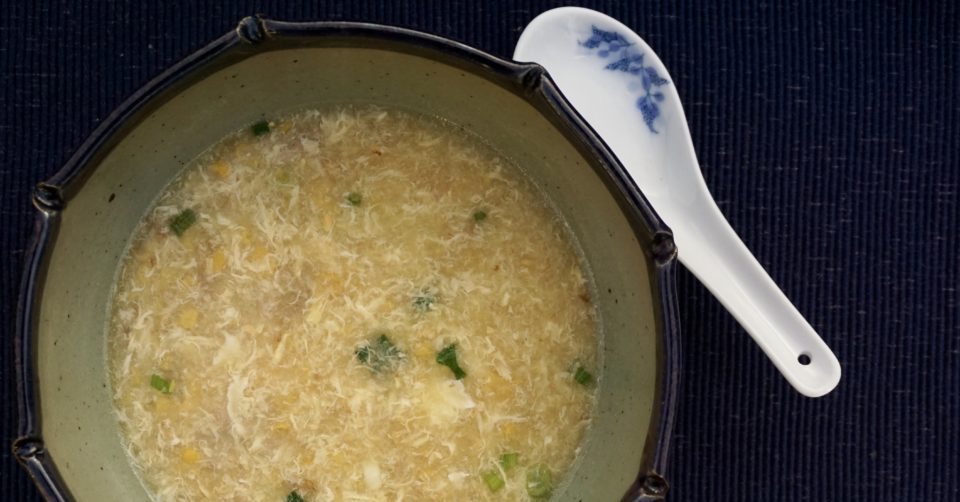
What? I thought you were making soup Deb? I am, trust me. Chinese Style Corn Soup starts with a can of creamed corn. It’s the secret weapon to a quick and delicious soup.  My kids love it, hands down one of their favorite soups.  It’s sweet and savory, made with corn, seasoned ground pork, (you could use chicken or turkey) and egg.  Best way to enjoy it?  Ladle the soup over rice, stir to combine, and eat it piping hot with a big ole’ spoon-this is soul food, bowl food.

I learned how to make corn soup from my mom and if you have read my blog, you know my Mom did not cook much.  It was my Dad’s domain, but she makes a mean corn soup.  If you peruse the menu of any legit (lol) Chinese restaurant, you will find Corn Soup. THAT’S HOW YUMMY IT IS.

Chinese Corn Soup

Max Flavor, Min Effort

My mom started with just a pot of water.  I cheat and start with chicken stock, homemade or a commercially available low salt chicken stock, this adds another level of cheating, I mean flavor.  Quick soups generally start with minced or thin strips of pork, chicken or beef. This extracts the maximum amount of flavor in a minimum amount of time. The meat is marinated for a couple of minutes in soy sauce, rice wine, salt, and sugar then sautéed briefly before adding the water or stock. Cook over medium heat to keep the soup at a nice rolling boil (not crazy boil) for 15-20 minutes. Add the creamed corn, cook for another few minutes and voila’ ALMOST DONE (gotcha).

The last step, whisk a barely beaten egg into the soup. This adds flavor and body to the soup. It’s very similar to egg drop soup. It’s important to remember never boil the soup after adding the egg. You want the eggs to have wispy strand look. I actually turn the heat off when whisking in the egg. Whisk the soup continuously so the egg doesn’t sit and clump or curdle. NO BUENO.

If you like a thicker soup consider adding cornstarch to both the soup and the eggs before adding it to the soup.  A trick from Serious Eats-For tender shards of egg, blend 1 teaspoon of cornstarch into the eggs before adding them to the soup. I am old school, I just add the barely beaten egg to the soup, the yolk thickens it and the whites turn into wispy tendrils in the soup-just like my mom’s.

Soul Food: Chinese Corn Soup

An easy delicious soup that starts with canned corn!
Course soul food, Soup
Cuisine Asian, Asian-American
Keyword Cantonese cooking, Corn, soup
Prep Time 15 minutes
Cook Time 15 minutes

Ingredients

  • 14.5 ounce can of creamed style corn Del Monte is my go-to
  • 1/2 cup ground pork or thinly sliced pork

Marinade for Pork

  • 1 tsp soy sauce
  • 1 tsp oyster sauce
  • 1-1/2 tsp rice wine
  • dash of white pepper
  • 1/4 tsp salt and sugar

To finish the Soup

  • 3-4 cups water or low sodium chicken broth or half and half water & broth
  • 1-2 eggs
  • 1 green onion sliced on the diagonal
  • salt and pepper to taste

Instructions

  • Combine marinade ingredients with pork in a small bowl, set aside, let it sit for 10-15 minutes.
  • Heat 1 T oil in a 3-4 quart saucepan. When oil is hot, add ginger and cook for 1 minute to flavor the oil.
  • Add pork to pot and sauté until it is no longer pink.
  • Add water and/or stock and bring to a boil, immediately lower heat to a simmer for 10-15 minutes.
  • Add creamed corn. Bring to a boil and turn down heat to low. Simmer for 5 minutes.
  • As the soup simmers, break eggs into a small bowl. Lightly beat, no need for the eggs to be completely blended.
  • Turn heat off or set to very low and add eggs to soup in a steady stream, all the while stirring the soup with a fork or chopsticks in one direction. If the flame is too high the egg will curdle!
  • Season with salt and white pepper to taste. Garnish with green onions.

Options:

  • 1 tsp sesame oil
  • ¼ - ½ cup corn kernels ( I use frozen) add with canned creamed corn
  • Substitute ground chicken or turkey for pork

For a thicker soup:

  • Mix ½ tablespoon of cornstarch with 1 tablespoon water or stock. Add this slurry to the soup, heat until soup thickens. Turn heat down and add egg. I find if you use 2 eggs in this soup this will create enough body in the soup such that cornstarch is not necessary.
Japchae-Oppa! Korean-Style, Sexy Noodles, Op Op

Japchae-Oppa! Korean-Style, Sexy Noodles, Op Op

I decided to throw a surprise birthday party for the hubby. Since it was an impromptu event, I kept it simple. Just a handful of friends on a Friday night to help him celebrate another year.  The menu included his favorites, cheesecake, apple pie, and sushi from our favorite place. Badabing, easy peasy-done.  Then I started to worry, what if folks don’t eat fish?  Then I thought, what if I don’t have enough food?  A cardinal sin…so I added a few more of his favorites, Korean short ribs, Galbi, Ceasar Salad, and Japchae, a delicious Korean noodle dish.

The Skinny on the Noods

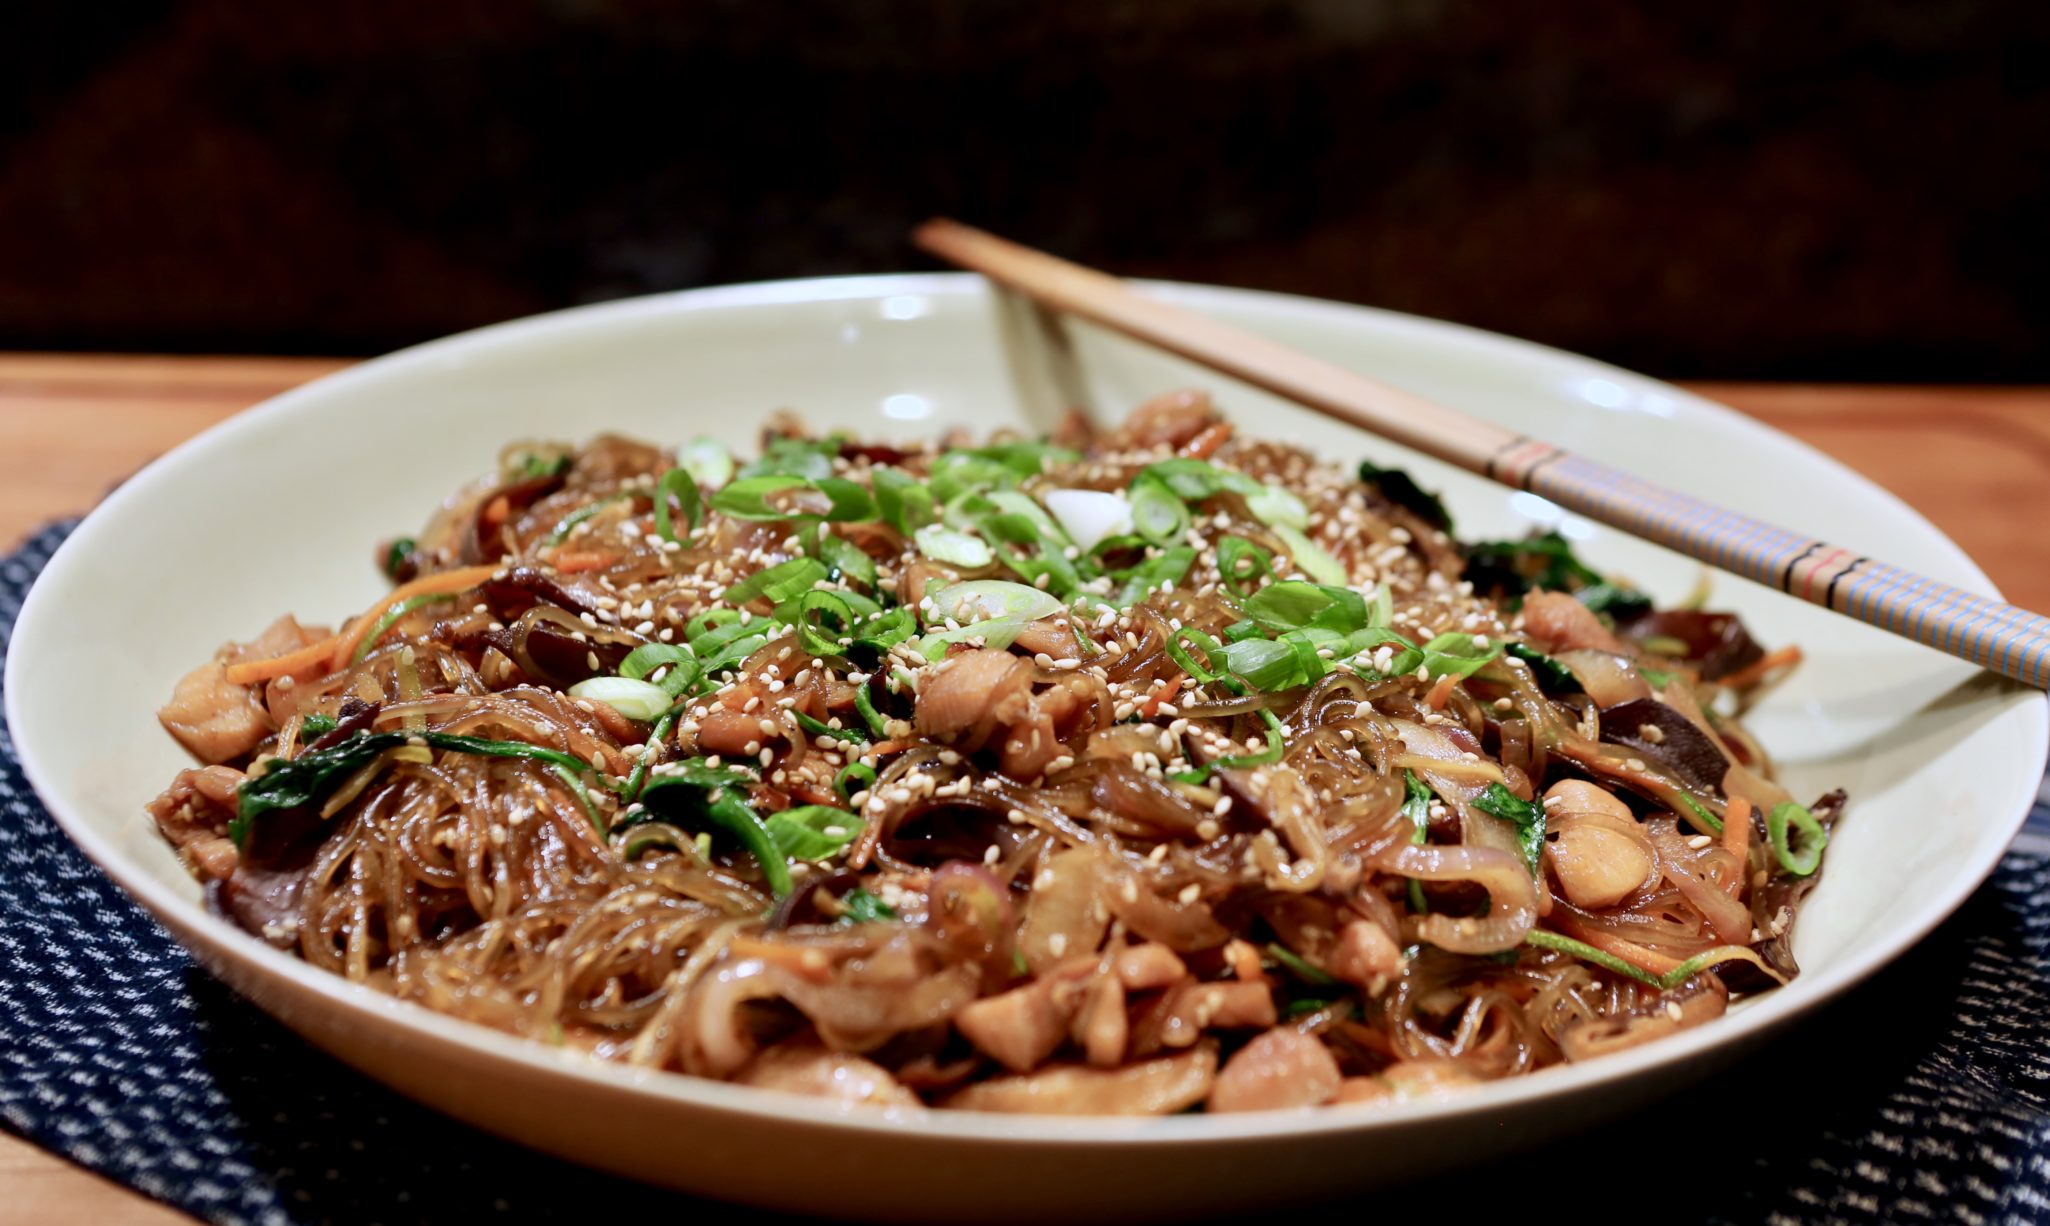
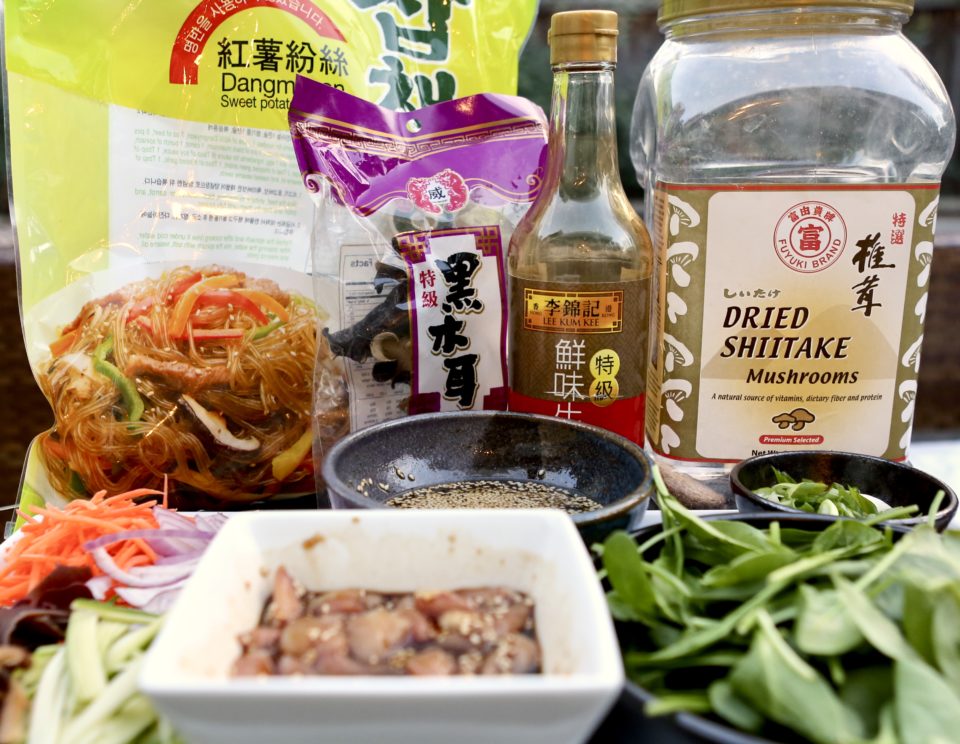
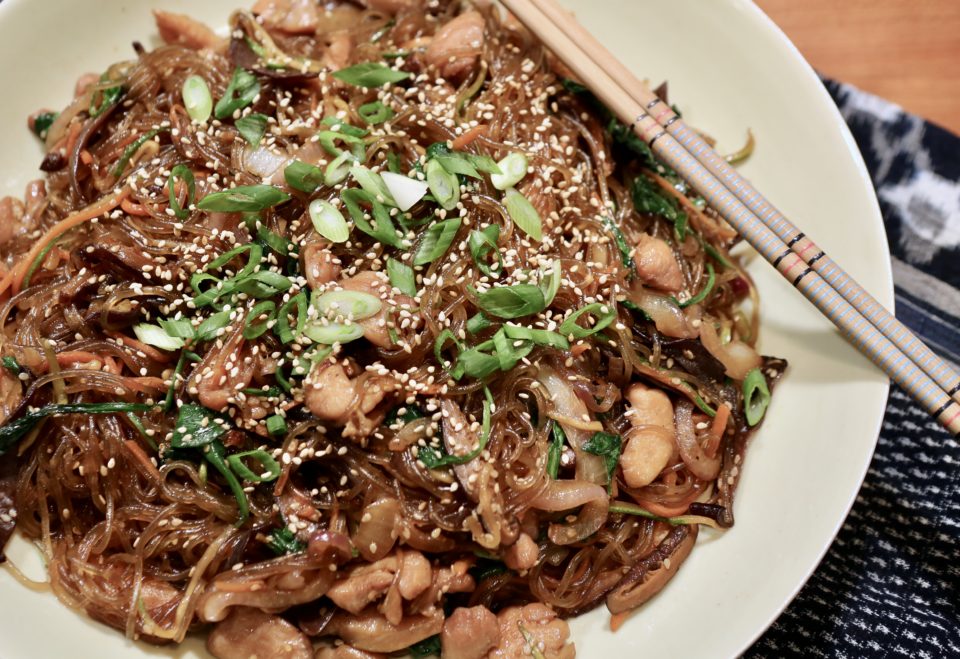
Japchae is Wes’s favorite noodle dish.  It starts with sweet potato noodles also called glass noodles (당면 Dangmyeon) for their transparency.  The noodles have a bit more elasticity and bite than wheat pasta and absorb seasonings well.  Season the noodles with soy sauce, sesame oil, garlic, and sugar, which gives the noodles that characteristic delicious garlicky, sweet-salty flavor.

The beauty of this dish is its flexibility.  Serve Japchae as a simple side dish, banchan, or as a main dish made with protein and vegetables.  Vary the kinds of vegetables and protein, but always include shiitake mushrooms, yellow or red onions, and secret sauce (ok, not really a secret just the Korean quadfecta of soy, garlic, sugar, and sesame).

Beyond that, go CRAZY!

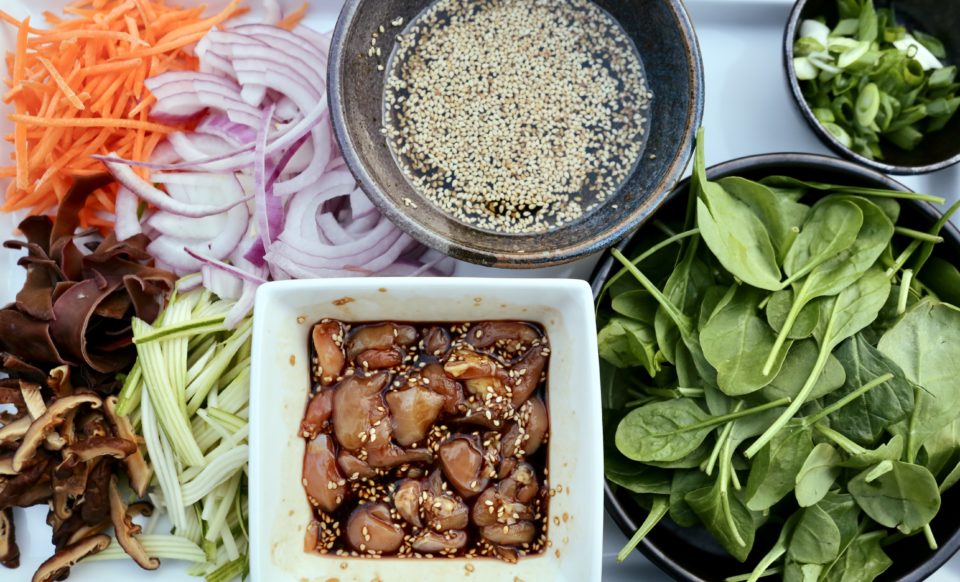
Add wood ears-fungi for crunch, carrots, spinach, zucchini, or watercress for veggies and chicken or beef for protein. Other additions include slices of fishcake and strips of scrambled egg.  Knock yourself out.

Wes’s birthday version included chicken, carrot, zucchini, wood ear mushrooms, and spinach.  Yummo.

The key to this dish is advanced prep work.  Julienne vegetables, cut chicken into bite-sized strips, and make the sauce.  Soak the noodles, shiitake mushrooms, and black fungus in water. The noodles should be soaked in room temp water for an hour or two, so start your prep early.  You could make this a vegetarian dish by omitting the protein and marinating sliced shiitake mushrooms or pressed tofu.

Korean Jap Chae

My go-to recipe for Japchae is from a favorite cookbook called Hawaii’s Aloha Recipes published by The Japanese Women’s Society of Honolulu.  My copy is food-stained, pages tattered, filled with handwritten notes.  In short, well worn and well-used.  It’s my favorite cookbook for down-home Hawaiian/Asian cooking. Wirebound with few photos, but filled with treasured family recipes and stories-books like this one were created by folks to raise money for their church, temple, or community.  A reflection of who we are and the foods we have eaten for generations.

Aggie's Japchae, Oppa Korean-Style, Sexy Noodles Op Op

Classic Korean Noodle Dish, Japchae a family favorite
Course noodles, Side Dish
Cuisine Asian, Korean
Keyword japchae

Ingredients

  • 1 pack of glass noodles sweet potato noodles
  • 1/2 pound flank steak or chicken cut into strips
  • 1 cup carrots julienned
  • 1 cup string beans French cut or zucchini strips
  • 1/2 cup yellow onions sliced
  • 6 dried shiitake mushrooms soak in hot water until soft. Squeeze excess water, remove stem and julienned
  • 1/2 bunch watercress or spinach
  • 1/2 cup black fungus soaked and cut into strips
  • green onions

Seasoning for noodles:

  • 4 T soy sauce
  • 2 T sesame oil
  • 1.5 T granulated sugar
  • 1 T roasted sesame seeds
  • 1/8 tsp black pepper

Marinade for protein

  • 1/2 tsp fresh garlic minced
  • 2 T soy sauce
  • 3/4 tsp sugar
  • 2 tsp prepared sesame seeds

Instructions

  • Soak noodles in room temp water for 1-2 hours until soft then drain. Alternatively boil for 7 minutes, drain and cool. Cut into 3-4 inch lengths. Set aside.
  • Cut beef or chicken or pork into strips. MIx seasonings and combine with protein. Set this aside too.
  • In a frying pan or wok, heat 1-2 T oil, add shredded carrots and fry just until tender. Don't overcook. Sprinkle with a little salt. Remove to plate.
  • Follow same procedure with zucchini or string beans. Add to plate with carrots.
  • In same wok, add 1 T oil and 1 tsp sesame oil, heat and add yellow onions, sir fry for approximately 1-2 minutes. Add chicken (beef), fry until half done, add mushrooms and wood ears and spinach, fry until meat is completely cooked.
  • Add noodles and sauce to wok, add carrots and zucchini to pan. Mix to combine.
  • Garnish with green onions and eggs.

Optional:

  • Fry 1 well beaten egg in an oil pan. Tilt pan to spread egg mixture into a thin sheet. Turn once. Remove and cool. Cut egg into thin strips.
  • Dish can be served warm or room temperature.
Stuck on Sticky Rice (Gnaw Mai Fan)

Stuck on Sticky Rice (Gnaw Mai Fan)

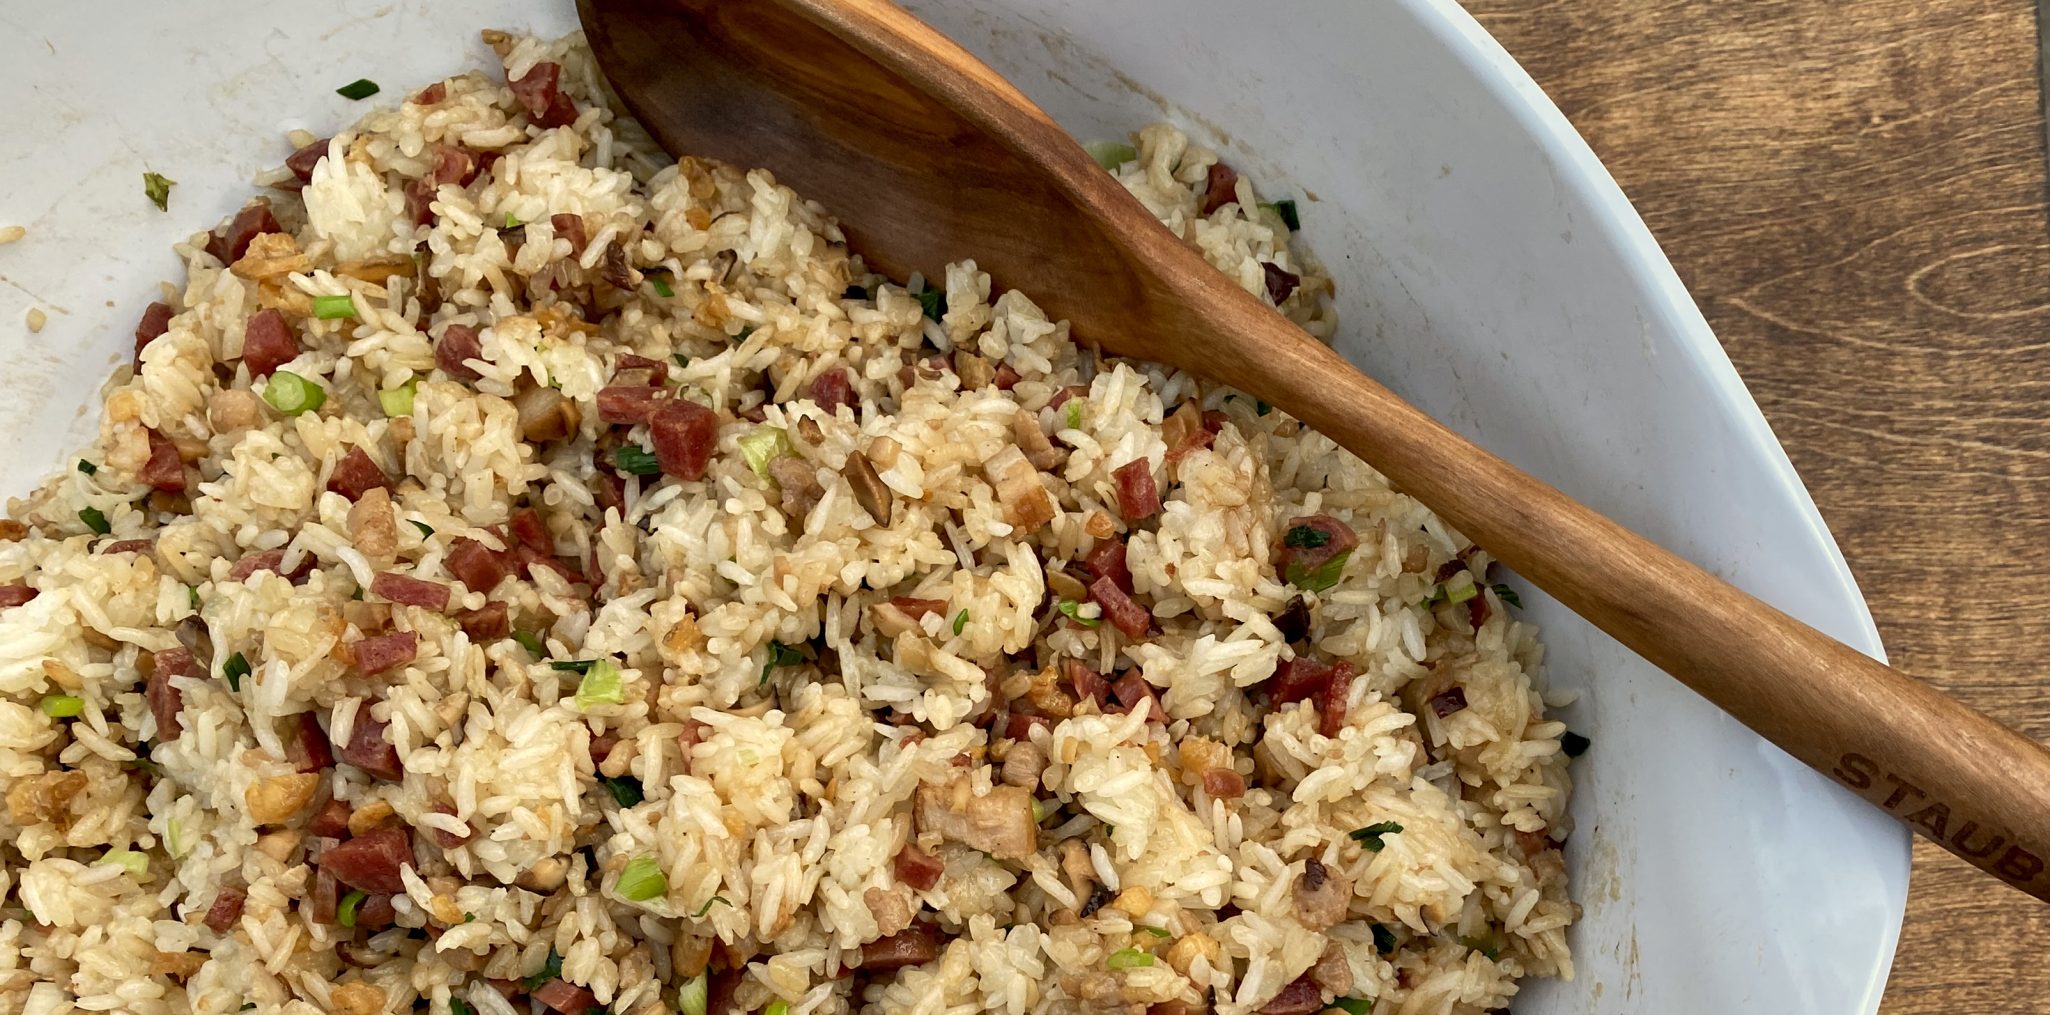
When the holidays roll around and the feasting begins, you can find me eyeing the array of side dishes on the table.  Yep, scoop me some sweet potatoes, pour on the creamed spinach, and pile high the mashed potatoes. While everyone oohs and ahs over the turkey, I’ll be laser focused on the sides, like the STUFFING.  I adore stuffing, especially my mom’s bread stuffing, but my second favorite is a Chinese rice dish.  It’s called Gnaw Mai Fan. Sounds delicious right? No? Also known as Sticky Rice Dressing, it is the Asian contribution to the Thanksgiving table.

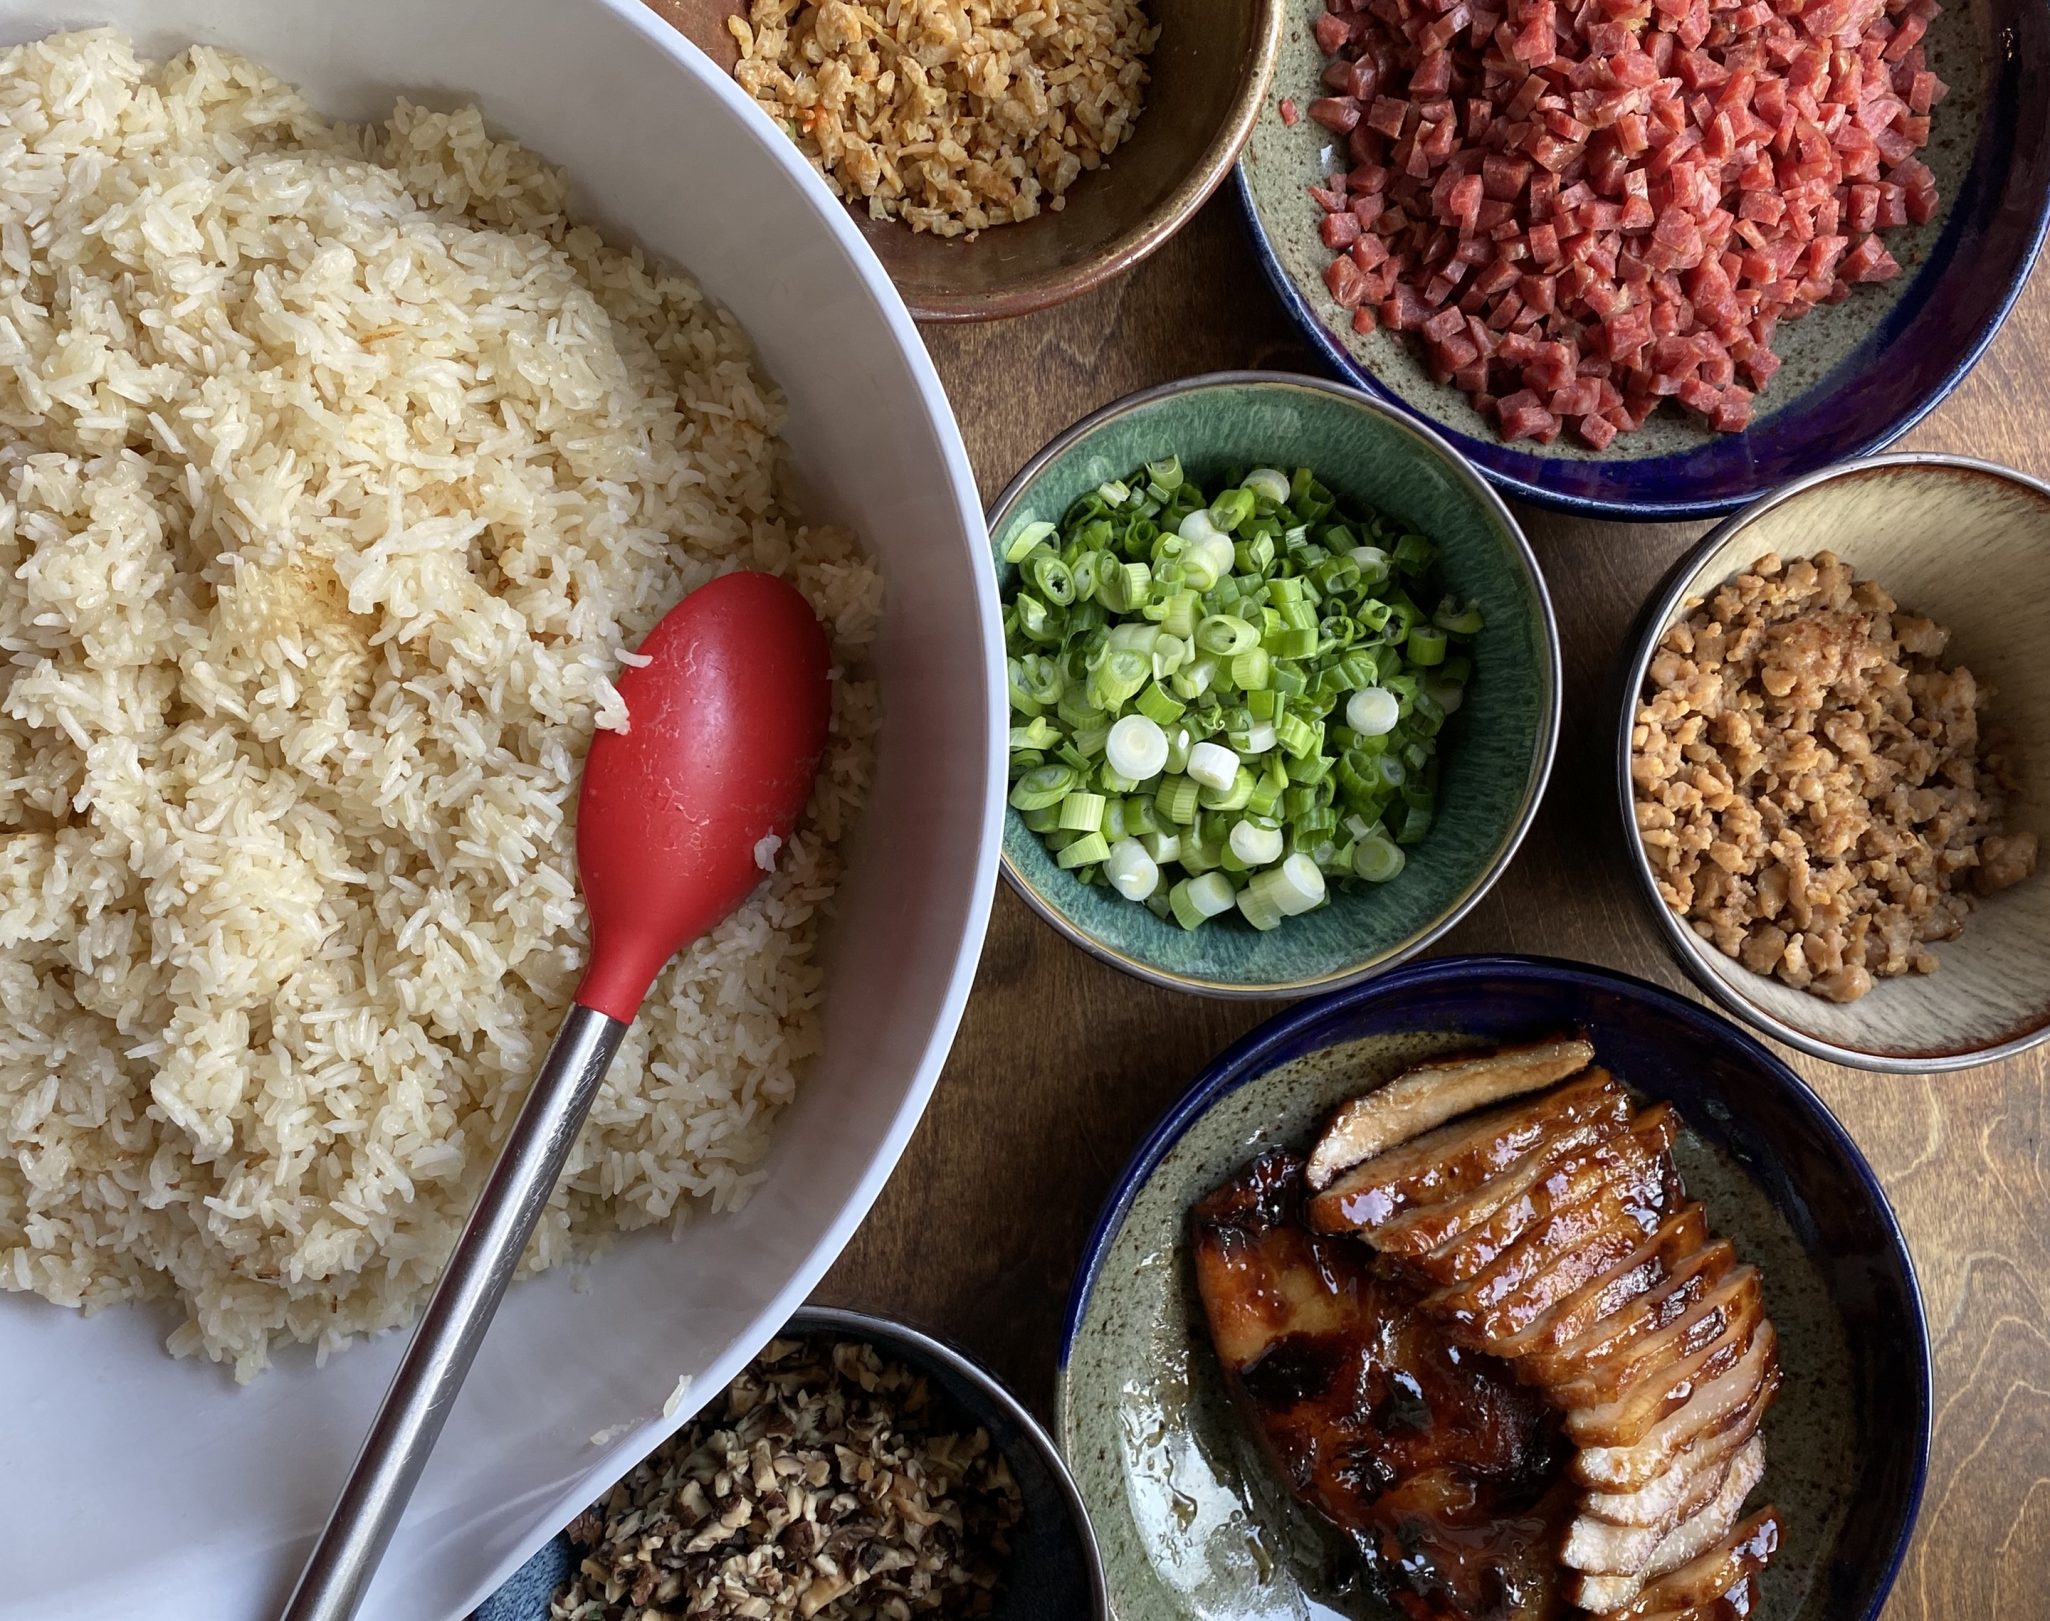
You start with sweet (glutinous) rice, add fragrant shiitake mushrooms, sweet & salty Chinese sausage aka Lop Cheung, dried shrimp, and finish with a generous amount of green onions.  Sounds easy right? It is, but the hurdle is getting the ingredients, unless you have an Asian market nearby.

Primer for Sweet Rice Dressing

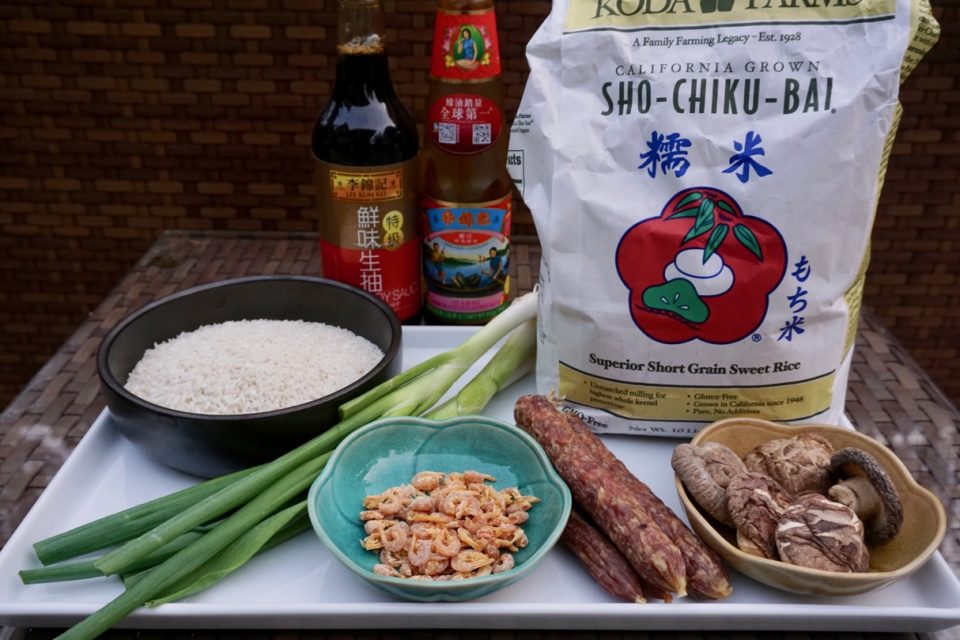
Moving from left to right; long-grain rice, green onions, dried shrimp, Chinese sausage, and dried shiitake or black mushrooms. Behind the mushrooms is the short grain sweet rice (or glutinous rice) and in the back are bottles of oyster sauce and soy sauce used to season the rice. Yep, two kinds of rice.  I mix the glutinous rice with regular long-grain rice to lighten the rice mixture.  All of these ingredients can be found in most Asian markets.  The dried shrimp and sausage can be found in the refrigerator case.  Sauces to use?  the following two are key.  I swear by Lee Kum Kee Oyster Sauce and Lee Kum Kee’s Premium Soy Sauce are my go-tos, but Pearl Ridge and the Korean brand Sempio 501 are good too.

Soak, Soak, Baby

Soak the dried mushrooms and shrimp in warm water for approximately 15 minutes or until soft.  Drain and reserve the soaking water from the mushrooms and shrimp. Wash your long grain rice and drain.  Add the glutinous rice and long grain to your rice cooker.  Yes, your rice cooker.  I have absolutely no idea how to cook rice in anything else but a rice cooker (use the measuring cups that come with your rice cooker).  Strain and add reserved liquid from mushrooms and shrimp to the pot, add chicken broth to make up the difference. Place Chinese sausage on top of the rice and turn on the rice cooker.

Prep the other ingredients while the rice is cooking.  Optional additions include ground seasoned pork, char siu (bbq pork), bacon, and roasted chestnuts.  It’s your rice dish, go crazy.  I usually add seasoned ground pork or chicken.

In a pickle, I have used Japanese short-grain or sushi rice in place of the glutinous and long grain rice combination.  Shhh, don’t tell my Mom!  My kid has made this for his Friendsgiving celebration to rave reviews.

This dressing works well as stuffing for turkey or chicken, use it just like any bread stuffing.  If served on the side, add the pan drippings to the rice for a flavor boost.

Garnish with cilantro and scallions.

And It’s Gluten Free!

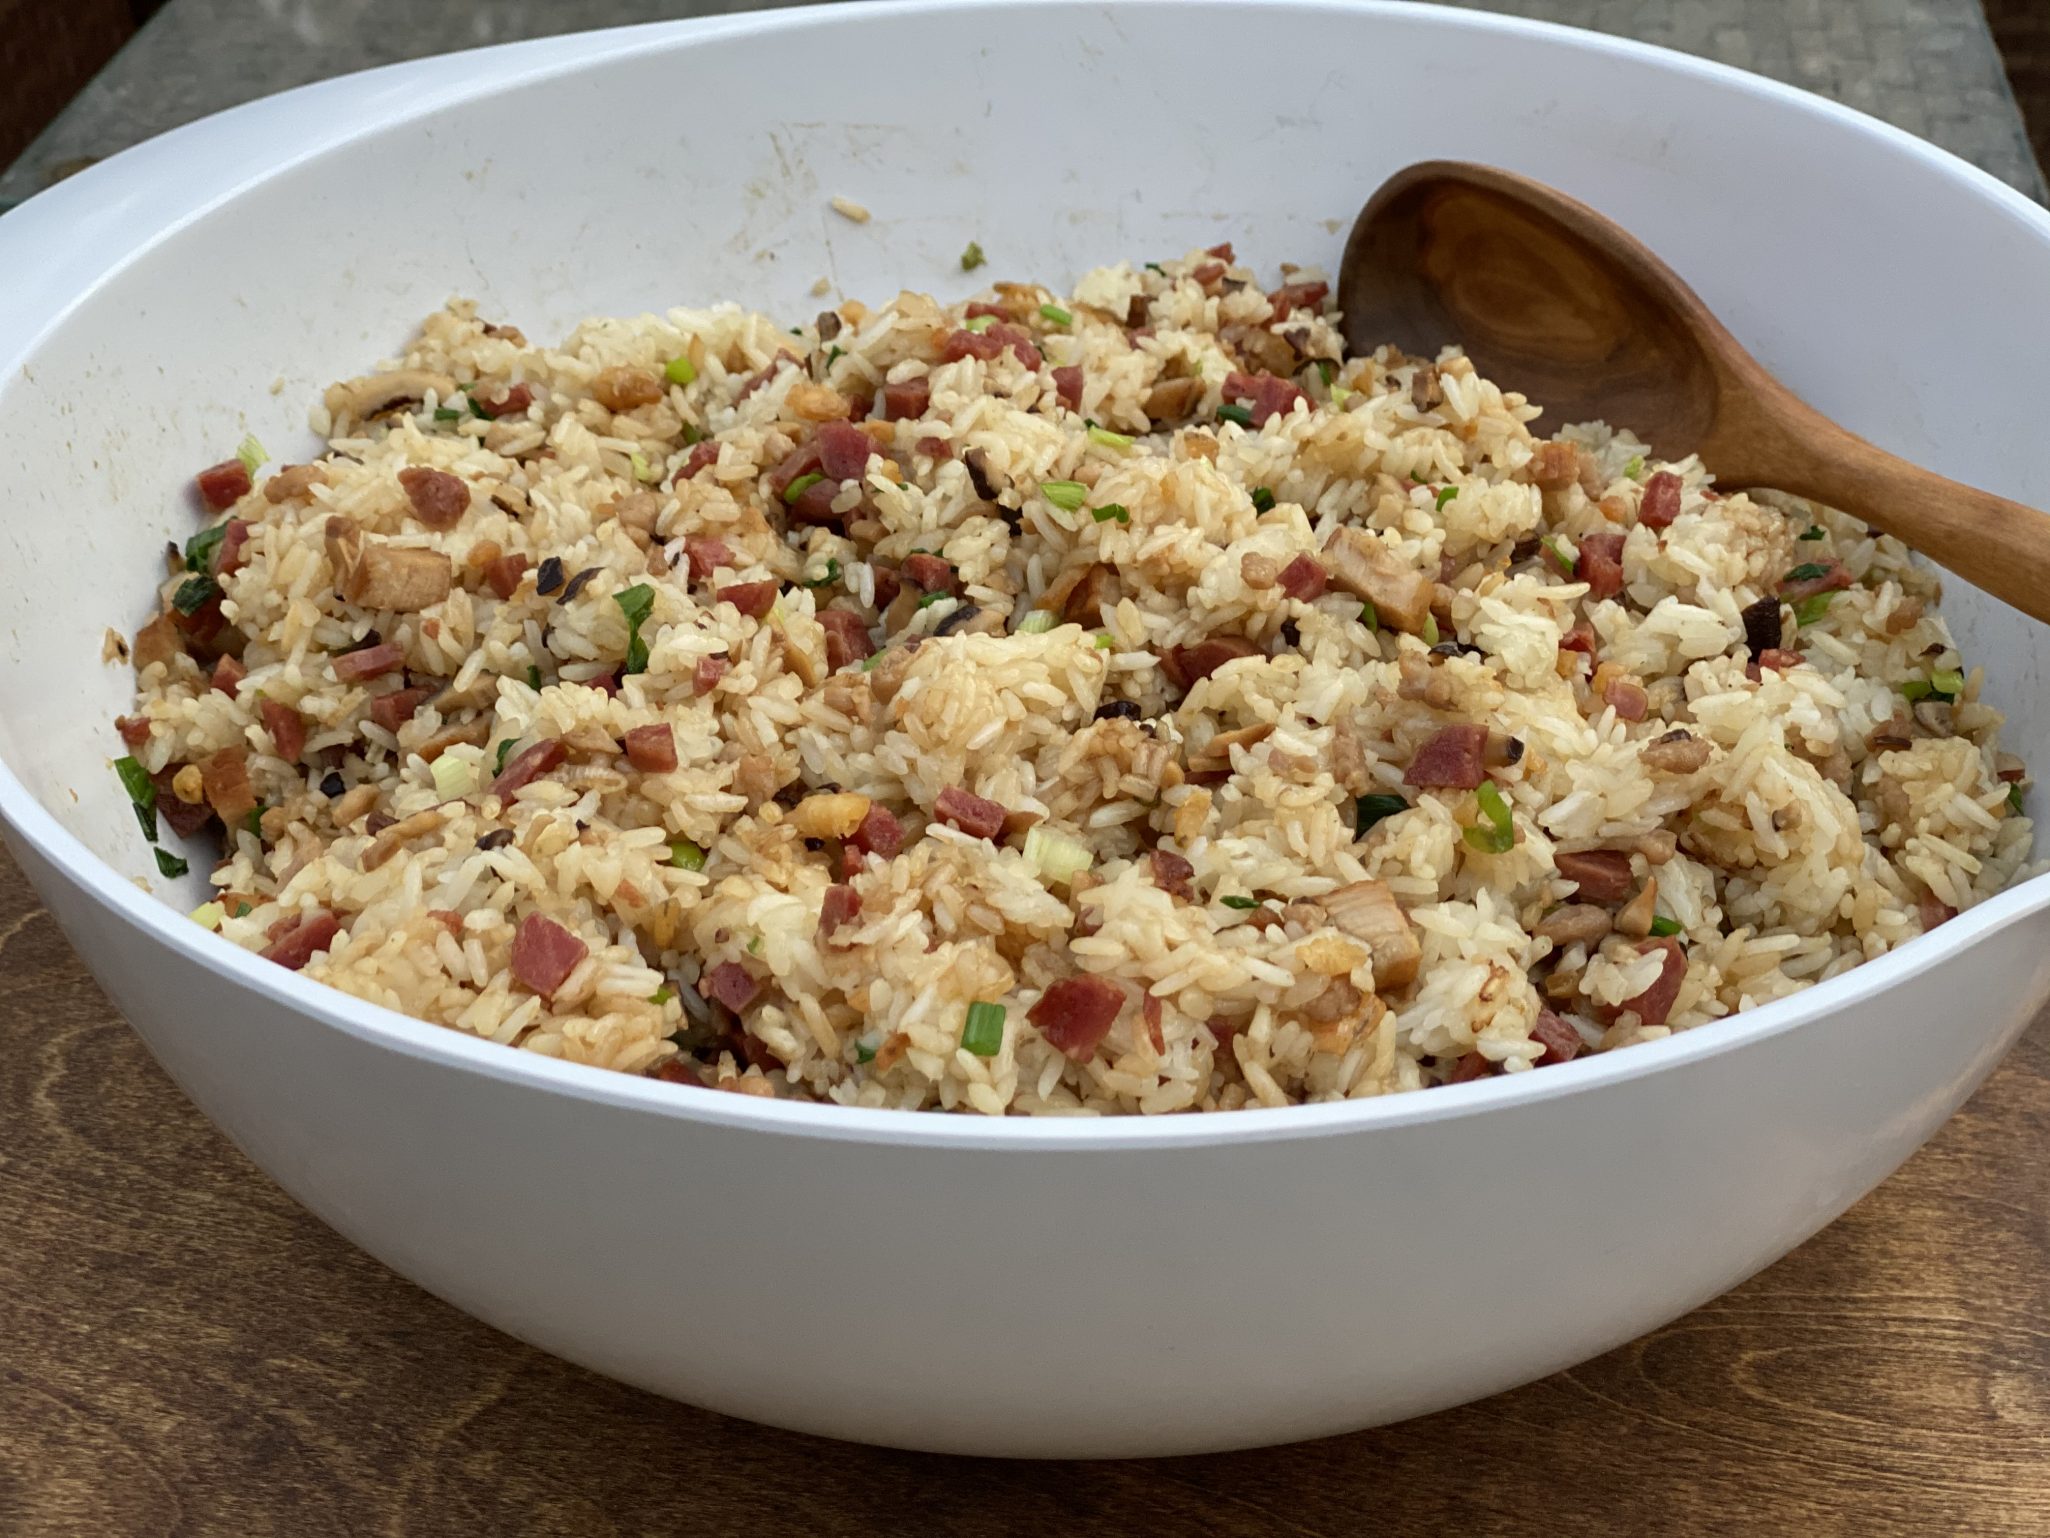
Gnaw Mai Fan-Chinese Sweet Rice Stuffing

A traditional Cantonese Rice dish to use in place of stuffing during Thanksgiving!
Course Main Course, One dish meals
Cuisine Asian
Keyword gnaw mai fan, Sweet Rice Stuffing
Prep Time 30 minutes
Cook Time 45 minutes

Equipment

  • Rice Cooker

Ingredients

  • 2 cups long grain rice using the rice cooker mesuring cup
  • 2 cups sweet rice using the rice cooker measuring cup
  • 4 lop cheung steamed with rice, removed and diced
  • 1/2 cup char siu (bbq pork) Reduce lop cheung to 3 and substitute diced barbecue pork
  • 4 dried black mushrooms (shitake mushrooms) soaked in warm water until soft, diced, reserve soaking liquid (use 1-1.5 cups of water)
  • 1/4 cup small dried shrimp soaked in warm water with black mushrooms
  • 2 slices fresh ginger size of a quarter
  • 3-4 cups chicken stock you can use commercial low sodium chicken broth
  • 3 green onions chopped

Ground pork and marinade

  • 1/3 cup ground pork or chicken
  • 1 tsp each sherry, oyster sauce, soy sauce
  • 1/4 tsp sugar
  • dash of salt
  • 1 pinch white pepper
  • 1 slice ginger

Seasonings

  • 1-2 Tbsp Soy Sauce Premium LKK Chinese Soy Sauce or Korean Soy Sauce (Sempio)
  • 1-2 Tbsp Oyster sauce Lee Kum Kee brand-Lady, boy in boat label

Garnish

  • Cilantro
  • Green onion

Instructions

  • Cook rice in rice cooker with reserved soaking liquid from mushrooms and shrimp and chicken broth.
  • Marinade ground pork for 10-15 minutes.
  • Heat pan, add 1 T oil, when hot, add ginger and fry 30 seconds, add drained dried shrimp and 1 t water, sauté 30 seconds then add ground pork, saute just until pork is no longer pink.
  • Add mushrooms and lop cheung. Sauté additional minute or two.
  • Add green onions, saute' another 30 seconds and remove from heat.
  • Pour rice into large mixing bowl. Fold in sautéed ingredients, mix soy sauce and oyster sauce together and add to rice. You will probably need more, just use a 1:1 ratio of soy sauce to oyster sauce.
  • Mix thoroughly.

Notes

Leftovers can be pressed and shaped into rice balls for a tasty portable snack-thumbs up from my kids!

There’s Always Room for J-E-L-L-O

There’s Always Room for J-E-L-L-O

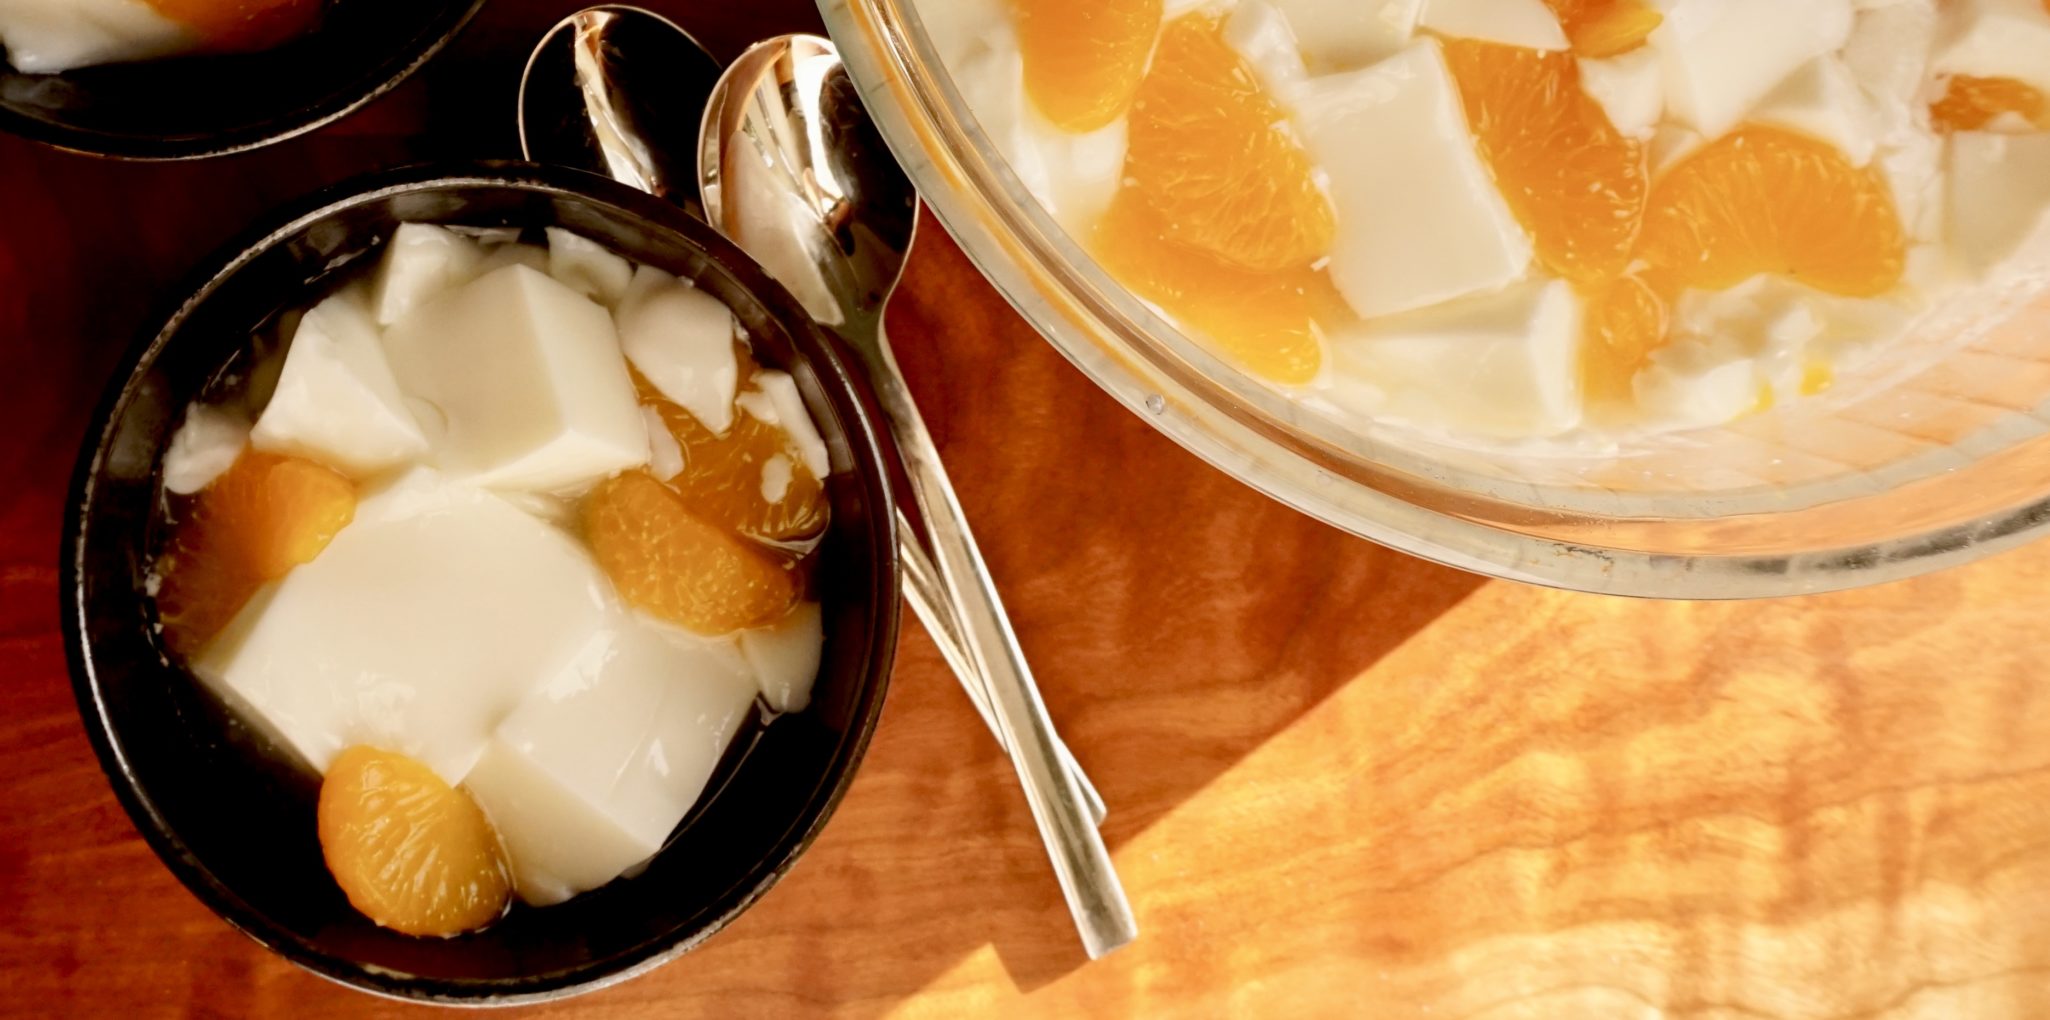
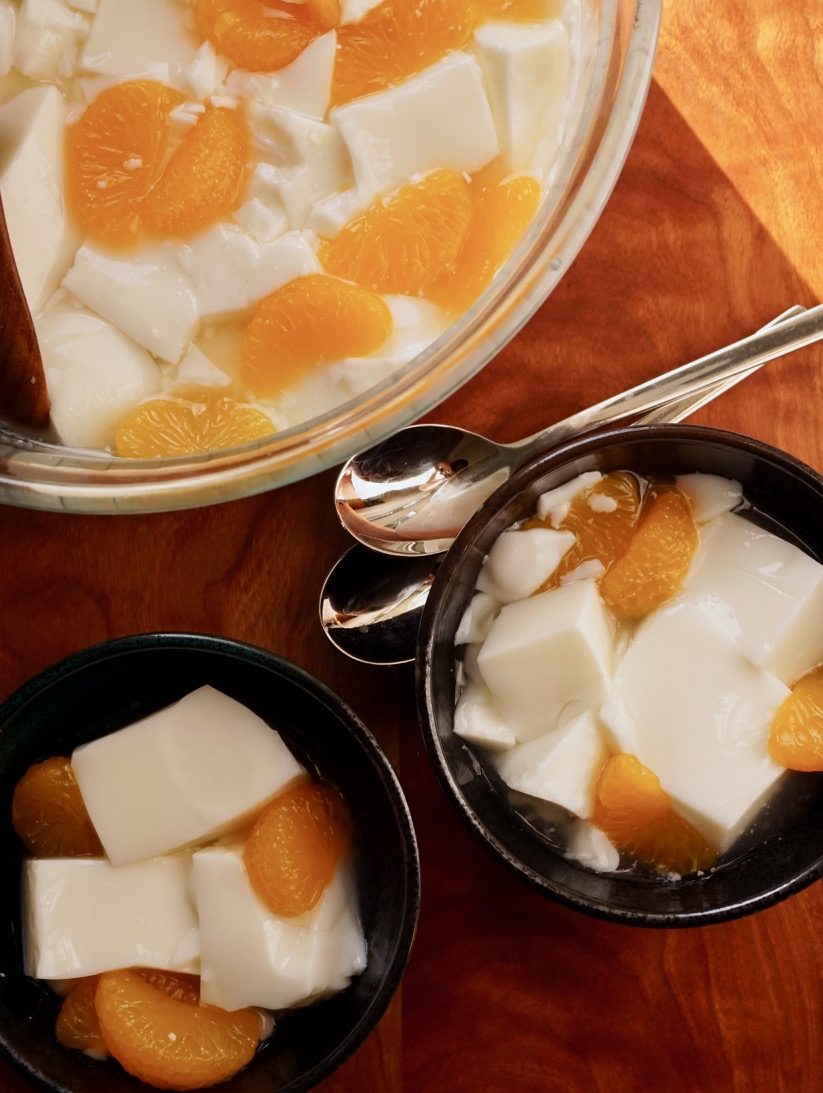
Do Not Laugh.  Yes, this is a recipe for jello, not the boxed Jello you made with your mom when you were a kid (your job-pour the contents into a big bowl), oh no. The Asian version of Jello, Almond Jello. So good, it brings a whole new dimension to Jello. It’s delicious, light and refreshing.

If you have ever had a meal in a Chinese restaurant which served dessert other than fortune cookies, it might have been Almond Jello.  Unfortunately, much of the Almond Jello served in restaurants isn’t very good.  I have a theory, LOTS of Asians are lactose intolerant so milk is used sparingly.  Well, that’s what makes Almond Jello YUMMY, the addition of milk-like the white layers of finger jello or the cream cheese in that funky but delicious Lime and Pineapple Jello Ring that everyone’s aunt (who couldn’t cook) brought to every potluck. Jello with Moo-magic.

When I was a kid the fanciest restaurant in Chinatown was The Empress of China. In its heyday celebrities and politicians clamored there.  My folks would take us there for very special occasions-birthday dinners for grandparents, wedding banquets and Chinese New Year. High on the 6th floor, it had the most breathtaking views of the City and the East Bay.  I loved the Green Jade Mist Almond Delight, their version of Almond Jello.  Served in a goblet with a touch of Creme de Menthe it was the glitzy ending to a fancy meal.

Typically Almond Jello is topped with fruit, not creme de menthe.  You can use mandarin oranges or fruit cocktail (when is the last time you had fruit cocktail out of a can, strictly nostalgic choice) or Lychees. Use fruit packed in light syrup or its own juice.  I add the syrup or juice to the jello so it just slides down your throat, like having jello soup. Confession, I loved pouring milk on my jello, same effect. Canned fruit makes it a great winter dessert when fresh fruit can be hard to find. You could jazz it up seasonally by adding fresh strawberries or blueberries.  This recipe makes soft jello which I happen to like. If you like jello that has the consistency of finger jello, reduce the amount of the water in the recipe to 3/4 cup of each and the milk to 2 cups.

When I was pregnant with my oldest, my craving was Almond Jello.  I made vats of it, doubling, tripling, even quadrupling the recipe. Seriously, it was like gestational crack.

These days I make Almond Jello when my oldest kid comes home.  He loves it. If I don’t steal a couple of scoops before I let him know there is a bowl in the fridge, I will have lost my window of opportunity to have some.

It’s stupid easy, so delicious.   Try it, who doesn’t like jello?
Almond Jello

Almond Jello

Course Dessert
Cuisine Asian-American
Keyword almond, almond jello, Dessert
Prep Time 10 minutes

Ingredients

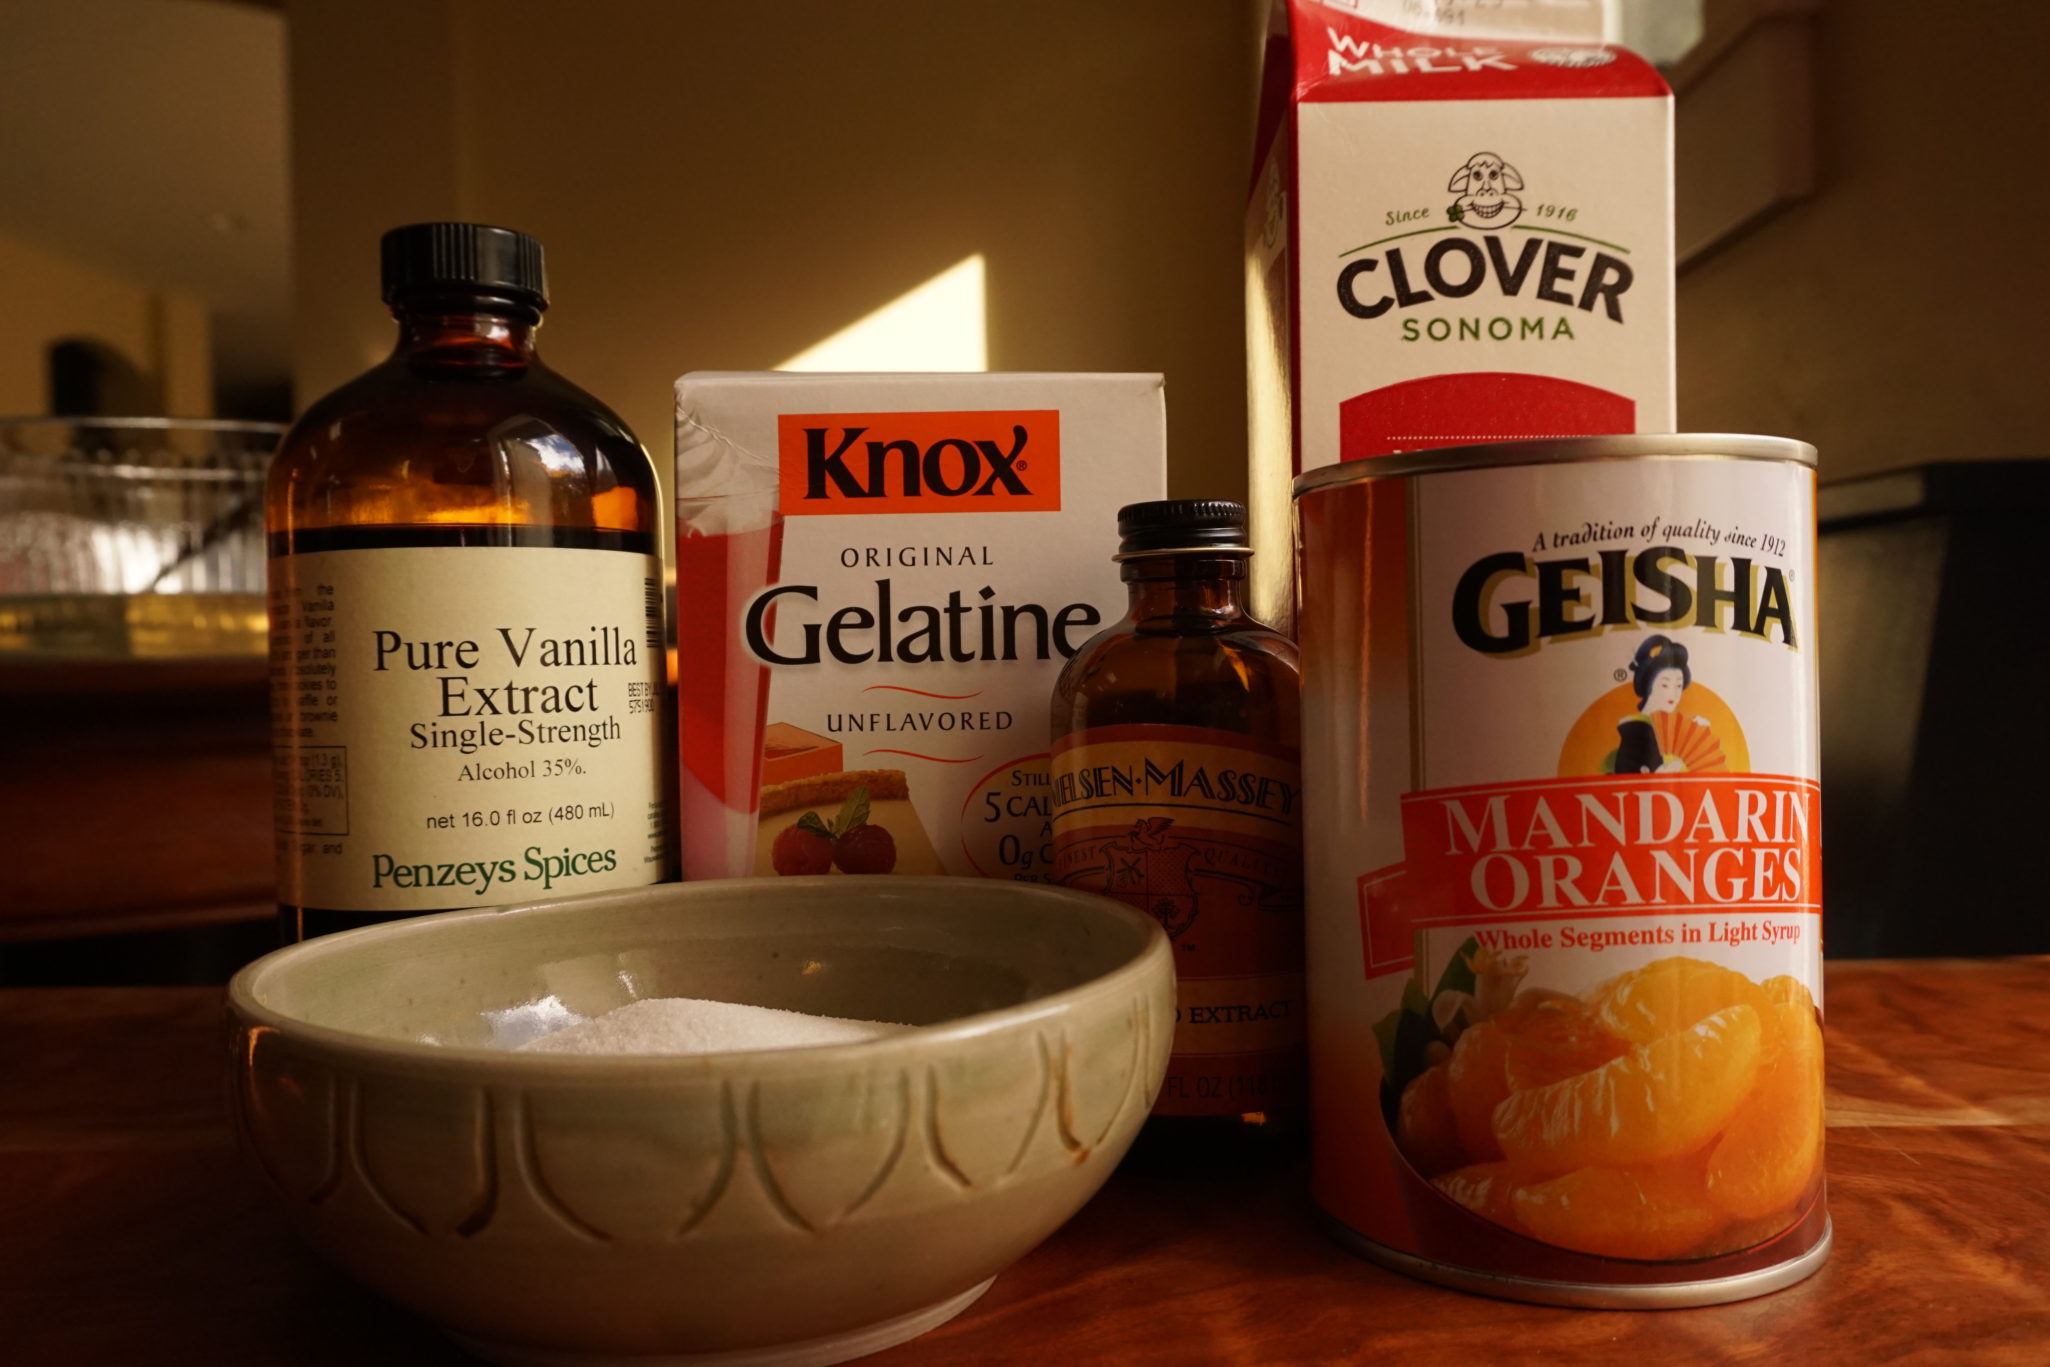
  • 2 packets gelatin
  • 1 cup cold water
  • 1 cup hot water
  • 3/4 cup granulated sugar you can adjust the sugar to the sweetness of your liking
  • 2 1/4-2 1/2 cups whole milk
  • 2 teaspoons almond extract
  • 1/2 teaspoon of vanilla extract
  • 1 15 ounce can of Mandarin oranges packed light syrup

Instructions

  • Put cold water in a mixing bowl.
  • Sprinkle gelatin on surface of cold water. Let it sit for one minute
  • Add sugar and stir.
  • Add hot water and stir until completely dissolved. (I cheat, if it doesn't look fully dissolved, zap it for 15 seconds in the microwave)
  • Stir in milk and extracts. Pour mixture into individual serving bowls or 1 large glass bowl such as a souffle dish
  • Chill until firm (at least 2-3 hours)
  • Cut jello into cubes if desired. Top with mandarin oranges
Steamed Pork Patty with Salted Duck Egg-This is My Soul Food

Steamed Pork Patty with Salted Duck Egg-This is My Soul Food

In Asian speak, this is how we say I love you…

“Have You Eaten Yet?”

When my kids come home I get busy in the kitchen making EVERY SINGLE DISH they love. Their favorites, from soup to dessert/ I usually have a pot of chili or spaghetti sauce simmering on the stove while they’re home and I pull out my Dad’s recipes for down-home Chinese dishes. Wes makes short rib stew and carrot cake. It’s 24-7 cooking and eating.  What can I say?  The Asian language of love is food.

Like Father Like Son

My dad and grandfather were the cooks in my family.  My grandfather cooked for a living.  Before going off to work we would often have early dinner with him. Always Chinese food,  I was surprised when I found out later he was a line chef at Original Joe’s on Broadway and also at the famed Tonga Room at the Fairmont Hotel. For my Dad cooking was his passion.

Both of them made down-home dishes like Steamed Pork Patty with Salted Duck Egg, Fuzzy Melon soup, Steamed Chicken with Lop Cheung (Chinese sausage) and Black Mushrooms, or whole fish (yes,that means the head too) with green onions and ginger.  I loved watching them cook and savored eating these dishes even more.  When I went off to school in Los Angeles, I would often call home to ask my Dad how to cook a favorite childhood dish. It was my connection with home and family and a way to keep them close.

A flurry of cooking this past week while the boys were home and the multiple “how do you make” calls from Jamie (who was stuck in Houston) prompted me to add a new section to 3Jamigos. I call it Soul Food.  It’s down-home cooking, cherished recipes to share with family and friends.  Take a peek, it might bring back some great memories.  Or share a family favorite, I would love to post it on my blog.

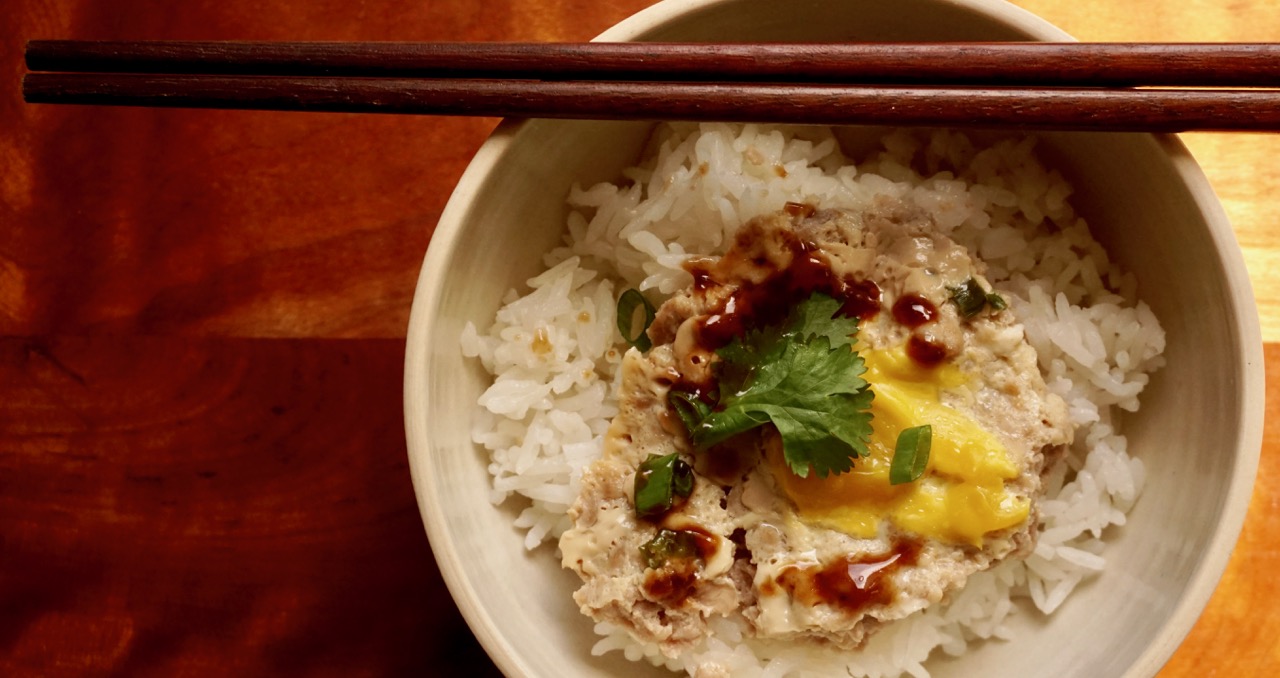
My inaugural post for Soul Food is a down-home favorite, savory Steamed Pork Patty with Salted Duck Egg (咸蛋蒸肉饼). You can find it in hole-in-the-wall Cantonese (southern China) restaurants or if you get invited over for family dinner at any of your Cantonese friends’ homes. In Chinatown, the best place for this dish was Sun Tai Sam Yuen on Jackson Street in my humble opinion, lol.

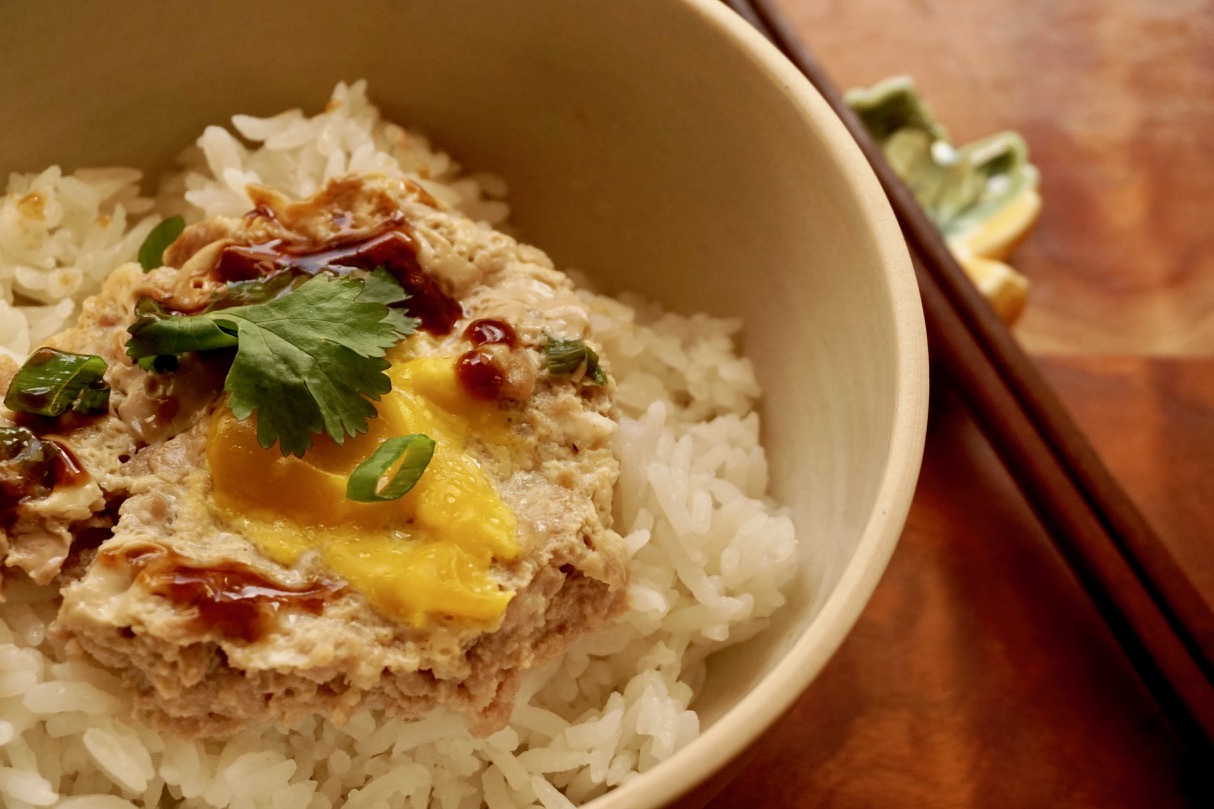
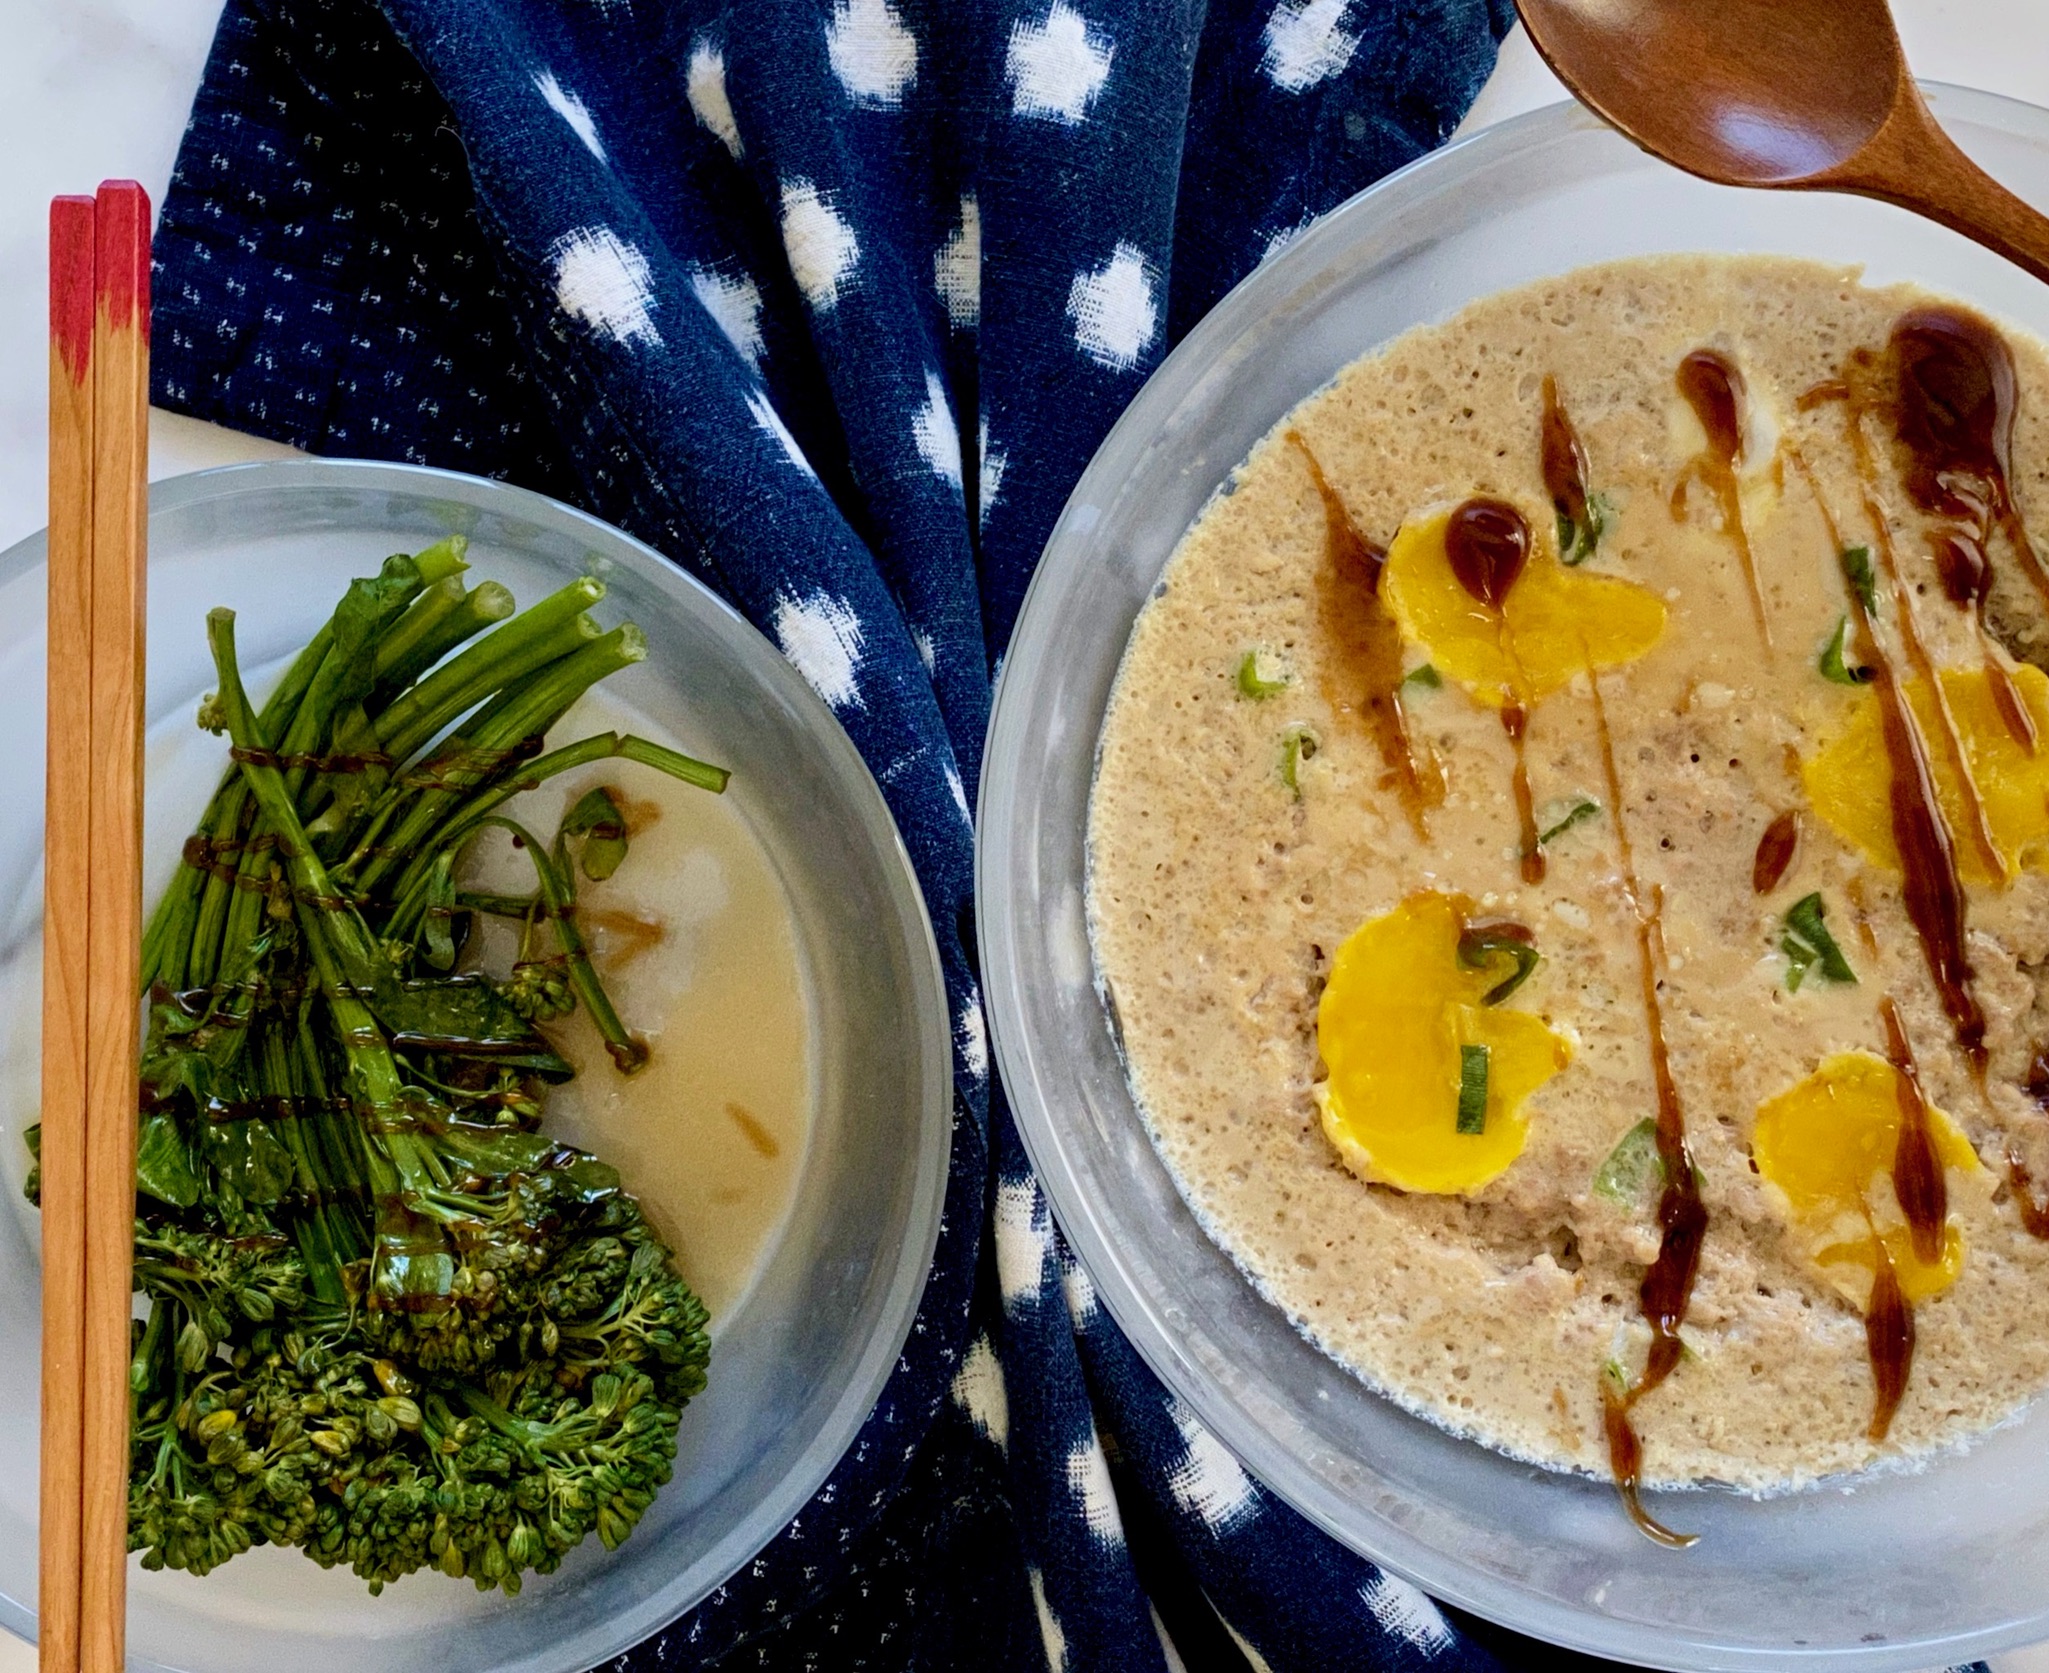
The ground pork is seasoned with soy sauce, oyster sauce and topped with the salted duck egg. Think of this as a version of a sausage patty topped with a fried egg.  See, not so strange after all.  My kids scoop up chunks of the patty and egg and mix it into their rice. Yum.

Things They Don’t Tell You in Cookbooks

Although simple to make, there are pearls of kitchen wisdom on how to prepare this dish.  First, the pork. My mom would tell me to buy pork butt or shoulder and hand-chop the pork at home, better texture.  The pork itself should not be too lean as the fat adds flavor and keeps it from drying out.  This primer on pork pretty much holds for any dish that requires ground pork-don’t buy pre-ground (ok, sometimes I cheat-there is a coarse ground version in Chinese markets), and ask for “bun fei sau-half fat, half lean” (半肥半瘦).  This is not a health-conscious choice, lol.

Duck, Duck, Go…get Chicken, it’s Ok

Raw salted duck eggs are hard to find.  I was really excited when I found local salted duck eggs at Marina Foods from Metzer Farms.  Great quality. The eggs are brined in a salt solution for approximately a month. At the end of the month, the yolk has hardened, the white has a gelatin-like consistency, and the egg has a wonderful briny flavor that goes well with pork.  You are more likely to find salted chicken eggs which are perfectly acceptable.

When mixing the seasonings and egg into the pork, stir in ONE DIRECTION only.  So pick, clockwise or counter-clockwise and stick with it.  DON’T ASK ME WHY (ok, I googled it, supposedly it keeps the meat tender).  My Dad told me to do it this way.

This is How We Do It

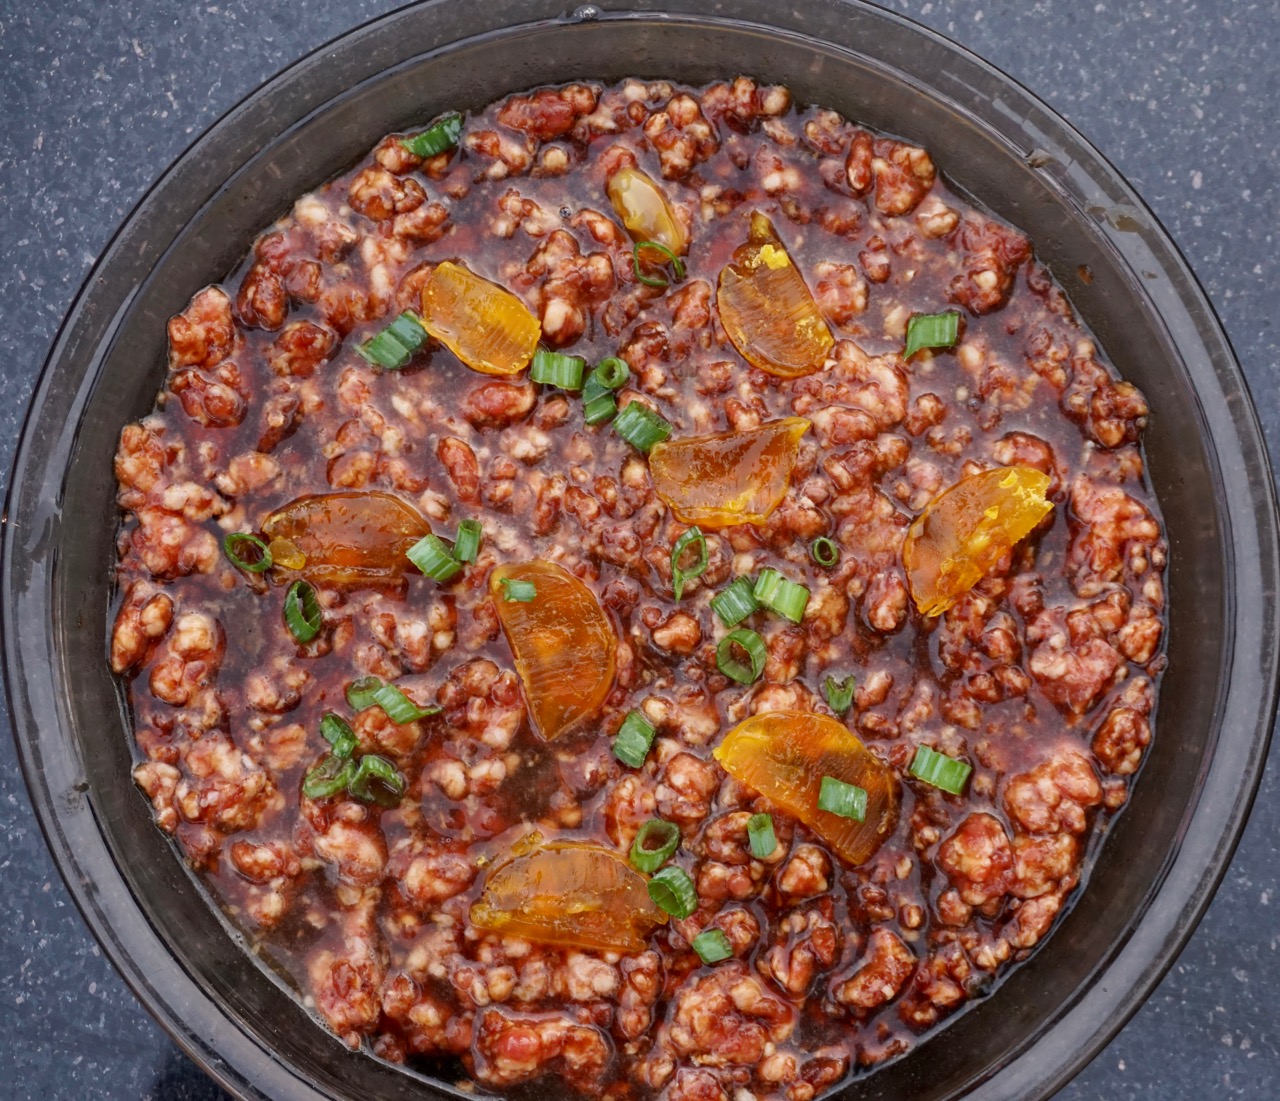
Place seasoned pork in a glass pie plate, smooshing it around the plate.  Fill a Chinese rice bowl 1/3-1/2 full with HOT water.  Slowly pour the hot water into the pork, stirring and breaking up the pork further.  The final mixture will be loose and wet looking. Slice the yolk of the duck egg into quarters or 4 slices.  A word of warning, it will be a little slimy feeling.  Flatten the pieces of yolk with the side of the knife.  Place the flattened pieces of yolk on top of the pork distributed evenly around the patty.  Top with green onions.  Place in steamer and steam over medium-high heat for about 15 minutes or until the juice runs clear when pierced with a knife or chopstick.

Just before serving, garnish with more green onions or cilantro and a drizzle of oyster sauce.  Serve with a big ass bowl of rice!

Microwave Magic

You can also cook this dish in the microwave instead of steaming it!  I have Cook Anyday microwave cookware now, but if you have a vented microwave dish use that.  I have a teeny 600-watt microwave.  Cook at full power for 8 minutes, done!  Adjust for your microwave, for example, a 1000-watt microwave, I might just use 70% power and nuke it for the 7-8 minutes.  For foods that are traditionally steamed, you don’t want to zap it quickly as much as gently cook it   All in one bowl, no messing with a steamer contraption.  Mind-blown microwave cookin’.

Easy peasy, microwave easy!

Steamed Pork Patty with Salted Duck Egg

Classic Cantonese Homestyle dish, steamed minced pork and salted eggs, bowl of steaming white rice is essential!
Course homestyle, Main Course, pork
Cuisine Asian
Keyword cantonese cuisine, salted duck eggs, Steamed pork patty
Prep Time 15 minutes
Cook Time 20 minutes
Microwave time 8 minutes

Ingredients

  • 3/4 Pound Ground Pork
  • 1/4-1/3 Chinese rice bowl of hot water approximately 1/3 cup of water
  • 1 Egg large
  • 1 Salted Duck Egg Found in Chinese Groceries in refridgerator section or with egg, should be uncooked.

Seasonings

  • 2 tsp. Soy Sauce
  • 1 tsp oyster sauce
  • 2 tsp rice wine or sherry or sake
  • 1/2 Tsp. Sugar
  • 1/4 tsp Salt
  • Dash of white pepper

Garnish

  • Green Onions And Cilantro chopped or sliced to look pretty

Instructions

  • Separate duck egg yolk from the egg white. Reserve the yolk.
  • Place pork in a shallow bowl or glass pie plate that you will end up using to steam/microwaving it in. Scramble the salted duck egg white with the whole egg, add to the pork.
  • Stir pork with egg mixture and seasonings, stir in one direction!
  • Slowly add hot water to the pork mixture, and scrambling the mixture as you add the water. This will make it will look soupy.
  • Garnish with reserved egg yolk that has been cut Into slices. This is a process. The egg yolk is sticky and ok, kind of slimy (like an egg-duh). Since it has been brined it will be solid. I cut it into quarters and then gently smash it with the side of a knife to flatten each piece. Sprinkle half of the sliced green onions on top.
  • Steam for approximately 15-20 minutes, when pierced with a chopstick or knife the juices should run clear not pink.
  • Drizzle with oyster sauce and top with cilantro and the rest of the green onions. If you want a nice sheen, hit it with a little hot oil. (This will also bring out the flavor of the cilantro and green onions when you pour the oil over it.
  • Serve with rice, lots of rice, copious amounts of rice. Really.
Spicy Pulled Pork InstantPot, InstantGratification

Spicy Pulled Pork InstantPot, InstantGratification

I just received an InstantPot pressure cooker for my birthday!  This is right up my alley since I am a KITCHEN GADGET FREAK.  Not exaggerating, I love kitchen appliances.  I am the “what was I thinking, forehead slap” owner of donut hole pans, a strawberry corer, spiralizer, brownie squares pan, sous vide thingy, Ebelskiver pan, bread machine, the list goes on and on…

When I was a kid I went to Woolworth’s with my mom (yes baby boomers, Woolworth’s, remember?) in anticipation of a slice of their delicious gooey cheese pizza.  Instead, I found myself in front of a demonstration booth, entranced.  A voice boomed “it slices, it dices, it does it all. This is going to revolutionize cooking and help you escape from the kitchen” I watched as he deftly created mountains of julienned squash, chopped onions, sliced carrots, even waffle-cut potatoes. How I convinced my mom to buy this new fangled tool I will never know.  But we walked out of Woolworth’s, a slice of cheese pizza in one hand and a Slice-o-Matic with a bonus Chop-o-Matic in the other! These days if I go to the mall with my kids they know there will be the prerequisite stop at Sur La Table or Williams Sonoma to peruse because YOU CAN NEVER HAVE TOO MANY Kitchen tools.

The Pressures Off with an Instant Pot

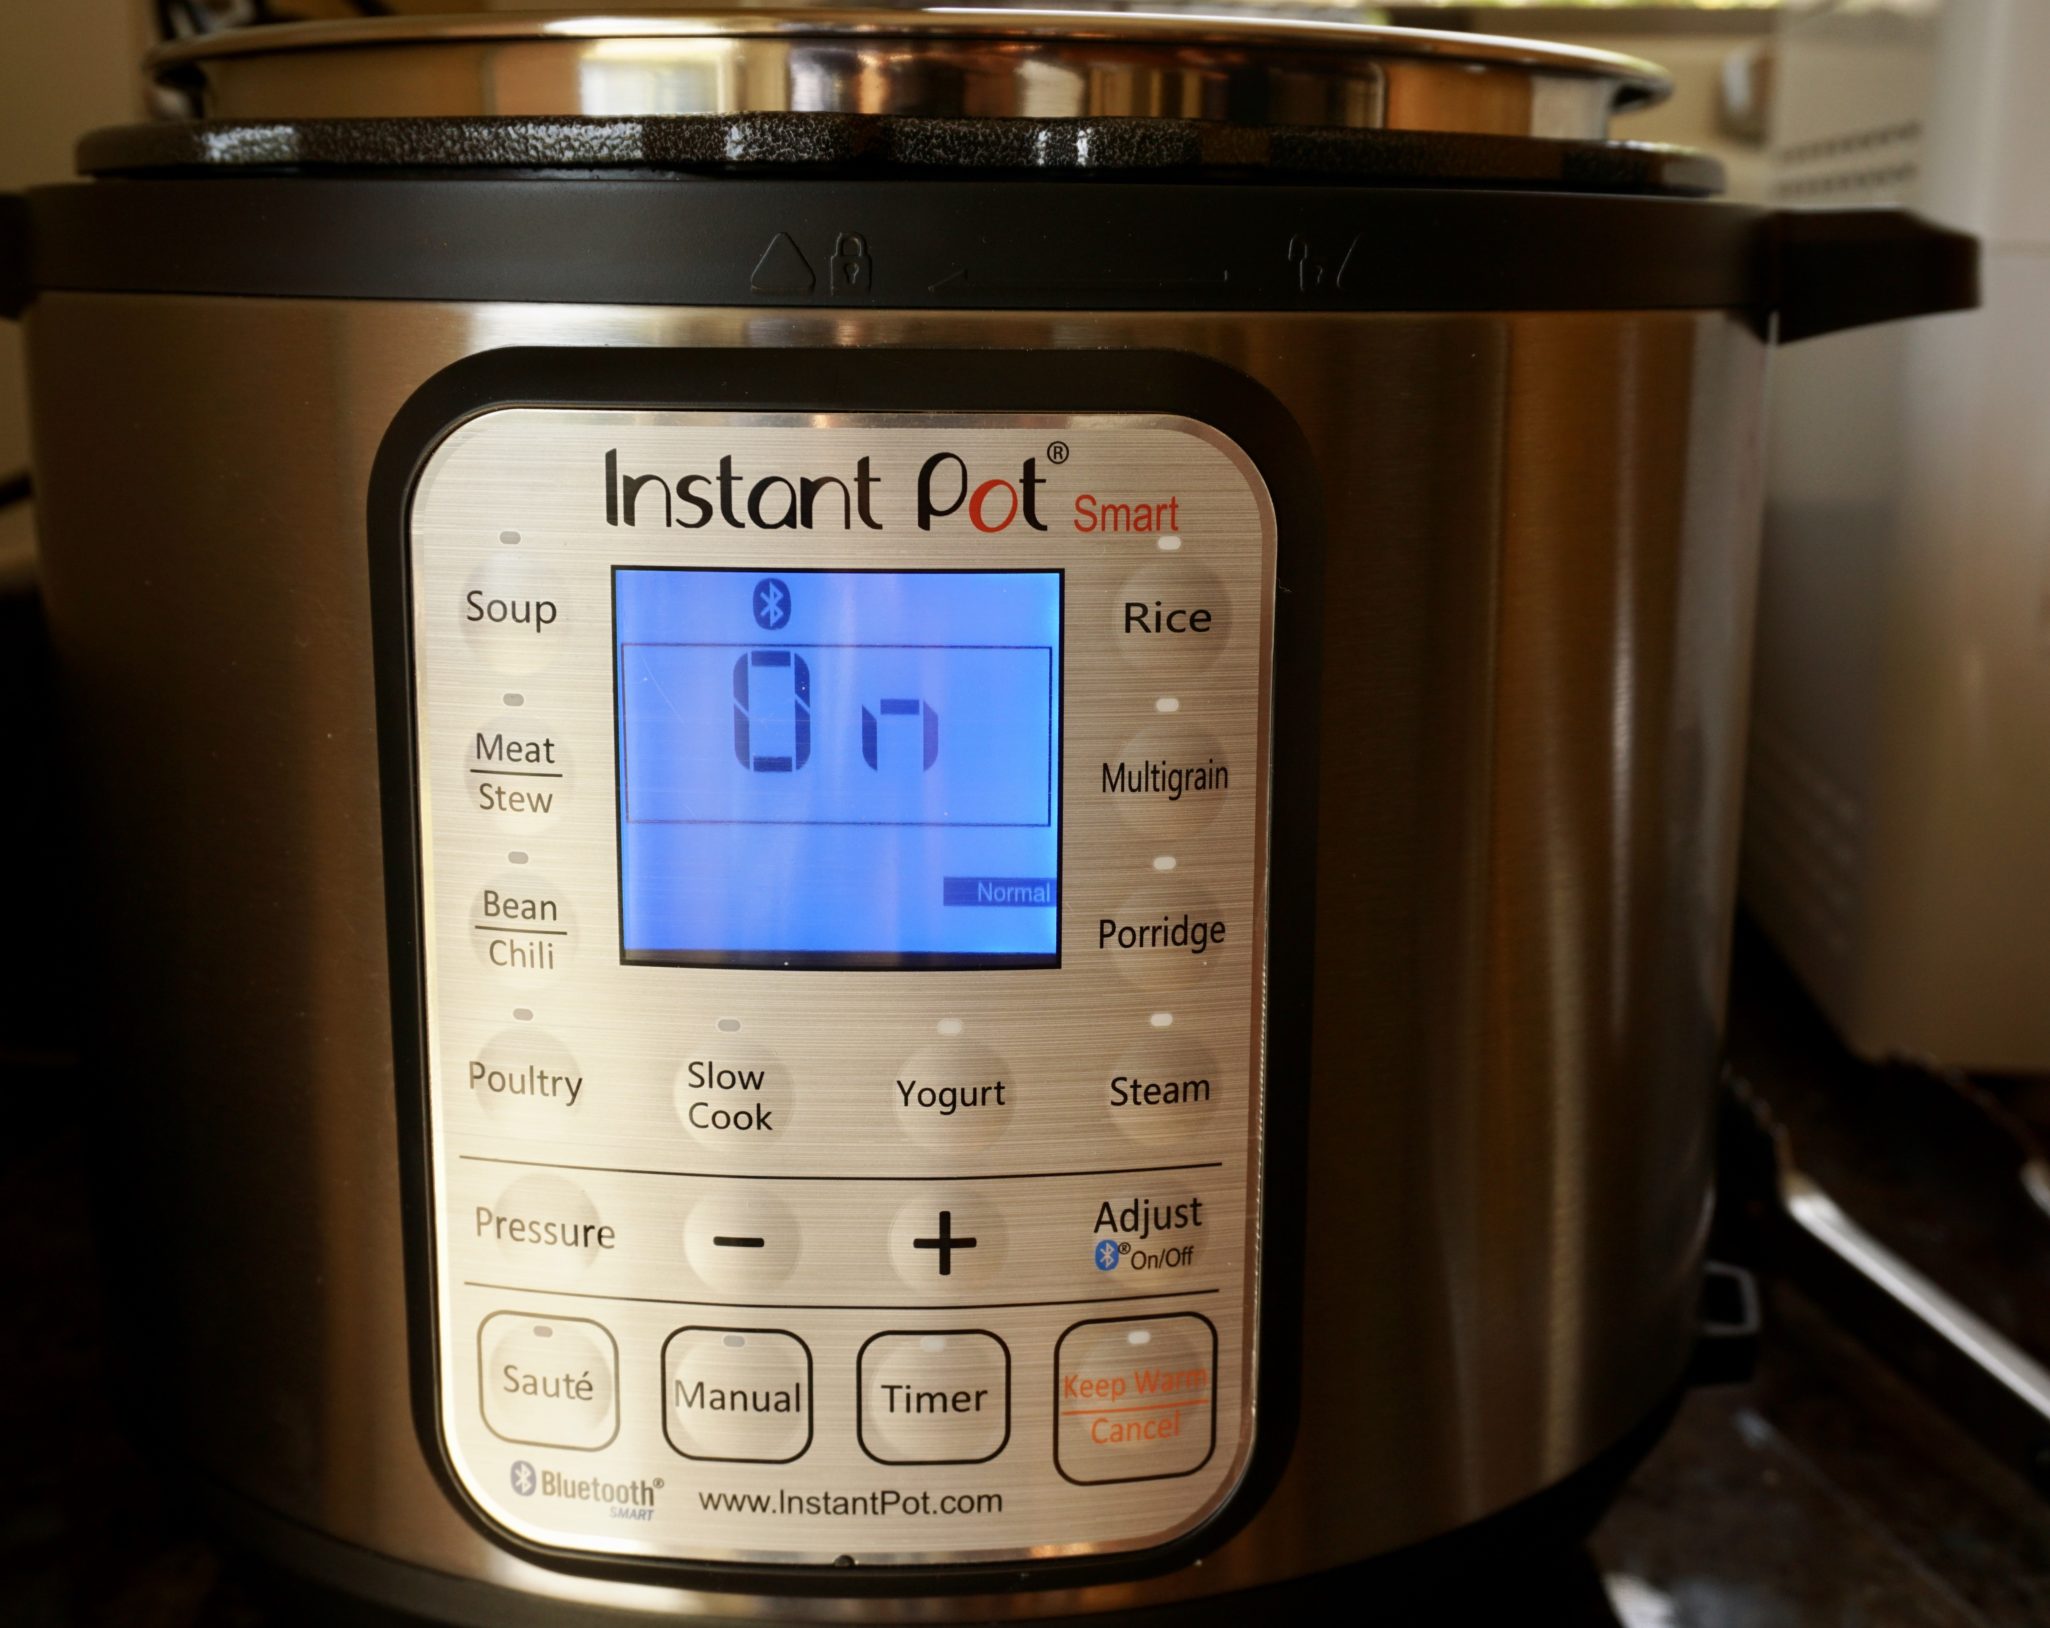
The Instant Pot is the latest, hippest iteration of a pressure cooker. There are blogs, Facebook pages, and books devoted to the Instapot.  It is a slow cooker, saute pan, rice cooker, yogurt maker all in one.  For you tech geeks you can download the app and program it using your phone.  Crazy huh.

A few weeks ago NYT Cooking published Melissa Clark’s recipe for Pressure Cooker Spicy Pork Shoulder along with a video of her using the Instant Pot. It’s easy and delicious and best of all cuts cooking time by at least half.

The overnight marinade adds to the bold flavor of the dish

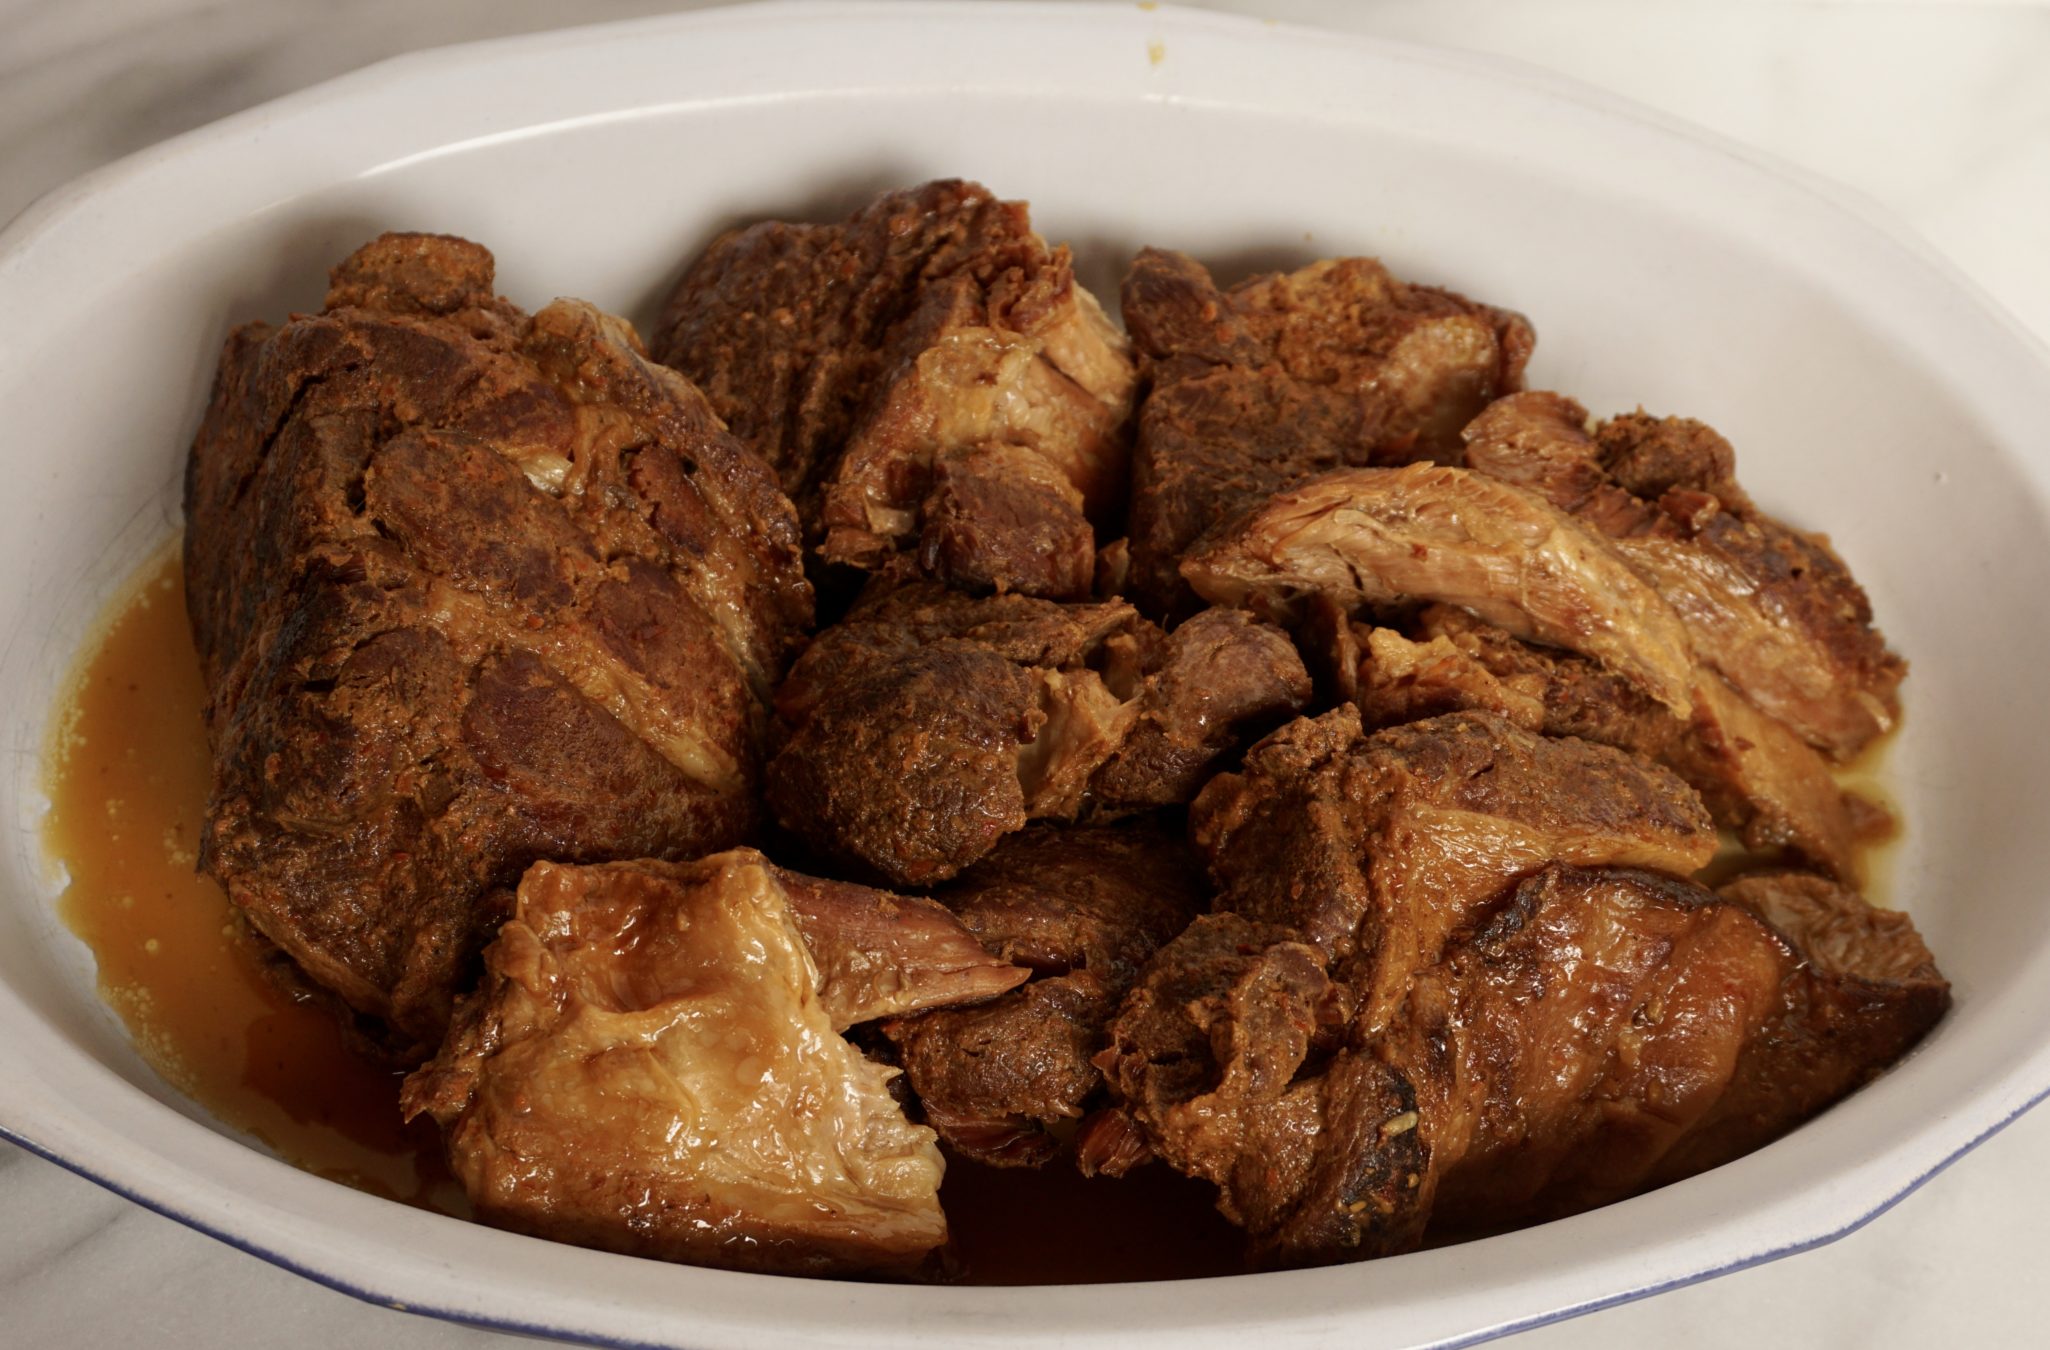
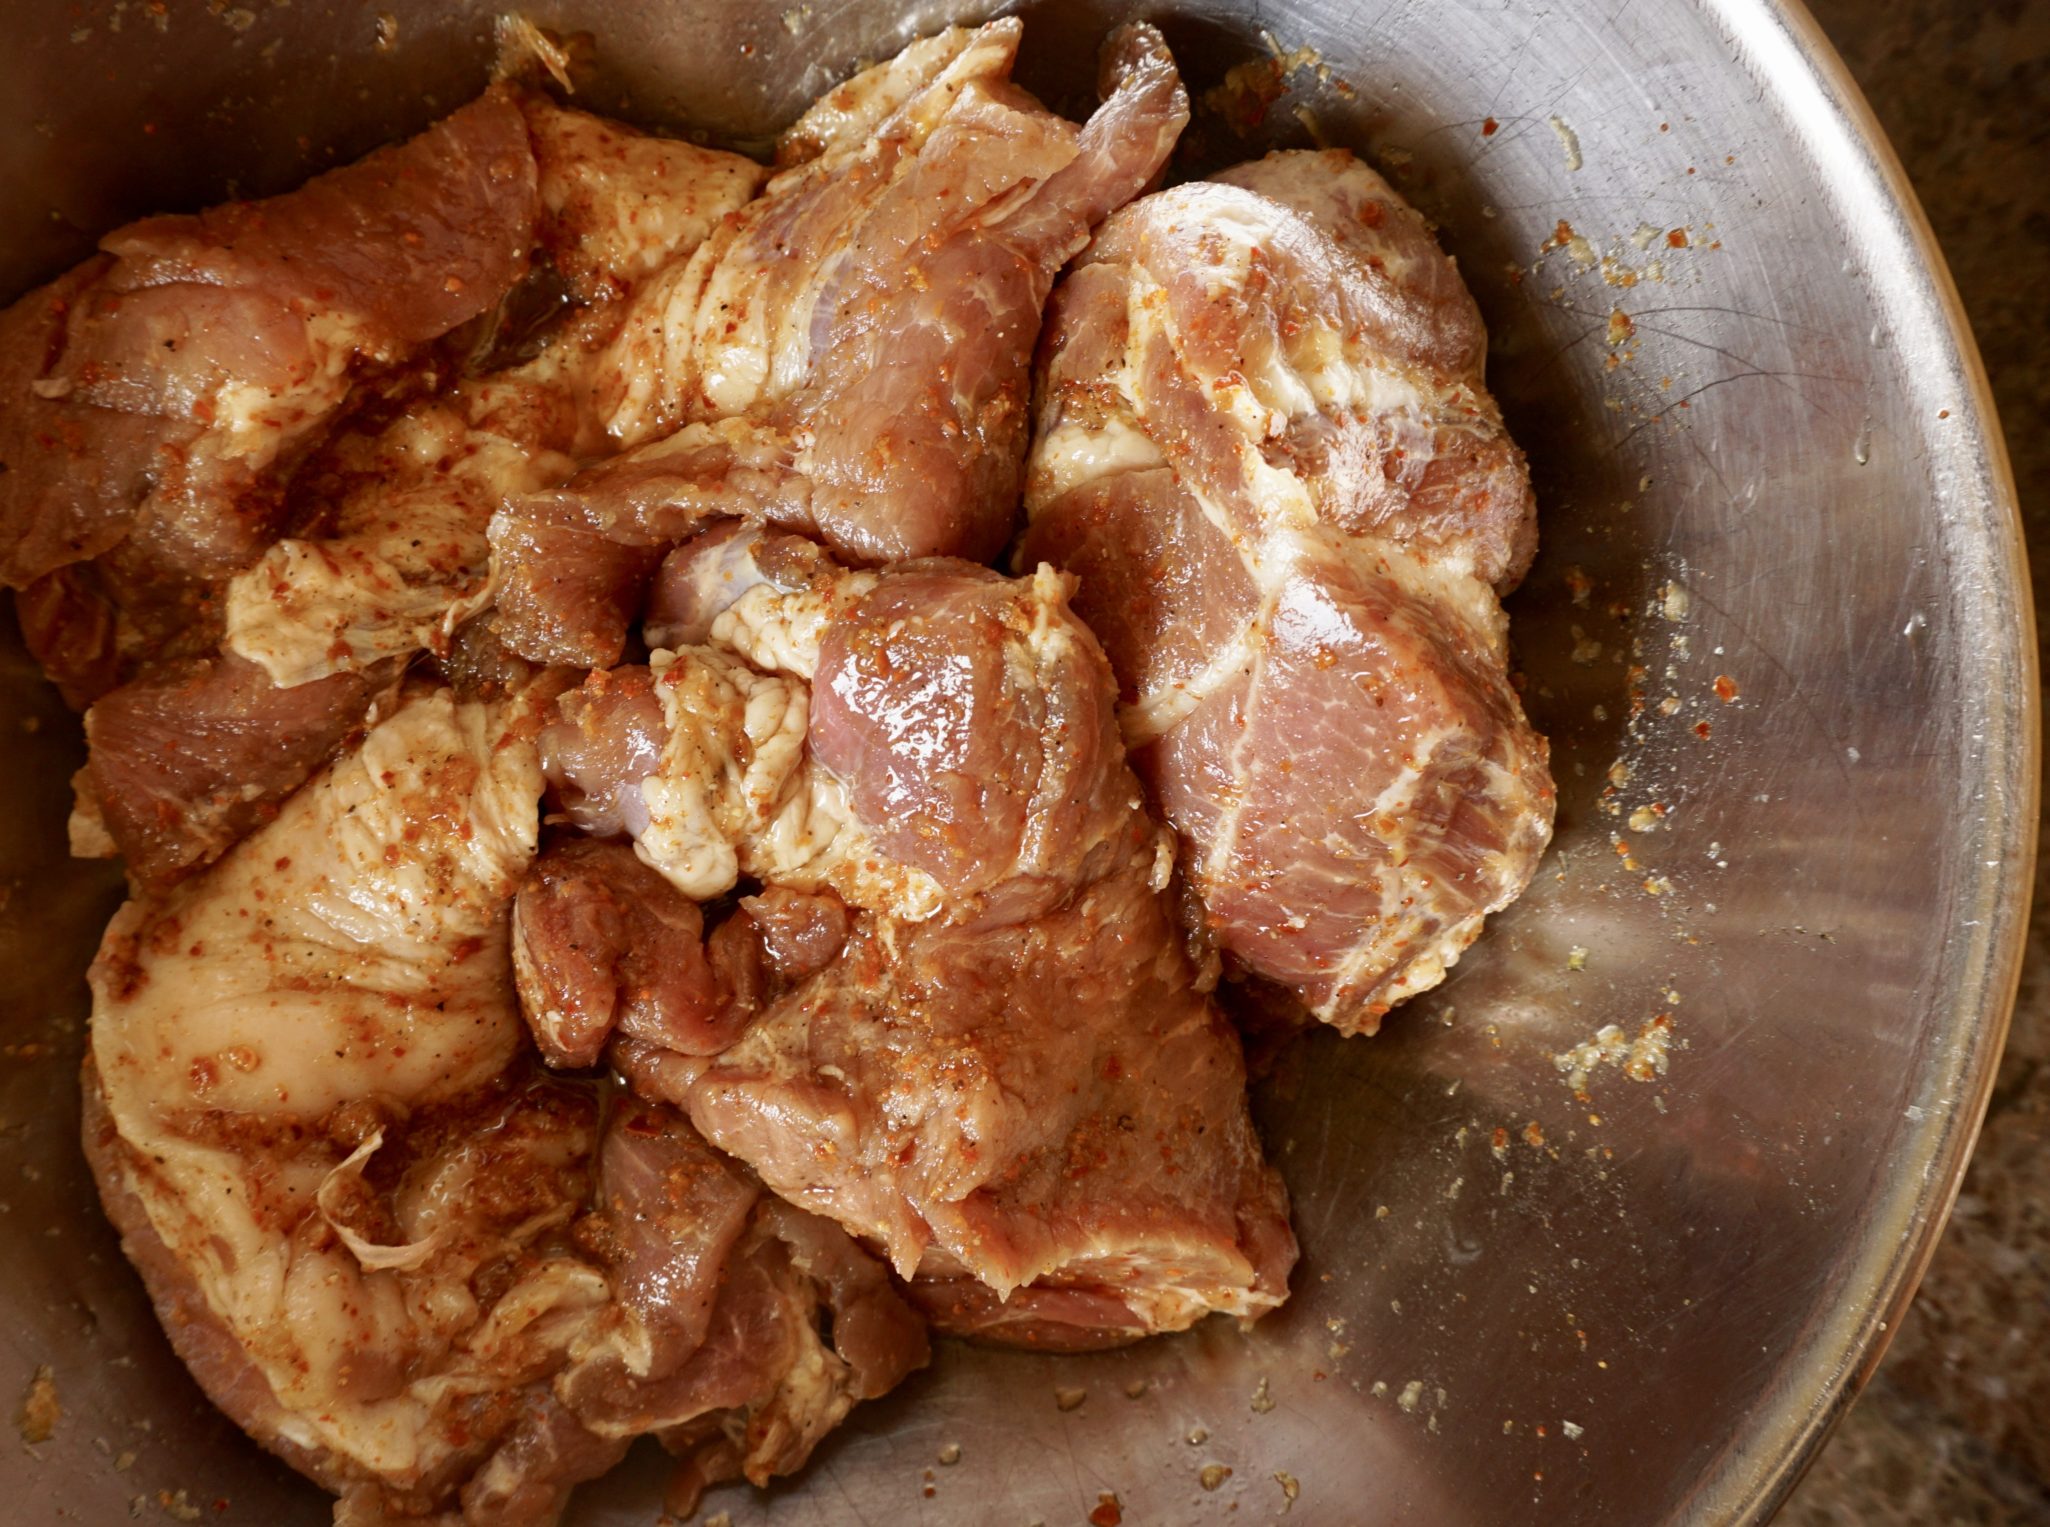
The liberal use of Korean chili flakes and Kochuchang, a sweet chili pepper paste in the sauce adds an Asian flair. If you are a pulled pork fan you will absolutely love this version. Marinade the pork in a mixture of chili flakes, honey, salt, and garlic overnight and then brown it the next day.  Then saute’ the pork in the Instapot (which surprisingly took less time than I imagined) until browned.  Add a bit of water, twist and clamp the lid shut, set the timer for 70 minutes, and chill out for a couple of minutes before making the sauce. Easy peasy.

Fusion BBQ Sauce

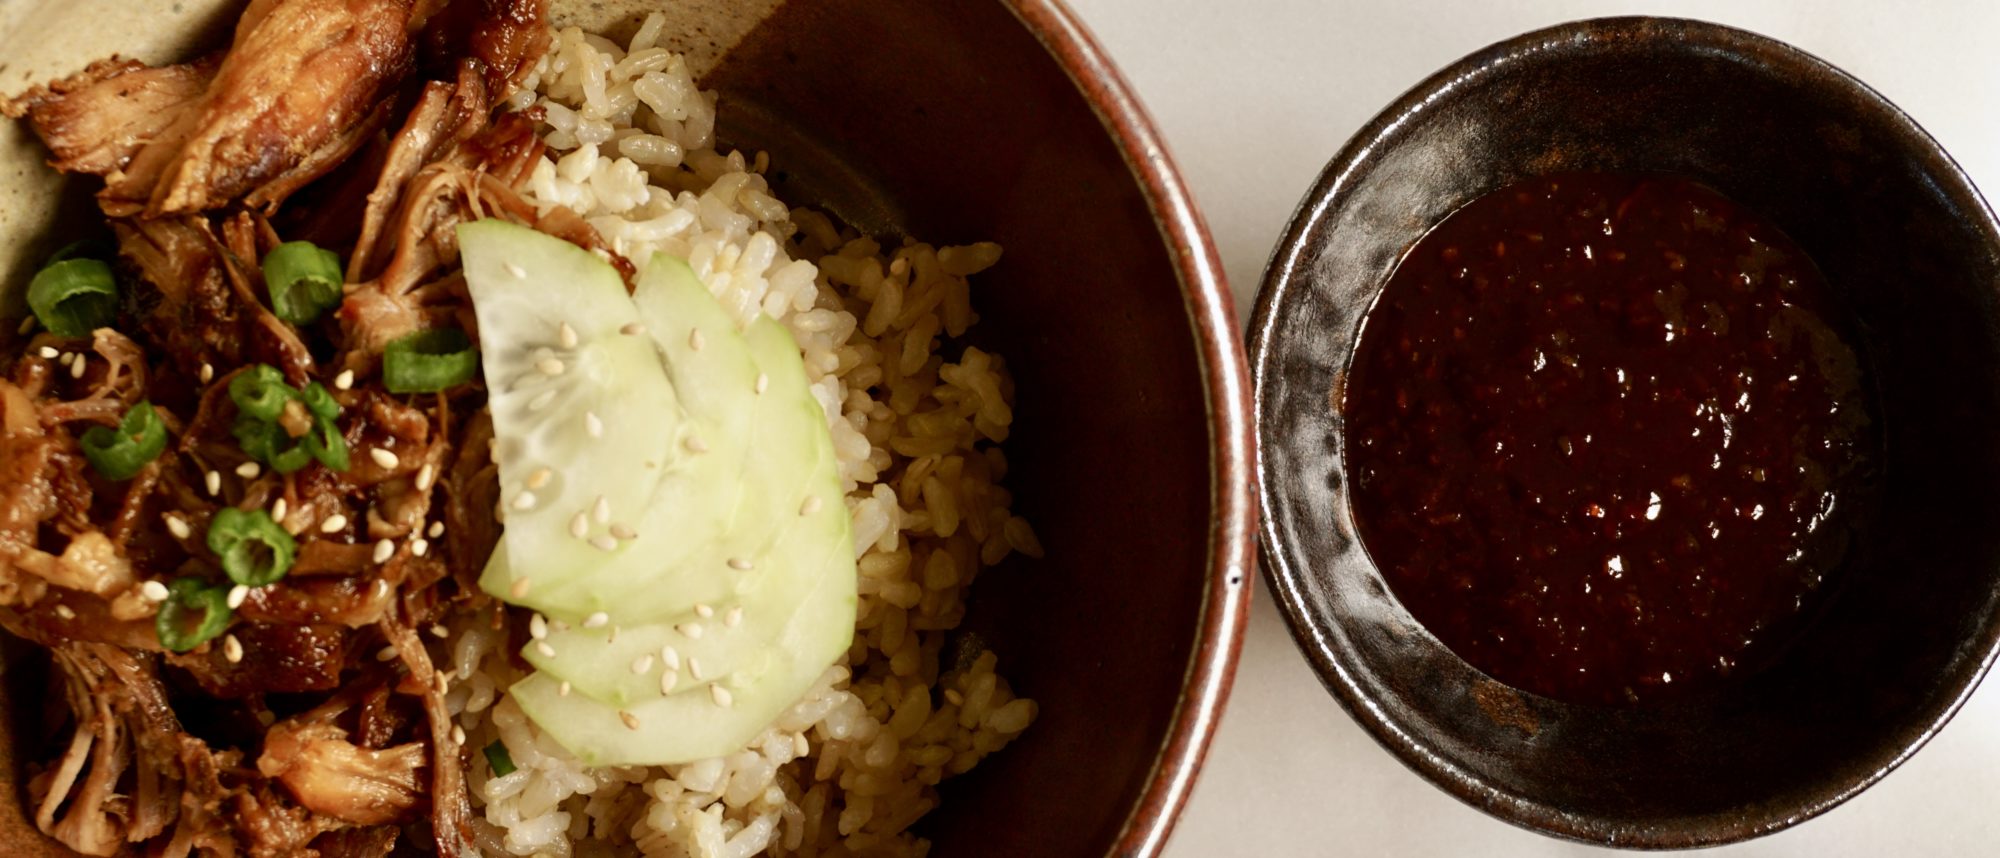
The sauce is made with chili paste, ketchup, garlic, fish sauce, honey, and ginger.  As delicious as this sauce is it packs a punch in heat and flavor.  A little goes a long way so add the sauce in small increments to taste.

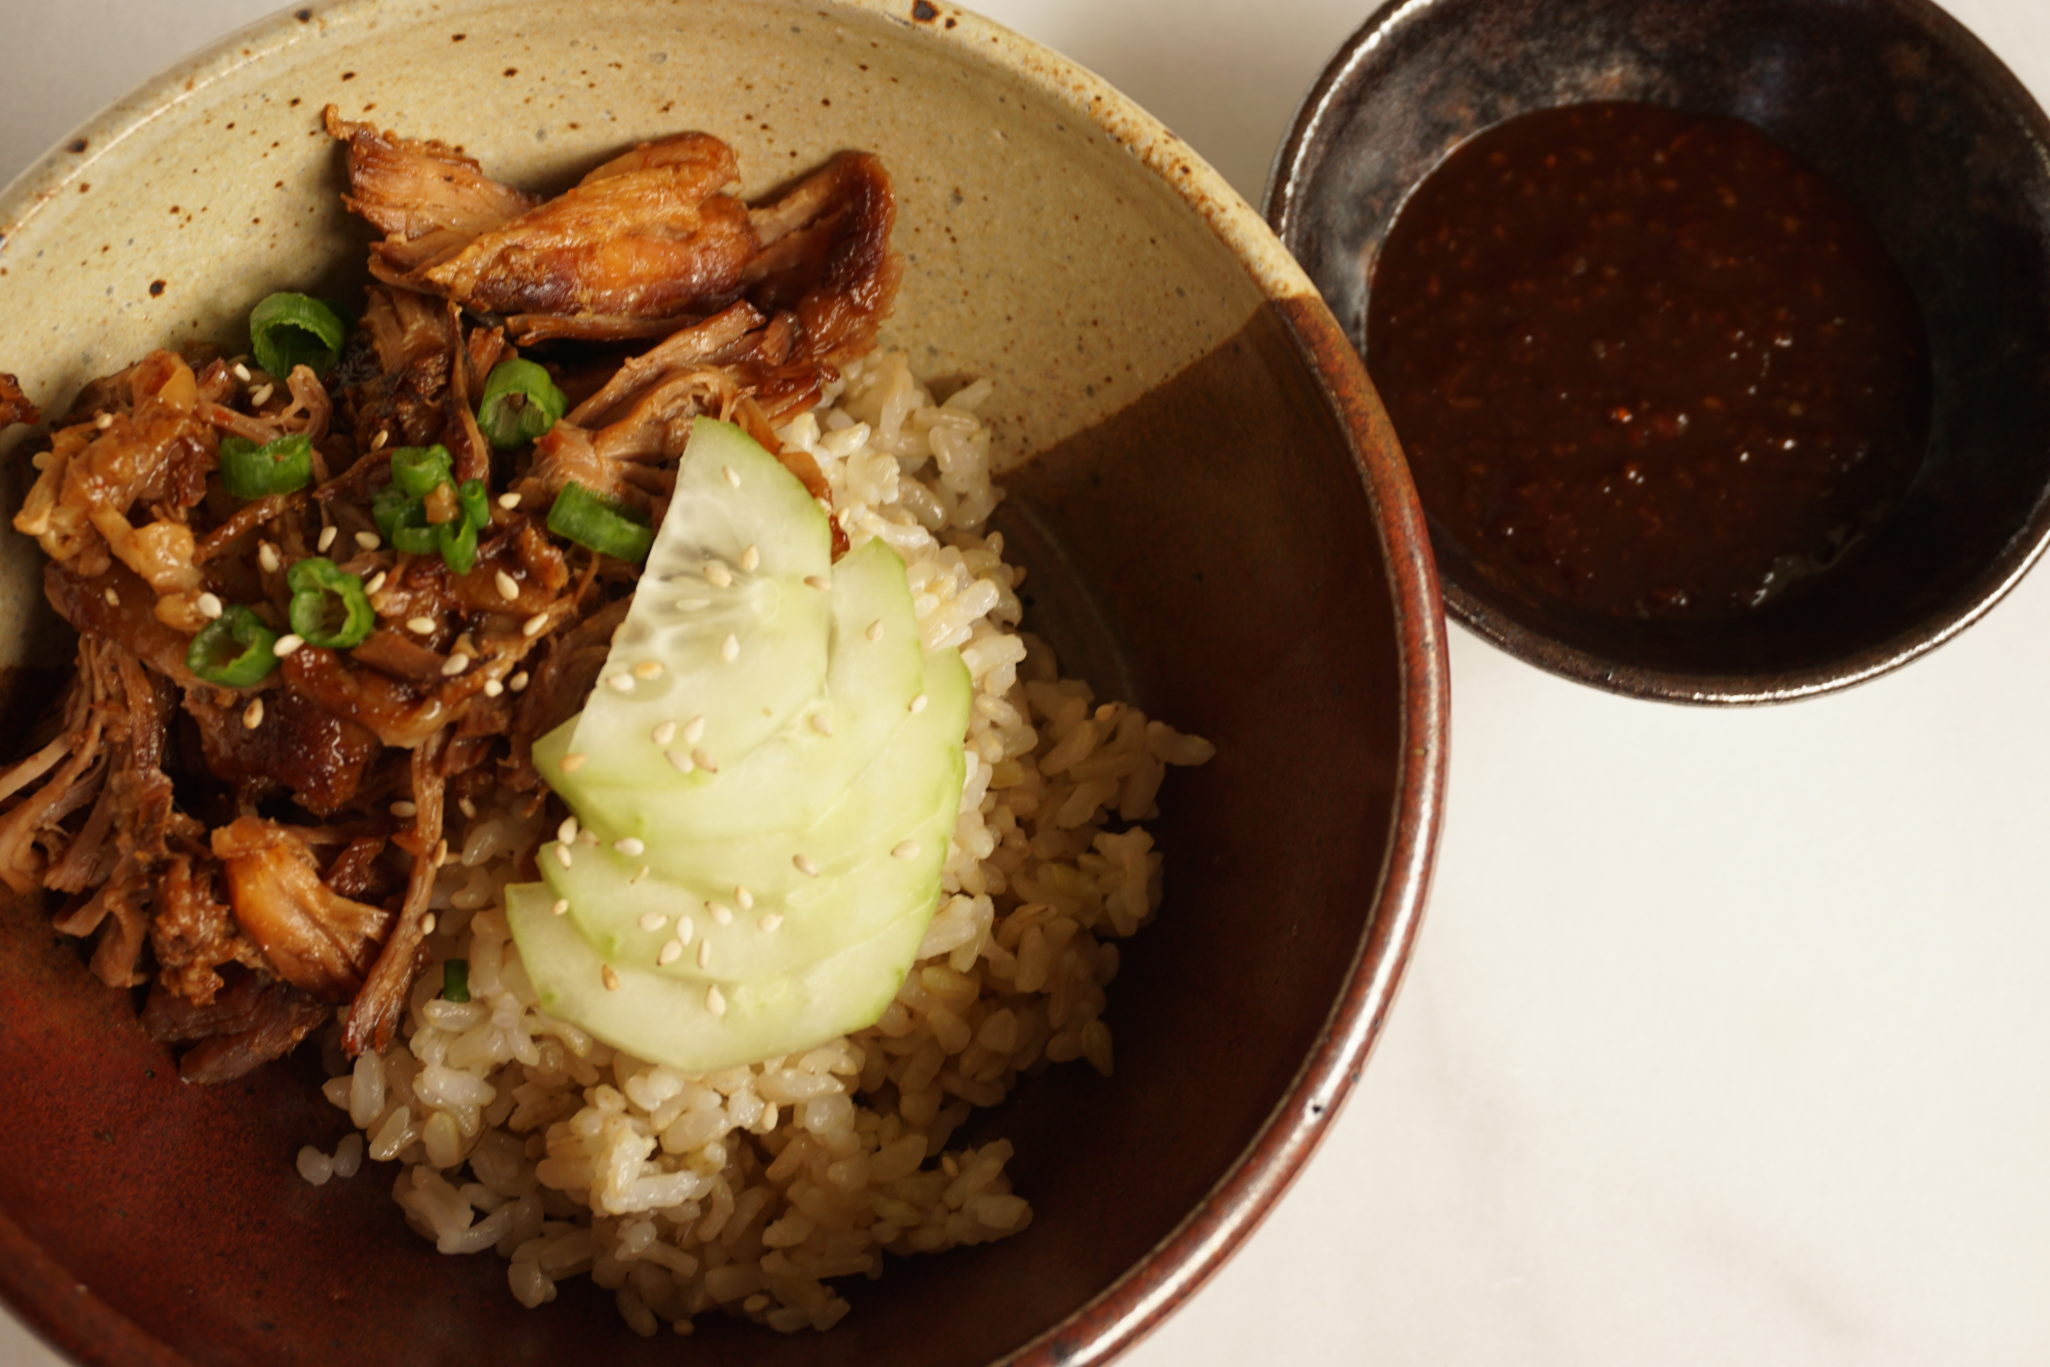
The first day we shredded the pork, mixed in bbq sauce and juice (from the Instant Pot), and broiled the pork to crisp the edges.  We served it on a bed of rice with sliced cucumbers and carrots, a Porki Bowl (get it?).

The quiet nods and hmms as we ate confirmed we had a winner.

This makes a more than generous amount of pulled pork.  Luckily the kids were home for spring break and made quick work of the pork.  Beyond our rice bowls, we had it with scrambled eggs for breakfast and in Hawaiian sweet rolls with a cabbage slaw for lunch.  So good! This is a definite keeper.

The maiden voyage of my Instant Pot was a resounding success.  Can’t wait for another opportunity to use it.

InstantPot Spicy Pork Shoulder from NYT

Spicy Pulled Pork made in an Instant Pot
Course Main Course
Cuisine American, Fusion
Keyword Instant Pot, NYTcooking, Spicy Pork Shoulder
Prep Time 20 minutes
Cook Time 2 hours

Ingredients

  • 5 garlic cloves grated on a Microplane or minced
  • 2 tablespoons brown sugar or honey
  • 1 tablespoon Korean chile flakes gochugaru or other chile flakes (Maras, Aleppo or crushed red pepper)
  • 1 tablespoon kosher salt more to taste
  • 1 teaspoon ground black pepper
  • 5 pounds boneless pork shoulder cut into two or three pieces

FOR THE SAUCE:

  • 1 tablespoon peanut oil
  • 4 garlic cloves grated on a Microplane
  • 2 tablespoons grated fresh ginger root
  • cup gochujang Korean chile paste or other chile paste or sauce such as Sriracha
  • ¼ cup soy sauce
  • 2 tablespoons ketchup
  • 2 tablespoons mirin
  • 2 tablespoons honey
  • 1 tablespoon rice wine vinegar
  • 1 teaspoon Asian fish sauce
  • 1 teaspoon sesame oil

FOR THE SESAME PICKLED CUCUMBERS:

  • 6 Persian cucumbers thinly sliced (or about 4 cups sliced cucumbers)
  • 1 ½ tablespoons rice vinegar
  • 2 teaspoons sesame oil
  • 2 teaspoons brown sugar
  • ½ teaspoon fine sea salt
  • ¼ cup thinly sliced red onion
  • 2 teaspoons sesame seeds

Instructions

  • To prepare pork, combine garlic, brown sugar, chile flakes, salt and pepper. Rub marinade all over pork. Cover and refrigerate for 1 hour to up to 24 hours.
  • Set electric pressure cooker to sauté (or use a large skillet). Add pork in batches and sear until browned all over, about 2 minutes per side. Add 3/4 cup water to pot (or to skillet to deglaze, then move to pot), cover, and set to cook for 90 minutes on high pressure. Make sure to scrape the bottom of the pot so it doesn't scorch or the pot will turn off.
  • While pork cooks, prepare sauce: In a small pot, warm peanut oil over medium heat. Add garlic and ginger, and sauté until fragrant, 1 to 2 minutes. Add remaining ingredients and bring to a simmer. Cook until thickened, 1 to 2 minutes. Set sauce aside. (It can be made up to 1 week ahead and stored in the refrigerator.)
  • Manually release steam. Let pork cool until you can handle it, then shred it into bite-size pieces. Pork can be made in advance.
  • While pork cools, strain liquid from bottom of pot. Pour off fat (or chill liquid, then scoop off solidified fat with a spoon). Reserve.

Cucmber Salad

  • Prepare cucumbers: In a small bowl, combine all ingredients except sesame seeds, and let sit, tossing one or twice, for at least 20 minutes. Stir in sesame seeds.
  • To serve, heat broiler. Toss pork with sauce and 1 to 2 tablespoons cooking liquid — just enough so pork is evenly coated but not wet or runny. Spread mixture on a rimmed baking sheet, and broil until crisp on top, 2 to 3 minutes a little char is fine. Think burnt ends or tips, those are yummy.
  • Make a porki bowl! Top steamed rice with generous portion of pork and cucumbers. . Or make sliders with an Asian slaw

Addendum:  St. Patrick’s Day, a week later was the perfect time to use the Instant Pot.  Literally threw corned beef, pickling spices, an onion, and some garlic in the pot.  An hour and a half later I had a platter of tender melt in your mouth corned beef with cabbage, potatoes and carrots (ok I slightly mis-timed the vegys so a bit on soft side) on the table.  It’s a good thing.