
Since returning from New York, we have made a concerted effort to eat at home. Tired of eating out (I’m shocked, I LOVE eating out),…
I don’t hide my political views very well…and I don’t try to. You googled a recipe and my blog popped up (probably Mochi Muffins, lol)…
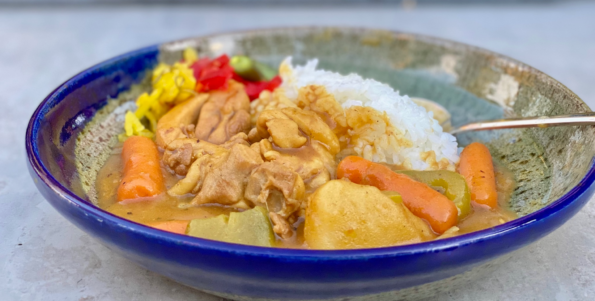
One of my favorite “cheats” are the Japanese curry blocks found in most Asian markets. These little blocks contain the spices and flavorings plus a…
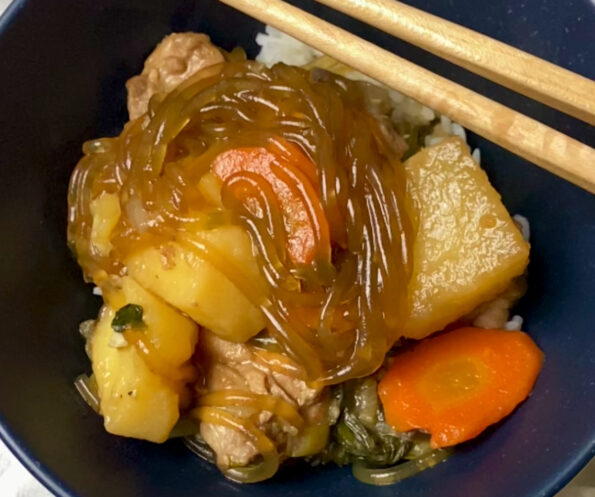
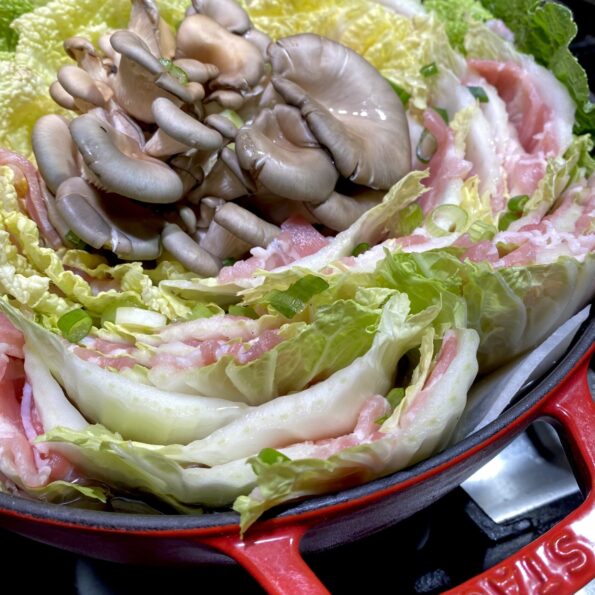
Brrrrr… getting chilly out there. While I love summer, I do look forward to winter. As the temperature drops I start dreaming of dishes that…
I have been focused on cookbooks from the Asian Diaspora. With the way the world is turning, on a definite lopsided tilt, I want to…
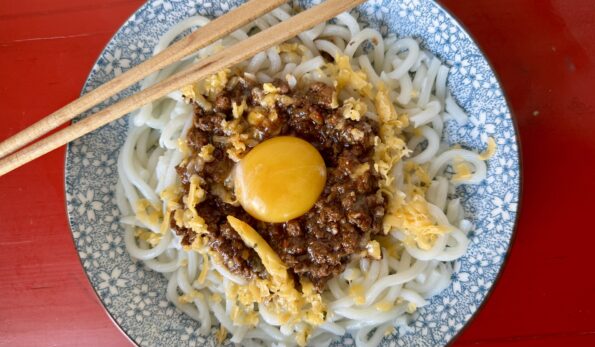
I’m sure I saw this on TikTok or an IG Reel. It looked so delicious I knew I was going to make it, if not…

I have taken over tomato duties from the hubby who has given up on becoming an urban farmer. We just haven’t had any luck with…
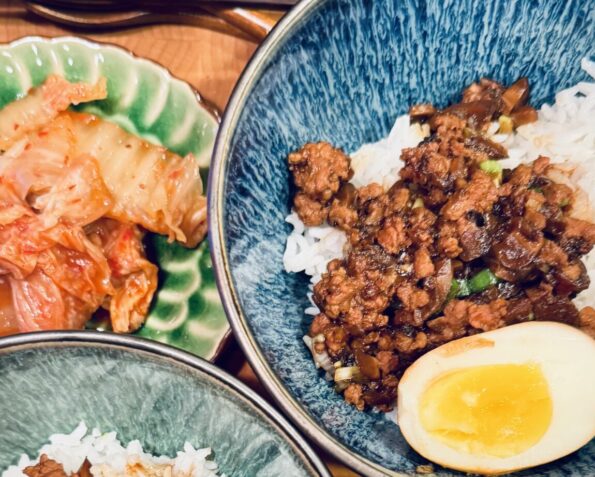
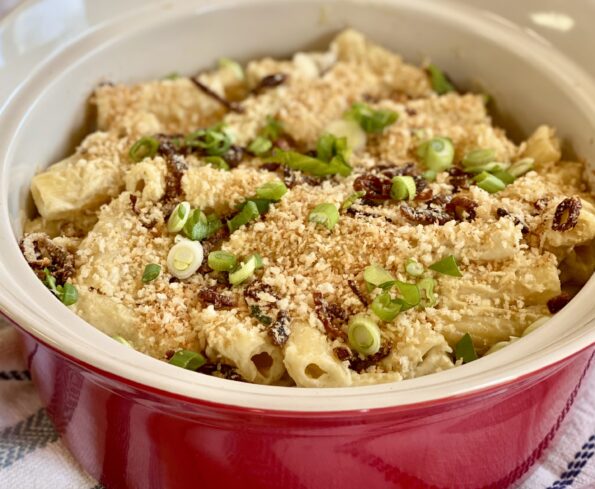
I have a total backlog of recipes I want to share with you and this one is top on the list. I have made this…

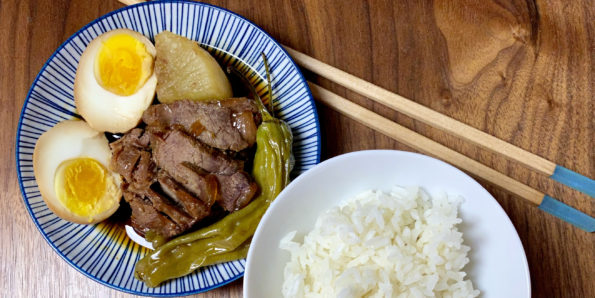
From one of my favorite sites, Two Plaid Aprons, a vegetarian version of Unagi Don! Eel grilled with a sweet and savory sauce or “tare”…