
The kids were all home for a couple of days, which is a miracle in itself, so we threw a party! Really, it was to…

I recently made a quick trip to Los Angeles to celebrate my Aunt’s birthday. I spent ten years in LA, going to school and…
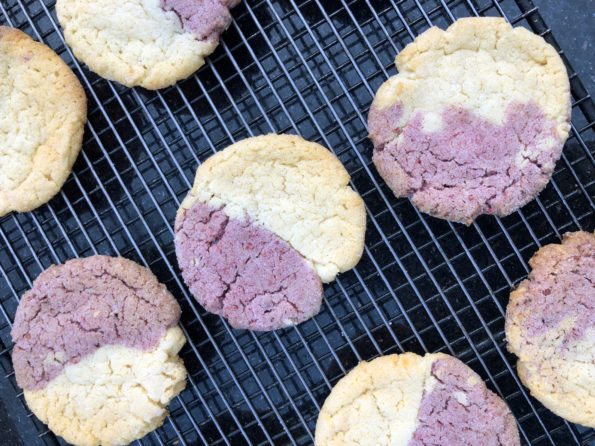
I ventured to Omnivore Cookbooks in San Francisco a while ago to see Stella Parks, author of the fabulous Bravetart, (a fabulous baking book) that…
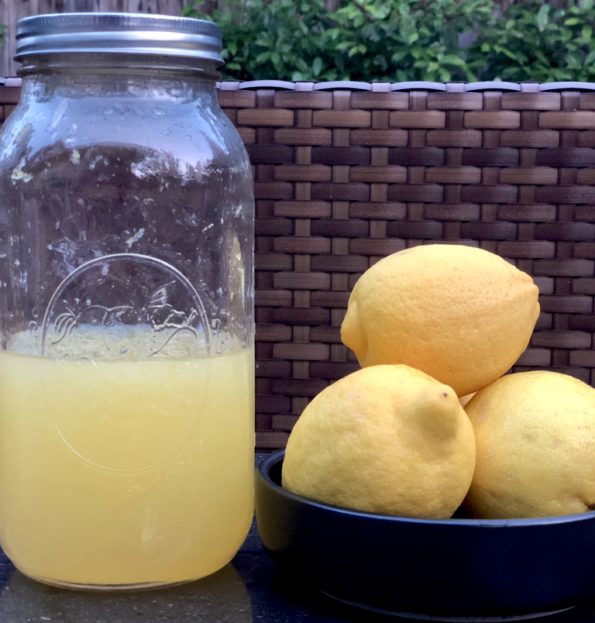
If you have a lemon tree in your backyard you will know what I am going through. Our one lemon tree produces enough lemons for…
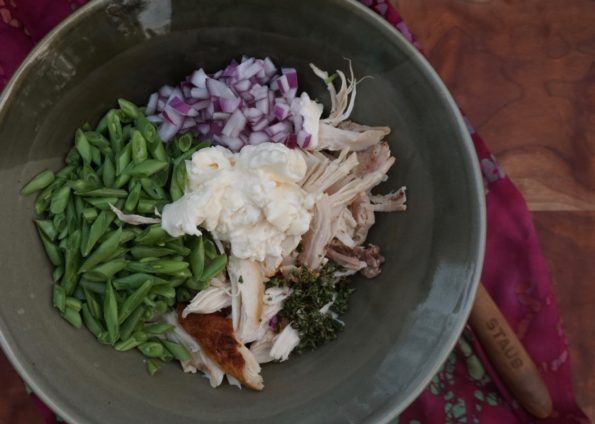
If you are like me, an empty nester still transitioning from cooking for a family of 5 to cooking for 2, you probably still have…
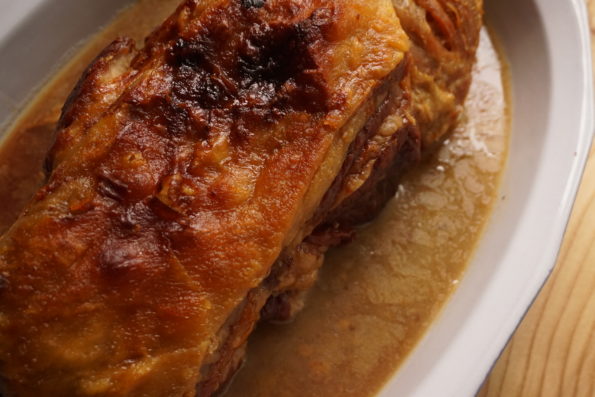
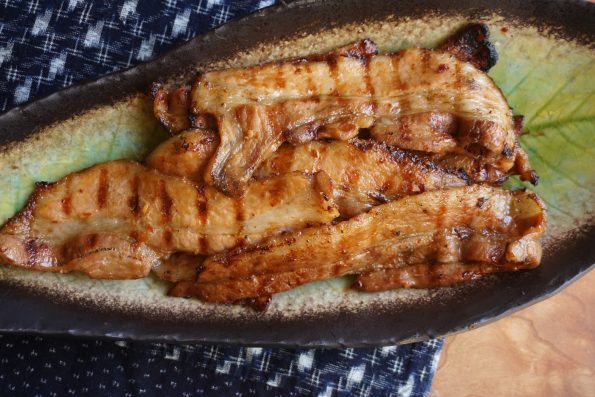
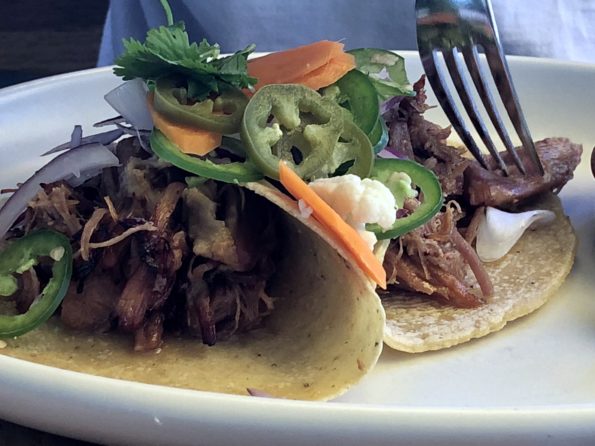
One of my favorite recipes from Sam Kass’s book: Eat A Little Better is his Roasted Pork Shoulder. Don’t let the time commitment scare you. Prep…
I have been working my way through Sam Kass’s Cookbook Eat a Little Better and have to say it is pretty darn good! A family…
I received Sam Kass’s book, Eat a Little Better: Great Flavor, Good Health, Better World to review QUITE a while ago. I wasn’t too busy…
Our weekend ritual of going to the Farmer’s Market is a two-pronged mission. After stocking up on fresh seasonal fruits and vegetables we turn our…