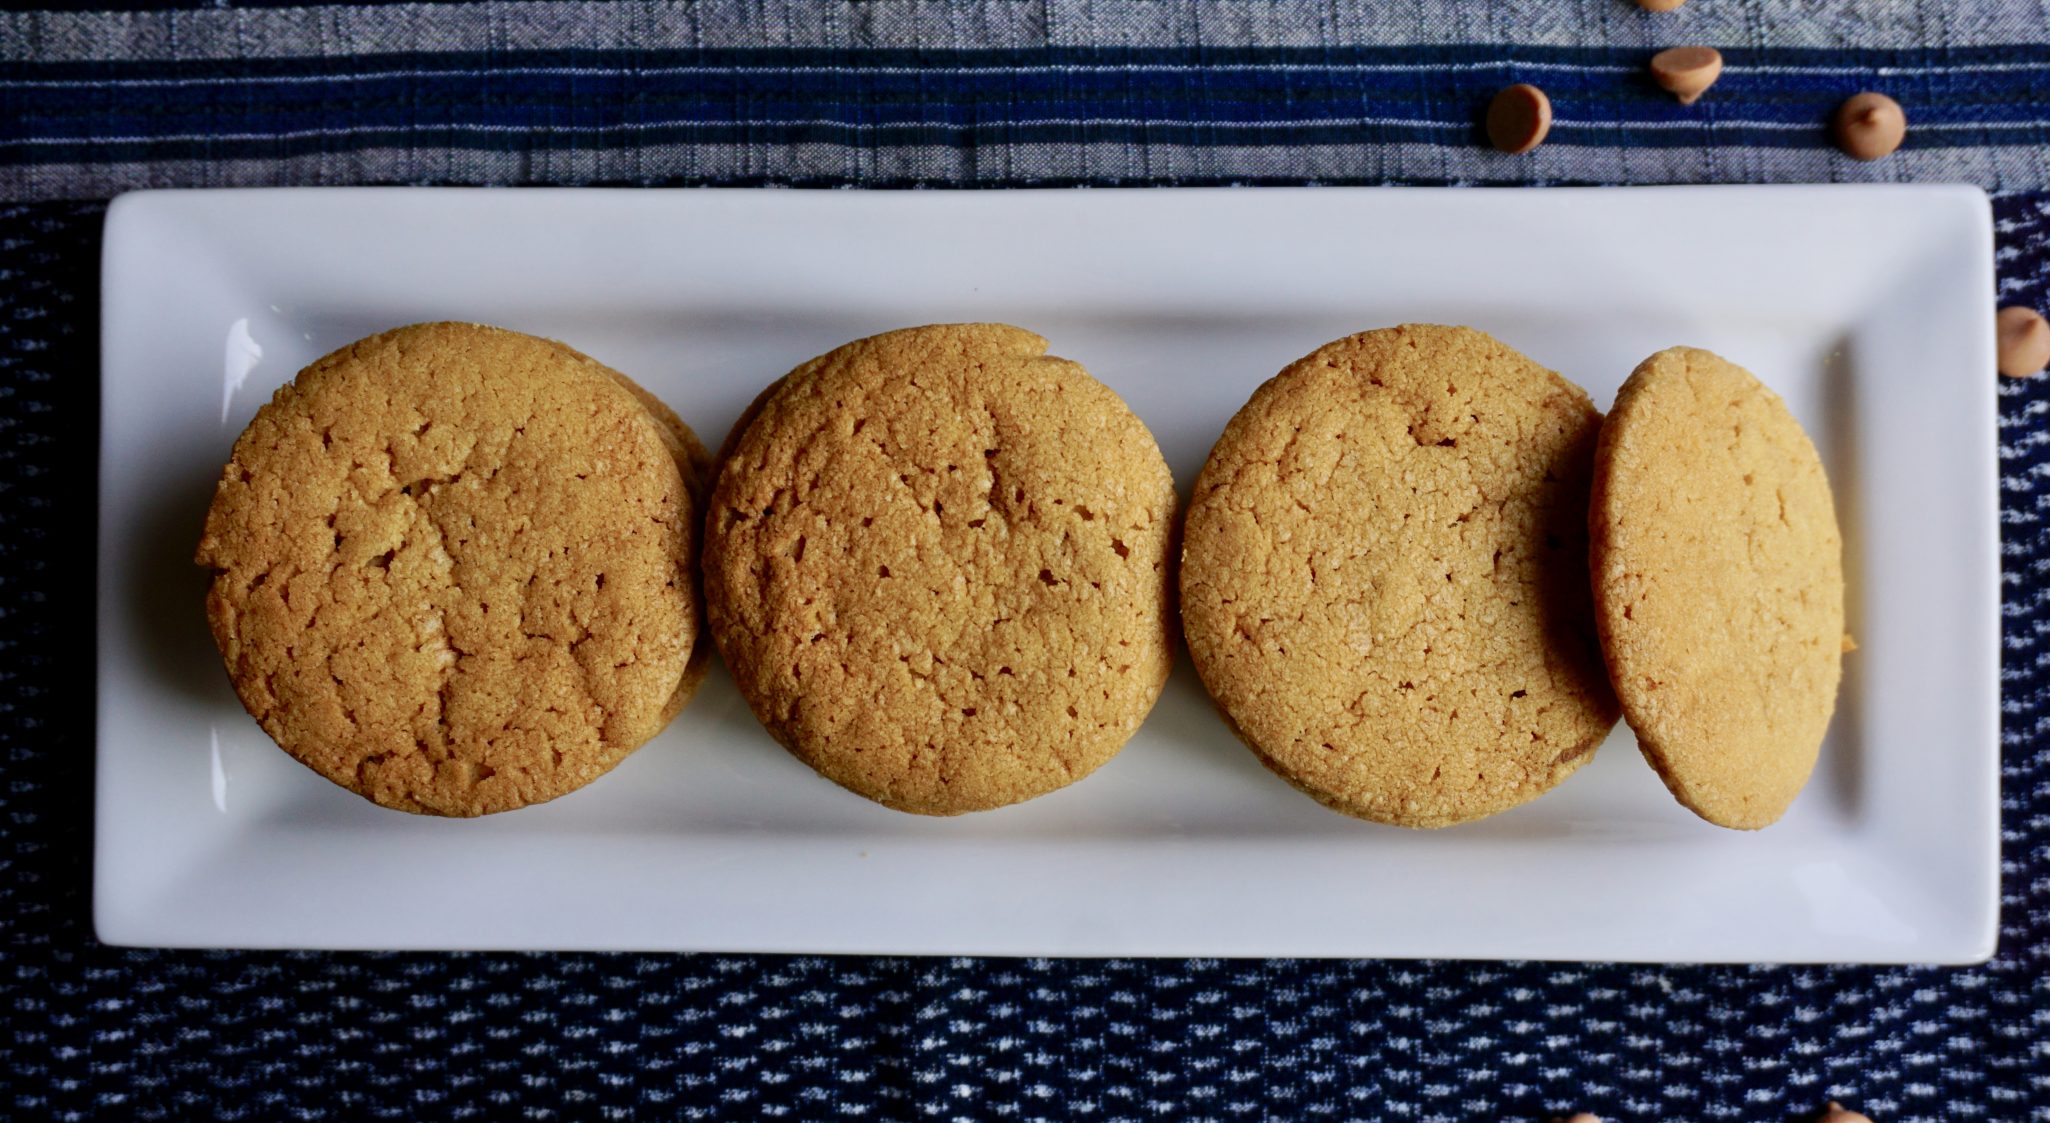
Category: Shaped Cookies

A Chip Off the Old Butterscotch Block (Butterscotch Cookies)

A Chip Off the Old Butterscotch Block (Butterscotch Cookies)

A second recipe from The Perfect Cookie by America’s Test Kitchen caught my eye for a different reason. I had just made a batch of Potato Chip Butterscotch Cookies from The Vintage Baker and now had a partial bag of butterscotch chips sitting on my counter. I have to admit, I am not the biggest fan of butterscotch chips so I don’t have a bunch of recipes with butterscotch. Here was an opportunity to use the rest of the bag.
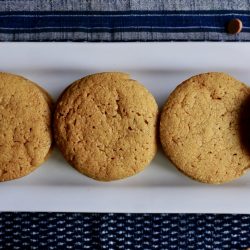
Glad I did. This is another super simple slice and bake dough. Instead of chips the butterscotch is melted and creamed with cold butter.  No chips just butterscotch flavor infused through the entire cookie, yummy. The trickiest part was melting the chips to create a smooth creamy mixture that could be blended with the butter. I used the microwave at half power to melt the chips and butter.  Stir the melted mixture and add the vanilla.  My mixture did not blend very well until I added the vanilla, so don’t worry.  After chilling the dough, cut into 1/4 inch thick slices, place an inch apart and bake.  As your kitchen fills with the aroma of these butterscotch gems, get your glass of milk or cup of joe ready.

These were a definite hit with the work peeps. Rich, deep caramel overtones in a light, crisp cookie. Big bold flavor in a plain jane package. Like they say, never judge a book by its cover.

I found an adaptation of this cookie on A Baker’s House, instead of the slice and bake method, the dough is scooped up and formed into balls and baked.  This yields a chewier in the center with a crispy edge cookie.  I love both versions.
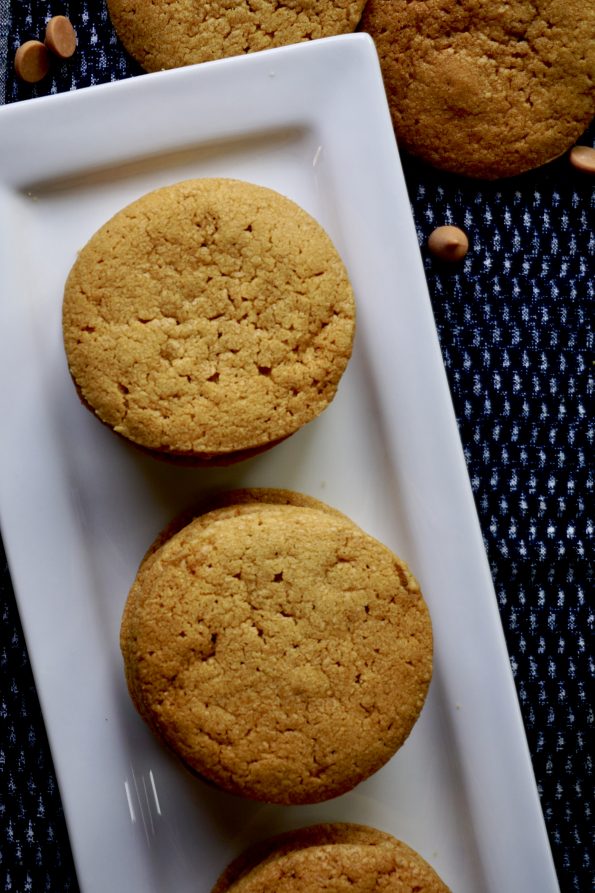
Bake a batch of these Butterscotch Cookies and watch them disappear.

BUTTERSCOTCH COOKIES

An easy and delicious slice and bake cookie for butterscotch lovers!

Ingredients

  • 1/2 cup butterscotch chips
  • 3 tablespoons unsalted butter plus 9 tablespoons cut into 9 pieces chilled
  • 2 teaspoons vanilla extract
  • 3/4 cup packed dark brown sugar
  • 1/2 teaspoon salt
  • 1 large egg yolk
  • 1 3/4 cup all-purpose flour
  • 1 teaspoon baking powder

Instructions

  • Preheat the oven to 325 degrees F.
  • Place the butterscotch chips and the first 3 tablespoons of butter into a glass bowl and microwave in 30-second increments until melted. Stir every 30 seconds. This should take one minute to one and a half minutes. Add the vanilla and stir until smooth; let cool for 15 minutes.
  • Beat the second amount of measured butter (9 tablespoons) with the sugar and salt.  Beat until the mixture is light and fluffy.
  • Add the cooled butterscotch mixture and continue to mix until combined. Add egg yolk then reduce to a lower speed to add the dry ingredients of flour and baking powder. A dough will come together and that is your signal to stop mixing.
  • Form dough into a log approximately 2 inches in diameter and 9-10 inches in length.  Chill until firm (min 30-60minutes).  Slice 1/4 inch thickness and place on parchment lined baking sheet approximately 1 inch apart. 
  • Alternate method:  Pinch off enough dough to make approximately one inch balls ( or use a 1-inch ice cream scoop to measure out dough). Place on a parchment lined baking tray approximately 2 inches apart. 
  • Bake for 12-15 minutes or until the edges just start to brown. Cool on wire racks.
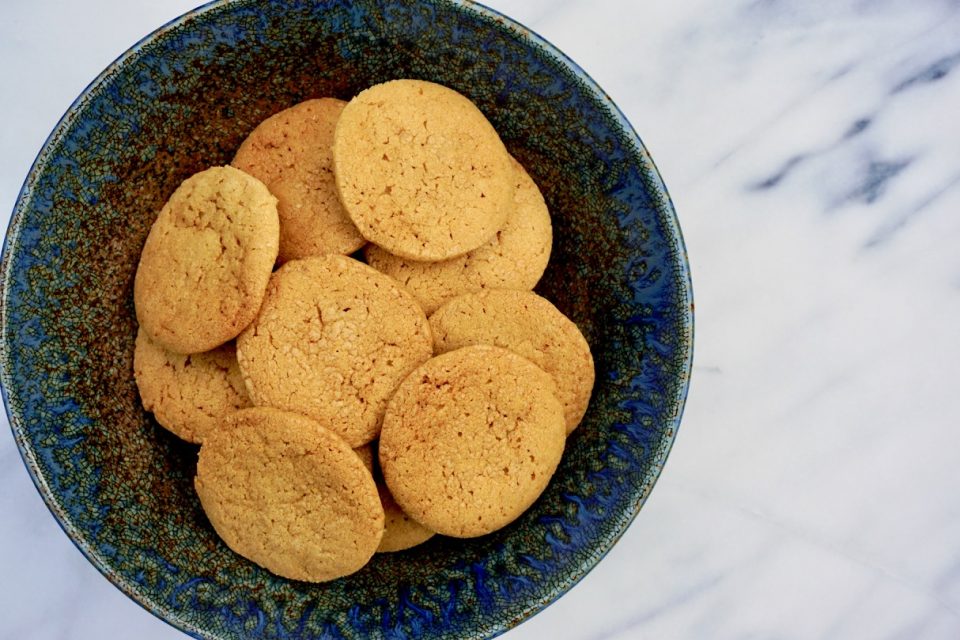
Finding Ranger Cookies

Finding Ranger Cookies

We are a divided family. Hubby likes chewy oatmeal cookies and ooey-gooey chocolate chip cookies.  Me? I love shortbread, crumbly, buttery, melt-in-your-mouth cookies with a hint of sweetness, and decidedly not chewy. Perhaps, cookie preference is a dominant gene trait?  ALL my kids love chewy cookies just like Wes.  I thought it was a kid thing (I consider the hubs a kid).  I assumed when they got older their palates would become more refined, sophisticated m.  Surely, they would come around.

Nope

Even now, when I make cookies that aren’t chewy the response is “They’re ok” or “I like chewy cookies better” or “Wonder if Dad can make some Good Cookies.” The only rational explanation?  Mendelian Genetics. Yep, a predisposition to chewy cookies. Ooh, did you just have an involuntary flashback to high school biology? I concede, in our house, chewy cookies reign supreme.

I Went to a Garden Party

For a summer fundraiser, I volunteered to make Mexican Wedding Cookies. My partner at the dessert table, Emily, brought an unassuming looking oatmeal cookie,   They disappeared in a flash which caught my attention.  I grabbed one and took a bite.  Yum!  This cookie was CHEWY, sweet, buttery, with a bit of crunch.  It definitely fell into the Wes and kids’ cookie camp.  I snuck a couple (ok, more than a couple) onto my cookie plate to take home.

As soon as I got home, Jordan grabbed one of the cookies and gobbled it down, then he grabbed another and exclaimed: “This might be the best cookie yet!”

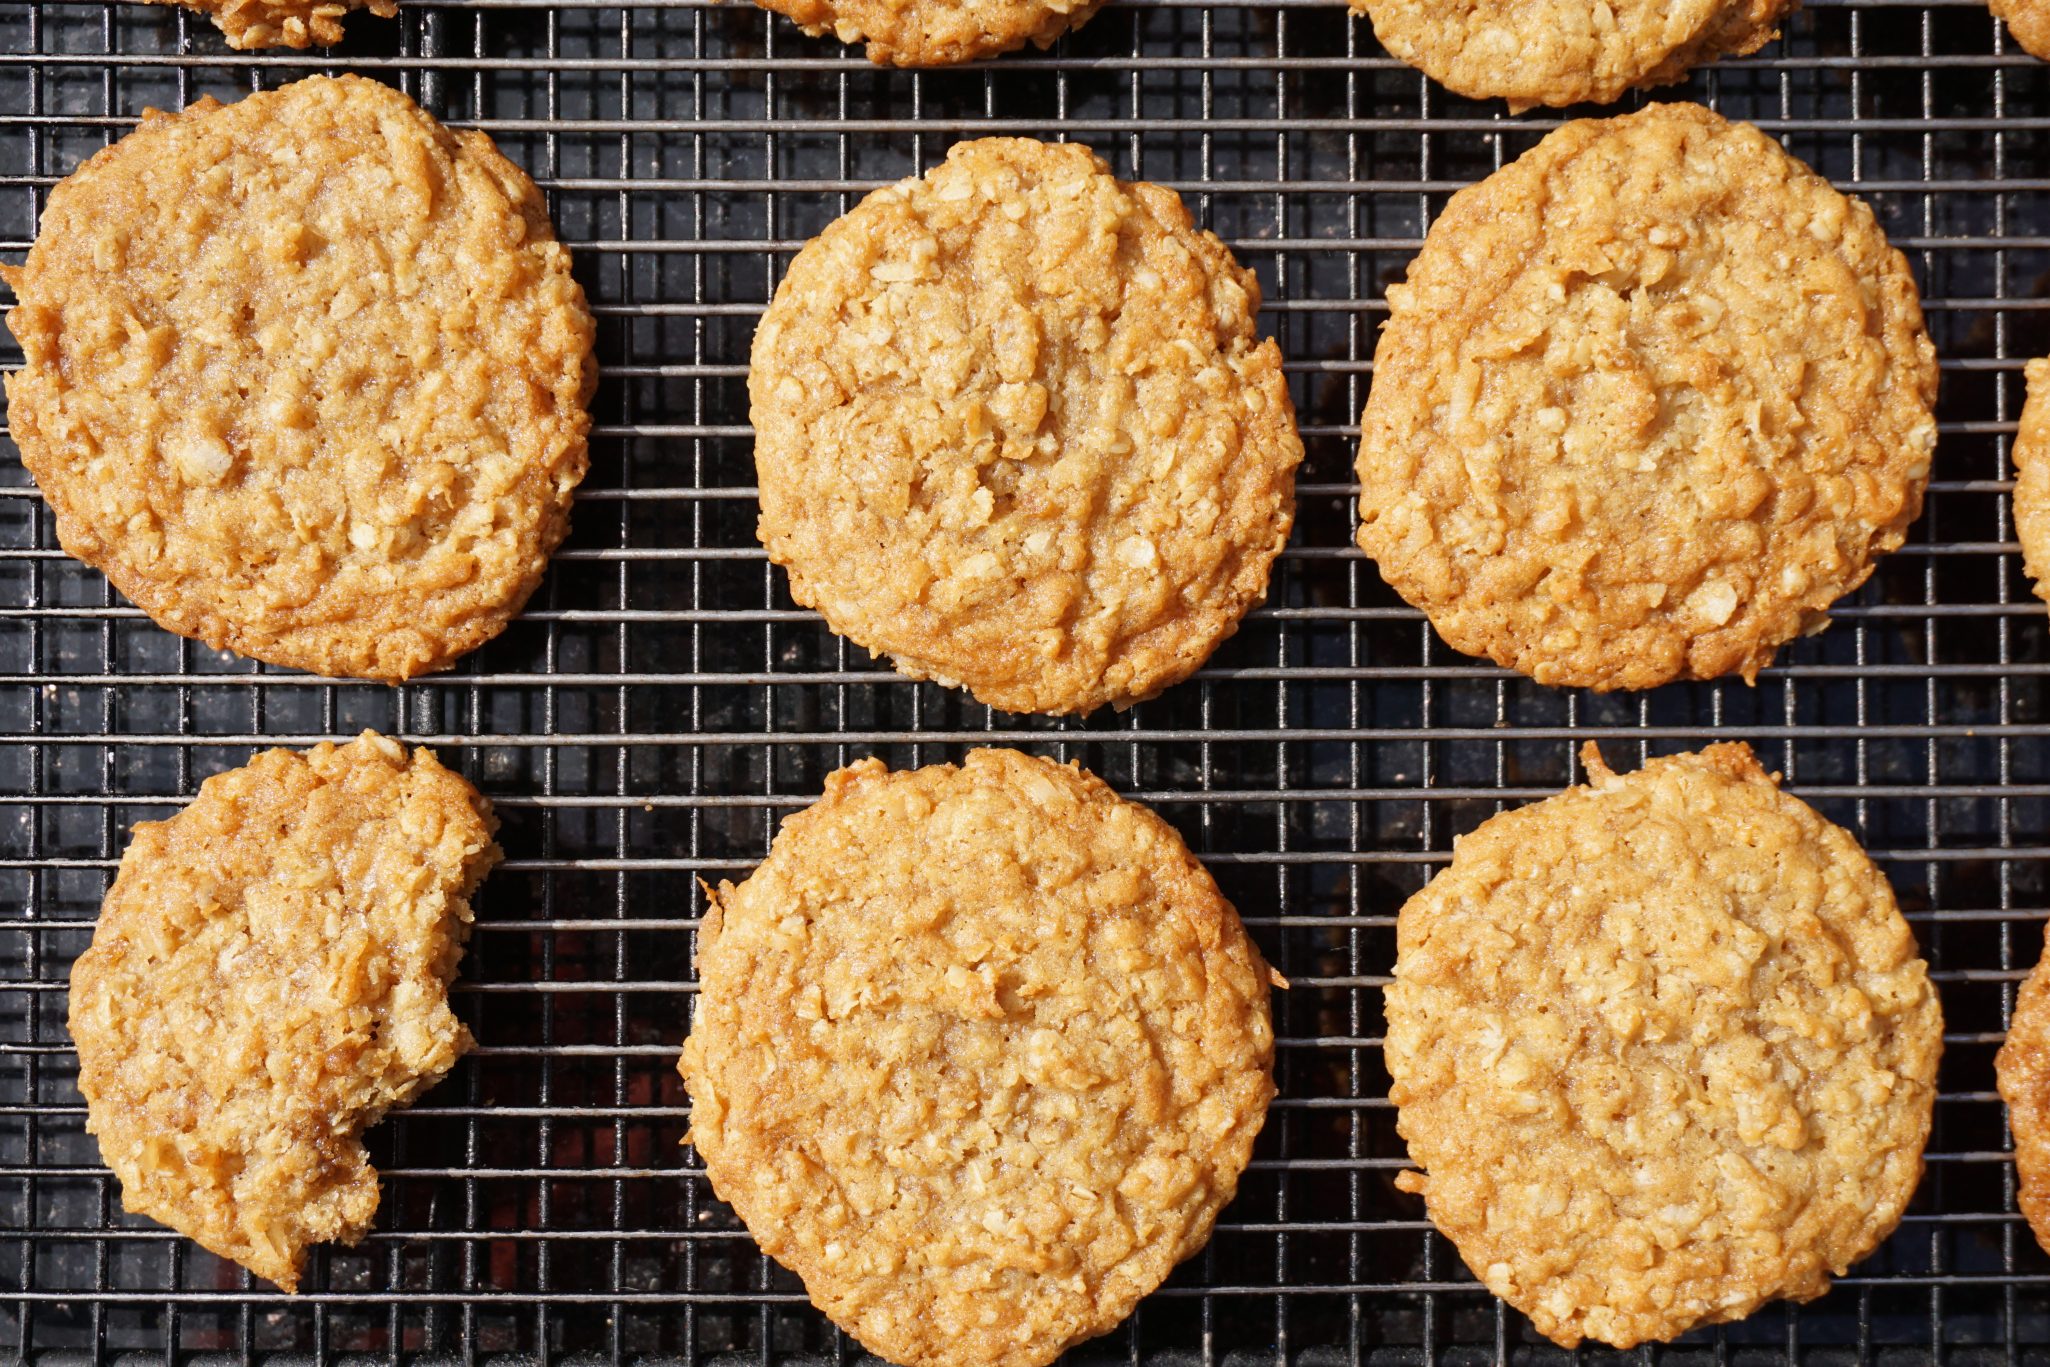
Determined to make them asap, I Googled cookies, coconut, Rice Krispies, and oatmeal, the ingredients Emily had rattled off to me.  Instantly, a bunch of recipes popped up for Ranger Cookies.  Some had chocolate or butterscotch chips, and some had different cereals.  The blog, Let’s Dish, contained all the ingredients Emily mentioned so this became my starting point.  I hit the jackpot, these were just like hers.

Ranger Cookie Tips

Start by creaming butter and sugar until light and fluffy should take about 2-3 minutes tops. Then add eggs and vanilla, mix until well combined.  The recipe calls for gradually adding dry ingredients.  My detour, add it all at once and combine at low speed just until dry ingredients are fully incorporated.  Finally, stir cereal, coconut, and oatmeal in by hand.

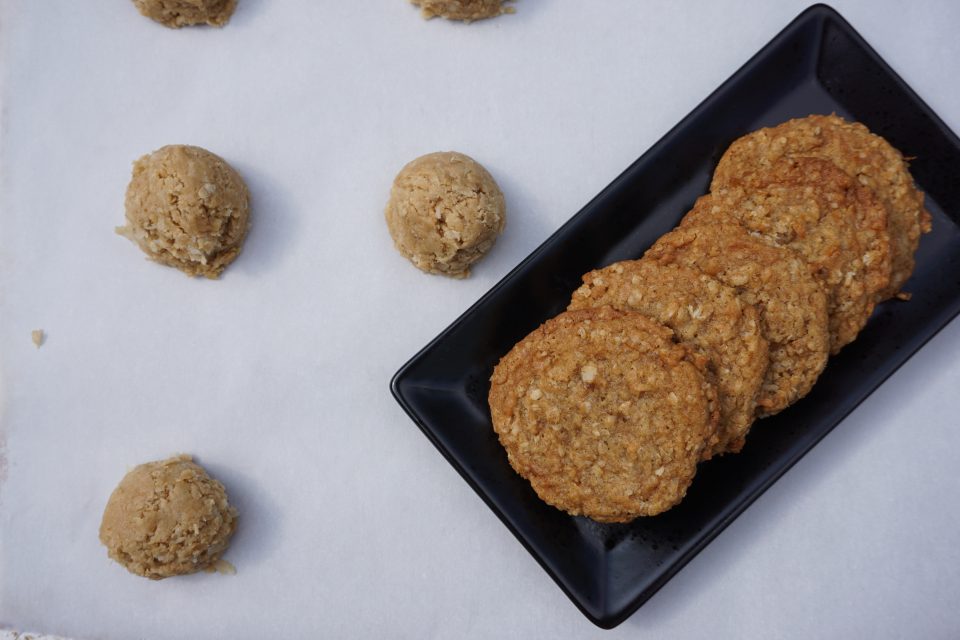
Chilling the dough before baking prevents spreading.  Use an ice cream scoop to portion out the dough. Bake cookies on parchment paper.  With 3-4 minutes left to bake, rap the pan on the wire rack to get the cookies to fall, this helps create those cool crevices.

If your cookies aren’t perfectly round, after taking the cookies out of the oven, quickly invert a glass over each cookie and swirl it around.  This will shape cookies into perfect little circles.  Or skip it, they’ll be gone before anyone besides you notices.

Feel free to add chocolate chips or butterscotch chips for a twist. You can replace the Rice Krispies with partially crushed Corn Flakes, they’rrrrre great!  All you Tony the Tiger fans.

Ok, maybe chewy is not a genetic thing…maybe chewy cookies are just really, really delicious (don’t tell my kids I said that).  Either way, they belong on your gotta bake cookie list.

RANGER COOKIES

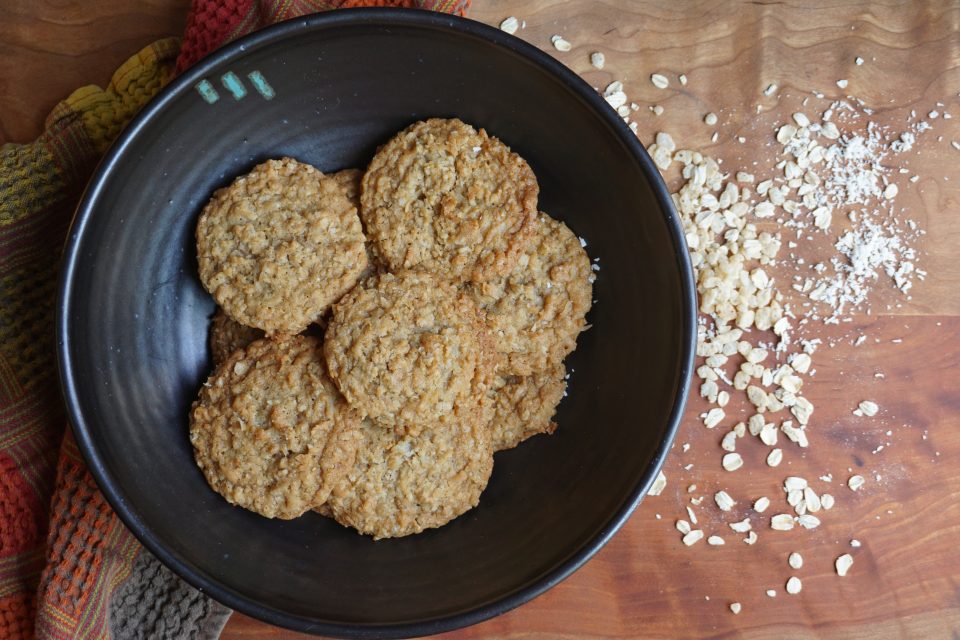
Chewy oatmeal cookies loaded with coconut and crisp rice cereal. Simple and delicious, these cookies are a favorite with kids and grown-up kids as well!
Course cookies, Dessert
Cuisine American
Keyword coconut, cookies, oatmeal, ranger cookies, rice krispies
Prep Time 15 minutes
Cook Time 15 minutes

Ingredients

Creaming Mixture

  • 1 cup butter softened, this is an old recipe, before unsalted butter was so widely available. I would guess folks normally used salted butter. If using unsalted butter, increase salt in recipe to 1 teaspoon.
  • 1 cup white sugar
  • 1 cup packed brown sugar light or dark

The Wet Ingredients

  • 2 eggs
  • 1 tablespoon vanilla extract

The Dry Ingredients-Combine and set aside

  • 2 cups all-purpose flour I use King Arthur Flour and it worked fine. Once again an old recipe, Gold Medal was probably the standard, which has slightly less protein than KA.
  • 1 teaspoon baking soda
  • 1/2 teaspoon baking powder
  • 1/2 teaspoon salt

The Adds

  • 2 cups quick cooking oats NO instant oatmeal please
  • 2 cups Rice Krispies cereal
  • 1 cup flaked sweetened coconut you could probably use unsweetened coconut too.

Instructions

  • Preheat oven to 350 degrees.
  • In a medium bowl, whisk together flour, baking soda, baking powder, and salt. Set aside.
  • In a large bowl, cream butter and sugars until light and fluffy. (2-3 min) Beat in eggs and vanilla.
  • Gradually add flour mixture to creamed mixture and mix well (do not overmix though). Stir in oats, cereal, and coconut.
  • Drop by rounded tablespoonfuls onto ungreased baking sheets. If you have a #40 ice cream scoop (1.75 Tablespoons) use that to create uniform dough balls.
  • Bake 8-10 minutes or until golden brown. Let cool on pan for 3-5 minutes before removing to a wire rack to cool completely.

Notes

I use parchment paper to line my baking sheets.  These cookies can be baked directly on an ungreased cookie sheet.
Tropical Flair to Mexican Wedding Cookies when Married with Lime and Coconut

Tropical Flair to Mexican Wedding Cookies when Married with Lime and Coconut

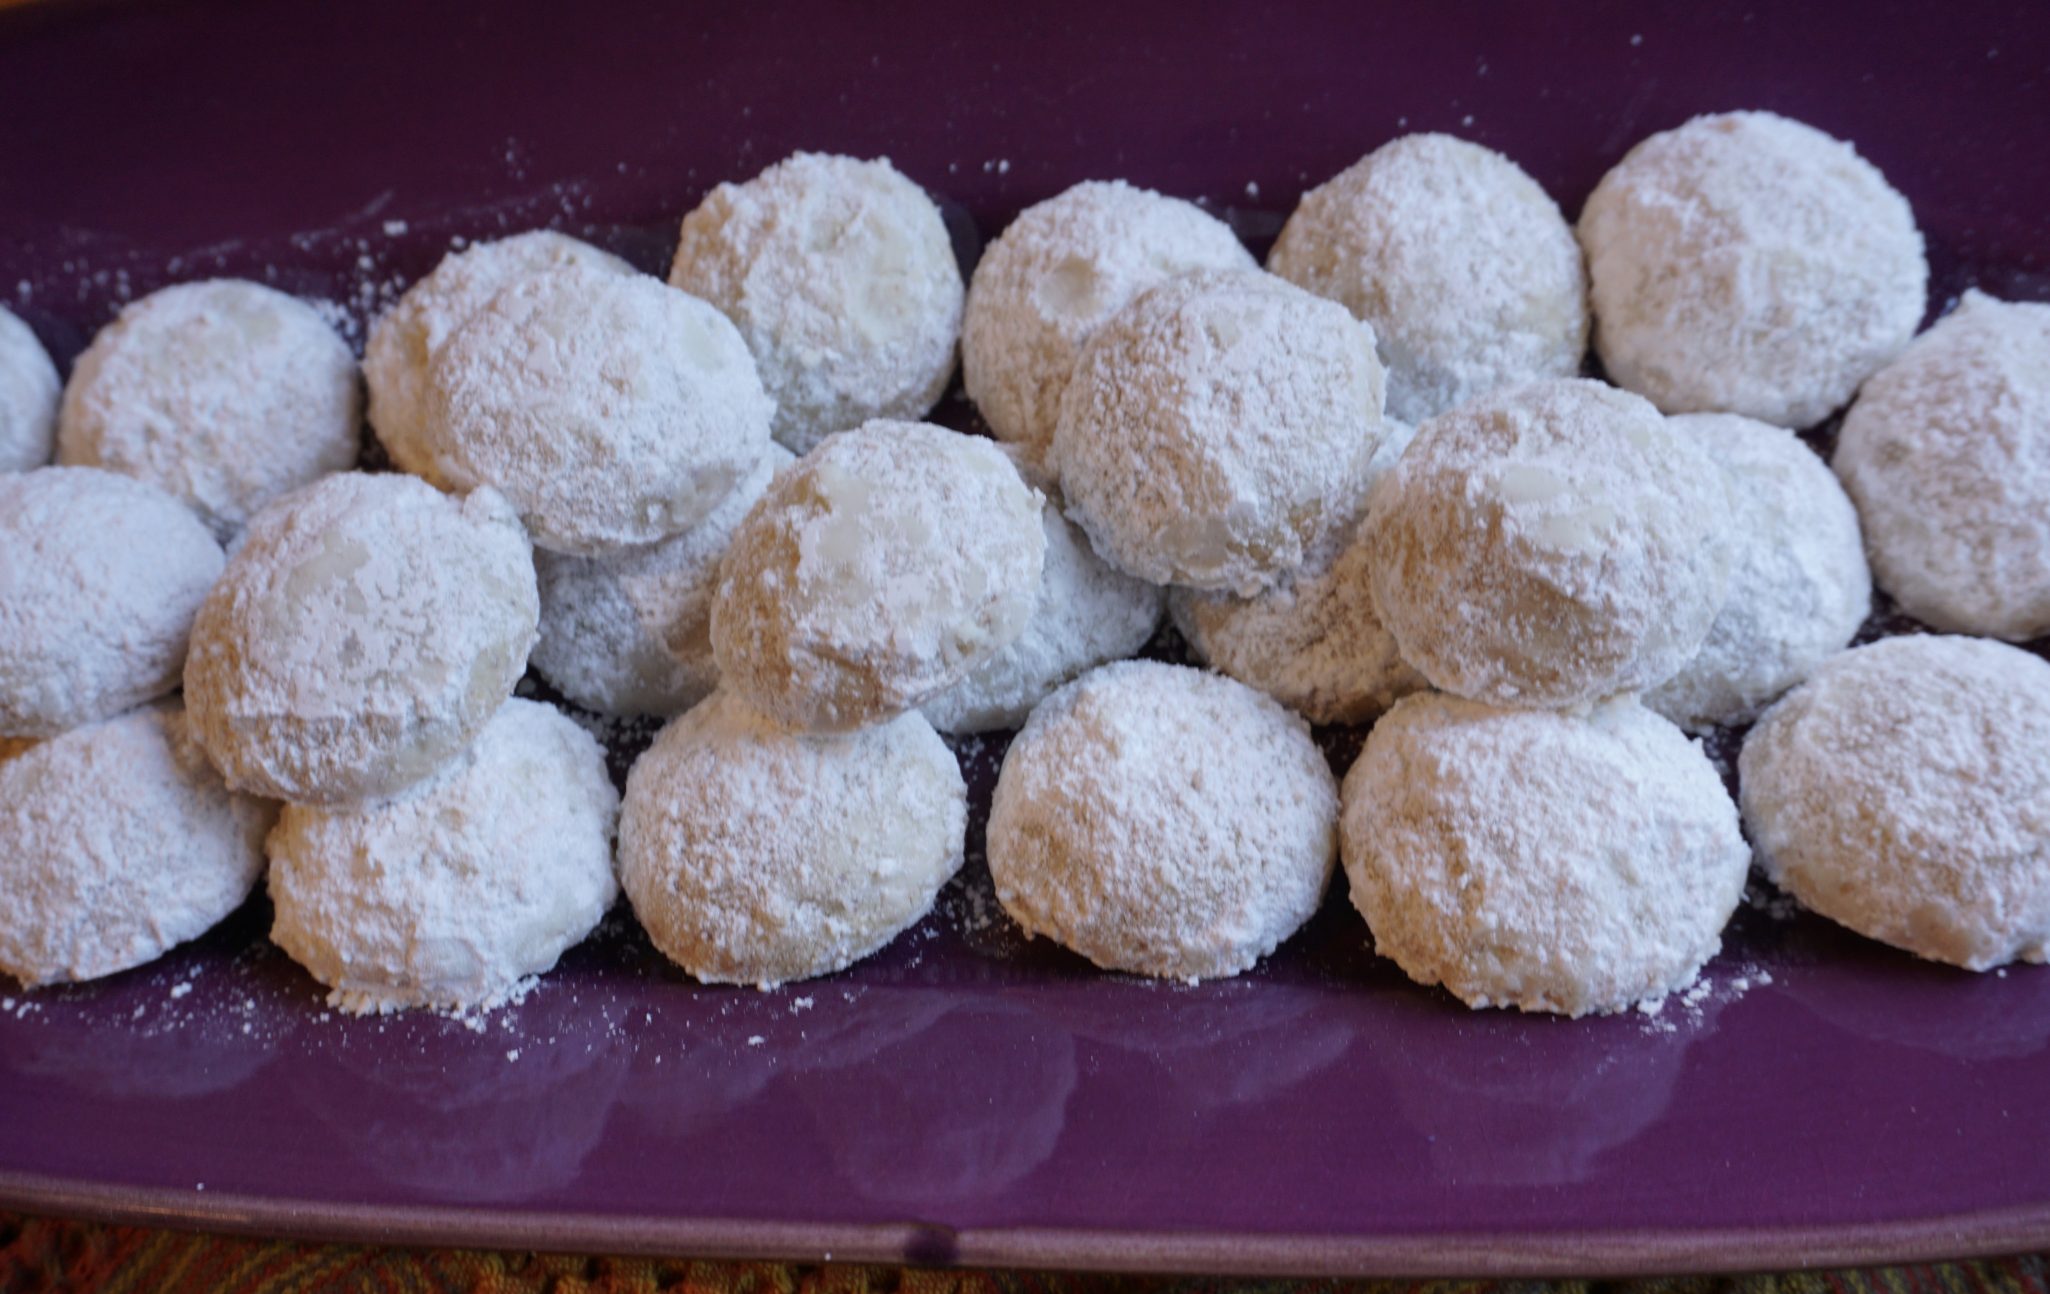
The political action group I belong to (please continue to read, that is as political as this post is going to get) hosted a fundraiser this past weekend.  A garden party with a Mexican theme. Of course, I volunteered to make something sweet.  Cookies, specifically, Mexican Wedding Cookies, instantly popped into my head.  Usually, I bake a batch of these nutty, buttery, nuggets during the holidays but it is the middle of summer so I wanted to change it up just a bit.  I found the perfect riff on the classic wedding cookie, a coconut lime version, on the blog Once Upon A Chef by Jenn Segal.  Garden Party, Fiesta theme, coconut, lime-yep, spot on.

Delicious AND easy to make.  The dough is made in a food processor which makes these cookies STUPID easy.  You throw the dry ingredients into your food processor bowl, give it a couple of whirls, add the butter, vanilla and lime zest, pulse to it comes together and boom, you are done.  Wrap the dough in plastic wrap, and forget about it in the fridge for about an hour.  Use a teaspoon ice cream scoop to make balls of dough, bake, and roll in a ton of powdered sugar.  HOW EASY IS THAT? Ipso Facto Dunzo.

Coconut-Lime Mexican Wedding Cookies

Course cookies, Dessert
Cuisine American
Keyword Mexican Wedding Cookies
Prep Time 10 minutes
Cook Time 12 minutes
Total Time 22 minutes

Ingredients

  • 1 cup all-purpose flour spooned into measuring cup and leveled-off
  • 1/4 teaspoon salt
  • 1/2 cup confectioners' sugar plus about 3/4 cup more for coating
  • 1/3 cup pecans
  • 1/4 cup sweetened flaked coconut
  • 1 stick 1/2 cup unsalted butter, softened
  • 1 packed teaspoon lime zest from 1 lime
  • 1 teaspoon vanilla extract

Instructions

  • In the bowl of a food processor fitted with the steel blade, combine the flour, salt, confectioners' sugar, pecans and coconut. Process until the pecans and coconut are finely ground, and the mixture looks like sand. Add the butter, lime zest, and vanilla extract; process until the mixture comes together into a cohesive dough. Remove the dough from the bowl and wrap in plastic. Chill until firm enough to roll, 45 minutes to 1 hour.
  • Meanwhile, preheat the oven to 350°F. Line two baking sheets with parchment paper.
  • Measure the dough into heaping teaspoon-size pieces and roll each piece into a ball. Place the balls about 1-1/2 inches apart on the prepared baking sheets. Bake until the edges of the cookies barely begin to brown, 12 to 14 minutes. Let cool on the baking sheets, then roll in the confectioners' sugar while still warm. Let the cookies cool on a rack, then roll again in confectioners' sugar once they are cool. Store in an airtight container at room temperature.

Snowy Topped Brownie Drops, Cookie Number 4

Snowy Topped Brownie Drops, Cookie Number 4

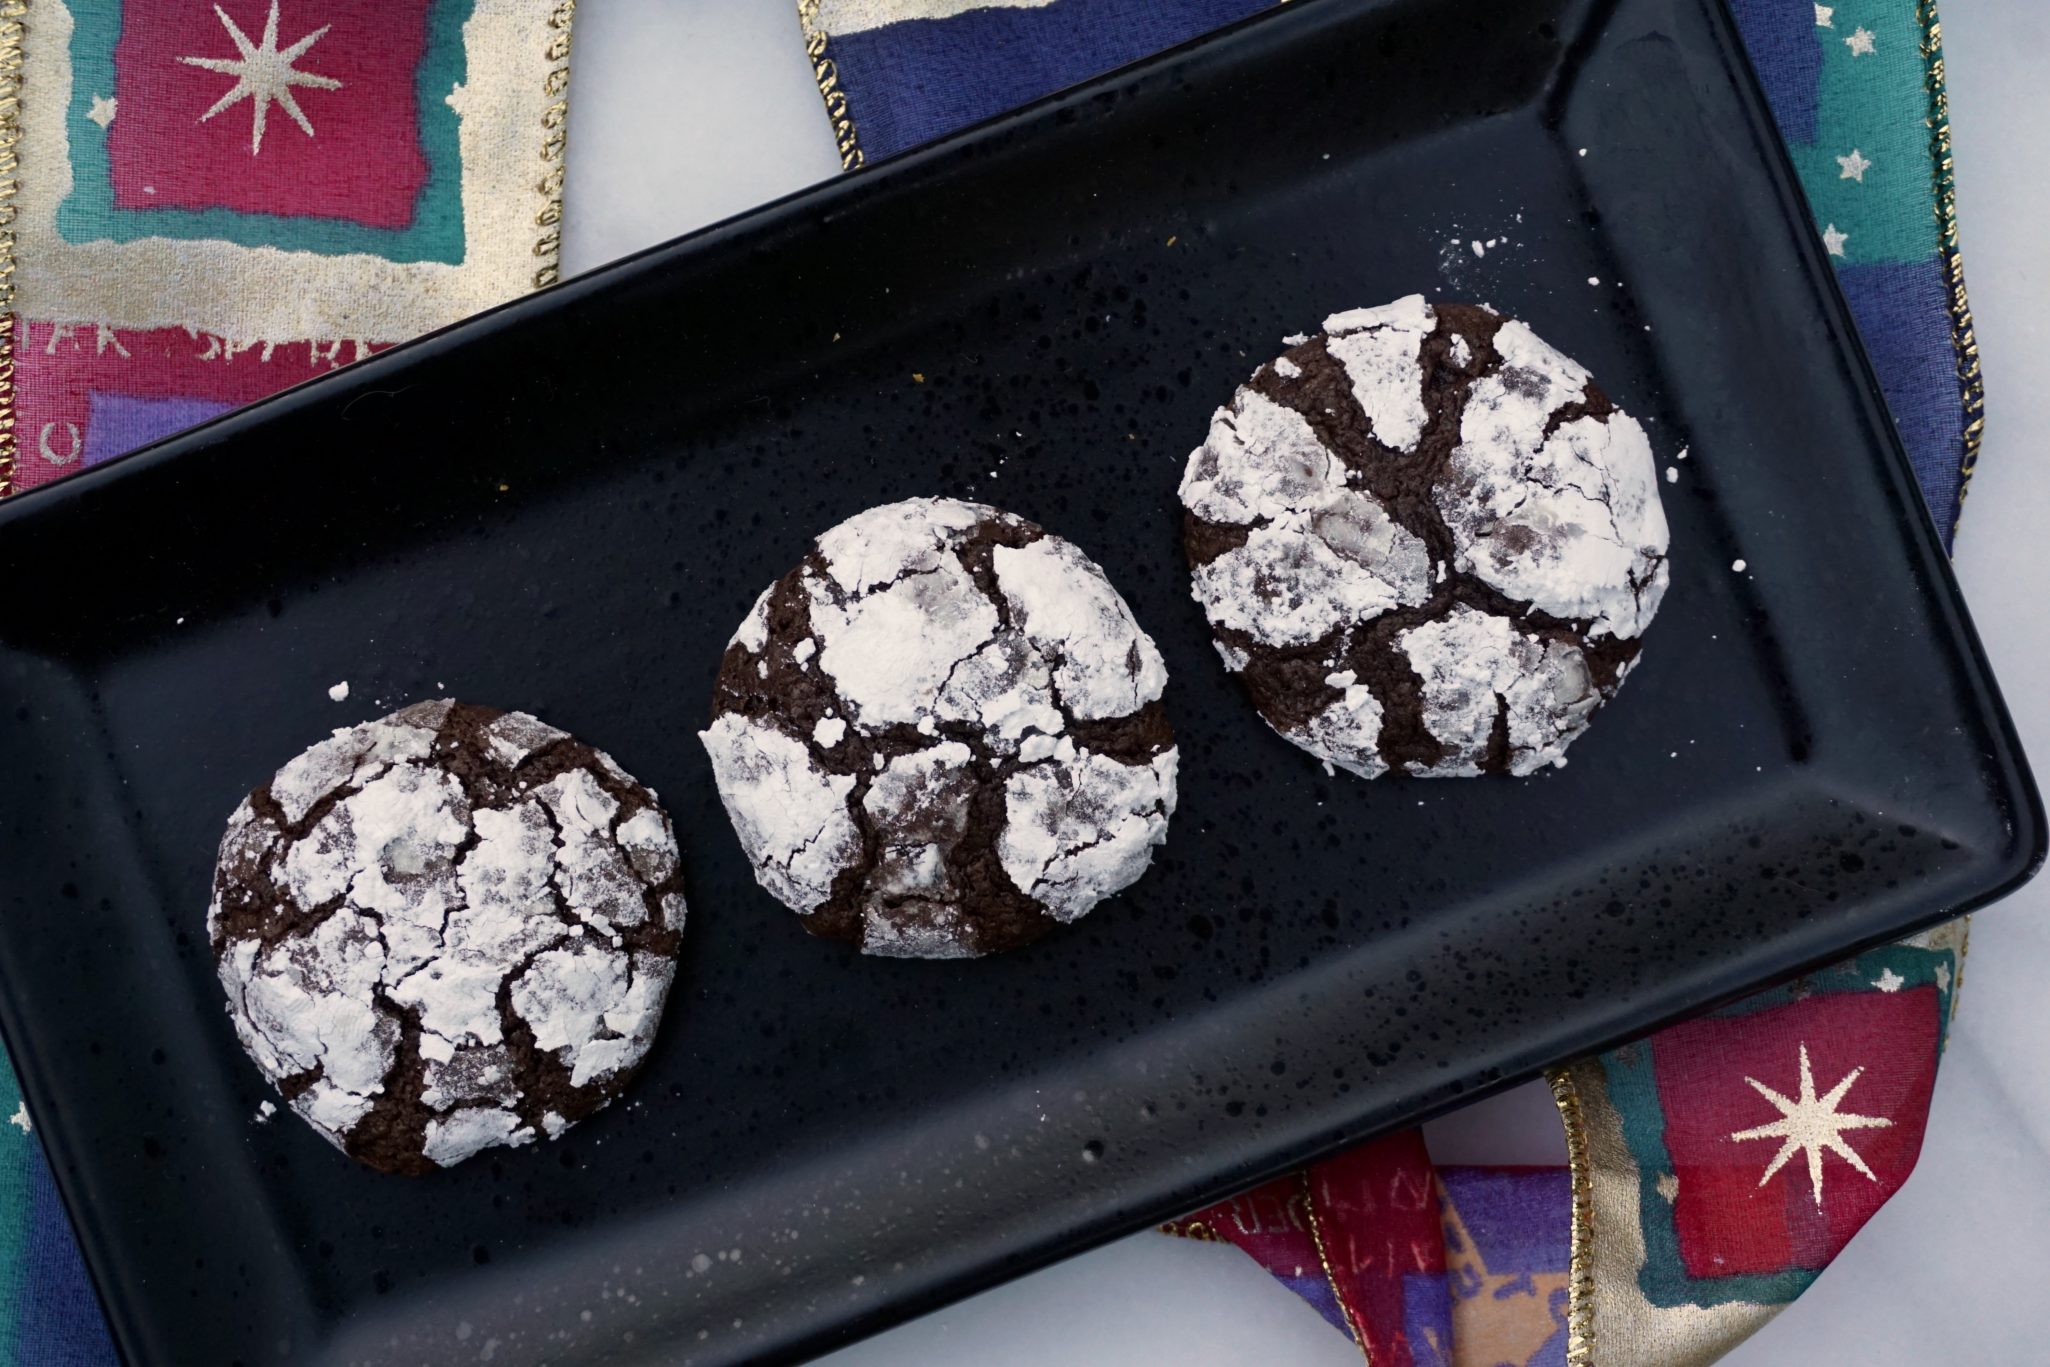
Another winner from Dorie!

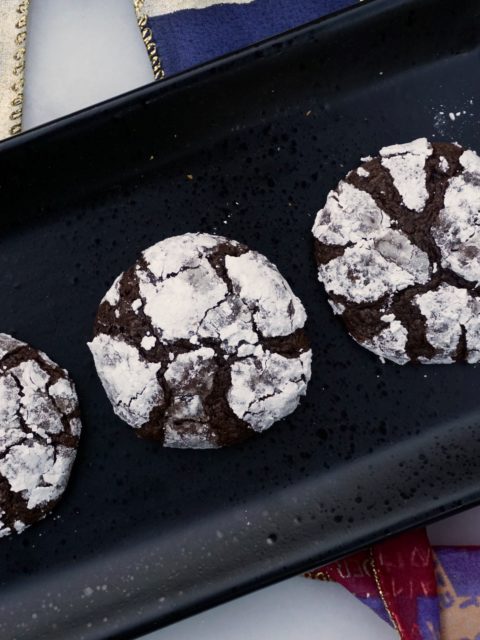
Though a tough call, the favorite out of this holiday trio was the Snowy Topped Brownie Drops.  A decadent, chocolatey, cookie finished with generous dusting of powdered sugar.  Have an office party coming up?  This is the cookie to make to guarantee an invitation to all of the holiday parties of the season!  But don’t reserve these just for the holidays, they are too good not to bake any time of the year!

Snowy-topped Brownie Drops

Ingredients

  • 5 tablespoons 71 grams unsalted butter cut into small pieces
  • 8 ounces 226 grams bittersweet chocolate*
  • 3/4 cup 150 grams granulated sugar
  • 2 large eggs cold
  • 1 teaspoon pure vanilla extract
  • 1/2 teaspoon sea salt
  • 3/4 cup 102 grams all-purpose flour
  • Confectioners’ sugar for rolling

Instructions

  • Coarsely chop the chocolate. Place 6 ounces of the chocolate together with the butter pieces in a heatproof, microwave safe bowl or the top of a double boiler. If using a microwave, microwave for 3-5 segments of 30 seconds on high, stirring in between to help melt. If using a double boiler, place the double boiler (or any heatproof bowl) over gently simmering water, taking care that the water doesn't touch the bottom of the pan. Stirring until the chocolate and butter are just melted, then remove the bowl from the heat.
  • Immediately whisk in the granulated sugar into the melted chocolate. The mixture will turn grainy.
  • One at a time, add in the eggs, whisking for one minute after each addition. The batter should become quite smooth, shiny, and noticeably thicker. Whisk in the vanilla and salt.
  • Using a silicone spatula, fold in the flour until it just disappears. Fold in the reserved 2 ounces of chopped chocolate. The dough will be very sticky.
  • Cover the batter with plastic wrap or in an airtight container and refrigerate for at least 3 hours.
  • Preheat the oven to 350 F. Line a baking sheet with parchment paper or a silicone liner. Place about 1/3-1/2 cup of confectioner's sugar in a small bowl. Using a small cookie scoop, scoop out round portions of the dough, and roll each ball in the confectioner's sugar to create the snowy top. Once the ball is generously coated in confectioner's sugar, place it on the baking sheet. Repeat for the remaining dough, spacing cookie balls 2 inches apart.
  • Bake only one baking sheet of these cookies at a time, for a total of 12 minutes, rotating after 6 minutes. The cookies should spread and crack, with set sides, but will still appear fairly underbaked in the middle. This is how they should look.
  • Set the cookies on a metal cooling rack to cool at least 2-5 minutes, then serve warm or at room temperature.
  • Unbaked dough can be stored in the refrigerator for up to 4 days and in the freezer for 1-2 months. Once baked, these cookies will keep 3-4 days but will gradually lose their softness.

Notes

You could use semi-sweet or a high percentage dark chocolate here instead, but the cookies will be a bit sweeter.
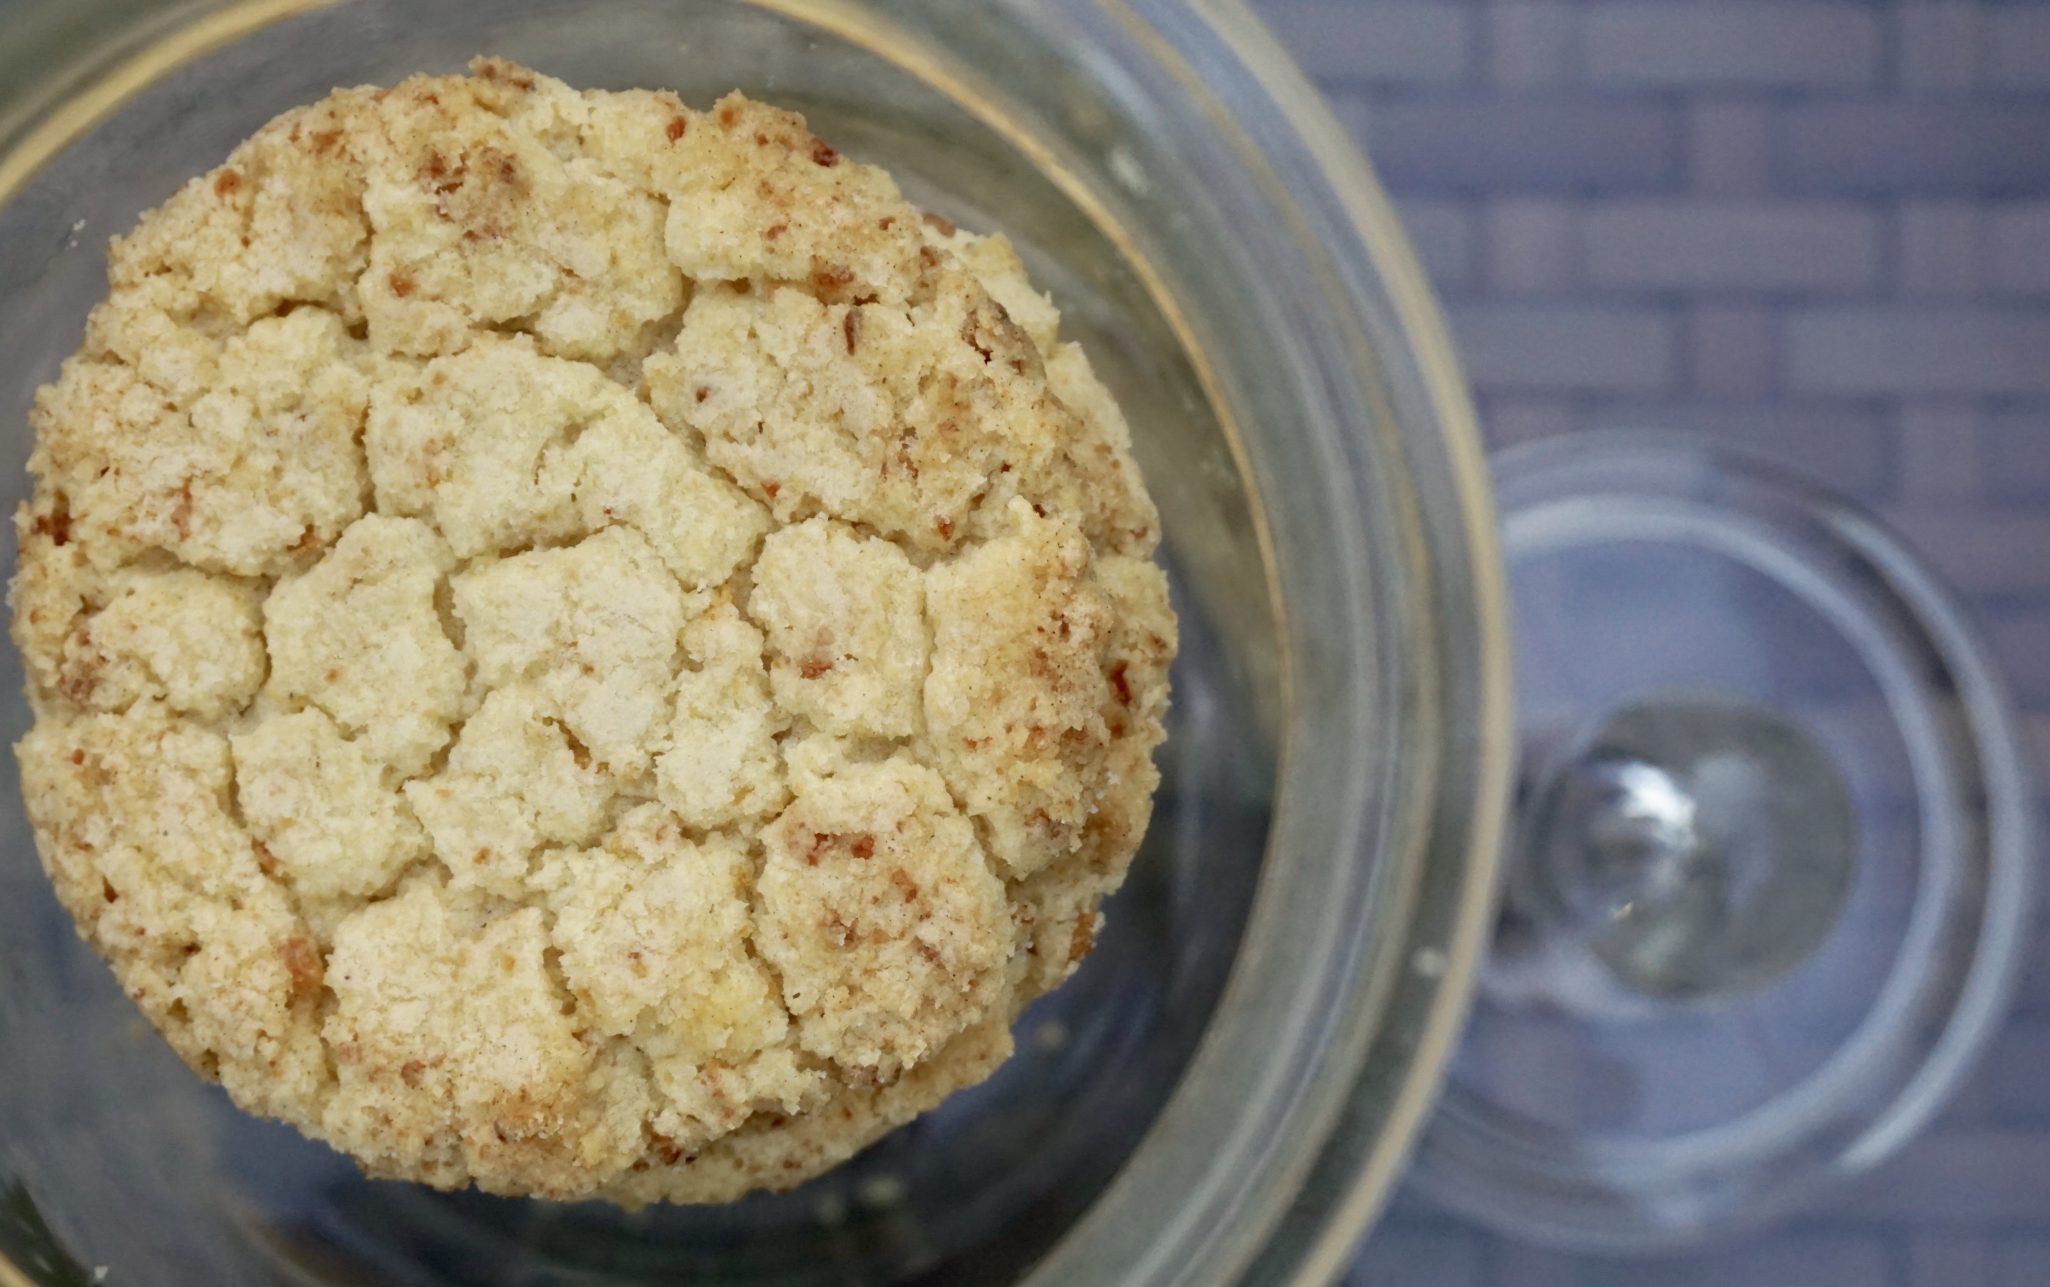
Corn Cookies If You Bake It, They Will Come (Momofuku)

Corn Cookies If You Bake It, They Will Come (Momofuku)

Tried and True

Two cookies have shown up in photos in previous posts that have never been given their just due, Christina Tosi’s Corn Cookies and Brown Butter Salted Rice Krispy Treats from Smitten Kitchen. After trying a couple of new cookie recipes that were not up to snuff, I decided to make one of these tried and true recipes to help get my cookie mojo back. The hubster lobbied for Corn Cookies so I pulled the cornflour and freeze-dried corn kernels out of the pantry, the combo that gives these cookies their one-two corn punch, and got busy.

Summer Sunshine in a Cookie

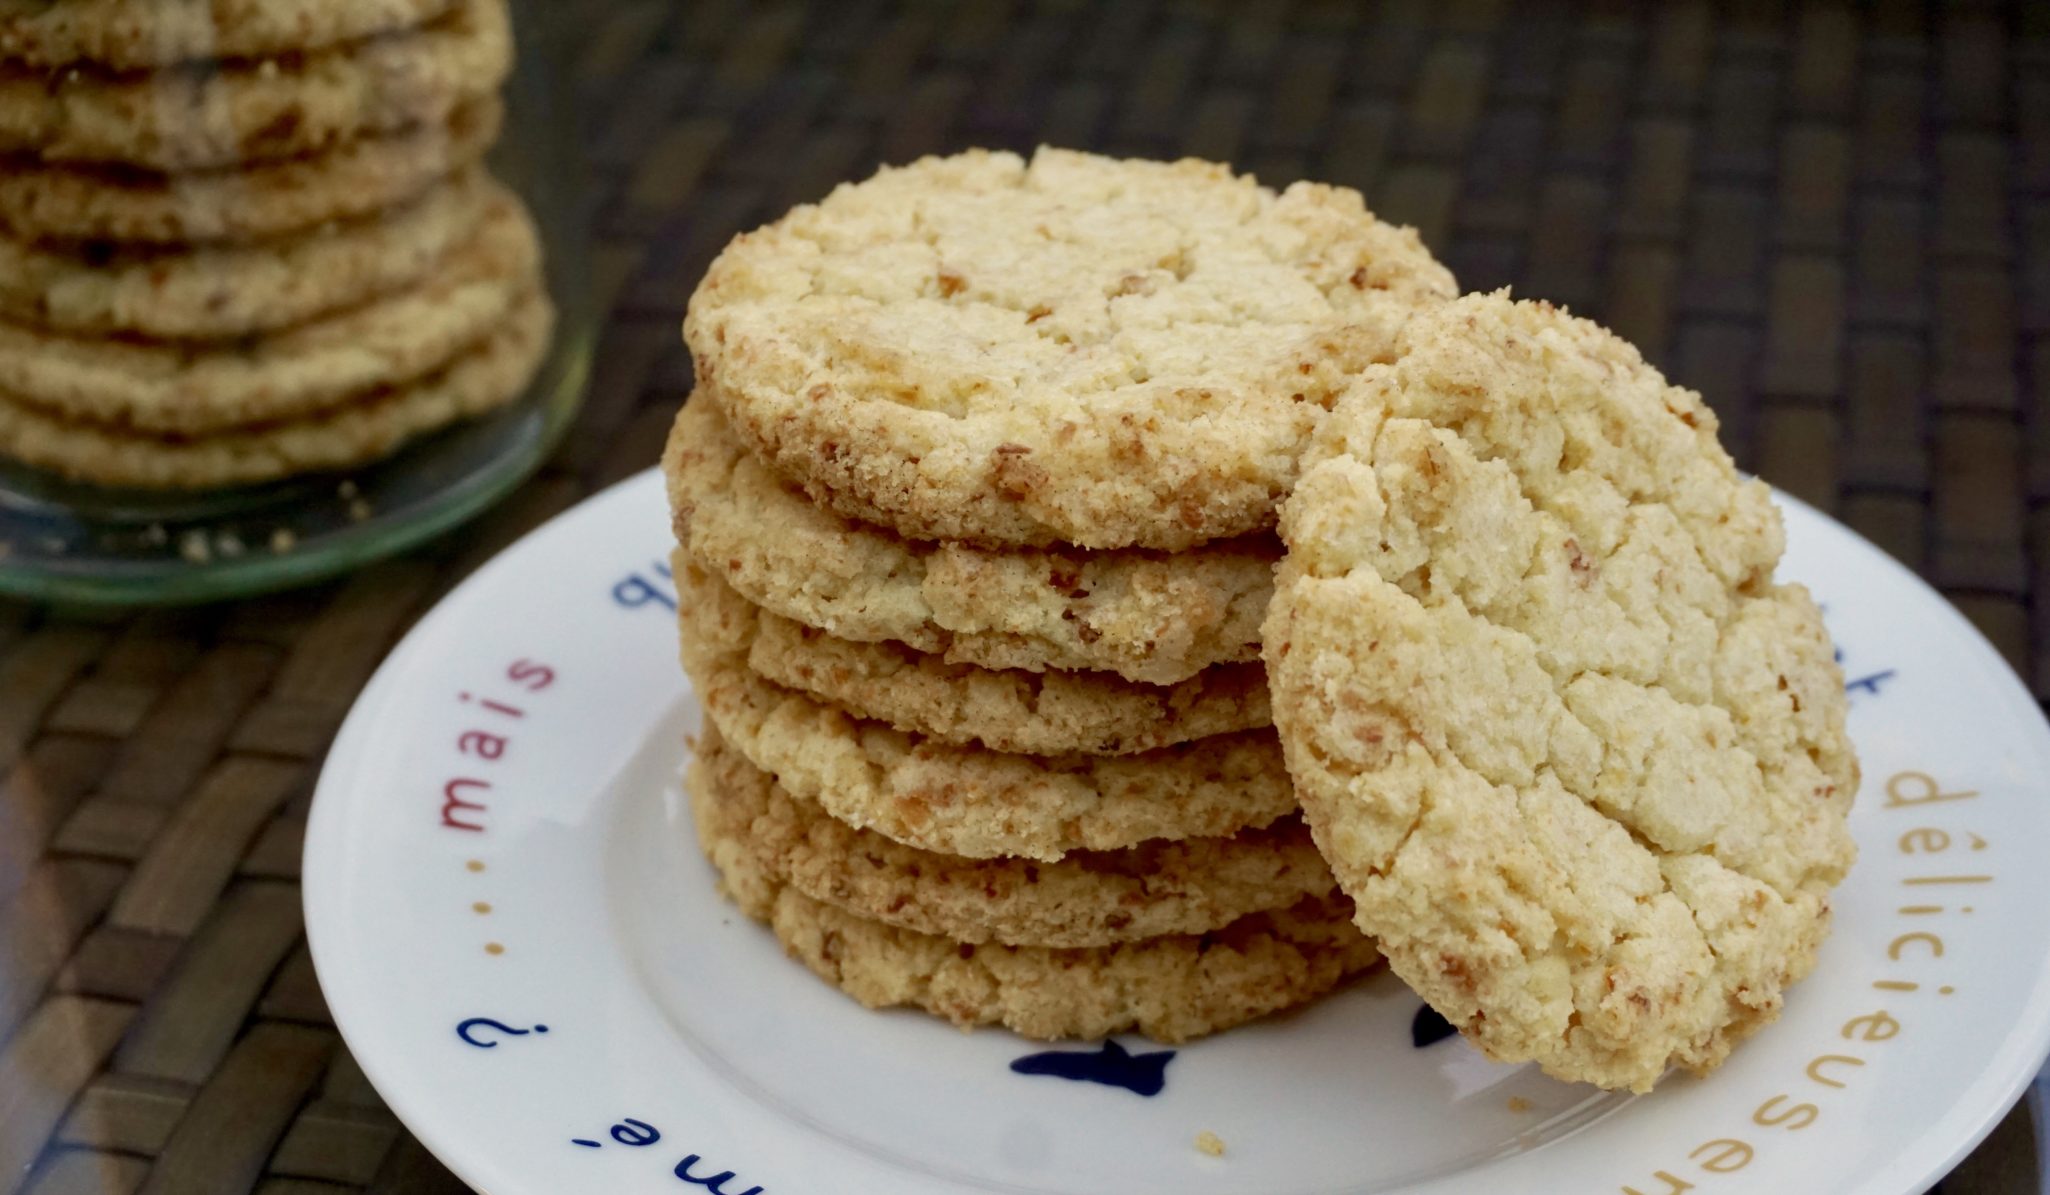
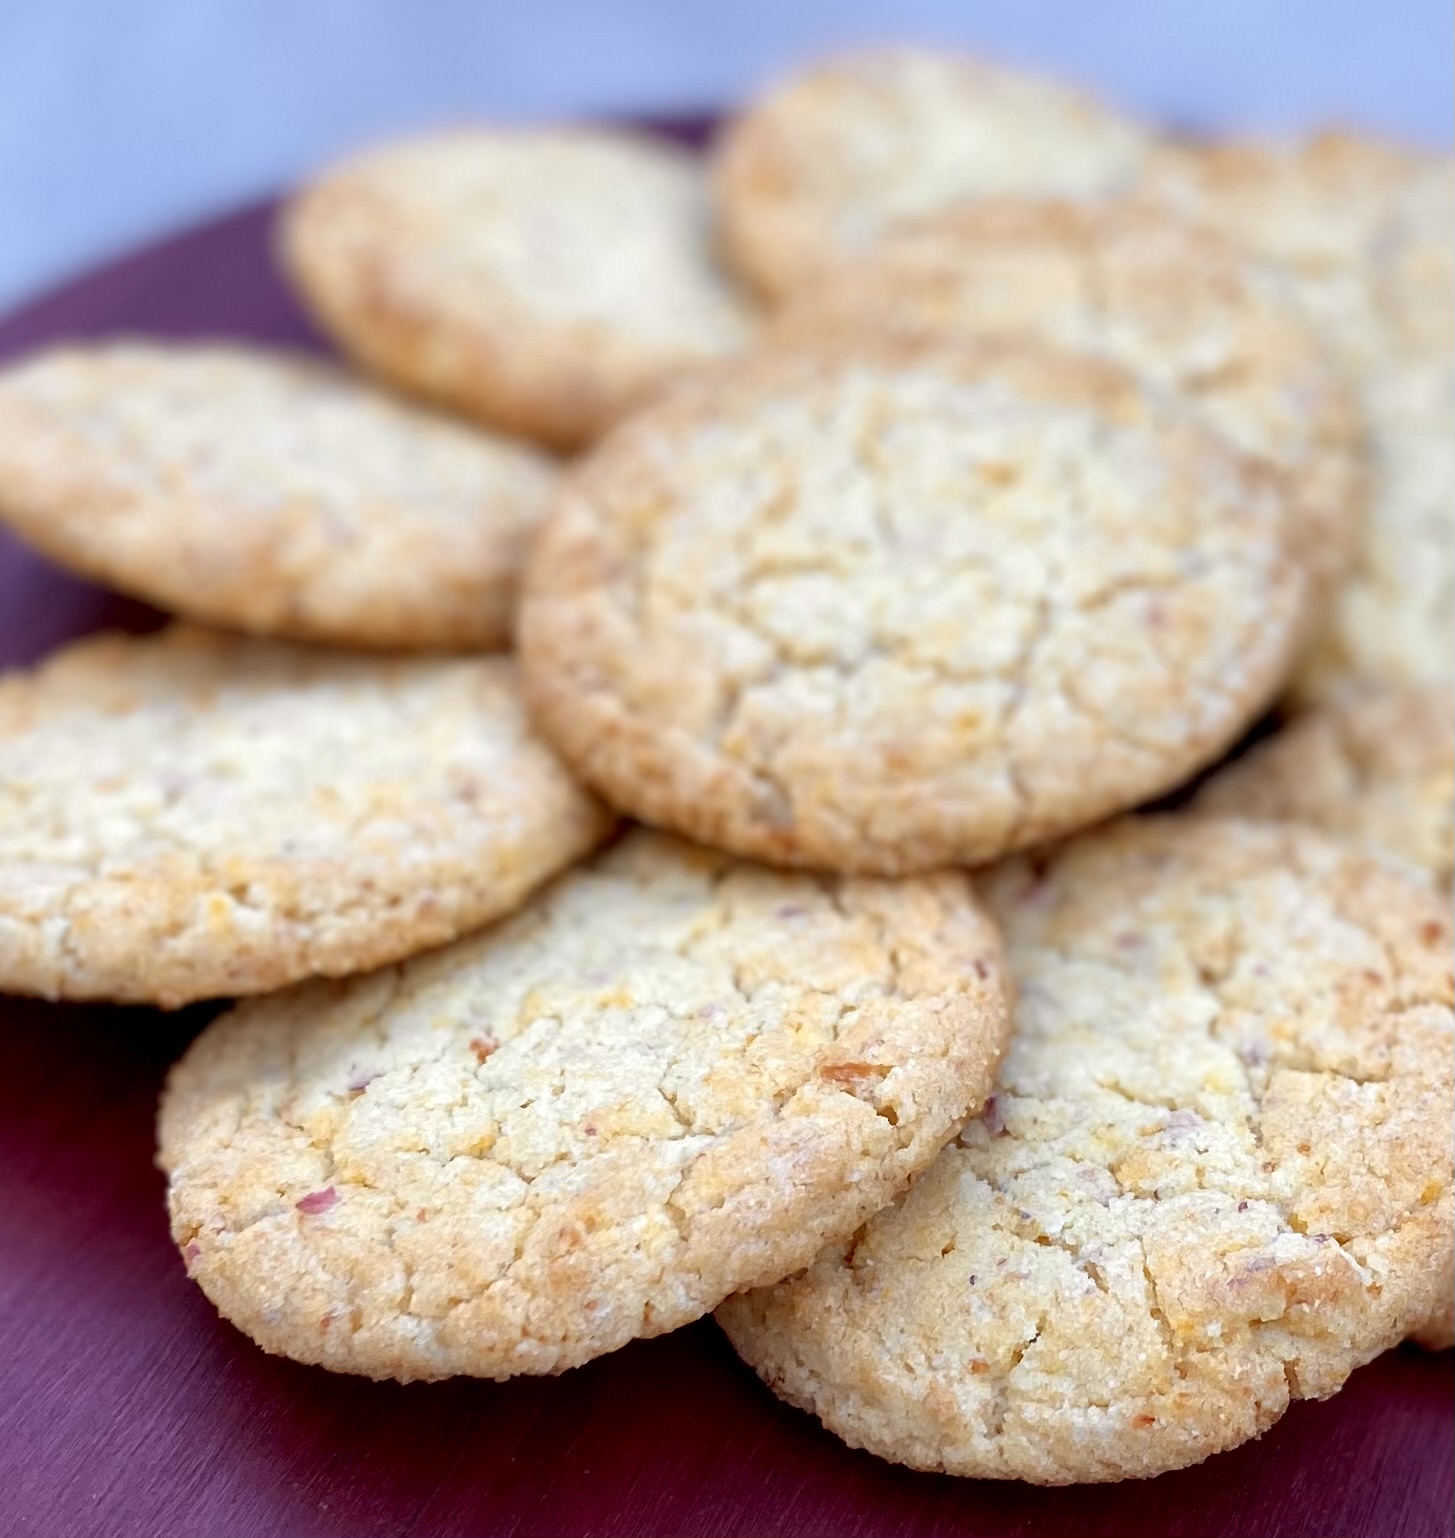
I adore these cookies. Each bite tastes like buttery, sweet-salty corn on the cob.  I imagine myself baking a batch of these at the end of every summer to soften the blow of NO MORE fresh corn at my local farmer’s market.

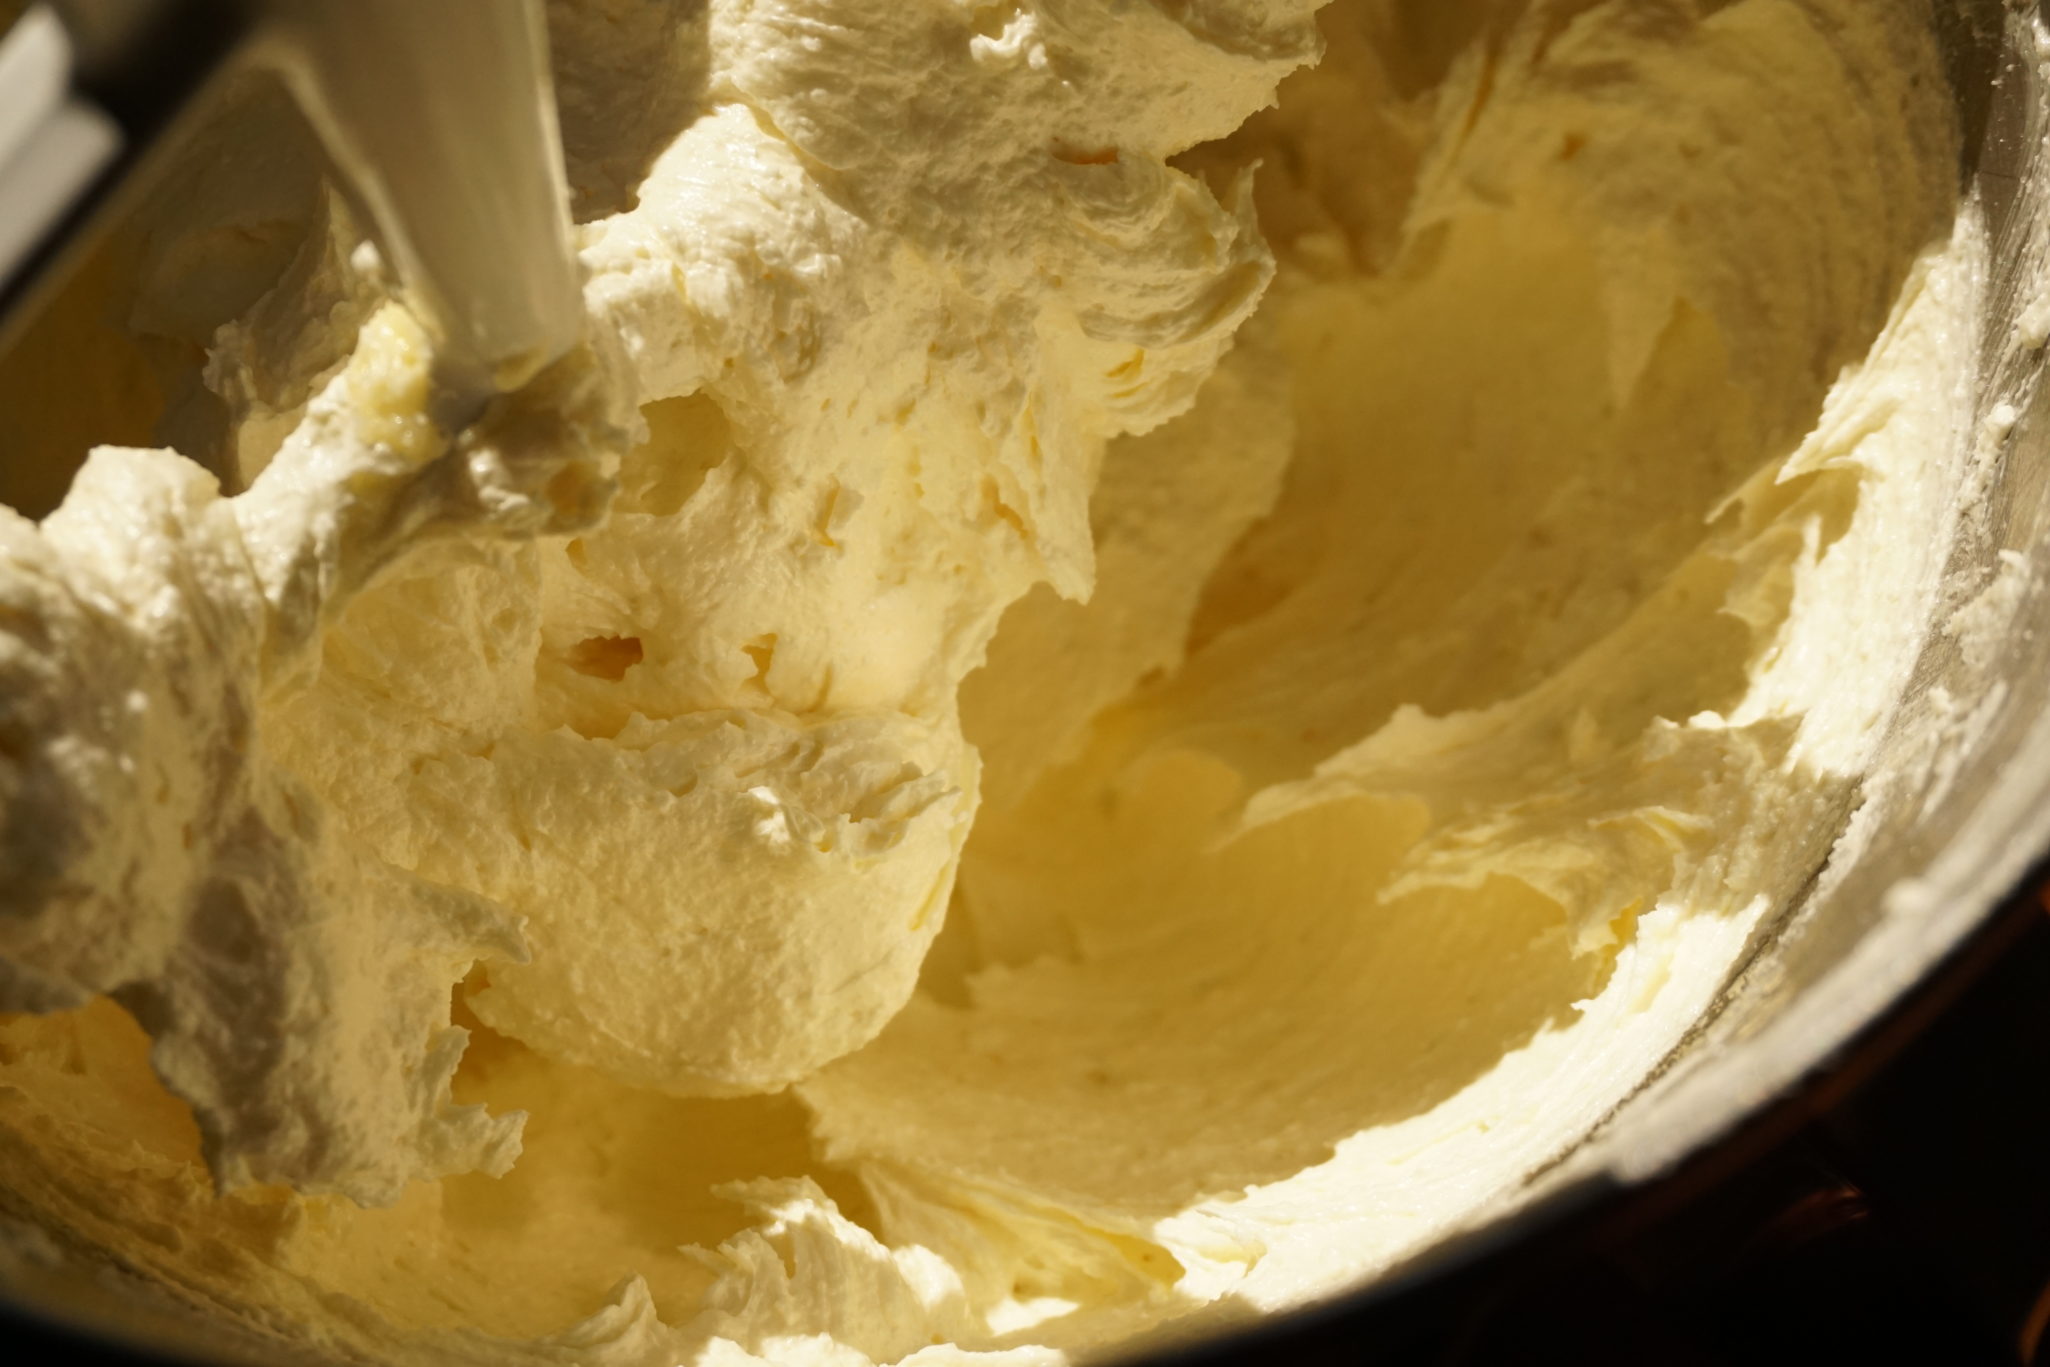
These cookies require beating the butter, sugar, and eggs for 7-8 minutes. Don’t skimp!
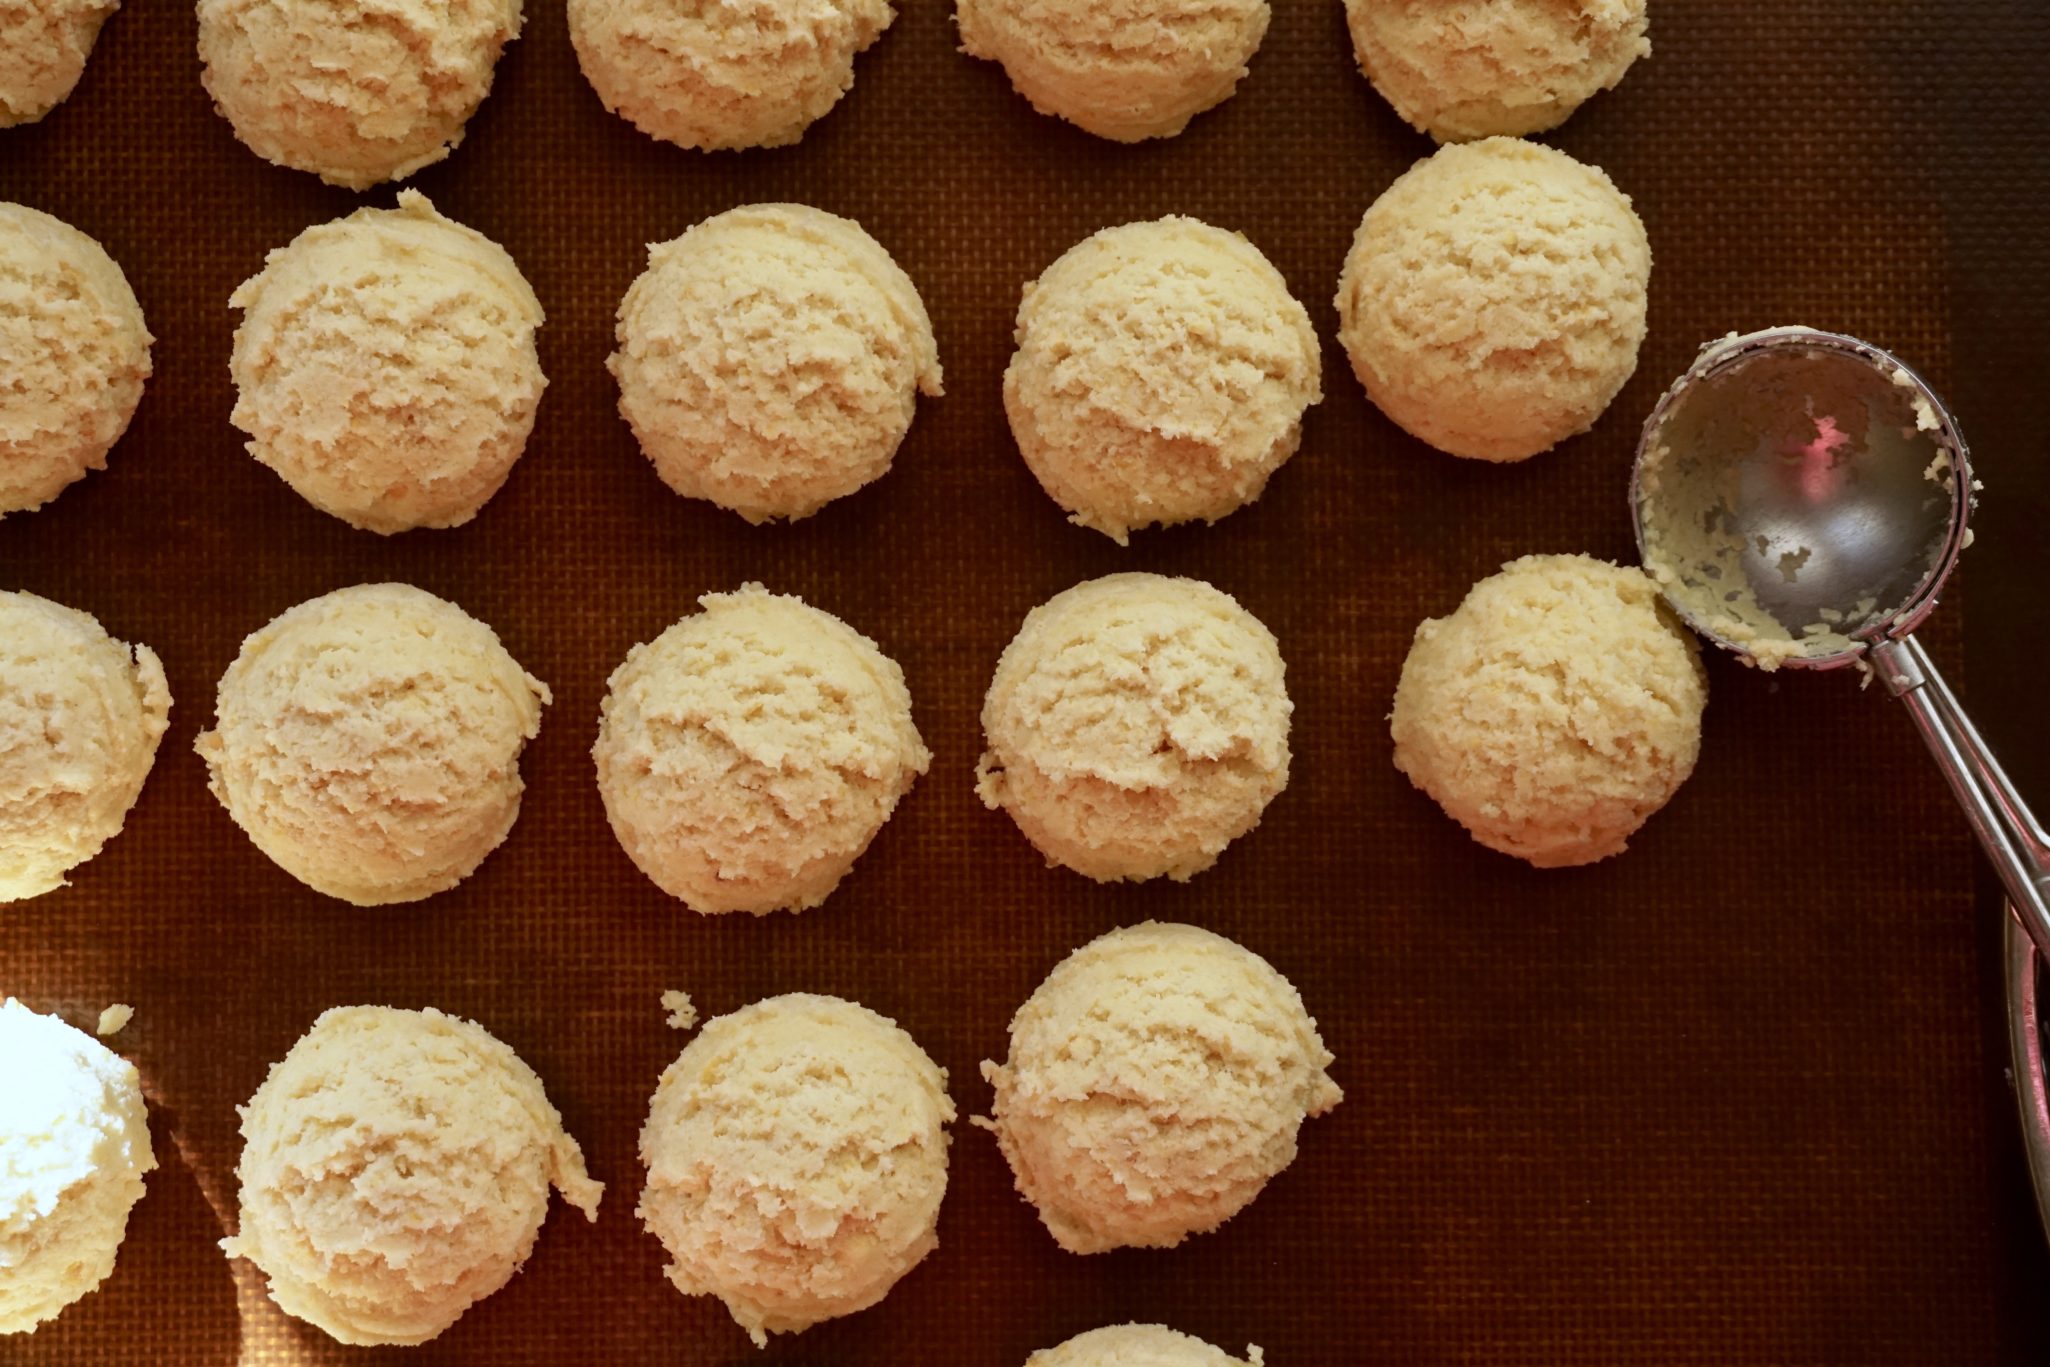
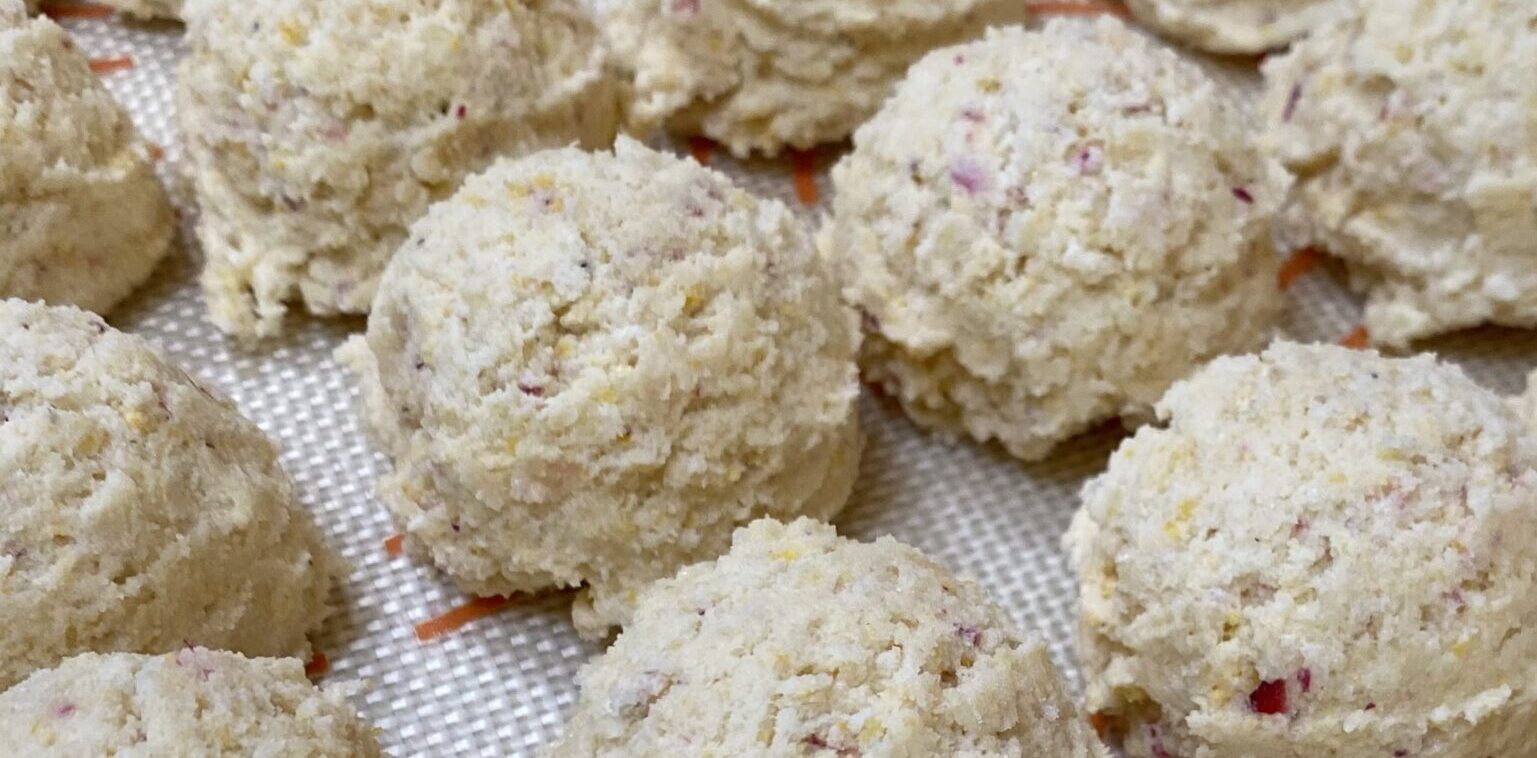
I used a 1/4 cup ice cream scoop to measure out the dough. This gives you uniform cookies.
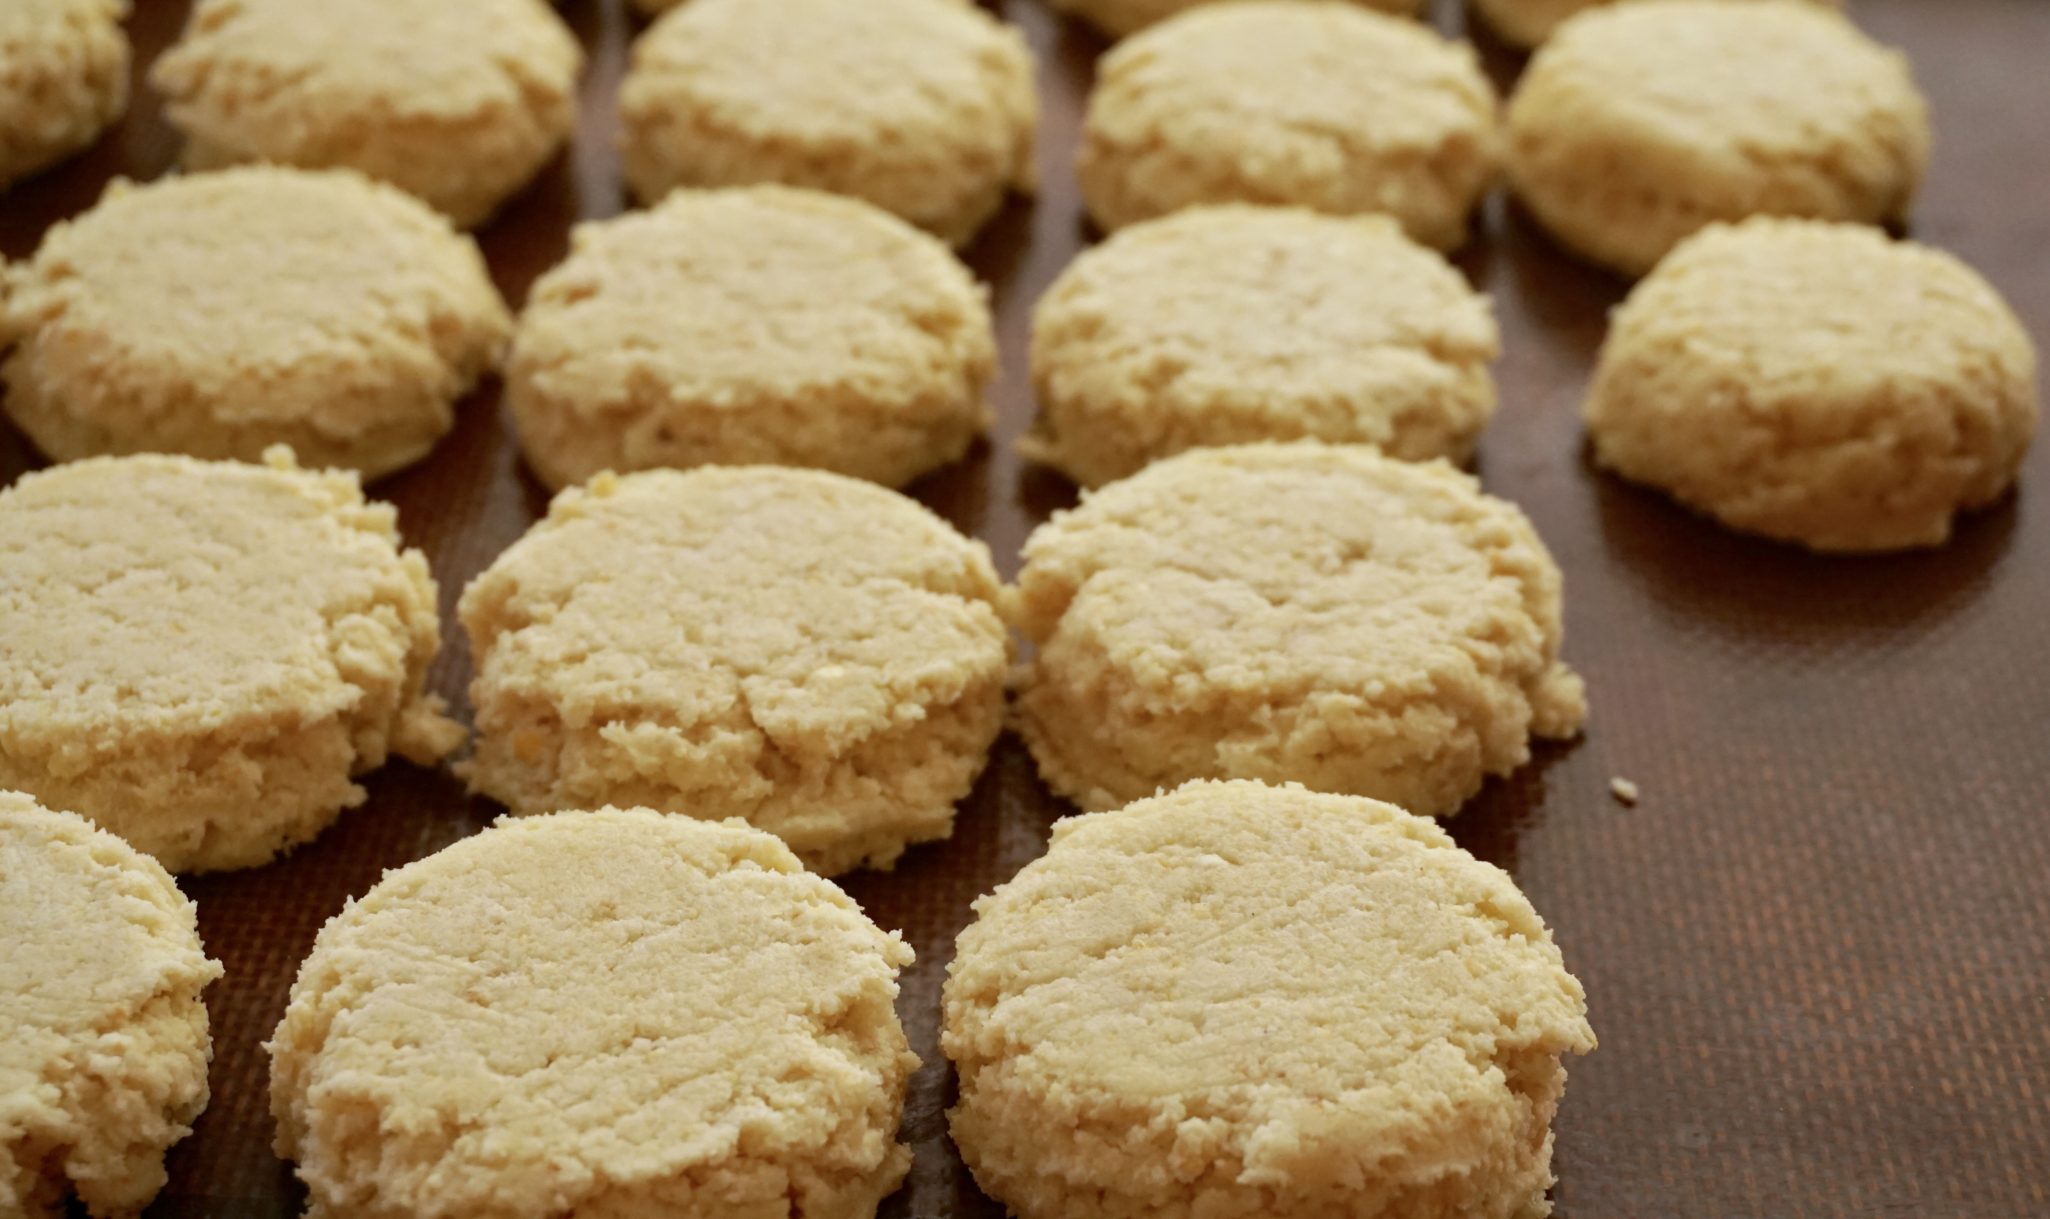
Lightly press cookie dough to approximately 1/3-1/2 inch thickness and refrigerate for at least 3 hours.

Yep, I love these cookies. So good and yet people seem to gravitate toward that plate of chocolate chip cookies.  These corn cookies are deceptively unassuming and often get passed up for cookies with bling (chips, candy bar pieces, the kitchen sink).  Sometimes I don’t say anything so I can take the cookies home for myself.  Most of the time I say “Try it, you’ll like it!”, and invariably I end up going home with an empty platter.

Corn-y Tips

The original recipe calls for bread flour but all-purpose flour can be used.  My theory is all-purpose flour causes the cookie to spread a little more and flatten out.  Bread flour has more protein giving the cookie more structure.  Corn Flour (Bob’s Red Mill) as well as the freeze-dried corn (Just Tomatoes), can be found at Whole Foods and online at Amazon. Grind the freeze-dried corn in a food processor or crush it with a rolling pin.  I make my cookies smaller using a scant 1/4 cup scoop which shortens the baking time to 10-12 minutes.  These cookies are like that ray of sunshine that warms your face and makes you smile.  Put them on your cookie bucket list! 🍪🍪🍪🍪/☀️☀️☀️☀️

Fabulous Ferry Building- I Left my Tastebuds in San Francisco

On a weekly Farmer’s Market foray, I headed to the City (yes, San Francisco) to the Farmer’s Market at the Ferry Building.  A typical visit to the Ferry Building includes:

  • Momos (Nepalese dumplings) from Bini’s Kitchen
  • Coffee from Red Bay and enjoying the fantastic view
  • A quick peruse of books at Book Passage, a small but mighty outpost of this Indie book store.  They know their books!
  • Empanadas from El Porteno Get ready to wait in line.
  • Cookies from Batter Bakery Their Sand Angel Cookie is glorious. So sad they don’t have their store on Polk now 😢
  • Getting whatever produce is in season, any gorgeous fruits and vegetables!
  • Miso & Shio Koji from Aedan which now has a grocery store with her delicious bentos in the Mission

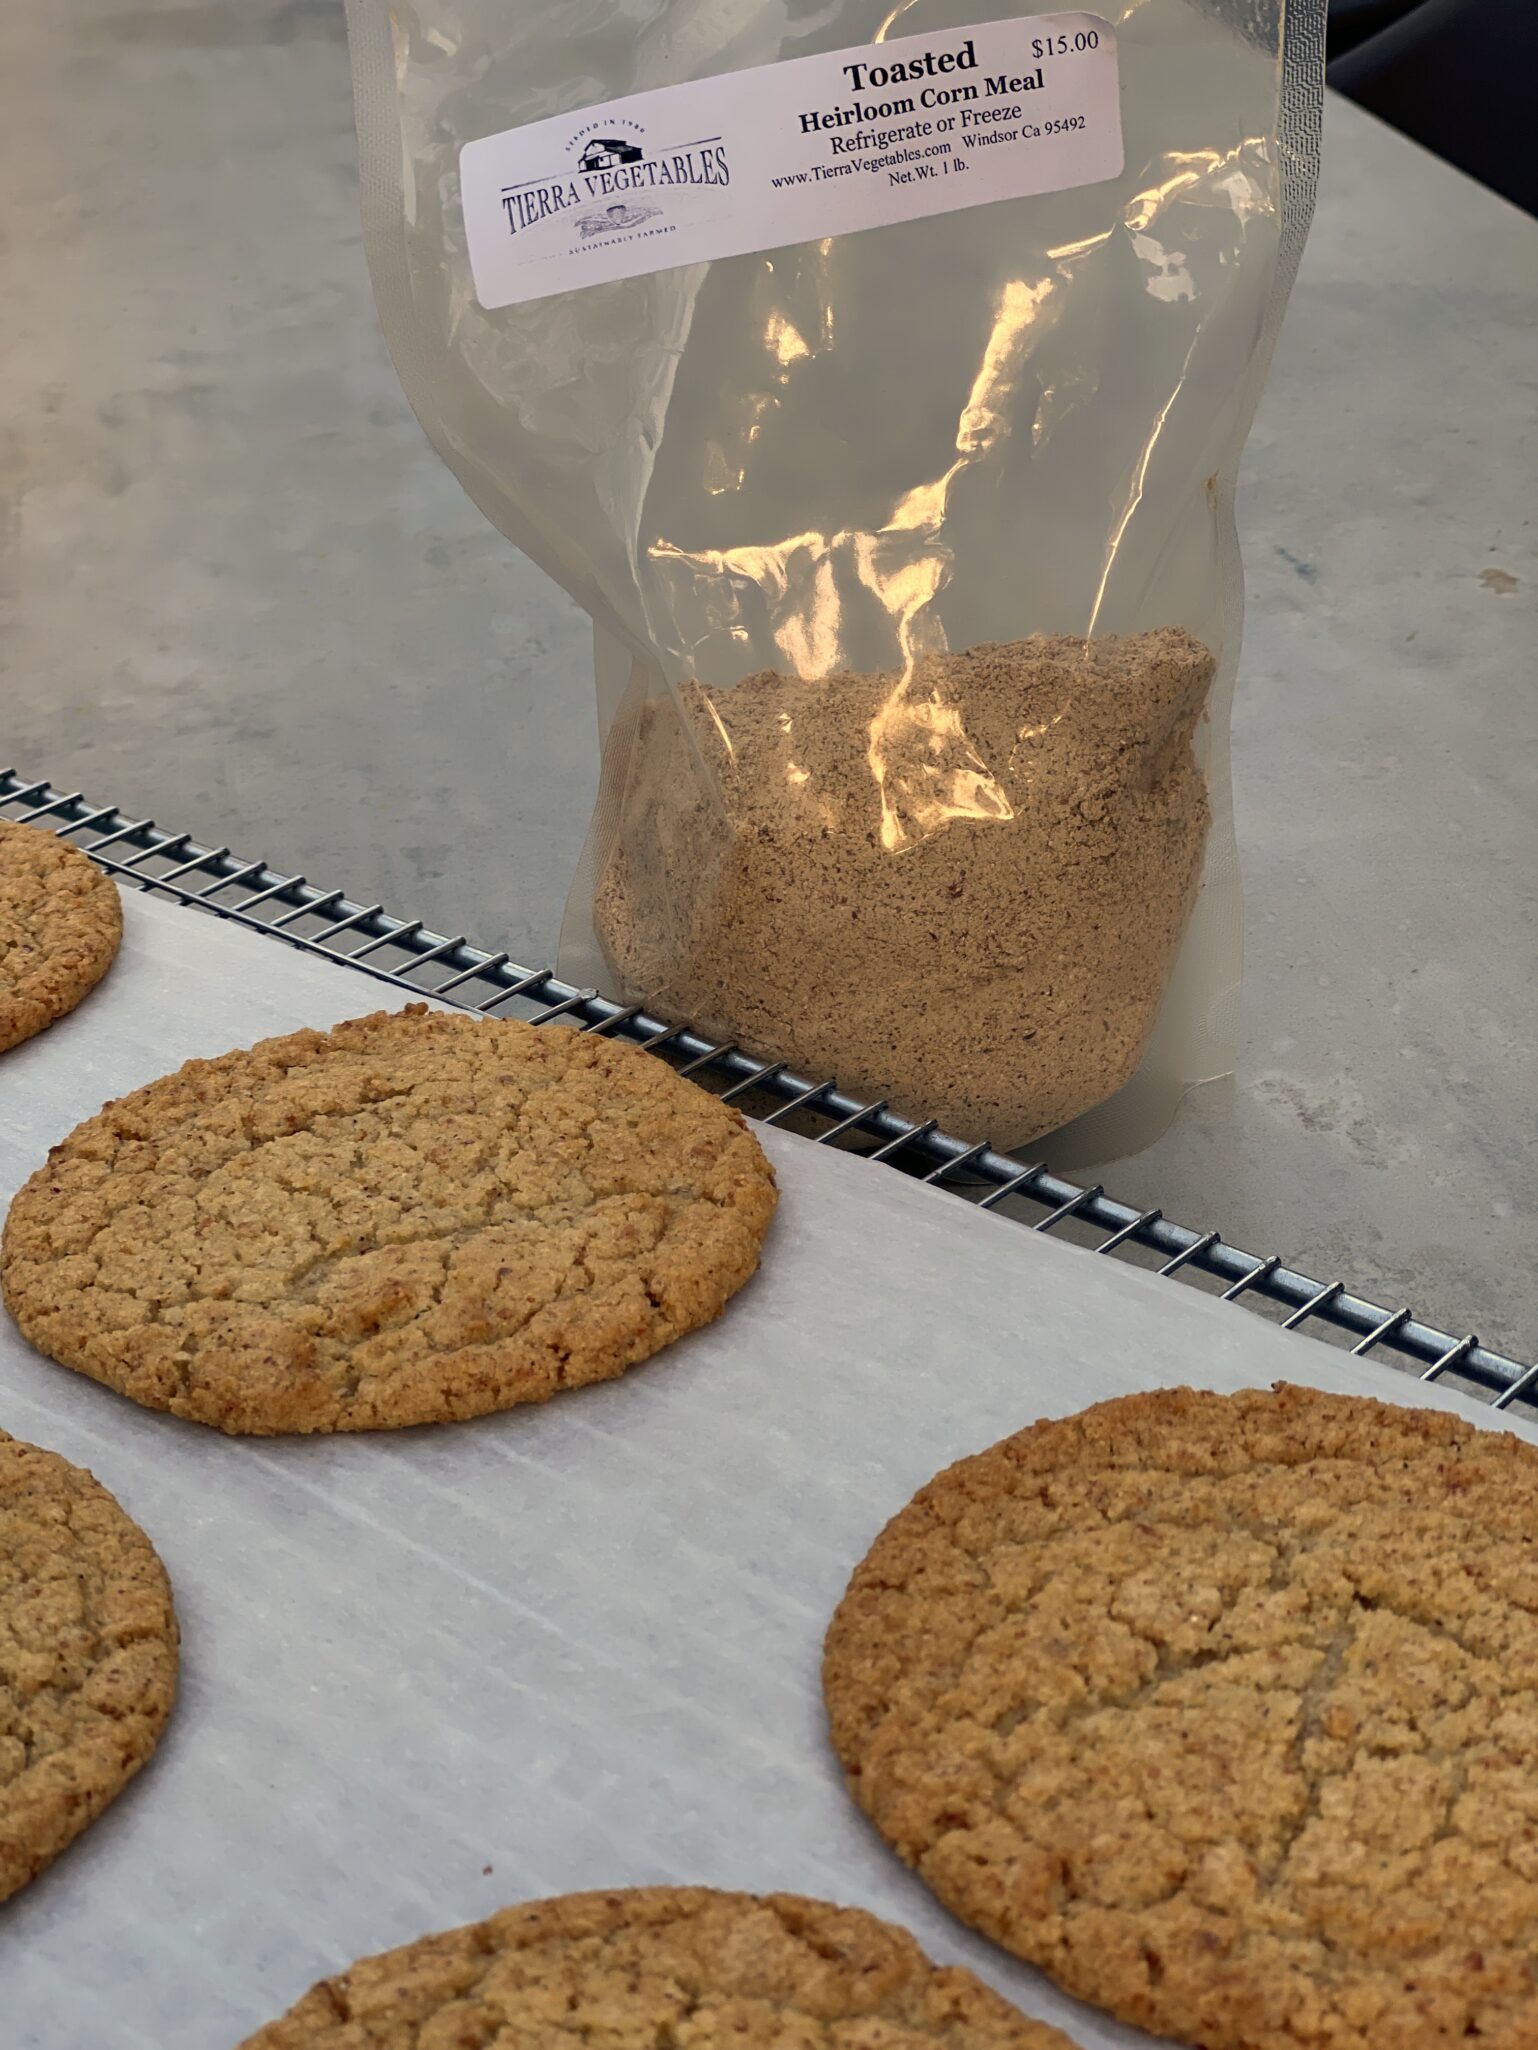
But I digress, my latest find at the Ferry Building is a local farm, Tierra Vegetables in Winsor that mills cornmeal from its own dried corn crops.  Omgoodness, the array of cornmeals in a rainbow of colors is amazing.  The aroma of toasted corn explodes as soon as you open the bag.  Simply the best.  I’ve tried their toasted black cornmeal which has a fine texture and toasty flavor, really dynamite in these cookies.

My latest batch uses their Hopi Pink Cornmeal, lighter and more subtle in flavor, if you’re lucky you’ll get one with ruby pink flecks.  Their cornmeals are milled fine so I use it in place of the corn flour. The corn varietals also have varying hardness. Talk to them, they’ll tell you which one is best for cornbread or cookies.

Momofuku Corn Cookies

Chewy, buttery, crispy edges, a cookie that taste like corn on the cob
Course cookies, Dessert, Snack
Cuisine American
Keyword christina tosi, corn cookies, momfuku
Prep Time 15 minutes
Cook Time 9 minutes

Ingredients

Creamed Mixture

  • 16 tablespoons 2 sticks unsalted butter (225gm)
  • 1 1/2 cups granulated sugar 300 gm
  • 1 large egg

Dry Ingredients

  • 1 1/3 cups bread flour or all-purpose flour 225 gm
  • 1/4 cup corn flour 45gm
  • 2/3 cup freeze-dried corn 65 gm finely ground
  • 3/4 teaspoon baking powder 3gm
  • 1/4 teaspoon baking soda 1.5 gm
  • 1 1/2 teaspoons kosher salt 6gm or half the amount of table salt

Instructions

  • Combine the butter and sugar in the bowl of a stand mixer fitted with the paddle attachment and cream together on medium-high for 2 to 3 minutes.
  • Scrape down the sides of the bowl, add the egg, and beat for 7 to 8 minutes.
  • Reduce the mixer speed to low and add the flour, cornflour, corn powder, baking powder, baking soda, and salt.
  • Mix just until the dough comes together, no longer than 1 minute. Scrape down the sides of the bowl.
  • Using a 2 3/4-ounce ice cream scoop (or a 1/3-cup measure), portion out the dough onto a parchment-lined sheet pan. Pat the tops of the cookie dough domes flat. Wrap the sheet pan tightly in plastic wrap and refrigerate for at least 1 hour, or up to 1 week. Do not bake your cookies from room temperature they will not bake properly.
  • Heat the oven to 350°F.
  • Arrange the chilled dough a minimum of 4 inches apart on parchment- or Silpat-lined sheet pans. Bake for 18 minutes. The cookies will puff, crackle, and spread. After 18 minutes, they should be faintly browned on the edges yet still bright yellow in the center; give them an extra minute if not.
  • Cool the cookies completely on the sheet pans before transferring to a plate or to an airtight container for storage. At room temp, the cookies will keep fresh for 5 days; in the freezer, they will keep for 1 month.