
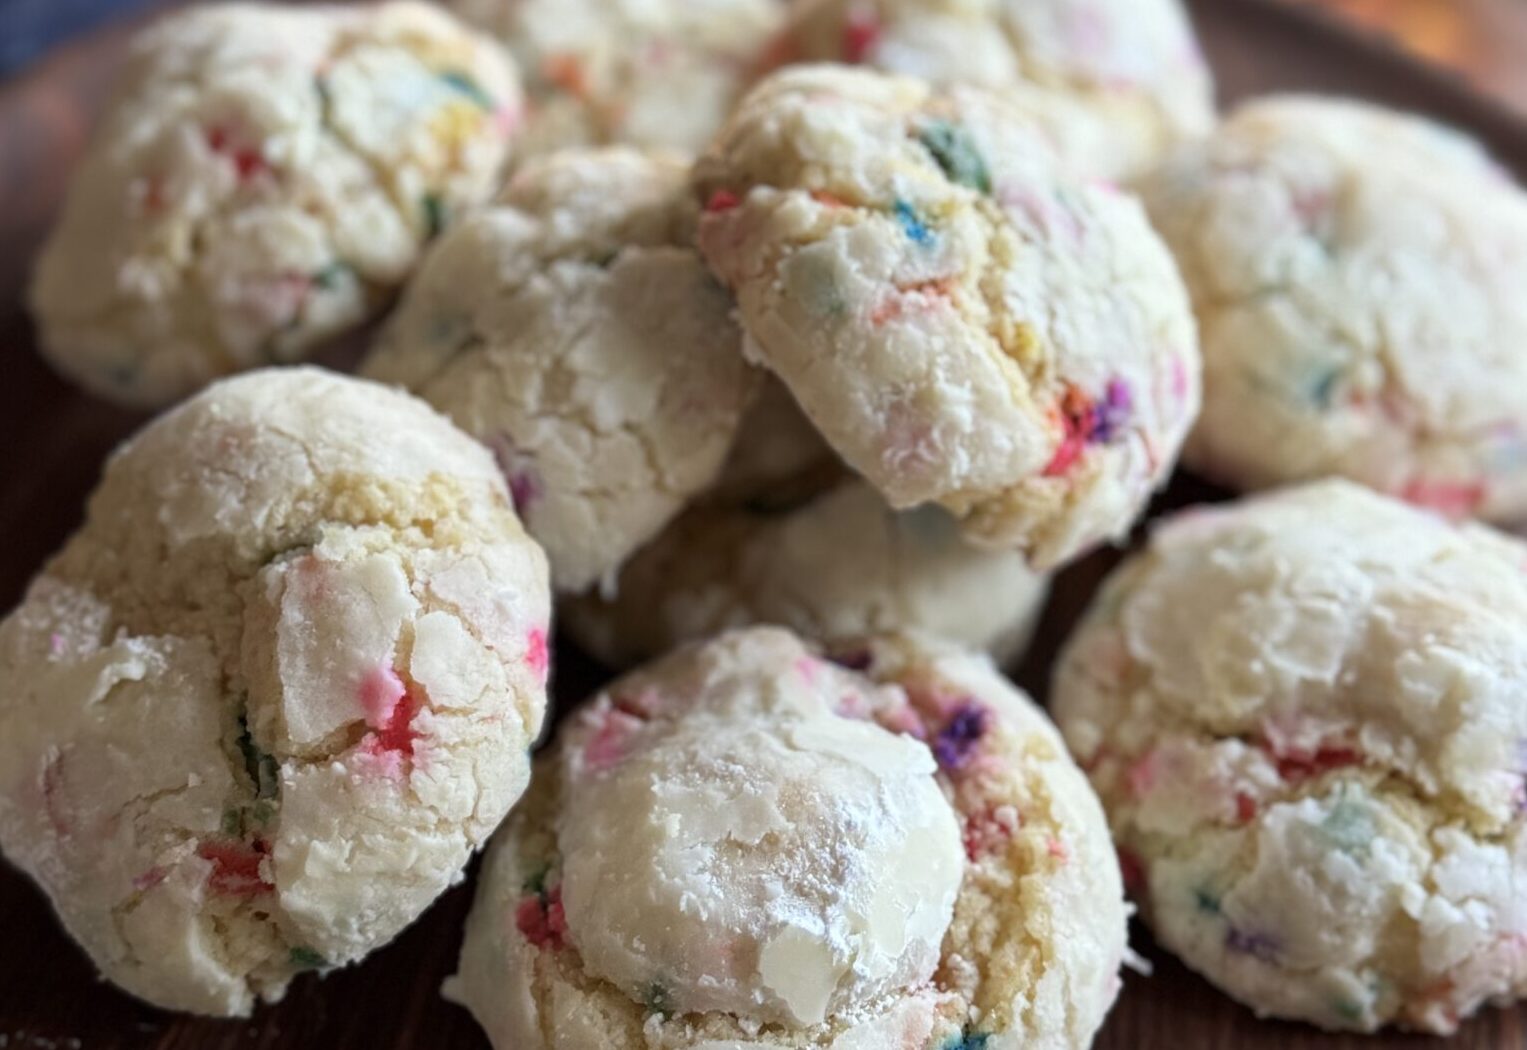
Is it that time already? An Instagram reel popped up for “Sugar Crack Cookies, The most addictive Christmas Cookie you’ll ever make” from @hayherridge, all…
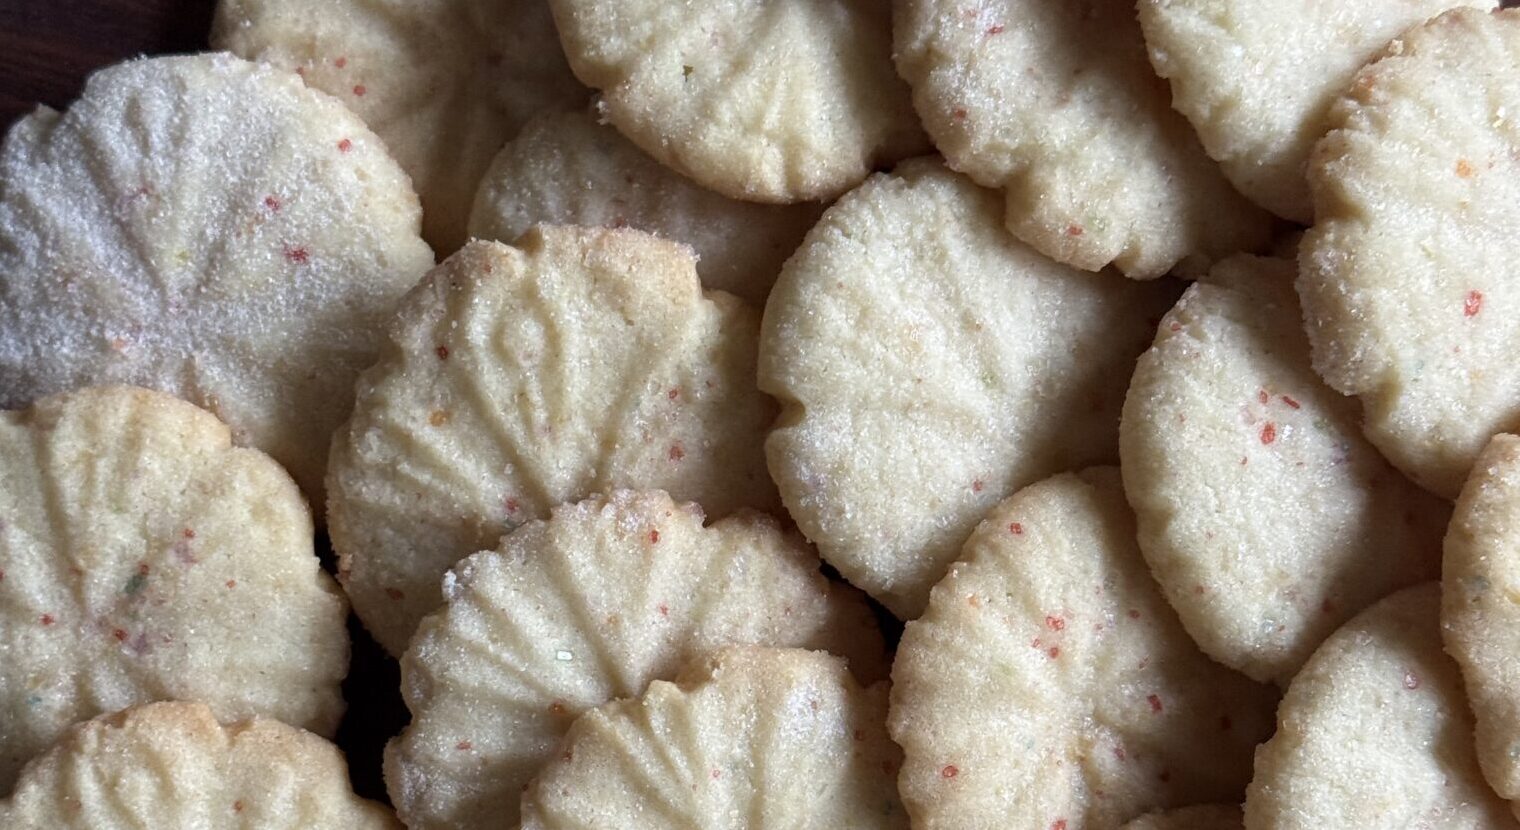
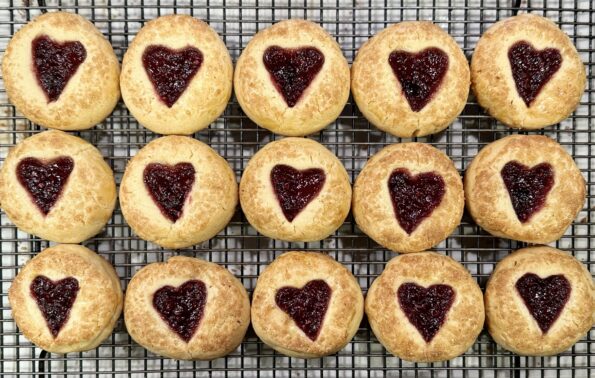
In these troubled times, you need not just comfort food but a sweet treat that makes you smile. I’ve got just the cookie, Nicole Rucker’s…
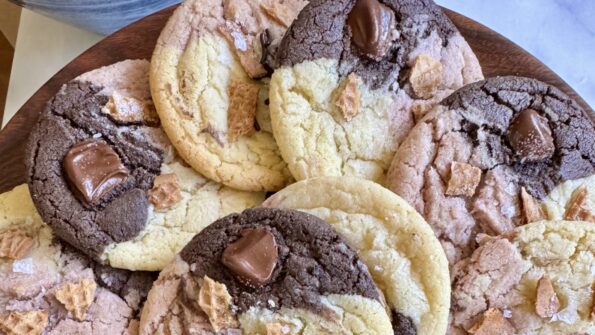
A cookie is responsible for saving me from unhealthy doom-scrolling through my Instagram. I lost sight of why I was on Instagram, you know, pics…
Whoa, Nellie, it has been a crazy 12 weeks. I knew with a second Trump term, the guardrails that were in place during his first…
After I have recovered from Thanksgiving turkey-stuffing, sweet potato casserole, and pumpkin pie extravaganza, I crank up the Christmas music, which I play until New…
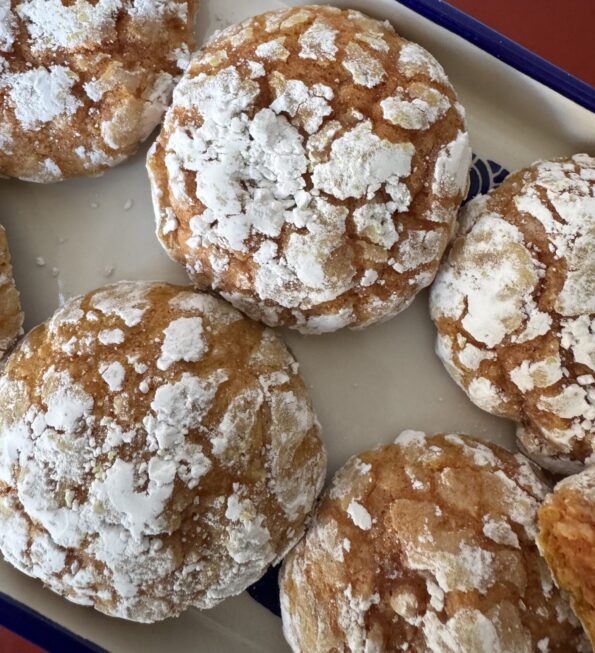
The first time I visited Kantine in SF it was raining cats and dogs (where does that saying come from?). I made the mad dash…
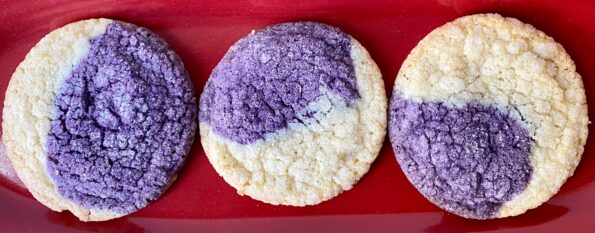
I wanted to include an ube dessert or cookie in my “Maui Strong” box for Lahaina. Since I had made Ube Mochi Muffins for the…
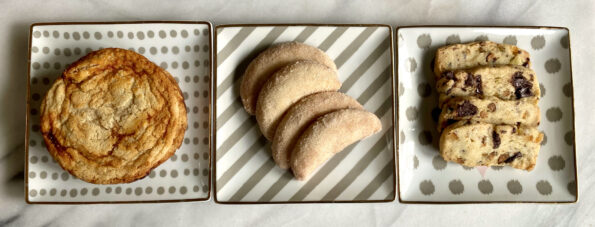
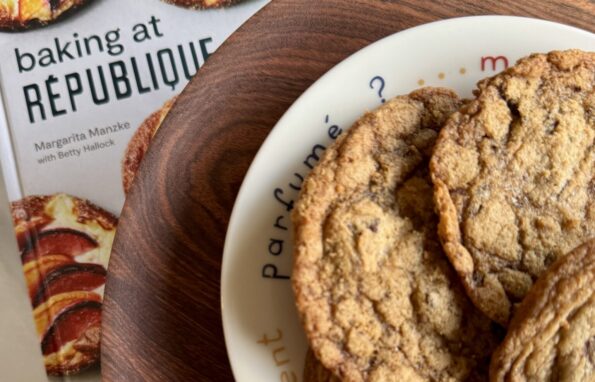
A couple of months ago I reviewed Rose Levy Beranbaum’s new book, The Cookie Bible for Net Gallery. Long a fan of hers I was…
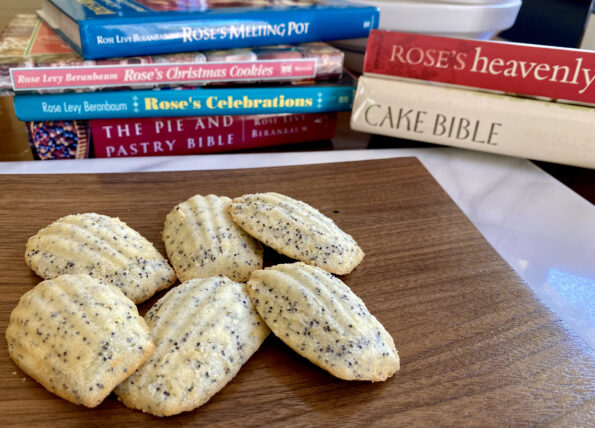
I have been a big fan of Rose Levy Beranbaum’s books for a very long time. I went to my bookshelf to see just how…