Category: Asian Dishes

A Photastic Chicken Noodle Salad (Pho Ga Tron)

A Photastic Chicken Noodle Salad (Pho Ga Tron)

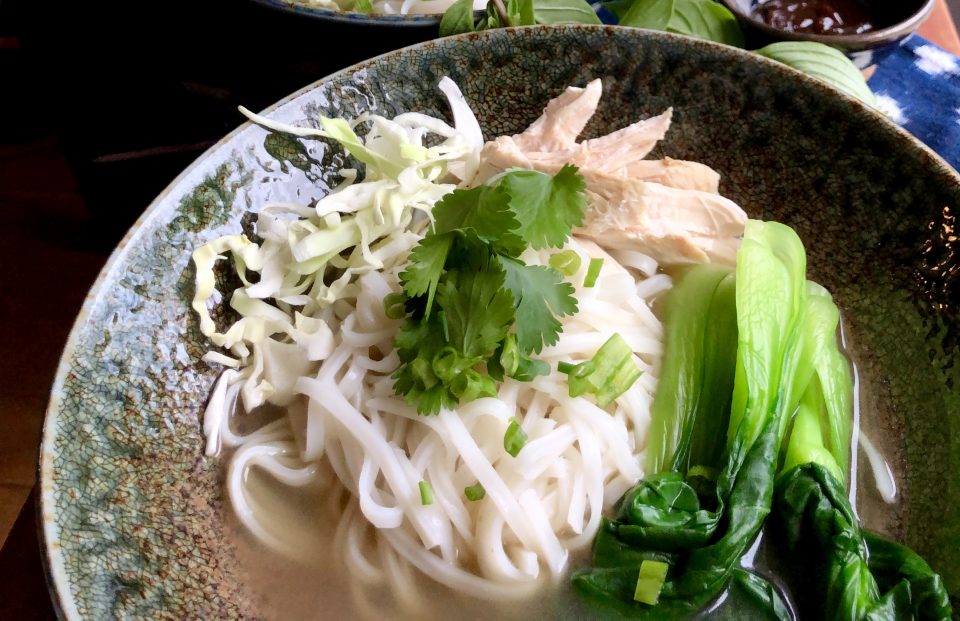
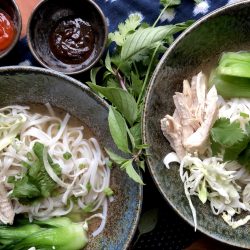
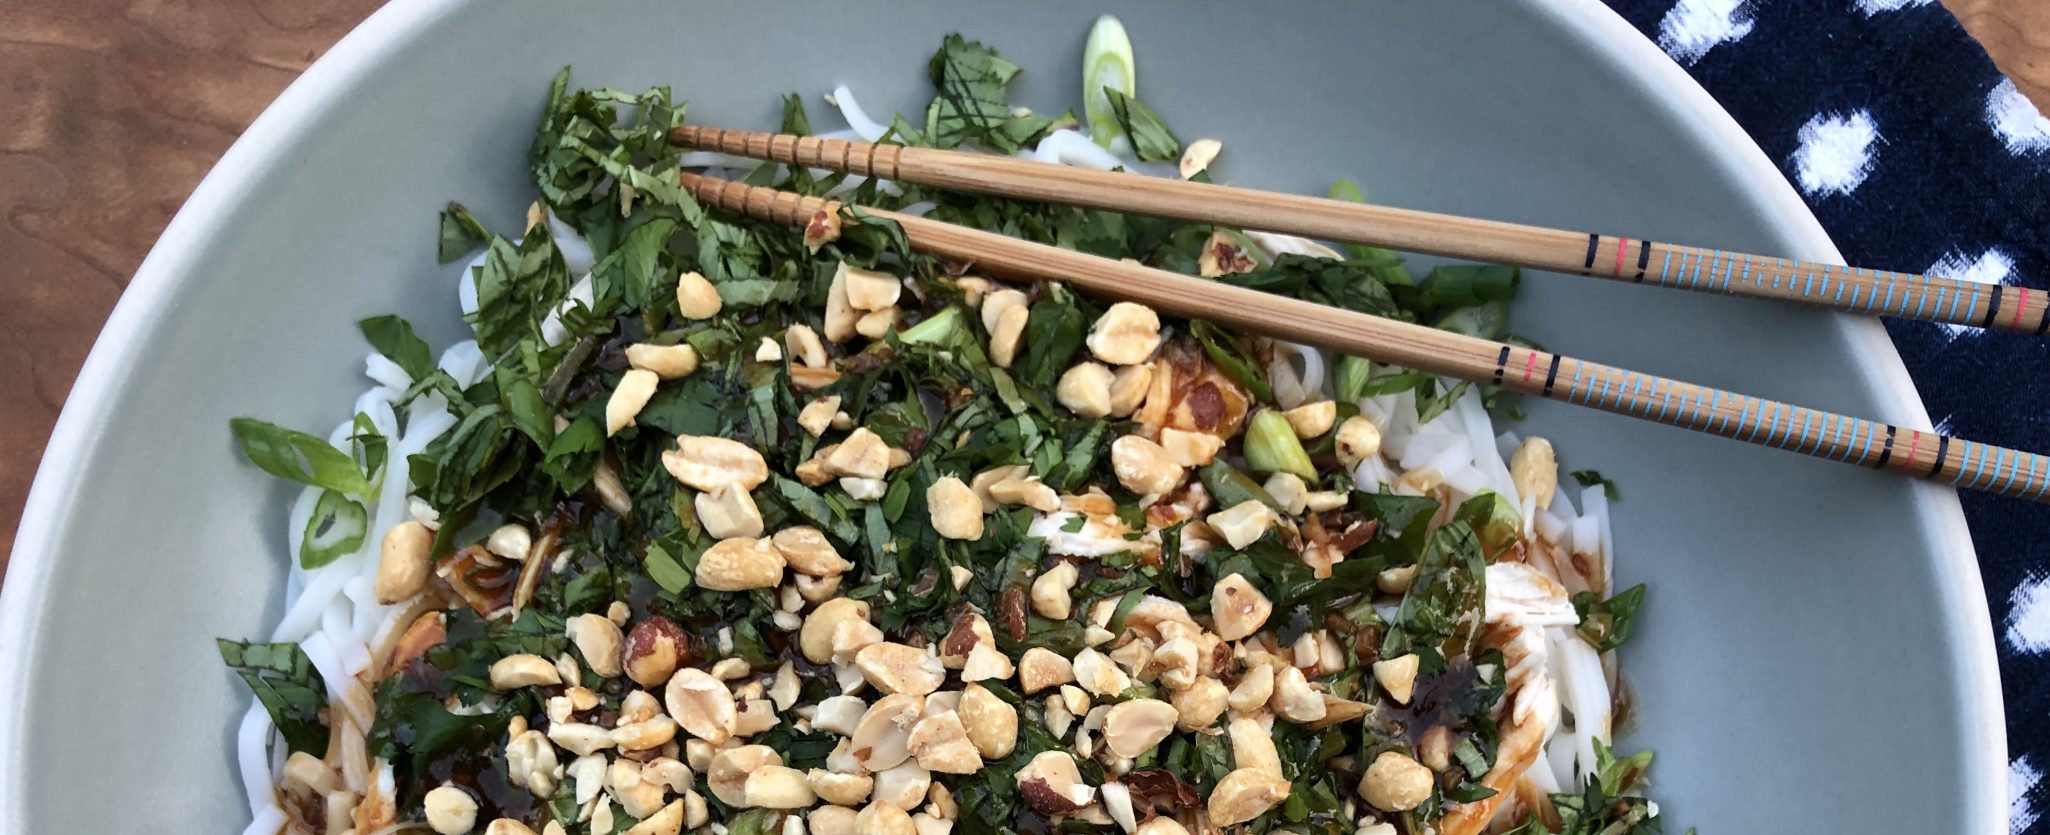
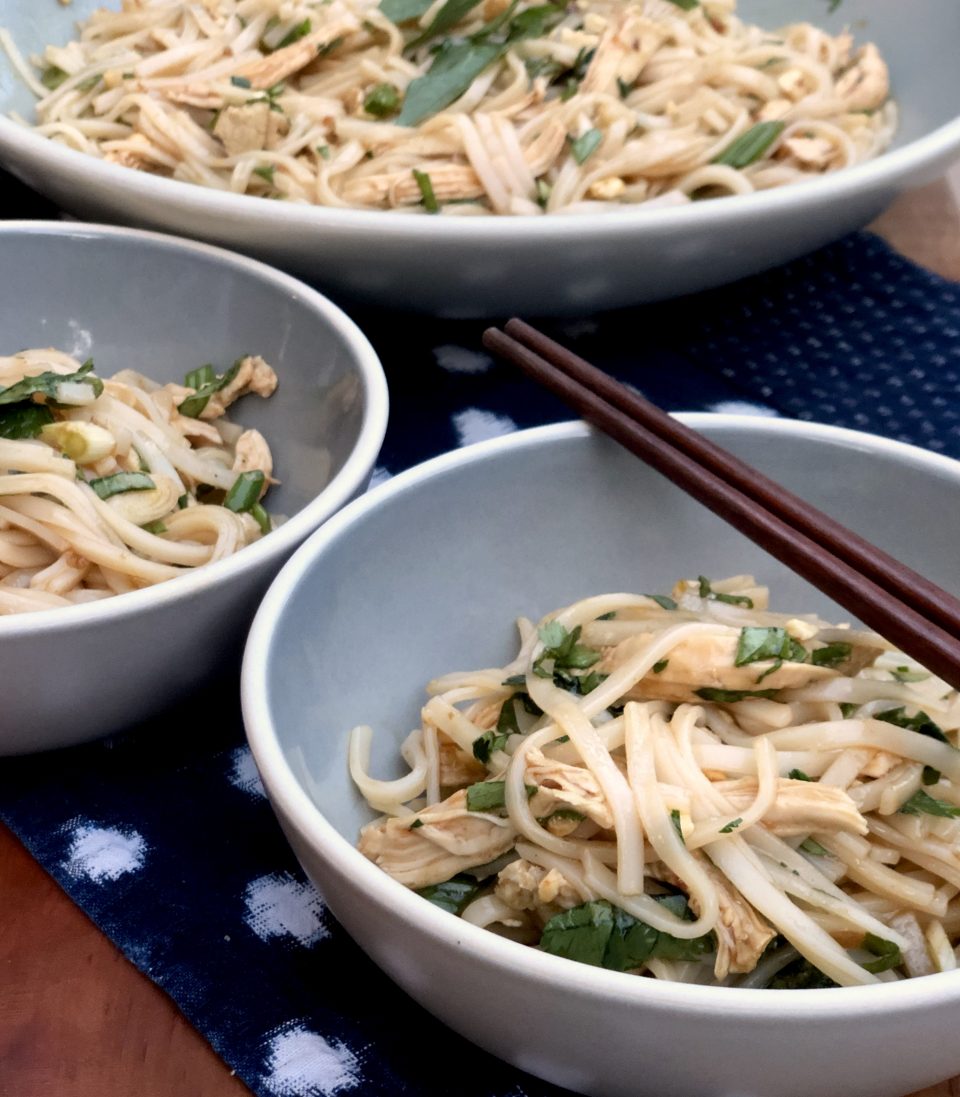
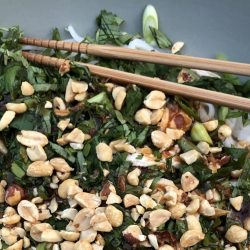
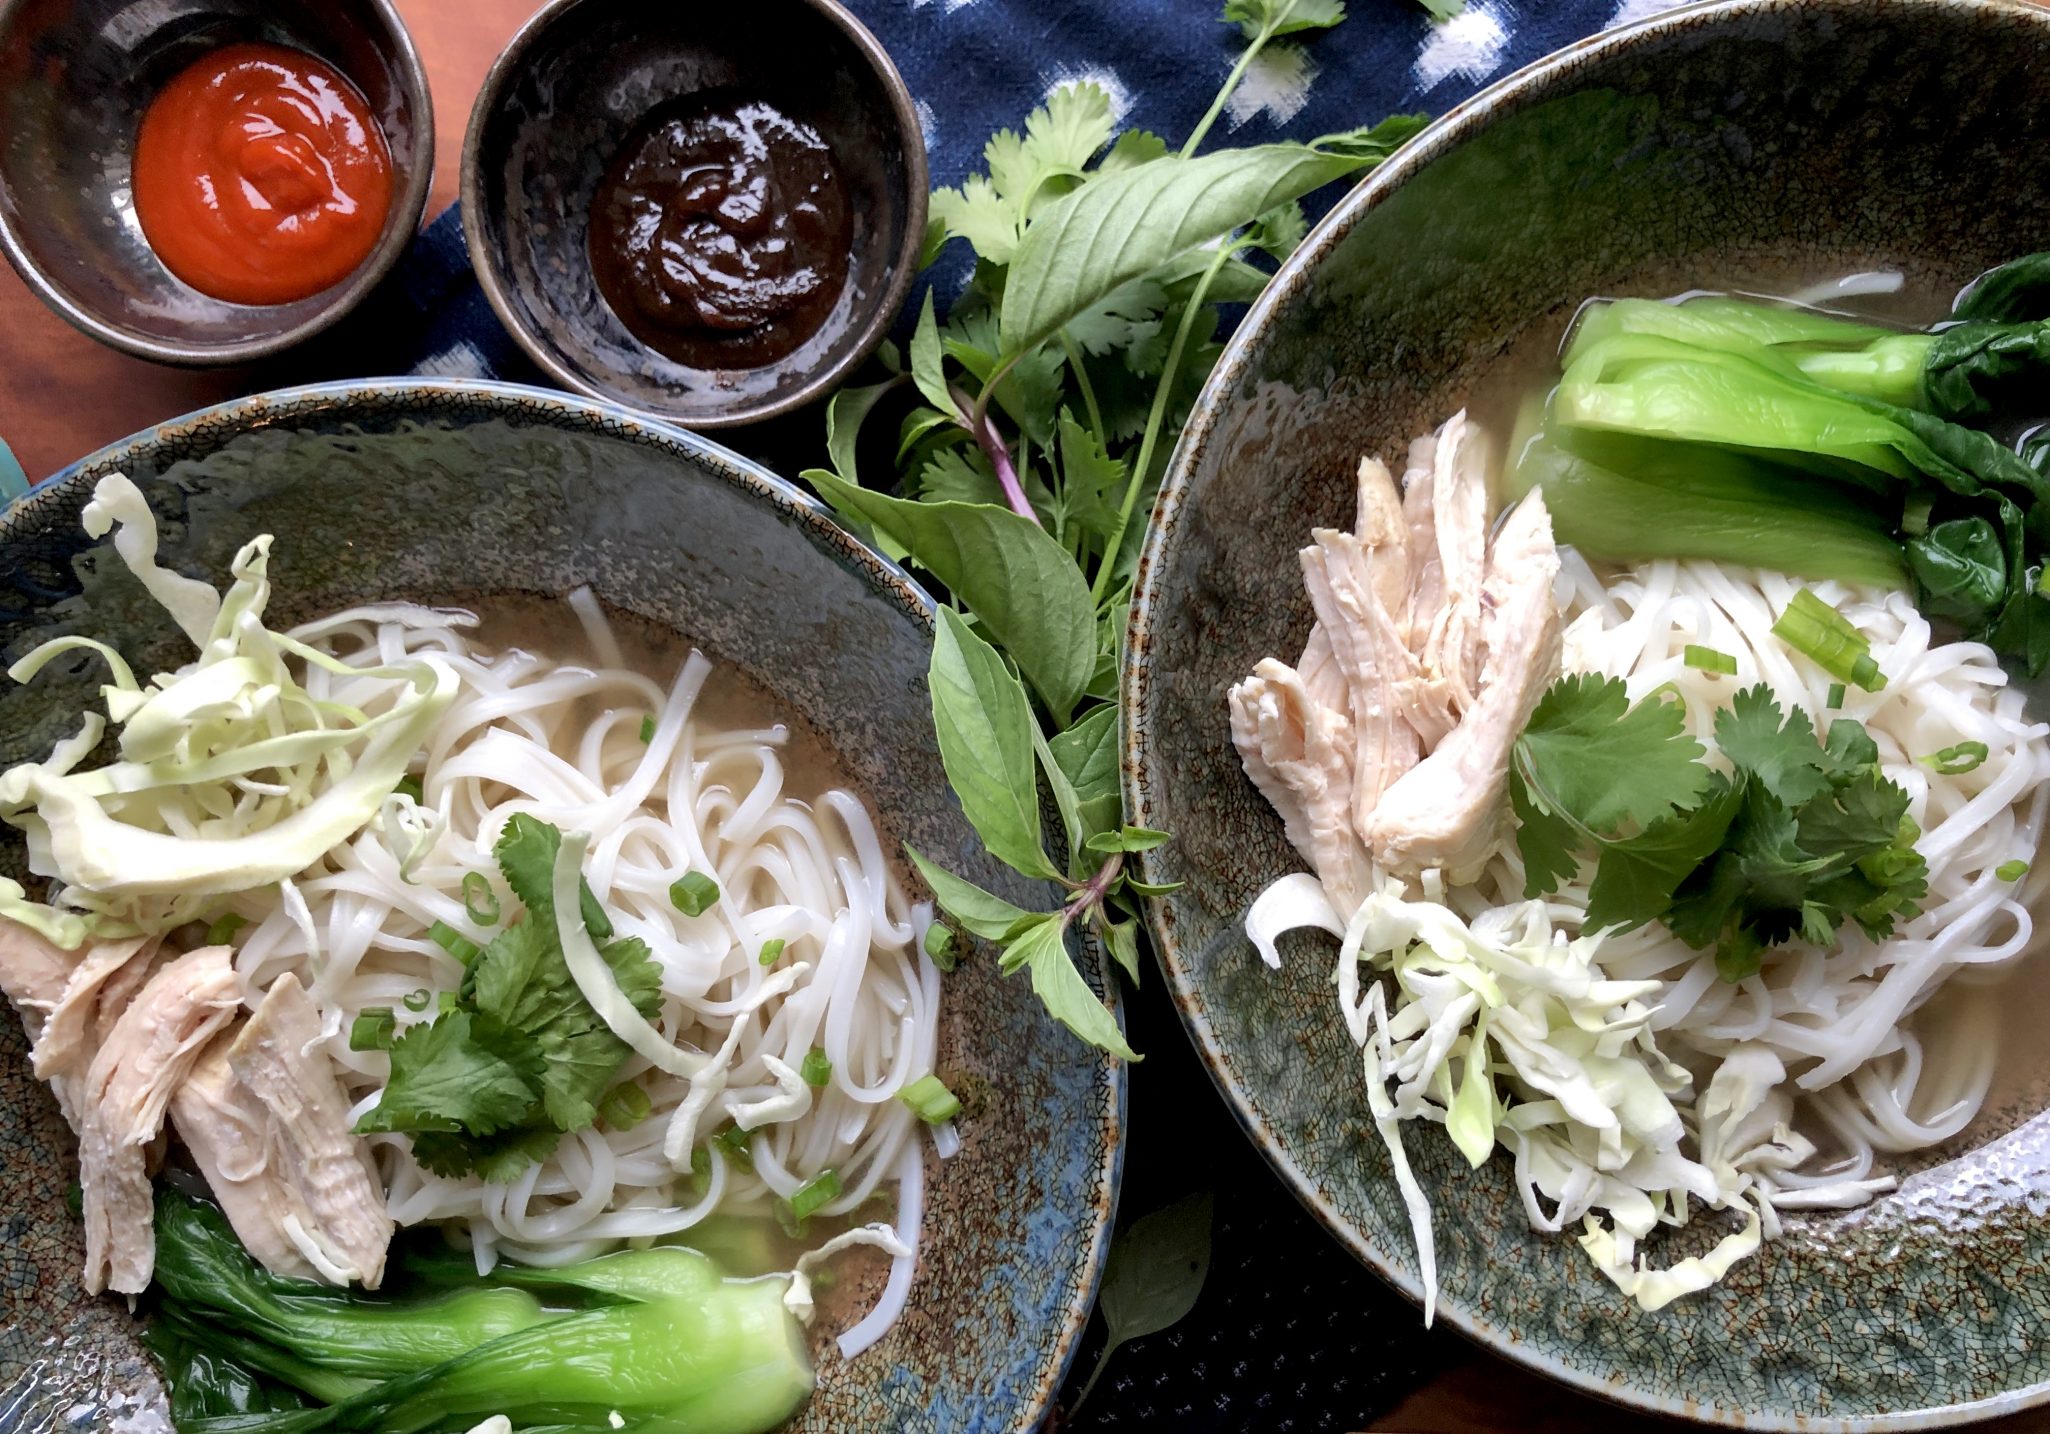
I found a recipe in the Los Angeles Times for a quick delicious Vietnamese Chicken Noodle Soup, Pho Ga.  The author, Andrea Ngyuen also tacked on a second recipe, Pho Ga Tron, or Chicken Pho Noodle Salad.  The broth from the Pho Ga is a building block for the sweet and spicy dressing for the salad. The salad contains rice noodles, herbs, and greens, and is topped with crispy fried onions and roasted peanuts.  It’s lip-smacking good! Andrea actually makes the quick broth just for this dish and serves bowls of the broth alongside the salad.   Make the soup for Pho Ga one day, and reserve the extra broth to make the dressing for the salad another day.  I julienned romaine lettuce for added crunch. I bet napa cabbage or iceberg would also work.

Chicken Pho Noodle Salad

Course Salad
Cuisine Asian
Keyword Pho Ga Tron, Vietnamese Chicken Pho Salad
Prep Time 20 minutes
Cook Time 25 minutes
Total Time 45 minutes
Servings 4

Ingredients

Quick Chicken Pho broth, divided. See Quick Pho Ga recipe

  • 1/2 cup chicken pho broth
  • 1⁄2 teaspoon fine sea salt
  • 2 1⁄2 tablespoons sugar
  • 1 tablespoon sriracha sauce plus more for serving
  • 2 tablespoons unseasoned Japanese rice vinegar
  • 3 tablespoons regular soy sauce
  • 1 1⁄2 tablespoons canola or other neutral oil
  • 2 teaspoons finely chopped garlic
  • 1 1⁄2 teaspoons cornstarch dissolved in 2 teaspoons water
  • 10 ounces dried medium flat rice noodles
  • About 8 ounces cooked chicken from Quick Chicken Pho
  • 2 cups butter lettuce or soft leaf lettuce cut into narrow ribbons, with spines intact
  • 1⁄4 cup coarsely chopped fresh cilantro leafy tops only
  • 1/3 cup coarsely chopped fresh mint or Thai basil leaves
  • 1/3 cup unsalted roasted peanuts, coarsely chopped
  • 1/3 cup fried shallots or onion homemade or purchased
  • Thinly sliced green onions for garnish

Instructions

  • Combine 1⁄2 cup of the broth with the salt, sugar, chile sauce, vinegar and soy sauce. Set this sauce mixture near the stove.
  • Put the oil and the garlic in a small saucepan. Heat over medium-low heat until the garlic sizzles and is light blond, 3 to 4 minutes. Remove the pan from heat for about 15 seconds to cool slightly, then add the sauce mixture. Place the pan over high heat and bring to a boil. Stir the cornstarch slurry, then swirl into the bubbly sauce. Once thickened, about 15 seconds, remove from heat and set aside for at least 10 minutes before using. This makes about 1/2 cup sauce.
  • Meanwhile, boil the noodles in a pot of water until tender chewy following the package instructions, about 5 to 7 minutes. Drain, cool quickly under running water, then set aside to fully drain and cool.
  • Reheat the remaining broth in a saucepan over medium heat. Meanwhile, cut or shred the chicken into bite-size pieces and, if needed, warm in a microwave oven to remove the chill and refresh; ideally the chicken has some succulence. Set aside.
  • To assemble, have 4 rice bowls for broth and 4 noodle-soup-size bowls for the salad. Put a little green onion into each rice bowl (use the rest for the noodle salad). Set near the broth.
  • Divide the lettuce among the noodle soup bowls. Add a portion of noodles and chicken, then drizzle over the sauce to taste. Top with the remaining green onion, cilantro, mint (or basil), peanut, and fried shallots (or onion).
  • Ladle the hot broth into the rice bowls. Serve immediately with the noodle salad bowls. Invite guests to wield spoons and chopsticks to toss their salads and enjoy the broth as soothing interludes. If the noodles seem too heavy with sauce, mix in a spoonful of broth. 

Each serving:

  • Calories 613; Protein 33 grams; Carbohydrates 82 grams; Fiber 3 grams; Fat 18 grams; Saturated fat 3 grams; Cholesterol 72 mg; Sugar 10 grams; Sodium 1,795 mg
Peanut Butter Mochi, that’s my Jam

Peanut Butter Mochi, that’s my Jam

My cookbook addiction continues unabated. One of my new favorites is A Common Table by Cynthia Chen McTernan.  It’s a beautiful cookbook filled with not only mouthwatering photographs of her food but wonderful stories about her family and friends. Her recipes are approachable and her writing inviting.  In contrast to the cookbooks of yesteryear, today’s cookbooks, like A Common Table, breathe life, warmth, and a personal connection into each recipe.  It makes me want to call my Mom, my kids, my aunties and uncles and say, “Hey, come on over we gonna cook, eat, and talk story”.

Have You Eaten Yet? (code for I ❤️ you)

This is not a cookbook that strives to teach one to cook, it’s more like a series of love letters, first and foremost to her family and friends, and then to all of us.  Her soulful, homey food reflects her southern upbringing, her Chinese heritage, her hubby’s Hawaiian-Korean-Irish roots, and their lives together. These are recipes I imagine are passed down from grandmother to mother and mother to daughter.  Each generation adding its own personal stamp.

Two Red Bowls is Cynthia’s blog, ground zero for her food and family tales.  She has managed to juggle a toddler, a newborn, a blog, and a book, no small feat.  Wow!

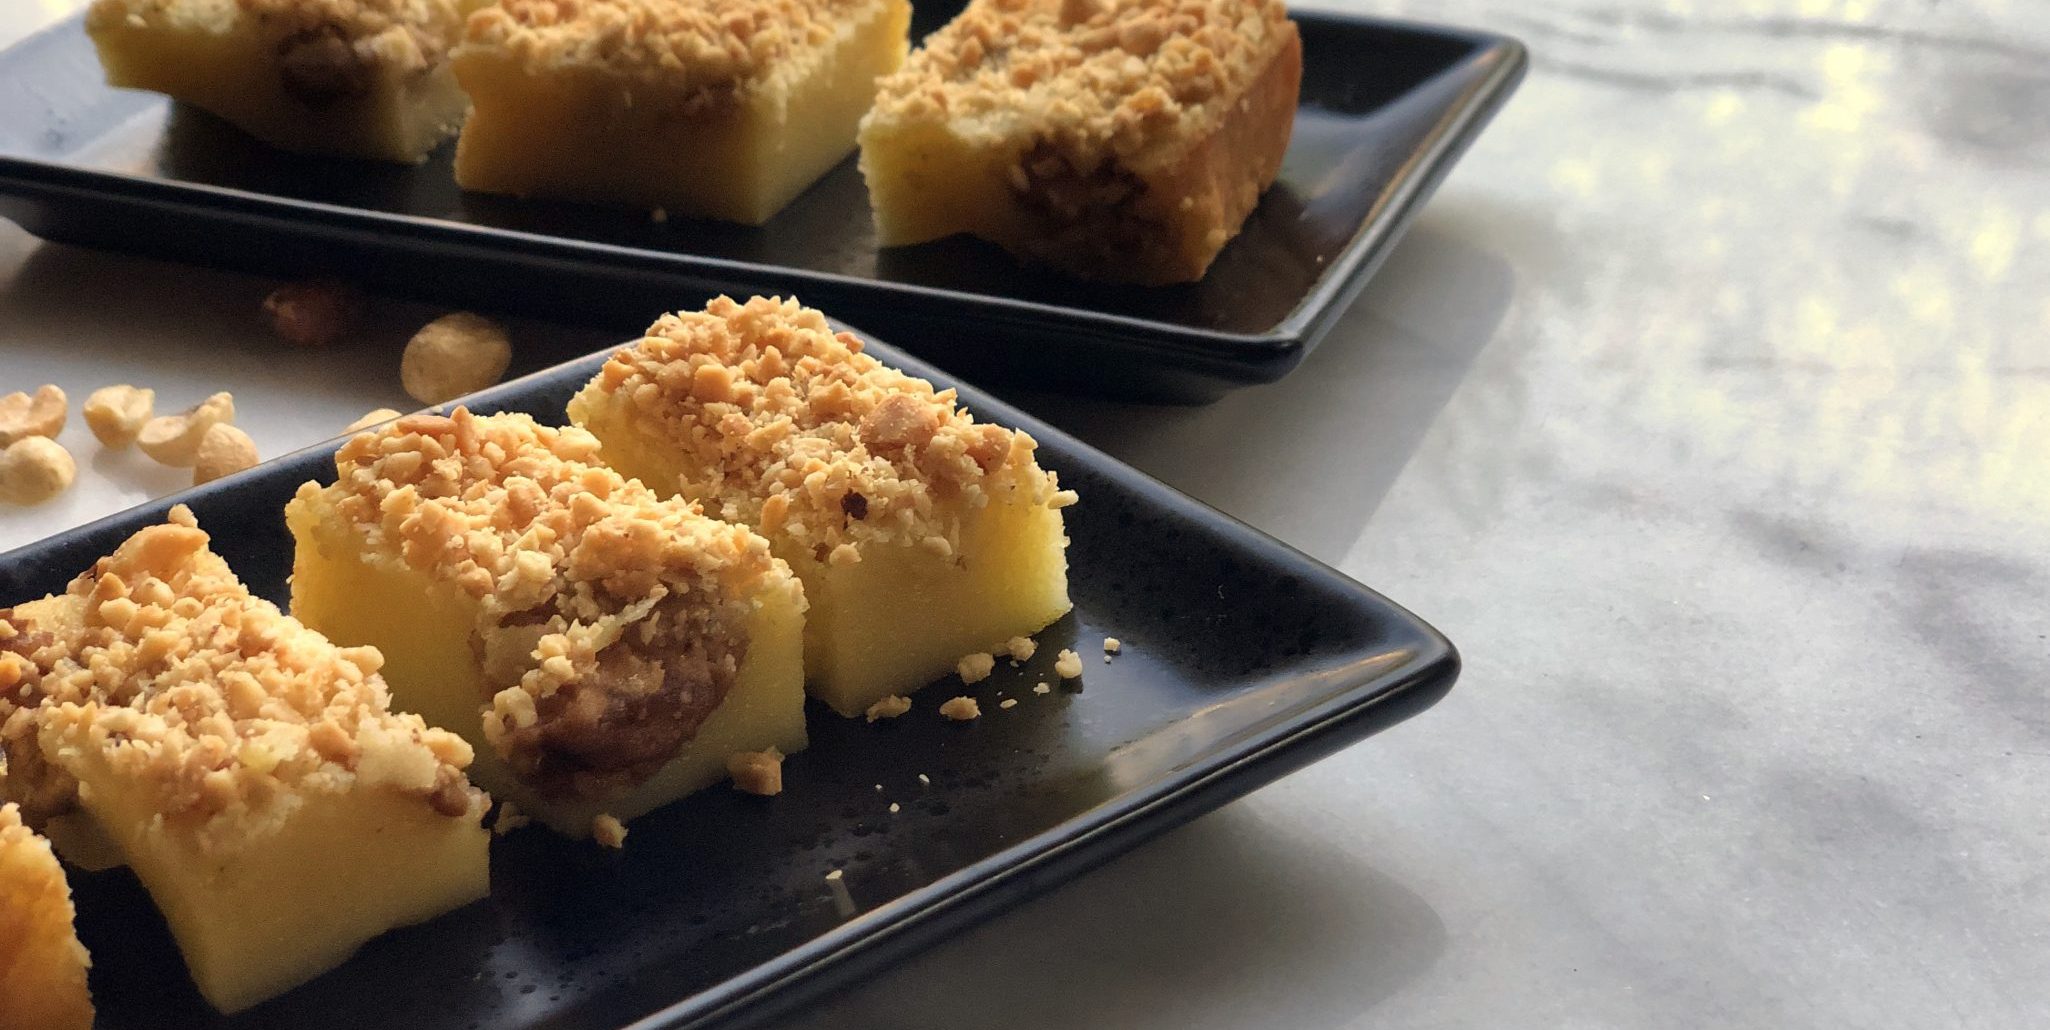
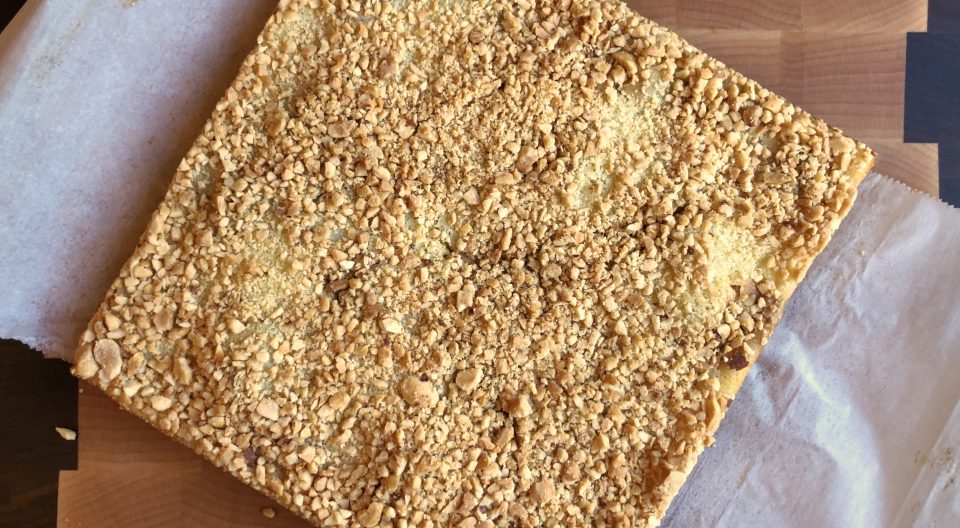
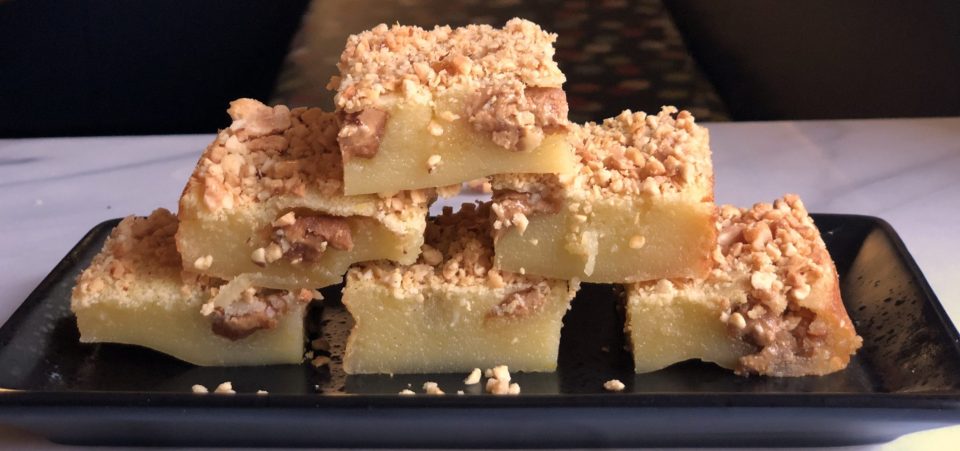
Onto her delicious food.  Needing a gluten-free dessert to bring to a potluck, I instantly thought of the peanut butter mochi in her book.  Mochi, made of glutinous rice flour, is chewy, dense, and all the craze right now.  Imagine a marshmallow but dense, chewy, and only slightly sweet. Mallows on roids.  To top it off, soooo easy to make.  Literally, one bowl plus a wooden spoon. The addition of peanut butter brings a familiar flavor and texture to the mochi, a great intro for the uninitiated.  Did I mention GLUTEN FREE?

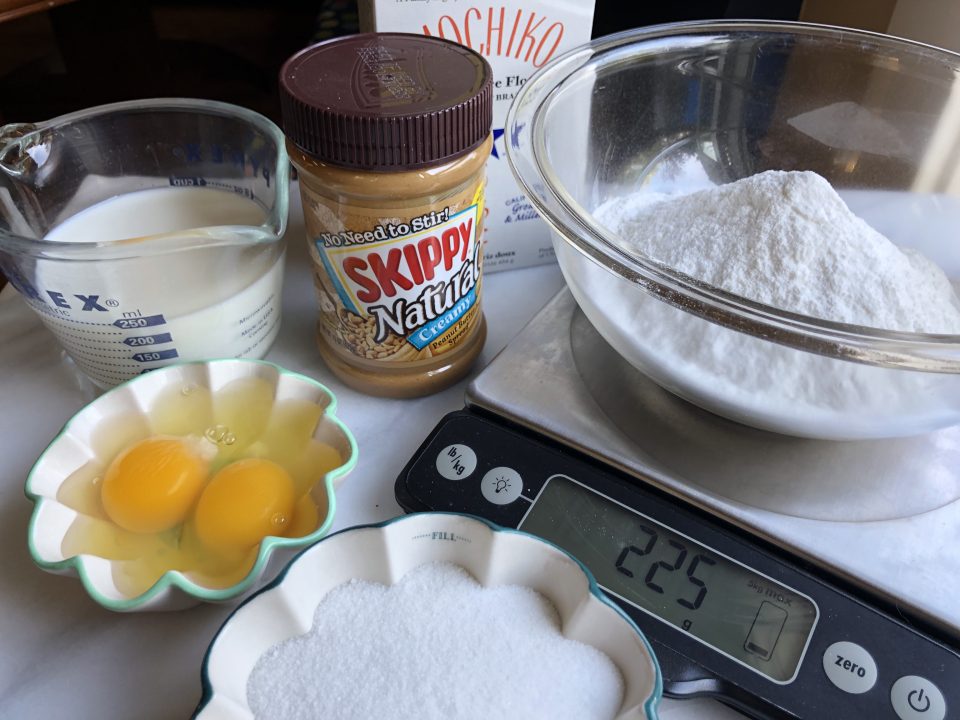
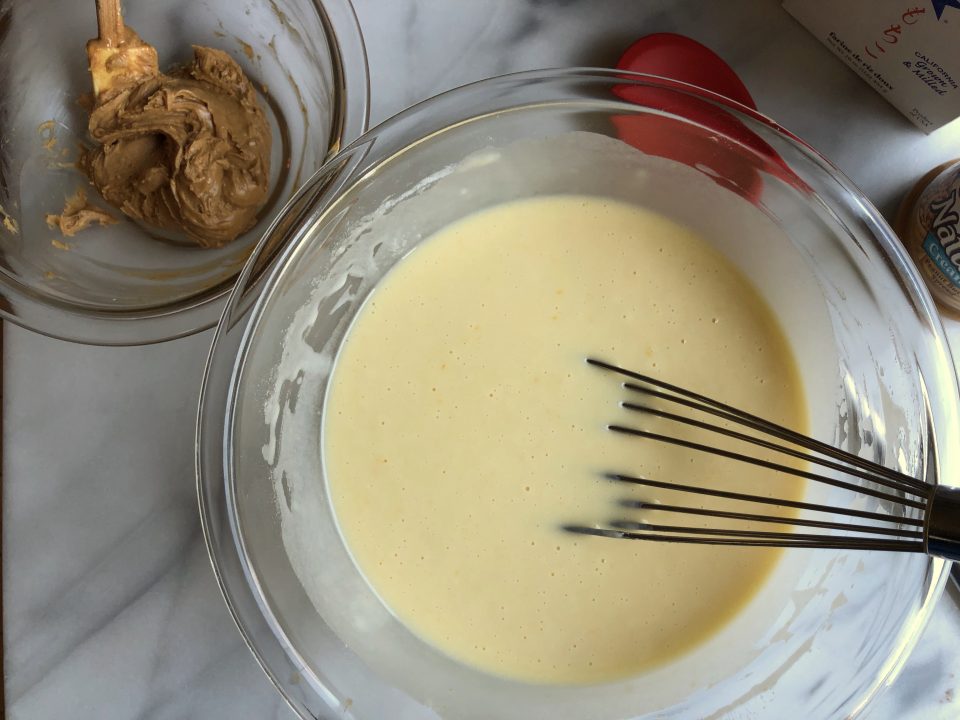
The gold standard for rice flour and readily available is Koda Farms Blue Star Mochiko.  Ground into a fine powder, it blends quickly and is easy to work with. Throw the flour, sugar, eggs, and milk in a bowl.  Stir, don’t worry about overmixing (no gluten), pour, and bake.  The batter will resemble a thick, elastic pancake batter.

Plop the peanut butter evenly into the batter so that everyone gets a bite of peanut butter, and then it’s oven time.  Midway through baking, sprinkle crushed peanuts on top.  Next time I am thinking of using honey-roasted peanuts, to really accentuate the play on sweet and salty.  The batter will puff while baking, not to worry, it will flatten as the mochi is cooling.

Once it has cooled a bit, dig in, warm mochi is yummy.  I cut mine into squares and then further divided half of the squares into rectangular bars.  Just so delicious, the combo of chewy mochi, pockets of oozy soft peanut butter, and the crunchy peanut topping-the trifecta of yum.  It’s hard to resist and eat just one. It’s dense in texture and calories but so worth it!

I think you could make this milk-free by using coconut milk in place of milk. I have yet to try it.  Andrea Nguyen, Asian cookbook author extraordinaire created a riff by adding black sesame paste, Black Sesame Peanut Butter Mochi, which looks delish, I am so going to make her version soon.

Peanut Butter Mochi
Print Pin
5 from 2 votes

Peanut Butter Mochi

Gluten free and delicious.  Made with sweet rice flour a dense, chewy, a totally addicting treat! A quick and easy recipe!
Course Dessert, Snack
Cuisine Asian, Asian-American
Keyword Mochi, peanut butter, sweet rice flour
Prep Time 10 minutes
Cook Time 50 minutes
Total Time 1 hour
Servings 16 Servings

Ingredients

Filling

  • 6 Tbsp Peanut butter Natural, creamy or chunky
  • 2 Tbsp Powdered sugar

Cake

  • 1-1/2 Cups Sweet rice flour 225gm
  • 3/4 Cup Granulated sugar
  • 1/8 Tsp Salt
  • 1 Cup Whole milk
  • 1/2 Cup Vegetable oil
  • 2 Eggs
  • 1 Tsp Vanilla
  • 1/2 Cup Roasted peanuts Or substitute honey roasted peanuts
  • 1 Tbsp Brown sugar Optional, to be added to plain roasted peanuts,

Instructions

  • For the peanut butter filling, whisk together the peanut butter and confectioner’s sugar until smooth. Set aside.
  • Preheat the oven to 350F. Line an 8-inch square baking dish with parchment paper, letting the paper go up the sides so you can easily lift the cake out later on.
  • In a medium bowl, combine the sweet rice flour, sugar, milk, oil, eggs, and vanilla, whisk until smooth. Don’t worry about overworking the batter when making the cake, sweet rice flour is GLUTEN FREE.
  • Pour half the batter into the prepared baking dish. Used 2 small spoons or small teaspoon ice cream scoop to drop spoonfuls of the filling evenly across the batter, then pour the remaining batter over the filling. Bake, uncovered, for 20 minutes.
  • While the mochi is baking, place the peanuts in a food processor or blender and pulse until finely chopped. Remove the mochi cake from the oven, sprinkle of the crushed peanuts across the top. The cake maybe puffy so spread nuts as evenly as you can. The cake will fall as it cools.  
  • Return the cake to the oven and bake until the center bounces back when pressed, an additional 15 to 20 minutes. Let cool about 20 minutes before trying to lift the parchment paper to remove the cake from the pan. 
  • Enjoy warm or at room temperature. The mochi slices cleanly when cool, but is delish warm.
  • Store in an airtight container and keep at room temp if cool, or refrigerate. Microwave pieces on high with 15-second blasts to refresh.
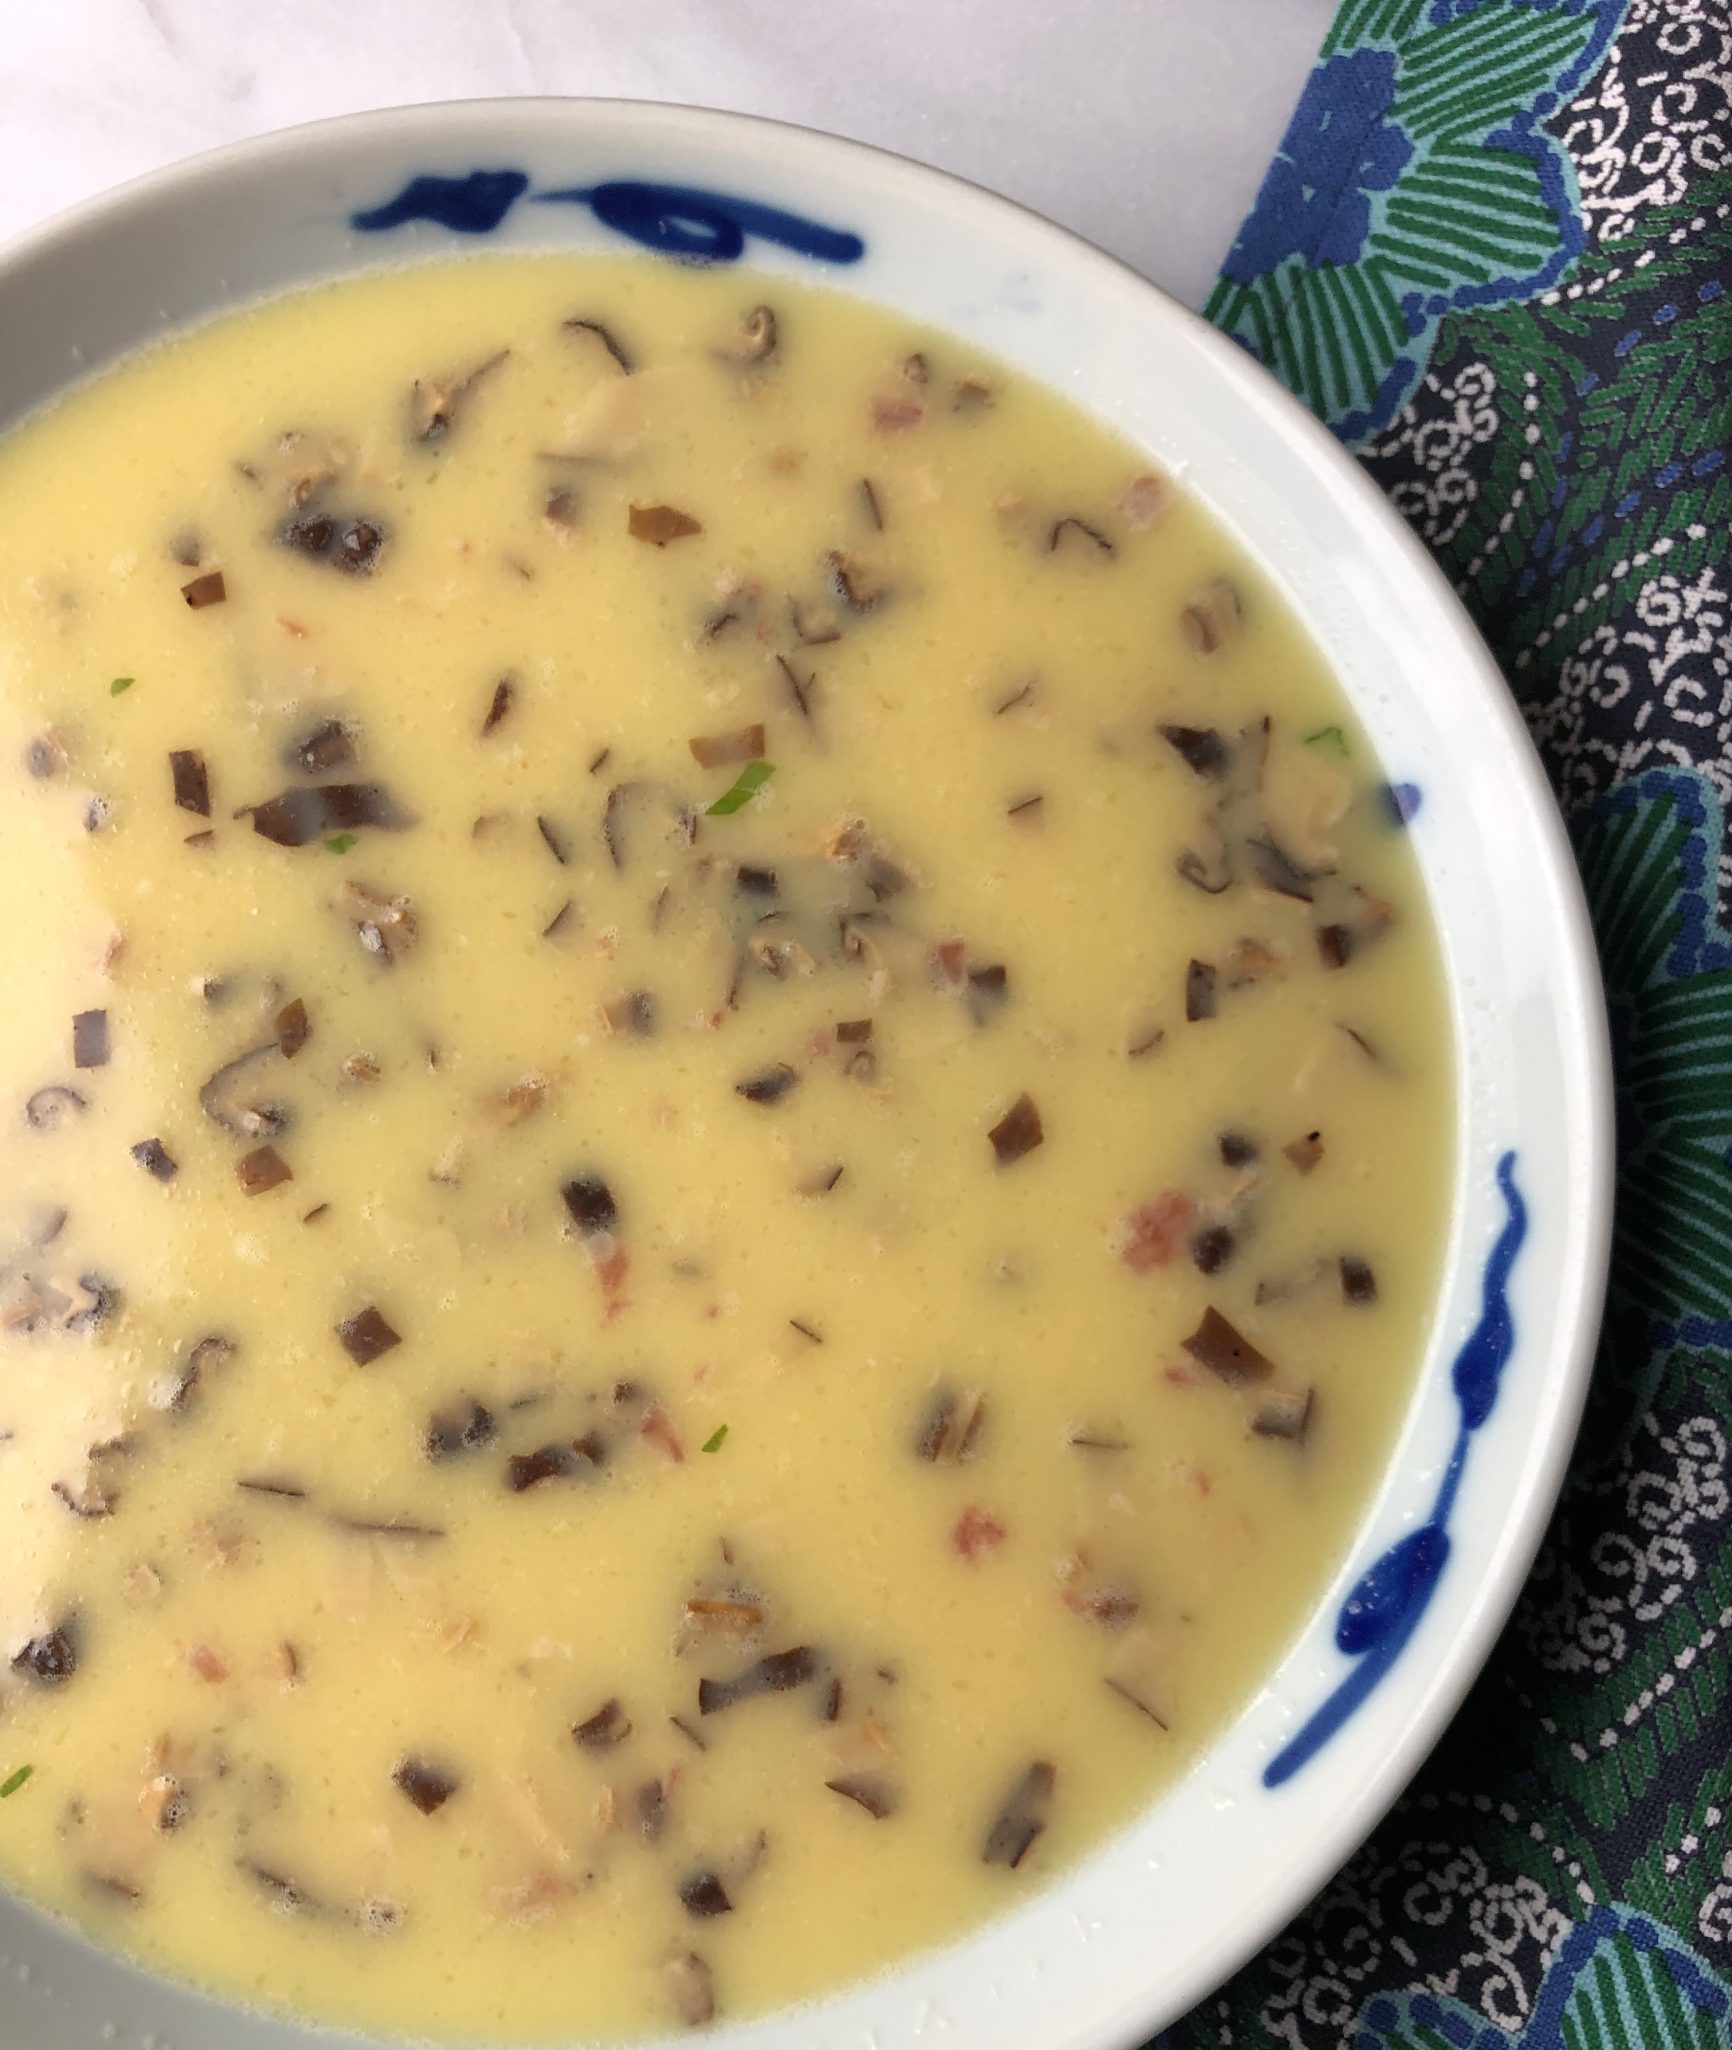
Egga-licious Down Home Cooking (Steamed Egg with Shiitake Mushrooms)

Egga-licious Down Home Cooking (Steamed Egg with Shiitake Mushrooms)

There are dishes that with the first bite I am instantly transported back to the dinner table of my childhood.  My dad clanging pots and pans, putting the finishing touches on our meal.  Me or my brother setting the table and my mom cleaning up in my dad’s “kitchen wake” (big job, trust me).  A typical meal would be corn soup, stir-fried greens with oyster sauce and ginger, soy sauce chicken from our favorite Chinese deli, and a steamed dish.  The steamed dish might be minced pork patty with salted duck eggs or steamed eggs with clams.  These are the dishes of my childhood, my soul food.

Asian Soul Food

So, this past month, Food 52 featured Fuscia Dunlop’s Every Grain of Rice in their cookbook club.  Listed is a recipe for steamed eggs. Bam, I’m 10 years old again watching my dad cook, hoping he will give me a morsel to “taste-test”.  I flipped to the page with the recipe and hmmm, honestly, her egg dish didn’t look that great. (In her defense I tried a couple of the other recipes in the book and they are delicious). It looked a bit overcooked and bubbly on the top. My dad’s steamed eggs were silky smooth and soft, kind of like silken tofu or Japanese Chawan Mushi.  Both are savory custards with tidbits of shrimp, bbq pork, or clams, indescribably delicious.

Guess what, I have never made this simple, homey, delightful dish and I’m not sure why.  I love it.  My kids love it.  My niece Marisa REALLY loves it. Hello, what was I waiting for?  I reached out to my bro for tips on how to make dad’s steamed eggs, he’s smart, he makes it all the time.

There is some wiggle room to the ratio of egg to liquid in this dish.  Four eggs to one and a quarter to one-half cups of water.  I replaced the water with low sodium chicken stock to amp up the flavor.  The TRICK to mind-boggling silky, smooth custard is to steam the eggs over very low heat.  Low and slow so you don’t get bubbles or overcooked eggs.

Add-Ins

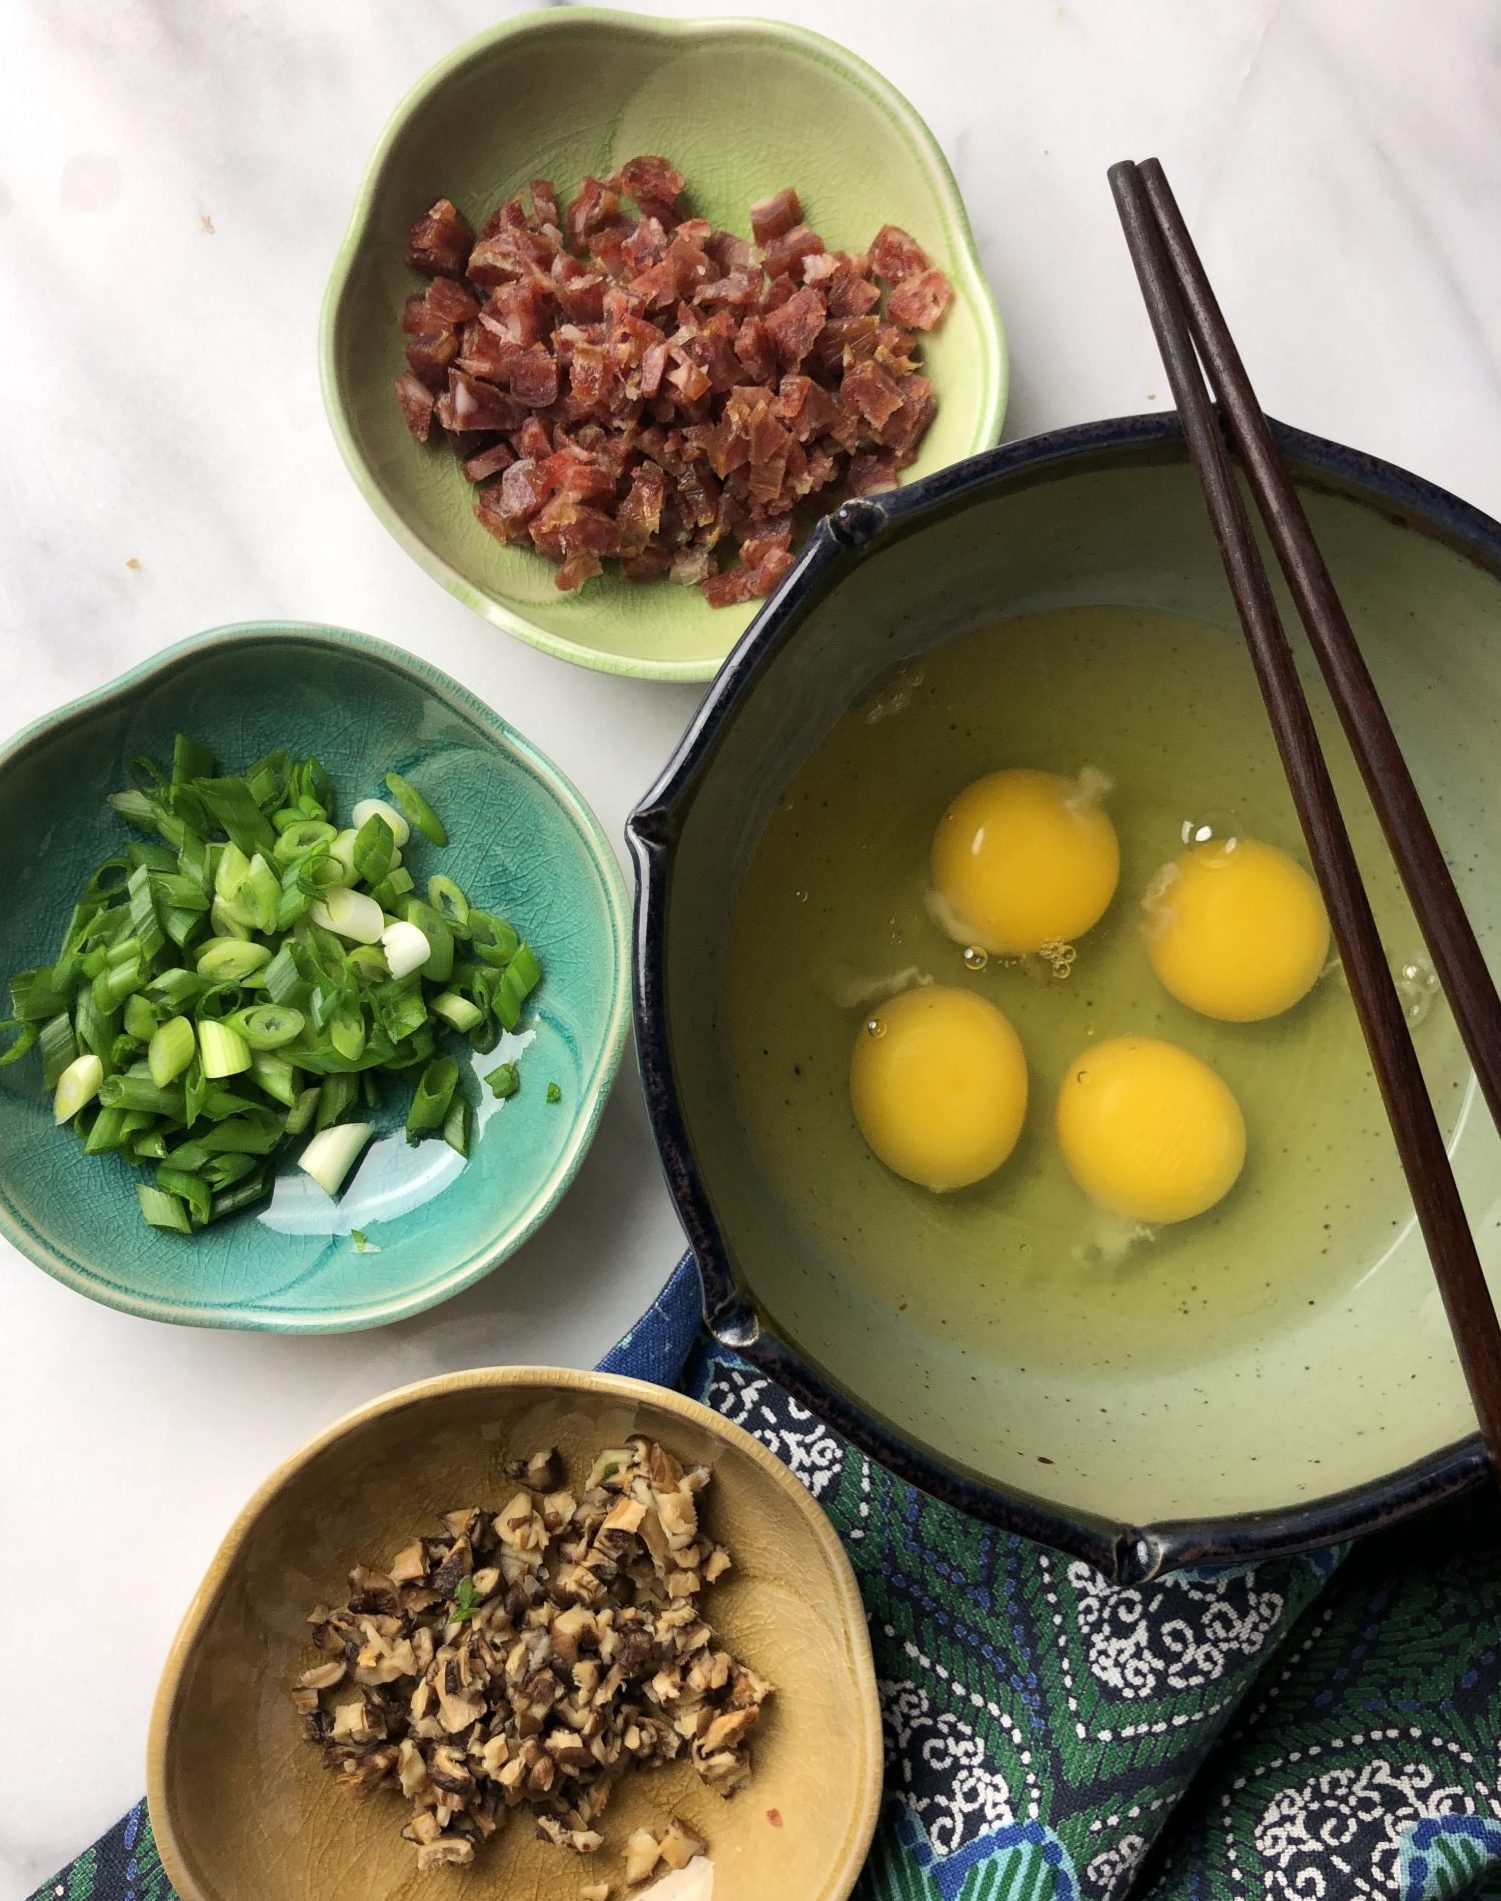
Following Fuscia’s recipe, I added shiitake mushrooms and opted for diced Chinese sausage (lop cheung) instead of ground pork.  The mushrooms add a nice earthiness and the sweet & salty sausage provides both flavor and texture.  My dad liked dried shrimp or bbq pork.  Ham or ground chicken or pork would work well.  I mixed the ‘shrooms and sausage into the egg mixture before pouring it into the bowl.  Next time I will scatter them on the bottom of the steaming bowl and pour the eggs over so they don’t float to the top as much. But really, NBD it will still be delicious.

steamed egg

Remember LOW AND SLOW, the key to a silky, smooth, damn that’s delish, egg custard. WORD.

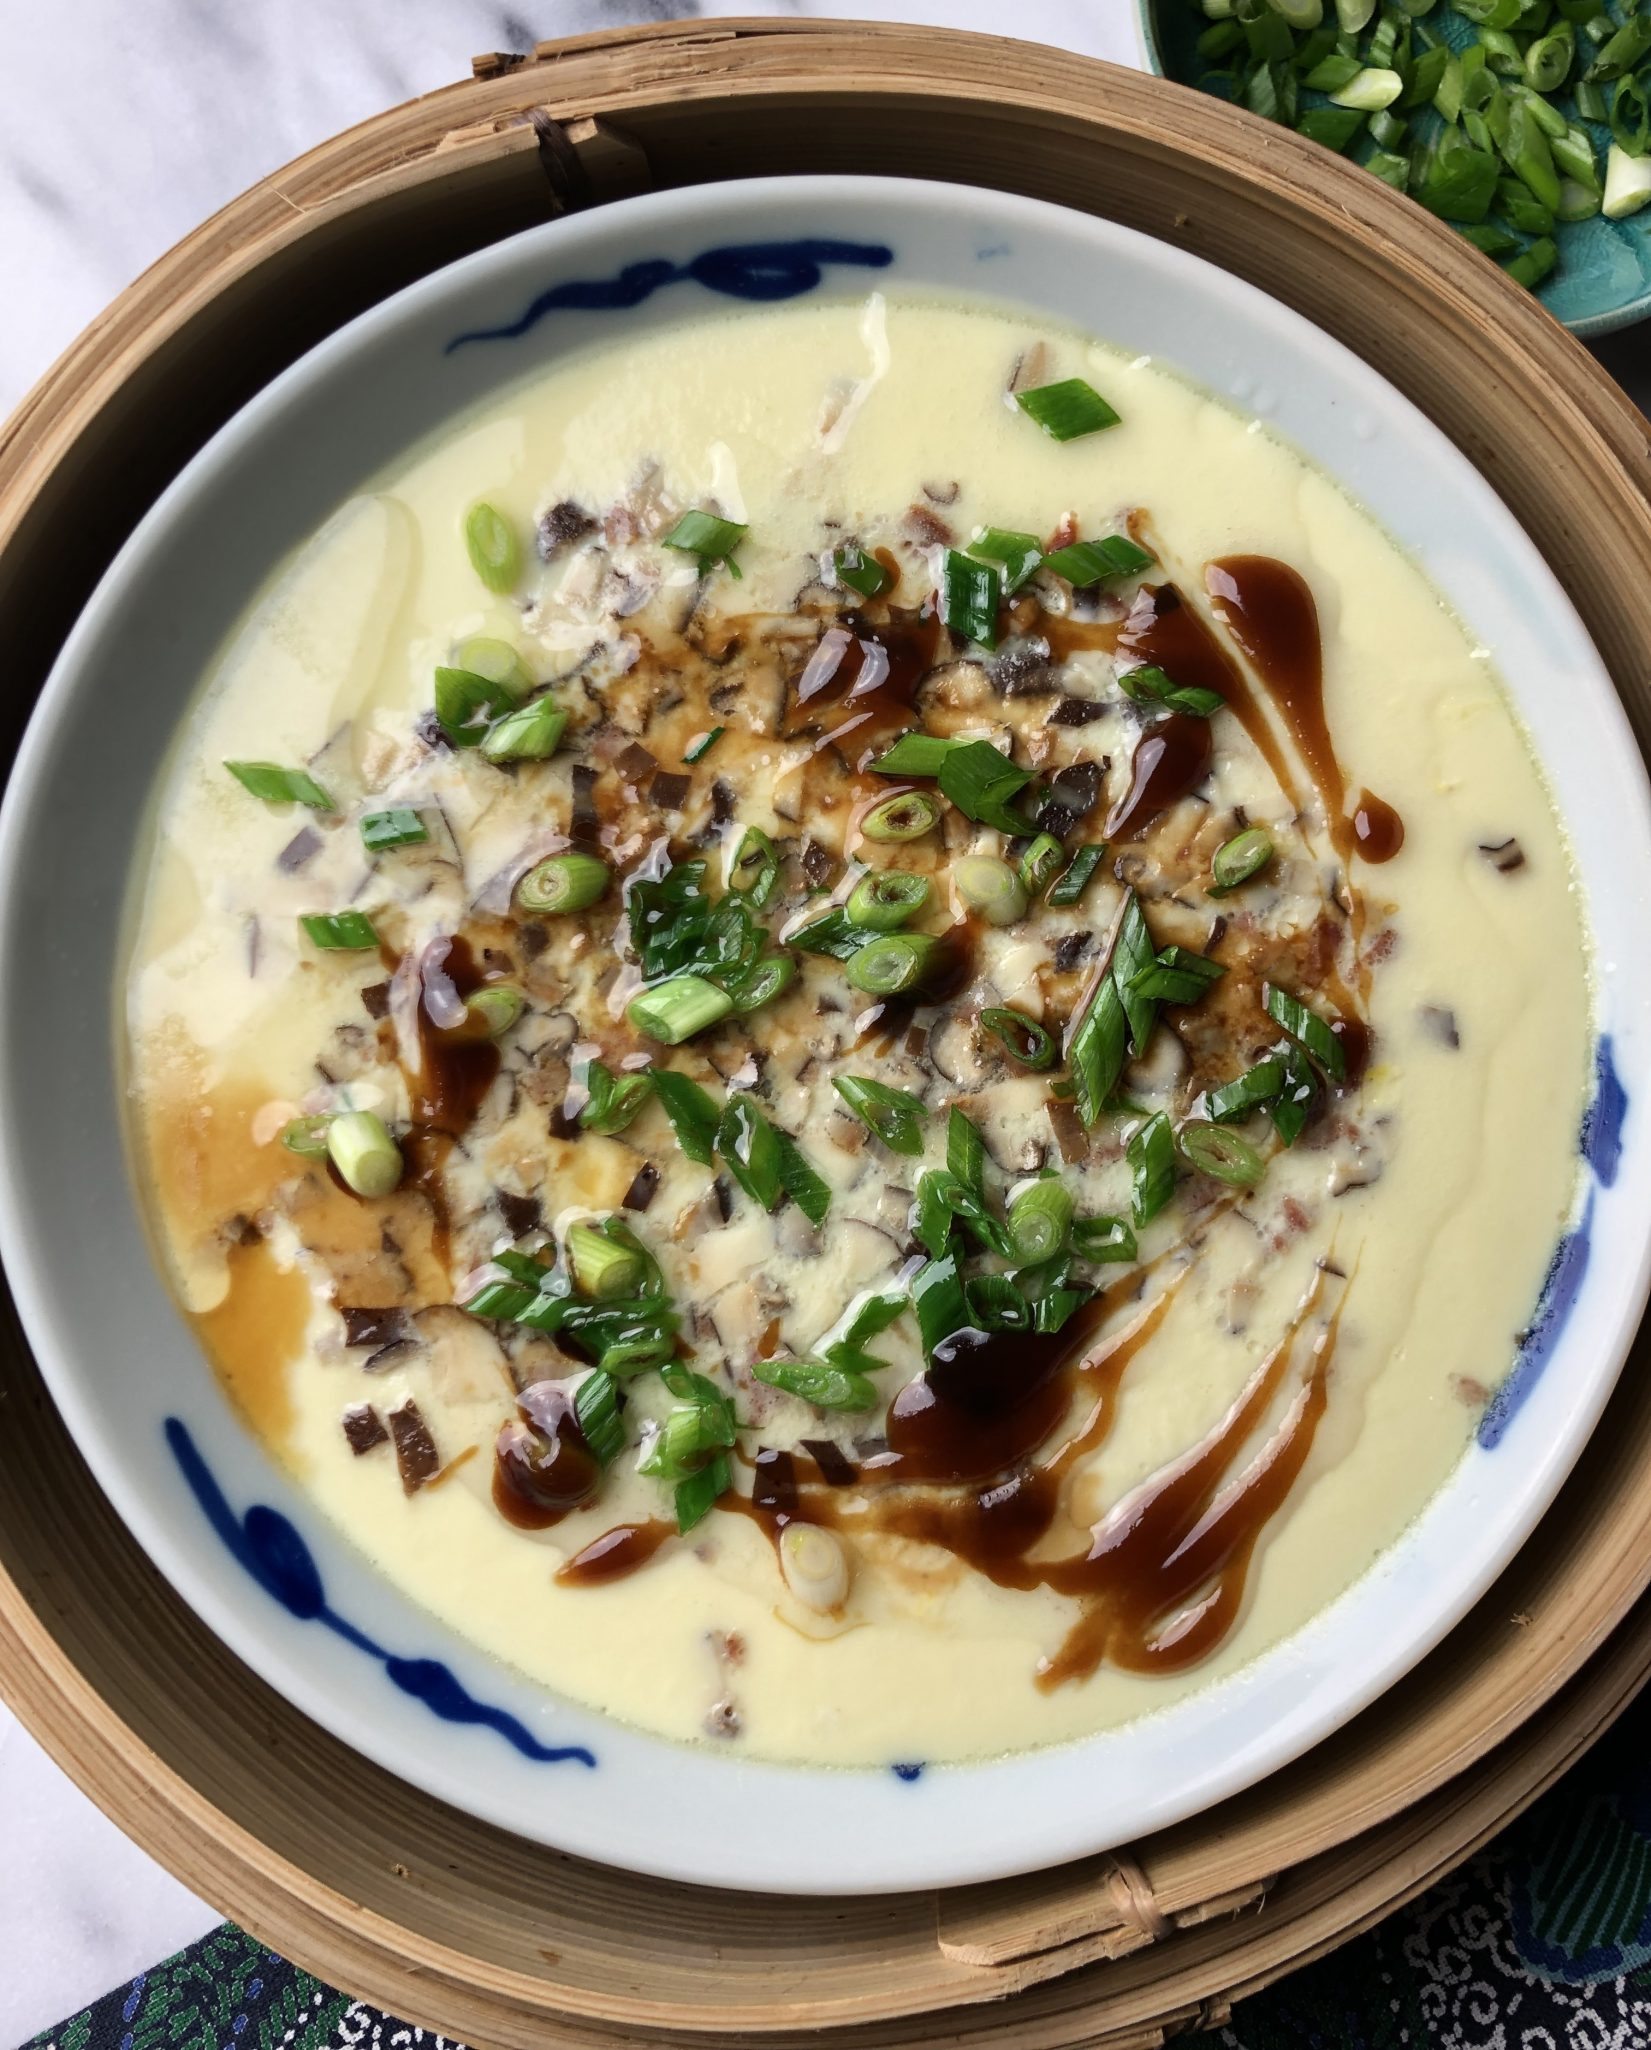
Asian Style Steamed eggs

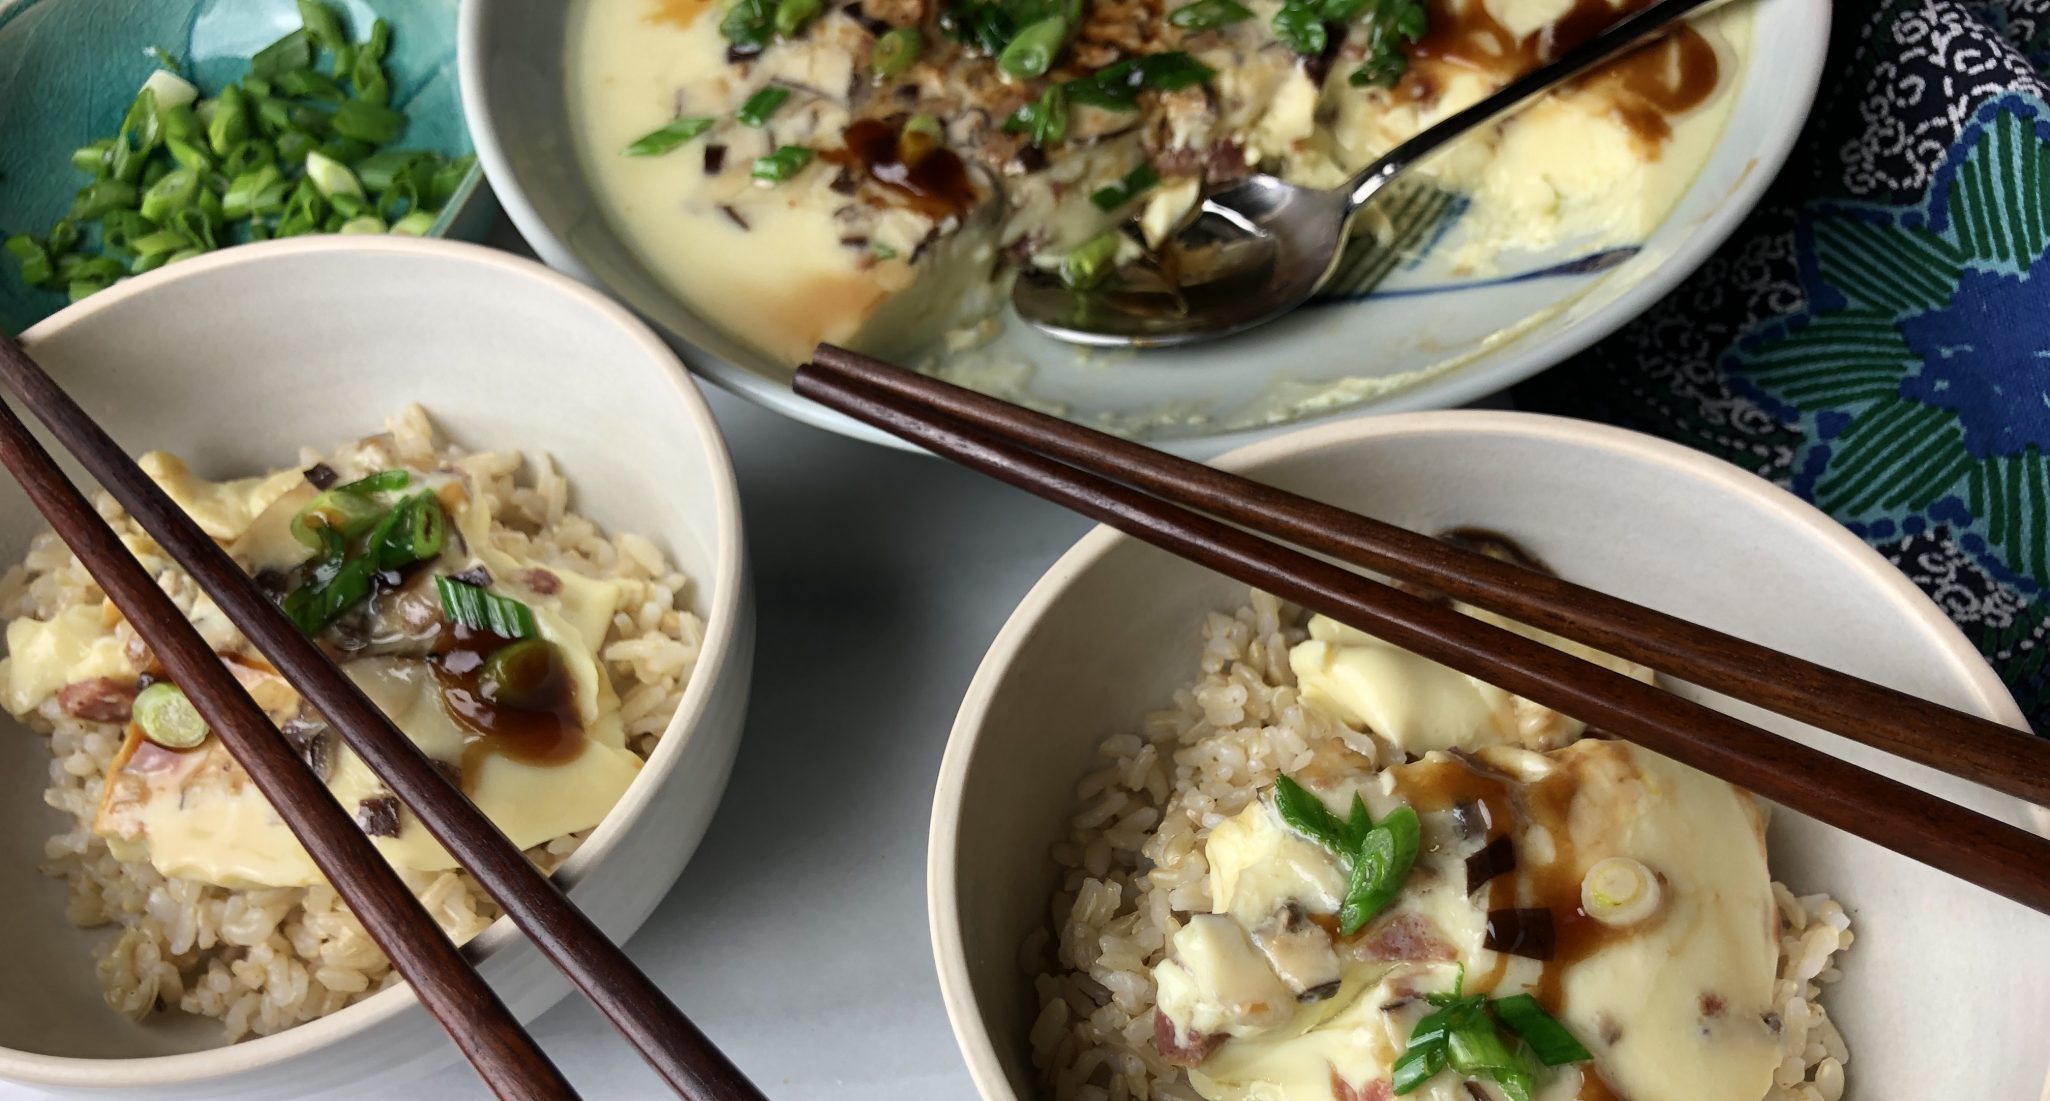
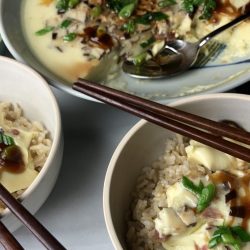
The dish is done when the center is just set and does not jiggle too much.  Garnish with green onions (mandatory) and cilantro (optional).  Heat the peanut or vegetable oil until you see wisps of smoke, then immediately pour it over the green onions.  This brings out the flavor of the aromatics and gives the eggs a nice sheen.  Drizzle with soy sauce and/or oyster sauce on top. Ready, set, EAT.

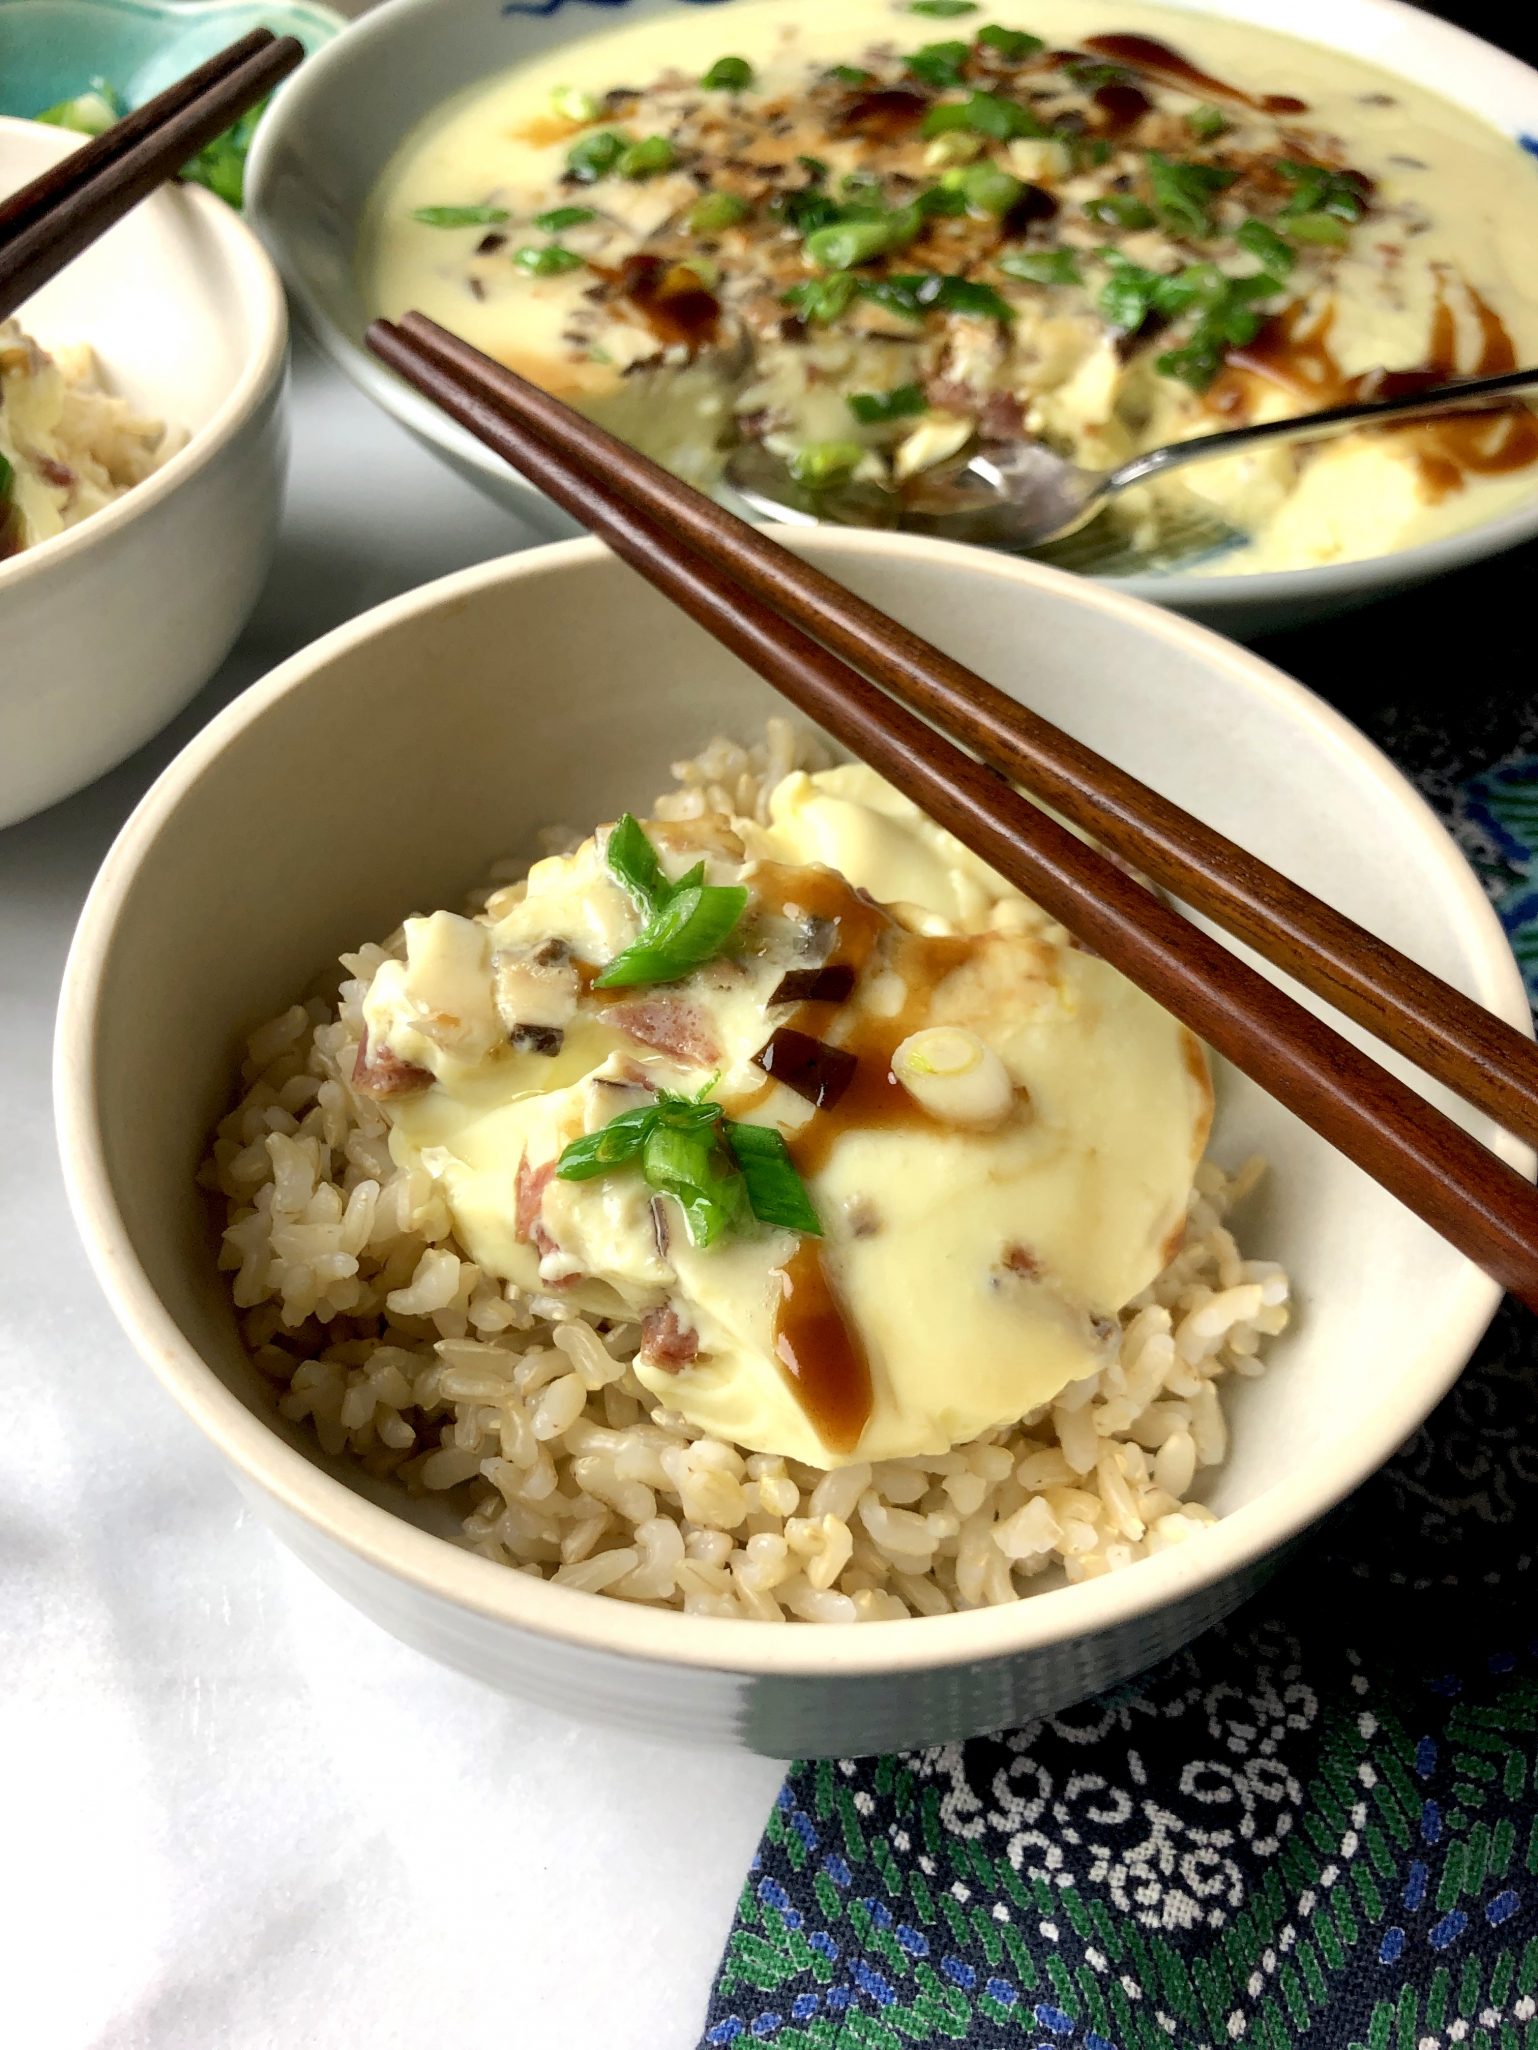
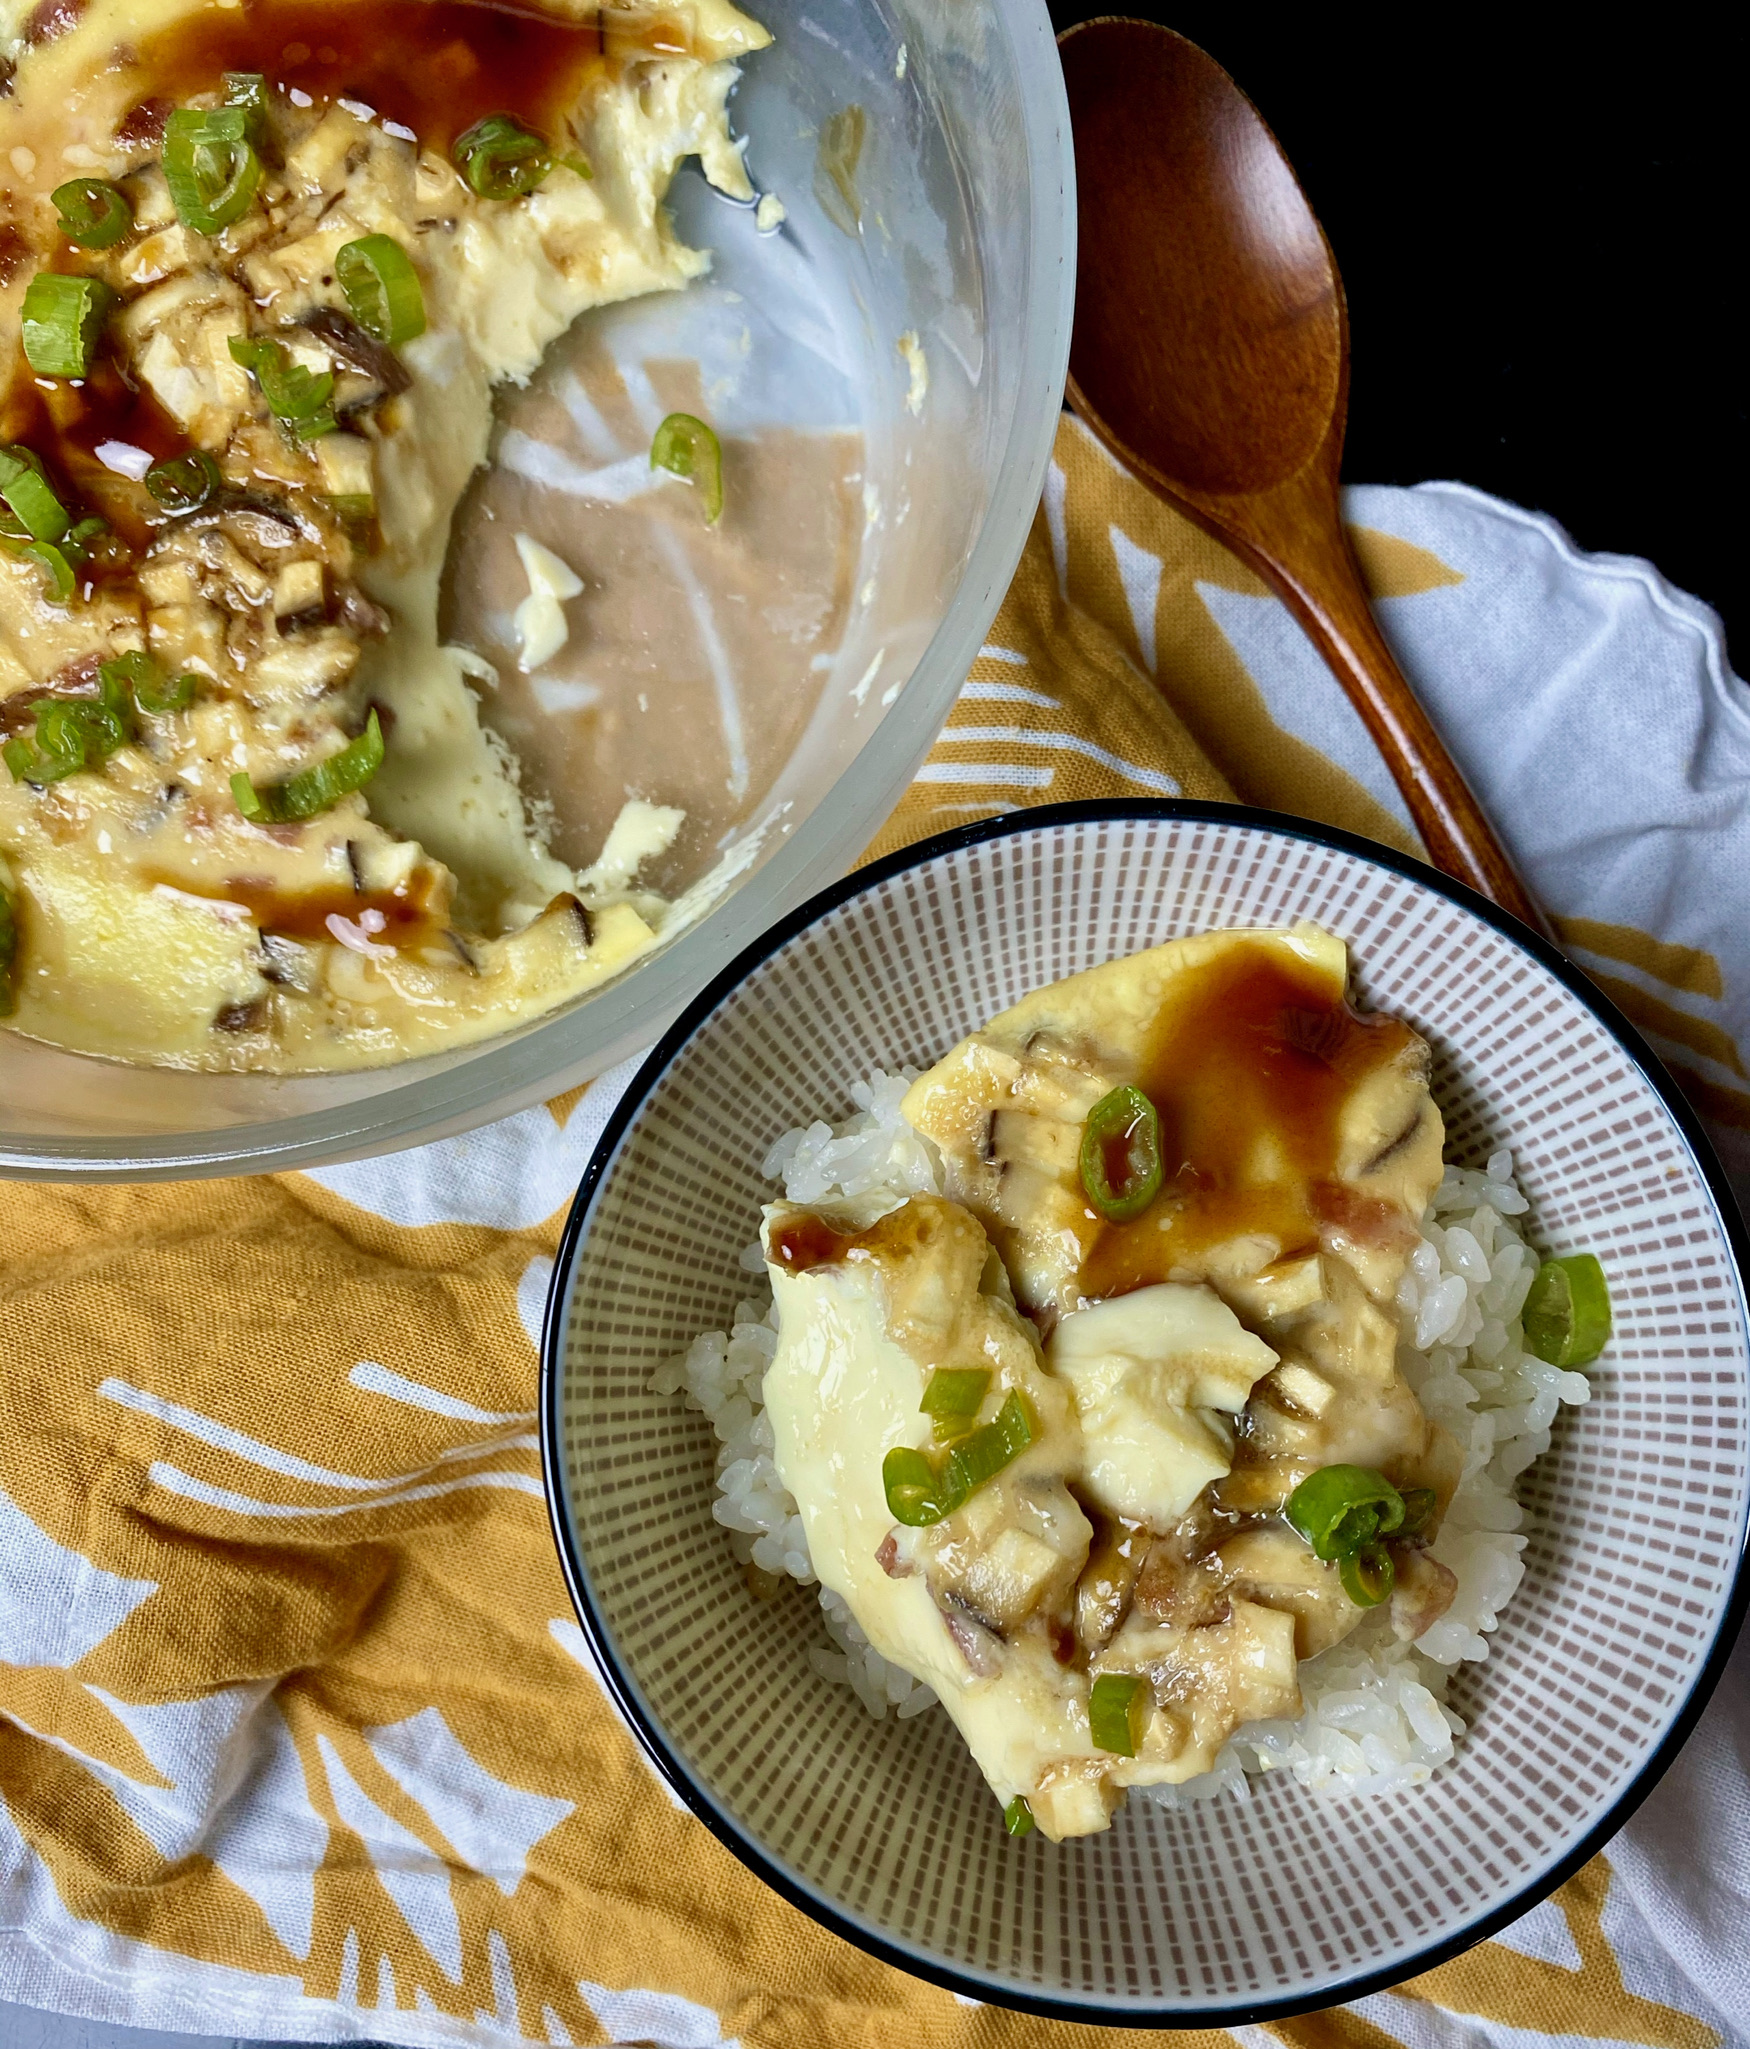
Get out the bowls of rice and then follow my kids’ lead. Stir the eggs into your rice so it’s all smooshed together and goopy, grab a spoon and start shoveling.

Microwave Magic

Now you can make steamed eggs in the microwave!  I recently bought Cook Anyday microwave cookware and whaddya know, the microwave works well for dishes that are steamed!!!

Put your ingredients all in one bowl, zap it, bring it to the table, off chance you don’t eat it all….toss the bowl in the fridge.  Truly one-bowl cooking! I cooked at 300 watts or 50%  power (I have a teeny 600w microwave) for 8 minutes, or until the custard is barely set in the middle, and jiggles gently if shaken. If it’s too runny, add time at 50% power in 30-second increments. Let rest with the lid on for 1-2 minutes to let the egg gently finish steaming.

Chinese Steamed Eggs with Shiitake Mushrooms

A silky smooth, soft savory custard flavored with mushrooms.  Perfect with a bowl of rice. this is Asian soul food.
Course Main Course
Cuisine Asian, cantonese
Keyword crispy roasted mushrooms, lop cheung, Steamed eggs
Prep Time 10 minutes
Cook Time 25 minutes
Total Time 35 minutes
Servings 6 servings

Ingredients

  • 4 eggs whisked
  • 1.5 cups warm water substitute all or part with chicken stock. Liquid should be lukewarm
  • 2 dried shiitake mushrooms soften in warm water and diced
  • 1 lop cheung (Chinese sausage) diced, substitutions include ham, little clams, fresh or dried shrimp
  • 2 tsp rice wine
  • 1/4 tsp salt
  • 1 pinch of each white pepper and sugar

Optional (for garnish)

  • 2 tbsp peanut or vegetable oil
  • 1 green onion finely chopped
  • cilantro for garnish
  • 2 teaspoons light soy sauce
  • 2 drops toasted sesame oil optional
  • 2 tsp oyster sauce optional

Instructions

  • Heat water in a wok or large saute pan with a steamer insert. 
    Combine eggs, water or stock, salt, rice wine, and sugar in a medium-sized bowl. Add mushrooms and Chinese sausage to egg mixture.  
    Pour mixture into a shallow heatproof bowl or pyrex pie plate.  Place in steamer and cover.  Steam over low heat for 20-25 minutes. The eggs should look set and not jiggle in the middle but not look dry.
    Heat peanut oil in a small saucepan until wisps of smoke form.  Garnish eggs with green onions and pour hot oil over the green onions and egg.
    Drizzle with soy sauce and/or oyster sauce over top.
    Serve immediately with rice. 

MIcrowave Cook It!

  • Put your ingredients all in one bowl, zap it, bring it to the table, off chance you don't eat it all....toss the covered bowl in the fridge.  Truly one-bowl cooking! I cooked at 300 watts or 50%  power (I have a teeny 600w microwave) for 8 minutes, or until the custard is barely set in the middle, and jiggles gently if shaken. If it’s too runny, add time at 50% power in 30-second increments. Let rest with the lid on for 1-2 minutes to let the egg gently finish steaming.
Muffin been the Mochi that Caught My Eye (Butter Mochi Muffins)

Muffin been the Mochi that Caught My Eye (Butter Mochi Muffins)

Always searching for new and different treats, I came across an article that spotlighted Third Culture Bakery in Berkeley.  The baker is an alum of Cal (Go Bears) who chose food over toxicology (good choice) and thus Mochi Muffins made with sweet rice flour were put on the map.  Though I haven’t made it to Berkeley to try one, I found a couple of recipes online that sounded scrumptious, so it was off to the rices!  Update: I just posted a new mochi muffin recipe, Mango Mochi Muffins made with mango tea and freeze-dried mangos!  It’s small-batch baking, only 8 regular size delicious muffins.

My Sweet Rice, Oh My Rice

For the uninitiated, mochi (sweet rice flour) is a cornerstone of Asian treats.  Sweet rice is PULVERIZED into flour to which water and flavorings are added.  It ends up looking like the BLOB, really.  It can be flavored, baked, steamed, fried and made into countless delicious treats both sweet and savory.  During New Year’s, Japanese families gather to pound mochi in a tradition called Mochitsuki. Just for your viewing pleasure here is Mitsuo Nakatani, Japanese Mochi Master.  Enjoy

Traditional mochi starts with steamed rice and is pounded and shaped into sweet or savory rice cakes.  Mochi muffins and Hawaiian Butter Mochi start with sweet rice flour, mixed with liquids, and baked.  Since I don’t foresee any of us pounding mochi, let’s make muffins and Hawaiian Mochi. Infinitely easier and pretty darn tasty.

Back on the Muffin Trail

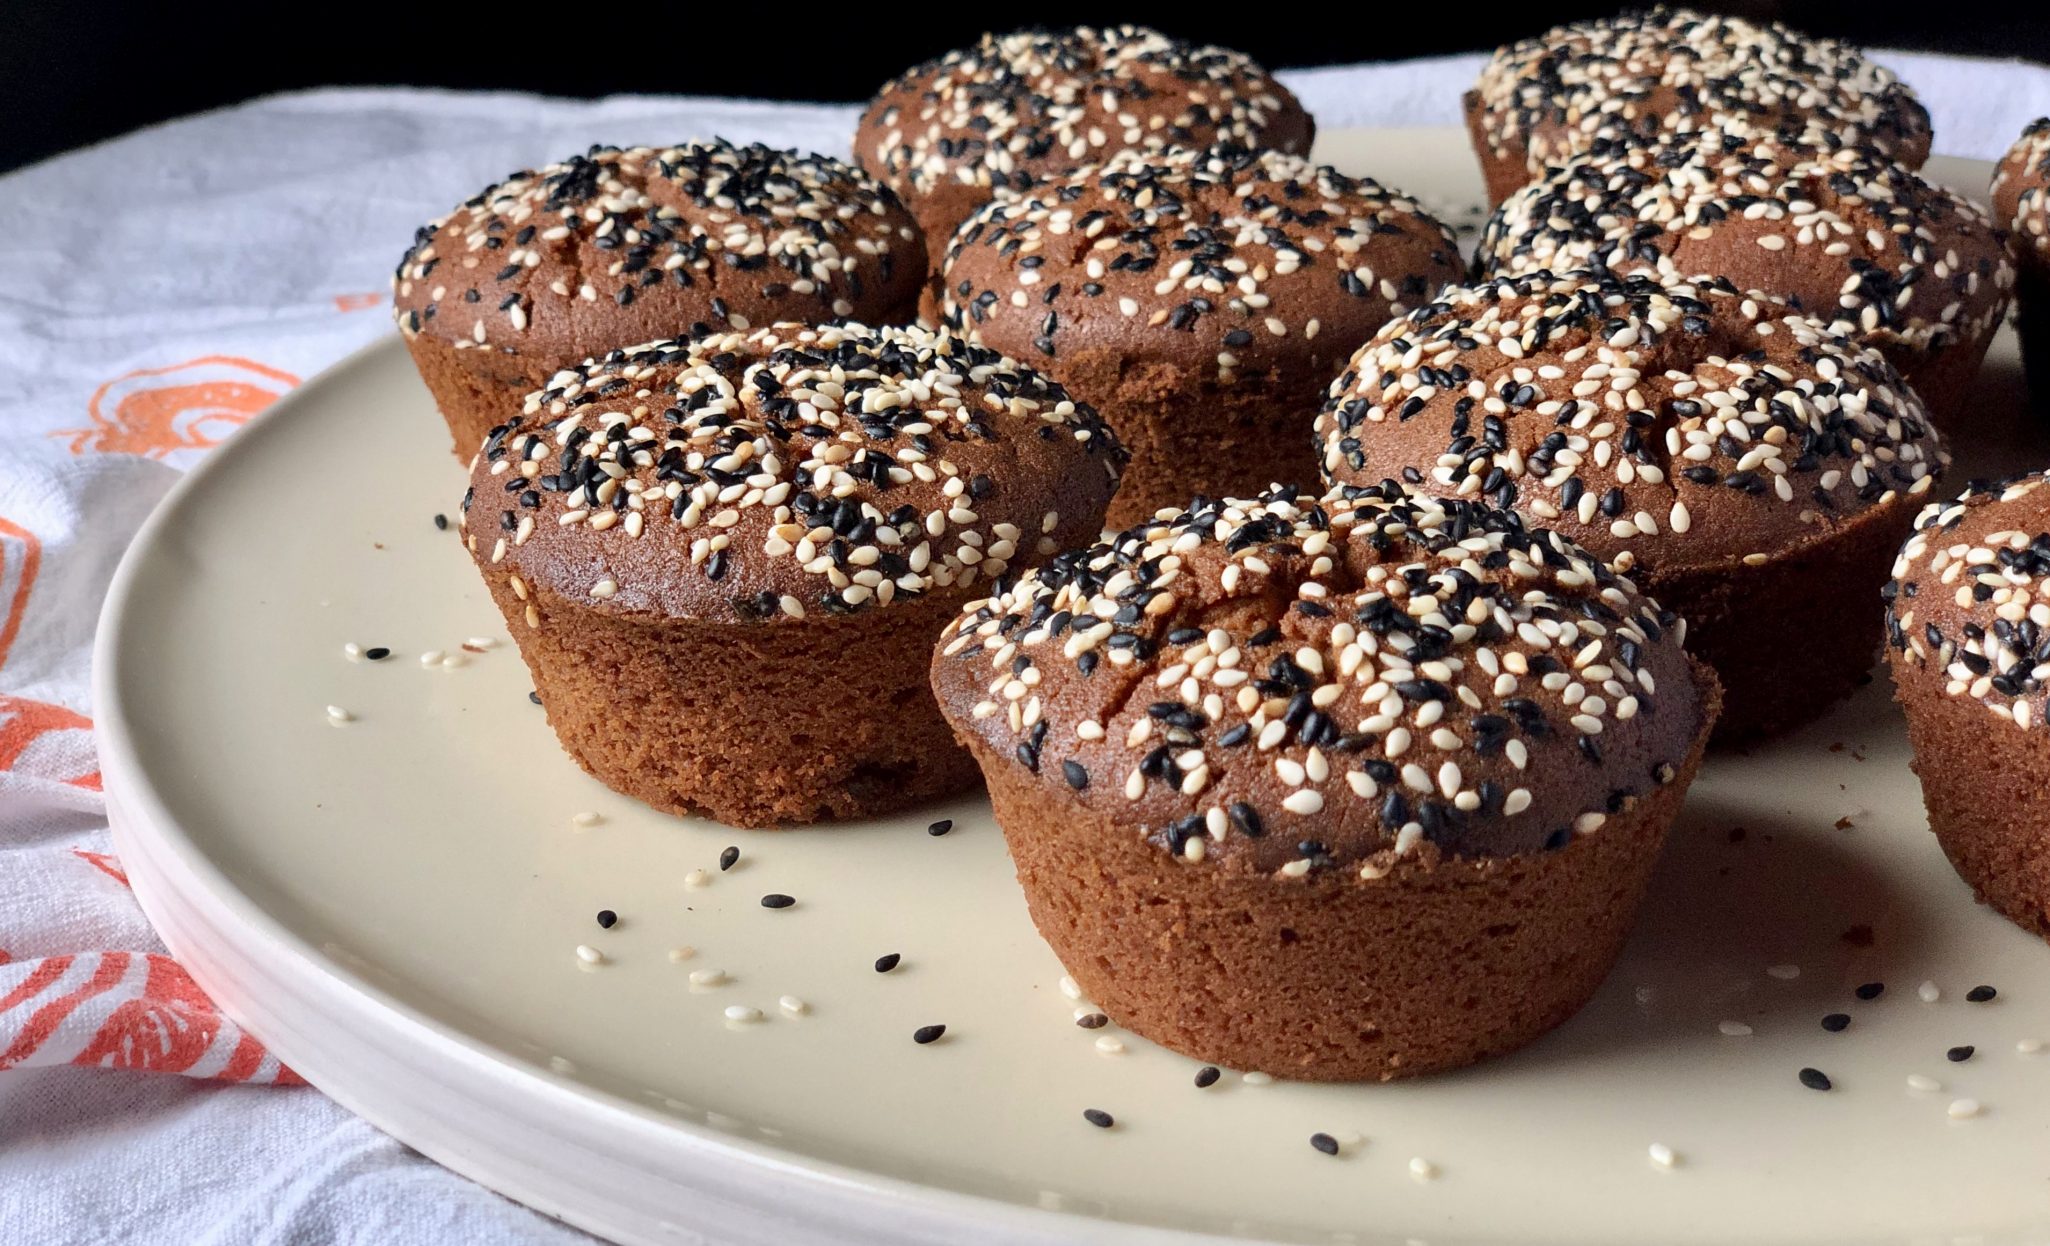
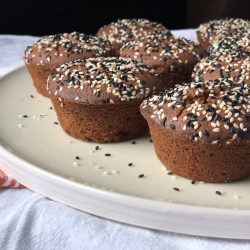
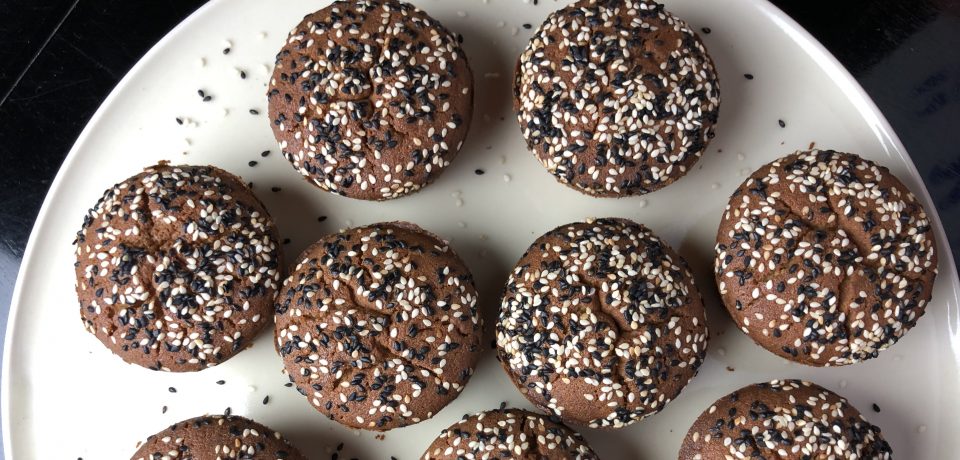
If you have ever had Manju from Shuei-Do Sweet Shop in Japantown in San Jose, or Butter Mochi from Hawaii and liked it…you’re going to love these.  If you haven’t had mochi, this is a good introduction.  Not quite as gooey as Manju and definitely not cakey like a muffin, it’s a delicious hybrid of the two.  A touch of sweetness, crispy on the outside, dense and chewy on the inside, and crunchy from the generous sprinkle of sesame seeds on top.  It’s different but delicious.  If that wasn’t enough, they are GLUTEN-FREE.  You’re welcome.

Rice, Rice, Baby

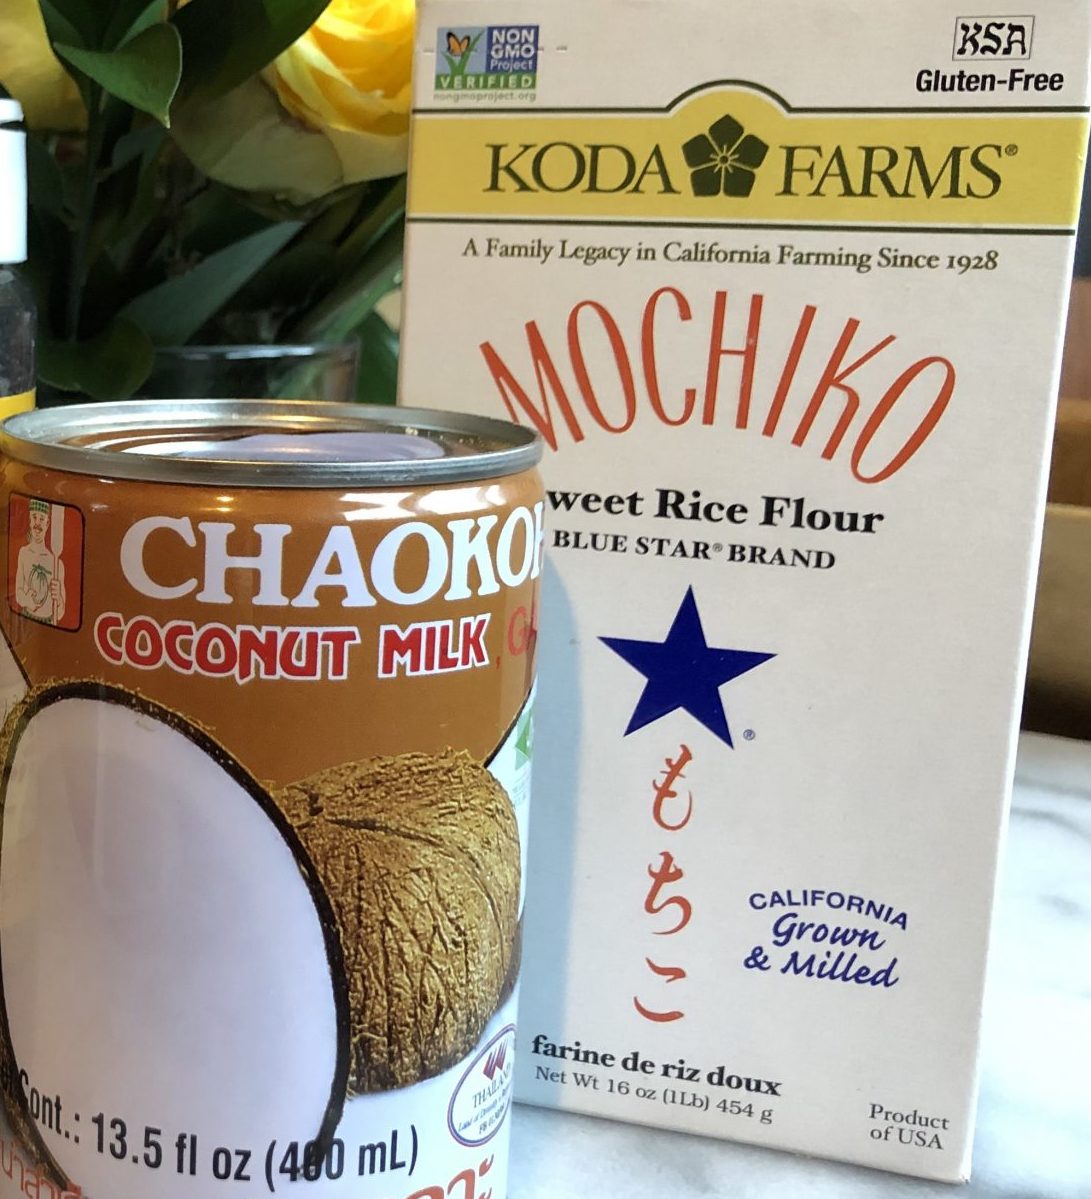
The most important item in the pic is the Mochiko Sweet Rice Flour by Koda Farms.  This is the go-to brand.  You can definitely find it in any Asian store (along with the sesame seeds), and if you’re lucky, at some of your larger local markets.  Take a walk down the international/ethnic food aisle.

I found quite a few recipes for Mochi Muffins online and finally settled on one from a beautiful blog called Snixy Kitchen.  Her batch made 12 muffins, which made her recipe the frontrunner as most made 24.  As yummy as they are, what am I going to do with 24 muffins?!

Mochi muffin batter

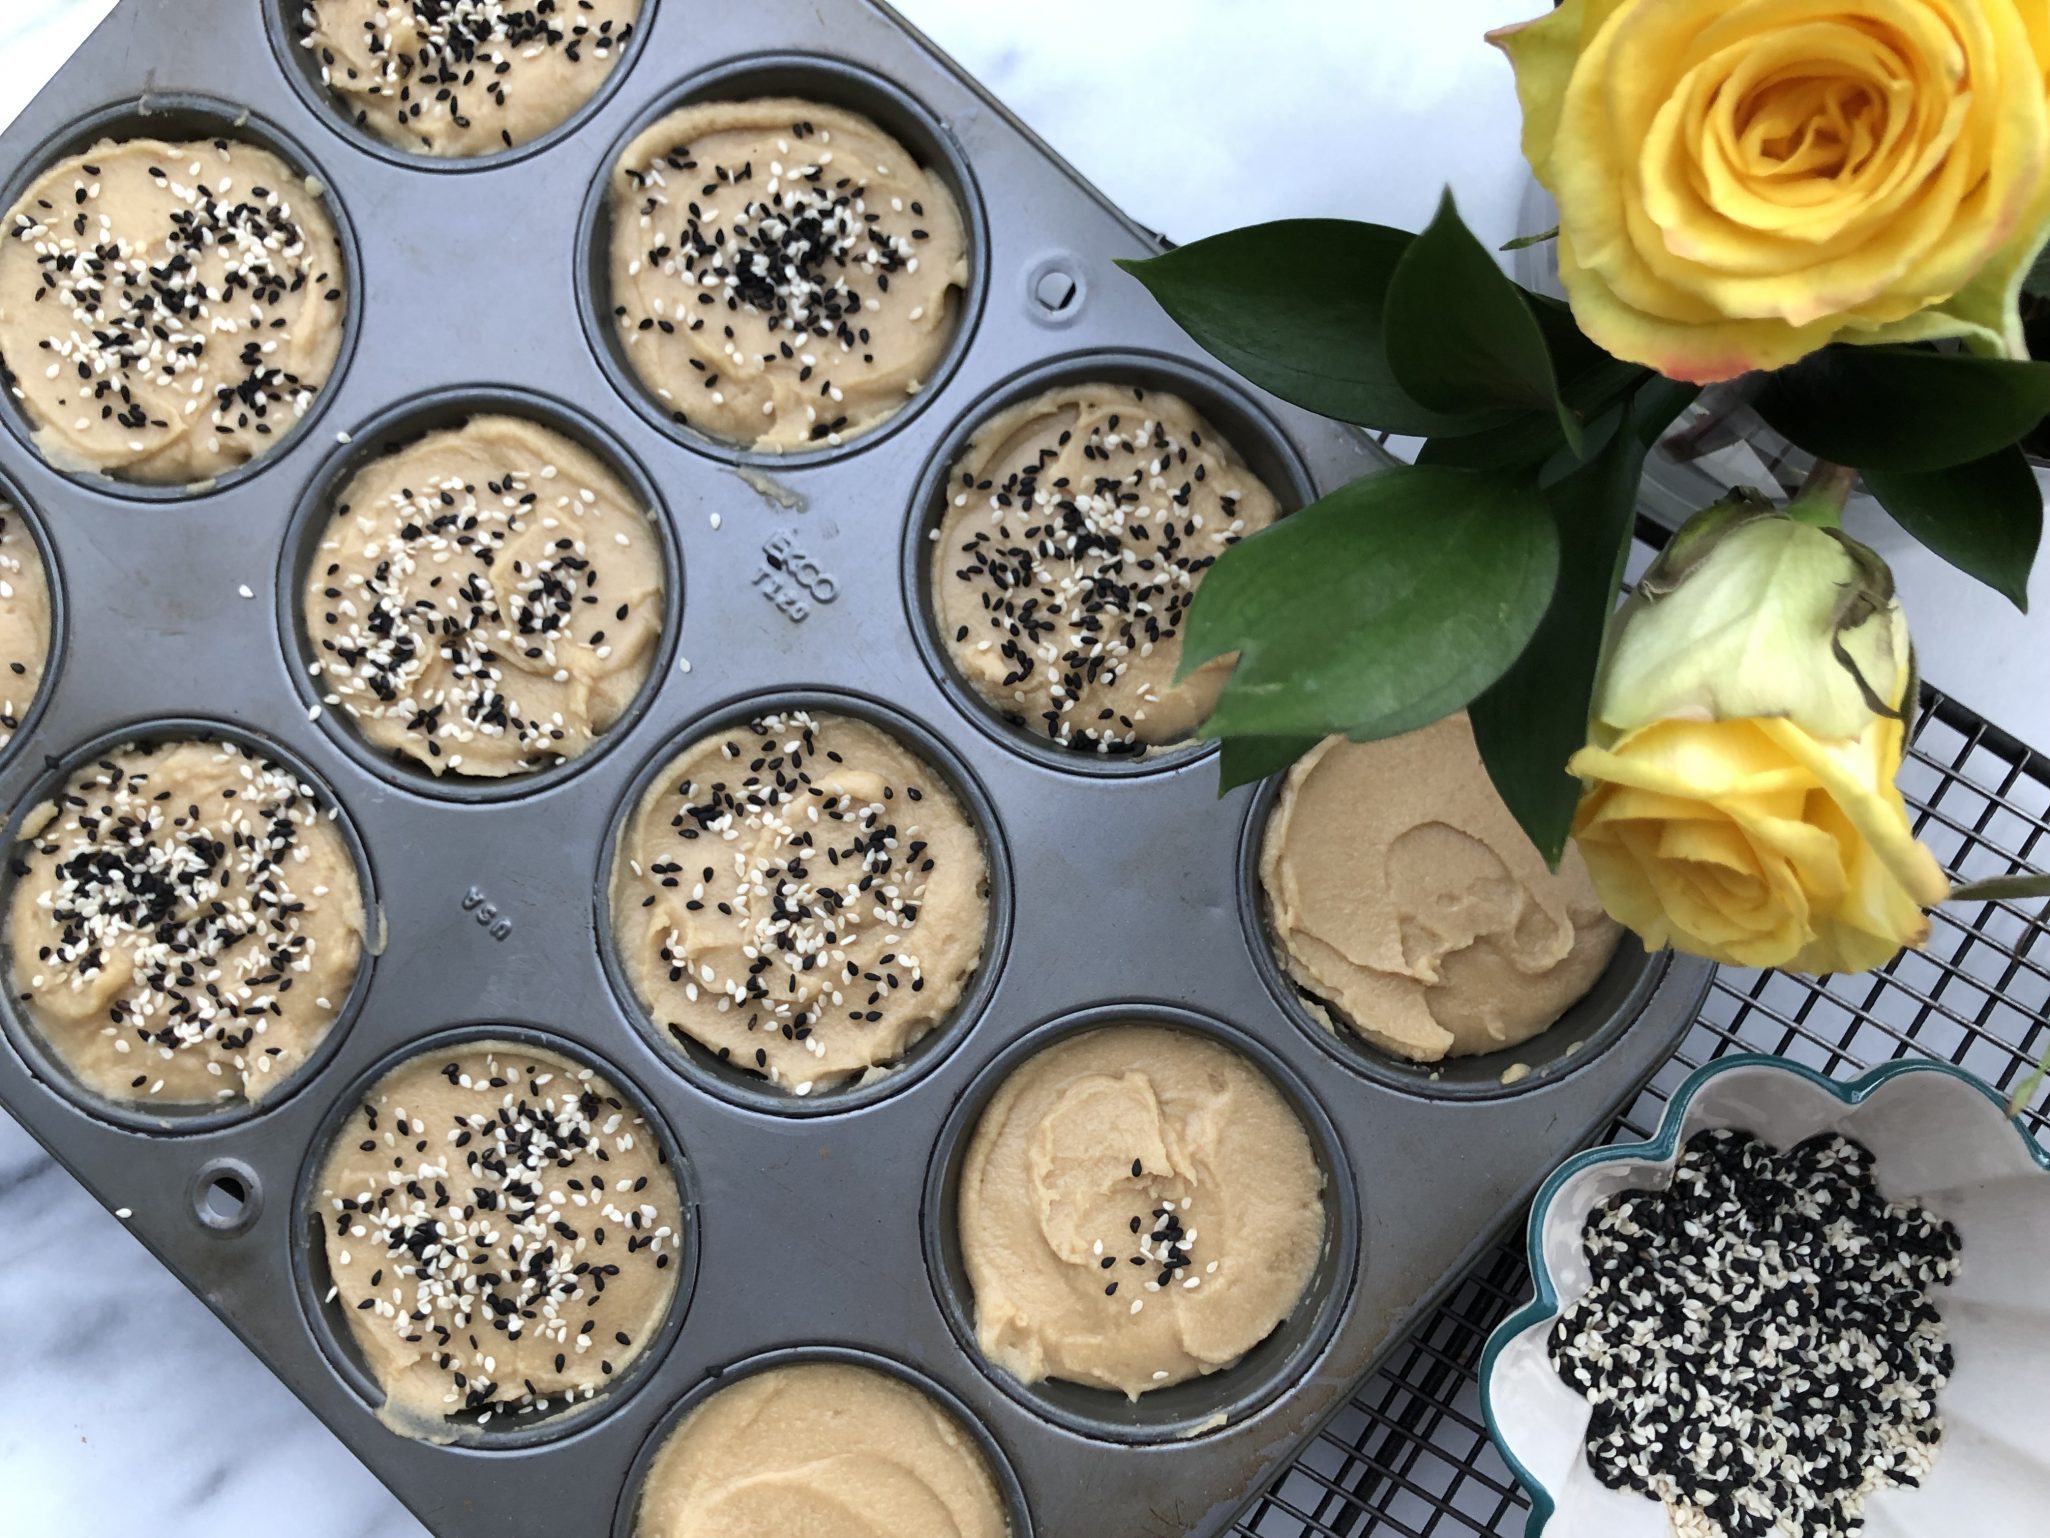
The batter comes together in a snap:  melted butter, coconut milk, egg, brown sugar, and rice flour.  Stir together and pour into a muffin tin.  Boom, done.  My batter was thicker than some of the posts I’ve seen.  This may account for the slight dome mine had.  I also found a recipe from Saimin Noshrat in the NYT.  I think I may try a couple of her tweaks the next time I make these.  Trust me, there will be a next time.  I will use light brown sugar, substitute evaporated milk for some of the coconut milk, and brown my butter.  Not to worry, a full report will follow.  Hmmm, can’t wait to make another batch.

The longer you leave these in the oven, the less gooey and more cake-like they will be.  The first batch was baked for 60 minutes.  I think I should have pulled them out sooner, I like gooey.  Now I check at 40 minutes and pull them out around 45 minutes.  To test them, use a knife to poke the center of a muffin.  It should come out fairly clean with a bit of crumb.

More Mochi Madness

After making these muffins if you like the chewiness, definitely try the Hawaiian Butter Mochi Muffins, inspired by Aloha Kitchen by Alana Kysar.  A little less flour and a bit more liquid kick up the gooey, buttery, lusciousness of these bites.  Bake them in a muffin tin for crispy edges.  I ADORE both of these muffins.

These are soooo good, a little more squishy, very buttery, topped with shredded coconut.

Also check out Peanut Butter Mochi from A Common Table by Cynthia Chen McTernan. Delish! LOVE, love, LOVE

If you would like to try traditional Japanese Mochi, here are my recommendations:  Fugetsu-Do in Little Tokyo in LA, the oldest family-owned Japanese Shop in the US, Shuei Do Manju Shop in San Jose, and in my hometown of SF, Benkyodo Company in Japantown (now closed😢😢😢 )All family-owned artisan shops.

Mochi Muffins
Print Pin
4.53 from 19 votes

Butter Mochi Muffins

Course Dessert
Cuisine Asian-American
Keyword coconut milk, Gluten free, mochi muffin
Prep Time 15 minutes
Cook Time 45 minutes

Ingredients

  • 1/4 cup (2 ounces )unsalted butter, melted and cooled, plus more for greasing pans sub brown-butter
  • 2 cups (320 grams) mochiko sweet rice flour Koda Farms
  • 1 cup (200 grams) organic dark brown sugar* light or dark brown sugar will work
  • 2 teaspoons baking powder
  • 1/2 teaspoon kosher salt 1/4 tsp sea salt
  • 1 13 ounce can full-fat coconut milk Sub evaporated milk, half to all
  • 2 large eggs room temperature
  • teaspoons vanilla extract
  • 1 teaspoon molasses optional, added for flavor or use Golden Syrup or honey
  • tablespoons each black and toasted sesame seeds, for garnish

Instructions

  • Preheat oven to 350°F and place the oven rack in the middle of the oven.
  • Grease the sides and top of a 12-cup muffin tin well with soft butter.
  • In a medium bowl, whisk together the sweet rice flour, brown sugar, baking powder, and salt.
  • In the bowl of a stand mixer fitted with the whisk attachment or a large mixing bowl, whisk together the melted butter, coconut milk, eggs, vanilla, and molasses.
  • With the mixer on low speed, slowly add the dry ingredients to the wet ingredients and mix until completely combined.
  • Divide the batter among the prepared muffin tin, filling each cup all the way to the top.
  • Sprinkle the tops with black and white sesame seeds.
  • Bake 45-50 minutes until the top is brown and crispy and the muffin springs back when poked with a finger.  Bake for less time. for muffins that are chewier and less cakey. Muffins are done when a skewer comes out relatively clean and the tops are brown.
  • Let cool 10 minutes in the pan, then transfer to a wire rack to cool completely.
  • Store in an airtight container for up to 3 days.  Can be frozen and thawed at room temp.

Notes
Organic dark brown sugar is richer and more caramel-y than conventional, but you can use regular brown sugar.
Any muffin tin will do, but for ultimate crispy exterior, use a dark non-stick muffin tin.
If using a light muffin tin, you may have to bake the muffins a little bit longer.
If keeping them for longer, they'll lose their crispiness after a day or two in storage, put them in the oven for a few minutes to crisp again before eating.

Butter Mochi Muffins

Bok Bok, Batch…of Three Cup Chicken

Bok Bok, Batch…of Three Cup Chicken

Gung hay fat choy! Happy Lunar New Year! This is the Year of the Pig and in celebration of this, I spent the last week in Hong Kong with my boys-PIGGIN’ out. It has been years since I have been in Hong Kong and with Jordan living in nearby Korea, we decided a rendezvous was in order.
I walked off the plane and took a deep breath and instantly knew I was back in Asia. The scent that wafted through the air and surrounded me immediately transported me back to my first visit to Hong Kong so many years ago. An amalgam of daily life, food, incense, years of humanity all rolled into one.

Before I regale you with our travels in Hong Kong…let me tell you about our flight.  It’s been a while since I have been on a flight that lasts 14 hours.  AUUUGH!  I don’t care if you are in First Class, Business, or Economy…it’s a LONG time to be cooped up in a plane.  I did manage to catch 40 winks, watch a couple of movies, and pick through multiple cafeteria-like meals.  The highlight was a bowl of instant ramen on the last leg of our journey. By then even the K-Movie I was watching knew how I felt.

One of the meal selections was Three Cup Chicken.  I knew of this classic Taiwanese dish but have never had it. This peaked my curiosity so I made a mental note to try this dish when I got home.

A day of vegging out to get over my jet lag and I was ready to hunt down the recipe for Three Cup Chicken.  The first thing I noticed was, though called 3 cup chicken, most recipes did not use those proportions.  Thank goodness since that is a lot of sesame oil.

I decided on a mash-up from two of my go-to blogs, The Woks of Life and No Recipes. You can use bone-in pieces like chicken wings but the next time I think I will try boneless thighs.  This dish is easy to prepare and lands on the dinner table in minutes…my kind of dish.

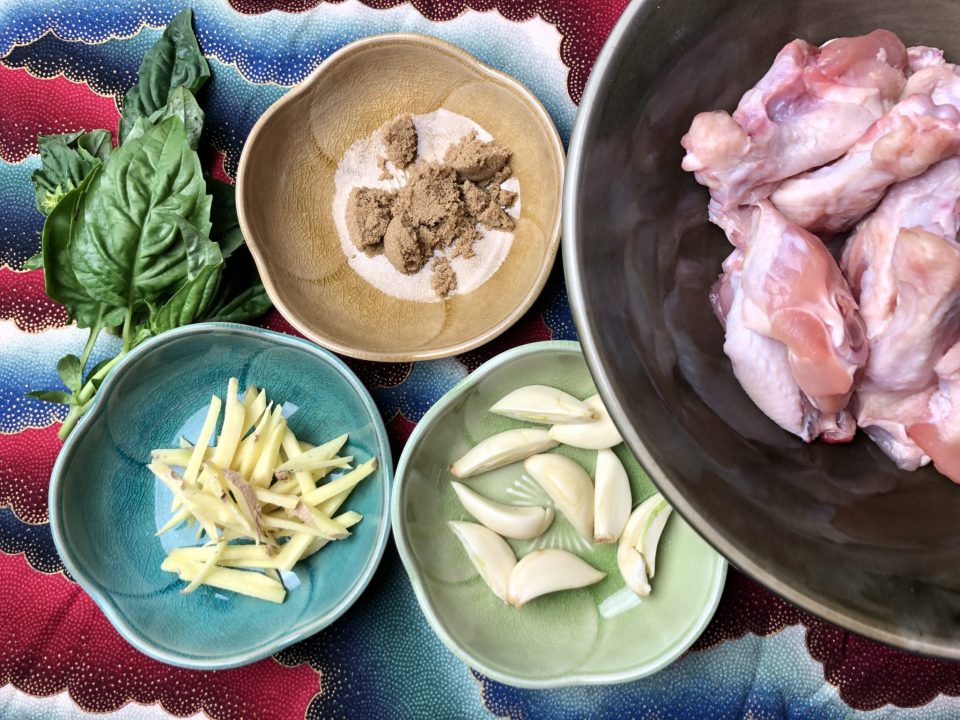
The soy sauce, sesame oil and rice wine form the braising liquid but the addition of garlic, ginger and Thai basil really sets this dish apart. No wonder it’s a classic that has stood the test of time.  One recipe called for a touch of sugar, sounded good, so I included it. If you like spice, throw in 1-2 Thai chili peppers for good measure.

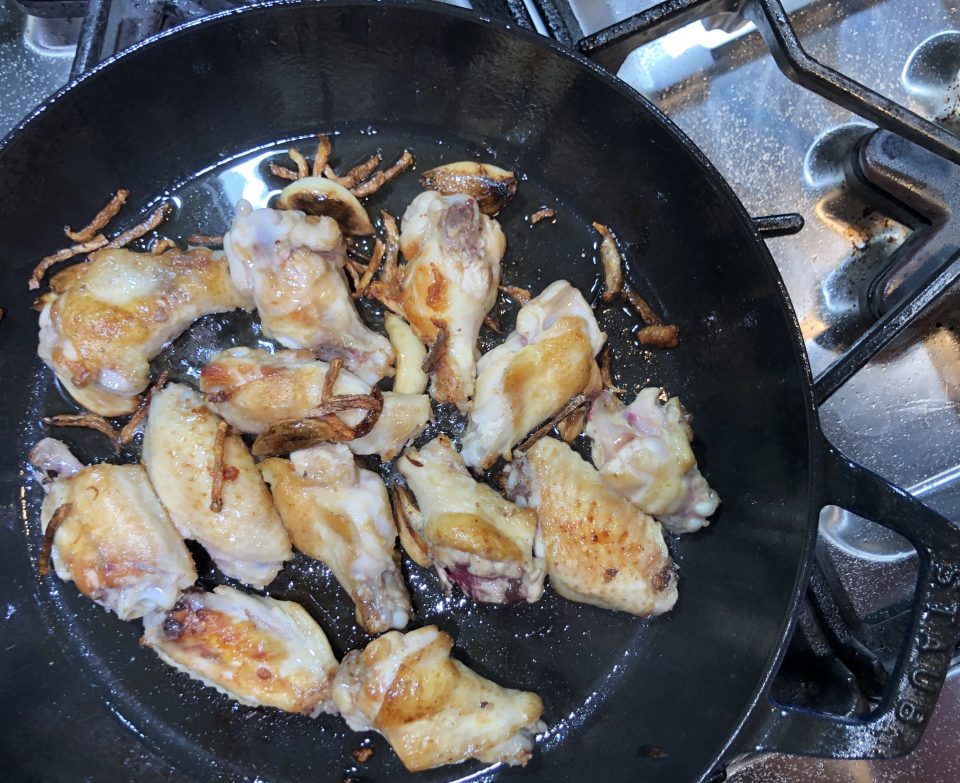
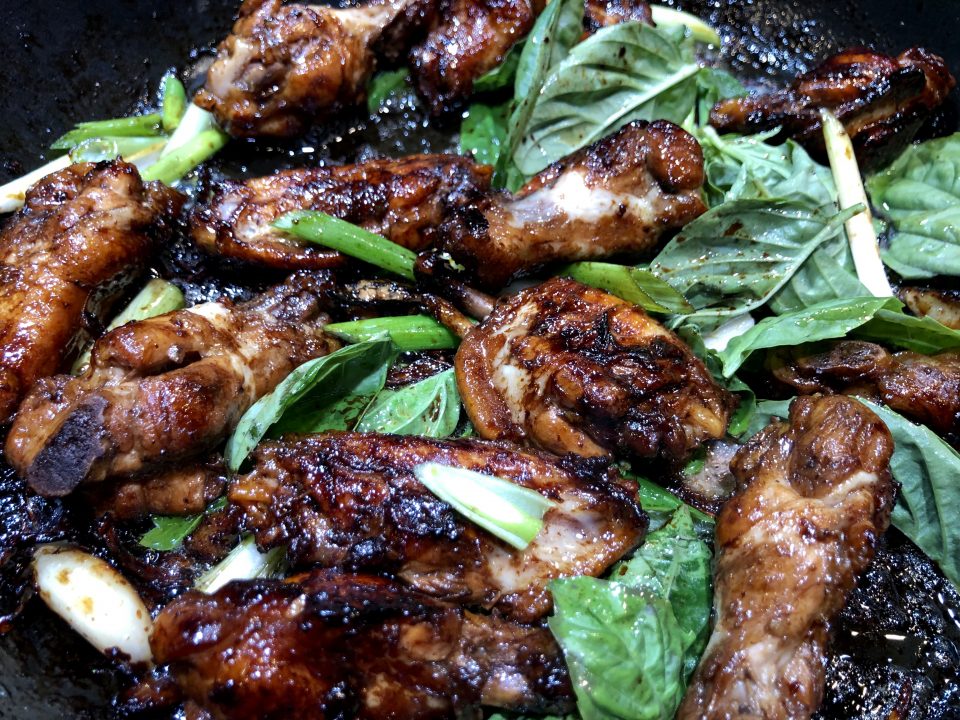
The aromatics are heated in oil before adding the chicken.  Brown the chicken and add the braising sauce.  Simmer, turning the pieces occasionally.  The sauce will reduce and coat the chicken creating a deep caramel color. Can you say yum?  Finish with the basil and green onions.  Be generous with your basil it adds a ton of flavor to the dish.

The chicken is browned in the ginger, garlic infused oil.
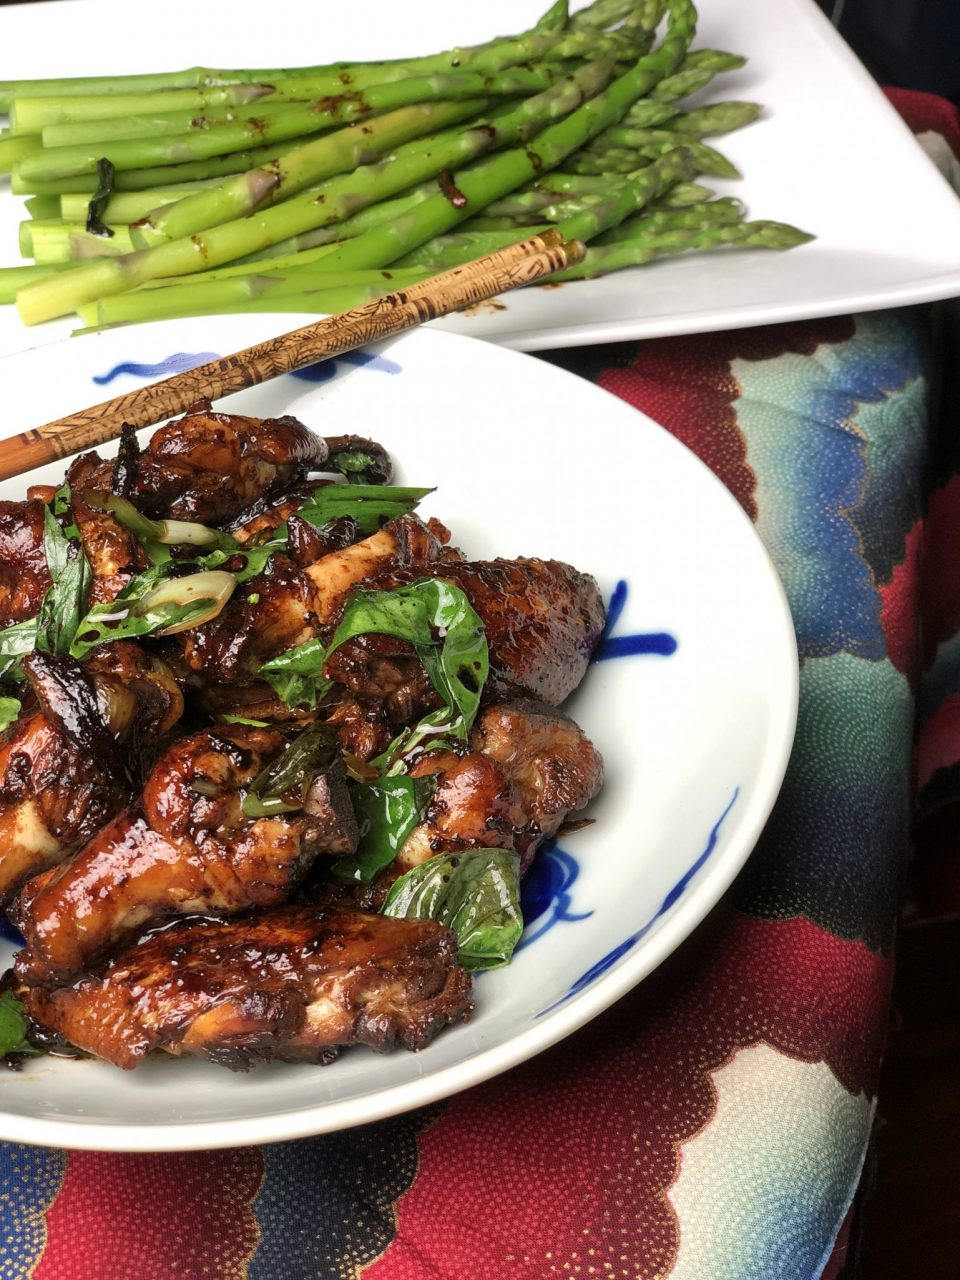
Isn’t that a lovely color?  Serve with steamed rice and veggies. The perfect meal.
So delicious. Don’t tell Cathay Pacific, but this version of 3 Cup Chicken is so much better than theirs!

San Bei Ji(三杯鷄), or Three Cup Chicken

Taiwanese dish made by cooking chicken with sesame oil, soy sauce and rice wine.
Course Main Course
Cuisine Asian
Keyword 3 Cup Chicken
Prep Time 10 minutes
Cook Time 15 minutes
Total Time 25 minutes
Servings 4
Calories 460kcal

Ingredients

  • 1 tablespoon peanut oil or vegetable oil
  • 2 tablespoons toasted sesame oil
  • 1 inch piece ginger sliced then julienned
  • 6-8 cloves of garlic lightly crushed, but left whole
  • 1 thai chili seeded and sliced crosswise optional
  • 1.25 pounds boneless skin-on chicken thighs sub: 1.5 pounds chicken wings
  • 1/4 cup Chinese rice wine mijiu or shaoxing
  • 1 tablespoon dark soy sauce
  • 1 tablespoon light soy sauce
  • 2 teaspoons brown sugar
  • 1 cup loosely packed Thai basil leaves only
  • 1-2 green onions thinly sliced

Instructions

  • Heat a large pan or wok until hot. Add the peanut oil then ginger and garlic (and chili if using).  Fry until fragrant, but don't let it brown.
  • Add the chicken in a single layer, skin-side down and fry until the skin is well browned.
  • Flip the chicken over, and then add the rice wine, dark soy sauce, regular soy sauce, sesame oil and sugar.
  • Cover and simmer over medium low heat for 10-15 minutes, or until the chicken is tender, flipping the chicken over a few times as it cooks.
  • Remove the lid and turn up the heat. Reduce the liquid into a thick sauce.
  • Add the Thai basil leaves and toss to coat.
  • Serve with rice.


Cool as a Cucumber Banchan (Simple Asian Cucumber Salad)

Cool as a Cucumber Banchan (Simple Asian Cucumber Salad)

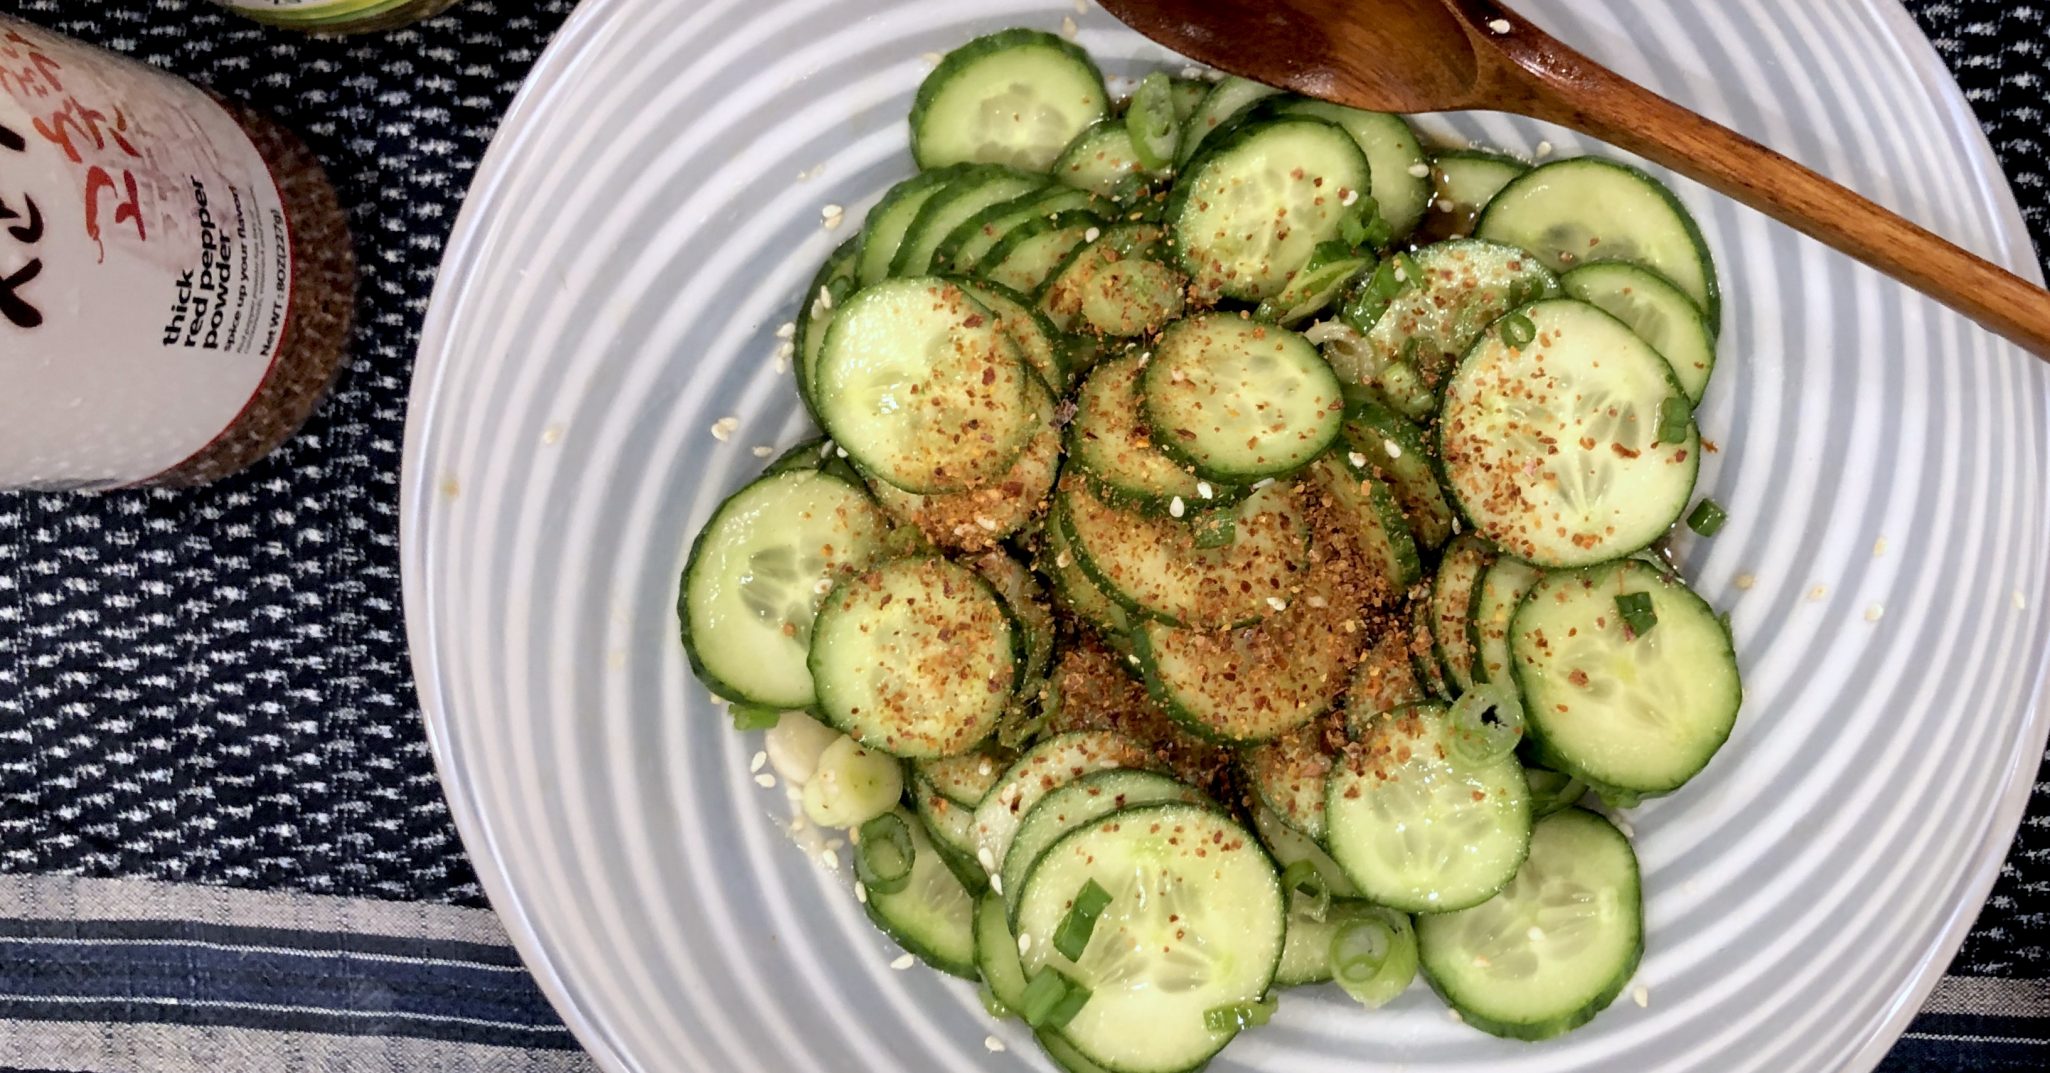
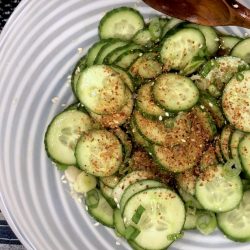
Are you like me? I hate making salads. I love salads, but prepping veggies, not so much. I only have enough bandwidth to prep maybe 1-2 fixings for a salad. Which means my salads are pretty darn boring. Helloooo, Banchan.  Banchan are little appetizers plates that come with every Korean meal.  Banchan can include seafood like fishcake but are generally comprised of vegetables such as soybeans, radishes, potatoes or CUCUMBERS (my favorite). It’s my veggie salvation.  Instead of a salad, I pull out my jar of kimchi or pickled radishes, slice some cucumbers and splash a soy sauce, sesame oil, and green onion dressing on the cucumbers.  So refreshing and delicious.  Yep, rockin’ the banchan.

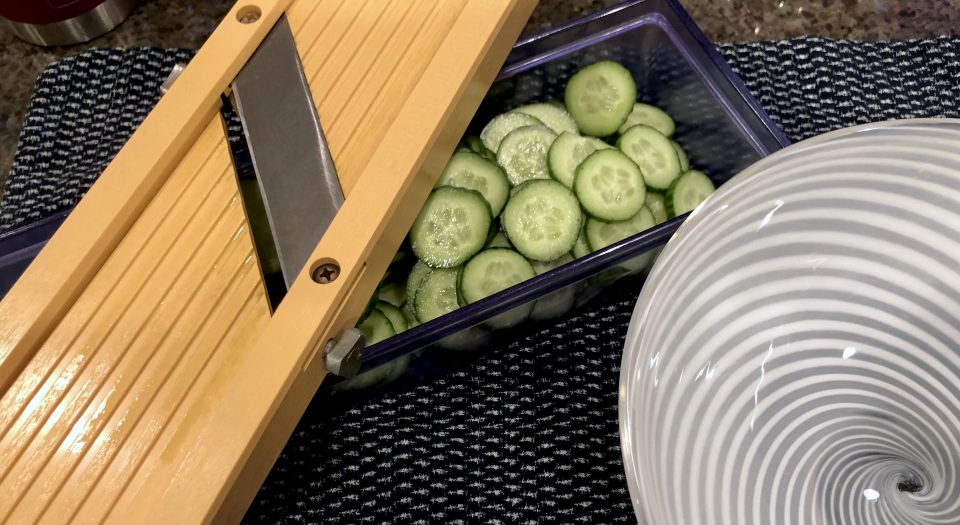
One of my favorite kitchen gadgets is the Japanese Behringer mandoline.  I purchased mine when I was in school in  Los Angeles a long time ago, and I mean a LONG time ago.  Thirty years later it’s still going strong, it’s a great option if you don’t have a mandoline.  It is sturdy, inexpensive and apparently very durable (I can vouch for that), find it here.

I love this little salad.  It is stupid easy to make and delicious. I use soy dashi, (a combination of soy sauce and dashi, a fish-based stock) when I want a smokey, slightly briny taste to the cucumbers.  Would be a lovely side dish with the Gochujang-Lime Salmon or the Braised Pork Belly rice bowl.

Cucumber Banchan

Course Side Dish
Cuisine Asian
Keyword cucumber salad
Prep Time 10 minutes

Ingredients

  • 1 cucumber Japanese, English, Persian about 1 1/2 cup sliced for 1 cucumber

Dressing

  • 1 Tbs soy sauce or Soy Dashi
  • 2 Tbs rice vinegar
  • 1 Tbs sugar
  • 1/2 tsp Korean red chili powder
  • 1 tsp sesame oil

Garnish

  • 1/4 tsp sesame seeds
  • 2 green onions chopped

Instructions

  • Slice cucumbers into thin slices. Around 1/8 inch (3 mm).
  • Mix soy sauce, vinegar, sesame oil and sugar in a bowl. Pour soy vinegar into the bowl with cucumbers.
  • Then, add 1/2 tsp chili powder and sesame seeds. Mix and taste. Add more chili powder if you want. Doing it in this order allows you to taste and control the amount of chili powder based on how spicy you want it.
  • Add chopped green onions and mix again.
  • YOU ARE DONE!! Serve immediately for the freshest and crunchiest cucumbers. You can also let it sit for 10-15 minutes for the cucumbers to absorb the dressing before serving.
Rainy Day Eats: Braised Pork Belly ala Instant Pot

Rainy Day Eats: Braised Pork Belly ala Instant Pot

I am a sucker for rice bowls and noodle soups, especially when the weather turns cold and dreary. There is something comforting about eating out of a bowl. I love sitting by the window watching the falling rain and listening to the blustering wind while holding a bowl of deliciousness.  My Dad’s stew, my Mom’s won ton soup, spicy Thai curry or gooey mac and cheese all come to mind.

Yep, living life one bowl at a time.

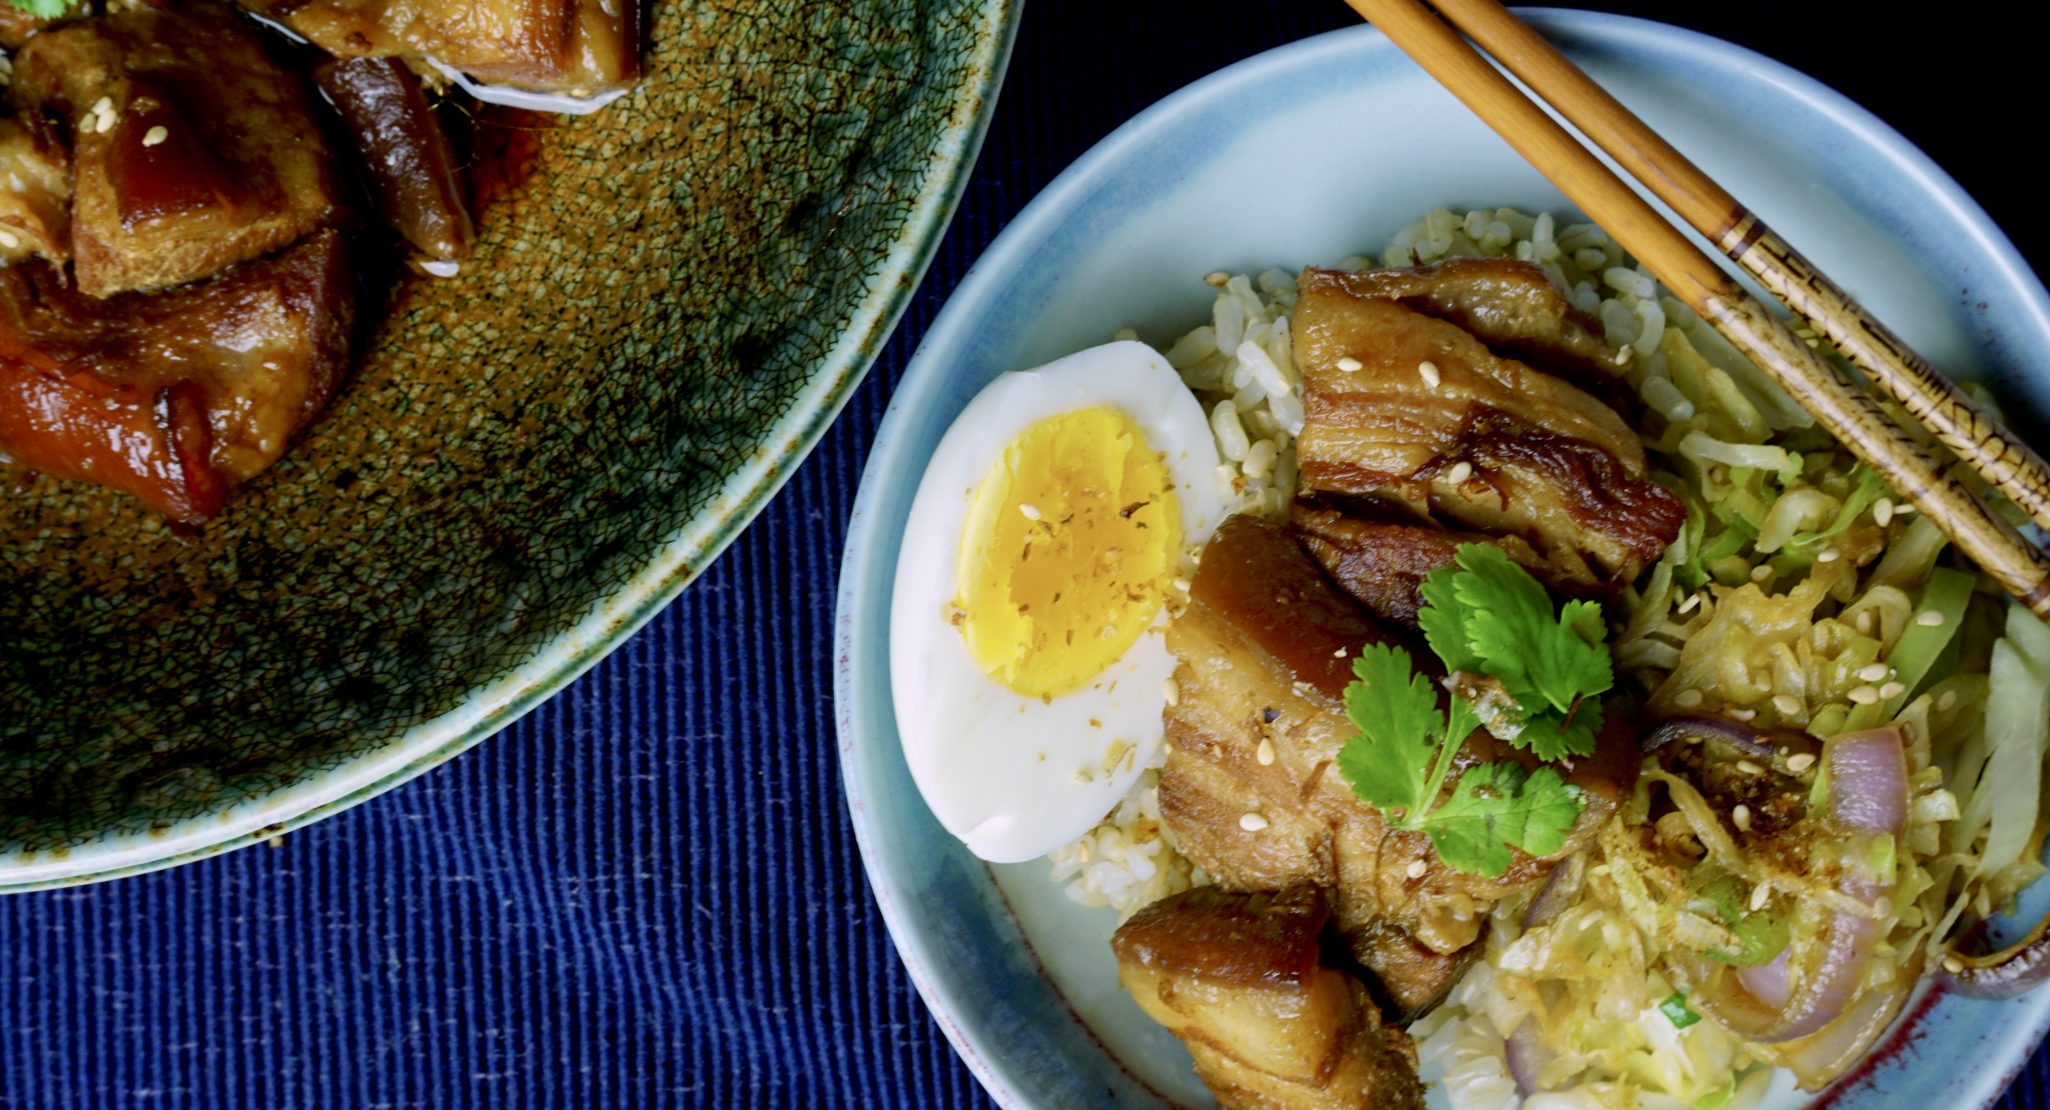
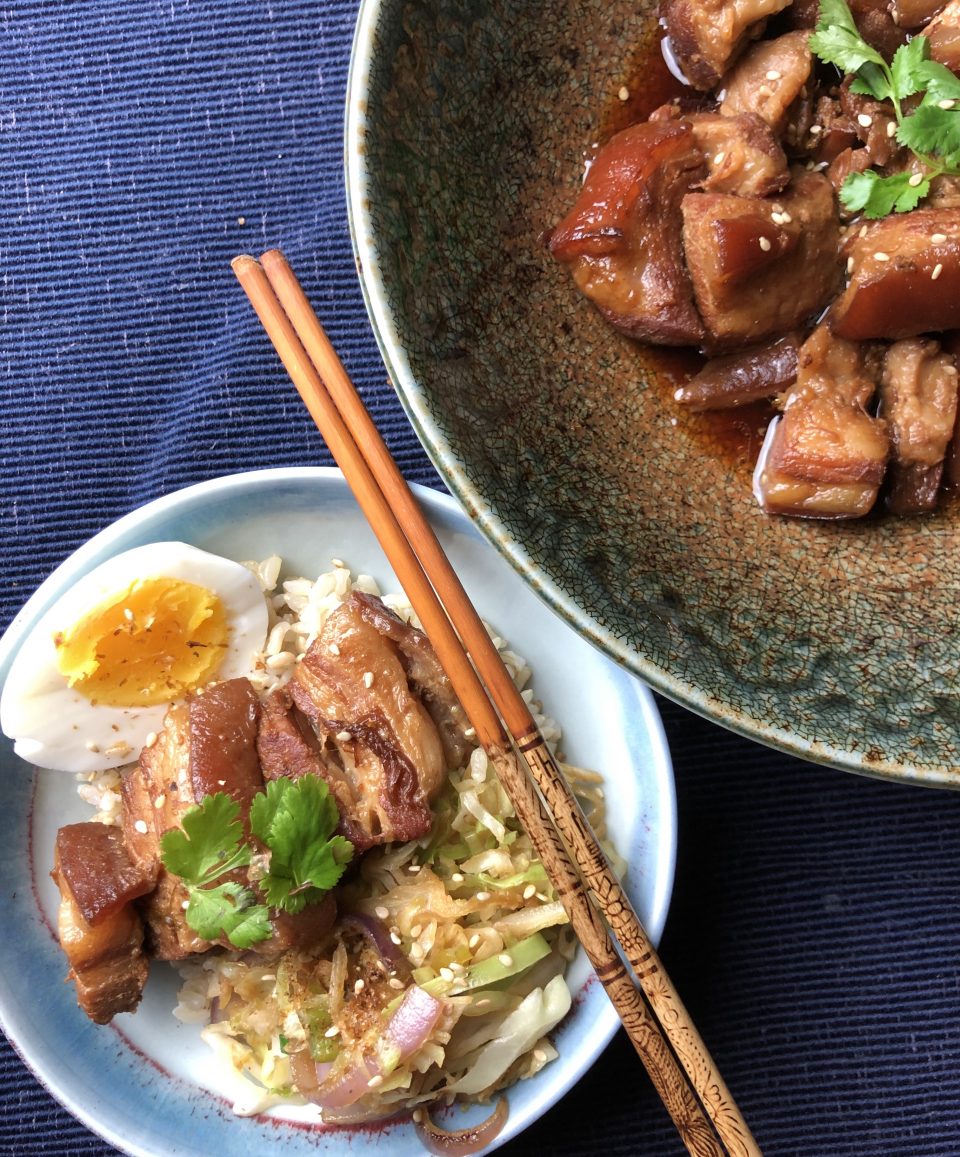
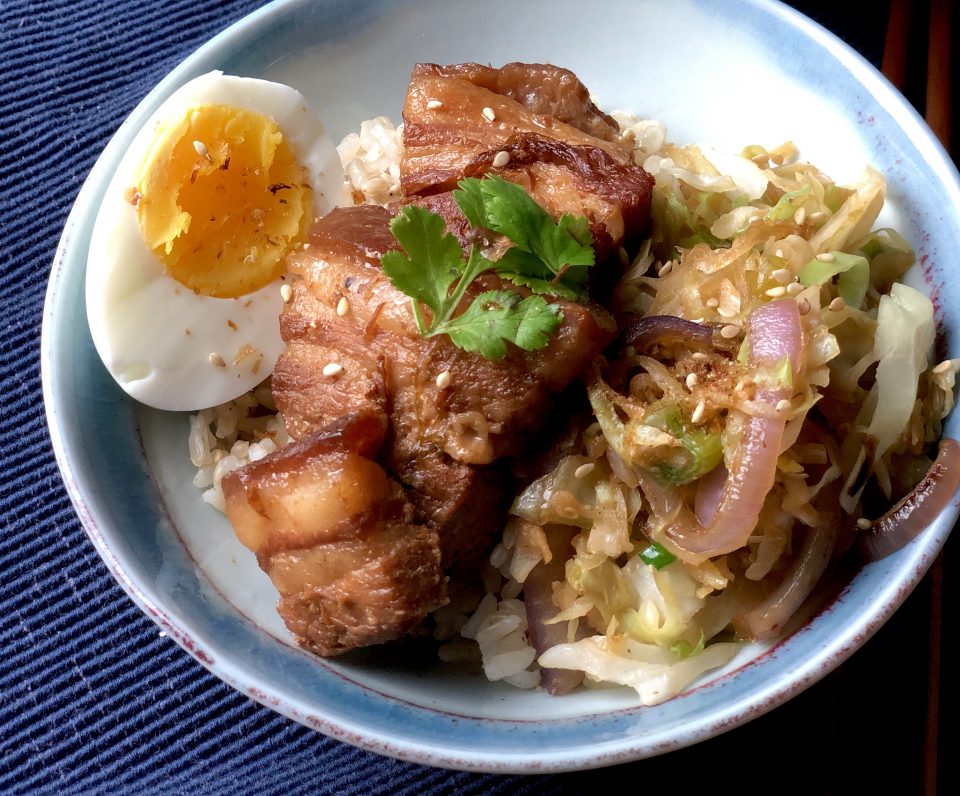
Japanese braised pork belly, Buta Kakuni falls neatly into this scenario.  Simmered in soy sauce, sake and sugar, the pork becomes so tender it melts in your mouth and has that sweet salty flavor that I love.  It is rich and flavorful, so a little goes a long way.  Grab a good sized bowl, add a big scoop of steamy hot rice, lay 2-3 pieces of the pork on top and drizzle the braising liquid over it.  Serve with a ramen style soft boiled egg and vegetables.  Yep, a bowl of rockin’ goodness.

Normally, this dish takes a couple of hours to make, but thanks to the Instantpot, you’ll be sitting down to eat in less than an hour.

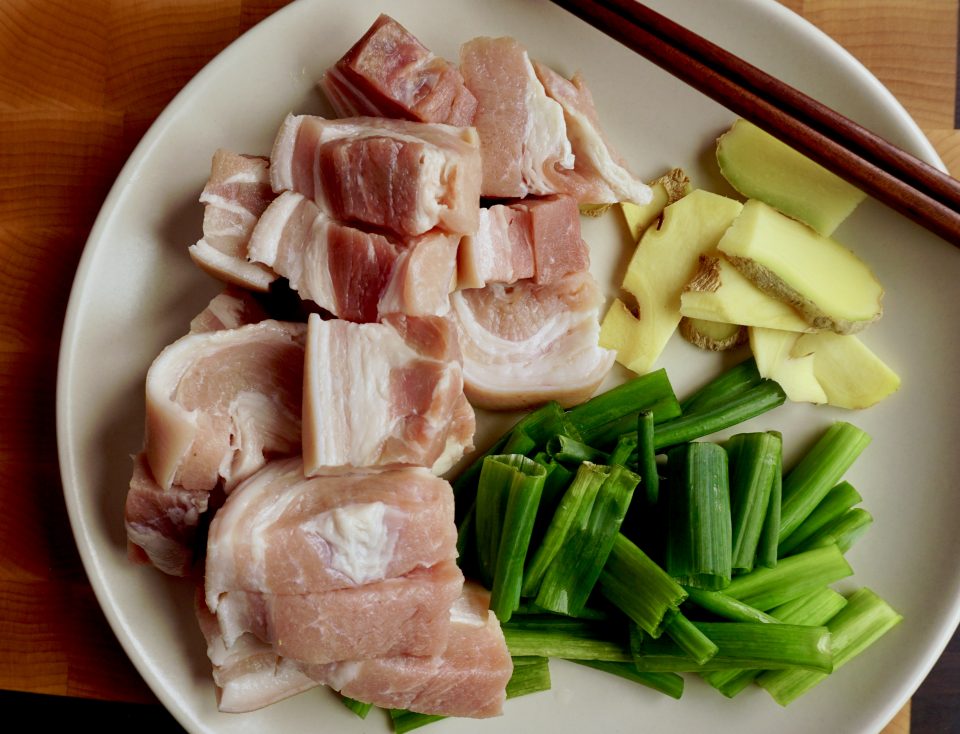
pork belly ingredients

This recipe is adapted from the blog Just One Cookbook, another favorite for Asian recipes. Slab pork belly can be found in most Asian markets or ask your butcher to save you a piece.  If time is tight, you can forego browning the pork, but I think it does add flavor and color.  Reduce the Mirin to 1/4 cup and increase the sake to 1/2 cup to cut the sweetness. The recipe calls for adding soft boiled eggs to the pork to finish cooking.  Instead, cool the braising liquid and put the peeled soft boiled eggs in to seep overnight a la ramen style eggs. Love oozy runny egg yolks.  Feel free to follow the recipe or try Serious Eats’s recipe for ramen eggs, both are delicious!

This is classic comfort food.  I stir-fried some shredded cabbage and onions with the braising liquid as an accompaniment.  Another option is a super simple Asian Cucumber Salad. The crisp cucumbers provide a nice contrast to the soft pork. Plus, it’s nice to get some veggies in for a “well-rounded” bowl.

Enjoy!

PRESSURE COOKER PORK BELLY (KAKUNI)

Braised Pork Belly in a fraction of the time with an Instant Pot.  Delicious with a bowl of rice or ramen. 
Course Main Course
Cuisine Asian
Keyword Instant Pot, Pork Belly

Equipment

  • Instant Pot or pressure cooker

Ingredients

  • 3 green onions/scallions use only the green parts
  • 1 inch ginger
  • 1 Tbsp neutral flavor oil vegetable or canola
  • 2 lb pork belly block 2 lb = 907 g
  • Water for cooking pork belly
  • 4 soft/hard boiled eggs See Notes
  • Shichimi Togarashi Japanese seven spice (for taste, optional)
  • Chinese Mustard

Seasonings

  • 1/2 cup sake 1/2 cup = 120 ml
  • ½ cup water ½ cup = 120 ml
  • 1/4 cup mirin 1/4 cup = 60 ml
  • ½ cup soy sauce ½ cup = 120 ml
  • ¼ cup sugar ¼ cup = 50 g

Instructions

  • Cut pork into 1-inch pieces
  • Peel and cut ginger into slices.  Using the green part only, cut scallions into 2 inch segments
  • Switch Instant Pot to Saute' function and add oil to pot.  When the oil is hot, add pork and brown (3-5 minutes).  Add water to pot to cover the pork.  Add green onions and ginger to pot.
  • Cover Instant Pot and seal, make sure the knob is set to sealing.  Cancel saute' function and set function on stew/meat (35 minutes)
  • When the pork is finished, carefully vent to quick release pressure.  Drain pork.  Add seasoning ingredients to the Instant Pot and return pork to pot.  Add soft boiled eggs to pot unless seasoning them separately.  See notes.
  • Seal and set pot on stew/meat function and set time to 10 minutes.  When finished, quick release vent pot.  
  • Remove pork and eggs from pot. Taste the seasoning liquid, if it seems to dilute, set pot on saute' and reduce.  Reserve sauce for serving.
  • Serve pork and eggs over rice or ramen. Garnish with Shichimi Togarashi.  Drizzle sauce over rice and serve with mustard. Enjoy.

Notes
If you don't have Mirin, increase Sake to 3/4 cup and add 1 tablespoon sugar.  If you like a soft runny egg, do not put it in the Instant Pot to cook.  Cook your eggs separately. You can cool the cooking liquid and place the peeled soft boiled eggs in the liquid to seep for a couple of hours or overnight.  You do not have to seep the eggs.  You can serve the eggs in your rice bowl drizzled with the cooking liquid and sprinkled with seaweed seasonings (furikake) if you want.
 

Seoul Satisfying: Bulgogi-Korean Grilled Beef

Seoul Satisfying: Bulgogi-Korean Grilled Beef

Maybe it’s a way to stay connected to my kid who is living in South Korea and teaching English.  My current obsessions are K-Dramas and Korean food.  I absolutely adore both.  My gateway to K-dramas was Amazon (damn you-Jeff Bezos, just kidding).  Suffice to say the rom-com genre is alive and well in South Korea. My favorite show is about an immortal who has been searching for his “bride”, the only person who can actually put him out of misery-I know, ironic. It’s called Goblin or Guardian.

My other obsession is Korean food.  Korean cuisine is right up my alley-spicy, flavorful tofu soups, pickled vegetables-Kimchi, Korean barbecue, noodles (Japchae), dumplings (mandu), and bap (rice), the cornerstone.  When I was a kid I would always unceremoniously dump my bowl of rice into my soup.  I’d swish the rice around to let it absorb the flavors of the soup before eating.  Now I find myself enjoying Korean Tofu Soups in the same fashion.

Then there is Korean barbecue. Beef, pork, chicken marinated in soy sauce, garlic, sesame, and onions-grilled over charcoal giving the meat that lovely smokiness, so good.

Like Chinese meals, Korean meals are very communal. Dishes are placed in the center of the table to be shared by all. Parents select choice tidbits to place in each child’s bowl.  Teens serve their grandparents.  Everyone feeds the babies. Chopsticks constantly moving food from plates and bowls and finally to mouths.  Eating is such a connection.  For Koreans and Chinese we often greet family and friends not with hello but with “have you eaten yet?”.

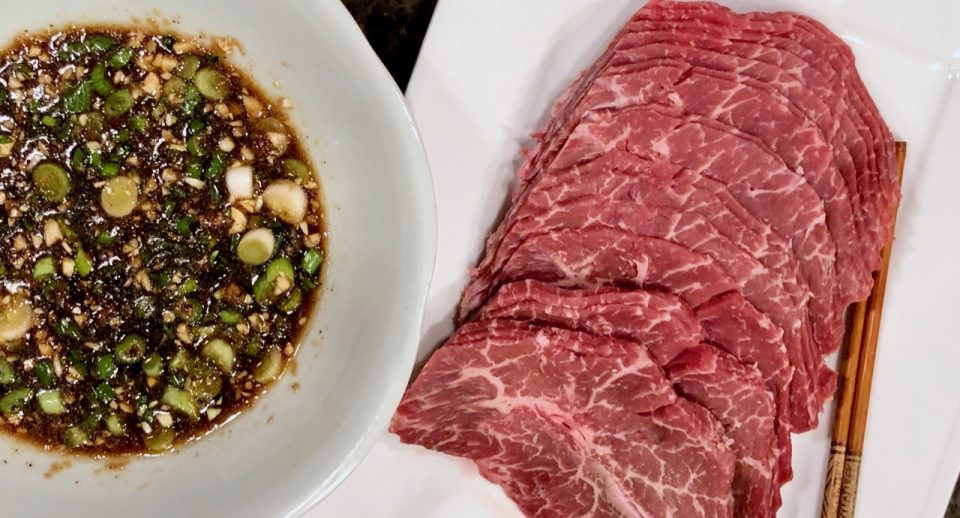
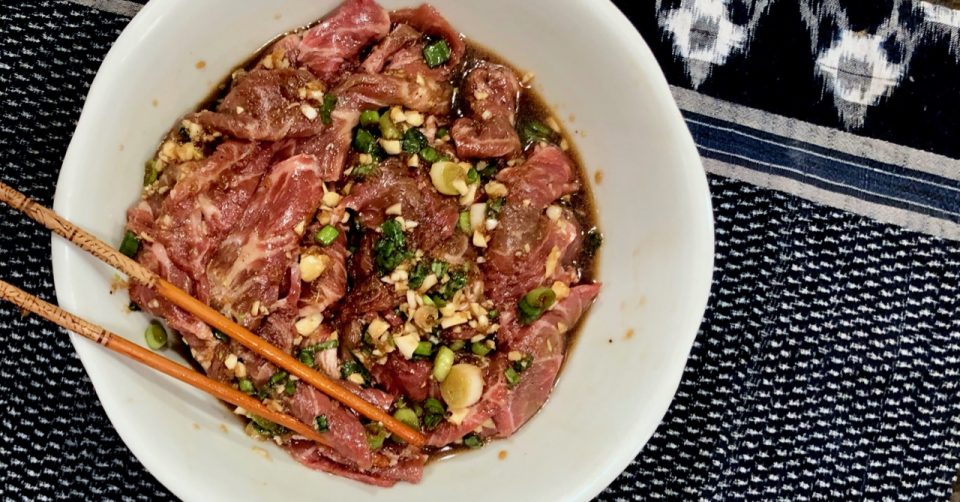
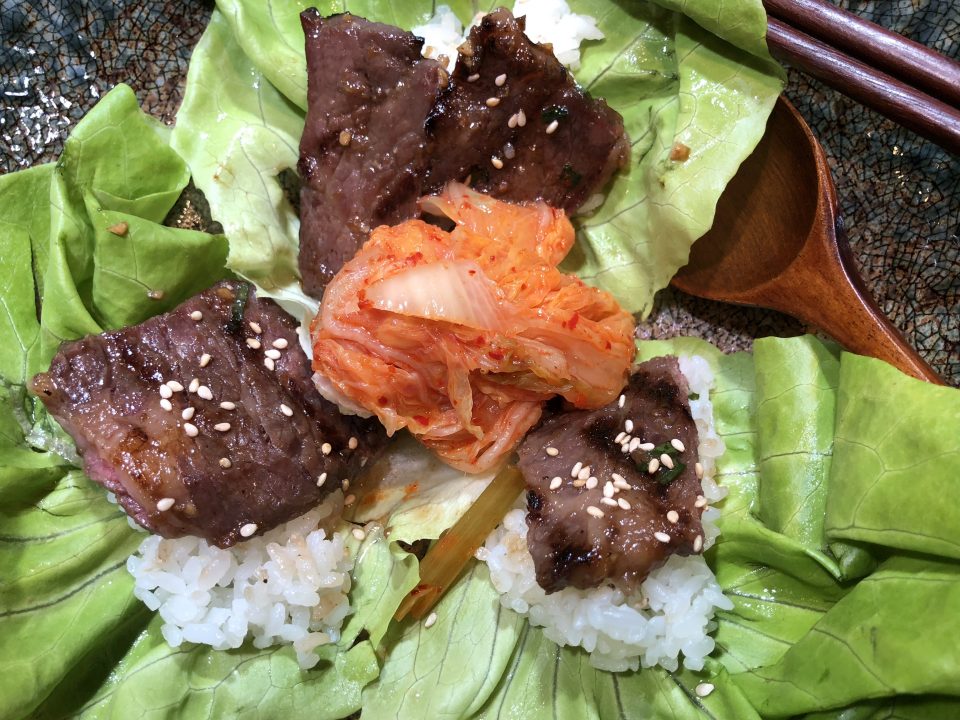
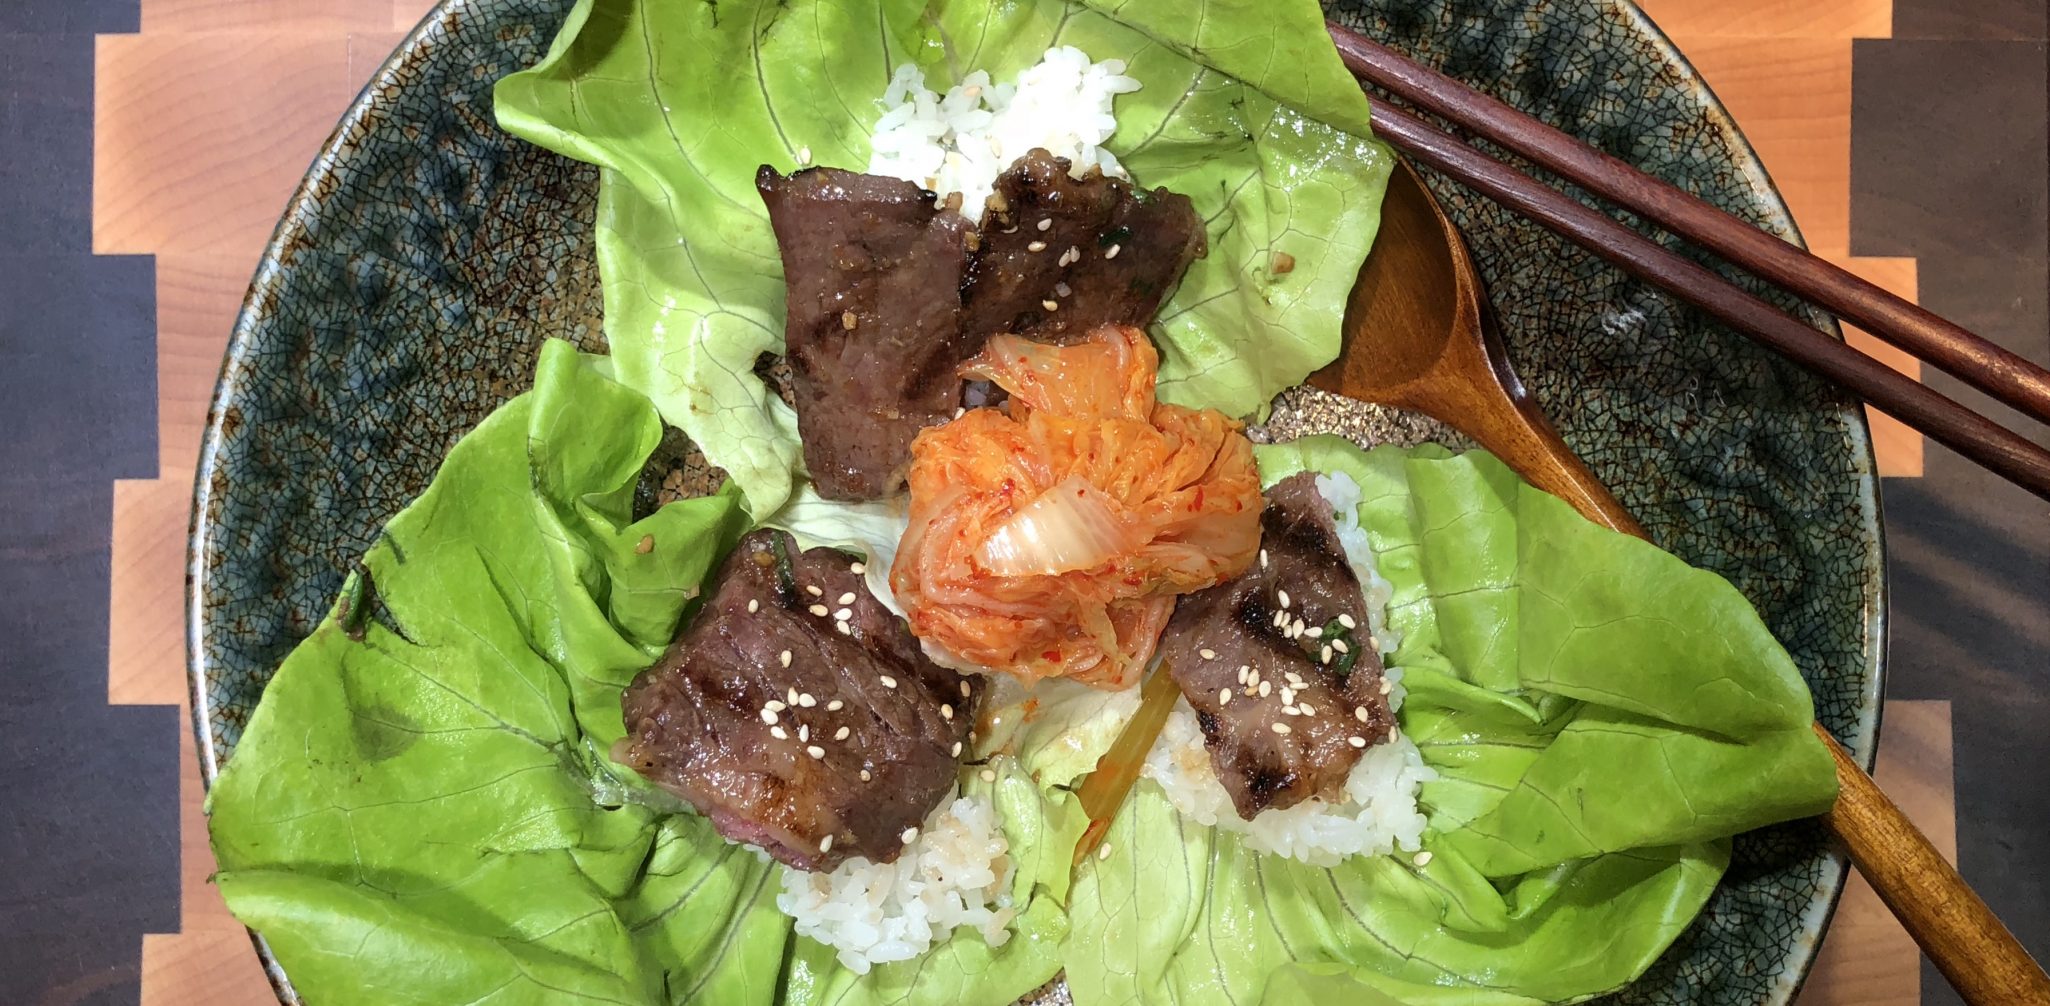
Bulgogi is thin strips of beef, marinaded, grilled quickly and wrapped in a lettuce leaf. Nestled in the lettuce along with the beef, is a bite of rice, kimchi, and a dab of ssamjang (bean-chili sauce).  Think tacos.  So delicious.  I adapted a recipe for bulgogi I found in Seoul Food Korean Cookbook (Kindle version for 4.99 right now) by Naomi Imatome-Yun.

The marinade starts with the trifecta of Korean seasonings, soy sauce, garlic, and sesame and builds on this with honey, Asian pear and scallions. So much flavor. Most Asian markets generally have pre-cut thin slices of short rib, pork, or chicken, which makes life easy. If you start with a whole piece of meat, toss it in the freezer for a couple of minutes.  Makes cutting thin slices a walk in the park.

It’s not always easy to find Asian pears.  Use a combination of finely grated apple (Fuji or Honeycrisp are nice) and pineapple juice in place of the Asian pear.  Don’t let it marinate in pineapple juice too long as it will break down the meat.  Add pineapple juice no more than a couple of hours before cooking.

Red leaf, Boston, or Gem lettuce, are the perfect shape, size, and texture for a bulgogi wrap.  Winner winner, bulgogi dinner-sweet, salty, garlicky, and smokey wraps and you can use your hands, just like tacos!  Broke da mouth good.

Don’t forget the kimchi!

Bulgogi

Bulgogi, beef thinly and marinated in soy, garlic, and onions. Served with rice and saamjang, wrapped in lettuce. This classic Korean dish is a sure fire hit with its bold flavors.
Course Main Course, Meat
Cuisine Asian, Korean
Keyword beef, Bulgogi, Grilled
Prep Time 15 minutes
Cook Time 5 minutes
Marinade time 3 hours
Total Time 20 minutes
Servings 4

Ingredients

  • 3 tablespoons chopped garlic CHOPPED, not minced, which would be too much
  • 3 tablespoons soy sauce
  • 2 tablespoons sugar
  • 1 tablespoon honey
  • 3 tablespoons grated Asian pear include juice substitute any apple, fuji or honerycrisp, grated 1/2 and 1/2 pineapple juice
  • 1 tablespoon mirin substitute sake which is not sweet
  • 1 tablespoon toasted sesame oil
  • 3 scallions finely chopped
  • 1 teaspoon freshly ground black pepper
  • 1 pound sirloin steak ribeye or short rib, thinly sliced

Instructions

  • In a large bowl, mix together the garlic, soy sauce, sugar, honey, pear juice, mirin, sesame oil, scallions, and pepper and stir until the sugar and honey are dissolved.
  • Add the meat and toss to coat thoroughly with the sauce. Cover and refrigerate for at least 3 hours or overnight. For tougher cuts of meat, marinate the meat longer.
  • Grill the beef until well done and caramelized on the outside, about 3 minutes per side. You can also fry the beef in a cast iron pan.
  • Serve with rice, ssamjang and lettuce leaf. Garnish with sliced green onions and toasted sesame seeds. Serve hot

Notes
TIP: Top sirloin or tenderloin work best, but almost any steak cut will do. The best quality meat will be more tender and will taste the best. Trader Joe's has thinly sliced ribeye that works well.
Adapted from Imatome-Yun, Naomi. Seoul Food Korean Cookbook: Korean Cooking from Kimchi and Bibimbap to Fried Chicken and Bingsoo
Keep Calm and Salmon On

Keep Calm and Salmon On

Growing up, most meals included at least one seafood dish.  Steamed rock cod with ginger and scallions, flounder with brown bean sauce sitting on a bed of tofu or stir-fried prawns with tomato and garlic (SOUL FOOD).  My dad would finish work and then head out to the shops in Chinatown to find the fresh catch of the day.  The markets carried locally caught cod, bass, or flounder kept cold on a bed of ice. My dad checked the freshness by looking at the clarity of the eyes. Sometimes he opted for live fish, crab, or shrimp from the tanks that lined the wall.  He peered into each tank before selecting the one he wanted. Once satisfied with his choice he would barter with the fishmonger for a good price.

So my exposure to seafood was two extremes

Freshly caught fish steamed and flavored with ginger, green onions, and cilantro. The sauce was pure heaven, an amalgamation of liquid created from the fish juices, soy sauce, and aromatics.  My brother and I fought over who could ladle the most sauce over their rice, a tradition my kids have continued.

On the flip side was Friday night frozen FISHSTICKS with catsup!  Date night for the folks meant dinner in front of the TV for my brother, my cousins and me.  I hate to admit it, but from the ages of 4-10, I probably liked the fish sticks more. Silly girl.

One fish not typically part of Asian cuisine is Salmon. I discovered salmon late in the game and ironically it’s the fish we prepare at home now more often than any other fish. I am always on the lookout for new and different recipes for salmon.  Whaddya know…from Everyday Korean Cookbook, one of my current favs (check out her site to preview a couple of recipes), I found the recipe, Roasted Salmon with Gochujang Mayo. The sauce, sweet from the mayonnaise, spicy from the Gochujang, and citrusy (is that a word?) from a squeeze of lime is pretty darn tasty.  The mayo comes together in a snap.  Slather it on the fish, pop it in the oven and finish it under the broiler.  So easy and so delicious.  It’s a keeper.  The recipe calls for the Japanese mayo, Kewpie, but you can make your own with Best Foods mayo.

From the Japanese cookbook, Just One Cookbook. Kewpie imposter recipe!

For 1 cup of American mayonnaise (like Best Foods), add 2 Tbsp rice vinegar and 1 Tbsp sugar. Whisk until the sugar dissolves. For 1 Tbsp of American mayonnaise, add 1/2 tsp rice vinegar and 1/8 tsp sugar.

That’s a WRAP

What is my favorite way to serve this salmon? Classic Korean style-bibb lettuce used as a wrap.  It’s the Asian version of a taco. I put a bite of rice or noodle, bit of kimchi, morsel of salmon and dab of chili sauce in the lettuce, wrap it, and eat the whole thing in one bite.  Hmmm…. Crispy cool lettuce, warm soft kernels of rice, spicy sweet salmon, salty, briny umami-packed kimchi topped with scallions, cilantro and lime.  A party in my mouth, sooooo good!

Next time you need a delicious marinade for your salmon, give this one a go!

Roasted Salmon with Gochujang Mayo adapted from Everyday Korean

Quick and tasty roasted salmon with spicy, sweet Gochujang Mayo. Perfect meal at the end of a long day.
Course Main Course
Cuisine Asian
Prep Time 10 minutes
Cook Time 20 minutes
Total Time 30 minutes
Ingredients

  • 1 1 1/2-to-2-pound wild salmon fillet (skin on is fine), pin bones removed
  • 2 tablespoons mayonnaise preferably Kewpie.
  • 2 tablespoons oyster sauce Lee Kum Kee-please
  • 1-2 teaspoons gochujang Korean red pepper paste
  • 1 teaspoon fresh grated ginger
  • 3-4 cloves garlic minced (~2 teaspoons)
  • 1 tablespoon fresh squeezed lemon lime, or tangerine
  • 1 Garnish scallions, cilantro, toasted sesame seeds, lime wedges,

For serving: Steamed rice, kimchi or sliced cucumbers and bibb lettuce leaves

Instructions

  • Place 1 oven rack on the highest level of oven and a second rack below. Heat oven to 475 degrees. Line sheet pan (shallow baking sheet) with aluminum foil; lightly grease foil with cooking spray.
  • Pat salmon dry with paper towels. Place fillets (skin-side down) on foil-lined baking sheets; set aside.
  • Mix together mayonnaise, oyster sauce, gochujang, ginger or garlic, lime juice in a small bowl. Brush or spoon sauce evenly over salmon.
  • Place baking sheet on second rack in oven, and roast 8 minutes, until sauce sizzles and begins to brown. Heat oven to broil. Place salmon on top rack of oven, and broil on high another 3 to 5 minutes, depending on thickness of fillet and desired doneness. 
  • Serve with bibb lettuce, rice and garnish, if desired, with toasted sesame seeds, sliced green onion, cilantro, lime wedges, kimchi, and/or cucumber slices.

Notes

Serve with bibb lettuce, rice and garnish, if desired, with toasted sesame seeds, sliced green onion, cilanto, lime wedges, kimchi, and/or cucumber slices.