Category: Asian Dishes

Garlic Rice-Love Letter to Rice

Garlic Rice-Love Letter to Rice

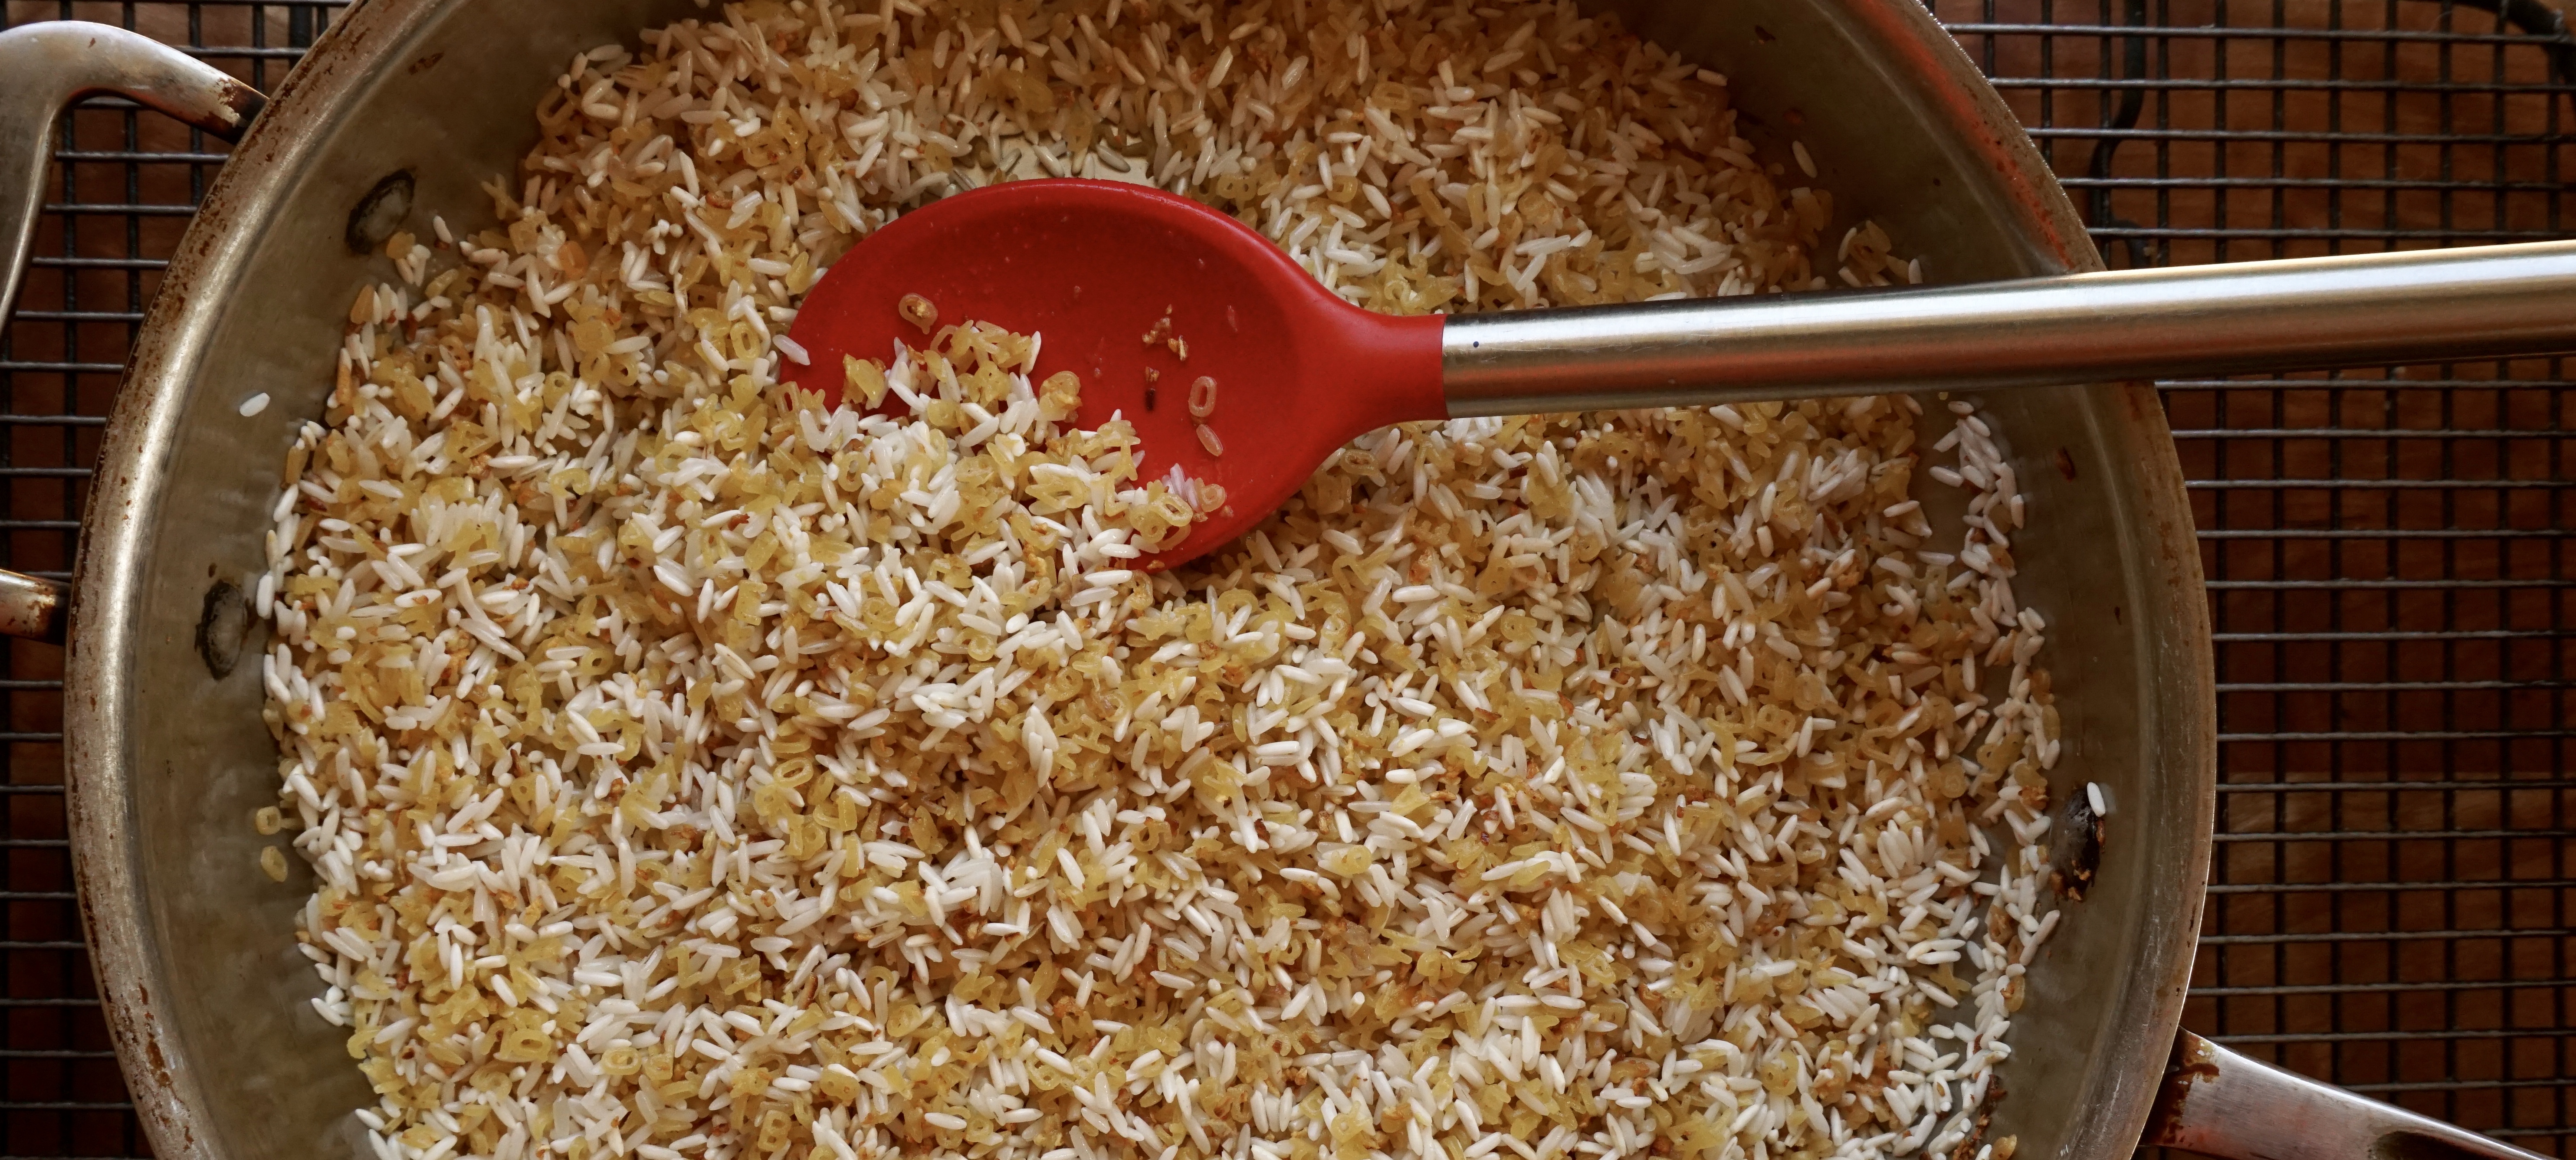
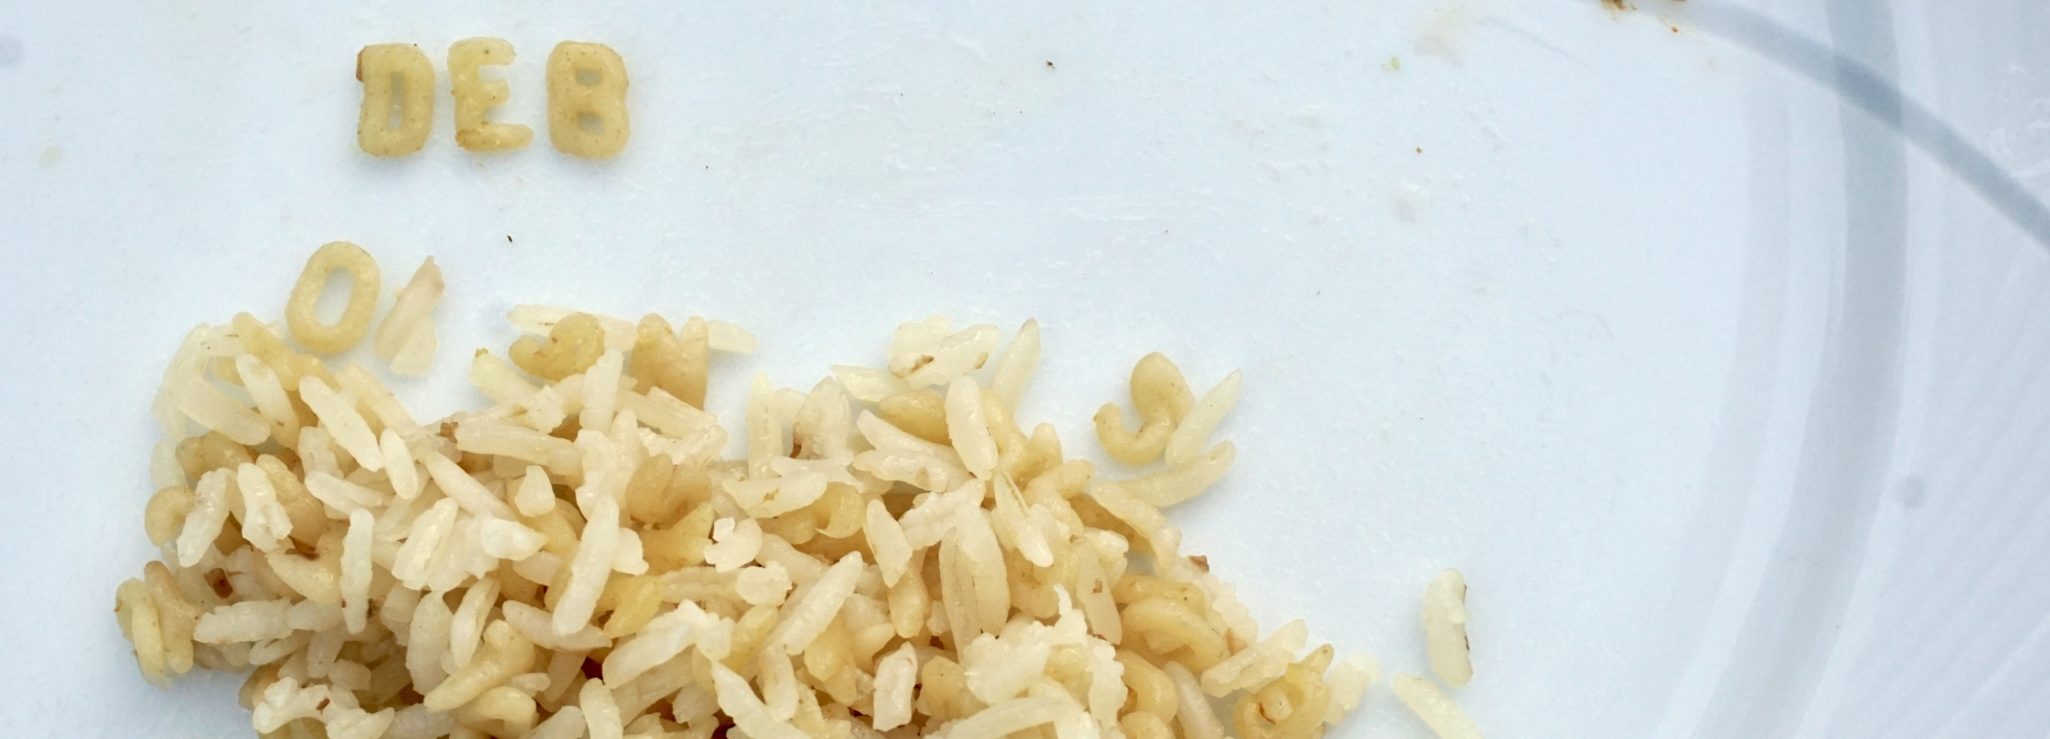
On one of our weekend food treks, hubby and I headed to East San Jose in search of egg rolls and banh mi. Right in front of the entrance to the market was a display of different dried pasta on sale including tiny little pasta shaped like letters. Woohoo!  Haven’t seen pasta letters in ages. When the kids were little I would make rice pilaf using alphabet pasta. The kids loved it and called it “letter rice.”  They would spell their names and challenge each other to spell as many words as possible on their plates. We were totally bummed when our market stopped carrying our beloved alphabet pasta. A search of other markets came up empty so  I resorted to using star and rice-shaped pasta. Not the same, but a good life lesson for my kiddies…you can’t always get what you want.

Alphabet Soup? Nope, Rice

I took a picture of the display with my phone and sent it to the kids with the exclamation “LETTERS!” then I bought a couple of bags (ok, more than a couple) to have on hand for when they come home.

Letter rice is a fusion of rice pilaf and Hainanese Chicken Rice, a Singaporean dish of poached chicken and rice.  Use the broth from the poached chicken to cook the rice for a double-flavored whammy.  First sautéed the rice with the Asian trinity of garlic, ginger and onions, toss it in a rice cooker (because I don’t know how to cook rice any other way), and cook in the reserved stock.

IT IS STUPID EASY

Maybe not as easy as making plain rice but with little effort you can jazz up your rice making it delicious and fun to eat.  Kid-tested, kid- approved.

Mains that aren’t “saucey” beg for letter rice as an accompaniment.  Letter rice in our house accompanies barbecued ribs or chicken, grilled fish, and STEAK. Yum.

Like many of the recipes, this one lends itself well to changes.  Tweak the Asian trinity.  Replace onions with shallots, or use only garlic and omit the ginger and onions.  Having steak?  Use beef stock instead of chicken. Vegetarian? Use mushroom or vegetable stock instead.  I throw in dried mushrooms to intensify the flavor.  You can use all rice and skip the letters but why would you skip the cute-shaped pasta.

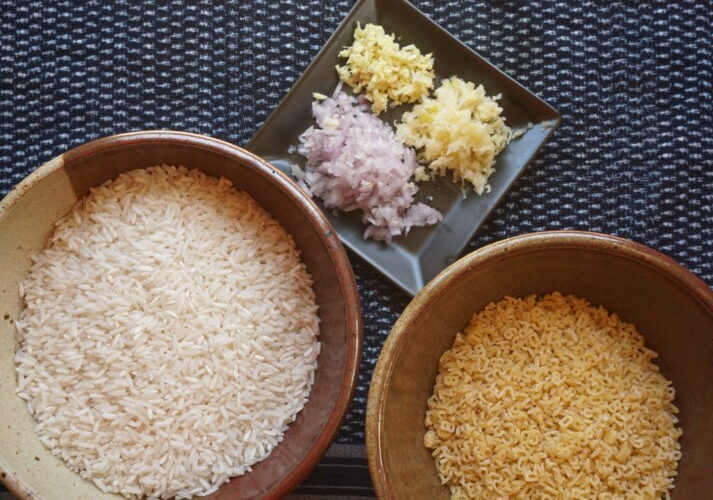
The recipe is easy to remember.  For every cup of uncooked rice, use 1 fat clove of garlic (or 2 skinny ones), 1/2 to 1 teaspoon of ginger, and 1/2 shallot.  For each cup of rice or pasta, use 1 tablespoon butter or oil.  Saute’ the aromatics first, and when they begin to brown add the pasta and rice.  Watch garlic, do not let it burn or it will taste bitter.

The quirky part of this recipe is I only know how to cook rice in a rice cooker (I should be embarrassed-I am).  I use the cup that comes with the rice cooker to measure my rice but a standard 1 cup measure for the pasta.  For 2 cups of rice,  use 1 cup of pasta and fill the rice cooker with the stock up to the 3-cup line.  Yep. Easy peasy if you have a rice cooker…

Love Letter to Rice (Garlic Rice)

asian rice pilaf
Course dinner, Rice, Side Dish
Cuisine Asian-American
Keyword Garlic Ginger Rice, pilaf, rice
Prep Time 10 minutes
Cook Time 45 minutes
Servings 4

Ingredients

  • 2 cups long grain or basmati rice (measured in standard cup that comes with the rice cooker its equivalent to 3/4 cup
  • 1 standard measuring cup any small shaped pasta stars, letters, acini de pepe, or orzo
  • 3 tablespoons butter or vegetable oil or 50/50 of each

Aromatics

  • 3 large cloves of garlic finely chopped (garlic lovers or those living among vampires feel free to increase the amount of garlic)
  • 1 shallot finely chopped (or 1/4 yellow onion or 1 green onion green and white parts, finely chopped)
  • 2 teaspoons minced ginger optional

Liquid

  • Homemade or low sodium chicken broth can substitute beef or vegetable stock approximately 3-4 cups
  • 1/2 to 1 tsp salt
  • 1/4 cup dried sliced shiitakes or dried mushroom mix optional

Garnish:

  • green onions
  • cilantro leaves
  • 1 tsp sesame oil

Instructions

  • Melt butter or oil in pan
  • When butter is fully melted add garlic, shallots and ginger and saute' over medium heat until garlic begins to brown.
  • Add pasta and rice to pan. Stir to coat rice and pasta with oil thoroughly.
  • Put rice and pasta mixture in rice cooker and fill to the three cup line. If using dried mushrooms add them at this point.
  • Set to cook and you're done!

Back from school for the summer, Jordan requested “char Siu” style barbecued ribs and letter rice which prompted this post!  Here is the marinade for the ribs. Grill over indirect heat for 25-30 minutes in a covered bbq.  Flip and baste halfway through, then baste ribs with honey and grill over direct heat to slightly char ribs.

Do Not Play with Your Food, LOL

I remember my mom yelling at my brother and me “STOP PLAYING WITH YOUR FOOD, JUST EAT IT!”  Where is the fun in that?

Thai-rrific Noodles

Thai-rrific Noodles

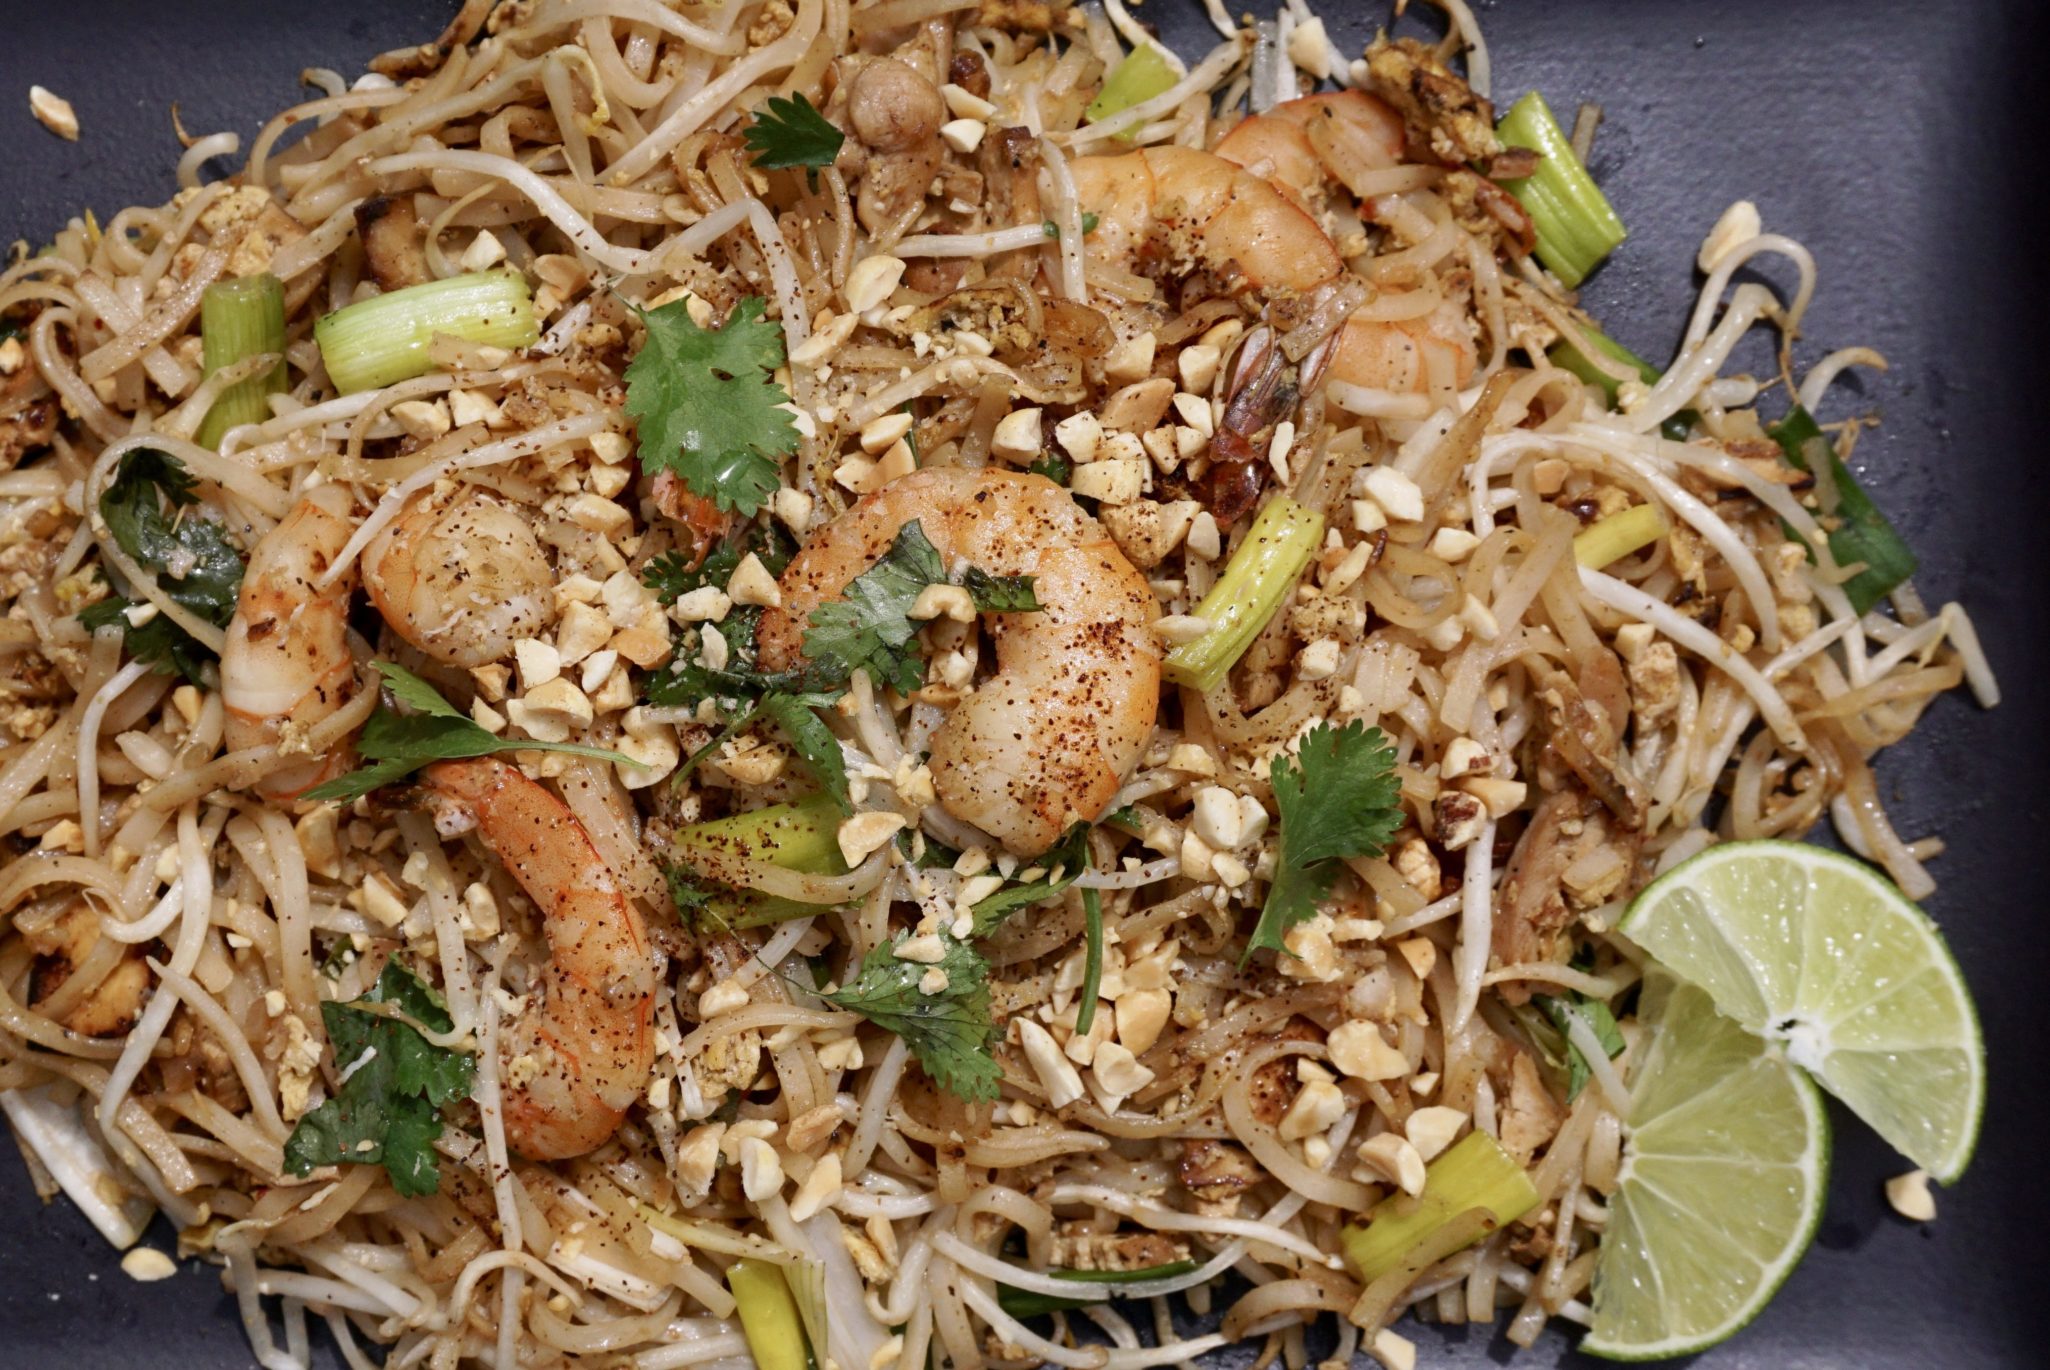
My hubby has a certain MO when it comes to food.  Over the years he has become a much more adventurous eater but for the most part he sticks to what he likes and when he likes something, he will eat it all the time.  Well, not all the time but pretty darn regularly.  I think of it as phase eating.  There was his pizza phase, which thankfully was during his training days-before me.  Currently he is in a Thai food phase. Favorite dish, Pad Thai of course.  Which is alright with me, I love Pad Thai. What’s not to like? Rice noodles stir fried with shrimp, bean sprouts, onions, tofu, flavored with fish sauce, tamarind and chilis.  Sweet, spicy, tangy, a flavor explosion.

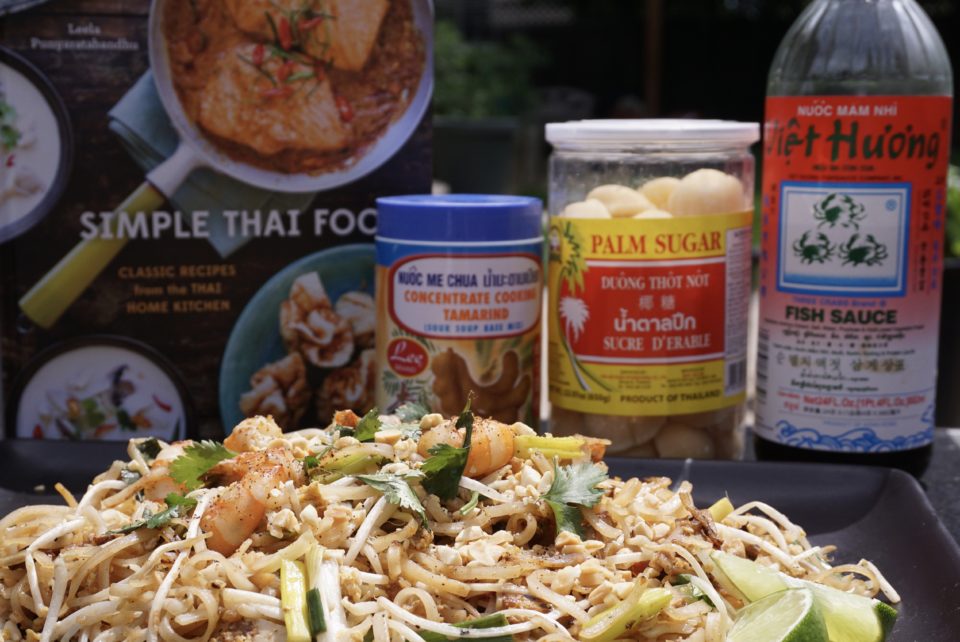
After Wes came home for the umpteenth time with take out Pad Thai I decided I should try my hand at making Pad Thai. I pulled out my copy of Simple Thai Food (YES I have a Thai cookbook) and flipped to the recipe for Pad Thai.  I scanned the ingredients and much to my chagrin all I had on hand was the fish sauce.  Off to the market.

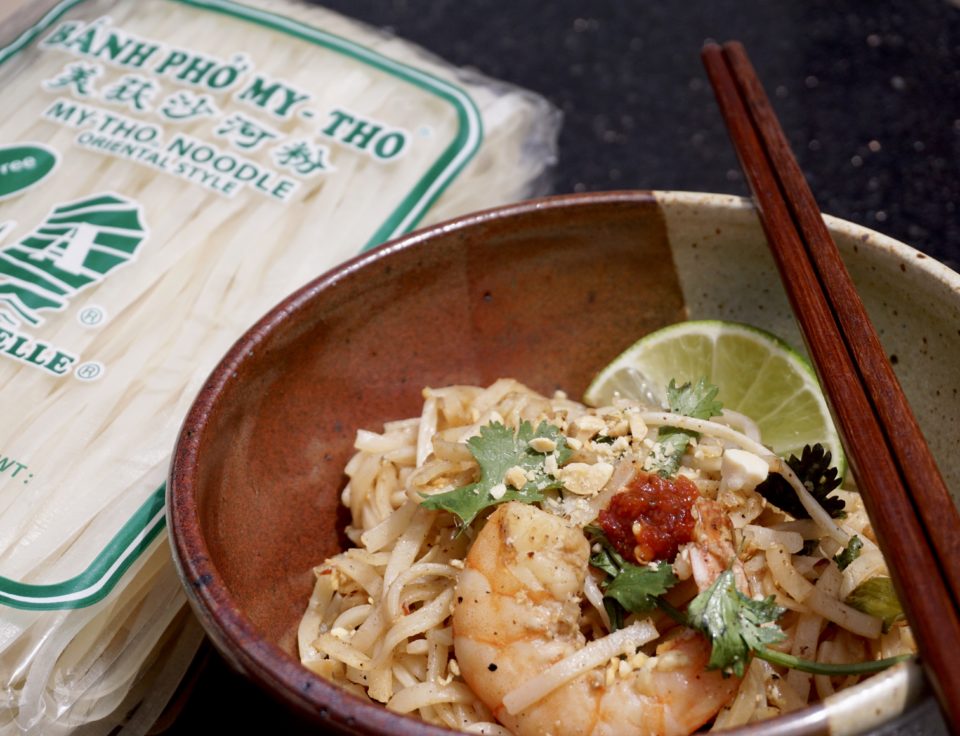
Tamarind paste-check, Palm sugar-check, radish-check, rice noodles-check.  Grab some shrimp, bean sprouts, cilantro, limes and onions, let’s go home and make a plate of deliciousness.

There is a bit of prep to be done.  Making the sauce, cutting the vegetables, shelling the shrimp and soaking the noodles.  The rice noodles, like pasta come dried but you don’t need to cook it.  You do need to soften the noodles though.  You can either soak them in cool water for 30-40 minutes or if you are in a hurry, soak them for 3 minutes in HOT water.  Drain the noodles and set them aside.  Don’t leave them in the hot water for any longer as the noodles will get mushy.

Not feeling shrimp? You can use beef, chicken or pork in place of the shrimp.  I used a combination of chicken and shrimp in my Pad Thai.  Cut the chicken, beef or pork into bite size pieces that will cook quickly.  Think stir fry.  You can omit the animal protein all together for a vegetarian version.


Pad Thai (Adapted from Simple Thai Food)

Iconic Thai rice noodle dish, Pad Thai you can make at home!
Course dinner, lunch, noodles, One dish meals
Cuisine Thai
Keyword pad thai, rice noodle dish, rice noodles, Thai
Prep Time 45 minutes
Cook Time 7 minutes

Ingredients

  • 4 ounces dried rice noodles 1/8 to 1/4 inch wide

Sauce

  • 2 tablespoons tamarind pulp
  • 2 tablespoons fish sauce I like 3 Crabs brand
  • 3 Tablespoons palm sugar grated or 2 tablespoons brown sugar
  • 1/4 to 1/2 teaspoon chili flakes

Aromatics

  • 1 shallot finely chopped
  • 2 medium cloves garlic minced
  • 1/4 cup finely chopped preserved relish* optional
  • 2 tablespoons tiny dried shrimp soaked in hot water for 15 minutes and drained*
  • 5 tablespoons vegetable oil divided
  • 6 ounces skinless boneless chicken breast trimmed of visible fat and sliced into 1/4-inch thick strips or 6- 8 ounces large raw shrimp, peeled and deveined or a combination of both
  • 6 ounces extra firm tofu cut into matchsticks 1" long, 1/4 inch wide
  • 2 eggs lightly beaten
  • 6 Chinese chives or green part of 3 green onions cut into 1 inch lengths
  • 2 cups bean sprouts or 1 cup bean sprouts + 1cup shredded red cabbage

Condiments:

  • 1/3-1/2 cup roasted peanuts finely chopped
  • 1 lime cut into wedges for garnish
  • Fish sauce
  • Red Chile powder
  • Sugar
  • Cilantro sprigs

Instructions

  • Place dried noodles in room temp water and cover for 30-40 minutes until soft enough and pliable enough to wrap around finger without breaking. Drain and set aside.
  • Or bring enough water to a boil to cover noodles. Place noodles in bowl and put heated water over noodles. Let stand for 3 minutes, drain and set aside.
  • In small bowl, stir together sugar, tamarind, fish sauce and chili flakes. If using palm sugar make sure to crush or grate the sugar to help it dissolve. Set aside.
  • Heat 3 tablespoons of oil in a flat bottom wok or large frying pan (non-stick), add noodles and stir fry for about 1 min making sure the noodles are soft and coated with the oil.
  • Add sauce mixture to pan, stir fry for additional minute to coat noodles with sauce.
  • Push noodles to one side of pan, add & heat remaining oil. Add shallot, garlic, radish, tofu and dried shrimp to open side of pan. Stir fry additional minute.
  • Add shrimp or protein to shallot mixture side of pan and cook until the shrimp or chicken is almost cooked through 1-2 minutes.
  • Clear center of pan and pour eggs in, stir the eggs similar to cooking scrambled eggs.
  • Once eggs are cooked and most of moisture from noodles has evaporated, stir everything together.
  • Just before removing pan from the heat, fold in half the sprouts, green onions or chives and/or cabbage. AS soon as the vegetables are mixed in remove from heat and plate.
  • Garnish with remaining sprouts, peanuts, cilantro and condiments as desired. Place lime wedges on plate to squeeze on noodles.
  • Serve immediately YUM
That’s a Wrap, Happy Hour Time! (Korean Tacos)

That’s a Wrap, Happy Hour Time! (Korean Tacos)

Jamie is in Atlanta for the summer working but fortunately she will be coming home for a couple of weeks.  I miss my Happy Hour buddy.  We both agree happy hours are the best of all worlds.  It’s much more relaxed than throwing a dinner party. People come and go as they please and help themselves to food and drink, it’s all good.  The food is casual and the attire is flips and anything comfortable. It’s all about chillin’ with friends and family. You can hang outside so don’t bother cleaning the house, noone cares, especially after a couple of wine coolers.

Luckily for us, we finally landscaped our yard. Yay.  Years of drought and an invasion of gophers left our yard looking like a moonscape of dirt, holes and mutant weeds.  It was bad.  We called gopherbusters (not really their name but that’s what they do) and a gardener and got to work.  In my defense, I grew up in San Francisco.  The ratio of cement to grass is like a bajillion to one.  Lawn mower? Never seen one much less owned one. But the yard is done, PARTY TIME.

Just need Jamie to come home.

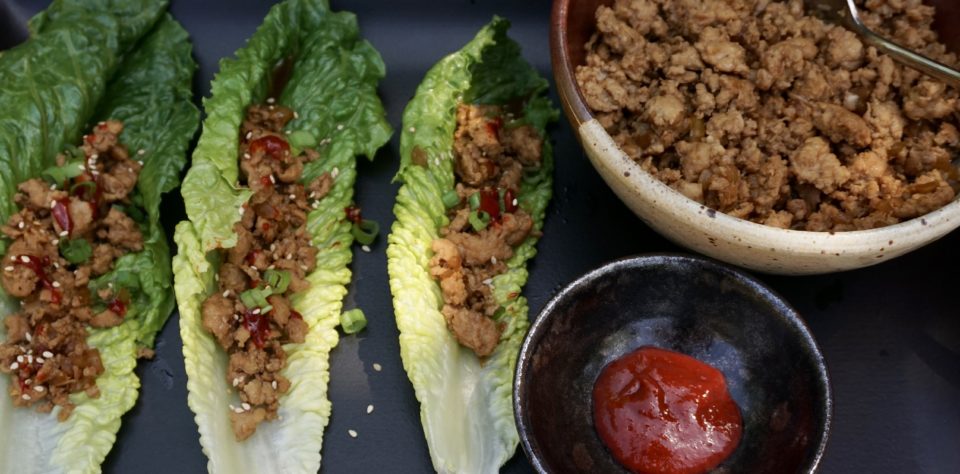
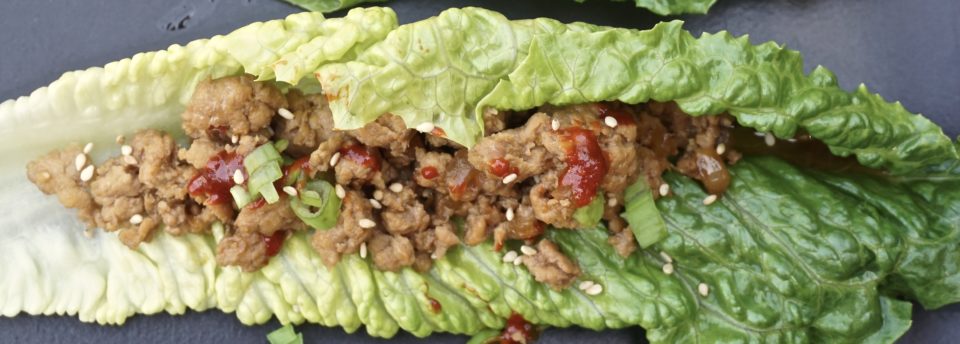
In anticipation  of when she does, I have been checking out recipes that would be perfect for our little casual soirees’.  Korean Chicken Lettuce Wraps from SkinnyTaste caught my eye. SkinnyTaste started out as a blog on healthy seasonal cooking your family will love and has blossomed into a full fledge book.  The Korean wraps remind me of a Chinese appetizer, San Choy Bao, which literally means lettuce bun, think of it as an Asian Taco.  The filling is seasoned Korean BBQ style which I happen to LOVE.  Each bite is sweet, salty, spicy and the lettuce adds a refreshing crunch.  It’s a party in your mouth.  The original recipe calls for brown rice but if you are going low carb like I SHOULD be, you can substitute squash, diced carrots, zoodles or sautéed mushrooms.

We are serious about our happy hour bites and this dish meets the rigorous criteria we set for a date with a wine cooler or bottle of ice cold beer.

STRINGENT Happy Hour Food Standards:

Bite sized- check (2 bites)

Eat with your hands- check

Its YUMMY- check

It’s STUPID EASY- check

4 out of 4!  Lets go make some wraps.

That's a Wrap! (Korean Style Lettuce Wraps)

Ingredients

  • 1/4 cup low sodium soy sauce or tamari
  • 2 teaspoons light brown sugar
  • 1 teaspoon sesame oil
  • 1/2 teaspoon crushed red pepper flakes
  • cooking spray
  • 1 pound lean ground chicken or turkey
  • 1/4 cup chopped yellow onion
  • 2 garlic cloves crushed
  • 1 teaspoon grated ginger
  • 1/4 tsp fresh ground black pepper

FOR WRAPS

  • 12 large outer lettuce leaves such as green leaf Bibb lettuce or even iceberg lettuce which creates a nice round bowl
  • 2 1/4 cups cooked brown rice
  • 2 tablespoons Gochujong or more if desired
  • 1/2 tablespoon sesame seeds plus more for topping
  • 2 sliced scallions white and green parts

Instructions

Filling:

  • Combine soy sauce, brown sugar, sesame oil and chili flakes in a small bowl. Set aside.
  • Heat non-stick pan over medium high heat, add small amount of vegetable oil, add onions to pan and cook for 1-2 minute. Add garlic and ginger, sauce for additional minute before adding ground chicken to pan. Break up the chicken with a spatula or wooden spoon.
  • Cook until the chicken loses its pinkness.
  • Add sauce ingredients to pan and stir to incorporate, reduce heat to medium-low, cover and simmer mixture another 5 minutes.

In place of brown rice:

  • Sauteed diced zucchini, mushrooms
  • Kid friendly version use corn or cooked zucchini zoodles

To Serve:

    You can set up a serve yourself taco bar or assemble each wrap.

    • In each lettuce leaf place 2 tablespoons of rice or prepared vegetables
    • Top with approximately 2 tablespoons of chicken mixture
    • Garnish with a dab of Gochujong or Siracha sauce, green onions and sesame seeds.
    • Serve immediately.

    Thai Curry in a Hurry-Thanks to Instant Pot

    Thai Curry in a Hurry-Thanks to Instant Pot

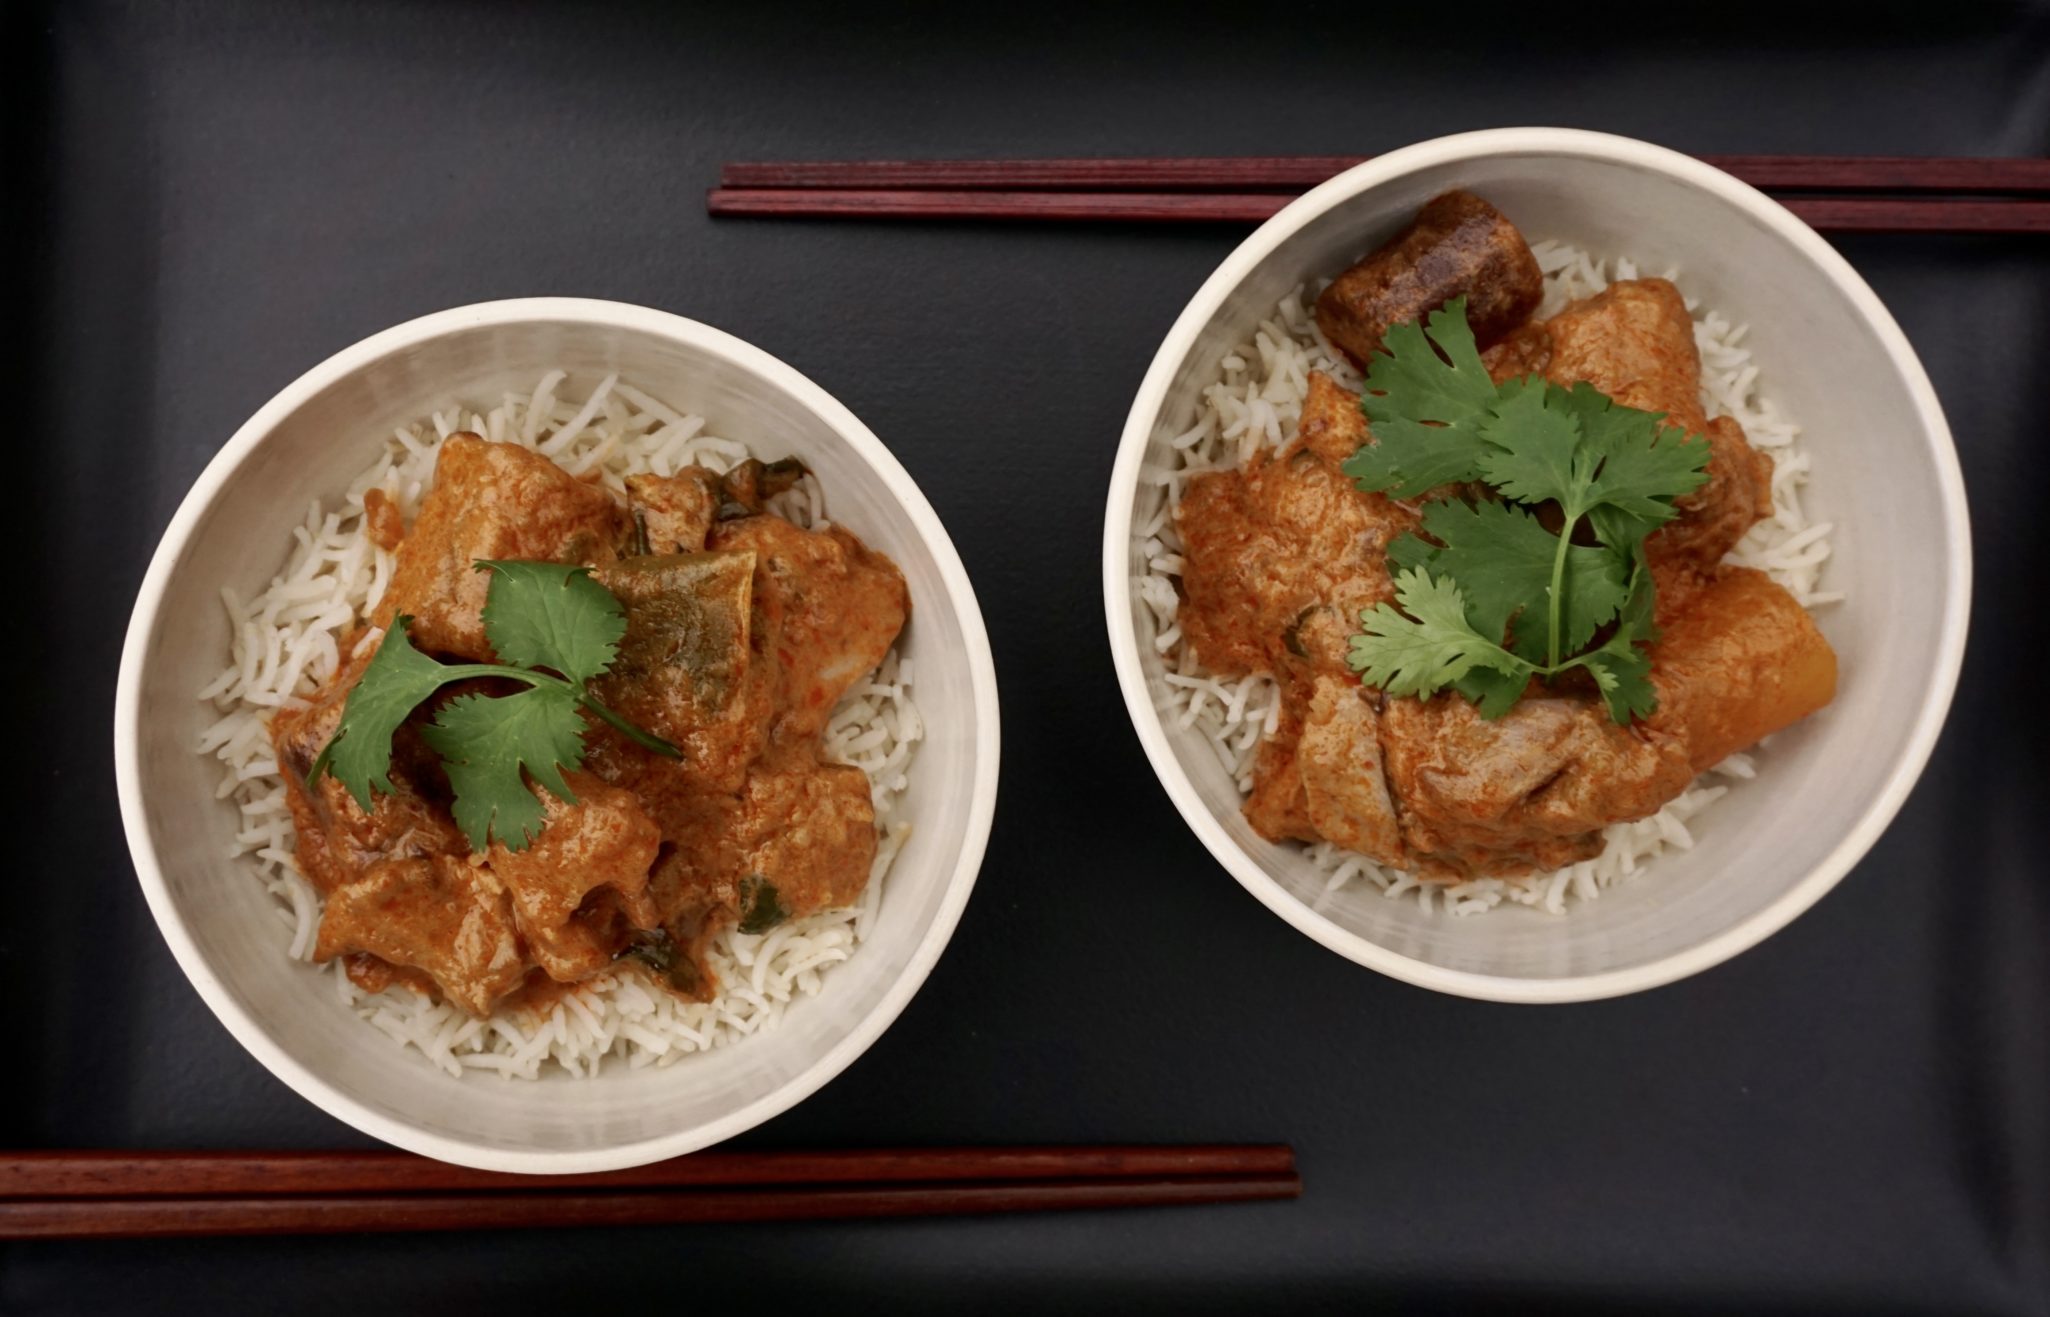
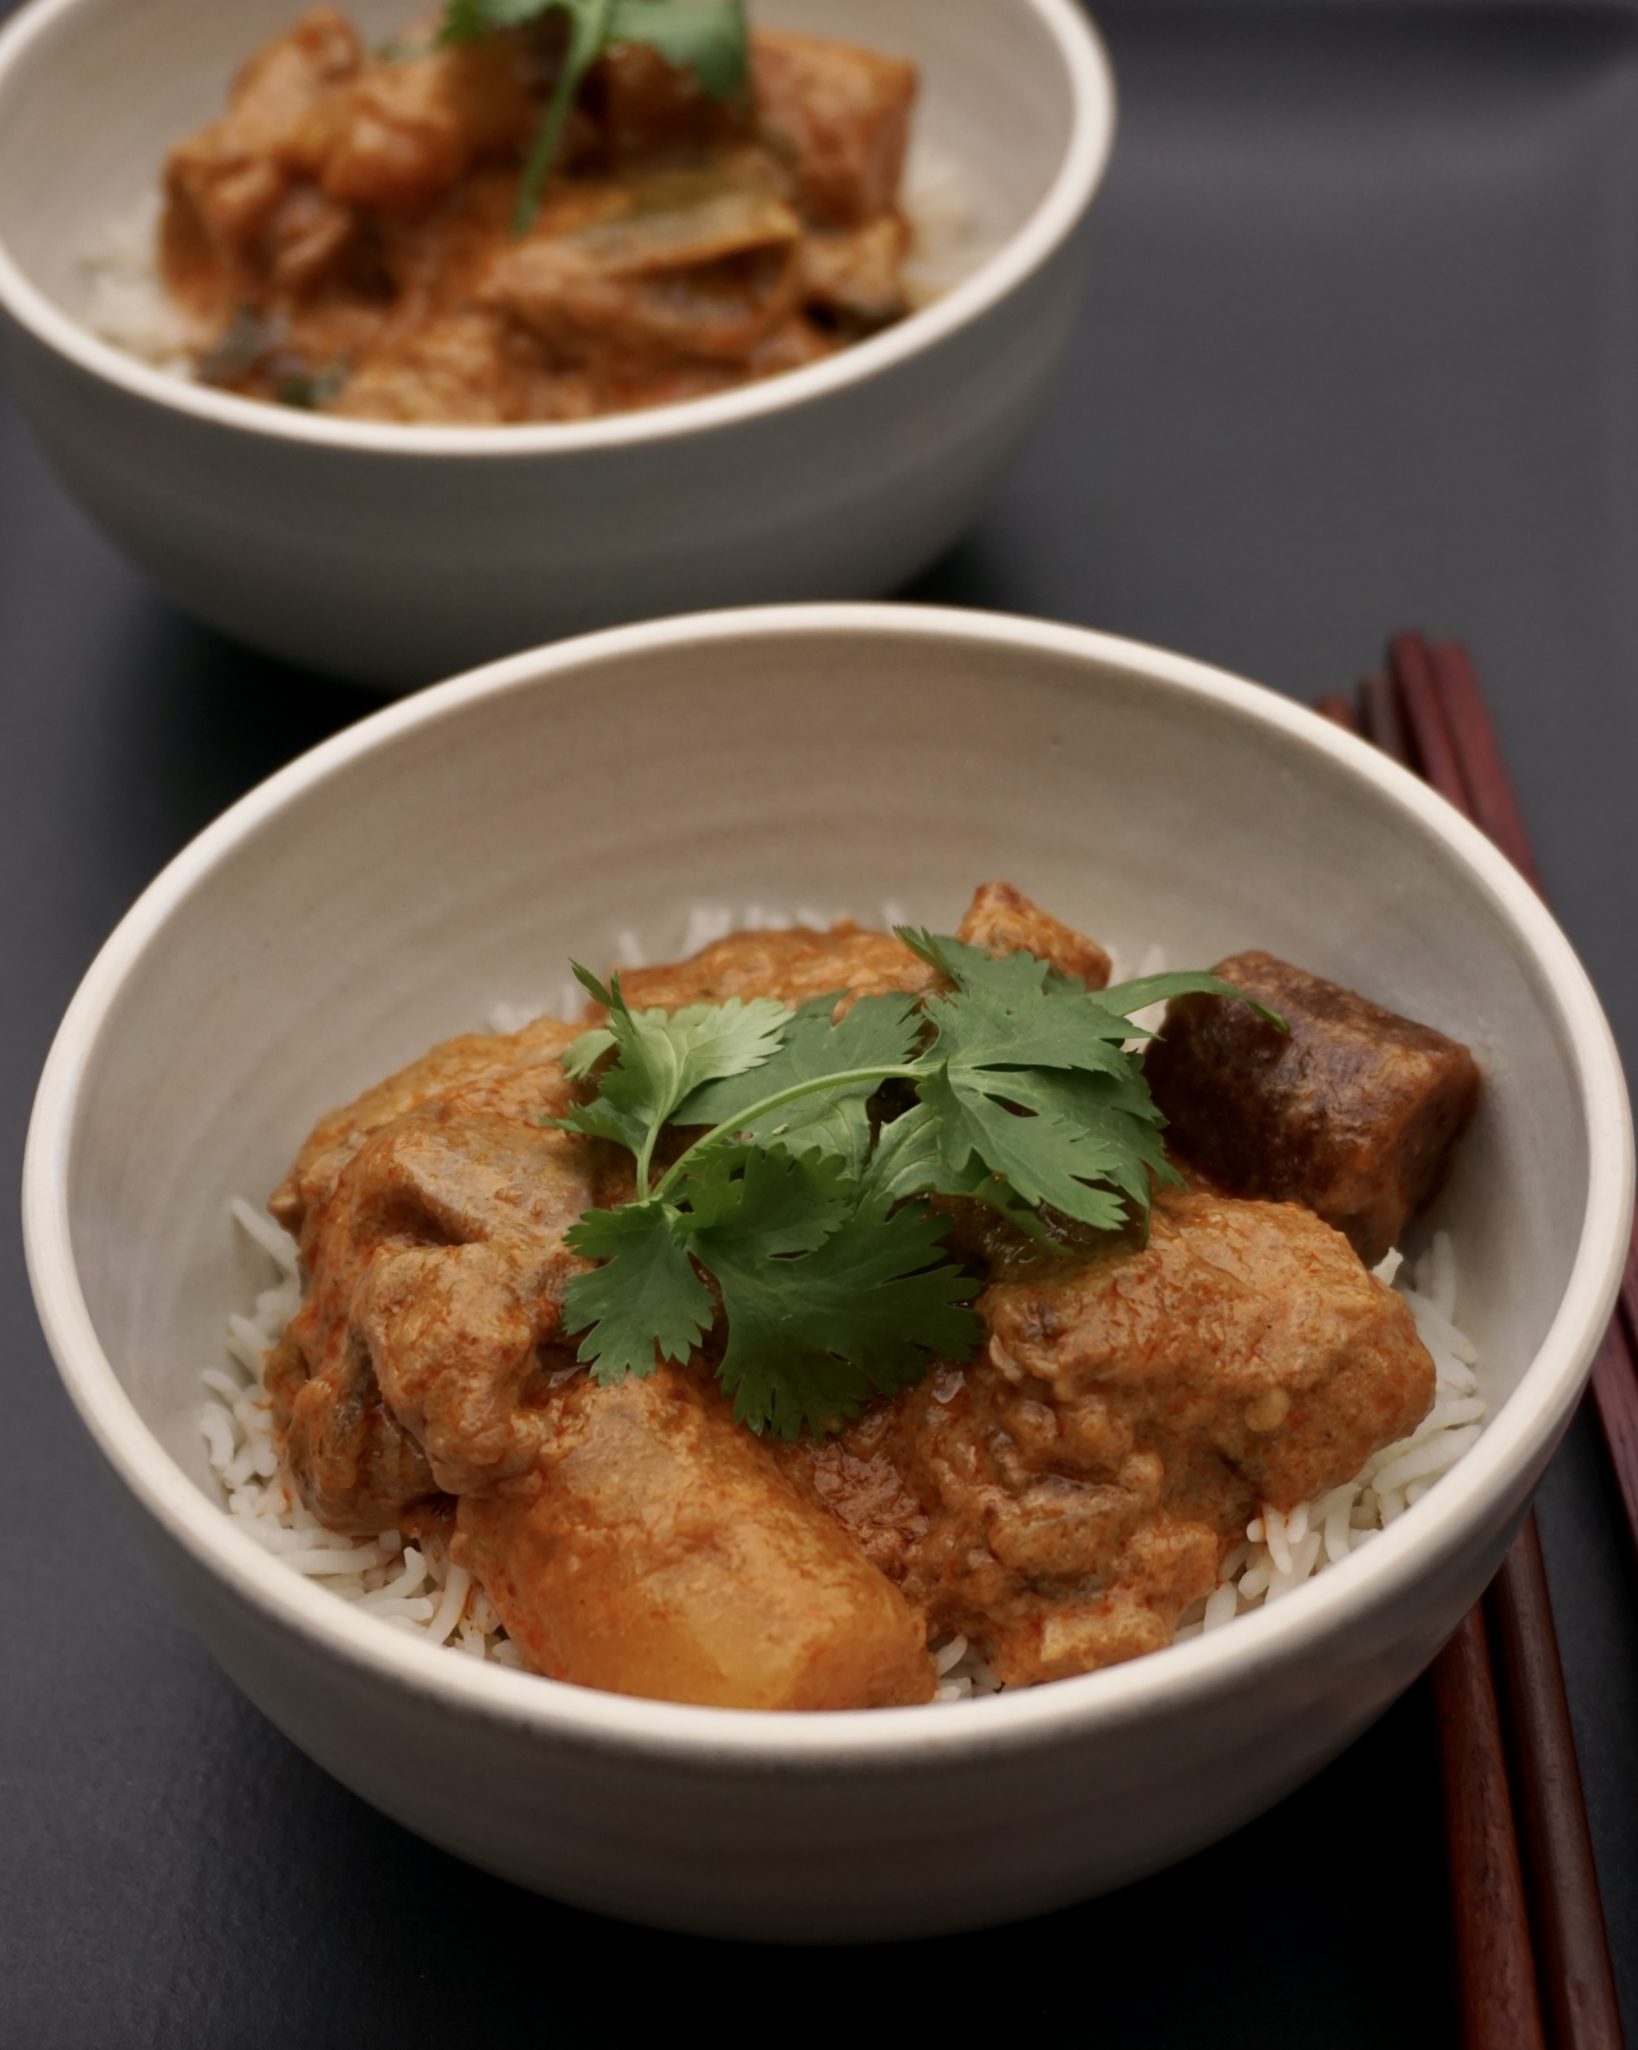
    Have I convinced you to try an Instant Pot yet?  If not, here is the recipe that may just tip the scales in favor of that new kitchen gadget.  I came home after a long day at work and pulled out my pot.  Threw in sliced chicken, chopped veggies, coconut milk, curry paste and 30 minutes later we were sitting down for dinner.  Yep, thirty minutes to fragrant bowls of Massaman Curry Chicken over rice.  A complete meal, a party in a bowl and my mouth.  Chunks of cauliflower, peppers, potatoes, eggplant, and chicken surrounded by a rich autumn orange hued curry sauce that is creamy, spicy and sweet.

    Curry On

    Despite being somewhat of a purist (no box cake mixes or frozen pre-formed pie crusts in this house, nope) the key to this meal, besides the Instant Pot, is the pre-made curry paste.  I vow (lol, not) to one day make my own curry paste but for now I’m wimping out, life’s full of compromises.  Find my favorite curry pastes, either Mae Ploy and Aroy-D, at your neighborhood Asian market or on Amazon.  There are quite a few different ones you can pick from so I thought I would give you the quick and dirty on curries.

    Green-Spiciest of the Thai curries, fresh green chilis, kaffir lime leaves, basil, shallots, ginger, garlic and coconut milk for sweetness

    Red-Red chilis, lemongrass, shallots, ginger and fish paste and coconut milk. Not quite as spicy as green curry and a work horse for curries. Goes well with chicken, seafood, beef and a variety of vegetables

    Yellow-Mildest of the curries.  It is a combination of kaffir lime leaves, turmeric, cumin, mustard seeds and coconut cream. Great with vegetables

    Massaman- Finds its roots in Indian curries and is made of red chilies, galangal, shallots, garlic, lemongrass, turmeric, cumin, nutmeg, cardamom, coriander,  cloves, and cinnamon.  Coconut milk and kaffir lime leaves are then added to create the sauce.  Peanuts and potatoes finish off this delicious curry.  I used Massaman curry for the dish in this post

    Panang-Found its way to central Thailand by way of Laos  It is milder and subtle, spicier than Thai curries.  It is made from dried chilies, kaffir lime leaves, coconut milk, lemongrass, cilantro, cumin, garlic, ginger, shallots.  Peanuts are often used in this curry

    I am sure there are rules for what vegetables or meats and which you should use with each type of curry you should use but my motto is experiment.  Try different vegetables and meats with any of the curries and create your own favorites.

    This recipe is an adaptation from Paint the Kitchen Red, a wonderful site devoted to Instant Pot recipes.  The OG recipe calls for sautéing the vegetables after the curry is cooked in the pot. I like my vegetables on the soft side so I cooked them with the chicken in the Instant Pot. Use your favorite veggies, or whatever is in the fridge. So good and so easy.

    Thai Curry in a Hurry-Thanks to Instant Pot

    Course Main Course, one bowl meal
    Cuisine Thai
    Keyword 3 Cup Chicken, Carnitas in an Instant Pot, Thai Curry

    Equipment

    • 1 Pressure Cooker

    Ingredients

    • 3 Tbsp Thai red curry paste or Massaman curry paste preferably Maesri or Mae Ploy brand
    • 1 14- oz can regular-fat coconut milk
    • 1 lb boneless chicken thighs sliced into good bite size pieces
    • 1/4 cup chicken broth

    Vegetables

    • The vegetables will cook along with the chicken so don't make the pieces too small
    • 1 cup red and/or green bell pepper cubed
    • 1-2 carrots cut into 4-5 pieces (only 1 if using potato)
    • 1/2 cup onion cubed
    • 1 small eggplant cut into cubes
    • 1 russet potato cut into chunks
    • Really any vegetable of your choice-squash cauliflower

    Seasonings

    • 2 Tbsp fish sauce more to taste
    • 2 tsp brown sugar or to taste
    • 1 Tbsp lime juice
    • 4 Kaffir lime leaves slightly bruised (I have a calamansi tree so I used the zest)
    • 12 Thai basil leaves or regular basil leaves in a pinch
    • Cilantro

    Instructions

    • Press ‘Saute’ and stir fry onions and curry paste for 1-2 minutes, add 1/2 can of coconut milk until mixture is bubbly, about 1-2 minutes.
    • Press 'Keep Warm/Cancel'.
    • Stir in chicken, remaining coconut milk and chicken broth and add your fresh vegetables
    • Close Instant Pot and make sure steam release handle is in the ‘Sealing’ position.
    • Cook on 'Manual' mode for 4 minutes.
    • Do a Quick Release of pressure and open the Instant Pot.
    • Add in fish sauce, brown sugar, lime juice and Kaffir lime leaves.
    • Press saute' and stir curry, bring to a bubble and cook for additional 2-3 minutes
    • Taste and adjust with more fish sauce, brown sugar or lime juice.
    • Stir in the Thai basil leaves.
    • Serve over rice, garnish with cilantro
    An Easy “Egg”cellent Dish (Stir-Fried Tomato and Eggs)

    An Easy “Egg”cellent Dish (Stir-Fried Tomato and Eggs)

    I grew up running the streets of Chinatown.  My parents had a mom-and-pop business right in the heart of Chinatown on Grant Ave. (Yep, Grant Ave…San Francisco…California…USA made quasi-famous by the musical Flower Drum Song).  There are a gazillion restaurants to eat at or take out, but the trick is knowing where to go for the best of whatever you crave.  The best egg tarts? Golden Gate Bakery. BBQ Pork Buns and dim sum? Yung Kee (sadly gone now), or Good Luck Dim Sum.  Best stuffed rice noodles? Sam Wo. Best fried chicken Wings?  Golden Daisy or Capitol Restaurant.  Call me for the 411.

    Down Home, My Home, Chinatown

    My favorite down-home dishes were and are found in the quirky little hole-in-the-wall places.  Many of these joints are a fusion of Asian and American food-you will find beef stew, apple pie, stir-fried beef with bitter greens, and wonton soup all on the same menu.  I love going to Kam Po next to the Broadway Tunnel where rice plates are a mainstay.  A mountain of rice covered with crispy roast duck or soy sauce chicken with a side of stir-fried garlicky greens, my go-to quick meal.

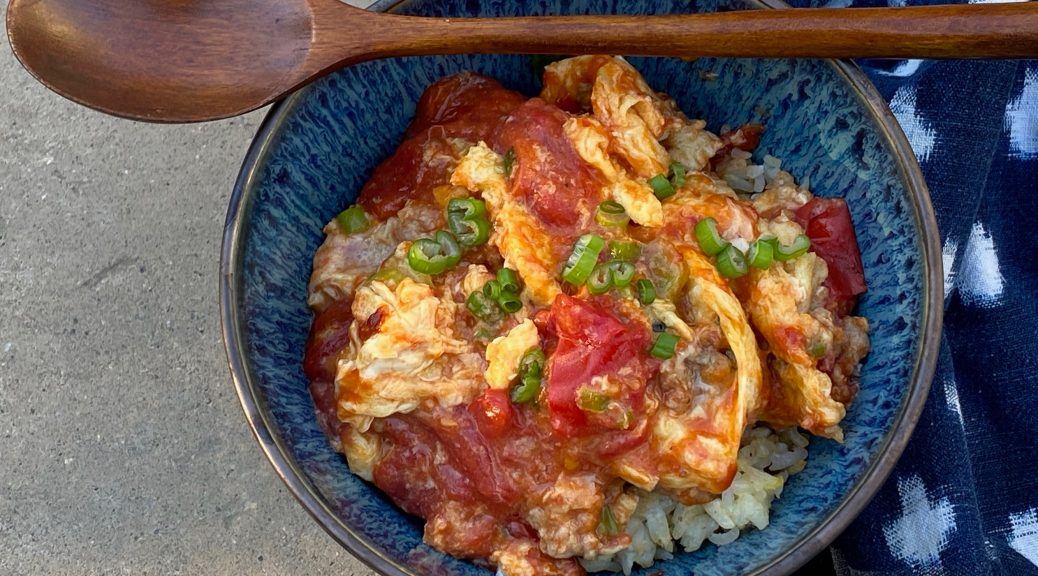
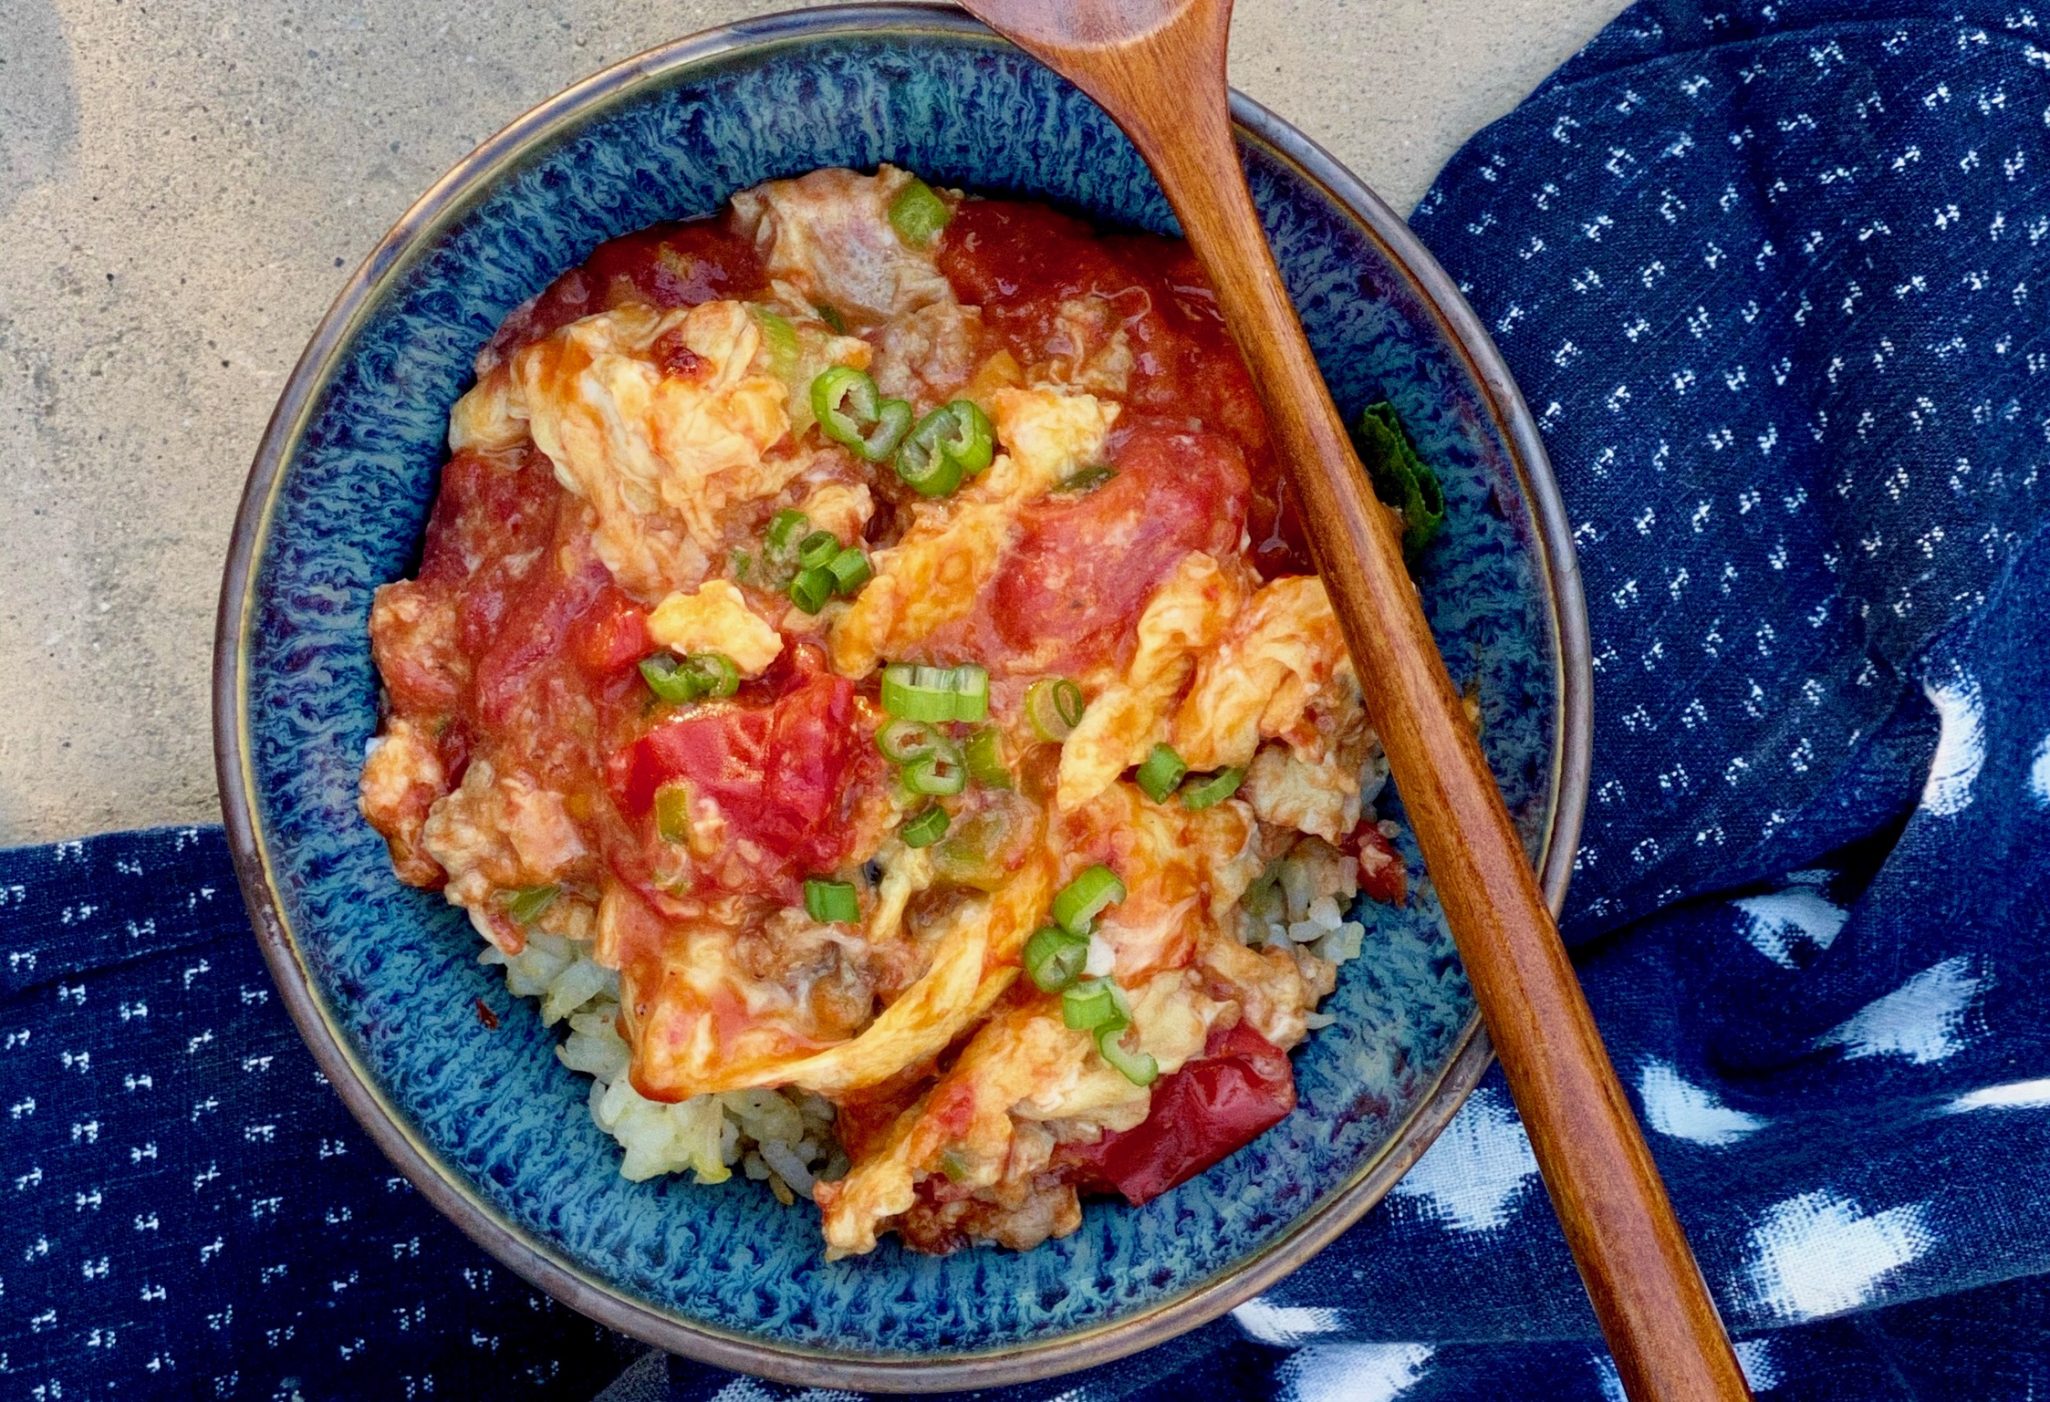
    A couple of weeks ago I was perusing the NYT cooking site and a recipe for stir-fried tomatoes and eggs by Francis Lam caught my eye.  This immediately transported me back to my days in Chinatown.  This Cantonese soul food dish is quick, simple, and perfect after a long day at work and slow commute home.

    As soon as you walk in the door make a pot of rice.  This will be the rate-limiting step of the entire meal.  In fact, you will have a couple of minutes to kick back and relax before starting on the eggs.  Yes, it’s that easy.

    A little music to cook by, Grant Ave. from Flower Drum Song- Pat Suzuki and Ensemble

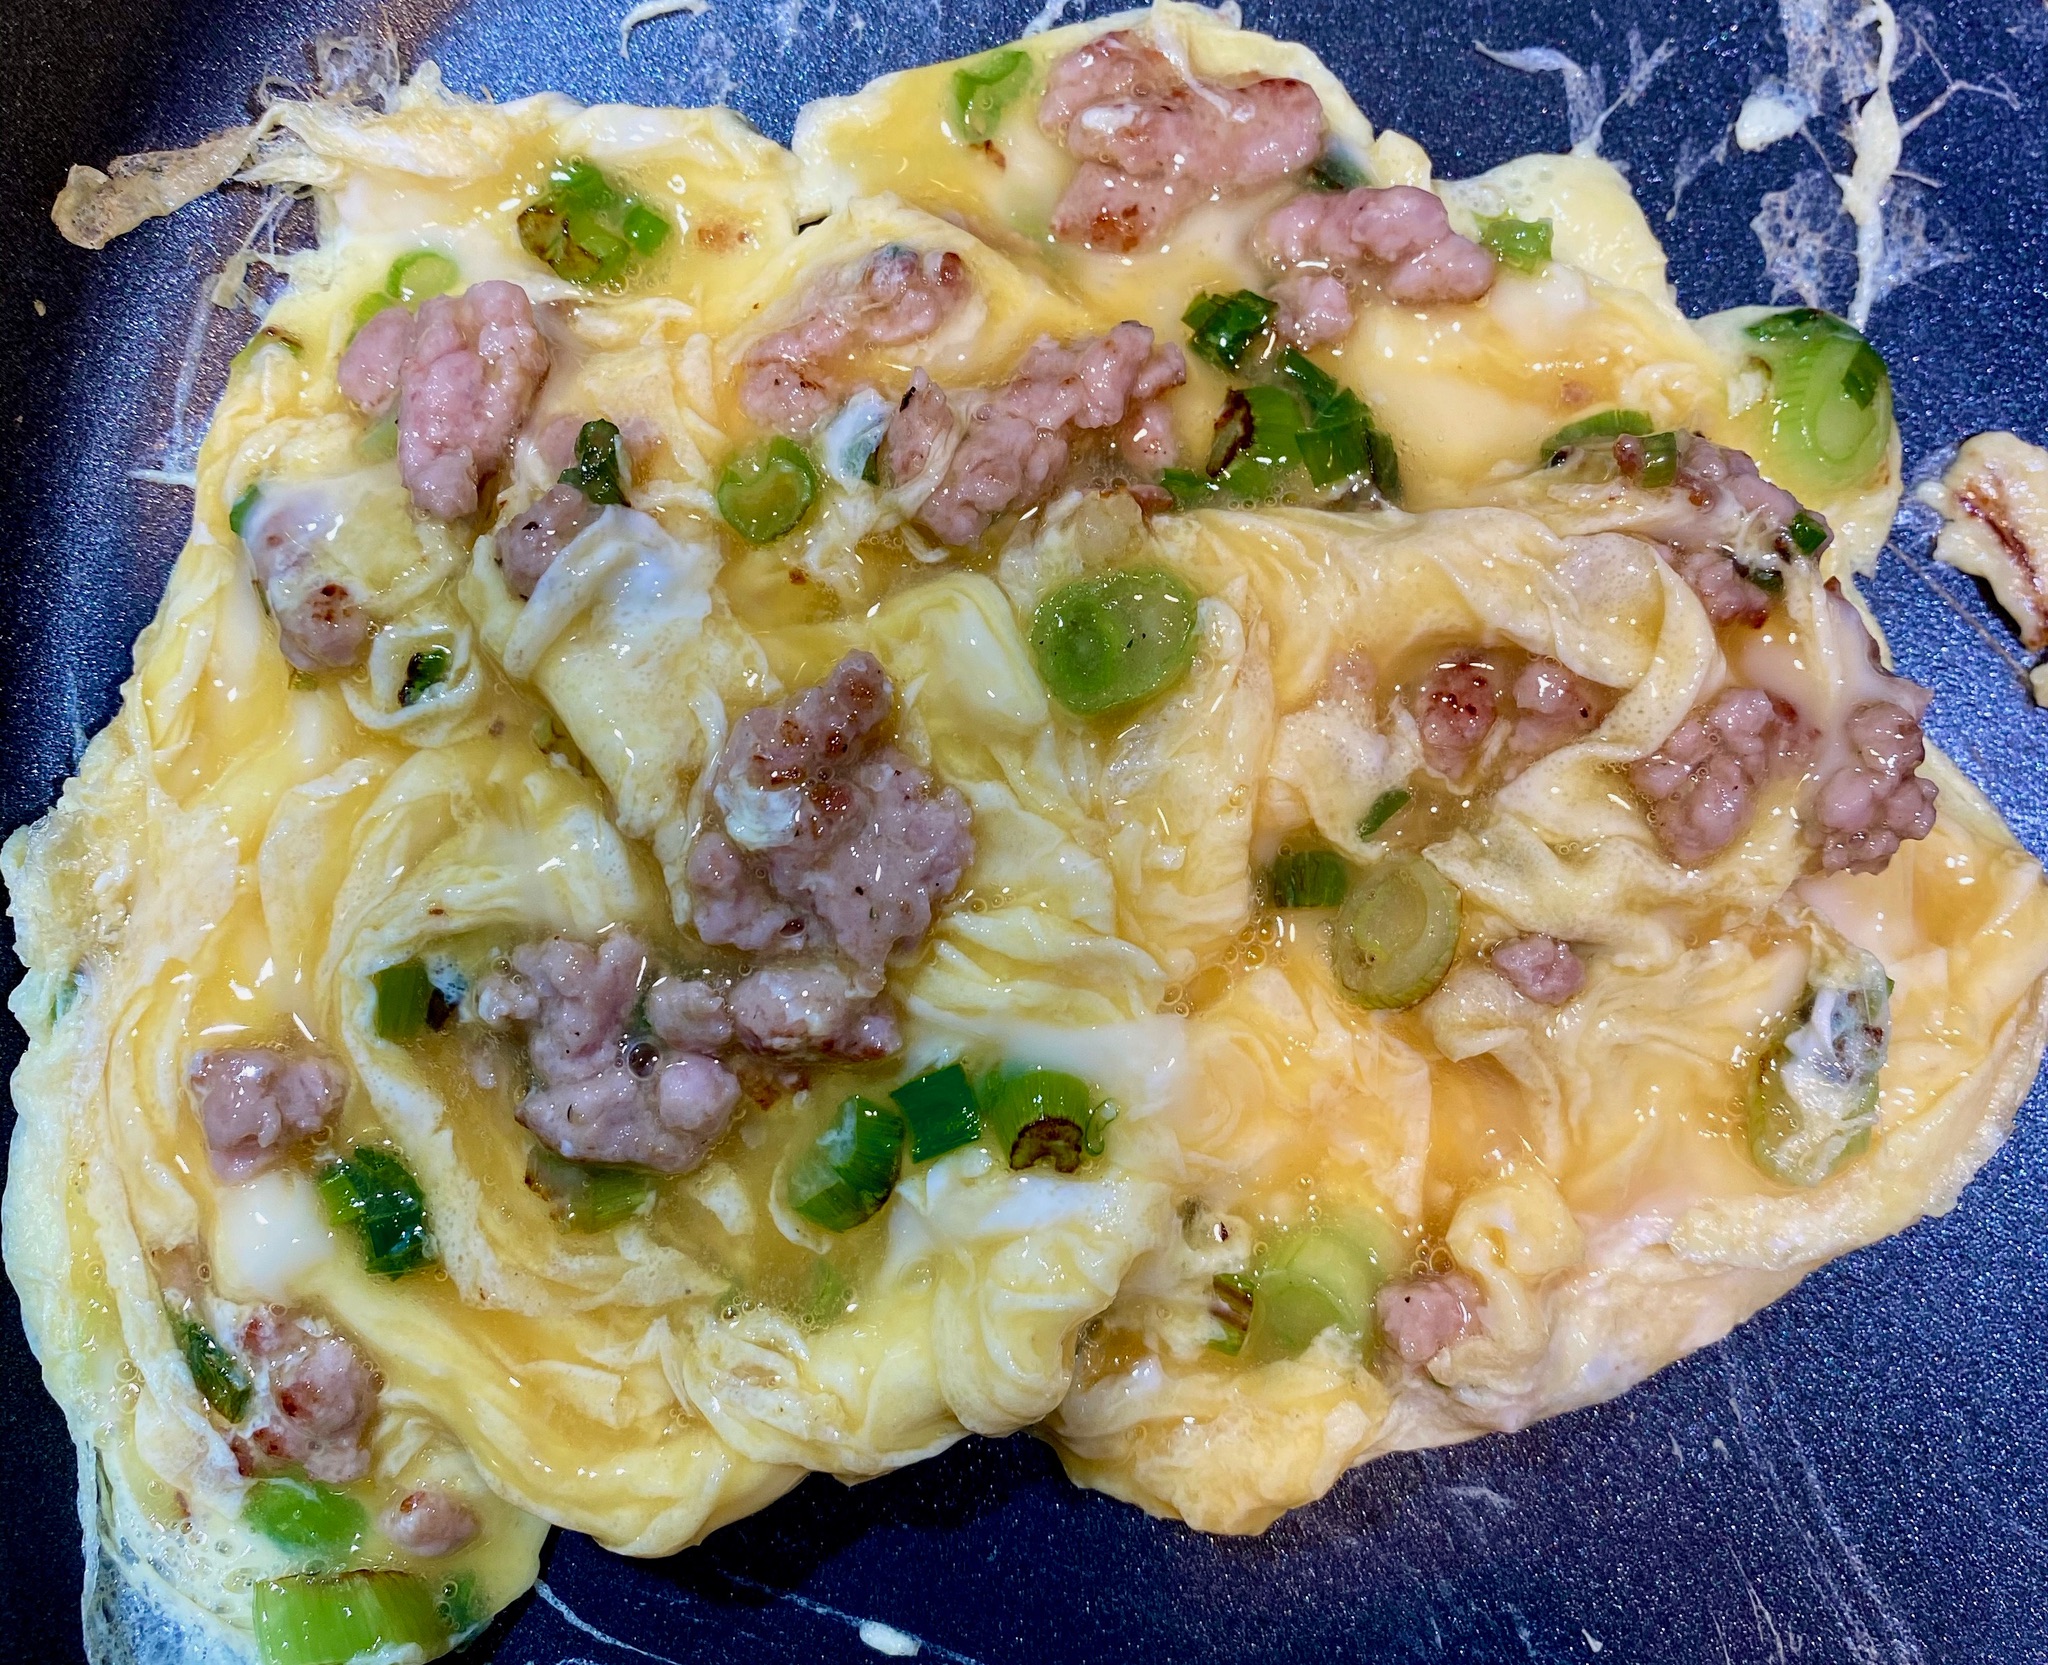
    Quick stir fry, do not overcook, keep em’ runny! Eggs will be added to the tomato mixture.

    The eggs are flavored with sesame oil and salt and then whisked lightly so that there are still streaks of egg white left. For fluffier (technical term) uniform color eggs, whisk them thoroughly.  Scramble eggs quickly until barely set and remove from heat and pour into a dish.  Stir fry the tomatoes to the desired doneness.  Add the eggs to the tomatoes and cook just long enough to stir the tomatoes and eggs together.

    That’s It.

    A word of caution, I am THAT person who orders scrambled eggs, very soft and runny.  In fact, the runnier the better, so cook the eggs to your taste.  Scoop steaming hot rice into a bowl or on a plate, top with the tomato-egg mixture and garnish with green onions.  Turn on the tube, plop yourself down on the couch and watch your favorite reruns while you gobble up your eggs and rice.  You deserve it, there’s nothing better.

    If you need protein, throw in bite-sized pieces of chicken, beef, or shrimp while cooking the green onions. I had a bit of ground beef left, so in it went.  Don’t have green onions?  Use thinly sliced yellow or red onions.

    Stir Fried Eggs and Tomatoes

    Down home Cantonese Dish
    Course Main Course, One dish meals
    Cuisine Asian
    Keyword egg, scrambled, tomatoes
    Prep Time 15 minutes
    Cook Time 5 minutes
    Servings 4 servings

    Ingredients

    From New York Times Cooking Francis Lam

    • 4 tablespoons vegetable oil

    Eggs

    • 6 eggs
    • 1 tsp Kosher salt or 1/2 teaspoon sea salt
    • ½ teaspoon sesame oil
    • 1 tablespoon Shaoxing rice wine or dry sherry
    • 2-3 scallions sliced, reserve 1/3 of green portion for garnish

    Tomatoes

    • 1 pound beefsteak tomatoes in season, any juicy tomato would work or 1 14.5-ounce can of diced tomatoes in juice-DON'T EVEN-its here because its in the original recipe-bleah
    • 1 teaspoon minced ginger from about 1/4-inch nub

    Sauce

    • 1 teaspoon cornstarch
    • 1 teaspoon sugar can subtitute light brown sugar
    • 2 tablespoons ketchup YES, ketchup
    • 2 tablespoons water or stock (chicken or veggie stock will work)

    To Serve

    • Steamed rice for serving

    Instructions

    • In a bowl, beat the eggs with 1 teaspoon salt, sesame oil and rice wine or sherry.
    • In a small bowl, stir together the cornstarch and 2 tablespoons water until well combined, then stir in the sugar (can substitute brown sugar) and ketchup.
    • Core and cut tomatoes into 1/2-inch wide wedges.
    • Heat a wide nonstick skillet over high heat with 2-3 tablespoons of vegetable oil. When the oil shimmers, add most of the scallions, saving some to garnish. If adding protein or another vegetable, add now. Cook, stirring, until very aromatic, about 20 seconds.
    • Add the eggs, and cook, stirring well with a spatula or chopsticks, until just set but still runny, about 45 seconds.
    • Remove eggs to a plate and wipe out the pan.
    • Reheat the pan over high heat with the remaining tablespoon of oil. When it is hot, add the ginger and cook until aromatic, about 15 seconds. Add the tomatoes and salt to taste; cook, stirring occasionally, until the flesh has softened but still has some shape and the juices have begun to form a sauce, 2-3 minutes. (If using canned tomatoes, add the juice as well and cook about 4 minutes, to reduce it to a saucelike consistency.)
    • Reduce the heat to medium. Give the cornstarch-ketchup mixture a stir in its bowl, then stir it into the pan. Cook, stirring, until the sauce returns to a boil and thickens. Taste and adjust seasoning with salt, sugar or more ketchup — you want a savory, tart-sweet sauce. Stir the eggs in the bowl to cut up the curds a bit, then return them to the pan. Cook, stirring, for a few seconds to finish cooking the eggs and to combine. Top with the reserved scallions, and serve with steamed rice.
    Dad’s Fried Rice With a Little Tweak

    Dad’s Fried Rice With a Little Tweak

    Having recently posted a fried rice recipe (Kim Chee Fried Rice-Koreatown), this comes a bit sooner than expected, but a couple of things prompted this post.  The rain is back with a vengeance so I have been holed up at home with Sammy.  The perfect time to scrounge around the fridge and use whatever we have for dinner.

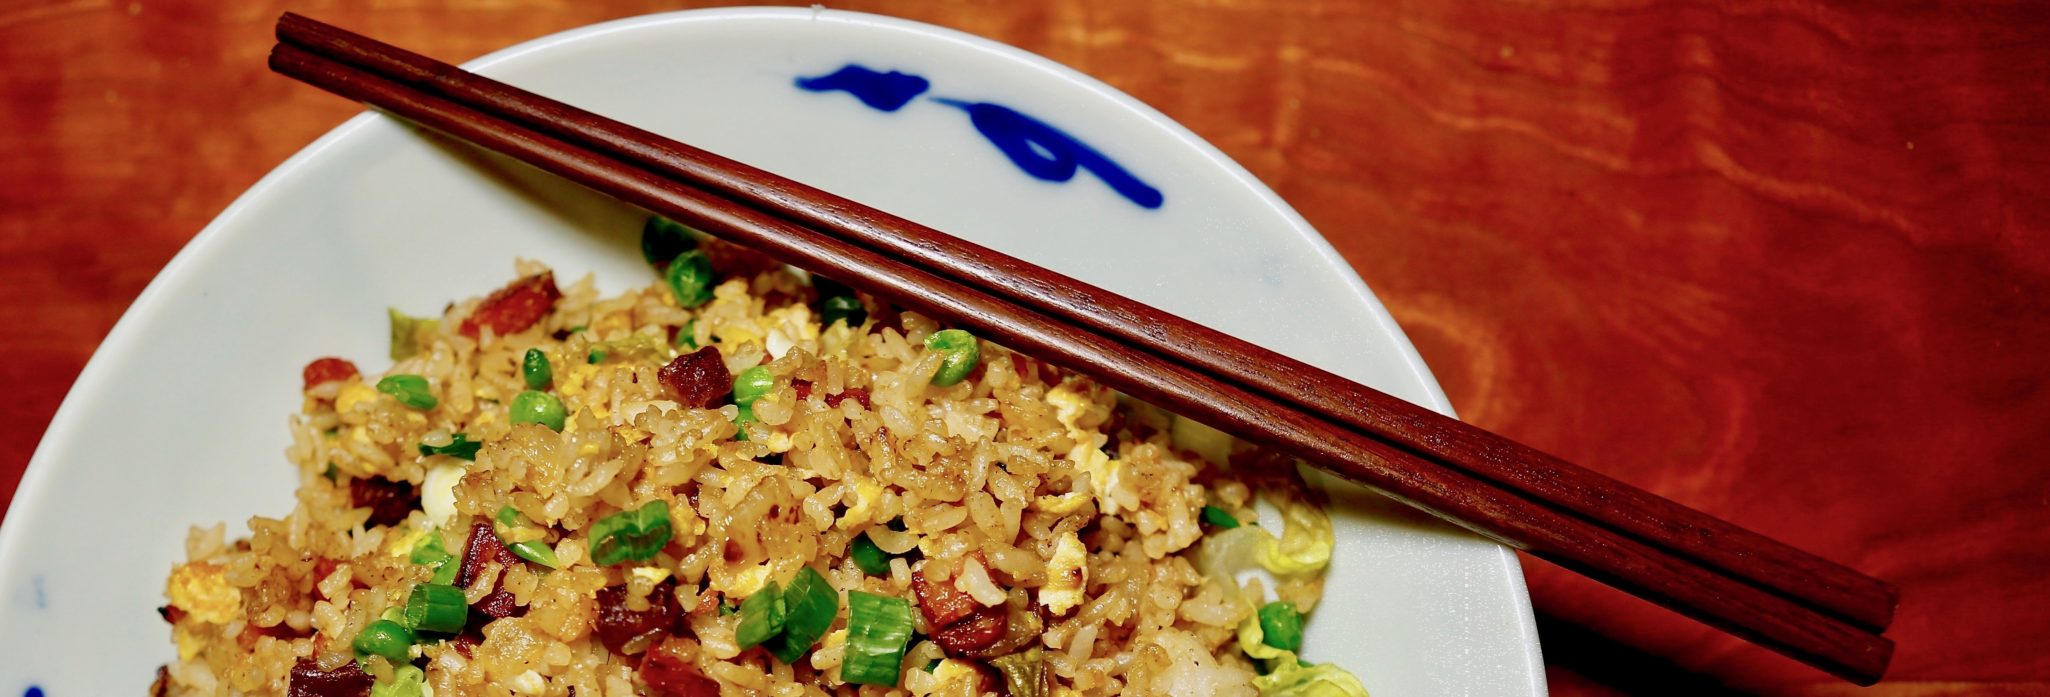
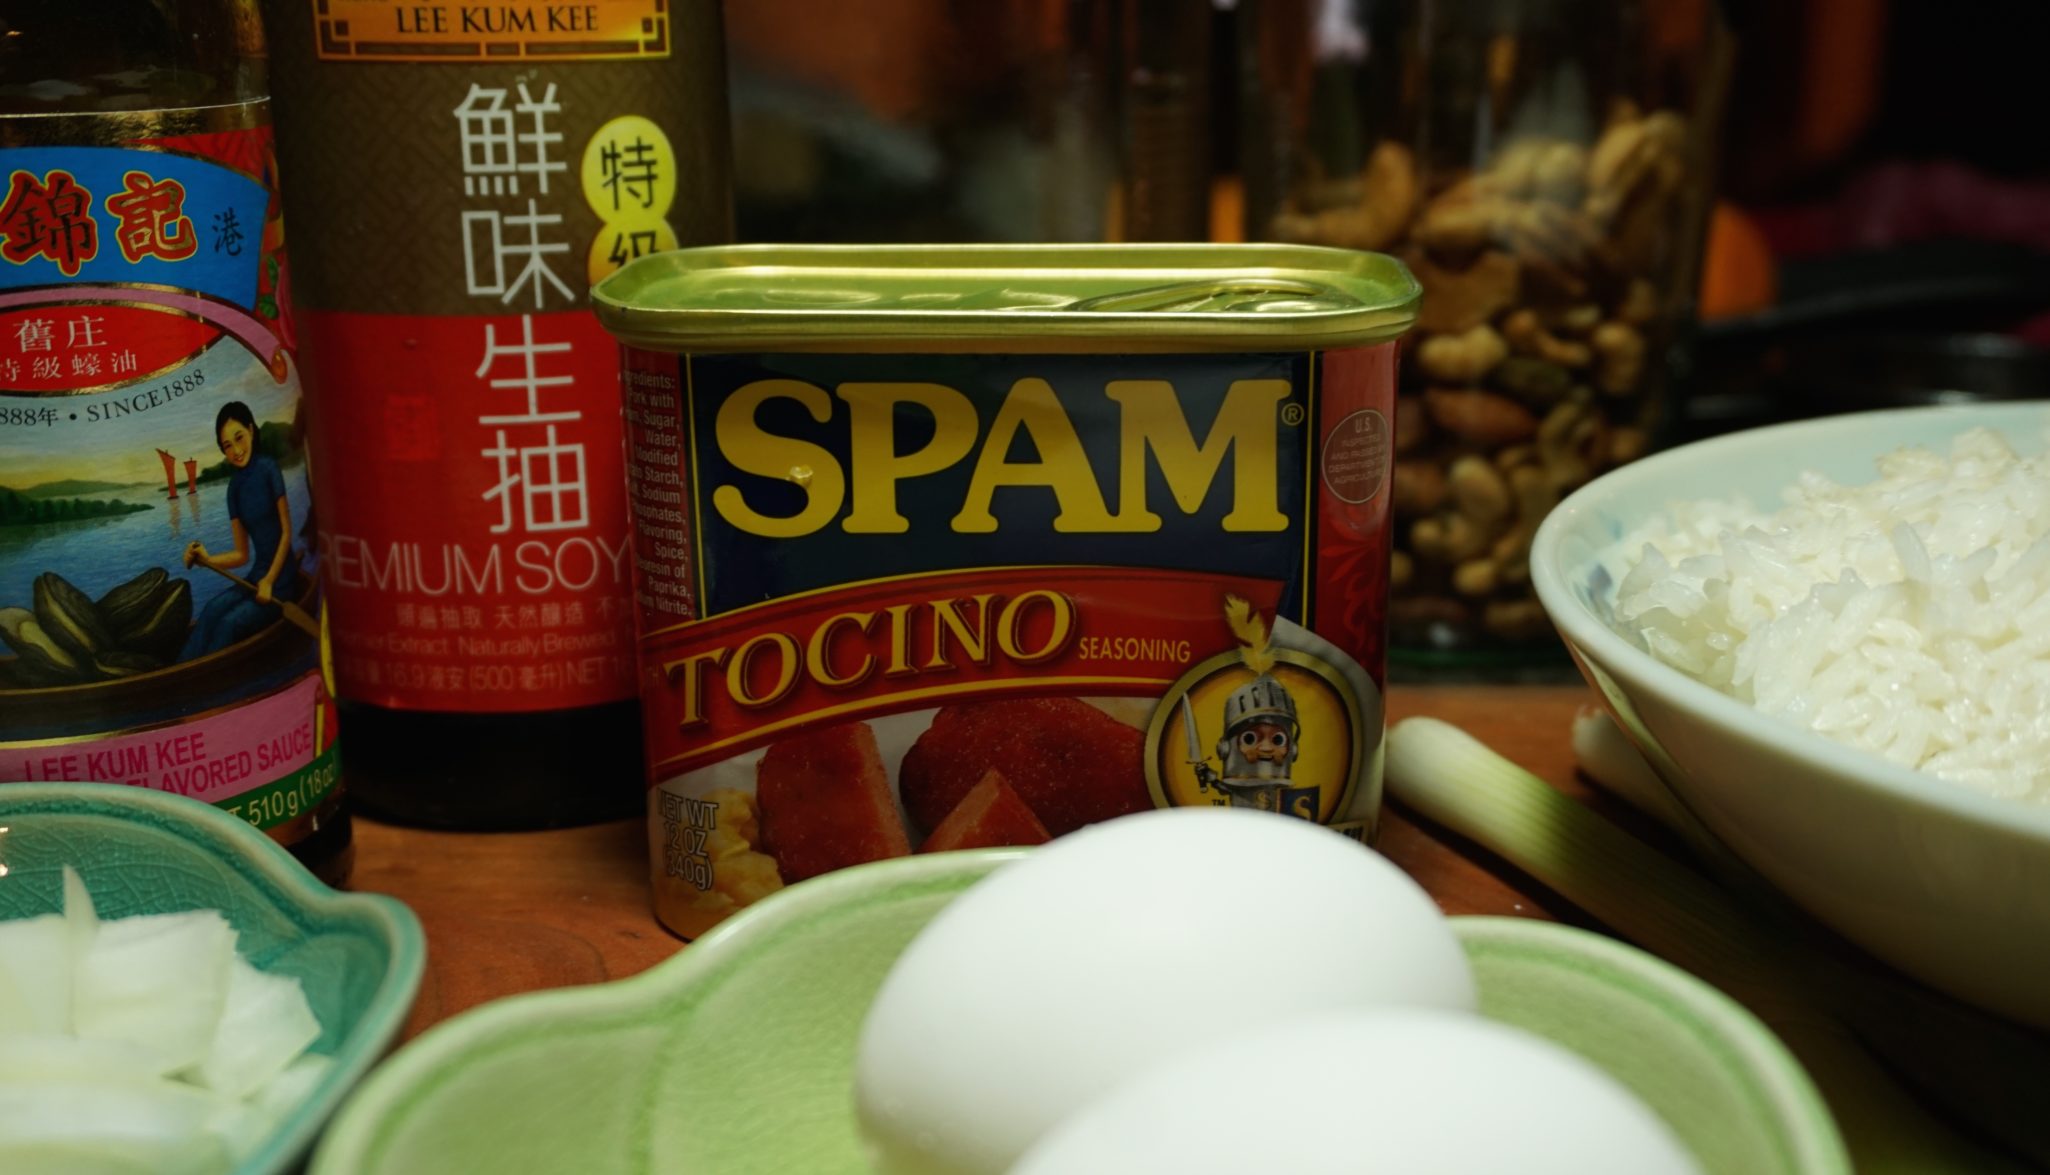
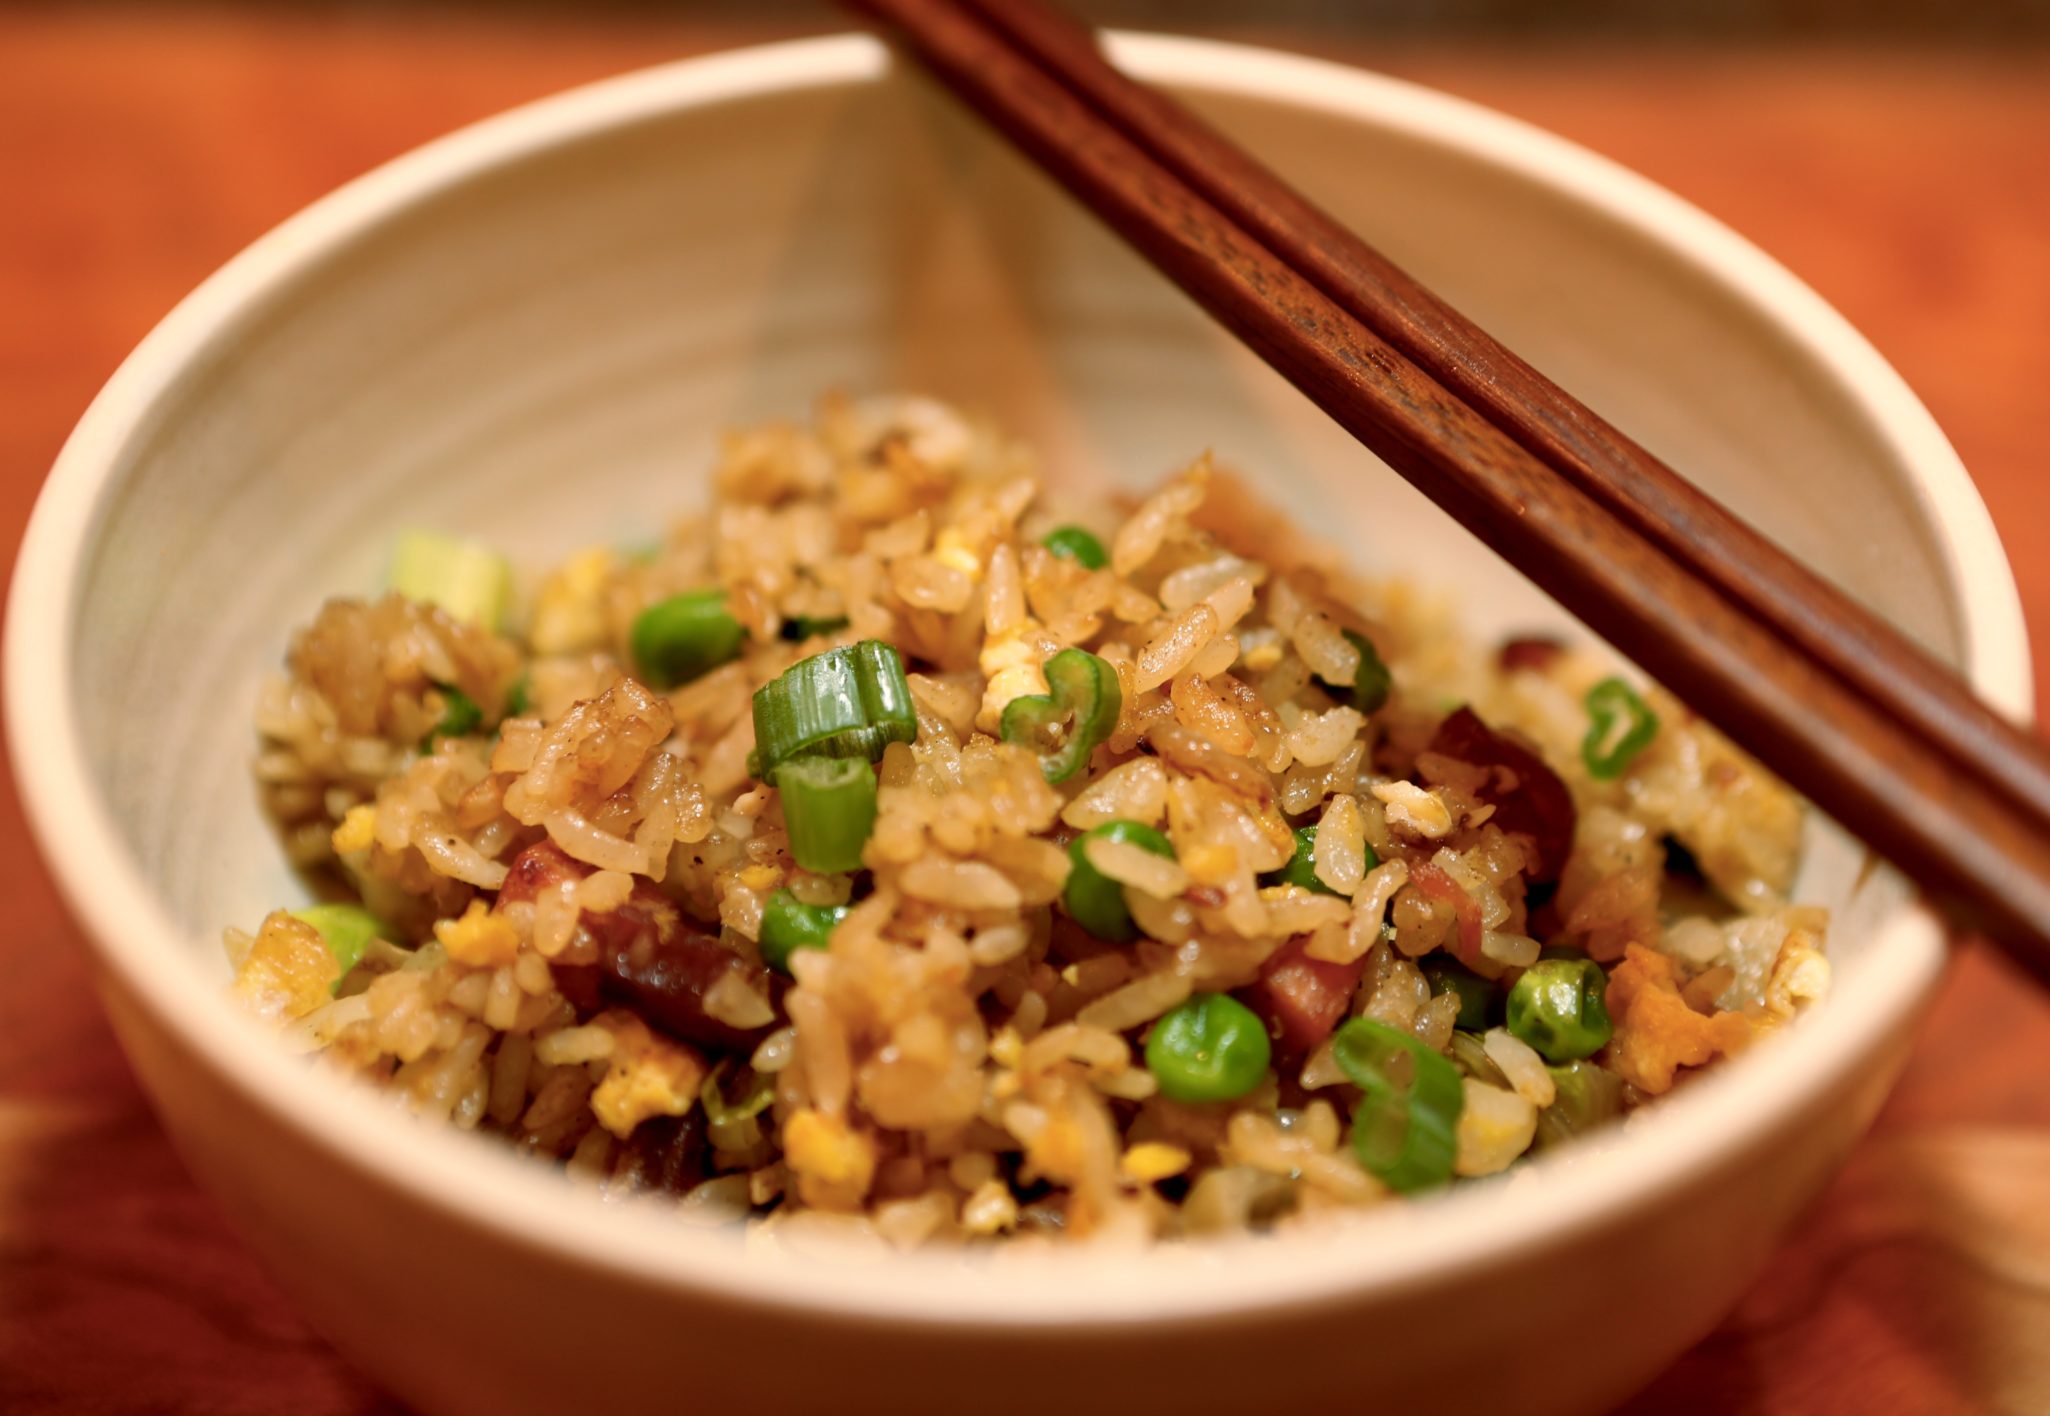
    I found leftover rice, onions, eggs, a bell pepper, and some Chinese sausage…yum, all the fixins for fried rice.  It’s easy, delish, down-home food. To top it off, my brother’s family spent the holidays in Hawaii and brought me back SPAM per my request.  I know you’re thinking-we have SPAM here, duh.  Yes, but Hawaii is the Spam capital of the world. We have regular, lite, and less salt, but head to any supermarket on the Islands and you will find a dizzying array of SPAM.

    Welcome to Spam-a-lot

    There’s Tocino SPAM, Portuguese Sausage SPAM, Garlic SPAM, Teriyaki SPAM, Black Pepper SPAM, Jalapeno SPAM, and the list’s keep going.  Who knew?  My niece grabbed a can of Tocino (Filipino) Spam which just happens to be my favorite. It’s sweet and salty and perfect for fried rice.  Fire up that wok, baby.

    So this is a rift on my Dad’s Fried Rice.  He would always use Chinese BBQ Pork but sweet Chinese sausage and SPAM (yes!) are a good stand-in.  The beauty of fried rice is you can put whatever you like in and make it your own.  The foundation of course starts with rice, preferably day-old rice (drier), aromatics such as minced ginger, onions, scallions, seasonings-salt, soy sauce, oyster sauce, white pepper, eggs, and some sort of protein bbq pork, spam, bacon, shrimp, your choice.  My Dad always added peas and shredded lettuce in his for color and probably to sneak some vegetables in.  Bell peppers, leeks, diced carrots are also great additions.

    Go crazy and make your own signature fried rice, the sky’s (and what’s in your fridge) the limit.

    Dad’s Fried Rice Gets an Island Makeover

    A delicious island version of fried rice, chinese sausage and Spam, proteins contributing flavor and texture!
    Course dinner, lunch, One dish meals, Side Dish
    Cuisine Asian-American
    Keyword downhome, fried rice, homemade, lop cheung, rice, spam
    Prep Time 20 minutes

    Ingredients

    • 2-3 cups cooked day old rice long grain preferred, but short grain will work
    • 1 T vegetable oil
    • 1/2 onion finely chopped
    • 1/4 cup diced red or green bell pepper*
    • 1/2 cup diced carrot*
    • 2-3 slices fresh ginger minced, 1 clove garlic minced (optional)
    • 1/2 cup diced Chinese bbq pork or SPAM
    • 1 Chinese sausage lop cheung and 2 slices of spam, diced
    • 2 eggs slightly scrambled
    • 1/2 cup green peas
    • 1-2 green onions coarsely minced
    • 1/2 cup shredded lettuce iceberg or romaine

    Seasonings

    • 1 T soy sauce
    • 1 T oyster sauce
    • 1/4 t sugar
    • 1/4 tsp salt
    • white pepper
    • 1 teaspoon sesame oil optional

    Instructions

    • Heat a large saute' pan or wok and add the 1 T of oil to pan. Add onions, bell pepper (and any raw vegetable you like such as diced carrots or bell peppers) to the pan.
    • Saute' until vegetables are soft approximately 5 minutes. Add Chinese sausage and SPAM and continue to saute until sausage is heated through and SPAM is brown and with crispy edges.. Remove from pan to bowl and reserve.
    • To the same pan add 1 T oil. When shimmering add ginger and garlic (optional) and saute' until fragrant (15-30 seconds)
    • Add rice to pan, breaking up the clumps as you stir fry the rice and ginger. When the rice is coated with the oil, move rice to the perimeter of pan creating a well in the center. Pour eggs into center of pan and scramble. As soon as the egg is slightly set mix into rice, do not overcook the egg.
    • Toss vegetable mixture back into the pan along with the peas. Stir to incorporate and heat through.
    • Season with soy sauce, oyster sauce, sesame oil is using, and pepper. Taste, use salt if necessary.
    • Just before removing from pan add shredded lettuce and green onions
    • Garnish with green onions or cilantro if desired.
    • Serve immediately.

    Sheet Pan Magic (Chicken Tikka)

    Sheet Pan Magic (Chicken Tikka)

    Miss me?  I have been on an extended break from the blogosphere.  Knocked down by the flu during the holidays, my post-election blues (I promise to refrain) and the wet dreary weather kind of got the best of me.  But I’m back!  Ready to tackle 2017. This year’s theme will be comfort food from soup to dessert, food for the soul.  Food for family and friends-dishes to share, meals that bring us together and make us happy. Nothing better than sitting around the table eating, talking and laughing.  What better buffer to our crazy mixed-up world right now.  If you have a favorite recipe I would love to share it on my blog and if there is a story behind your dish, I definitely want to hear it.

    This first post was going to feature soup.  You know how much I love soup, yep I could live on just soup.  Not to mention soup is the perfect antidote for cold wet weather and when you’re not feeling 100%.  In fact, I had an easy soup recipe in mind, a family favorite that I make whenever my kids are home but a recipe for Chicken Tikka from one of my favorite blogs, Smitten Kitchen caught my eye.  I had to try it.  It is a one pan meal loaded with flavor from spices like garam masala, chili, cumin, paprika and garlic.

    Sheet Pan Chicken TikkaThe hard part maybe rounding up the different spices used in this recipe.  Fortunately quite a few markets now carry Indian and Asian spices.  Try Whole Foods or there is always Amazon or online spice stores like Penzey’s.  If you have an Indian market or Middle Eastern market in your area, definitely check them out.  Spices are usually very reasonable.  Once you have the spices the rest is easy peasy.
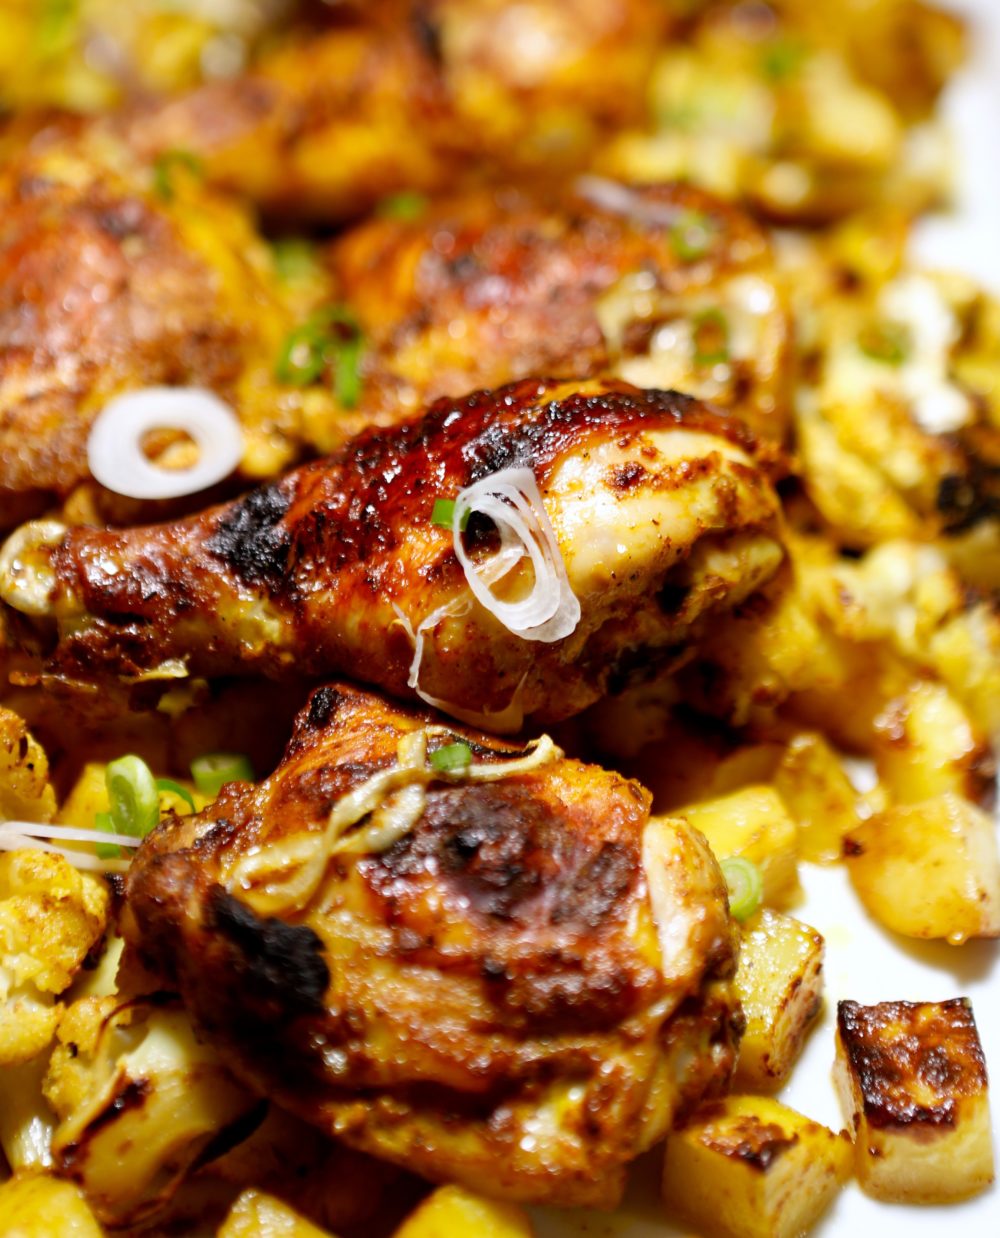
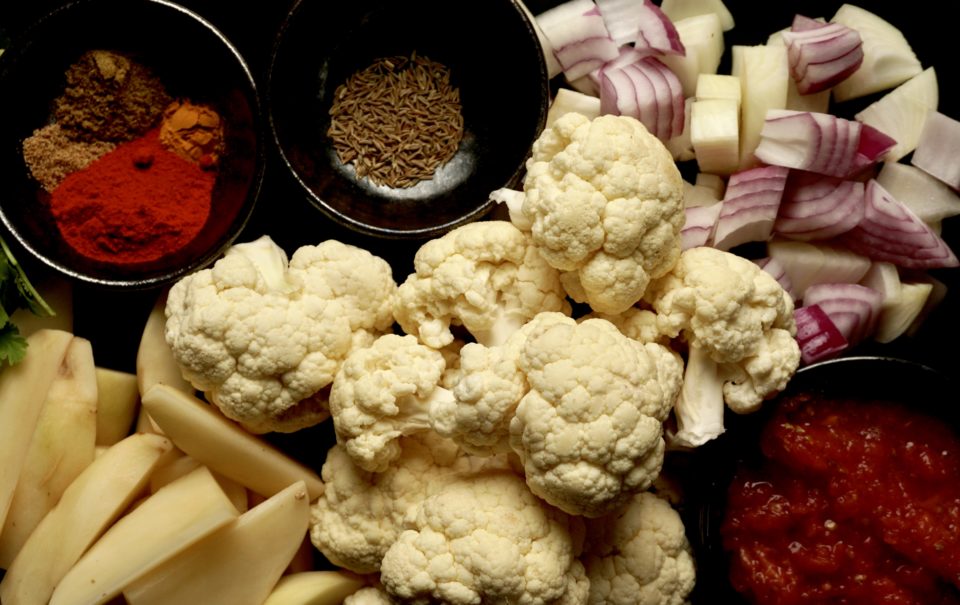
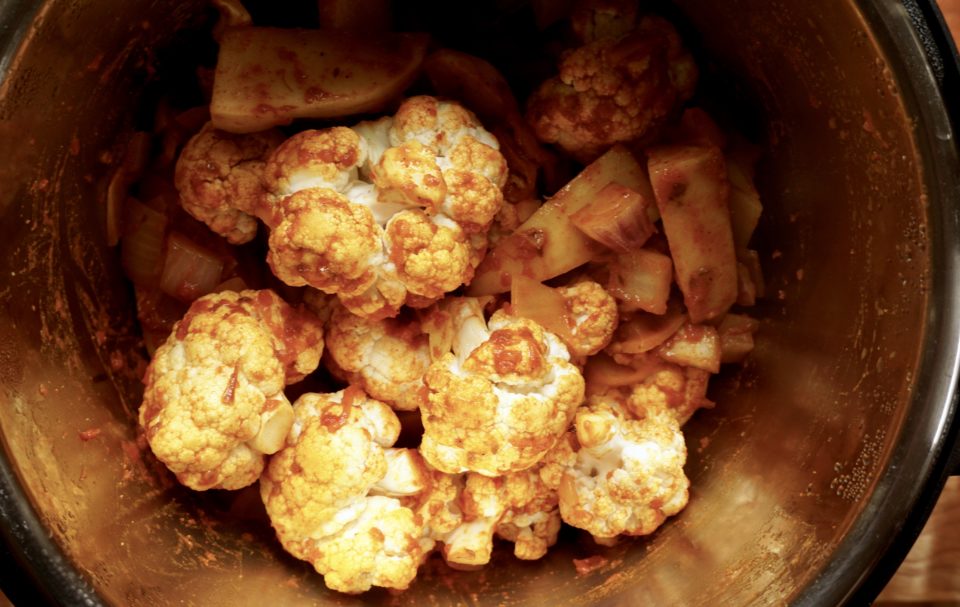
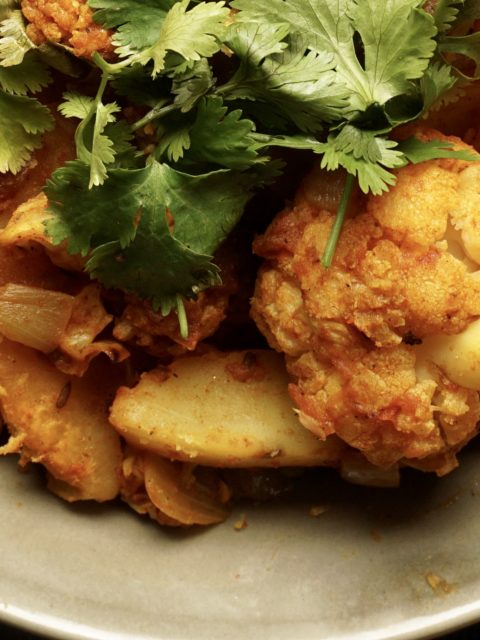
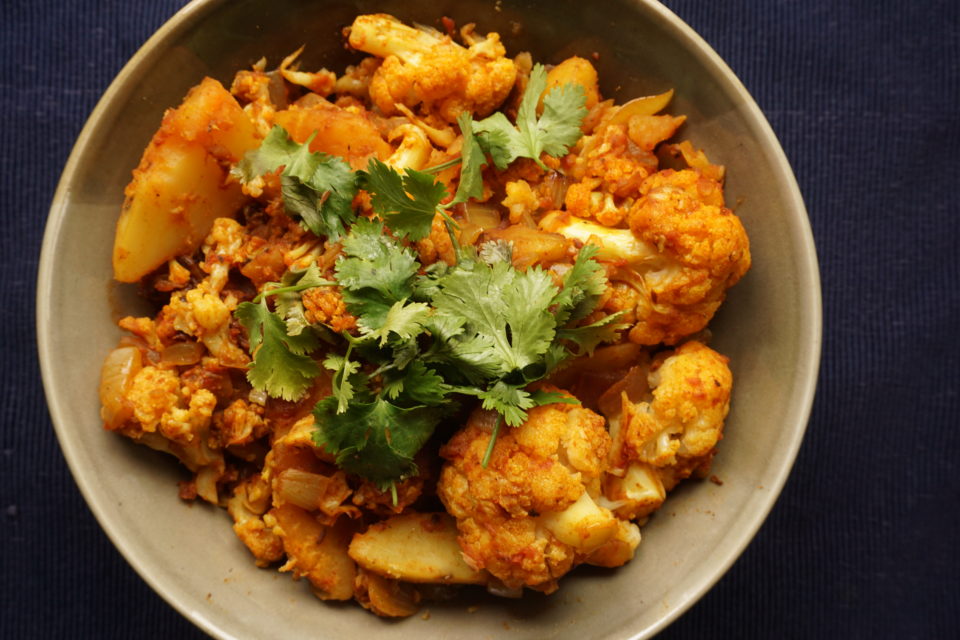
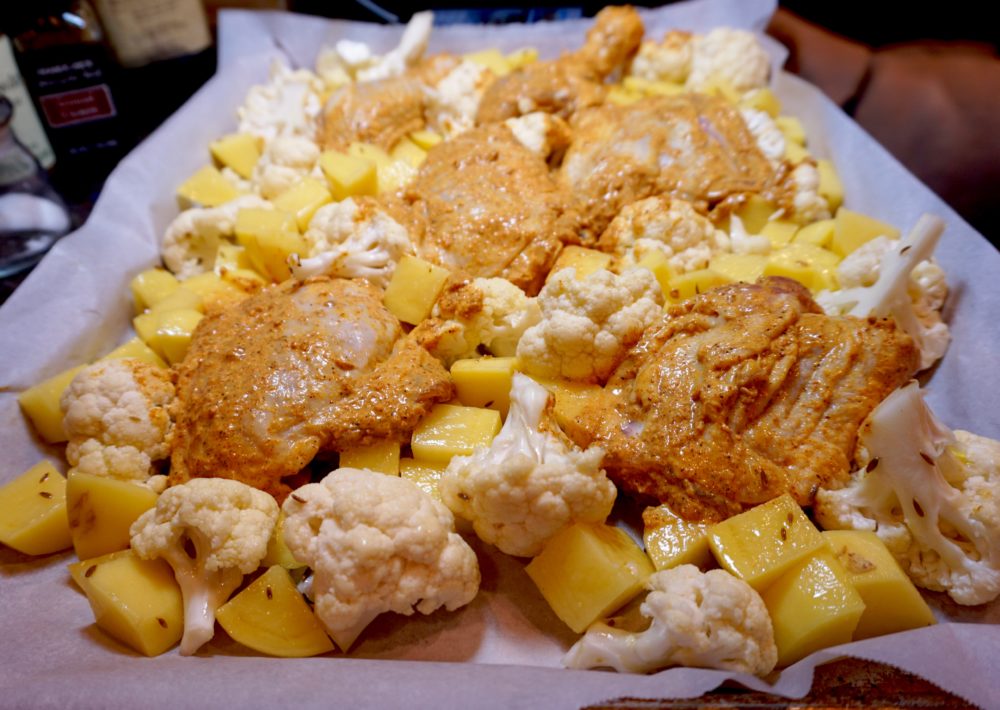
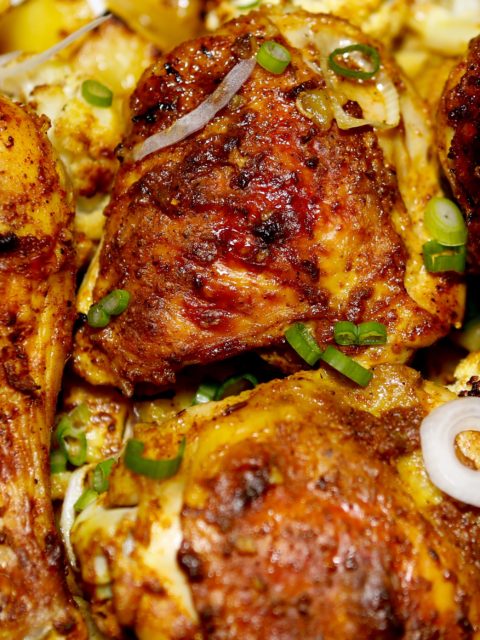
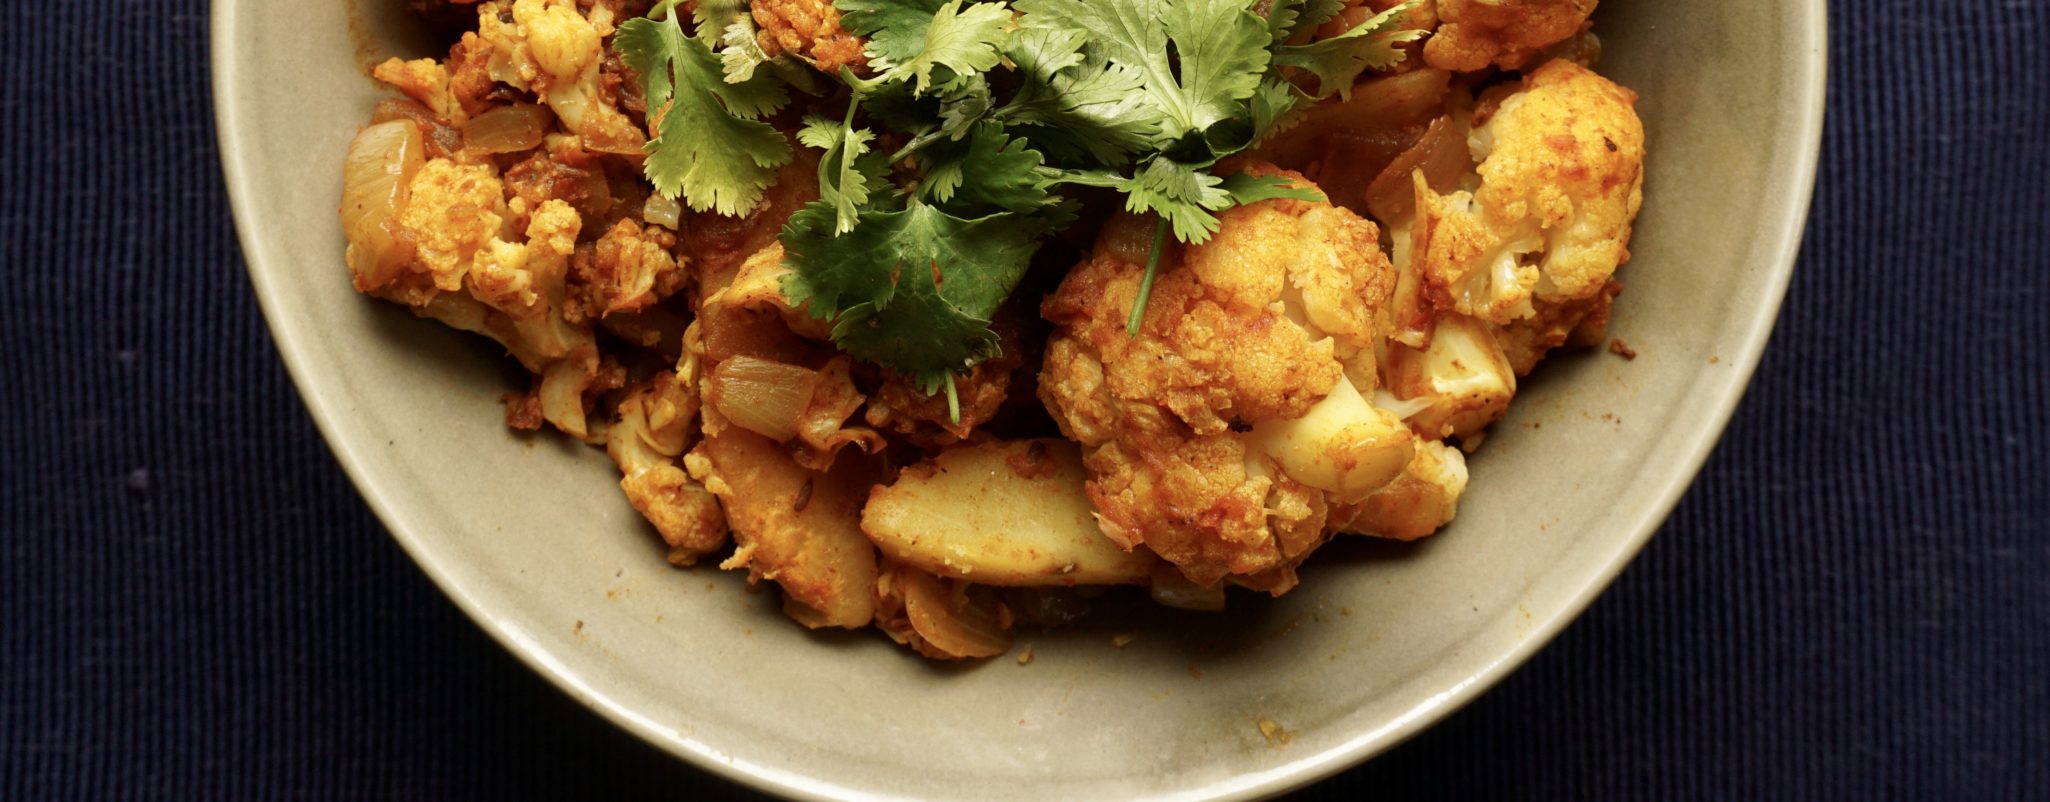
    Marinate the chicken pieces in the yogurt, cut cauliflower and potatoes into chunks, season and scatter them on a sheet pan. Place chicken pieces in between the vegetables and bake in the oven for 30-40 minutes. Voila’ dinner is ready to be served.  With my first bite, I could taste the tang of the yogurt and the kick from the chili and jalapeño. The cauliflower and potatoes, with their crispy edges and smooshy (is that a word?) centers, were the perfect foil to the chicken.   I can’t wait to make this again.  Added bonus, JUST ONE PAN to wash, uh-huh, uh-huh.

    Sheet pan Chicken Tikka


    Sheet Pan Magic (Chicken Tikka)

    Ingredients

    Adapted from Smitten Kitchen

    For the chicken

    • 1 3/4- inch piece of ginger peeled and minced
    • 4 cloves of garlic minced or pressed
    • 1 fresh green chili jalapeno, seeded and minced
    • 1/2 cup whole-milk yogurt
    • 1 teaspoon kosher salt
    • 1/2 teaspoon chili powder or cayenne or adjusted to taste
    • 1/2 teaspoon ground turmeric
    • 1/2 teaspoon ground cumin
    • 3/4 teaspoon granulated sugar
    • 1 teaspoon paprika
    • 1 teaspoon garam masala
    • 2 pounds chicken thighs drumsticks or halved chicken breasts (skin-on, bone-in)

    For the vegetables

    • 3 tablespoons olive oil
    • 1 1/4 pounds about 4 medium Yukon Gold potatoes, peeled if desired, cut into 3/4-inch chunks
    • 1 3/4 pounds 1 small or half a very large head cauliflower, cut into 3/4-inch-wide florets
    • 1/2 teaspoon kosher salt
    • 1/2 teaspoon cumin seeds

    To finish, if desired

    • A few thin slices of red onion
    • Lemon wedges
    • Salt
    • Dollops of yogurt optional
    • A few tablespoons roughly chopped cilantro parsley or mint, or a mix therof

    Instructions

    • Combine ginger, garlic, fresh chili, yogurt, salt, spices and sugar in a bowl. Add chicken pieces and toss to coat evenly. Let marinate for 15 minutes or up to a day in the fridge.
    • Heat your oven to 425°F.
    • Line a half-sheet (13×18-inch) with foil and coat it with 1 T of olive oil or use parchment paper.
    • Add potatoes, cauliflower, salt, cumin and remaining 2 tablespoons olive oil and toss together until evenly coated. I like garlic so I added a minced glove of garlic as I was tossing the vegetables.
    • Remove chicken from marinade and leave excess behind.
    • Nestle the chicken pieces among the vegetables throughout the pan.
    • Roast in oven for 20 minutes, then toss the potato and cauliflower to ensure they’re cooking evenly
    • Return the pan to the oven for 10 to 20 minutes more (i.e. 30 to 40 minutes total roasting time) until chicken and vegetables are cooked through.
    • If necessary remove chicken from pan and turn broiler on to crisp the potatoes and cauliflower
    • While it roasts, if you’d like to use the lightly pickled onion rings that we did on top, which added a nice tangy fresh zip to the dish, separate the rings and toss them in a small bowl with a squeeze of lemon juice and a pinch of salt. Set aside until needed.
    • When chicken and vegetables are cooked, top with garnishes of your choice.
    • I used thinly sliced red onions, cilantro, mint and diced scallions to garnish.
    Rice Rice Baby (Kimchi Fried Rice)

    Rice Rice Baby (Kimchi Fried Rice)

    Growing up I remember we had one big pot, well worn, dented and it’s bottom darkened from frequent use.  It was my Dad’s favorite cooking utensil and he used it for everything.  He stir-fried, boiled, simmered, stewed and steamed in that pot and everything that came out of that pot was amazing.  I loved his fried rice.  He started with rice leftover from the previous night’s dinner added diced sweet barbecued pork, green peas, bits of scrambled eggs and finished off with shredded lettuce.  He seasoned it with soy sauce, oyster sauce, ginger, and onions it was the epitome of a delicious one pot meal.  As I grew older I would help by stirring and flipping the rice in the pot as he added the ingredients.

    Everything comes full circle.  Fried rice is also a favorite of my kids.  Though I often make my Dad’s version, there are infinite variations of the dish.  A down home version with salted fish, bits of chicken and ginger to the Korean version made with spicy pickled kimchi, yum.  As much as I love my Dad’s, my current favorite is kimchi fried rice.  I recently picked up a new cookbook titled Koreatown by Deuki Hong and Matt Rodbard. A glimpse into living, eating and playing in  Koreatown USA.  It starts with a primer on Korean ingredients followed by recipes.  Vignettes are interspersed throughout the book on growing up in K-Town NYC and touring other Koreatowns throughout the country.  Recipes range from traditional to let’s take Mom’s recipe and “tweak” it.  Gorgeous photos of the food, restaurants and K-Town life bring the stories and recipes to life.  You will need two copies of this book.  One in the kitchen to cook from and one on your coffee table to read and enjoy.

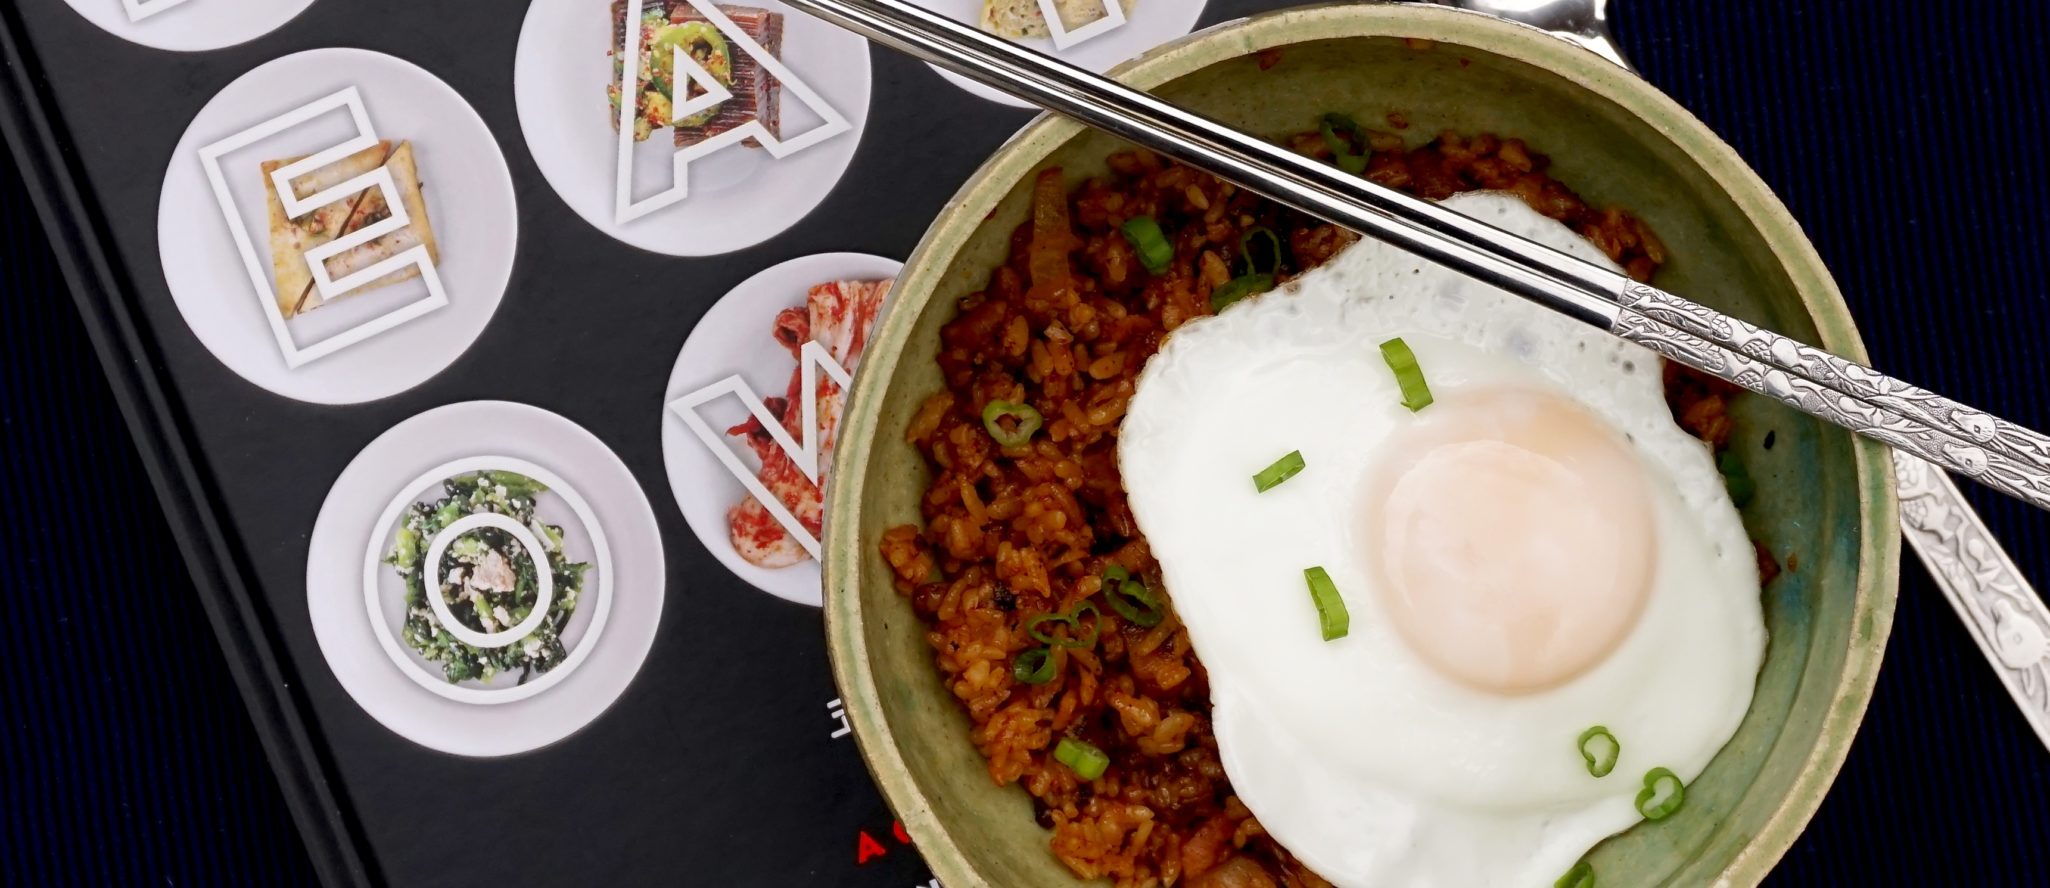
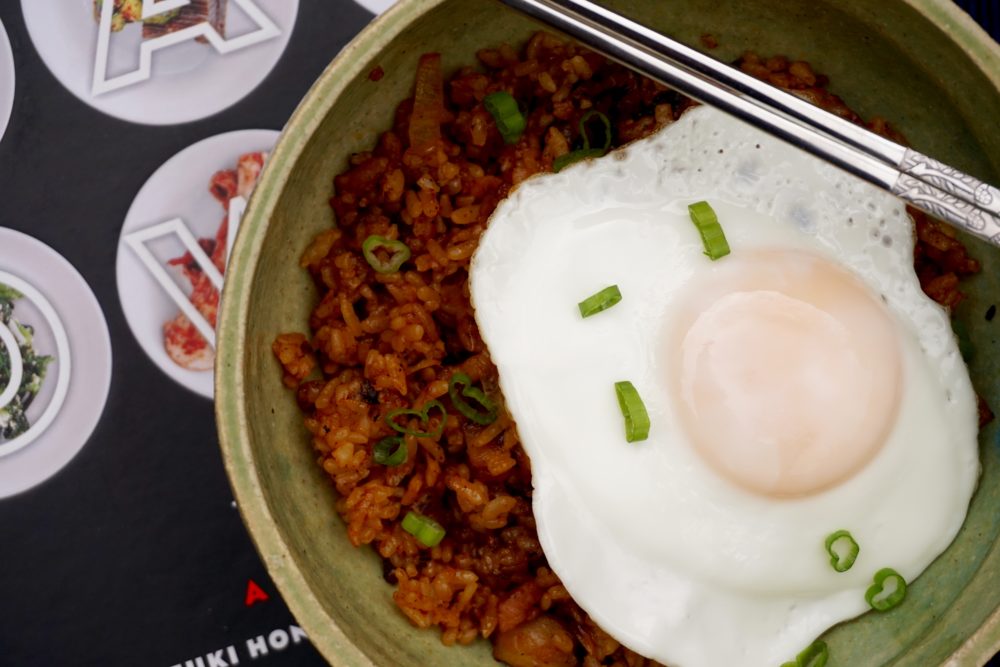
    Back to kimchi fried rice.  There are some universal trade secrets when it comes to making great fried rice.  The rice should be day old not freshly made.  Fresh rice contains too much moisture for making fried rice. You can use long grain or short grain rice.  Keep in mind short grain will be a little stickier than long grain but it still works. You can practically put anything into your dish and chances are it will be good.  Pineapple and bbq pork,  shrimp, leeks and pine nuts, or try Hawaiian style with spam (don’t laugh its really good), ono-licious as they say on the islands.   Koreatown’s kimchi fried rice has a secret ingredient, bacon.   Yep, porky goodness to go along with the spicy pickled flavor of the kimchi that gives this fried rice a nice twist. Even though the Koreatown recipe is pretty darn good on its own I tweaked it to my taste.  I love the bacon which added a smoky saltiness but I wanted a little sweetness so in addition to the bacon I added diced chinese sausage (lop cheung).  A touch of soy sauce and sesame oil heightened the flavor of the dish.  I don’t have a refrigerator in my garage with homemade kimchi (every Korean family has one) so my kimchi comes from my neighborhood farmer’s market. You can usually find kimchi and Chinese sausage at most Asian markets.  Top with a perfectly fried egg and you have a delicious easy & quick one pot meal.  I hope you will try it.

    Kim Chee Fried Rice-Koreatown

    Ingredients

    Adapted from Koreatown

    • 8 ounces slab bacon roughly chopped or reduce amount of bacon 4 ounces & add 1-2 chinese sausages that have been diced to 1/4 inch pieces
    • 2 garlic cloves minced
    • 1 medium onion finely chopped
    • One 1-inch piece ginger peeled and minced
    • 2 cups cooked long-grain white rice preferably day-old rice in a pinch short grain will work also
    • cups chopped napa cabbage kimchi I use quite a bit less, approximately 1/2 cup
    • Kosher salt to taste or soy sauce (start with 1 tablespoon)
    • 2 tablespoons butter softened
    • 1-2 teaspoons sesame oil
    • 1 tablespoon gochujang korean pepper paste
    • 4 eggs fried sunny-side up, for serving or if you like you can soft scramble eggs and add to rice at the end of the cooking process.
    • Thinly sliced scallions for garnish

    Instructions

    • 1. In a large wok or pot, cook the bacon over medium-high heat until the fat has rendered and the bacon is crisp, about 8 minutes. Add the garlic, onion and ginger, Chinese sausage and cook until aromatic, 1 to 2 minutes.
    • 2. Add the rice and kimchi, and cook, tossing frequently until heated through, 4 to 5 minutes. Season with salt and sesame oil. Taste, add soy sauce if needed. Reduce the heat to medium low and flatten the rice with your spatula. Cook until the rice forms a crust on the bottom of the pan, 4 to 5 minutes.
    • 3. Meanwhile, in a small bowl, mix together the butter and gochujang until smooth. Spoon the gochujang butter over the rice and top with fried eggs and sliced scallions, then serve.


    Book Review: The Dim Sum Field Guide

    Book Review: The Dim Sum Field Guide

    The Dim Sum Field Guide: Not For the Novice Dim Sum Eater

    9781607749561_p0_v1_s192x300

    I love dim sum so I jumped at the chance to review Carolyn Phillips’ “The Dim Sum Field Guide”.  My first impression of the book was, quite honestly, underwhelming.  “There aren’t any photographs,” I lamented to my hubby.  “Only line drawings of each tasty morsel and in black and white no less.  How is this going to help the dim sum newbie navigate the chaotic, intimidating hustle and bustle of a Chinese Tea House?  In this day and age a field guide should have photos of each entry, not line drawings.”  Disappointed, I put the book aside.
    A few days later I picked up the book again this time spending a bit more time perusing it.  There is an introduction to and history of dim sum, dim sum etiquette and a funny, all too true, bit on fighting over the bill.  The book is divided by savory and sweet and then further divided by wrapped or not wrapped, method of cooking, and hot or cold.  Frankly, it was confusing, but then again, dim sum is comprised of hundreds of different dishes and virtually impossible to neatly categorize.
    Each dish has two pages.  One is the line drawing and the other is best described as a taxonomy of each item with origins (history), nesting habits (how many in an order) and species (variations).  Also listed was a pronunciation guide in Mandarin and Cantonese with the name of each dish in Chinese characters.  The line drawings are very nice but one would be hard pressed to identify or differentiate many of the dishes from the drawings.  I did like the origins section which presented little factoids about each dim sum that I never even thought about.  Basic fillings are listed for each. Whether a dish contains pork, seafood or beef or if it is vegetarian or vegan is also noted.
    This is my first review for Blogging for Books.  I am a bit bummed that it isn’t a glowing review where I finish with the tag line-You need to get this book NOW!.  However, it is a cute coffee table worthy book with interesting tidbits about dim sum.  Fortunately, I am not new to dim sum so I know what I am ordering, but I am going to sound pretty smart the next time I take my friends to a Chinese teahouse.