
I received Sam Kass’s book, Eat a Little Better: Great Flavor, Good Health, Better World to review QUITE a while ago. I wasn’t too busy…
Our weekend ritual of going to the Farmer’s Market is a two-pronged mission. After stocking up on fresh seasonal fruits and vegetables we turn our…
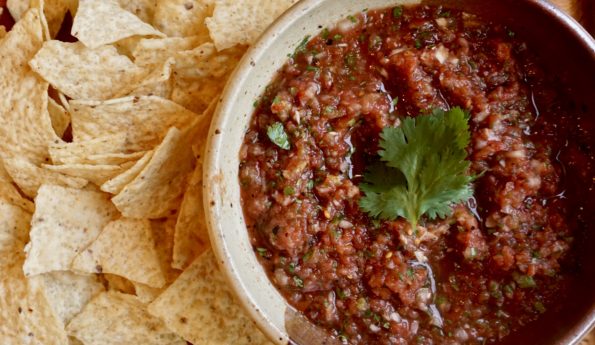
A while back on a visit to The Big Apple, we stopped at Brookfield Place for a quick bite. Near the World Trade Center, The…
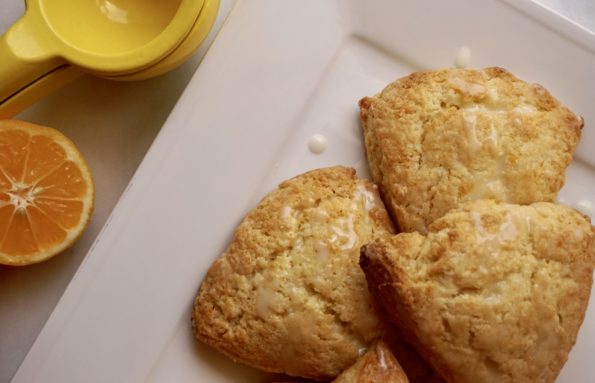
I got up this morning with scones on the brain. A while ago I had come across a recipe on the blog Dessert for Two…
This month’s Food52 Cooking Club selection is Simple Thai Food by Leela Punyaratabandhu, a book I have had sitting on my shelf for quite awhile.…
Jamie and I love happy hours so whenever she comes home we usually throw together a couple impromptu gatherings. Drinks and finger foods are part…

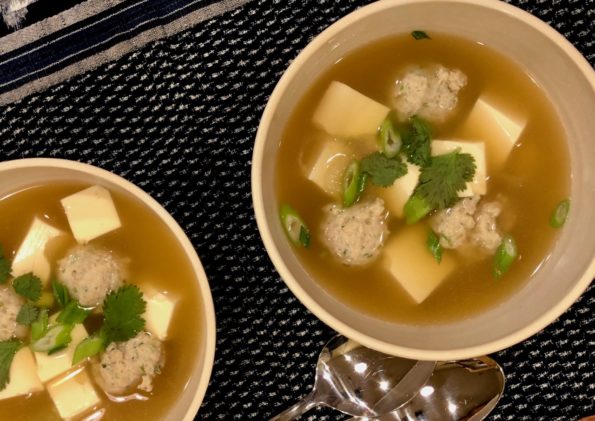
I can’t think of anything more comforting than a steaming bowl of noodle soup. If marooned on an island, what would you eat and what…
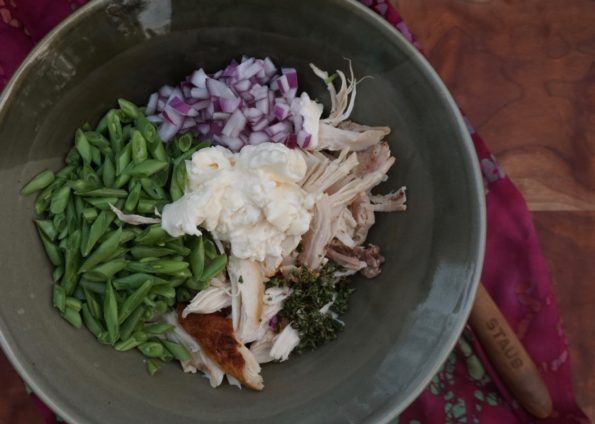
Last week was a busy work week and several evening commitments were on my to-do list. One of the realities of living in the Bay…
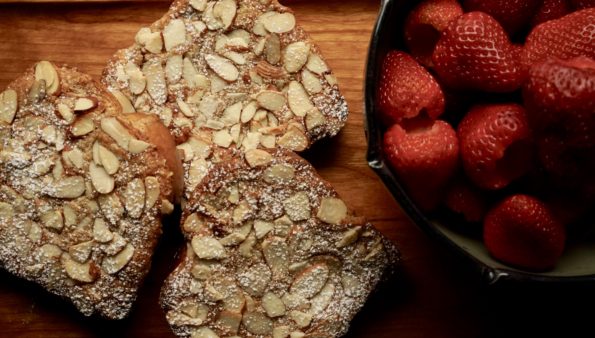
Back in high school, there were certain kids everyone gravitated towards, the student body president, quarterback, class clown, their sheer exuberance for life attracted people to…