

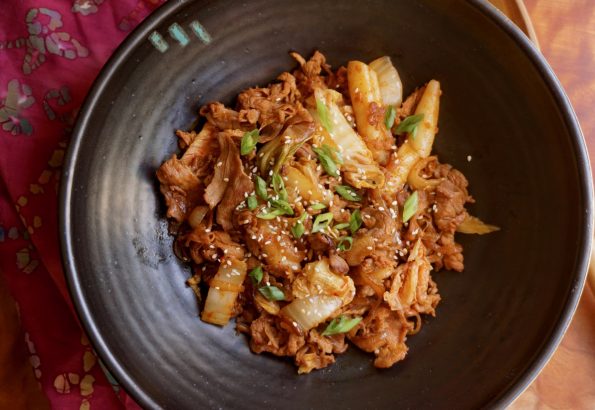
Korean bbq comes to mind when summer rolls around and barbecue gets top billing. I love Korean barbecue especially Kalbi and Bulgogi. Kalbi, cross-cut or flanken-style beef…
Last weekend Jamie played her version of NYT’s 36 Hours. We picked her up at the airport (SFO NOT SJC, grrrr) at 1:00 am Friday…
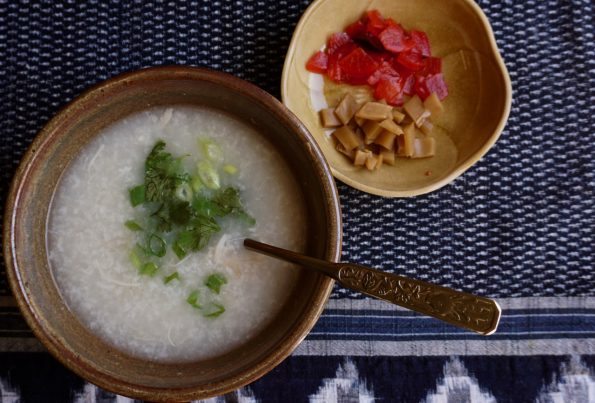
My last trip to the Hankook Korean Supermarket, I took the plunge. Yep, finally bit the bullet and bought a BIG jar of Kimchi. No…
This past weekend we had dinner with our “Gourmet Club”. A group of us, 5 couples, started the club when our kids were in preschool.…
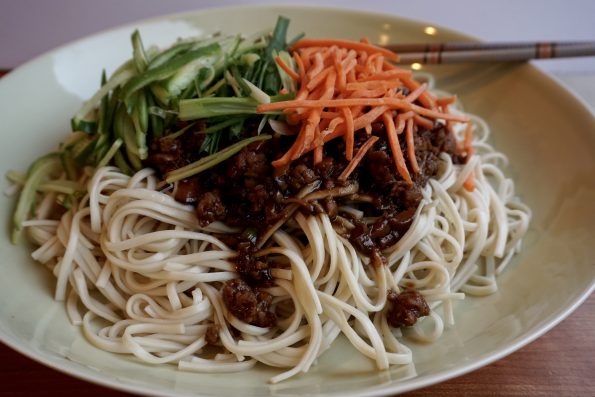
When I lived in Los Angeles my favorite place to eat was a tiny dumpling shop in Chinatown. Before entering I would stop and watch…
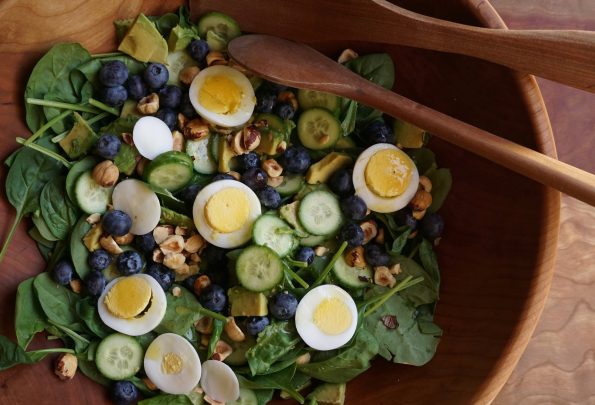
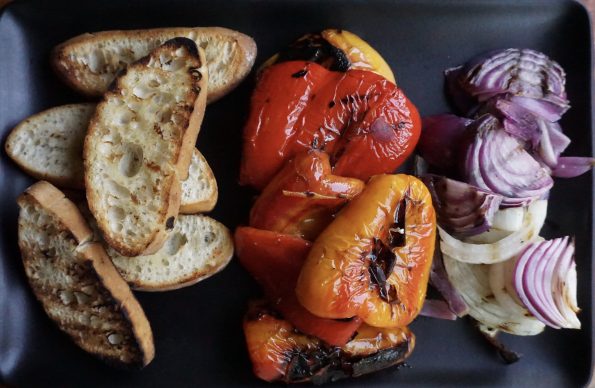
Woohoo, it is going to get really hot this weekend! When the temperature hits 3 digits it’s time to get out of the kitchen as…
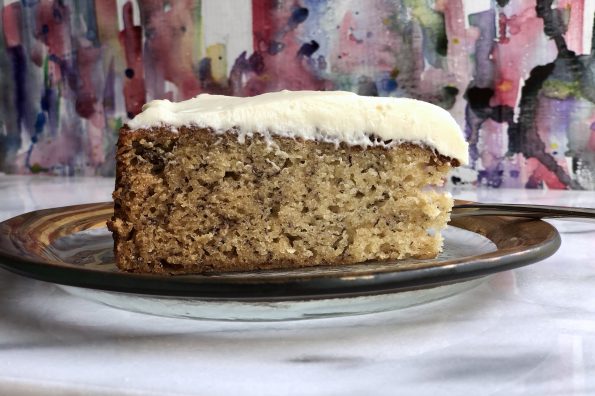
I am always on the look-out for recipes that use those over-ripe bananas frequently found on my countertop. I already have an amazing banana bread…

We returned home from our road trip to Minneapolis to the first zucchini of the season. Yay! Of course by the end of the season…

What is your favorite chocolate chip cookie recipe? The one on the back of the Nestle’s Chocolate Chips bag? A treasured family recipe handed down?…