
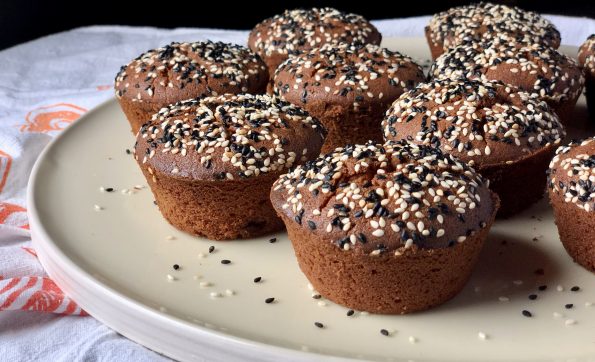
Always searching for new and different treats, I came across an article that spotlighted Third Culture Bakery in Berkeley. The baker is an alum of…

I am soooo excited! We are adding a new category to 3Jamigos! The kids have flown the coop and are making their own way, Jeff…

Classic Taiwanese Chicken Dish braised in soy sauce, sesame oil and rice wine seasoned with garlic, ginger and Thai Basil.
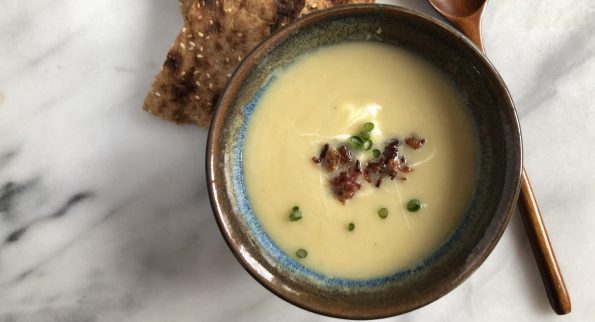
I love Potato Leek Soup. If you dig into the 3jamigos archive this soup pops up a couple of times. This is my go-to soup.…
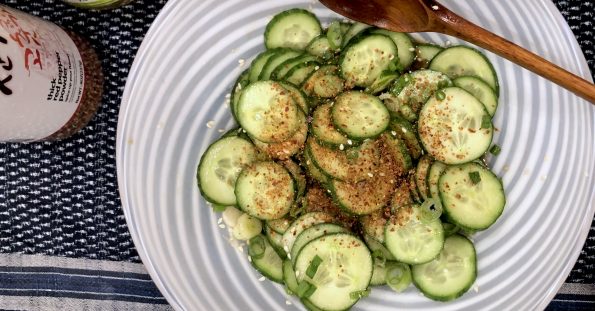
Are you like me? I hate making salads. I love salads, but prepping veggies, not so much. I only have enough bandwidth to prep maybe…
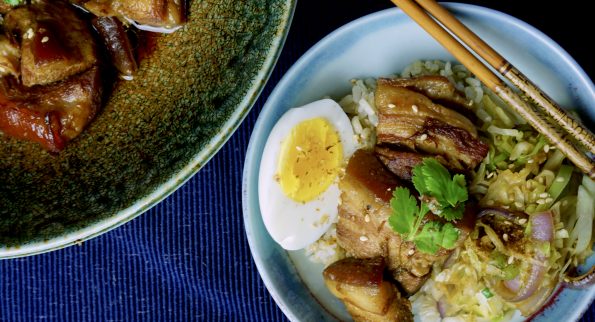
I am a sucker for rice bowls and noodle soups, especially when the weather turns cold and dreary. There is something comforting about eating out…
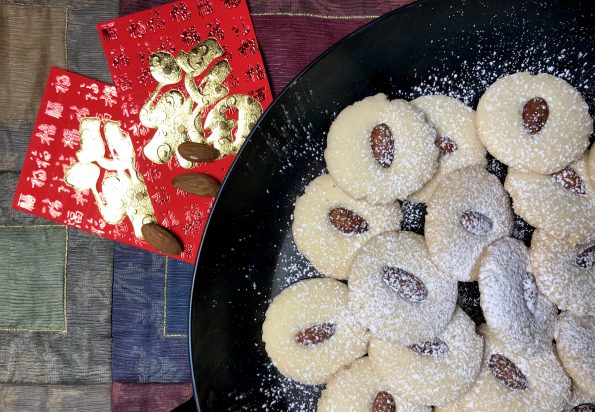
I contemplated using the tiniest font size possible when I typed “cookie #12 of my 12 days of cookies” when I realized I actually can’t…

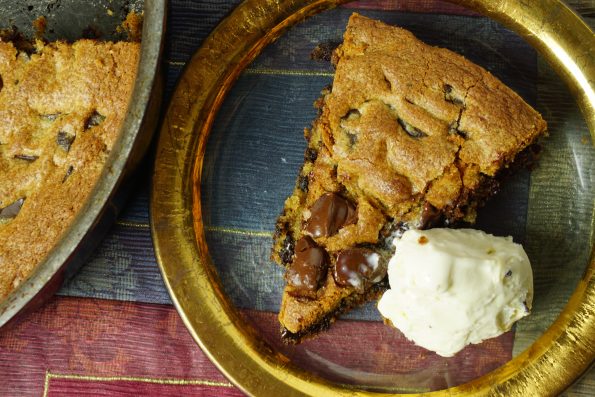
Jamie is home and decided it was time to bake and bail me out, as she always does, on my attempt to post 12 Days…
The best thing about cruising the internet right now is the plethora of Top Ten or Best Eats of the Year lists that are popping…