
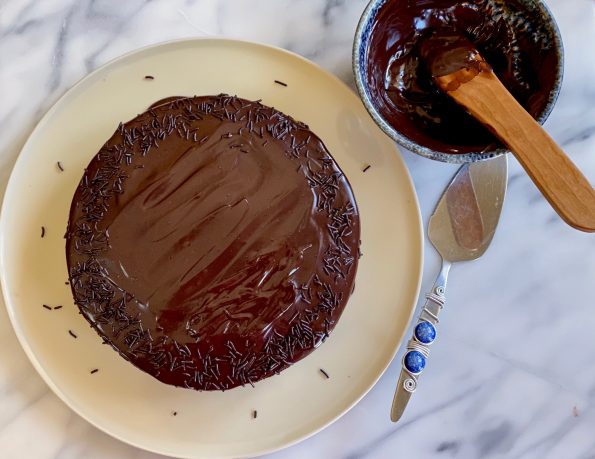
Surprise! You are going to love this. Did you click on CAKE-TWO from Vanilla Cake Pan Cake just out of curiosity? The shameless two for…
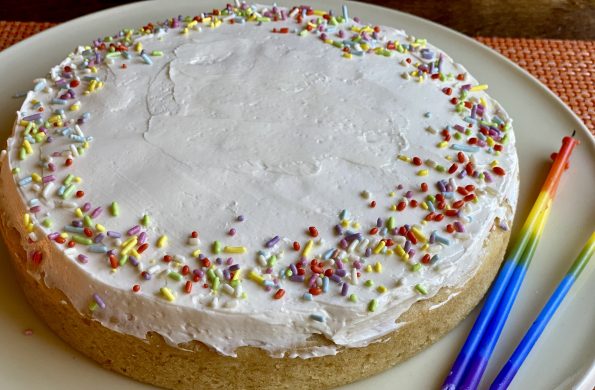
This is your lucky day! This post is a twofer. That is I will be posting two recipes today! Ok, maybe not so lucky as…
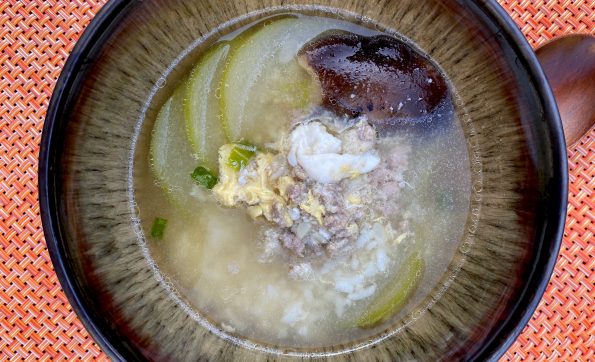
Now don’t freak over the term Fuzzy Squash or Melon. This squash does have a fuzzy exterior but it is scraped off before cooking. You…
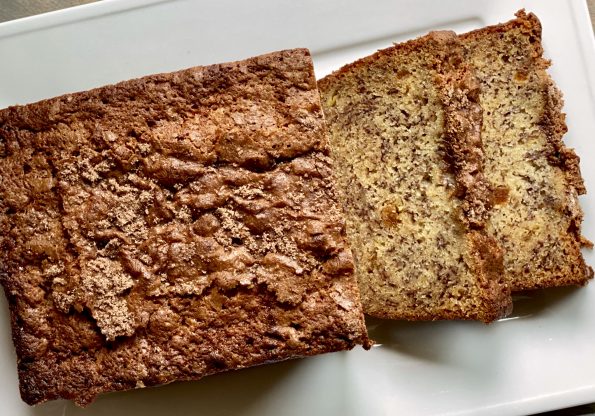
There are things you take for granted, things that are constants within your own universe. For example, I have made the same banana bread forever.…
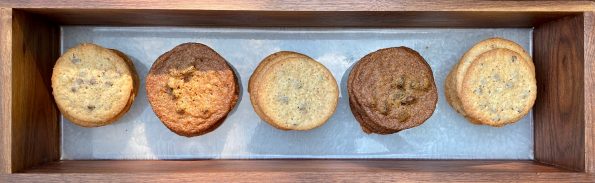
The search continues for a thin, crispy chocolate chip cookie just like my grandmother use to make. My first try was a Tate’s Chocolate Chip…
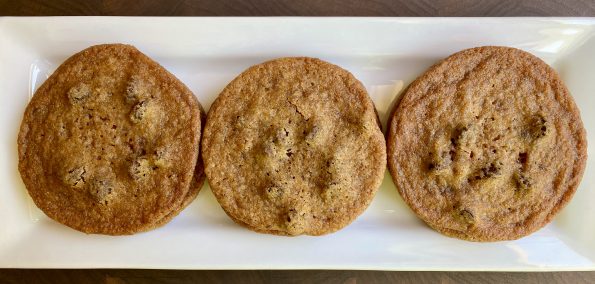
My grandmother, whom we called Pau Pau, was the classic iron fist in the velvet glove. She was outspoken and strong-willed, bossy, pragmatic, and the…
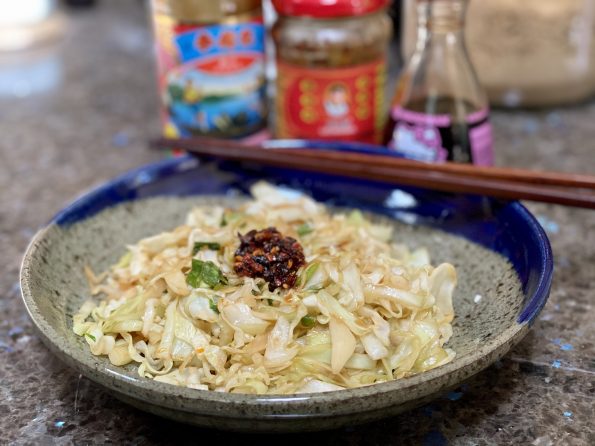
I love cabbage. This has been a recent revelation. I’m not quite sure why cabbage has grabbed my attention but I find myself throwing it…
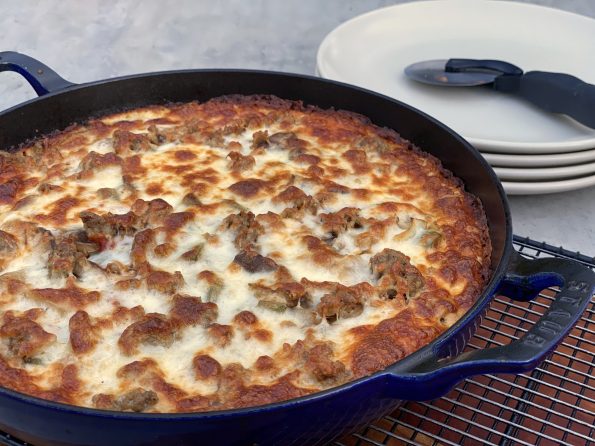
In this topsy turvy year, where flour has been in short supply since the COVID crisis, King Arthur Flour selected a pizza as their recipe…
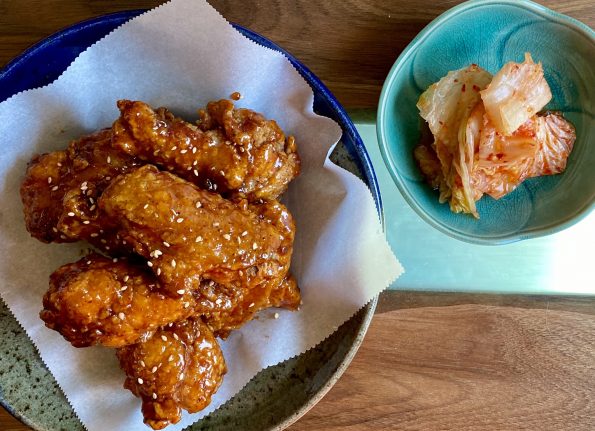
The Hubster is still on his quest for the perfect fried chicken. He is getting pretty darn close if you ask me. This time a…