
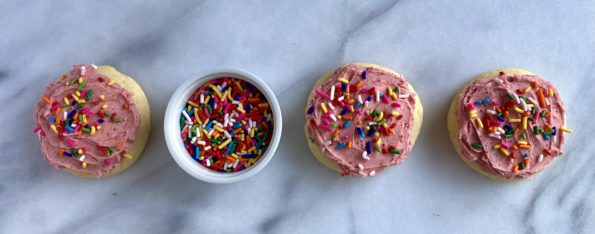
My favorite holiday cookie of the season is Eric Kim’s (check out his site, wonderful essays, beautiful writing) Lofthouse Style Grocery Store Cookie. It’s surprising…
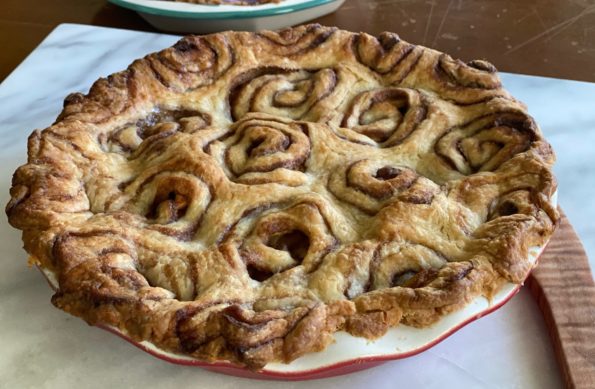
There are a couple of baking books that are my go-tos for cookies, especially during the holidays, like Rose Levy Berenbaum’s Christmas Cookies, Alice Medrich’s…
I remarked to hubby the other day, “I ‘ve been pretty bad about baking holiday treats the last few years, huh”. It was a rhetorical…
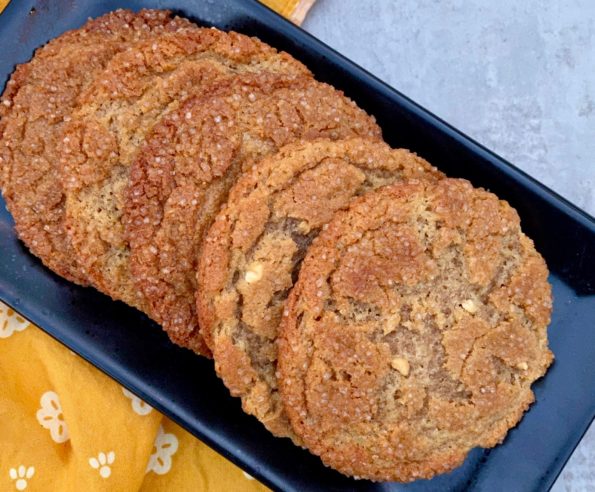
Always on the lookout for cookies with a twist, I came across these cookies in New York Times Cooking. There I was nonchalantly scrolling through…
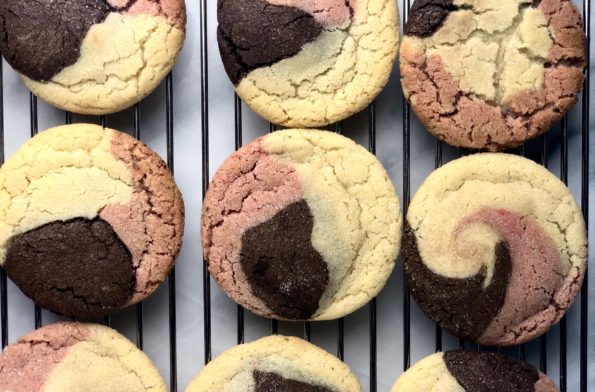
As a kid, I loved Neopolitan Ice Cream Sandwiches. I mean who didn’t? It was like getting three different flavors of ice cream all at…
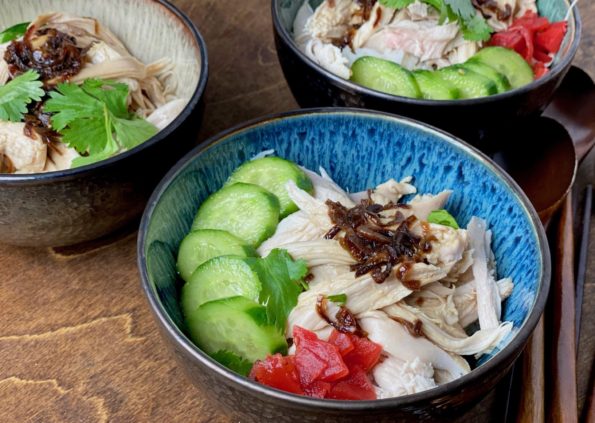
Only a couple of weeks have gone by since Thanksgiving and I have turkey on the brain, again! Not that I didn’t get my fill…
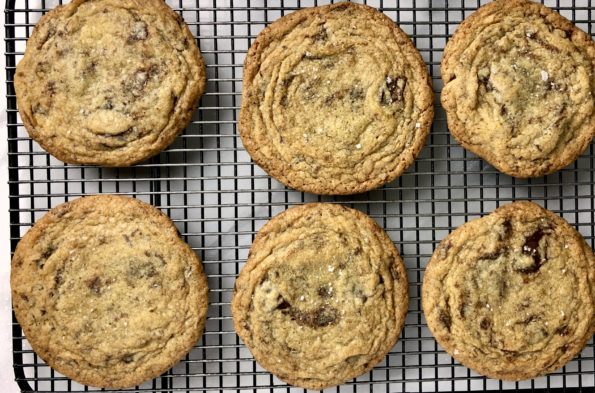
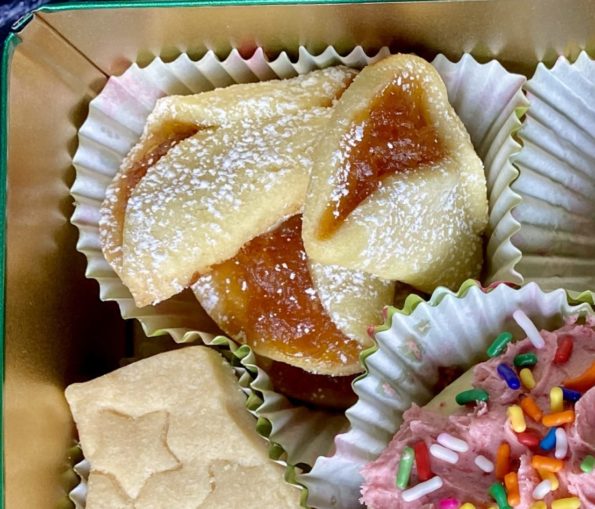
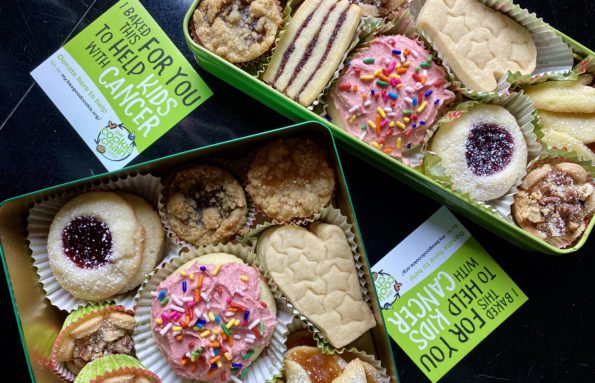
I have been a slouch when it comes to holiday cookies this year. LUCKY FOR ME, Jamie is home and baking up a storm…I get…
Our Thanksgiving dinner was a little family affair as I suspect most people’s celebrations were. We modified our dinner, kept it small, moved it earlier…
I was turkey-ed out. We hit the farmer’s market in town and came away with some cute Delicata and Butternut Squash, onions, fresh spinach, and…