Category: Twelve Days of Cookies

Holiday cookie recipes

Lemon-Turmeric Crinkle Cookies-Eric Does It Again

Lemon-Turmeric Crinkle Cookies-Eric Does It Again

After I recover from the Thanksgiving turkey-stuffing, sweet potato casserole, and pumpkin pie extravaganza, I crank up the Christmas music, which I play until New Year’s Day (yes, I am that obnoxious person who LOVES Christmas music).  I watch The Holiday, in place of Santa Clause (the kids are all grown up now), and patiently wait for…

COOKIE WEEK

Yep, a week’s worth of holiday cookies created by NYTcooking culinary stars like Melissa Clark, Sue Li, Yewande Komolafe, Claire Saffitz, Sue Li, Sohla El-Waylly, and my two favorites, Vaughn Vreeland and Eric Kim.  I peruse the cookies quickly and note which ones I want to try.  Top of the list is usually Eric’s holiday cookie.  For a guy who did not start as a baker, he has a knack for creating the perfect holiday cookie every year.  My favorites, which I have rave about all the time include:

Eric’s Grocery Store CookieThe supermarket, sprinkle-laden, tooth-achingly sweet Lofthouse Cookie revamped.  Imagine a tender, buttery, not-too-sweet cookie slathered with a buttercream frosting flavored with freeze-dried berries and sprinkles.  The LOFTIER  version of that supermarket cookie.
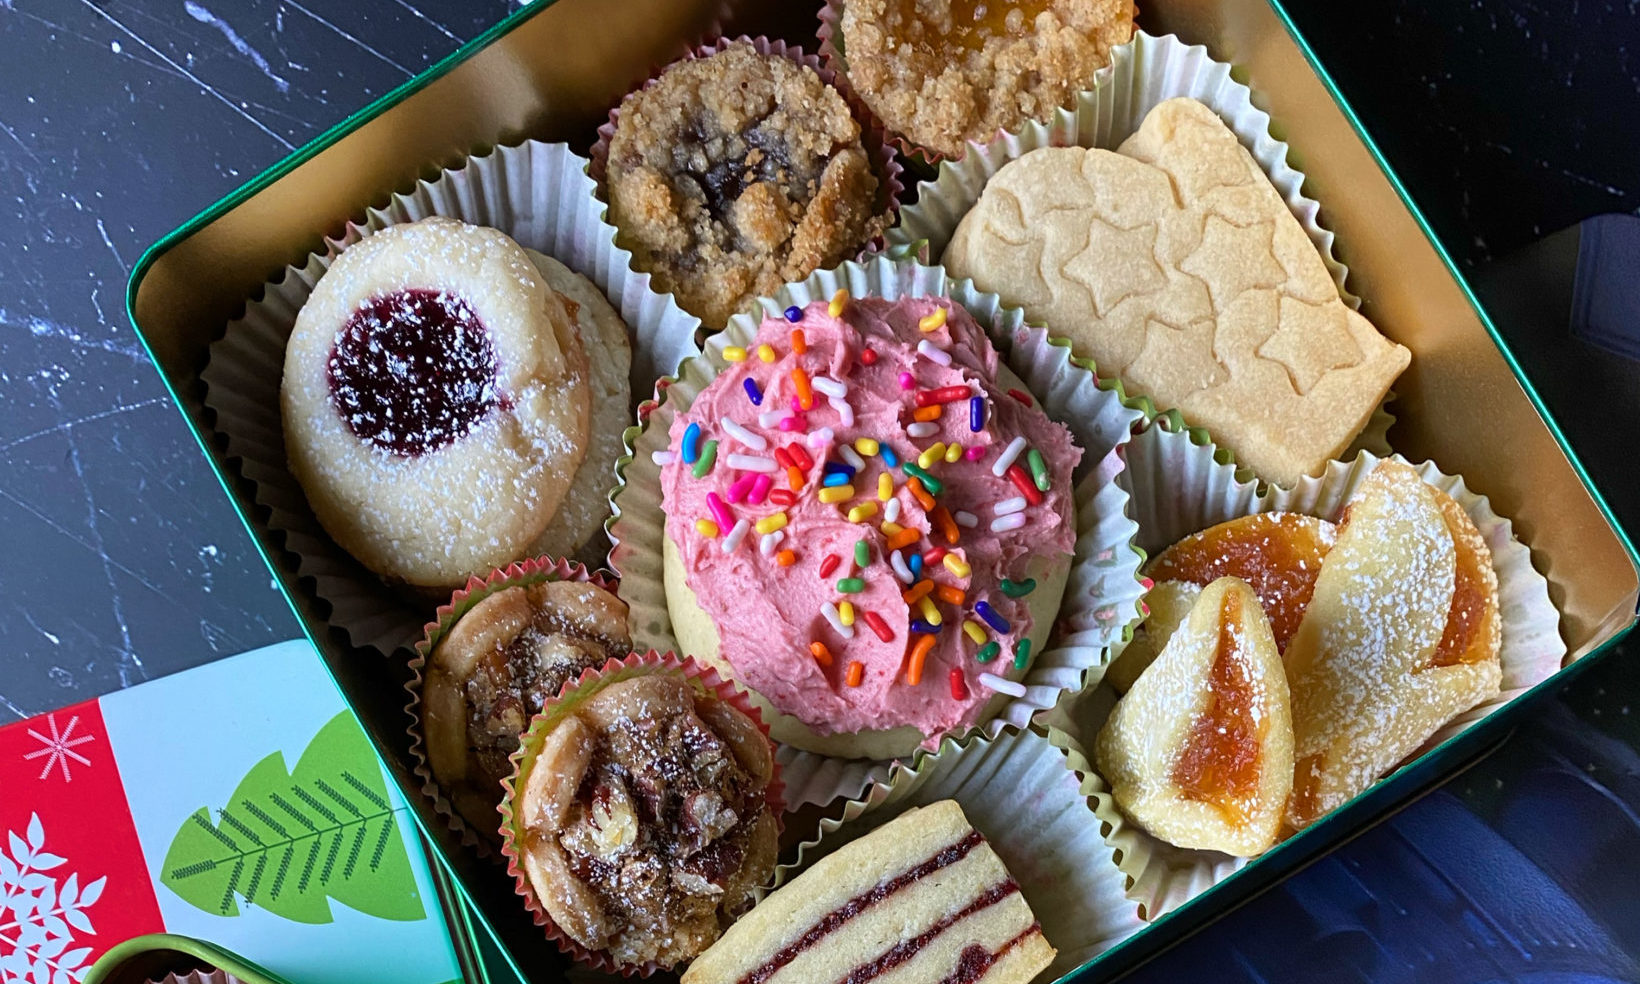
See that bad boi with the hot pink frosting? Yep, Eric’s Grocery Store Cookie

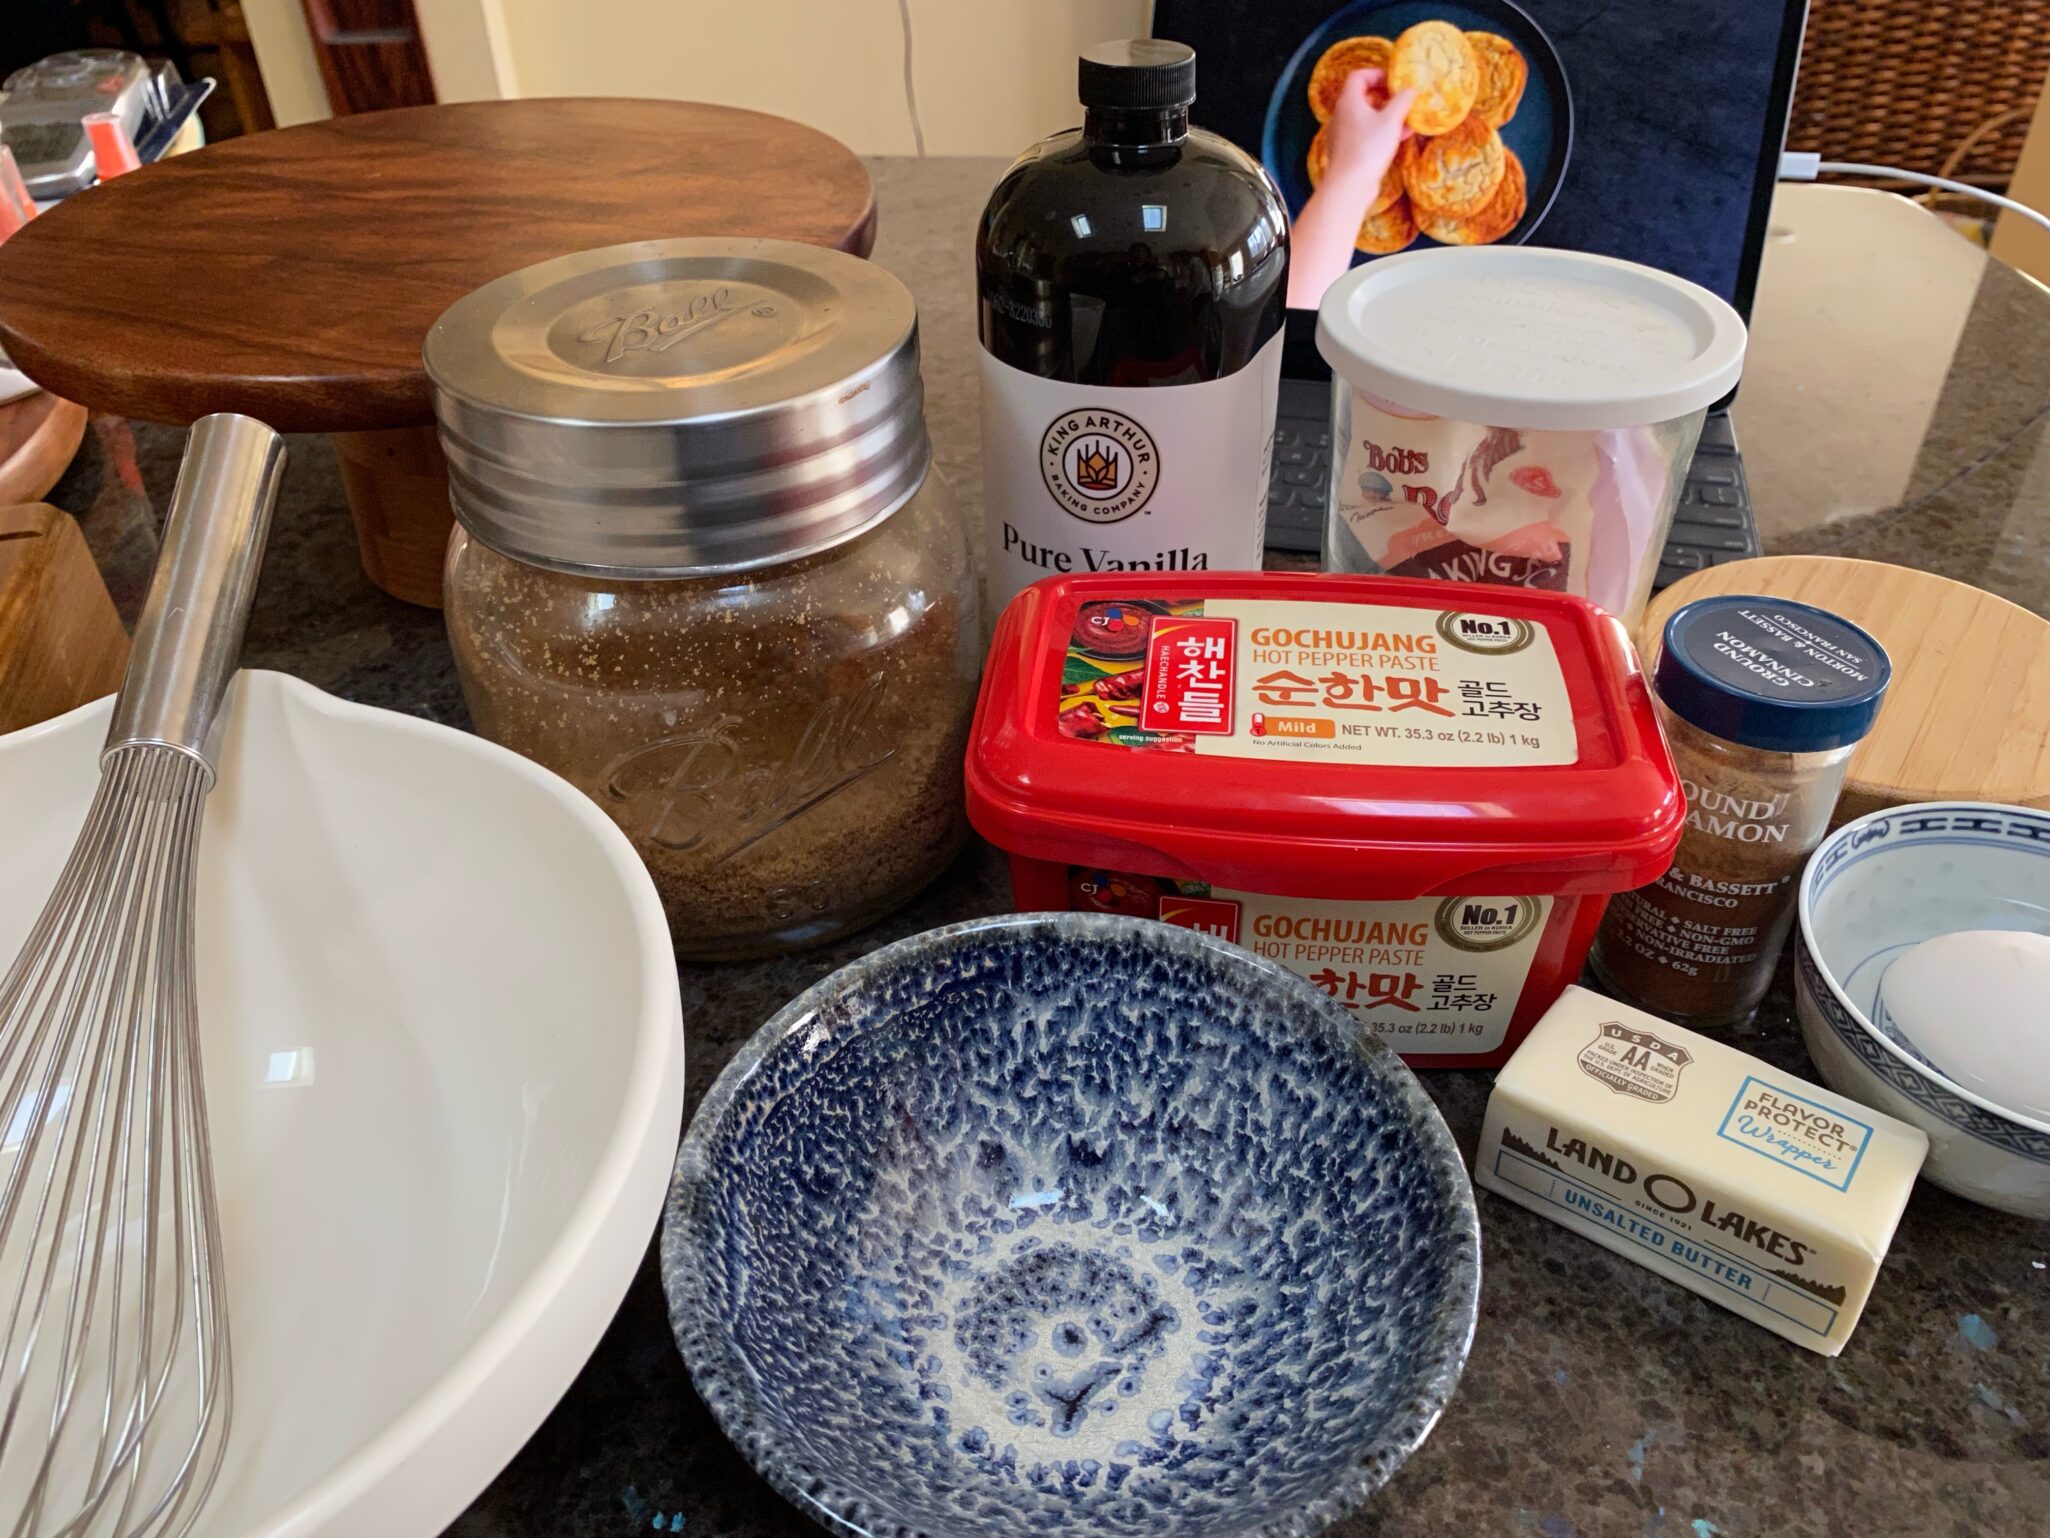
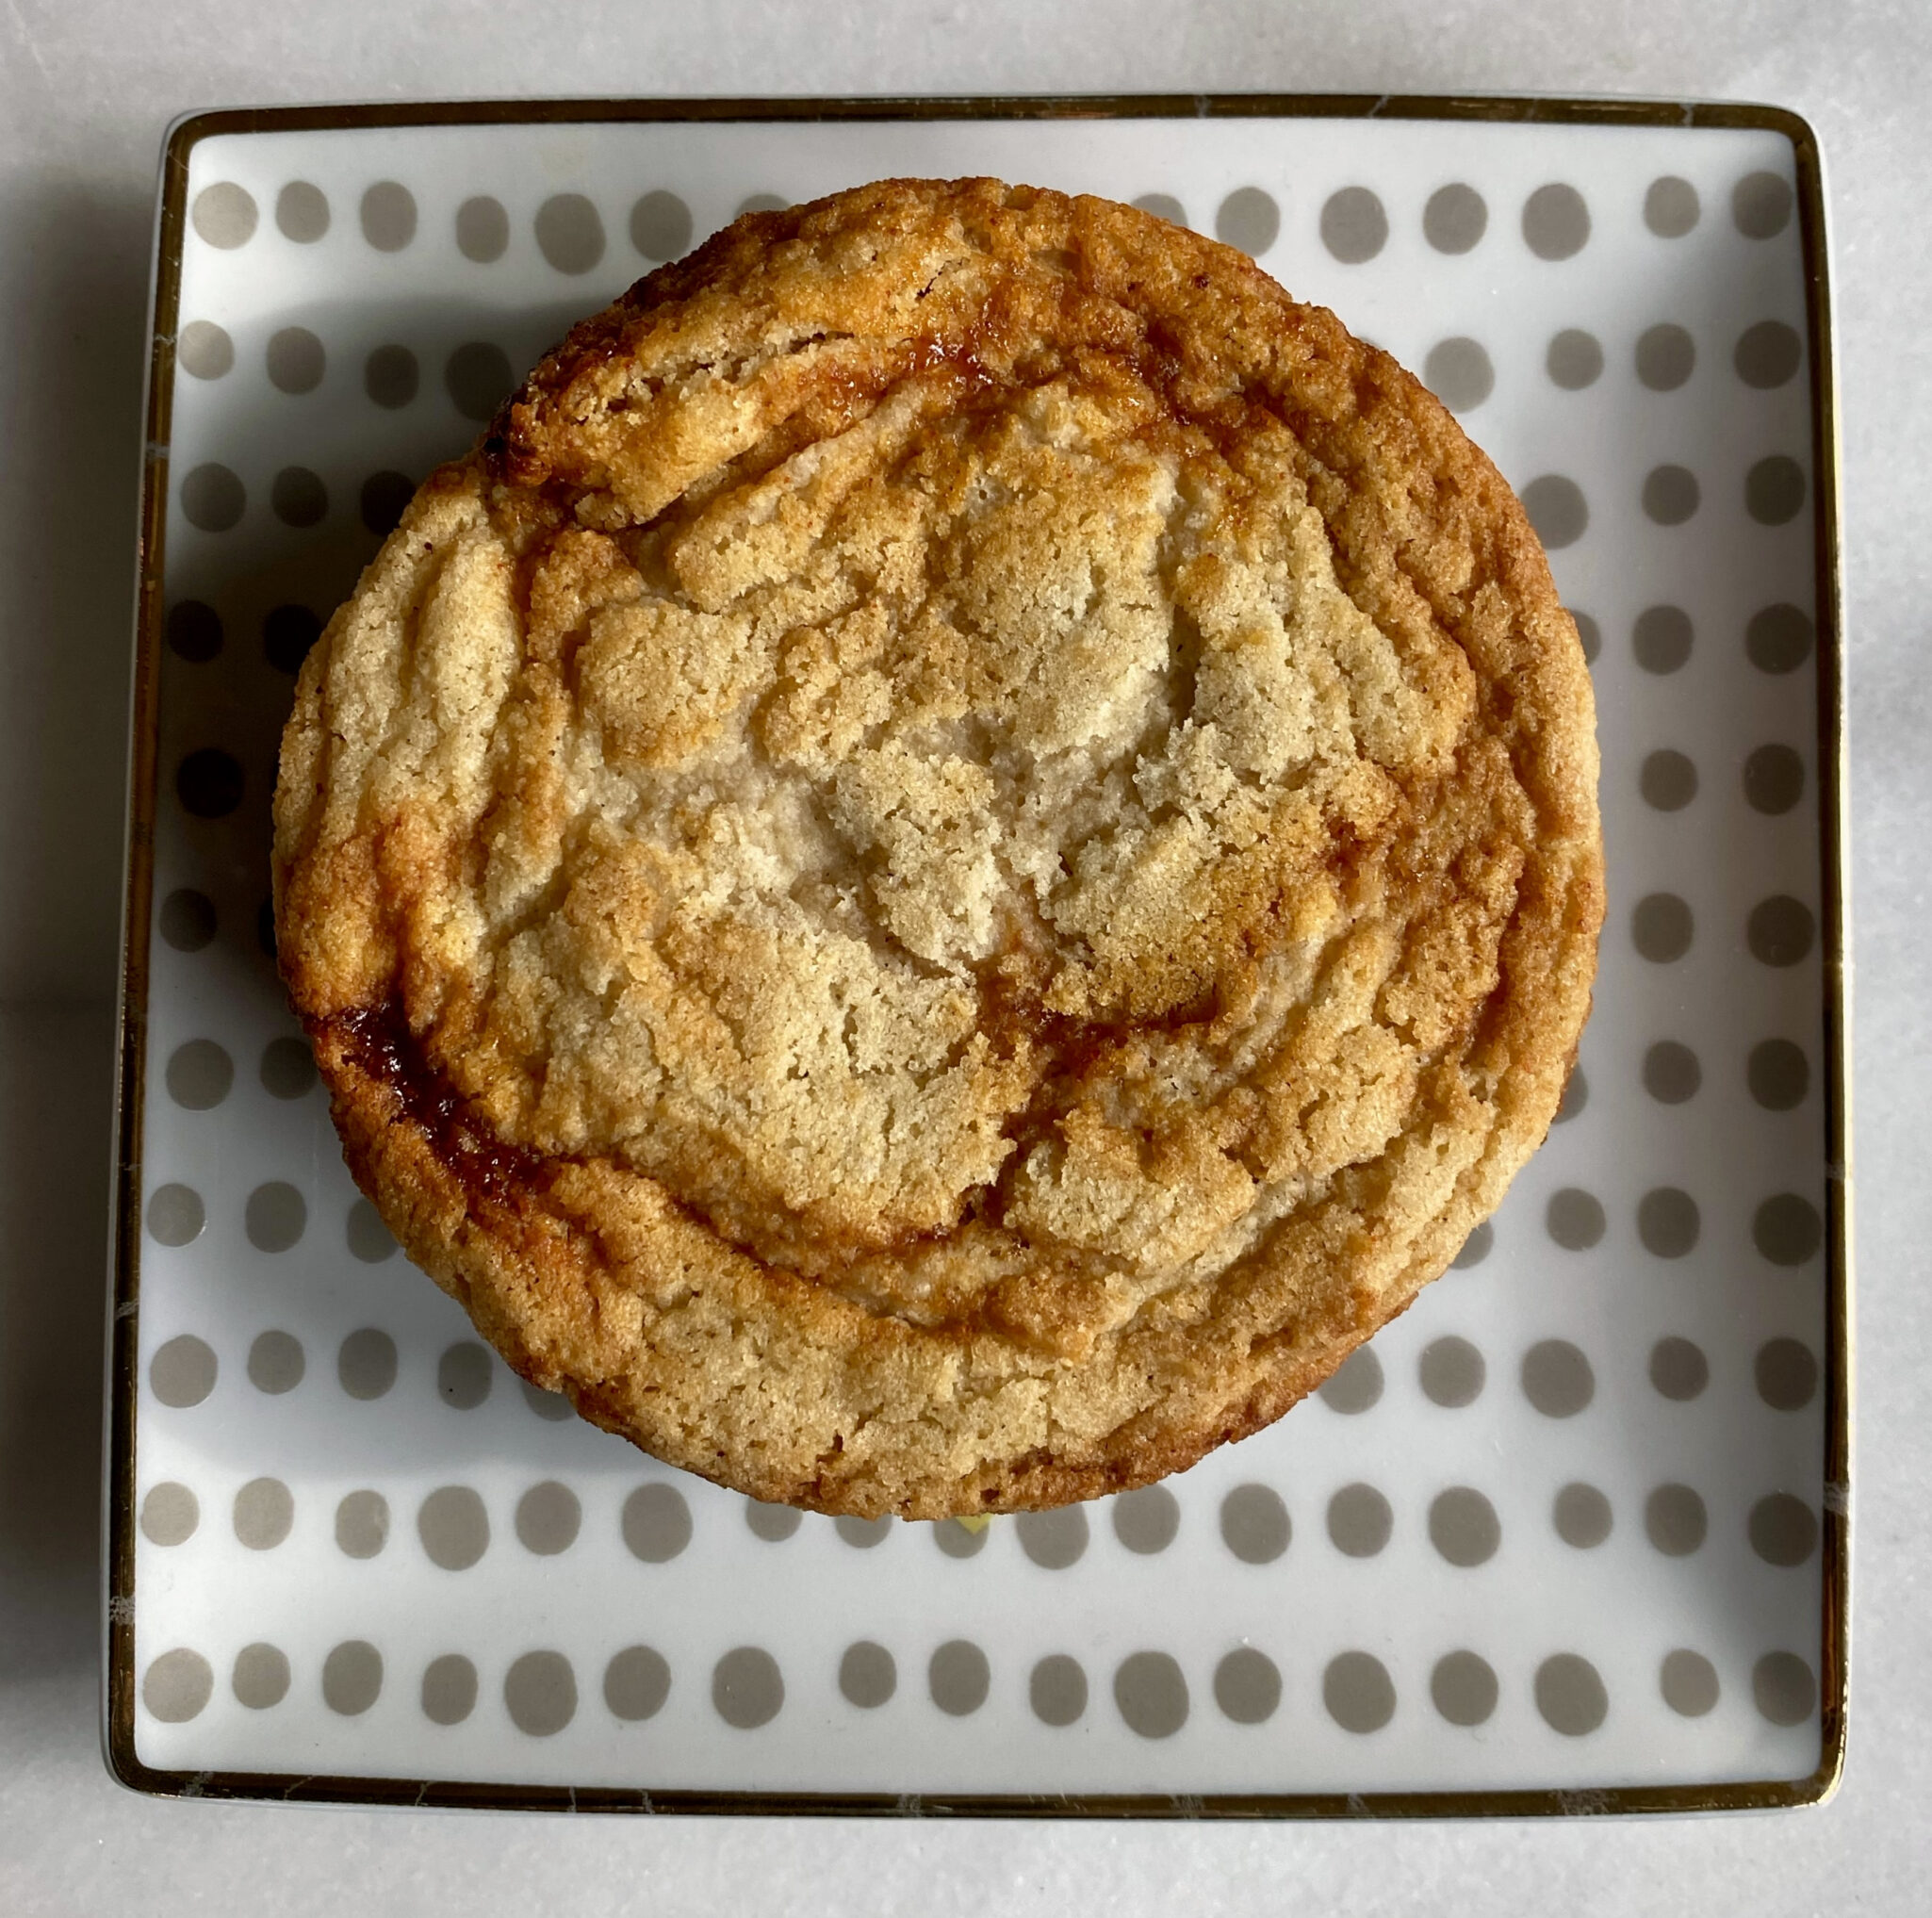
Gochujang Caramel Cookies – A crisp-edged, chewy-center sugar cookie swirled with sweet & spicy Gochujang (a Korean staple). So damn good.
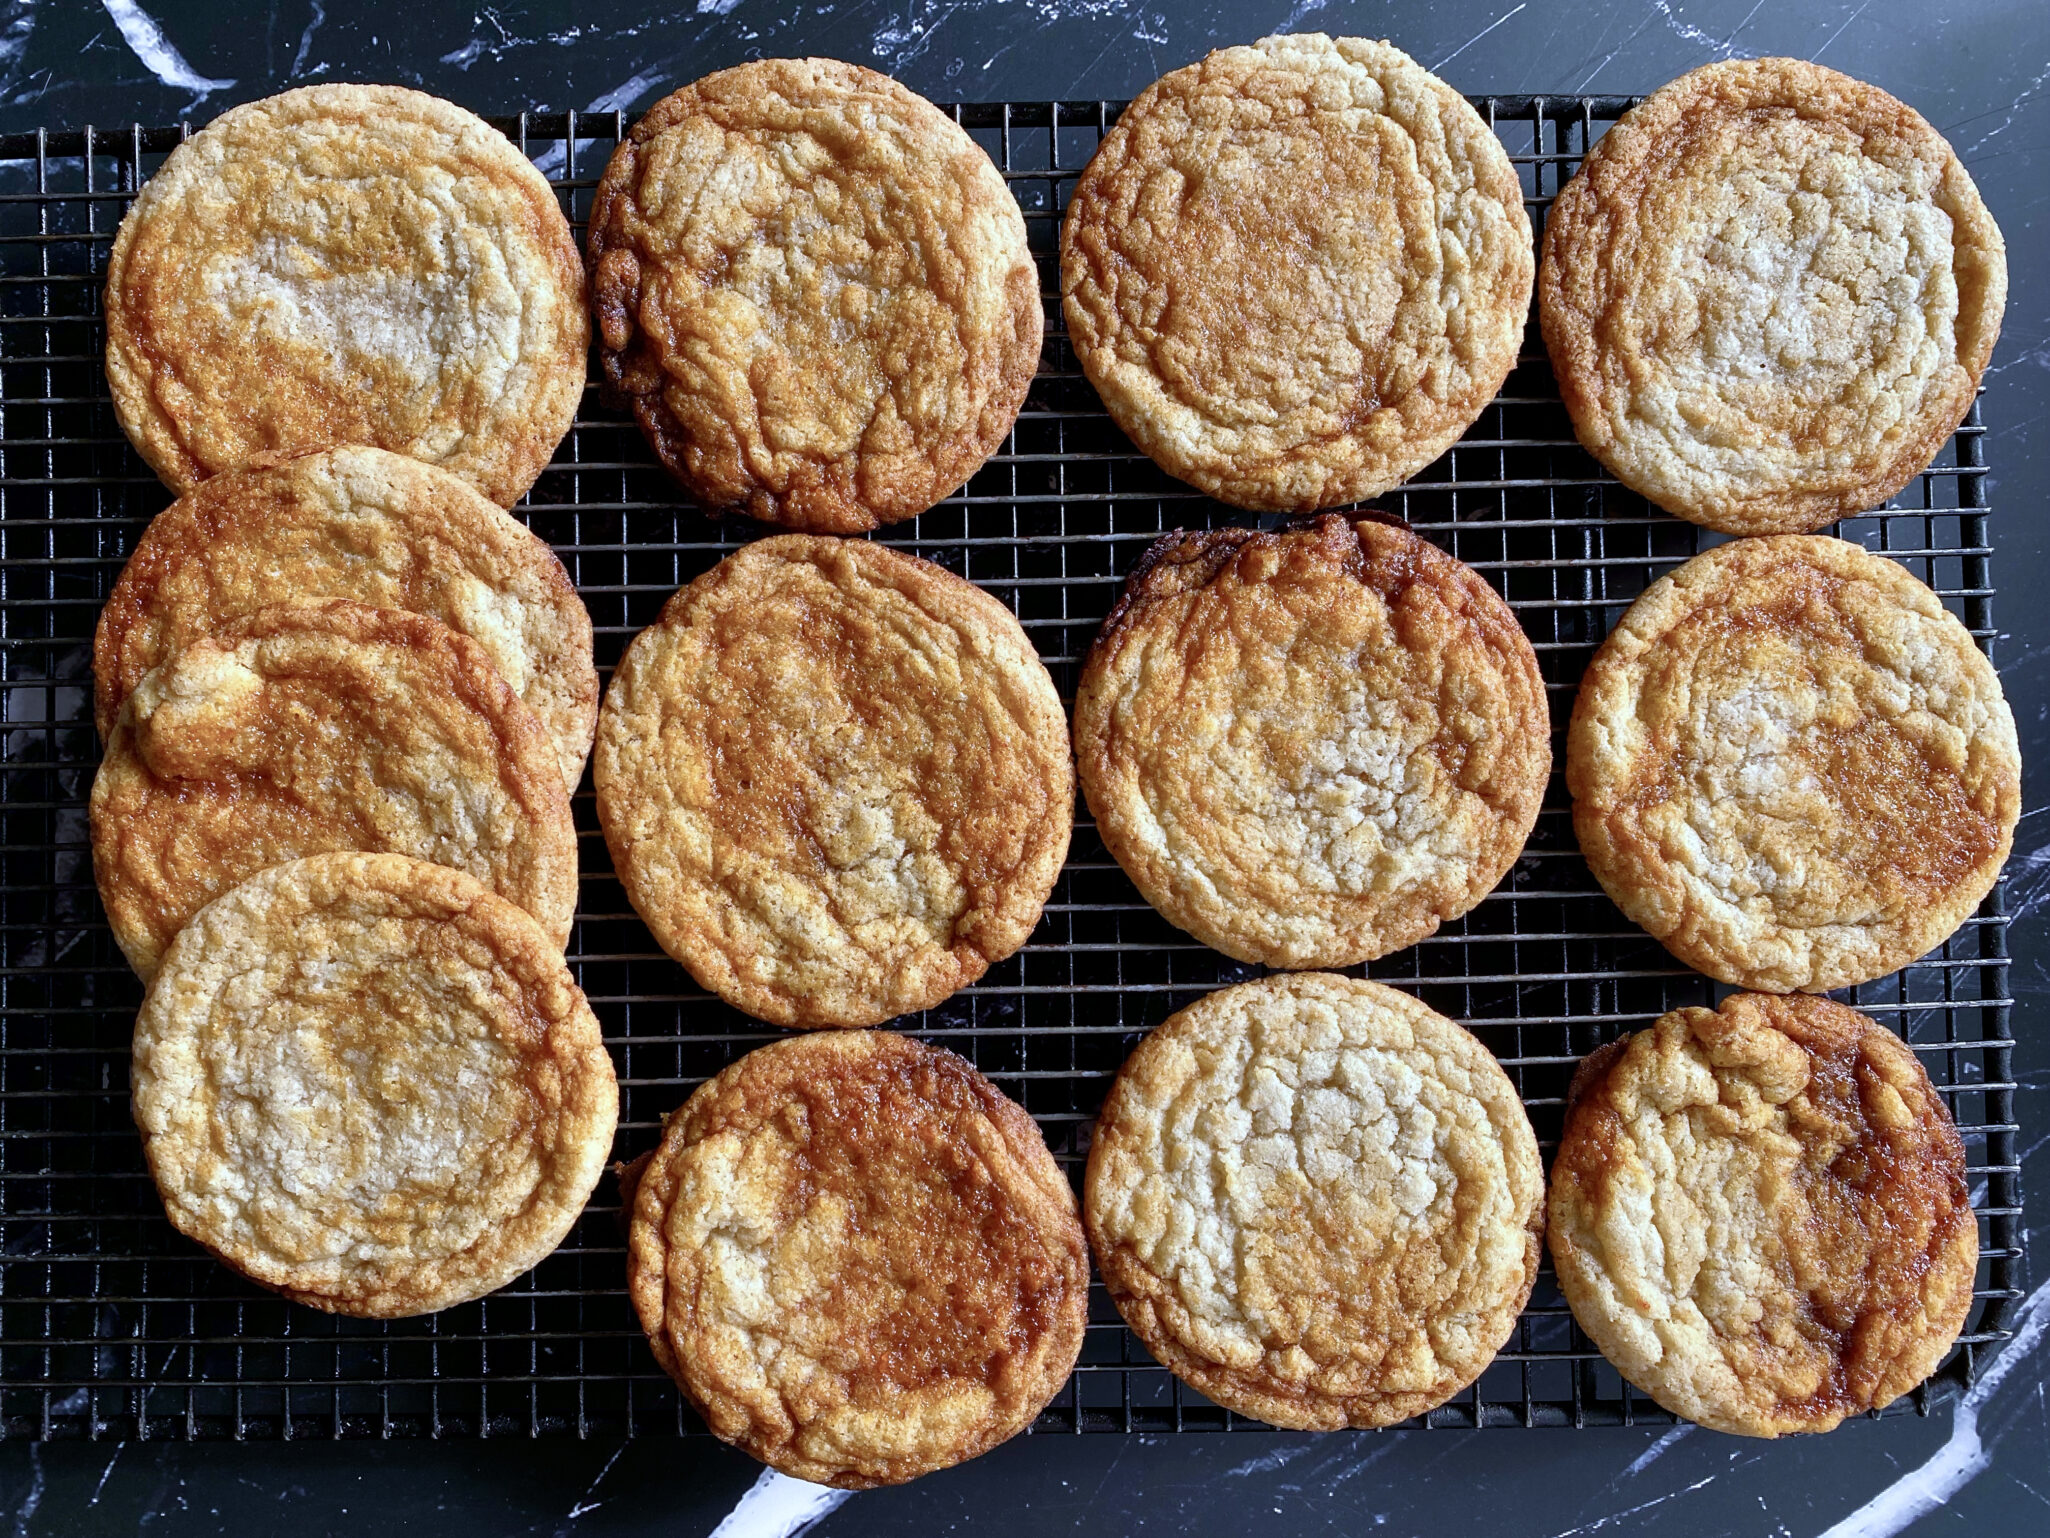
Matcha Latte Cookie – Make a matcha latte, snap your fingers like Mary Poppins, and turn it into a cookie, that’s this delightful bite. The milk-based frosting is icing on the proverbial cookie, amazing.
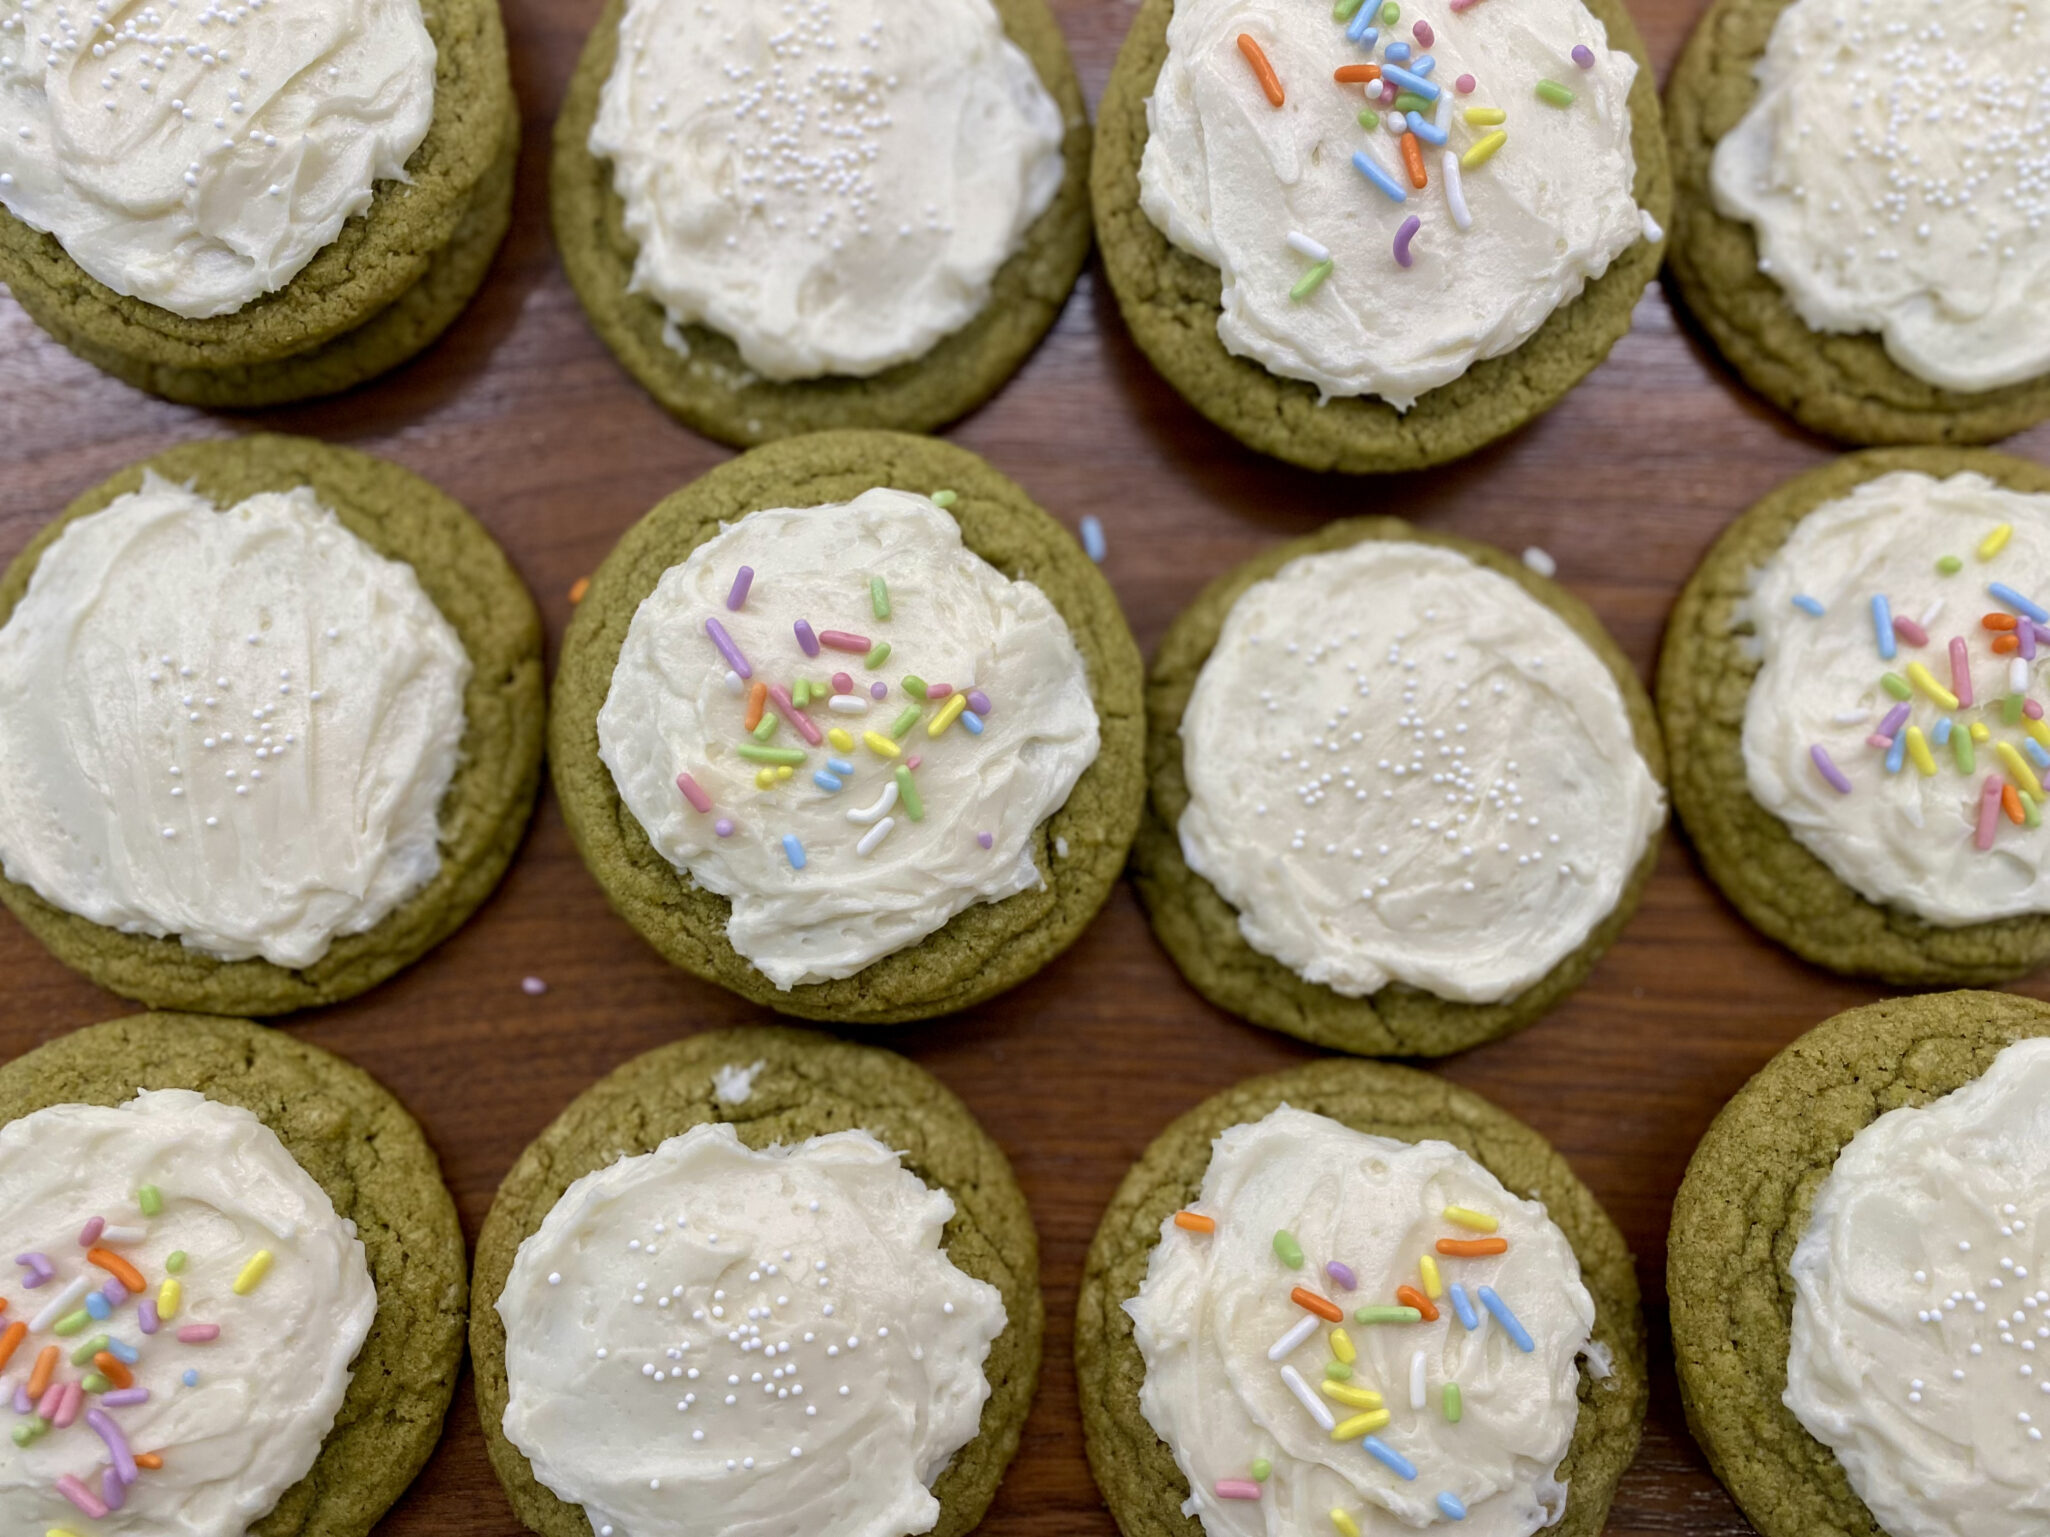
And this year, he does it again with his

Lemon-Tumeric Crinkle Cookies

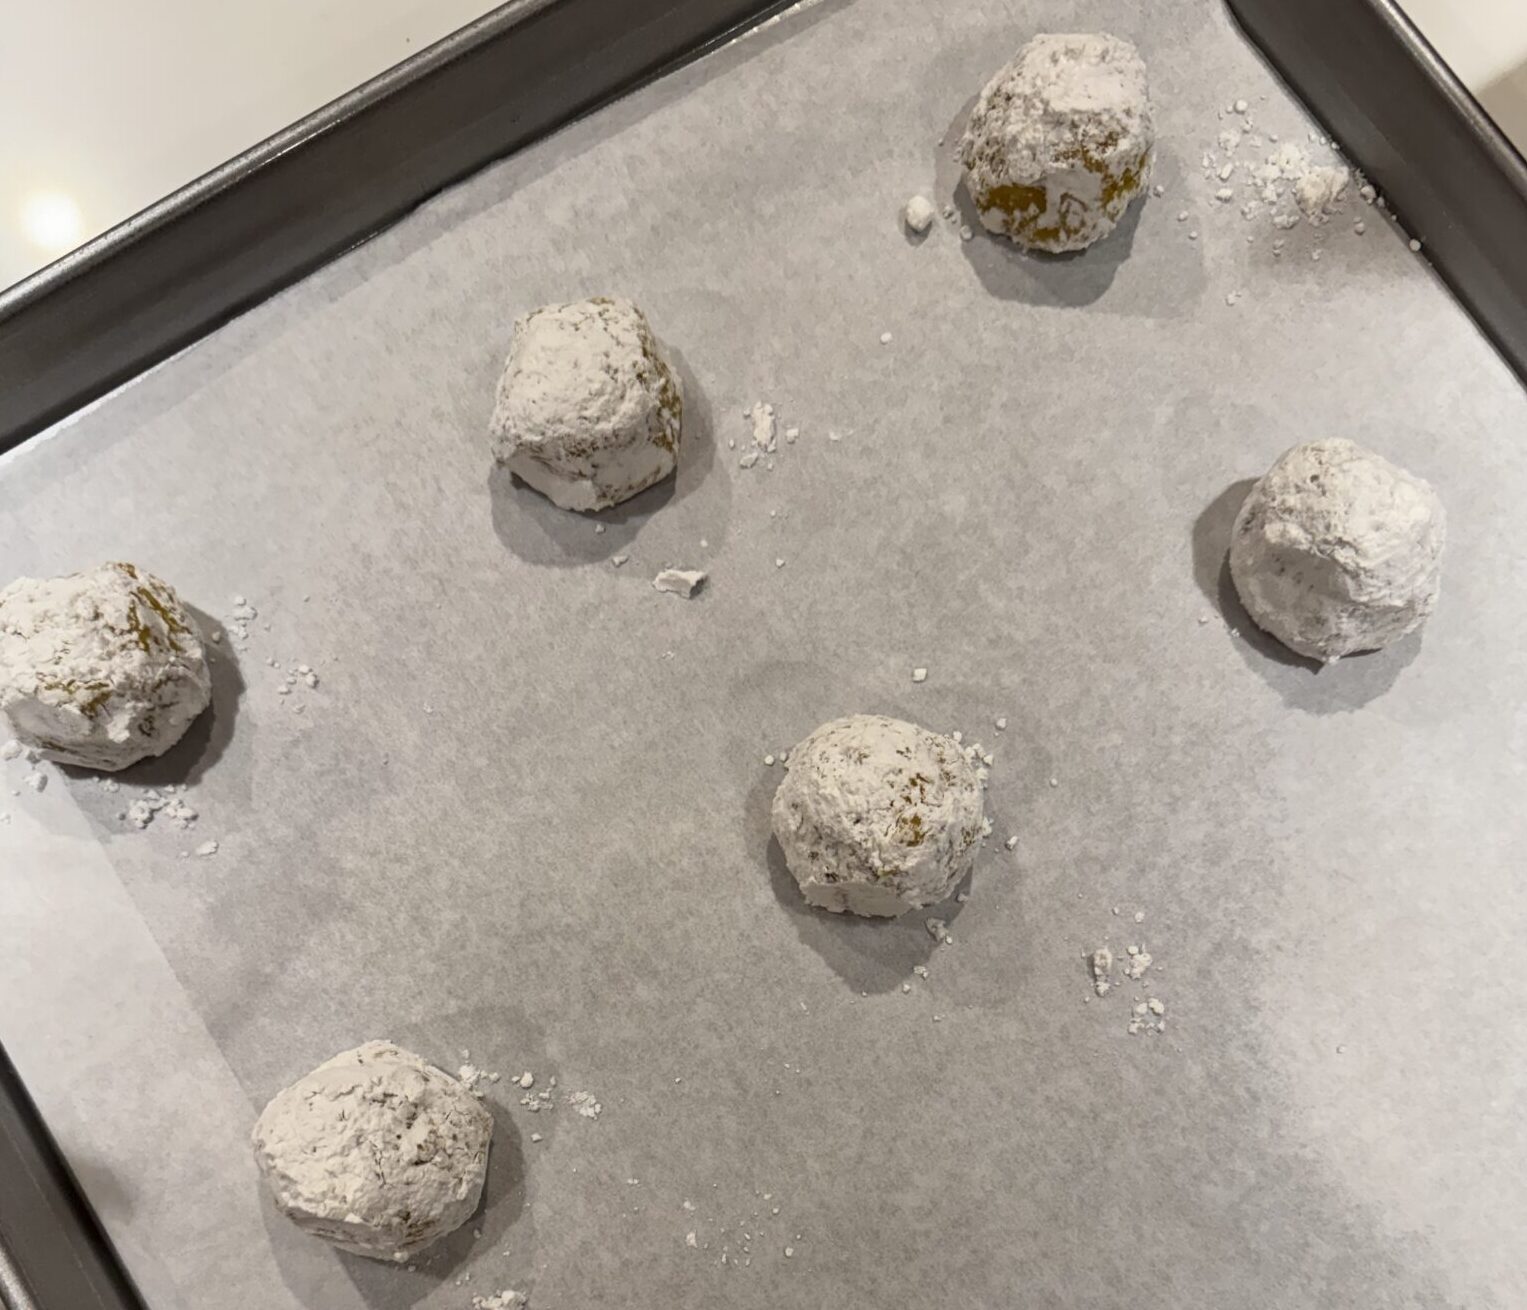
Are you scratching your head?  Thinking what?  The combination of lemon and turmeric works so well.  Eric describes it as “it tastes kinda like Fruit Loops” and I would agree.  The turmeric adds a floral twist to the lemon.  It also adds a vibrant rosy orange hue to the cookie which is simply gorgeous. It is such a pretty cookie with the rosy orange cookie peeking out from under the coat of powdered sugar characteristic of crinkle cookies. Makes me happy.

Let’s Get to the Good Part:  The Cookie

Ok, this is a cakey cookie.  After letting the cookies cool on a rack, I took my first bite…yep, cakey cookie.  In full transparency…not my favorite kind of cookie, give me a good shortbread cookie and I am a happy camper.  But I brought the cookies to a holiday party and they were GOBBLED up.  Folks loved the cookie’s festive color and nuanced flavor.

Meanwhile, a few days later, I grabbed one of the cookies to go with a cuppa tea and immediately remarked to the hubs, “This cookie is better today than the first day”.  The cookies were less cakey, moister, and still very flavorful.  The texture was much more to my liking.  So, note to self.  Make these cookies and squirrel away a couple to munch on a few days later.  Genius.
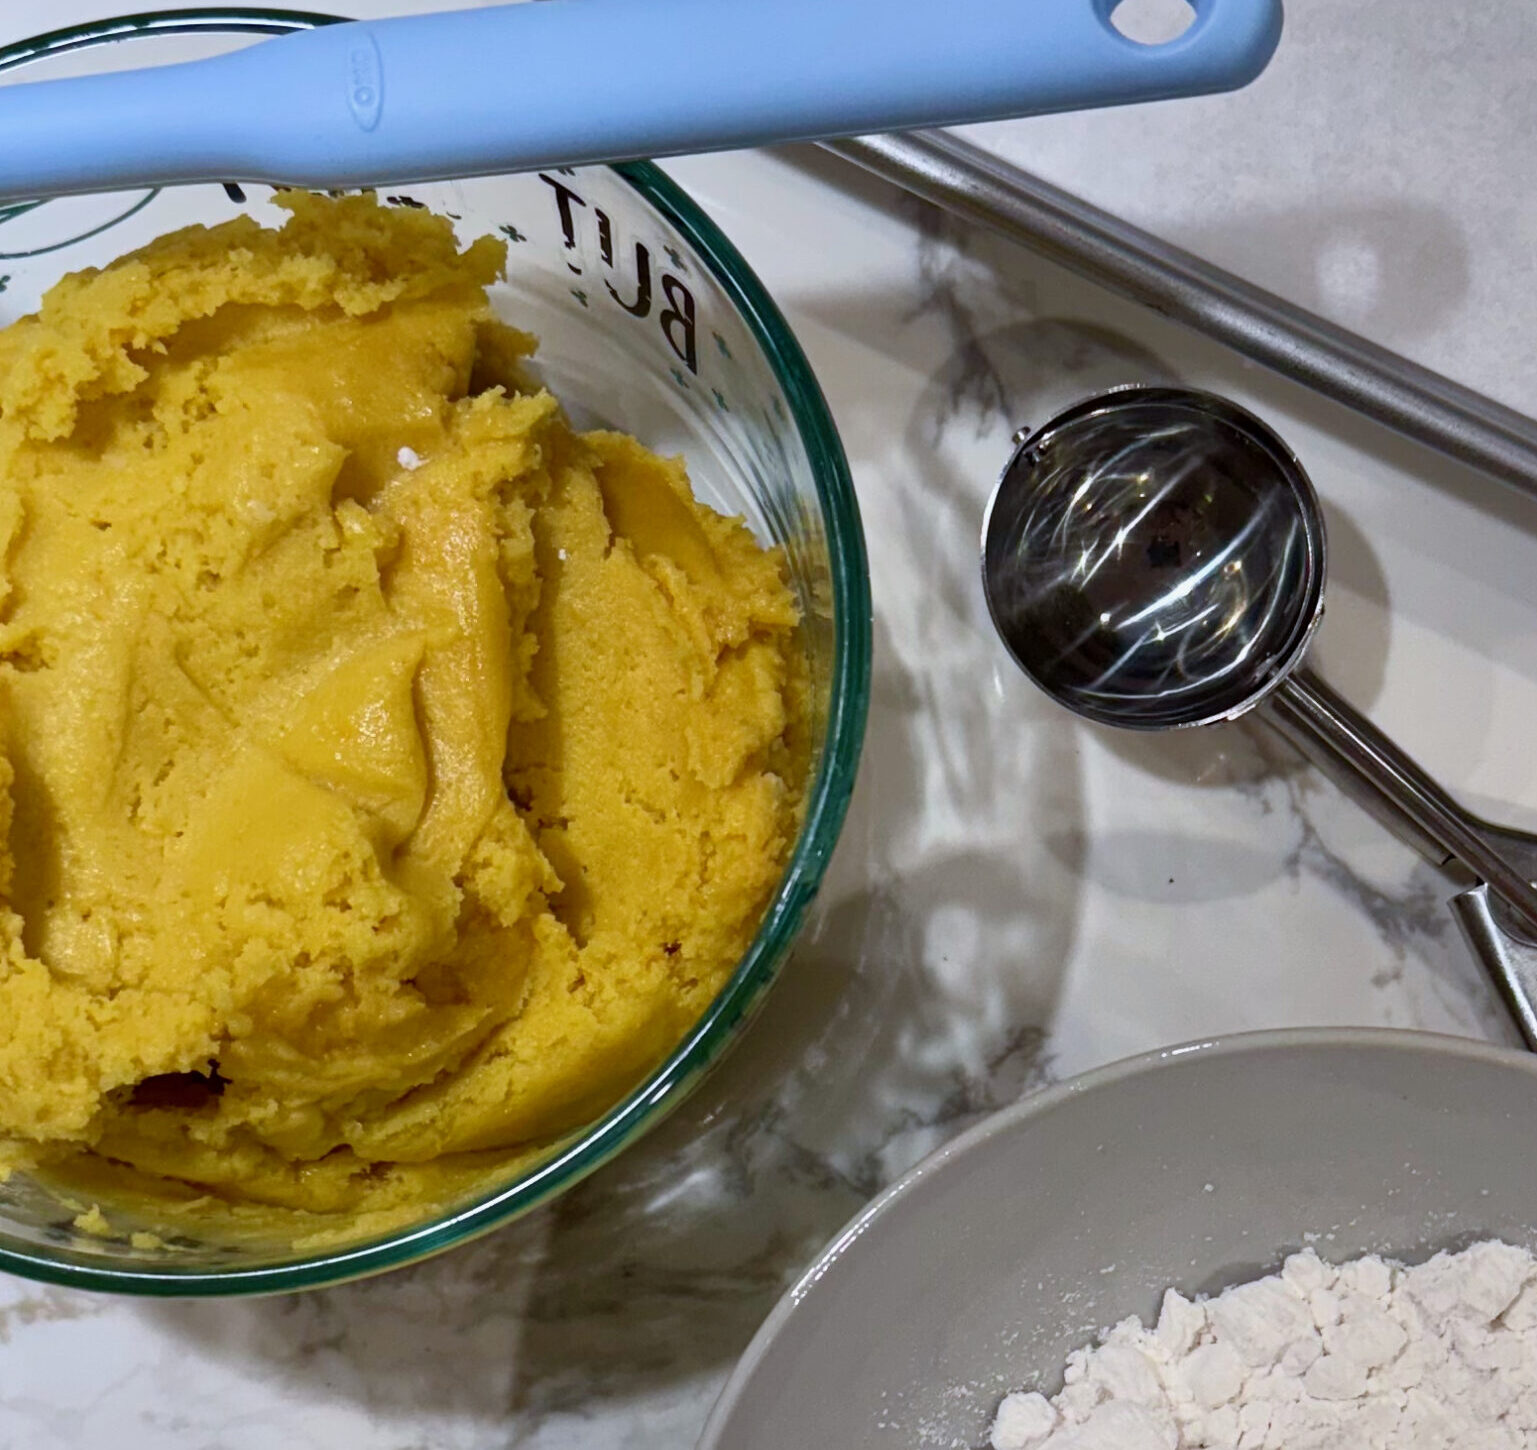
Pro Tip for Eric’s Cookies

Optimally, make these cookies by hand.  I’ve learned that my Kitchen Aide stand mixer can be a detriment. It’s much too easy to overbeat cookies and cakes when using one.  At the same time, hand-whisking for one minute, isn’t all that easy, lol. SOLUTION: If you don’t want to mix by hand, get a hand mixer!  I did,  it’s a Christmas present from my kids and hubby (although they don’t know yet, shhh).  Make sure to bring the cream cheese to room temp, much easier to beat by hand.
Turmeric

If you aren’t familiar with turmeric, it is a spice in the ginger family. It is widely used and can be found at most grocery stores, especially in Indian and Middle Eastern stores.  Bonus, we are looking at a win-win, turmeric is an anti-oxidant and anti-inflammatory.  It may help with arthritis and other joint disorders, colitis, allergies, and infections.  So this is guilt-free cookie consumption if you ask me.

Word of warning, the downside of turmeric’s brilliant color is that it stains.  Avoid getting it on your clothes or counters!

If you have NYTCooking, a video of Eric making these cookies is on their site on YouTube.
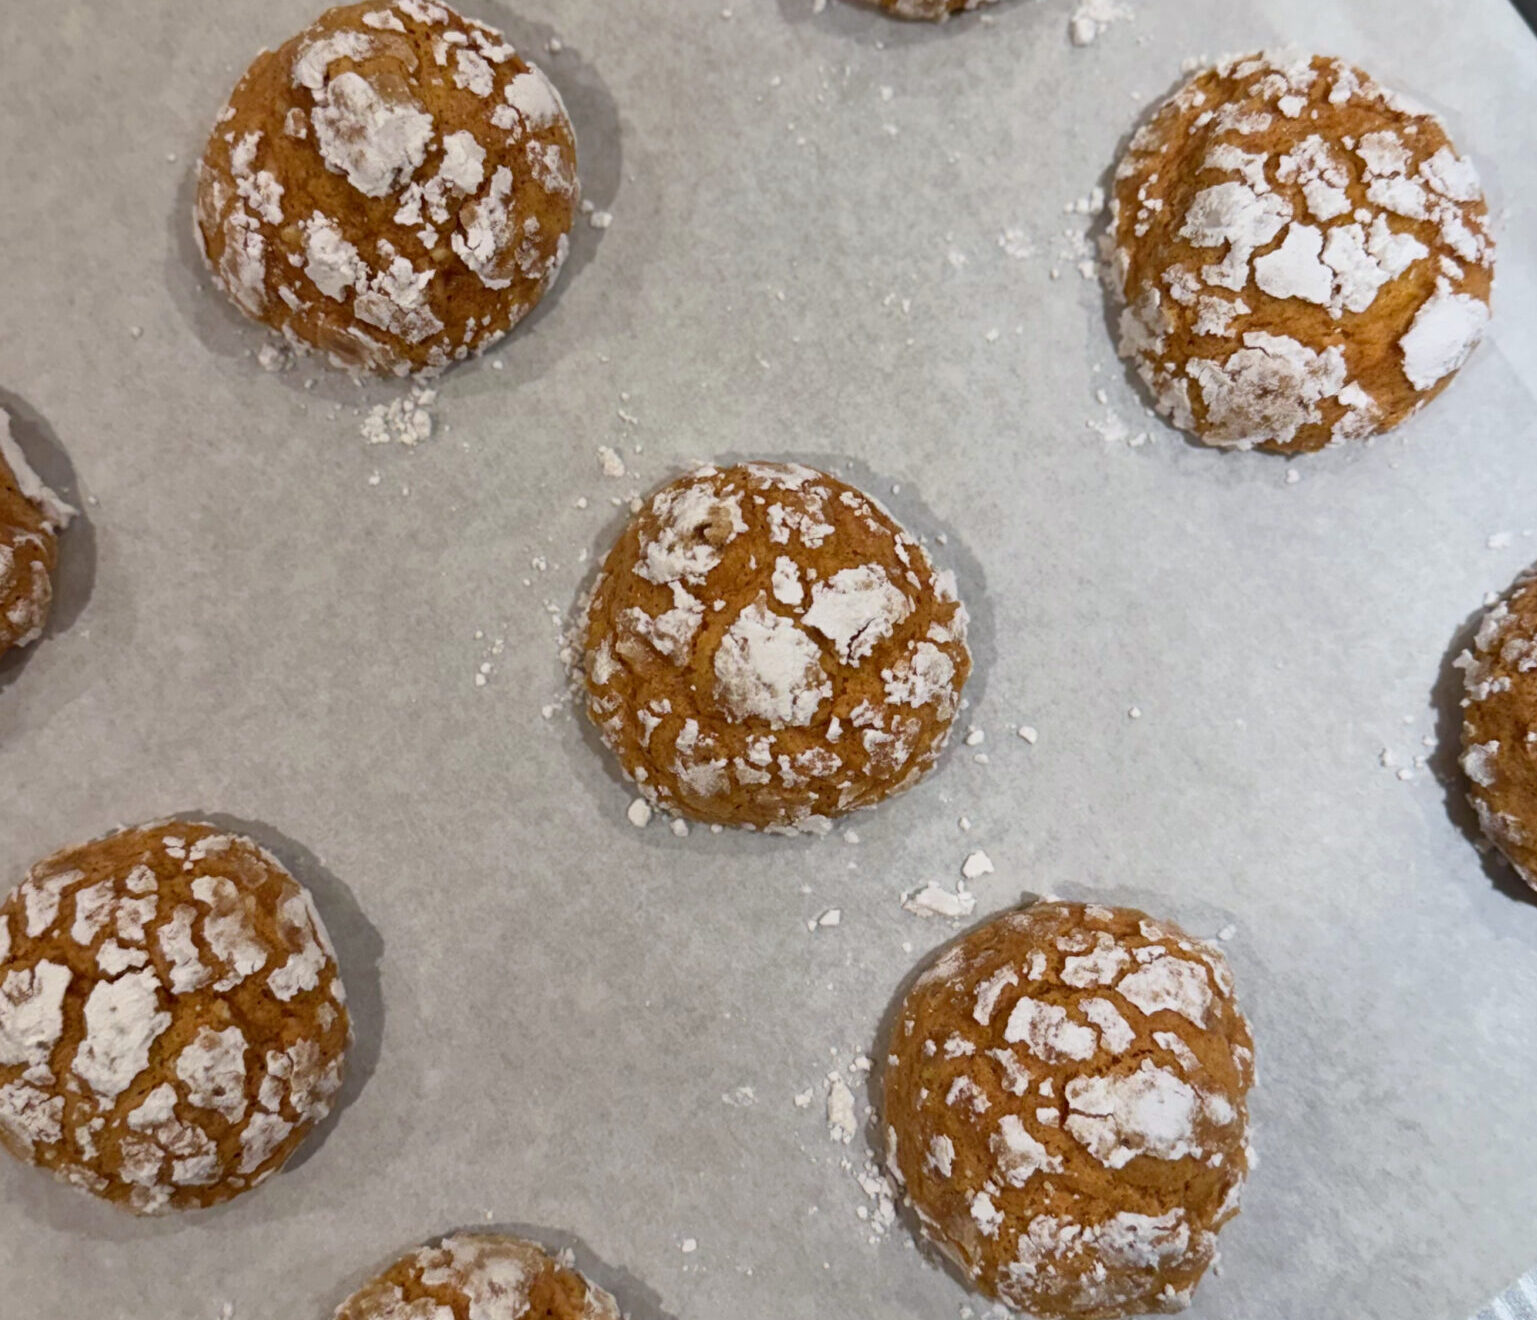
Instead of butter, the cookie is made with cream cheese and olive oil.  I love the use of olive oil in baked goods which is saying a lot, I am a BUTTERvangelical, lol.  I made the dough and refrigerated it overnight.  It was still fairly soft and easy to scoop.  Use a #40 or #50 scoop to portion out the dough.  Roll dough balls in powdered sugar,  you want a generous coat of sugar on each one.  During the bake, start checking the cookies at 12 minutes, especially if using a #50 scoop (less dough).  Allow cookies to cool on a rack, store in an airtight container, and place wax paper in between each layer of cookies.
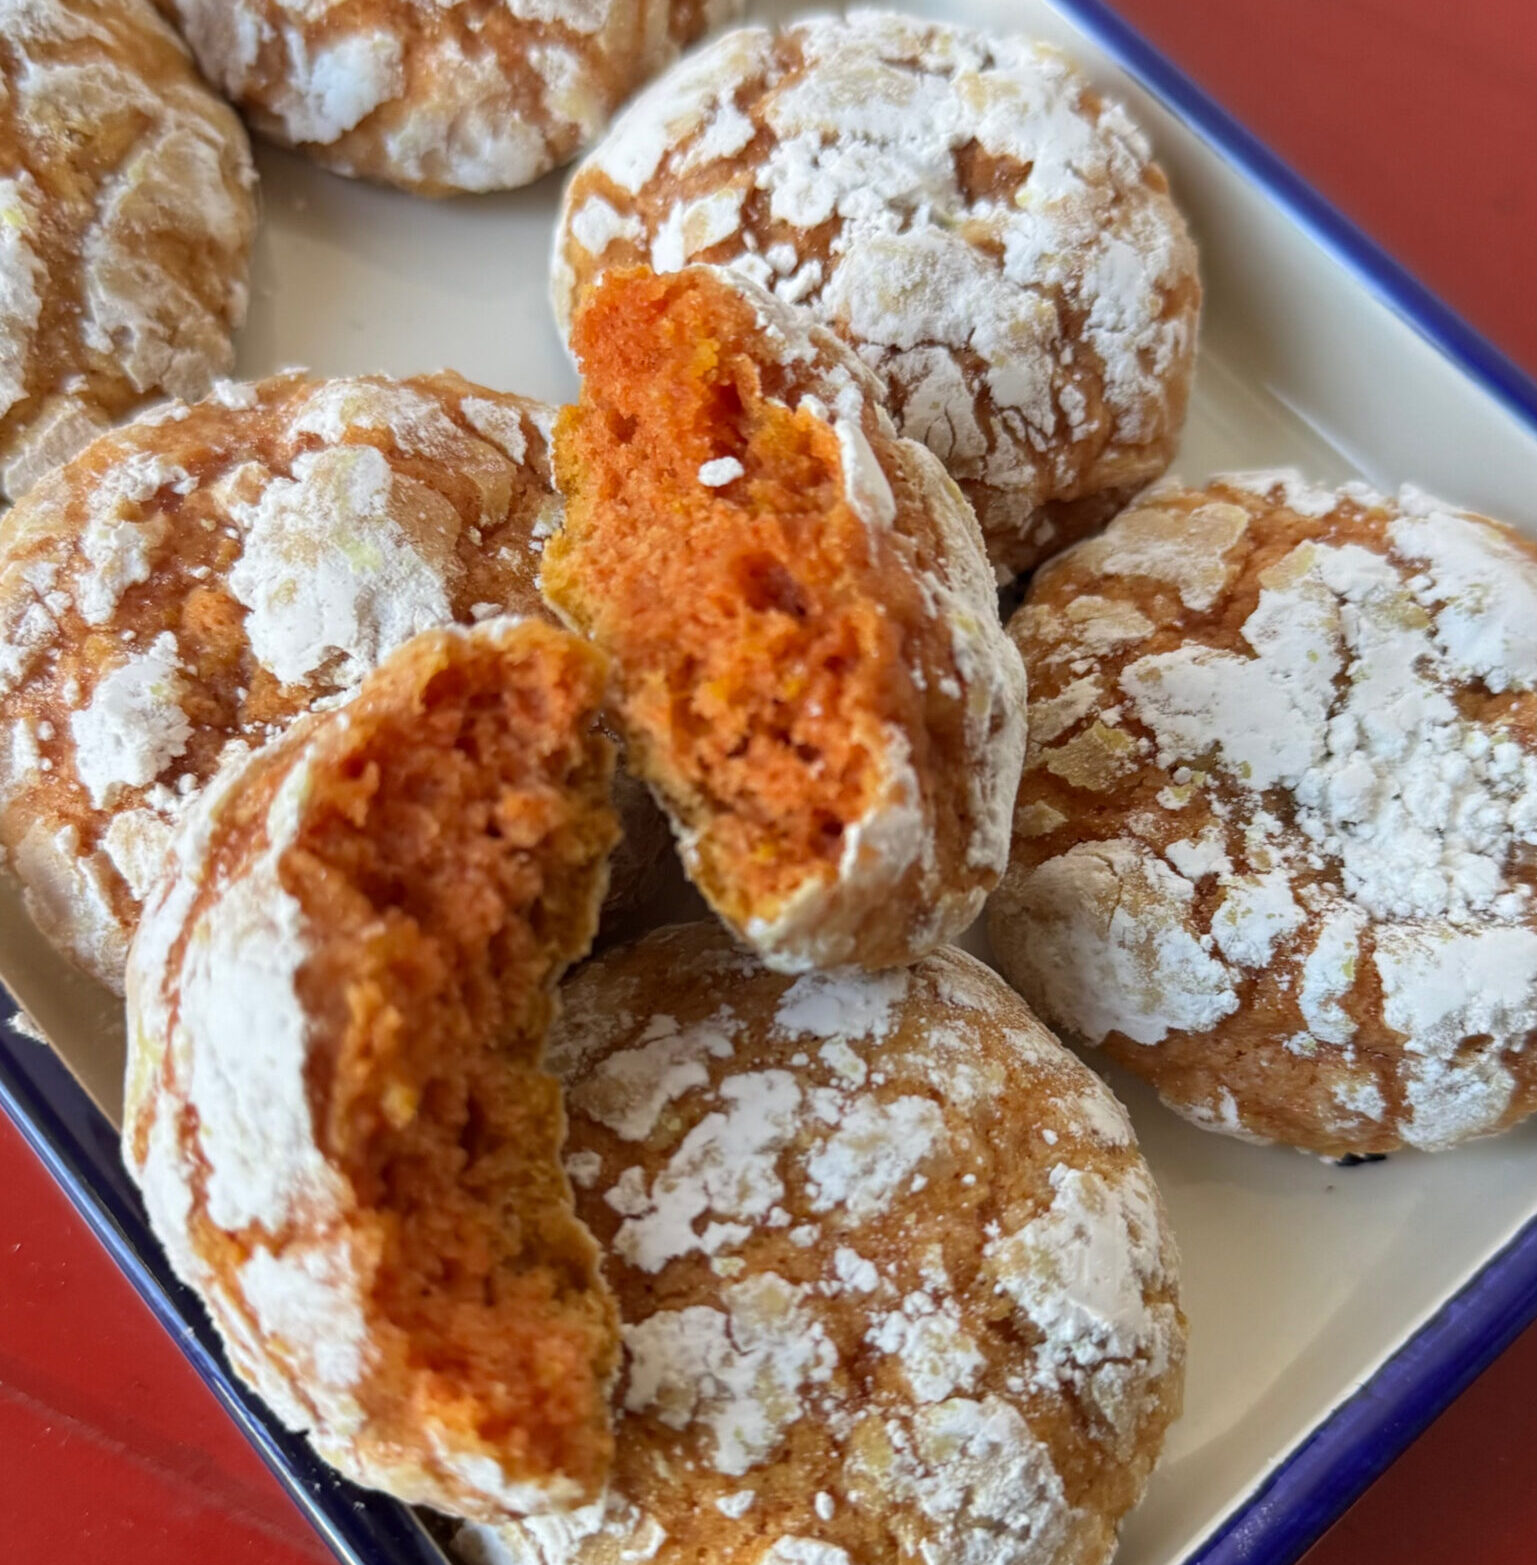
If you are looking for something different but delicious, include the Lemon-Turmeric Crinkle Cookies on your holiday cookie list.

Print
5 from 1 vote

Lemon-Turmeric Crinkle Cookie

Another winner from Eric Kim for this year's Cookie Week from NYTCooking. Lemon-Turmeric Crinkle Cookie. Made with cream cheese abd olive oil, spiced with turmeric and lemon, it's tender, cakey and delicious.
Course cookies, Dessert
Cuisine Asian-American
Keyword cookie week, cookies, ERic KIm, holiday baking, holiday cookies, lemon-turmeric crinkle cookie, NYT Cooking
Prep Time 15 minutes
Cook Time 10 minutes

Ingredients

Creamed Ingredients

  • 3 tablespoons olive oil
  • ½ teaspoon ground turmeric
  • ¾ cup granulated sugar 150 grams
  • 2 tablespoons lemon zest from about 2 lemons
  • 4 ounces cream cheese at room temperature
  • 1 large egg at room temperature
  • 1 teaspoon vanilla or almond extract
  • ¾ teaspoon baking soda
  • ½ teaspoon coarse kosher salt or fine salt

Dry Ingredient

  • cups all-purpose flour 192 grams

Coating

  • ¾ cup powdered sugar 92 grams

Instructions

  • In a large bowl, whisk together oil and turmeric until combined. Let sit for about 30 seconds to let turmeric dissolve. Add sugar, lemon zest, cream cheese, egg and vanilla. Vigorously whisk to combine and aerate the mixture, about 1 minute.
  • Whisk in baking soda and salt. Add flour, then switch to a rubber spatula and stir to combine. Cover and refrigerate dough until hard enough to scoop, about 30 minutes and up to 24 hours.
  • Heat the oven to 350 degrees and line a couple of baking sheets with parchment. Using a 1½-tablespoon cookie scoop (or two spoons) and working one at a time, scoop out 1½-inch/29-gram rounds and coat them in powdered sugar. Place them a couple of inches apart on the baking sheets and bake until crinkled and no longer wet-looking on top, 15 to 17 minutes. Let cool completely on the pan before eating.

Notes

To make ahead, prepare cookies then scoop out 1½-tablespoon rounds and set them in a single layer in a resealable container. Freeze the dough, covered, for up to 1 month. When ready to bake, coat frozen dough balls in powdered sugar and bake, adding 1 to 2 minutes as needed.
I prefer weights when baking but without a scale, I would use the scoop and sweep method. Don't pack down your flour.
I’m Gonna Shoyu a New Chocolate Chip Cookie

I’m Gonna Shoyu a New Chocolate Chip Cookie

I know you all know I am a city girl at heart.  Give me skyscrapers, bridges, cars, museums, and bright lights any day.  Not that I don’t appreciate mountains, forests, and nature, but I prefer the urban jungle.  Whenever we get the chance, we head into The City for the day, Chinatown, the Ferry Building, and Hayes Valley are my favorite areas to wander around.  There is always something going on.  Last weekend we headed to the City for the Hallyu exhibit at the Asian Art Museum.  A look at Korean culture & K-Pop that has taken the world by storm. (Check out my video on IG, for a glimpse at the exhibit).

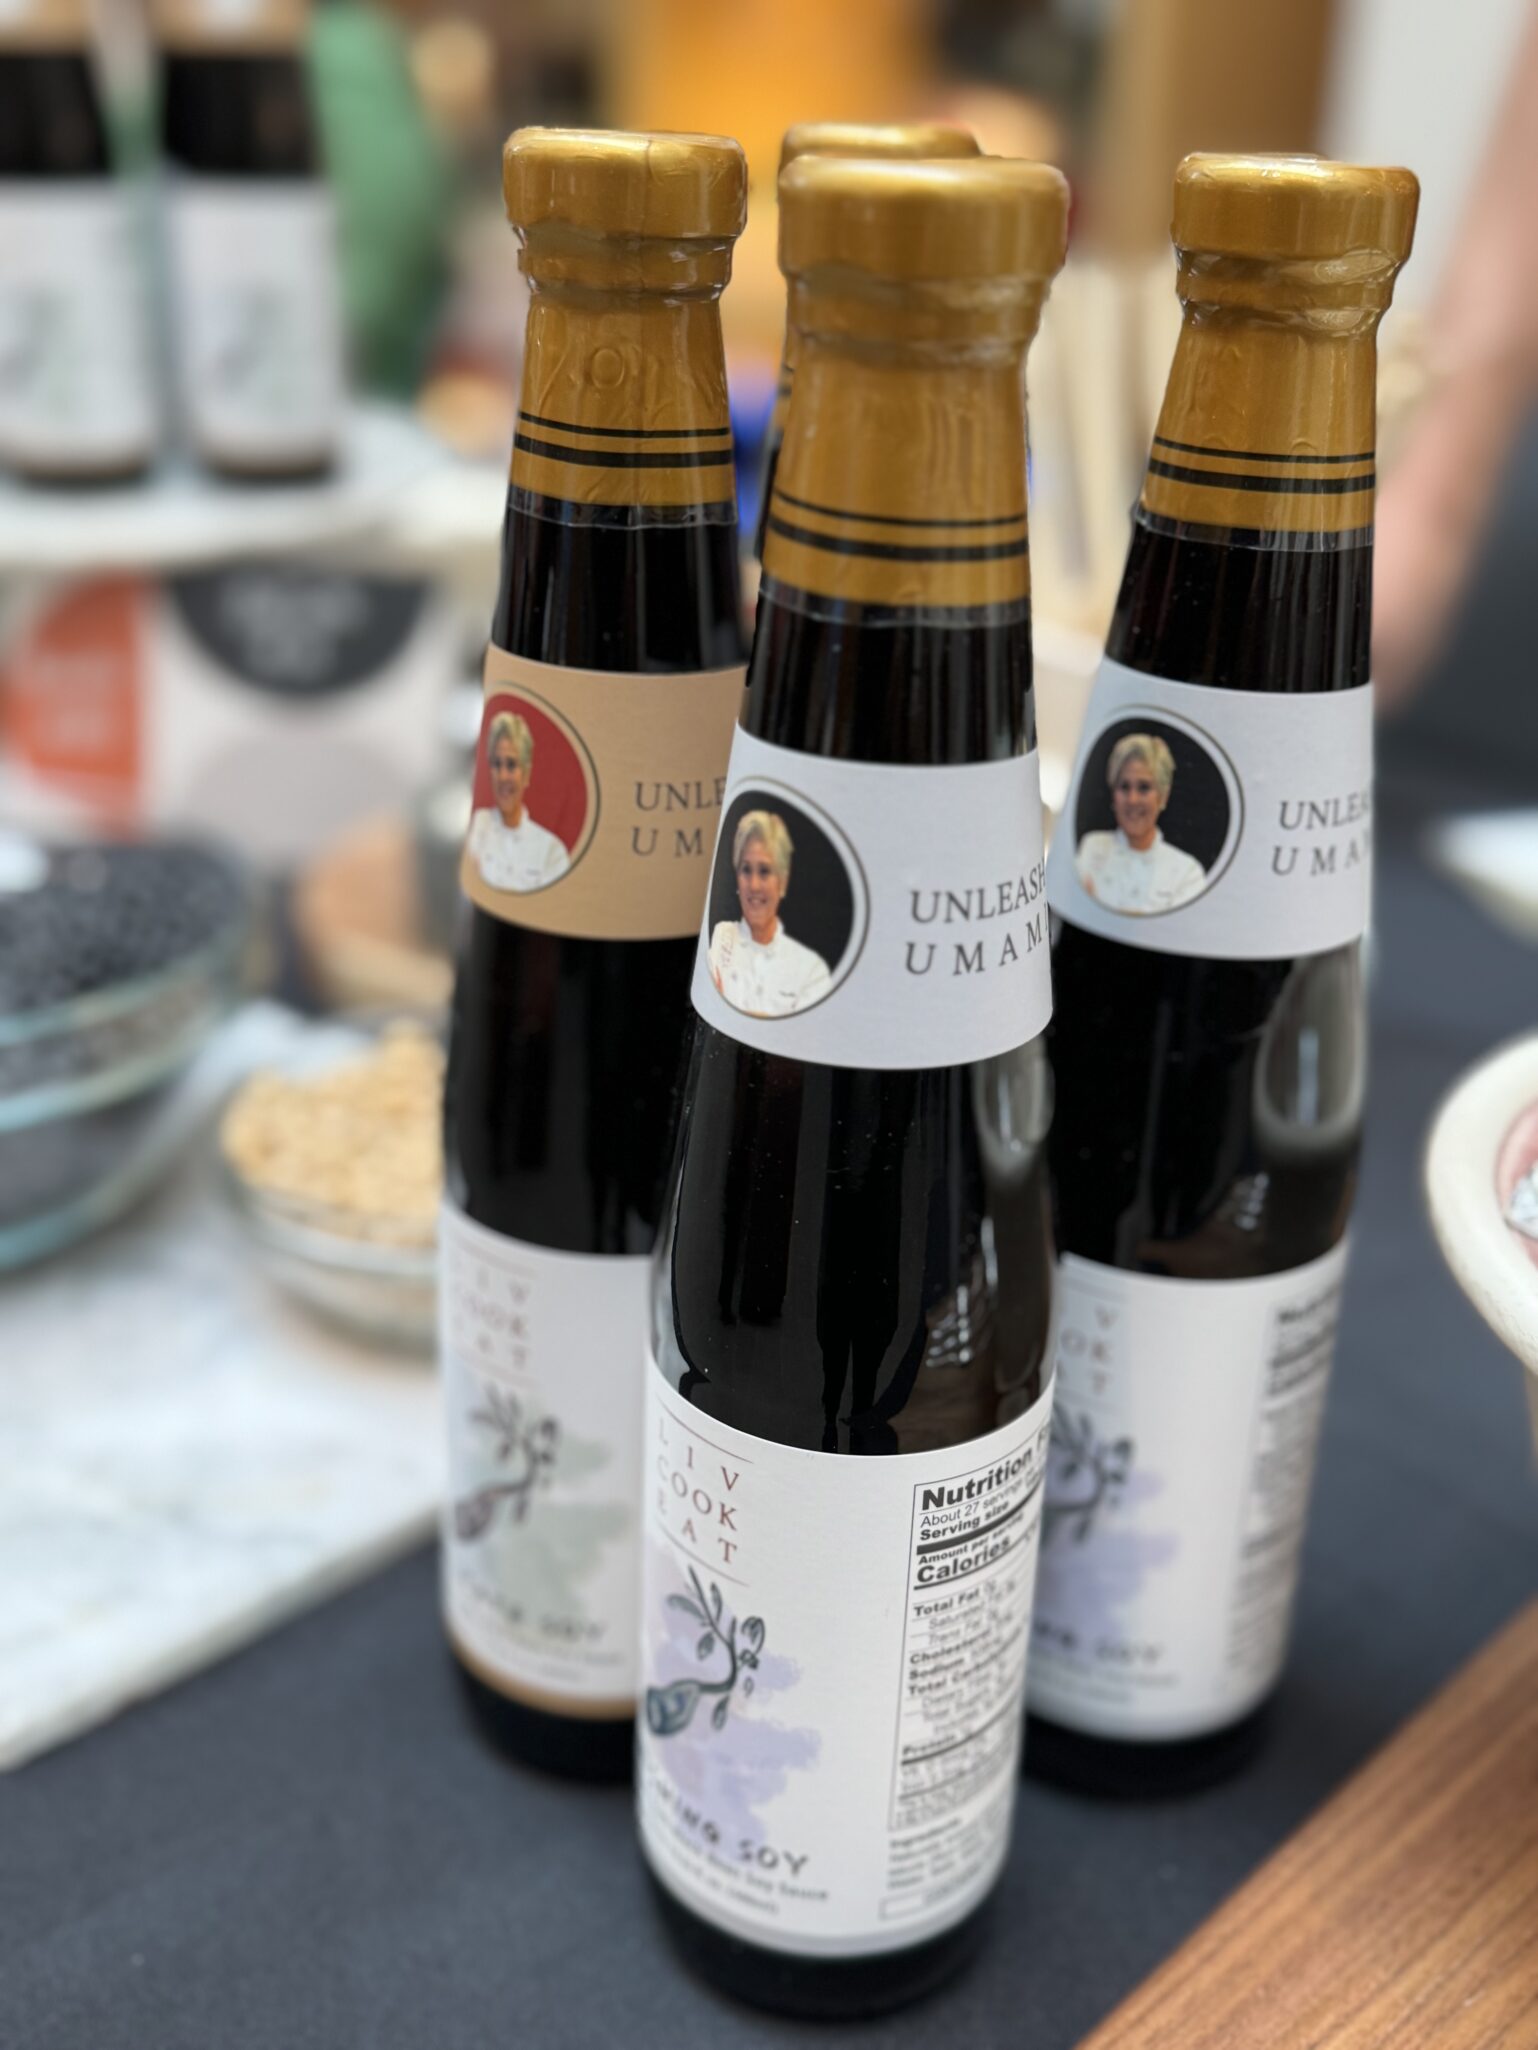
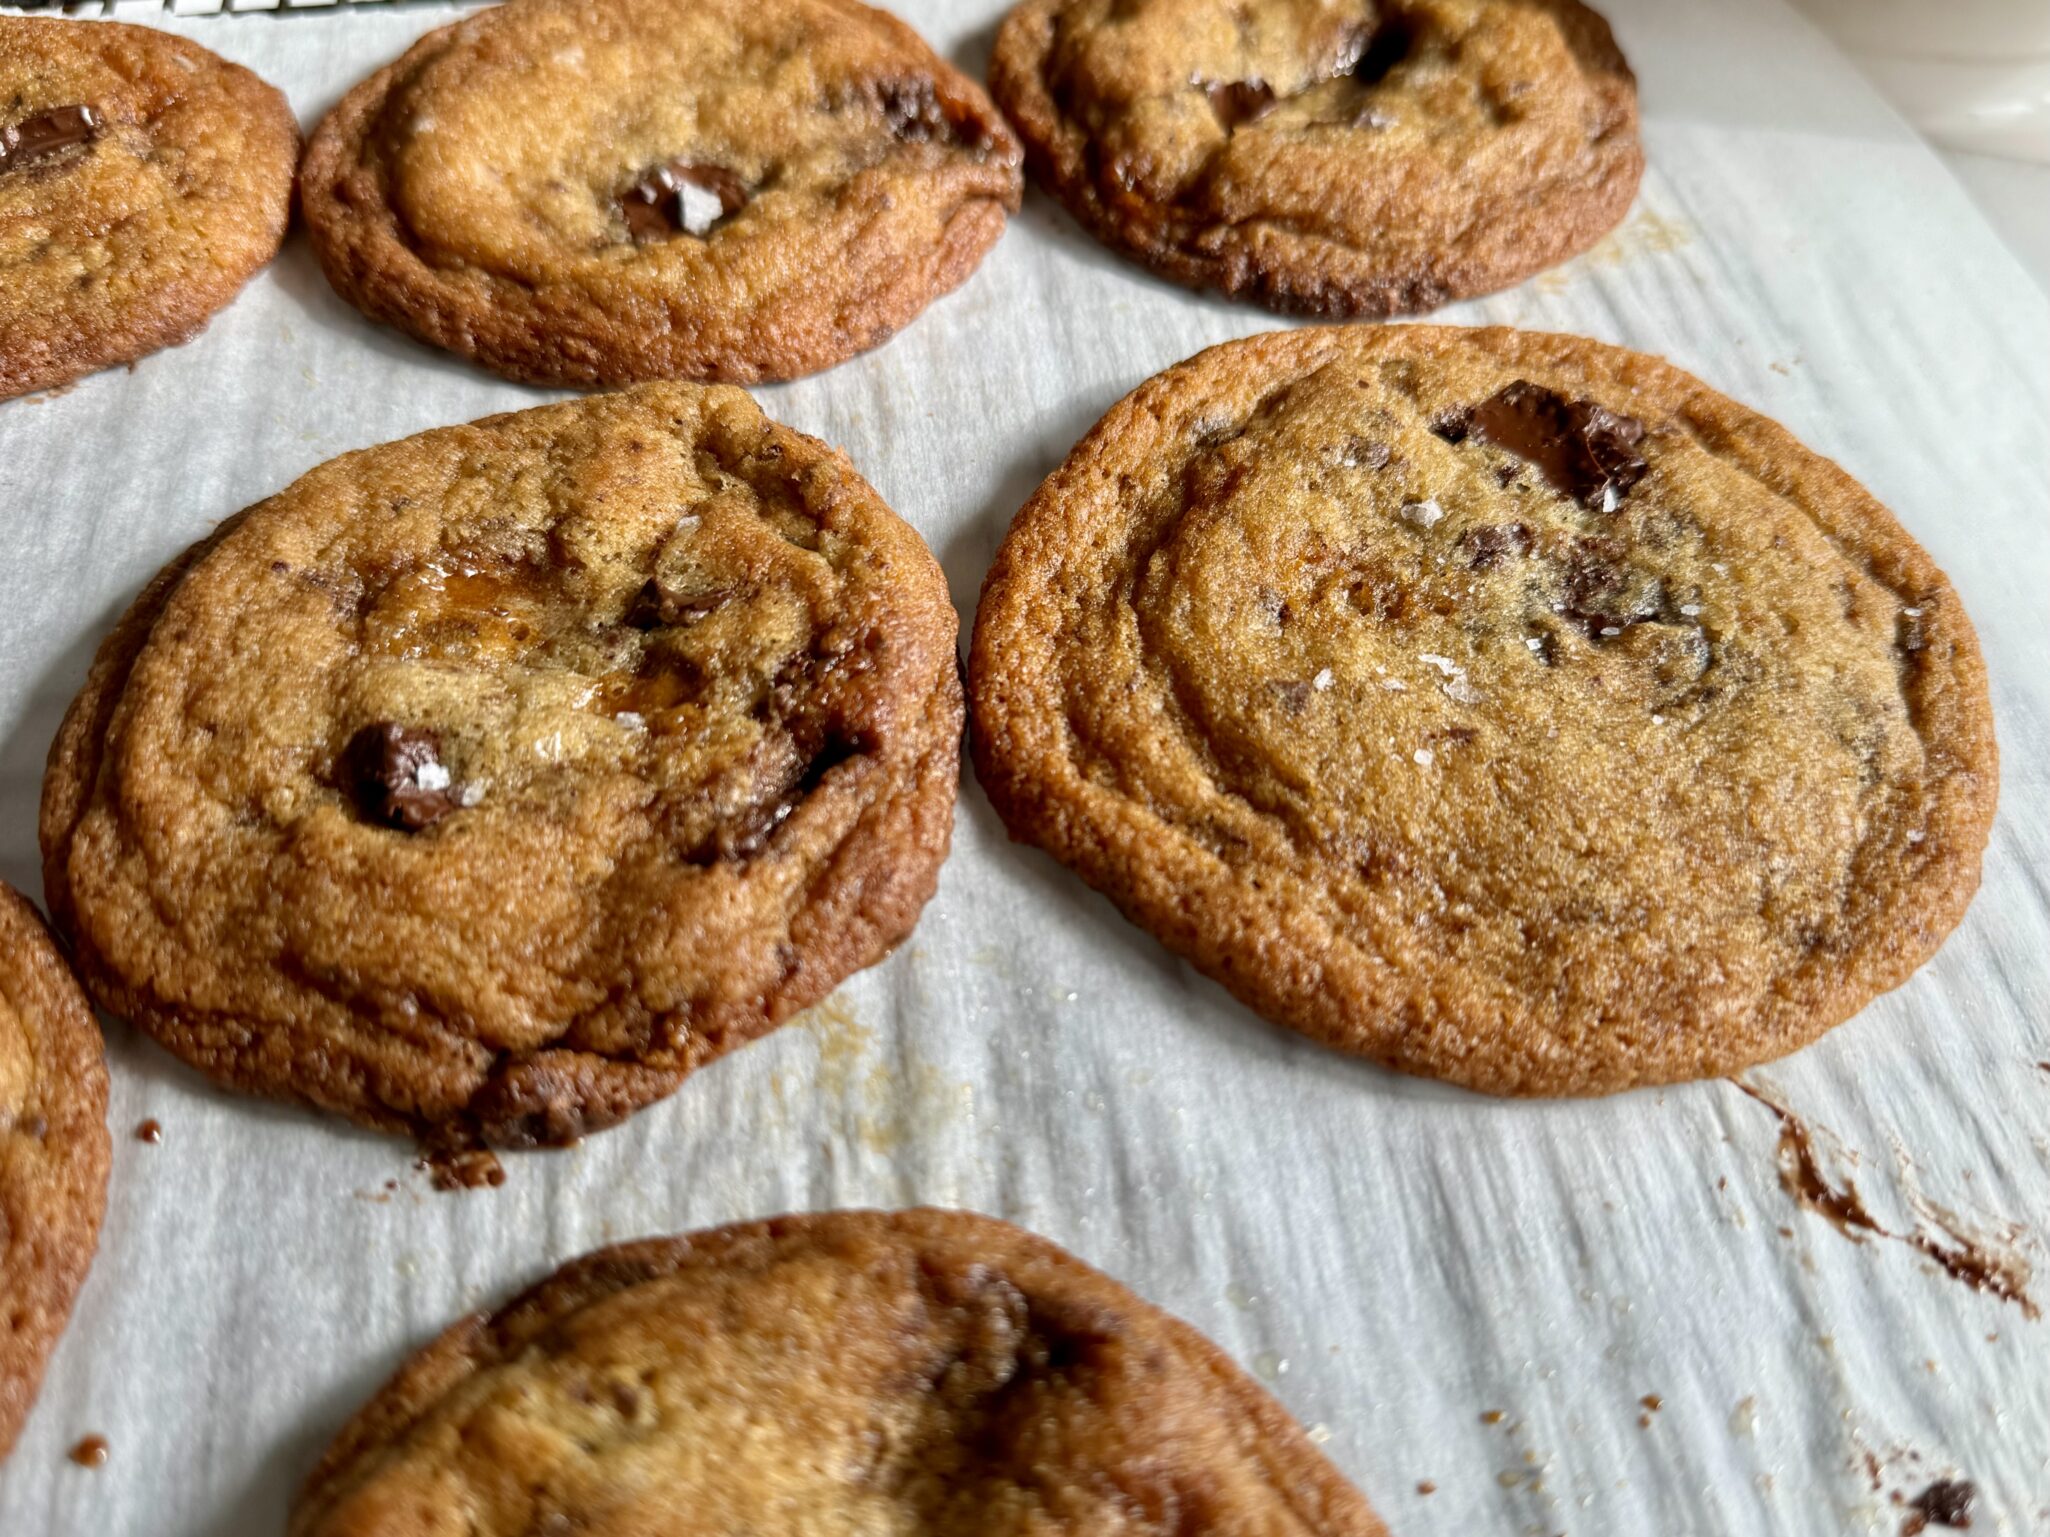
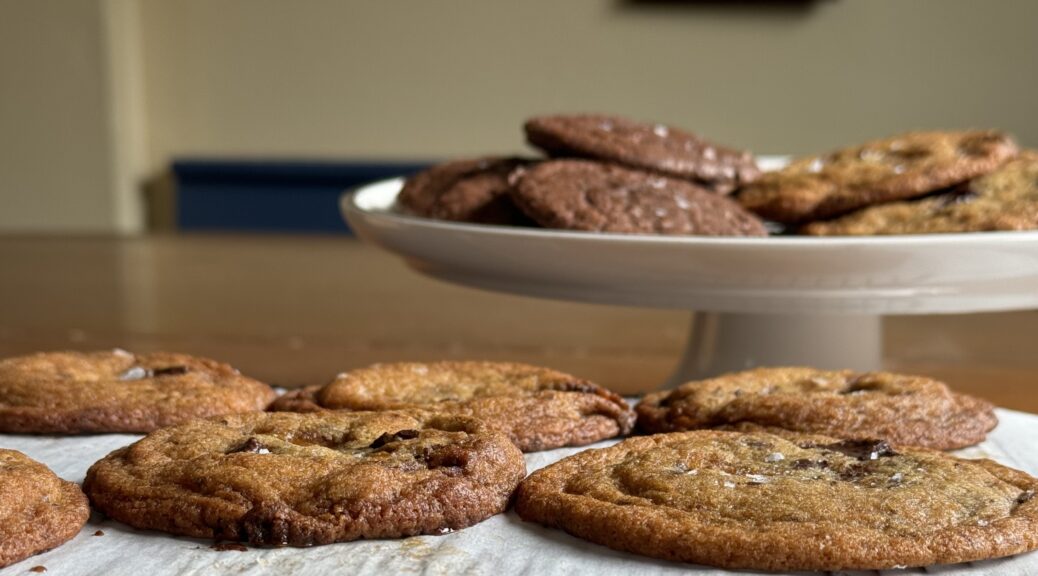
Lucky for us, the Asian Art Museum also hosted its annual Artisan Fair that weekend.  They had a variety of vendors including crafters, cosmetics, books, and food.  I rarely leave empty-handed.  One of my favorites is the Taiwanese soy sauce from Liv Cook Eat Brewed with black soybeans, these soy sauces are sweeter with a nice rounded flavor.  We are hooked on both their Finishing Soy and Delicate Soy.  They’re a bit pricy but we are worth the splurge. LOL.  Next to the soy sauce sat a row of  Soy Sauce Infused Chocolate Chip Cookies by Eating with Edmund.  You know I had to try one.  The cookies were delightful, crispy-edged, buttery, and chocolatey. The flavor was nuanced and subtle.  It leaves you wondering, what is that mellowness in this cookie?  I think it’s the soy sauce.

Soy Sauce Me Up

Soy Sauce:  This is a classic chocolate chip cookie with a tweak, the soy sauce.  Although any soy sauce would work there are distinct differences between soy sauces.  Liv Eat Cook is Taiwanese and is made with black soybeans. It has a richer, rounder flavor than soy sauce made in China or Hong Kong.  It usually has sugar which makes it a touch sweeter.  Chinese Soy Sauces generally have more sodium, so a bit saltier.  Use Dark Chinese Soy Sauce (Lao Chou) which is less salty than the light soy sauce and has a touch of molasses as a sub.  Japanese soy sauces are generally lighter, and a touch sweeter.  I assume that would be fine. Tamari would work also.

Flour:  The OG Cookie from Eating with Edmund was soft and delicate.  I increased the flour by 10% (330 grams) for a sturdier cookie.  If I browned the butter, I would use his original 300gms of flour since moisture is lost when browning butter.  Browned butter would give the cookies a nice toasty flavor, worth a try.  I used King Arthur flour AP which has a higher protein content than Gold Medal. If using GM flour I would increase the amount of flour by 5-10%.

Sugar: Light or dark brown sugar will work.  I used light brown sugar.

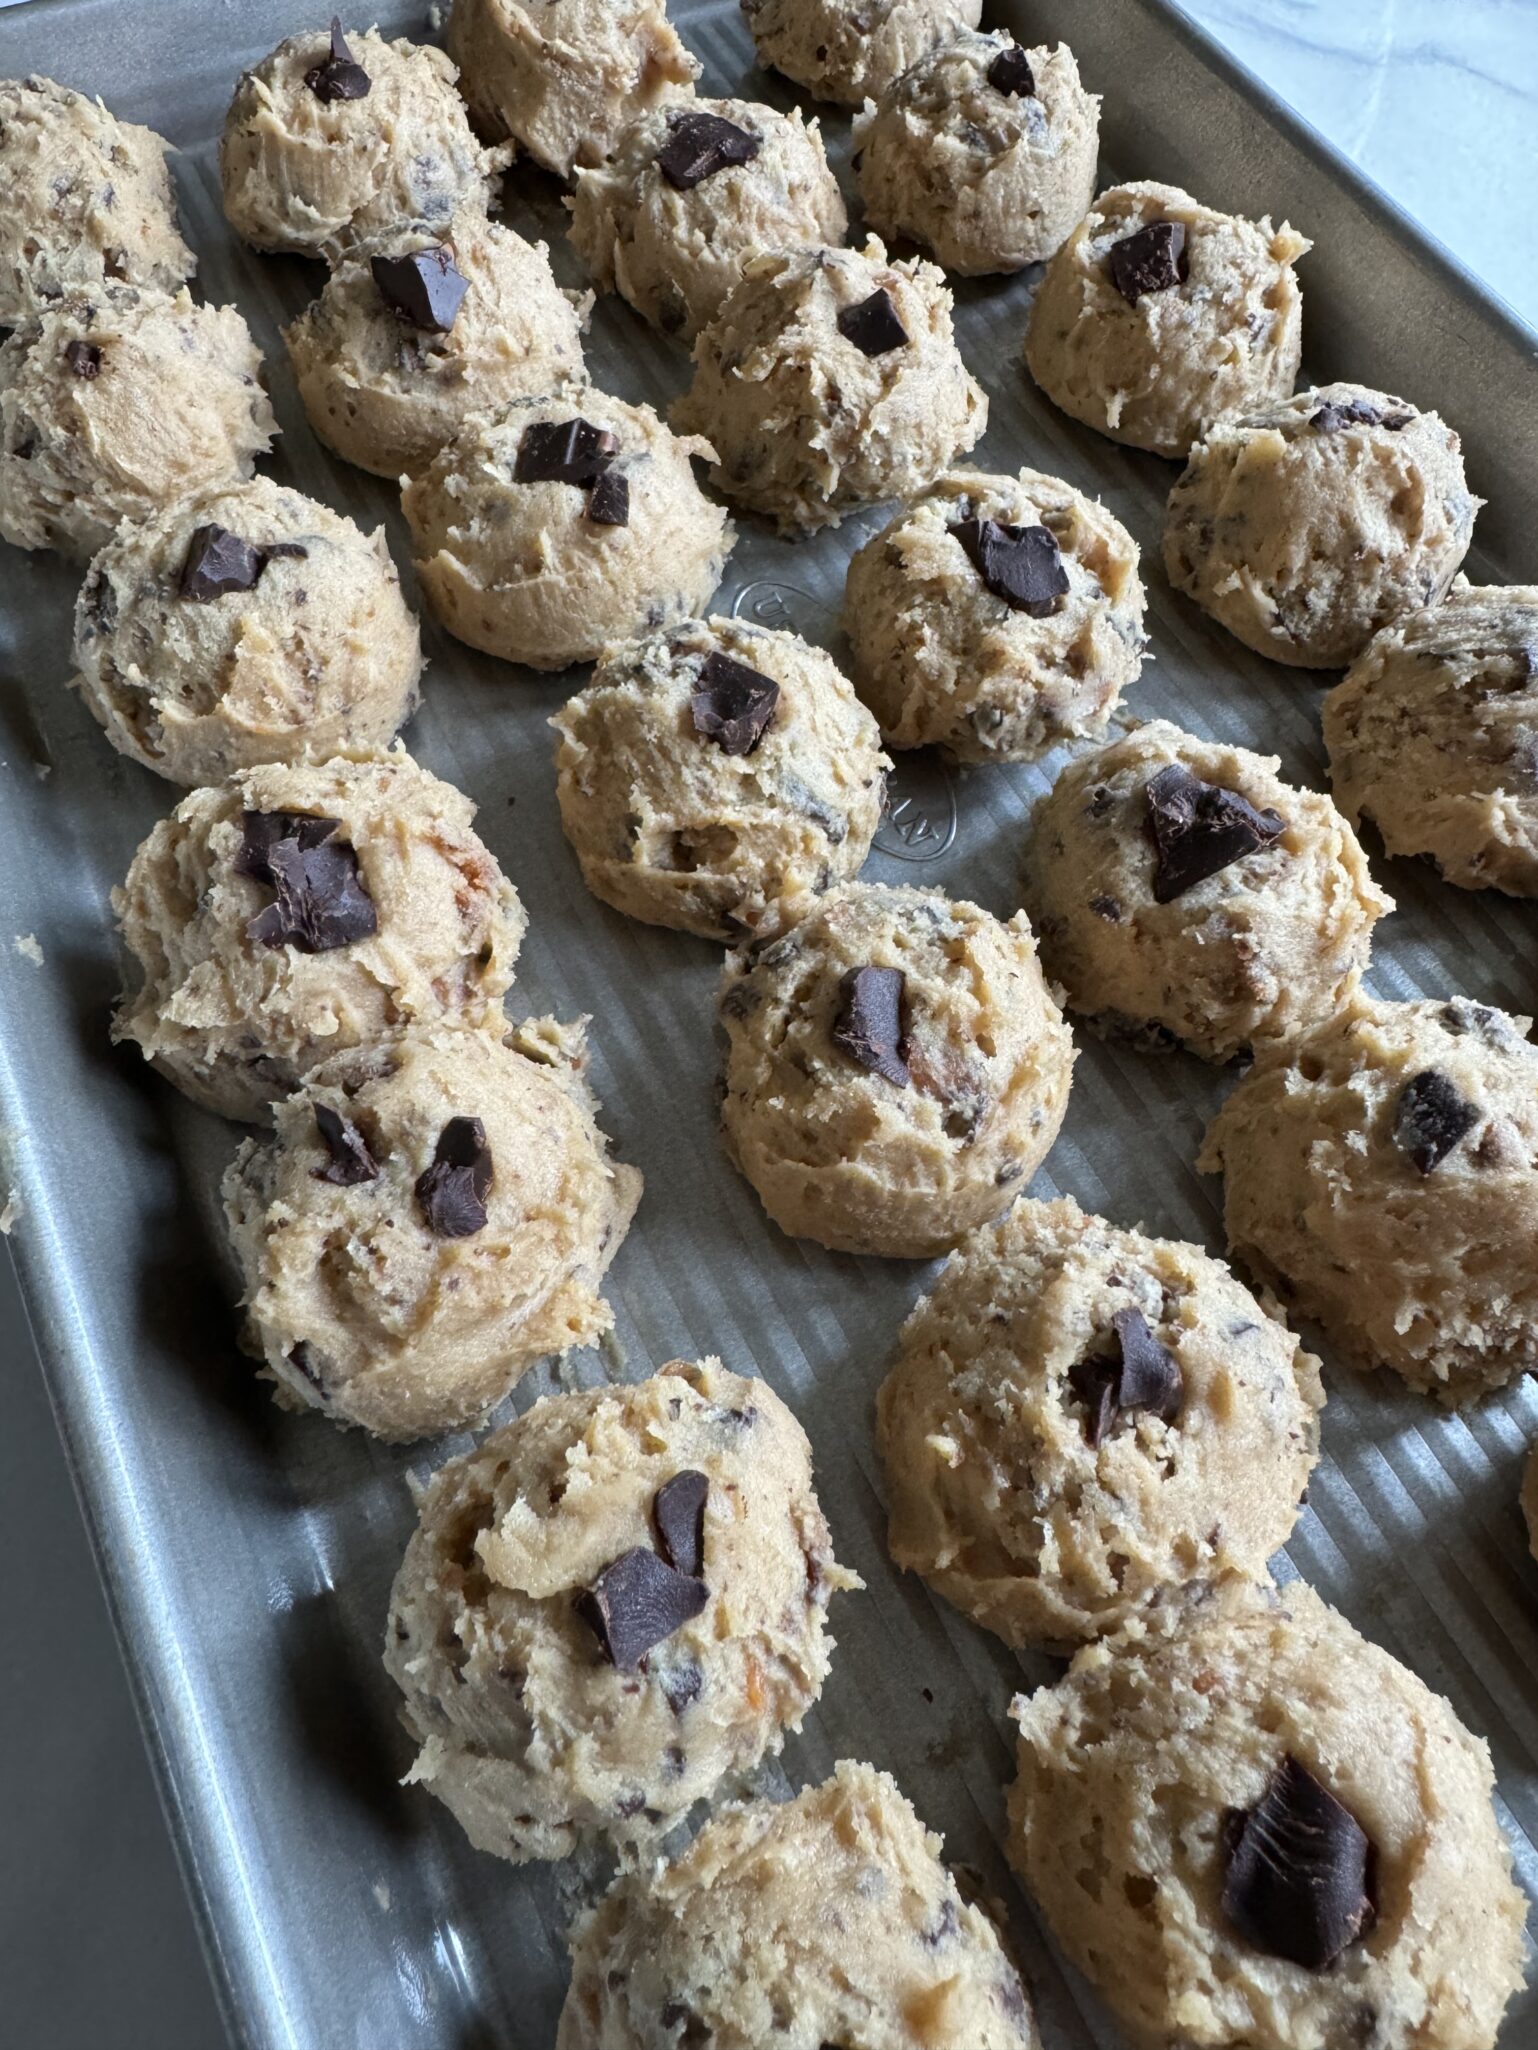
Chocolate:  Chocolate chips can be used but I prefer chopping up a bar.  Mainly for presentation, different-sized & shaped pieces seem to look better. Reserve enough pieces to be pressed into the surface of each dough ball right before baking.  Puddles of chocolate on the surface of each cookie, a nice look.

Toffee:  Toffee and soy sauce complement each other.  I used TJ’s Toffee Bars, chopped into pieces for 1/2 of the chocolate.  Delish.

Bang-a-Pan;   A couple of minutes before the cookies finish baking, rap the pan to deflate the cookies to create ridges. Optional.

The Swirl:  Chocolate pieces, toffee, and marshmallows tend to melt and ooze creating funny-shaped cookies.  No worries, invest in a 3-4 inch round cookie cutter (or a glass will work too).  As soon as the cookies come out of the oven, place your round cutter over those cookies and swirl, voila’ perfectly round cookies. Of course, if you don’t mind them not being perfectly round…skip this step!

The Finish:  I love finishing these cookies with a sprinkle of flaked salt like Maldon.

Enjoy!

Soy Sauce Chocolate Chip Cookies

Adapted from Eating with Edmund, Soy Sauce Chocolate Chip Cookies. Buttery, crisp, delicious chocolate chip cookies with a soy sauce twist.
Course cookies, desserts
Cuisine Asian-American
Keyword chocolate chip cookie, soy sauce, soy sauce chocolate chip cookies
Prep Time 20 minutes
Cook Time 10 minutes

Ingredients

Creamed Mixture

  • 1 cup unsalted butter room temperature
  • 3/4 cup granulated sugar 150 grams
  • 3/4 cup brown sugar 165 grams
  • 1 teaspoon vanilla extract
  • 2 tablespoons Liv Cook Eat Finishing Dark Soy Sauce or your favorite dark soy sauce
  • 2 large eggs
  • 1/2 tsp almond extract optional

Dry Ingredients

  • 2 1/2 cups all-purpose flour (I use King Arthur Flour) 300 grams
  • 1 1/2 teaspoons baking soda

Adds

  • 1 cup bittersweet dark chocolate chips, chunks, or chopped
  • 1/2 cup Chocolate Toffee bar, I use TJ chocolate toffee chopped, sustitute for 1/2 cup of the chocolate chips (optional)
  • Sea salt flakes like Maldon for sprinkling on cookies

Instructions

  • Preheat oven to 375F and line baking sheet with parchment paper
  • In a small bowl, whisk together the flour and baking soda and set aside
  • In a separate bowl cream together the butter, granulated sugar, brown sugar, vanilla extract, soy sauce, and (optional) almond extract
  • Add eggs one at a time to the wet mixture and cream together
  • Add 1/3 of the dry mix into the wet at a time and fold together. With the last third of the dry mix, add in the chocolate & toffee if using. Tip: Careful not to overmix or you’ll end up with tough cookies. You can be a tough cookie, but don't want to eat one.
  • Use a medium cookie scoop (#40) or ~roll 2 tablespoons of cookie dough into balls with spoons and place on a lined baking sheet, min of 2 inches apart
  • Bake at 375F for 8-10 minutes
  • Remove from oven, sprinkle with flaked salt and swirl with cookie cutters to bring them into round.

Notes

Suggestions for best results with more complex flavors and textures:
Chop bars of baking chocolate into chunks
The varying sizes of the chocolate chunks and flakes incorporated into the cookie make every bite unique
Brown the butter ahead of time! Melt the butter in a small pot until it turns a deep amber color. Stir and scrape the bottom/sides constantly to incorporate the milk solids. Let cool and solidify to room temp
The browned butter makes for a nuttier, more complex flavor profile
Chewy Brownie Cookies CTT-Cookie Testing Time

Chewy Brownie Cookies CTT-Cookie Testing Time

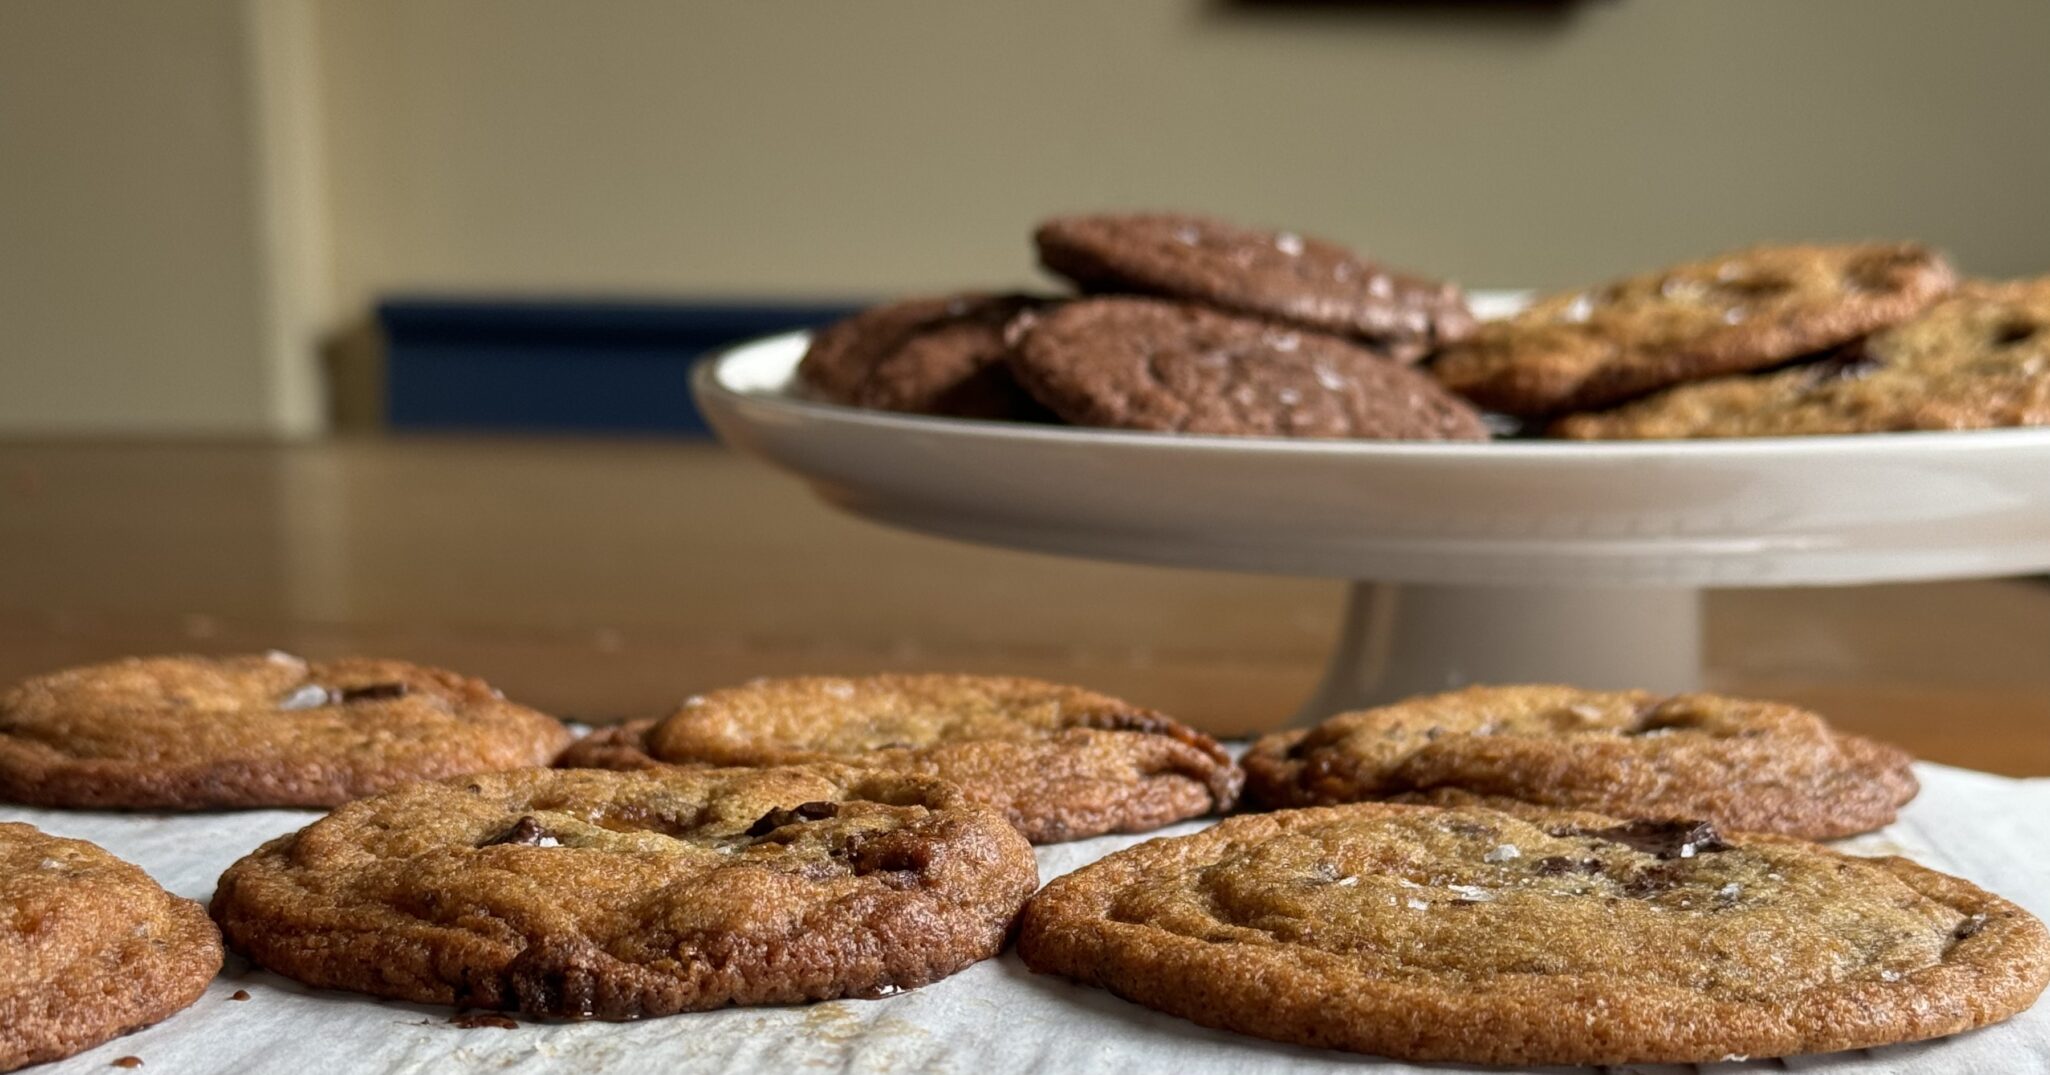
The weather has taken a definite turn so I am pivoting from stress cooking to cookie baking.   It’s windy, cold, and wet, it’s time to crank up the oven and test a few cookie recipes.  Which new cookie will reign supreme and star in this year’s holiday cookie box?  I usually don’t start this early, generally opting to wait for NYTcooking to publish their holiday cookie spread, but a couple of recipes caught my eye, a Chewy Brownie Cookie and a Soy Sauce Chocolate Chip Cookie.  I thought to myself, I might as well start now.

Let the Cookie Games Begin

The first one that caught my eye is from New York Times Cooking, Vaughan Vreeland’s Chewy Brownie Cookies.  Before I sing the praises of this cookie, have you all watched any of Vaughan’s videos? They’re not only instructive but entertaining and downright hilarious.  Check out his wedding cake video, a classic.

The Cookie Lowdown

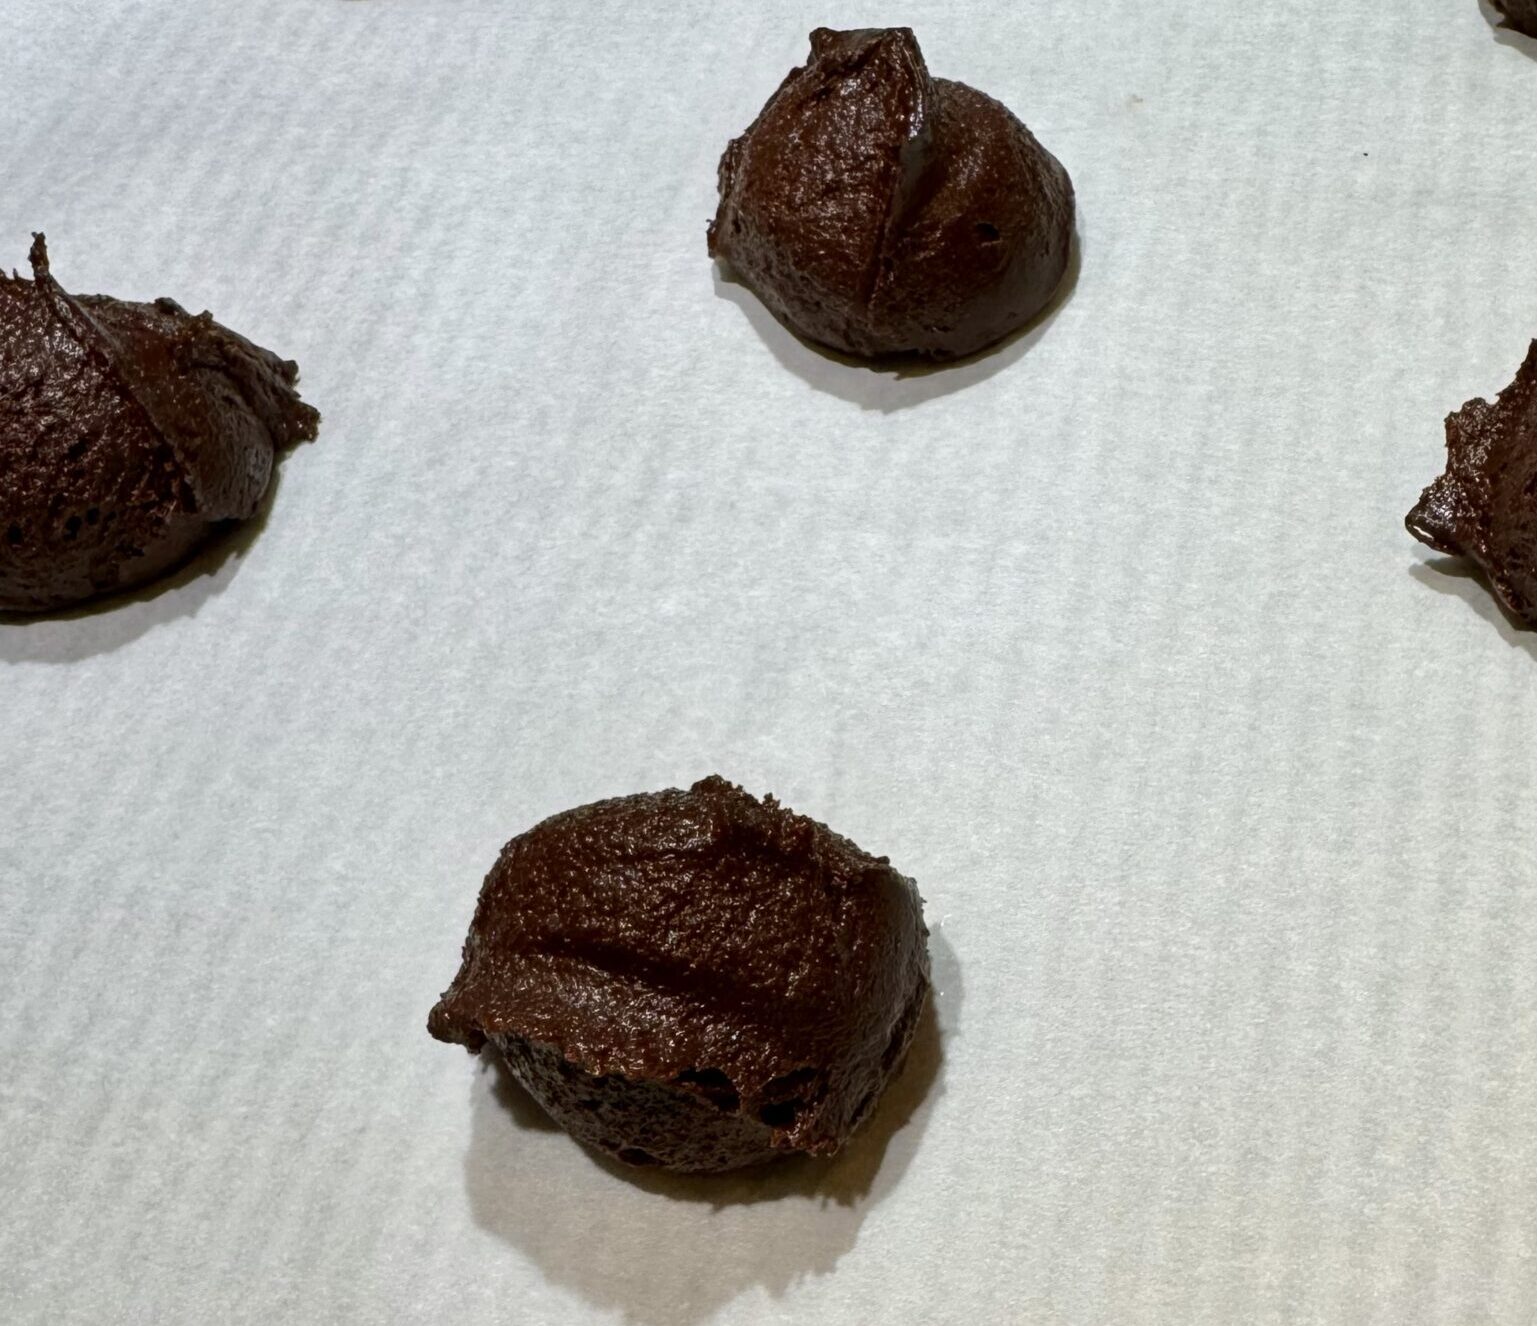
The cookie batter comes together quickly and is baked right after it is made to achieve the shiny tops.  It’s best to have everything ready before you start combining and mixing the ingredients.  Mise en place pays here.

Measure and pour flour into a small bowl. Set aside.

Chocolate:  Use your favorite chocolate.  I like Guittard’s Semi-sweet chocolate.  For serious chocolate folks, bittersweet would give a more intense, less sweet cookie.

Cocoa Powder:  I don’t think it matters what cocoa powder dutch-processed or natural will work.  King Arthur’s Triple Cocoa Powder combines Dutch-process, natural, and black cocoa and can be used in recipes that call for either.  My default.

Espresso Powder:  

For the first batch, I used King Arthur’s espresso powder and you could taste the coffee.  I used Medaglia d’Oro for a second batch and could not taste any coffee.  Although the intent is for the espresso powder to enhance the chocolate flavor, I liked the flavor the King Arthur espresso powder added to the cookie.

Once the butter is melted, remove the pan from the heat and add the chocolate, espresso, and cocoa powder into the saucepan.  Let it sit a couple of minutes to melt the chocolate then stir until smooth.

Eggs:  Bring the eggs to room temperature to maximize the air bubbles.  There aren’t any leavening agents so it’s the eggs that provide lift.  Whisk the eggs and sugars together, increase the mixer speed to medium-high, and beat for 3-5 minutes until light and ribbony.  Whisk in the vanilla, then reduce the mixer speed to low  and slowly add the chocolate mixture.  Be sure to scrape the sides and bottom of the bowl.  Beat until well blended.  Add flour and mix until only a few streaks of flour are showing.  Finish folding the flour into the batter by hand to avoid over beating.

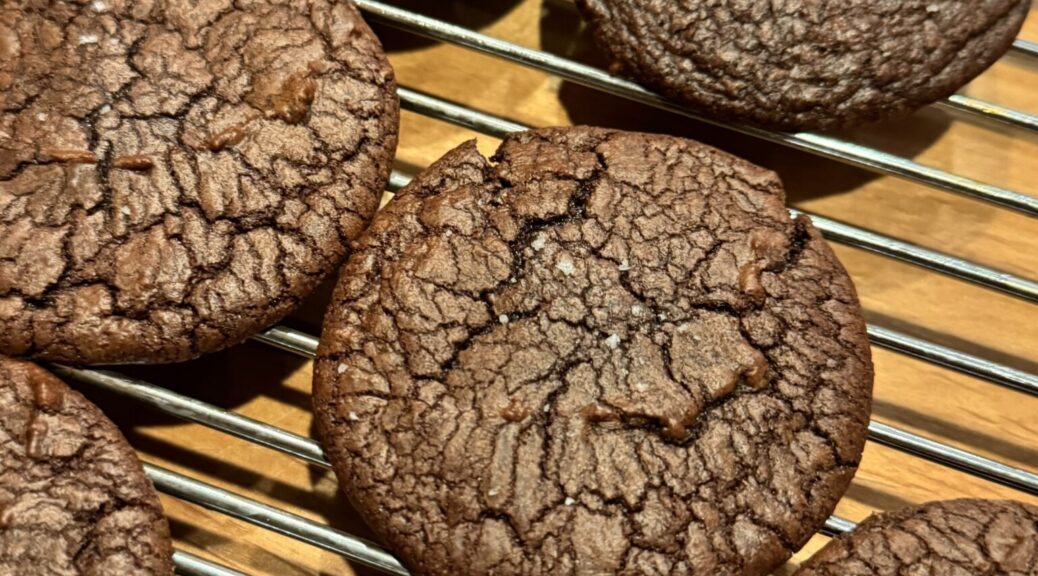
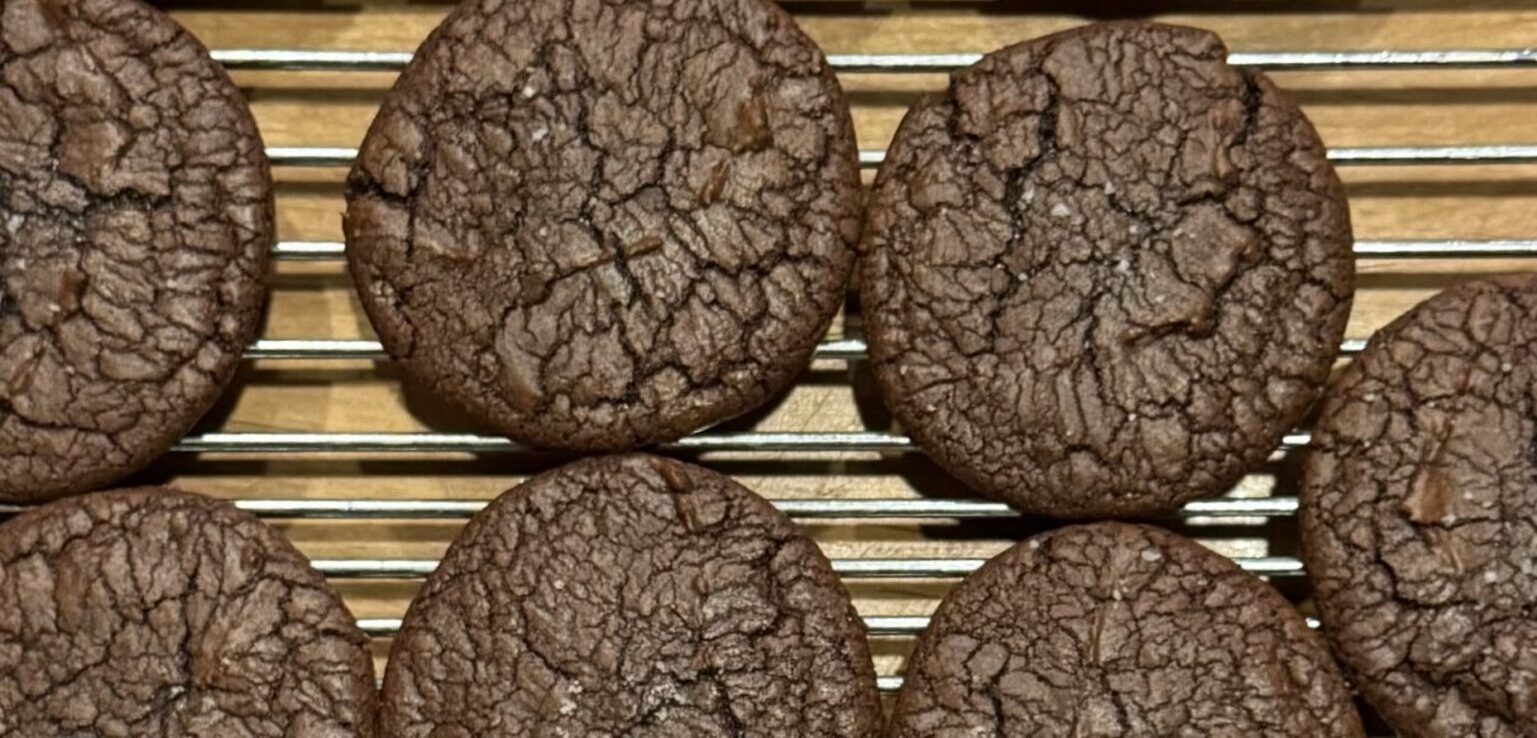
Working quickly, plop batter onto a parchment-lined baking sheet using a #40 scoop.  Leave 2 inches between each cookie.  Bake at 350 degrees.  At the 8-minute mark take the sheet out and rap on the counter to create the crackle pattern on the cookies.  Sprinkle flaky salt, like Maldon, on each cookie and return the sheet to the oven for an additional 2- 3 minutes.  Cool on a wire rack.

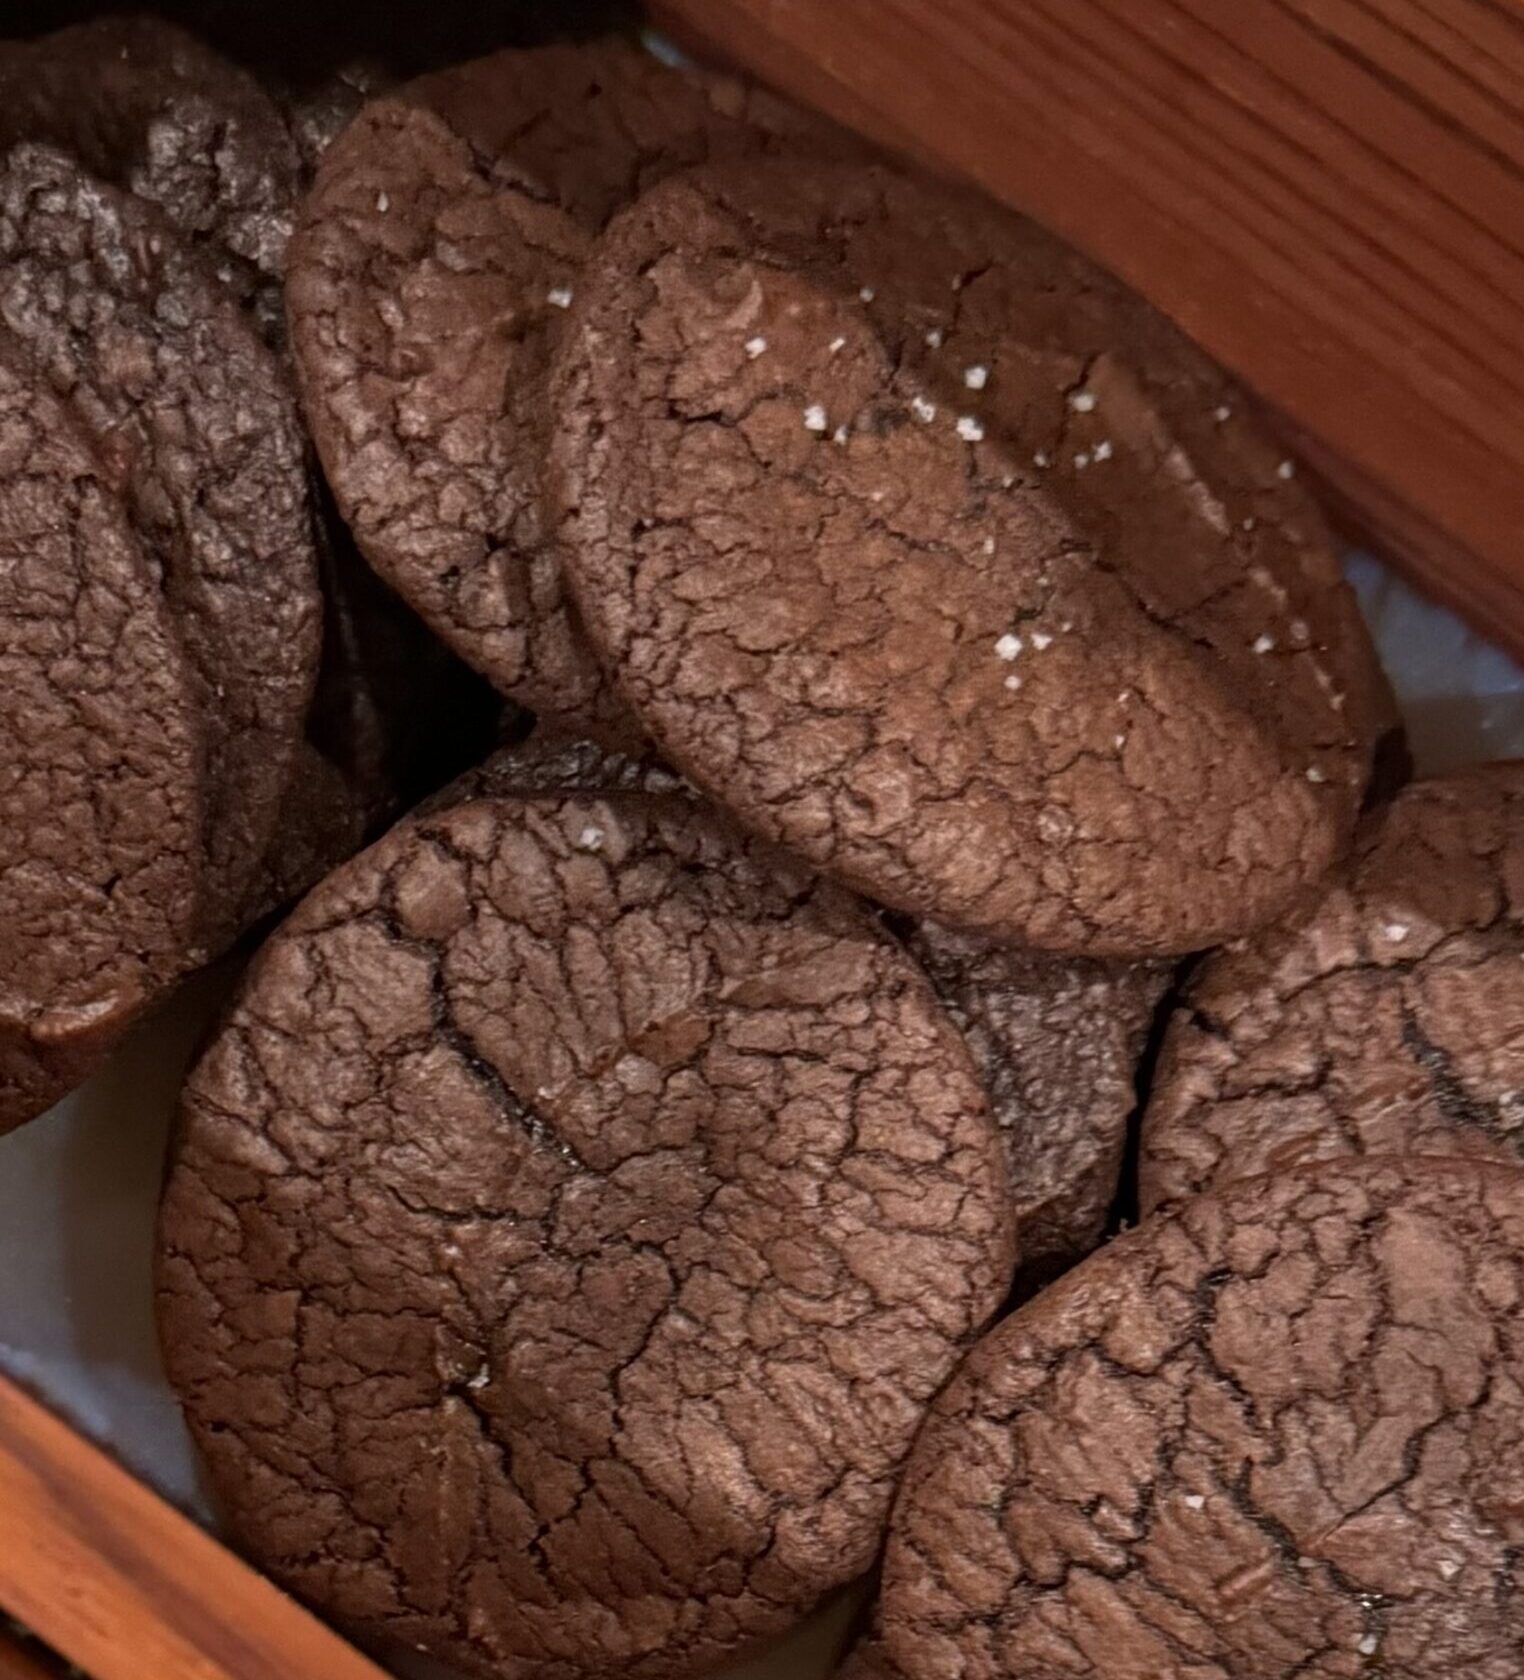
With crisp edges, a gooey center, and chocolate flavor throughout, this Chewy Chocolate Brownie Cookie is a winner and so deserves a spot on the holiday cookie list. 🎄🎄🎄

Chewy Brownie Cookies

Chewy Brownie CookiesBy Vaughn Vreeland, NYTCooking
Course cookies
Cuisine American
Keyword chewy, chocolate brownies, chocolate cookies, NYTcooking
Prep Time 20 minutes
Cook Time 12 minutes

Ingredients

Chocolate MIxture

  • ¾ cup finely chopped semisweet or bittersweet chocolate (113 grams)
  • ½ cup unsweetened cocoa powder (42 grams)
  • 1 teaspoon espresso powder
  • ½ cup unsalted butter (113 grams)

Whisked Mixture

  • 2 large eggs at room temperature
  • ¾ cup granulated sugar (150 grams)
  • ½ cup packed dark brown sugar (107 grams)
  • 1 teaspoon kosher salt
  • 2 teaspoons vanilla extract

Dry Ingredients:

  • ¾ cup all-purpose flour (90 grams)
  • Flaky sea salt for finishing

Instructions

  • Heat oven to 350 degrees. Line 2 large baking sheets with parchment paper.
  • Melt butter in a skillet or saucepan over medium-low heat until bubbly but not browned, about 3 minutes. Remove saucepan from heat and add chopped chocolate, cocoa powder and espresso over the chocolate mixture. Without stirring, let the mixture sit so the residual heat can melt the chocolate thoroughly while you whip the eggs and sugar. Stir and set aside.
  • Put the eggs, both sugars and kosher salt in the bowl of a stand mixer fitted with a whisk attachment. (If using a hand mixer, a large bowl will do.) Whisk on medium-high speed until the mixture is pillowy and the sugars have begun to dissolve, 3 to 5 minutes.
  • Stir the chocolate mixture until glossy and smooth. (If any solid pieces of chocolate remain, you can microwave the mixture in 10-second bursts until everything is melted.)
  • With the mixer on low speed, add the vanilla extract and then the chocolate mixture. Scrape the sides and bottom of the bowl to make sure the chocolate is evenly distributed, then add the flour and mix on low speed until only a few streaks of flour remain. To avoid overmixing, use a spatula to finish folding in the flour. The dough should be glossy and resemble a very thick brownie batter.
  • Using a 2-tablespoon/1-ounce scoop, scoop a heaping amount of the dough into mounds directly onto the parchment-lined baking sheets, with each portion at least 2 inches apart, yielding about 18 cookies. Work quickly to ensure the cookies stay shiny once baked.
  • Bake for 8 minutes until the cookies have started to spread and take on a shiny outer surface, then remove the pans from the oven and whack them on the countertop a couple times to create a cragged top. (This also helps create a fudgier consistency.) Top with flaky sea salt and return to the oven to finish baking, for another 2 minutes until shiny and slightly puffed. Cool for a couple minutes directly on the baking sheets before transferring to a wire rack to cool completely.
Mrs. Singer’s Eggnog, The Real Deal

Mrs. Singer’s Eggnog, The Real Deal

How many of you have had REAL eggnog?  Not the ultra-pasteurized, homogenized version of eggnog found in every supermarket during the holidays.  Who drinks that stuff?

Context

I did a bit of sleuthing on the origins of eggnog.  It has been around since medieval England (1300s), that’s a LONG time.  Its lineage starts as a posset, a milky, warm ale-like drink.   Fast forward to the 1700s, eggnog came along for the ride to the new colonies in America. Farmland was plentiful for cows and chickens which in turn provided lots of milk and eggs.  Rum, the inexpensive alcohol of the time, rounded out the nog.  Thus, eggnog became the festive drink of choice for the everyday man.

Unlucky for us,  the advent of supermarkets and technology led to the eggnog so many of us know.  As soon as pumpkin lattes disappear after Thanksgiving,  red and green cartons of super sweet, weirdly thick (like slime) non-alcoholic eggnog pop up in its place on supermarket shelves.  Whenever I volunteer to make eggnog for a holiday soiree’ I am invariably met with a chorus of yucks and eewwws.

The Eggnog Caper

To which I launch into my oratory, on the much-maligned REAL eggnog.  It starts with the story of Mrs. Ethel Singer.

When my brother and I were babies we were taken care of by a family out in the Sunset, the Singer Family.  Mrs Ethel Singer was the sweetest, most amazing woman, who ran a nursery for babies.  A friendship was born from our stay there and it became a tradition for us to visit them every Christmas.  As I admired their gorgeous Christmas tree with an entire miniature town around the base, she brought out her homemade cookies and eggnog.

Not Your Mama’s Eggnog

We would sit sipping our eggnog merrily chatting away. Much to my chagrin, I often started nodding off while listening to the conversation. I fought hard to keep my eyes open. How could I be so rude?!  Finally, during one visit, I asked for her eggnog recipe.  Not only did she gift me her recipe, but she went over the recipe step by step,  “A quart of milk, 12 eggs (my arteries spasmed), sugar, heavy whipped cream, milk, and make sure to use a generous CUP of GOOD brandy, like Christian Brothers, lol.   My dear Dr. Watson, the mystery is solved regarding my annual, ill-timed bouts of narcolepsy.  Blame it on the alcohol, the alcohol…

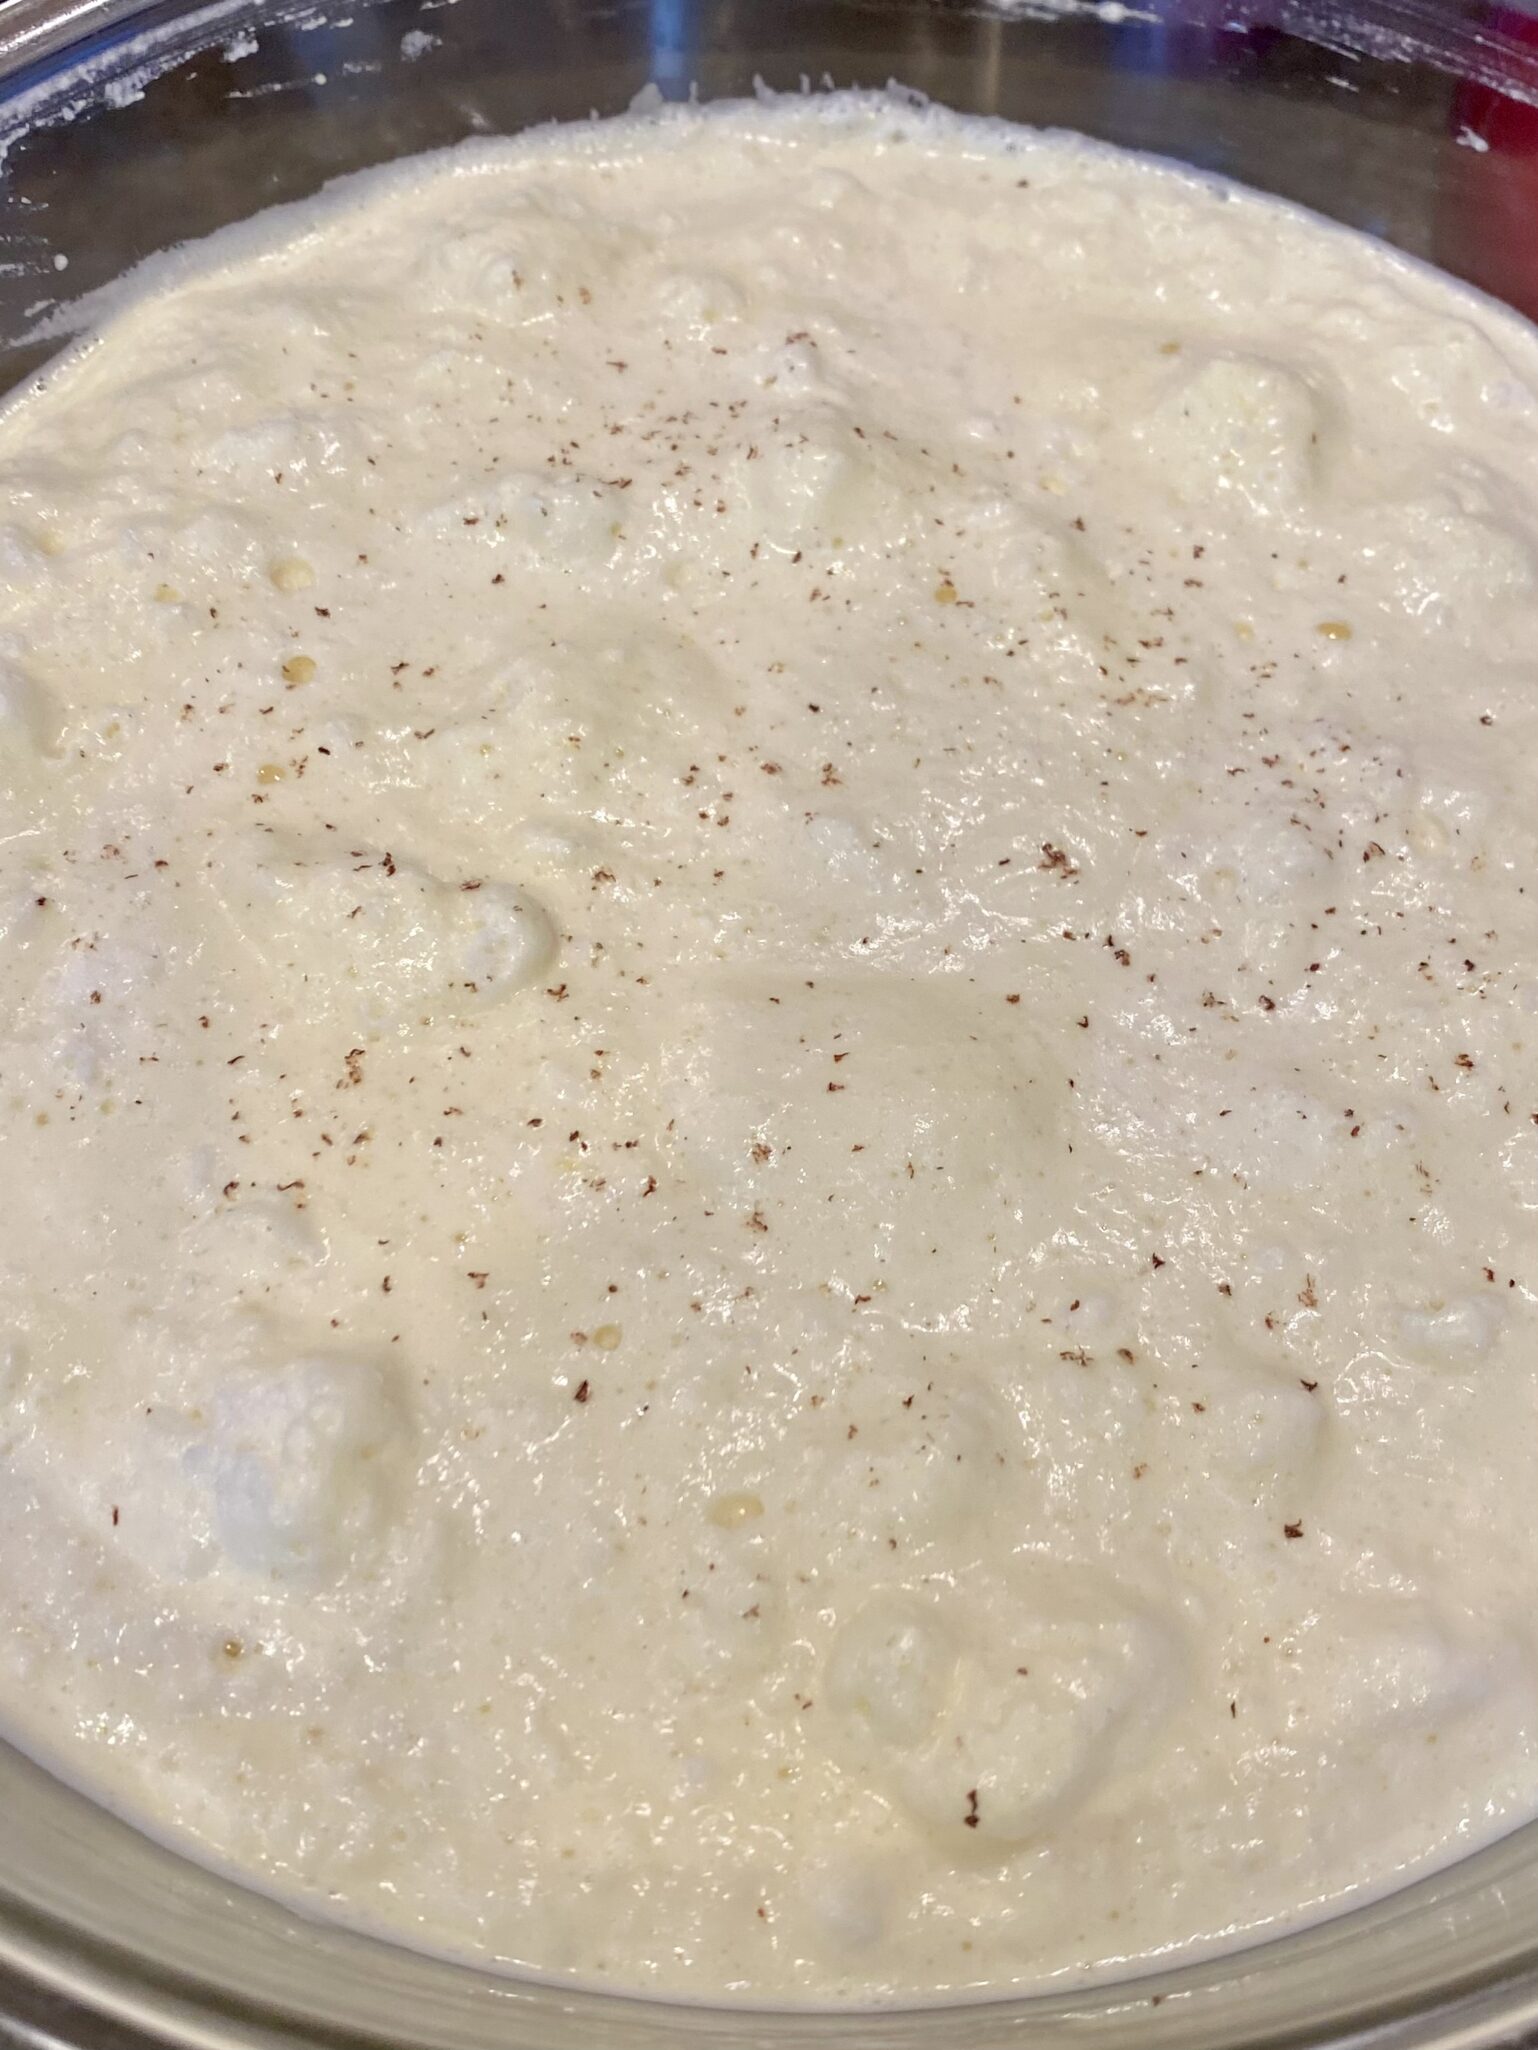
Yes, roughly 15% alcohol, masked by sugar, milk, heavy whipping cream, and eggs. A smooth, creamy, sweet, calorie-laden, festive, delicious, diabolical drink.

Our Annual Cookie Swap

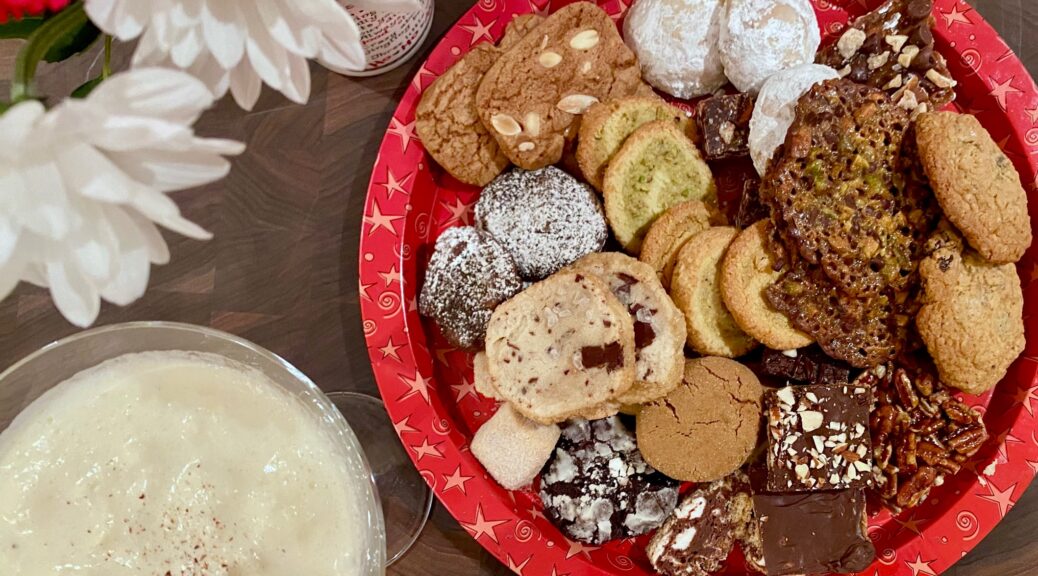
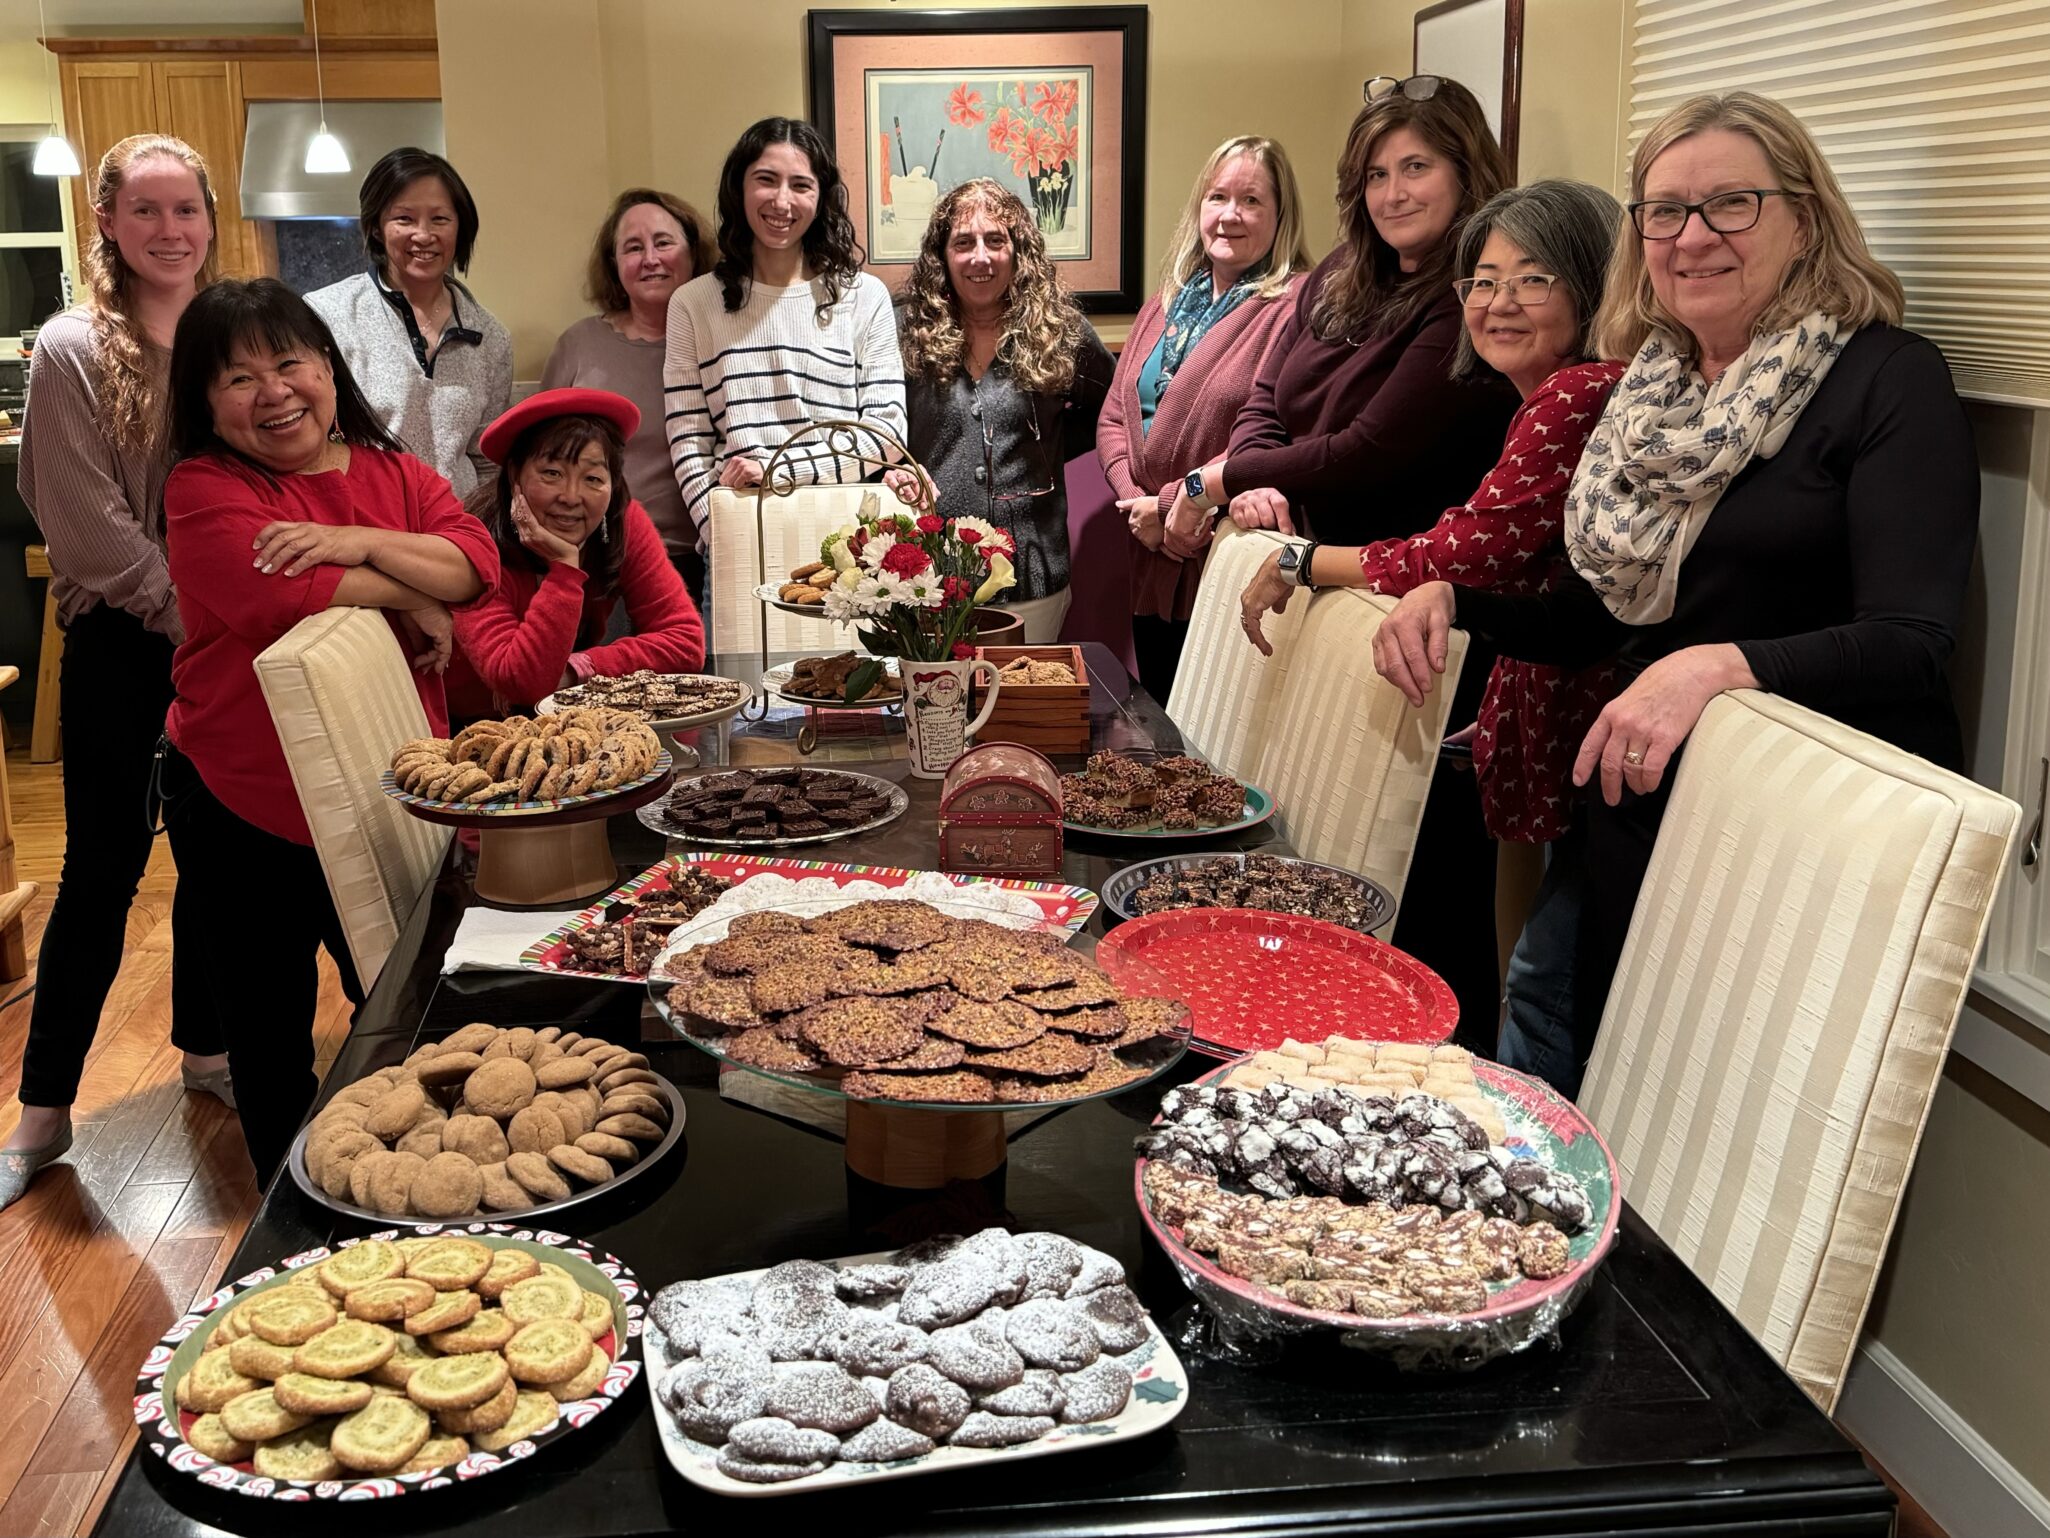
So, for our annual preschool holiday cookie swap, I pulled out Mrs. Singer’s Eggnog recipe.  Martini glasses filled with eggnog seemed a fitting way to toast 25 years of cookie swaps that began with toddlers in tow. Back then we were new moms who could not imagine those toddlers becoming adults making their way in the world.  It seems like in the blink of an eye we have arrived at that point.

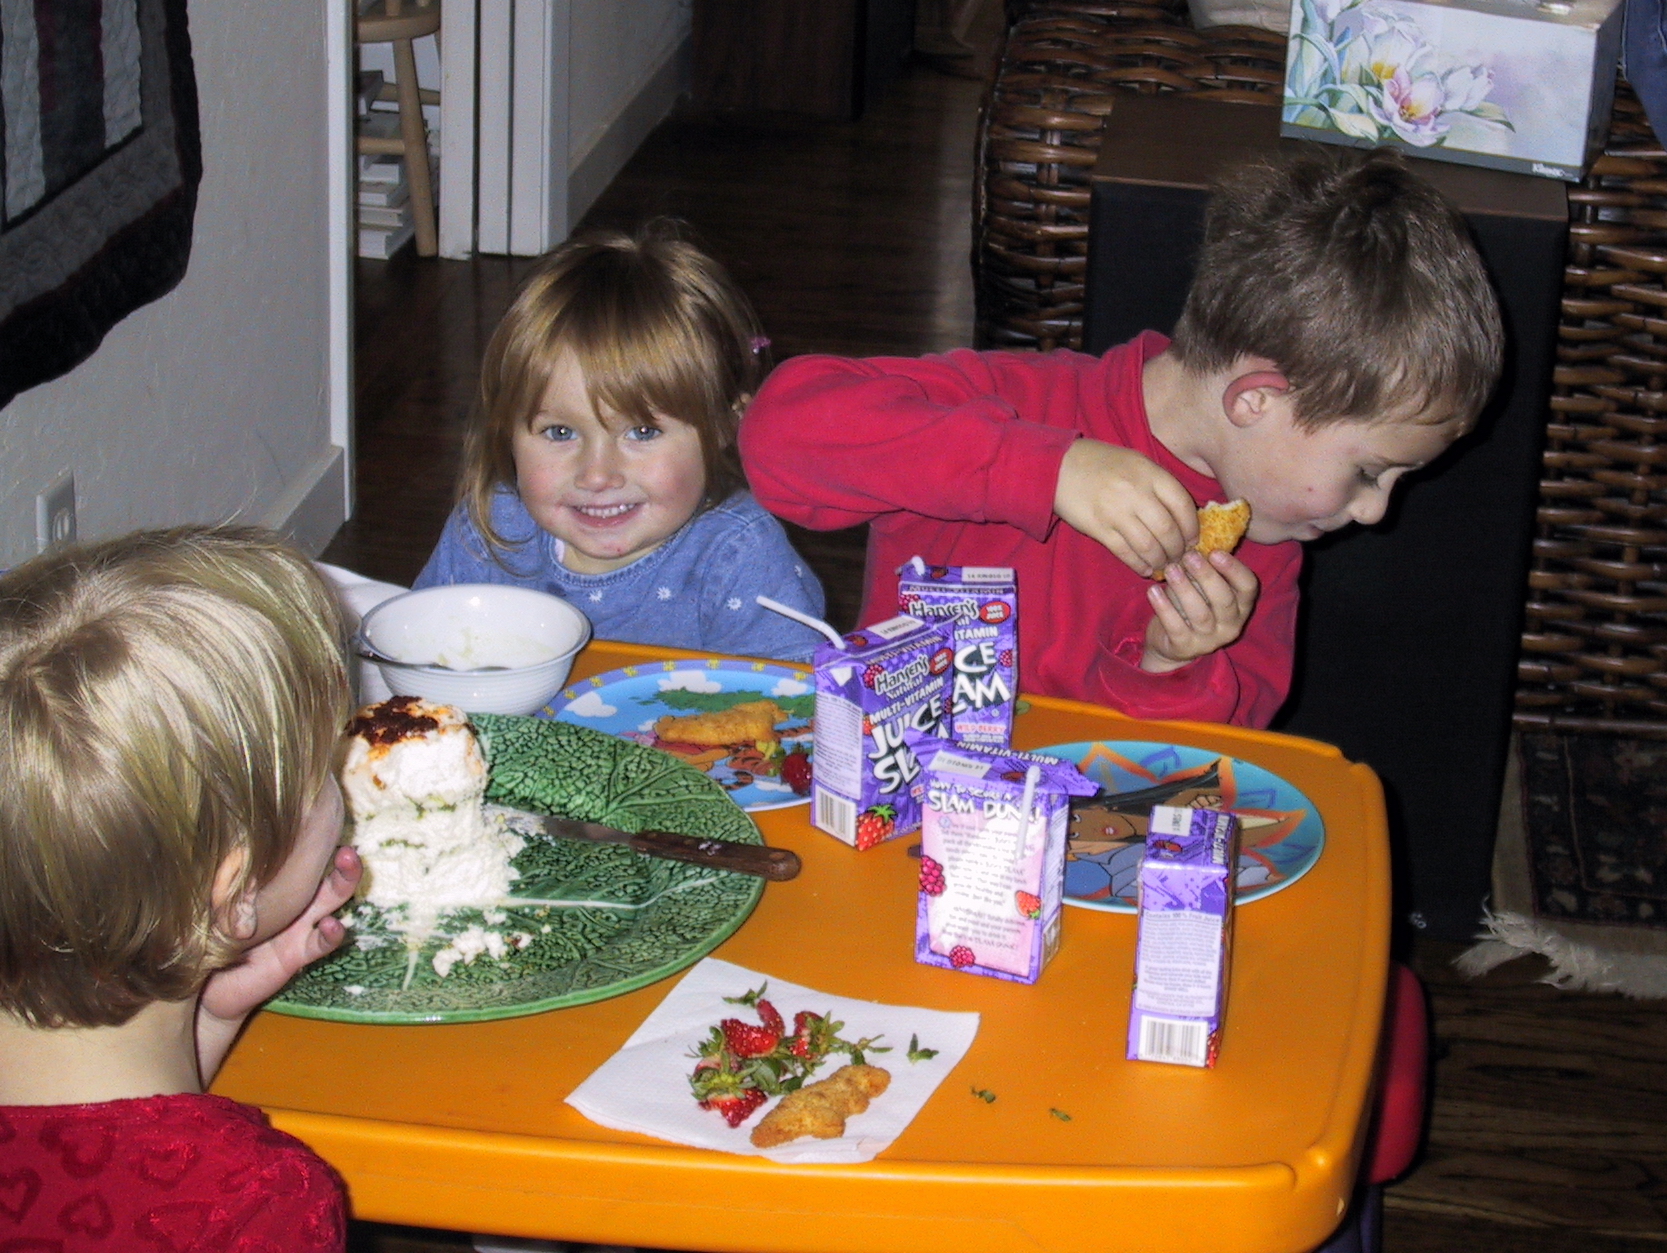
Remember When…

2000

2001

2002

2015

2023

Happy Holidays!

Feel free to HALF this recipe

Print
5 from 1 vote

Ethel Singer's Eggnog

(from an ad for Yellowstone Whiskey in SF Chronicle, circa 1952)   Note: You should prepare at least 12 hours before serving
Course Drinks
Cuisine American, English
Keyword brandy, Eggnog, eggs, holiday drink, whipped cream
Prep Time 20 minutes
Chill Time 12 hours

Equipment

  • 1 stand mixer
  • 3 large bowls, 1 should be your serving bowl, like a punch bowl

Ingredients

  • 1 dozen eggs 12 eggs
  • 1 pint heavy whipping cream 2 cups
  • 1 cup sugar
  • 1 cup brandy / bourbon/rum original recipe has 1-2 cups lol
  • 1 quart milk 4 cups
  • 1 tsp vanilla extract
  • Nutmeg for garnish

Instructions

  • Need 3 mixing bowls (2 chilled), and one punchbowl
  • Separate egg whites into 1 chilled bowl, and yolks into room-temp bowl (make sure no yolk is in the egg whites or they won’t beat!).
  • Using a stand mixer with wire whisk attachment (infinitely easier) or hand mixer, beat egg whites until they are firm and peaked. Do not overbeat. Set aside (or put in fridge).
  • Start whisking egg yolks and gradually add 1 cup sugar. Whisk until light and frothy, slightly thickened. Add 1 cup brandy/bourbon to the egg yolk mixture. Whisk to blend completely.
  • Pour 1 pint (2 cups) of heavy cream into 2nd chilled mixing bowl, using whisk attachment, start at medium and gradually increase speed to beat cream. When it starts to thicken, add vanilla. Continue to beat until cream is thick and has firmed peaks when stirred with a spatula.
  • Pour egg yolk mixture into a serving bowl or punch bowl, add milk stirring to blend. Add egg whites and whipped cream and mix thoroughly with a spatula or wooden spoon (fold egg mixture over cream and egg whites. Garnish with nutmeg, and chill overnight.
  • Enjoy! Ladle eggnog into martini glasses or small bistro glasses. Garnish with nutmeg and a cinnamon stick.

Notes

1/2 recipe
6 eggs.                                                        3 eggs
1 cup whipping cream.                            1/2 c whipping cream
1/2 cup (100gm) sugar                            1/4 c sugar      
1/2 cup brandy, or rum, or Bourbon    1/4 c brandy
2 cups whole milk                                       1 cup milk
1/2 tsp vanilla extract                                 1//4 tsp vanilla
Nutmeg for garnish
Nubby Granola Shortbread…More Than Cookies

Nubby Granola Shortbread…More Than Cookies

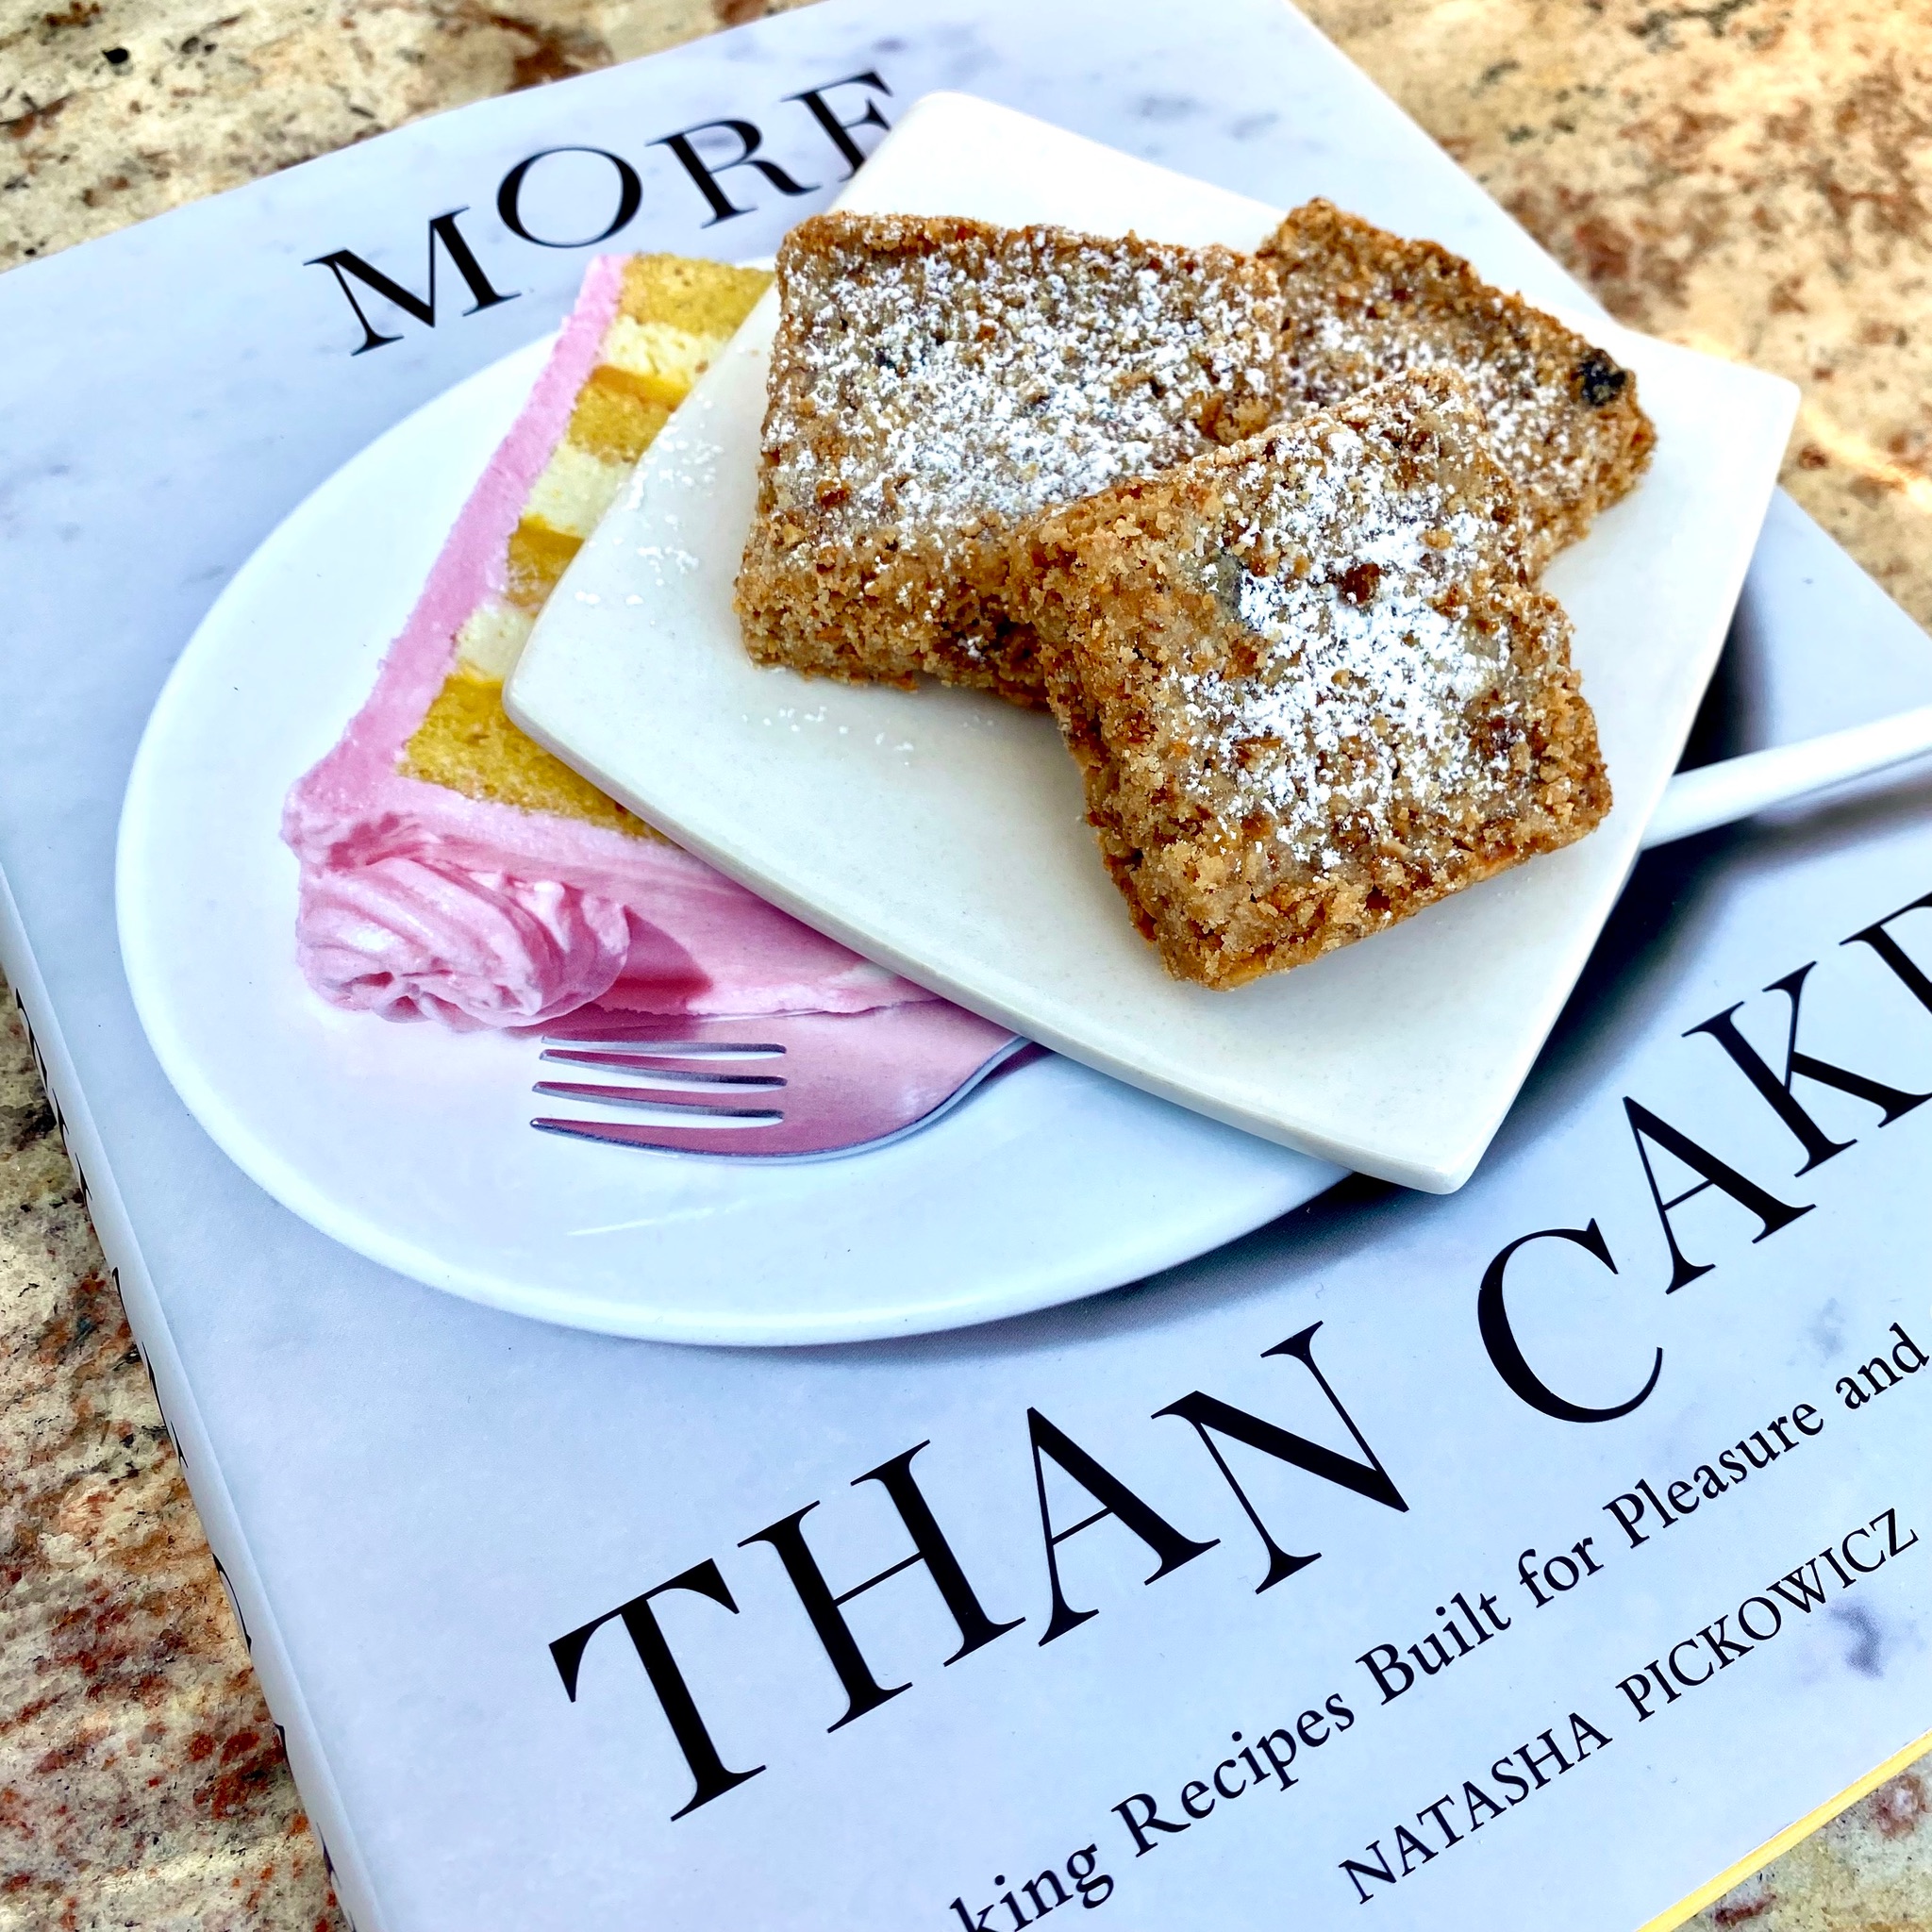
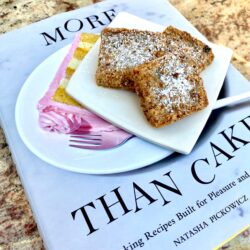
Me.  The cookbook addict missed a book signing at Omnivore Books.  Literally, took my eye off the book and completely missed Natasha Pickowicz’s More Than Cake book signing event.

In my effort to curtail my cookbook acquisitions, I have limited my cookbook buying to books by POC authors.  There are exceptions of course, anything by Dorie Greenspan and if you own a restaurant in the middle of nowhere, Maine, and pub a new book, iykyk 😉, I’m all in.

Here is my weak defense.  Pickowicz, at first glance, is not an Asian last name, so the fact that she is part Chinese escaped me.  The title, More Than Cake also threw me off.  I’m not a big cake person, more of a cookies and pies gal.  As soon as I saw the word Cake…I tuned out, the MORE THAN got by me.

When I realized she was Asian and that her book contained WAY more than just cake, her book landed on my radar.  Then I found out she organizes amazing BAKE Sales for Planned Parenthood and Brigid Alliance and has raised thousands of dollars (lots of thousands), so I ordered a copy immediately.  It now has a spot on my cookbook shelf.

Holiday Traditions

Thanksgiving is in the books (no pun intended) which means a couple of things in our house.  First, I play Patrick Stewart’s version of A Christmas Carol which also kicks off 24-7 holiday music in our house, I am so stoked.  Second, time to plan those holiday cookie boxes!  I pulled out More Than Cake and found her recipe for Nubby Granola Shortbread.  Shortbread, y’all know I LOVE shortbread.  Time for a test run.

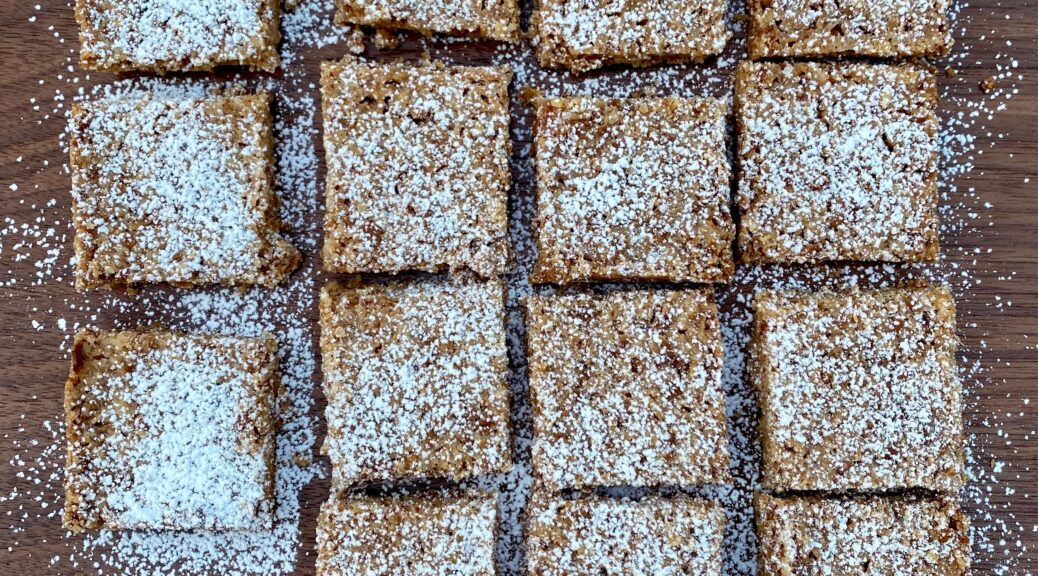
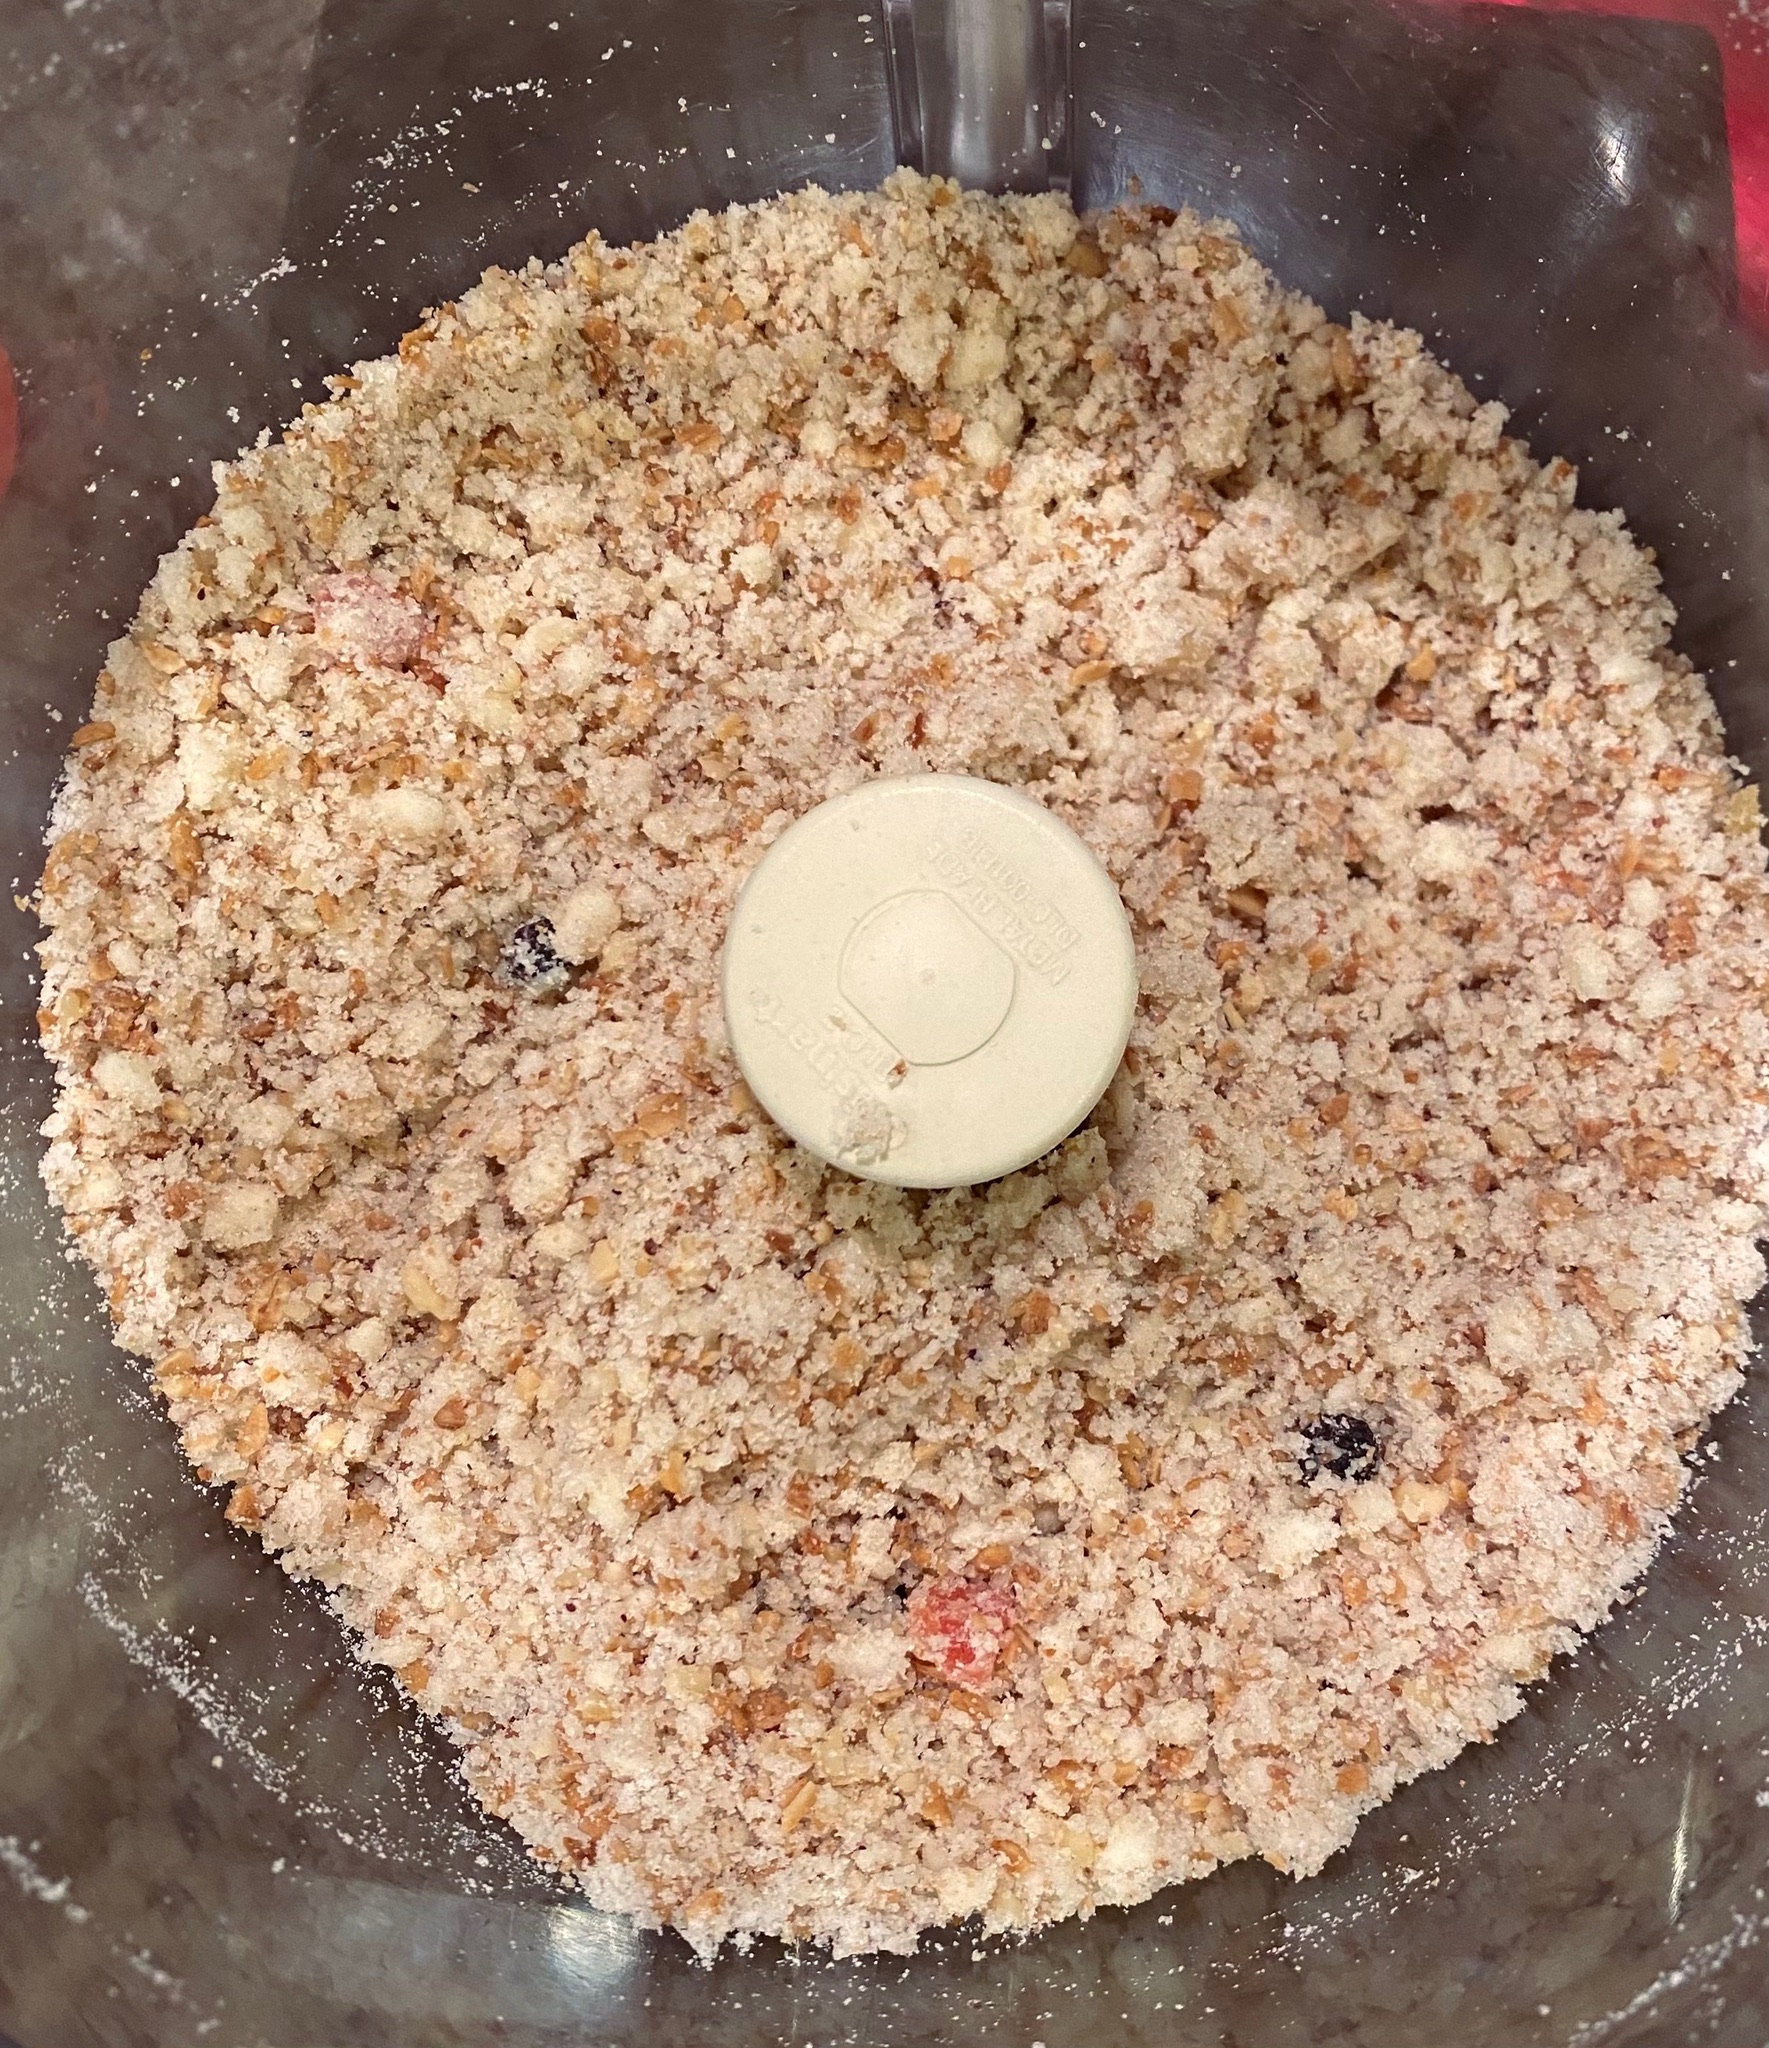
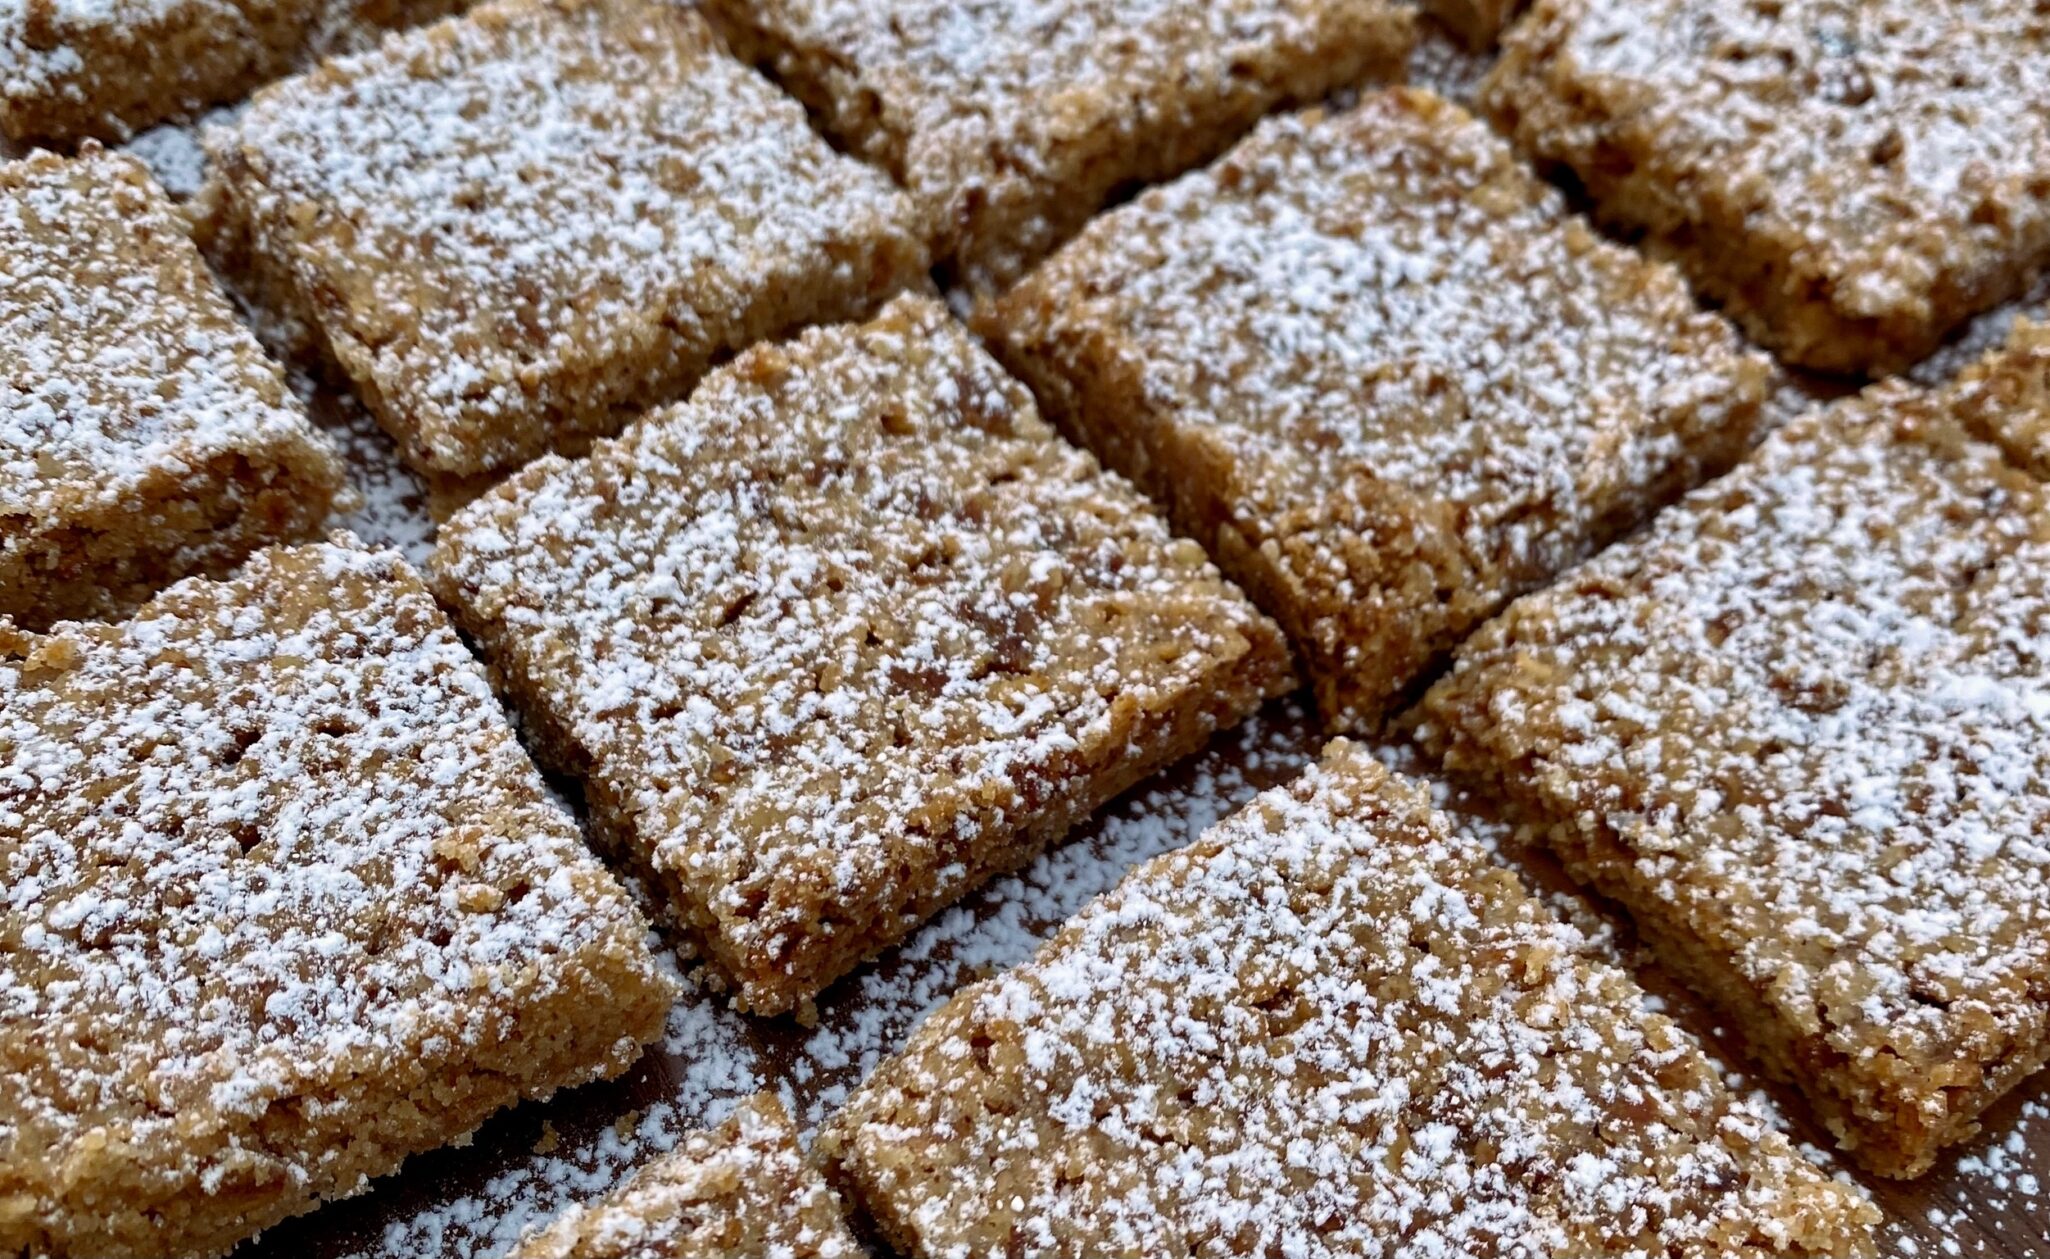
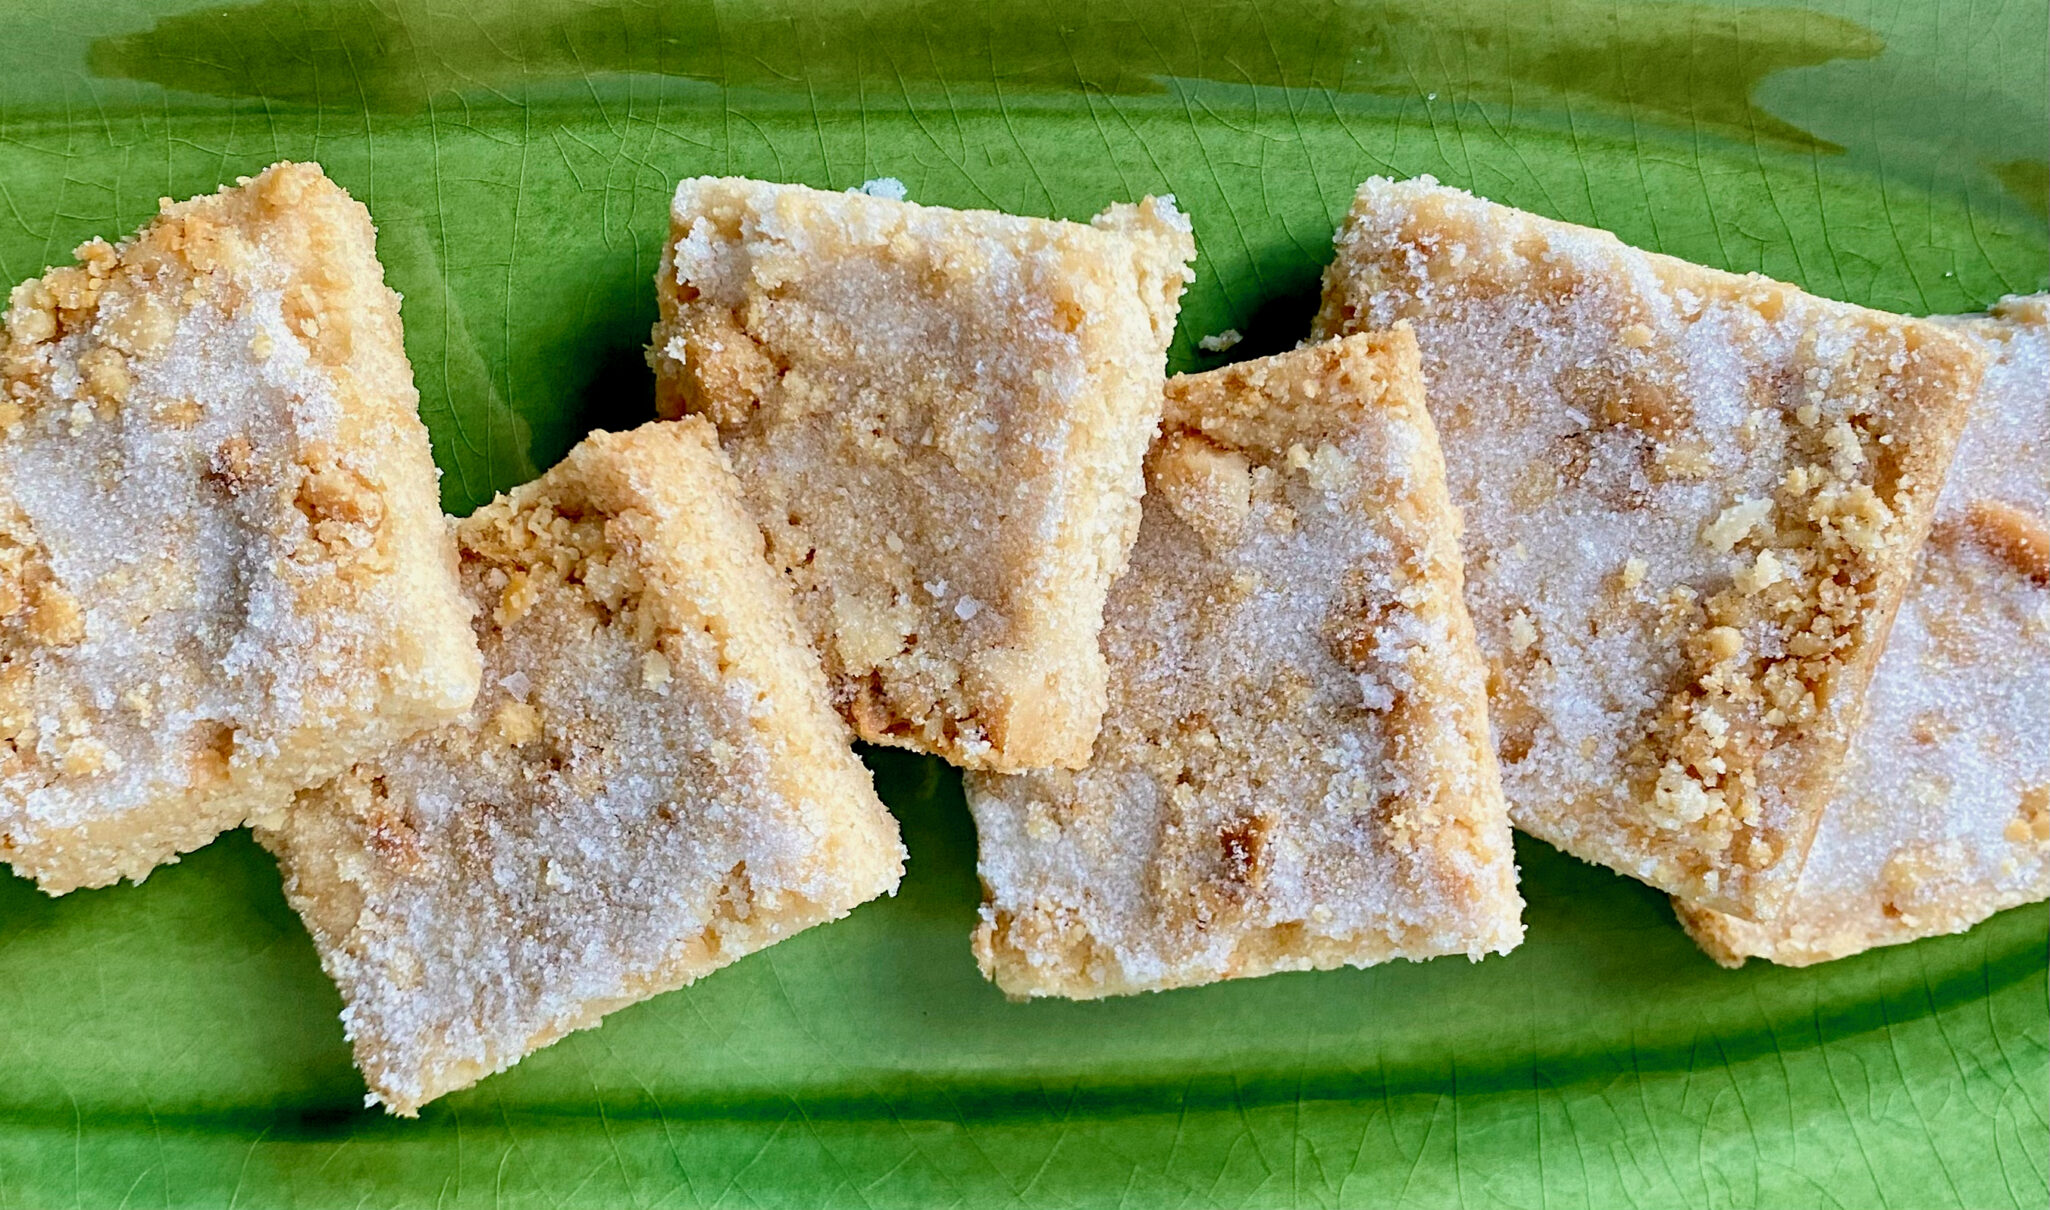
These crispy, buttery bites are made in a food processor.  A little pulse magic and the dough is done. How easy is that?  Plus, shortbread cookies travel well and keep longer than most cookies. These are delicious, lighter, and crunchier than traditional shortbread, perfect with a cuppa coffee or tea.  I made a batch of Jule’s Granola which worked perfectly in these cookies.  Flecks of dried fruit from the granola added a bit of color and sweetness to the shortbread, an unanticipated bonus.

PLUS, I’ll fill cute canning jars with the remaining granola to give away.  Oh this cookie is definitely going in the holiday cookie box.

Tips

  • Use your favorite granola, store-bought or homemade. You don’t have to make your own.  I love making granola so NBD.
  • Using a food processor makes quick work of the dough.  It starts with chilled butter (yay no waiting for butter to soften).

  • Rice flour makes for a fine texture, crumbly, melt-in-your-mouth-cookie. Bob’s Red Mill has rice flour and can be found at larger supermarkets, Whole Foods, and online.
  • No rolling out dough, the dough is pressed into the pan.  The recipe can be cut in half and baked in an 8×8 pan.

  • The tricky part of this recipe is the baking time.  Rice flour produces a drier cookie than AP flour therefore try not to overbake these cookies.  After removing the pan from the oven, lightly score the dough and allow to cool.  Once cooled, cut through the score marks.  Sprinkle with flaky salt and dust generously with powdered sugar to finish cookies.

A buttery, crunchy, gluten-free shortbread cookie that keeps and travels well.  This is a keeper.

Nubby Granola Shortbread

This breakfast-inspired shortbread is a great way to use your favorite granola. It adds a nice crunch to the buttery cookie. Sandy ultrafine rice flour makes a melt-in-your-mouth fine texture. It's delicious!
Course cookies, granola, shortbread
Cuisine American, Asian-American
Keyword granola, Shortbread
Prep Time 15 minutes
Cook Time 27 minutes

Ingredients

  • 2 cups your favorite granola
  • 3/4 cup walnut pieces pecans or almonds would work but lack that characteristic tannic edge of walnuts
  • 2 cups white rice flour
  • 3/4 cup granulated sugar
  • 1 teaspoon kosher salt
  • 8 ounces unsalted butter (2 sticks) cut into 1/2-inch cubes, well chilled

Finish

  • flaky sea salt
  • powdered sugar for dusting

Instructions

  • Preheat the oven to 350 F. Fit a sheet of parchment paper into a quarter-sheet pan (9 by 13 inches). Lightly mist the parchment with cooking spray.
  • In a food processor, combine the granola, nut pieces, white rice flour, granulated sugar, and kosher salt, and pulse until the mixture is pebbly and fine.
  • Add the butter and pulse another 8 to 10 times, until the mixture feels like damp, coarse breadcrumbs. The butter should almost disappear into the dry ingredients but not be taken so far that the dough is clumping and gathering around the blade.
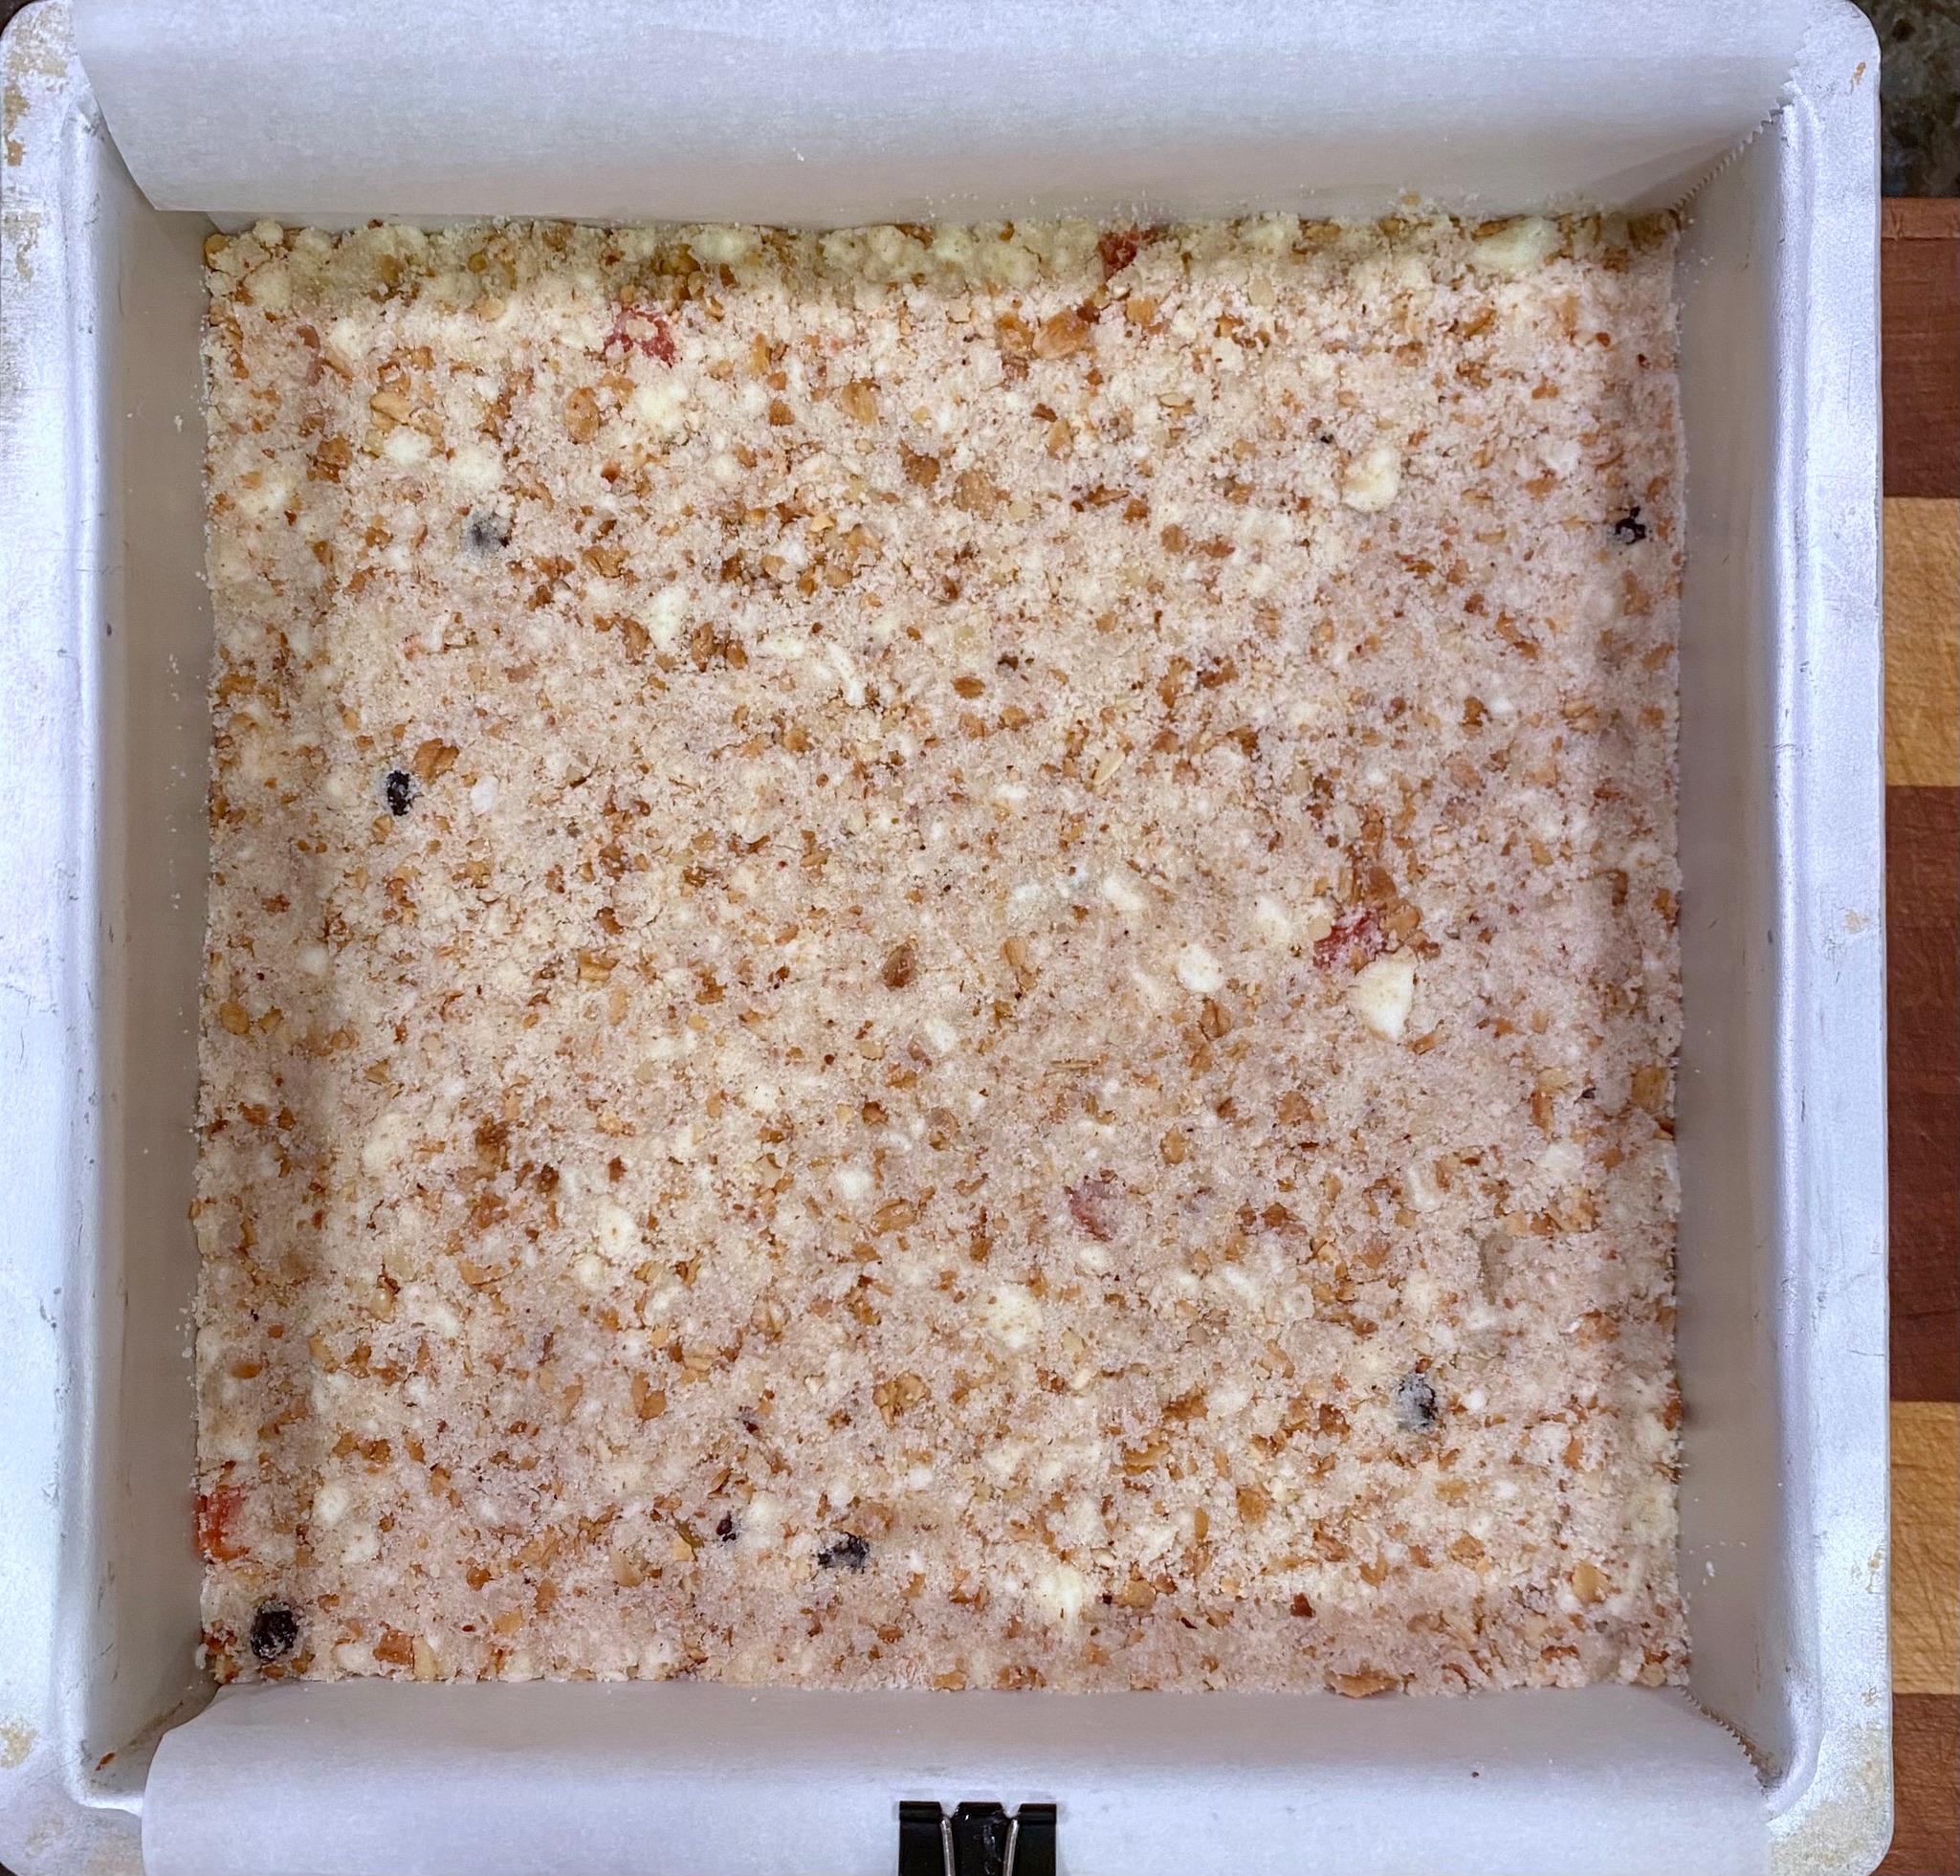
  • Scatter the dough evenly in the prepared sheet pan. Use your knuckles to lightly press the crumb into an even layer. It should be about 1/2 inch thick. Do not apply too much pressure, as this would make the shortbread dense and gummy.
  • Bake until the edges of the shortbread are lightly browned, and the center feels soft but cooked through, 35 to 40 minutes (see tip).
  • Remove the pan from the oven and sprinkle the surface with flaky sea salt. While the shortbread is still hot, use a small knife to score it into 24 squares.
  • Let cool completely, then cut the cookies, still in the pan, along the scored lines and dust with powdered sugar.

Notes

The pan of shortbread can be held in the freezer for up to 1 month and baked from frozen.
The shortbread can be stored, tightly wrapped at room temperature, for up to 1 week.
TECHNIQUE TIP: It's tricky to tell when an unfamiliar recipe is done in your oven. Never throw away a seemingly botched batch of anything — there's always another purpose for it. If the baked shortbread tastes undercooked or feels gummy, invert the shortbread onto a clean sheet pan, so the crumbs spill out. Break it up with your fingers and bake again at 325 F for 10 minutes. Now you have instant streusel. Is the shortbread overbaked and dry? Tip the crumbs into a food processor and blend until fine and add big handfuls to your next layer cake.
Nuts for Macadamia Shortbread (Cookies for Lahaina)

Nuts for Macadamia Shortbread (Cookies for Lahaina)

It sucks to feel helpless which is exactly how I felt while watching the coverage of the wildfires in Maui.  In a twisted way, it brought back memories of a family trip to Maui right before COVID to celebrate hubby’s birthday and retirement.  We spent his b-day in Lahaina.  We grabbed shaved ice at Ululani, strolled down Front Street, and took in the majesty and beauty of the ancient Banyan Tree in the heart of town.  We finished the day with a scrumptious dinner at Lahaina Grill and a stroll on the beach.  The stark reality of the devastation in Lahaina jolted me out of my memories and morphed into a voice in my head, “How are you going to help, Deb”.

Today, amid the ruins, that Banyan Tree is struggling to survive.  Arborists are hopeful that the tree will survive, emblematic of the resiliency of the people of Maui.

I resorted to what I do when I am sad or stressed and feeling helpless, I baked.  For a box of homemade goodies, I asked friends and family to donate any amount to either Chef Hui Maui Relief to help feed folks displaced by the fire, and to Hawaii Community Foundation/Maui Strong to provide immediate and long-term resources for recovery.

A Big Mahalo

We raised over 1,500 dollars which was split between the two organizations ❤️❤️❤️.  Thank you for your generosity and for giving me a reason to bake!   👏👏👏.  It is greatly appreciated.

The Box

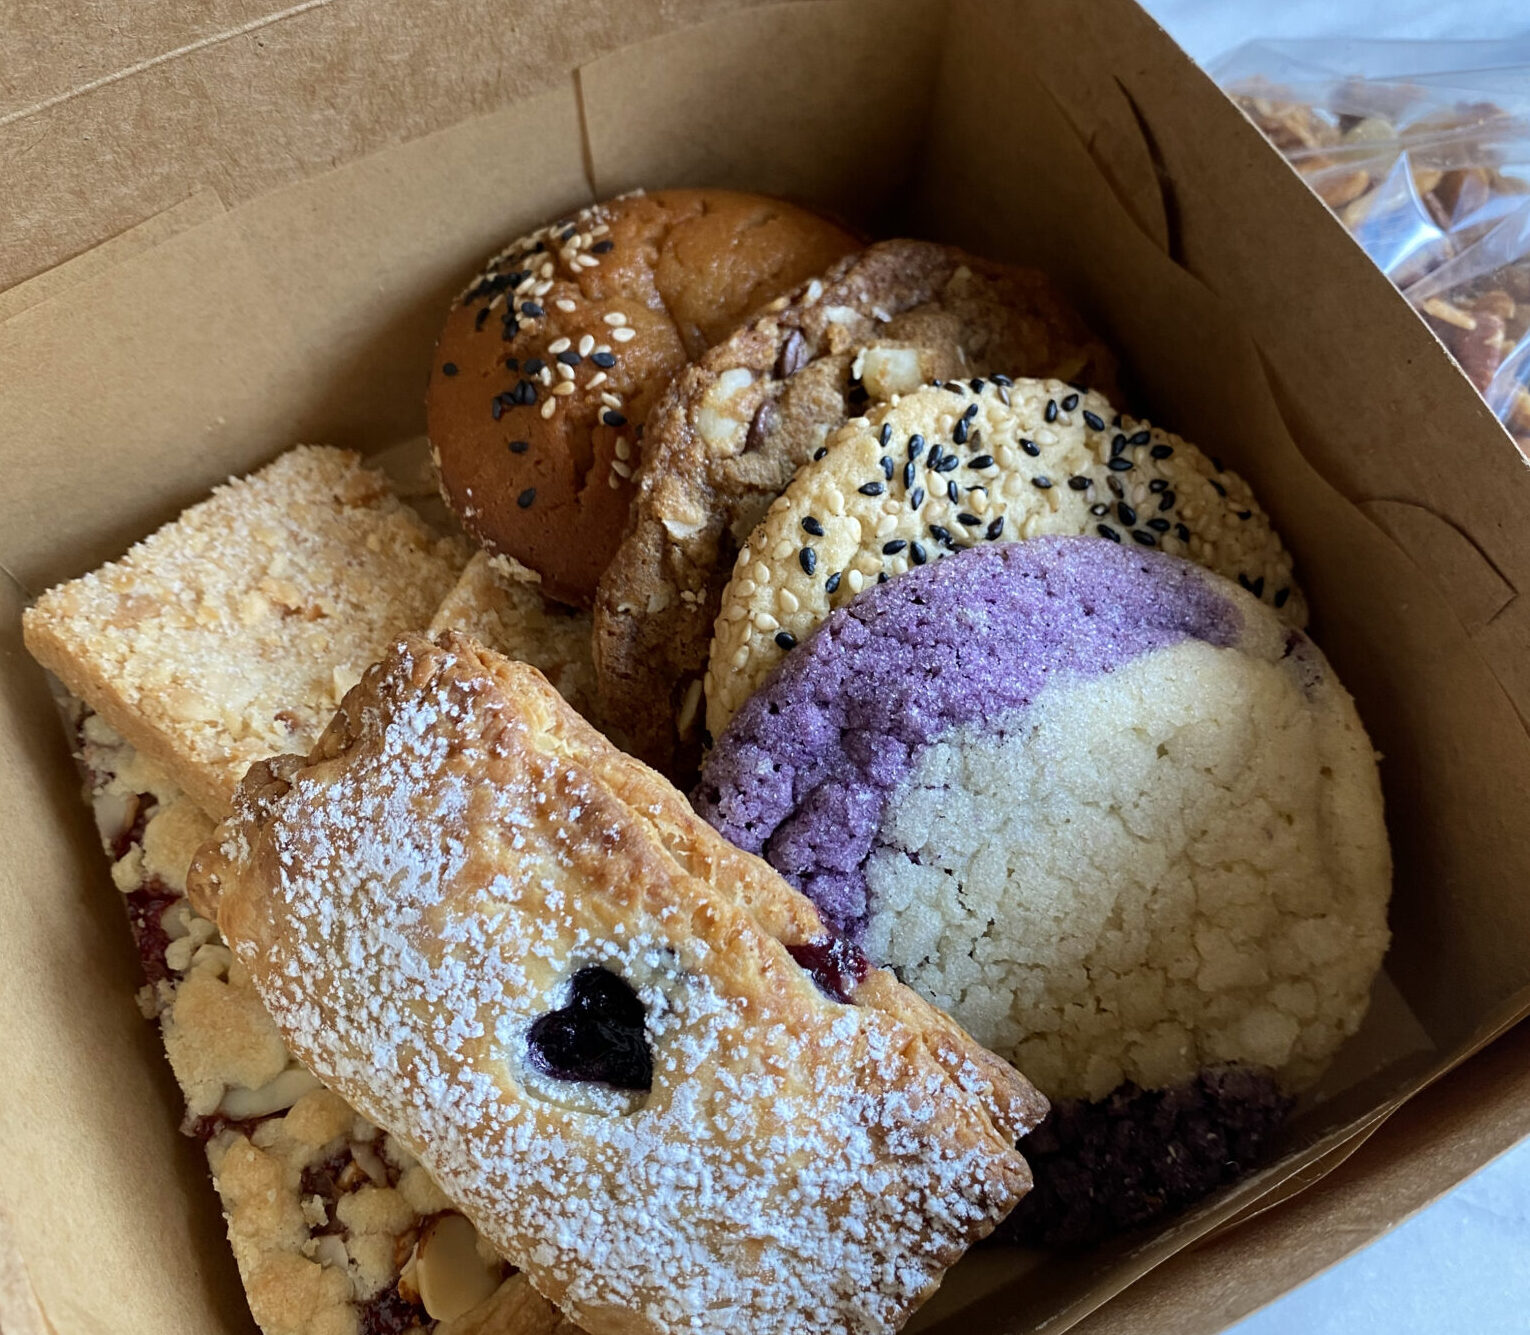
I wanted the box of cookies to feel connected to Maui.  I turned to cookbooks and blogs written by folks from Hawaii like Top Chef Sheldon Simeon and Alana Kysar. Sheldon has two restaurants on Maui, Tin Roof and Tiffany’s, and recently published his cookbook, Cook Real Hawai’i.  Alana is a blogger and the author of Aloha Kitchen Cookbook.  Her cookbook evokes the islands’ spirit and her Butter Mochi recipe is amazing.  Find these books at Bookshop.org which supports independent bookstores.  I also culled recipes that use my favorite tropical ingredients like pineapple, macadamia nuts, and coconut.  The baked goodies included in my Maui box are on 3Jamigos and can be found via the links below.

Starting at the top right:

Travel Bites

Shortbread is perfect for a box, they travel well, keep longer than drop cookies, and happen to be my favorite kind of cookie.  I found the perfect recipe in Nick Malgeri’s Modern Baker.  Using your food processor for these cookies makes it quick and easy.  This is one bowl (albeit, a food processor bowl) territory.

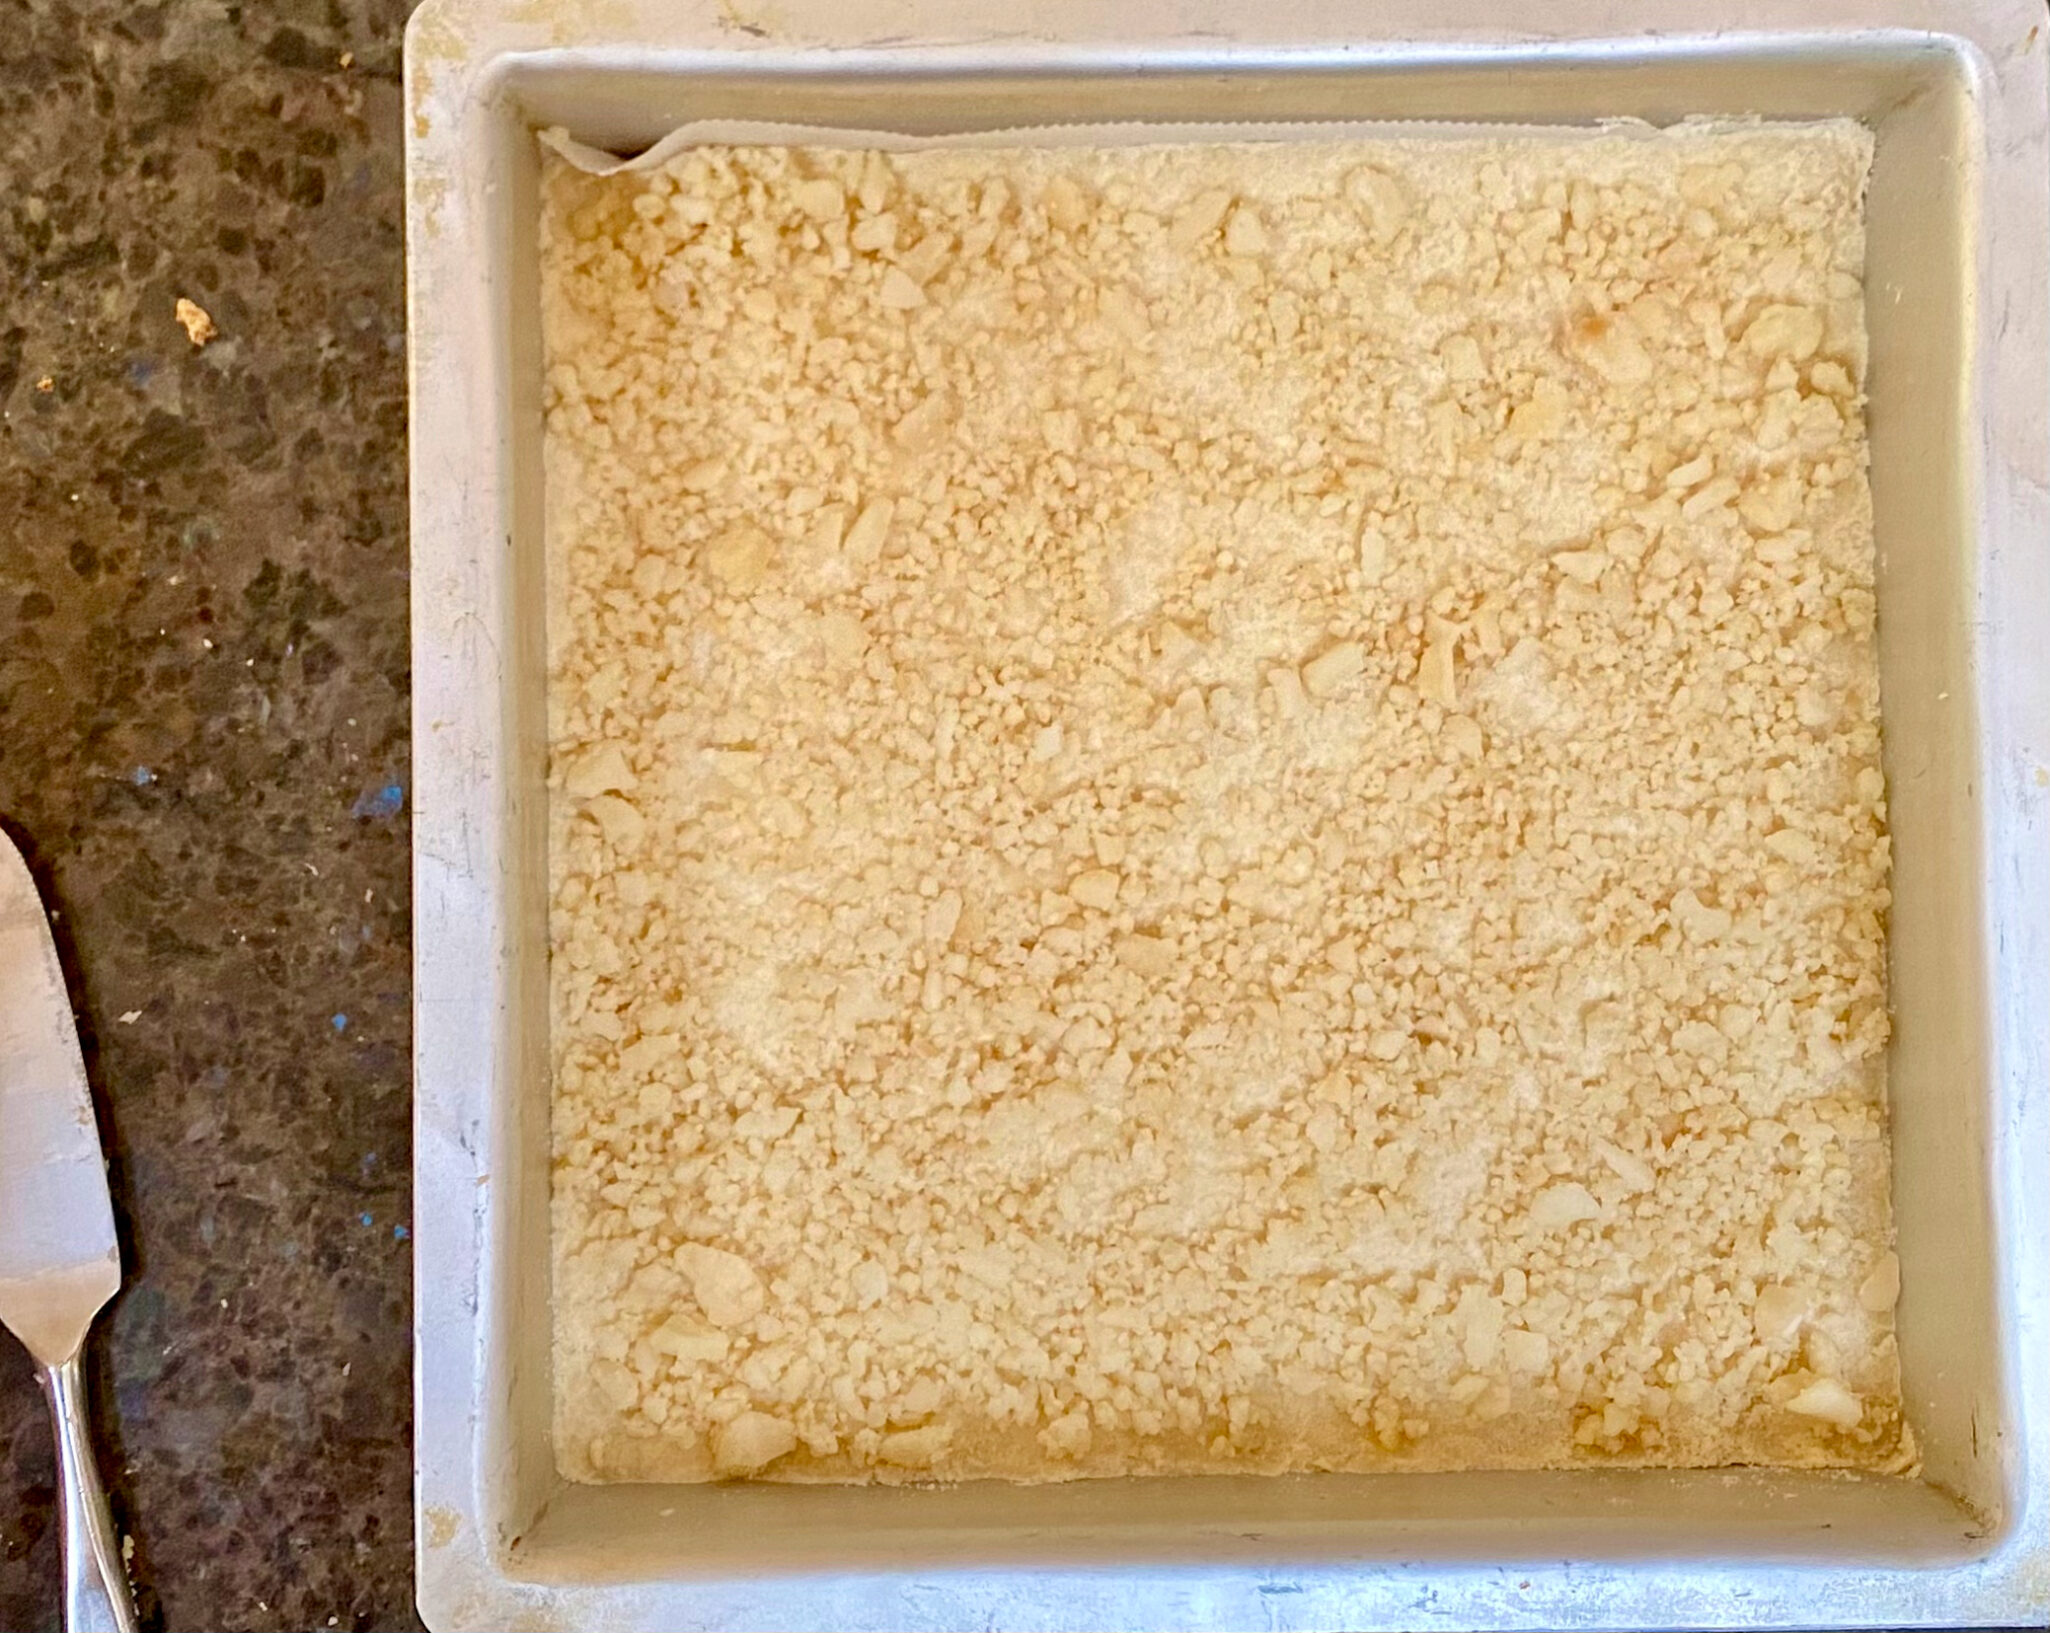
Process the nuts with the sugar until FINELY ground, add flour and baking powder, pulse to combine, add cold butter, and pulse until the dough is powdery then STOP.  Pour this mass into your prepared pan and press it down with a lightly floured flat glass or your hand.  Use a spray bottle to mist the dough with water which will help the nuts adhere to the dough.

Use either lightly salted or unsalted macadamia nuts.  I bought macadamias at Trader Joe’s, a bag of each, salted and unsalted. I used a 2:1 ratio of salted to unsalted nuts in the cookie and on the top.  Cut the recipe in half and bake in an 8×8 pan as I did…cause I would eat the whole damn pan if given the chance.

Grind nuts by pulsing in a food processor or chopping by hand.  You want the pieces fairly small, but not pulverized. The nuts provide both flavor and texture.  Line the pan with parchment.  The OG recipe calls for lifting the cookies out of the pan using the parchment but that’s pretty hard to do and not crack it.  I let them cool for a couple of minutes and then used a bench scraper to cut the still-warm shortbread into squares before removing them from the pan.  Easy-peasy.

The finished cookie should be crispy.  If they aren’t, return the shortbread to the oven set at 300 degrees for 10-15 minutes.  I love these cookies, sweet, crispy, infused with macadamia nut flavor, and just delightful.

Print Pin
5 from 1 vote

MACADAMIA SHORTBREAD

Adapted from Nick Malgeri Modern Baker, an easy, delicious Macadamia Shortbread. Buttery, nutty, crispy with a crunchy top of nuts and sugar. Simply divine.
Course Dessert
Cuisine American
Keyword butter, Crispy, macadamian nuts, Shortbread
Prep Time 20 minutes
Cook Time 30 minutes

Equipment

  • 1 food processor
  • 1 9x13 pan
  • parchment paper to line pan

Ingredients

Shortbread Base

  • 1/2 cup granulated sugar 100gm
  • 1-1/2 ounces unsalted or lightly salted macadamia nuts, chopped 42gm
  • 2-1/4 cups all-purpose flour 270gm
  • 1/2 teaspoon baking powder
  • 12 tablespoons cold unsalted butter, cut into tablespoon-size pieces 170gm

Topping

  • 1/3 cup granulated sugar 67gm
  • 3/4 cup unsalted or lightly salted macadamia nuts, finely chopped 111gm

Instructions

  • Preheat oven to 325°F. Line a 9″x 13″x 2″ baking pan with parchment paper or foil, leaving a couple of inches hanging over each short side. Butter the lining.
  • Combine 1/2 cup sugar and 1 & 1/2 ounces macadamias, (I use both salted and unsalted nuts in a 2:1 ratio) in a food processor. Pulse until finely ground. Add the flour and baking powder. Pulse until mixed. Add the butter and pulse until the mixture is combined and powdery.
  • Using a lightly floured, flat bottom glass or hands, press the dough firmly into the bottom of the prepared pan. Sprinkle the top of the dough with water. Sprinkle the finely chopped macadamias and then 1/3 cup sugar on top of the dough. Press firmly into the dough.
  • Bake for 30-35 minutes, or until the cookies are golden and firm.
  • While the cookies are still warm, use the overhanging lining to remove the cookies from the pan onto a cutting board. Cut into squares, using a sharp knife.
  • Let the cookies cool completely. They should become crisp as they cool. If they aren’t crisp after cooling, place them back in the pan and bake for 10-15 minutes at 300°F.

Gochujang Caramel Cookies Sweet & Spicy-Winner, Winner from Eric Kim-mer

Gochujang Caramel Cookies Sweet & Spicy-Winner, Winner from Eric Kim-mer

My favorite cookie this past holiday season was Eric Kim’s Gochujang Caramel Cookie.   I worked my way to writing about it by posting my two other favorite new cookies for the season first, Sue Li’s Orange, Pistachio, and Chocolate Shortbread and Rose’s Almond Crescents. Yep, just like the ones your Grandma, Abuela, Oma, or Nonna probably made.

Back to Eric’s holiday cookie for the New York Times.  His first holiday cookie, a couple of years ago was a homemade version of the Lofthouse Grocery Store Cookie.  A cakey, vanilla-forward cookie topped with real buttercream flavored with freeze-dried berries and finished with a generous amount of sprinkles.  So damn good.  Last year’s M&M Cookie, a kid favorite, is a buttery, chewy cookie, dotted with M&M’s, a precursor to this year’s cookie.

Sweet & Spicy

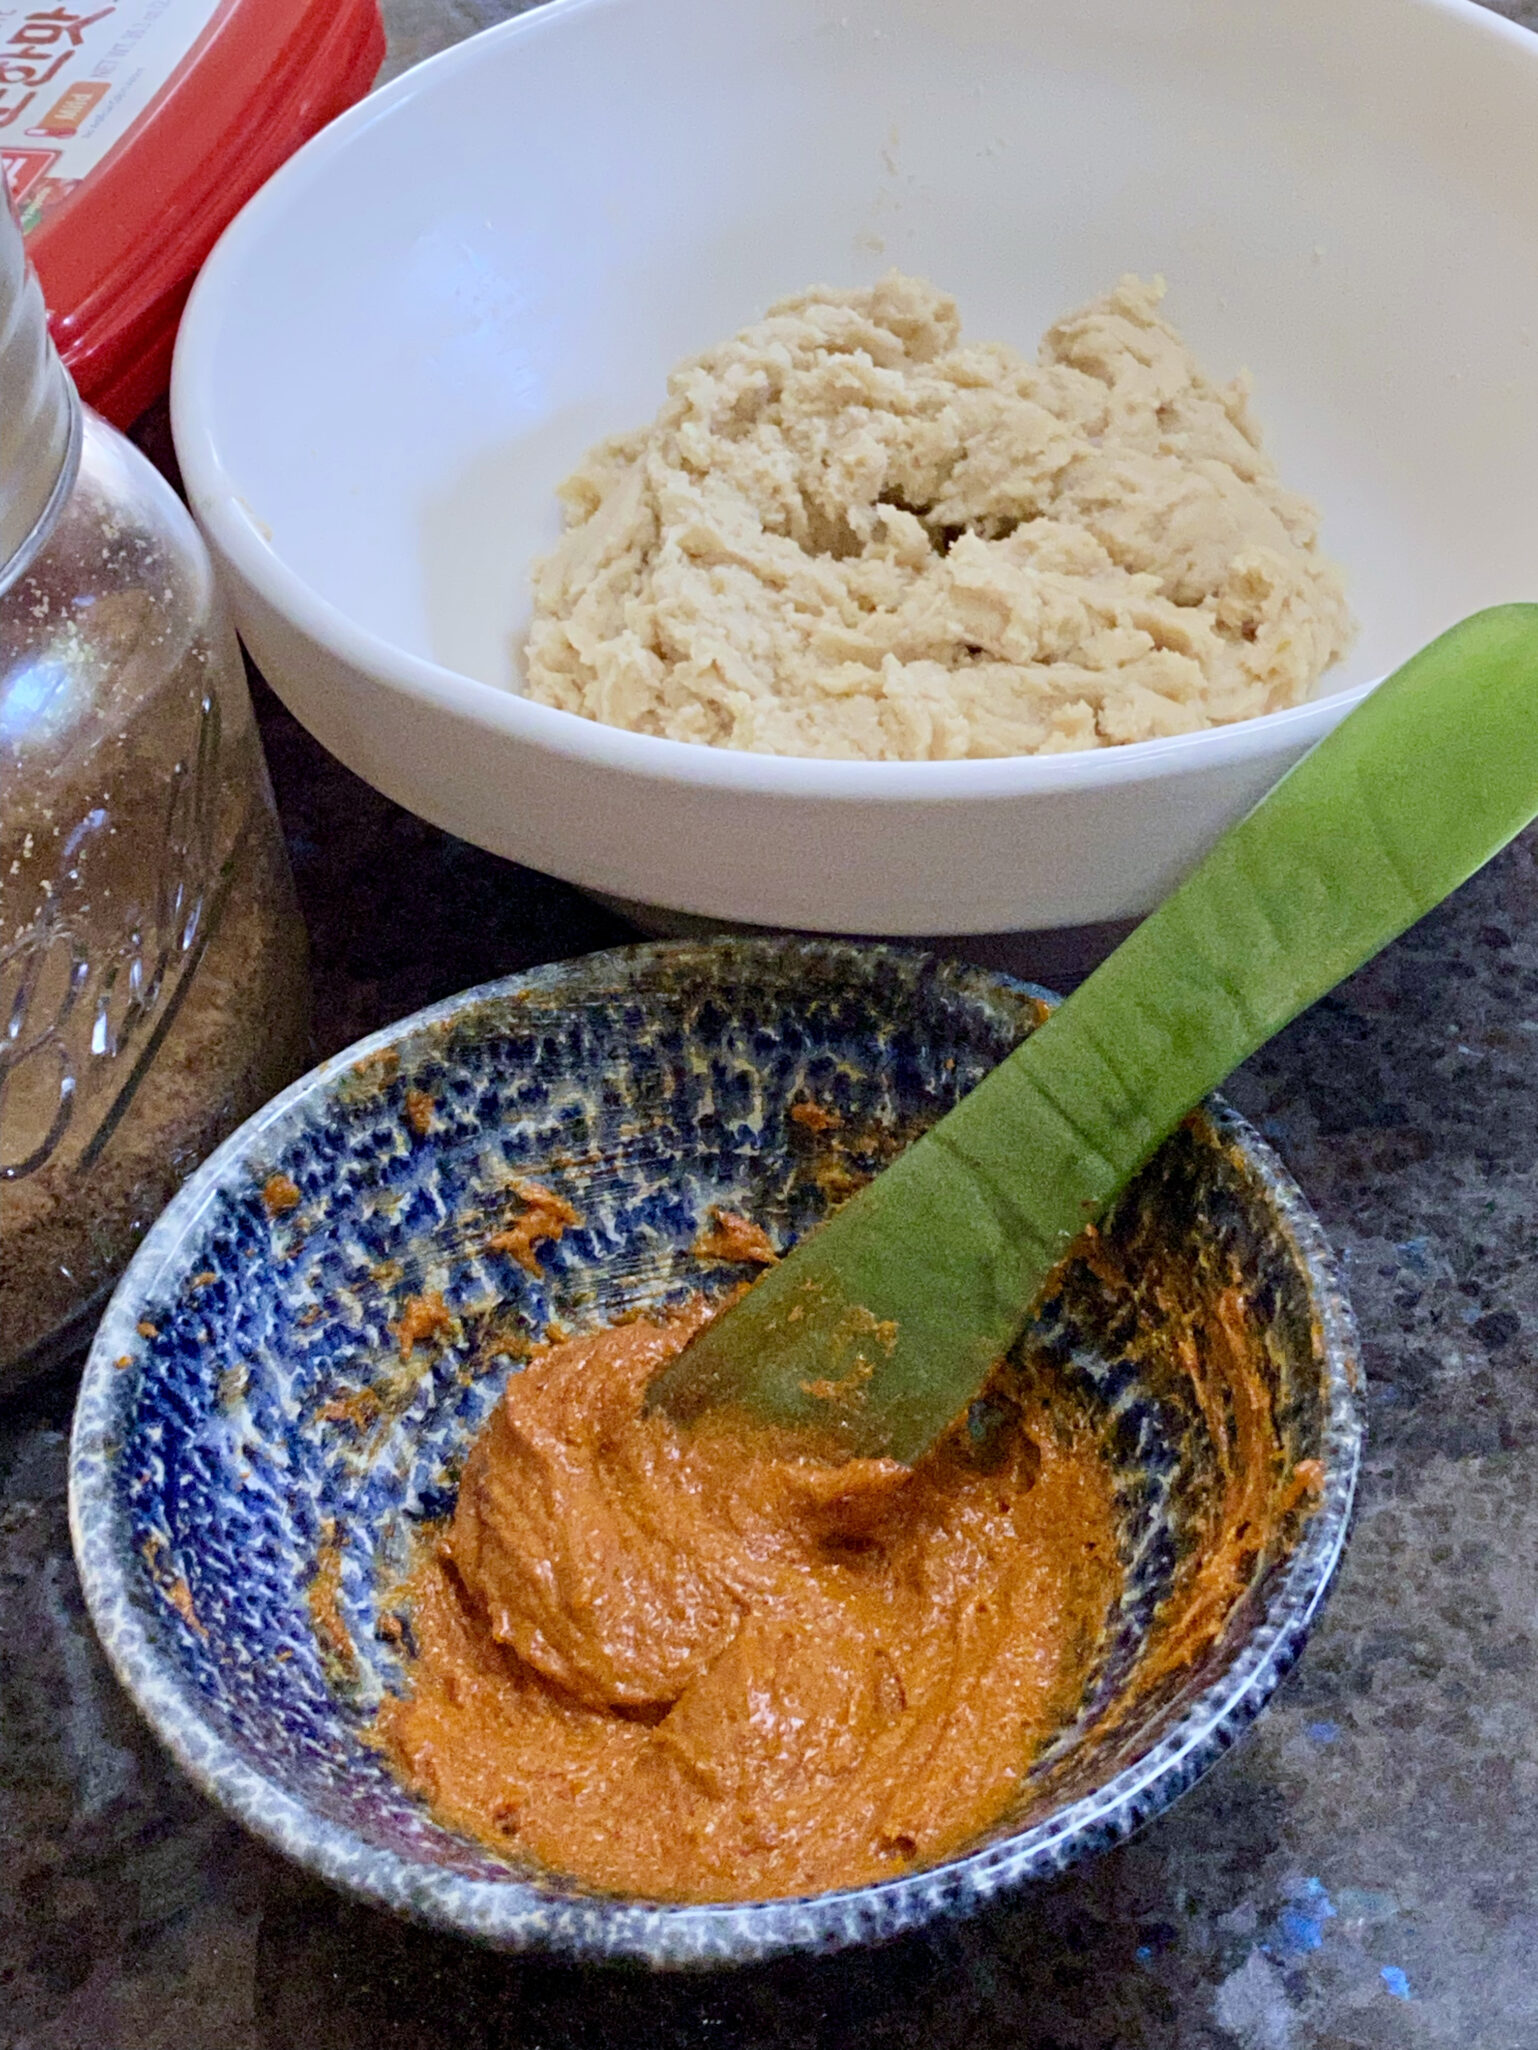
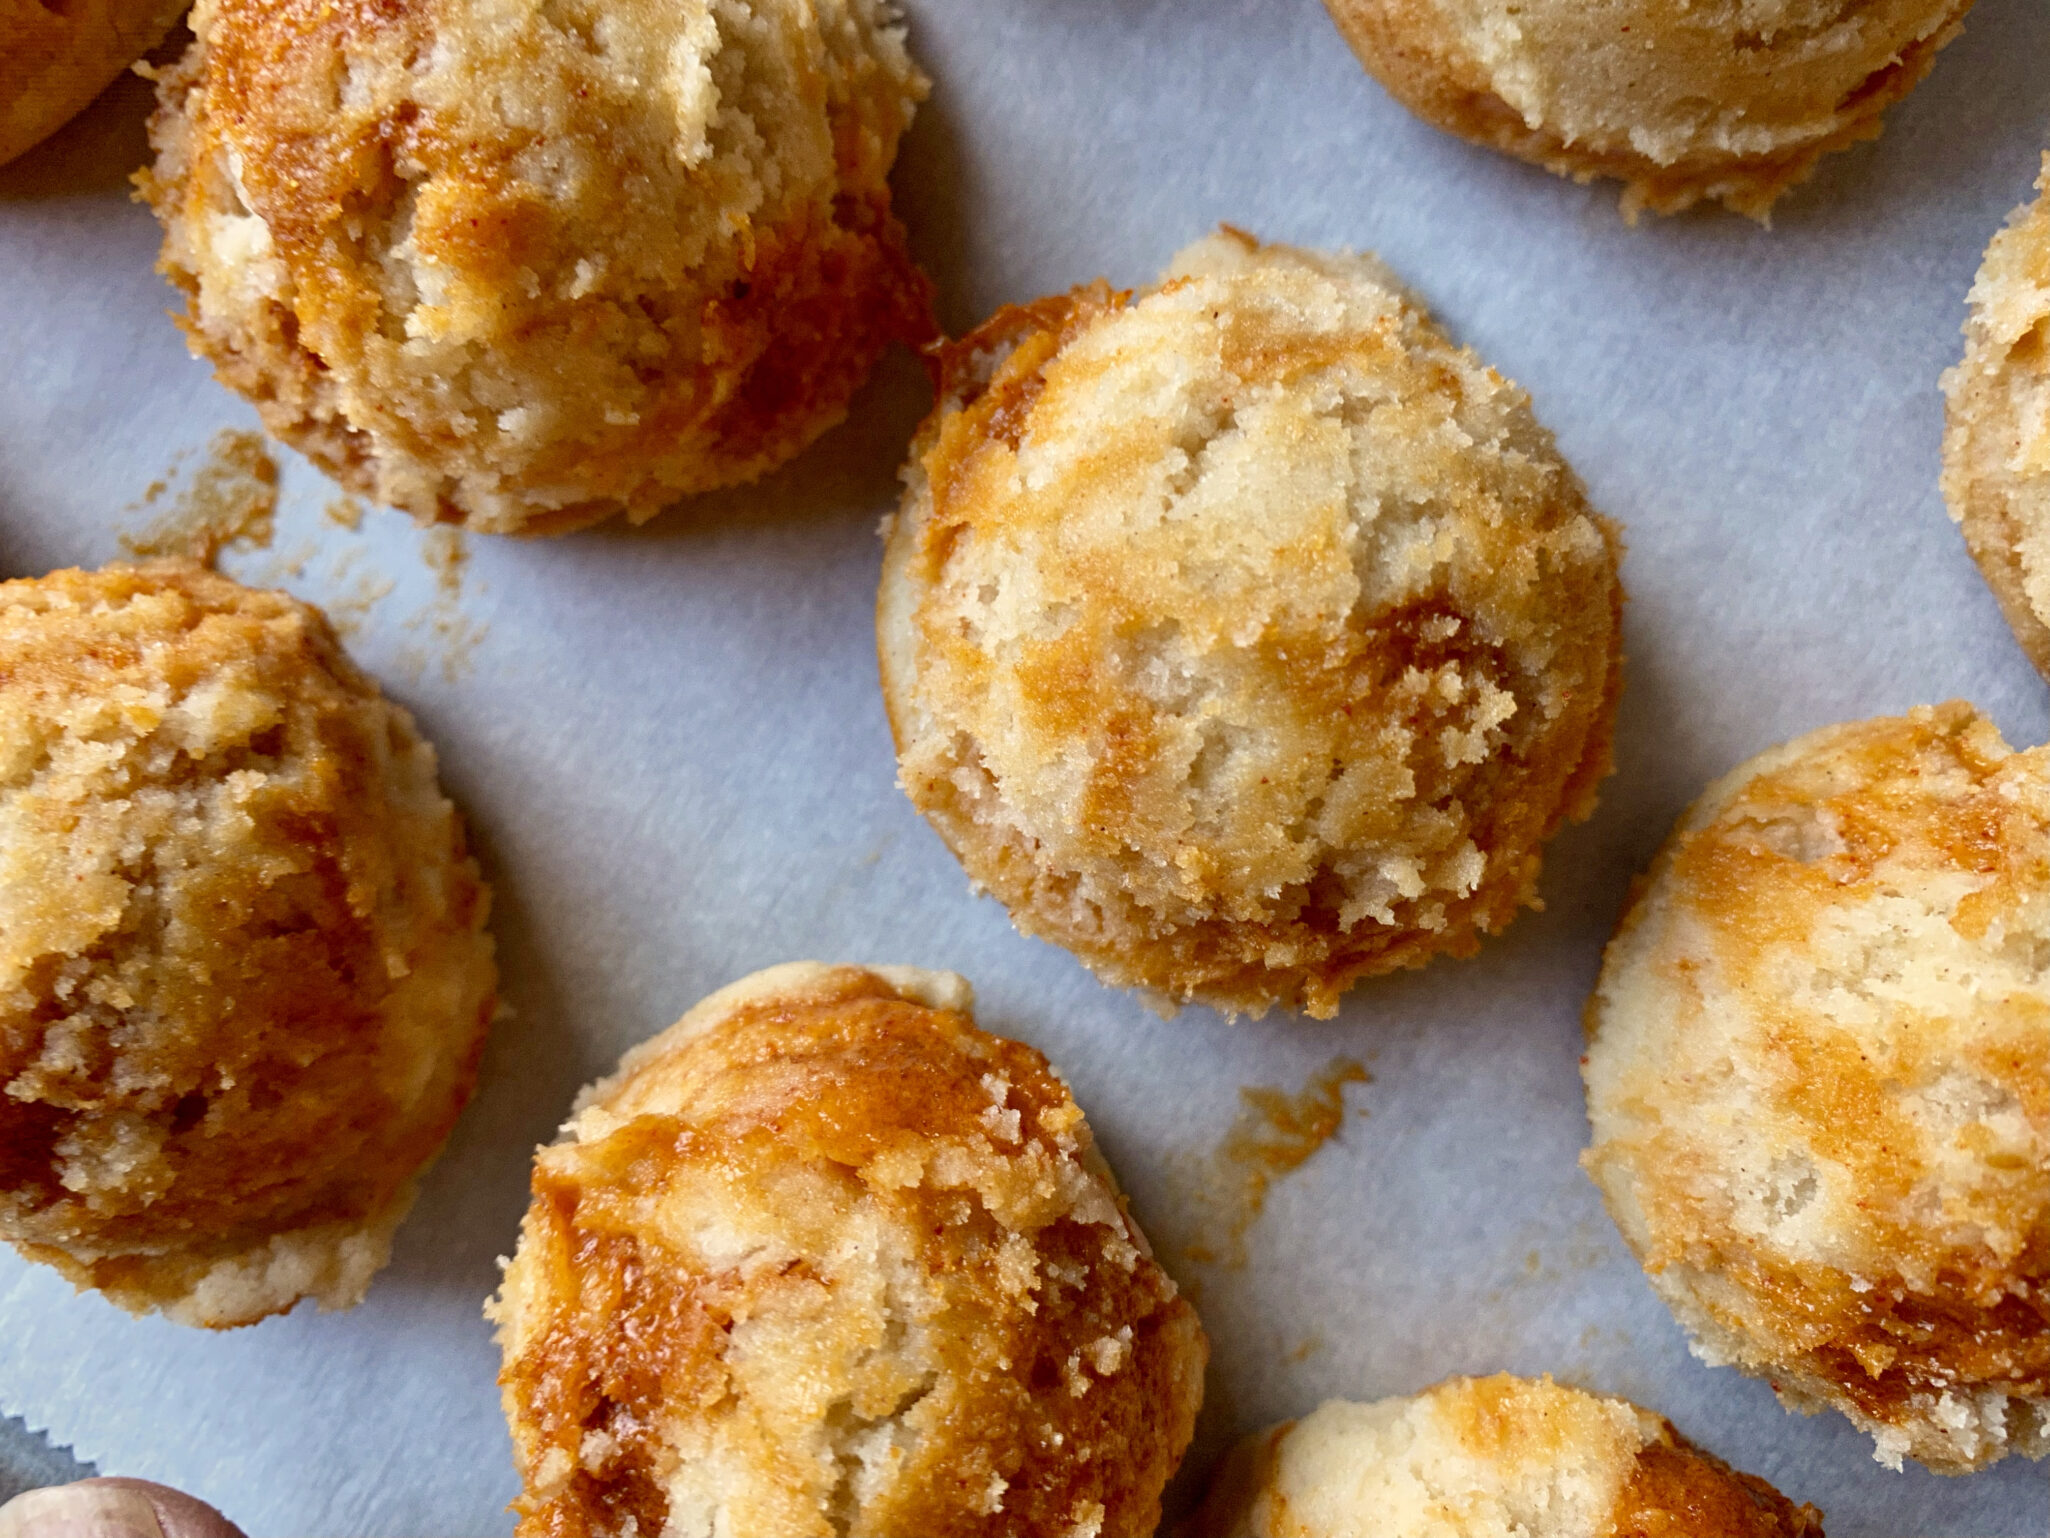
His Gochujang Caramel Cookie is a bold stroke of genius and gumption.  Gochujang is a fermented spicy chili paste with a touch of sweetness, a mainstay of Korean cooking.  But in a cookie?  It works! Ribbons of Gochujang enveloped in a buttery, chewy, vanilla-forward cookie. Butter and brown sugar are mixed into the Gochujang paste to mellow the chili which helps caramelize it while baking.   The trickiest part when making these is to not overmix the Gochujang butter into the cookie dough so you see the orange-colored swirls of Gochujang in the cookie. Not only do they taste fabulous, but they are visually stunning.

Easy Peasy

The key to making these is having soft butter.  Leave the butter at room temperature for at least an hour before. The butter should be soft but not melty.  Although he recommends making these by hand you can use a mixer.  Remember the golden rule-don’t overmix!  If you use a mixer,  stick to the stir and the low-speed setting.

Watch Eric make these cookies for NYTcooking HERE.

Spicy Pearls of Wisdom- Gochujang Paste is made of chili flakes for heat, glutinous rice for sweetness, and fermented soybeans for flavor.  It is a cornerstone of Korean cooking.  I use the mild paste for the cookies as it does come in various heat levels.  You can find it in most Asian grocery stores or TJ has small tubs of Gochujang made in Korea (full transparency, I haven’t tried it).

Here’s the Hard Part

The tricky part is combining the gochujang butter with the cookie dough.  Eric calls for chilling the cookie dough for a couple of minutes so it is denser than the paste.  The goal is to have streaks of the orange-red paste running through the lighter vanilla dough.  Bites vary in spiciness and sweetness if you don’t blend too much (upping the interest factor).  Spread plops of the paste on the dough and run a small spatula through it to drag the paste into the dough.  NOT TOO MUCH since when you scoop out the dough this will further blend it.  Use a cookie scoop to form balls of dough.  A #40 scoop will give you approximately 18 cookies about 3 inches in diameter with crisp edges and a chewy center.  Reduce baking time to 9-11 minutes.  These are a bit smaller than Eric’s cookie cause I don’t need to eat a 5+ inch cookie and trust me I would, lol.

Cookie Hack

The cookies spread quite a bit so allow lots of space on your cookie sheet for each cute dough ball.  This also allows room around the cookie to use my jar hack/cookie cutter to shape the cookies as soon as they come out of the oven.  The chili paste will spread more than the cookie itself creating a funny-shaped cookie.  Take a cup or a bowl just a little bit bigger than the cookie, place it over the cookie and swirl the cup and cookie.  This “rounds” the cookie out.

Spicy Tip Number 2? Or is it 3?

Have friends and fam that are spice-adverse?  Tell them to pick the cookie that has the least amount of orange!

I adore this cookie for its flavor, texture, and uniqueness!

Gochujang Caramel Cookies

From Eric Kim and NYTcooking, my favorite cookie this past year! Gochujang Caramel Cookies
Course cookies, Dessert
Cuisine Asian-American, Korean-American
Keyword gochujang, Gochujang Caramel Cookie, holiday cookies
Prep Time 20 minutes
Cook Time 11 minutes

Ingredients

Gochujang Butter

  • 1 tablespoon unsalted butter very soft
  • 2 tablespoons packed dark brown sugar
  • 1 tablespoon gochujang paste heaping

Creamed Mixture

  • 7 tablespoons unsalted butter, softened
  • 1 cup granulated sugar (200 grams)
  • 1 large egg at room temperature
  • ½ teaspoon coarse kosher salt (Morton's) or ¾ teaspoon if using Diamond Crystal
  • ¼ teaspoon ground cinnamon
  • 1 teaspoon vanilla extract

Dry Stuff

  • ½ teaspoon baking soda
  • cups all-purpose flour 185 grams

Instructions

  • In a small bowl, stir together 1 tablespoon butter, the brown sugar and gochujang until smooth. Set aside for later, at room temperature.
  • In a large bowl, by hand, whisk together the remaining 7 tablespoons butter, the granulated sugar, egg, salt, cinnamon and vanilla until smooth, about 1 minute. Switch to a flexible spatula and stir in the baking soda. Add the flour and gently stir to combine. Place this large bowl in the refrigerator until the dough is less sticky but still soft and pliable, 15 to 20 minutes.
  • While the dough is chilling, heat the oven to 350 degrees and line 2 large sheet pans with parchment.
  • Remove the dough from the refrigerator. In 3 to 4 separately spaced out blobs, spoon the gochujang mixture over the cookie dough. Moving in long circular strokes, swirl the gochujang mixture into the cookie dough so you have streaks of orange-red rippled throughout the beige. Be sure not to overmix at this stage, as you want wide, distinct strips of gochujang.
  • Use an ice cream scoop to plop out ¼-cup rounds spaced at least 3 inches apart on the sheet pans. (You should get 4 to 5 cookies per pan.) Bake until lightly golden at the edges and dry and set in the center, 11 to 13 minutes, rotating the pans halfway through. Let cool completely on the sheet pan; the cookies will flatten slightly and continue cooking as they cool. *See post for making smaller cookies. I used a #40 scoop which is just shy of an ounce. 1/4 cup is 2 ounces for comparison.
  • The cookies will keep in an airtight container at room temperature for up to 2 days.

Notes

Mixing this dough by hand is highly recommended for the most defined crinkles and the chewiest texture.
NCOTB #3 Almond Crescents Old School New

NCOTB #3 Almond Crescents Old School New

A couple of months ago I reviewed Rose Levy Beranbaum’s new book, The Cookie Bible for Net Gallery.  Long a fan of hers I was excited to take a peek at her latest work, it did not disappoint.  My favorite book is Rose’s Christmas Cookie Book, the bible of Christmas Cookies.  Her attention to detail and explanation of ingredients and techniques guarantee success for even the most novice baker.

The Cookie Leap

Rose’s Christmas Cookies expanded my cookie-verse.  I went from baking chocolate chip cookies (a damn good one though) to making spritz, cut-outs, and crescent cookies-fancy-schmancy festive cookies.  Every Christmas, Rose’s Christmas Cookies is front and center on my kitchen counter.

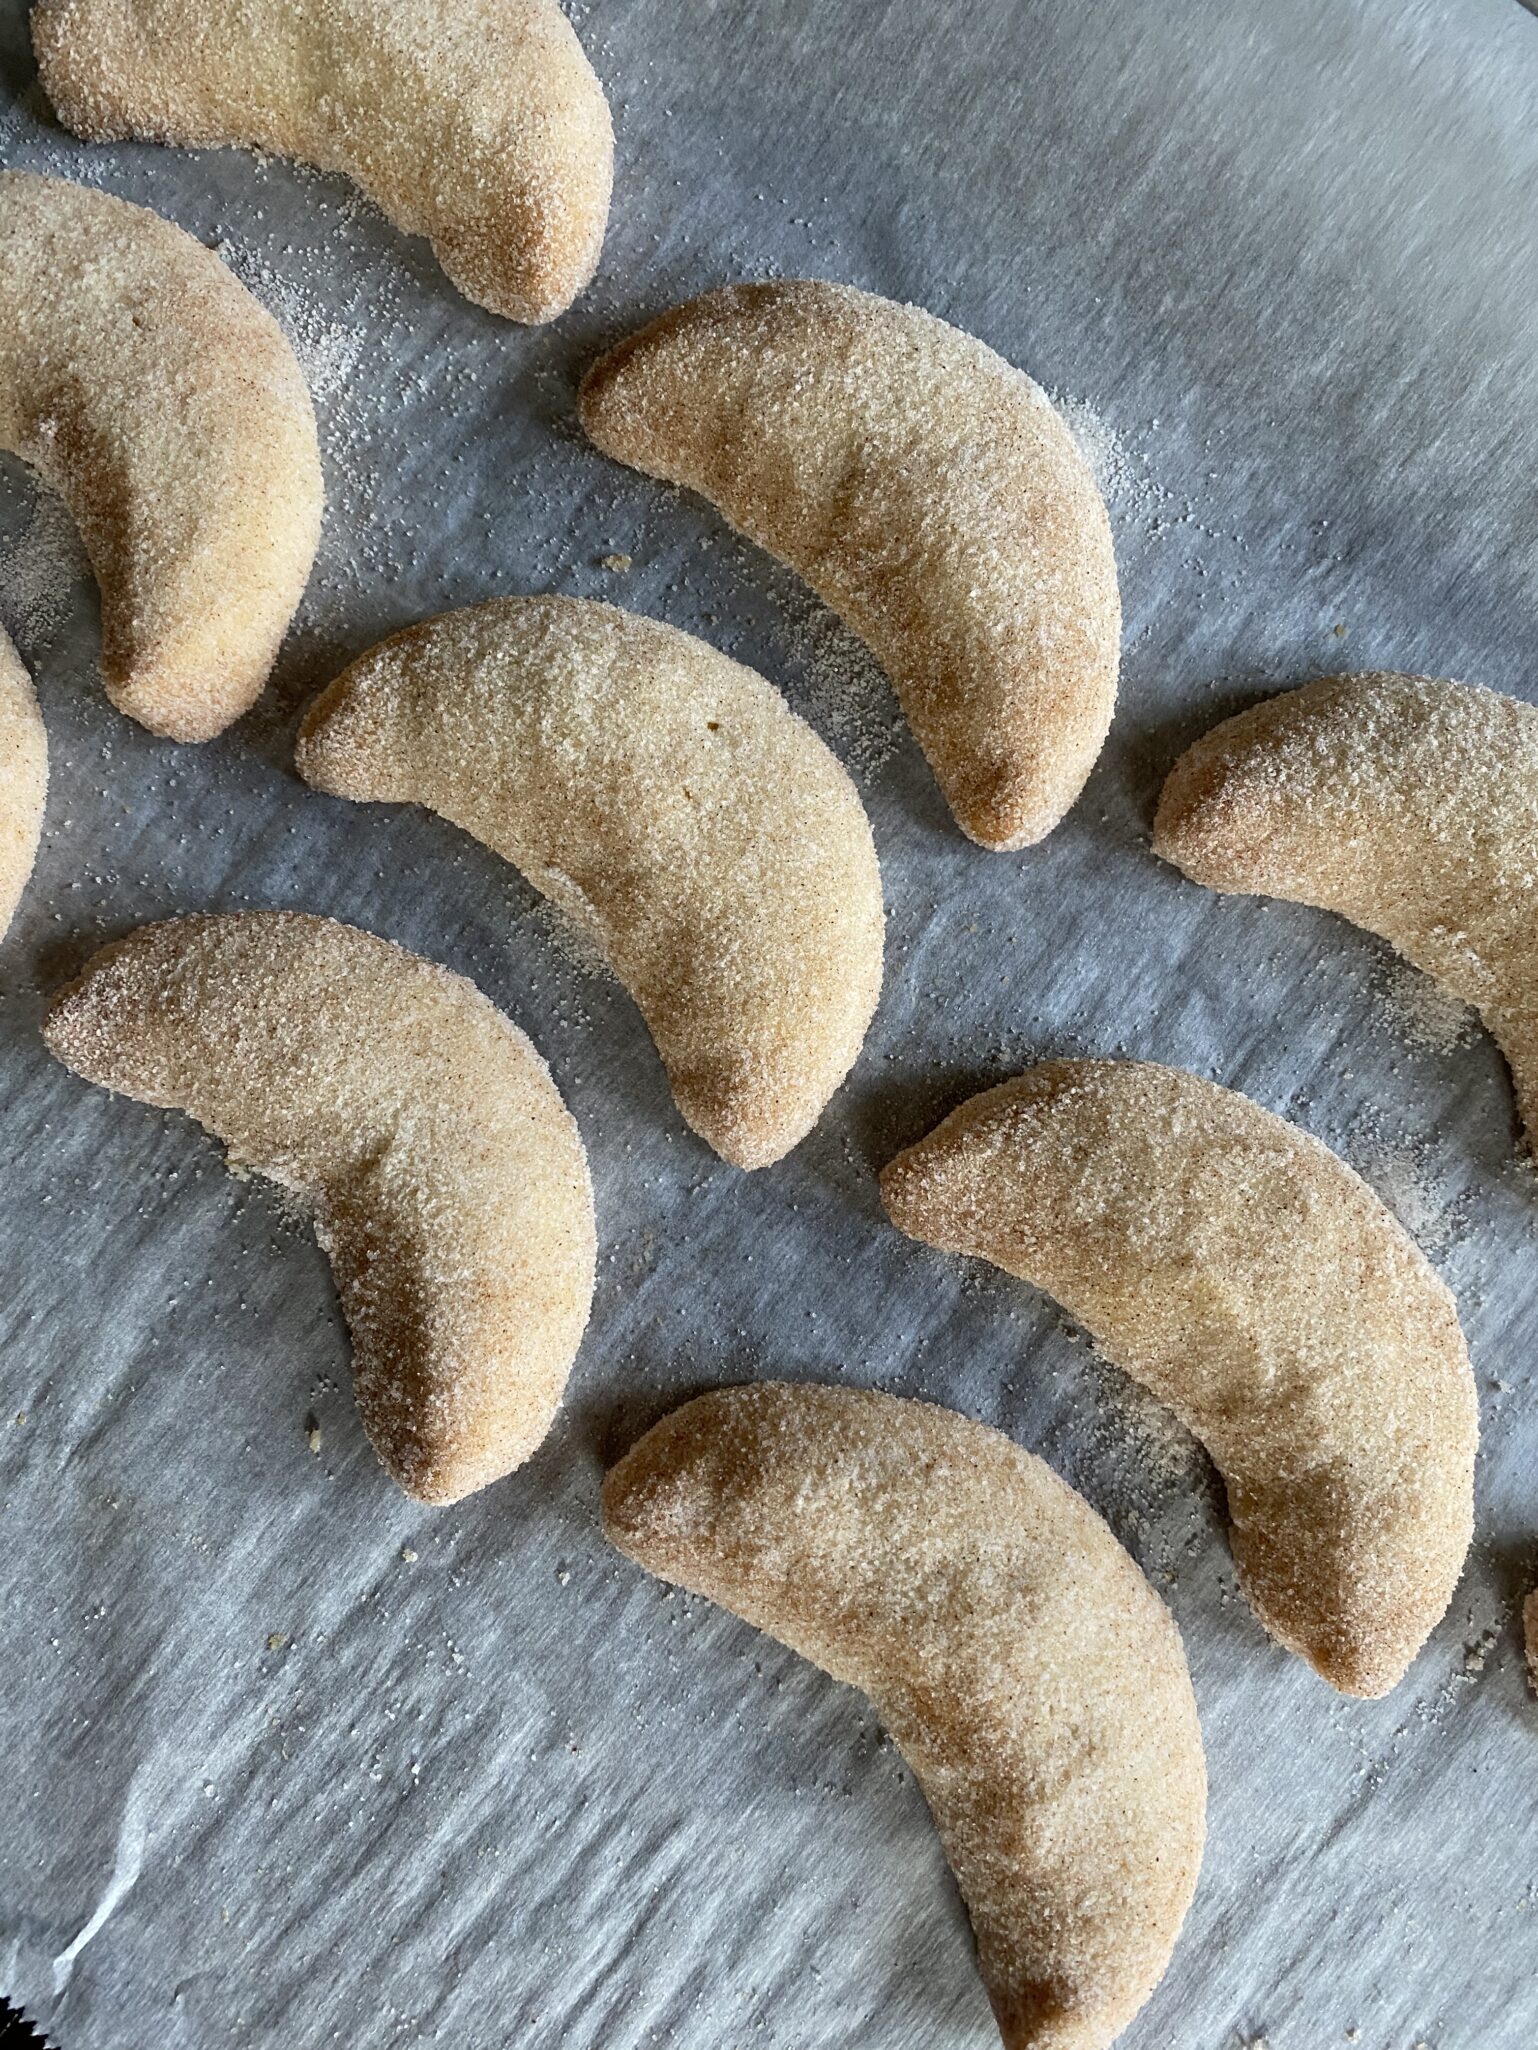
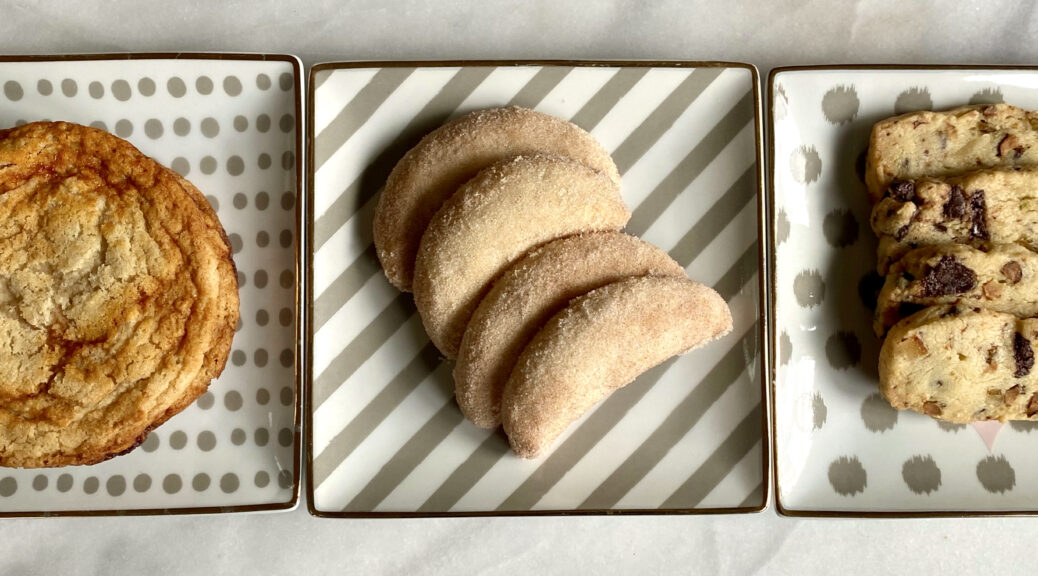
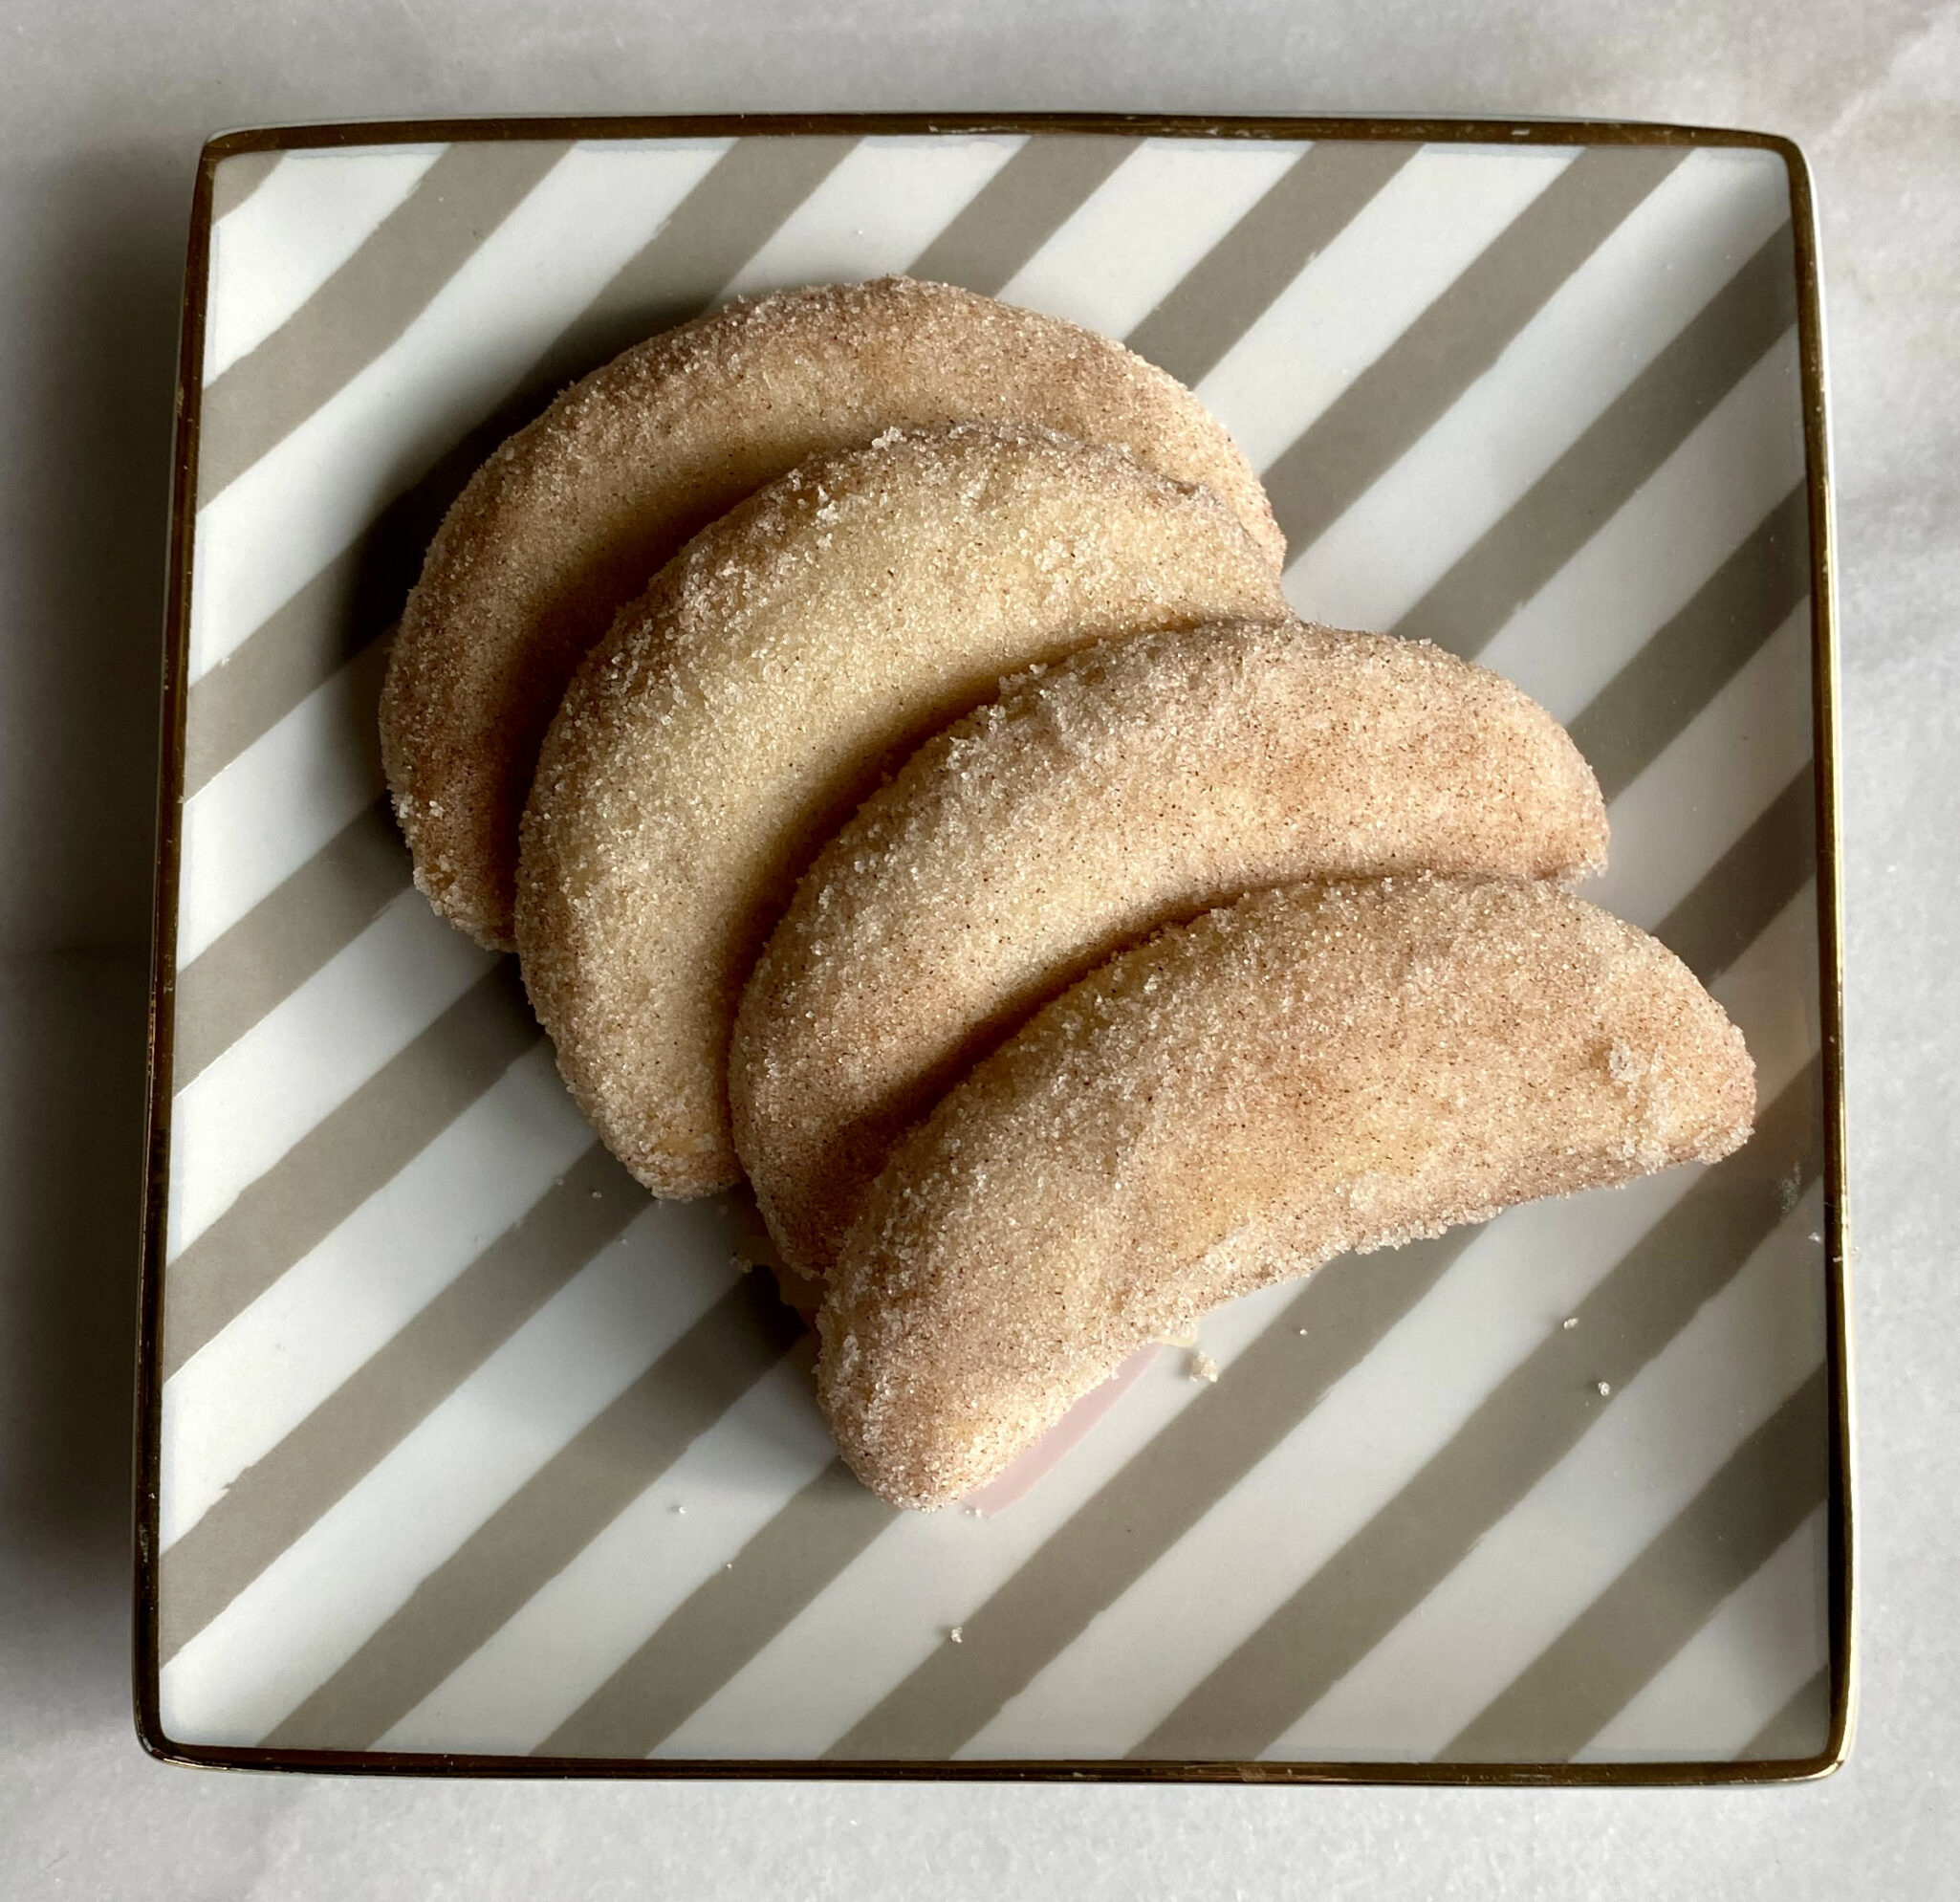
One of my favorites from this book is Rose’s Crescents.  The fact that there are so many variants is indicative of their deliciousness and universal appeal.  Austrian Viennese Crescents, Mexican Wedding Cookies, Greek Kourabiedes, and Snowballs-all start with ground nuts, flour, sugar, and butter mixed together and baked into a buttery, blissful bite. Rose tweaked hers, instead of rolling the cookies in powdered sugar, they are rolled in a mixture of superfine sugar and cinnamon.  Sublime.

Here’s the Good Part

She includes directions on how to make certain recipes in a food processor.  Not all cookies can be made in a processor but the ones you can, simplify the process and shorten the time.  No more waiting for the butter to come to room temp.  It is essentially a one-bowl recipe, how great is that?

The Food Process

Place almonds and sugar in a food processor bowl and process until almonds are very finely ground.  Cut butter into pieces and with the motor running, add butter and process until smooth and creamy.  Scrape down the sides and add flour and salt and pulse to incorporate the flour.  Remove the dough from the processor and gather it into a disc.  Wrap in plastic wrap and refrigerate for 1 hour until firm.
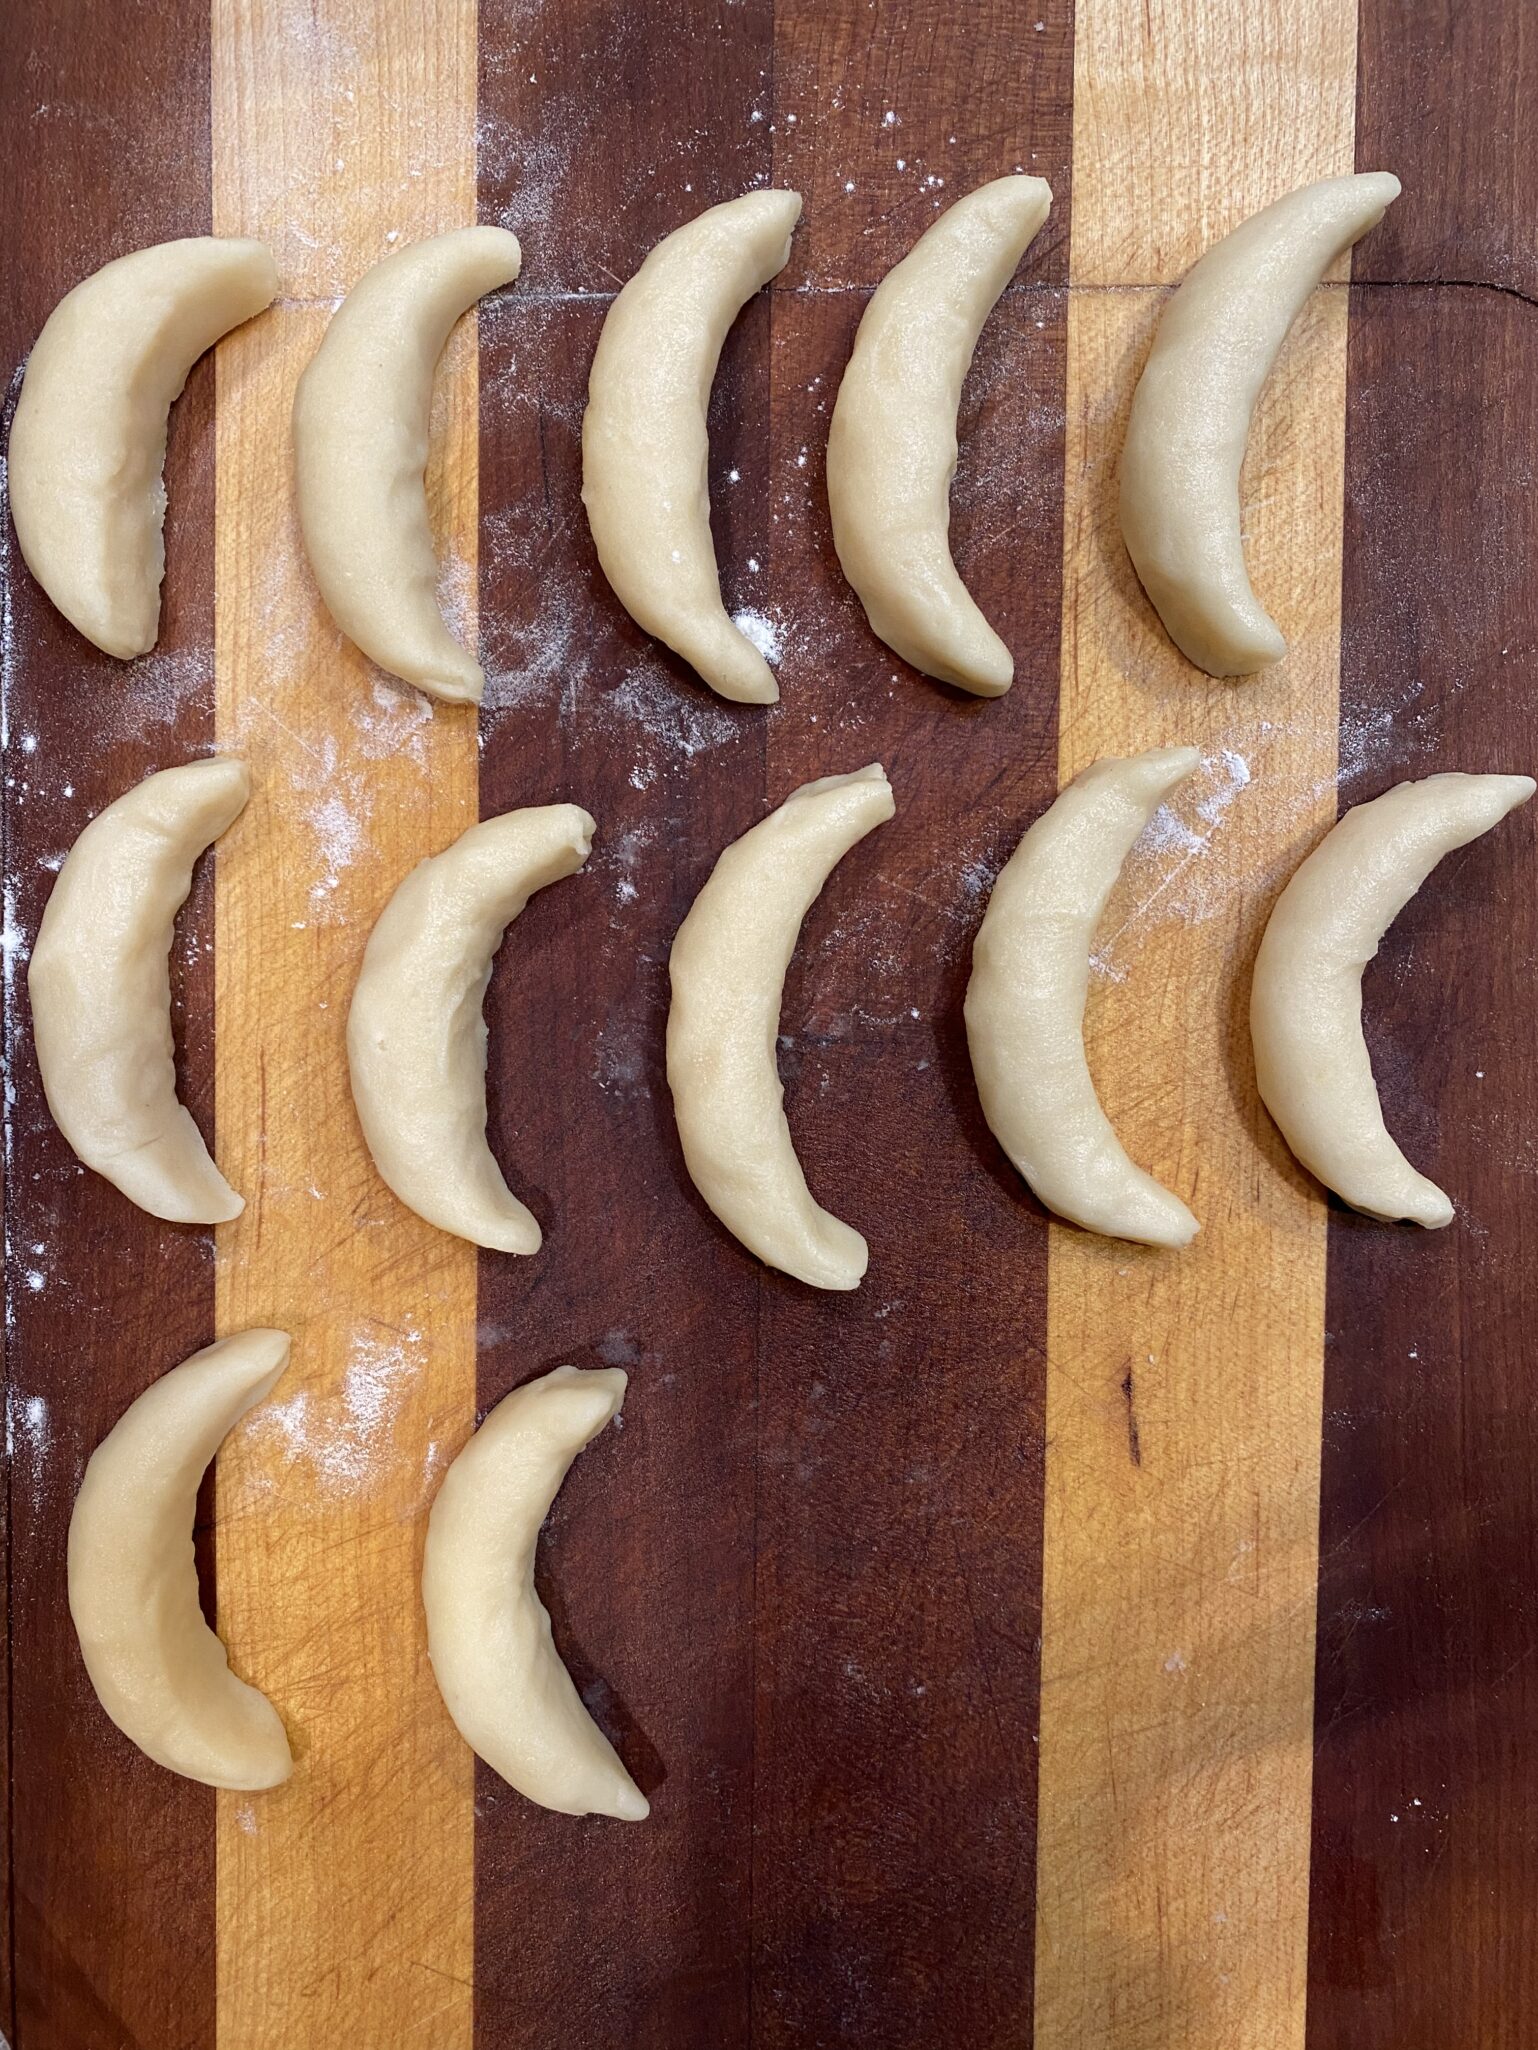
I use a #50 or #60 ice cream scoop (1 tablespoon plus of dough). Roll dough into a cylinder about 2.5-3 inches long.  The dough softens quickly so work fast, use your fingers to roll as your palm has more heat.  As you roll the dough into cylinders, put a bit more pressure on the ends to taper them.  Pinch the ends to fine-tune the shape into points.

I have also made these smaller using a #70 scoop when I want dainty little tea cookies.

I love these cookies.  Don’t wait until the holidays to make them!

Rose's Crescents

Buttery, tender, melt-in-your-mouth cookies, Almond Crescents from Rose's Christmas Cookies.
Course cookies, desserts, holiday dish
Cuisine American
Keyword almond, cinnamon sugar, holiday cookies, Rose's Crescents
Prep Time 10 minutes
Cook Time 16 minutes

Ingredients

The Creamed Mixture

  • 1 c. Unsalted Butter 8 ounces or 227 grams
  • c. Sugar 2.25 ounces or 66 grams
  • c. Sliced Blanched Almonds 2 ounces or 56 grams

The Dry Ingredients

  • 1⅔ c. All Purpose Flour (prefer Gold Medal or Pillsbury AP flour) 8.25 ounces or 235 grams See notes regarding flour
  • ¼ tsp. Salt

Topping:

  • ½ c. Sugar 100 grams
  • ½ tsp. Cinnamon

Instructions

  • Pre-heat oven to 325º.
  • Place almonds and sugar in food processor or blender and process until nuts are finely ground; set aside. See notes in post for making in food processor.
  • Cream butter in large mixing bowl. Add almond mixture; beat until light and fluffy. Gradually mix in flour and salt until well blended.
  • Shape dough into a large flat disk; wrap in plastic wrap and refrigerate 1 hour or until firm.
  • For topping, combine sugar and cinnamon in a small bowl; set aside.
  • Work with one-fourth of the dough at a time; refrigerate remaining dough. Shape dough into ¾ inch balls; roll each into a 3-inch log. Place on unbuttered cookie sheet 1 inch apart. Shape into crescents.
  • Bake 14 to 16 minutes or until set but not brown. Cool on cookie sheet for 10 minutes. While still warm, remove cookies from cookie sheets. Dip into cinnamon sugar turning gently to coat. Finish cooling on wire racks.

Notes

So, why did I specify Gold Medal Flour.  Rose's Christmas Cookies was first published in 1990.  At the time, King Arthur Flour and other Small Company Mills were not widely known.  The standard, easy to get flour was Gold Medal or Pillsbury Flour, bleached all-purpose flour.  The protein content of which is slightly lower than King Arthur or Central Milling.  This can impact your cookies in terms of tenderness and spread.
For cookie recipes I have that date back quite a few years, I use Gold Medal Flour.  If you have Rose's newest book, she will specify the flour to use.  Recipes these days, I check to see what the author has specified first.  More than likely I'll use King Arthur (that's what I normally have in my kitchen) but during the holidays I always have a stash of Gold Medal too!
NCOTB #2 Orange, Pistachio and Chocolate Shortbread (New Cookies on the Block)

NCOTB #2 Orange, Pistachio and Chocolate Shortbread (New Cookies on the Block)

Yay, the Twelve Seven Eight Days of Christmas Cookies!

The best-laid plans of mice and me…sometimes need a tweak.  Actually, not to pat myself on the back or anything, I think I did pretty “good”.  In between holiday baking we took a quick trip to Seattle. Four days of eating, walking, visiting the Space Needle and the Chihuly Garden and Glass, and watching the Forty-Niners beat the Seahawks!  I still managed to bake 8 days of Christmas cookies!

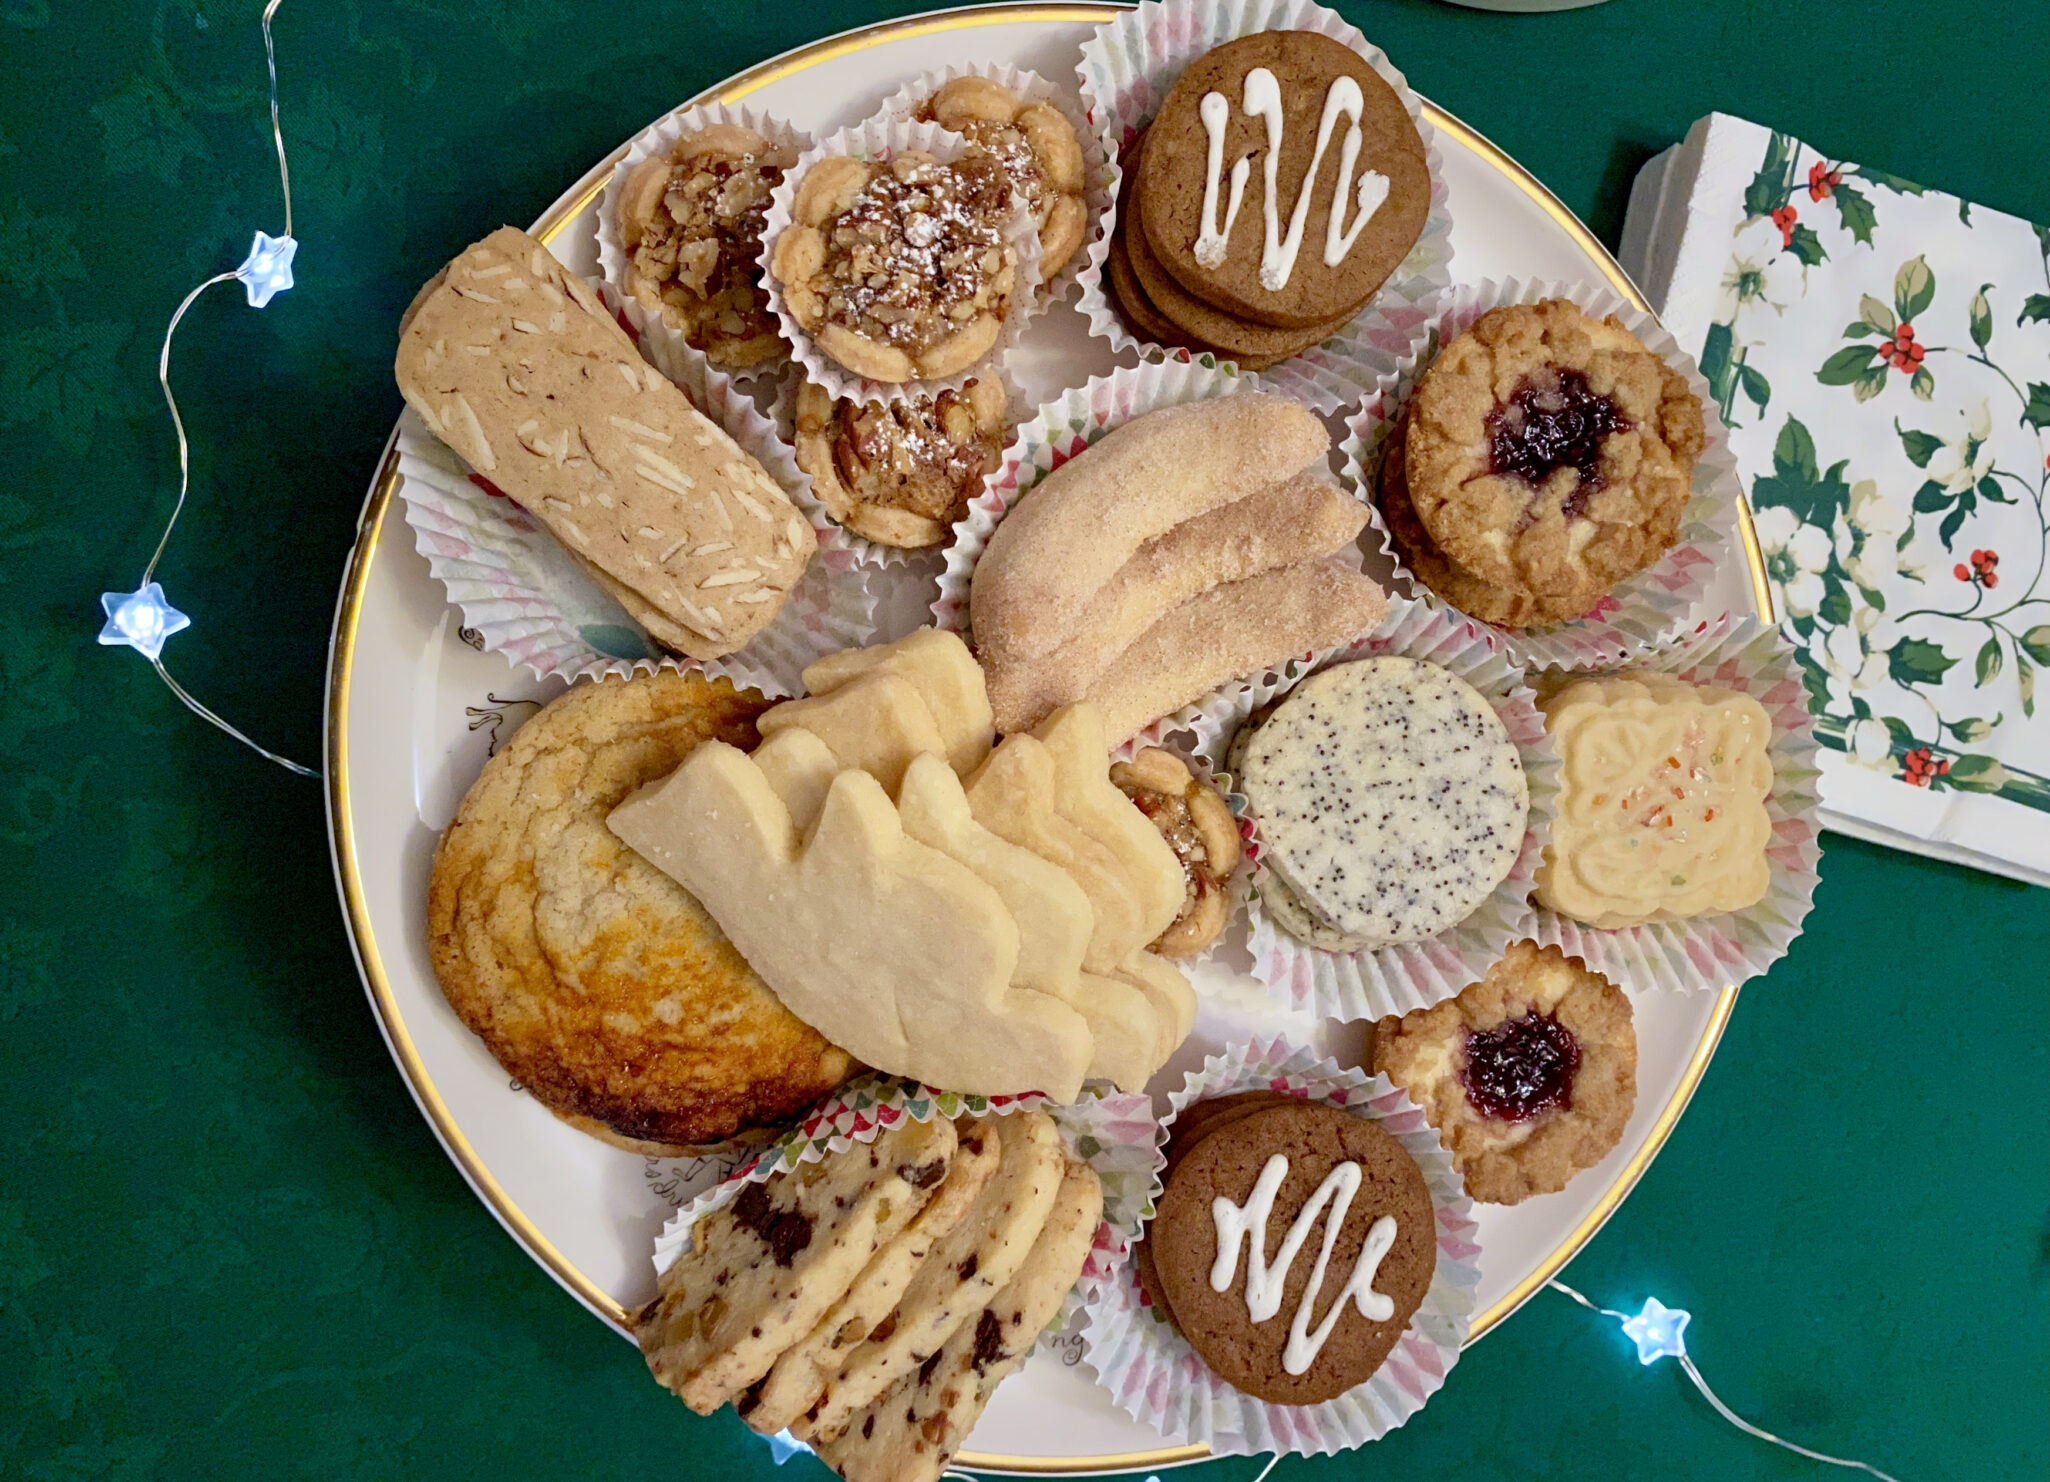
Our holiday cookie box is a mix of old and new cookies.  The tried and true include Scottish Shortbread, Jan Hagel’s (my mom’s favorite), Pecan Tartlets, and the mandatory jam-filled cookie, Dorie’s Jammers (the perfect choice).

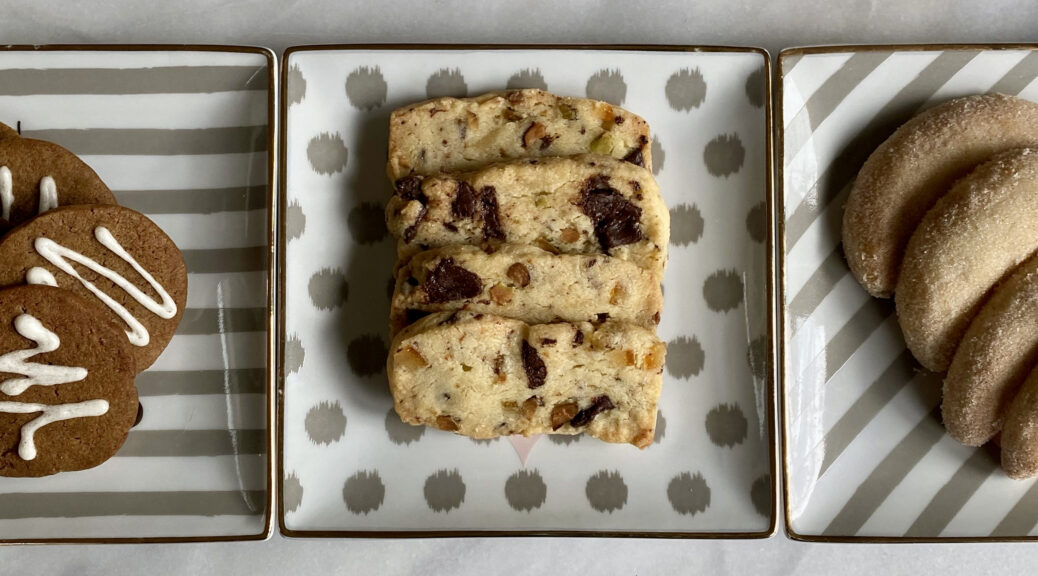
The NCOTB (new cookies on the block, a nod to all you boy band fans) include a couple from this year’s New York Times Holiday Cookies.  My favorite of the bunch is Eric Kim’s Gochujang Caramel Cookies (I’ve made three batches already).  Crispy edges, chewy center, buttery with a sweet kick from the Gochujang paste, it’s different and delightful. My other favorite (can you have two favorites?) is Sue Li’s Orange, Pistachio, and Chocolate Shortbread.  Buttery shortbread studded with candied orange peel, green pistachios, and dark chocolate for a visually fun and tasty cookie.

Cookie Caveat

But, the first time I read through the recipe and NOTES (ALWAYS read the notes, foodies are not shy about sharing their opinion of a dish) it became clear that there were a couple of hitches in the recipe.  My OCD-Sherlockian-Watson persona took over.  I poured over the comments and scrutinized the measurements and directions (occupatinal hazard, I’m a pediatric pharmacist).
My dear NYTCooking – Something is afoot, there are discrepancies in the volumes and weights for this recipe, where are your editors? LOL. 3 cups of flour is not 419 grams.  3/4 cup of granulated sugar is not 175 grams.  So, I set about to modify the recipe as best I could:

  • I used 375 grams of King Arthur AP Flour aligning with std measurements for a cup since there were quite a few comments that the dough was too dry & crumbly.
  • Sue Li commented once to use 175 grams of sugar, so that’s what I used.  If there is wiggle room it would be with the sugar, use 150 grams for a not-as-sweet cookie.
  • The butter is also off, I opted to go by weight not volume.
  • I added 1 tsp vanilla, which couldn’t hurt plus added a bit more moisture.

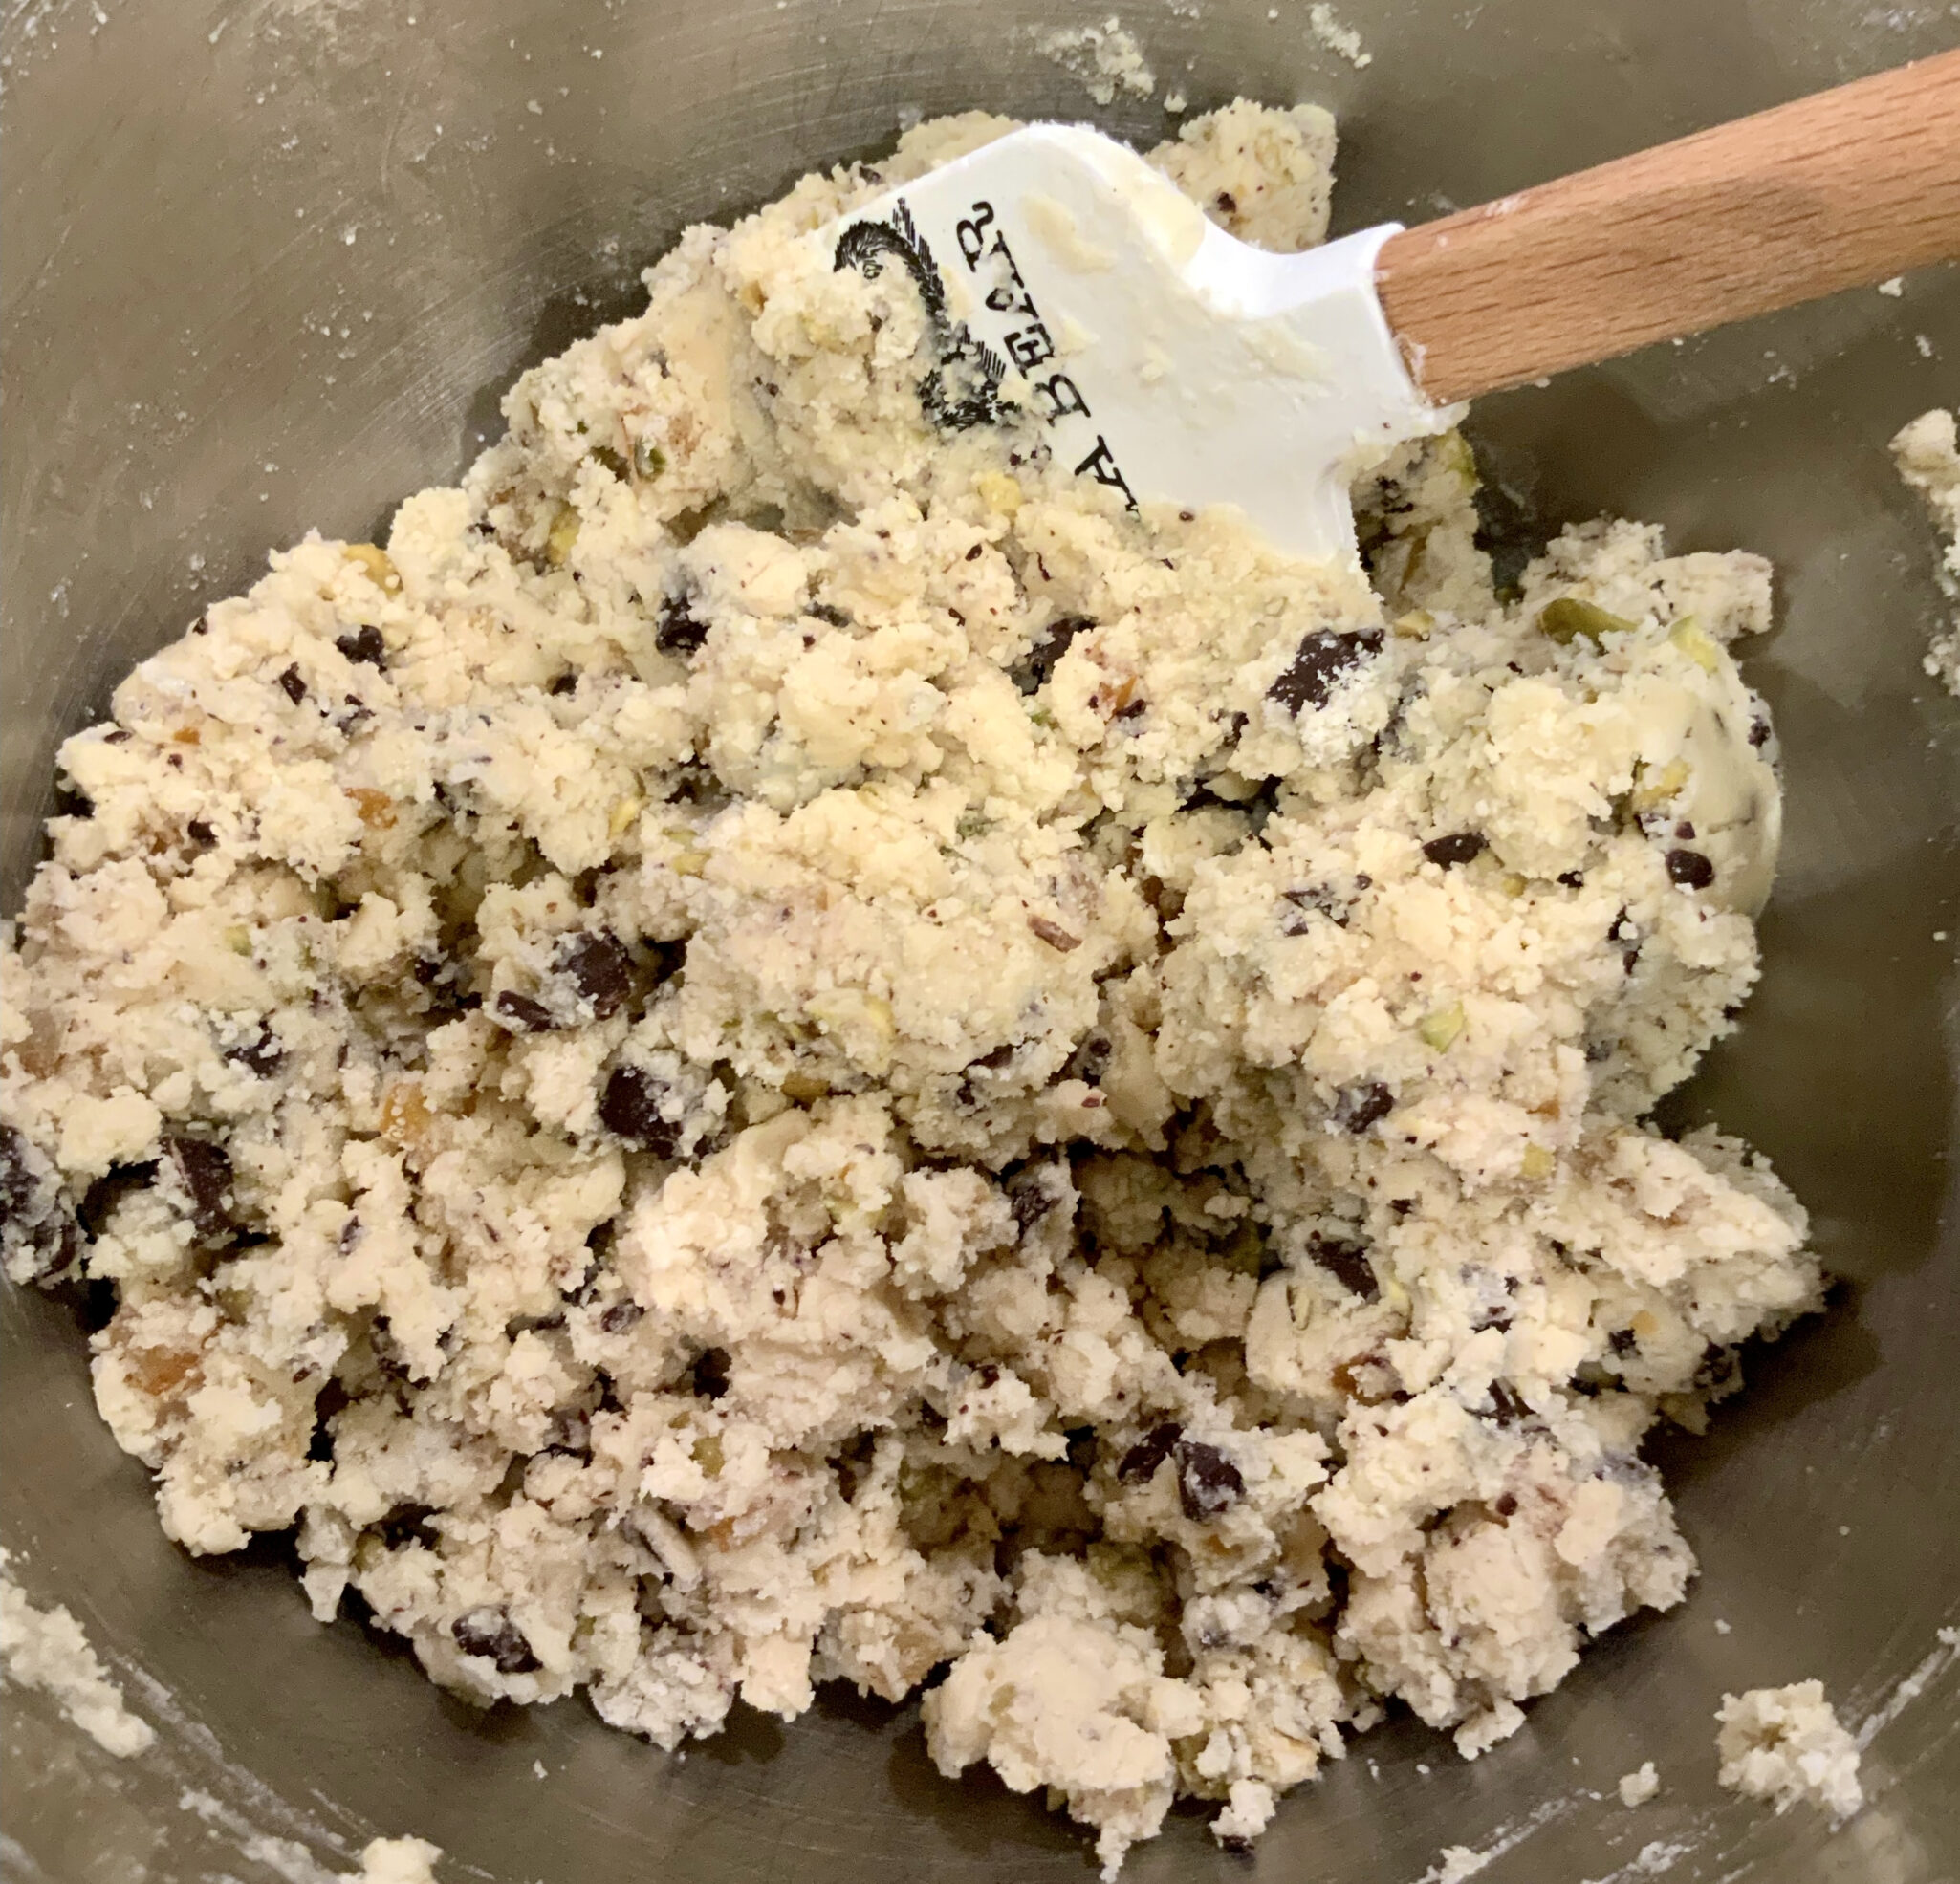
The dough came together nicely.  Do not overmix, once it starts to clump, stop and gather together.

The 8-hour chilling time in the original recipe allows the flour to absorb moisture and hold together.  The modifications result in a nice, moist dough.  You may not need an 8-hour chill time.  The dough needs to be solid enough to slice and still hold its shape.

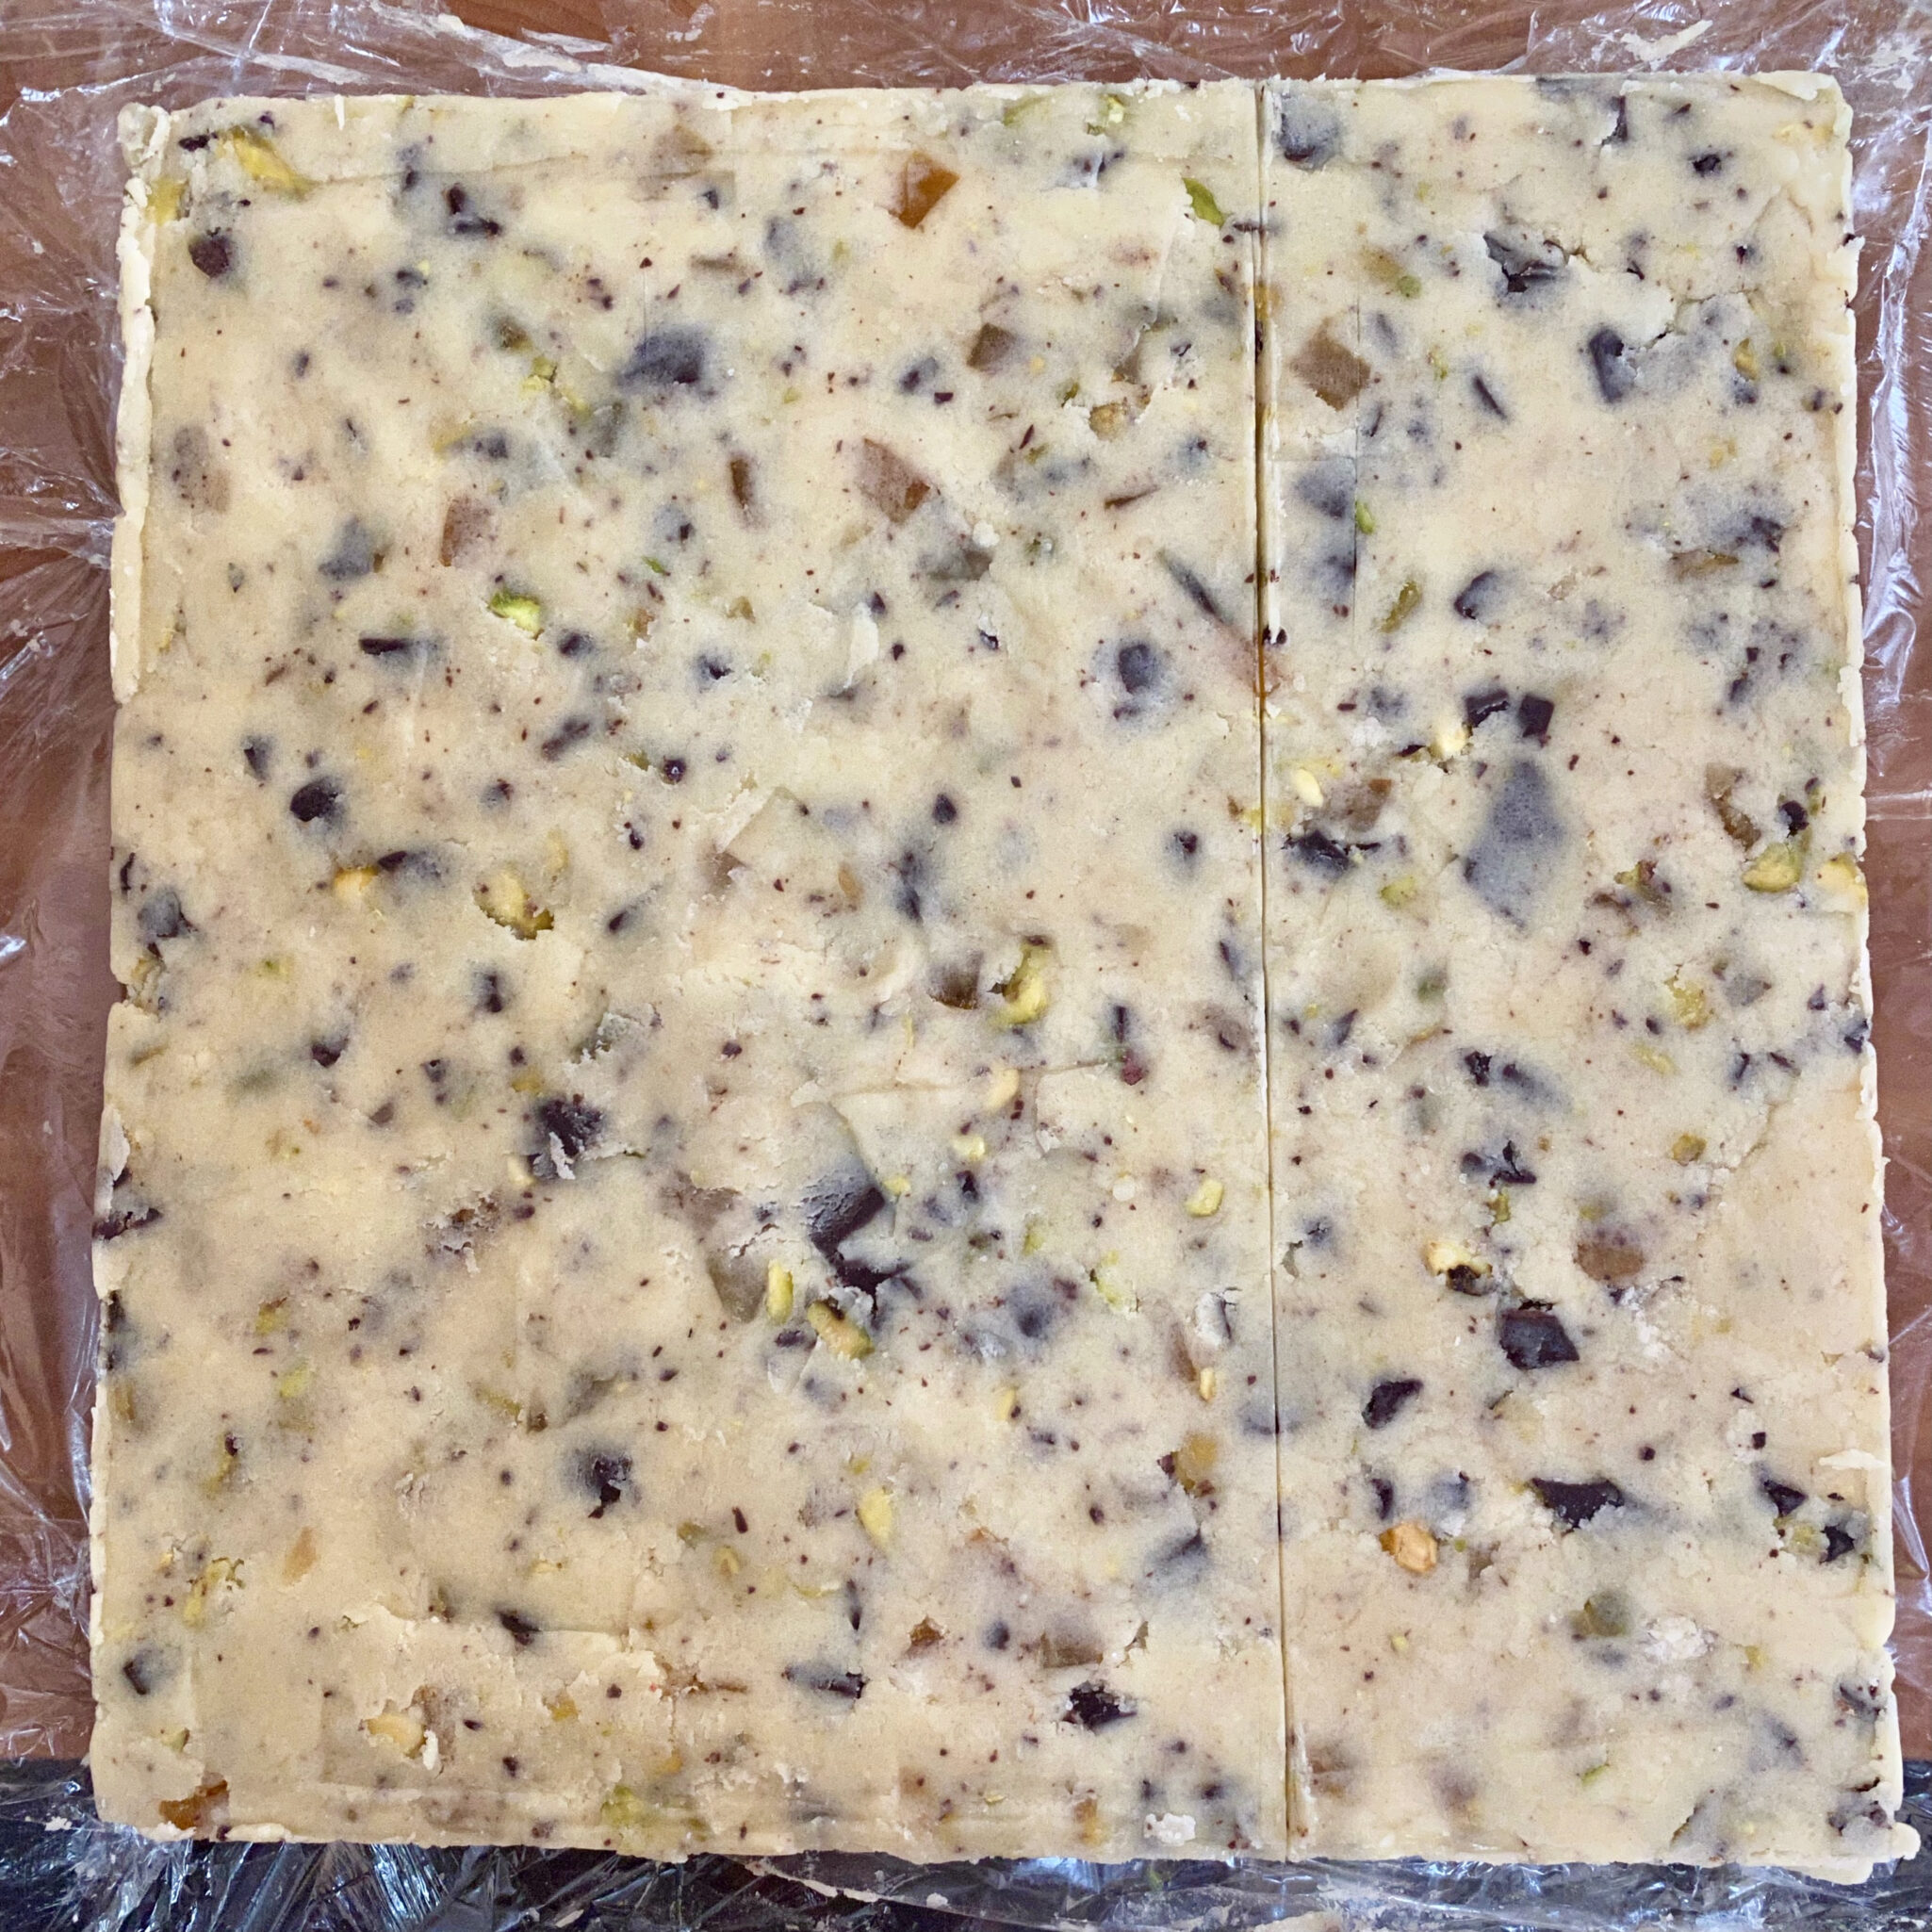
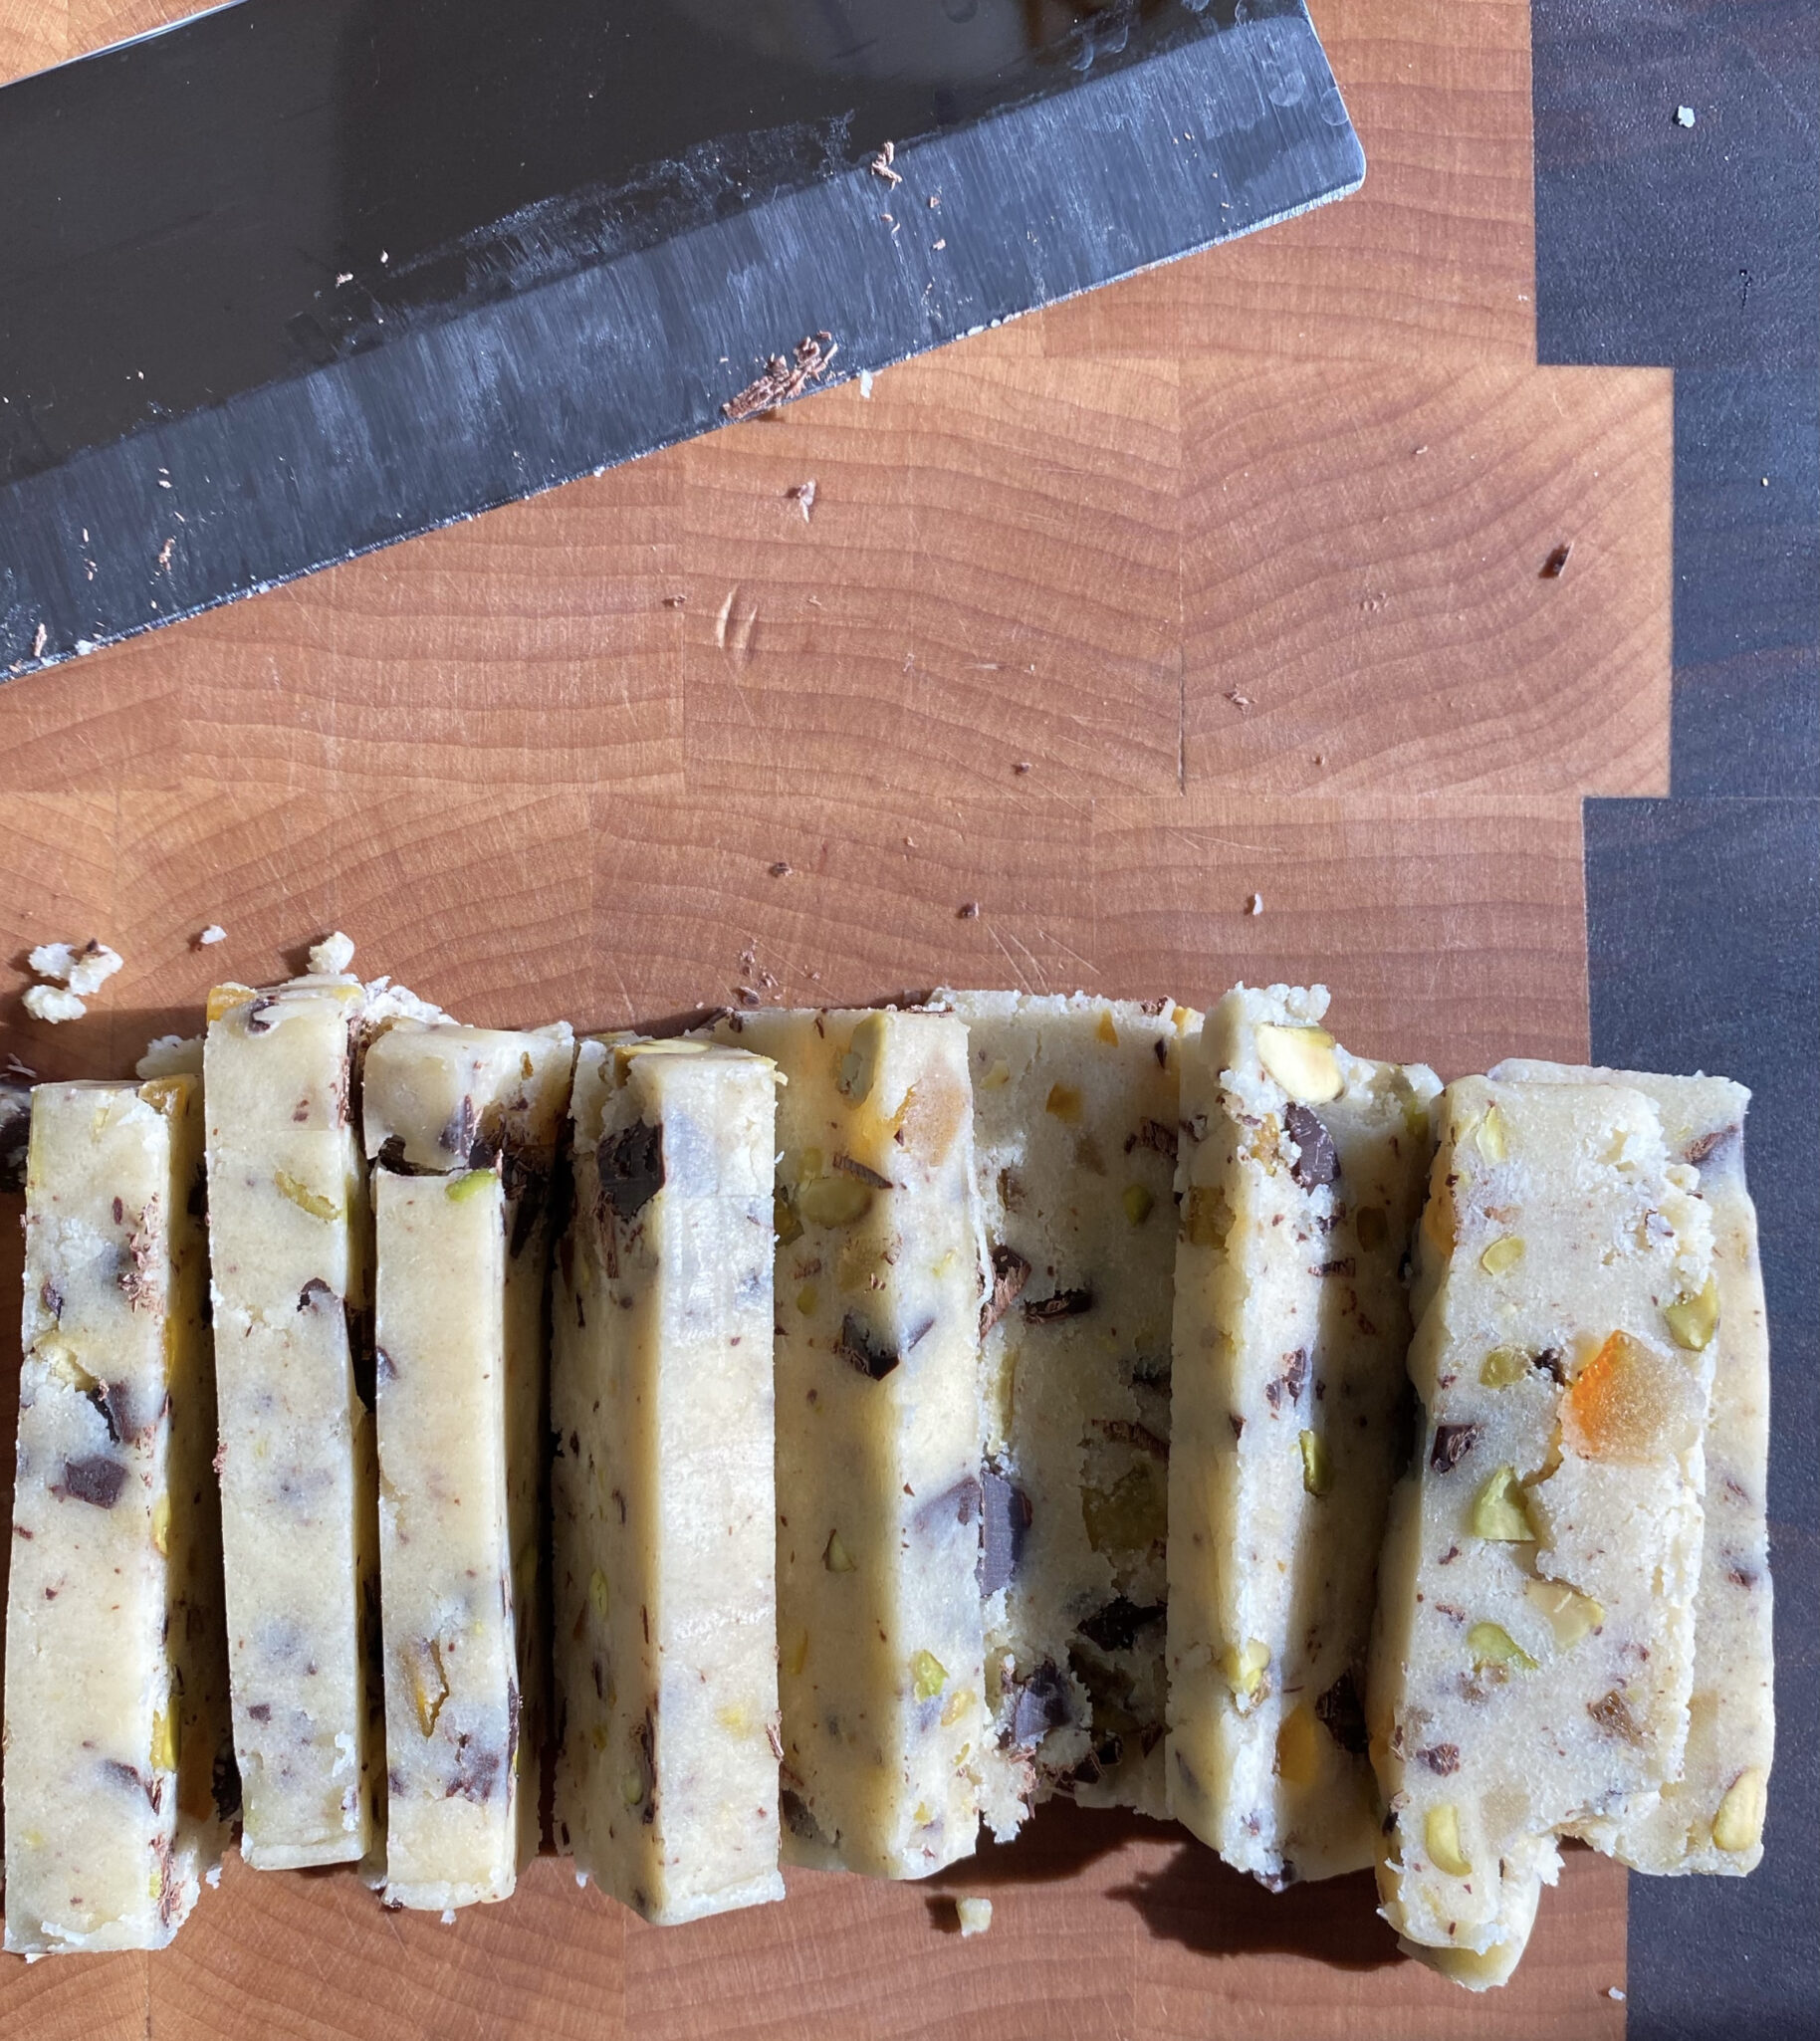
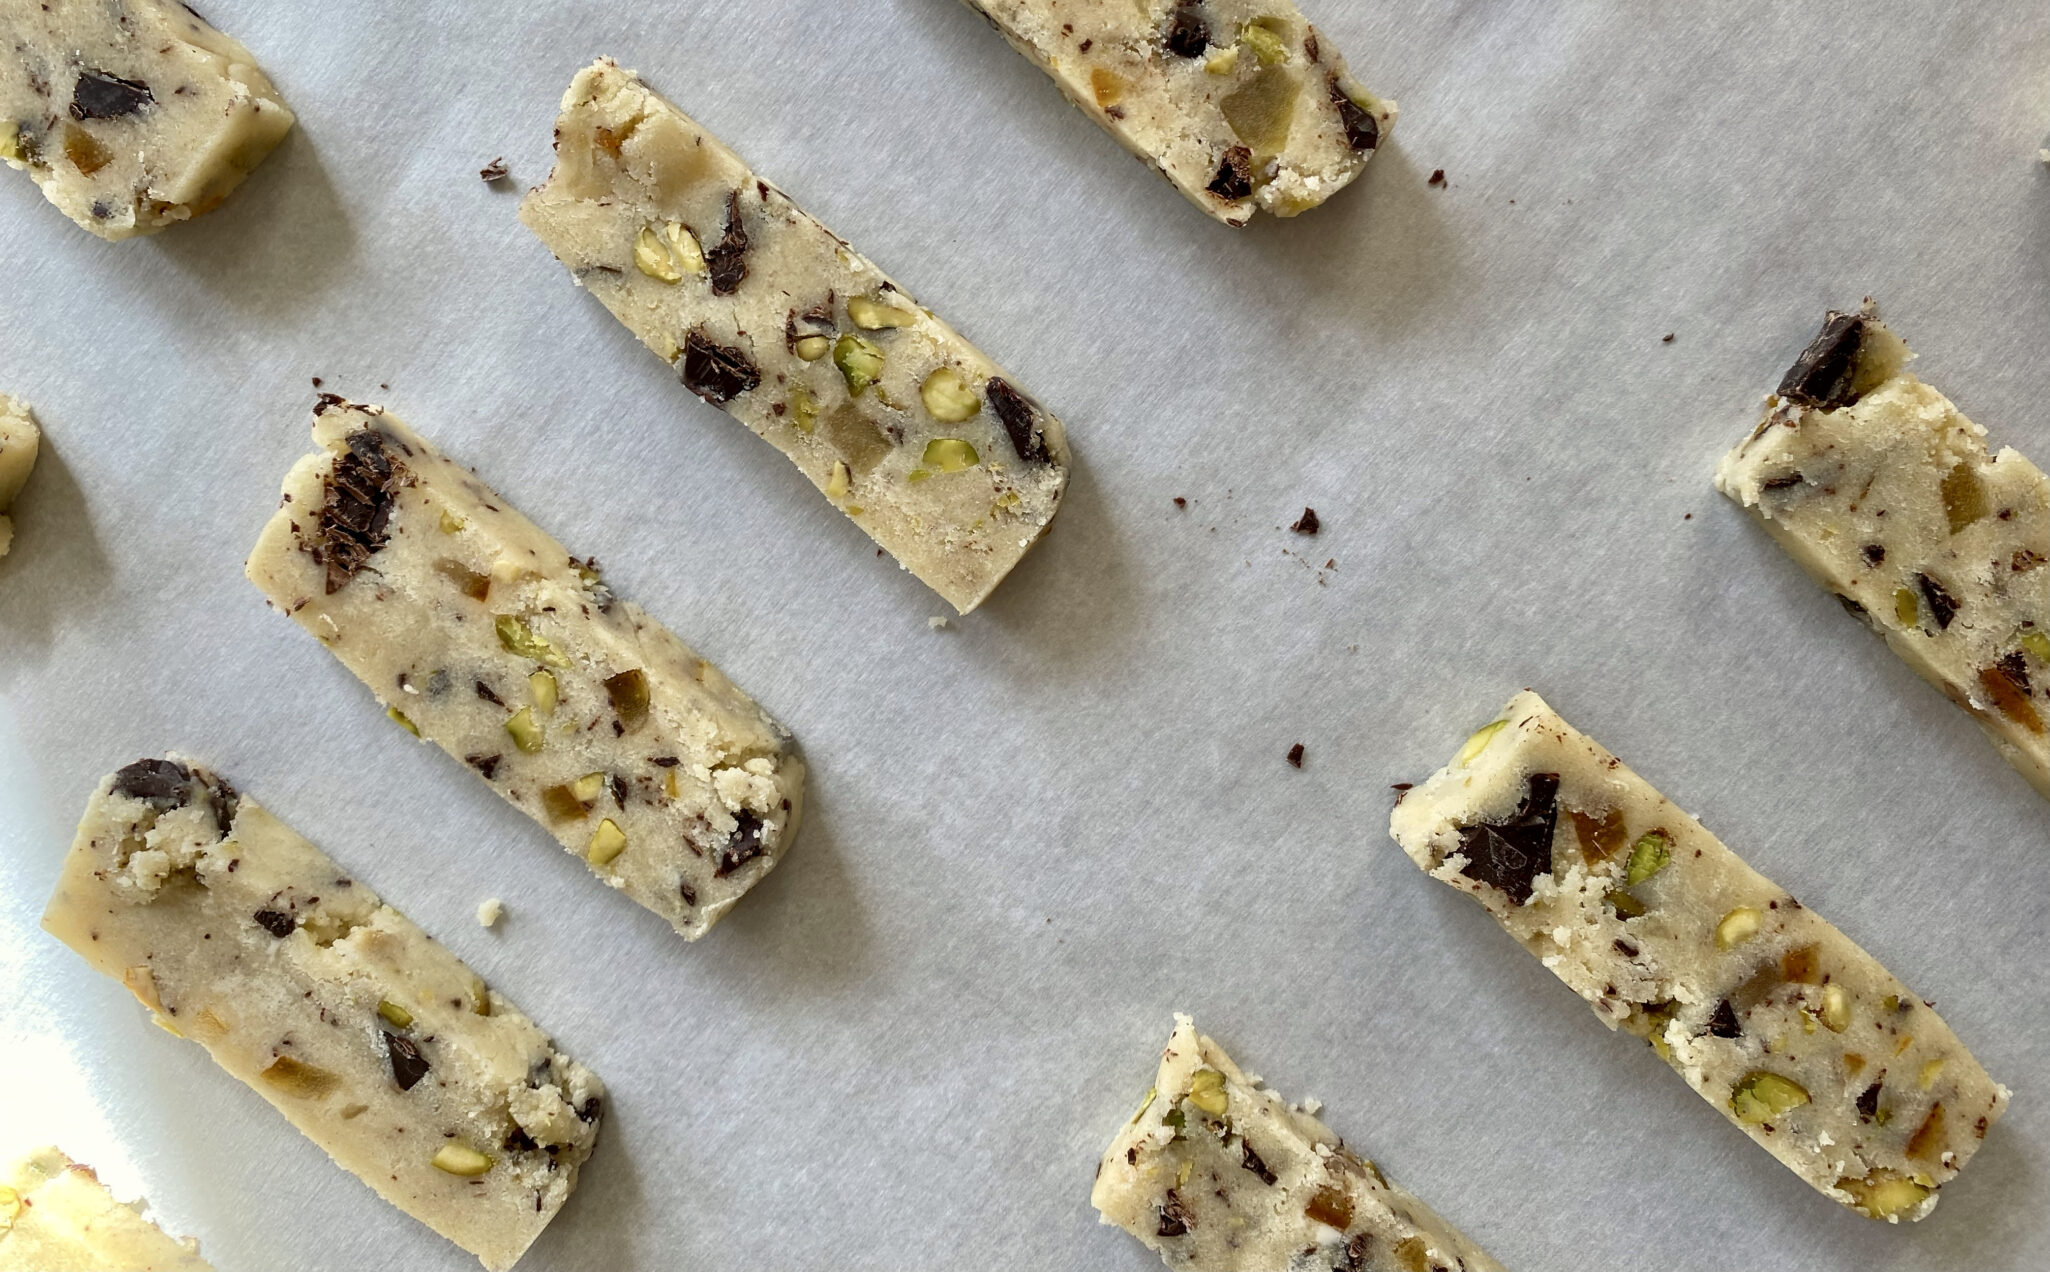
See how “purdy” the orange, green, and brown specks are?!

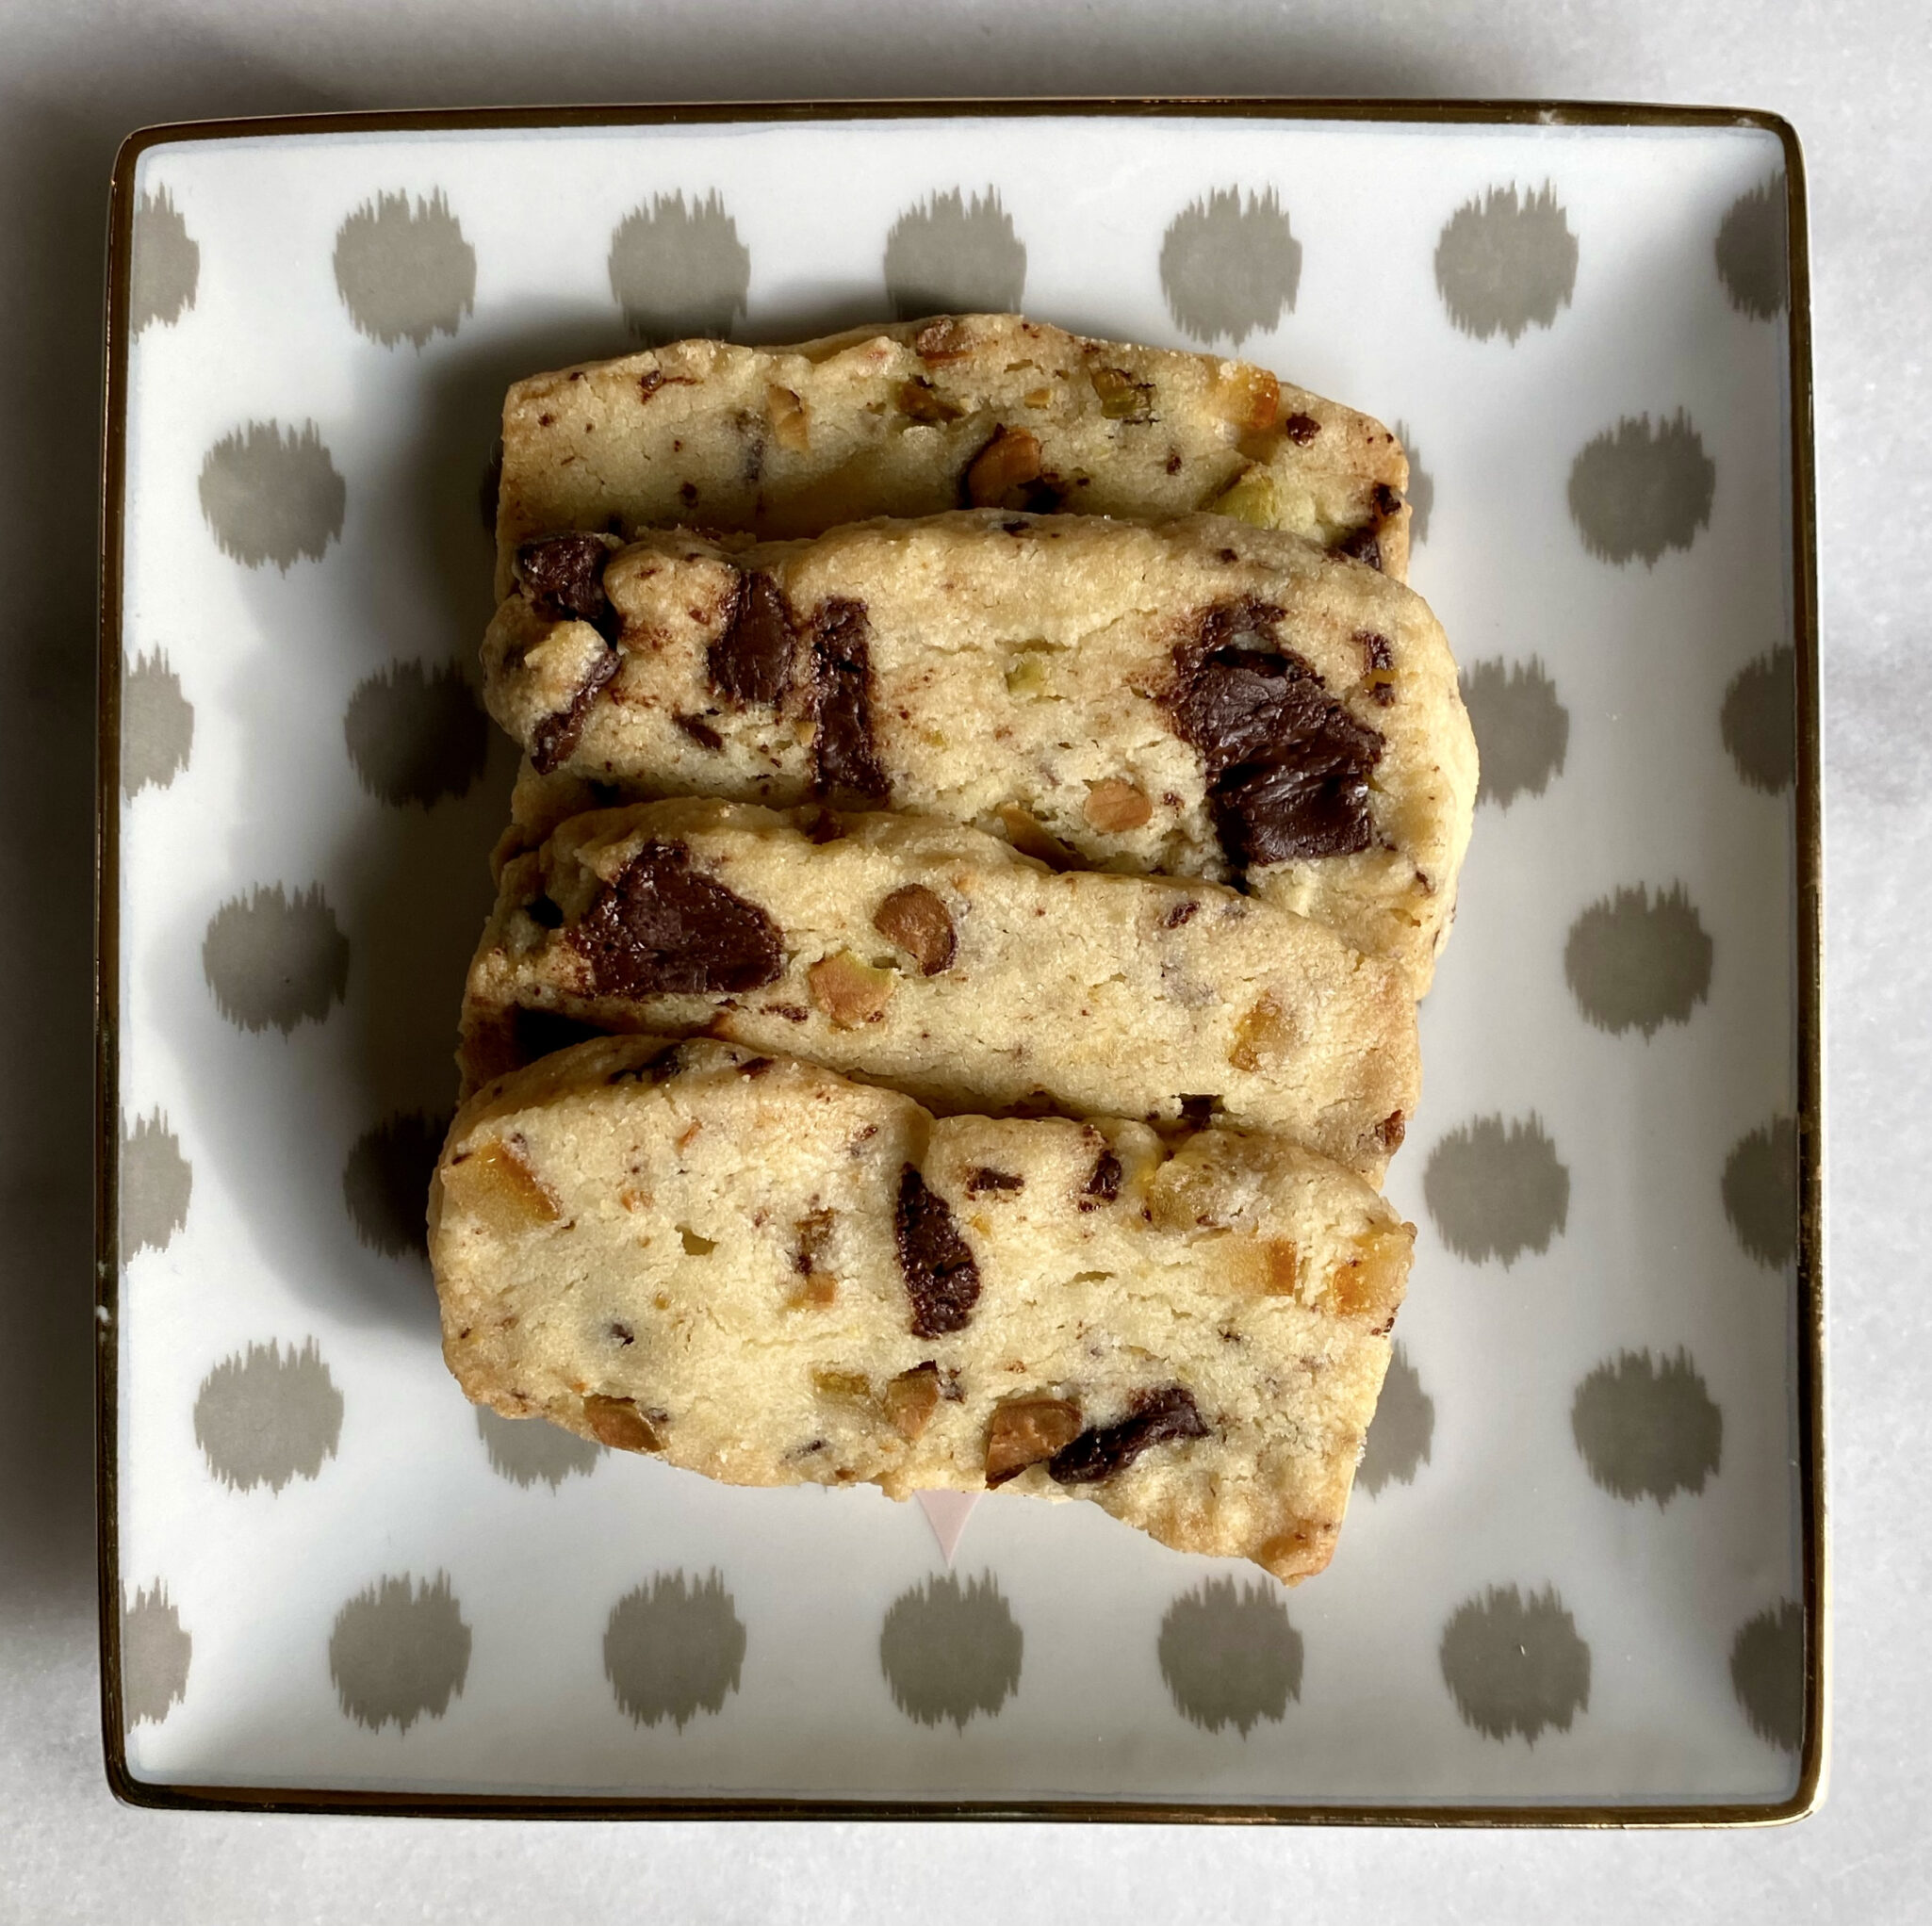
The finished cookie was buttery, with a fine crumb texture, with the candied orange, pistachios, and chocolate taking it over the holiday top.  Luckily I squirreled away some dough in the freezer (the beauty of slice-and-bake cookies) that will be lovely on New Year’s Eve with a glass of bubbly!

Print
5 from 1 vote

Orange, Pistachio and Chocolate Shortbread

From NYTcooking, a buttery shortbread studded with candied orange, pistachios, and chocolate perfect for the holidays!
Course cookies, Dessert
Cuisine American
Keyword Dark chocolate, orange, pistachios, Shortbread
Prep Time 20 minutes
Cook Time 20 minutes
Chilling Time 8 hours

Ingredients

Flour Mixture

  • 3 cups all-purpose flour (375 grams)
  • 1 teaspoon kosher salt such as Diamond Crystal or 1/2 t table salt

Butter Mixture

  • 1-1/4 cups unsalted butter (284 grams) at room temperature
  • 3/4 cup granulated sugar (175gms) 175gms =
  • 1 large egg yolk

Add-Ins

  • 1/2 cup candied orange peel (76 grams) roughly chopped
  • 1/2 cup shelled unsalted pistachios (76 grams) roughly chopped
  • 4 ounces bittersweet chocolate coarsely chopped

Instructions

  • Whisk together flour and salt in a medium bowl. Combine butter and sugar in a large bowl, or in the bowl of a stand mixer. Using an electric mixer (fitted with the paddle attachment if using a stand mixer), beat at medium-high speed until the mixture is pale in color, about 2 minutes, periodically scraping down the sides with a rubber spatula (don't skip this, it makes a difference). Add egg yolk and blend until combined.
  • Add flour mixture and mix on low until combined. If there are dried bits of flour left around the bowl, use a rubber spatula to smoosh them in with the dough. Add orange peel, pistachios and chopped chocolate, fold in with a rubber spatula. (The dough will be crumbly (although with the modifications, less so). If necessary, use the electric mixer to add the mix-ins, or work them in with your hands until fully incorporated.)
  • To form the cookies, line an 8 by 8-inch baking pan with plastic wrap and leave a generous amount of overhang on all sides. Transfer the dough to the prepared pan and press firmly to flatten in an even layer. Cover with plastic wrap and chill dough for 8 hours or overnight before baking.
  • Preheat the oven to 350 degrees. Line 2 baking sheets with parchment paper.
  • Using the plastic wrap overhang, remove the dough from the pan and cut the square into three equal rectangles. It's going to be tough to get out of the pan but just be patient and pull gently on the plastic to gradually remove from pan.
  • Cut each rectangle crosswise into roughly 1⁄3-inch-thick slices and lay them flat on the prepared baking sheets, about 3⁄4-inch apart. (If the dough crumbles when slicing, simply push the mixture together to reform the cookie.) Bake until lightly golden on the bottom but still blonde on the edges, 15 to 17 minutes.
  • Remove from the oven, allow cookies to cool on the sheets. The cookies will keep in an airtight container at room temperature for up to 1 week.