Tag: #holidaycookies

Snickerdoodles (Alice in Cookiewonderland)

Snickerdoodles (Alice in Cookiewonderland)

It has been 1610 days since I sat down and penned my inaugural post, Jamigos 2.0 to launch 3jamigos.  As I reflect on that number all I can think is WHAT TOOK ME SO LONG TO INCLUDE MY FAVORITE COOKIE?  I mean, sheesh, of the 100 cookie recipes I have posted, it doesn’t include my all-time favorite non-shortbread cookie (notice how I slipped in that qualifier, shortbread=cookie perfection).  Unbelievable, and how did I discover this faux pas?

I was tasked with making cookies for an End of Summer Party for our political action group (sanity saver).   I automatically went to my blog and typed in S N I C K E R D O O D L E S in the search box and waited, NOTHING popped up.  A quick search of my cookie index revealed, what the heck, no Snickerdoodles.

Are you kidding?

I’ve never posted Snickerdoodles on my blog?  Hellooo, time to fix that.  I got busy, made a batch for the meeting, snitched a couple to have with an ice-cold glass of milk, and sat down to write this post.

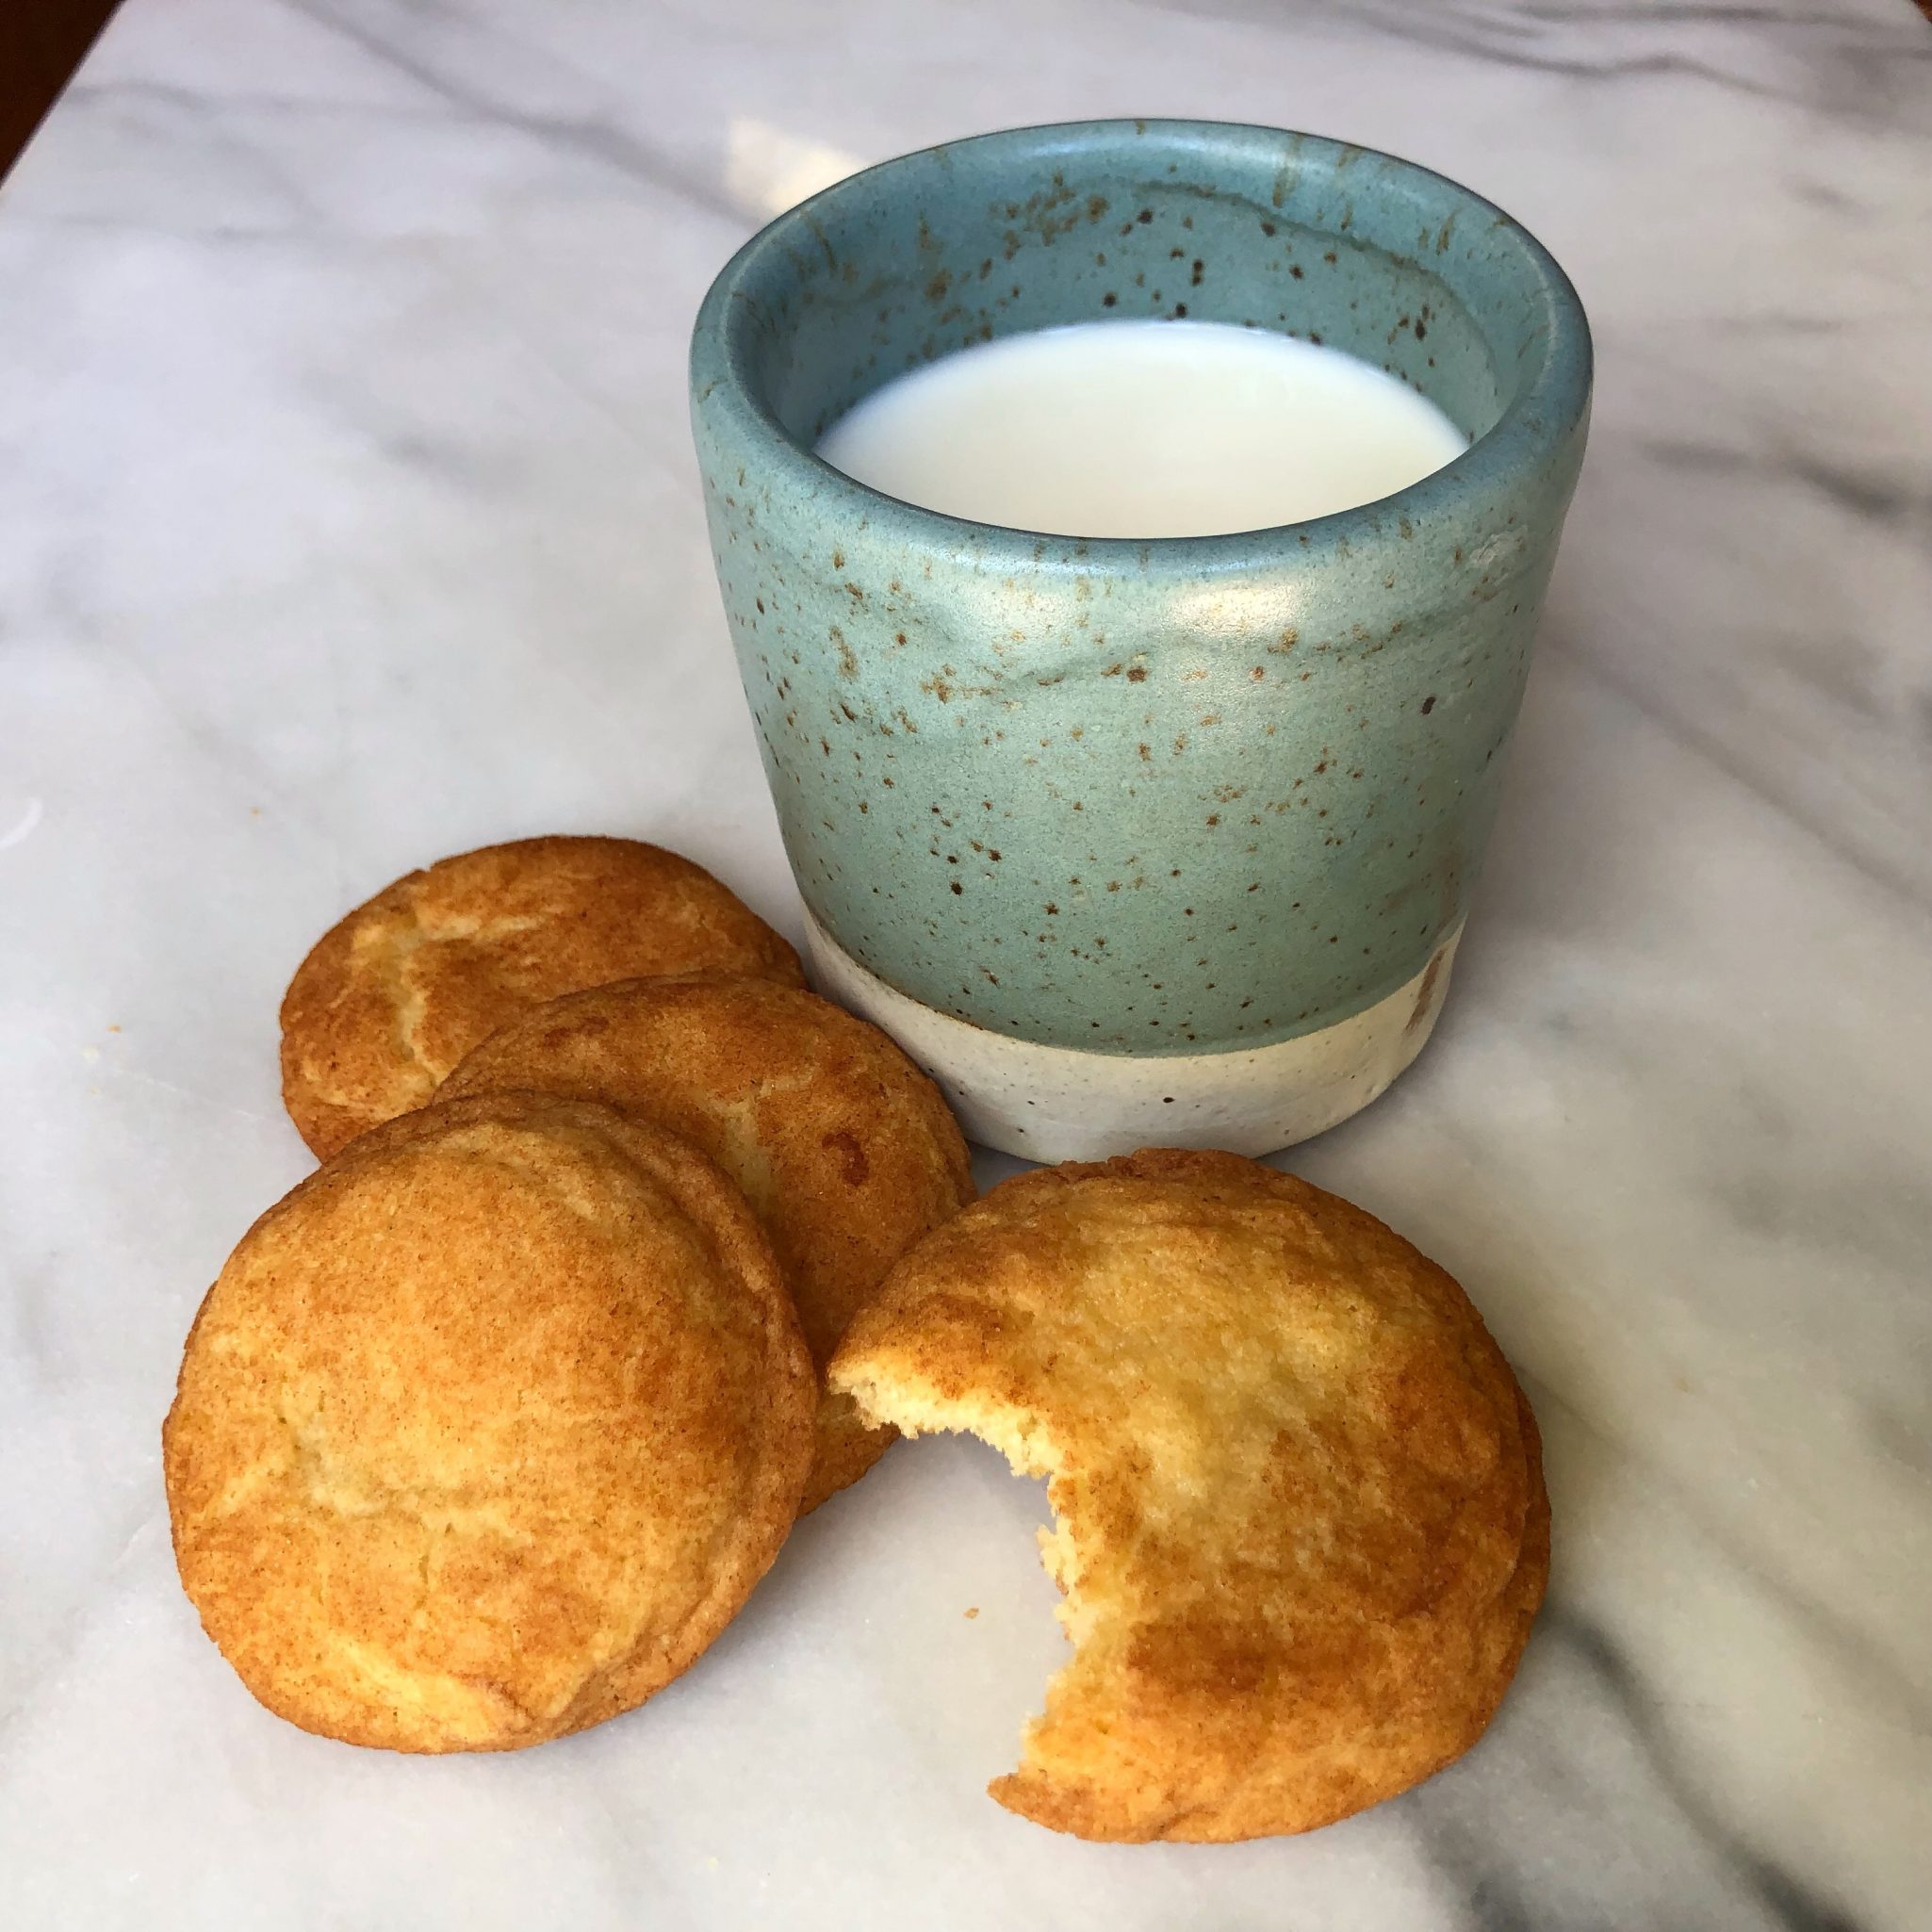
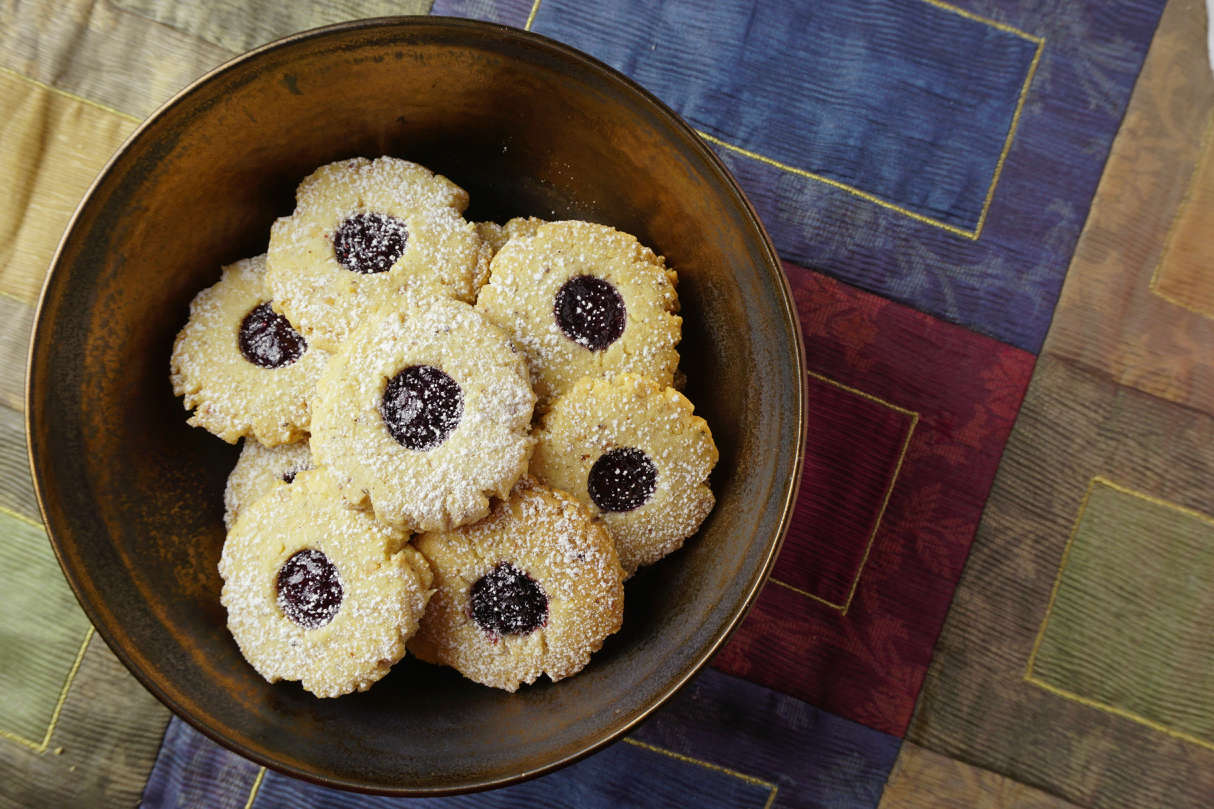
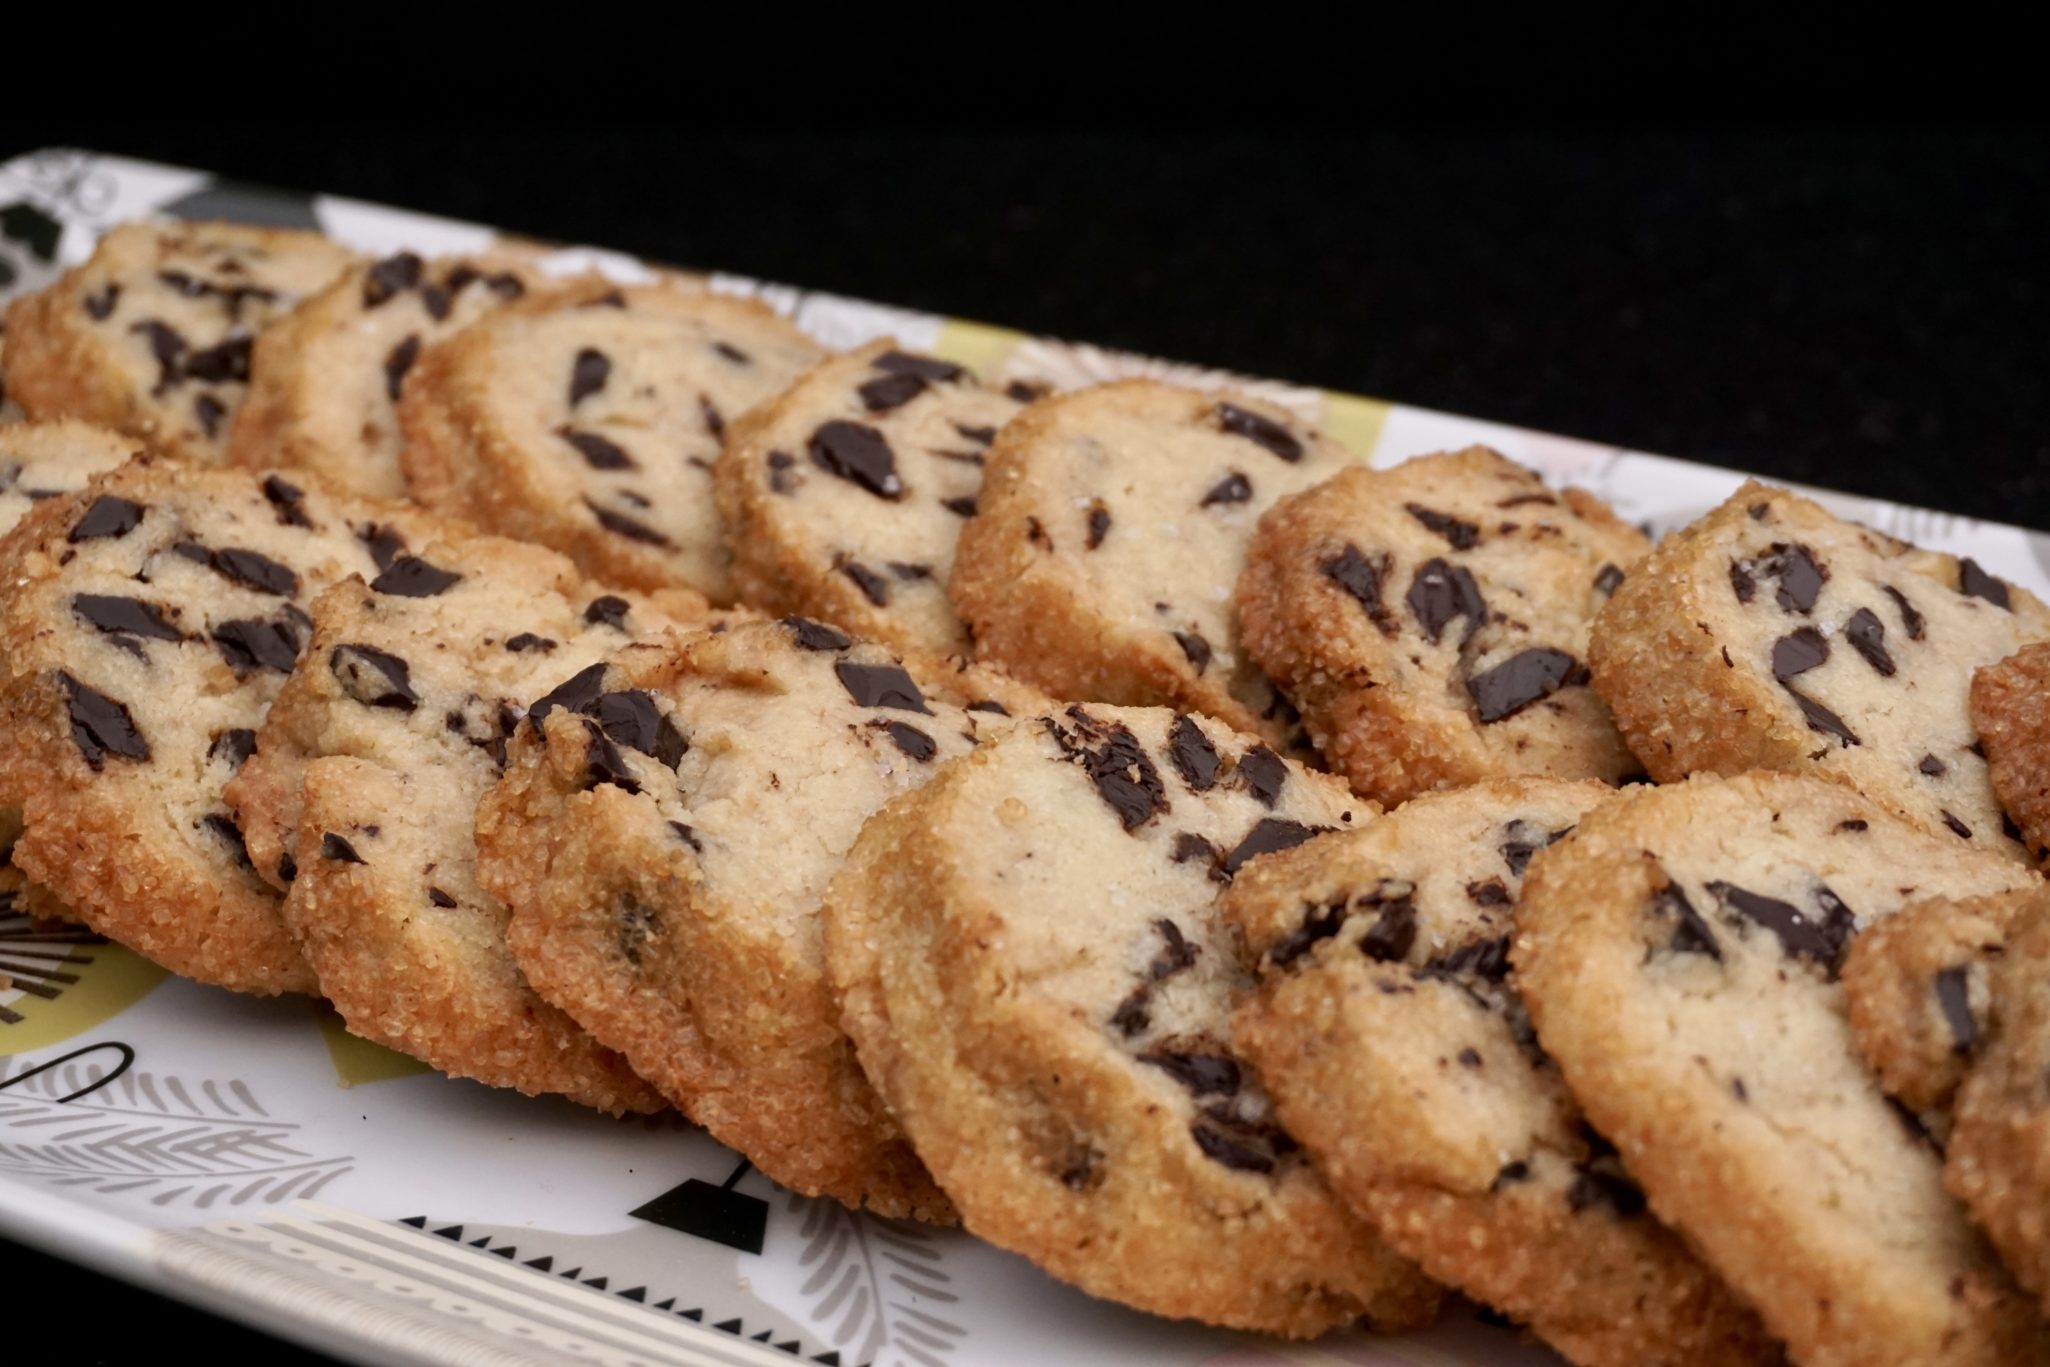
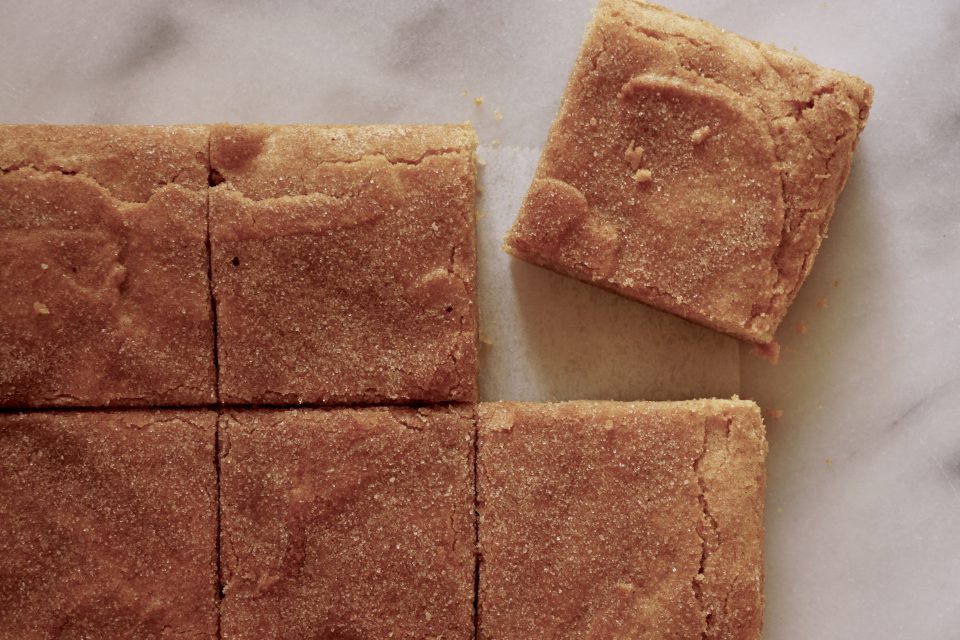
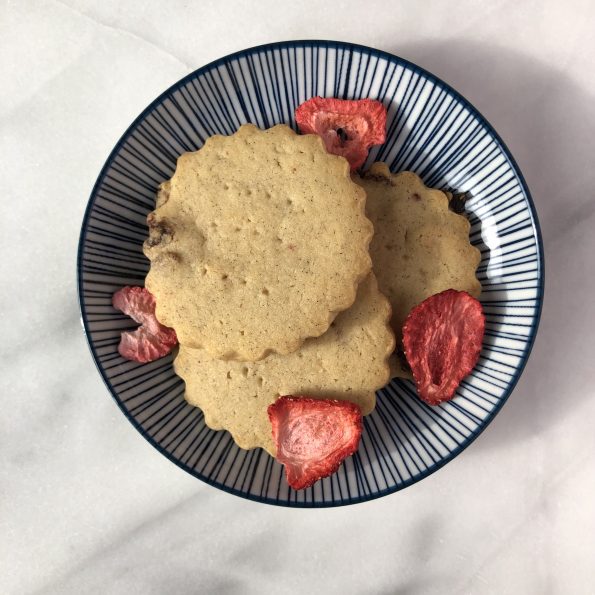
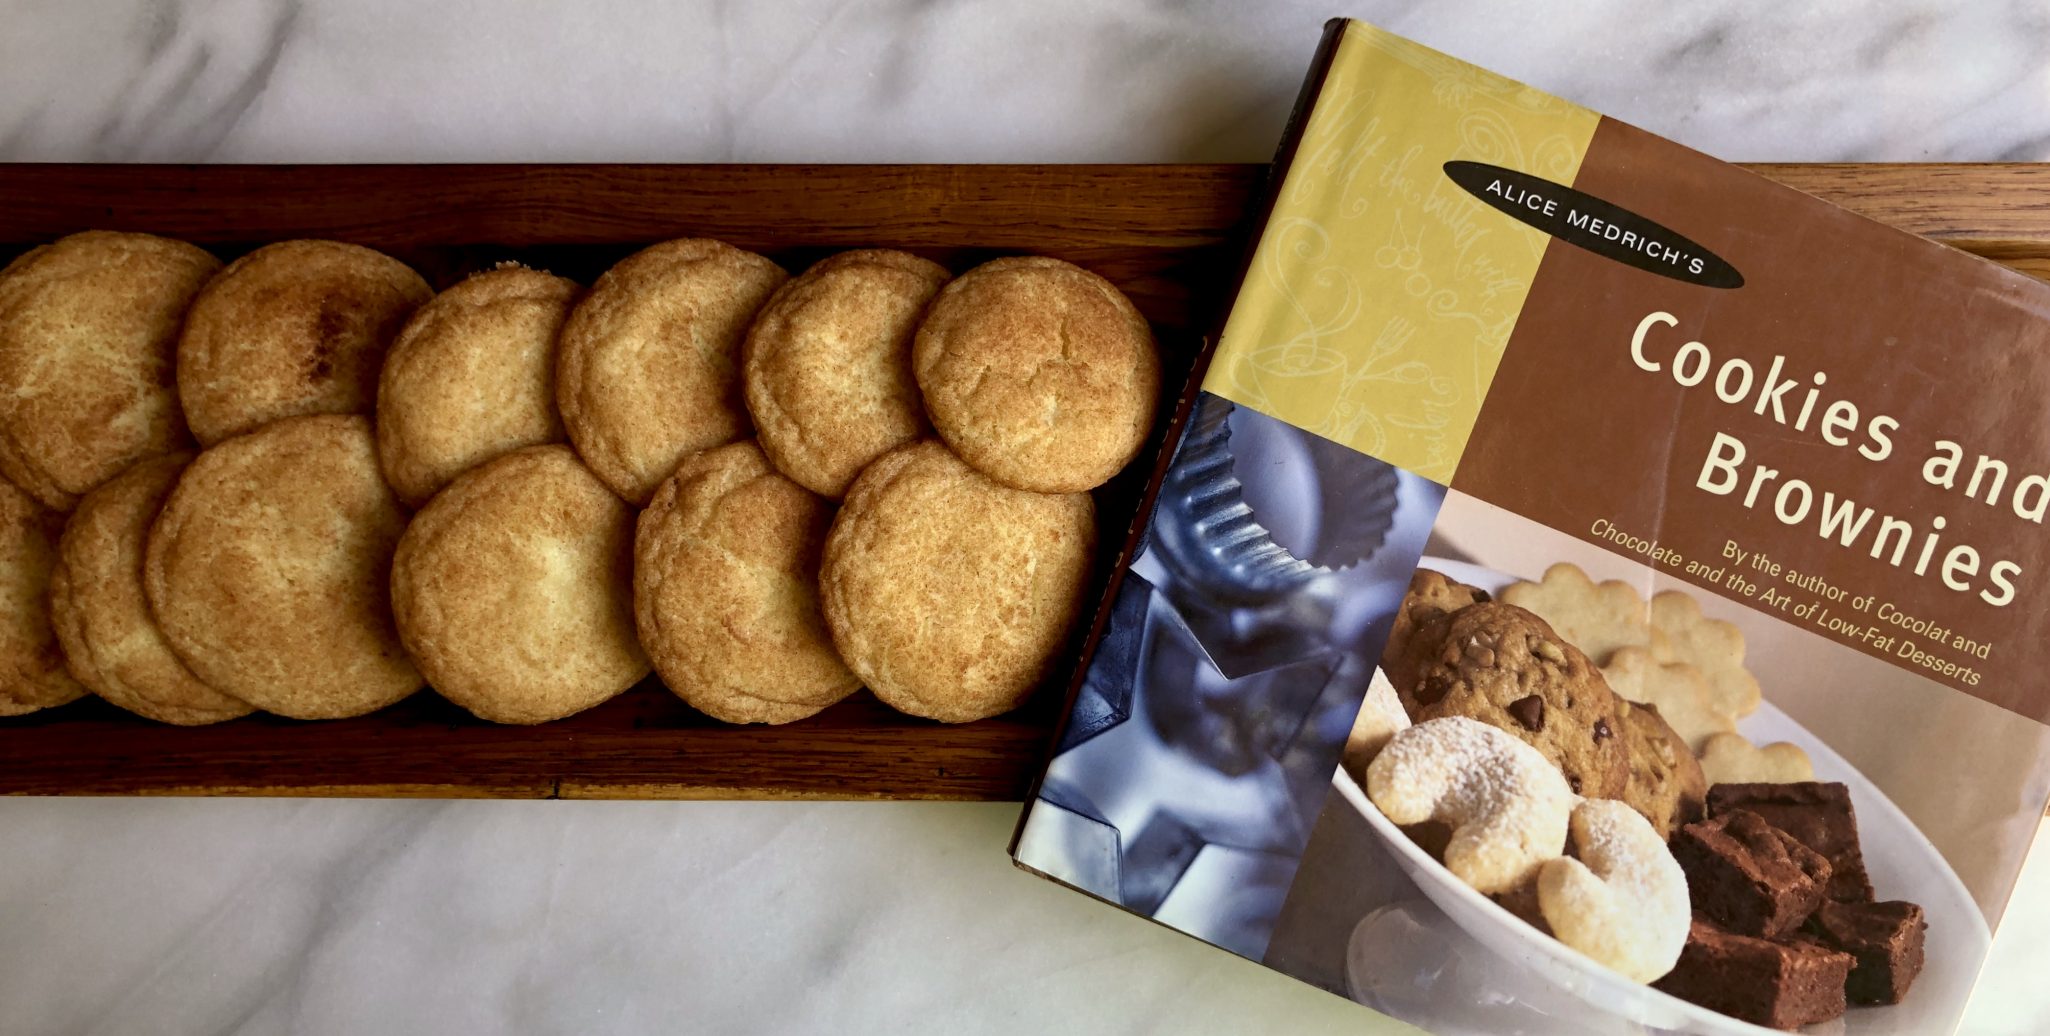
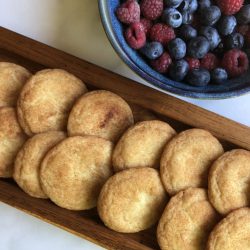
EVERYONE needs a scrumptious recipe for Snickerdoodles.  Buttery, sweet and spicy, crispy edges, soft chewy center,  finished with cinnamon sugar.  The quintessential cookie.  My favorite recipe comes from the cookie maven, Alice Medrich.  Unlike other recipes I have seen, hers are made with just butter. Yep, no shortening in these bad-boy bites of sweet cinnamon bliss.  The recipe is from her small but mighty book, Cookies and Brownies, long out of print but available on the secondary market. The book is worth getting just for this and her Lemon Bar recipe. Well written with easy-to-follow directions, it’s a keeper.  My copy is frayed and tattered, well worn from use.

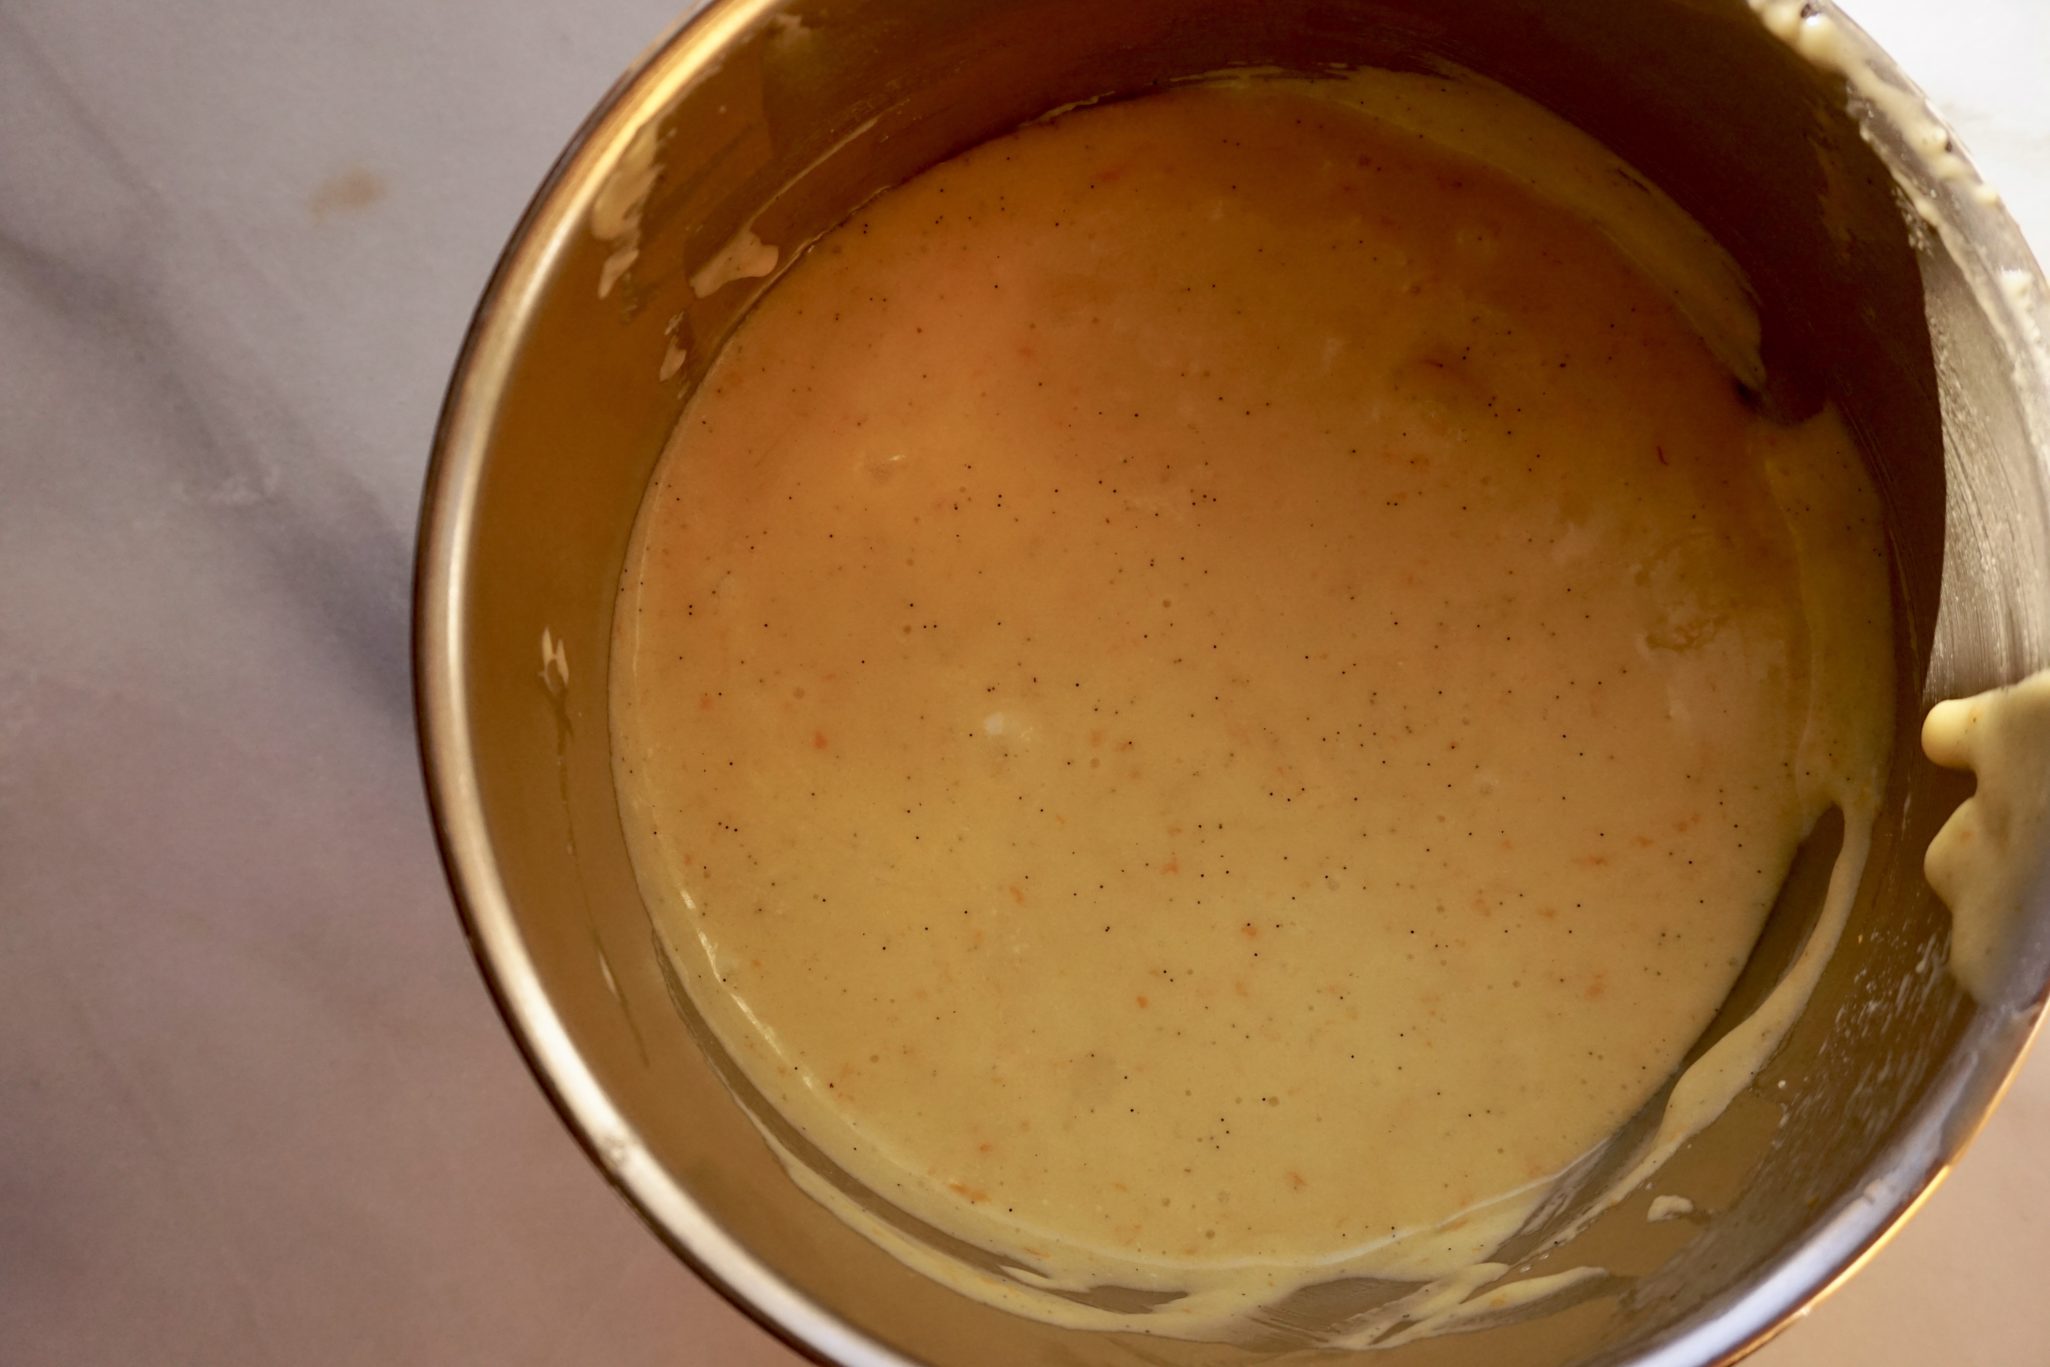
Cream butter and sugar together to smooth but NOT fluffy.  Add eggs, beat until blended.

Add flour and stir just until combined.  Don’t overmix.  The mixing changes the consistency of the cookie.  Fluffy butter-sugar mixture gives a cakier cookie, go for smooth and creamy.  After adding the flour mixture do not beat the dough too much or you will end up with a tough cookie.

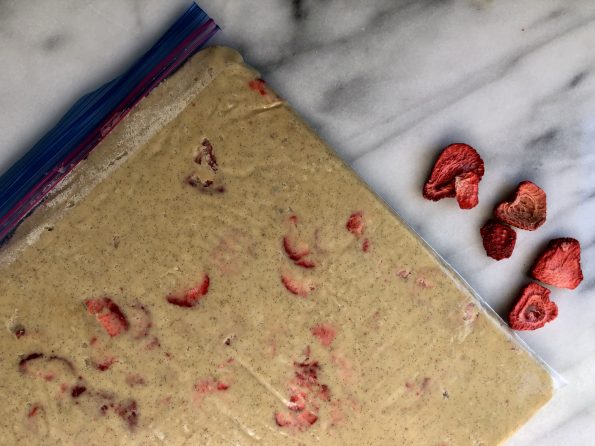
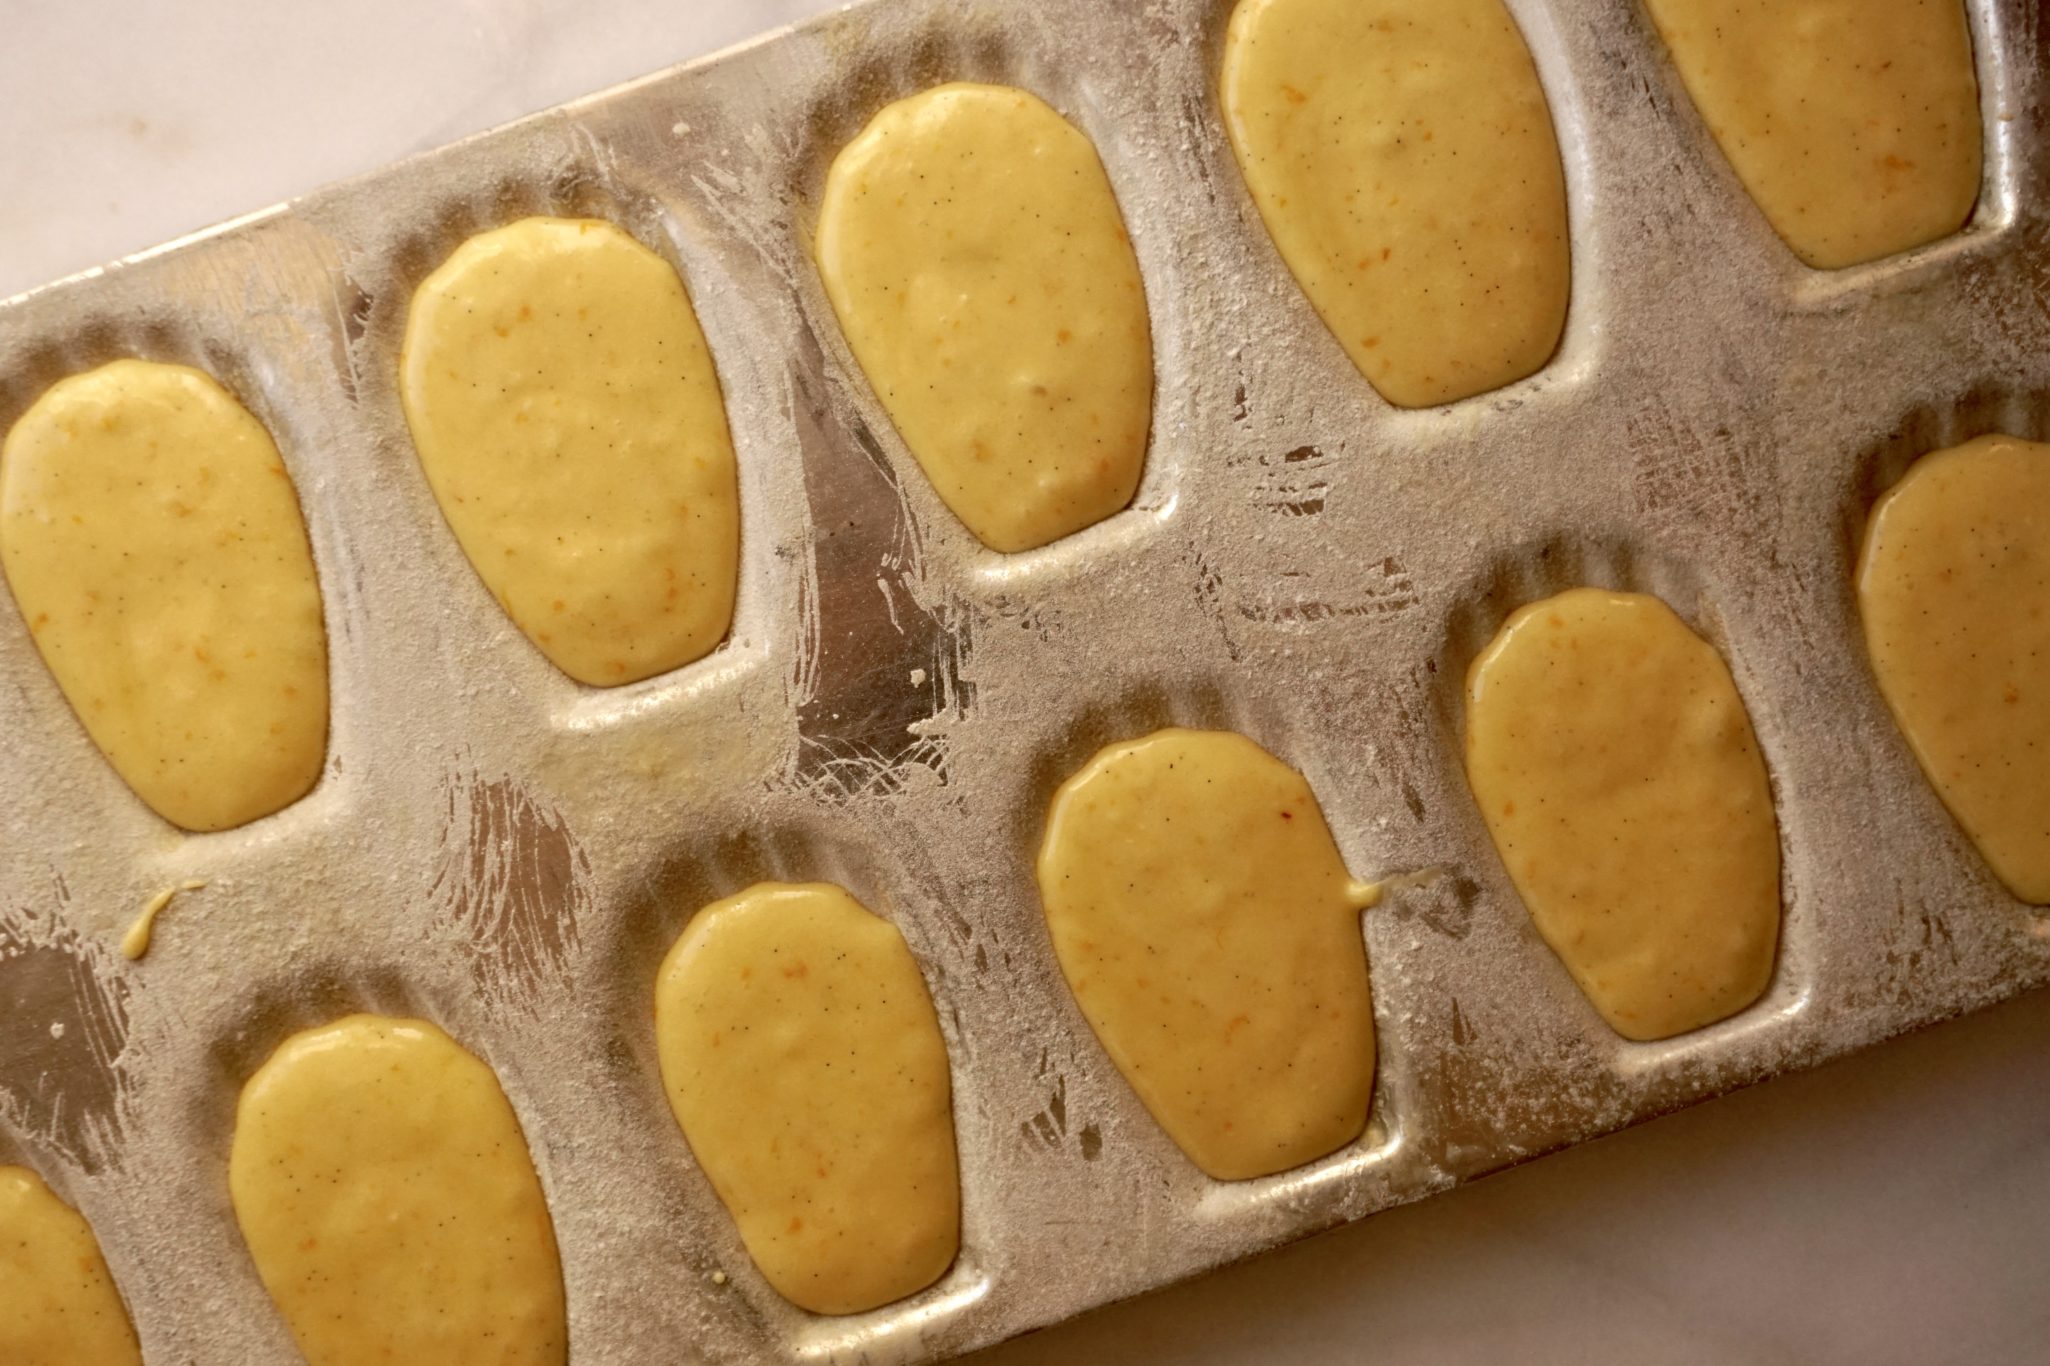
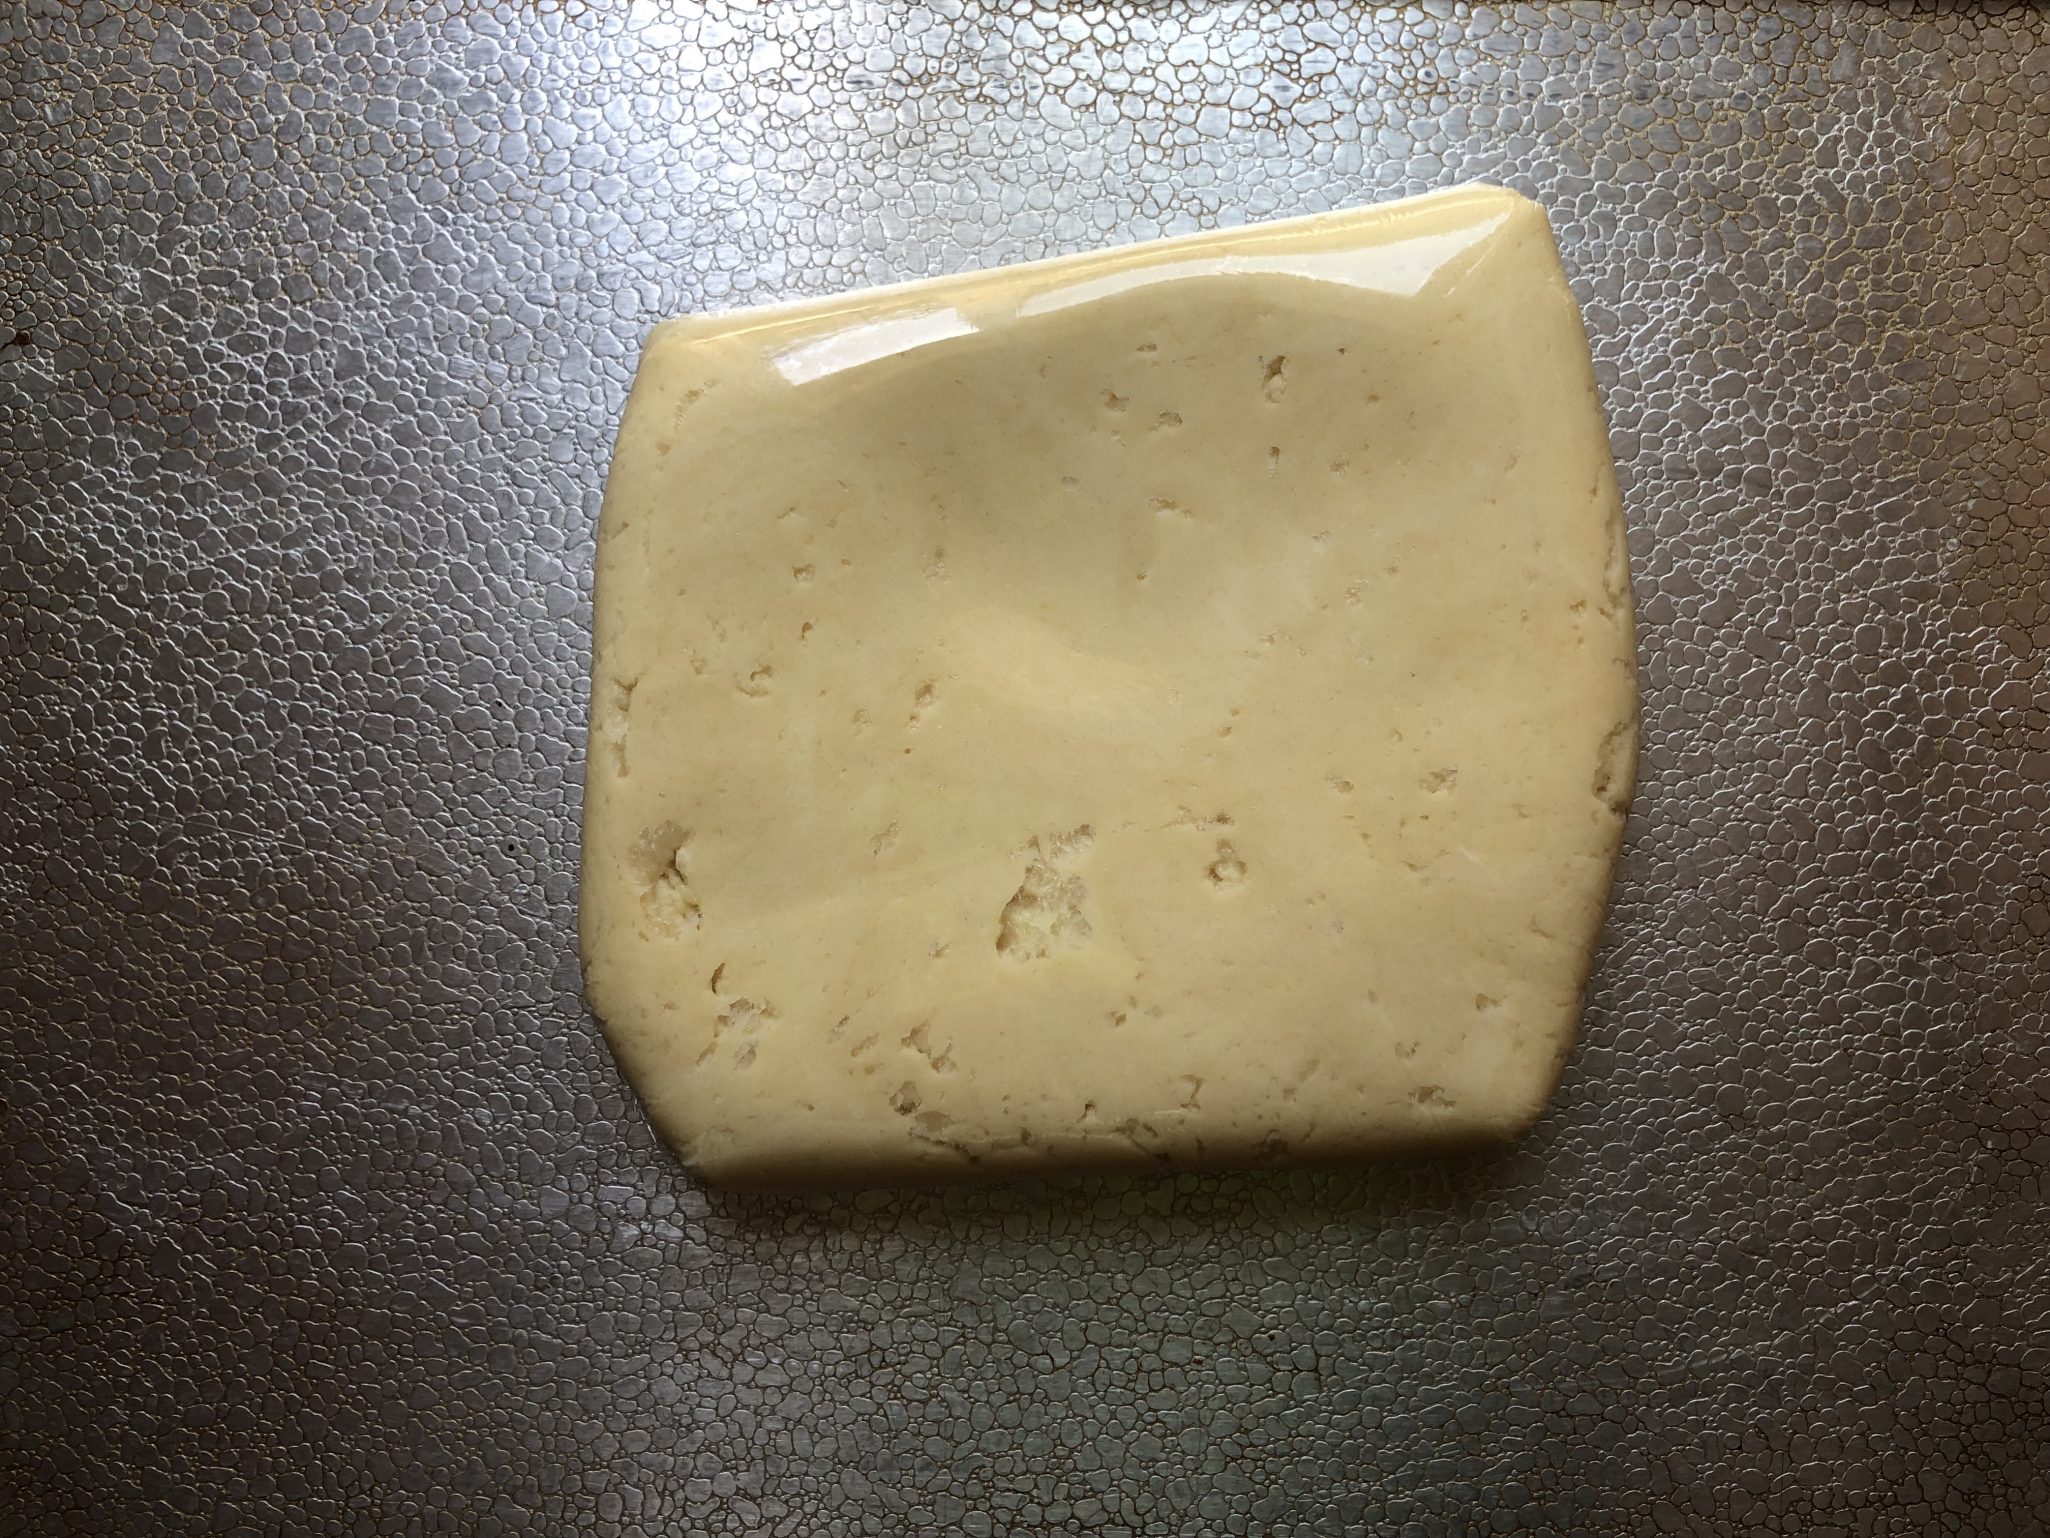
Gather dough into a disc, shape doesn’t matter.  Keep the thickness to about an inch.  This will make it easier to scoop and form the cookies after chilling.

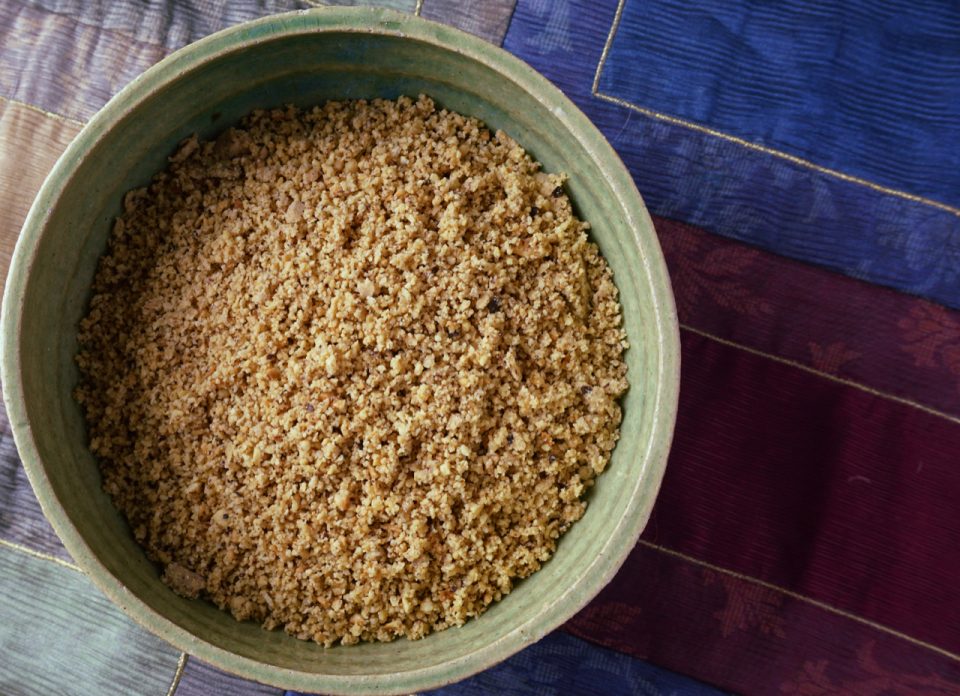
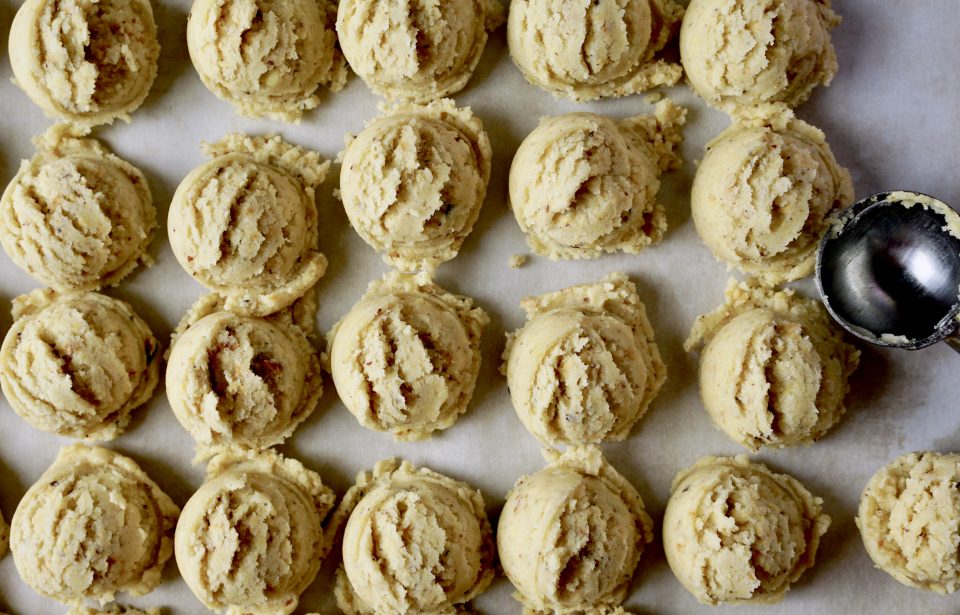
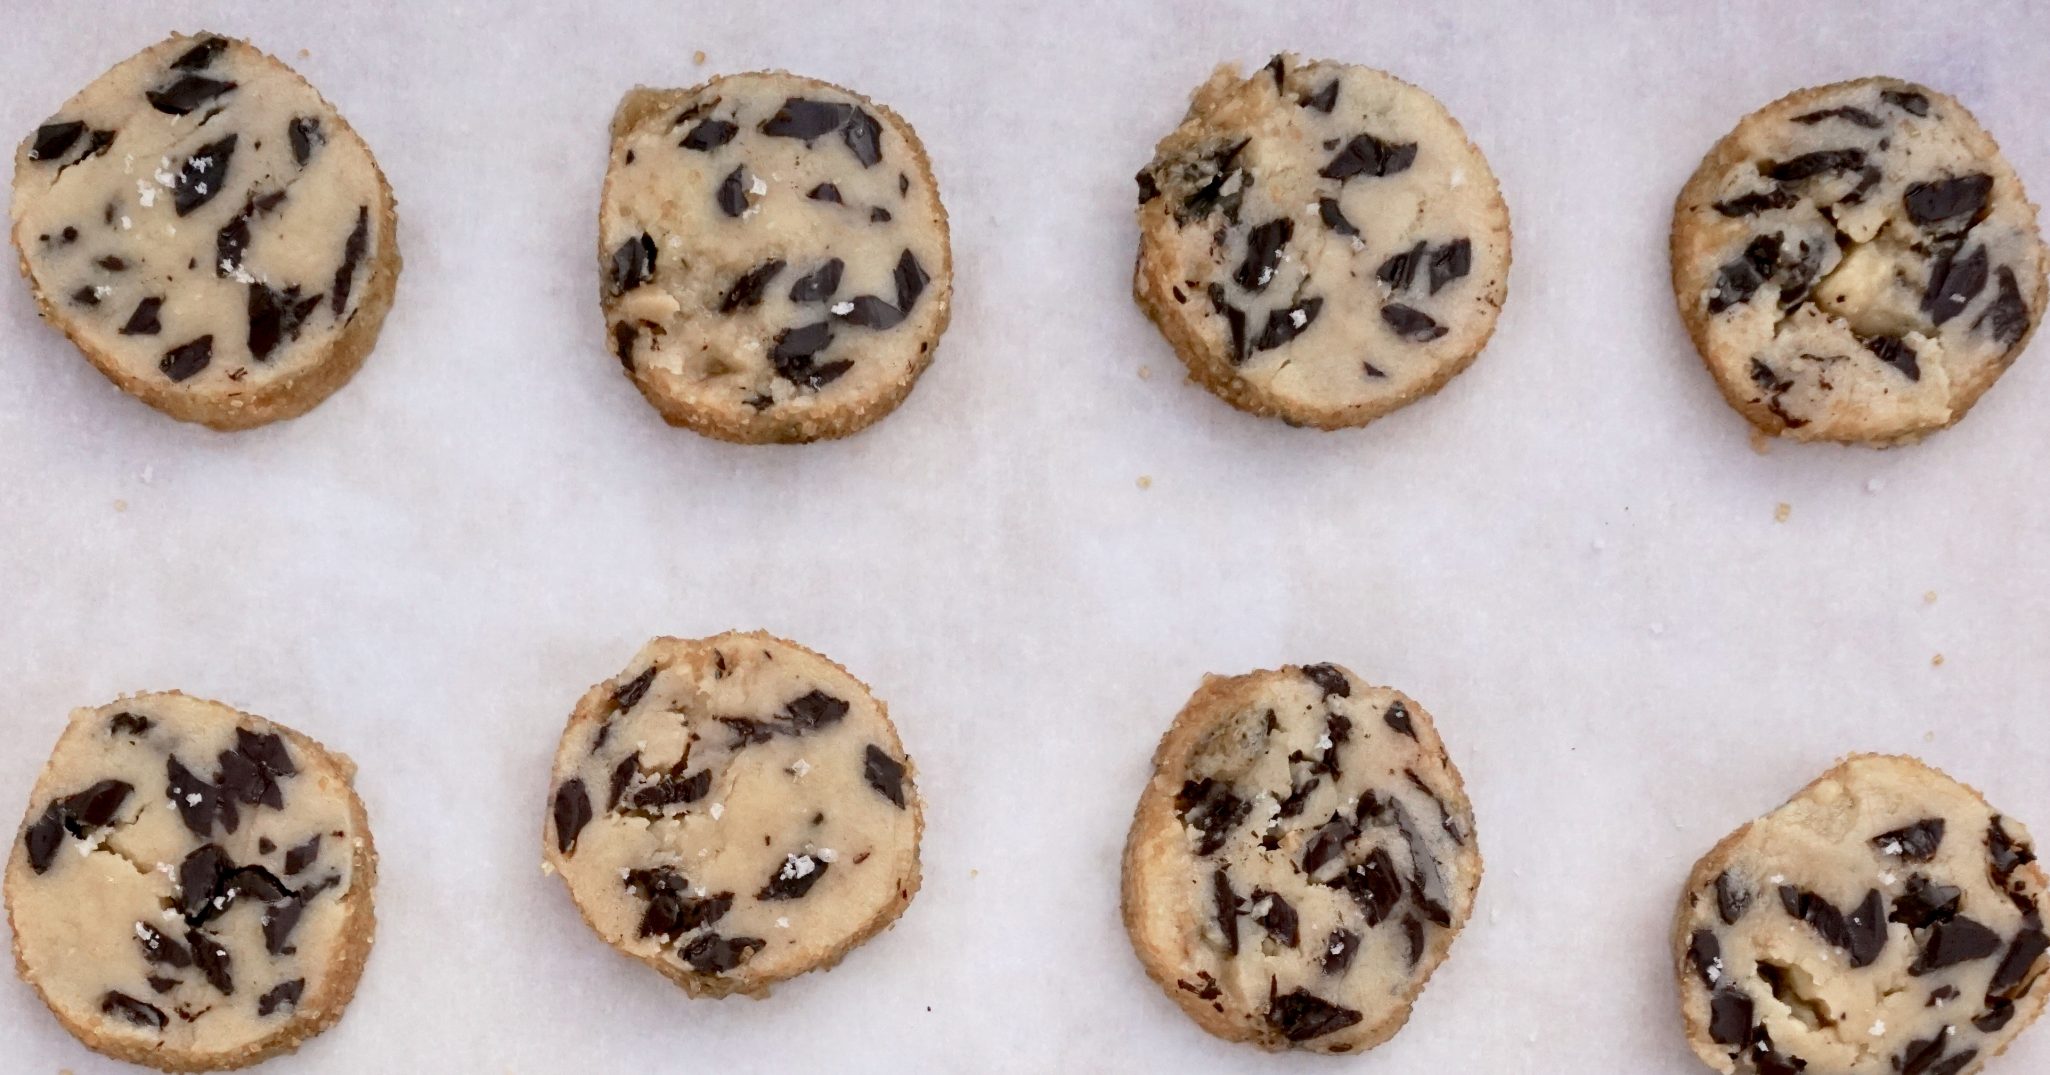
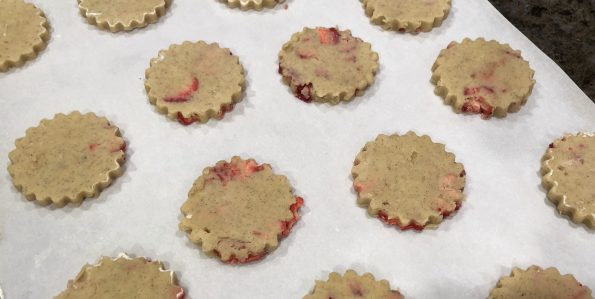
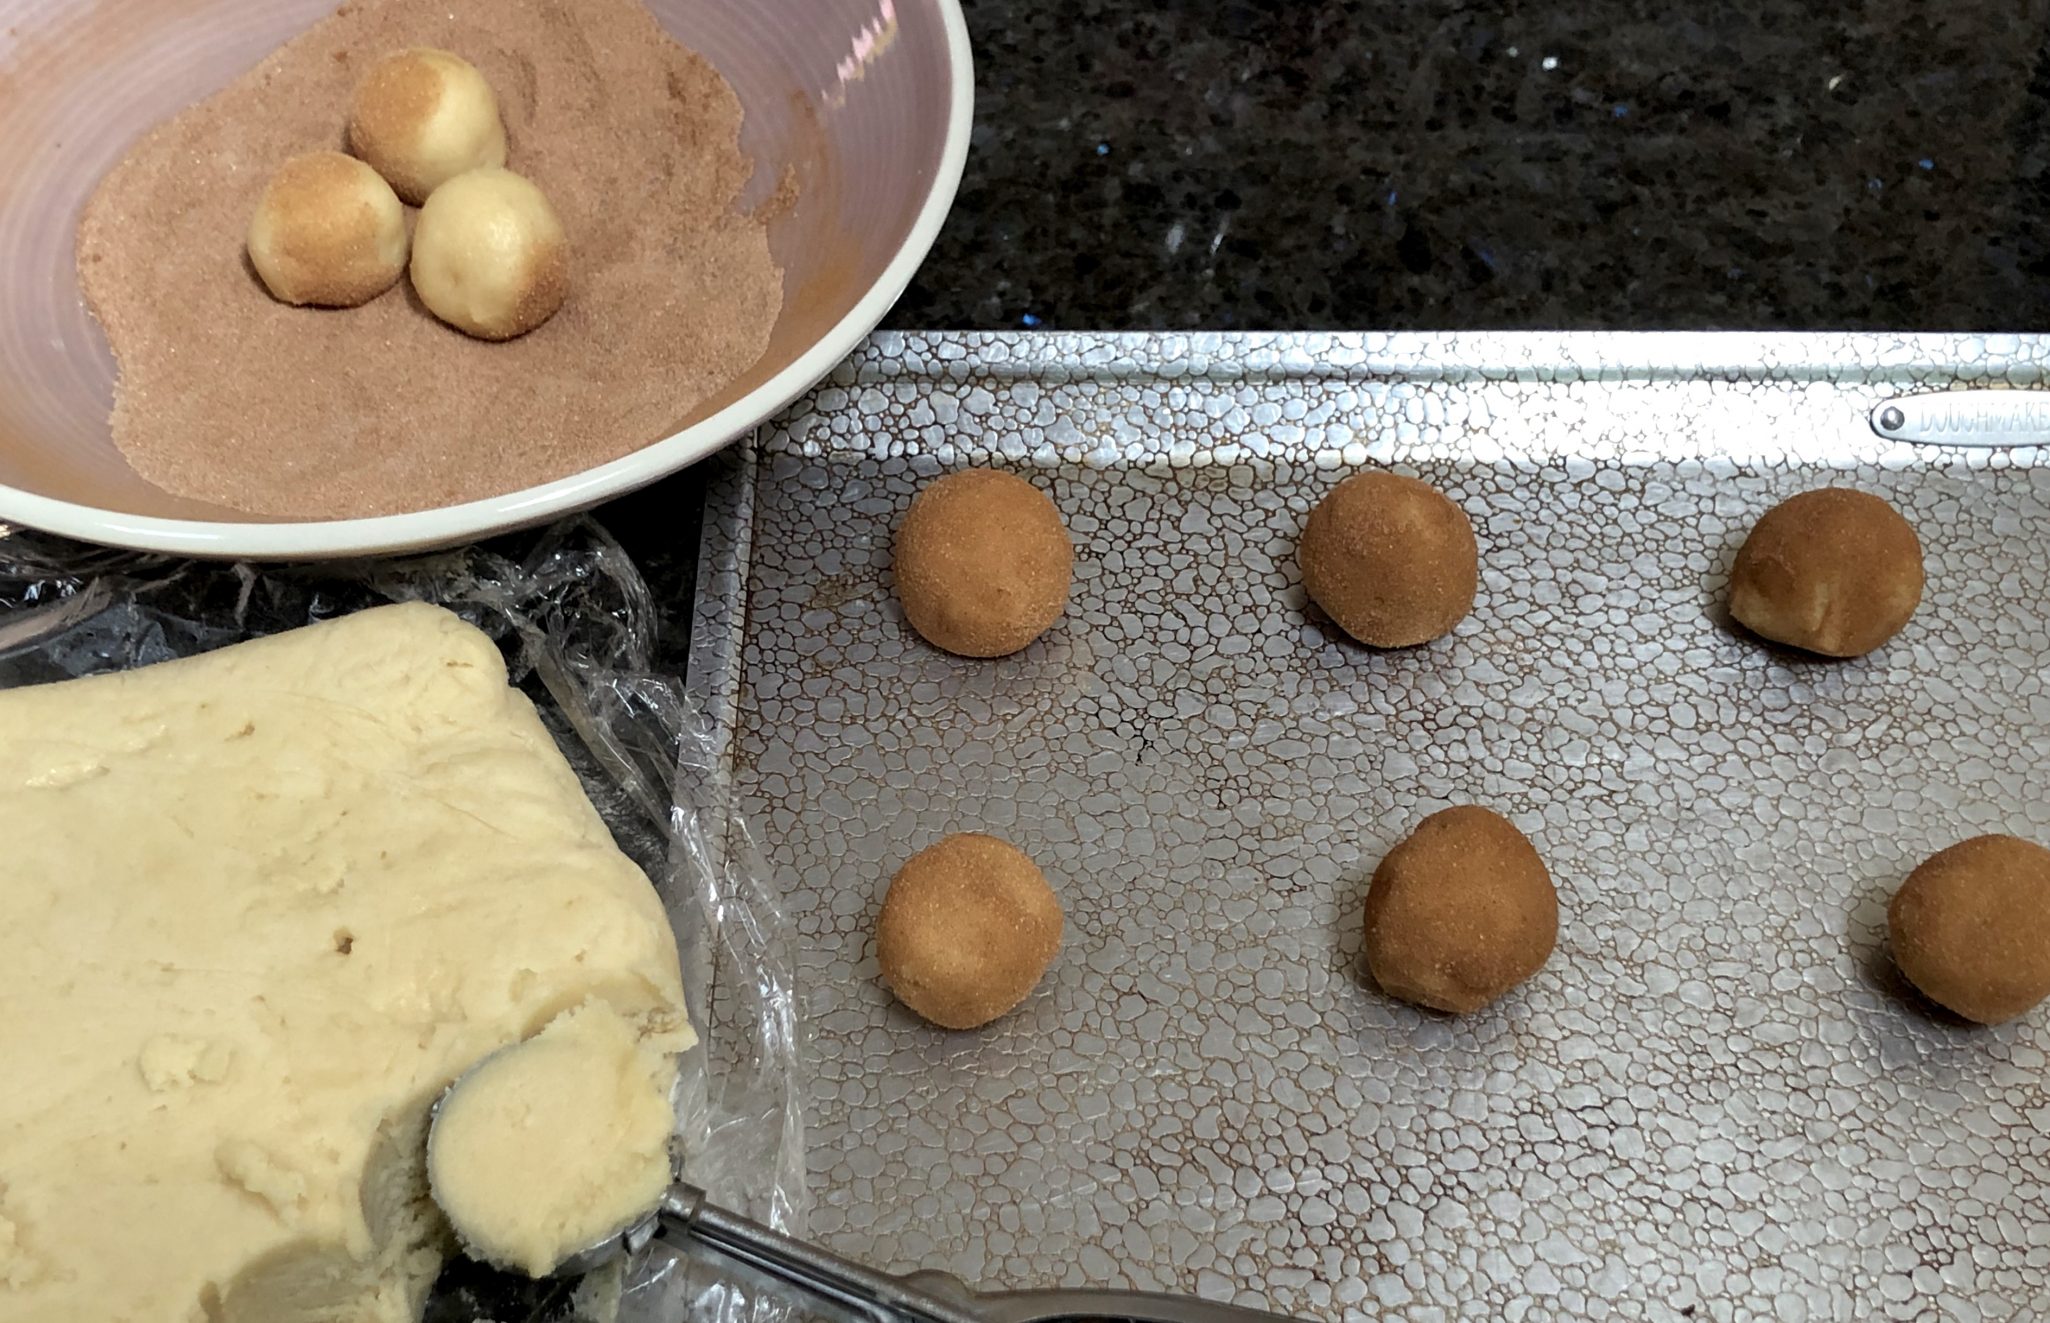
After chilling the dough,  use a 1 tablespoon ice cream scoop (#70) to form balls.  Shape the scoops into smooth balls and roll in cinnamon sugar.  Use a good quality cinnamon, like Penzey’s . This is a great cookie to make with the kids or grandkids, never met a kid that didn’t like to roll balls of cookie dough in copious amounts of cinnamon sugar all the while licking their fingers.

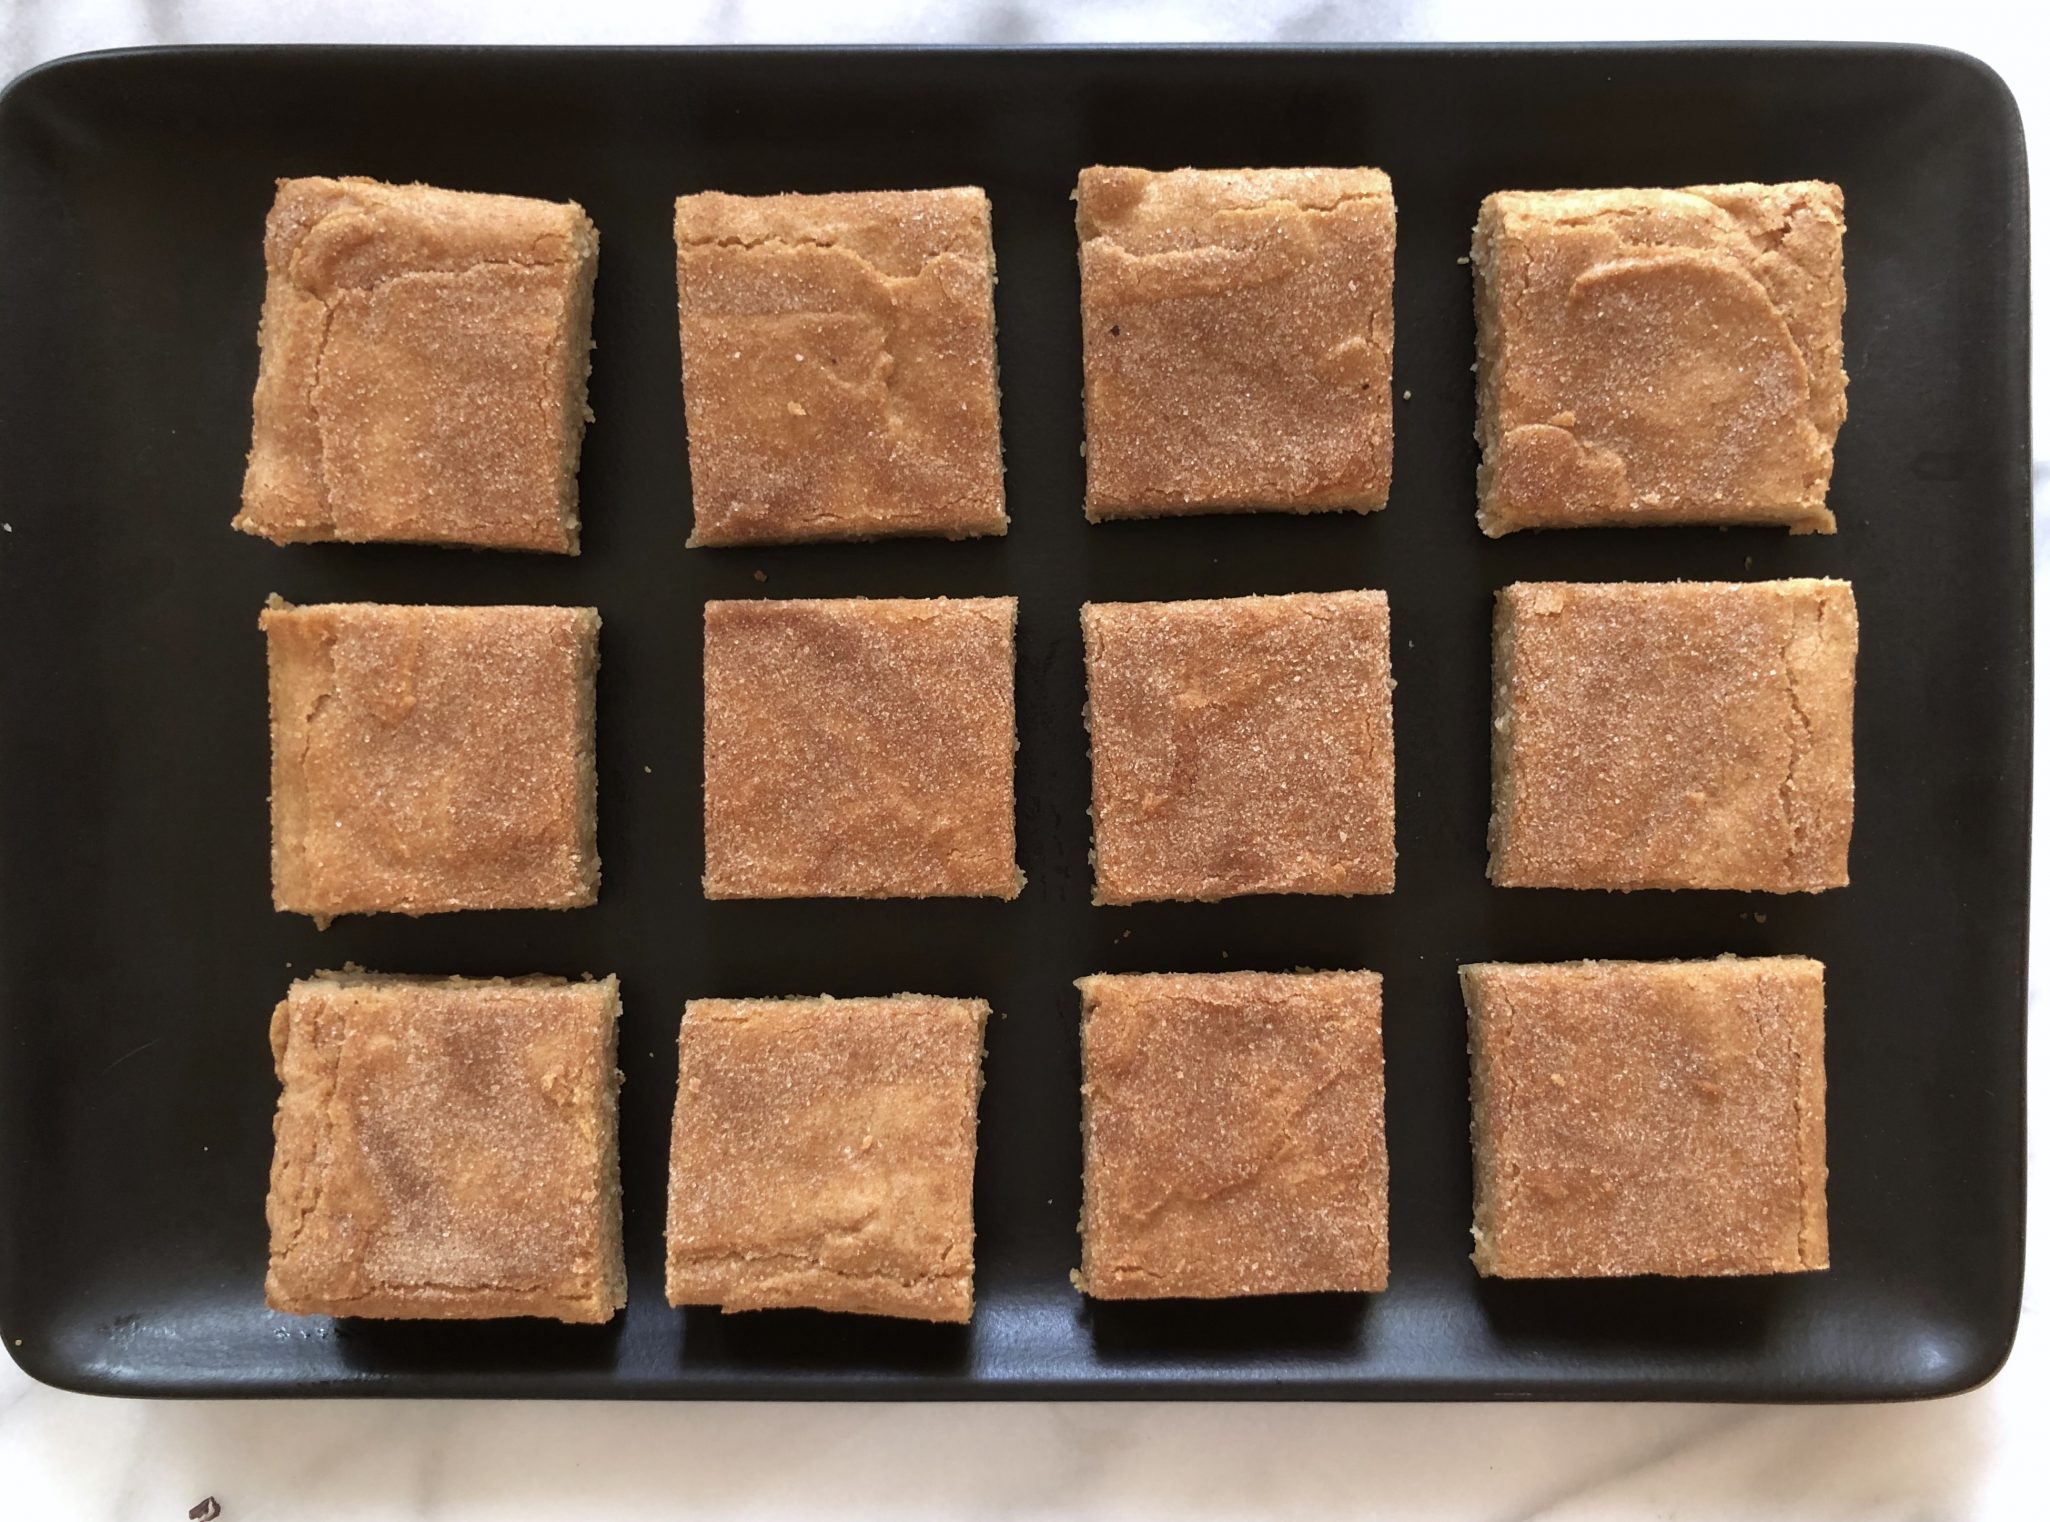
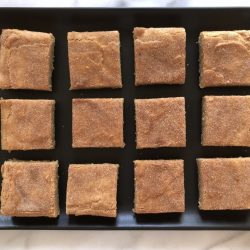
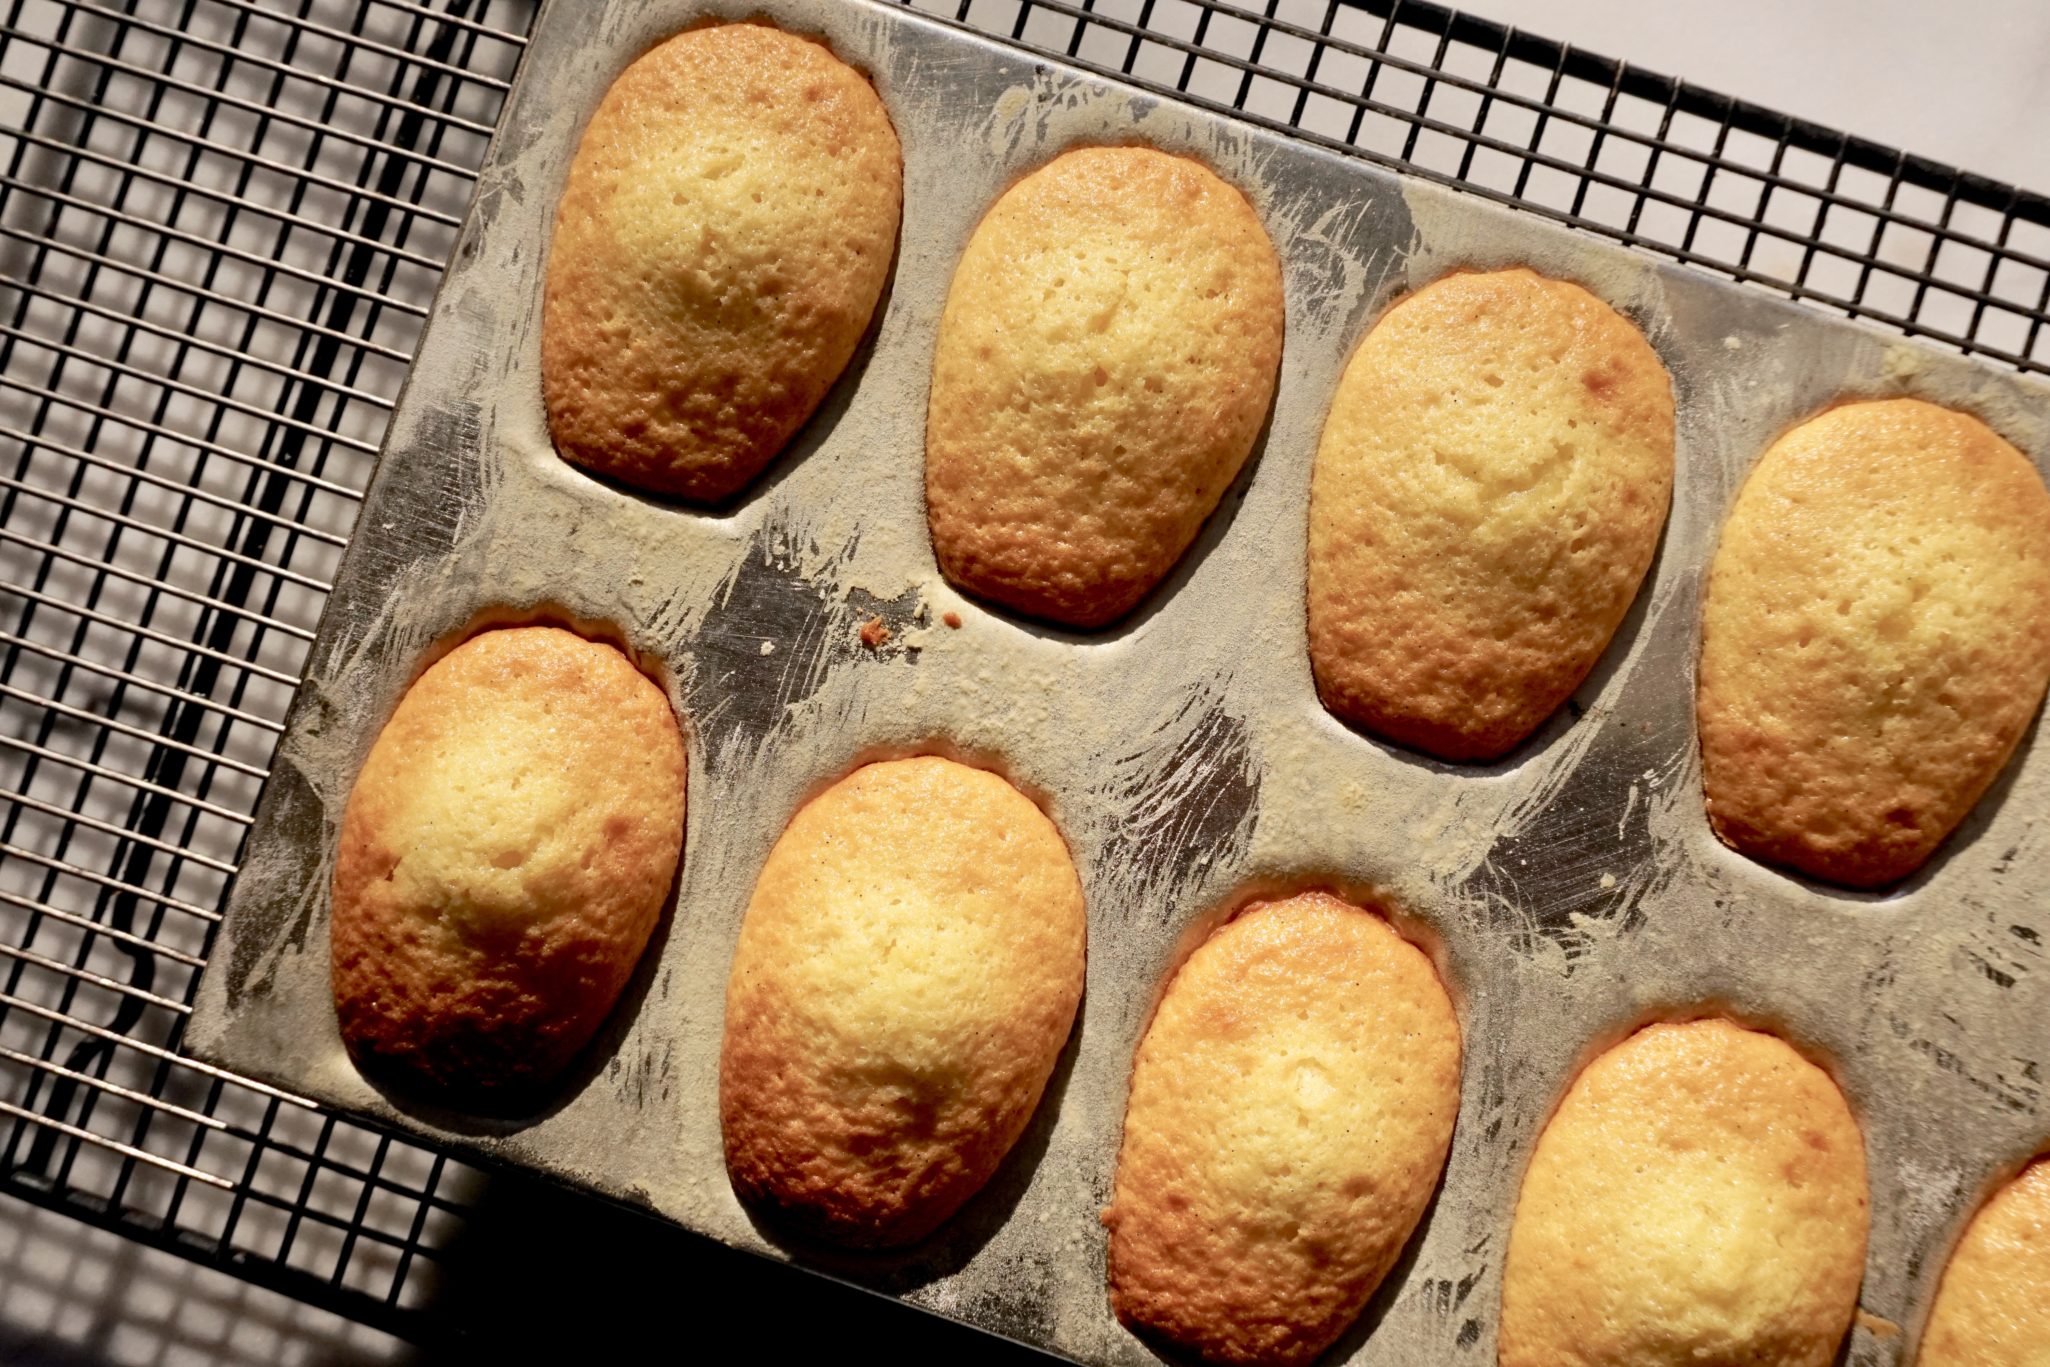
The one tablespoon scoop yields a cookie about 2 inch in diameter.  All well and good, BUT, the smaller you make the cookie the harder it is to end up with a cookie that has crisp edges and a soft center.  If that is what you are looking for, try making bigger cookies. Increase your baking time by a couple of minutes.

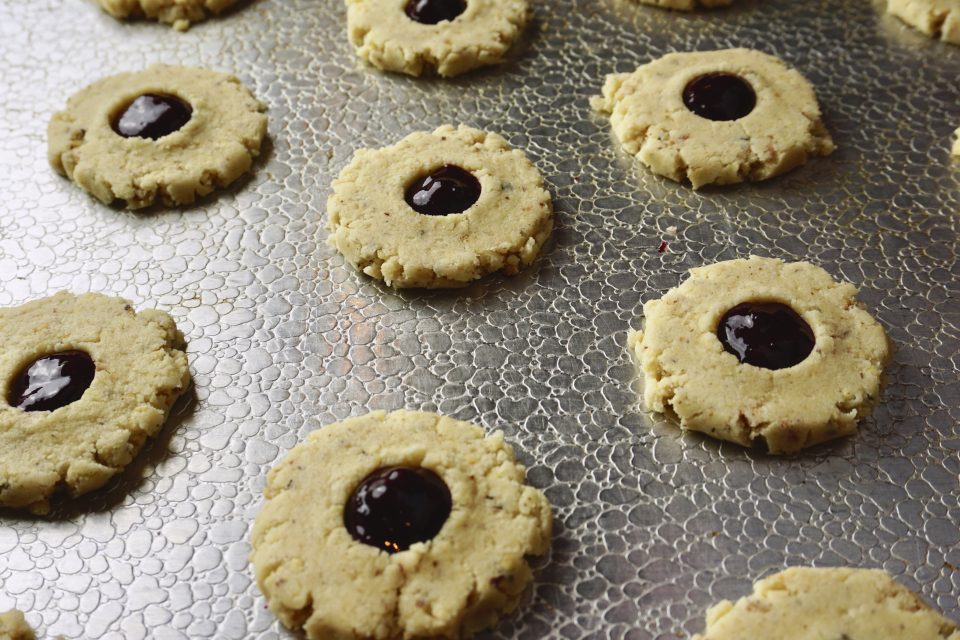
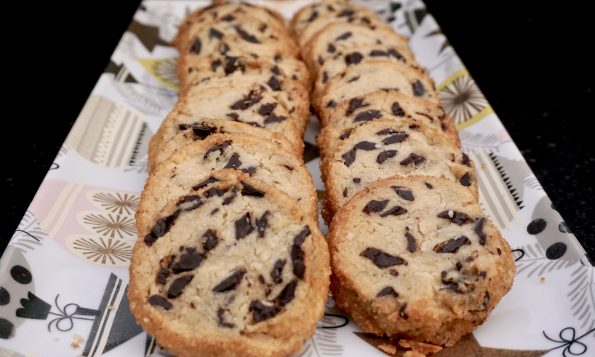
Bake cookies 8-10 minutes until the edges are golden brown.  I like the centers soft, if you like crunchy cookies, bake them a bit longer.  How long?  Don’t know, I don’t like them that way.

Snicker Doodles

Course cookies
Cuisine American
Keyword Snickerdoodles
Prep Time 20 minutes
Cook Time 10 minutes

Equipment

  • Cookie sheets, lined with parchment paper or greased

Ingredients

  • 3 cups unbleached all-purpose flour (13.5 ounces)
  • 2 teaspoons cream of tartar
  • 1 teaspoon baking soda
  • ½ teaspoon salt
  • ½ pound unsalted butter, softened (2 sticks)
  • cups sugar 10.5 ounces
  • 2 large eggs
  • 2 teaspoons ground cinnamon
  • 2 tablespoons granulated sugar

Instructions

  • Preheat the oven to 400° Position rack in the middle of the oven.
  • Combine the flour, cream of tartar, baking soda, and salt in a bowl and mix thoroughly with a whisk or fork.
  • In a medium mixing bowl with an electric mixer, beat the butter with the 1½ cups sugar until smooth and creamy, not fluffy. Beat in the eggs just until blended. Add the flour mixture and stir or beat on low speed just until incorporated. Gather the dough into a disc and wrap in plastic wrap. Refrigerate until firm, at least 30 minutes.
  • Mix the remaining 2 tablespoons sugar and the cinnamon in a small bowl. Form level tablespoons of dough with an ice cream scoop, into 1-inch balls. Roll the balls in the cinnamon sugar and place 2 inches apart on the lined or ungreased cookie sheets.
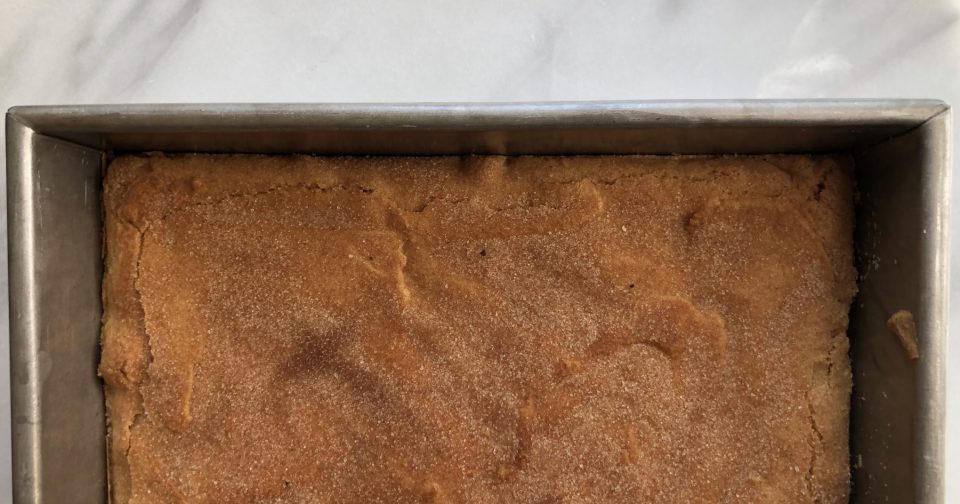
  • Bake for 8 to 11 minutes, until the cookies puff and begin to settle down. To create crevices, when cookies puff, tap cookie sheet on rack. This causes the cookie to sink, creating crinkles. Rotate the cookie sheet from front to back halfway through the baking time to ensure even baking. Bake until the edges are golden. Remove from oven and allow to cool for a couple of minutes. Remove cookies with a spatula to a wire rack. Don't let them cool completely or the cookies will stick to the sheet. I bake on ungreased sheets to minimize spreading.
  • Cool the cookies completely before stacking or storing. May be kept in an airtight container for several days.
Thumbprints: Thumbs Up for Day 9 of 12 Days of Cookies

Thumbprints: Thumbs Up for Day 9 of 12 Days of Cookies

Only 3 more cookies to bake for my 12 days of cookies 2018.  Cookie no. 9 is a riff on my go-to thumbprint cookie.  I decided to use toasted hazelnuts in place of walnuts.  Ok, not earth-shattering but enough of a twist that the hubster noticed (he is a thumbprint afficionado) and loved the nuanced change. The hazelnut MO?  More assertive than other nuts such as almonds or pecans, buttery and sweet.  It’s flavor shines in these thumbprint cookies. I filled the center with a berry-lime jam I had made at the end of summer and added a tease of vanilla to the dough to complement the jam.  Yummy!

Measure the amount of  nuts needed before grinding them.  You want the nuts to be finely ground but not to the point  where it starts to get pasty.

Take out your trusty ice cream/cookie scoop. I use a tablespoon scoop and line up the cookie dough balls, assembly line mentality, on a sheet.  Place dough balls on a cookie sheet approximately 1.5-2 inches apart. Press each one to flatten to 1/4-3/8 inch thick (thicker if larger).  Use the end of a wooden spoon or utensil of similar size, to create a depression in the center of each cookie.  I use a hand blender to puree my jam (no fruit lumps!) and a squeeze bottle to squirt the jam into the center of each cookie. How easy is that?

This turned out to be a delish version of thumbprint cookies.  Perfect during the holidays and especially nice with a bit of the bubbly to bring in the new year!

Riff on Thumbprint Cookies

Course cookies
Cuisine American
Keyword thumbprints
Prep Time 10 minutes
Cook Time 20 minutes
Total Time 30 minutes

Ingredients

  • 1 1/2 cup coarsely chopped toasted hazelnuts
  • 1 cup butter at room temperature
  • 3/4 cup granulated sugar
  • 2 1/4 cups all-purpose flour
  • 1/2 teaspoon vanilla extract
  • 1/4 cup seedless berry-lime preserves or your choice
  • Dash of salt
  • Powdered sugar

Instructions

  • Preheat oven to 350 degrees.
  • Chop nuts in food processor until very fine. Beat butter, nuts, salt and granulated sugar in mixer bowl until light. Beat in flour into blended.
  • Shape dough into 1 inch balls.
  • Place 2 inches apart on ungreased cookie sheets and flatten to 1 1/2 inch circle.
  • Press into centers with a fingertip.
  • Fill each indentation with 1/4 teaspoon preserves.
  • Bake 10-12 minutes, until golden.
  • Cool.
  • Sift confectioner's sugar over cookies.

Notes

Substitute your favorite jam, I plan to use a pineapple-orange jam for the next batch.

Waiting to Bakehale (Salted Butter & Chocolate Chunk Shortbread) Day 7 Holiday Cookies:

Waiting to Bakehale (Salted Butter & Chocolate Chunk Shortbread) Day 7 Holiday Cookies:

From the 2018 cookie annals, I give you Salted Butter & Chocolate Chunk Shortbread. Why re-post? How many cookies are the focus of a magazine article?  Such is the case in this month’s Atlantic, The Rise of Anxiety Baking.  Apparently, since “he who shall not be named” has unwittingly been thrust into “public service”, there has been a corresponding rise in anxiety in Americans, especially Millennials. This heightened feeling of impending doom has apparently caused a significant uptick in cookie baking in an effort to soothe the soul and calm the nerves.  The one cookie that has become the poster child for anxiety baking is Alison Roman’s Salted Butter & Chocolate Chunk Shortbread.  It definitely helps that this cookie is damn delicious. A buttery, tender shortbread dotted with nuggets of dark chocolate and edged with crunchy Demerara Sugar.  Are you salivating? You should be.

Yep, that is me. No, not a millennial, but a no holds barred bake to relieve stress crazy person.  I made batches of this cookie.  I took them to work, to coffee with the moms, to the Omnivore Books Cookie Contest. (I didn’t win AGAIN).  Think of this cookie as a tasty prescription.  Bake it, feel better and make other people happy.  A pharmacist’s advice for free. You’re welcome.

(Salted Butter & Chocolate Chunk Shortbread) New Year’s Resolution #2 Finish 12 Days of Cookies

Ingredients

  • 1 cup plus 2 tablespoons 2 1/4 sticks salted butter, cut into 1/2-inch pieces
  • 1/2 cup granulated sugar
  • 1/4 cup light brown sugar
  • 1 teaspoon vanilla extract
  • 2 1/4 cups all-purpose flour
  • 6 ounces semi- or bittersweet dark chocolate chopped (but not too fine, you want chunks)
  • 1 large egg beaten
  • Demerara sugar for rolling
  • Flaky sea salt for sprinkling

Instructions

  • The cookie dough can be made ahead and stored, tightly wrapped in plastic, up to 1 week in the refrigerator, or 1 month in the freezer. Cookies can be baked and stored in plastic wrap or an airtight container for 5 days.
  • 1. Line a rimmed baking sheet with parchment paper.
  • 2. Using an electric mixer and a medium bowl or a stand mixer fitted with the paddle attachment, beat the butter, both sugars, and vanilla on medium-high till it’s super light and fluffy, 3 to 5 minutes. Using a spatula, scrape down the sides of the bowl and, with the mixer on low, slowly add the flour, followed by the chocolate chunks, and beat just to blend.
  • 3. Divide the dough in half, placing each half on a large piece of plastic wrap. Fold the plastic over so that it covers the dough to protect your hands from getting all sticky. Using your hands (just like you’re playing with clay), form the dough into a log shape; rolling it on the counter will help you smooth it out, but don’t worry about getting it totally perfect. You can also do this using parchment paper, if you prefer, but I find using plastic wrap easier when it comes to shaping the log. Each half should form two logs 2 to 2 1/4 inches in diameter. Chill until totally firm, about 2 hours.
  • 4. Preheat the oven to 350°F.
  • 5. Brush the outside of the logs with the beaten egg and roll them in the Demerara sugar (this is for those really delicious crispy edges).
  • 6. Slice each log into 1/2-inch-thick rounds, place them on the prepared baking sheet(s) about 1 inch apart (they won’t spread much), and sprinkle with flaky salt. Bake until the edges are just beginning to brown, 12 to 15 minutes. Let cool slightly before eating them all.
Belly Up to the Snickerdoodle Bar Day 6 Holiday Cookies

Belly Up to the Snickerdoodle Bar Day 6 Holiday Cookies

A riff on quite possibly my favorite cookie, the Snickerdoodle.  The Snickerdoodle is the quintessential cookie. Buttery, chewy, slightly cakey center, crispy edges, a nice hit of cinnamon, my mouth is watering as I write this. This year’s Washington Post’s favorite cookies of 2018 include a Snickerdoodle Blondie.  We all know the quick and dirty route to a batch of cookies is a bar cookie.  Snickerdoodles, baked in a square pan instead of individual cookies, texturally a bar cookie but taste-wise just like a snickerdoodle. Ah, two worlds collide beautifully.

Snickerdoodle Blondies

Quick and easy bar cookie.  The texture of a blondie/brownie but the taste of a Snickerdoodle.  All that buttery cinnamony goodness in a bar.
Servings 16 Servings
Calories 220kcal
Author Adapted from WAPO

Ingredients

  • 12 tablespoons 1 1/2 sticks unsalted butter, at room temperature
  • 1 cup granulated sugar plus 2 tablespoons for the topping
  • 1/2 cup packed brown sugar
  • 2 large eggs
  • 2 teaspoons vanilla extract
  • 2 cups flour
  • 1 teaspoon ground cinnamon plus more for the topping
  • 3/4 teaspoon baking powder
  • 1/2 teaspoon kosher salt

DIRECTIONS

  • Preheat the oven to 350 degrees. Grease a 9-inch-square baking pan with cooking oil spray then line the bottom with parchment paper.

Instructions

  • Combine the butter, the cup of granulated sugar and the brown sugar in the bowl of a stand mixer or handheld electric mixer; beat on medium speed for a few minutes, until lightened and a little fluffy. Stop to scrape down the bowl.
  • Add the eggs and vanilla extract; beat on medium speed until well incorporated.
  • Whisk together the flour, teaspoon of cinnamon, baking powder and salt in a separate bowl, then add to the mixer bowl; beat on medium-low speed until well incorporated. The dough will be quite soft.
  • Transfer to the baking pan, then spread the dough evenly all the way into the corners. Whisk together the remaining 2 tablespoons of granulated sugar with the amount of cinnamon you prefer; we recommend 1/2 to 1 teaspoon. Sprinkle that mixture evenly over the surface. Bake (middle rack) for about 25 minutes, until golden and still slightly soft at the center.
  • Cool completely (in the pan) before serving or storing. It's best to lift out the slab and slice on a cutting board; discard the parchment before cutting.

Notes

I used only 1/2 teaspoon of cinnamon in the topping which seemed like plenty

Going to a holiday party? Make a batch, leave it in the pan and give the whole kit-& Kaboodle of s-doodles to the host.


Strawberry Vanilla Shortbread Day 4 Holiday Cookies

Strawberry Vanilla Shortbread Day 4 Holiday Cookies

Day 4 of the 12 Days of Cookies is a keeper.

I LOVE shortbread, it is hands down my all-time favorite cookie.  During the holidays I usually bake a batch of classic Scottish ShortbreadThis year, I am adding Strawberry Vanilla Shortbread Cookies from Use Real Butter to the rotation. Sweet strawberries and a hefty dose of vanilla add a one-two punch to a buttery, tender cookie. I made a batch and the fam scarfed them down in no time flat.

I almost didn’t try this recipe. The first part of Jen’s post is a how-to on drying strawberries.  It’s winter, where am I going to find fresh sweet strawberries to dry?  Not happening in my house, even if it’s the height of strawberry season, I’m way too lazy.  Luckily, at the very end of the instructions, she adds “If this is too much of a pain…you can always grab a bag of freeze-dried strawberries at Trader Joe’s.  Bingo, I am all over that idea.

I should have cut the strawberry pieces smaller for better distribution.  I used vanilla paste in place of the pods and part of the extract.  Once the dough is made, place it in a gallon-sized Ziploc bag and roll the dough flat using the Ziploc border to create a square.  You can also shape the dough into a log for slice and bake cookies.

I used a fluted cookie cutter, chilled the dough to help keep its shape.  It was a little tough cutting through the bits of strawberries but still doable.

This is an absolutely delicious cookie.  If you like buttery, sweet-tart strawberry, and vanilla, bake this cookie.

Strawberry Vanilla Shortbread Cookies

Ingredients

  • 8 oz. unsalted butter room temperature
  • 1 cup 3.5 oz. or 100g powdered sugar
  • 2 vanilla beans split and seeds scraped
  • 1 tbsp vanilla extract 2 tbsp of vanilla paste can be subbed for the pods and reduce extract to 1/2 tbsp
  • 1 tbsp Grand Marnier or orange liqueur
  • 2 cups 9 oz. or 260g all-purpose flour
  • 1/4 tsp sea salt
  • 1 cup 4 oz. or 115g chopped dried strawberries (recipe below) or 1 cup freeze-dried strawberries

Instructions

  • Beat the butter with a paddle attachment until smooth.
  • Add the powdered sugar to butter and beat on medium speed until blended.
  • Add the vanilla bean seeds (use the pods for something else) or vanilla paste, vanilla extract, and Grand Marnier to the butter mixture and beat until incorporated.
  • Mix the flour and salt into the butter mixture until the flour is absorbed and no dry flour remains.
  • Stir the chopped strawberries into the dough. Scrape the dough into a gallon-size ziploc bag and roll flat with a rolling pin until the dough fills the bag in an even layer.
  • Seal the bag and refrigerate for at least an hour.
  • Preheat oven to 325°F and line your baking sheet(s) with parchment paper. When the dough is chilled, peel off the plastic and slice the dough into desired shapes or use a cookie cutter (circles show the least deformation) and re-roll scraps to use again.
  • Arrange your raw cookies 1.5 inches from each other on the baking sheet and dock them (prick them) with a fork three times across each cookie.
  • Bake 16-20 minutes (18 minutes worked well for me) until the bottoms are golden. Remove from oven and let cool on a cooling rack.

Notes

Makes about 36 2-inch round cookies or 42 1.5-inch square cookies.


Snowy Topped Brownie Drops, Cookie Number 4

Snowy Topped Brownie Drops, Cookie Number 4

Another winner from Dorie!

Though a tough call, the favorite out of this holiday trio was the Snowy Topped Brownie Drops.  A decadent, chocolatey, cookie finished with generous dusting of powdered sugar.  Have an office party coming up?  This is the cookie to make to guarantee an invitation to all of the holiday parties of the season!  But don’t reserve these just for the holidays, they are too good not to bake any time of the year!

Snowy-topped Brownie Drops

Ingredients

  • 5 tablespoons 71 grams unsalted butter cut into small pieces
  • 8 ounces 226 grams bittersweet chocolate*
  • 3/4 cup 150 grams granulated sugar
  • 2 large eggs cold
  • 1 teaspoon pure vanilla extract
  • 1/2 teaspoon sea salt
  • 3/4 cup 102 grams all-purpose flour
  • Confectioners’ sugar for rolling

Instructions

  • Coarsely chop the chocolate. Place 6 ounces of the chocolate together with the butter pieces in a heatproof, microwave safe bowl or the top of a double boiler. If using a microwave, microwave for 3-5 segments of 30 seconds on high, stirring in between to help melt. If using a double boiler, place the double boiler (or any heatproof bowl) over gently simmering water, taking care that the water doesn't touch the bottom of the pan. Stirring until the chocolate and butter are just melted, then remove the bowl from the heat.
  • Immediately whisk in the granulated sugar into the melted chocolate. The mixture will turn grainy.
  • One at a time, add in the eggs, whisking for one minute after each addition. The batter should become quite smooth, shiny, and noticeably thicker. Whisk in the vanilla and salt.
  • Using a silicone spatula, fold in the flour until it just disappears. Fold in the reserved 2 ounces of chopped chocolate. The dough will be very sticky.
  • Cover the batter with plastic wrap or in an airtight container and refrigerate for at least 3 hours.
  • Preheat the oven to 350 F. Line a baking sheet with parchment paper or a silicone liner. Place about 1/3-1/2 cup of confectioner's sugar in a small bowl. Using a small cookie scoop, scoop out round portions of the dough, and roll each ball in the confectioner's sugar to create the snowy top. Once the ball is generously coated in confectioner's sugar, place it on the baking sheet. Repeat for the remaining dough, spacing cookie balls 2 inches apart.
  • Bake only one baking sheet of these cookies at a time, for a total of 12 minutes, rotating after 6 minutes. The cookies should spread and crack, with set sides, but will still appear fairly underbaked in the middle. This is how they should look.
  • Set the cookies on a metal cooling rack to cool at least 2-5 minutes, then serve warm or at room temperature.
  • Unbaked dough can be stored in the refrigerator for up to 4 days and in the freezer for 1-2 months. Once baked, these cookies will keep 3-4 days but will gradually lose their softness.

Notes

You could use semi-sweet or a high percentage dark chocolate here instead, but the cookies will be a bit sweeter.
Swedish Visiting Cake Bars Day 3 of 12 Days of Cookies

Swedish Visiting Cake Bars Day 3 of 12 Days of Cookies

If you like almonds you are going to LOVE this cookie. A crispy almond topping layered on a chewy slightly dense cake. Perfect with a cup of tea. A nice addition to any cookie tray. Find the thinnest sliced almonds possible, they seem to work better to ensure your meringue has a nice crunch but is still light.

Swedish Visiting Cake Bars Day 3 of 12 Days of Cookies

Ingredients

For the Topping

  • 1 cup confectioners' sugar
  • 3 large egg whites
  • 1 1/2 cups sliced almonds blanched or unblanched

For the Bars

  • 3/4 cup sugar
  • 2 large eggs at room temperature
  • 1/4 teaspoon fine sea salt
  • 1 1/2 teaspoons pure vanilla extract
  • 1/4 teaspoon pure almond extract
  • 1 cup all-purpose flour
  • 1 stick unsalted butter melted and cooled
  • Confectioners' sugar for dusting optional

Instructions

  • Center a rack in the oven and preheat it to 350 degrees F. Lightly butter a 9-inch square baking pan and line it with parchment paper.

To make the topping:

  • Put the sugar in a medium bowl and pour over the egg whites. Using your fingers or a form, mix until the sugar is moistened. If there are lumps, ignore them. Toss in the almonds and stir them around until they're coated with the sugared whites. Set aside while you make the batter.

To make the bars:

  • Working in a large bowl, whisk the sugar, eggs, and salt together until the mixture lightens in color and thickens a little, about 2 minutes.
  • Whisk in the vanilla and almond extracts. Switch to a flexible spatula and gently stir in the flour. When the flour is fully incorporated, gradually fold in the melted butter. You'll have a thick batter with a lovely sheen.
  • Scrape it into the pan and use the spatula to work the batter into the corners. The layer will be very thin.
  • Give the topping another stir, or a run-through with your fingers, and turn it out onto the batter. Use a spatula or your fingers to spread the almonds evenly over the mixture, making sure to get nuts into the corners too.
  • Bake for 28 to 32 minutes, or until a tester inserted into the center of the cake comes out clean or with only a few crumbs stuck to it. The meringue topping will be pale golden brown. If you'd like a deeper color on the topping, run it under the broiler until you get the shade of gold you like best.
  • Transfer the pan to a rack and let rest for 5 minutes, then run a knife around the edges of the cake and unmold it onto the rack. Very gently peel away the parchment and invert the cake onto another rack to cool to room temperature.
  • Transfer the cake to a cutting board and, using a long, thin knife, slice it into nine 3-inch squares. For smaller portions, cut each square into two triangles. If you'd like, you can dust the bars with confectioners' sugar just before you serve them.
Mighty Mouse? No, Mighty Jamie To Save the Day (12 Days of Cookies)

Mighty Mouse? No, Mighty Jamie To Save the Day (12 Days of Cookies)

My Christmas present arrived early this year.  The twins are home!  Lucky for me Jamie is in a baking mood and immediately tackled one of our favorite cookie books, Dorie’s Cookies.  So, without further ado…

Heeeeeere’s Jamie with Day 3, 4, and 5 of our 12 Days of Cookies

Hey everyone! Jamie here. Home for the holidays!  I got home Thursday night, so naturally, I have already baked three different kinds of cookies.  I decided that mom needed some help with completing her “12 Days of Cookies” blog posts. Between you and me, she gets MAJORLY stressed when she bakes during the holidays, so knocking out three different cookies for her is really just me trying to make my holidays a lot more pleasant. But don’t tell her I said that.

To be honest, I’m really not a cookie person. I’d much rather eat a slice of super dense chocolate cake than a gooey chocolate chip cookie. Call me crazy, I know. I will say that baking cookies is a little more enjoyable than baking cakes.  It’s SO easy! They take a 3rd of the time to bake, and once you bake them you don’t have to spend extra time making more frosting or fillings which really means I only have to do dishes once. (HUGE).  

I picked these three cookies because they looked pretty easy to me, and their pictures in the cookbook looked pretty good.  The Swedish Visiting Cake Bars are better cold and almost have a custard-like taste to them.  My dad wasn’t super thrilled about all the almonds on top, but I think they add a nice crunch.  They are more cake-like than you would expect, but they have an awesome almond flavor that I am a huge sucker for. These cookie-cake bars definitely grew on me. The Snowy Topped Brownie Drops are basically small lumps of brownies with a ton of powdered sugar on them–what’s not to like??? Unless you don’t like chocolate.  My least favorite part of these cookies is that the dough must be chilled for at least 3 hours. I tend to get impatient and want to finish baking all in one fell swoop.  But my dad did say that they are his favorite of the three, so maybe it’s worth it. Last but not least, the Coffee Malteds cookies.  I made a tiny mistake (or a huge mistake if you talk to my mom) when I didn’t sift the malted milk powder before mixing it into the wet ingredients, so my cookies have some weird lumps of malted milk powder in them. But other than that, they taste pretty good (ps. you can’t even taste the weird lumps so w/e). I dipped them in chocolate, which in my opinion makes them 10000000 times better. We are taking the cookies to our annual pre-school cookie exchange tomorrow, so we’ll see which one is everyone’s favorite!

HI CLAIRE

Twelve Days of Cookies Starts… NOW (Saffron, Orange and Honey Madeleines)

Twelve Days of Cookies Starts… NOW (Saffron, Orange and Honey Madeleines)

This holiday season I am determined to post a Twelve Days of Cookies list and I will only stand a chance if I start now. This month Food 52 Baking Club is featuring Ottolenghi’s book Sweet authored with Helen Goh, his dessert partner in crime. As with all Ottolenghi books, this one is beautiful, worthy of your coffee table, but more importantly, worthy of use in your kitchen.

A long long time ago in a kitchen somewhere far away, I tried to make madeleines.  I flopped, and since then my madeleines pans have been relegated to the back of a kitchen cabinet.  Looking for a recipe to try for National Cookie Day (yesterday, hope you made a batch) I came across Ottolenghi’s Saffron, Orange and Honey Madeleines.  They looked and sounded so delicious I decided to pull out my forgotten pans and give it the old college try.

I’m glad I did.  The madeleines are buttery, cakey, tender, everything a madeleine should be and more.

The batter is made in a food processor (oh snap). Eggs and sugar are whirled in the processor, flour and leavening added, pulse a couple more times and then add the saffron infused melted butter. The batter is poured into a WELL BUTTERED AND FLOURED pan (trust me on this) and baked for 7-9 minutes.  In those short minutes, your entire kitchen will be blanketed by the aroma of vanilla, butter, and orange, heavenly.

The cooled madeleines are popped out of their shells (haha, get it?) painted with heated honey (watch your fingers, the honey is hot) and one end rolled in ground pistachios.

So good.  If you don’t have a madeleine pan you could probably use a mini-muffin tin…they’ll still be delicious but they just won’t be the same (sigh).

You can find the recipe on Bon Apetit but without weight measurements (boohoo). If I were you I’d splurge and get the book, totally worth it!

[amd-yrecipe-recipe:150]