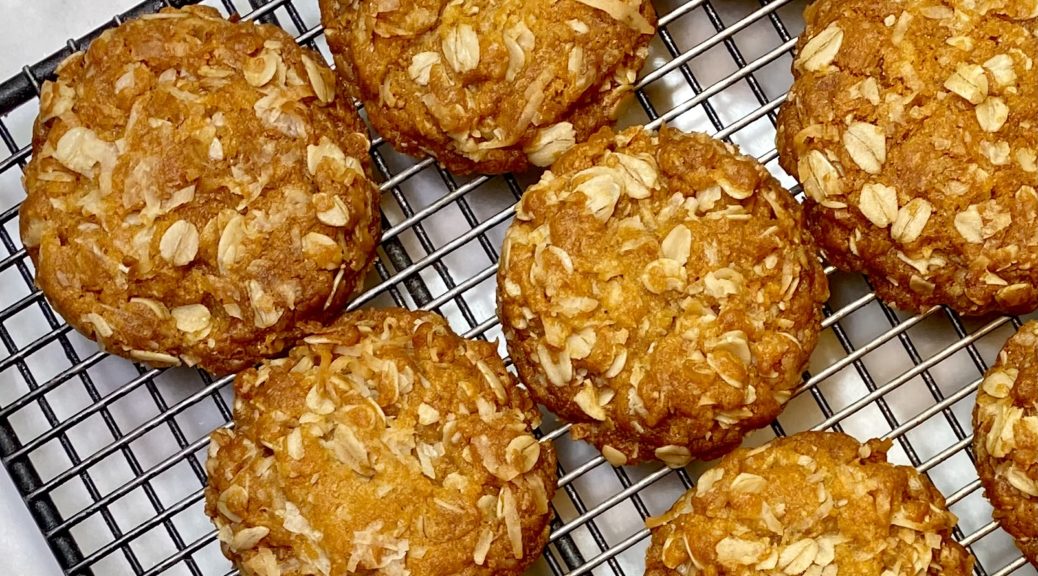
Apricot Oat Bars Delicious and Easy, Bar None
Finally, after months of being a COVID couch potato, I got off my duff and headed up to the reservoir to row again. I had forgotten how nice it was to be on the water in the early morning, to get in a shell, grip the oars, press with my legs, and propel the boat through the water. Gliding through the water I would catch glimpses of the resident bald eagles soaring then diving toward the water. I live for these moments…

Who Am I Kidding?
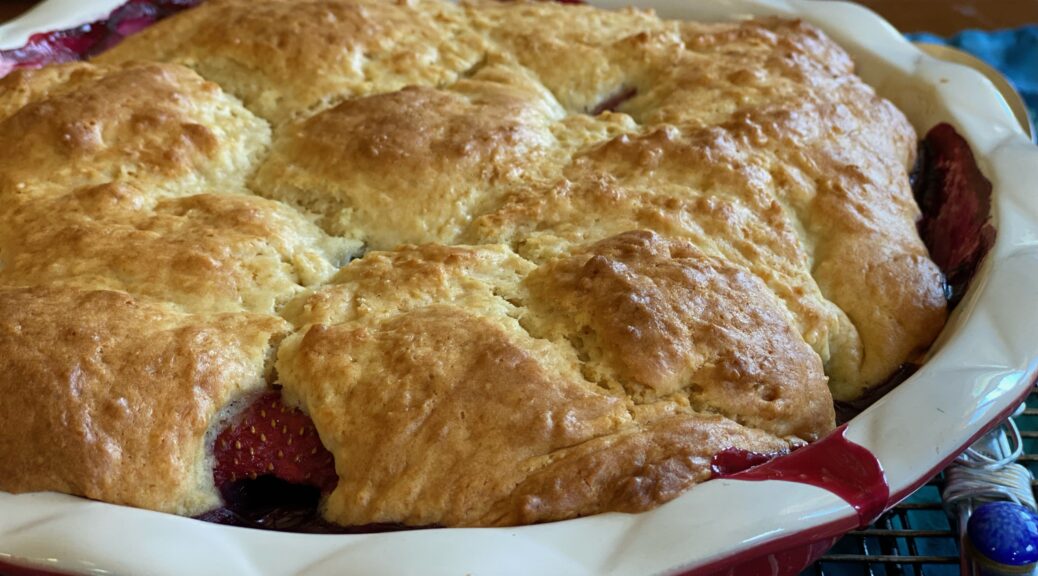
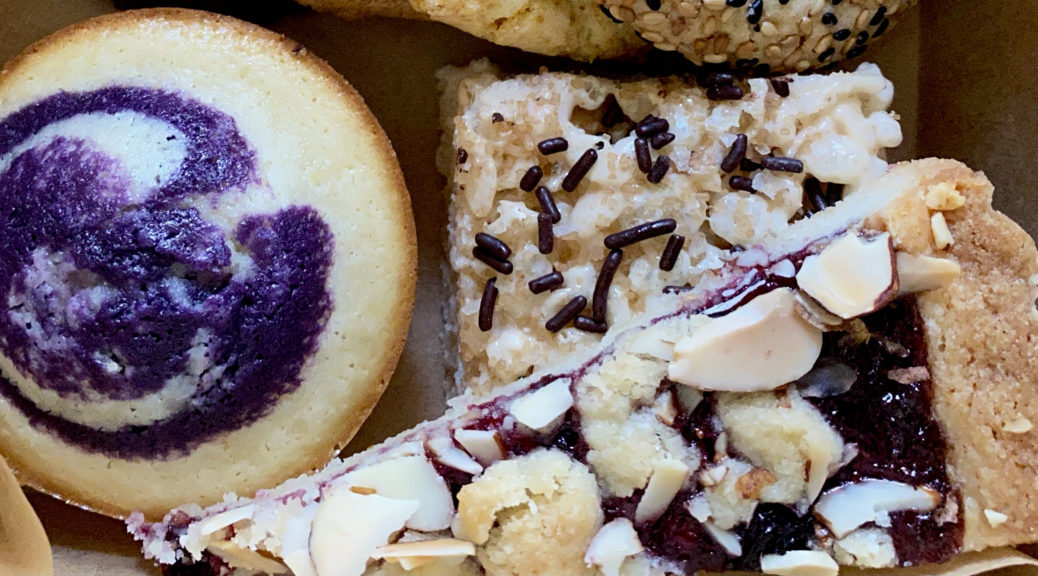
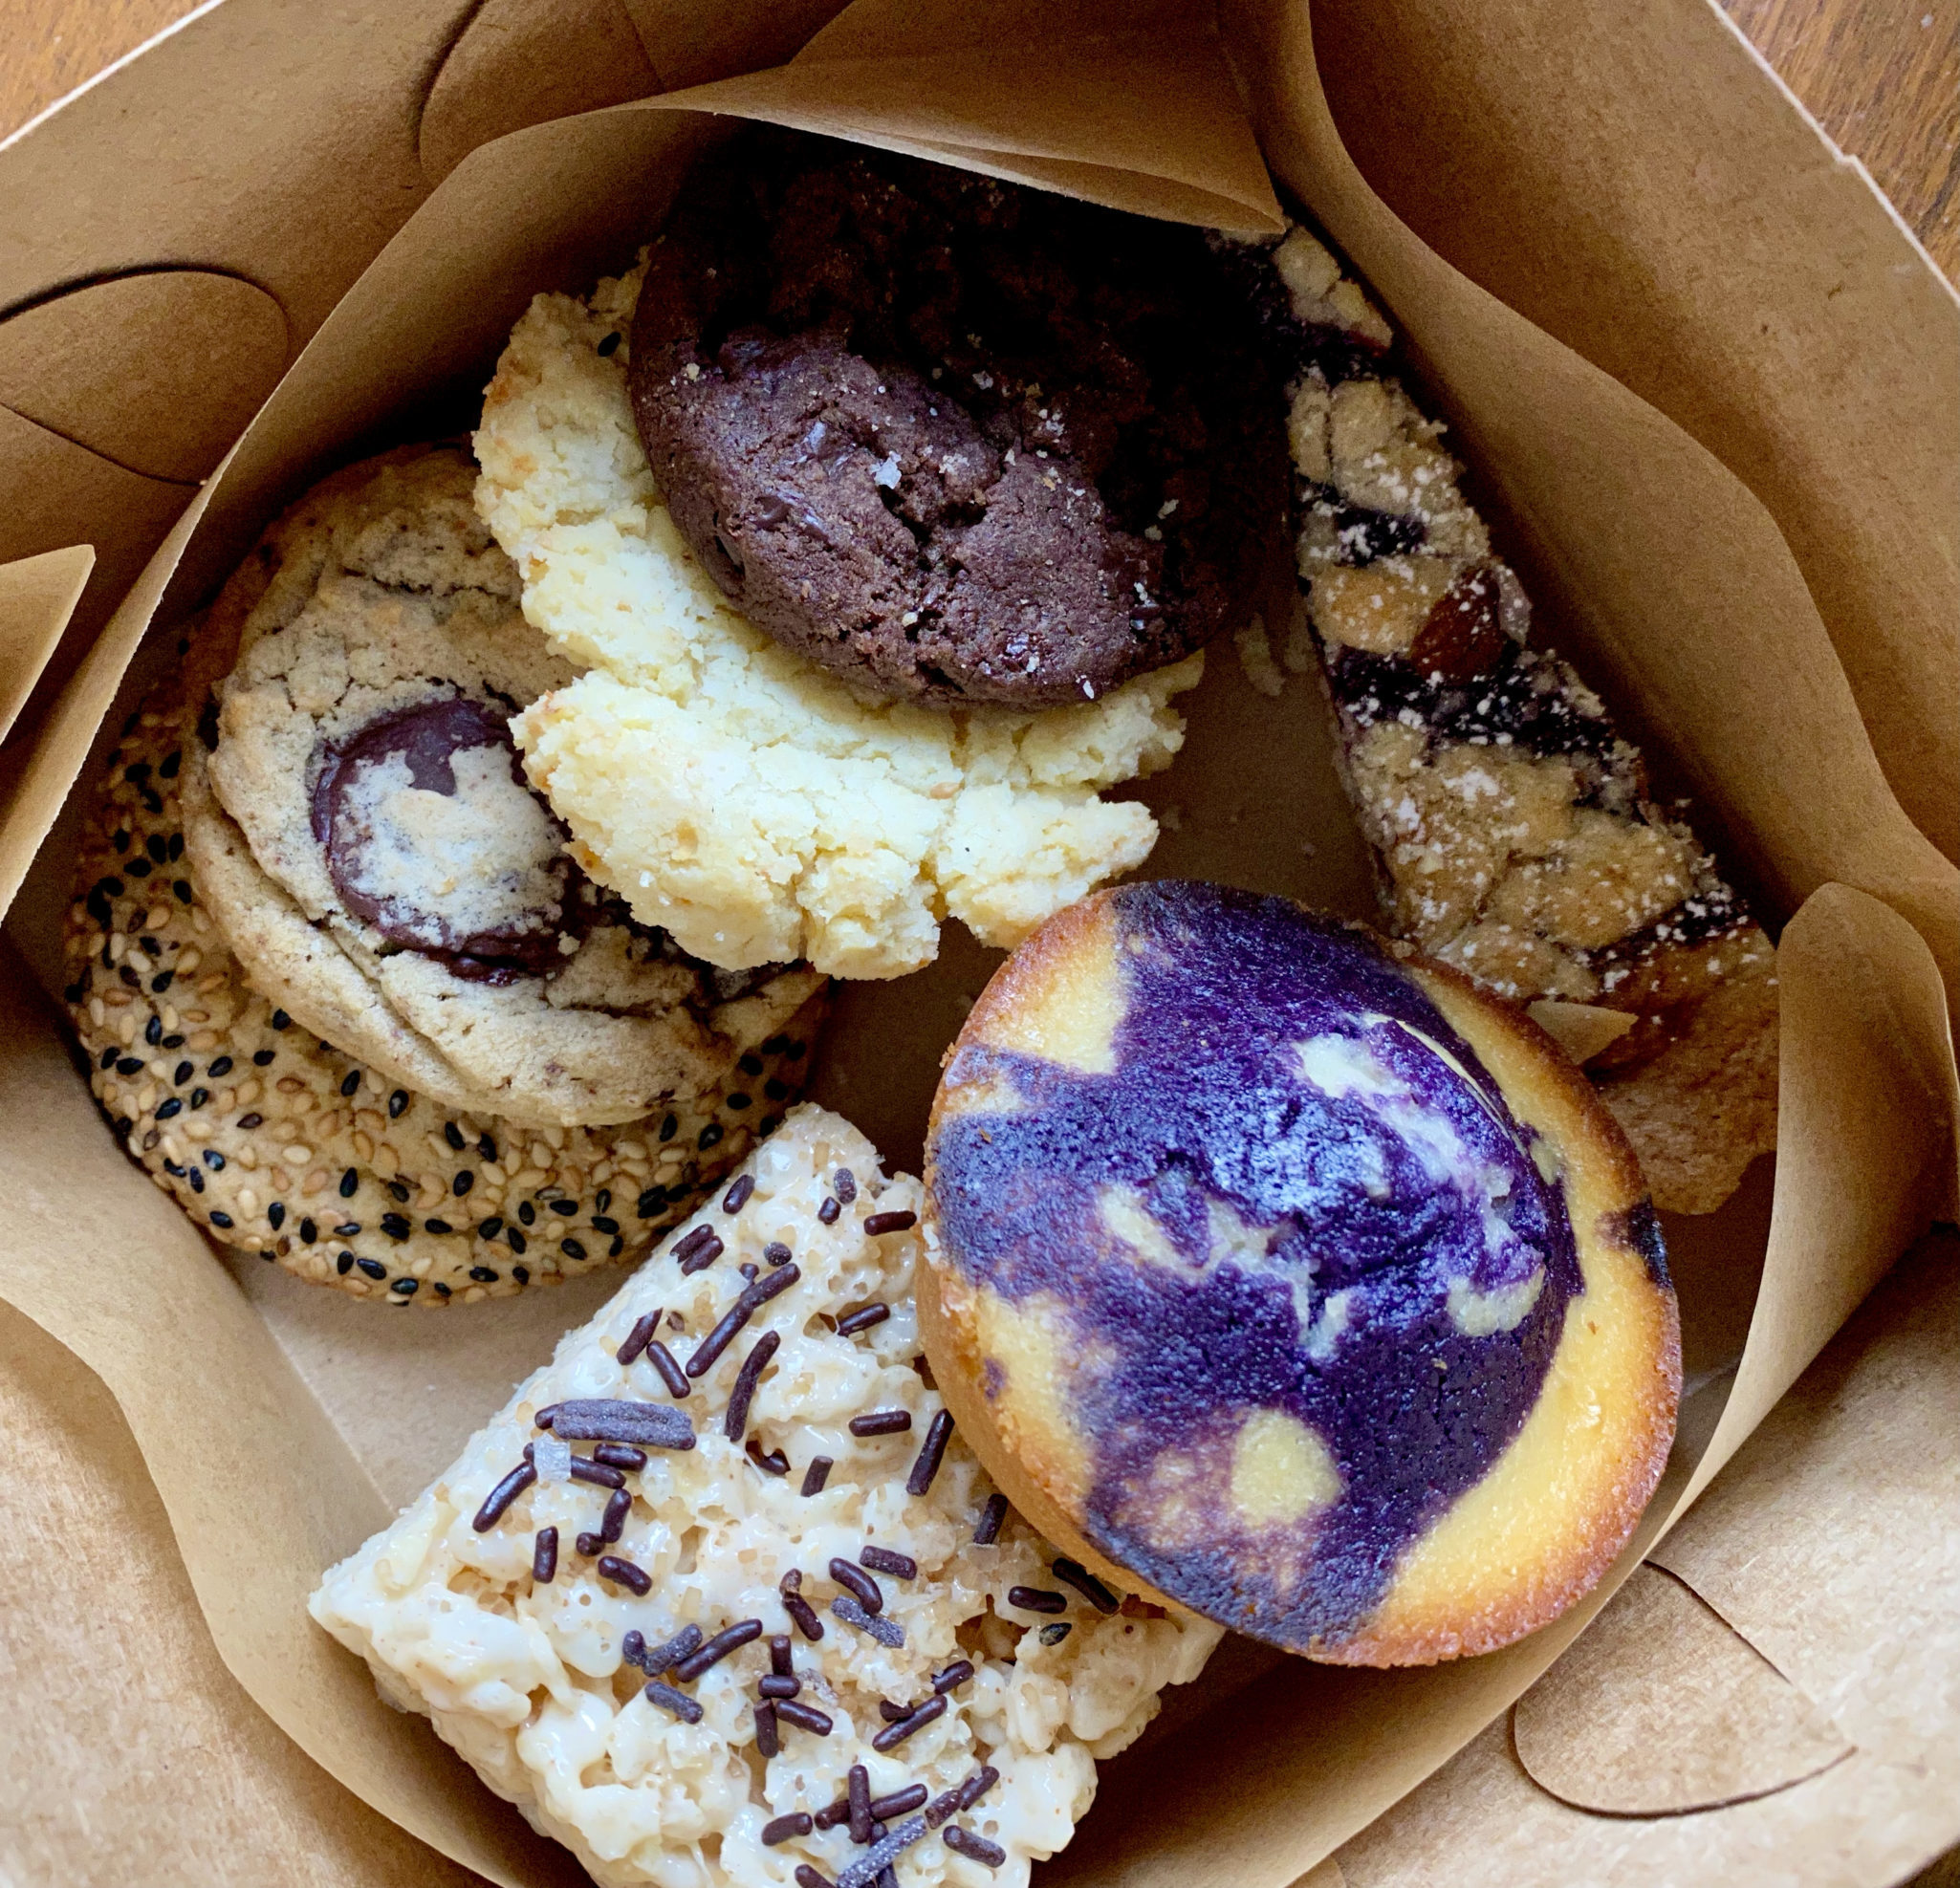
What I really look forward to is COFFEE after the row, lol. After every row, we head to our favorite spot for coffee and something to nosh on. Lately, that nosh has been a tasty apricot bar. It reminds me of an Apricot Oatmeal Bar I used to make when the kids were little.
The recipe is from the Williams-Sonoma Kids Cookbook, that granola was a family fav once upon a time. I decided to find it, dust it off, and make it again.
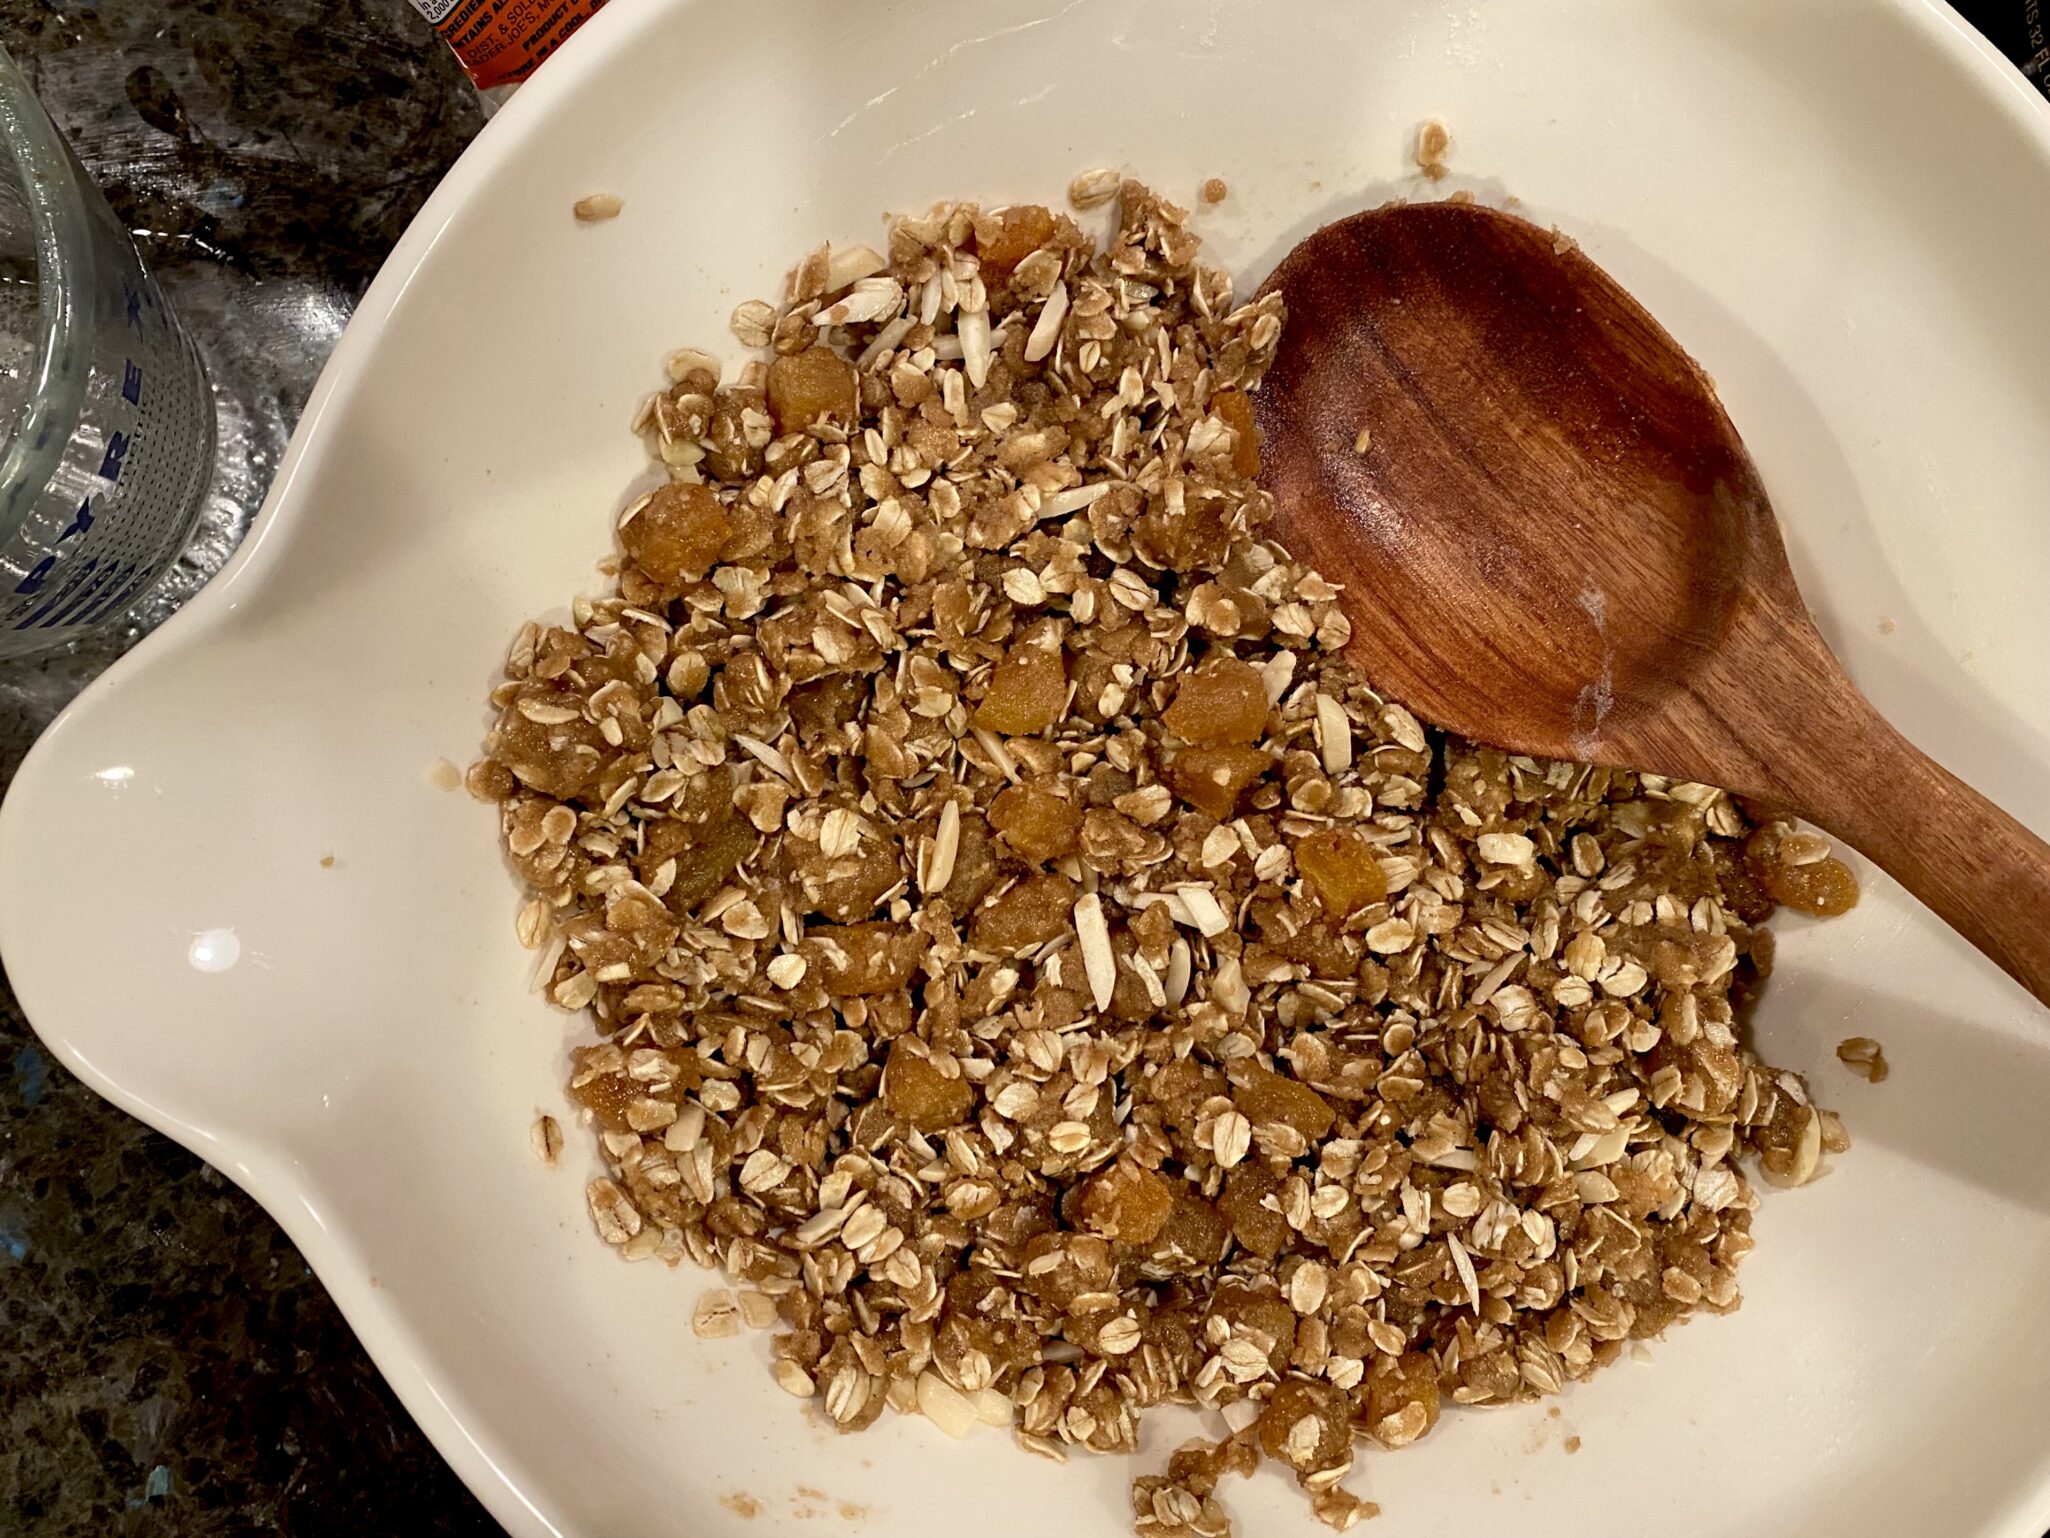
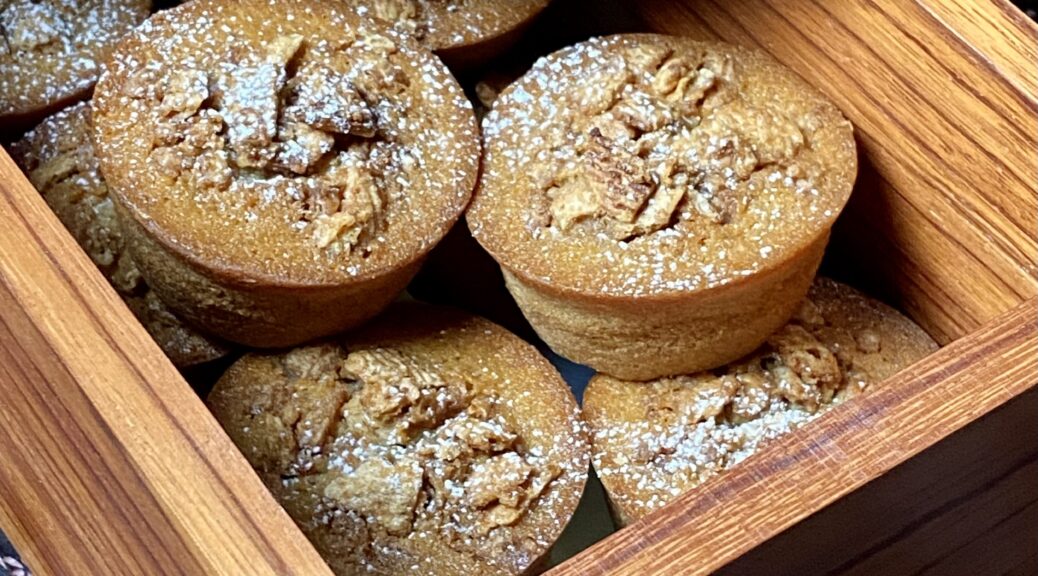
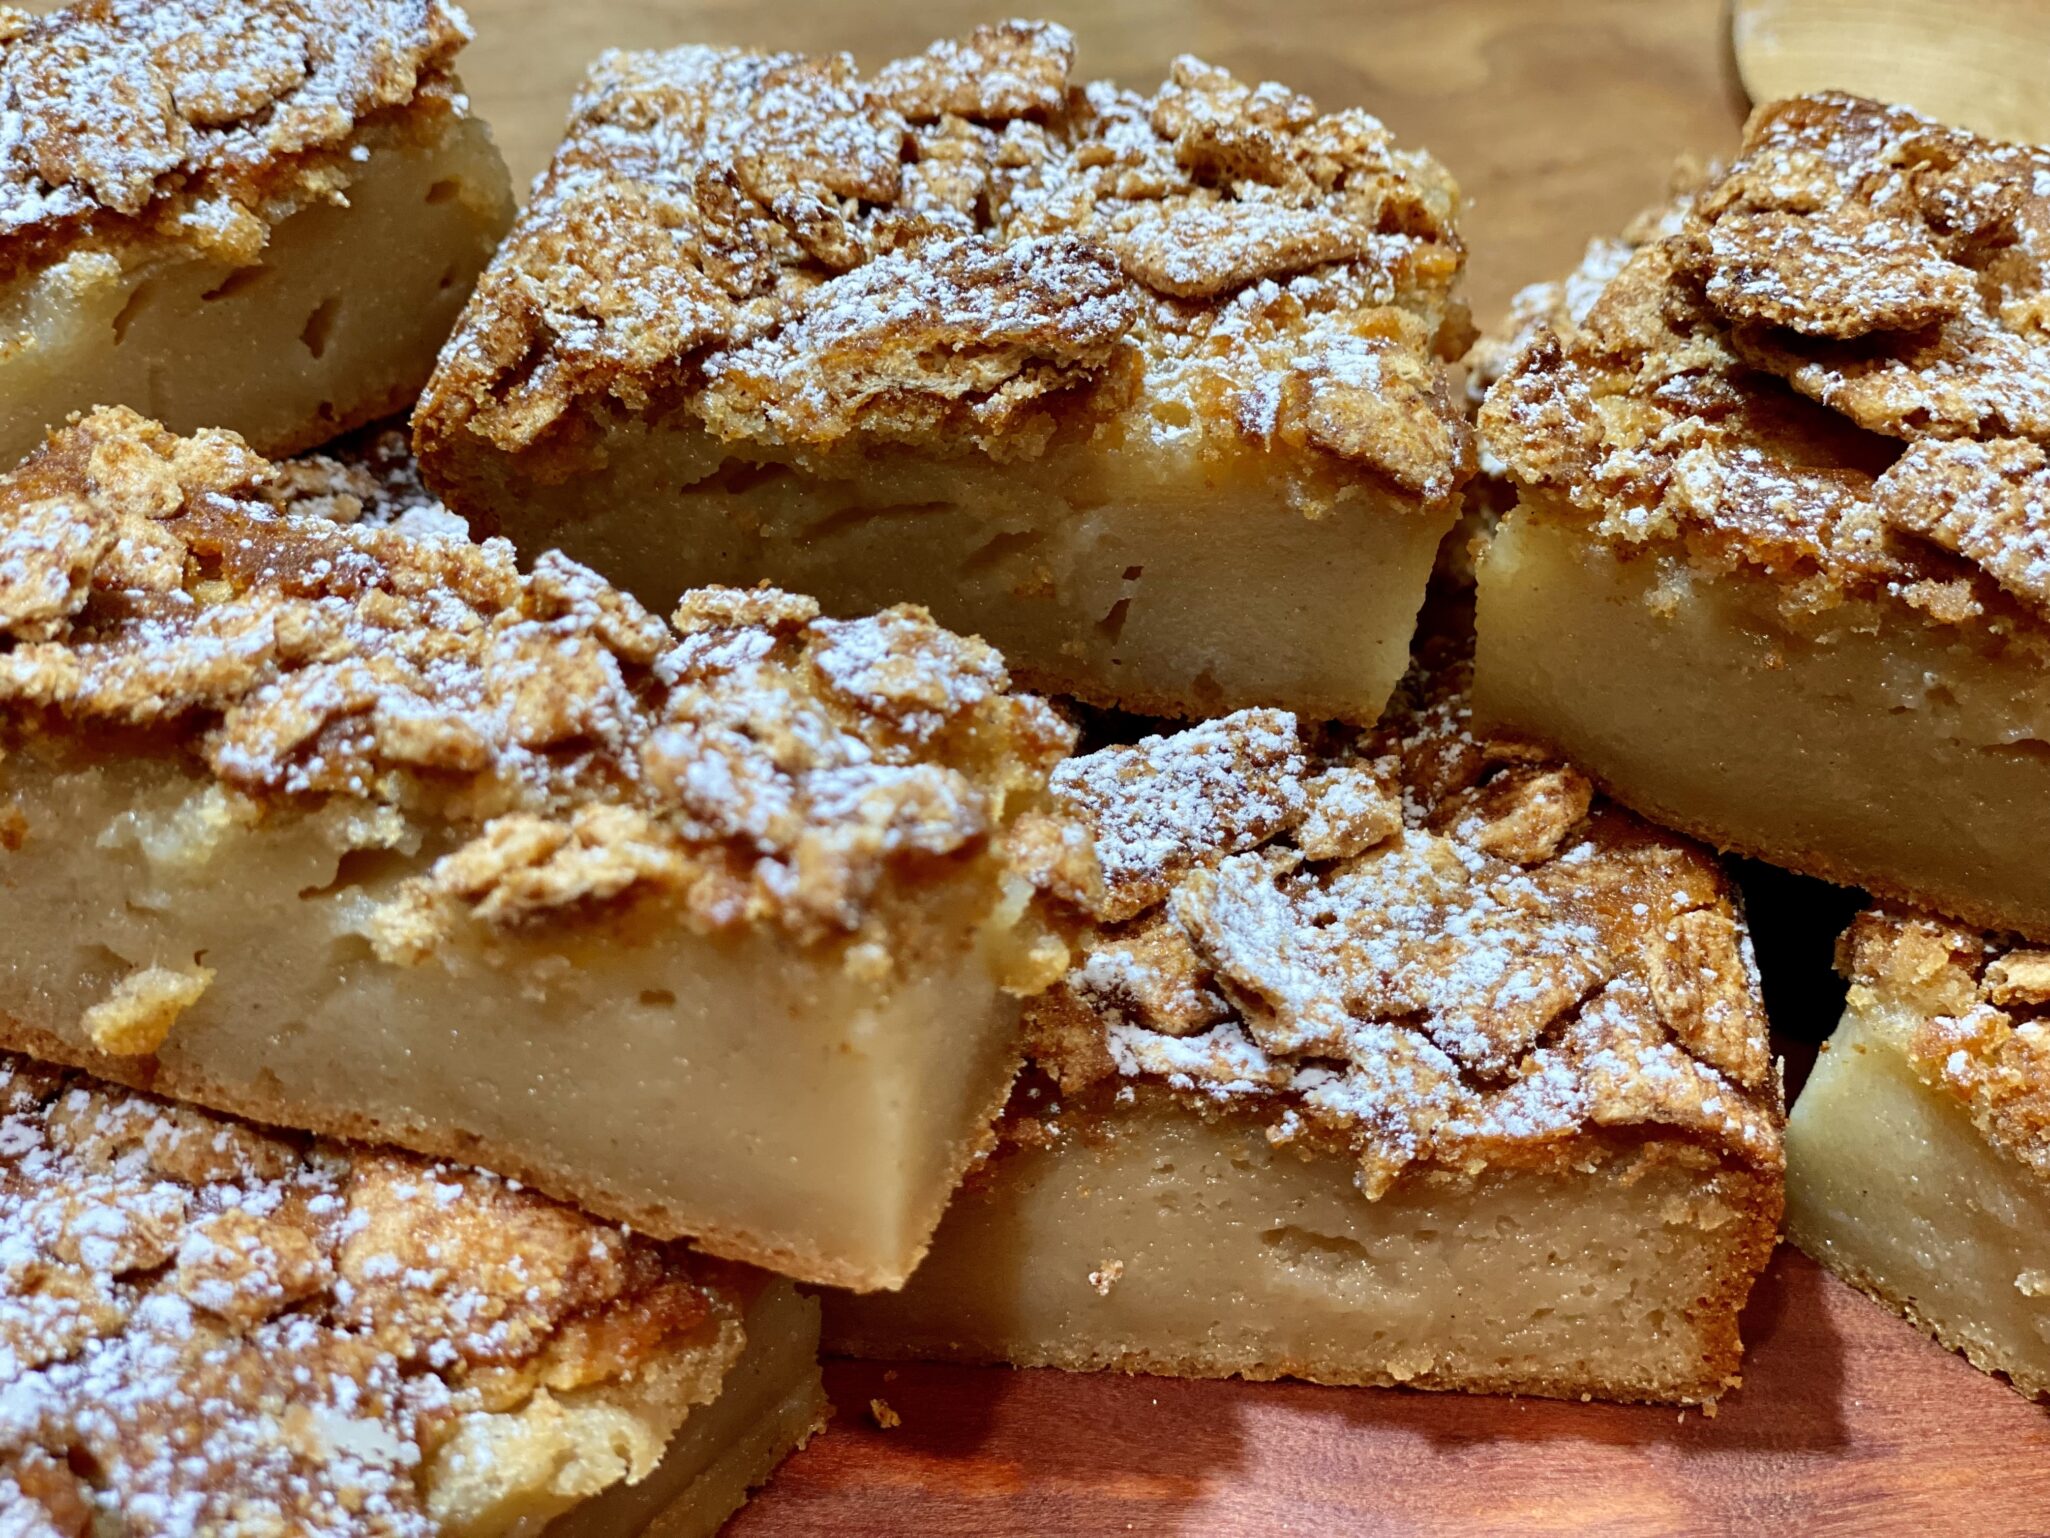
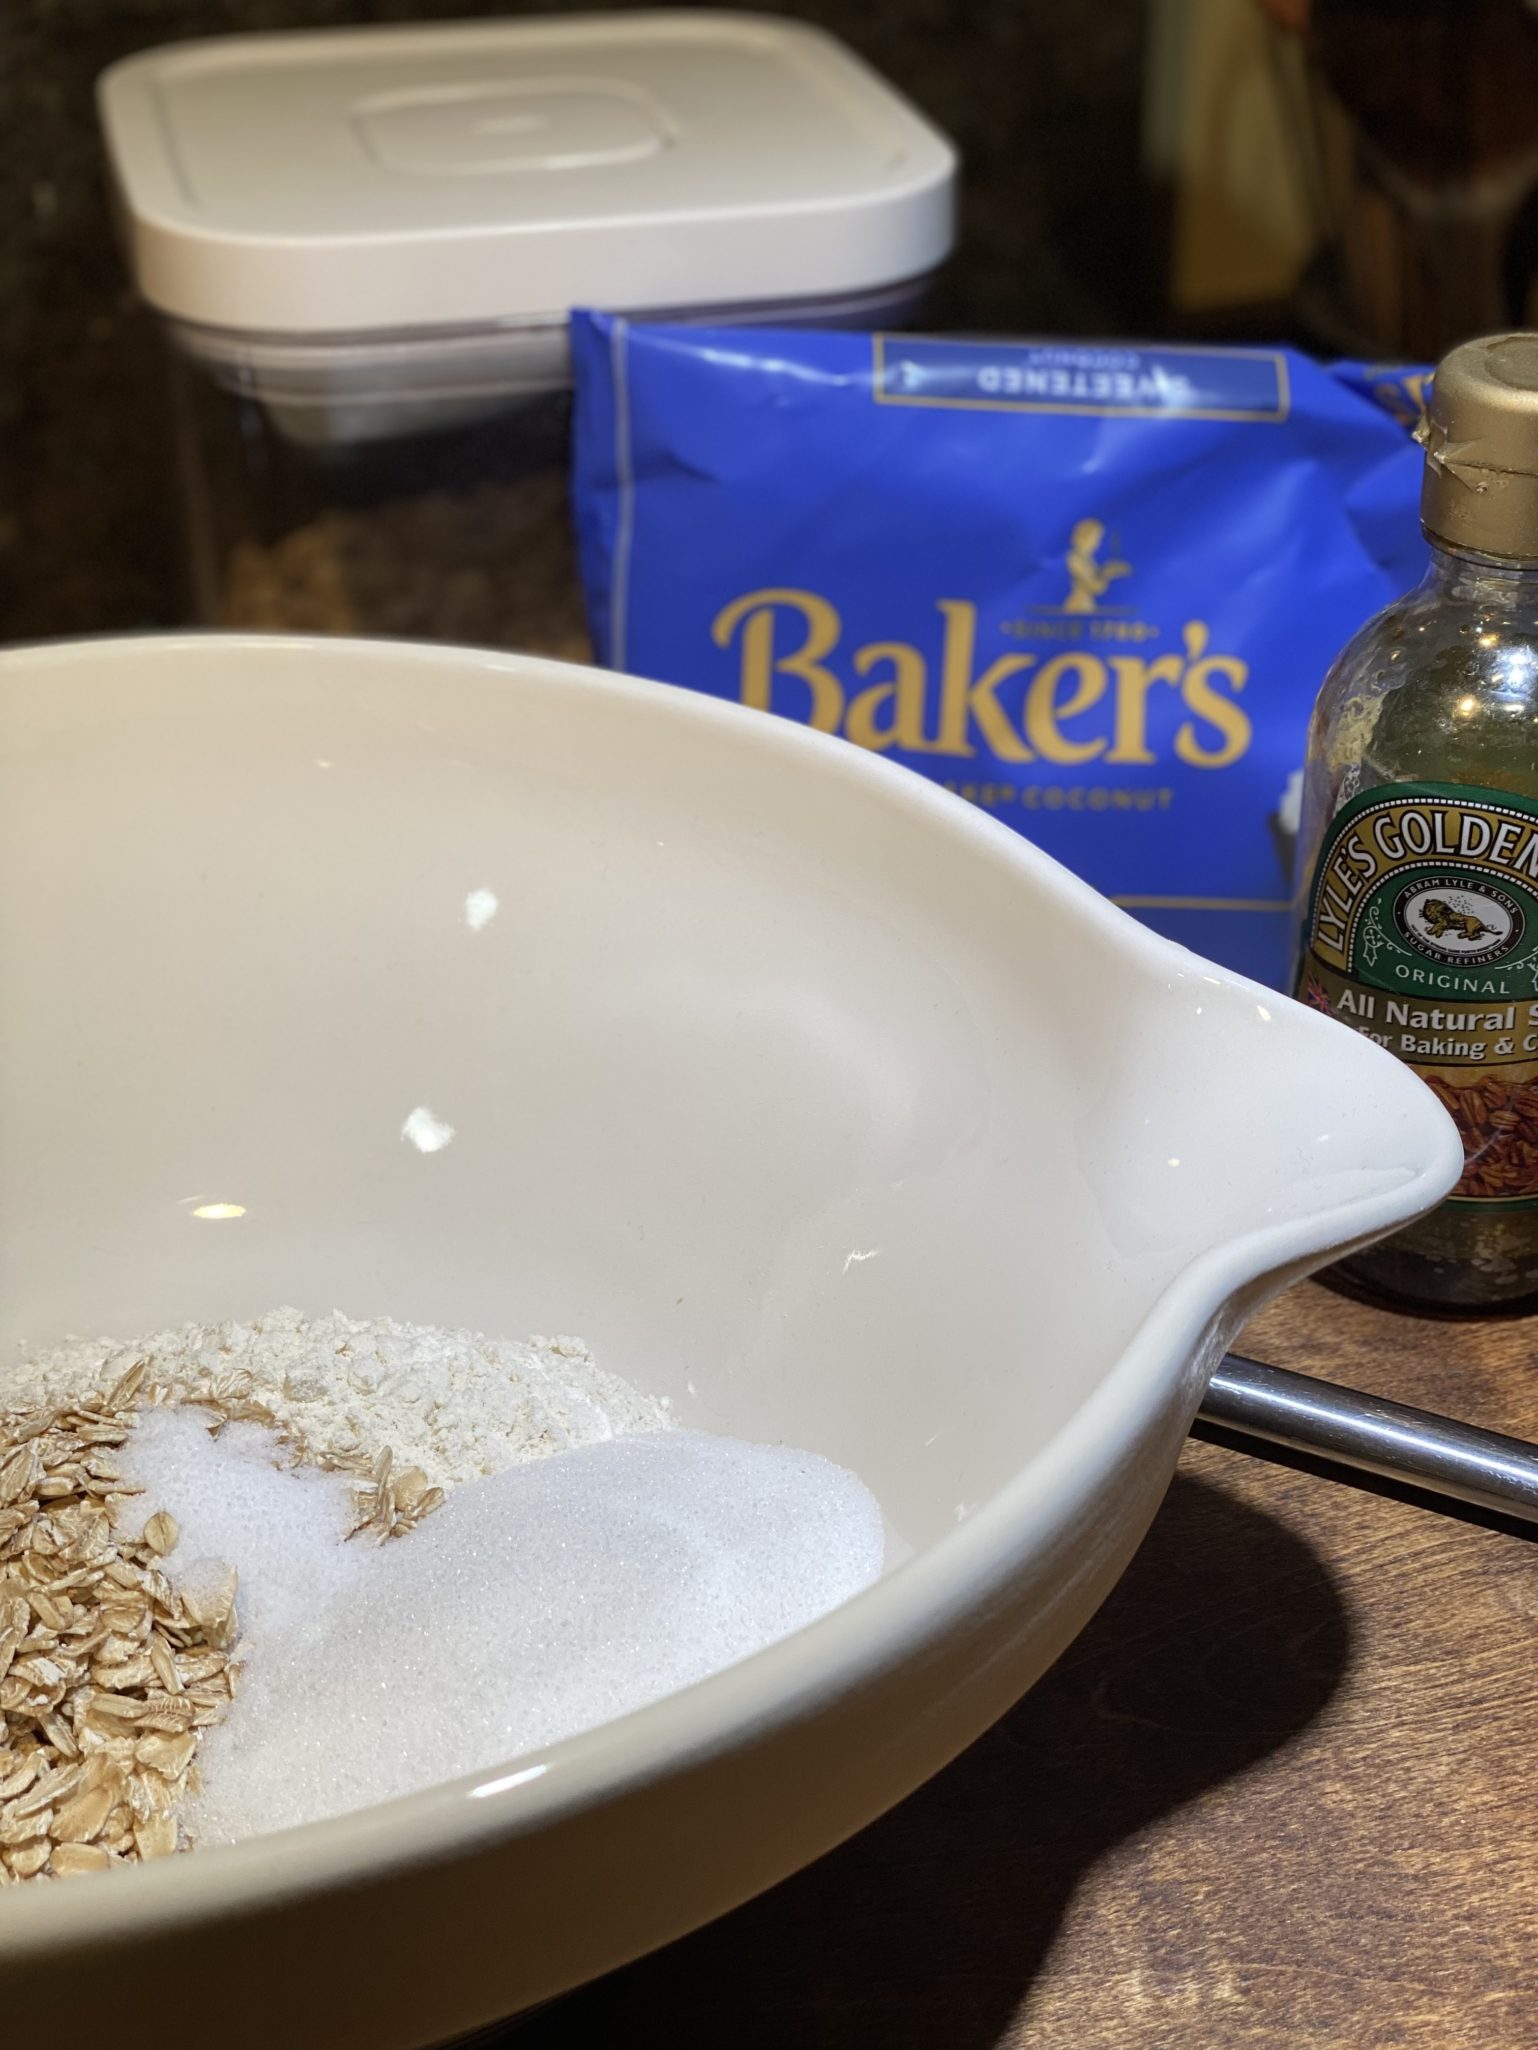
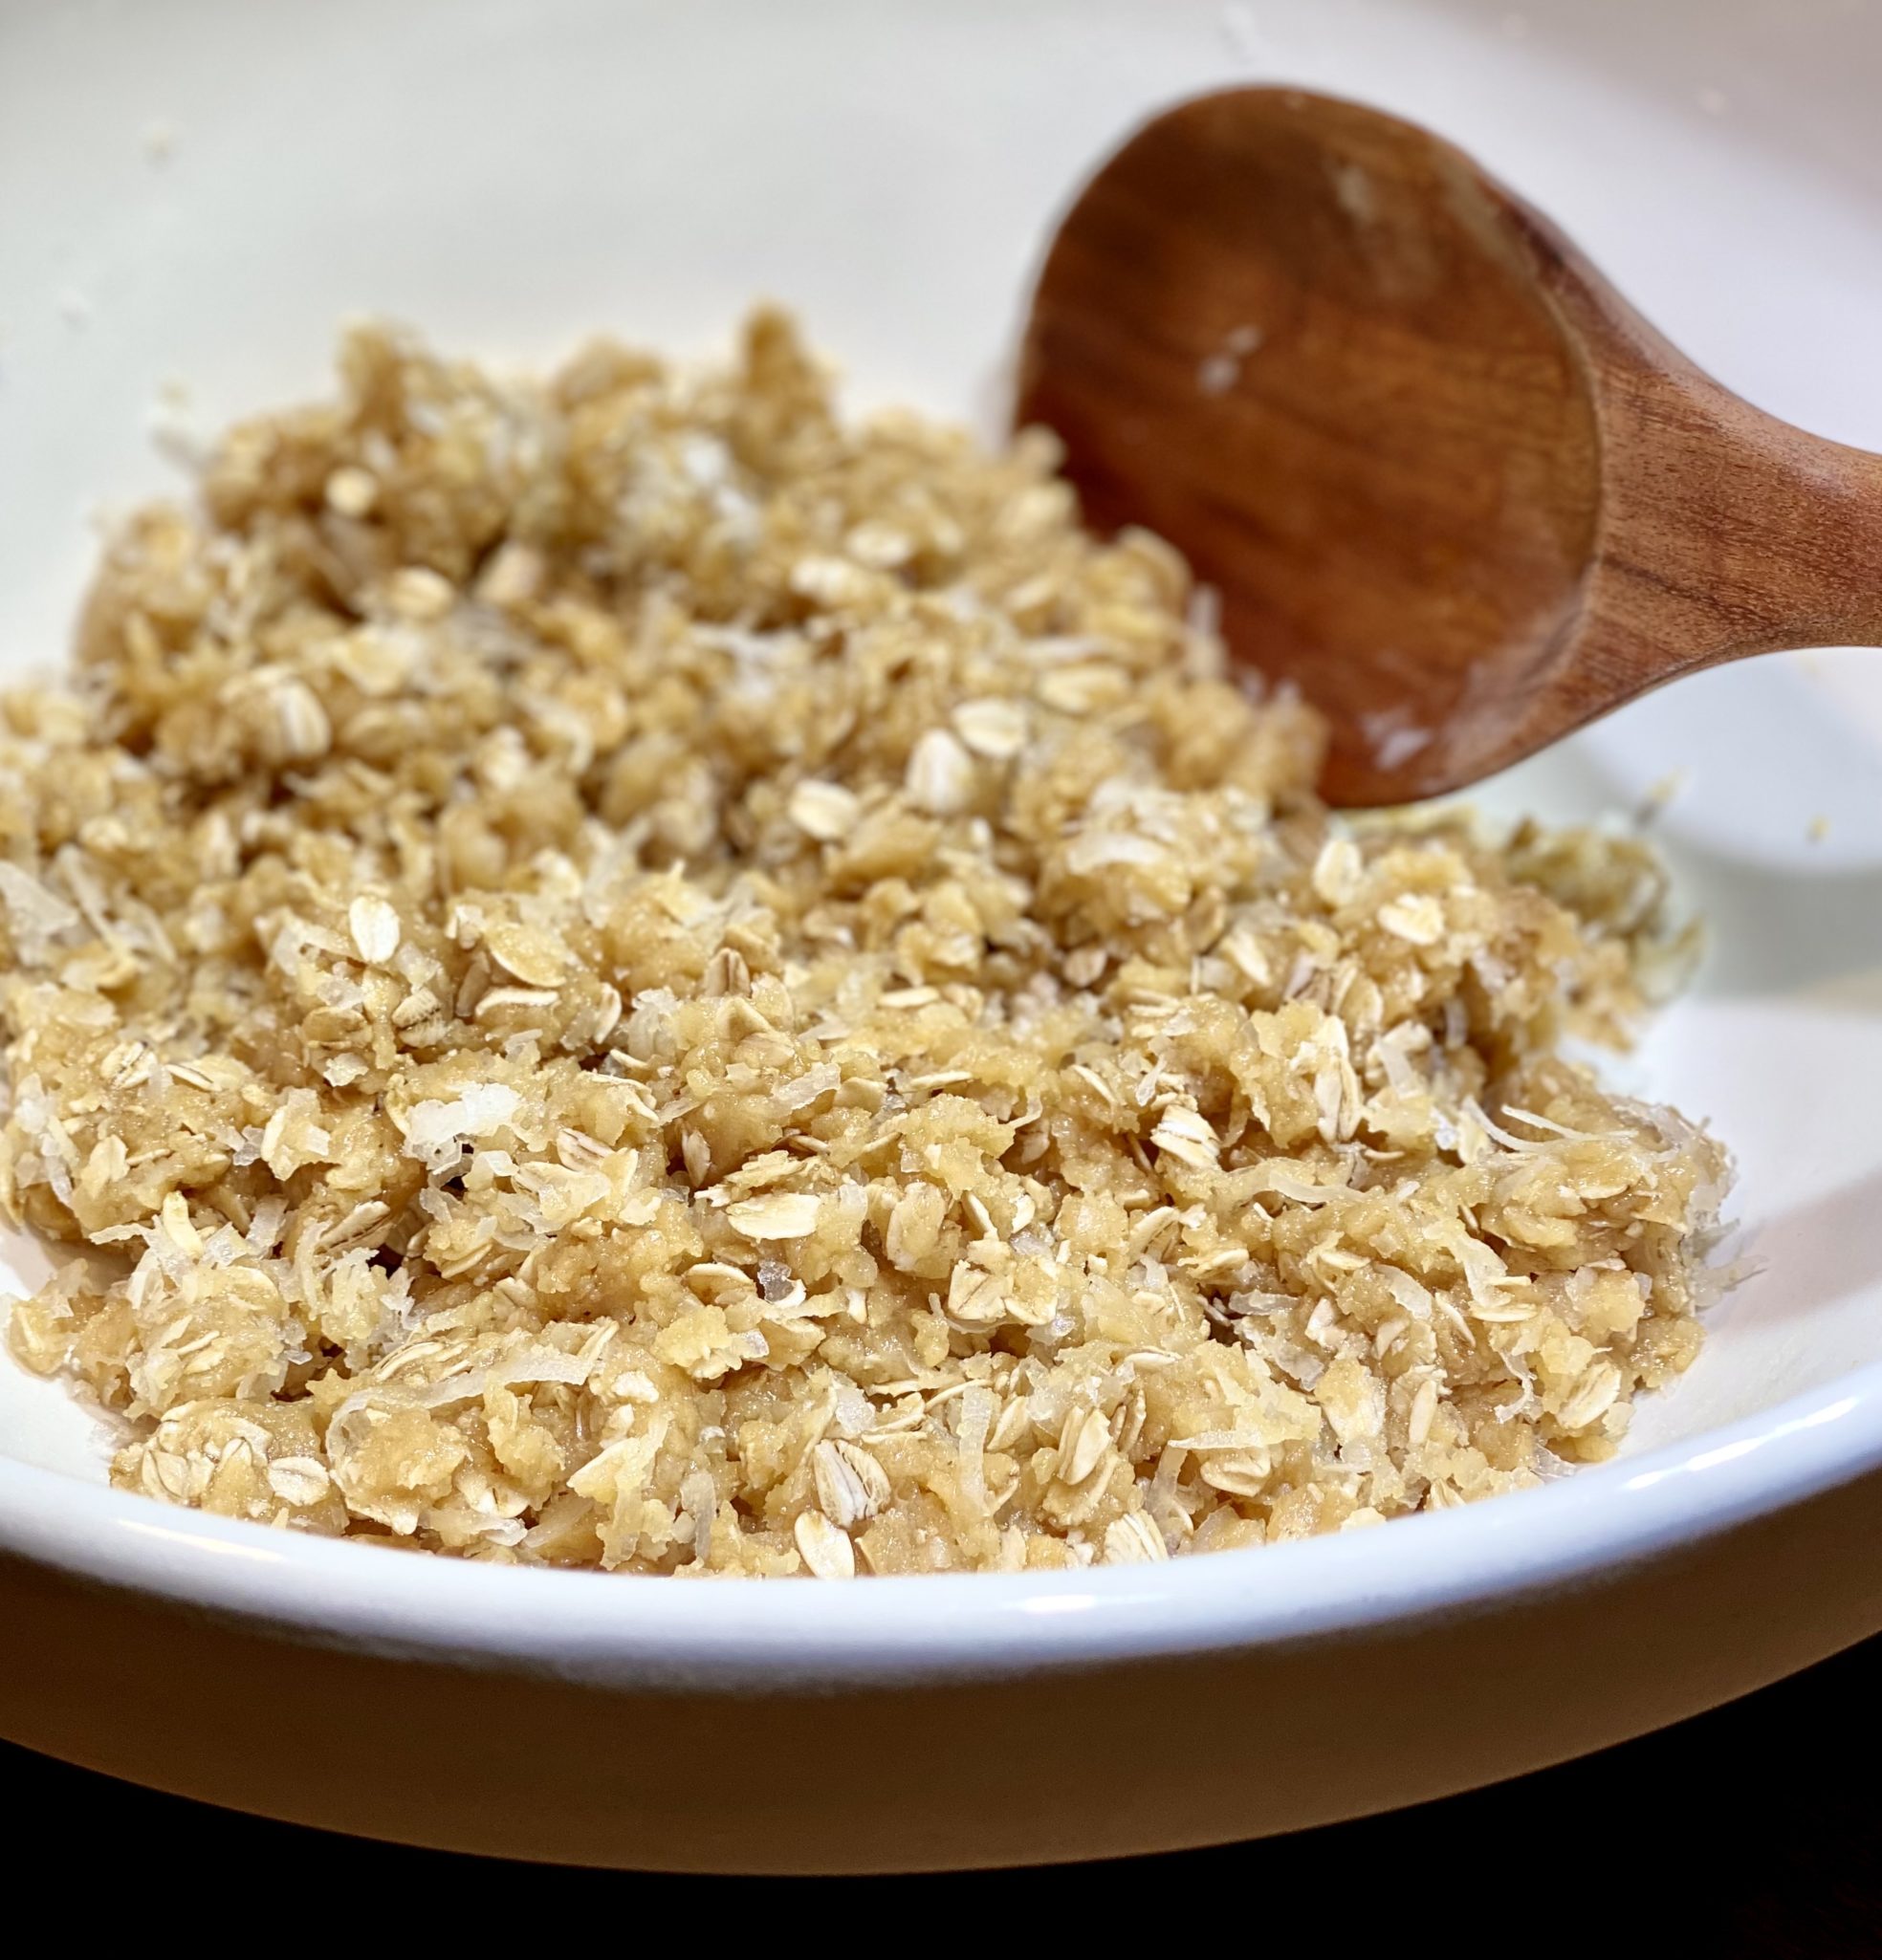
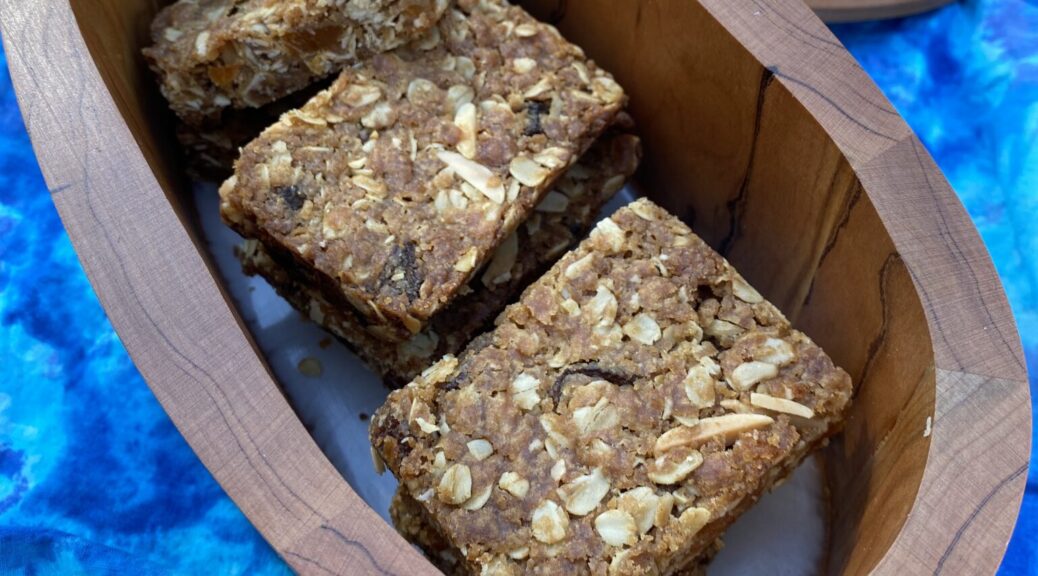
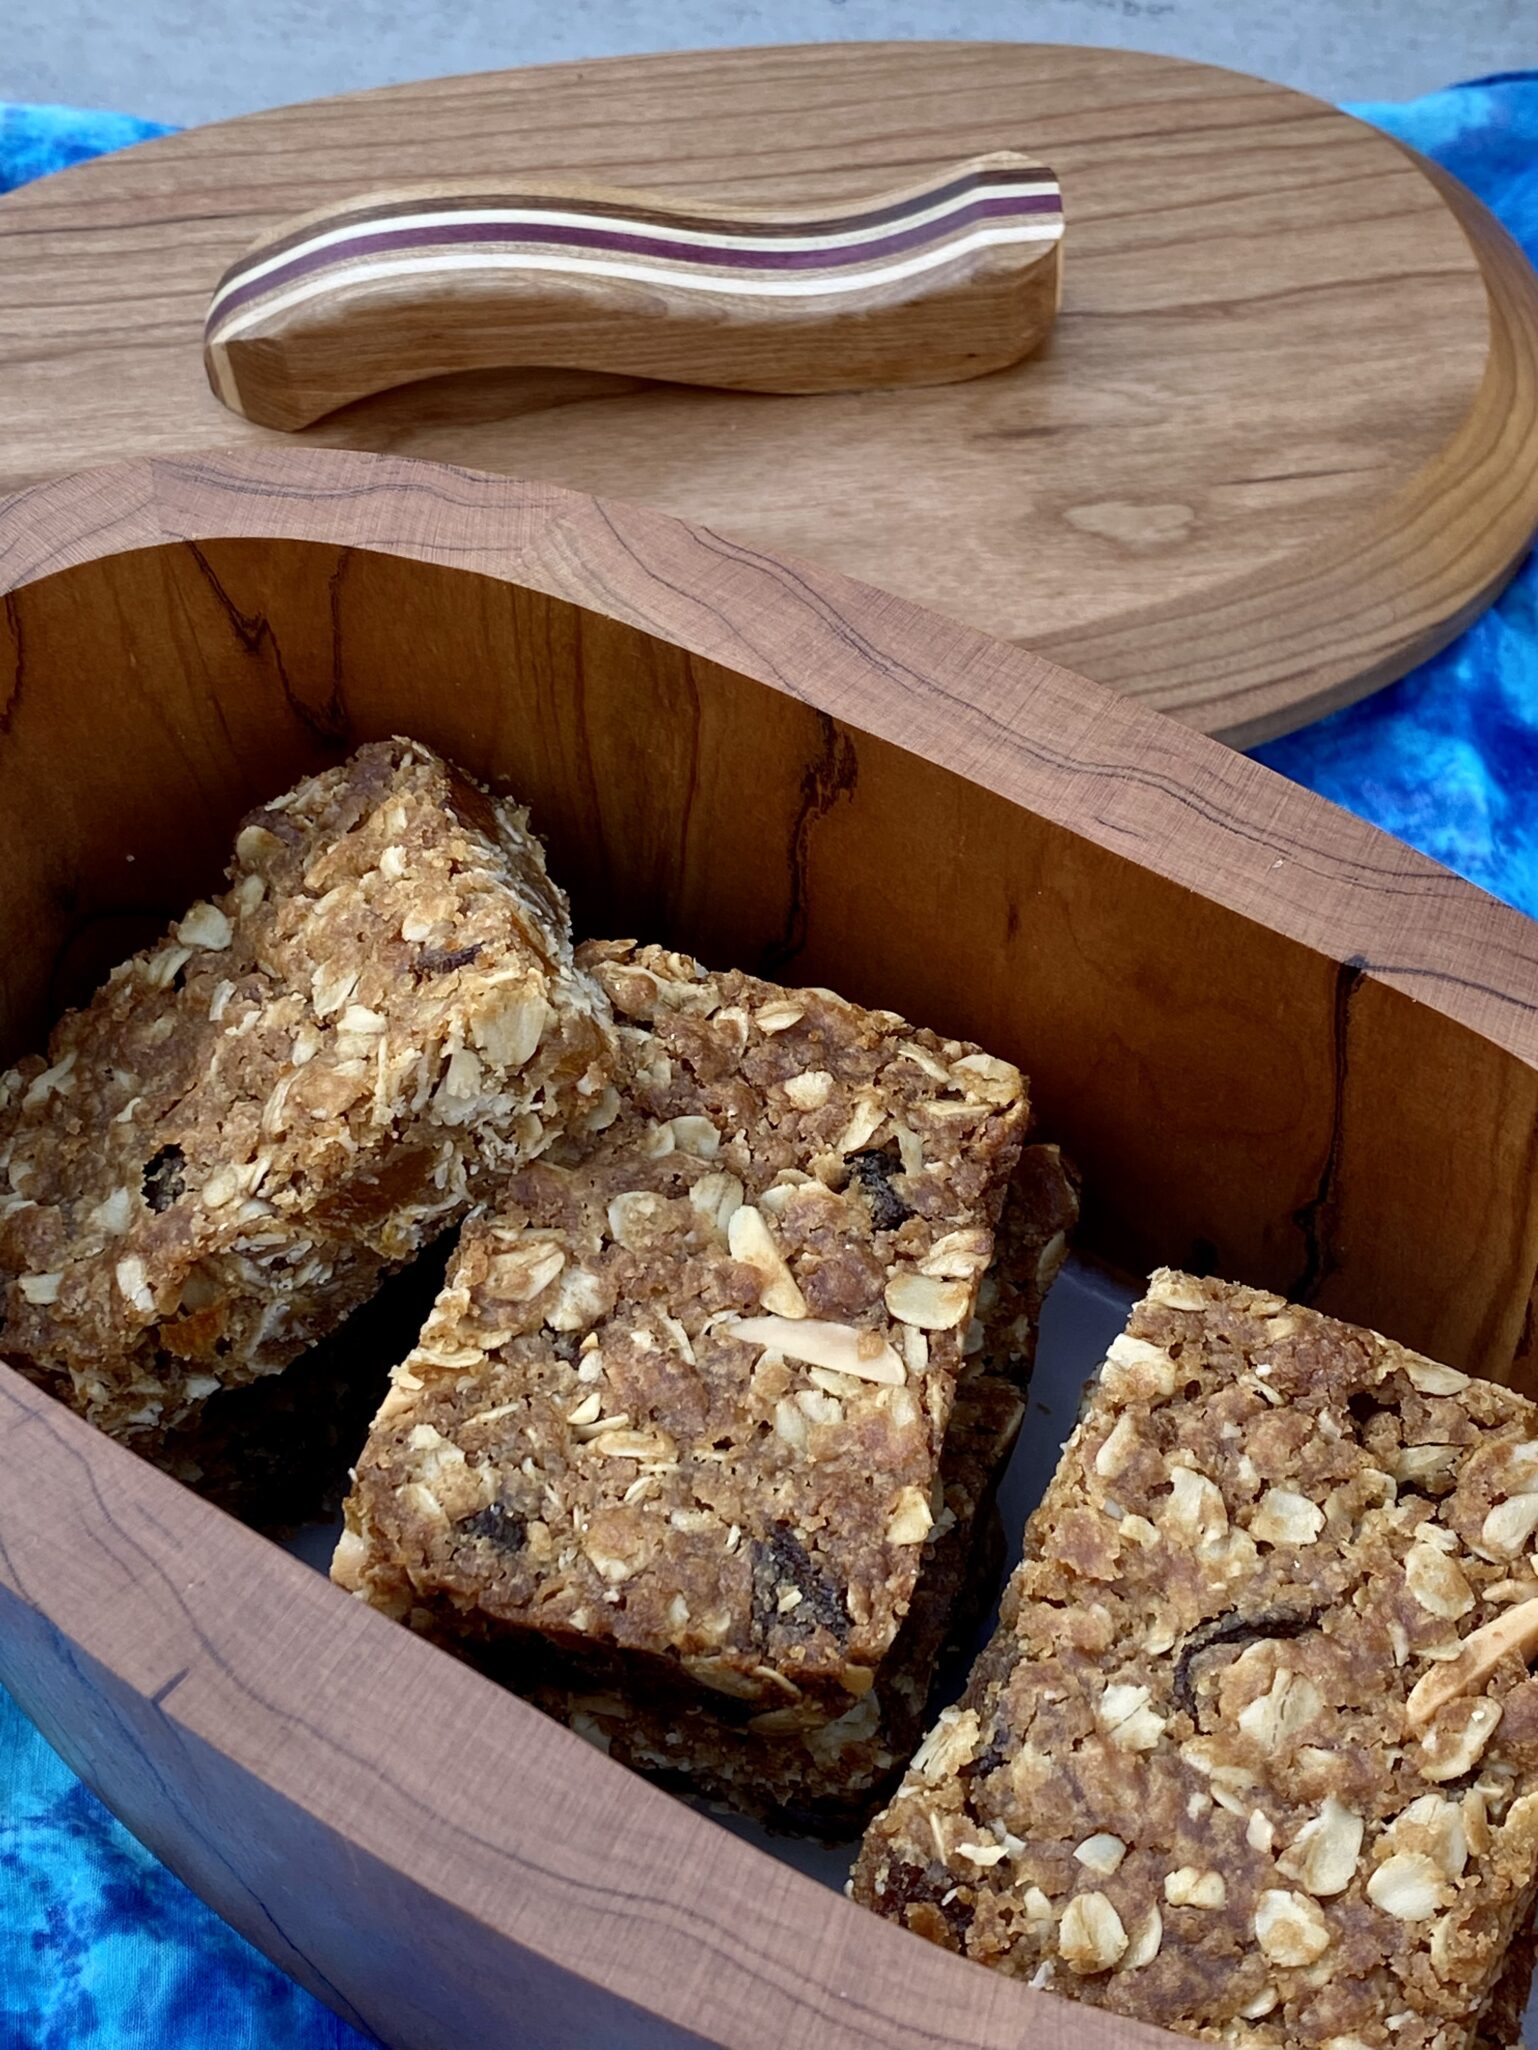
Kind of like a naughty granola bar, the bars are buttery, sweet, tart, dense, and chewy with a hint of cinnamon and vanilla. They are incredibly easy to make, all you need is a bowl and a spoon. Toss old-fashioned oatmeal, brown sugar, cinnamon, salt, and flour into a large bowl. stir to combine, then add the melted butter, vanilla, and chopped apricots. Add nuts too if you like.
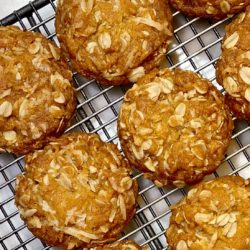
Bake, cool, and cut. How easy is that? These bars are great after a hard workout, a long hike, or anytime!
Apricot Oatmeal Bars
Ingredients
- 12 tablespoons 1 1/2 sticks unsalted butter, cut up
- 1 cup firmly packed dried apricots
- 1 1/2 cups old-fashioned rolled oats
- 1/4 - 1/3 cup chopped nuts of your choice like almonds pecans or pistachios (optional)
- 1 cup all-purpose flour
- 1 cup firmly packed dark brown sugar
- 1/4 teaspoon salt
- 1/4 teaspoon ground cinnamon
- 1 1/2 teaspoons vanilla extract
- soft butter for greasing pan
Instructions
- Melt 12 tablespoons (1 1/2 sticks) butter in the microwave. Cut butter into pieces and place in microwave-safe bowl. ?Cover with a small plate or paper towel ( I use the paper the butter comes in) and set power to 50%. Set time to 30 seconds. If butter is not completely melted, continue at 50% power and 15-20 second increments. Or place butter in a small saucepan set over medium-high heat, stir with a wooden spoon until the butter is melted, about 2 minutes. Remove the saucepan from the heat and set it aside to cool.
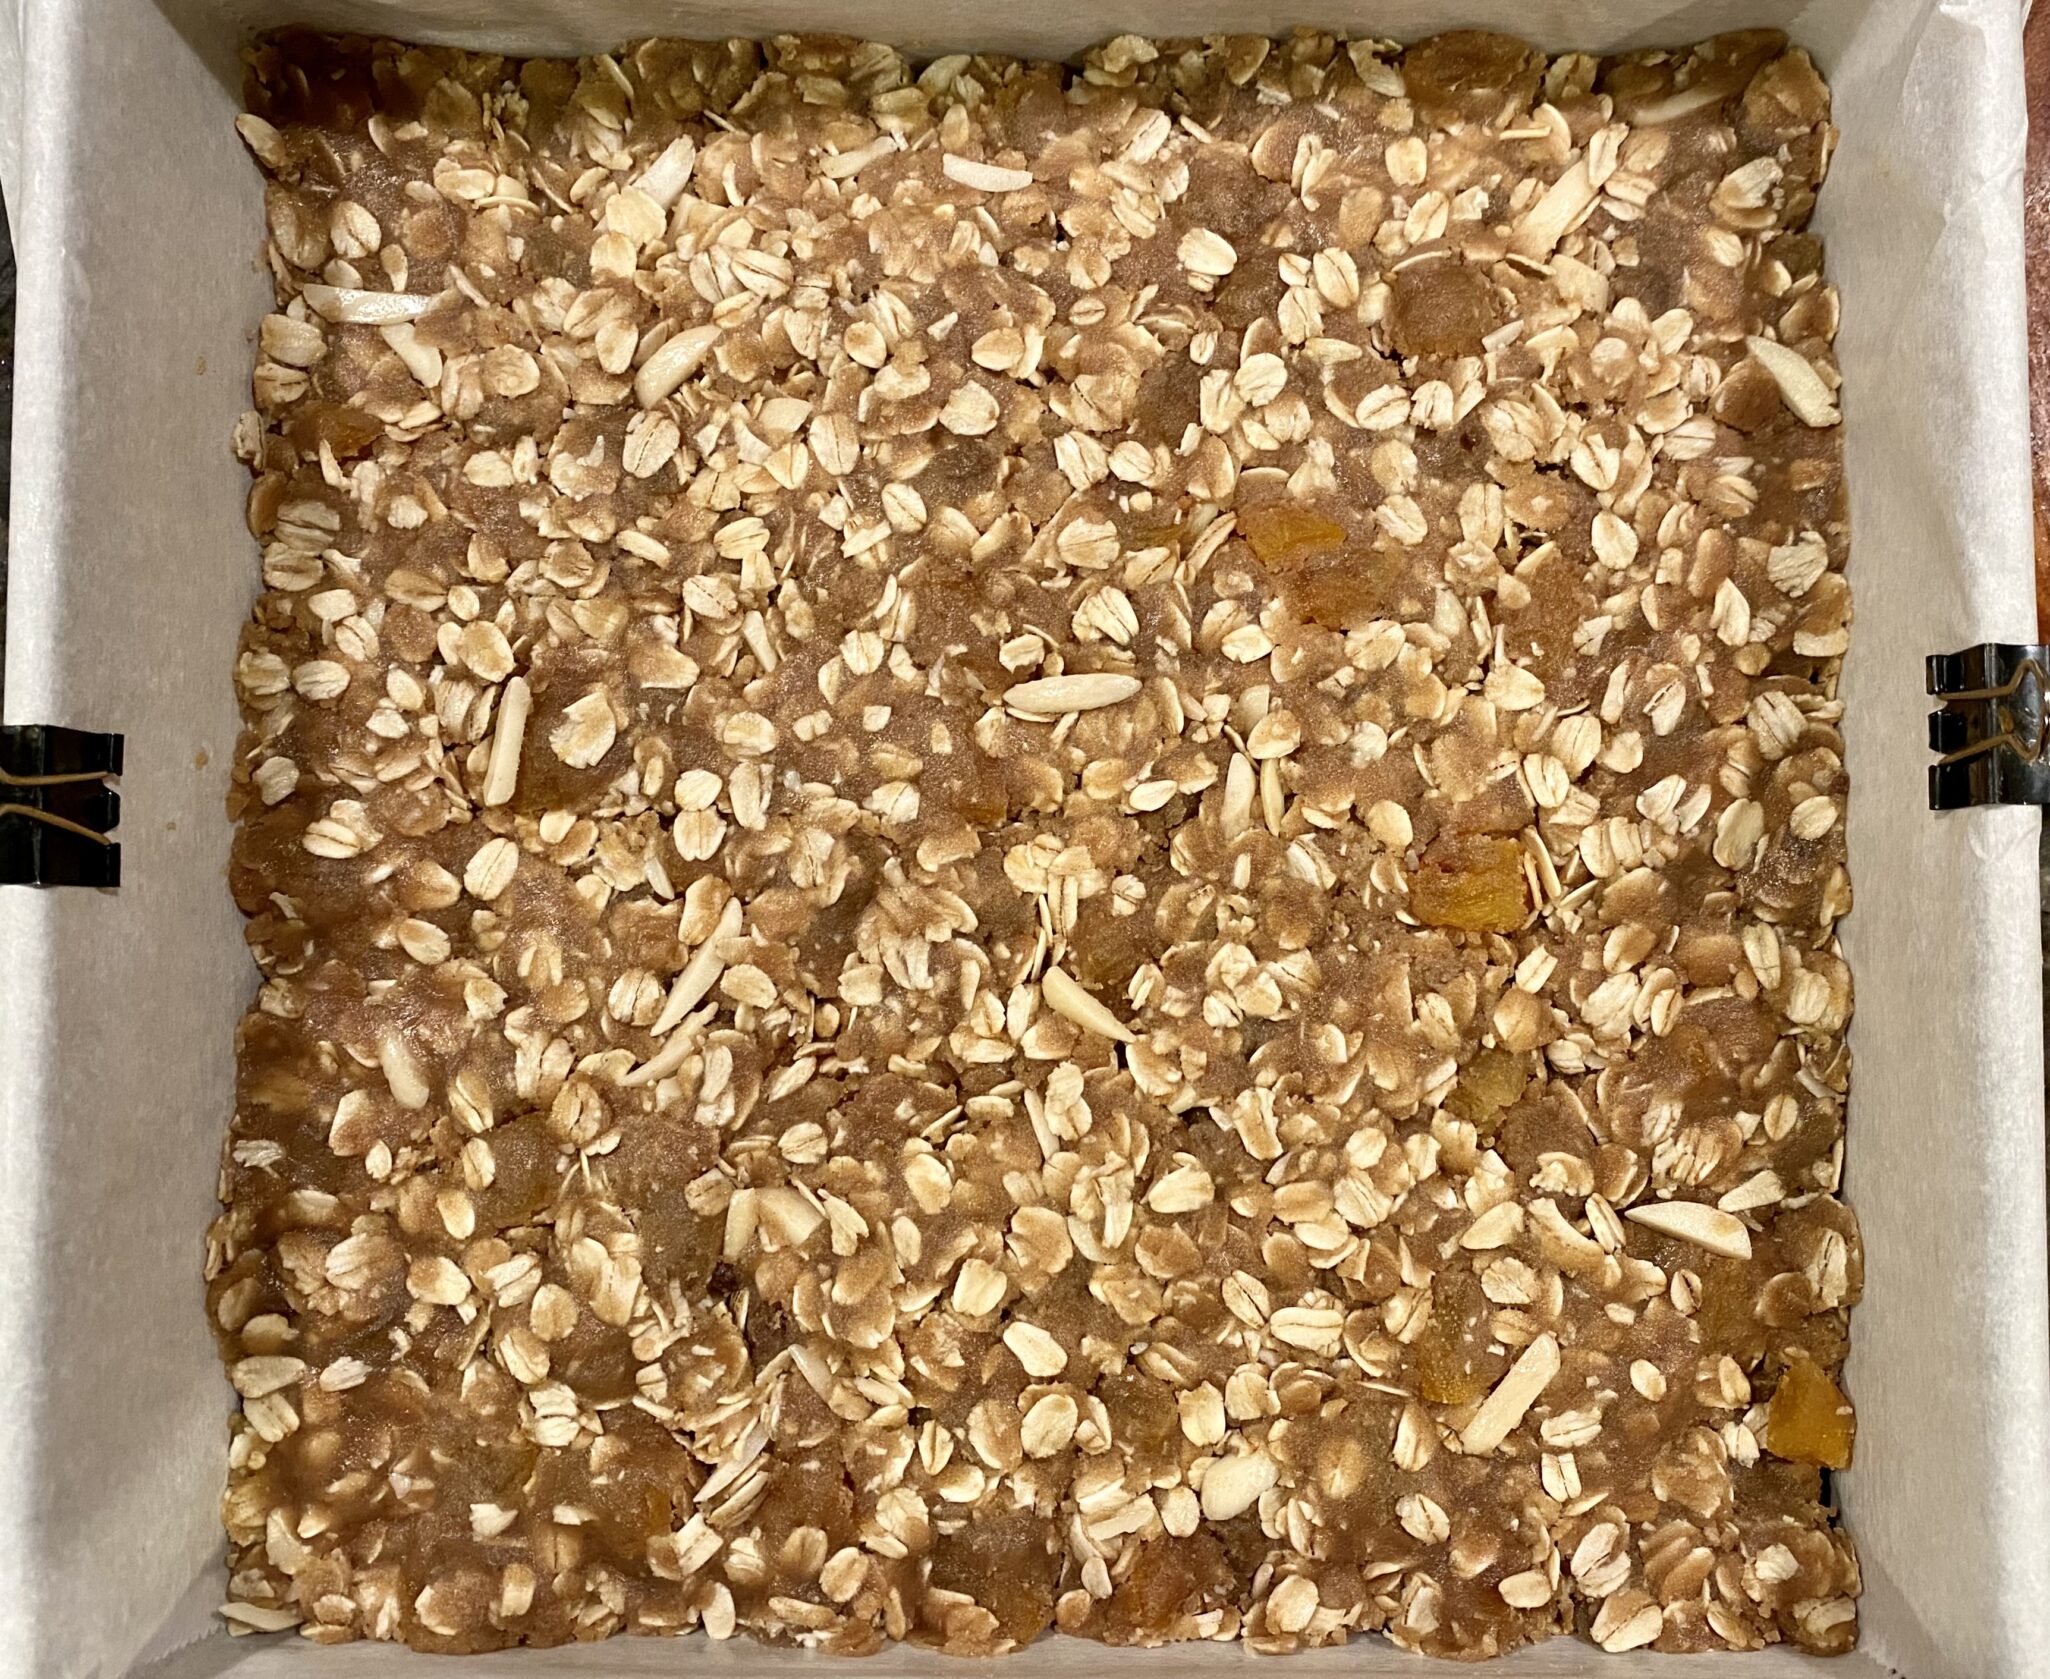
- Preheat an oven to 350°F. Line the bottom and sides of a 9-inch square baking pan with a large piece of aluminum foil (some foil hanging over the edges is fine). Lightly grease the foil with the soft butter. YOu could also use parchment paper.
- Cut apricots into about 1/2-inch pieces. (Use kitchen shears to snip apricots works like a charm)
- In a bowl, combine the rolled oats, flour, brown sugar, salt and cinnamon. Stir with a spoon or spatula until well blended and no lumps of sugar remain.
- Add apricots, nuts if using, melted butter and vanilla to the bowl. Stir until well blended. The dough will be moist and crumbly. Dump the dough into the prepared baking pan. Press the dough into the pan with your fingers.
- Bake until the top is golden brown, 35 to 40 minutes. Using oven mitts, remove the pan from the oven, set on a wire cooling rack and let cool completely.
- Lift the foil and the oatmeal bars from the pan and place on a work surface. Peel away the foil from the sides and bottom. Using a small, sharp knife, cut the big square into 1 1/2-by-3-inch rectangles. Store in an airtight container. Makes 18 bar cookies.