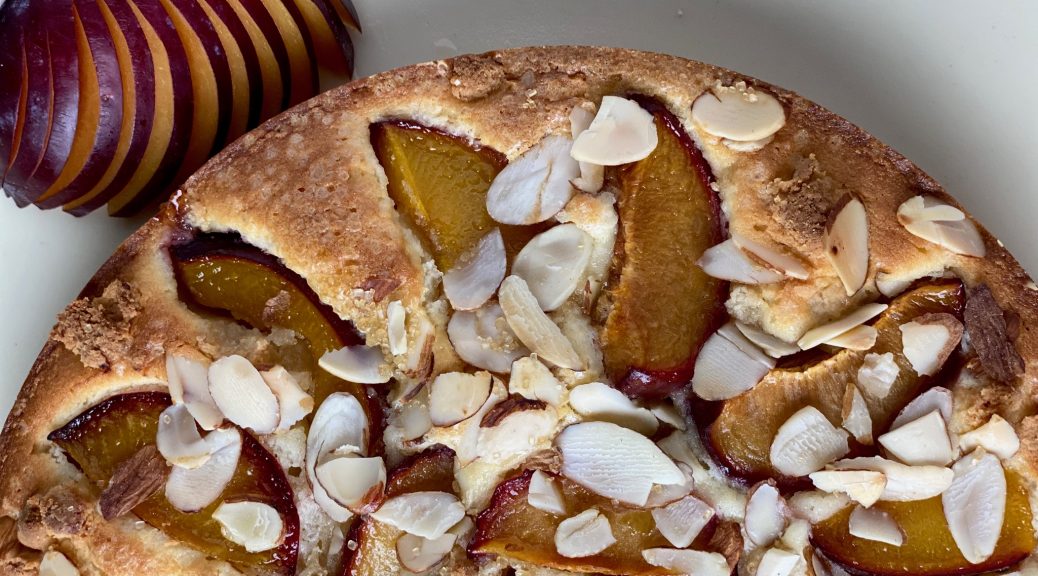
Almond Plum Snack Cake-Plum Out of Time
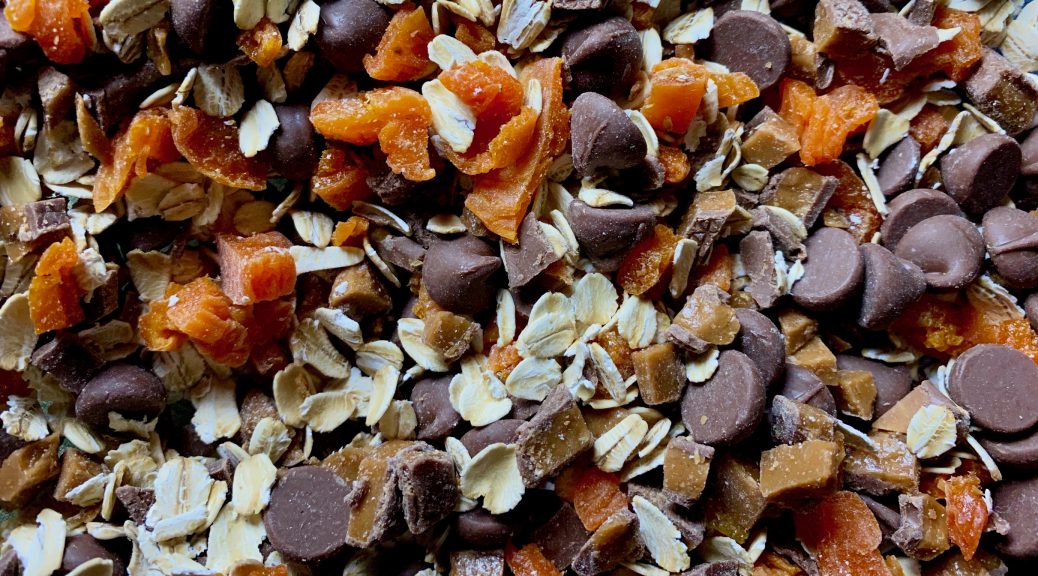
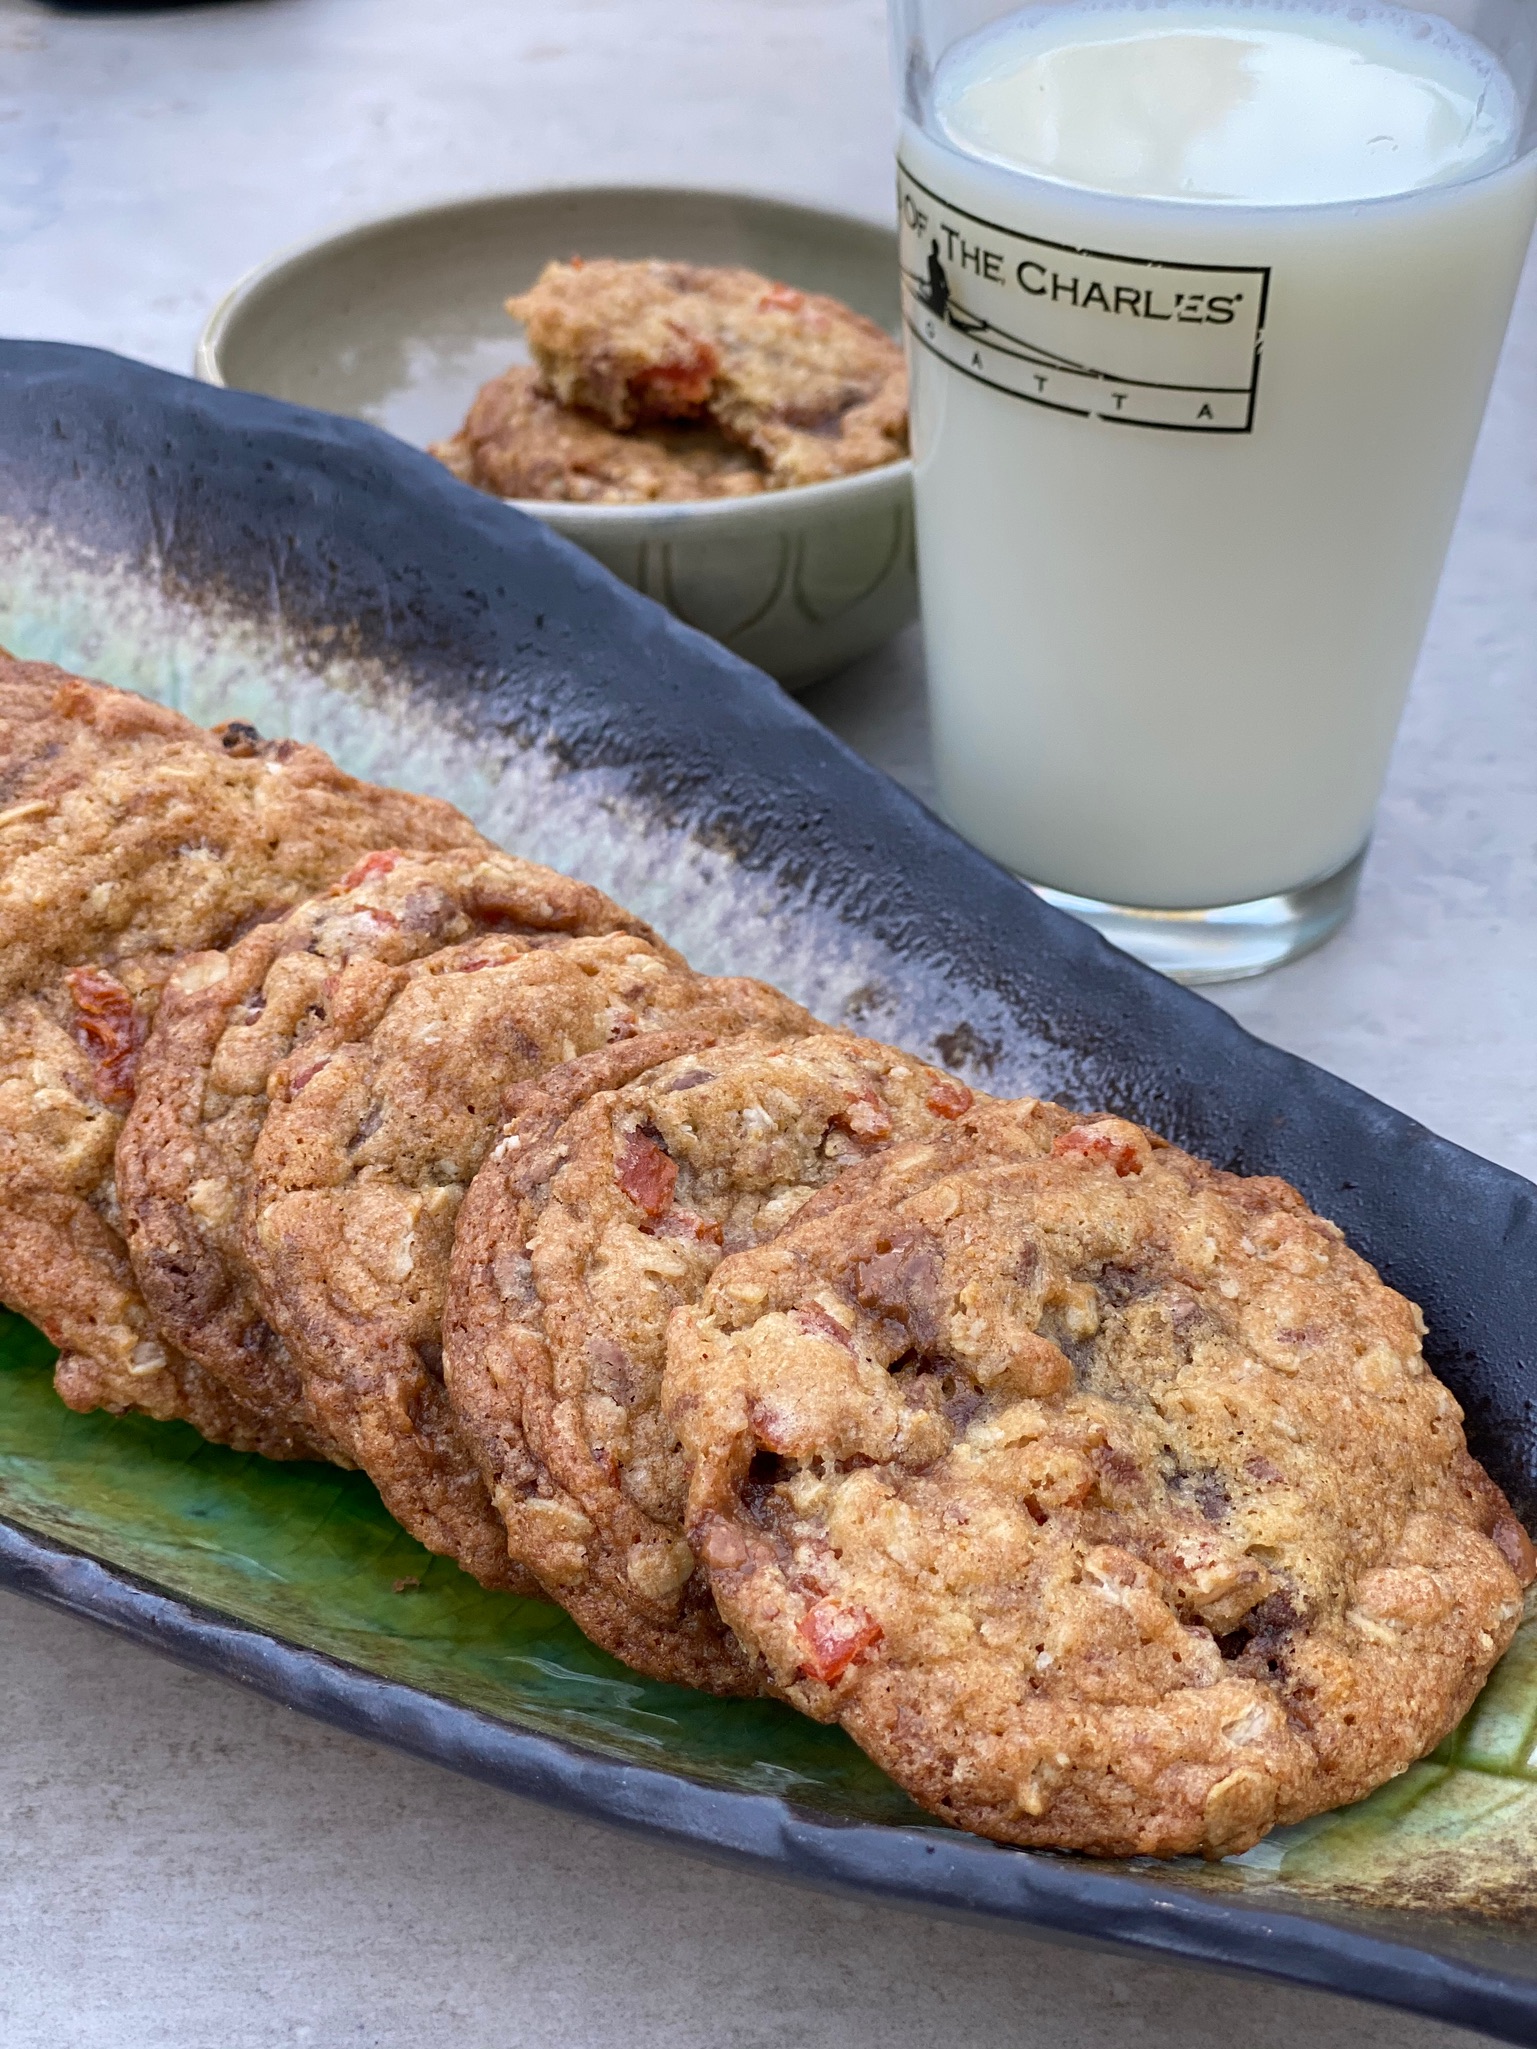
The Bake Sale Returns to Its Political Roots from Food & Wine magazine and a YouTube video of Paul Rudd “Ant Man” handing out cookies in a Brooklyn voting line (wow, wish I lived in Brooklyn) reminded me of how food and politics go hand in hand. I decided I needed to sweeten my “Are you with me?” let’s save democracy pleas. A good place to start was the recipes in the Food & Wine article. I started with the Toffee Apricot Oatmeal Cookies which garnered more than a few enthusiastic votes and followed it with the Almond Plum Snack Cake by Miro Uskokovic, the pastry chef at Gramercy Tavern.
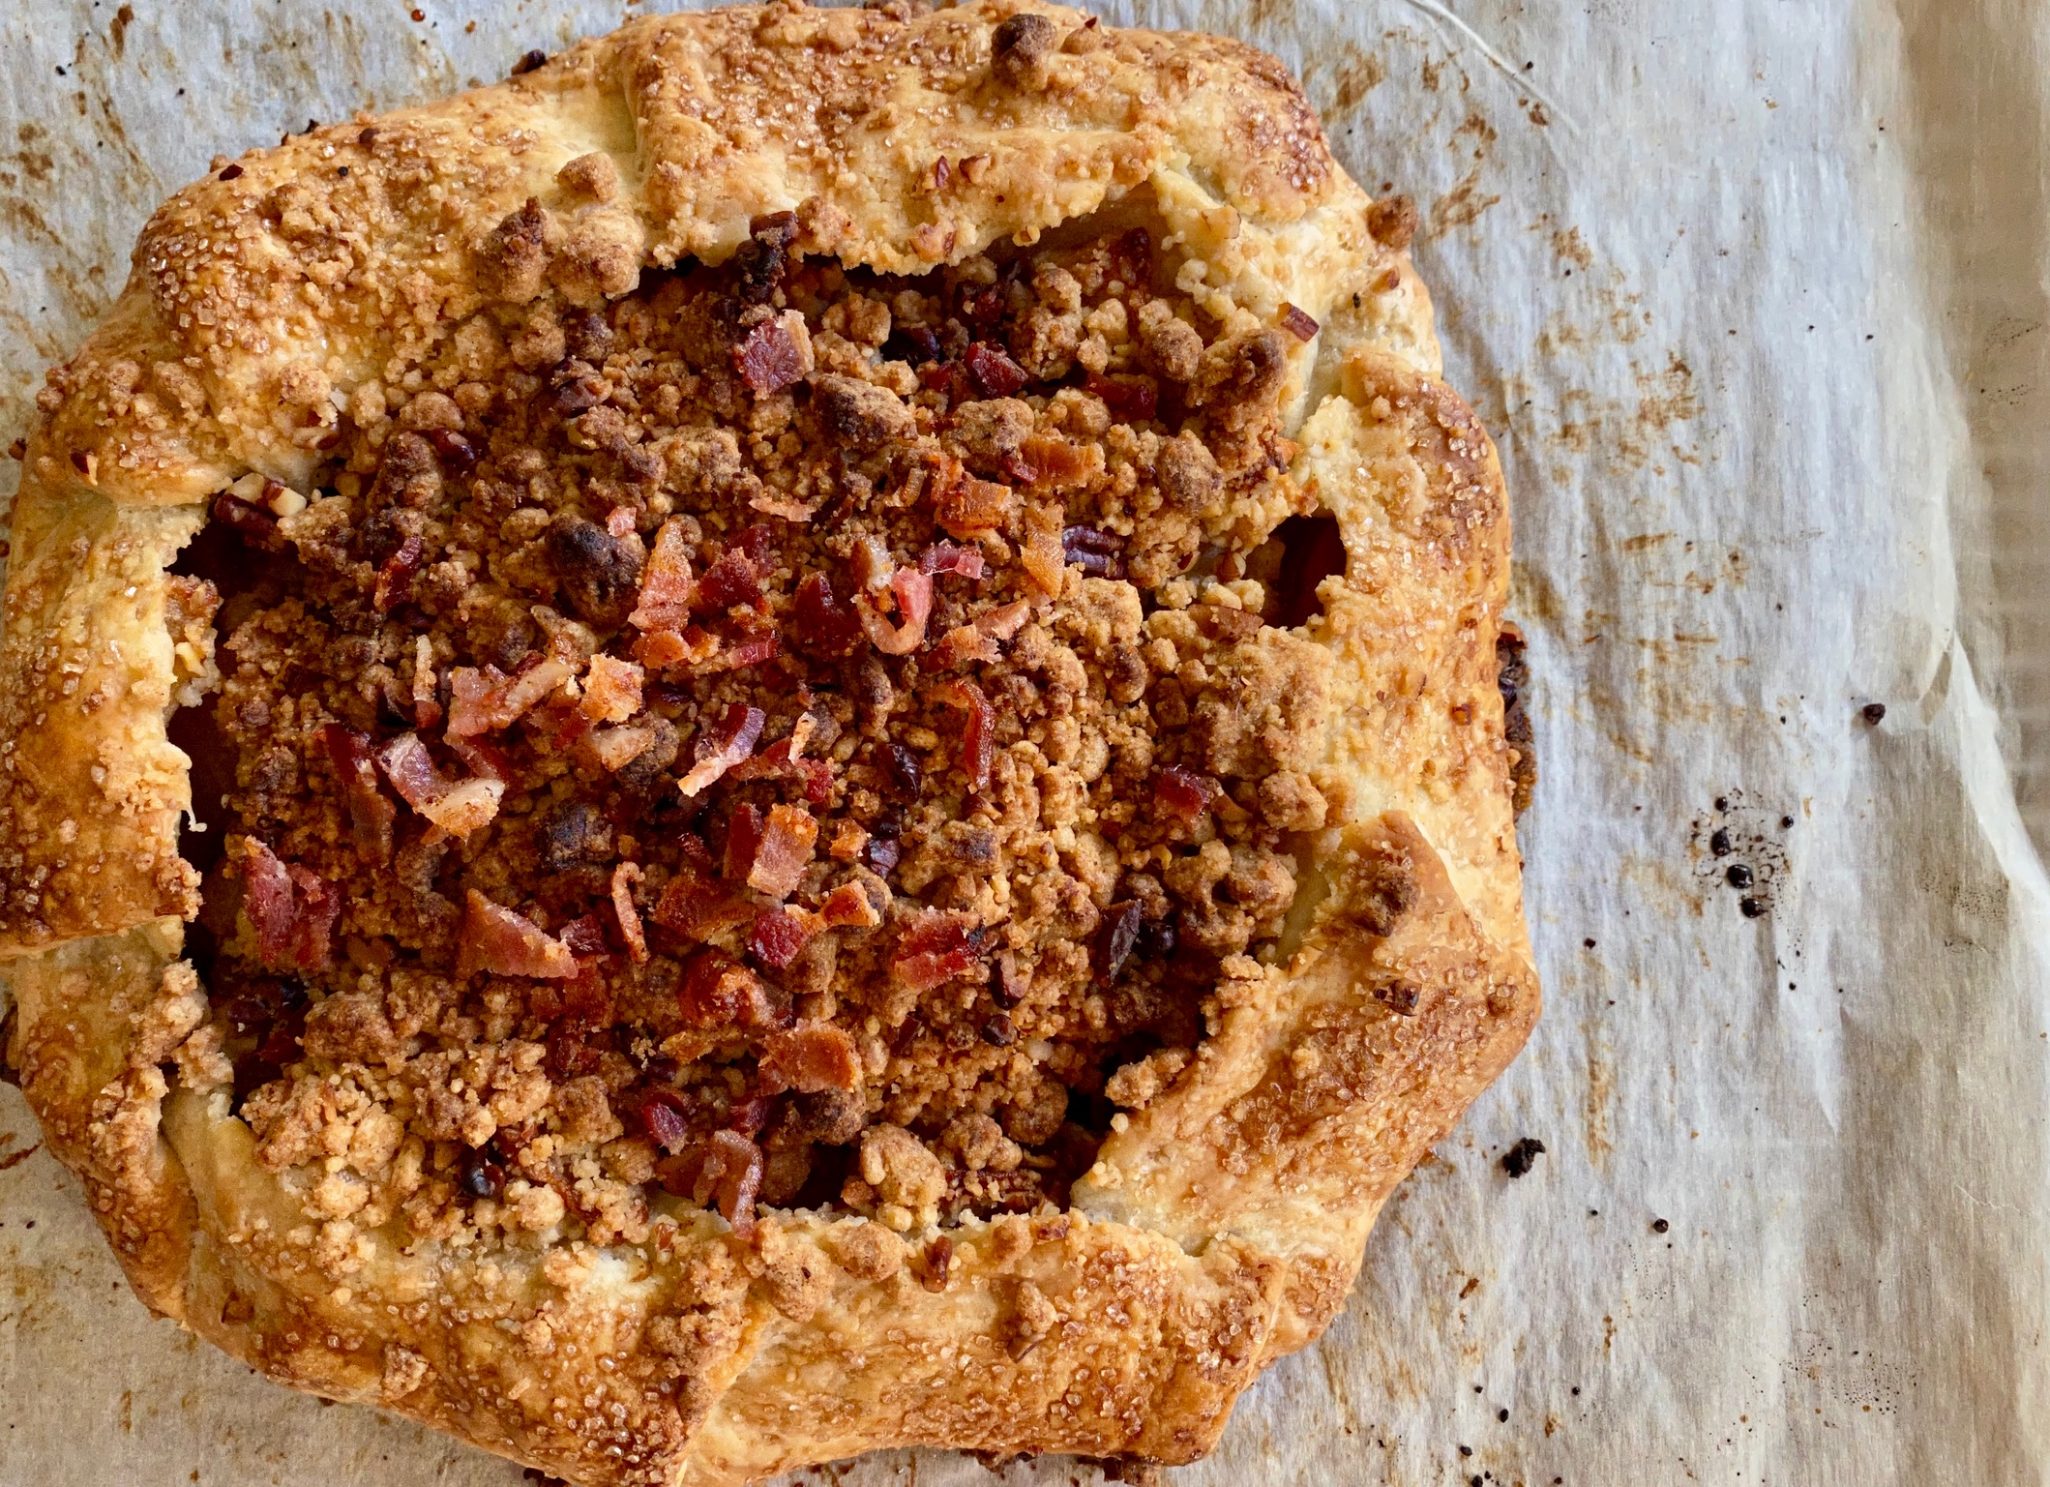
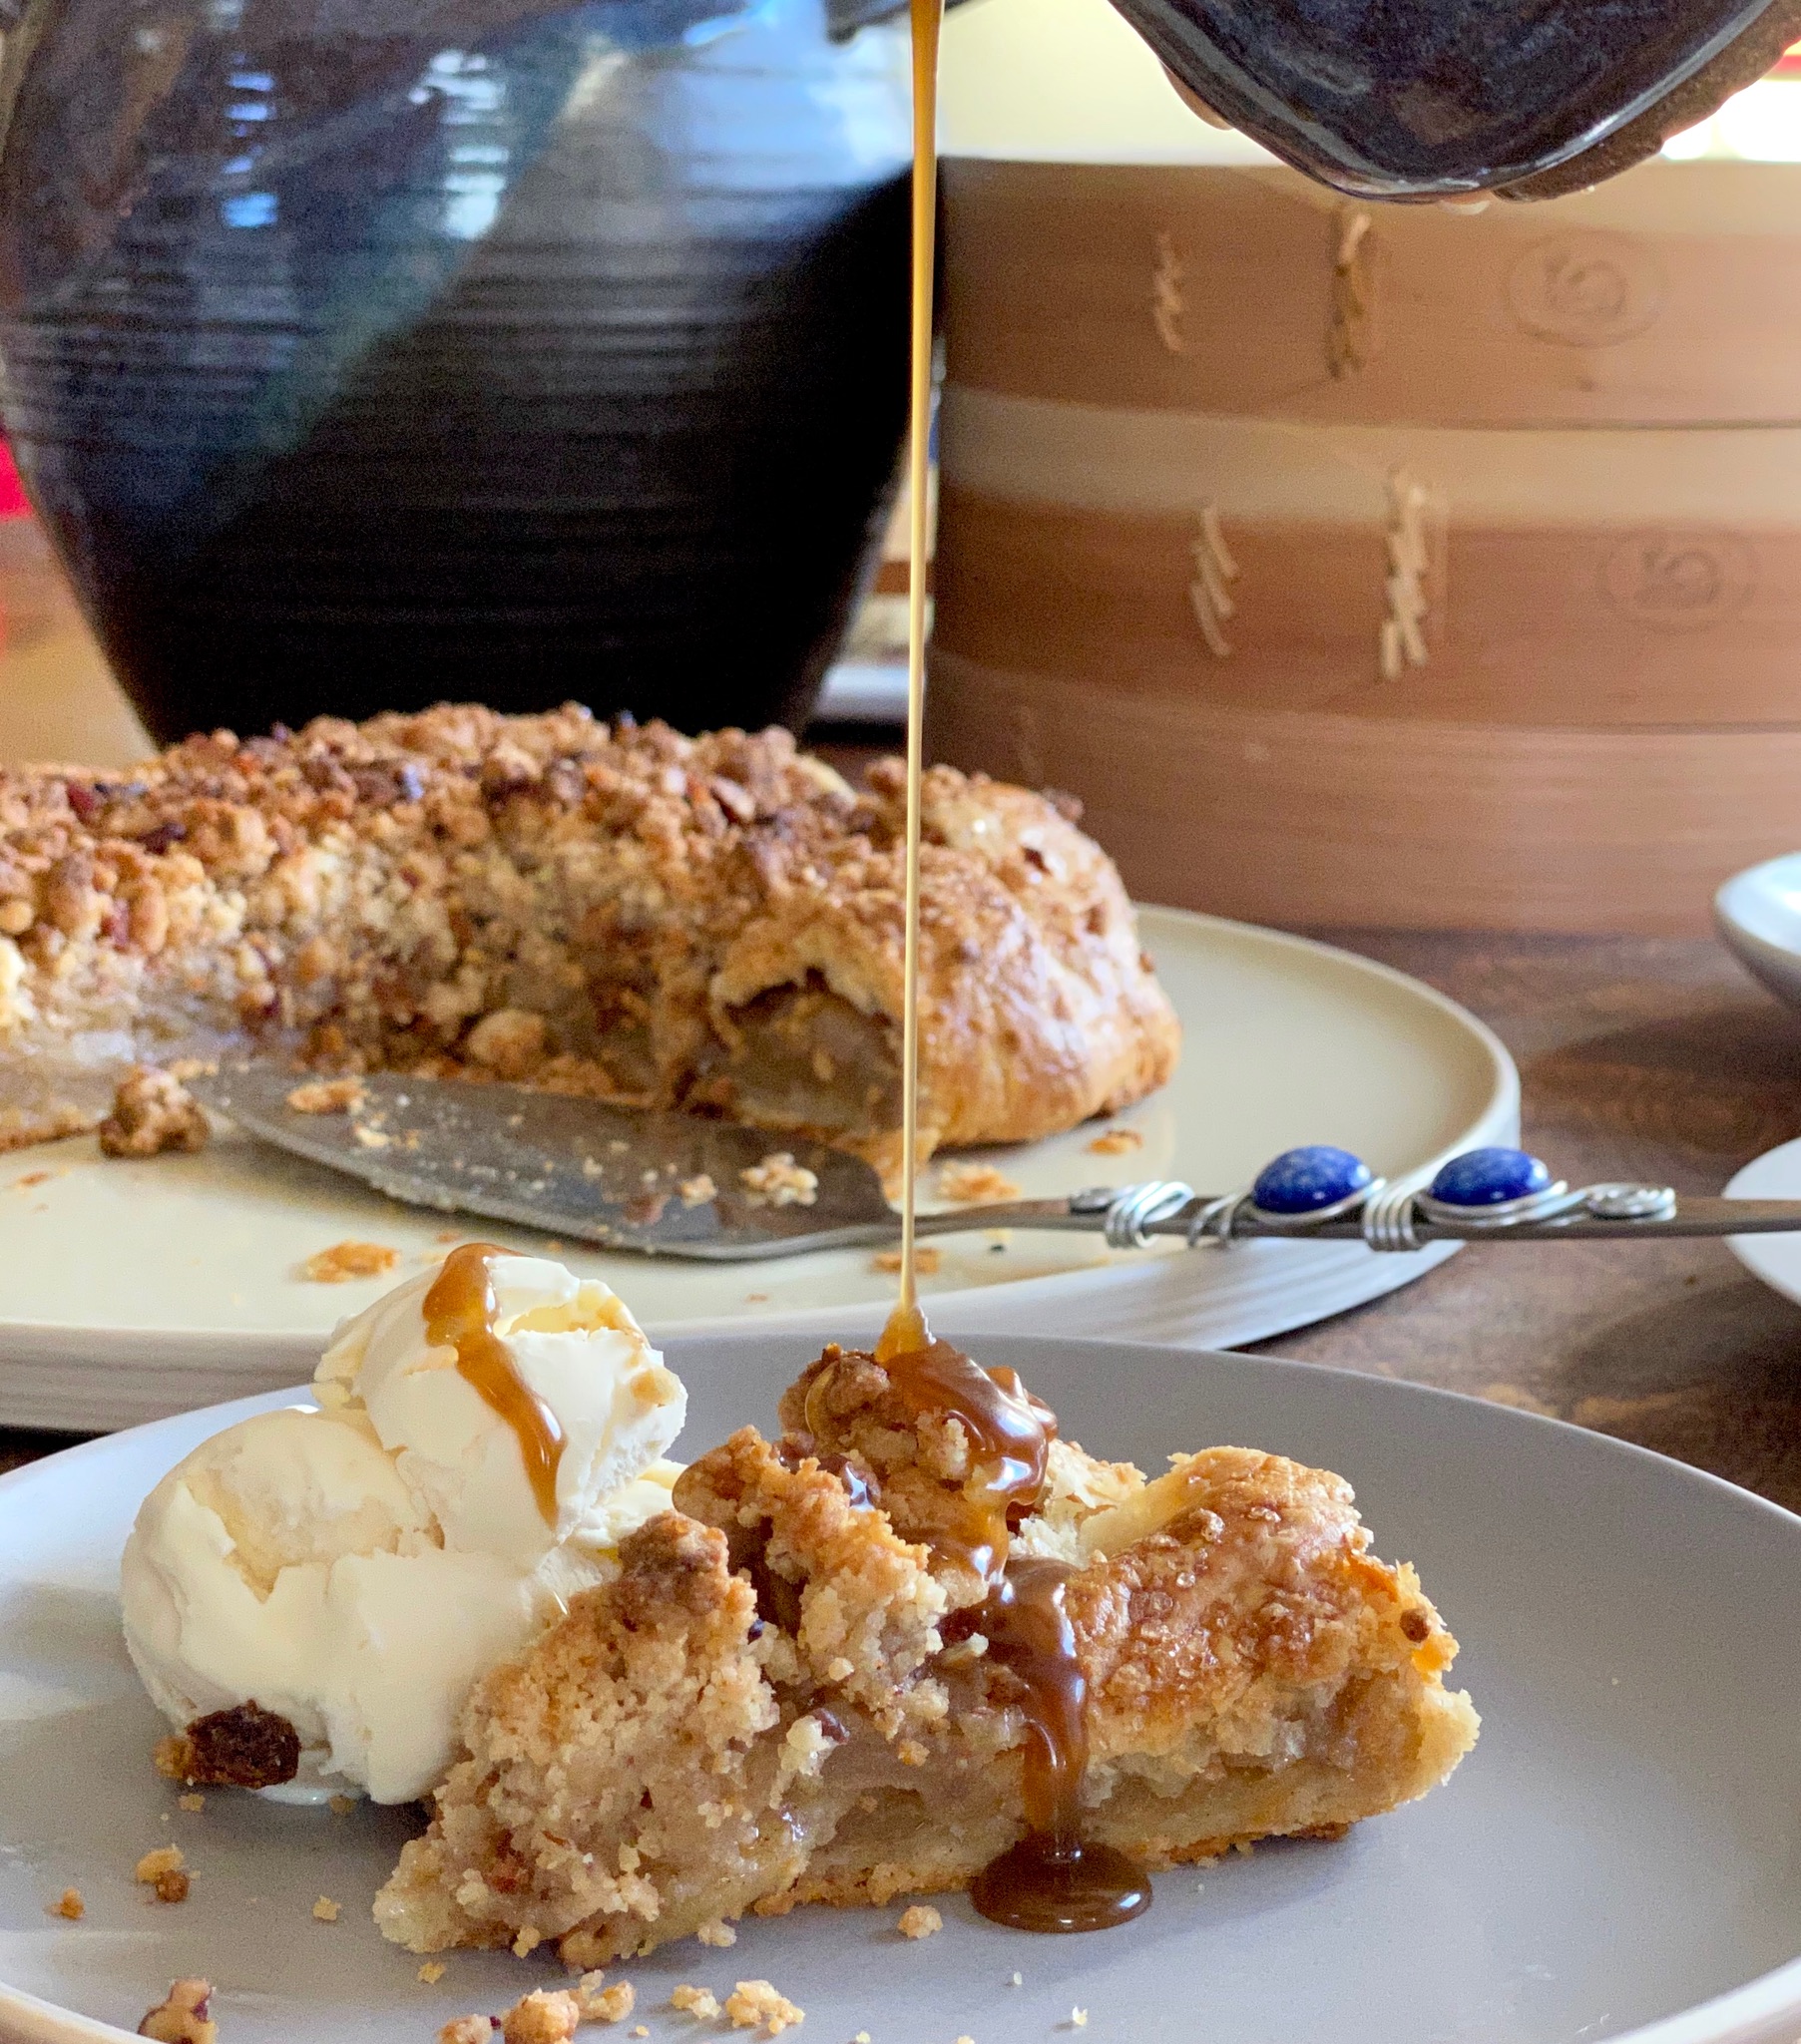
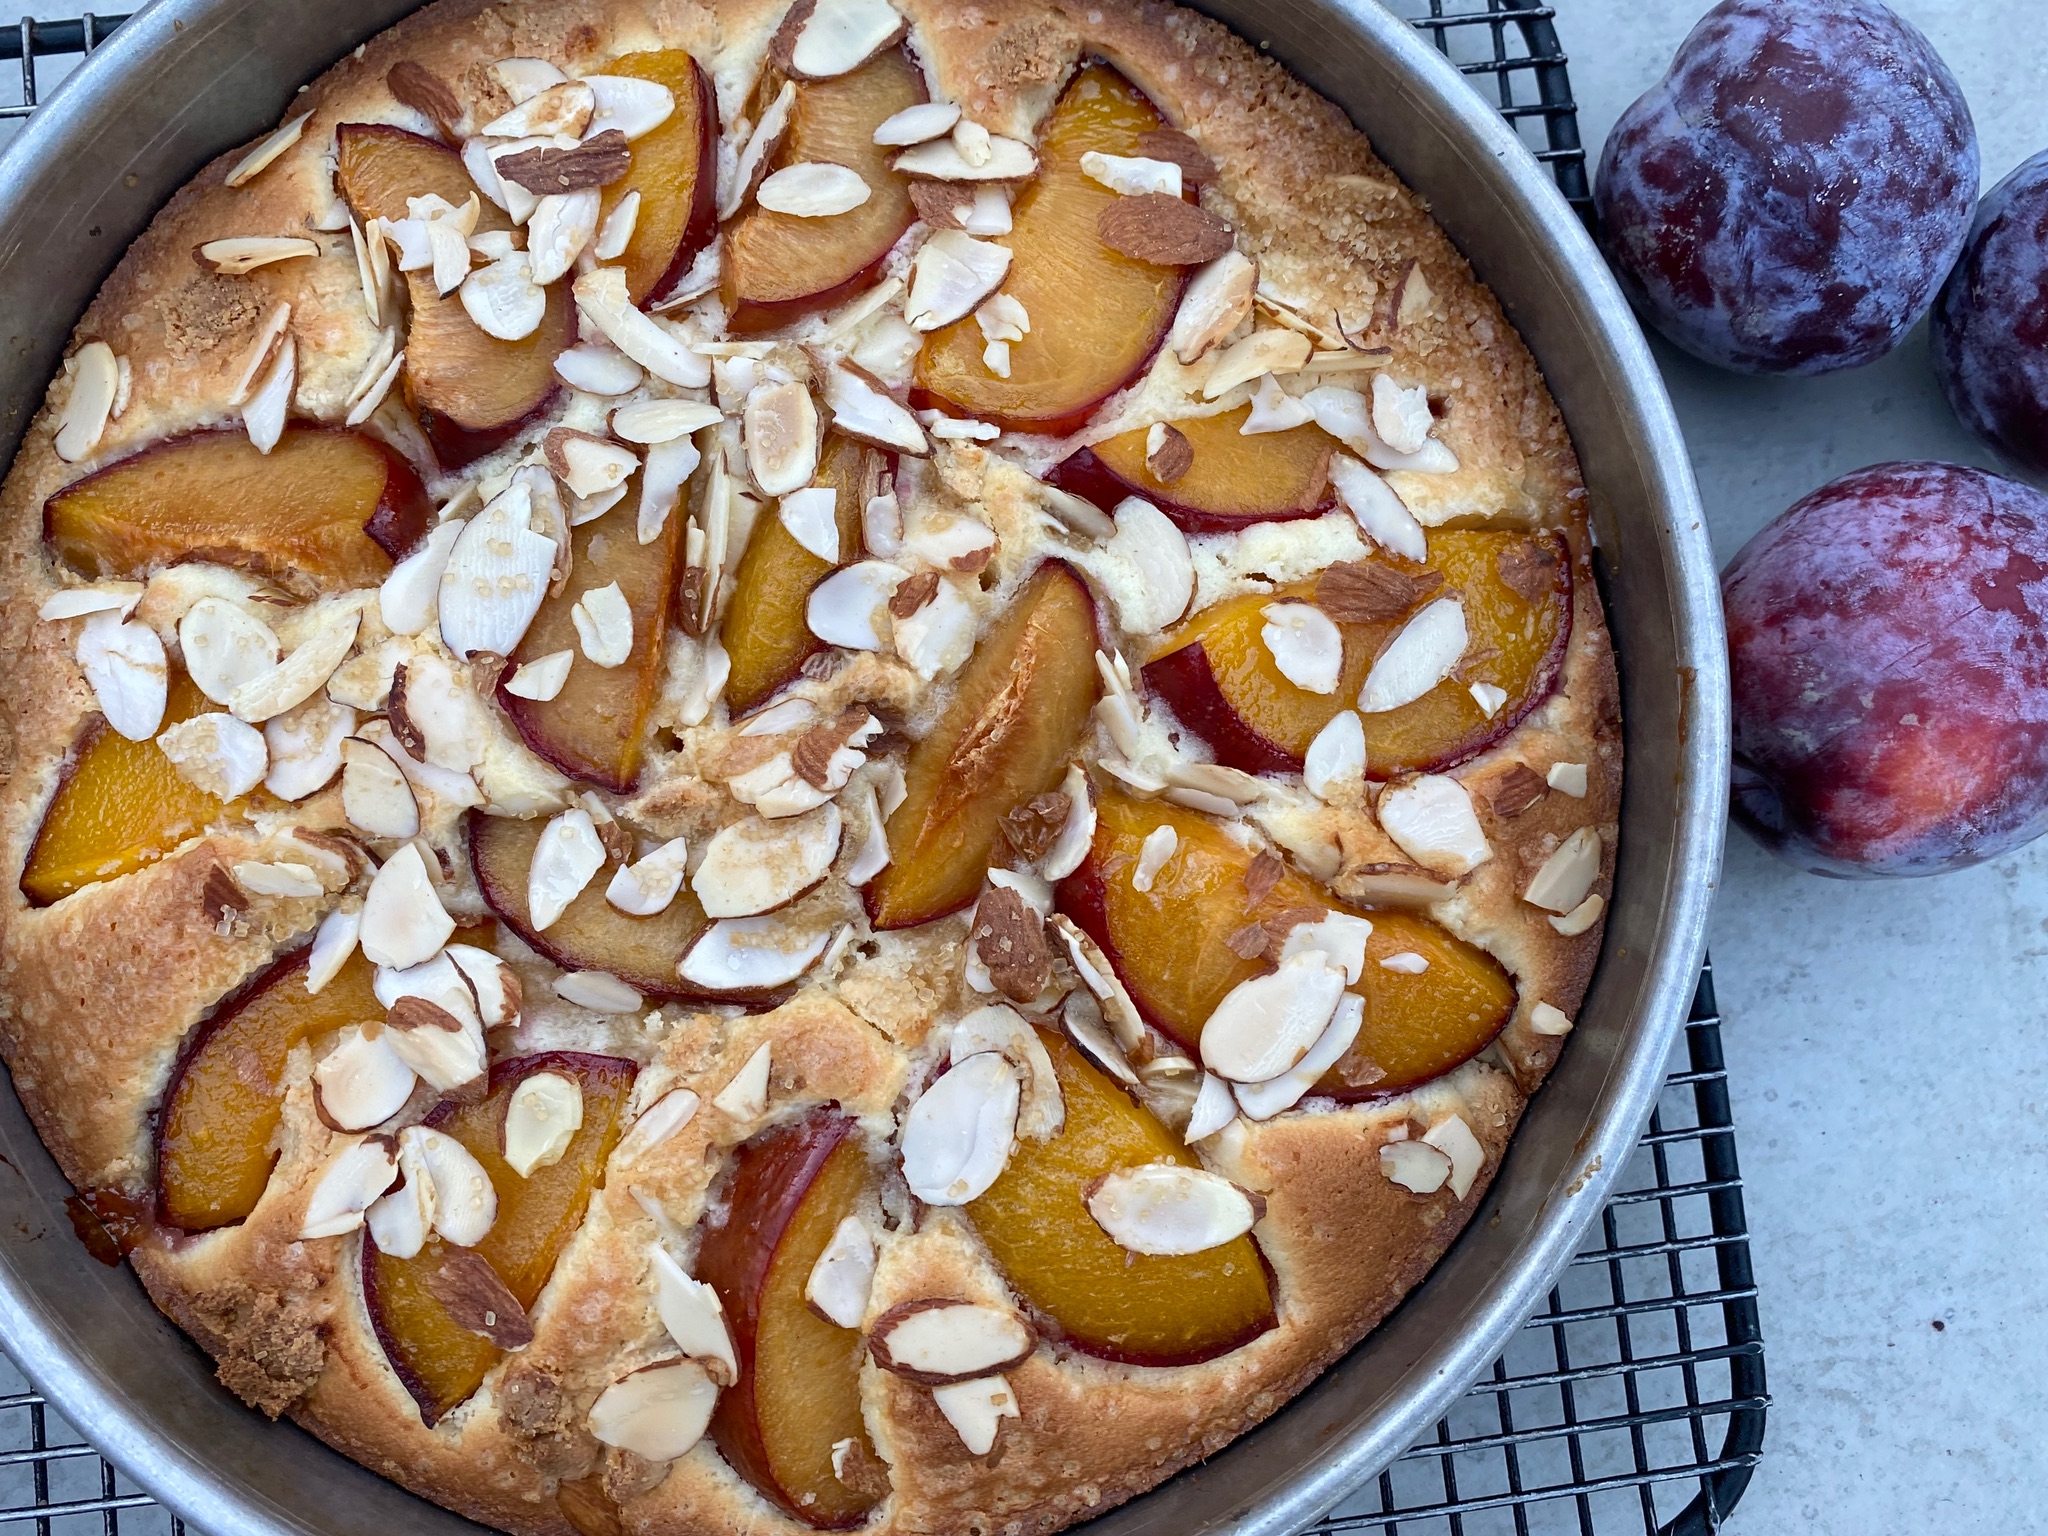
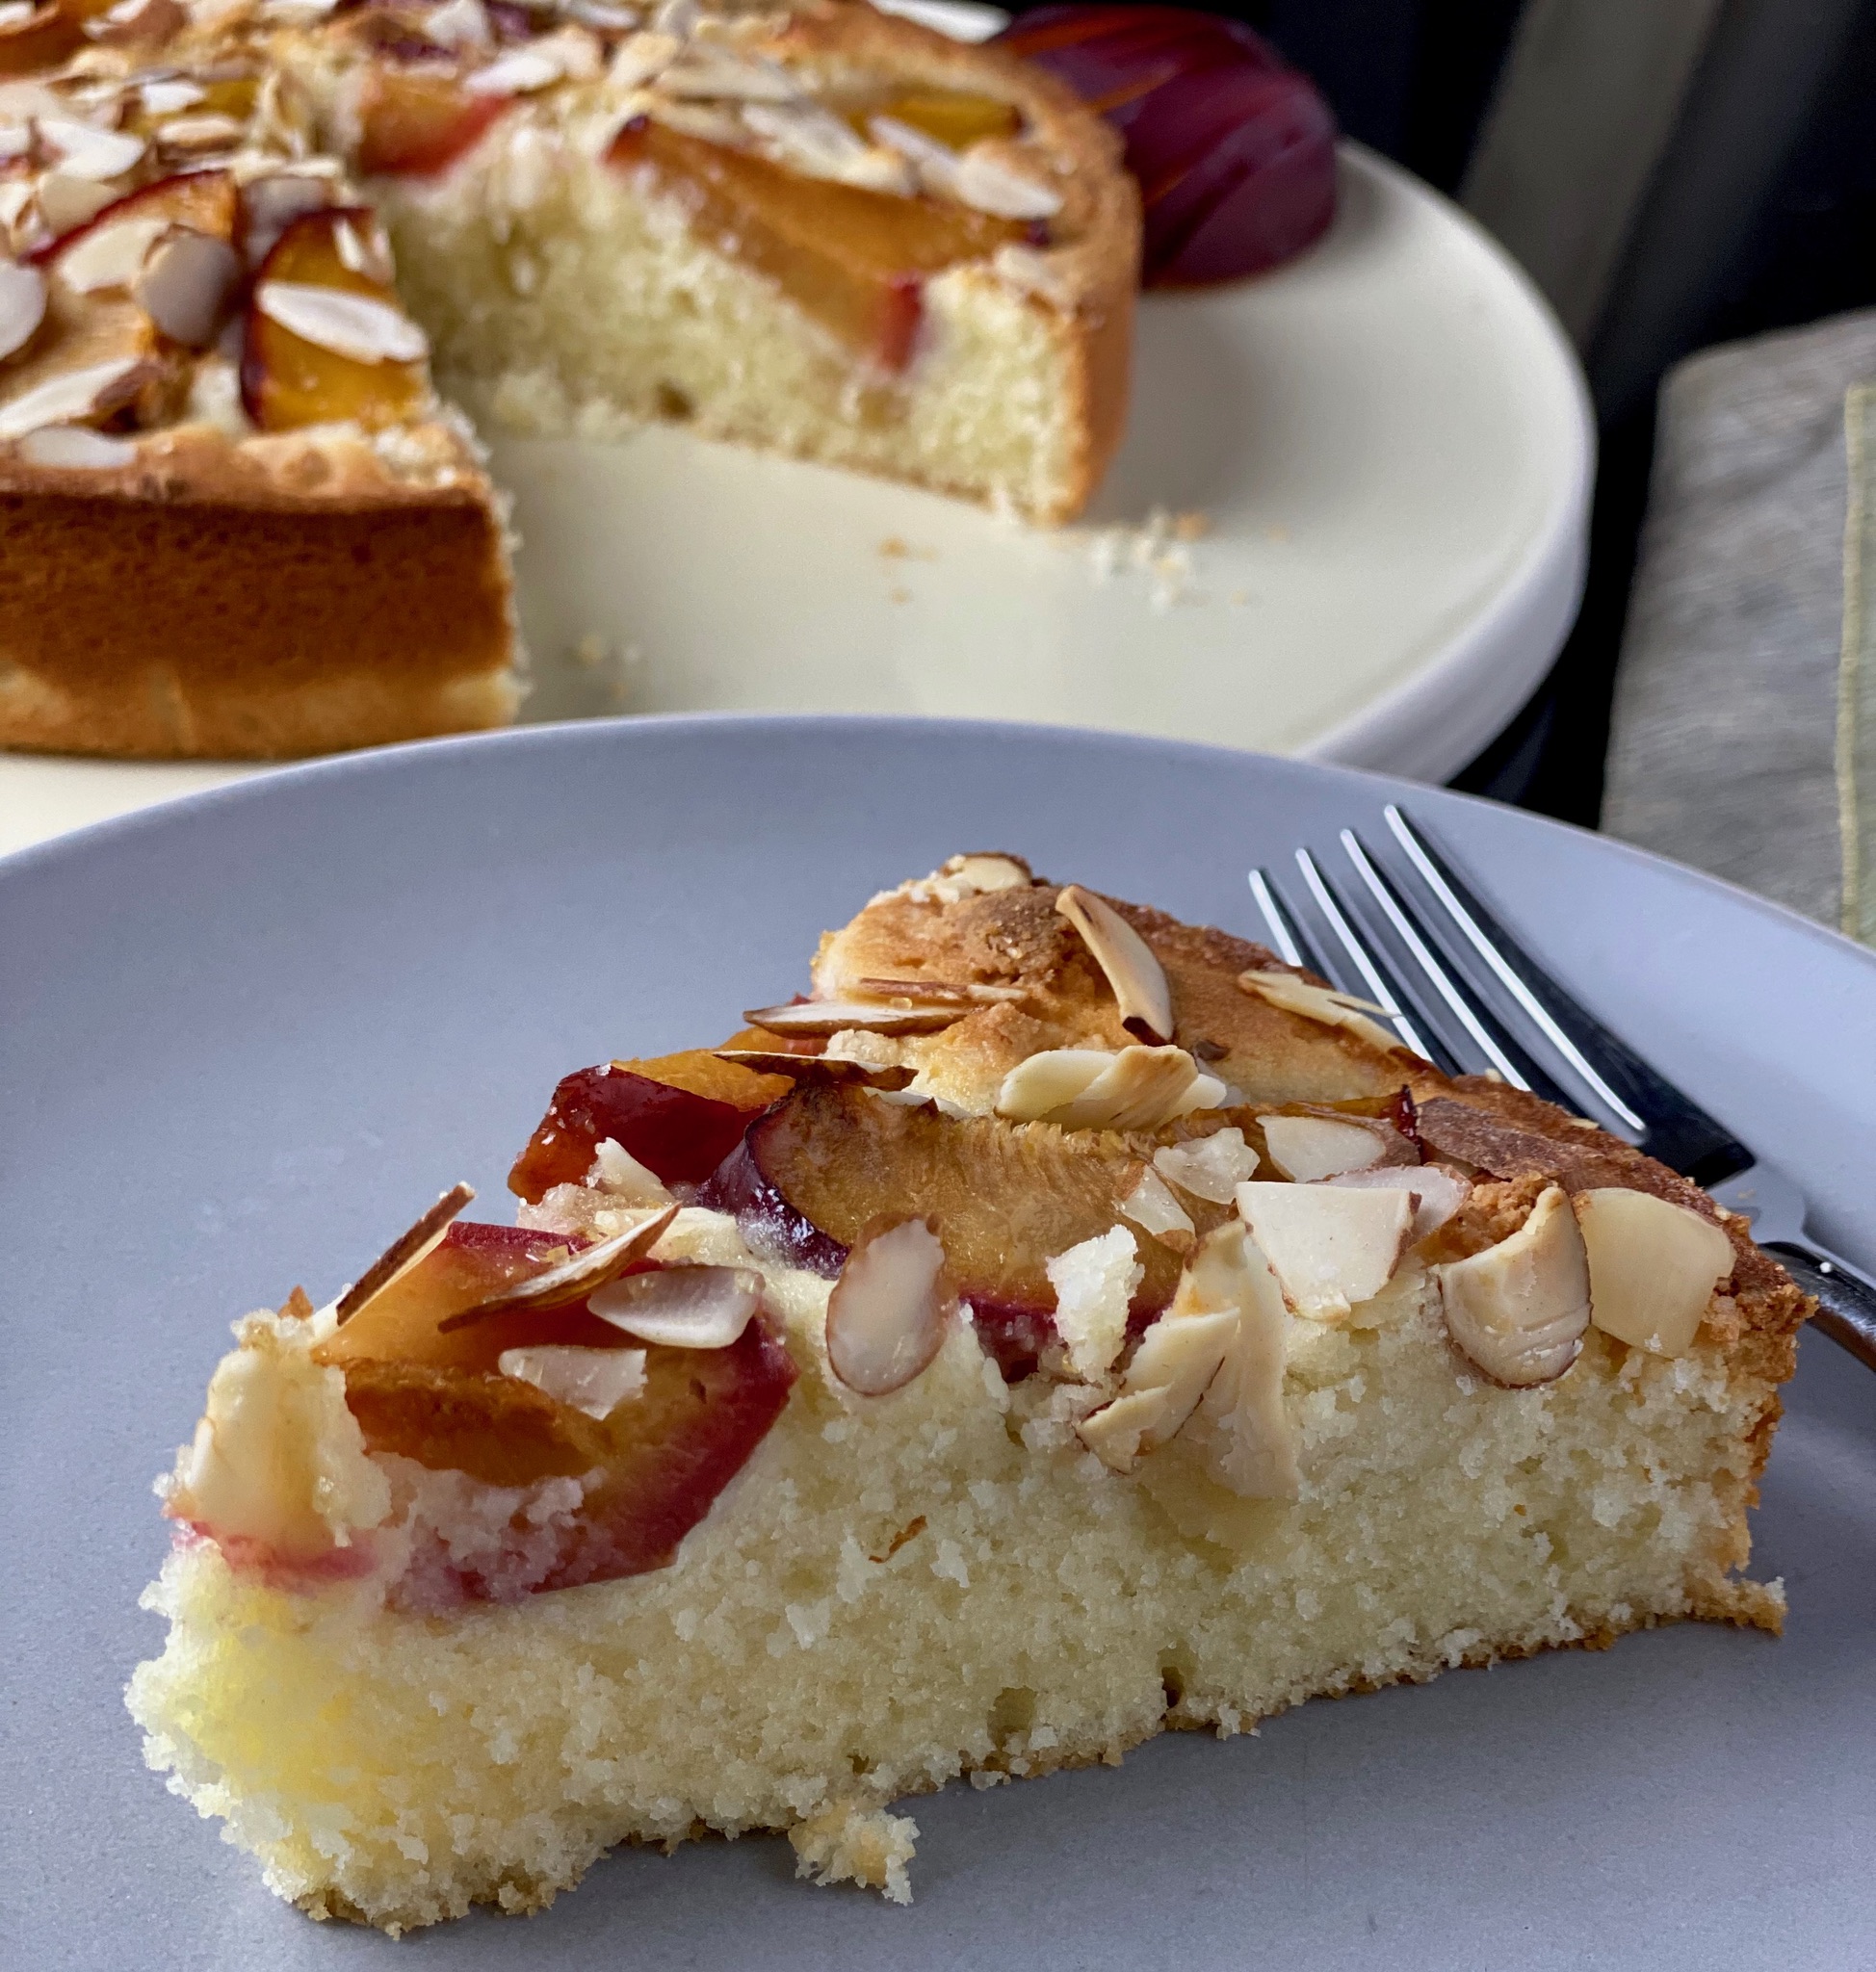
This cake is guaranteed to convince anyone to side with you. The use of cake flour and AP flour results in a fine crumb cake that holds up well (like for a bake sale) while the sour cream and butter add richness and tenderness. The little chunks of almond paste provide a surprise hit of flavor and texture and the plums add moisture and a sweet-tart yumminess. Finally, almonds and sugar sprinkled on top add sparkle and crunch. It’s the whole package and is scrumptious.
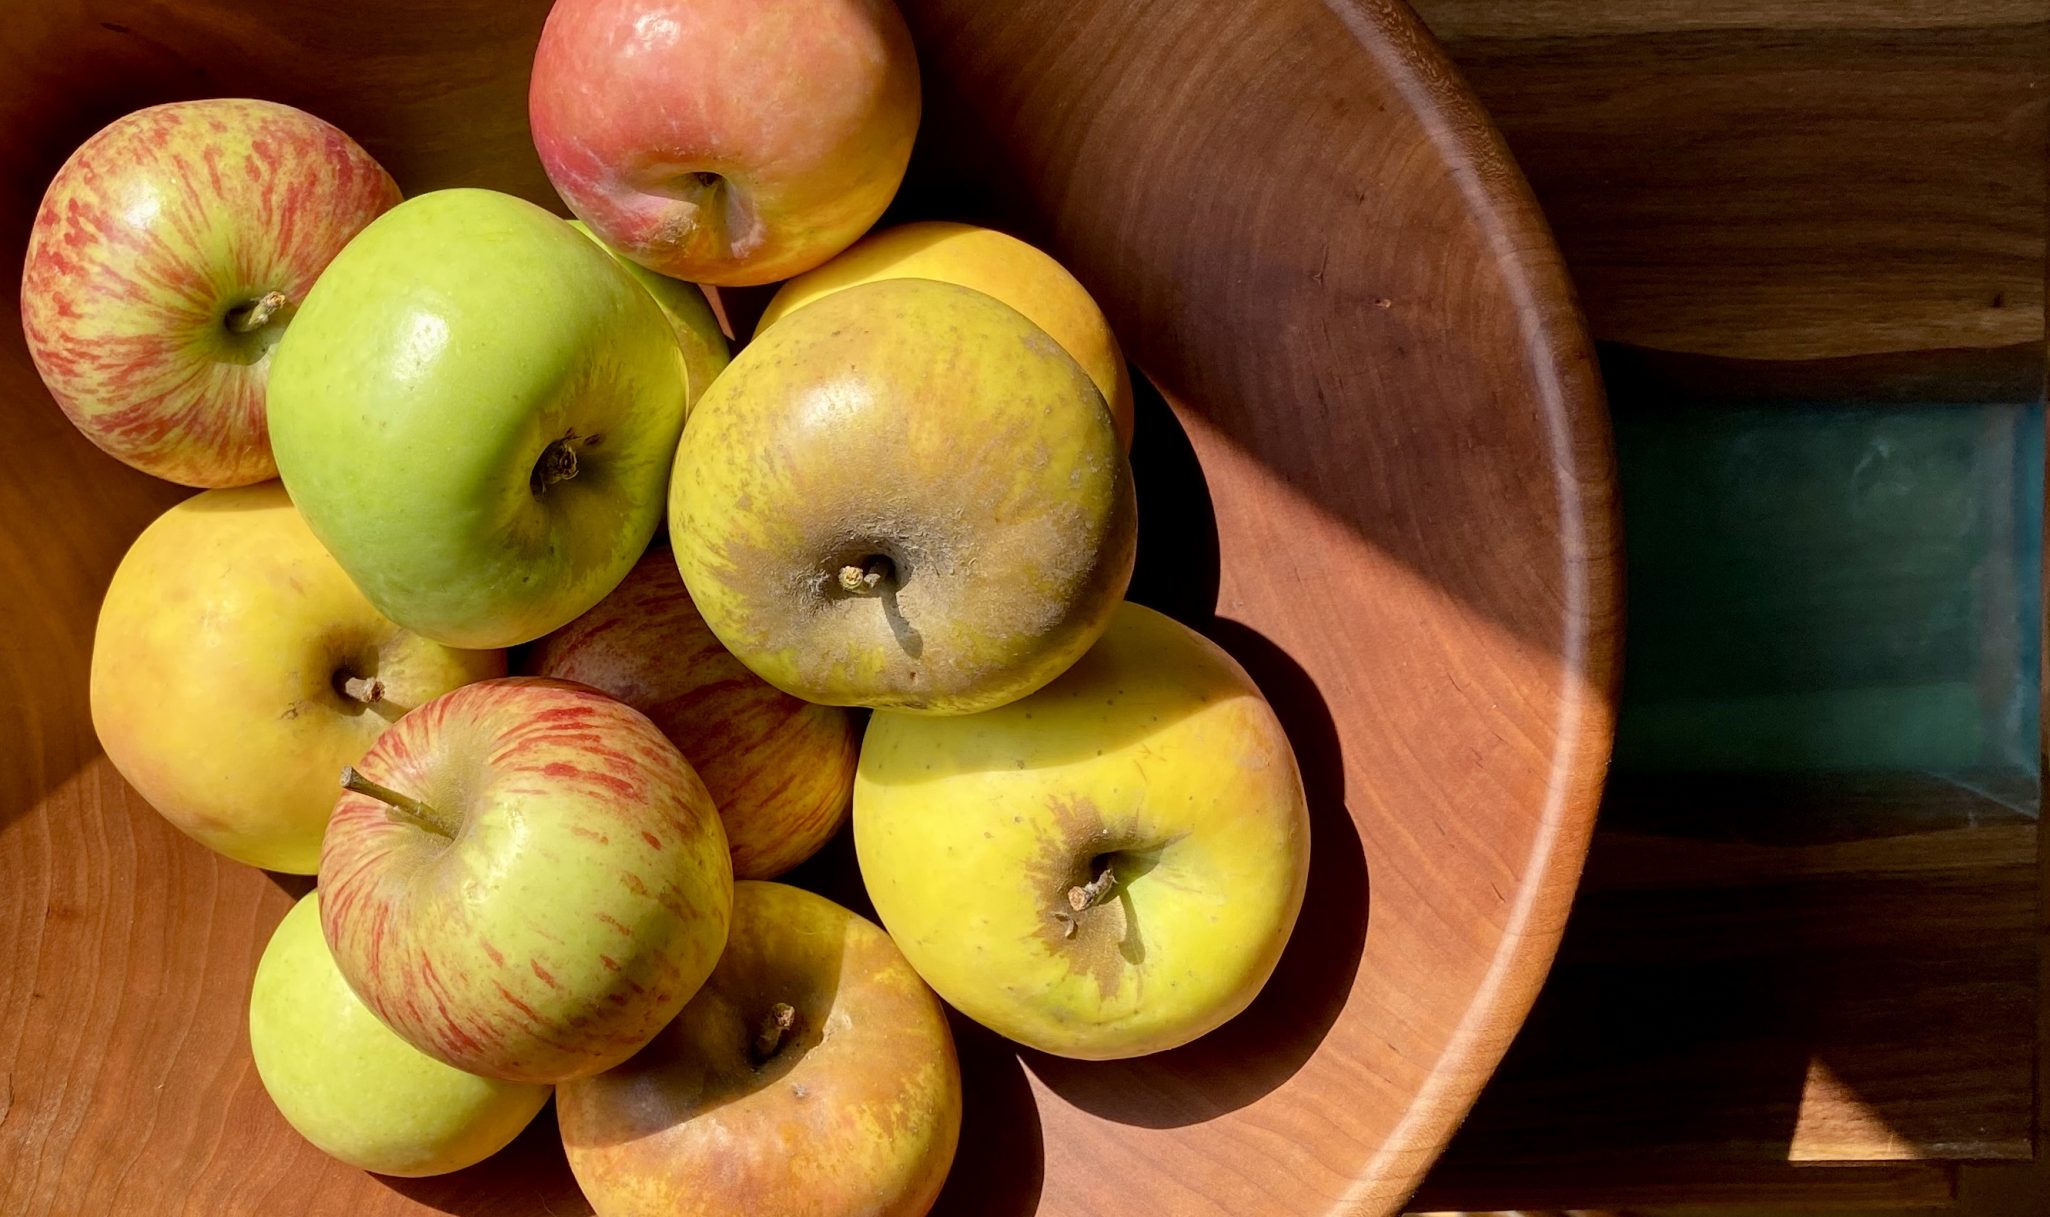
So hurry, grab the last plums of the season and make this cake
The cake is easy to make but a couple of hints may be helpful. The recipe calls for 8 ounces of almond paste, half is incorporated into the batter while the other half is crumbled on top just before baking. Don’t use all of it in the batter. I used granulated sugar in the batter but replaced the remaining 2 tablespoons with raw sugar called for on top of the cake. This added both sparkle and extra crunch. Almond paste can be found in the baking section of most supermarkets, don’t confuse it with marzipan which is much sweeter and used for fondant and candy.
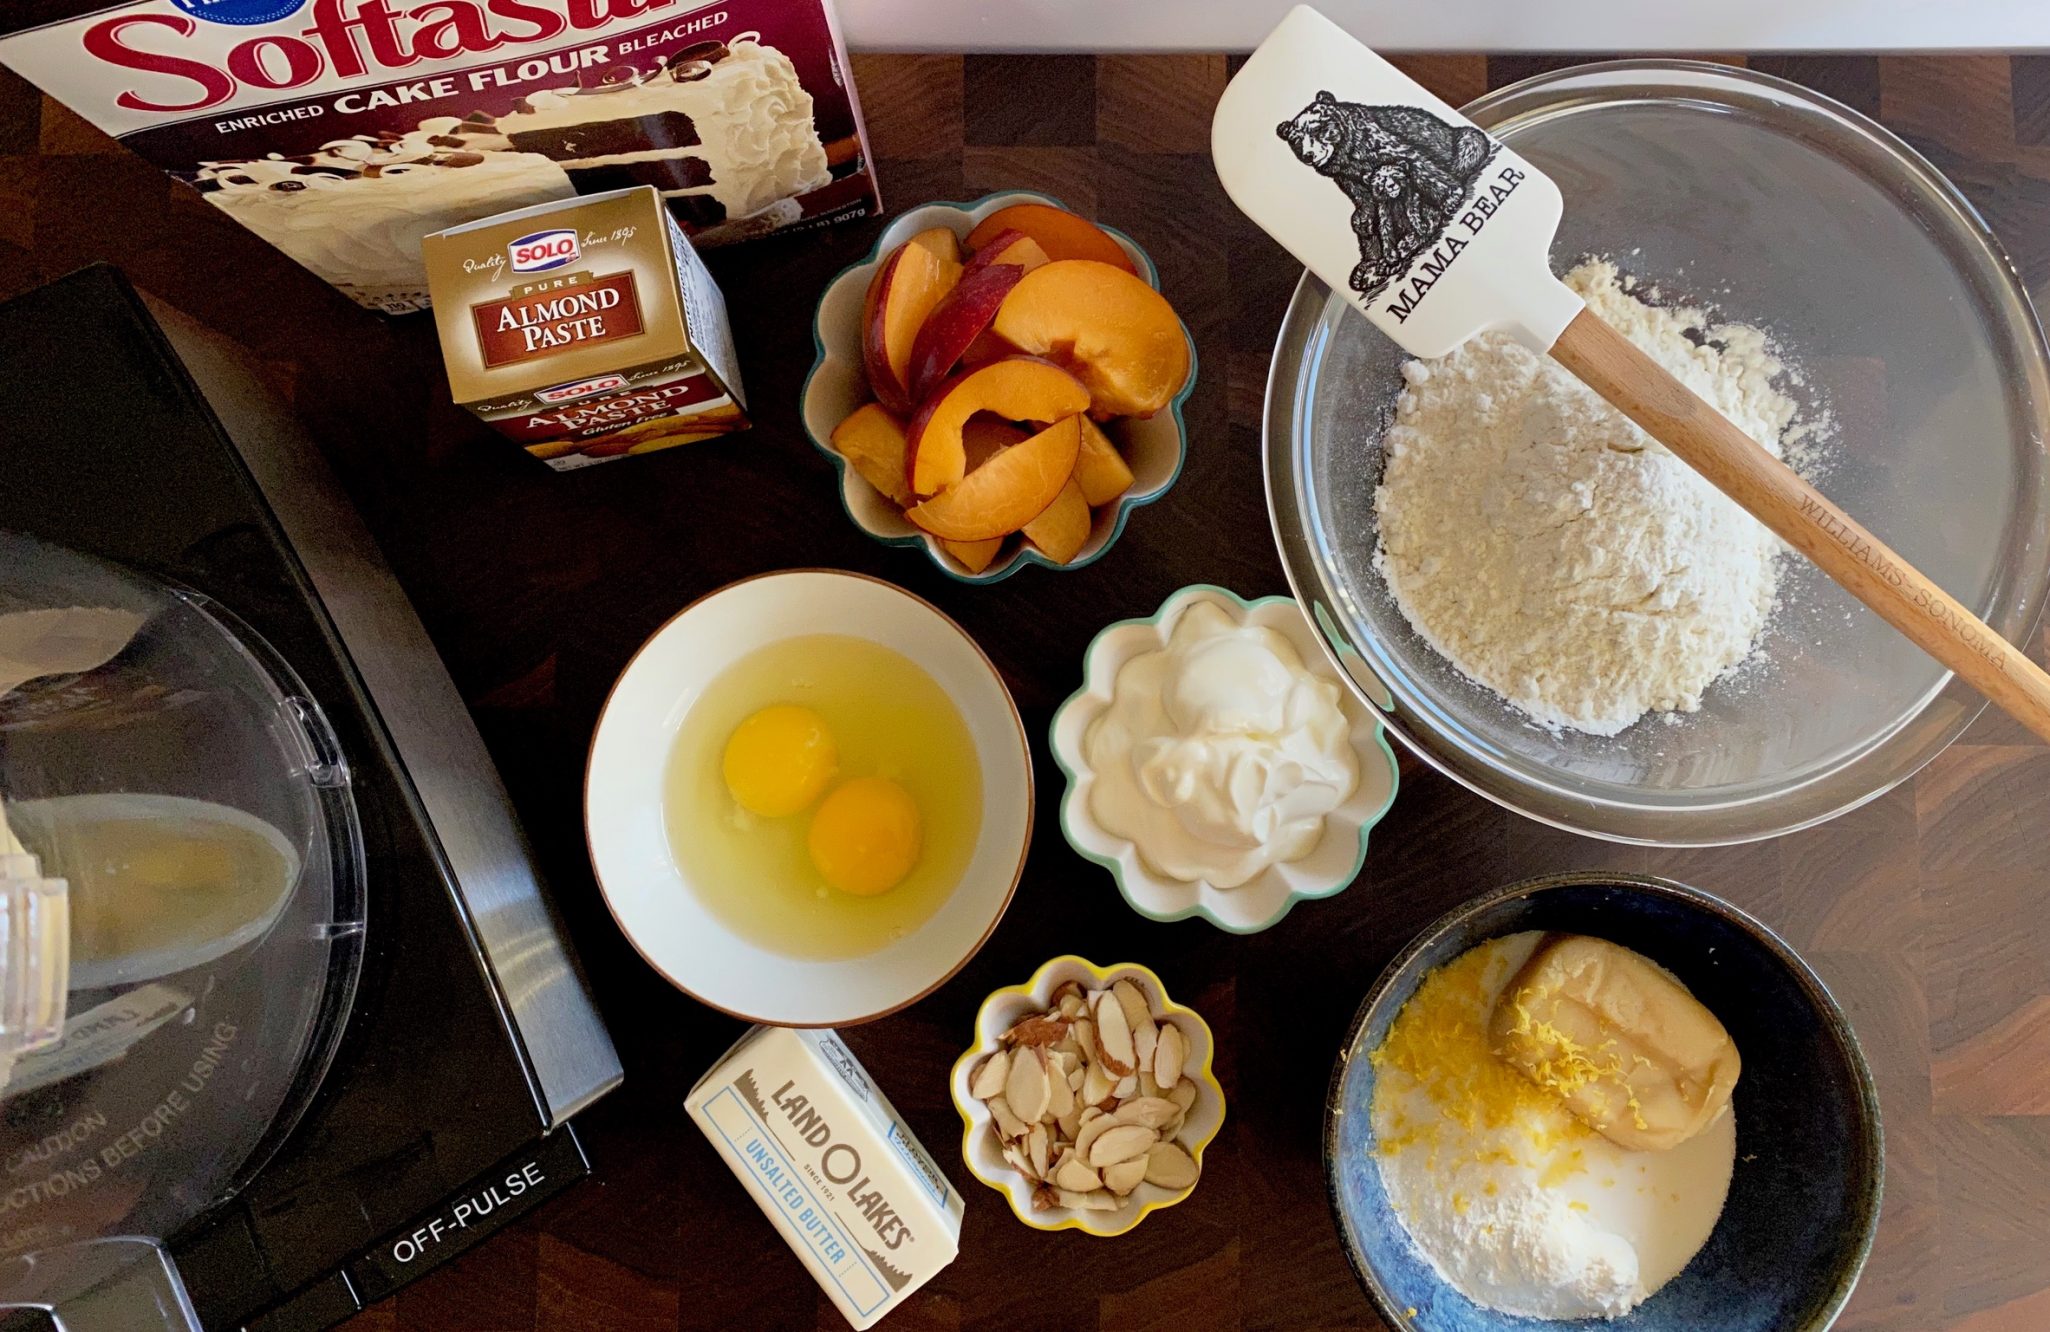
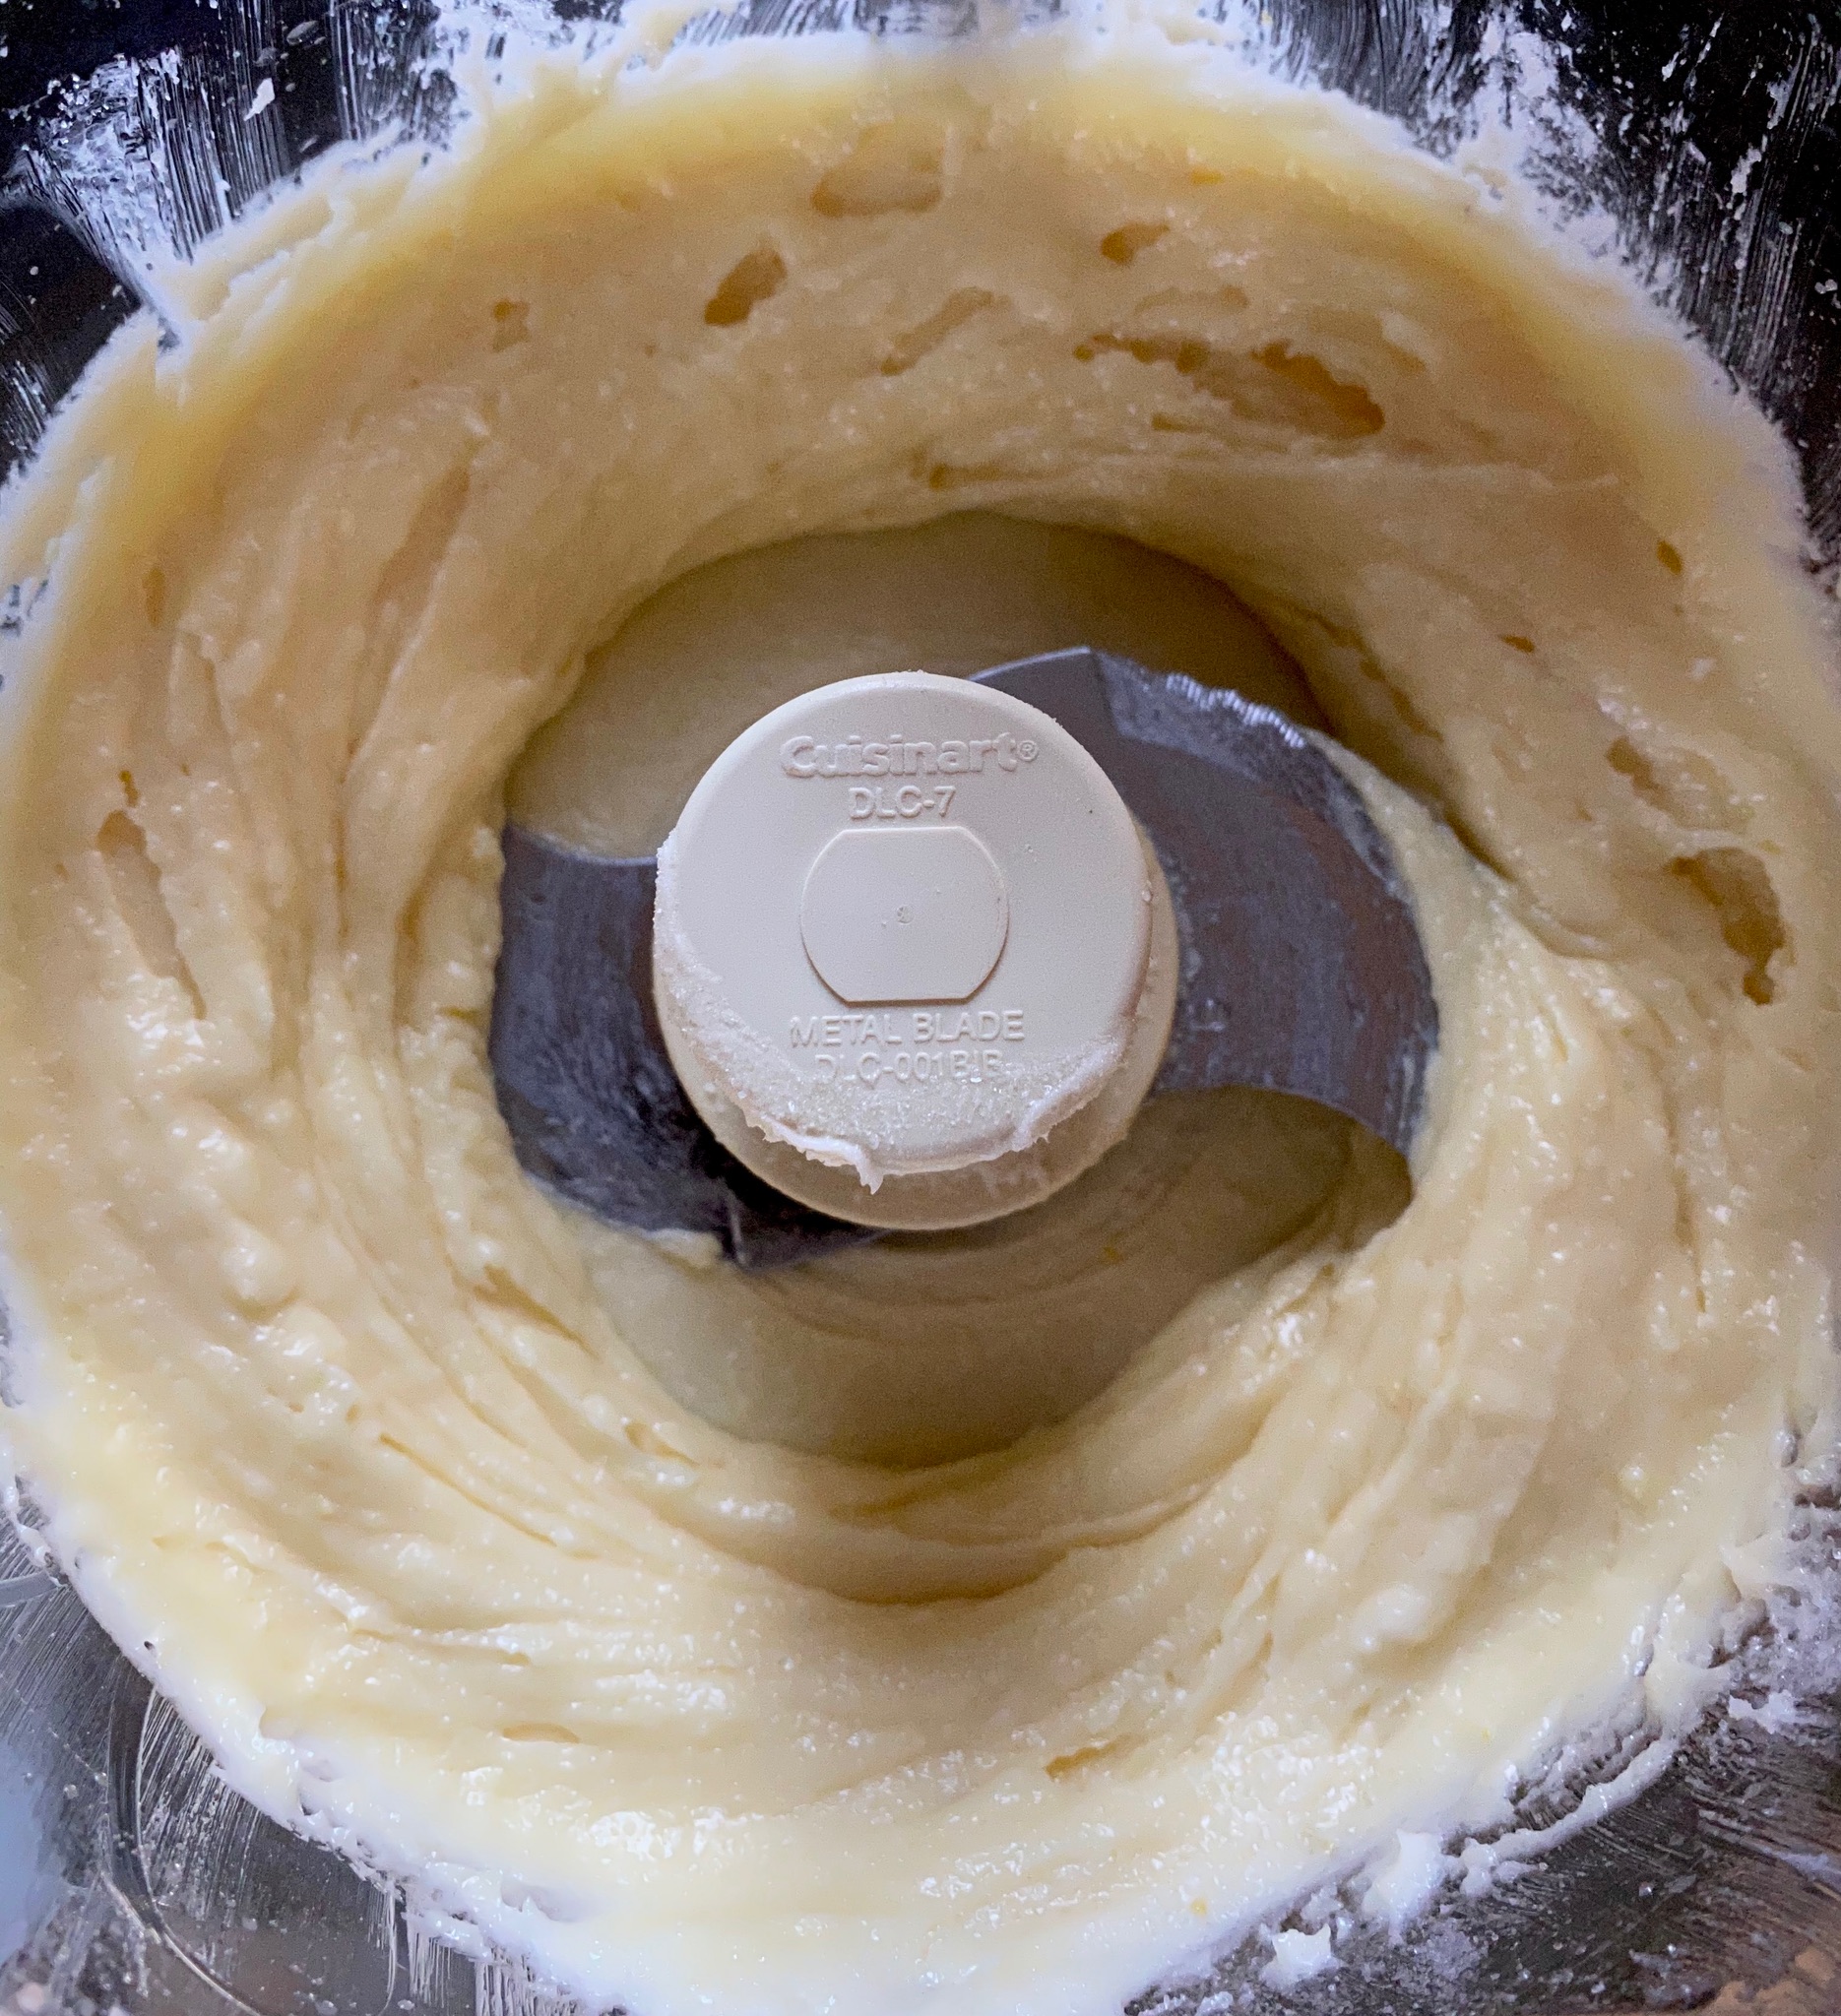
The cake comes together quickly with the use of a food processor. Start by combining the flours in a large mixing bowl and setting it aside. Place butter, almond paste, granulated sugar, baking powder, salt, and lemon zest in a food processor bowl. Process mixture until smooth. Add eggs, one at a time, followed by the sour cream. Process until completely blended around 30-45 seconds, scrape the sides of the bowl once or twice. Meanwhile, slice plums and toss with lemon juice. Let stand for 5 minutes.
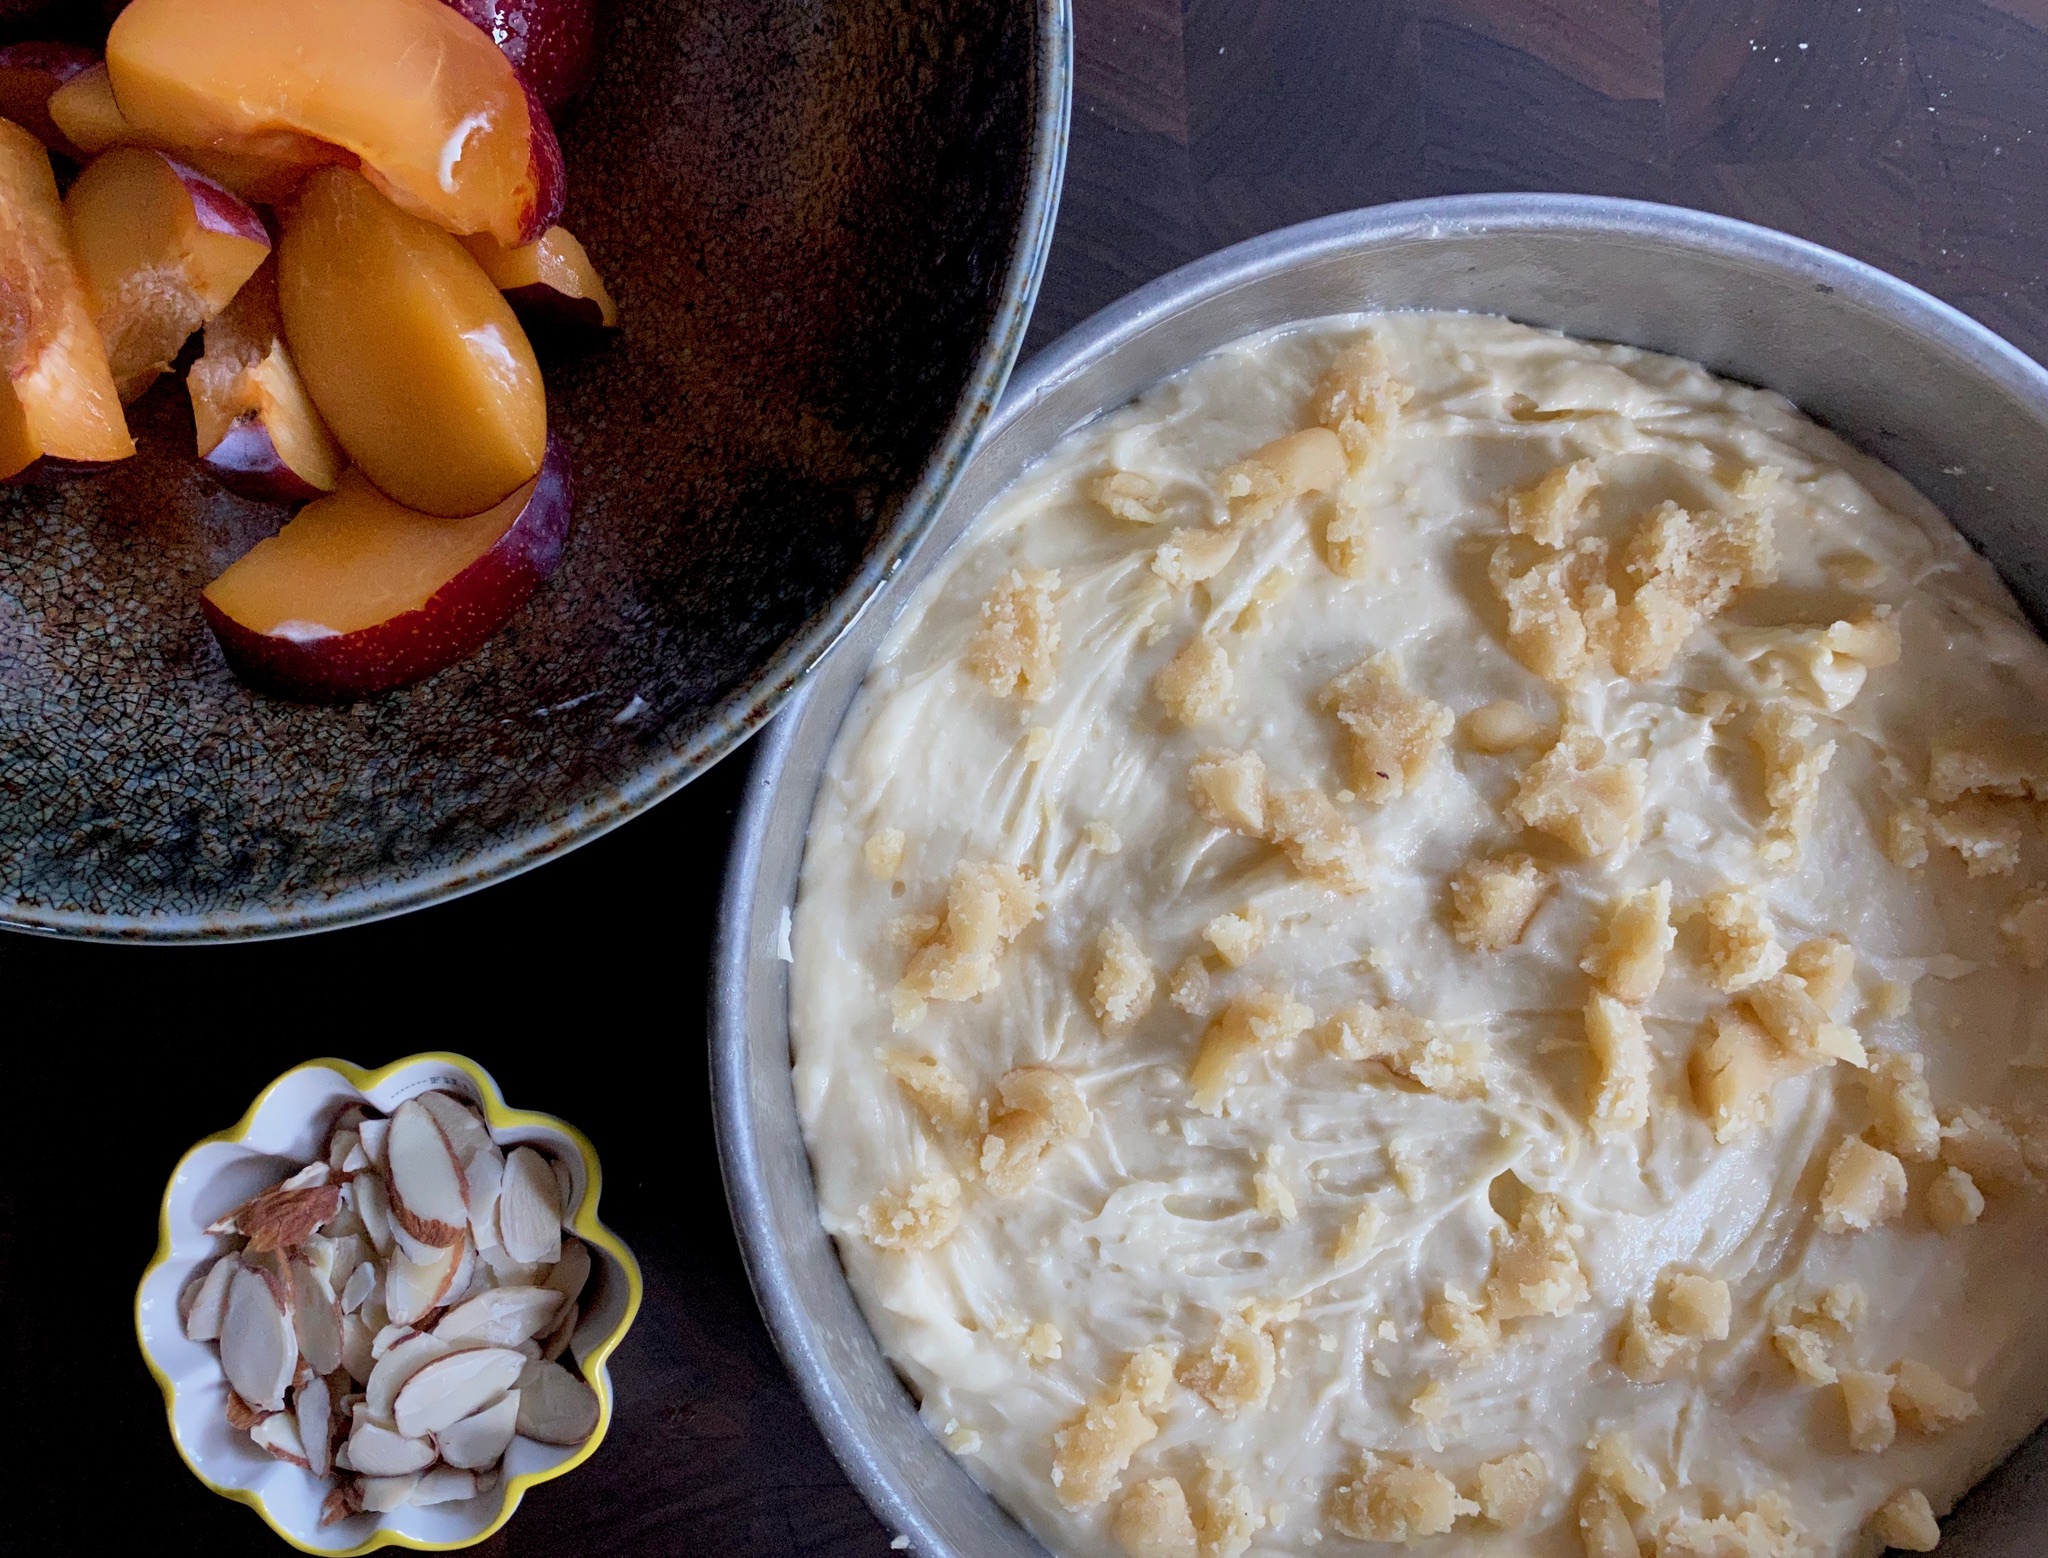
Fold butter-egg mixture into the flour mixture in the large bowl until completely combined. Pour batter into prepared baking pan. Top with remaining crumbled almond paste and sliced plums.
I cut the recipe in half and baked it in a 9 inch round pan, you could also use an 8×8 square pan. You will need to tweak your baking times. Start checking the cake at 40 minutes.
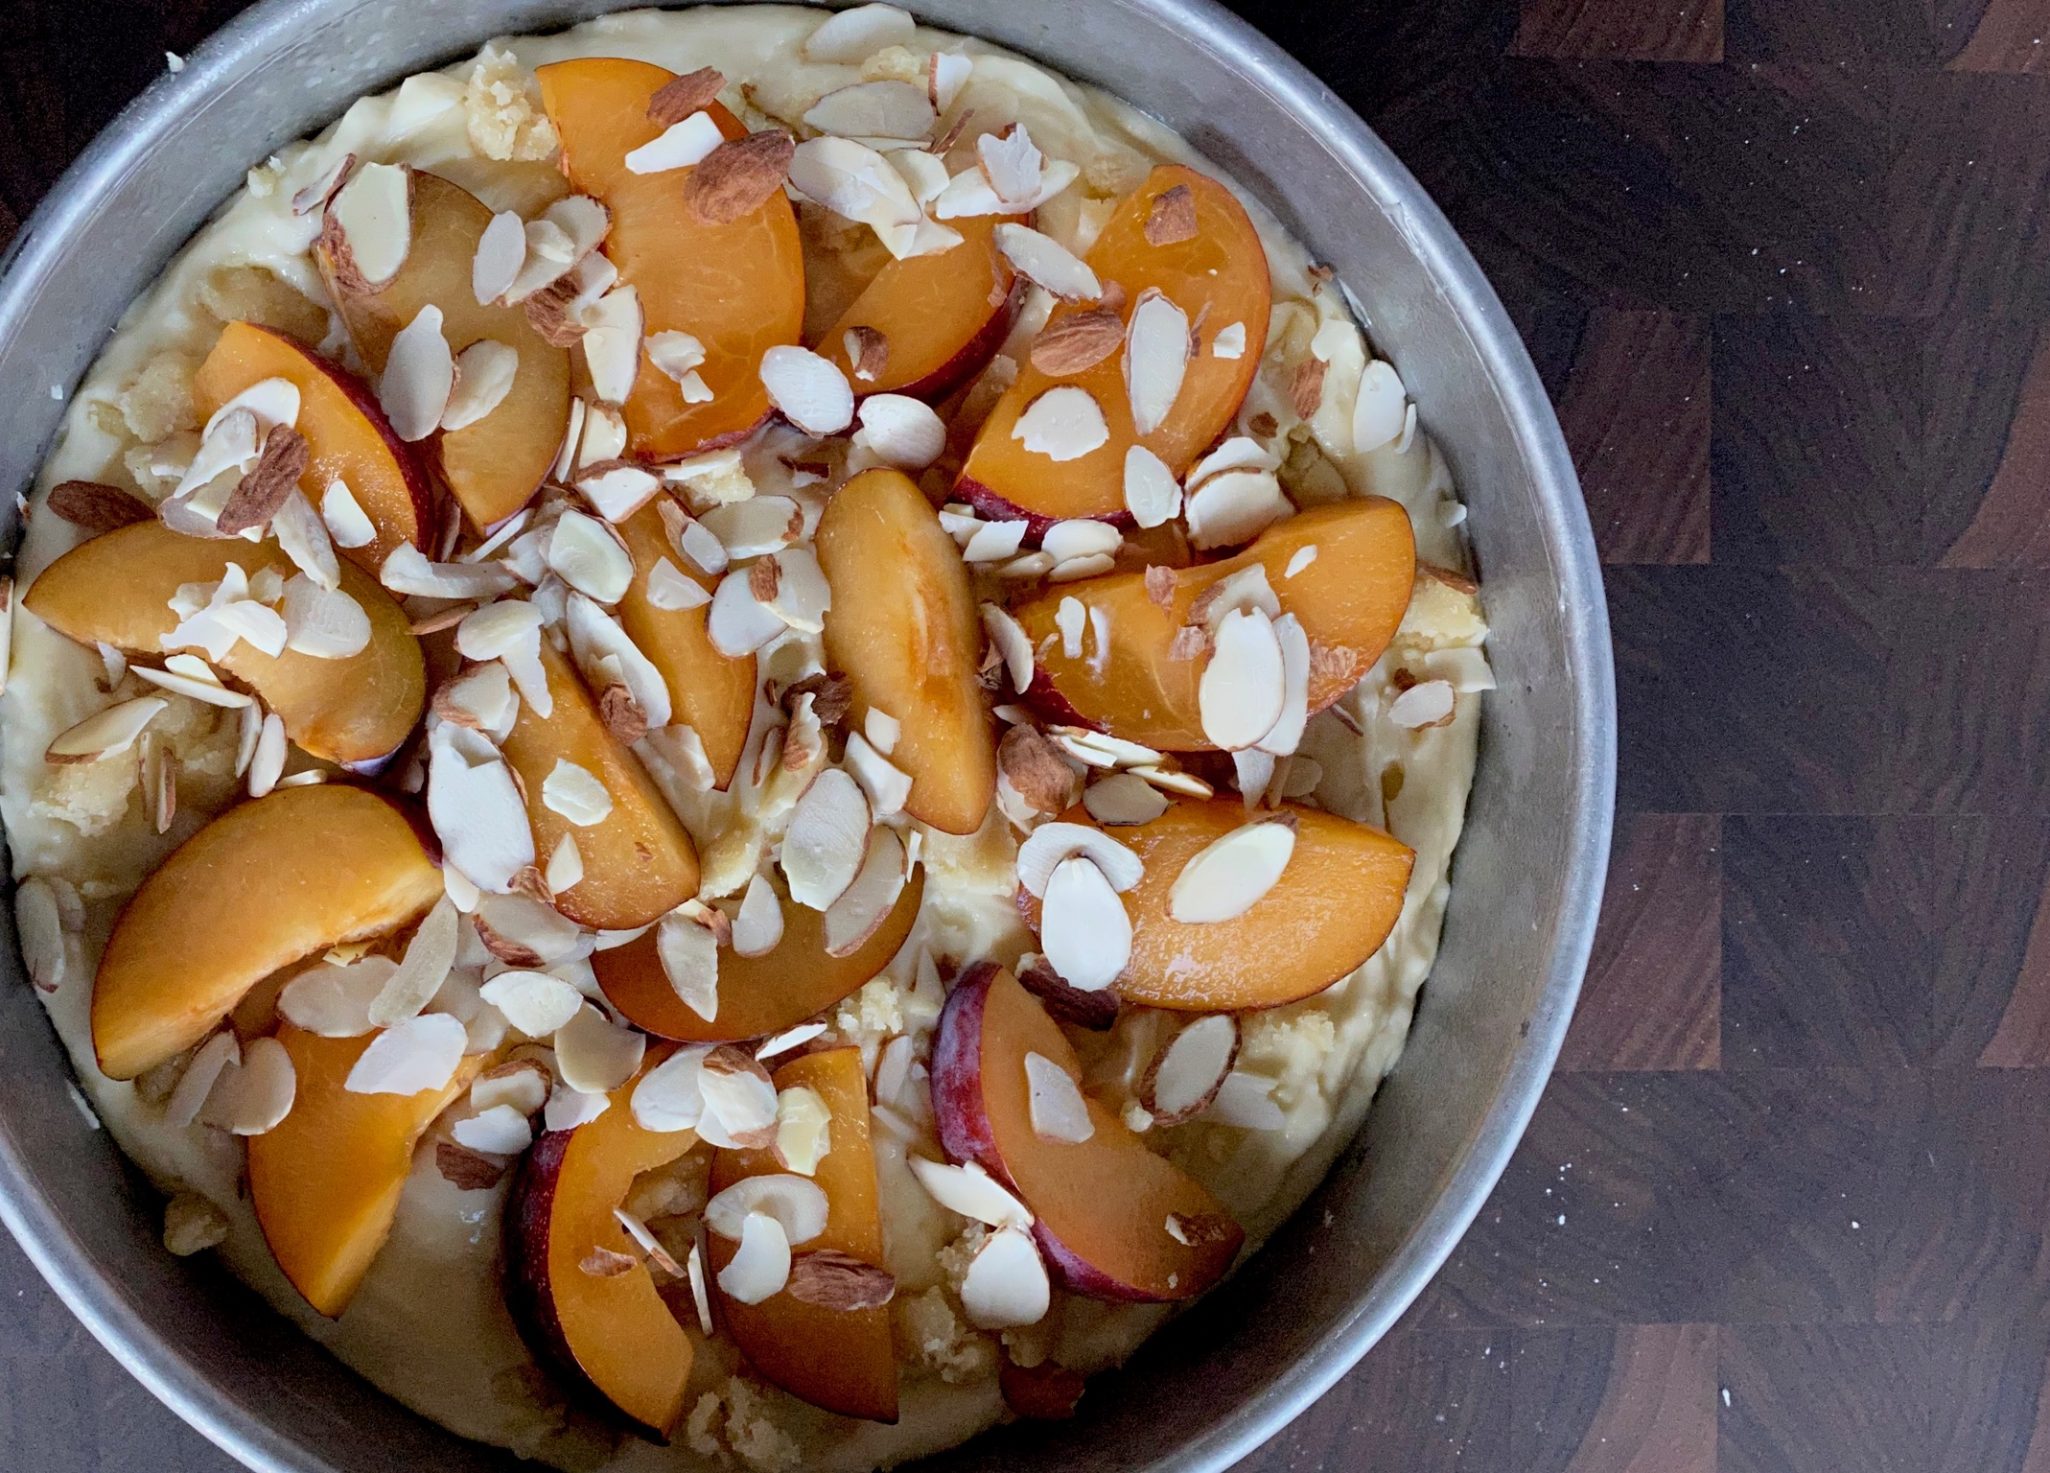
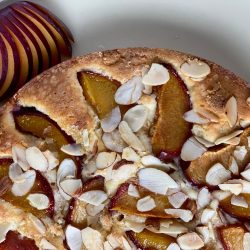
Finish with the sliced almonds and sugar and bake.
Enjoy
Almond-and-Plum Snack Cake
Ingredients
- 1 1/2 cups granulated sugar
- 1 1/4 cups unsalted butter (2-1/2 sticks) 10 ounces, softened
- 8 ounces almond paste at room temperature, crumbled (about 1 cup), divided in half
- 2 1/2 teaspoons baking powder
- 1 1/2 teaspoons kosher salt
- 1 teaspoon grated lemon zest
- 4 large eggs
- 1 cup sour cream
- 1 3/4 cups bleached cake flour such as Swans Down (about 6 5/8 ounces)
- 1 cup all-purpose flour about 4 1/4 ounces
- 4-6 medium-size red plums cut into 3/4-inch wedges (about 3 cups)
- 2 teaspoons fresh lemon juice
- Cooking spray
- 1/2 cup sliced almonds about 1 1/2 ounces
- 2 tablespoons raw or turbinado sugar or use granulated sugar
Instructions
- Preheat oven to 350°F.
- Combine 1 1/2 cups sugar, butter, 1/2 cup almond paste, baking powder, salt, and lemon zest in bowl of a food processor. Process until light, creamy, and smooth, about 45 seconds. With processor running, add eggs, 1 at a time, incorporating fully after each addition (mixture should look thick and fluffy). Add sour cream, and process until fully incorporated, about 30 seconds, stopping to scrape bowl as needed.
- Whisk together cake flour and all-purpose flour in a large bowl. Add sugar mixture to flour mixture; Using a rubber spatula, fold batter to combine ingredients completely.
- Toss plum slices and lemon juice in a medium bowl; let stand 5 minutes.
- Line a 13- x 9-inch baking pan with parchment paper; lightly grease with cooking spray. Spread batter in prepared pan, smoothing top with an offset spatula. Sprinkle remaining 1/2 cup crumbled almond paste over batter. Arrange plums over top, and sprinkle with almonds and remaining 2 tablespoons sugar.
- Bake cake in preheated oven until lightly browned and a wooden pick inserted in center comes out clean, 45 to 50 minutes. Transfer cake in pan to a wire rack, and let cool completely, about 2 hours