
Hetty McKinnon is one of my favorite food writers and recipe developers. I met her at a cookbook signing (of course) in Brooklyn for Kristina…
I think I broke a record on New Year’s Eve. Well, a record for me. Normally a night owl, I found myself on the couch…
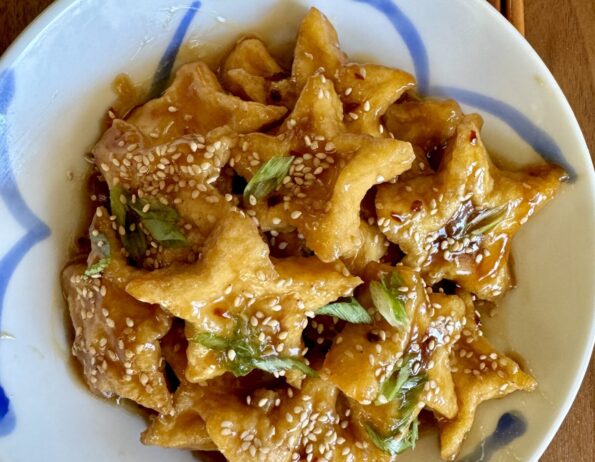
One of my favorite recipes is Kristina Cho’s Honey Sesame Tofu Puffs. She included this easy and delicious recipe in her newsletter several months ago…
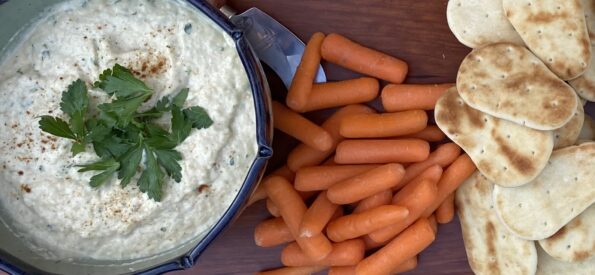
Right up there with Hummus, this eggplant dip is made with Tahini, garlic, lemon juice, parsley, and olive oil, and seasoned with cumin and smoked…
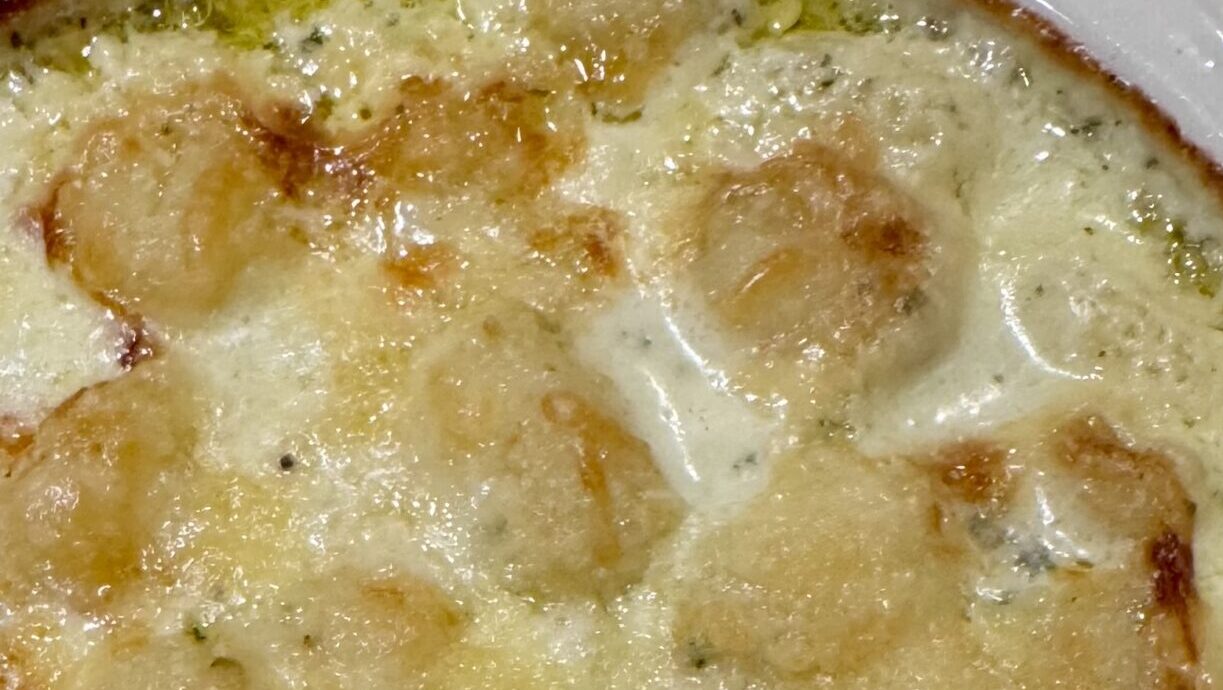
As I was driving home the other day I called the Hubster and asked “What’s for dinner?”. The retired guy replied, “I thought you were…
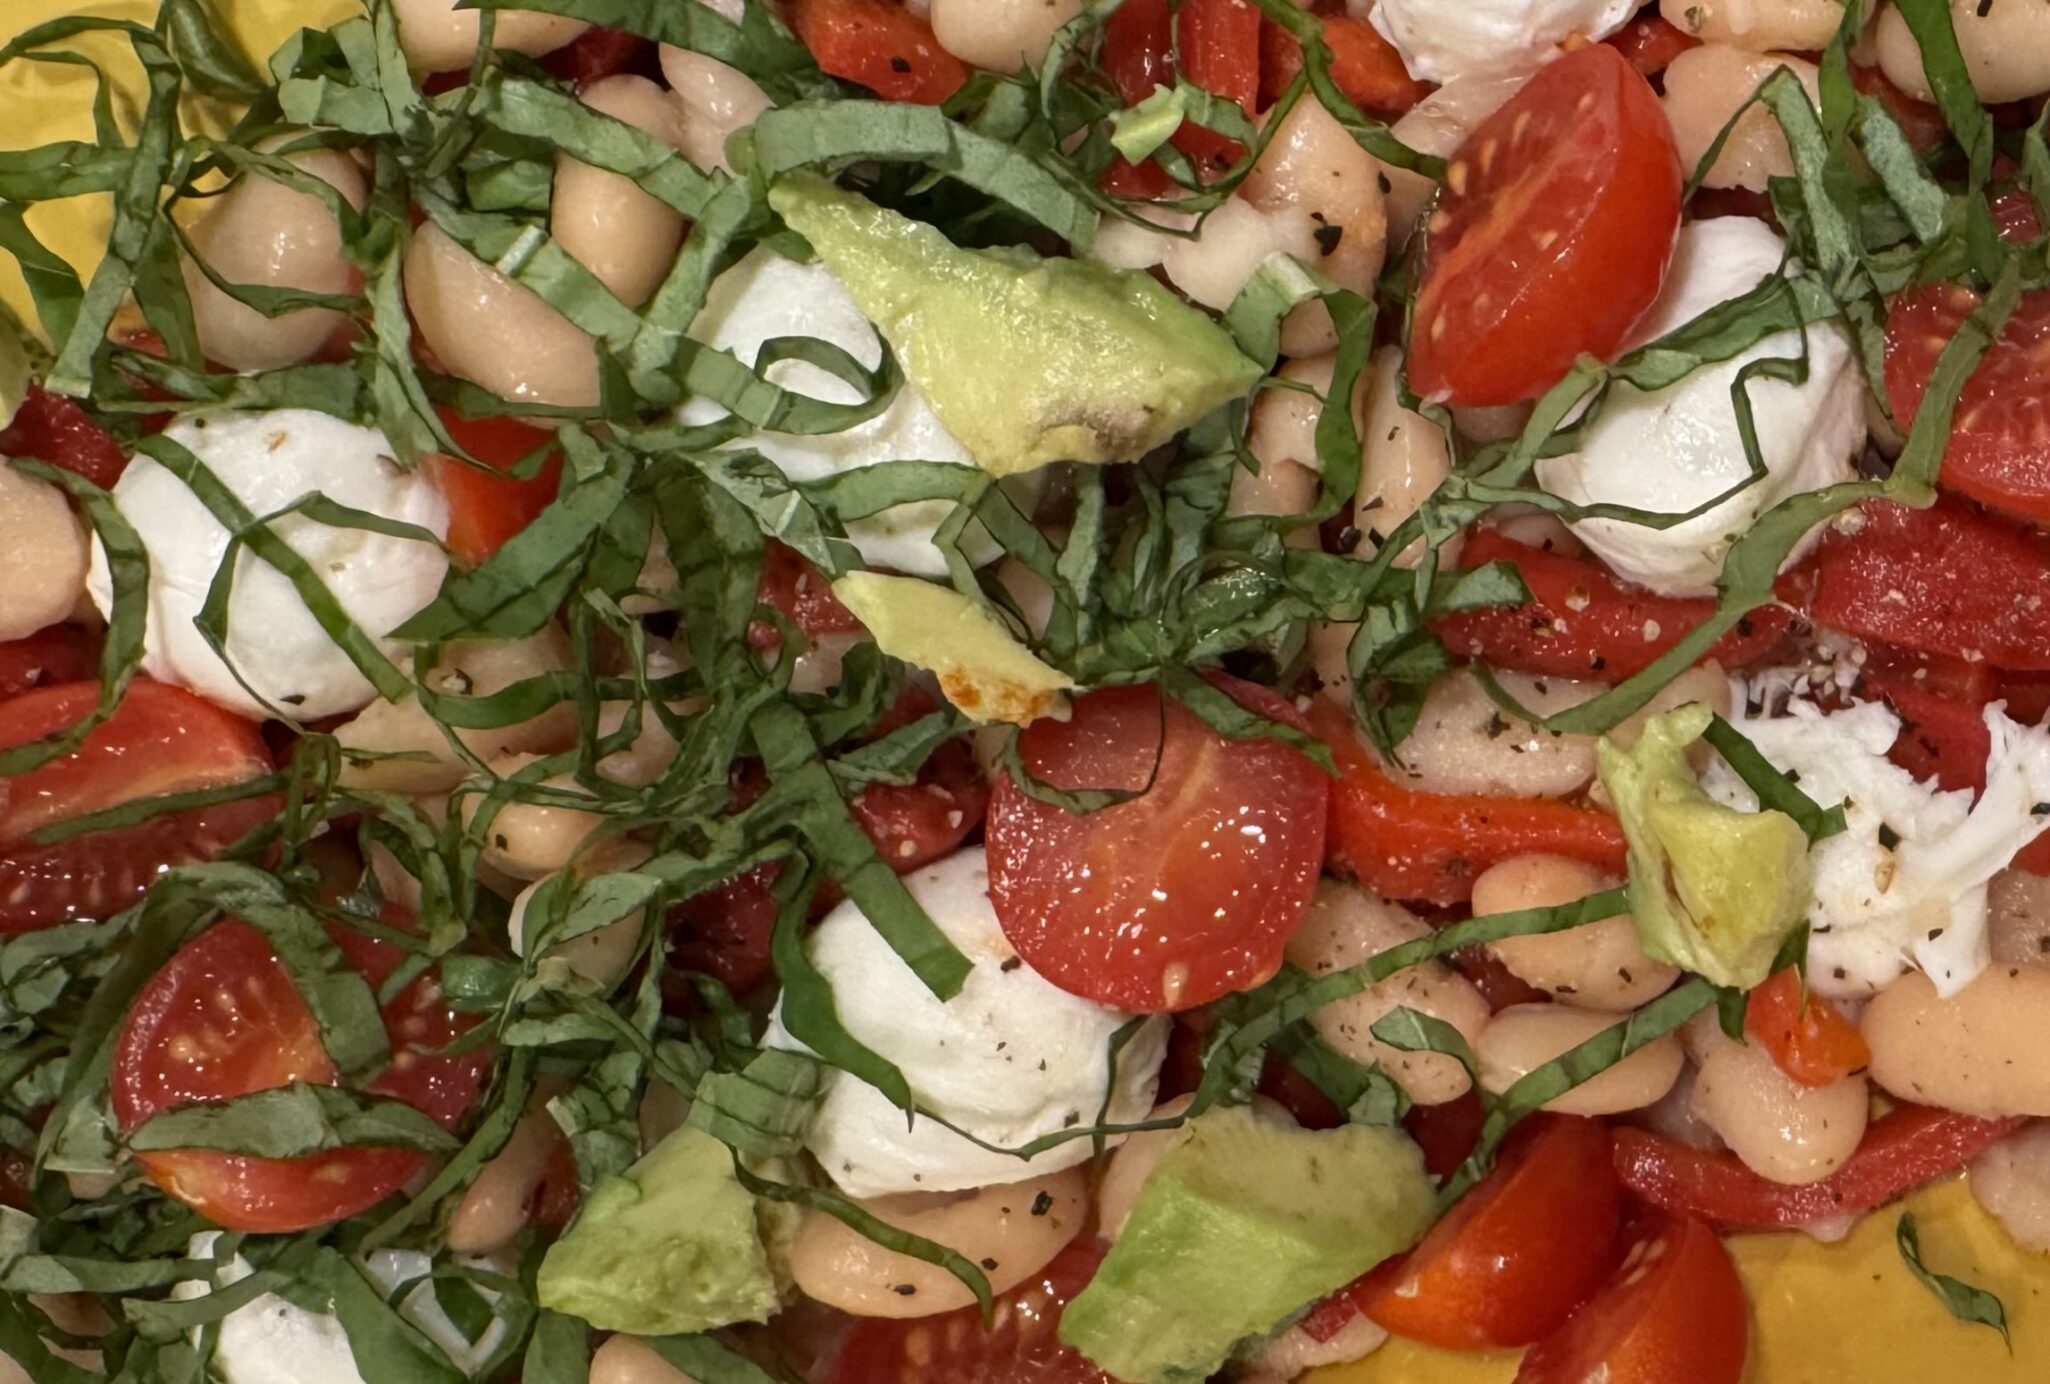
This past weekend the hubster went up to Tahoe to do maintenance on our cabin. So I was flying solo at home with Sammy our…
I created 3jamigos to chronicle our family’s food adventures, recipes, and stories, for my kids. In college, I often called home to ask my dad…
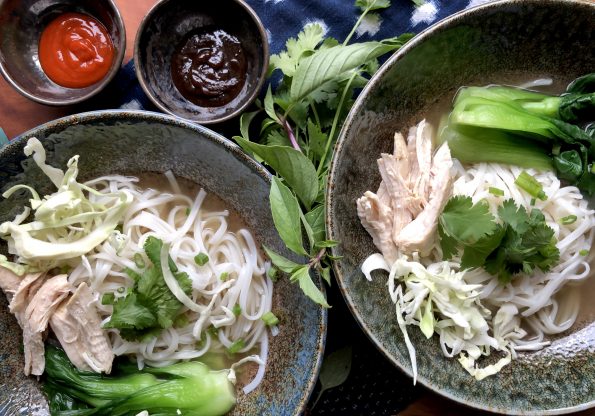
Last week I posted a teaser on Instagram and FB of a really quick version of Pho Ga, Vietnamese chicken rice noodle soup. “In less…