Category: Soups & One Dish Meals

Soups, one dish meals, casseroles

Gettin’ Jjigae with Anthony Bourdain (Korean Army Stew)

Gettin’ Jjigae with Anthony Bourdain (Korean Army Stew)

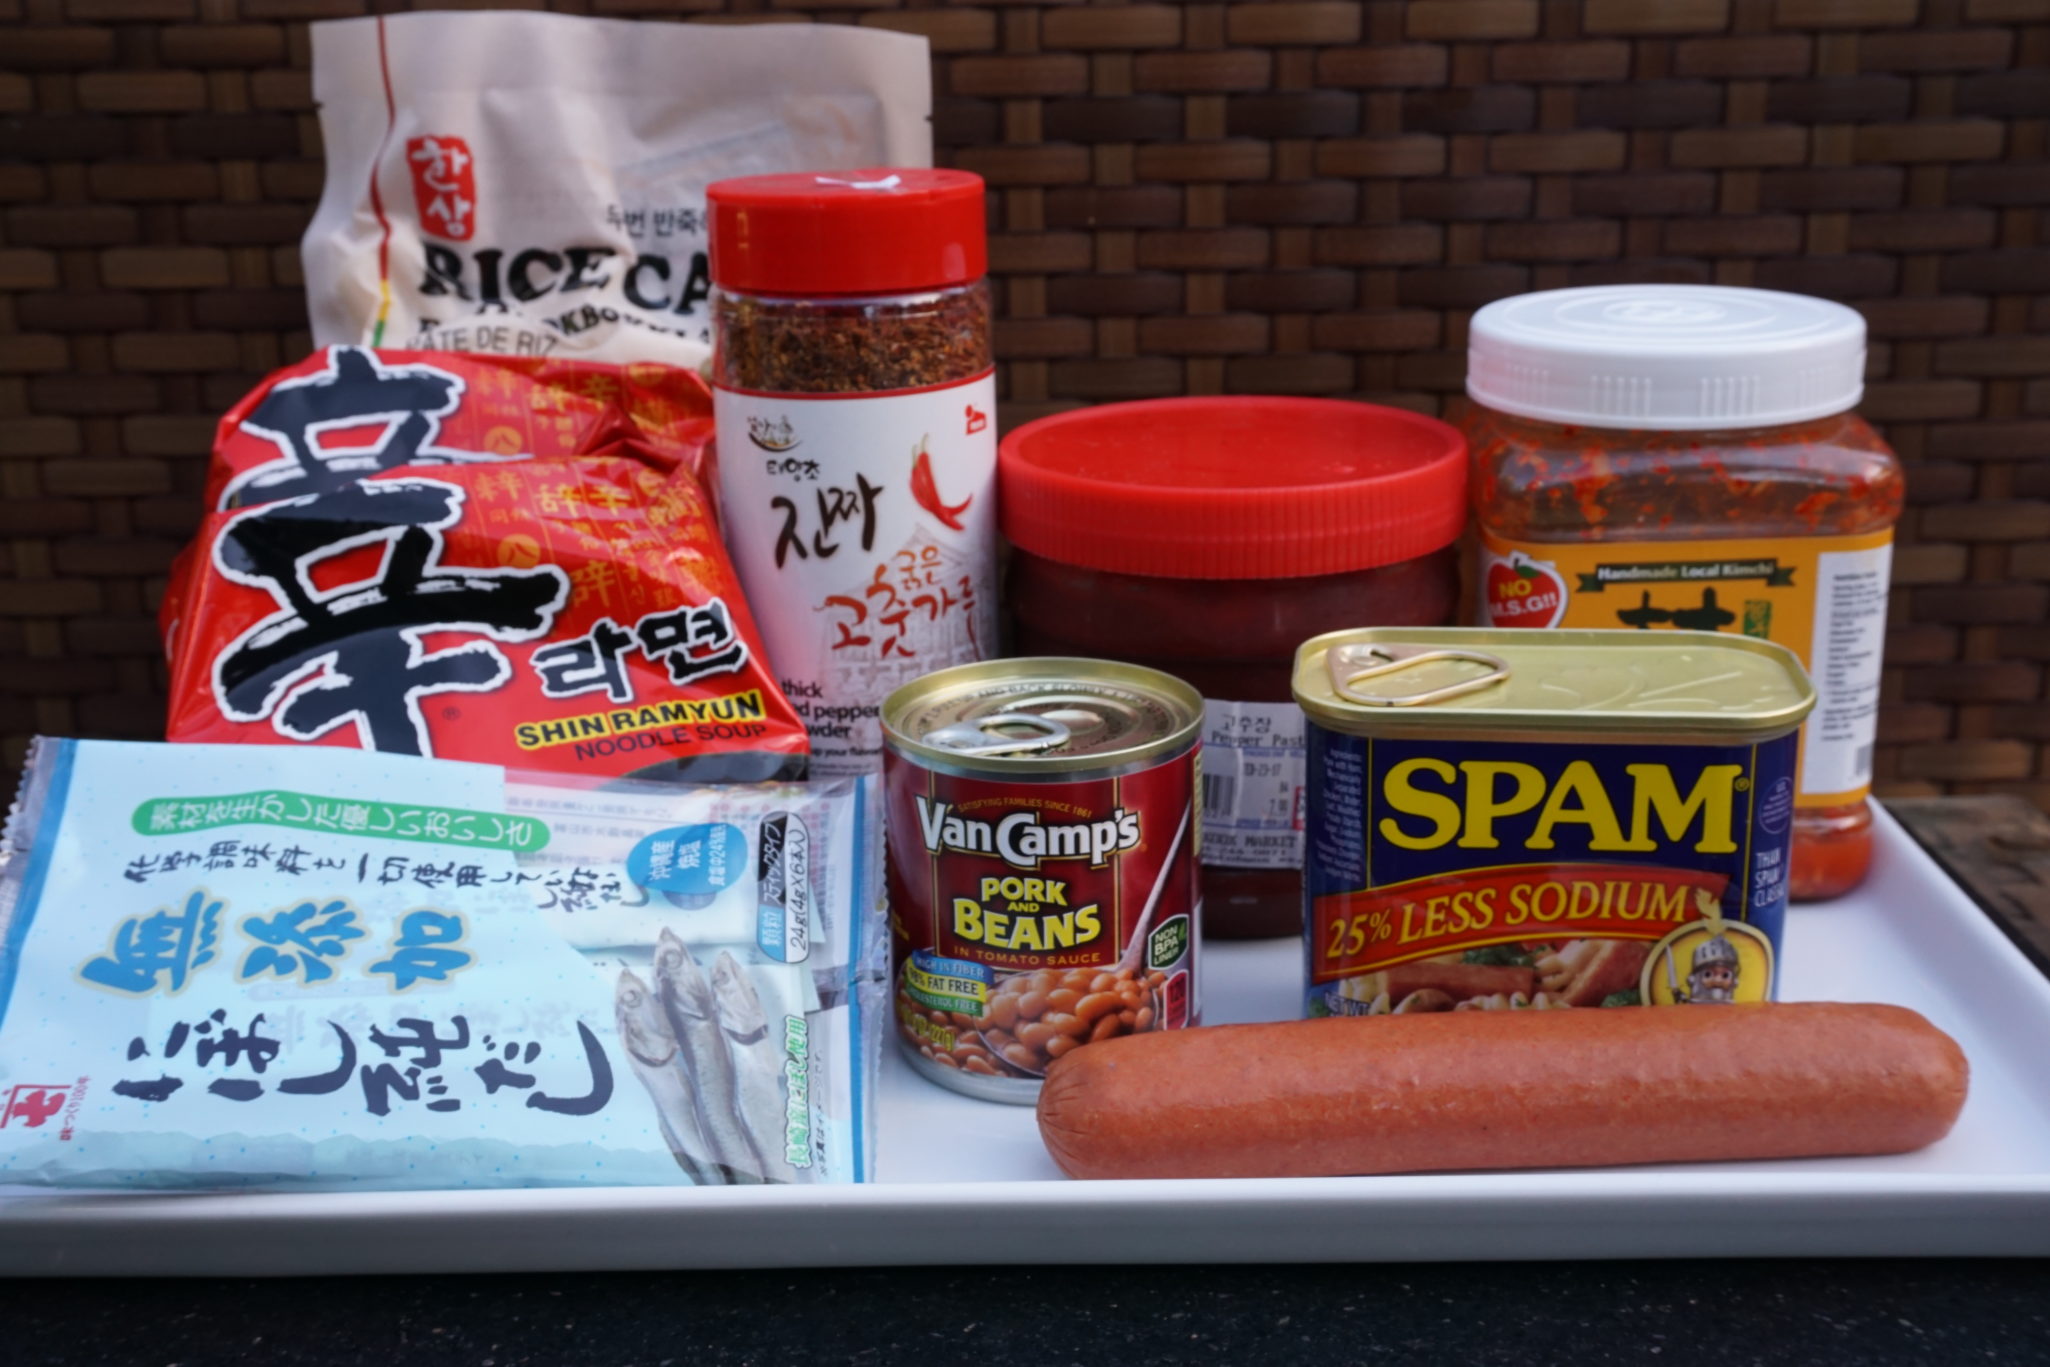
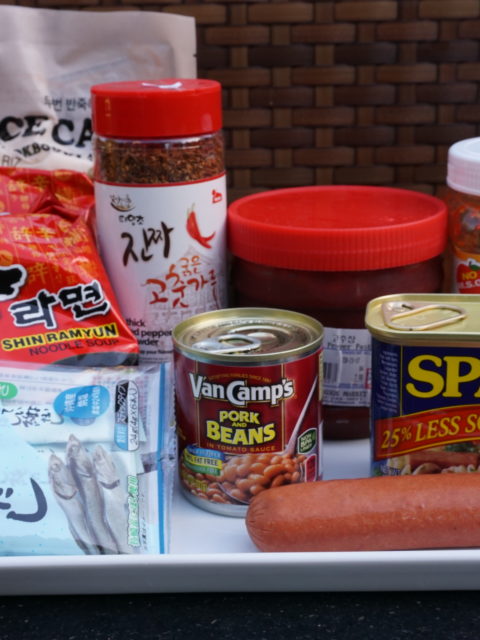
Ok.  Are you looking at the pic above and thinking WHAAAT?  Hot dogs? Spam? Kimchi? VanCamps BAKED Beans? ARE YOU KIDDING ME? It’s like Mom pulling things out of the fridge and the pantry to make dinner… in the 1960s.  But stay with me, these are actually the building blocks for Anthony Bourdain’s version of Budae Jjigae or Army Stew.  A crazy concoction created during the Korean War when food was scarce and the US Army PX was ground zero for processed foods like SPAM and hot dogs-cheap, available protein.  Combined with familiar Korean ingredients, a not so healthy but totally delicious, comforting stew was born.
budae jjigae ingredients

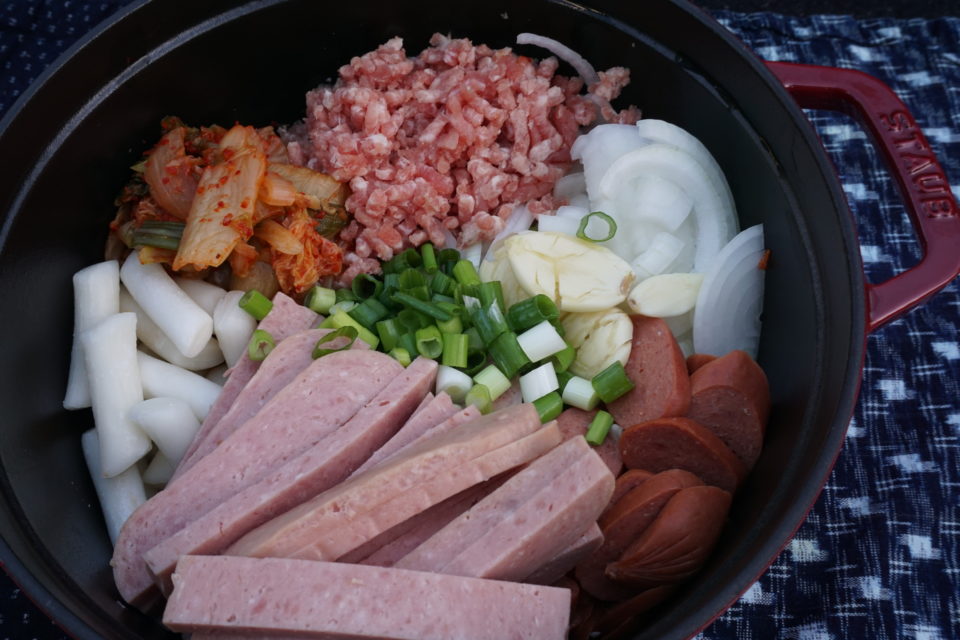
Anthony Bourdain’s mischevious side was in overdrive when he decided to make this dish for Anderson Cooper. He thoroughly enjoyed watching Anderson squirm as he popped open the can of SPAM, container of kimchi, hot dogs, rice cakes, plopped them in a pan and added a generous dollop of Gochujang or Korean pepper paste on top.  Anchovy stock is poured over this bed of deliciousness and set to simmer for 30 minutes. A pack of INSTANT RAMEN is added at the very end. Ten minutes later Bourdain was doing a happy dance while slurping his noodles. So was an amazed Anderson.  Catch the episode here, watch it, smile and remember his wicked sense of humor, his intellect and his ability to never take himself too seriously. Then go make your family a pot of Budae Jjigae to fill your tummy, warm your soul and comfort your heart.
budae jjigae

This dish is like that bad boy you were always crazy about in high school, knew you should stay away from but just couldn’t.  My favorite line in the clip is when he says to Anderson, “it seems so wrong but taste so right, like true love”. Budae Jjigae is right up my alley, processed meats, fermented vegetables, ground meats and instant ramen noodles, yum.  I grew up on baloney sandwiches on white bread, Fizzies as the fruit in my lunch, Spaghetti out of a can, thanks to Chef Boyardee, and Friday night Swanson’s TV dinners.  In college, I survived on instant ramen and Banquet frozen fried chicken.  Those were the days.

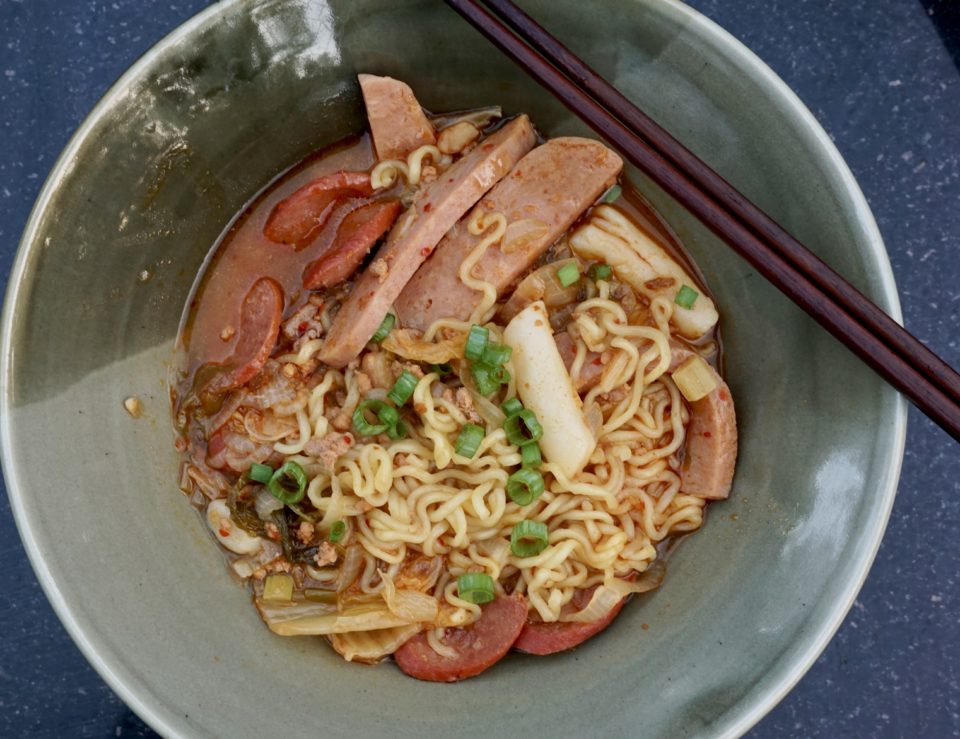
Just before serving, place a slice of American cheese right on top so it melts and oozes all over your ramen.  That literally takes it over the top.  Thank you, David Chang, for that addition.
Tips for your Budae Jjigae

Use Korean instant ramen, my favorite brand, Shin Ramen.  If you don’t make Budae Jjigae, at least try the instant noodles. Use the seasoning packet and up your ramen game with an egg cracked into your bowl of noodles (the soup will cook it) and topped with a Kraft single (uh-huh you all know what I am talking about, real cheese food).  You end up with a pretty fine bowl of totally unhealthy but ridiculously yummy noodles.  To appease your conscious add some veggies, corn, peas, kimchi or shredded lettuce.

If you can find it, use Vienna Sausages (those old enough know EXACTLY what I am talking about, mini hot dogs in a flip top can) in place of hot dogs.

Rice cakes (tokbokki) come either tubular or disc shape, either will work.  You can find them at Korean markets, along with kimchi, Gochujang and pepper flakes.

In place of anchovy stock you can use Japanese dashi or broth.

Have plenty of beer on hand to wash it all down and to toast the life of Mr. Bourdain.

Gettin’ JJigae with Anthony Bourdain (Korean Army Stew)

Ingredients

  • 1 dried shiitake mushroom
  • 4 large dried anchovies heads and guts removed, wrapped in cheesecloth
  • One 3 × 5-inch sheet dried edible kelp or konmbu Use Japanese dashi in place of anchovy stock
  • ½ teaspoon sea salt
  • 12 ounces SPAM cut into ½-inch- thick slices
  • cups Napa cabbage kimchi tongbaechu drain
  • 8 ounces sliced Korean rice cakes
  • 1 white onion peeled and thinly sliced
  • 2 scallions white and light green parts, thinly sliced
  • 5 garlic cloves peeled and crushed
  • 3 hot dogs thinly sliced
  • 6-8 ounces ground pork
  • 3 tablespoons soy sauce
  • 2 tablespoons gochujang Korean fermented chili paste
  • 3 tablespoons medium/fine gochugaru ground Korean red pepper he uses a dash only I used about a teaspoon, he did not come close to 3 T in the video...trust me start small
  • 3 tablespoons cheongju Korean rice wineor Chinese rice wine of Sake
  • 3 tablespoons canned baked beans
  • 1 package ramen noodles preferably the Korean brand Shin, seasoning packet discarded

Instructions

  • To make the anchovy broth, combine the mushroom, anchovies, kelp, 4 cups water, and the salt in a medium, heavy-bottom pot, and bring to a boil. Reduce to a simmer and cook for 30 minutes. Remove from the heat, strain and discard the solids, and set the broth aside.
  • Place the SPAM, kimchi, rice cakes, onion, scallions, garlic, hot dogs, and pork in small separate piles in a large shallow pot.
  • Add the soy sauce, gochujang, gochugaru, and cheongju to the pot, then slowly pour in the reserved anchovy kelp broth. Add the baked beans and 1½ cups water. Bring the contents to a steady simmer over high heat, stirring occasionally with a wooden spoon.
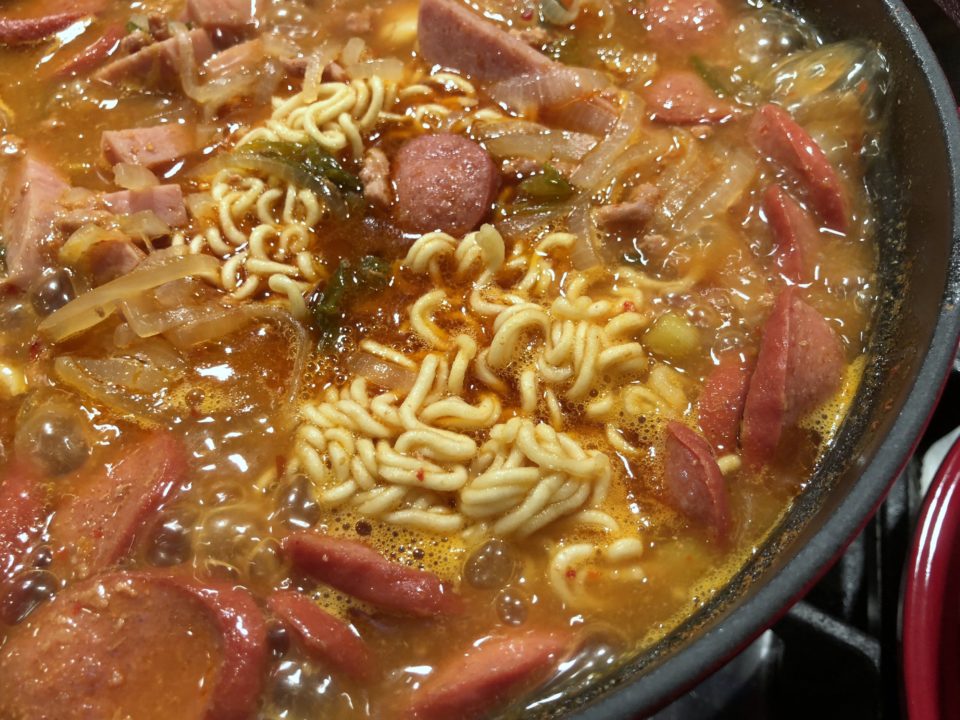
  • Cook for about 10 minutes, then add the ramen noodles. Ladle the broth over the noodles to help them break apart. Continue to cook for 2 or 3 minutes, until the noodles are cooked through but still chewy.
“The Triple P” Pulled Pork Pasta (Rigatoni with Pork Ragu)

“The Triple P” Pulled Pork Pasta (Rigatoni with Pork Ragu)

If you are like me, an empty nester still transitioning from cooking for a family of 5 to cooking for 2, you probably still have some (ok, alot) of that luscious roast pork left.  As much as I love tacos, I can eat only so many.  Back to Sam Kass’s book, Eat A Little Better, to try one of the many recipes that makes use of that delicious roasted pork.

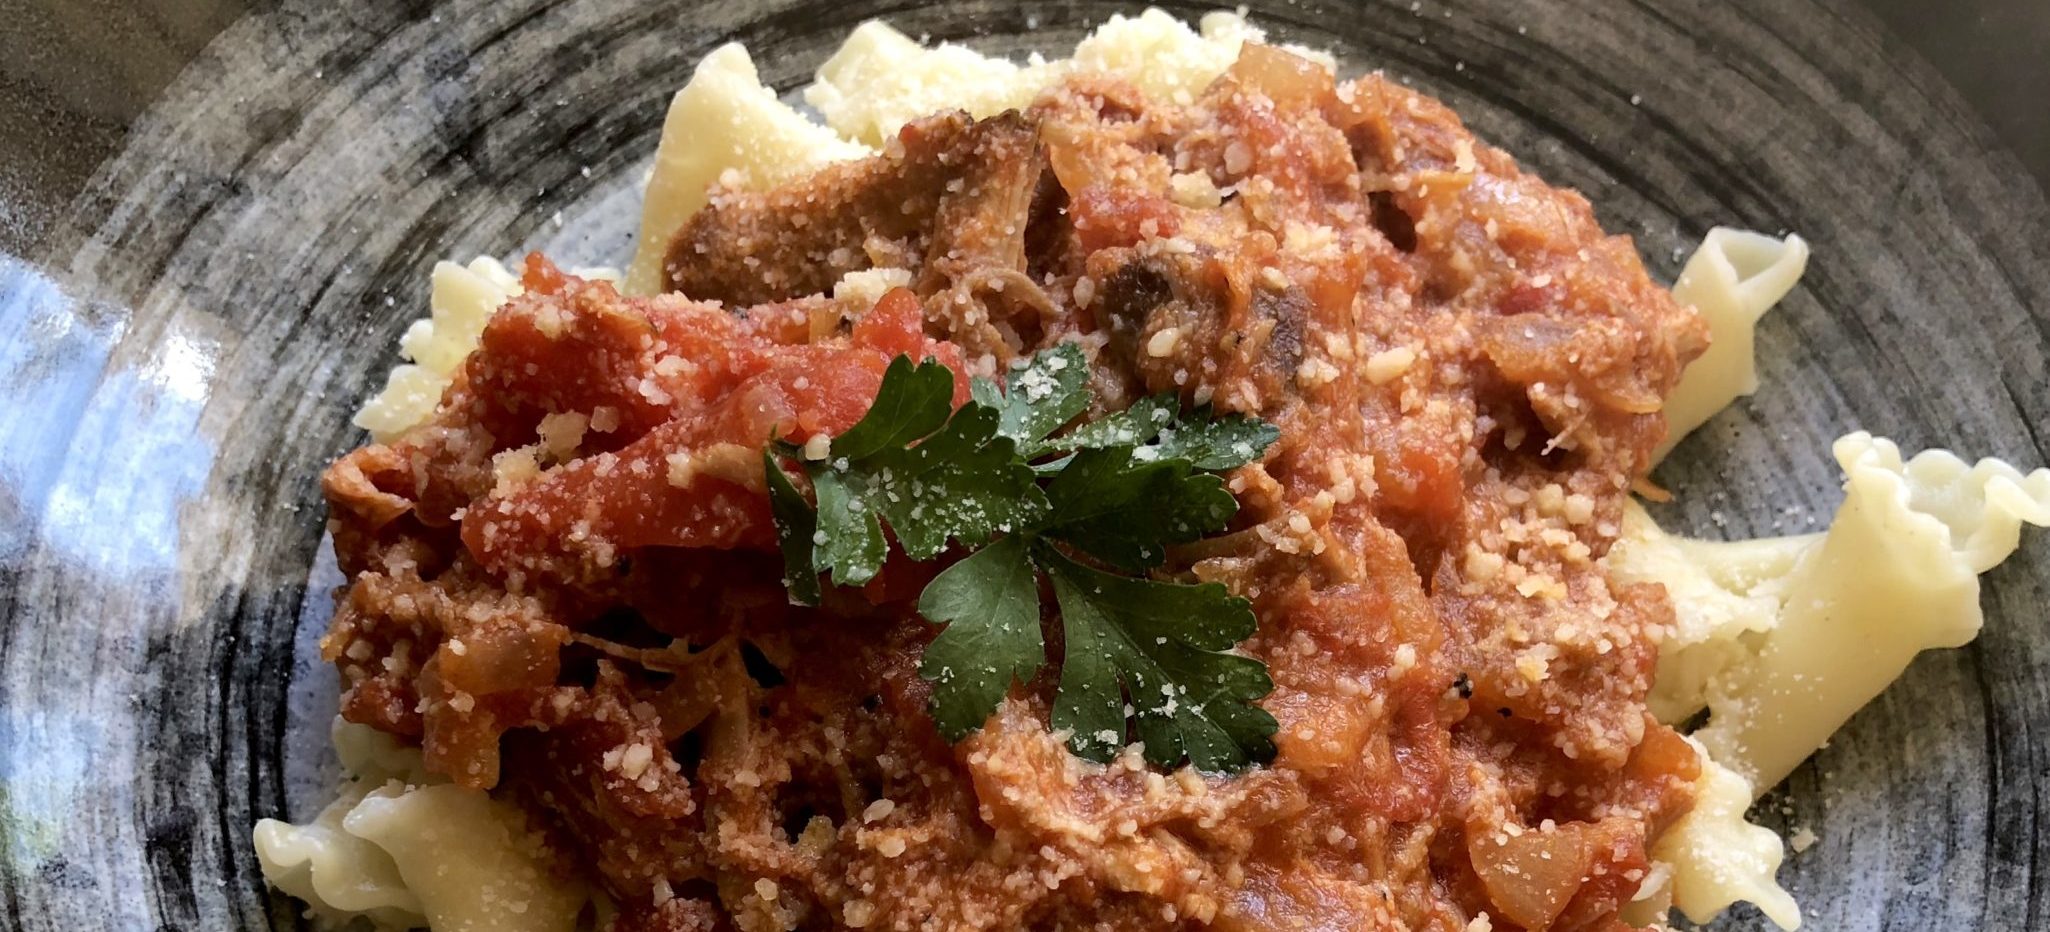
BINGO. Found another winner. Rigatoni with Pork Ragu.

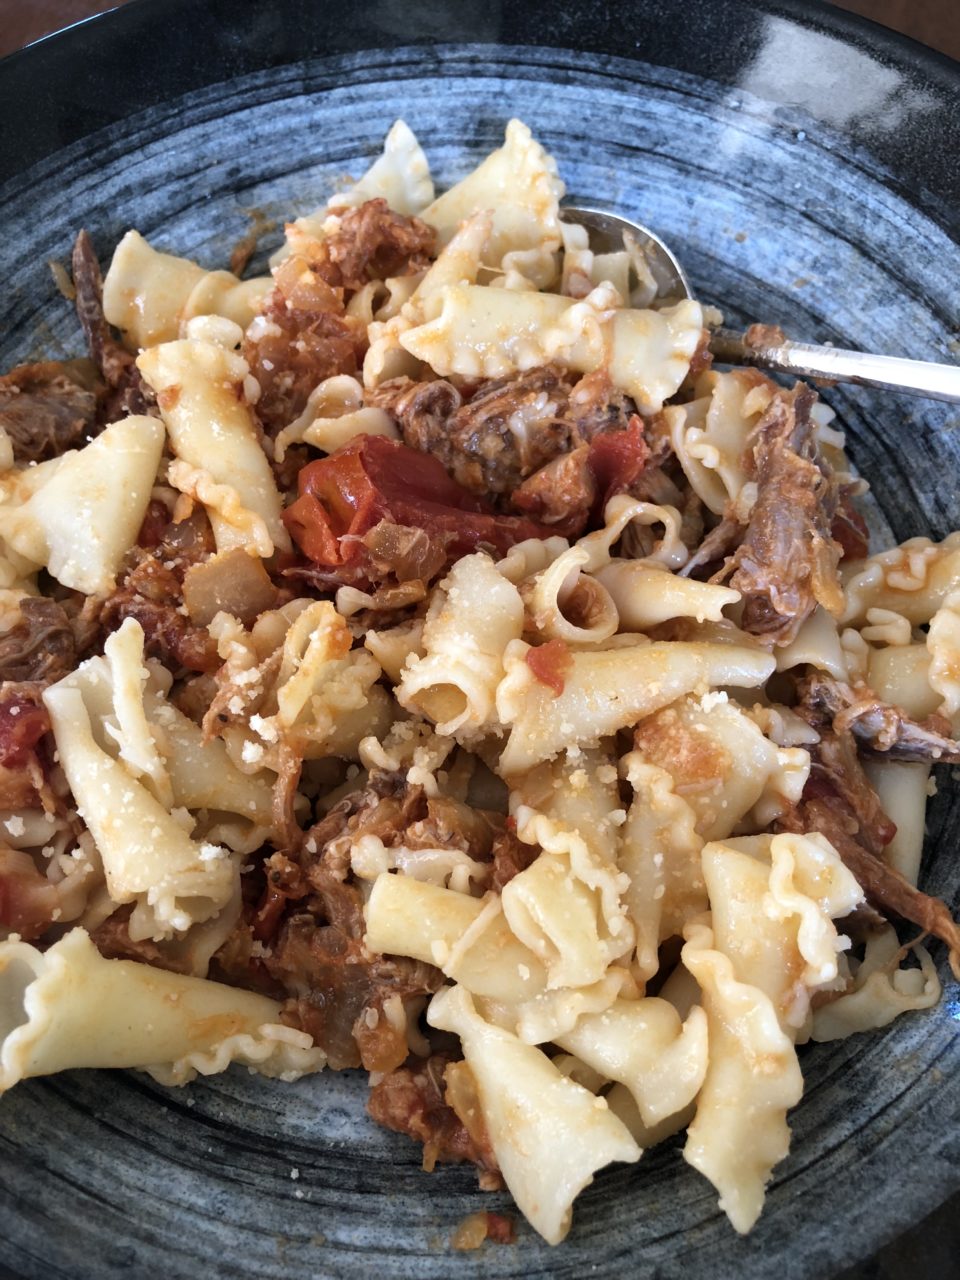
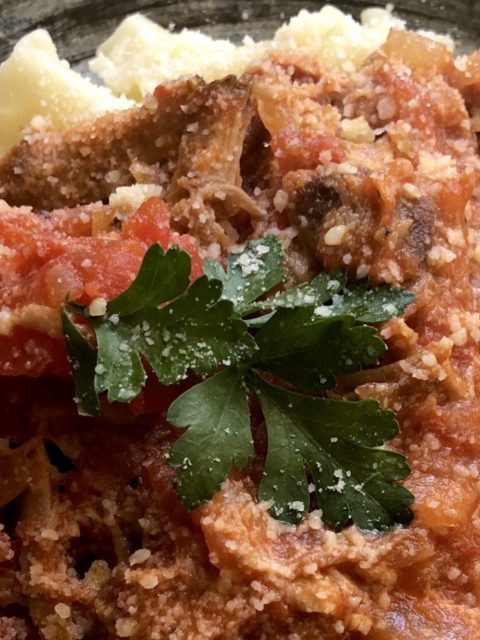
The ragu’ comes together in minutes.  Chopped onion, garlic, are sautéed before adding the tomatoes and roasted pork.  Simmer until it is reduced to a lovely thick, rich sauce.  Voila’, a comforting, warm and homey lunch or dinner on the table. I added a pinch of chili pepper flakes, as suggested, for a little kick.  Make a big batch, this sauce is better a day or two later after the flavors really come together.

Better yet, it freezes beautifully.  Luckily, I threw the remaining sauce in the freezer on the way out of town.  We arrived home a week later, travel weary and hungry but happy with one of two new college graduates in tow.  I pulled out the sauce, boiled some pasta and minutes later we were all standing around the kitchen island enjoying our bowls of pasta.  Yummy eats and no more tuition.  Life is good.  Hmmm, Jordan comes home tomorrow, hope I have enough sauce left until then.

Rigatoni with Pork Ragu

“The Triple P” Pulled Pork Pasta (Rigatoni with Pork Ragu)

Ingredients

  • 3 tablespoons EVOO
  • 1 medium yellow onion finely chopped
  • 3 garlic cloves smashed
  • Kosher salt
  • 1/4-1/2 teaspoon chili pepper flakes
  • 3 pounds ripe tomatoes cored and chopped or one 28 ounce can tomatoes in juice
  • 1 tablespoon tomato paste
  • 2-3 cups coarsely shredded cooked pork shoulder I used 2 cups, its a lot of meat
  • 1 pound rigatoni or pasta of your choice should be a thick pasta thats holds up well to the sauce
  • Grated Parmesan Cheese
  • Italian parsley for garnish

Instructions

  • Heat oil in large heavy pot over medium high heat until it shimmers. Add onion, garlic, chili pepper flakes and 1/2 teaspoon salt. Cook stirring occasionally until the onion turns a nice golden brown ~6-8 minutes.
  • Stir in tomatoes, tomato paste and pork. Let the mixture come to a simmer, while stirring, break up tomatoes. Continue to simmer over low heat until sauce has thickened. This will take approximately 25 minutes with fresh tomatoes and 15 minutes with canned tomatoes.
  • Season to taste with salt.
  • Cook the pasta according to directions. Drain well, toss with sauce and sprinkle with parmesan.
  • Garnish with parsley. Serve immediately. Have additional parmesan on table.


Fast, Flavorful, Pho-tastic(Instant Pot Pho Ga, Vietnamese Chicken Noodle Soup )

Fast, Flavorful, Pho-tastic(Instant Pot Pho Ga, Vietnamese Chicken Noodle Soup )

I can’t think of anything more comforting than a steaming bowl of noodle soup.   If marooned on an island, what would you eat and what 3 books would you want to have with you.  My response would be immediate, a no-brainer, noodle soup.  The caveat being noodle soup would include Pho, Ramen, Udon, Won Ton Noodle Soup, Guksu, Laksa….  and one of my 3 books would be Andrea Nguyen’s The Pho Cookbook.

I have always wanted to try my hand at making Pho. But the stock for this popular Vietnamese Noodle Soup is a labor of love.  Hours of simmering on the stove coaxing the flavors out of chicken, beef, and aromatics like ginger, onions, and cilantro. Intimidating to say the least.  Andrea’s recipe for Pho Ga (Chicken Pho) made in a pressure cooker was the “kick in the pants” I needed.  Pho in less than an hour?  I immediately headed to the store for ingredients. Slurp City here I come. Thanks to Andrea Nguyen and Instant Pot, I was about to make Pho in a fraction of the time.  Ms. Nguyen has written quite a few cookbooks on the cuisine of Vietnam and I snapped up her ode to soup noodles after an interview on KQED.

Instant Pot Pho Ga

This makes homemade Pho eminently doable. One pot cooking, woohoo.  Increase the cooking time if you have an Instant Pot.  It works at a slightly lower pressure (11.5psi) than a conventional pressure cooker.   Remove the cilantro and ginger after the cooking process as both herbs continue to flavor the stock and may overpower the flavor of the broth. Modify the natural pressure release by letting your Instant Pot sit for 5 minutes before venting and opening. Once you remove the chicken, place it in a cold water bath.  This keeps the chicken tender and moist. If you like your chicken a bit more done, leave it in the pot for about 15 minutes before removing. The chicken can be shredded or sliced whatever your preference.

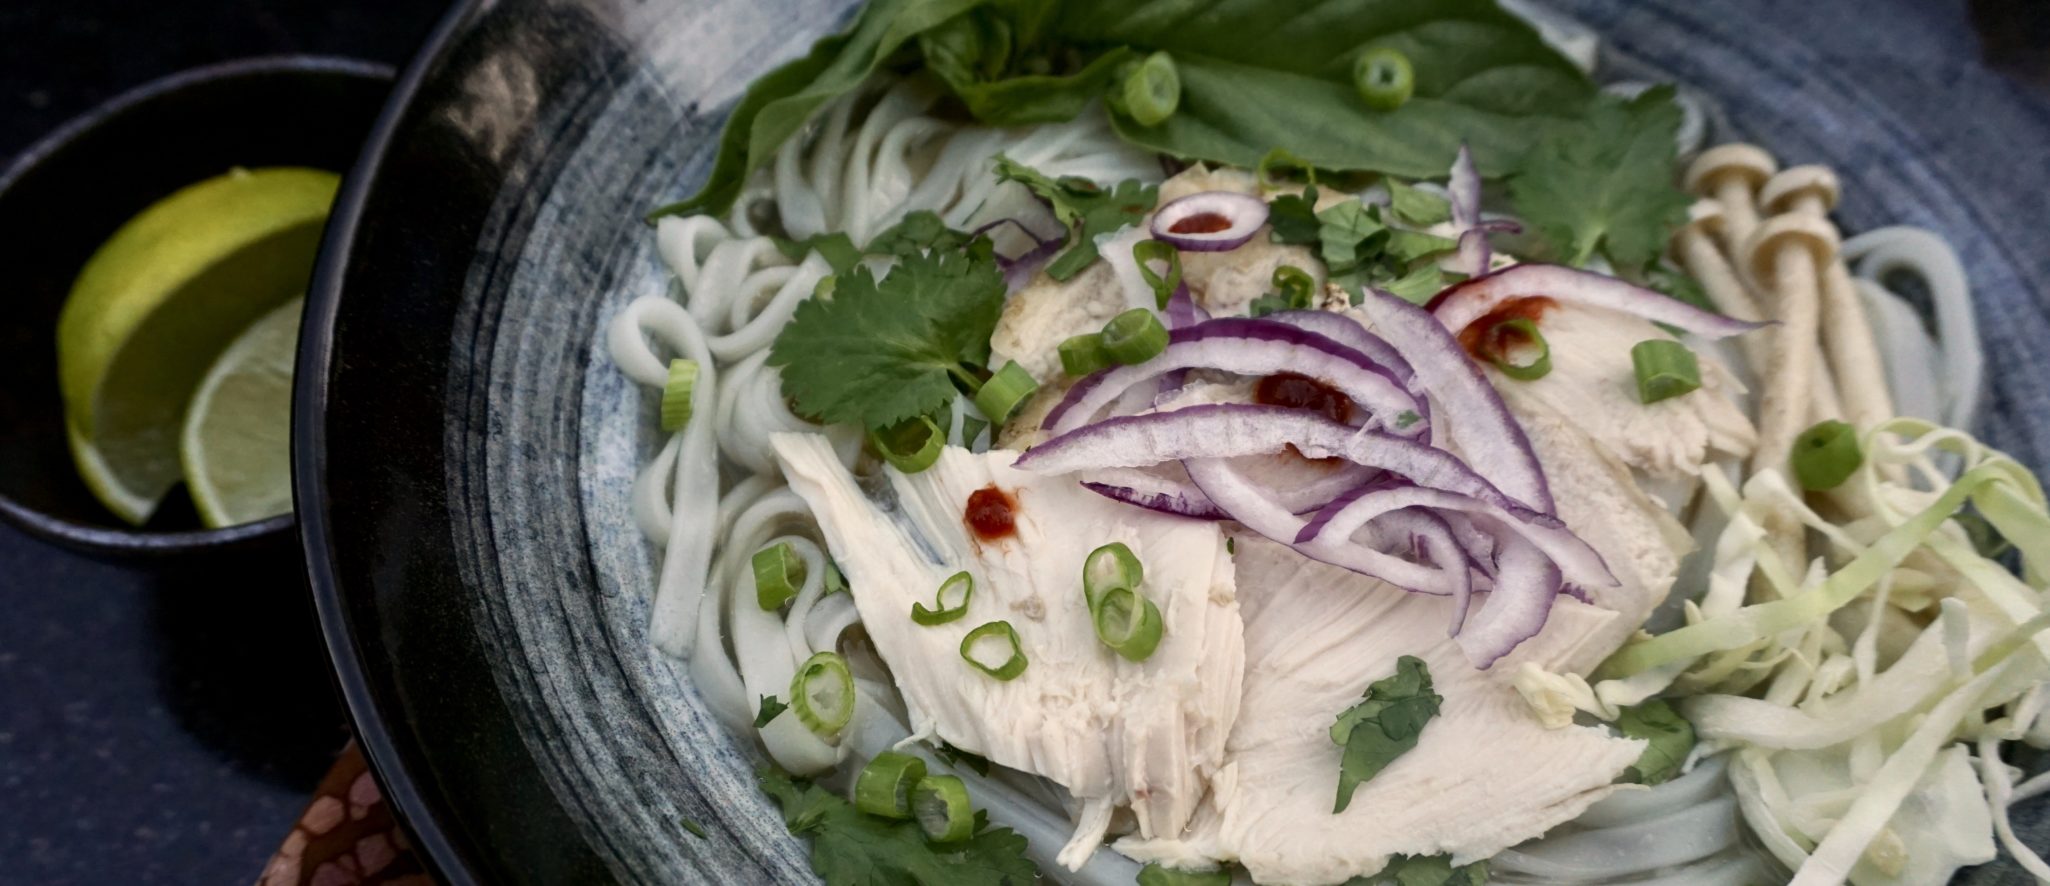
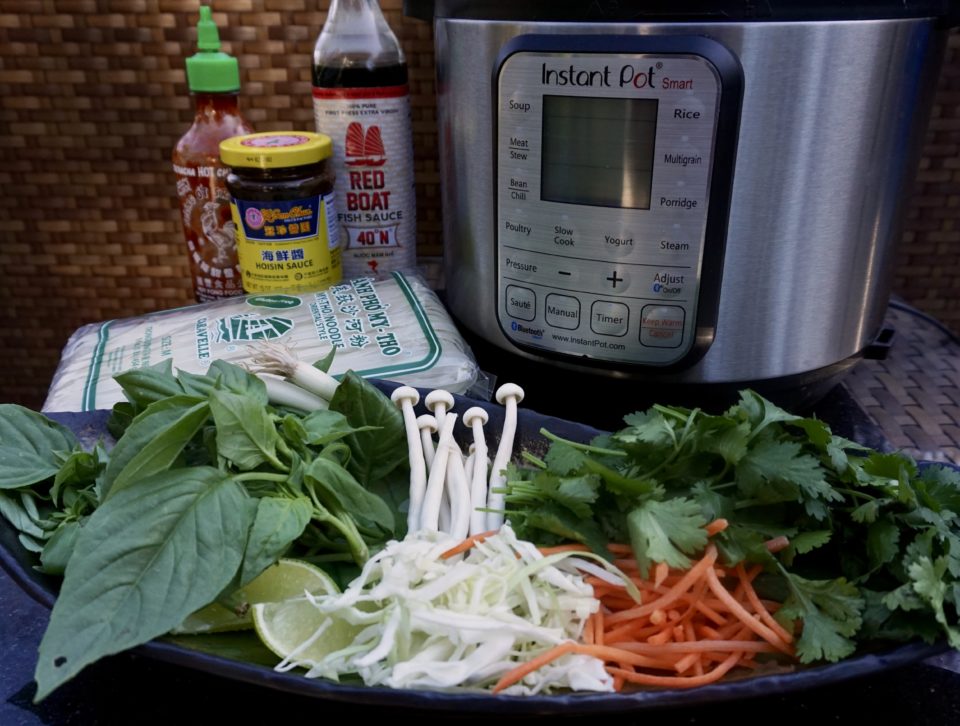
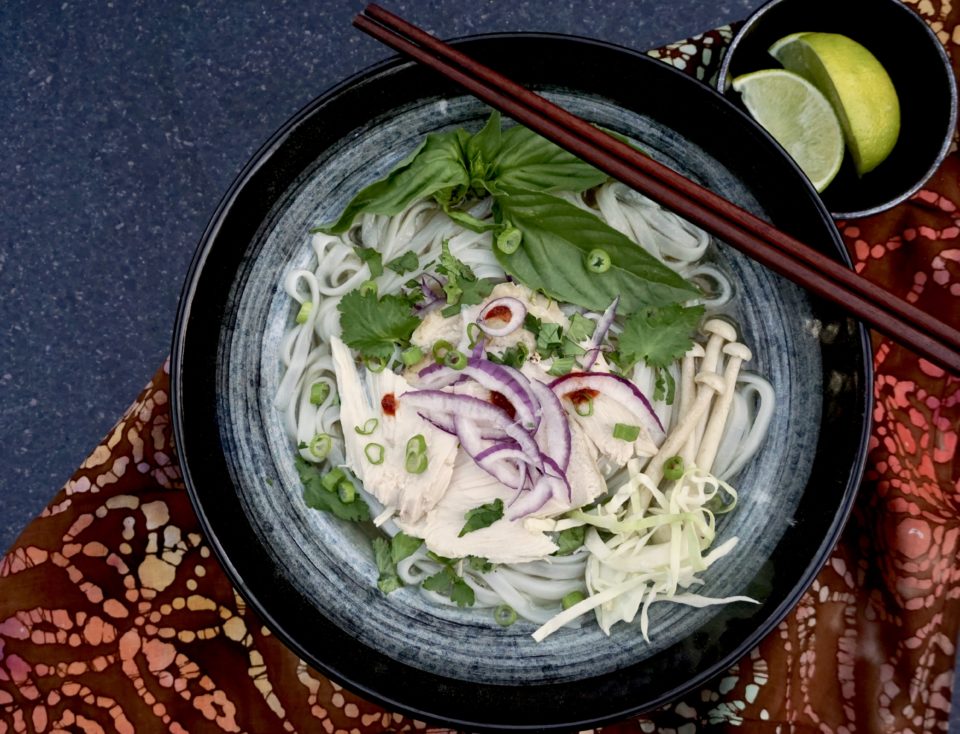
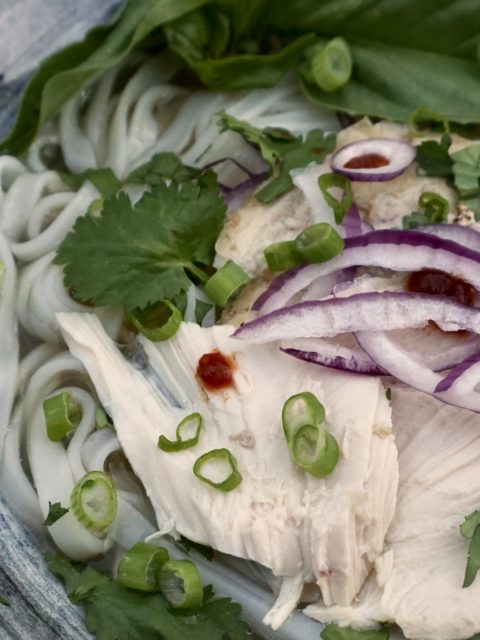
With your broth done, your noodles softened.  It is now Topping Time!  Toppings, toppings, toppings galore. You can be traditional and top your pho with basil, mint, and bean sprouts or you can keep going and add ABSOLUTELY ANYTHING YOU WANT.  I didn’t have bean sprouts so I used shredded carrots and cabbage. Thinly sliced red onions add a nice bite.  Delicious.  Mushrooms, let those fungus fly..into your bowl.  Condiments include Siracha for spice, Hoisin for a bit of sweetness and a squeeze of lime.  S cubed-sweet, salty, spicy and so good!

Now you and I can make our own bowls of deliciousness.

Instant Pot Pho Ga

Fast, Flavorful, Pho-tastic (Instant Pot Pho Ga)

A faster and simpler way to make a tasty bowl of Pho!
Course comfort food, noodles, one bowl meal, Soup
Cuisine Asian, Vietnamese
Keyword Chicken, Pho, Pho Ga, rice noodles, soup
Prep Time 15 minutes
Cook Time 1 hour 45 minutes

Equipment

  • 1 Pressure Cooker or Instant Pot

Ingredients

BROTH

  • 1 whole chicken 4 lbs.
  • 1 rounded tbsp. coriander seeds
  • 3 whole cloves
  • 1 medium yellow onion peeled, halved, and sliced 1/2 in. thick
  • 1 3- in. piece ginger peeled and thickly sliced
  • 1 small Fuji apple peeled, cored, and cut into thumbnail-size chunks
  • 1/2 cup coarsely chopped cilantro sprigs
  • 2 1/4 tsp fine sea salt
  • 1 1/2 tbsp fish sauce
  • 1 tsp About. organic sugar* or 2 tsp. maple syrup if needed to round out flavor

Noods and Bowls

  • 10 ounce dried narrow flat rice noodles*
  • About half of cooked chicken from the broth
  • 1/2 small red onion halved lengthwise, then thinly sliced and soaked in water 10 minutes
  • 1/4 cup thinly sliced green onion green parts only
  • 1/4 cup chopped fresh cilantro leaves
  • white or black pepper

Garnishes & Condiments

  • Vietnamese Herb Garnish Plate
  • Vietnamese Ginger Dipping Sauce
  • Siracha Sauce, Hoisin Sauce, lime wedges

Instructions

  • Make broth: Rinse chicken and set aside to drain. Put coriander seeds and cloves in a dry 6- to 8-qt. pressure cooker. Over medium heat, toast until fragrant, shaking, several minutes. Add onion and ginger and cook, stirring, until browned on edges, 2 to 3 minutes.
  • Add 4 cups water, then the chicken, breast side up. Add apple, cilantro, salt, and another 4 cups water. Lock the lid in place.
  • Following your cooker's instructions, bring to low pressure (8 psi) over high heat. Lower heat to maintain pressure. Cook 15 minutes, or a few minutes longer if your cooker's low setting is less than 8 psi. If your cooker has only a high-pressure (15 psi) setting, cook 12 minutes. The Instant Pot setting is approximately 12 psi so I increased the time to 14 minutes. If you like your chicken falling off the bone leave the chicken in the Instant Pot for 20 minutes before pressure release. I waited 5 minutes and then did a quick release. The chicken was tender much like white cut chicken.
  • Transfer the chicken to a bowl; if parts fall off in transit, don’t worry. Add cold water to cover the chicken and soak for 10 minutes to cool and prevent drying. Pour off the water, partially cover, and set the chicken aside to cool.
  • Skim some fat from the broth before straining it through a muslin-lined mesh strainer positioned over a medium pot. Discard the solids. You should have about 8 cups. Taste and season the broth with the fish sauce, extra salt, and perhaps a bit of sugar.
  • Use a knife to remove the breast halves and legs from the chicken. Set aside half of the chicken for another use. Reserve the remaining chicken for pho bowl assembly.

Prep and assemble the bowls

  • About 30 minutes before serving, ready the ingredients for the bowls. Soak the noodles in hot tap water until pliable and opaque. Drain, rinse, and drain well.
  • Step 7
  • Cut or tear the chicken breast and leg into pieces about 1⁄4 inch thick. Place the onion, green onion, and cilantro in separate bowls and line them up with the noodles, chicken, and pepper for a pho assembly line.
  • Bring the broth to a simmer over medium heat as you are assembling the bowls. At the same time, fill a pot with water and bring to a rolling boil for the noodles.
  • For each bowl, use a noodle strainer or mesh sieve to dunk a portion of the noodles in the boiling water. When the noodles are soft, 5 to 60 seconds, pull the strainer from the water, shaking it to drain excess water back into the pot. Empty the noodles into a bowl.
  • Top with chicken, then garnish with onion, green onion, cilantro, and pepper and any toppings you want.
  • Check the broth flavor once more, raise the heat, and bring it to a boil. Ladle about 2 cups broth into each bowl. Enjoy immediately.
Corn Soup (玉米湯) Chinese Soul Food

Corn Soup (玉米湯) Chinese Soul Food

Though I was only gone for 4 days, I’m glad I am back. Even paradise doesn’t compare to home.  As much as I like trying new restaurants and not having to do dishes, I love getting in the kitchen and cooking.  My go-to “I’m home!!” meal?  SOUP. The ultimate comfort food that tells me I’m back where I belong.

Our plane touched down in the evening so a long-simmered pot of soup was not in the cards. I needed something quick, easy and yummy. I looked in the pantry and fridge to see what I could rustle up and what do you know, perched front and center on the shelf, a can of Del Monte Creamed Corn.  A sign, obviously.

Does It Sound Corny?

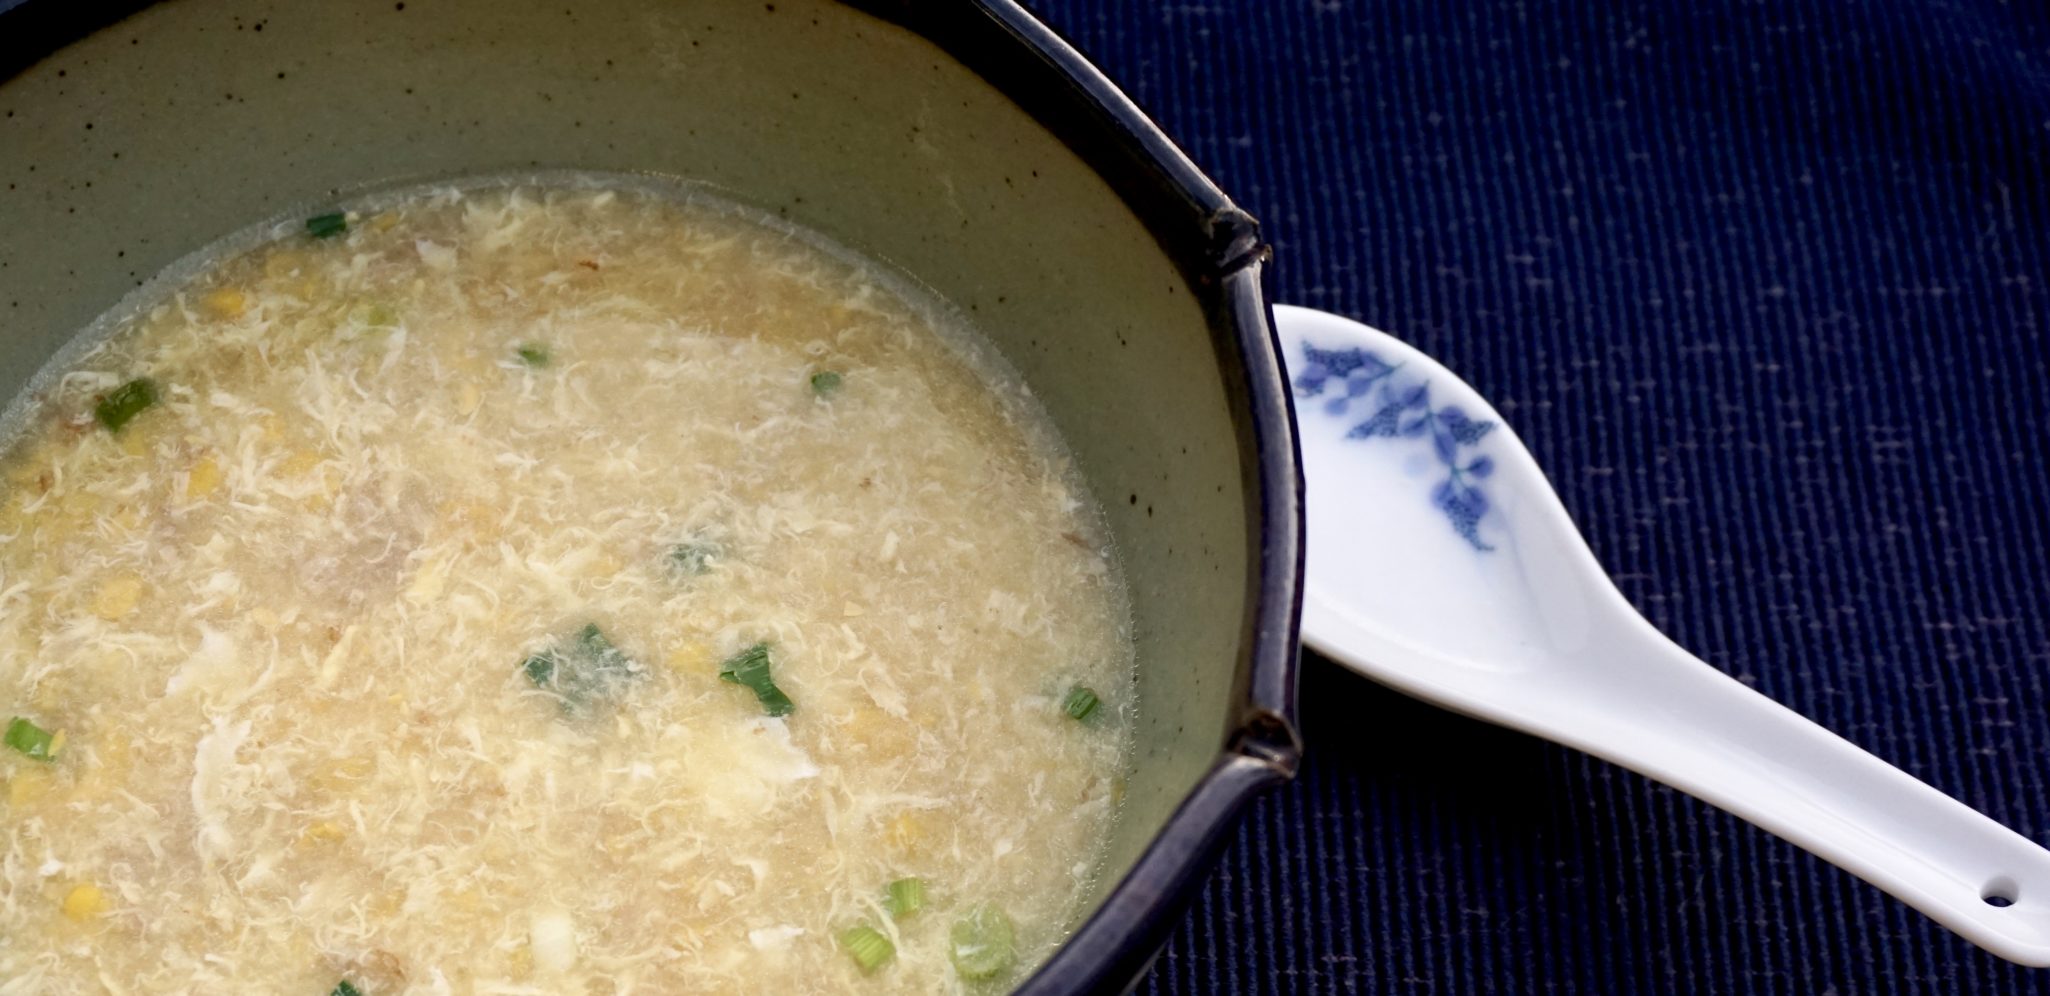
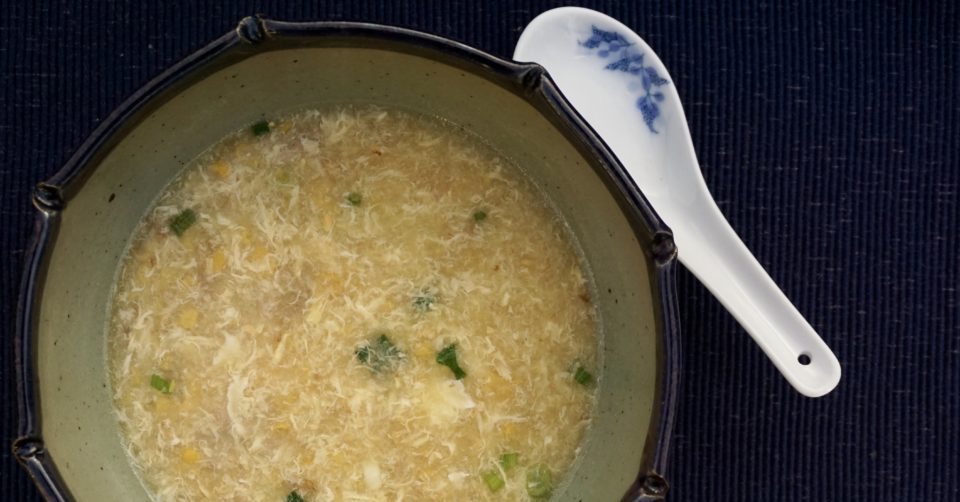
What? I thought you were making soup Deb? I am, trust me. Chinese Style Corn Soup starts with a can of creamed corn. It’s the secret weapon to a quick and delicious soup.  My kids love it, hands down one of their favorite soups.  It’s sweet and savory, made with corn, seasoned ground pork, (you could use chicken or turkey) and egg.  Best way to enjoy it?  Ladle the soup over rice, stir to combine, and eat it piping hot with a big ole’ spoon-this is soul food, bowl food.

I learned how to make corn soup from my mom and if you have read my blog, you know my Mom did not cook much.  It was my Dad’s domain, but she makes a mean corn soup.  If you peruse the menu of any legit (lol) Chinese restaurant, you will find Corn Soup. THAT’S HOW YUMMY IT IS.

Chinese Corn Soup

Max Flavor, Min Effort

My mom started with just a pot of water.  I cheat and start with chicken stock, homemade or a commercially available low salt chicken stock, this adds another level of cheating, I mean flavor.  Quick soups generally start with minced or thin strips of pork, chicken or beef. This extracts the maximum amount of flavor in a minimum amount of time. The meat is marinated for a couple of minutes in soy sauce, rice wine, salt, and sugar then sautéed briefly before adding the water or stock. Cook over medium heat to keep the soup at a nice rolling boil (not crazy boil) for 15-20 minutes. Add the creamed corn, cook for another few minutes and voila’ ALMOST DONE (gotcha).

The last step, whisk a barely beaten egg into the soup. This adds flavor and body to the soup. It’s very similar to egg drop soup. It’s important to remember never boil the soup after adding the egg. You want the eggs to have wispy strand look. I actually turn the heat off when whisking in the egg. Whisk the soup continuously so the egg doesn’t sit and clump or curdle. NO BUENO.

If you like a thicker soup consider adding cornstarch to both the soup and the eggs before adding it to the soup.  A trick from Serious Eats-For tender shards of egg, blend 1 teaspoon of cornstarch into the eggs before adding them to the soup. I am old school, I just add the barely beaten egg to the soup, the yolk thickens it and the whites turn into wispy tendrils in the soup-just like my mom’s.

Soul Food: Chinese Corn Soup

An easy delicious soup that starts with canned corn!
Course soul food, Soup
Cuisine Asian, Asian-American
Keyword Cantonese cooking, Corn, soup
Prep Time 15 minutes
Cook Time 15 minutes

Ingredients

  • 14.5 ounce can of creamed style corn Del Monte is my go-to
  • 1/2 cup ground pork or thinly sliced pork

Marinade for Pork

  • 1 tsp soy sauce
  • 1 tsp oyster sauce
  • 1-1/2 tsp rice wine
  • dash of white pepper
  • 1/4 tsp salt and sugar

To finish the Soup

  • 3-4 cups water or low sodium chicken broth or half and half water & broth
  • 1-2 eggs
  • 1 green onion sliced on the diagonal
  • salt and pepper to taste

Instructions

  • Combine marinade ingredients with pork in a small bowl, set aside, let it sit for 10-15 minutes.
  • Heat 1 T oil in a 3-4 quart saucepan. When oil is hot, add ginger and cook for 1 minute to flavor the oil.
  • Add pork to pot and sauté until it is no longer pink.
  • Add water and/or stock and bring to a boil, immediately lower heat to a simmer for 10-15 minutes.
  • Add creamed corn. Bring to a boil and turn down heat to low. Simmer for 5 minutes.
  • As the soup simmers, break eggs into a small bowl. Lightly beat, no need for the eggs to be completely blended.
  • Turn heat off or set to very low and add eggs to soup in a steady stream, all the while stirring the soup with a fork or chopsticks in one direction. If the flame is too high the egg will curdle!
  • Season with salt and white pepper to taste. Garnish with green onions.

Options:

  • 1 tsp sesame oil
  • ¼ - ½ cup corn kernels ( I use frozen) add with canned creamed corn
  • Substitute ground chicken or turkey for pork

For a thicker soup:

  • Mix ½ tablespoon of cornstarch with 1 tablespoon water or stock. Add this slurry to the soup, heat until soup thickens. Turn heat down and add egg. I find if you use 2 eggs in this soup this will create enough body in the soup such that cornstarch is not necessary.
Hmm Hmm Good..Potato Leek and Kohlrabi Soup

Hmm Hmm Good..Potato Leek and Kohlrabi Soup

While making a pot of my favorite Potato Leek and Kohlrabi Soup, I realized I had added the recipe for it to a post on Parmesan Shortbread. The soup is so delicious it deserves its own post.  This soup can be made year round and served hot, warm or room temperature depending on the season. A classic potato leek soup with a twist, kohlrabi.  Not familiar with kohlrabi? It’s in the cabbage family and tastes a whole lot of broccoli.  In fact, you could use broccoli stems in place of the kohlrabi in this recipe. It has a bulb and leafy top and comes in really cool colors, like purple and green..  Use it raw, thinly sliced and throw it in salads. It adds a crunch and sweetness to your greens.  Saute the greens in a bit of olive oil and garlic, delicious.

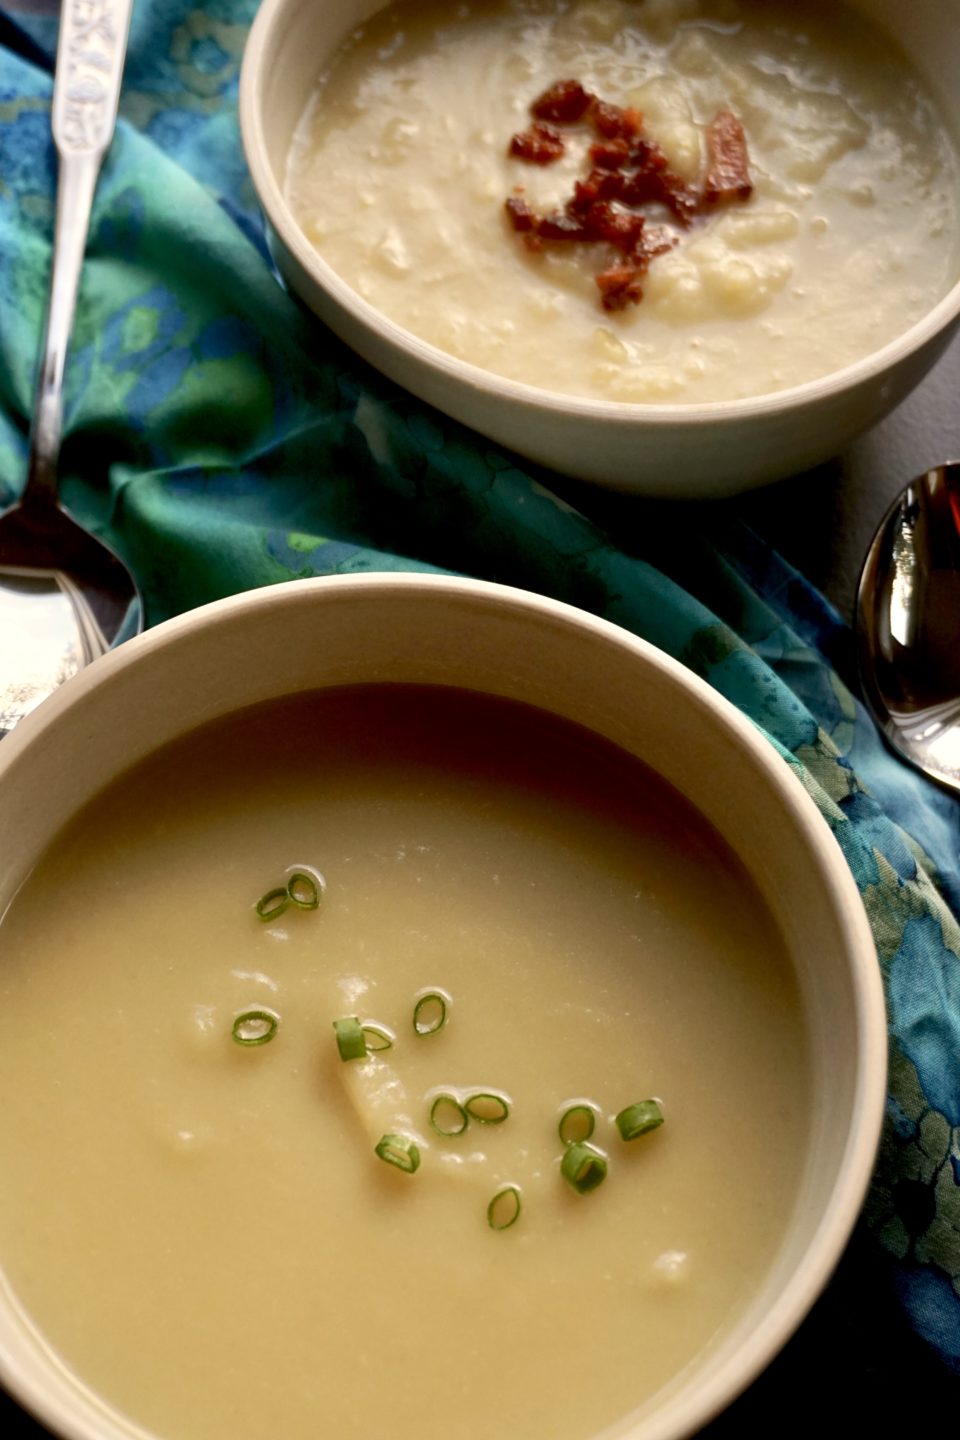
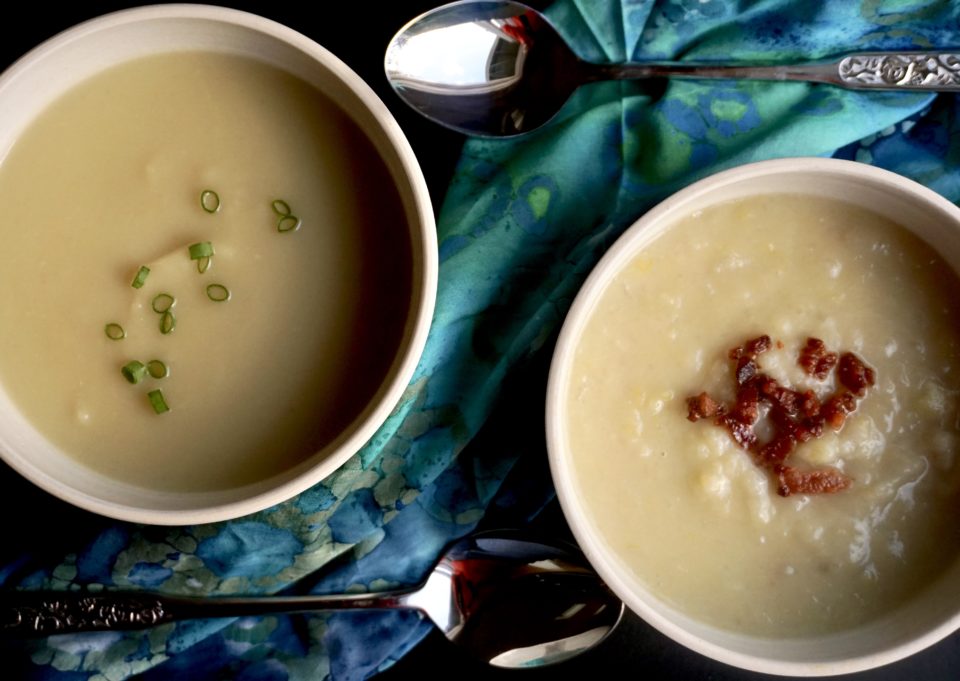
Back to the potato, leek and kohlrabi soup. Summertime?  Puree the soup until it is silky smooth and serve at room temperature, accompanied by a light salad or sandwich.

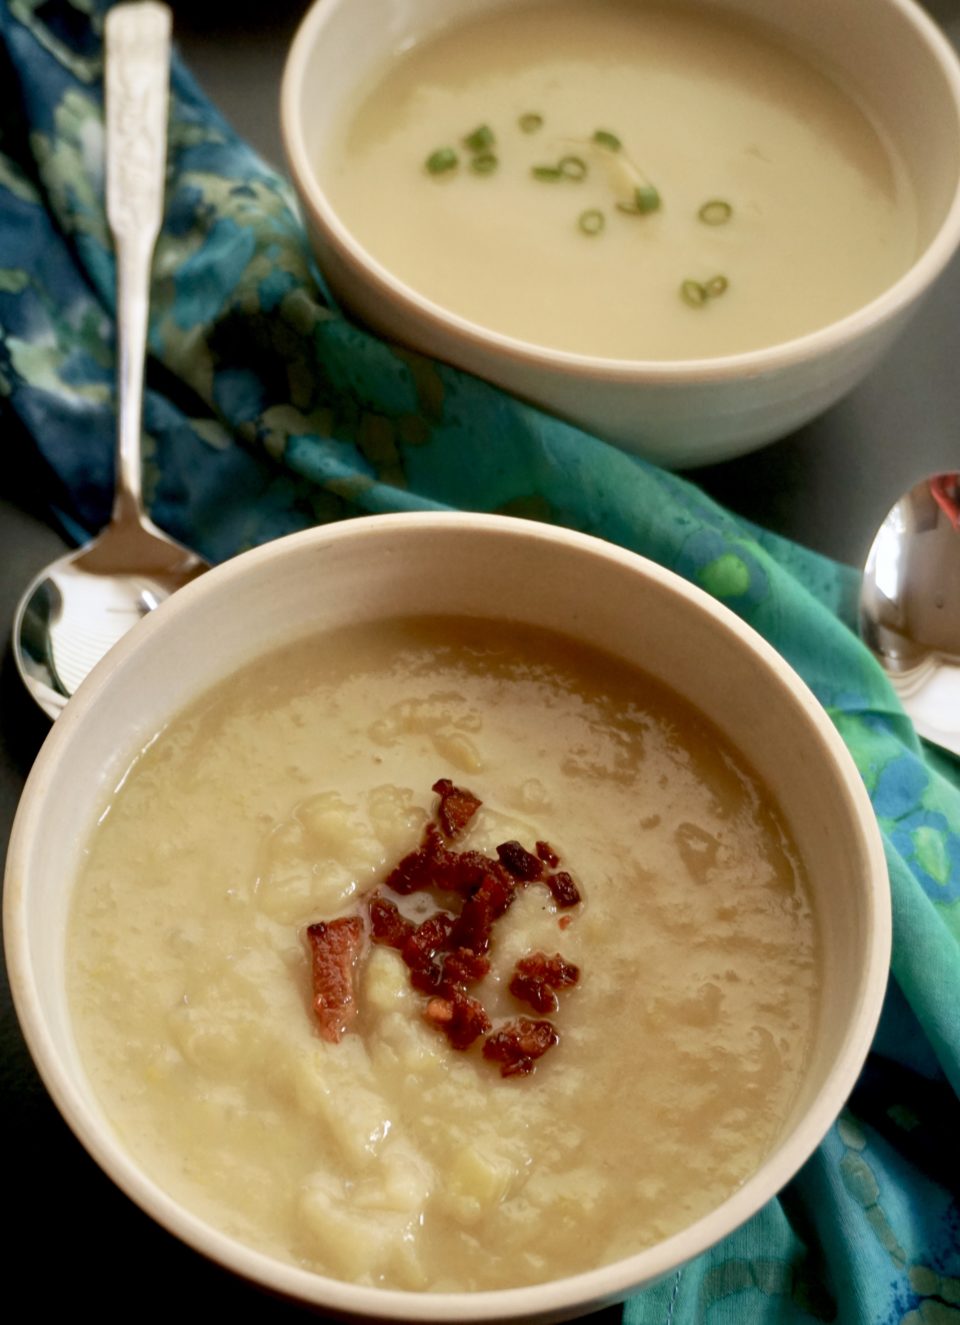
In the winter serve it piping hot in mugs with a sprinkle of pancetta or crisp bacon bits and slices of hearty bread.

This soup lends itself well to changes.  I have used different stocks, vegetable, seafood, or chicken.  I have replaced the kohlrabi with broccoli stems or cauliflower or omitted it altogether for a true potato leek soup. You can also use different potatoes to change the texture of the soup, from starchy russets to waxy Yukon Golds for a lighter, velvet-like consistency.  I’ve topped it with cheesy croutons, chives, pancetta, or morsels of freshly picked crab.  A gazillion variations, probably some I haven’t even thought of yet.

This is my go-to soup, period.  Maybe it will become yours.

Potato Leek and Kohlrabi Soup

Hmm Hmm Good..Potato Leek and Kohlrabi Soup

Ingredients

Potato Leek soup

  • 3 leeks rinsed, white part only, thinly sliced
  • 1 yellow onion diced
  • 2 cloves garlic minced
  • 3-4 potatoes diced (russets or Yukon Gold for a smoother soup)
  • 6-8 cups of stock chicken, seafood, or water
  • 1/3 - 1/2 cup heavy cream or sour cream
  • S&P to taste

Optional:

  • 2-3 kohlrabi peeled and diced or broccoli stems from 1 bunch peeled and diced
  • chives
  • lump crab meat or sautéed wild mushrooms for garnish
  • pancetta or bacon salute until crisp and reserved for garnish

Instructions

  • Over medium heat, add 1 T oil + 1 T butter to 8 quart pot. Saute' onions until soft and transparent add garlic and saute' for additional minute. Add leeks, potatoes, kohlrabi if using, and 6-7 cups of stock. Bring to a boil and immediately reduce heat to simmer. Partially cover pot and simmer until vegetables are completely soft, about 45 minutes.
  • Using a hand blender or blender, puree soup until desired consistency. Completely smooth for a classic version or leave it a little chunky for a more rustic soup.
  • Add cream heat to warm through (for a lighter version omit cream.)
  • If soup is too thick, add broth to desired consistency with reserved 1 cup of stock
  • Salt and pepper to taste.
  • Garnish with bacon, pancetta or chives and a dollop of creme fraiche' or crab meat if a seafood stock is used.
Huli Today Gone To Maui (Instant Pot Huli Huli Chicken)

Huli Today Gone To Maui (Instant Pot Huli Huli Chicken)

So excited, going to Maui next week! Just a quick jaunt for a friend’s big birthday (I won’t divulge which big B-day). I have not been to Maui in a very long time. I was about to graduate from pharmacy school the last time I visited, a lifetime ago.  Needless to say, there was a lot of plate-lunch and MacDonald’s Saimin on that trip. Won’t be doing that this time. Nope.  Well, maybe for nostalgia’s sake…maybe just one 2-scoop plate lunch.

With Hawaii on the brain, I was looking for a quick easy meal one night after a long, frustrating, commute home from work. (2 hours to drive 25 miles,  auugh). Wes had pulled out some chicken thighs and it was up to me to figure out what to do with them. Too cold and too late to barbecue, I was stymied when, “Look! On the Counter! It’s a Coffeemaker! It’s a toaster-oven!

No, it’s an INSTANT POT!”
A quick perusal online and what should pop-up? Huli Huli Chicken. I don’t think Hawaiian was one of my Google words but I’m going with it. Normally Huli Huli Chicken is grilled, but that calls for marinating the chicken for a couple of hours and then firing up the grill. We would be eating at midnight.  I opted for the Instant Pot recipe.

STUPID EASY

That’s all I can say. Soy sauce, pineapple juice, catsup, fresh grated ginger and garlic, brown sugar, and broth. Throw it into the pot, submerge the chicken thighs in all that deliciousness and set it for 10 minutes. Then, let the pot do its thang and use natural release for 10 minutes.

Remove the chicken and pop it under the broiler to crisp up the outside. While the chicken is getting a Hawaiian tan ok, char, in the oven, add a cornstarch slurry to the sauce in the IP to thicken, DONE. Dinner is served.  You could spice up the marinade by adding a touch of Siracha Sauce or lemon juice for a bit of tartness.  Your call.

The Instant Pot version is an adaptation.  Huli Huli chicken is a barbecue recipe.  Skip the broth and use the remaining ingredients to marinade the chicken for a minimum of several hours. Then throw the chicken on the grill. Reserve some marinade to make the sauce and use the rest to brush on the chicken while grilling. Which you could definitely do….if you had time.  Instead, by cooking the chicken in the sauce a la Instant Pot you have dinner on the table in a fraction of the time!  HOW cool is that?

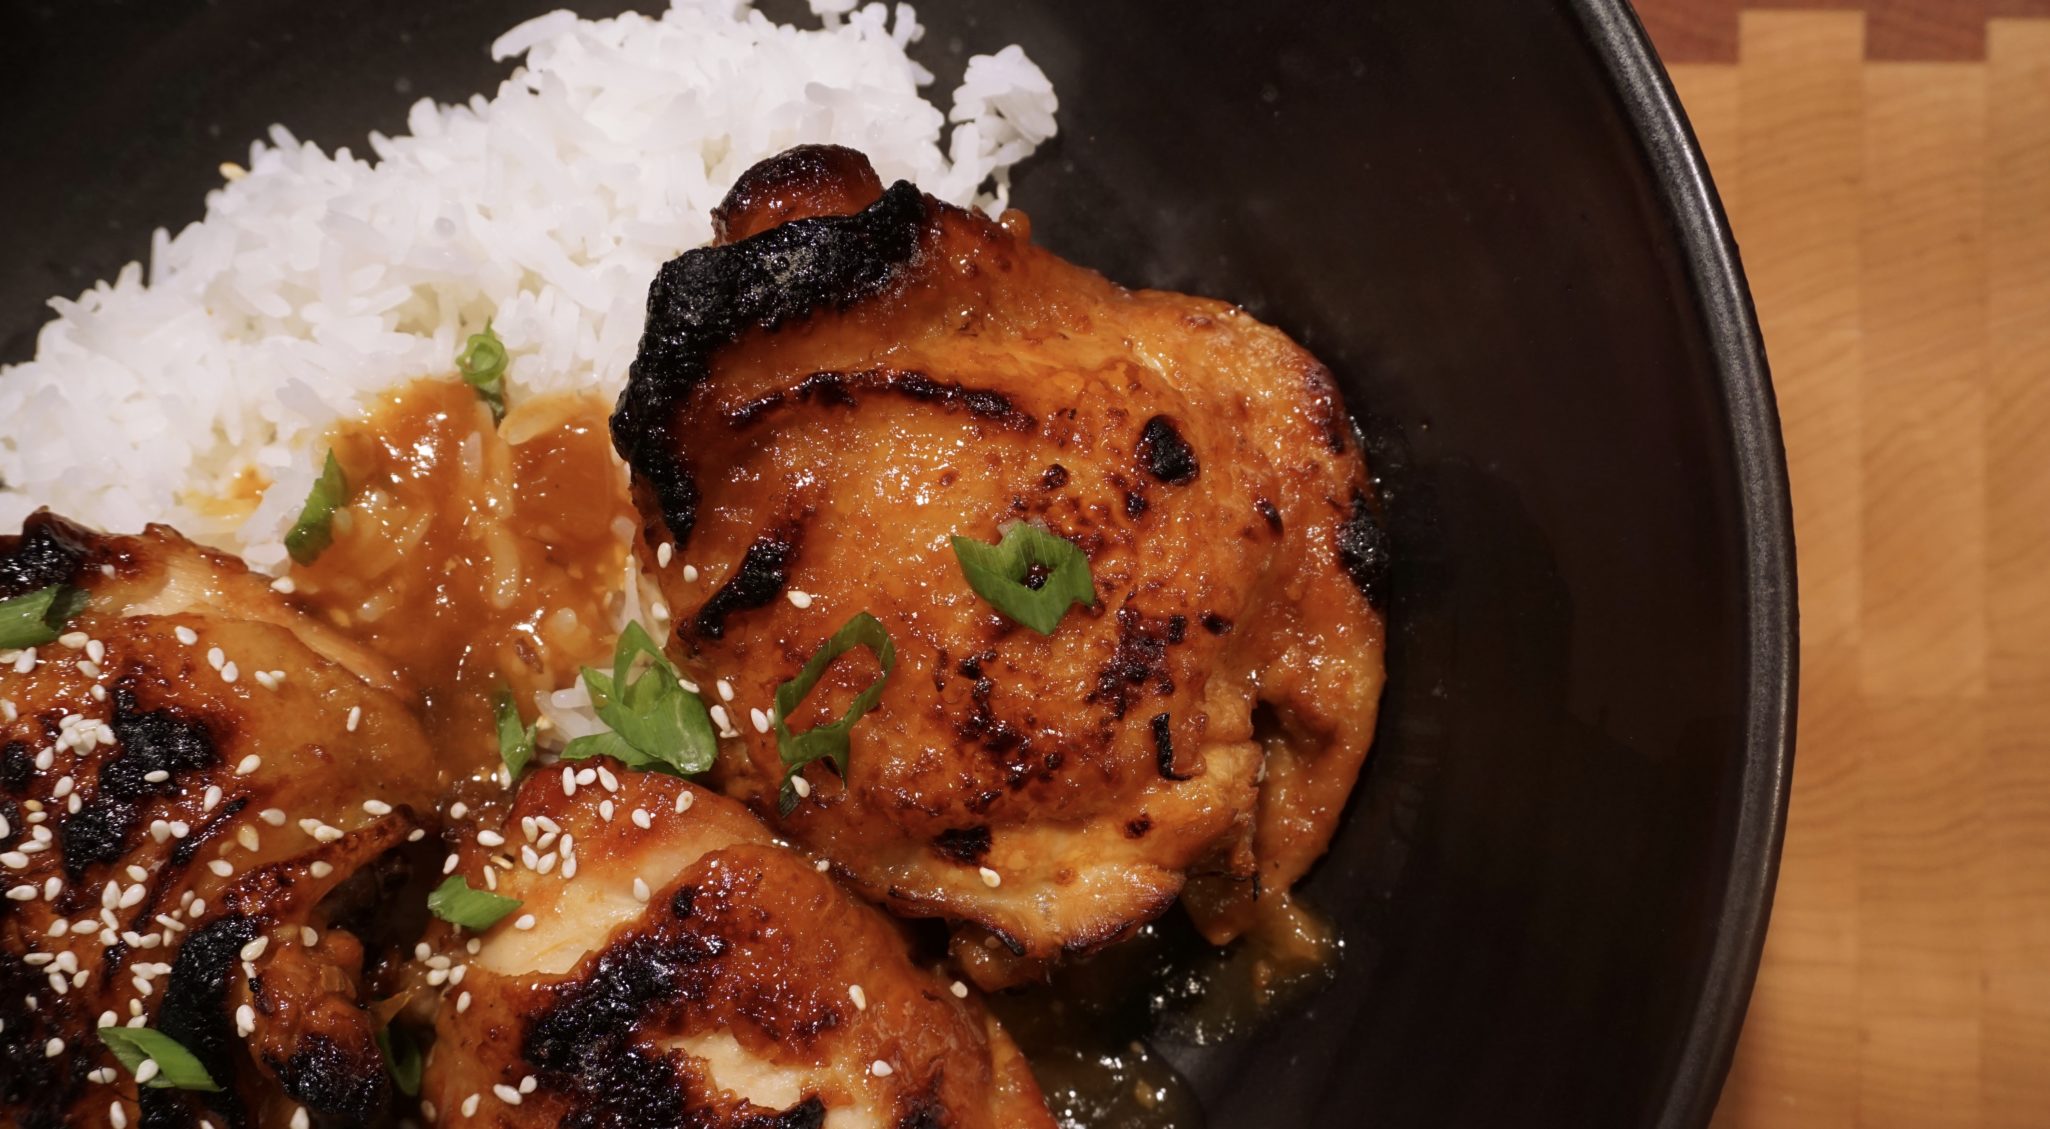
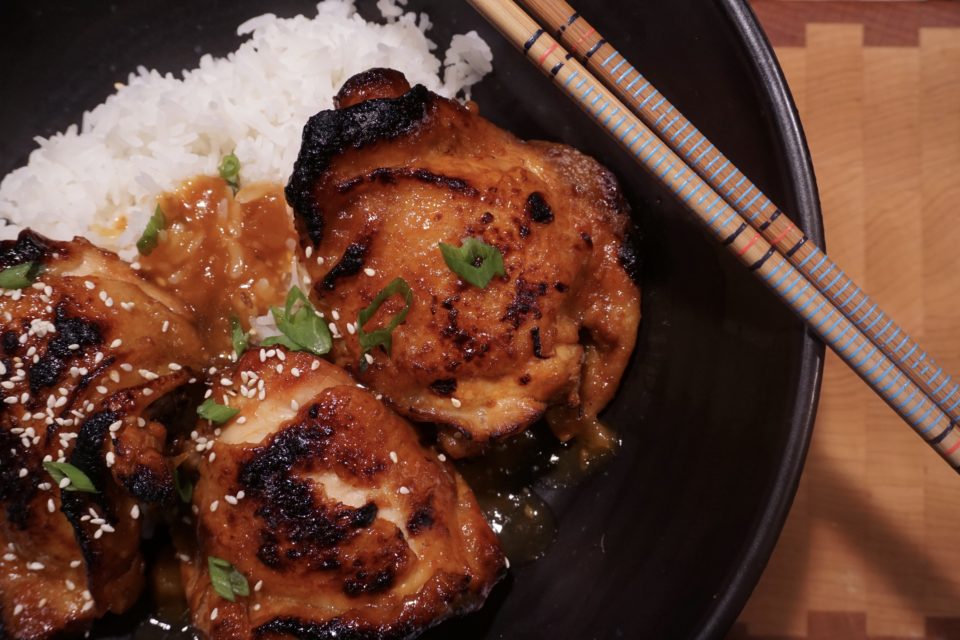
A glass of wine, a side of rice, and a salad, and my commute fading from memory.  My mood definitely took an upswing.  I took my first bite of chicken, pineapple-ly sweet, balanced with the saltiness of the soy, and finished with a garlicky-ginger bite.  Jumped up and did a short hula-hip check on the hubs.  Ono-licious.

Instant Pot Huli Huli Chicken
Serve on a bed of rice, perfect for a weekday meal.

Huli Huli Chicken

Huli Huli Chicken an island favorite tweaked for a quick and easy meal. Instead of grilling chicken marinaded in a pineapple-soy marinade, the chicken and marinade components go in the Instant Pot.
Course chicken, dinner, Main Course
Cuisine Asian-American, Hawaiian
Keyword Carnitas in an Instant Pot, Huli Huli Chicken
Prep Time 15 minutes
Cook Time 17 minutes
Servings 6 servings

Equipment

  • 1 Instant Pot

Ingredients

Da Main Ingredient

  • 6 bone in chicken thighs ..you can use boneless, skinless thighs approximately 2 pounds

Instant Pot Marinade

  • 1 cup pineapple juice
  • ½ cup Shoyu or ponzu sauce
  • ½ cup brown sugar
  • cup ketchup
  • ¼ cup chicken broth or dry sherry
  • 2 teaspoons fresh grated ginger root
  • teaspoons minced garlic

Thickener

  • Cornstarch Slurry 1T cornstarch + 2 T cold water

Garnish

  • 4-5 stalks green onions sliced at an angle for garnish
  • Roasted sesame seeds

Instructions

  • In your IP Pot, whisk together pineapple juice, soy sauce, brown sugar, ketchup, chicken broth, ginger and garlic
  • Add chicken to the pot.
  • Close and seal your pot. Set your pot to Poultry, Pressure Cook or Manual for 11 minutes and allow a 10 minute NPR
  • Remove and place your chicken on a jelly roll pan lined with foil.
  • Set your pot to sauté, when the sauce begins to boil add the cornstarch slurry a little at a time until the desired consistency is reached.
  • Baste the thickened sauce over the chicken
  • Set your oven to broil.
  • Broil the chicken for 5 to 7 minutes or until some of the sauce caramelizes.
  • You could also put them on the grill...baste often
  • Transfer chicken to a serving dish and garnish with green onion
Japchae-Oppa! Korean-Style, Sexy Noodles, Op Op

Japchae-Oppa! Korean-Style, Sexy Noodles, Op Op

I decided to throw a surprise birthday party for the hubby. Since it was an impromptu event, I kept it simple. Just a handful of friends on a Friday night to help him celebrate another year.  The menu included his favorites, cheesecake, apple pie, and sushi from our favorite place. Badabing, easy peasy-done.  Then I started to worry, what if folks don’t eat fish?  Then I thought, what if I don’t have enough food?  A cardinal sin…so I added a few more of his favorites, Korean short ribs, Galbi, Ceasar Salad, and Japchae, a delicious Korean noodle dish.

The Skinny on the Noods

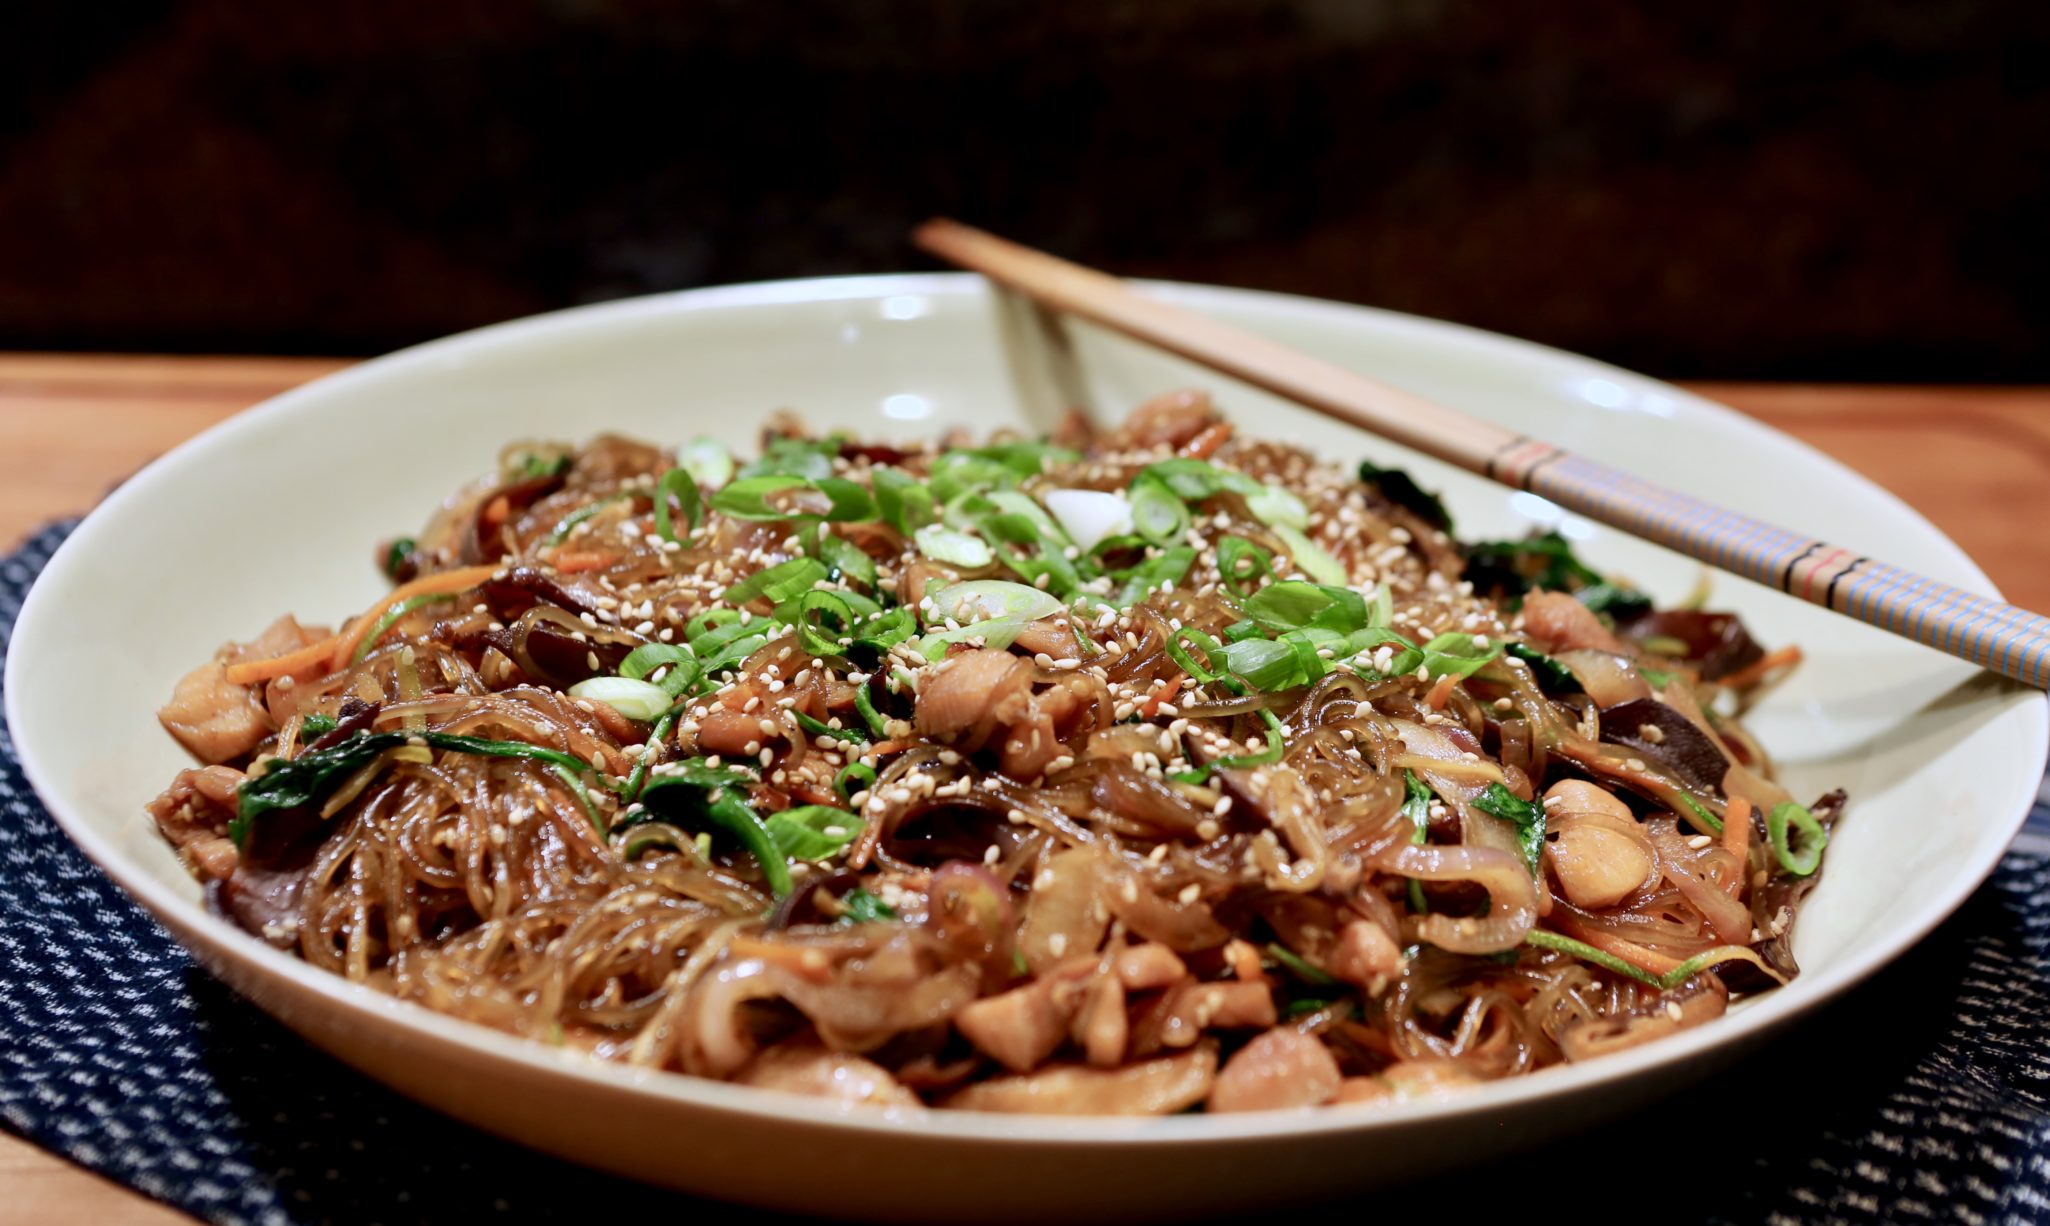
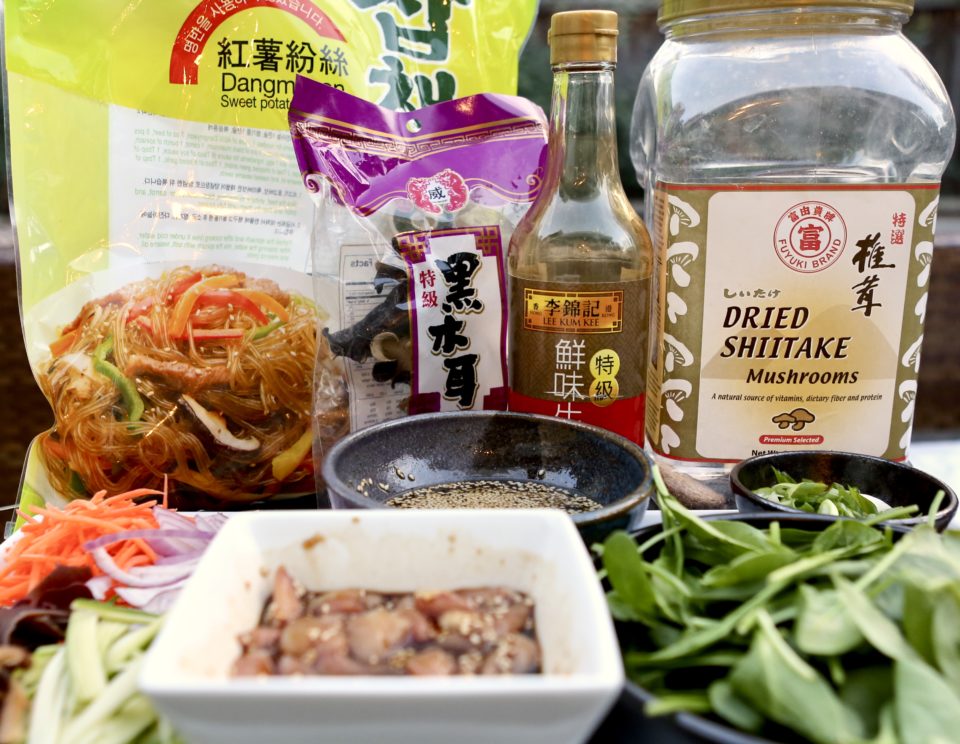
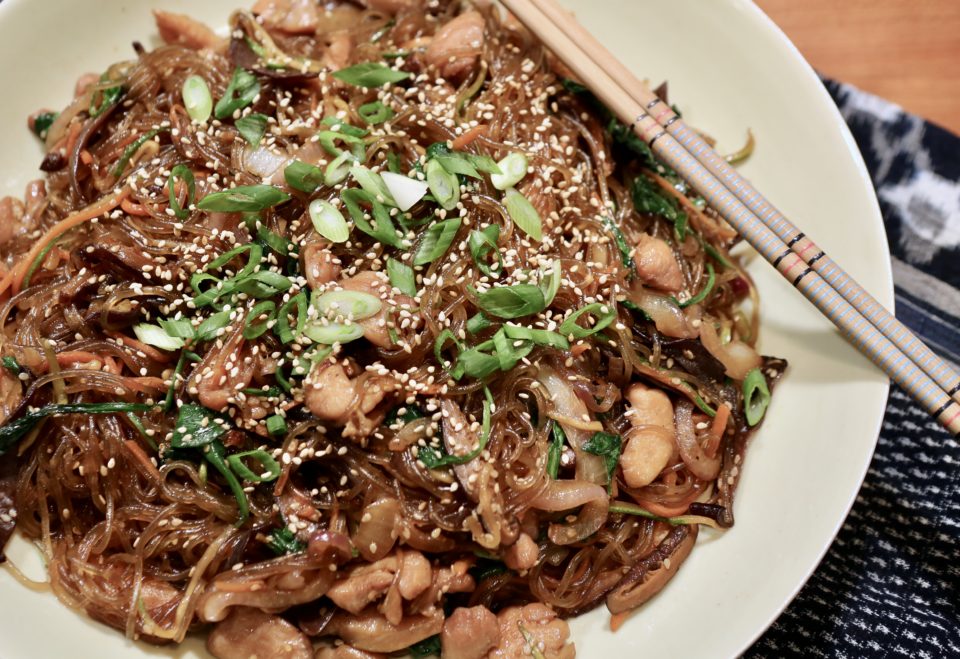
Japchae is Wes’s favorite noodle dish.  It starts with sweet potato noodles also called glass noodles (당면 Dangmyeon) for their transparency.  The noodles have a bit more elasticity and bite than wheat pasta and absorb seasonings well.  Season the noodles with soy sauce, sesame oil, garlic, and sugar, which gives the noodles that characteristic delicious garlicky, sweet-salty flavor.

The beauty of this dish is its flexibility.  Serve Japchae as a simple side dish, banchan, or as a main dish made with protein and vegetables.  Vary the kinds of vegetables and protein, but always include shiitake mushrooms, yellow or red onions, and secret sauce (ok, not really a secret just the Korean quadfecta of soy, garlic, sugar, and sesame).

Beyond that, go CRAZY!

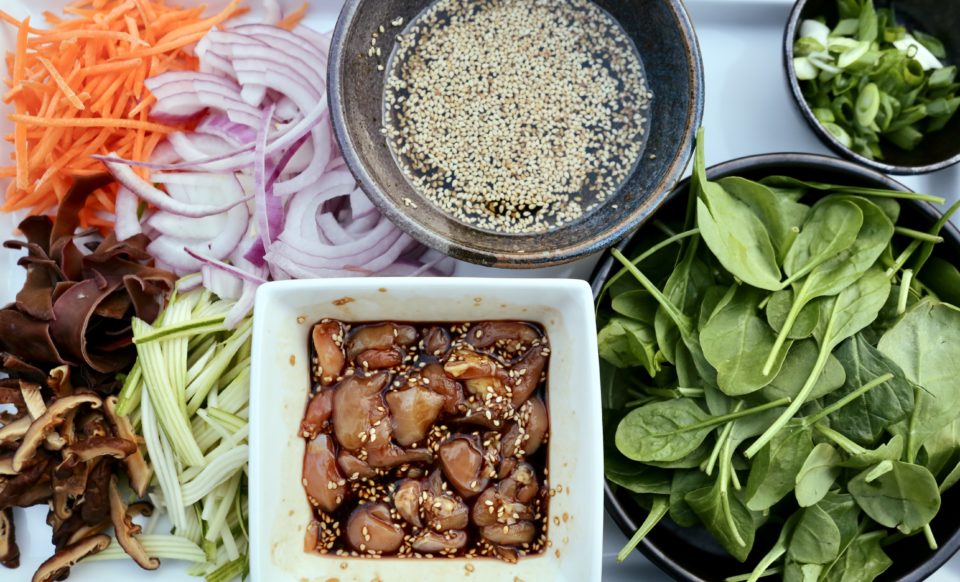
Add wood ears-fungi for crunch, carrots, spinach, zucchini, or watercress for veggies and chicken or beef for protein. Other additions include slices of fishcake and strips of scrambled egg.  Knock yourself out.

Wes’s birthday version included chicken, carrot, zucchini, wood ear mushrooms, and spinach.  Yummo.

The key to this dish is advanced prep work.  Julienne vegetables, cut chicken into bite-sized strips, and make the sauce.  Soak the noodles, shiitake mushrooms, and black fungus in water. The noodles should be soaked in room temp water for an hour or two, so start your prep early.  You could make this a vegetarian dish by omitting the protein and marinating sliced shiitake mushrooms or pressed tofu.

Korean Jap Chae

My go-to recipe for Japchae is from a favorite cookbook called Hawaii’s Aloha Recipes published by The Japanese Women’s Society of Honolulu.  My copy is food-stained, pages tattered, filled with handwritten notes.  In short, well worn and well-used.  It’s my favorite cookbook for down-home Hawaiian/Asian cooking. Wirebound with few photos, but filled with treasured family recipes and stories-books like this one were created by folks to raise money for their church, temple, or community.  A reflection of who we are and the foods we have eaten for generations.

Aggie's Japchae, Oppa Korean-Style, Sexy Noodles Op Op

Classic Korean Noodle Dish, Japchae a family favorite
Course noodles, Side Dish
Cuisine Asian, Korean
Keyword japchae

Ingredients

  • 1 pack of glass noodles sweet potato noodles
  • 1/2 pound flank steak or chicken cut into strips
  • 1 cup carrots julienned
  • 1 cup string beans French cut or zucchini strips
  • 1/2 cup yellow onions sliced
  • 6 dried shiitake mushrooms soak in hot water until soft. Squeeze excess water, remove stem and julienned
  • 1/2 bunch watercress or spinach
  • 1/2 cup black fungus soaked and cut into strips
  • green onions

Seasoning for noodles:

  • 4 T soy sauce
  • 2 T sesame oil
  • 1.5 T granulated sugar
  • 1 T roasted sesame seeds
  • 1/8 tsp black pepper

Marinade for protein

  • 1/2 tsp fresh garlic minced
  • 2 T soy sauce
  • 3/4 tsp sugar
  • 2 tsp prepared sesame seeds

Instructions

  • Soak noodles in room temp water for 1-2 hours until soft then drain. Alternatively boil for 7 minutes, drain and cool. Cut into 3-4 inch lengths. Set aside.
  • Cut beef or chicken or pork into strips. MIx seasonings and combine with protein. Set this aside too.
  • In a frying pan or wok, heat 1-2 T oil, add shredded carrots and fry just until tender. Don't overcook. Sprinkle with a little salt. Remove to plate.
  • Follow same procedure with zucchini or string beans. Add to plate with carrots.
  • In same wok, add 1 T oil and 1 tsp sesame oil, heat and add yellow onions, sir fry for approximately 1-2 minutes. Add chicken (beef), fry until half done, add mushrooms and wood ears and spinach, fry until meat is completely cooked.
  • Add noodles and sauce to wok, add carrots and zucchini to pan. Mix to combine.
  • Garnish with green onions and eggs.

Optional:

  • Fry 1 well beaten egg in an oil pan. Tilt pan to spread egg mixture into a thin sheet. Turn once. Remove and cool. Cut egg into thin strips.
  • Dish can be served warm or room temperature.
Mushroom Bourguignon (New Year’s Resolution #1)

Mushroom Bourguignon (New Year’s Resolution #1)

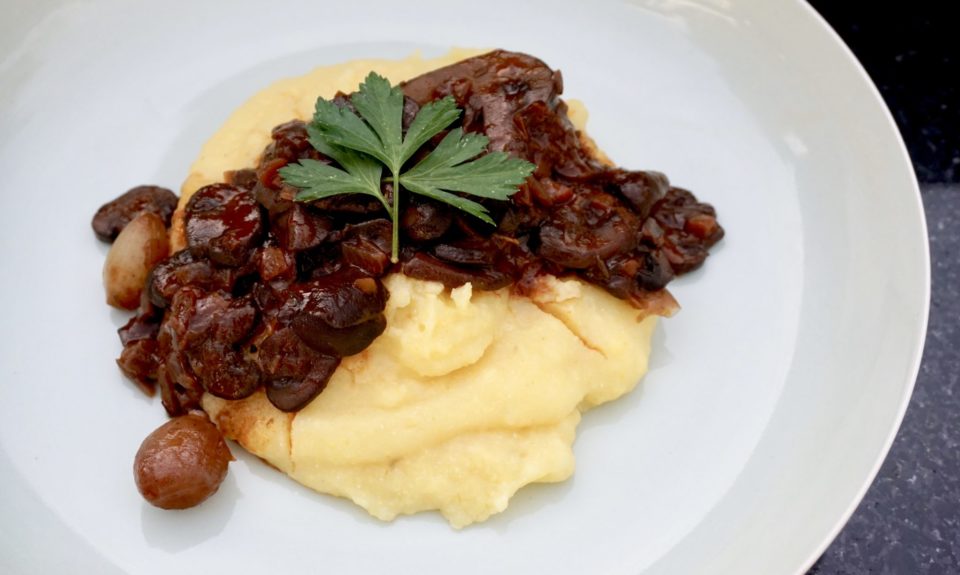
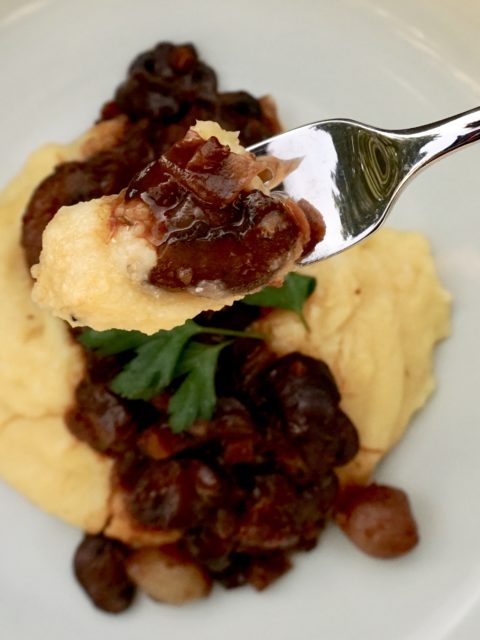
I have a bucket list of New Year’s resolutions this year. Resolution #1, “EAT MORE VEGGIES and less meat”. This is going to be EASY and I am going to be a BOSS and slay this resolution. Why? Recipes like Smitten Kitchen’s Mushroom Bourguignon, that’s why.  It’s hearty, warming, a great stand-in for stews and it takes a fraction of the time to make as it doesn’t contain any meat.  I have been eyeing this recipe for quite awhile so with the cooler weather and my new year’s resolution it was definitely “fun”-ghi time.

Where’s the beef!? Sorry Sammy, you’re looking in all the wrong places

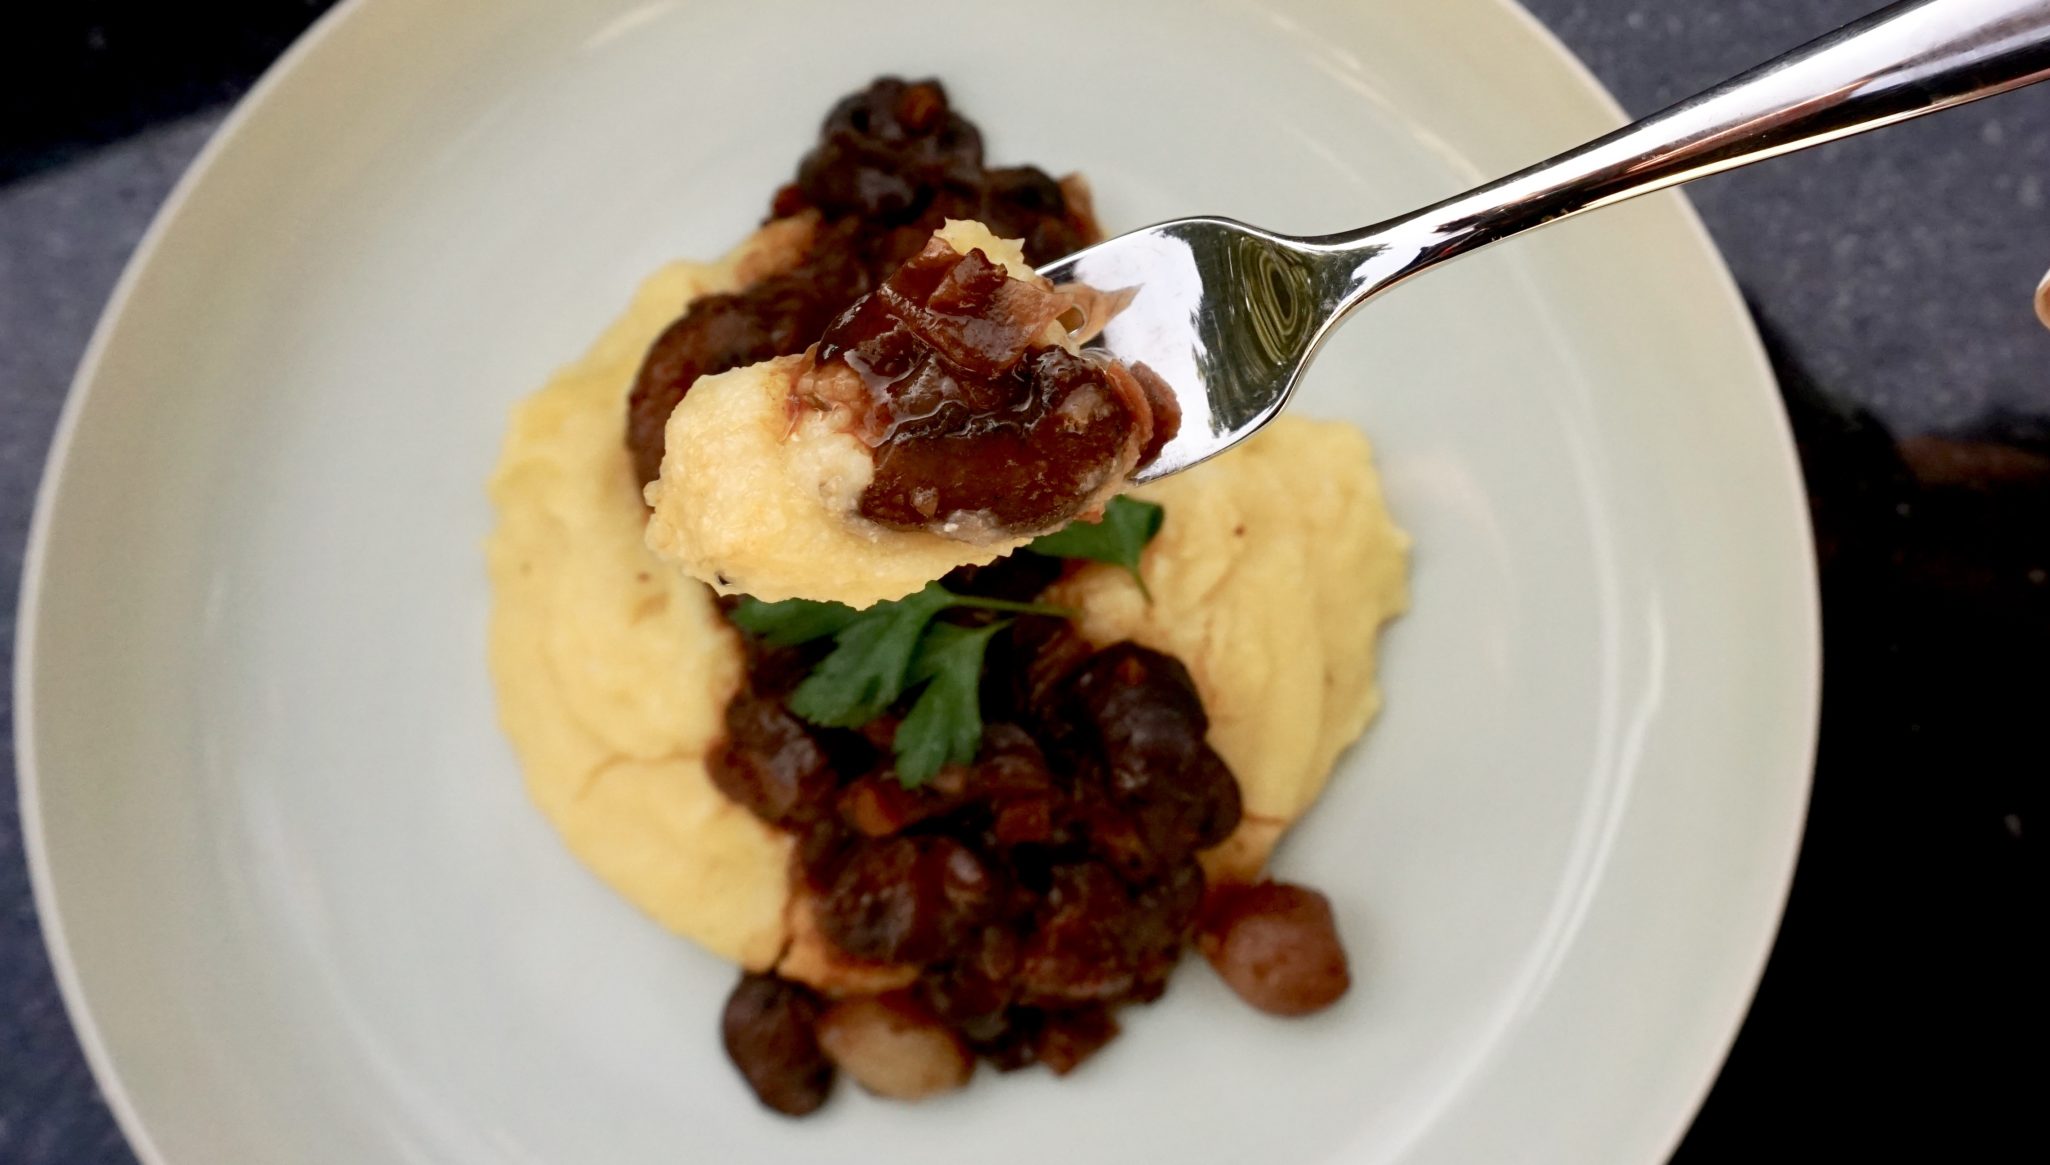
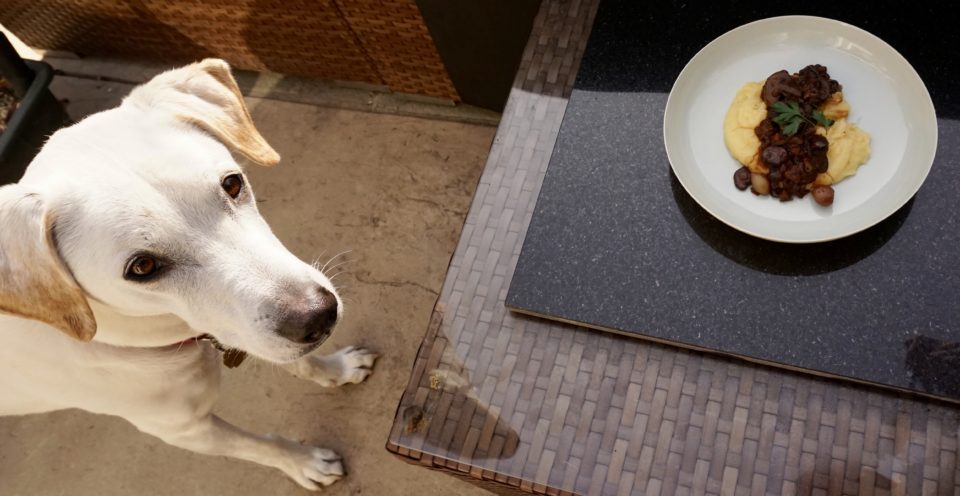
I decided to serve the mushrooms over a bed of creamy polenta, others have opted for noodles which looks equally delicious.  I’m a sucker for polenta or grits. When I was a kid I was a Cream of Wheat/Malto-meal fan whereas the rest of my family fell into the Quaker Oats oatmeal camp.  It’s a textural thing I guess, that and I loved the Cream of Wheat commercials, “Come in from the Cold”.

I used cremini mushrooms although I think a mushroom medley would work beautifully.  Next time I make this dish I think I’ll throw in shiitake mushrooms and portabellos to give it a meatier taste and texture.  Not being a strict vegetarian I opted for beef broth for the stock but feel free to use a vegetable broth. I’m also wondering if a little fish sauce (thank you Kenji Alt-Lopez) would up the umami factor for us omnivores.  I will let you know!

So 2018 resolution #1 gets a running start thanks to Smitten Kitchen’s Mushroom Bourguignon.  Next on my list? Cauliflower Steak and Puree from Genius Recipe.  Let the Veggie Times Roll.

(Mushroom Bourguignon) New Year’s Resolutions

Ingredients

  • 2 tablespoons 30 ml olive oil
  • 2 tablespoons 30 grams butter, softened
  • 2 pounds 905 grams Portobello mushrooms, in 1/4-inch slices (you can use cremini instead or a medley of mushrooms)
  • 1 cup 115 grams pearl onions, peeled (thawed if frozen)
  • 1/2 carrot finely diced
  • 1 small yellow onion finely diced
  • 1 teaspoon fresh thyme leaves or 1/2 teaspoon dried thyme
  • Table salt
  • Freshly ground black pepper
  • 2 garlic cloves minced
  • 1 cup 235 ml full-bodied red wine
  • 2 tablespoons 35 grams tomato paste
  • 2 cups 475 ml beef or vegetable stock (beef broth is traditional, but use vegetable to make it vegetarian; the dish works with either)
  • 1 1/2 tablespoons 12 grams all-purpose flour
  • Egg noodles for serving also goes well with polenta or grits
  • Sour cream and chopped chives or parsley for garnish (optional)

Instructions

  • 1. Heat 1 tablespoon olive oil and 1 tablespoon butter in a medium-sized Dutch oven or heavy saucepan over high heat. Sear the mushrooms and pearl onions until they begin to take on a little color— your mushrooms will make a delightful “squeak- squeak” as they’re pushed around the hot pan— but the mushrooms do not yet release any liquid, about 3 or 4 minutes. Remove mushrooms and onions from the pan and set aside.
  • 2. Lower the flame to medium, and add the second tablespoon of olive oil. Toss the carrot, onion, thyme, a few good pinches of salt, and several grinds of black pepper in the pan, and cook for 5 minutes, stirring occasionally, until the onion is lightly browned. Add the garlic, and cook for just 1 more minute. Season with more salt and pepper.
  • 3. Add the wine to the pot, scraping any stuck bits off the bottom, then turn the heat all the way up and reduce it by half, which will take about 4 to 5 minutes. Stir in the tomato paste and the stock. Add back the mushrooms and pearl onions with any juices that have collected, and bring the mixture to a boil; reduce the temperature so it simmers for 10 to 15 minutes, or until both the mushrooms and onions are very tender.
  • 4. Combine the flour and the remaining butter with a fork; stir this into the stew. Season to taste with salt and pepper. Lower the heat, and simmer for 10 more minutes. If the sauce is too thin, boil it down to reduce to a “coating” consistency. Season with additional salt and pepper if needed.
  • 5. To serve, spoon the stew over a bowl of egg noodles (polenta or grits would work well), dollop with sour cream, if using, and sprinkle with optional chives or parsley.
  • Do ahead: The mushroom stew reheats very well on the second and third days, in a large saucepan over low heat.
Good Morning Mr. Phoods (Cilantro Chutney Chicken Curry)

Good Morning Mr. Phoods (Cilantro Chutney Chicken Curry)

Good morning Mr. Phoods:

The dish you are about to take-on requires that you answer the following questions.  Your answers will determine whether you should proceed with this post or not.

Do you like cilantro?

What does cilantro taste like to you?

If you answered NO and it tastes like soap exit NOW by clicking on MII consolation 

If you answered yes and yumminess, I LOVE cilantro…your mission, should you decide to accept it, will be to run to the store for cilantro, boneless chicken, peanuts, garlic, and onions and make this dish. As usual, if you or any other MII fans (Made In India) should be caught while making this dish you will be required to….invite me over for dinner. If not, the secretary (again me) will disavow any knowledge of you.

Yes, Meera Sodha’s Cilantro Chutney Chicken from her book Made In India is that good.  It inspired me to create this homage to one of my all-time favorite TV shows.

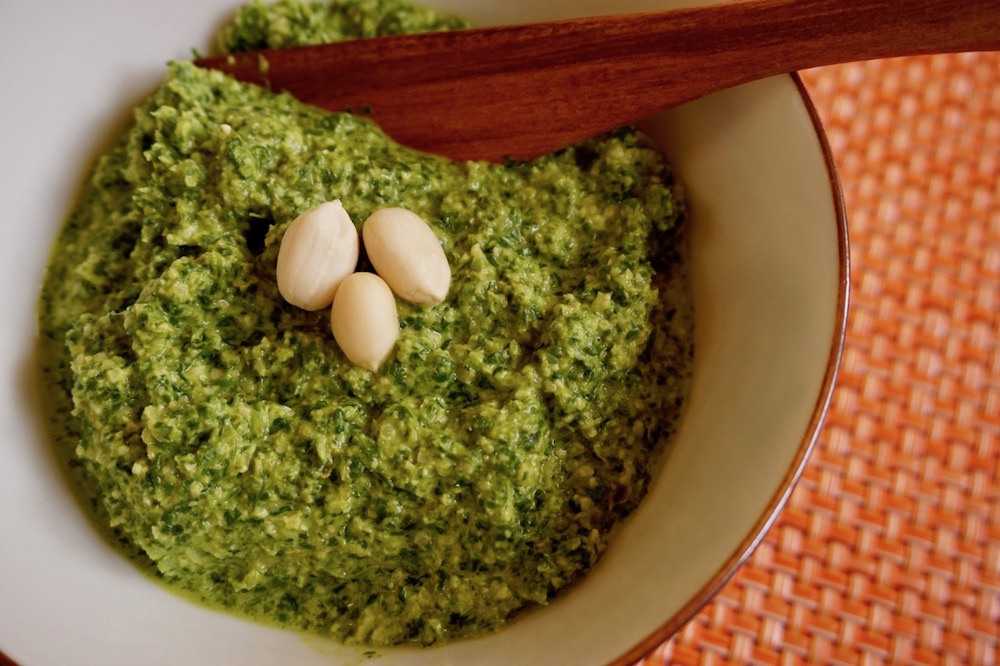
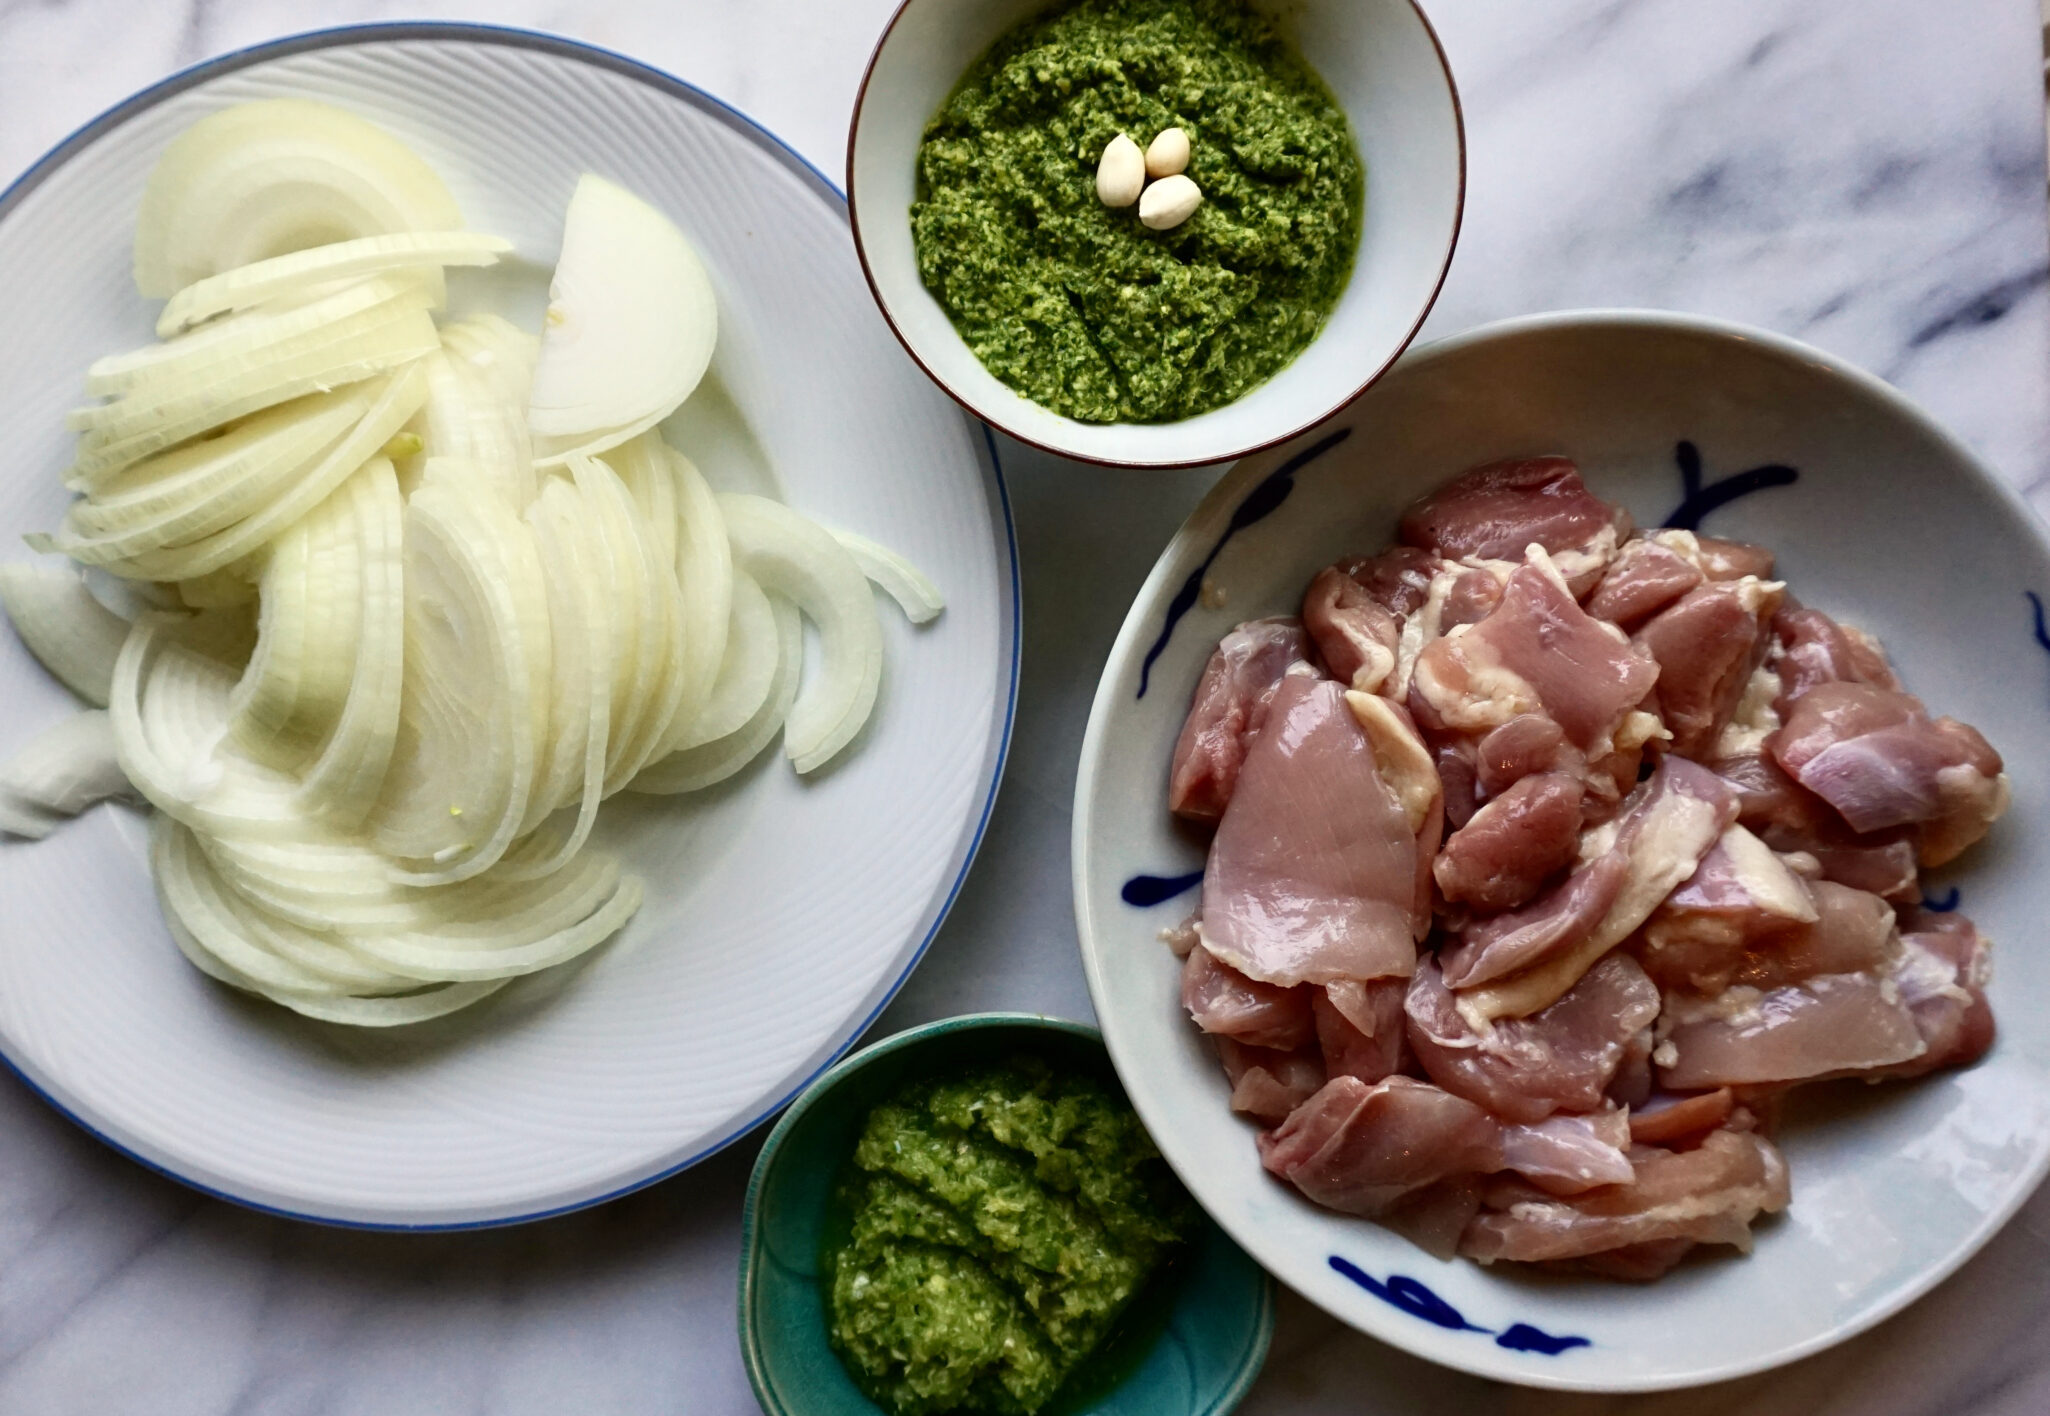
Start by making the chutney.  The chutney is sweetened with brown sugar, umami filled from the cilantro, and tangy from the lemon juice. The peanuts give it body. The green chili adds a spicy finish.  If you can’t find Indian green chilis, you can use jalapenos or serranos, not quite the same but will work in a pinch.  If you have extra chutney after making the chicken, spread it on some naan or crackers. Make it in a blender or food processor.  thin the chutney with a bit of water if it seems too thick.

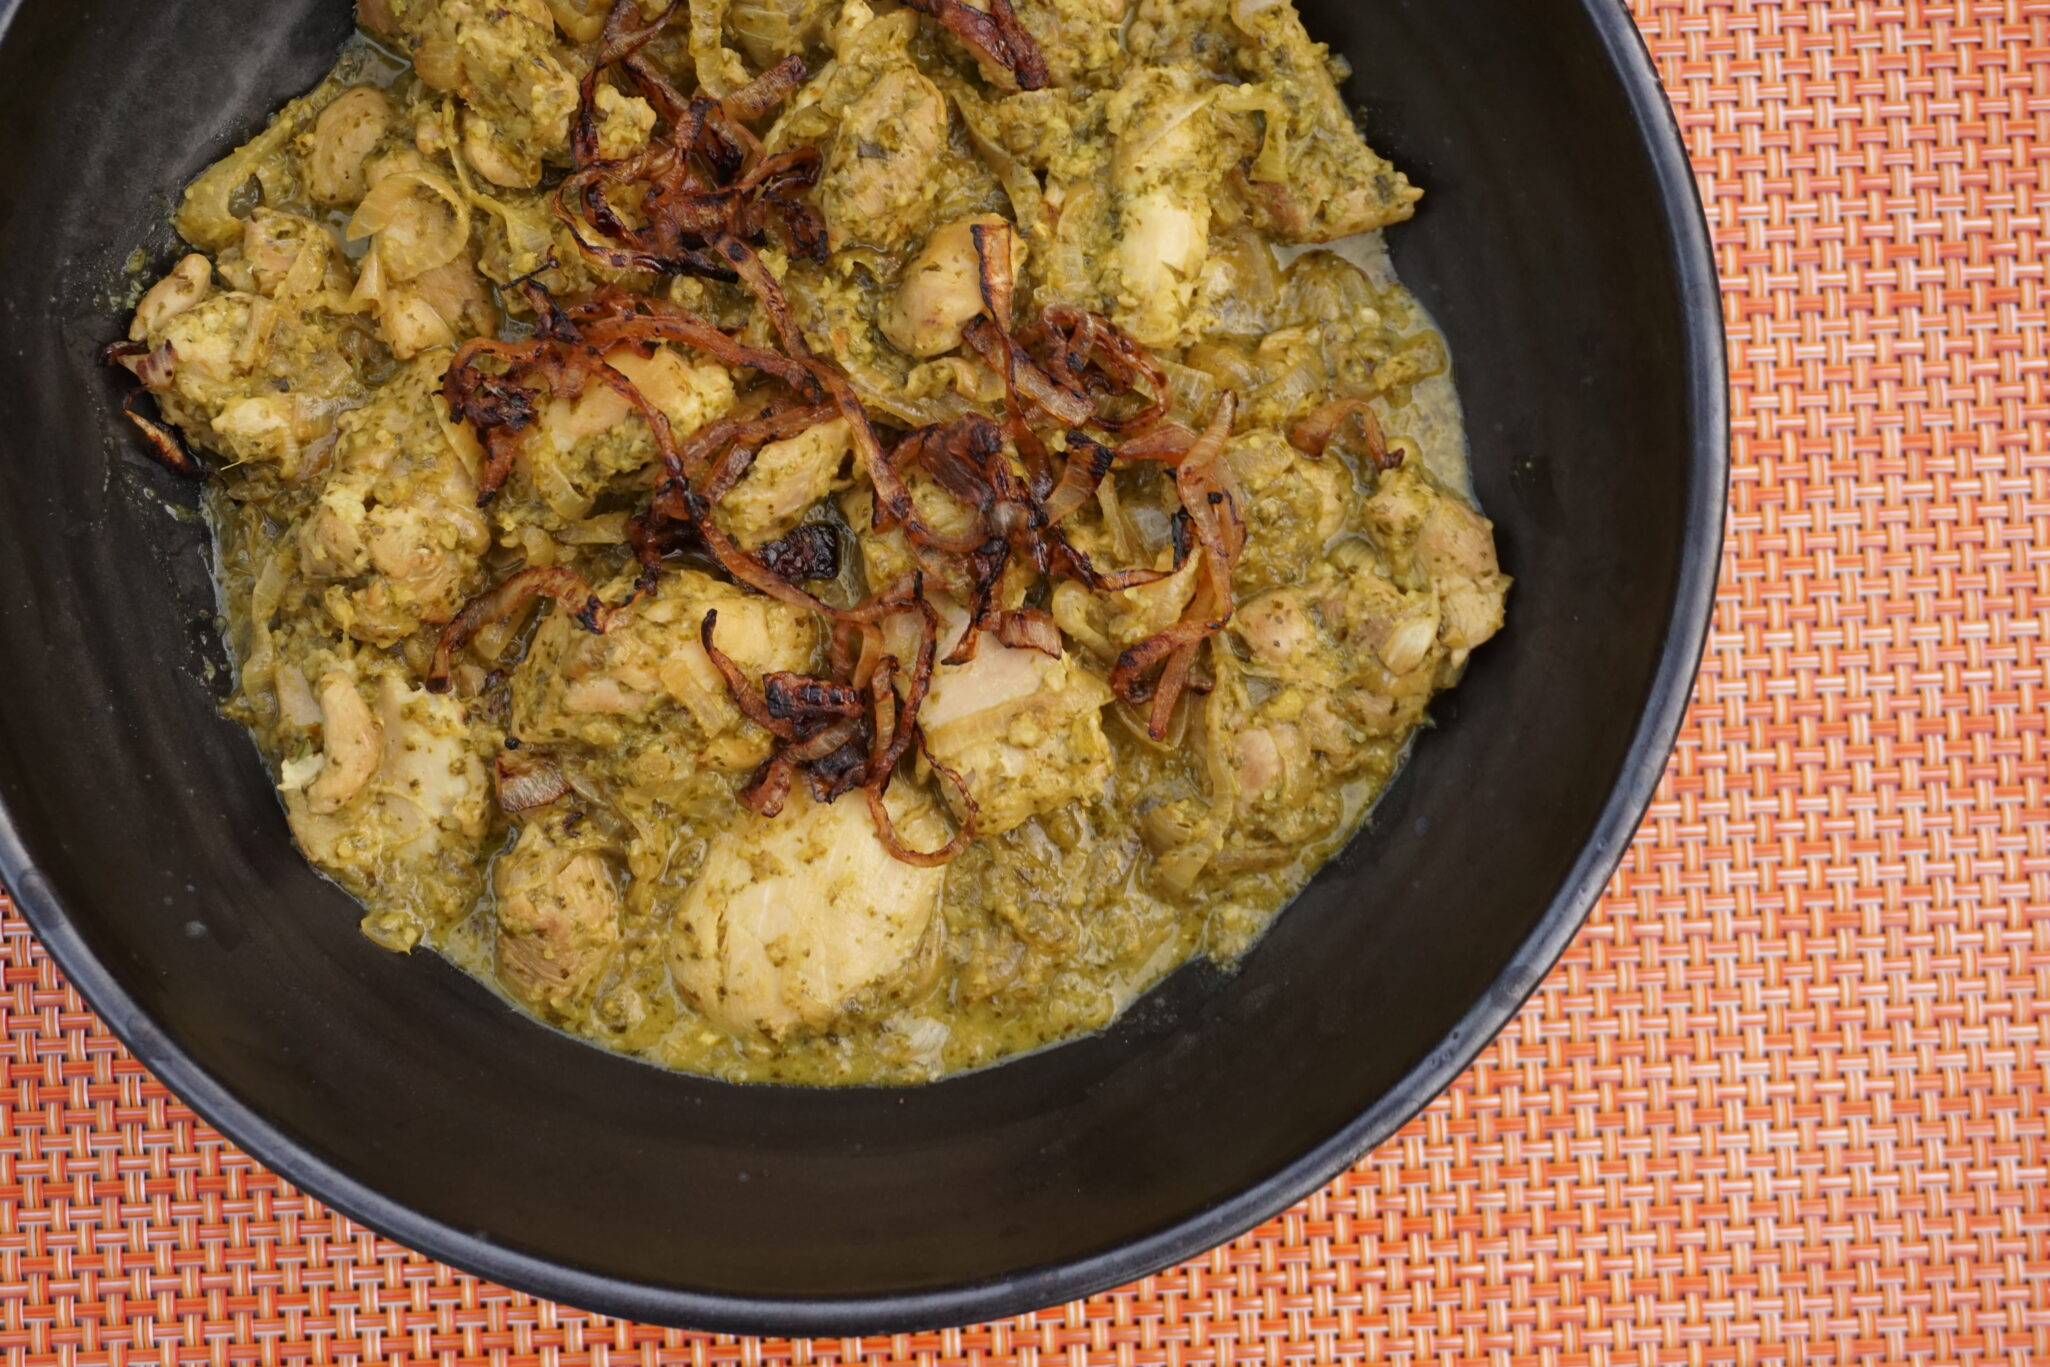
This cilantro chicken curry is very user-friendly. Despite being a newbie at cooking Indian cuisine, this dish was not intimidating and very “doable” and took just minutes to make.  First, saute boneless chicken with onions and the garlic-ginger paste, then add the cilantro chutney and simmer until the chicken is tender. That’s it!

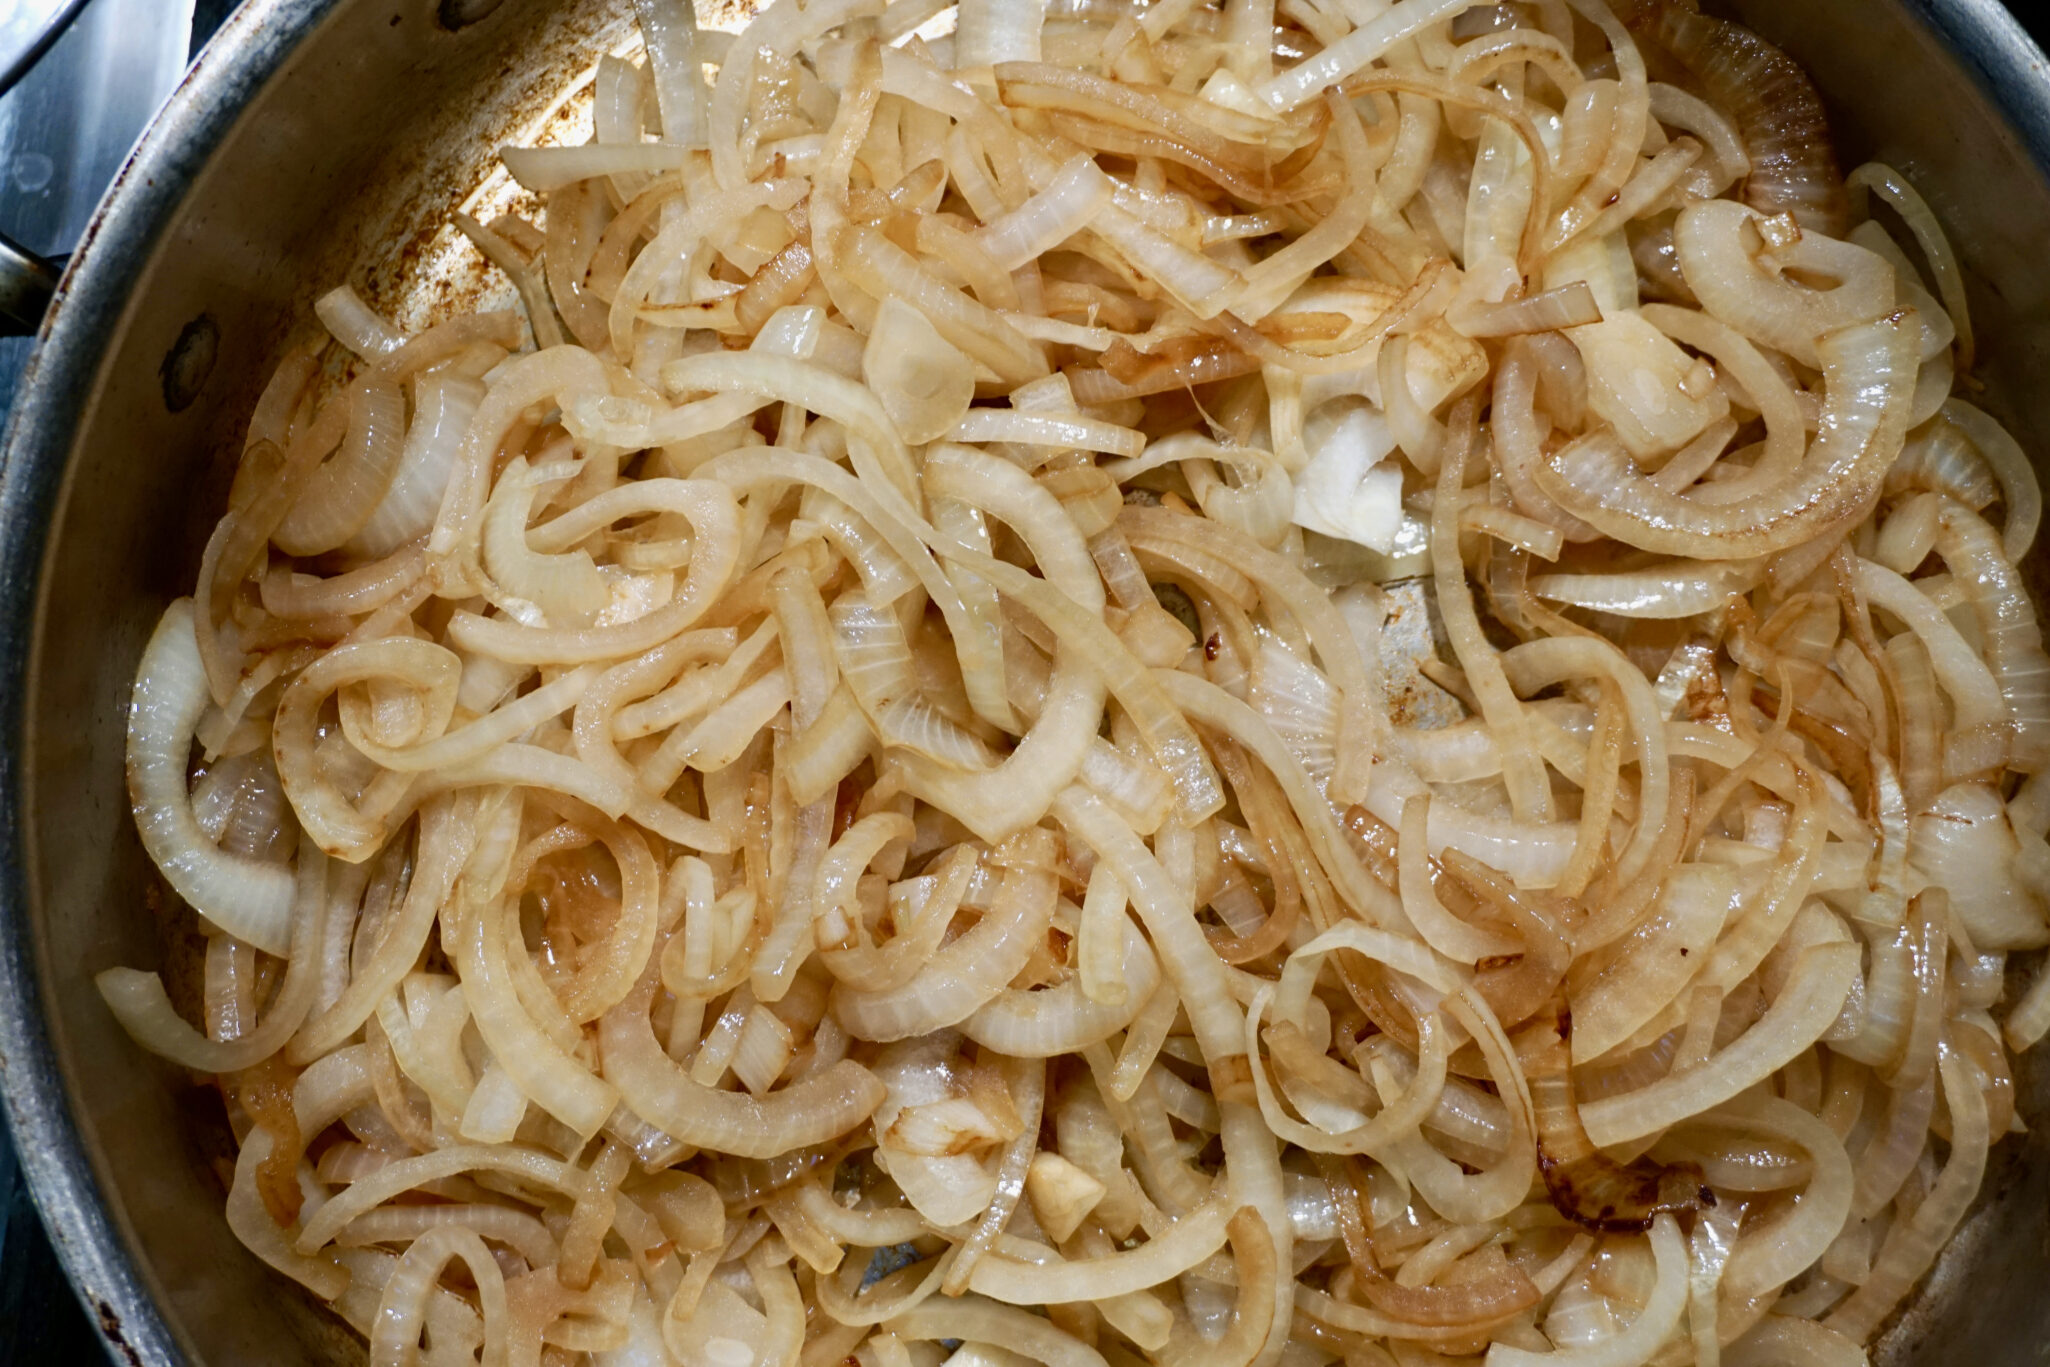
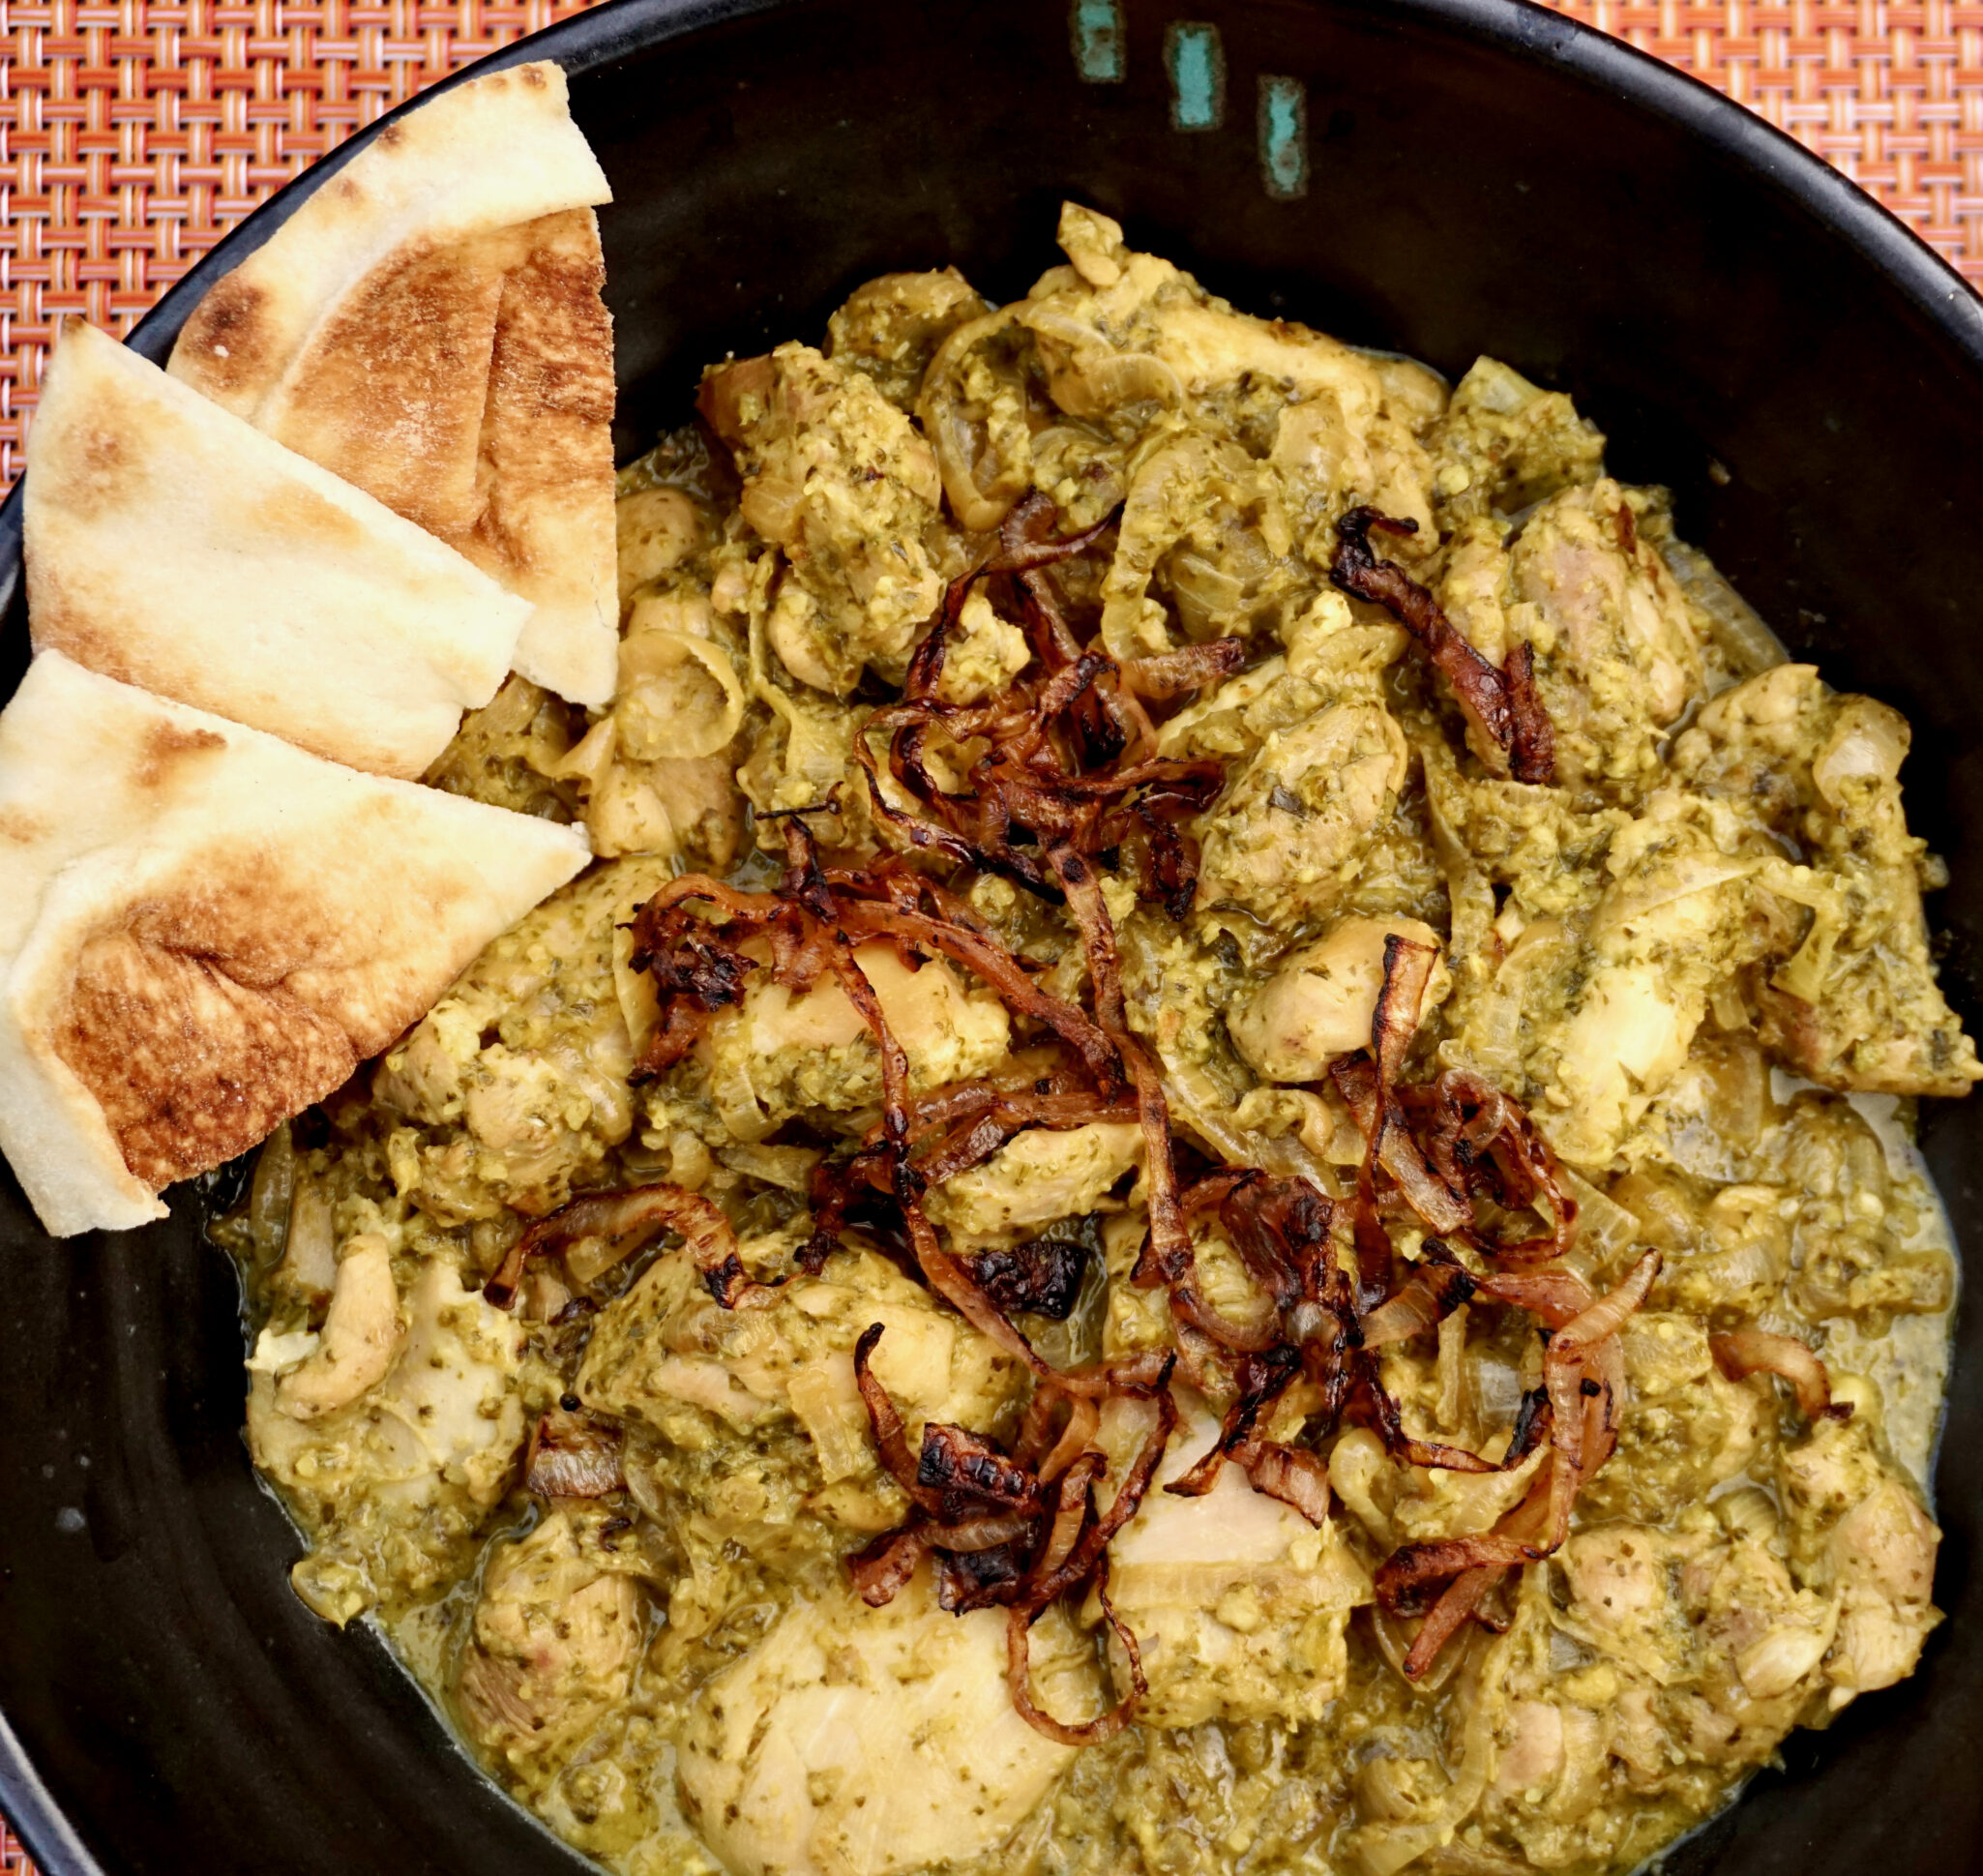
Top with the reserved caramelized onions. This dish is delightful.  Every bite is a flavor explosion.    It’s a great one-pot meal perfect for a quick weekday dinner.

On its way to becoming caramelized onions, yum.

Quick and easy…if you should decide to accept this Mission Possible, you’ll be handsomely rewarded.

Garnish with the onions and cilantro.  Serve with warm Naan and fragrant Basmati Rice.

Enjoy!

Good Morning Mr. Phoods (Cilantro Chutney Chicken Curry)

Prep Time 17 minutes

Ingredients

Ginger Garlic Chili Paste

  • 2- inch piece of ginger peeled and roughly chopped
  • 6 cloves of garlic roughly chopped
  • 3/4 fresh green chili roughly chopped (seeded if you prefer less heat)
  • salt

Chicken

  • 1 3/4 pounds skinless boneless chicken thighs, chopped into 3/4 x 1-inch pieces
  • 6 tablespoons cilantro chutney recipe follows

Caramelized Onions

  • 2 tablespoons canola oil
  • 2 onions finely sliced

Cilantro Chutney

  • 4 ounces cilantro
  • 2 ounces peanuts unsalted and unroasted
  • 4 tablespoons lemon juice
  • 1 teaspoon salt
  • 4 teaspoons brown sugar
  • 1/4 teaspoon ground turmeric
  • 2 to 3 small fresh green chilis roughly chopped (seeded if you prefer less heat)

Instructions

Chicken Curry

  • Throw the ginger, garlic, and green chili into a mortar and pestle, along with a pinch of salt, and bash up to a coarse paste.
  • Put the oil into a wide-bottomed, lidded frying pan on a medium heat. When it’s hot, add the onions and fry, stirring occasionally, for 6 to 8 minutes, until they are starting to turn golden. Transfer half of the onions to a bowl and put to one side.
  • Add the ginger, garlic, and green chili paste and cook for around 3 minutes. Put the chicken pieces into the pan, sear them on all sides and add the chutney. Stir the chutney, pop the lid on, and turn the heat down to medium-low. Cook for around 15 minutes until the chicken is cooked through and tender.
  • In the meantime, transfer the onions from the bowl into a small frying pan and continue to cook them on a medium heat for another 10 to 15 minutes, until they are dark brown, soft, and sweet, then take them off the heat.
  • Add 1/2 teaspoon of salt (or to taste) to the chicken little by little, until it tastes just right, then take it off the heat.
  • Scatter the caramelized onions over the top of the curry just before serving. Serve alongside some steaming hot basmati rice or a pile of hot, homemade chapatis.

Chutney recipe instructions:

  • To wash the cilantro, fill a bowl full of cold water and put the cilantro in it. Move the cilantro around in the water, then take it out and shake off the excess water.
  • Roughly chop the stems and leaves and put them in a blender. Add the peanuts, lemon juice, salt, sugar, turmeric, and 2 small chilis, and pulse them in the blender until the mixture has a smooth, almost pesto-like consistency. Add some water to help the mixture to blend if necessary. The result should be a smooth cilantro chutney which is equally sweet, fiery, and lemony. Add the remaining chili, or more lemon juice, salt, and sugar to balance it to your taste, then spoon it into your clean jar.