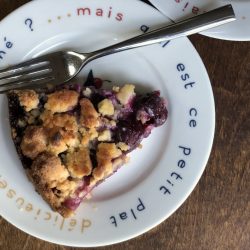
The Joy of Cookies (Toffee Bars)
Joy is one of my oldest friends. We went to school together and I mean that literally. We lived a few blocks from each other, every day we would meet on the street corner halfway between our houses to walk and talk the final mile to school. Sometimes, on the walk home, we wouldn’t be done talking so we would walk to one of our houses, turn around and walk back to the meeting point together before parting ways. Silly, huh. Yep, BFFs.
Holiday Highlight
Every Christmas I eagerly awaited her mom’s plate of holiday cookies. Joy’s mom, whom I affectionately called Mrs. S, was an amazing baker (and a marvelous cook too). During the holidays, you could find her holed up in her kitchen busy baking no less than 6-8 different kinds of cookies. Almond Crescents, Spritz Cookies shaped into wreaths decorated with red and green sugar, Chocolate Pecan Thumbprints, Pecan Tartlets, Chocolate Chippers, and Lemon Bars. Her crescents were perfect, her scalloped-edged Pecan Tartlets were the gold standard of bite-sized pies.
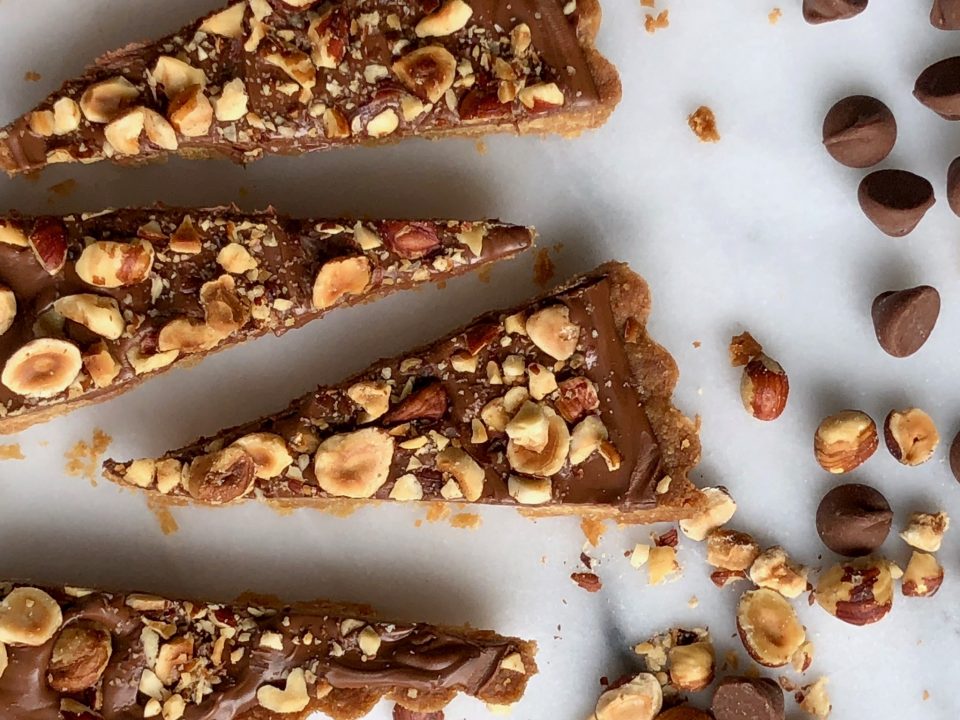
In short, she was my muse for holiday cookies. I love all of her cookies, but my favorite? Hands down, her Toffee Bars. A shortbread crust, buttery and sweet, painted with milk chocolate and finished with a sprinkling of chopped almonds. Cookie Nirvana.
Attention to Detail
I have most of Mrs. S’s recipes. Her Pecan Tartlets find their way into every holiday cookie box. The Hubster considers it blasphemous if they are not included. I am religious about following her recipes, I mimic each step. I cut out each tiny pie crust with a flower petal cookie cutter. How else do you get cute scalloped edges? I meticulously shape each ball of almond-infused dough into crescent-shaped moons. Warm from the oven, I roll each cookie in powdered sugar and place it on a cooling rack. Then, sift powdered sugar over the cookies for that snow-capped look. Yep, that little extra step. Her attention to detail was what set her cookies apart and that’s what I learned from her.
It’s been a few years since she left us. Every Christmas since, as I am perusing recipes and pulling out my butter, flour, and sugar- I think of her. I imagine her scurrying around her kitchen churning out tray after tray of her delicious cookies. Then I hear her voice prodding me, it’s time to get busy and bake.
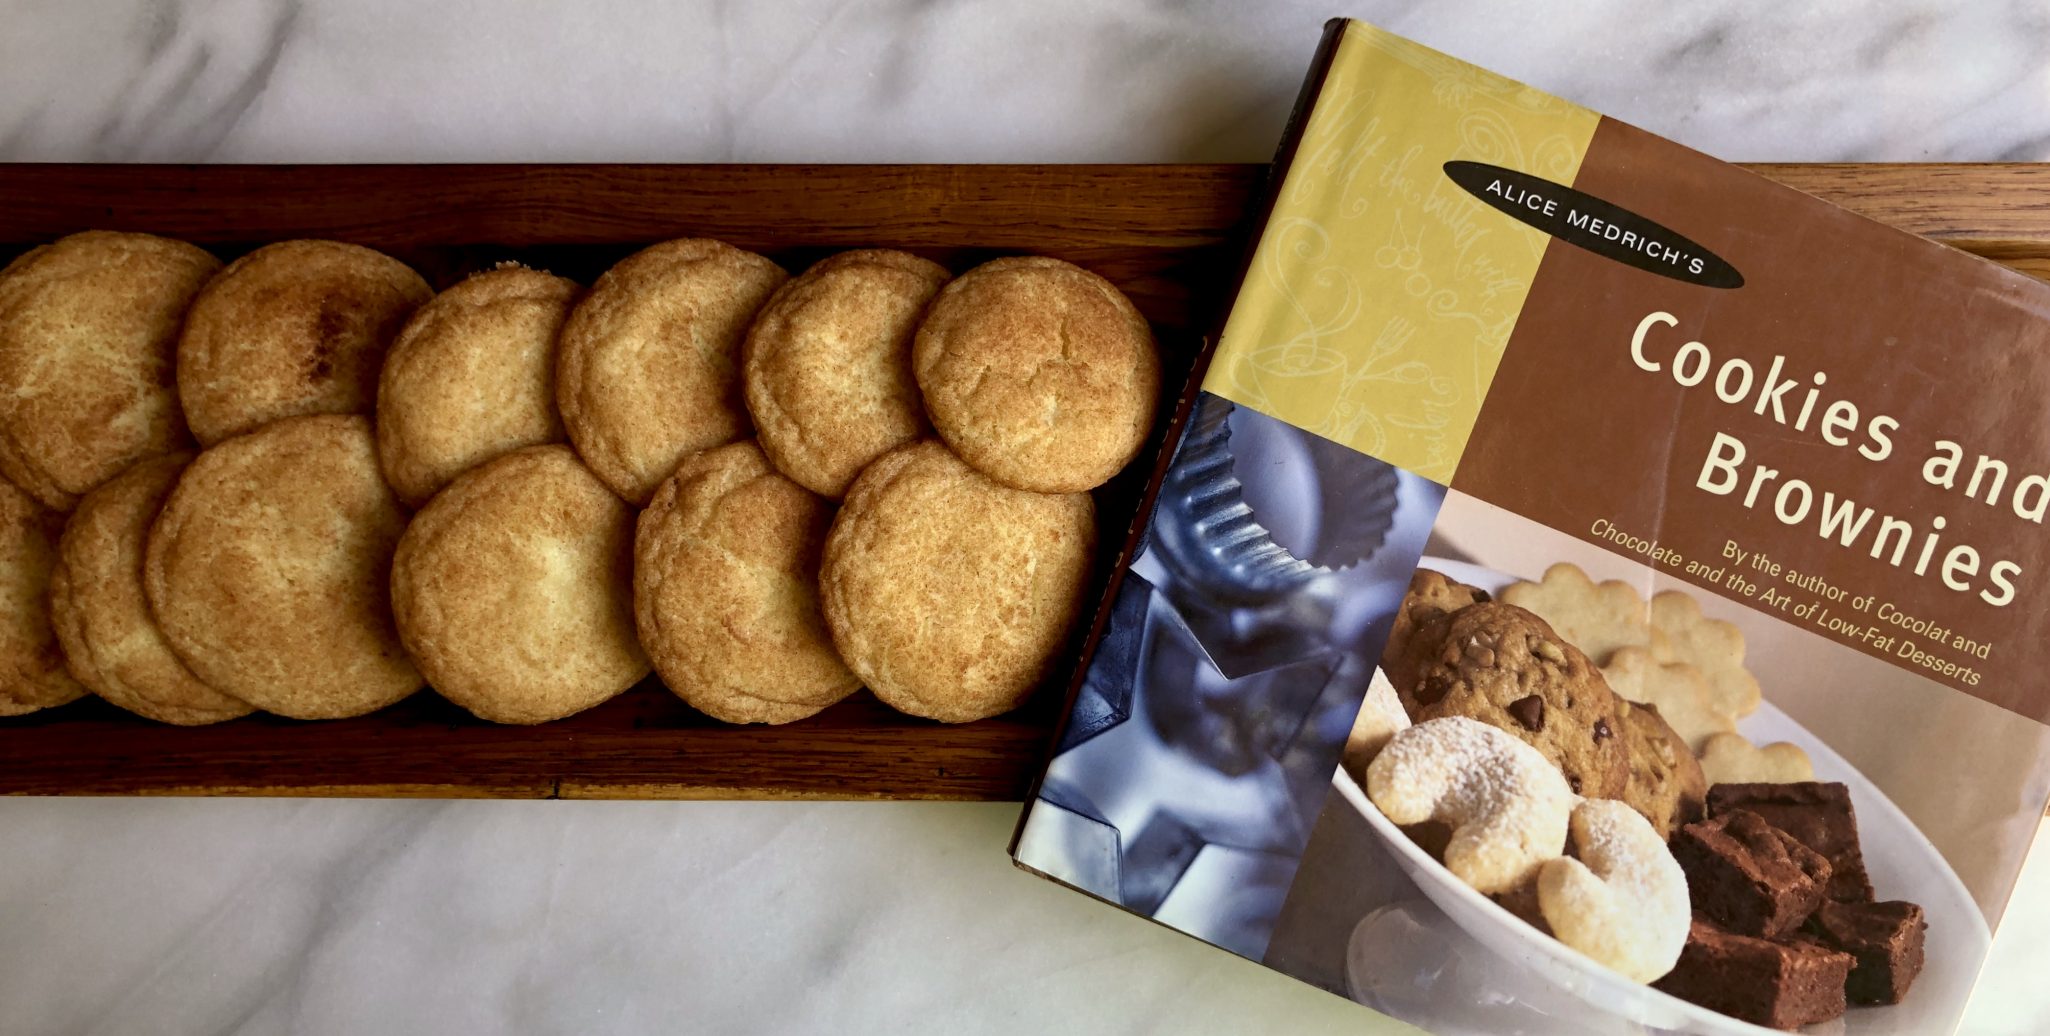
A Fine Understudy
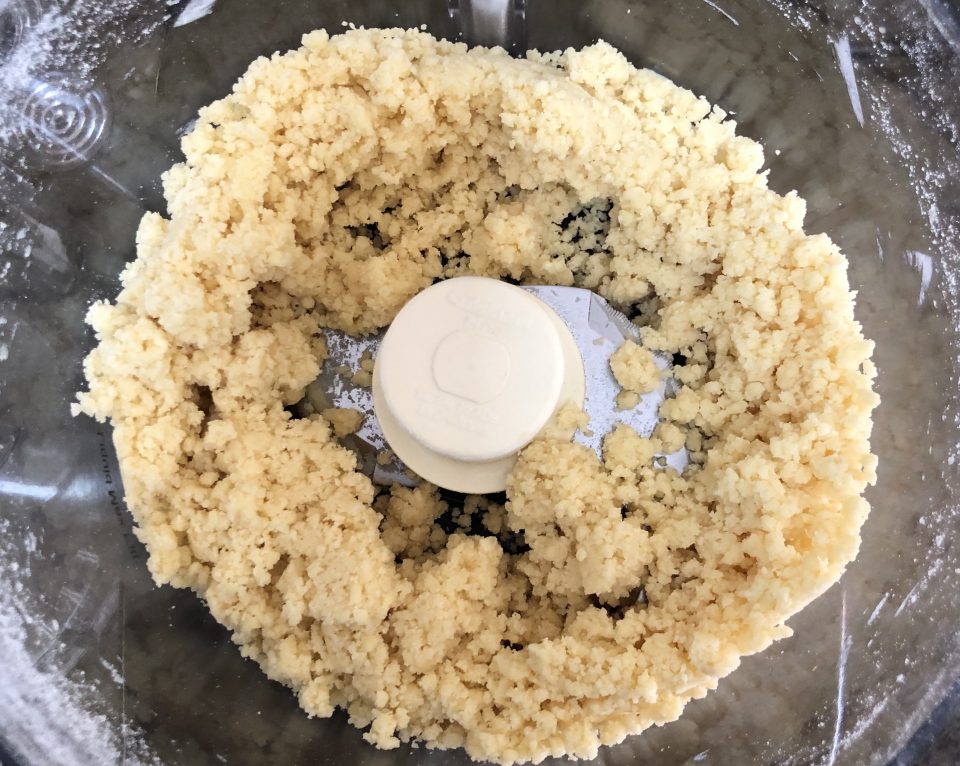
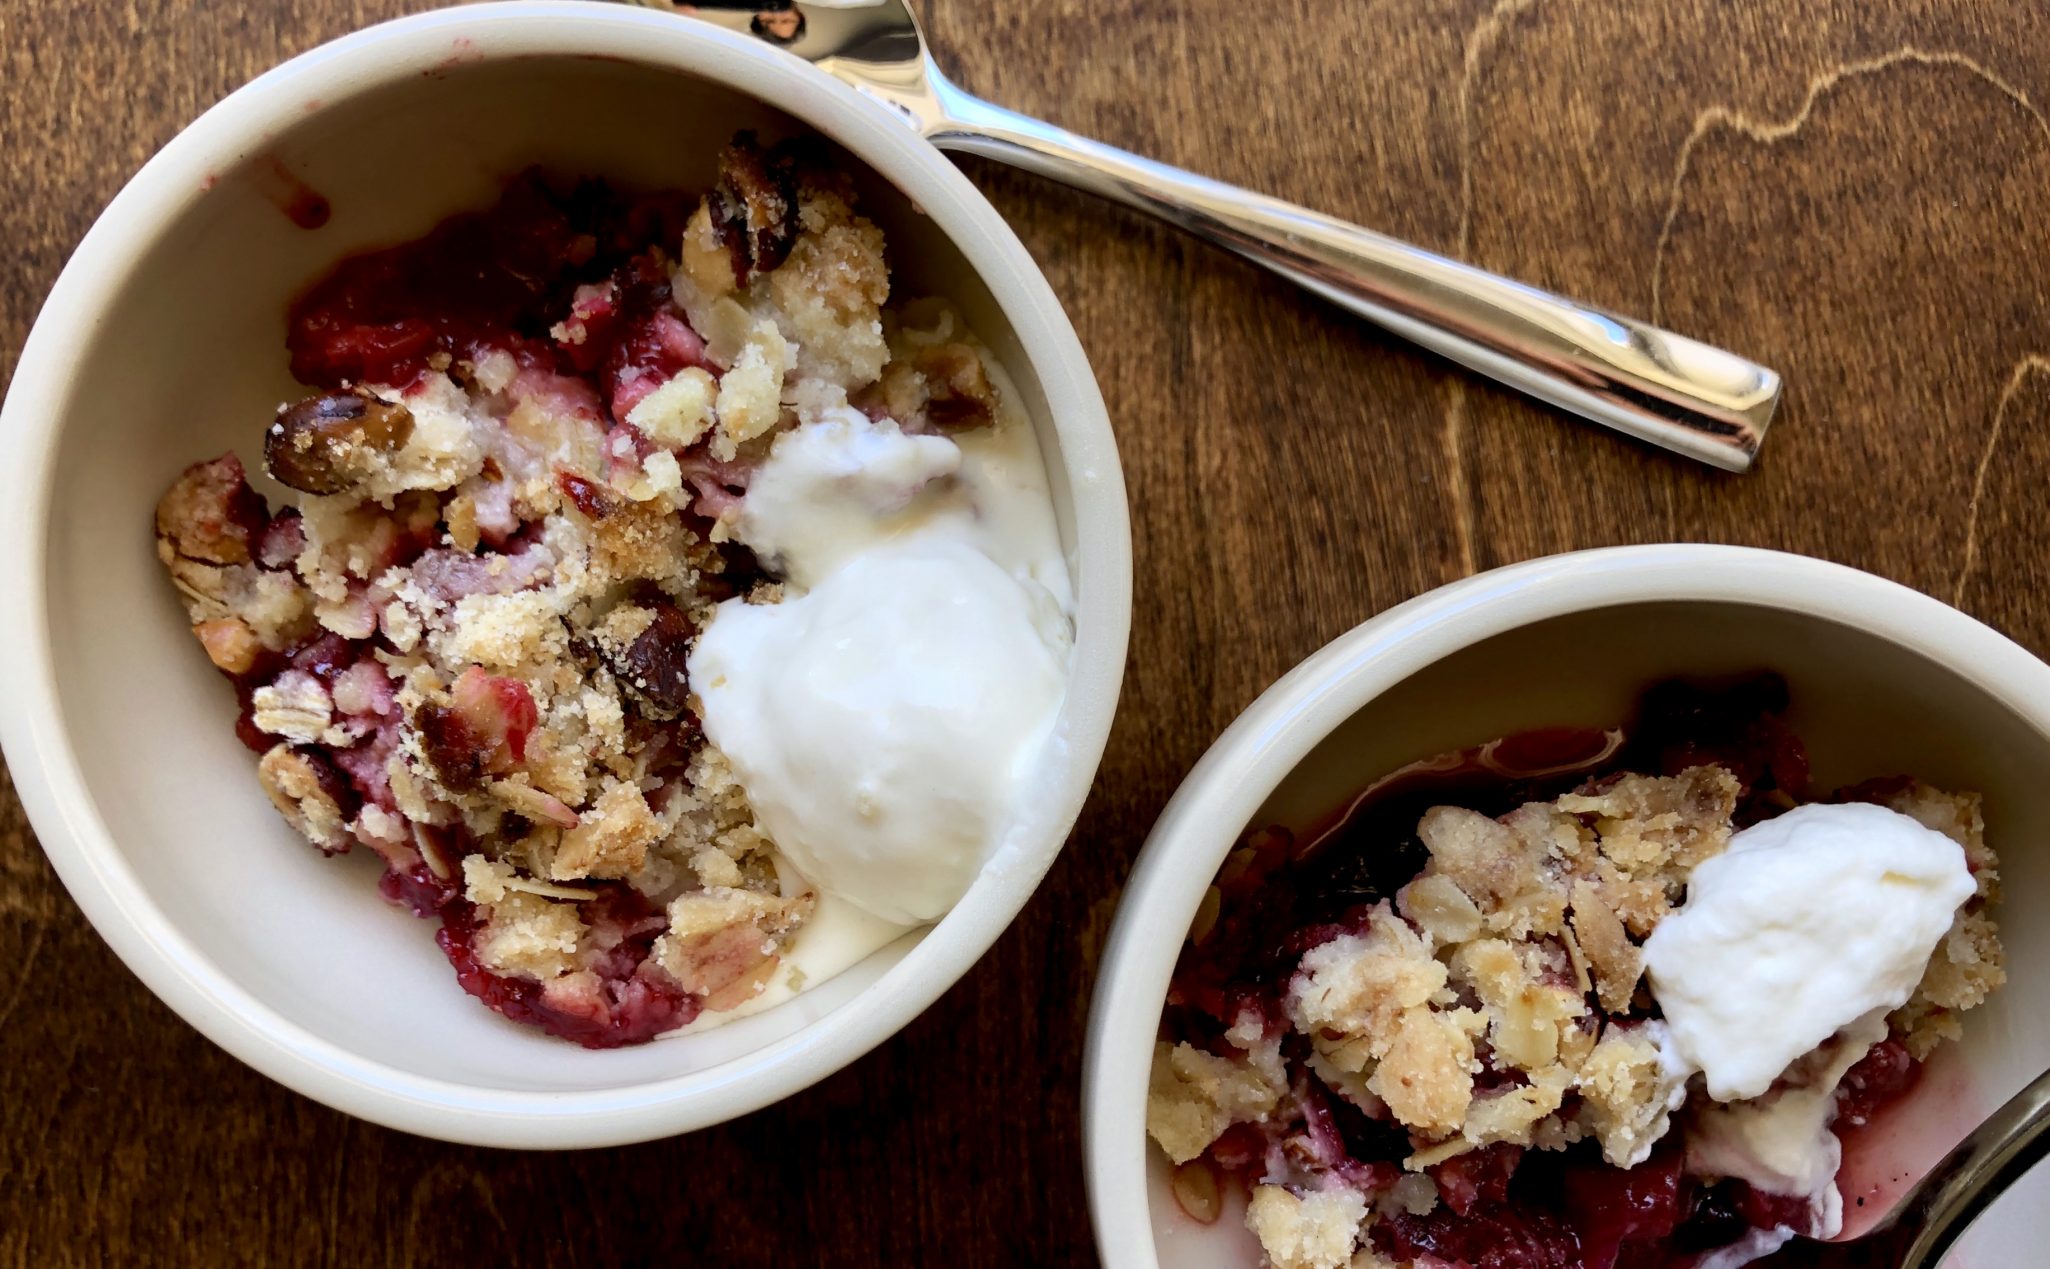
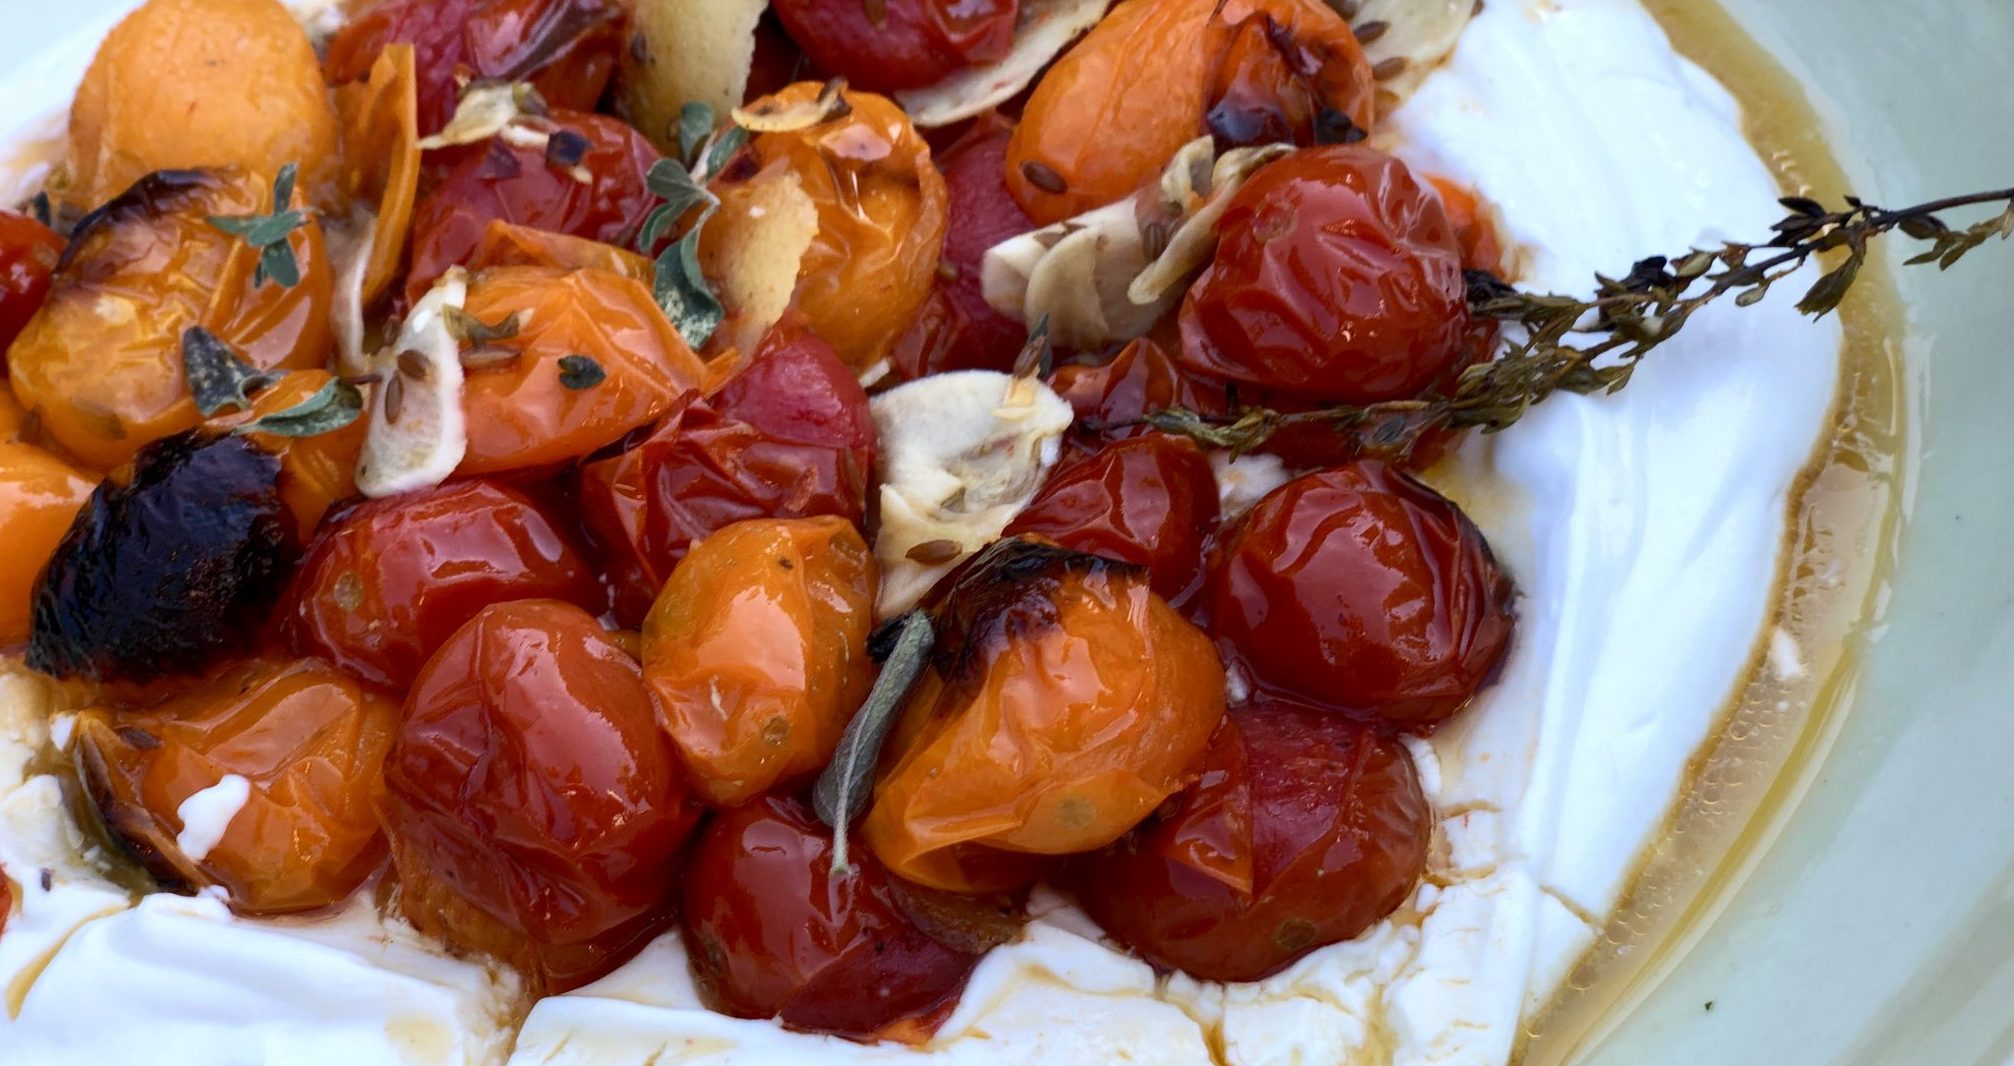
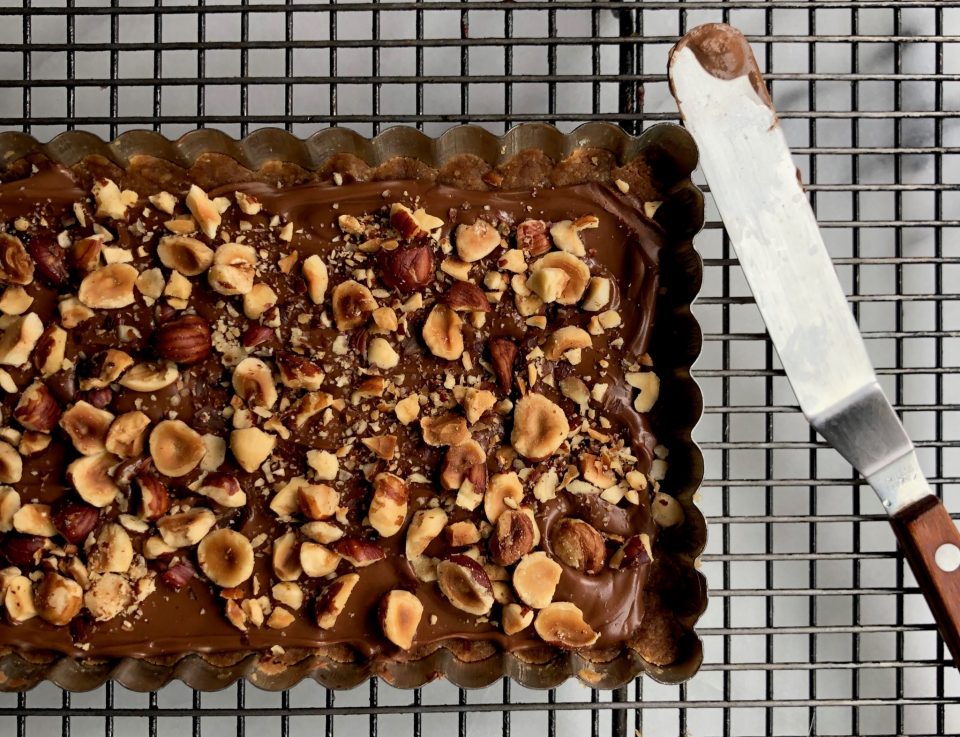
Unfortunately, I don’t have Mrs. S’s recipe for those Toffee Bars that I love so much. (Update: Found it! Mrs. S’s Toffee Squares) But Alice Medrich does. Her Cookies and Brownies book contains toffee bars that are so good, they would make Mrs. S proud. The crust starts with melted butter making these incredibly easy to make. Stir together brown sugar and flour with the butter, press into a pan and bake to a golden brown. For this batch, I scattered a combo of semi-sweet and milk chocolate chips on the warm crust, let them melt, and ice the melted chips over the crust. For the final touch, sprinkle toasted hazelnuts over the chocolate. Next batch? Endless possibilities, limited only by your imagination.
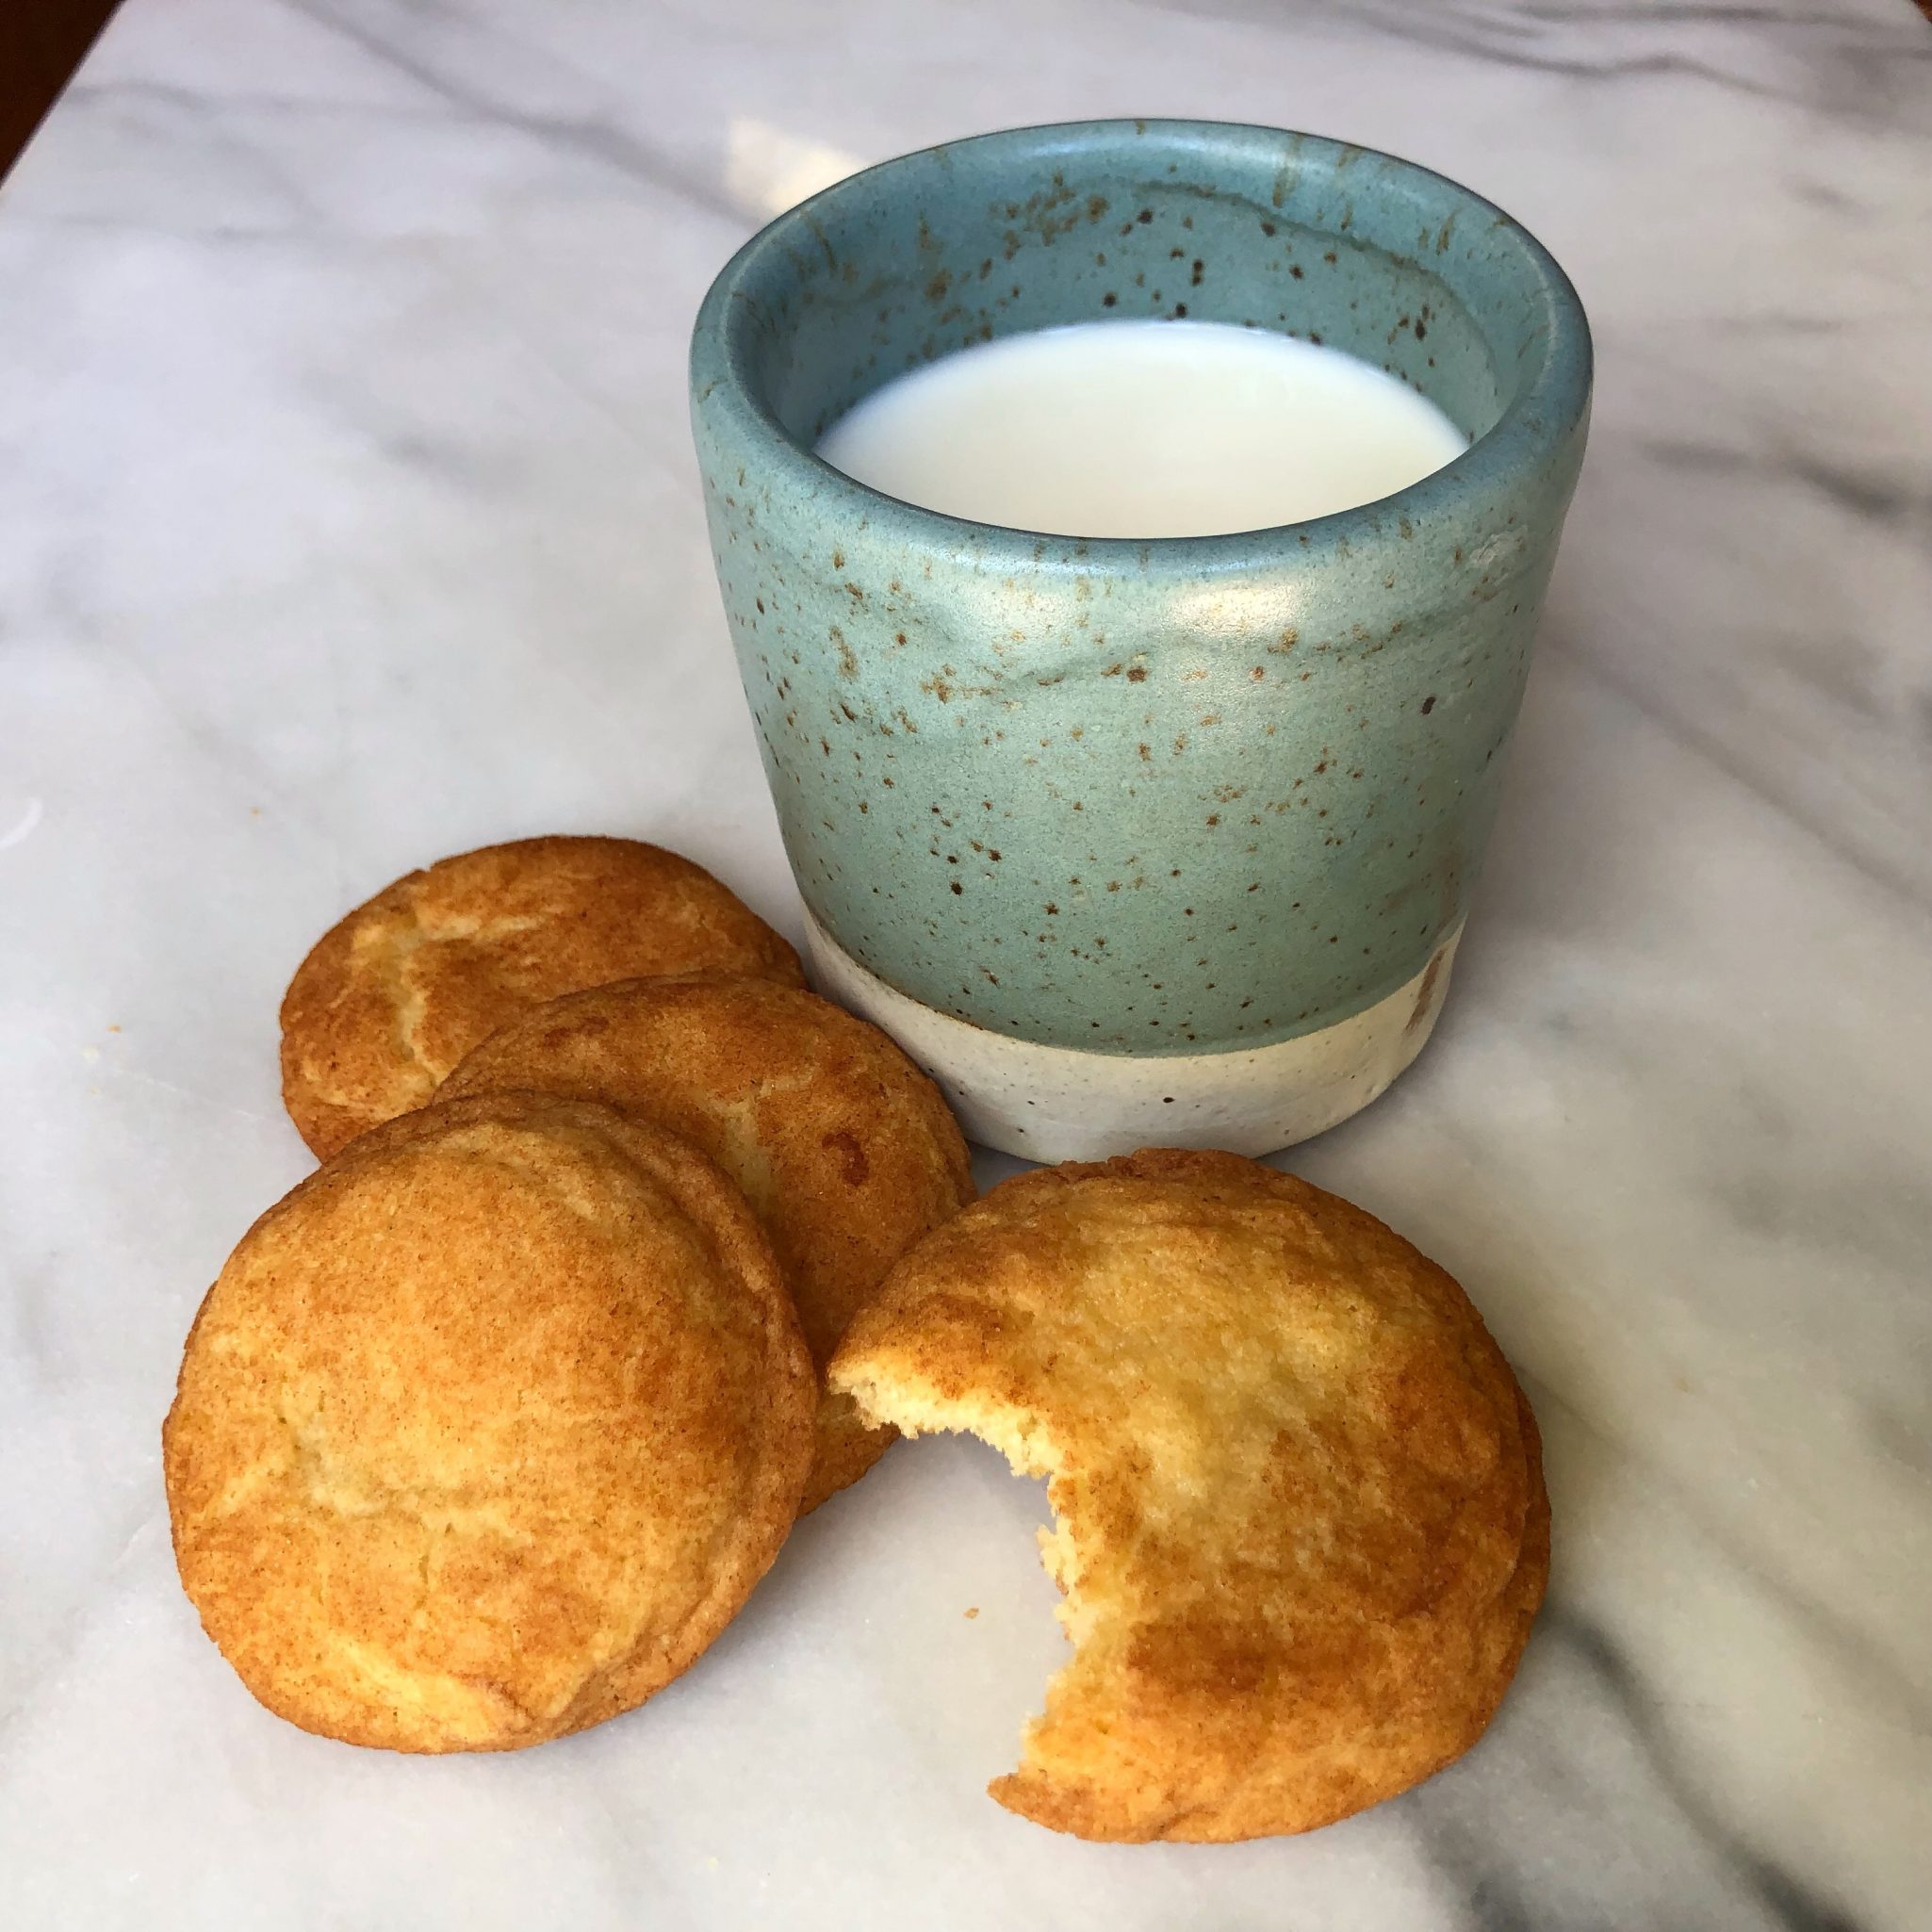
Kid version: Use all milk chocolate and either toasted almonds or pecans. Got milk?
Adult version: Use semi-sweet chocolate or dark chocolate and toasted hazelnuts, finish with Maldon Salt. Serve with some bubbly.
Sporty twist version: Perfect during a ballgame, your choice of chocolate and salted or honey-roasted peanuts. Play ball!
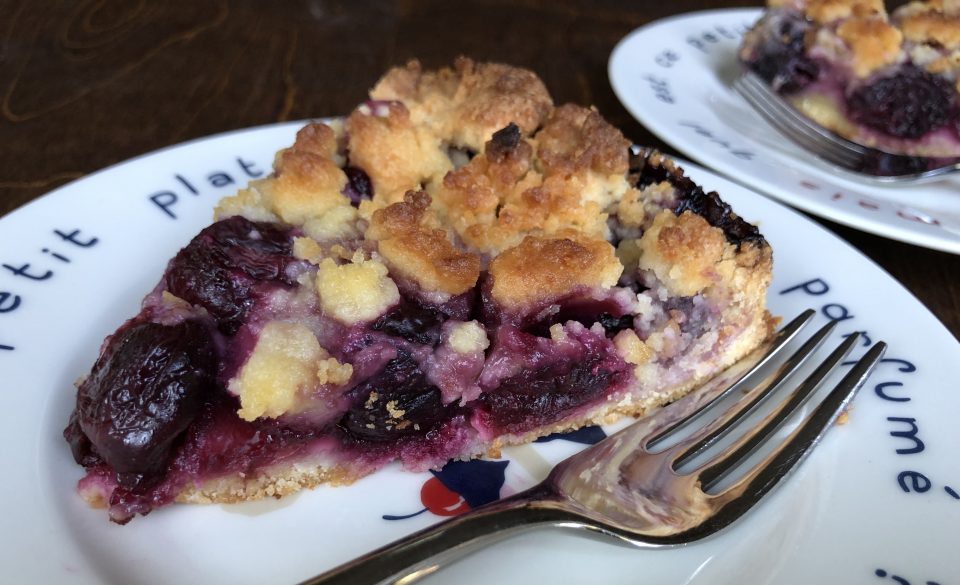
Allow bars to cool on a rack. Use a serrated knife to cut the pan into bars or wedges.
Toffee Bars
Equipment
- 8x8 inch square pan or 9' tart pan with removable bottom. Any pan with roughly same area I like to use a 12x5 rectangular tart pan and cut the cookies into wedges.
Ingredients
Shortbread base
- 8 tbsp unsalted butter
- 1/2 cup light brown sugar packed
- 1 tsp vanilla
- 1/8 tsp salt
- 1 cup all-purpose flour
Topping
- 6 ounces milk or semisweet chocolate chopped, if bar or block or use chips
- 1/2 cup toasted nuts your choice!
Instructions
- Preheat oven to 350 degrees. Position rack in lower third of oven
Shortbread base
- Cut butter into chunks and melt in a saucepan over medium heat or place in heatproof glass bowl, loosely cover and microwave at 40% power for 15 seconds, repeat if necessary.
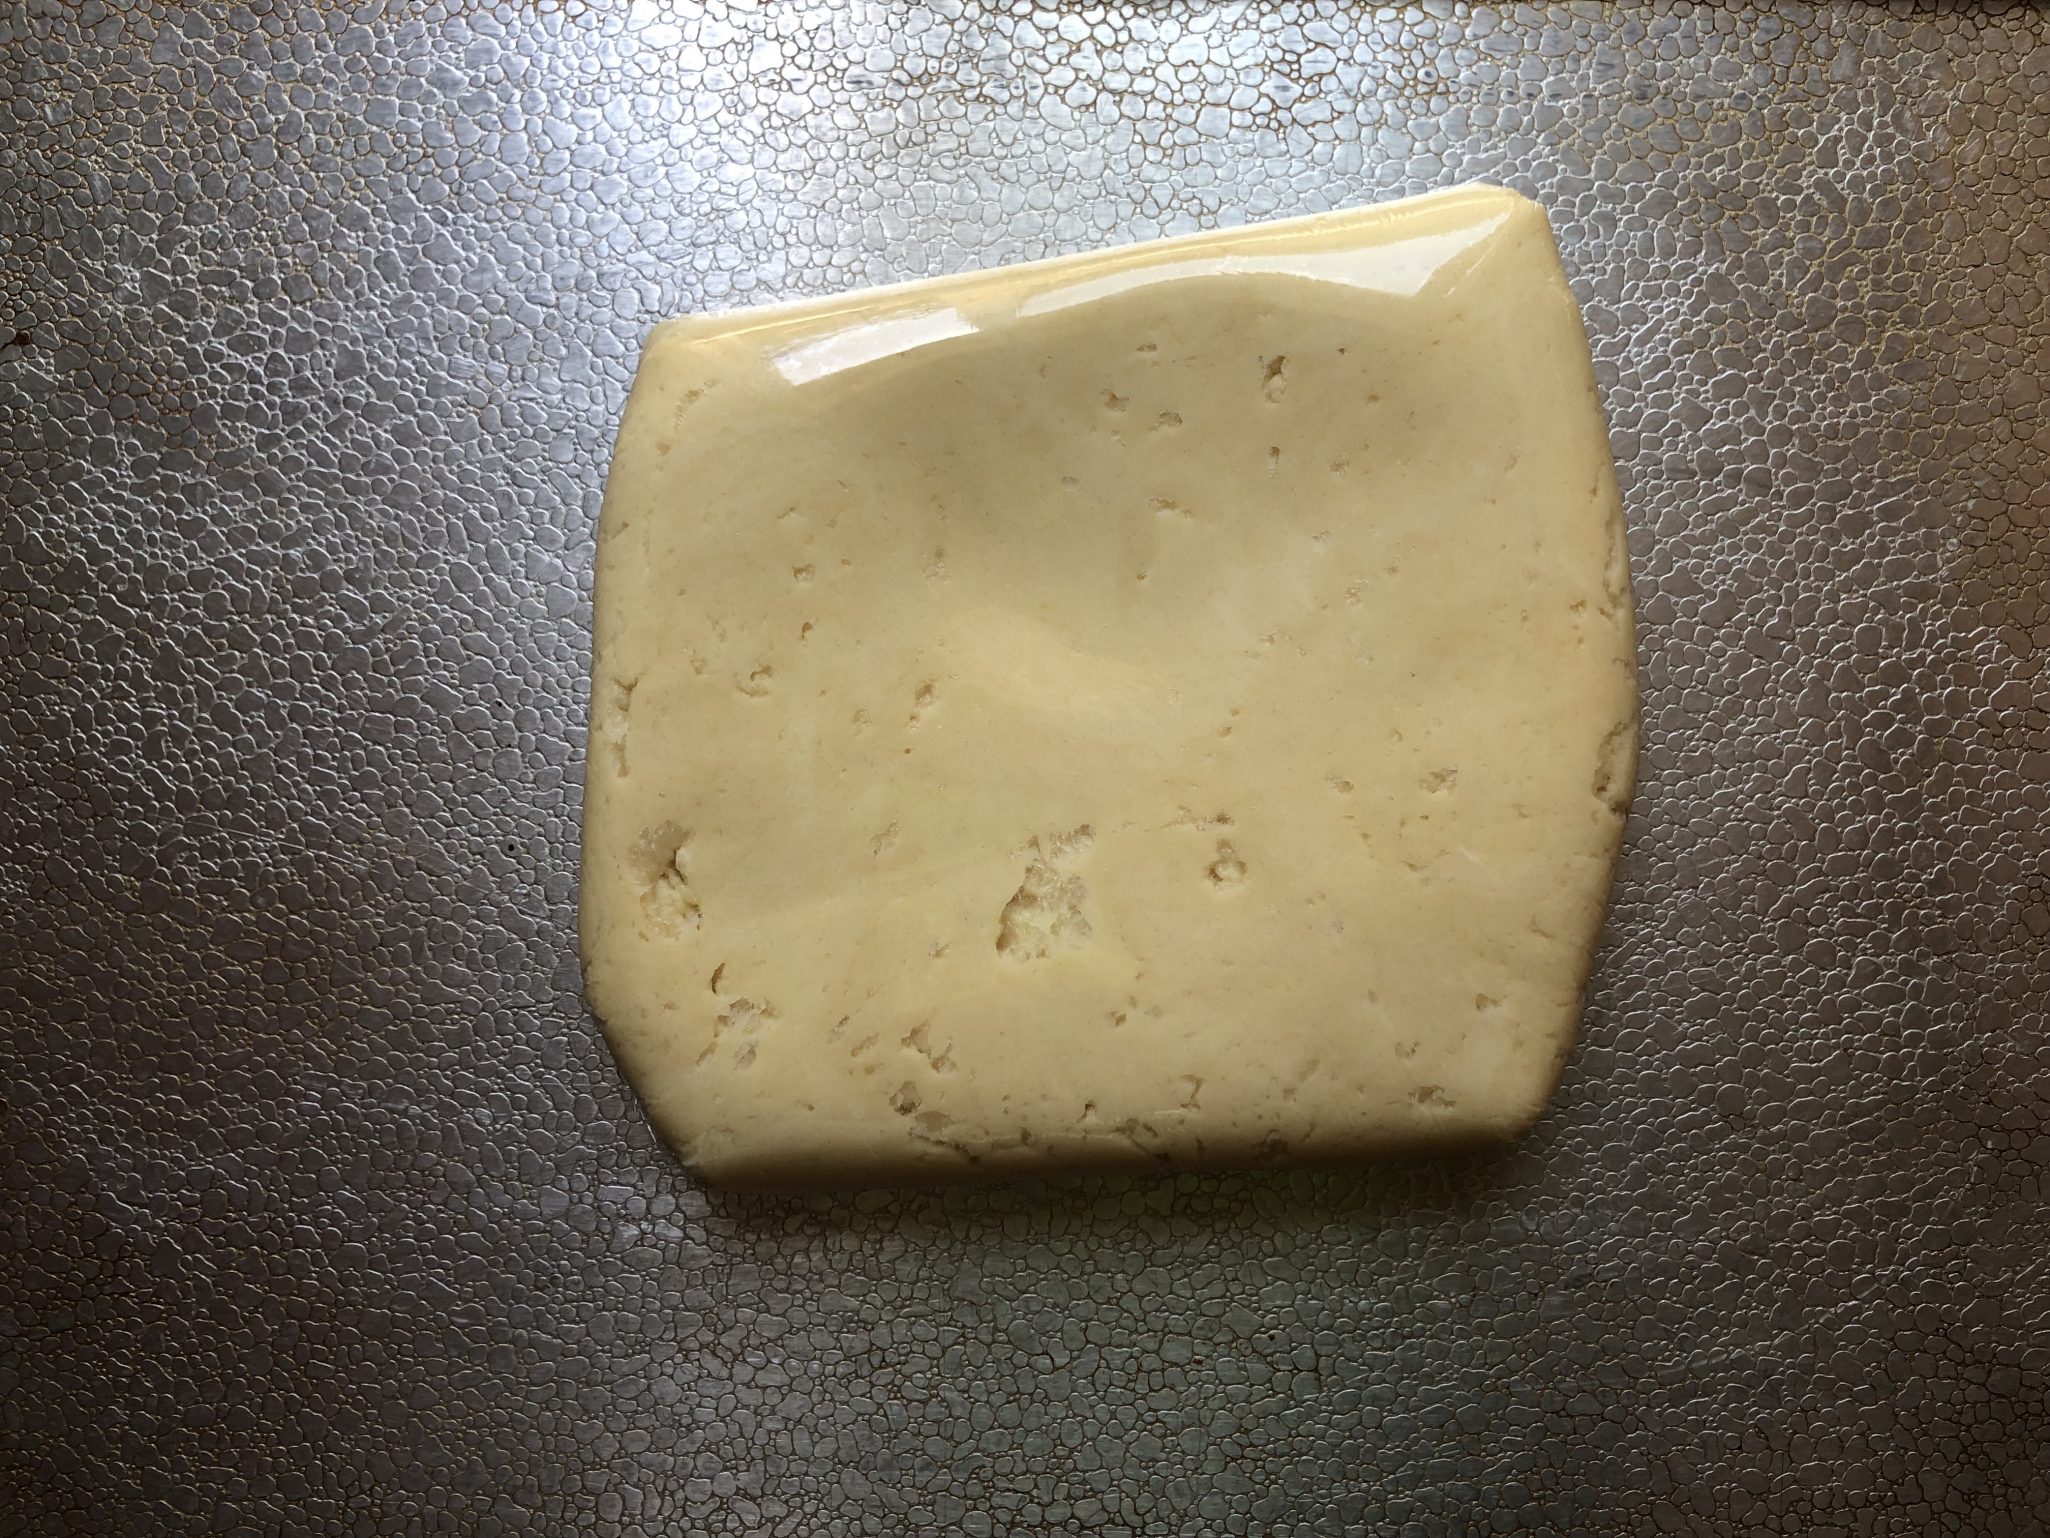
- Remove from heat and stir in brown sugar, salt and vanilla. Add flour and mix just until combined.
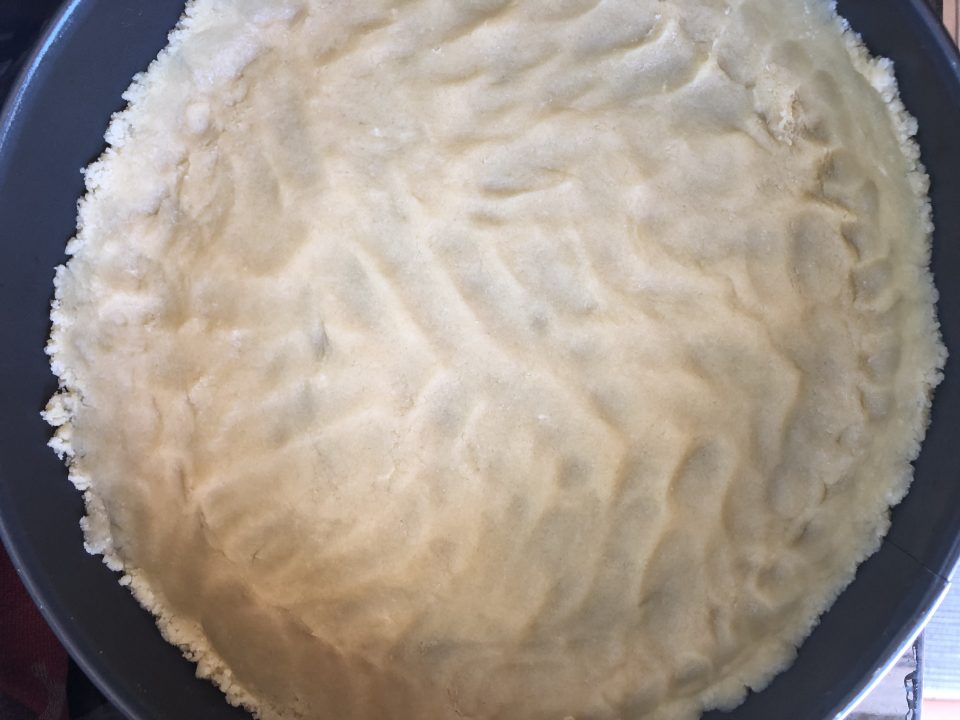
- Press dough into a lined (parchment or foil) 8x8-inch pan or a tart pan with a removable bottom
- Bake for 20-25 minutes or until well browned at the edges and golden brown in the center
Topping
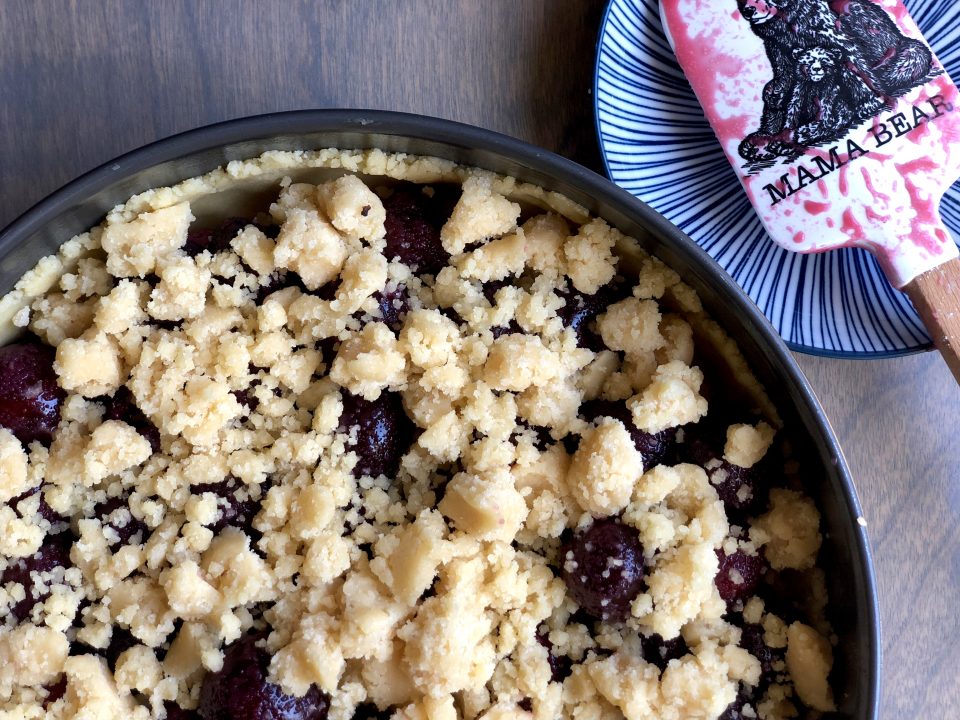
- Scatter chocolate evenly on top of warm crust. Let stand to allow the chocolate to melt. If necessary, place in the oven for a minute to help melt the chocolate. Spread chocolate evenly over the crust with an offset spatula or the back of a spoon.
- Sprinkle toasted chopped nuts over chocolate. Set on rack to cool.
- Lift and transfer bar to cutting board. Use a sharp knife (I like using a serrated knife)and cut into 2x2" squares or wedges. If necessary chill in fridge to set chocolate.
- See story above for variations.