
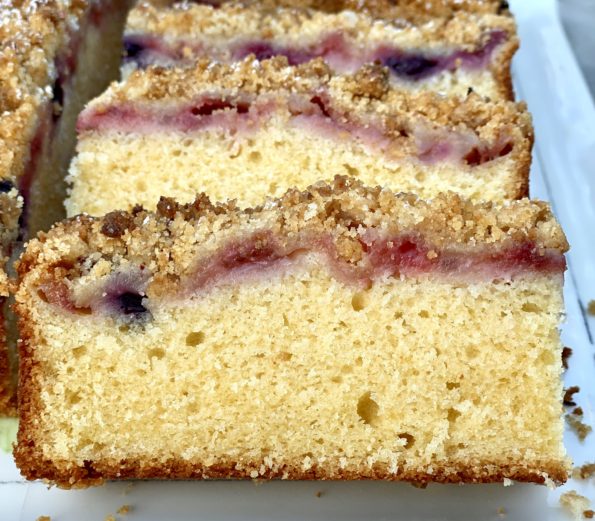
My weekly trip to the farmer’s market starts with lining up at the P&K Strawberry stand 30 minutes before the market even opens. Yep, the…
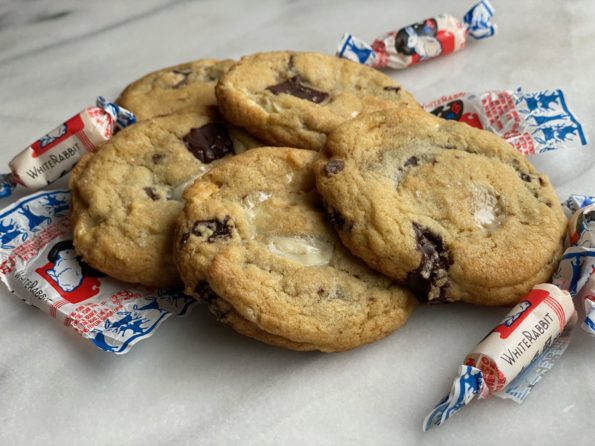
As a kid, I spent a lot of time running the streets of Chinatown in San Francisco. After school, I headed to Chinatown to attend…

Waat Dan Fan (滑蛋飯) is one of my absolute all-time favorite down-home Cantonese dishes. The literal translation is Slippery Egg Rice. This version includes beef…
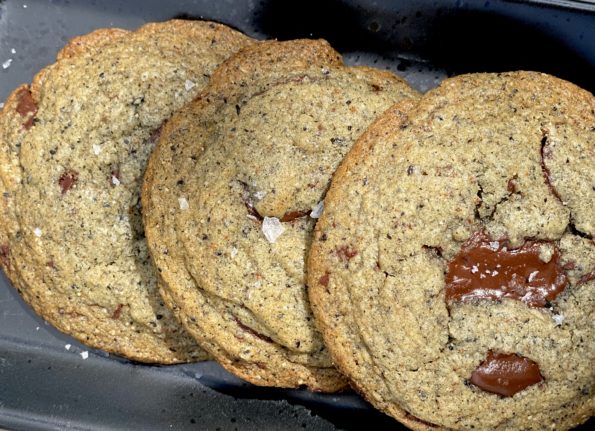
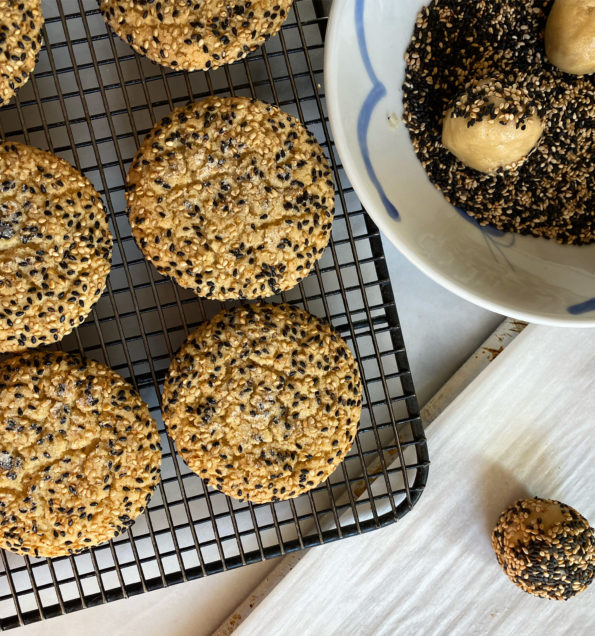
The flavor of the day is toasted black sesame seeds. They’re delicious-earthy, nutty, and bolder than white sesame seeds. They add texture, color, and zing…
I had been looking for a dessert/cookie recipe using Ube for a while when I came across a recipe for Butter and Ube Bibingka/Mochi on…

Marching orders in hand, I gathered the ingredients to make Anzac Biscuits. Think Oatmeal Cookie meets Oatcake or Granola Bar…you end up with a biscuit…
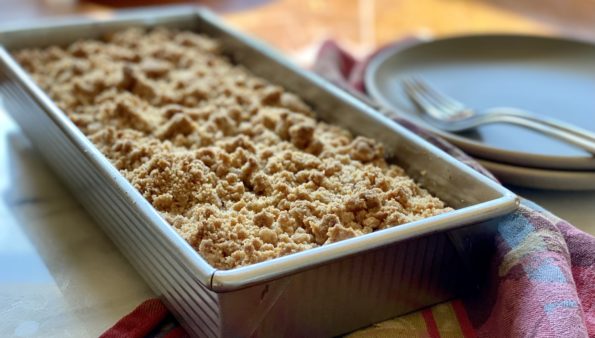
Let me run down the reasons you should make this Apple Crumb Cake… The original recipe is from Smitten Kitchen, and well, duh, of course,…
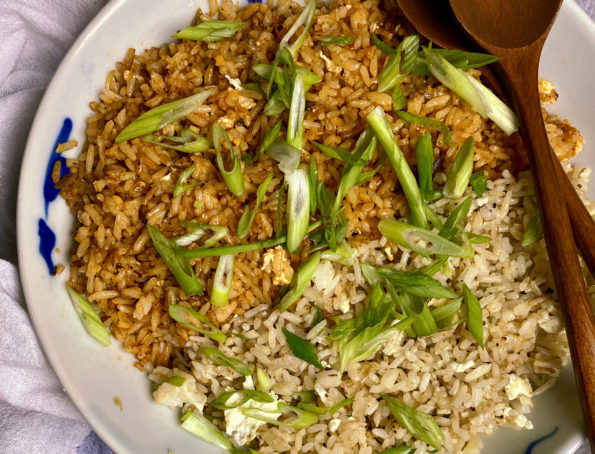
I LOVE fried rice. Posted on 3Jamigos are my favorites, my Dad’s Fried Rice and Kimchi Fried Rice. Until now, I was very content with…
How’s the New Year’s Resolution thing going? I’ve gotten strategic, I only make new year’s resolutions that are fun. That way I stand a chance…