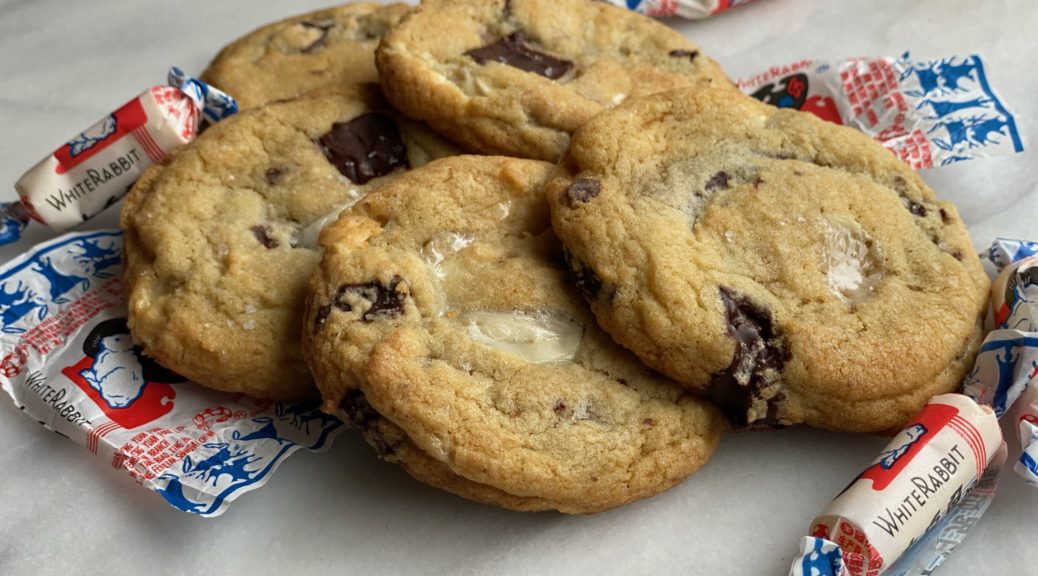
Yet Another Peanut Butter Cookie, Soft and Chewy
Peanuttttt, peanut butter….cookie! If asked what my favorite cookies are, Shortbread, Snickerdoodles, and Thumbprints immediately come to mind. Peanut Butter Cookies would not make the cut and yet a quick search of 3Jamigos will reveal more than a few recipes for peanut butter cookies. This leads to my 🤦🏻♀️ forehead slap moment “I LOVE peanut butter cookies, they should be on my fav list.” Life’s little epiphanies.
The other night our postcard posse reconvened to write cards for Reverend Warnock in Georgia. How he is in a run-off with Hershel Walker is beyond me and beyond the scope of this blog. I made a half-hearted promise to keep this site apolitical. Just food, friends, and fluff. So in the immortal words of Forest Gump… “that’s all I have to say about that.”
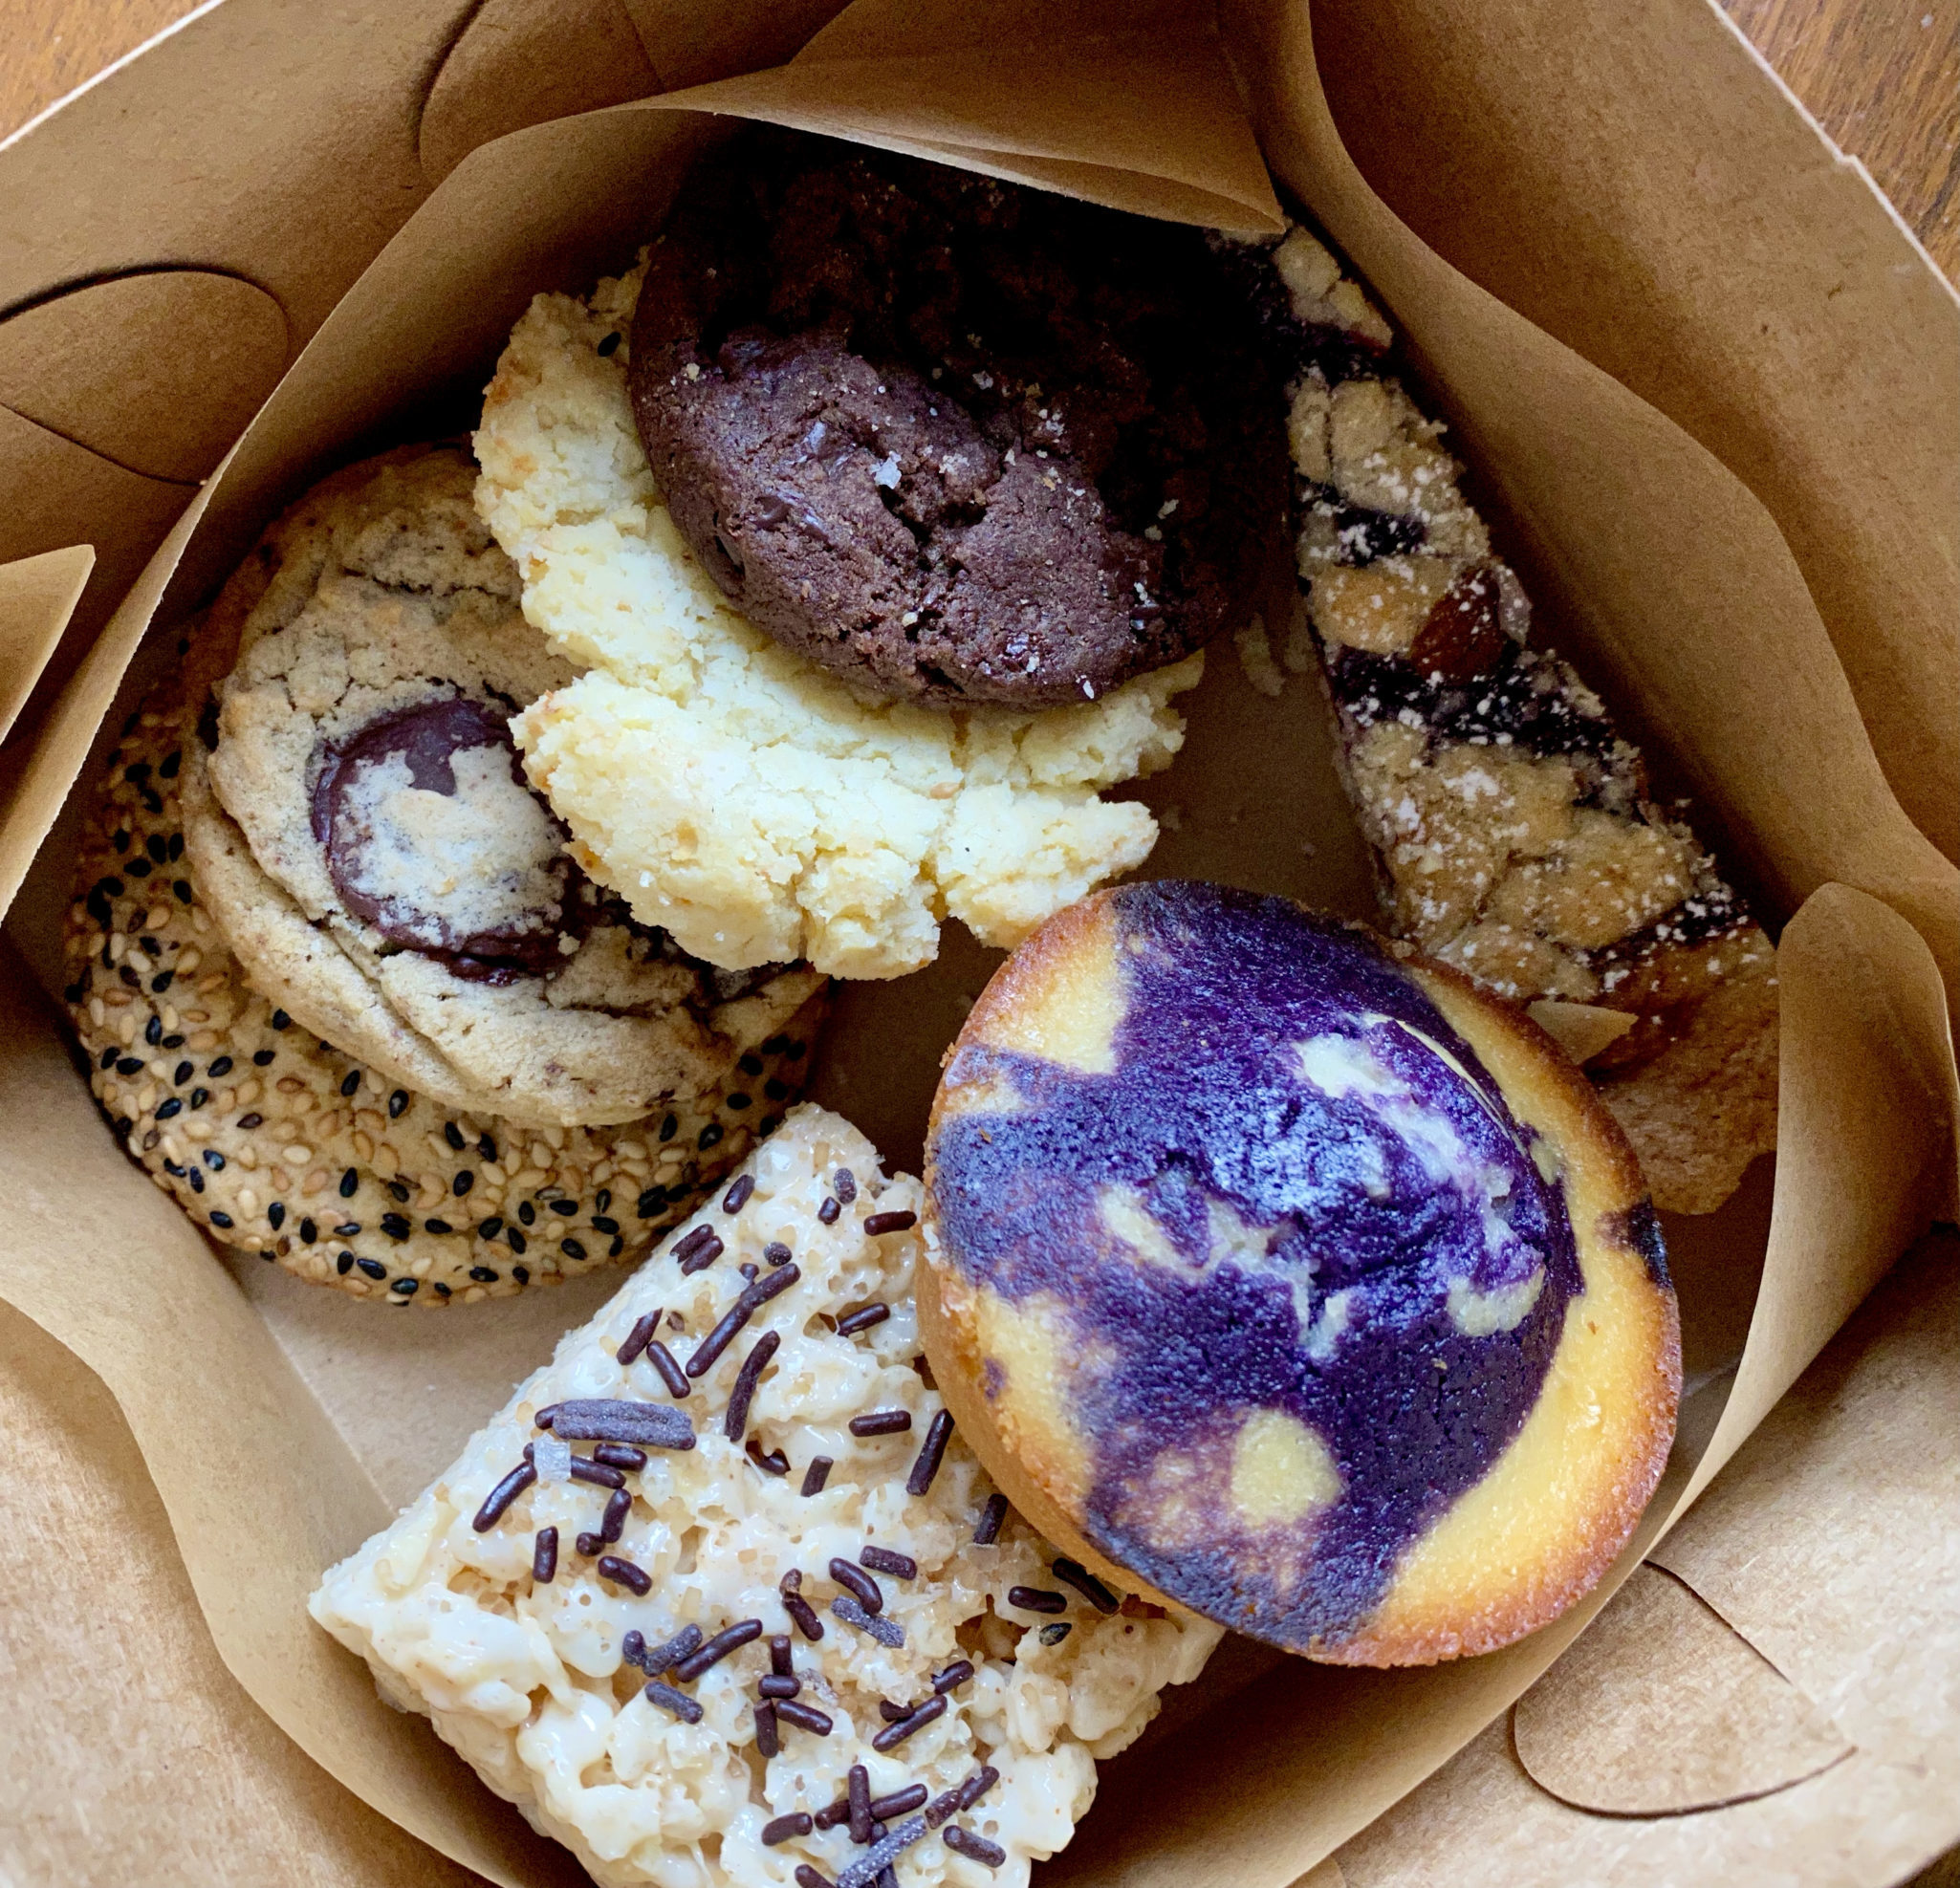
For our postcard session against He who shall not be named, my friend’s daughter, Avery, of Kentucky Butter Cake fame, dropped off some just baked Peanut Butter Cookies for our crew. I’m sure in solidarity and because she loves to bake (and she is darn good at it).
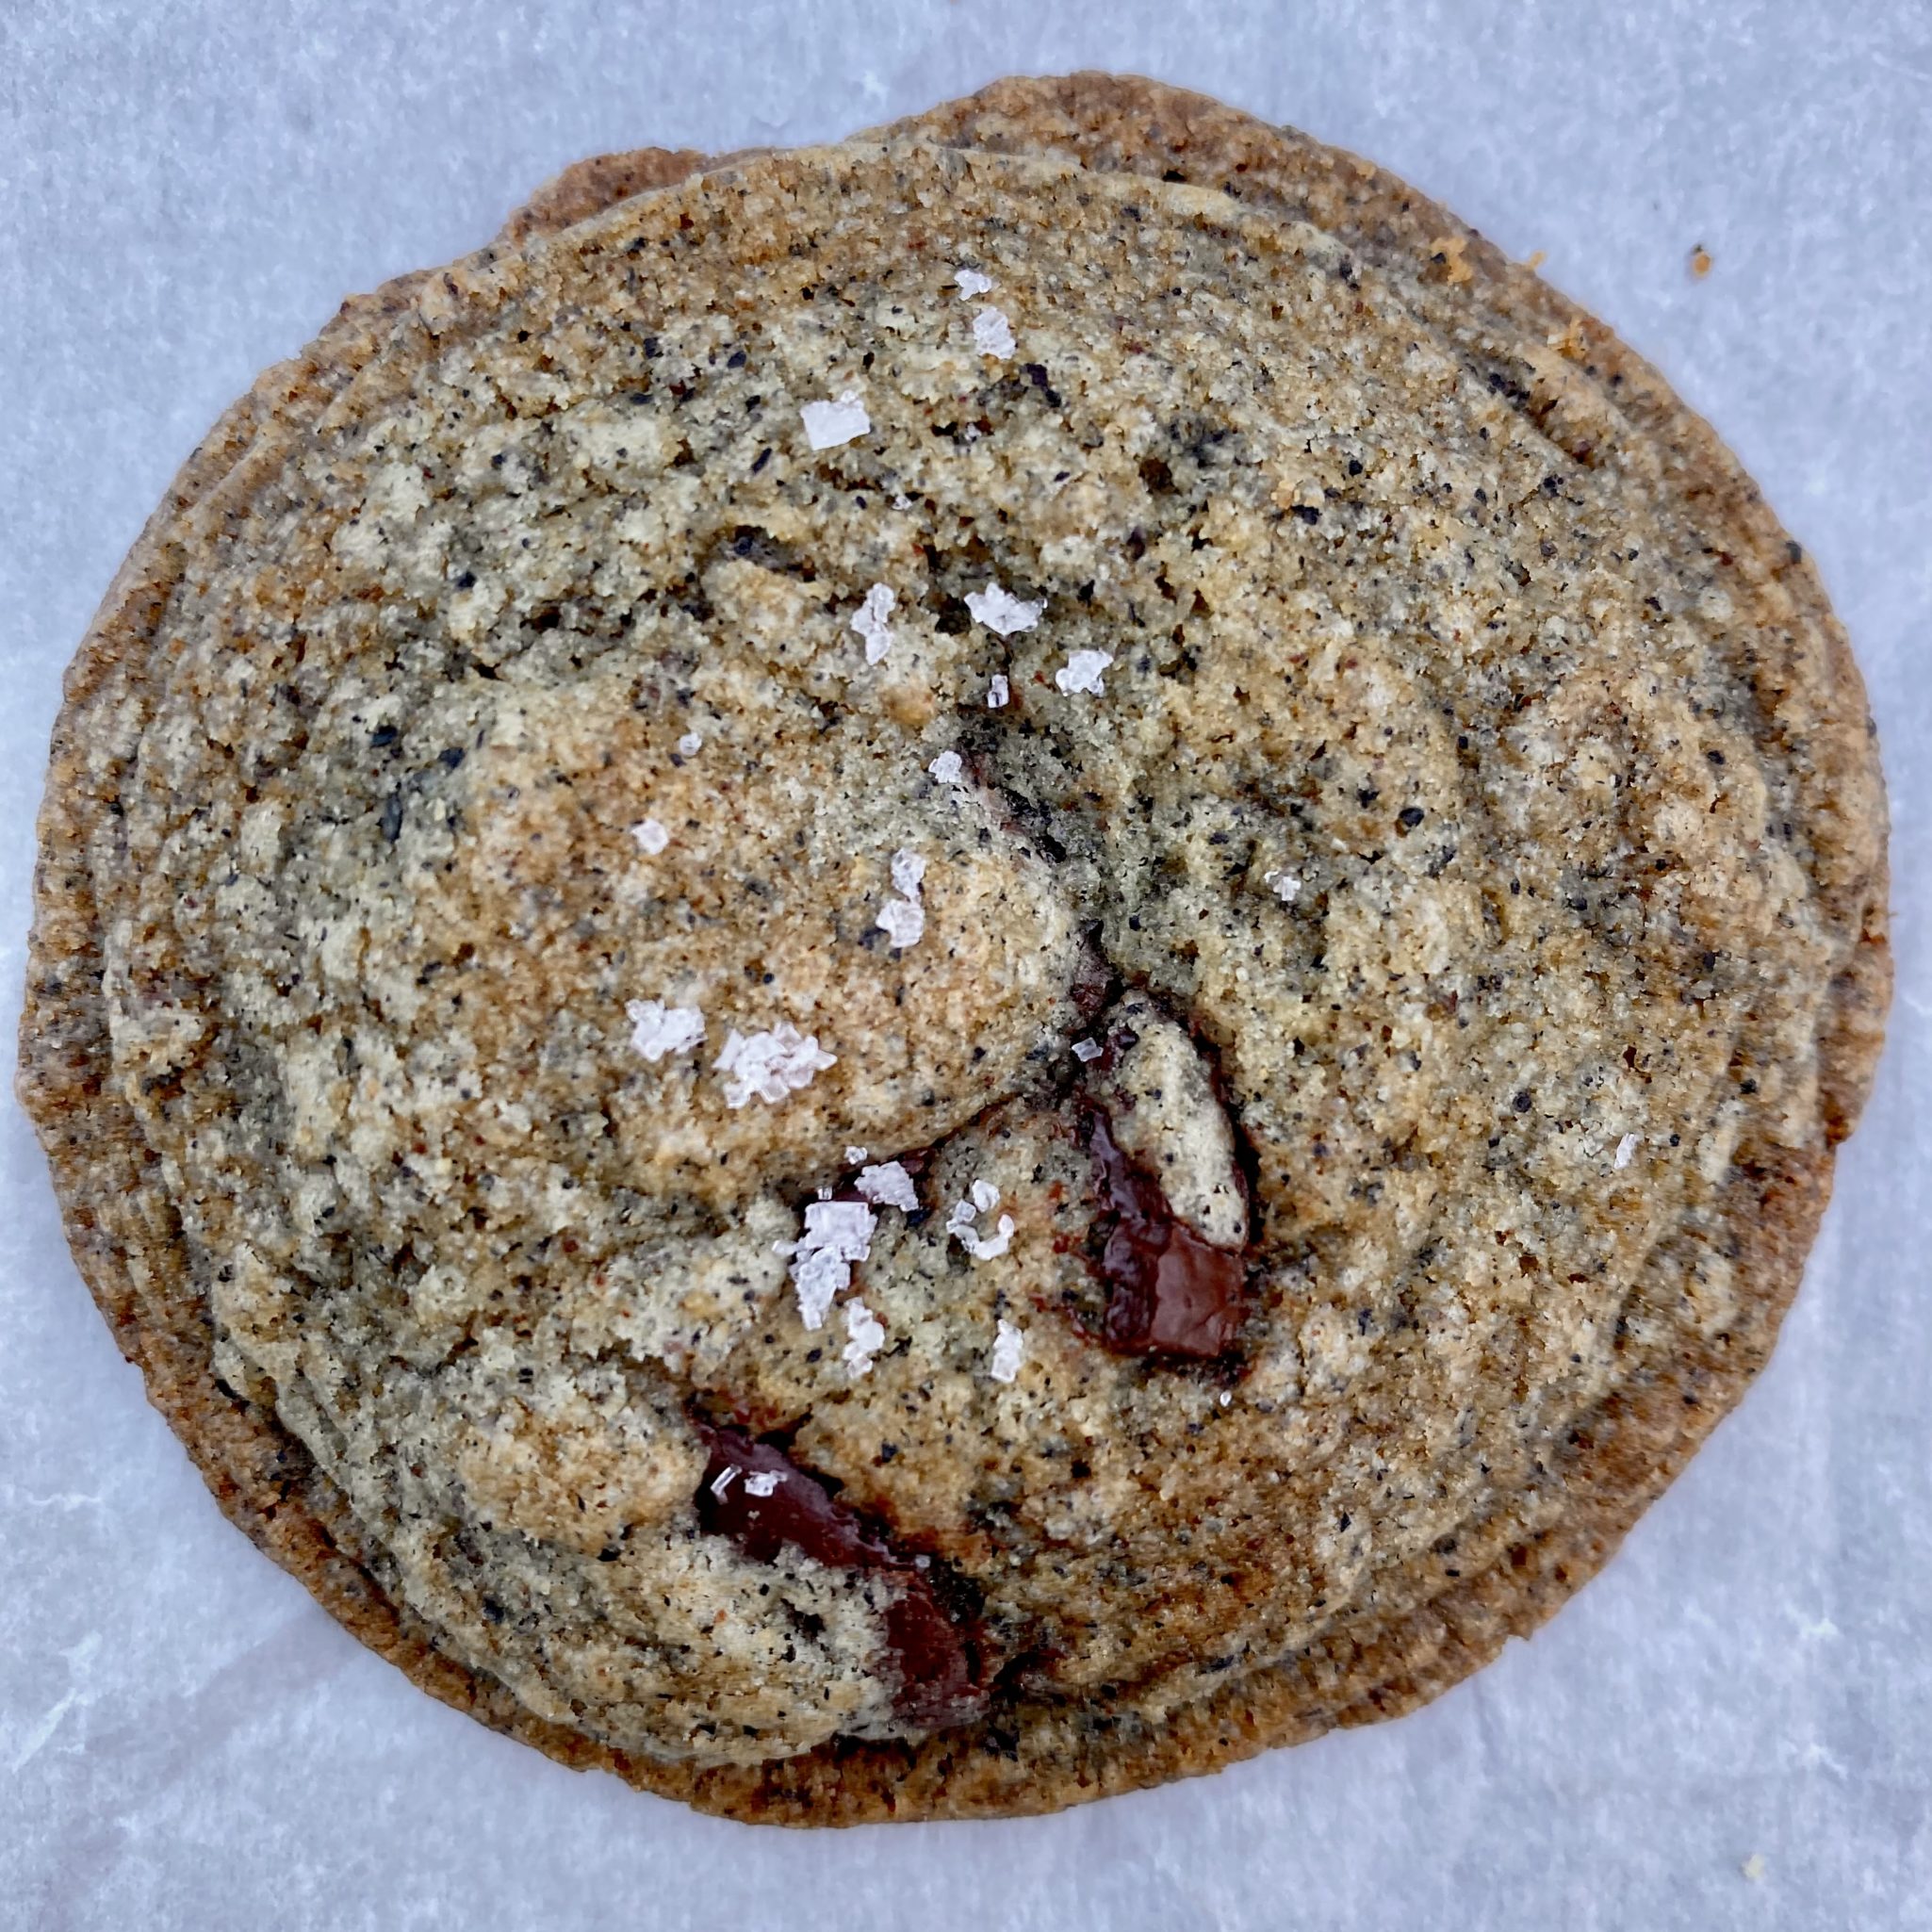
One Bite…
and I knew there was going to be yet another peanut butter cookie recipe on 3Jamigos. Yep, Avery’s PB Cookies were tender, chewy in the center, super peanut buttery, sweet, and salty, and just darn delicious. I got on the horn (ok, I texted) faster than you can say Mr. Planter’s Peanuts and asked “can I PLEASEEE have the recipe”.
Lucky Her Mom Likes Me
Voila’ the recipe showed up in my text message, lickity-split. Adapted from a very cute blog Dessert Now Dinner Later, the recipe for Thick and Chewy Peanut Butter Cookies is easy and does not require chilling before baking. You can have a batch of these bad boys done in less than an hour.
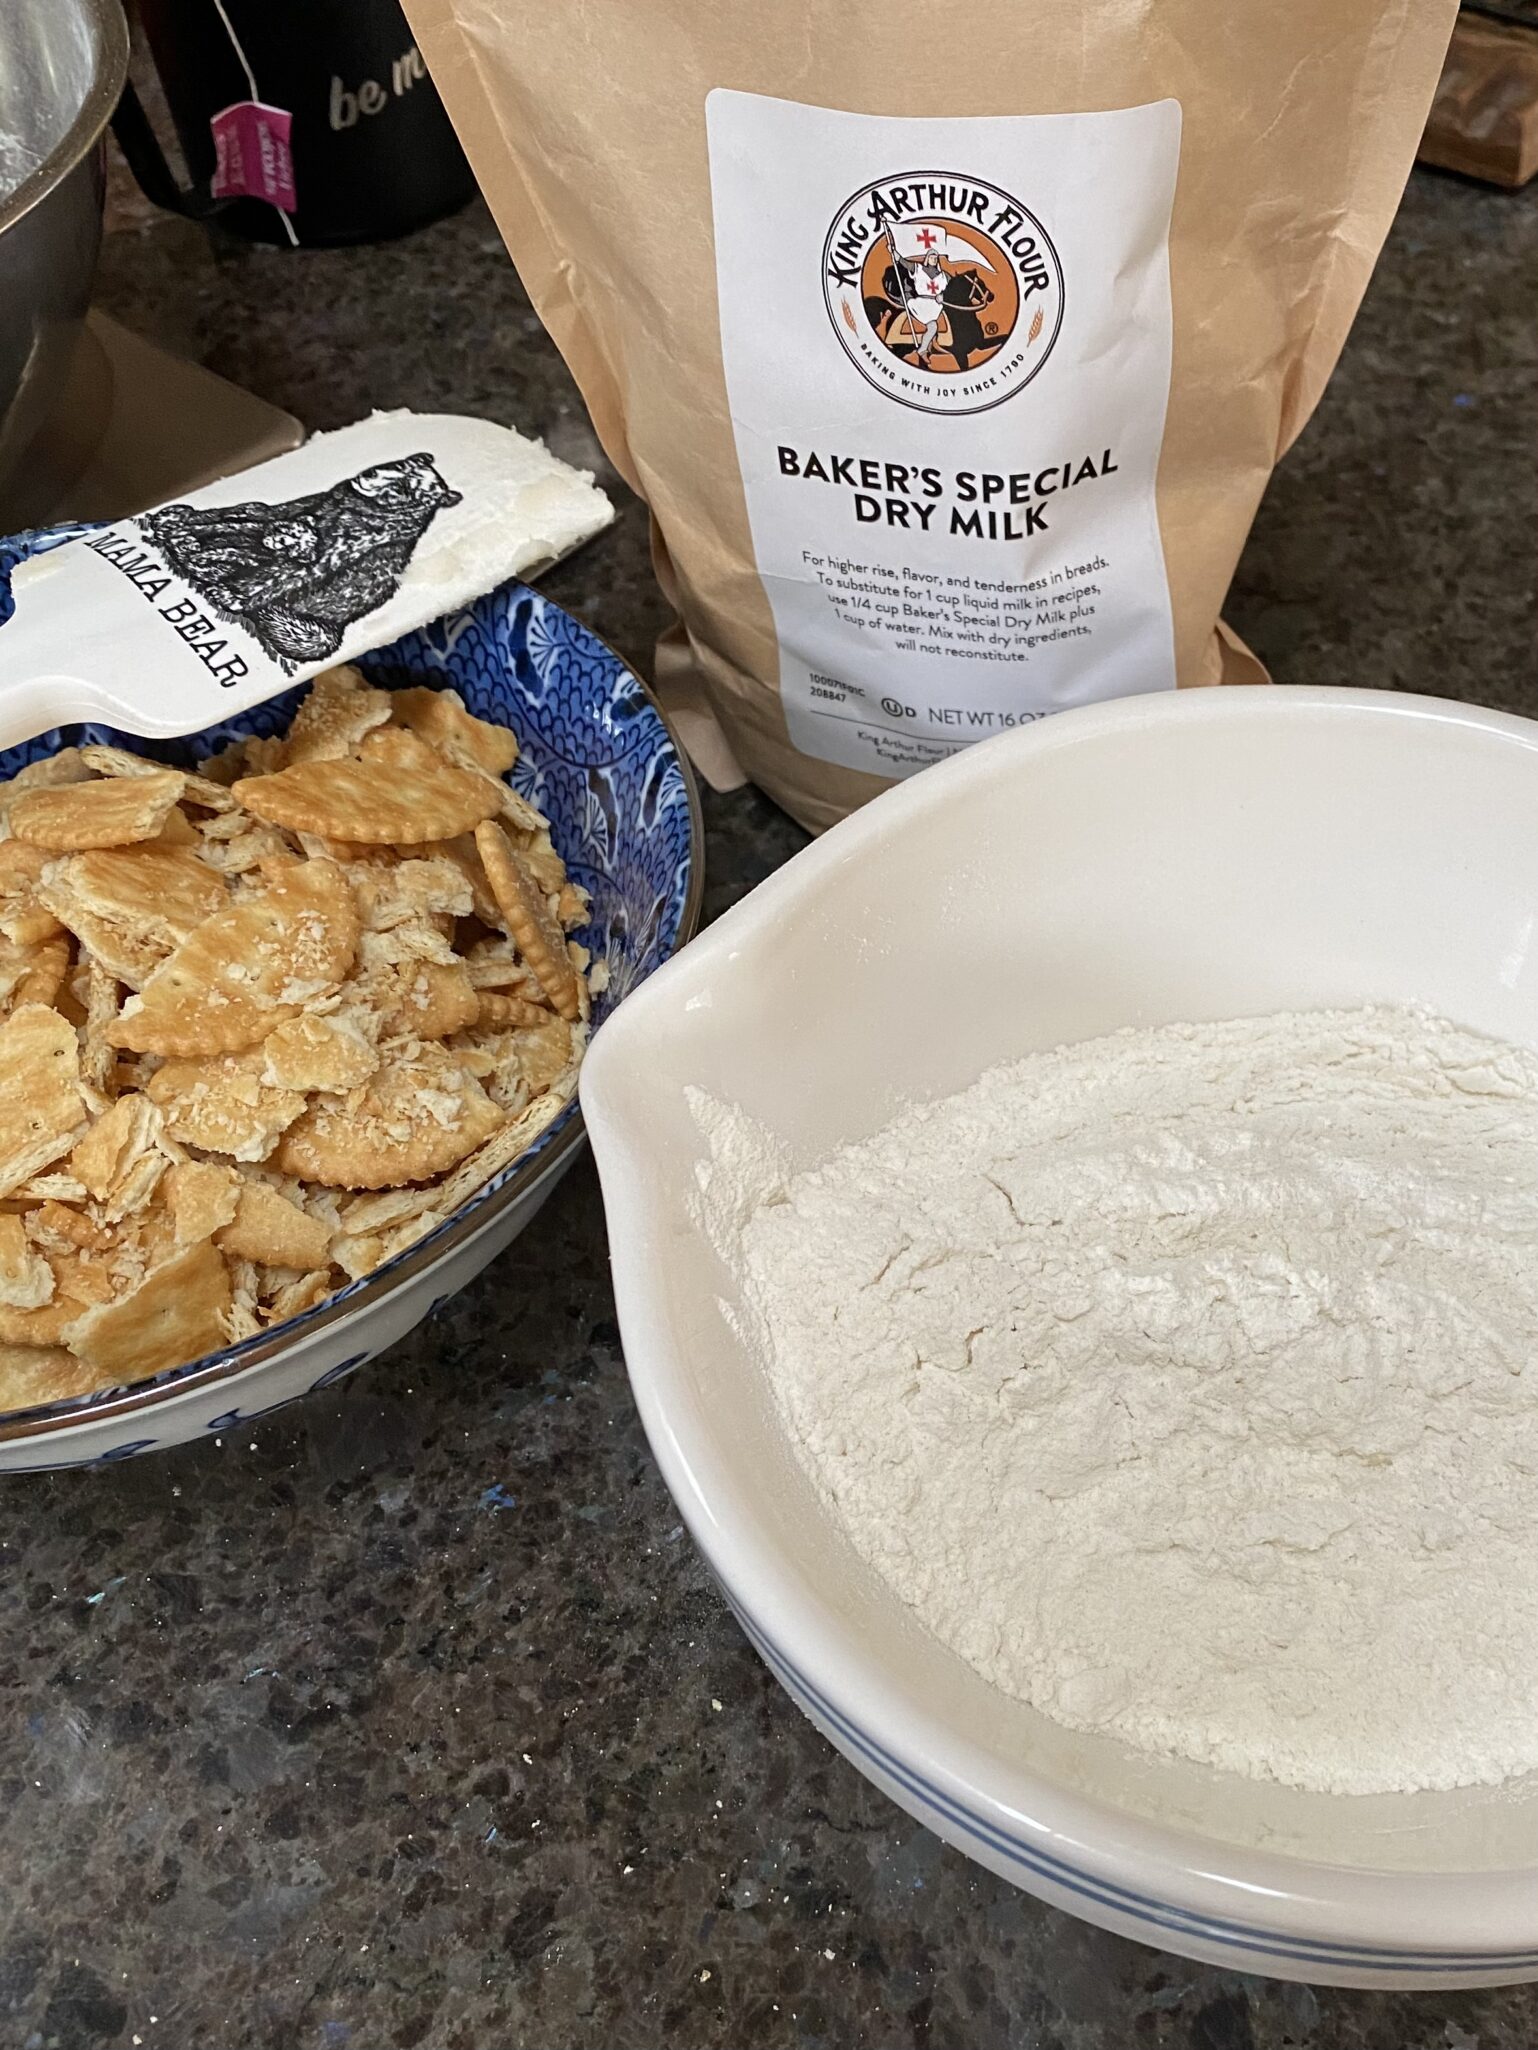
I use King Arthur flour which has a higher protein than GM or Pillsbury. Feel free to bake off a test cookie, if it spreads too much, add a bit of flour.
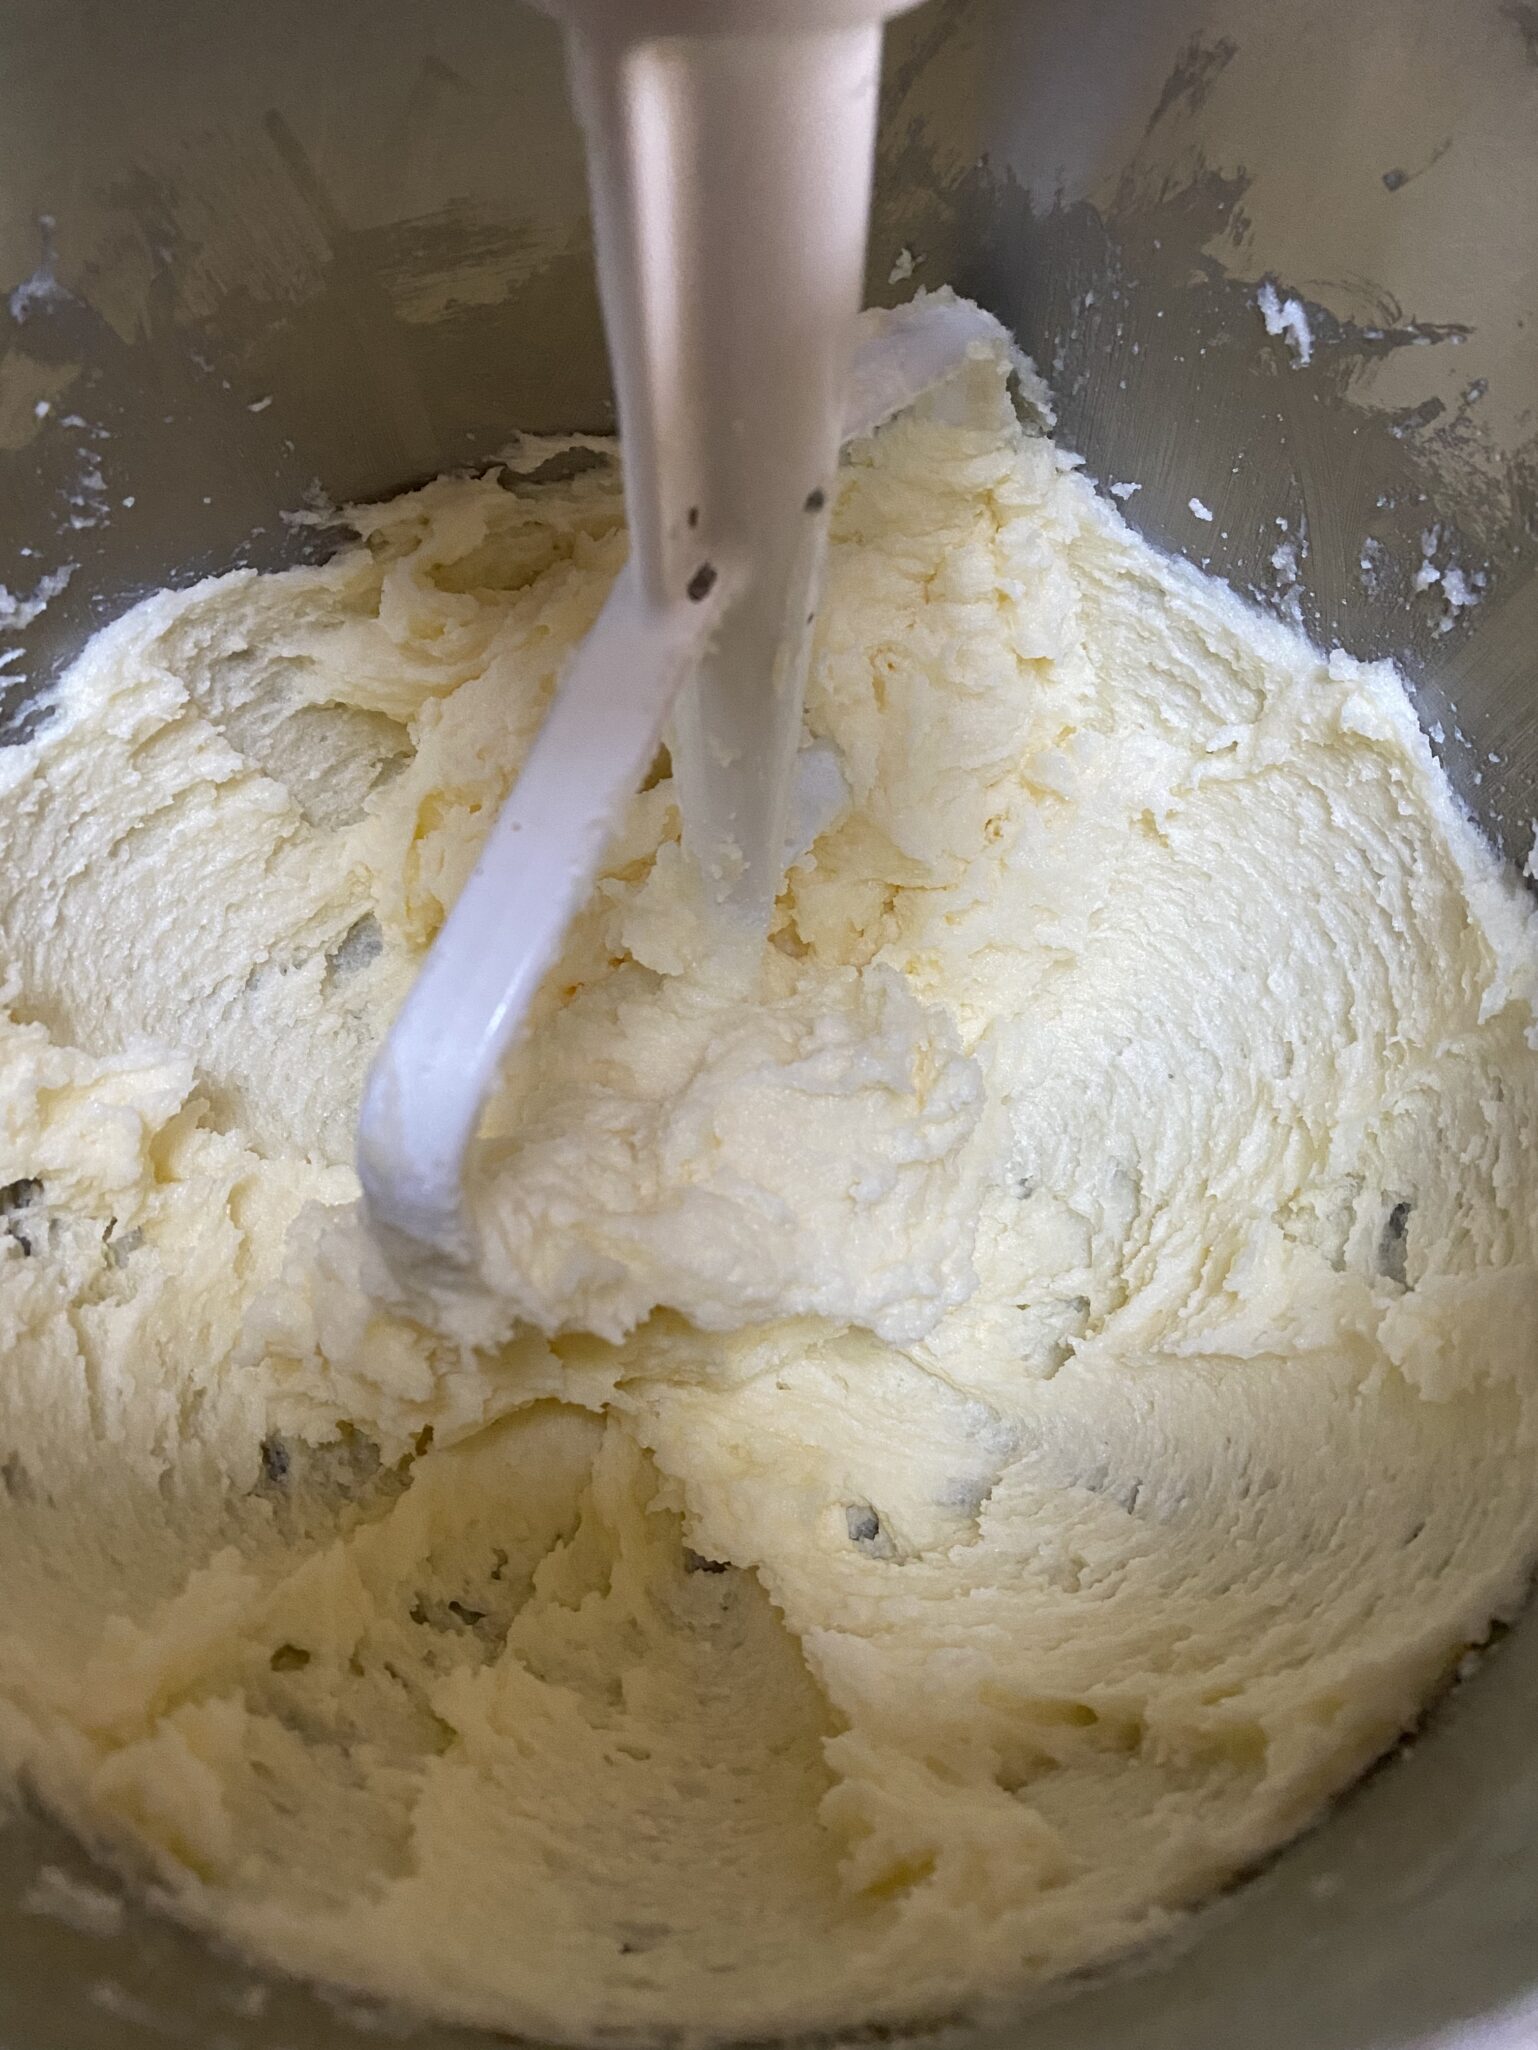
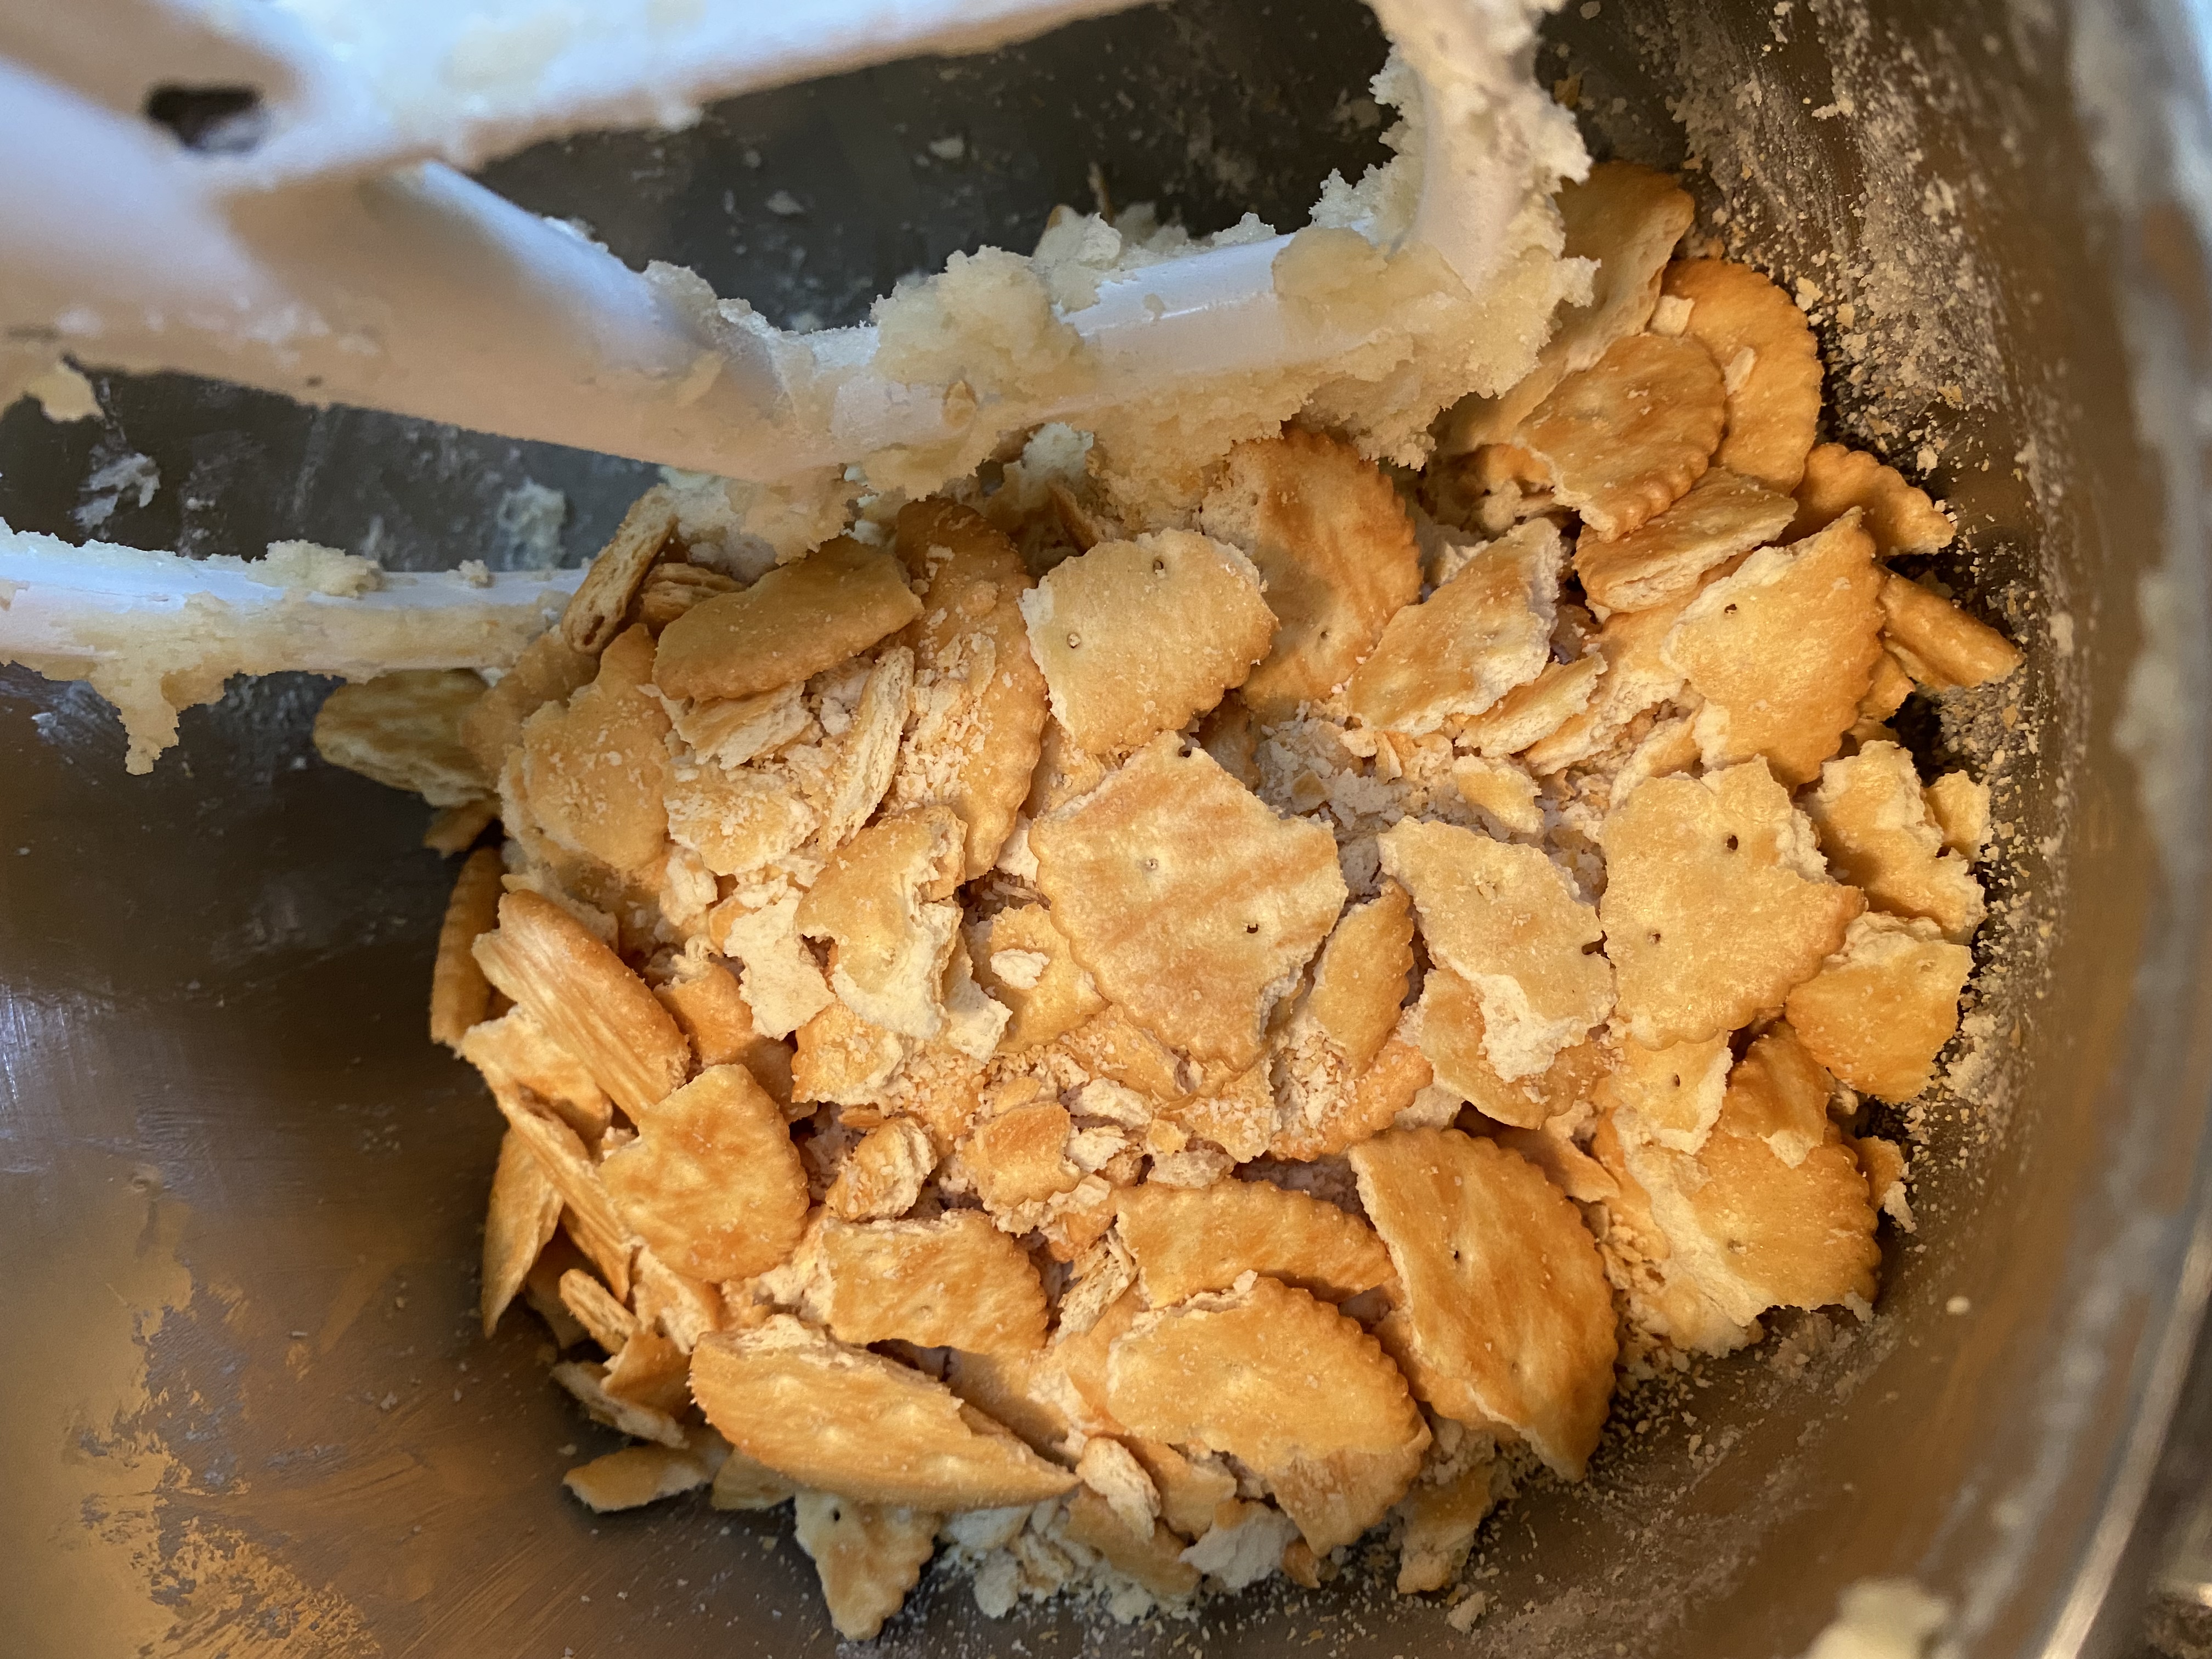
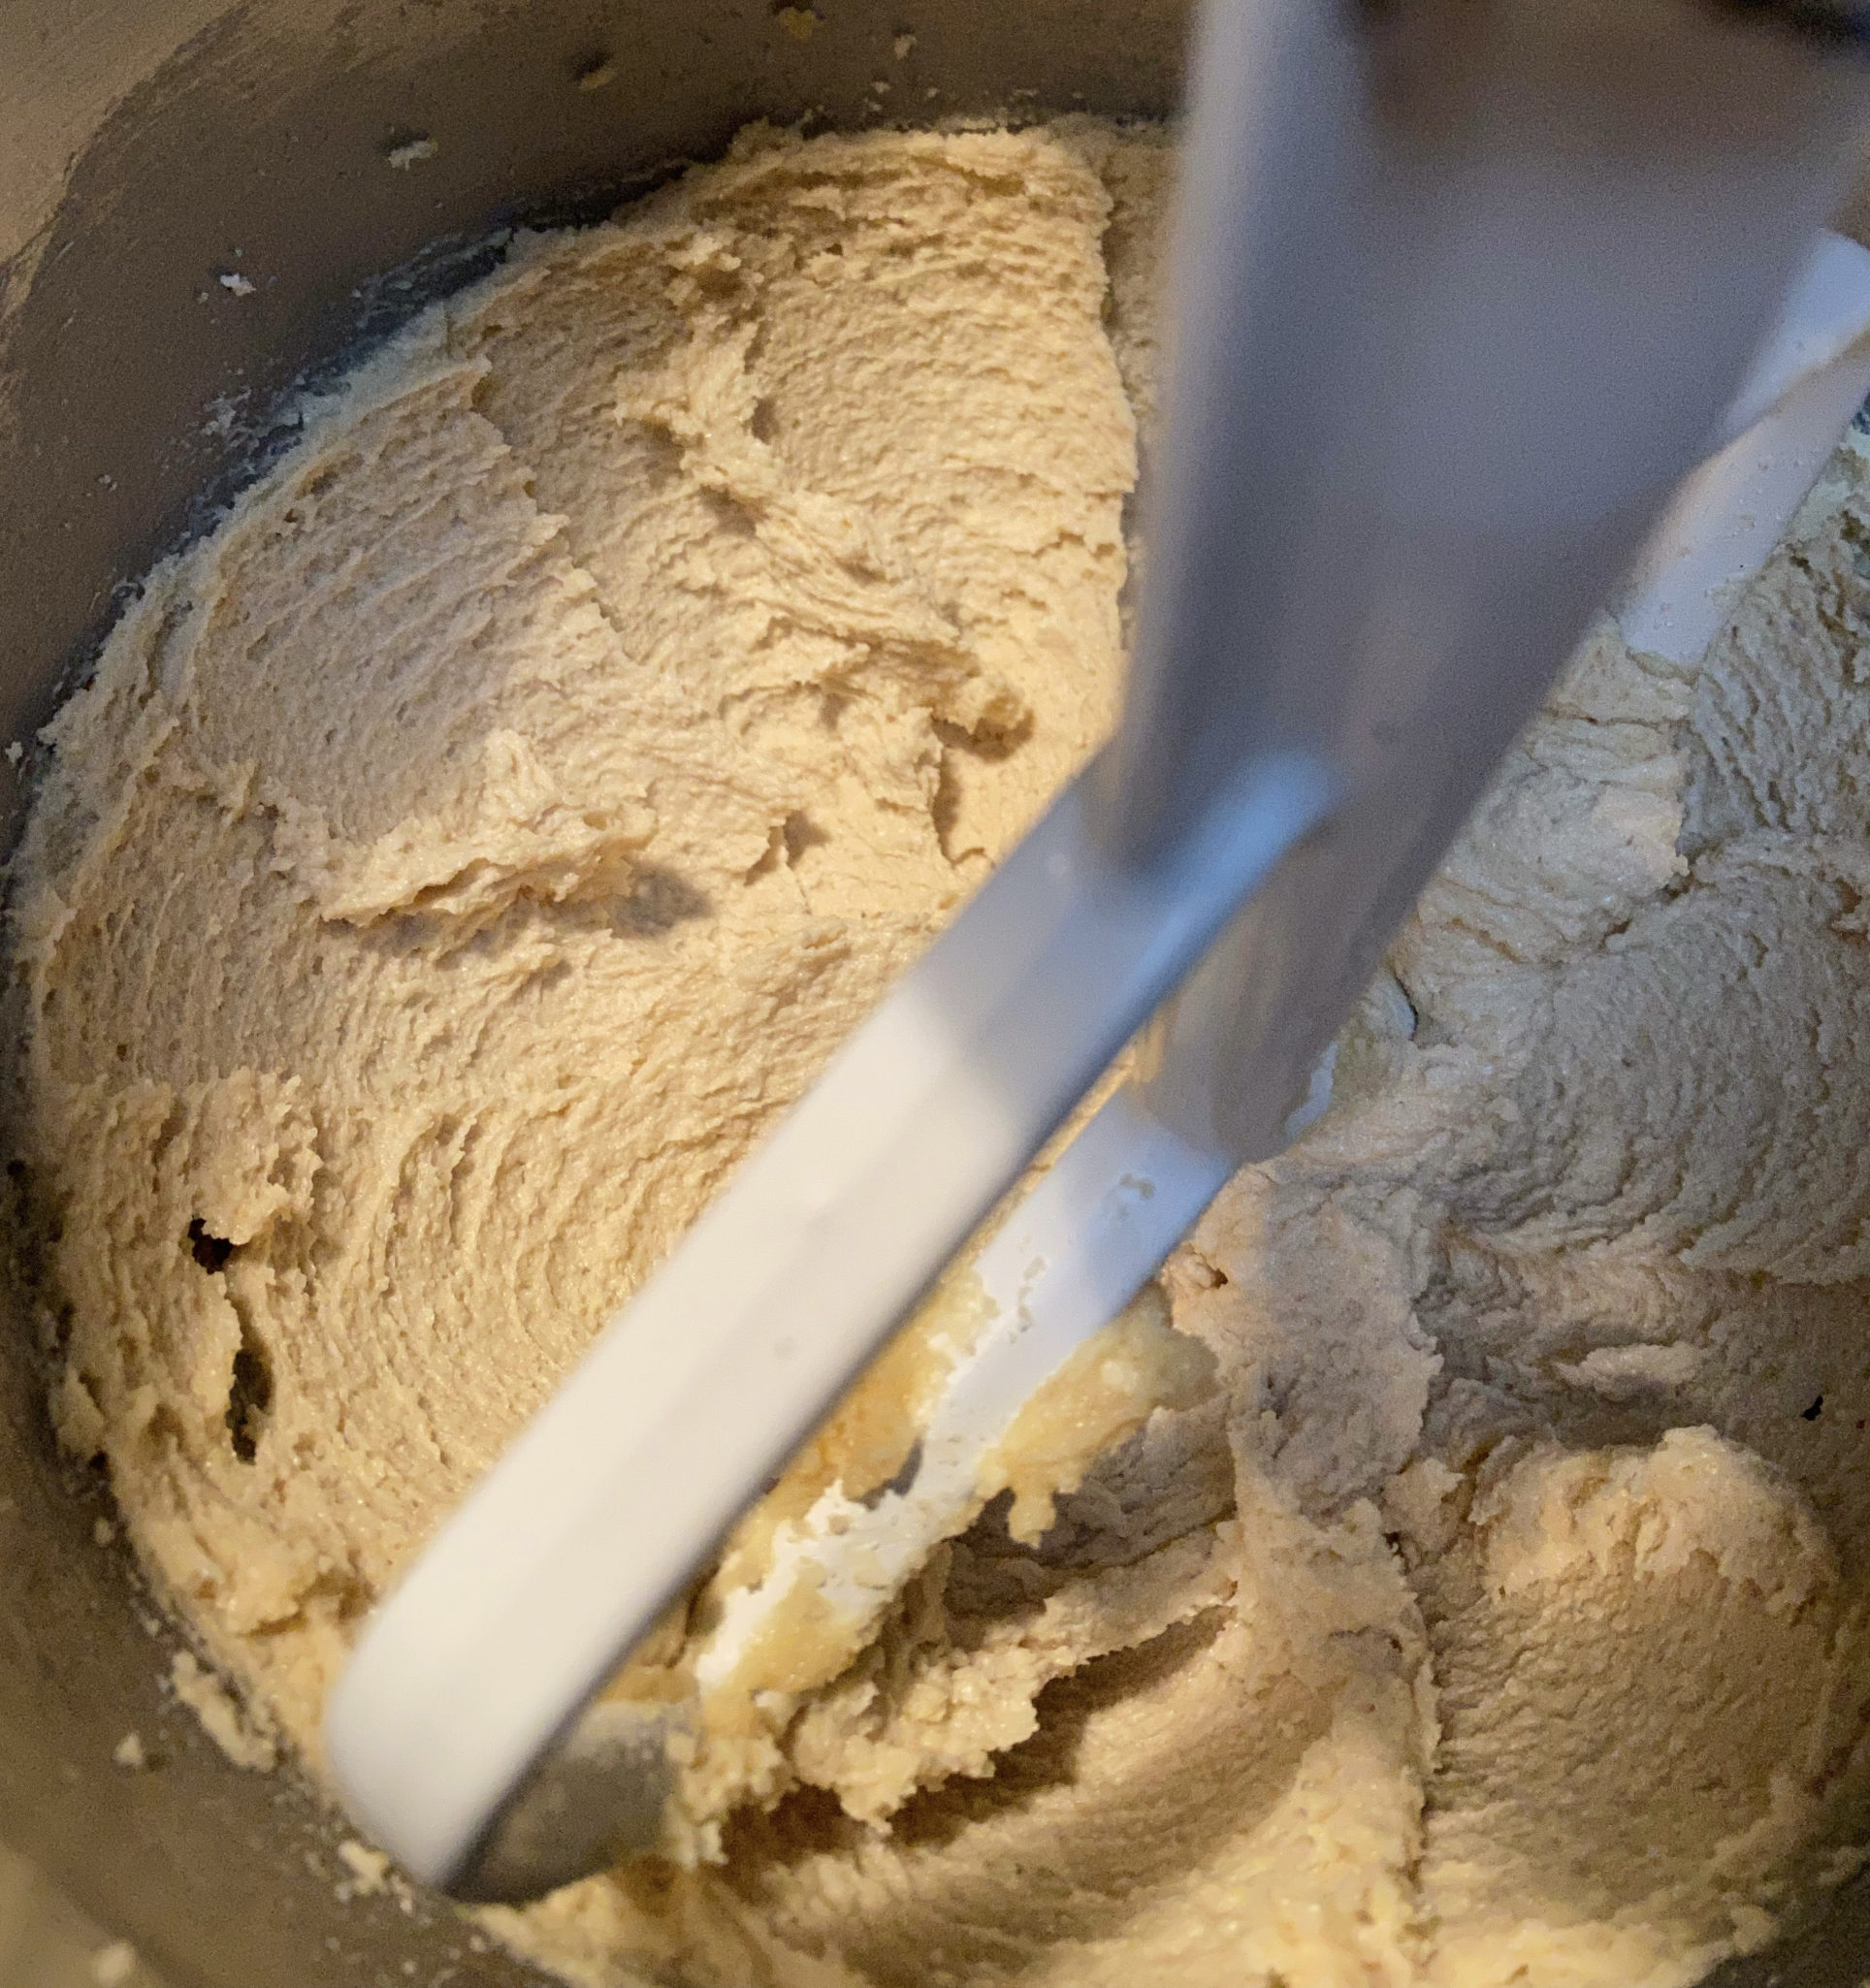
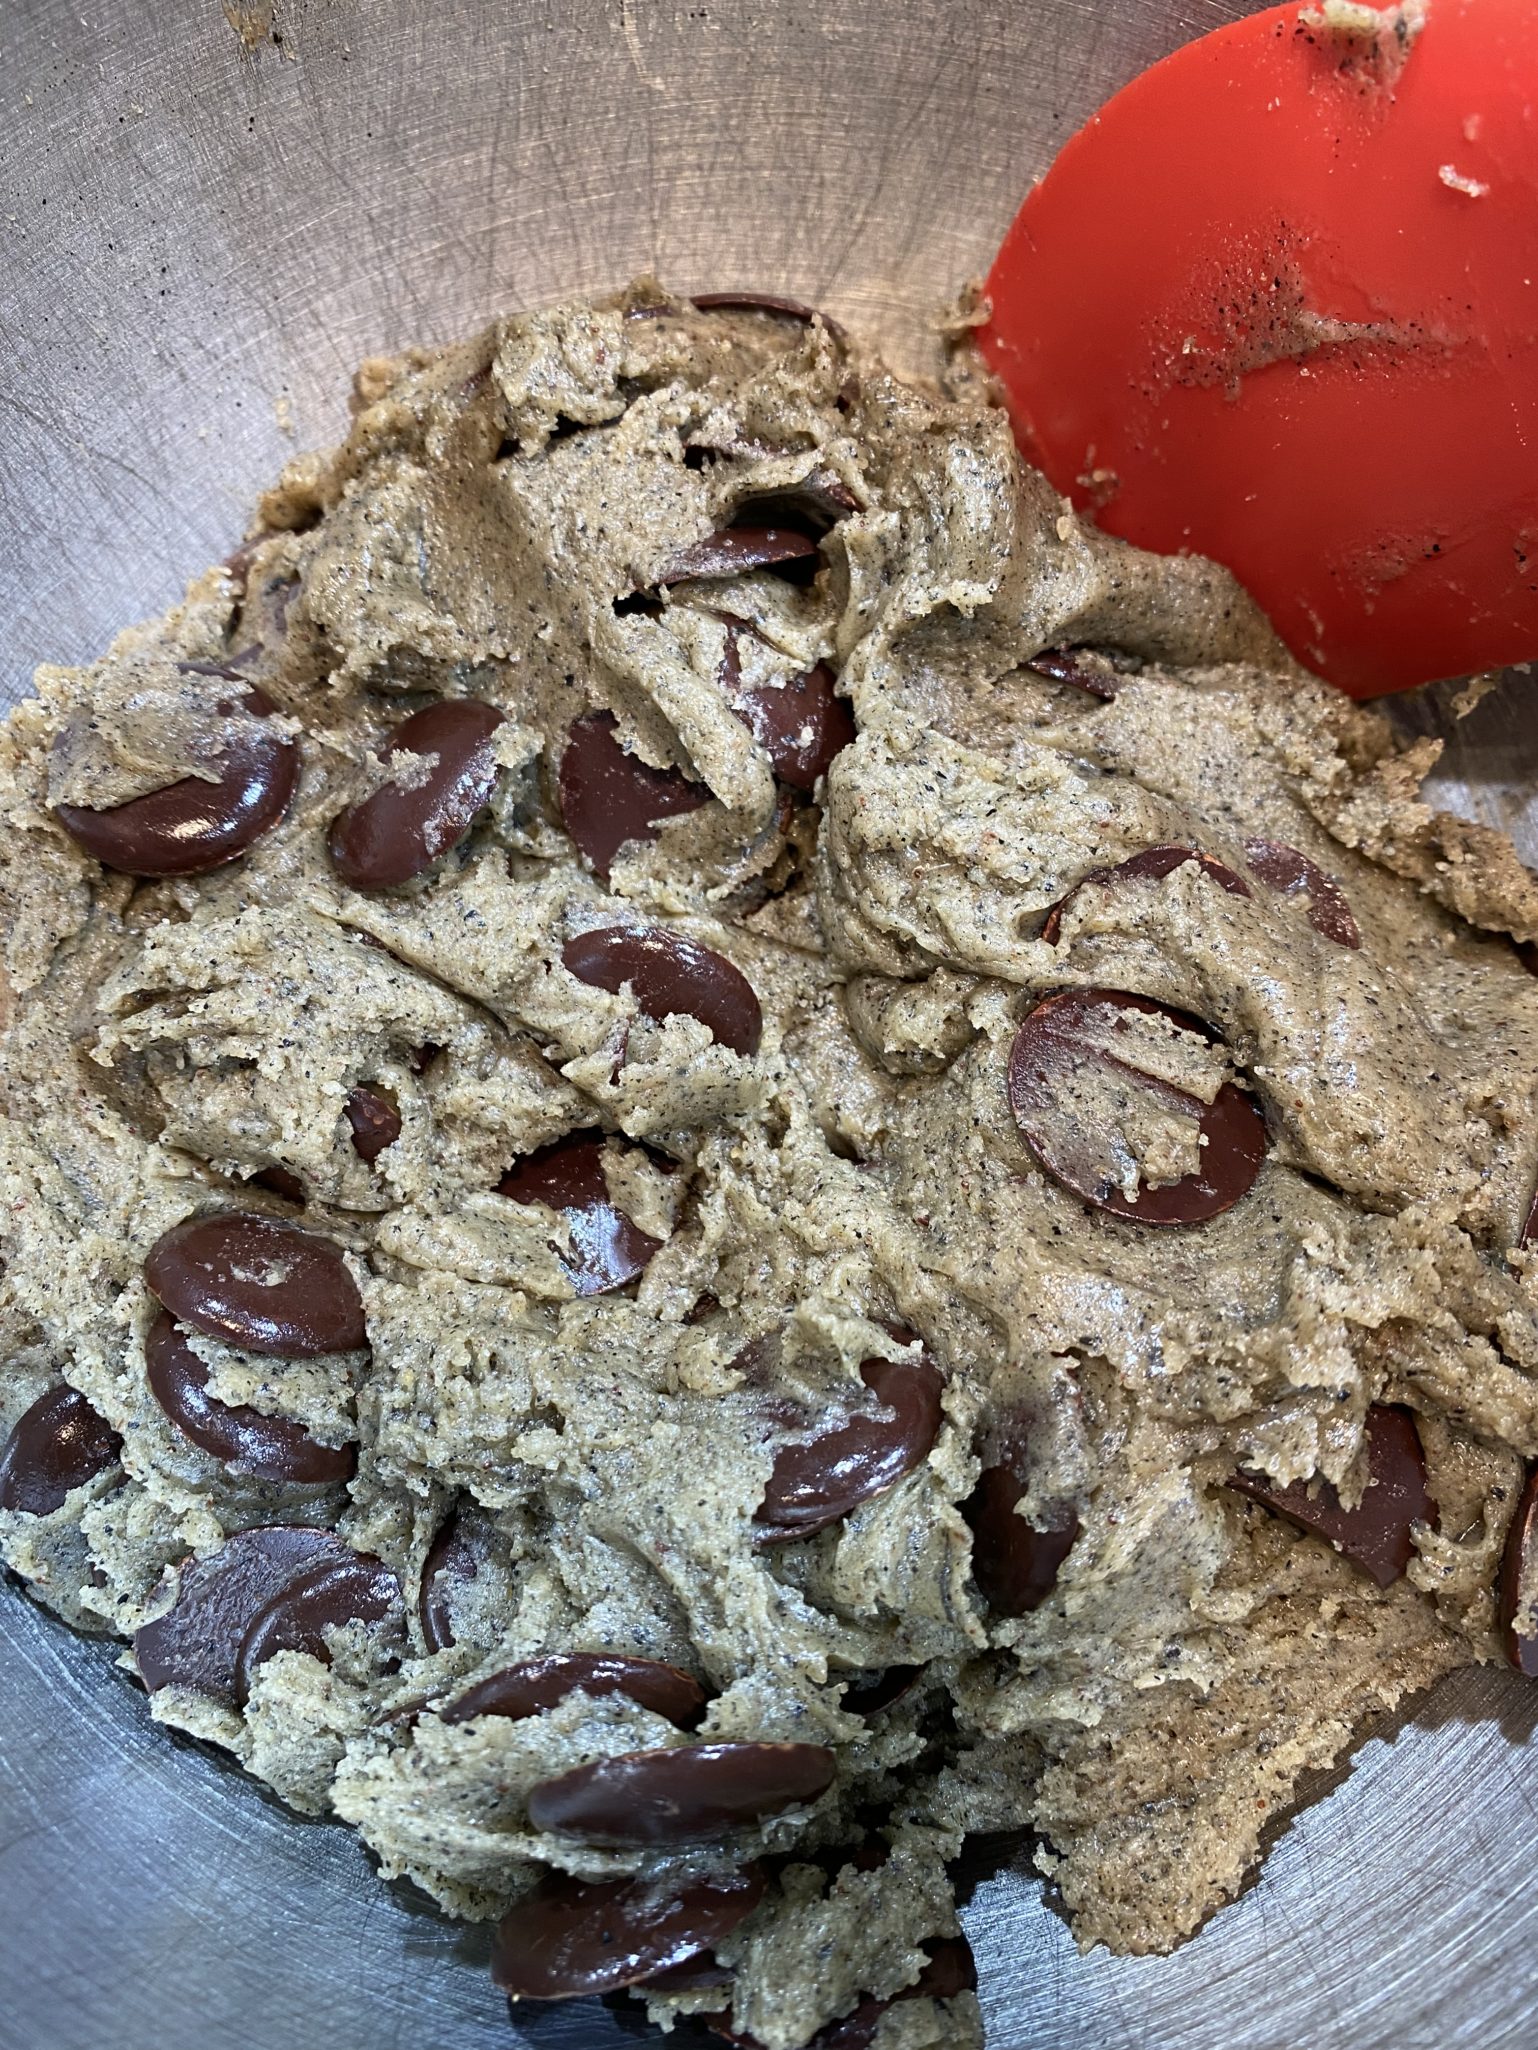
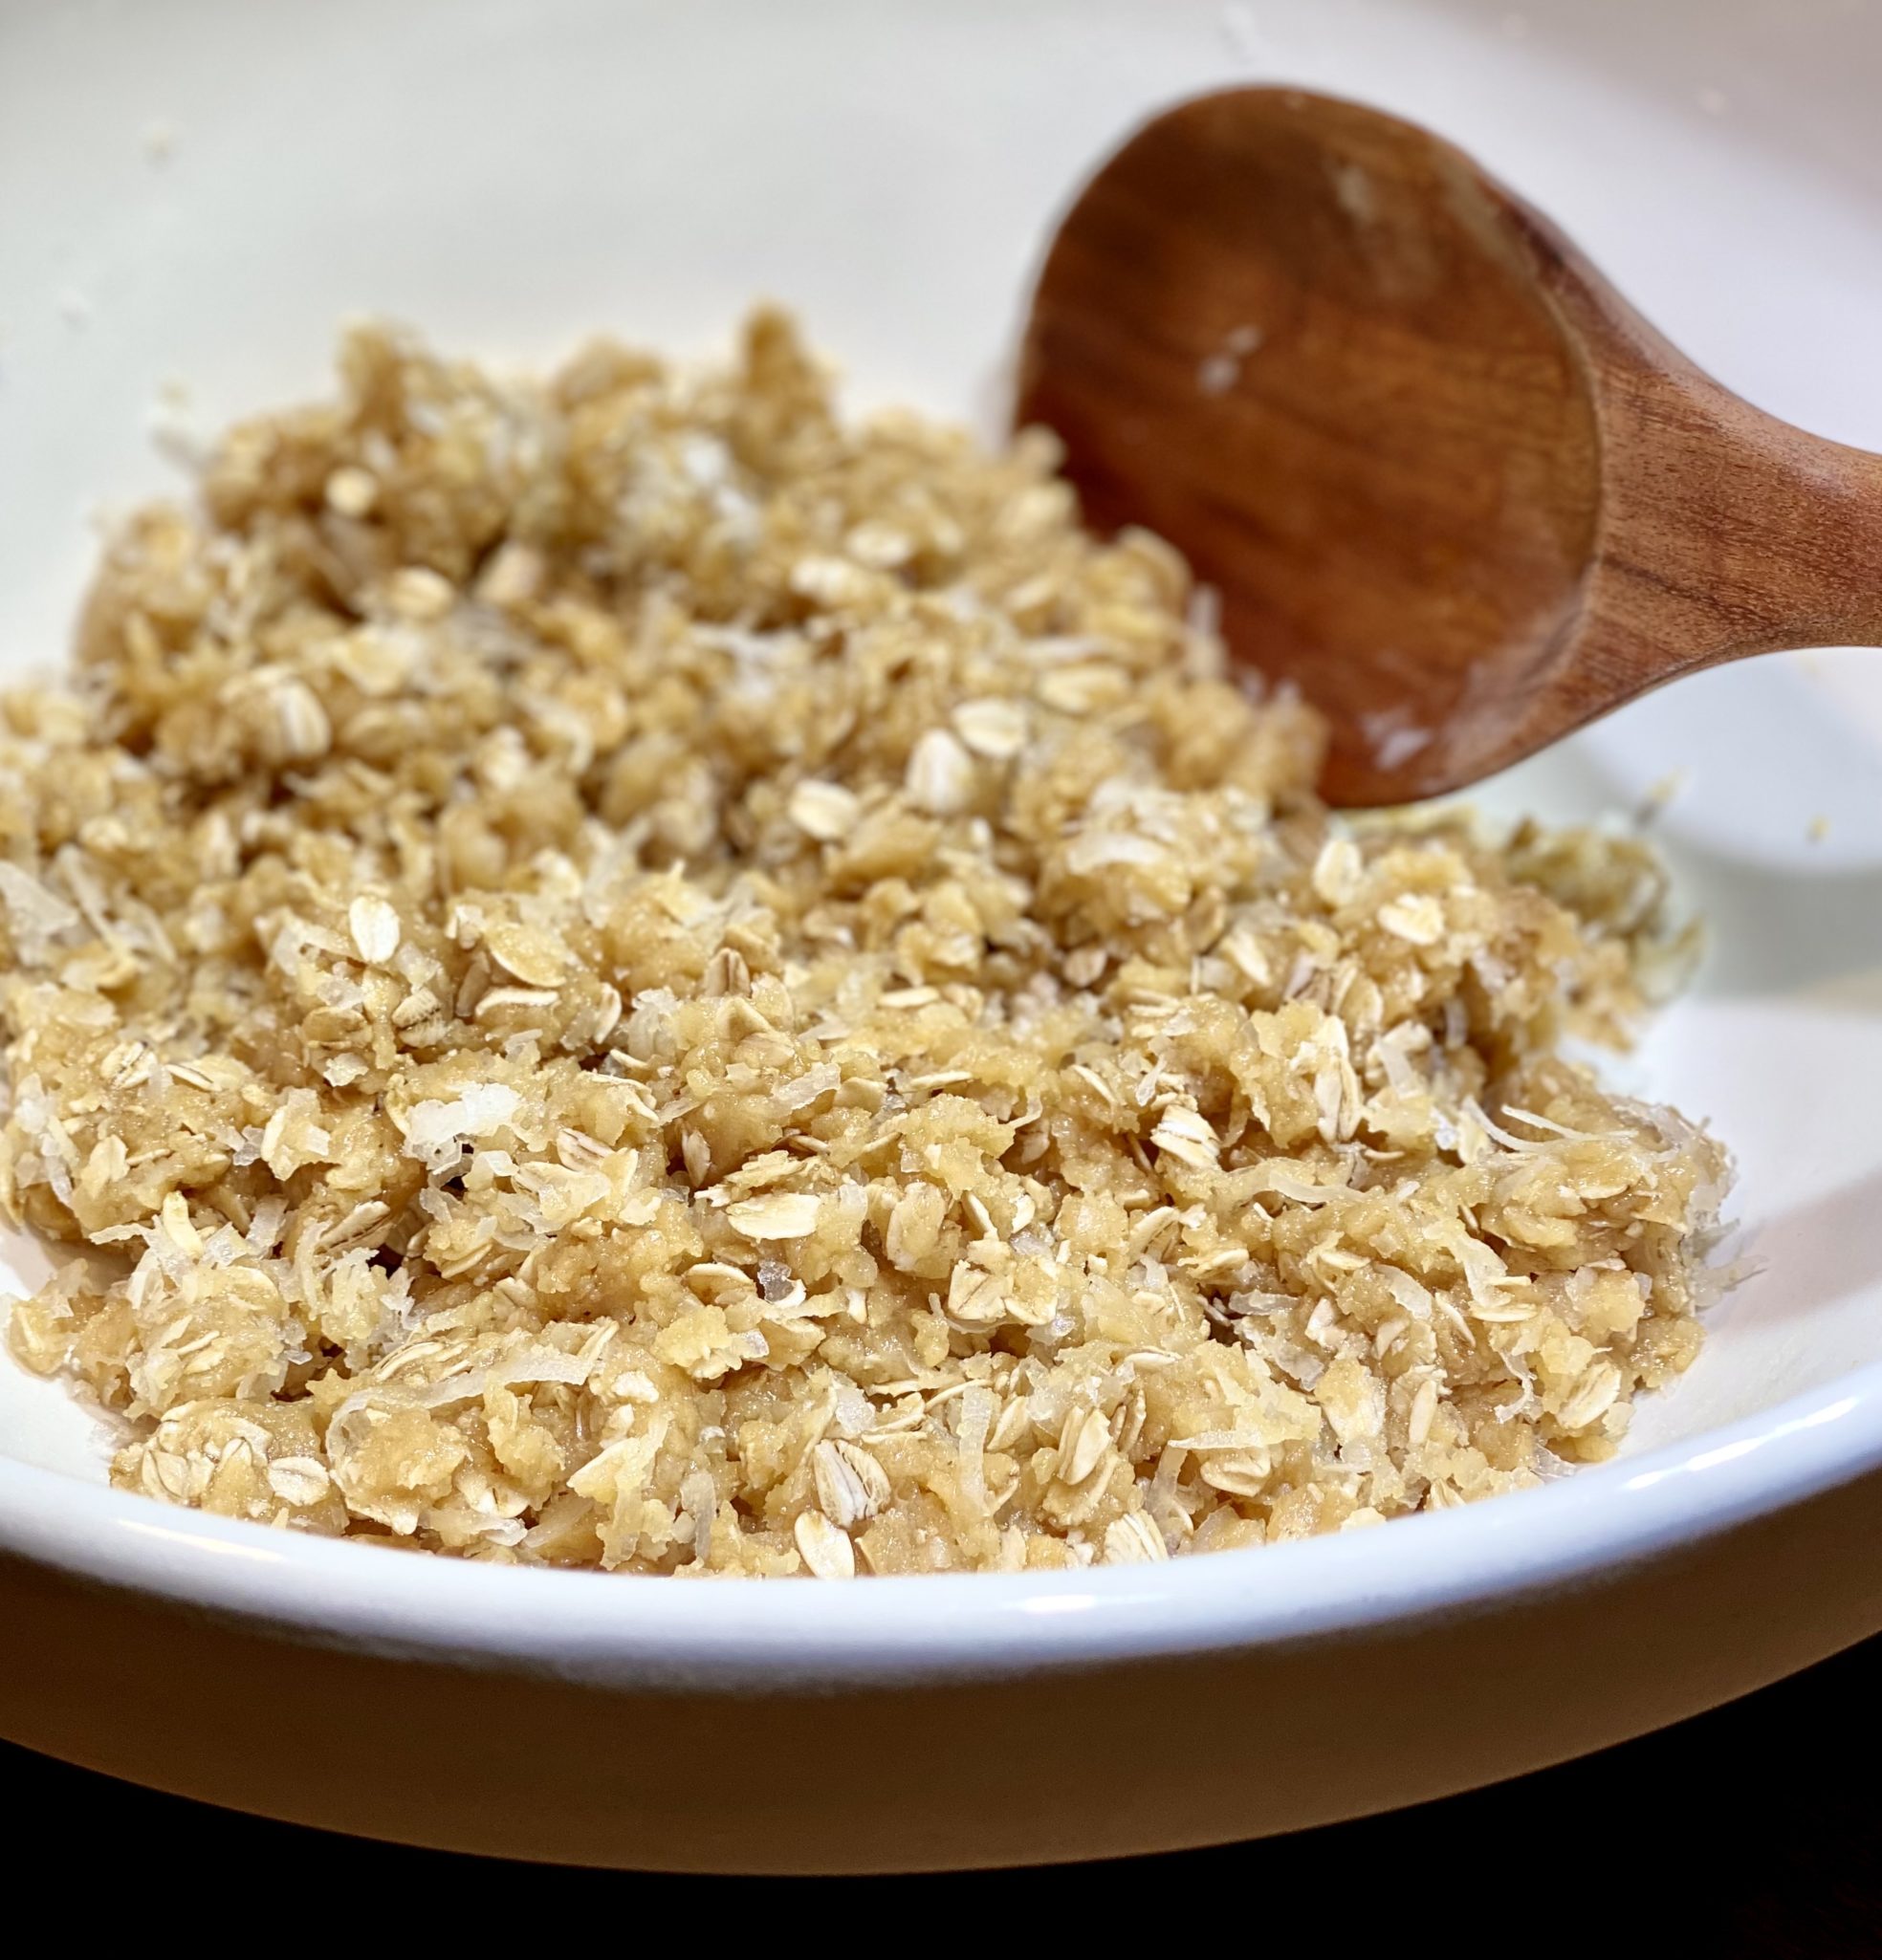
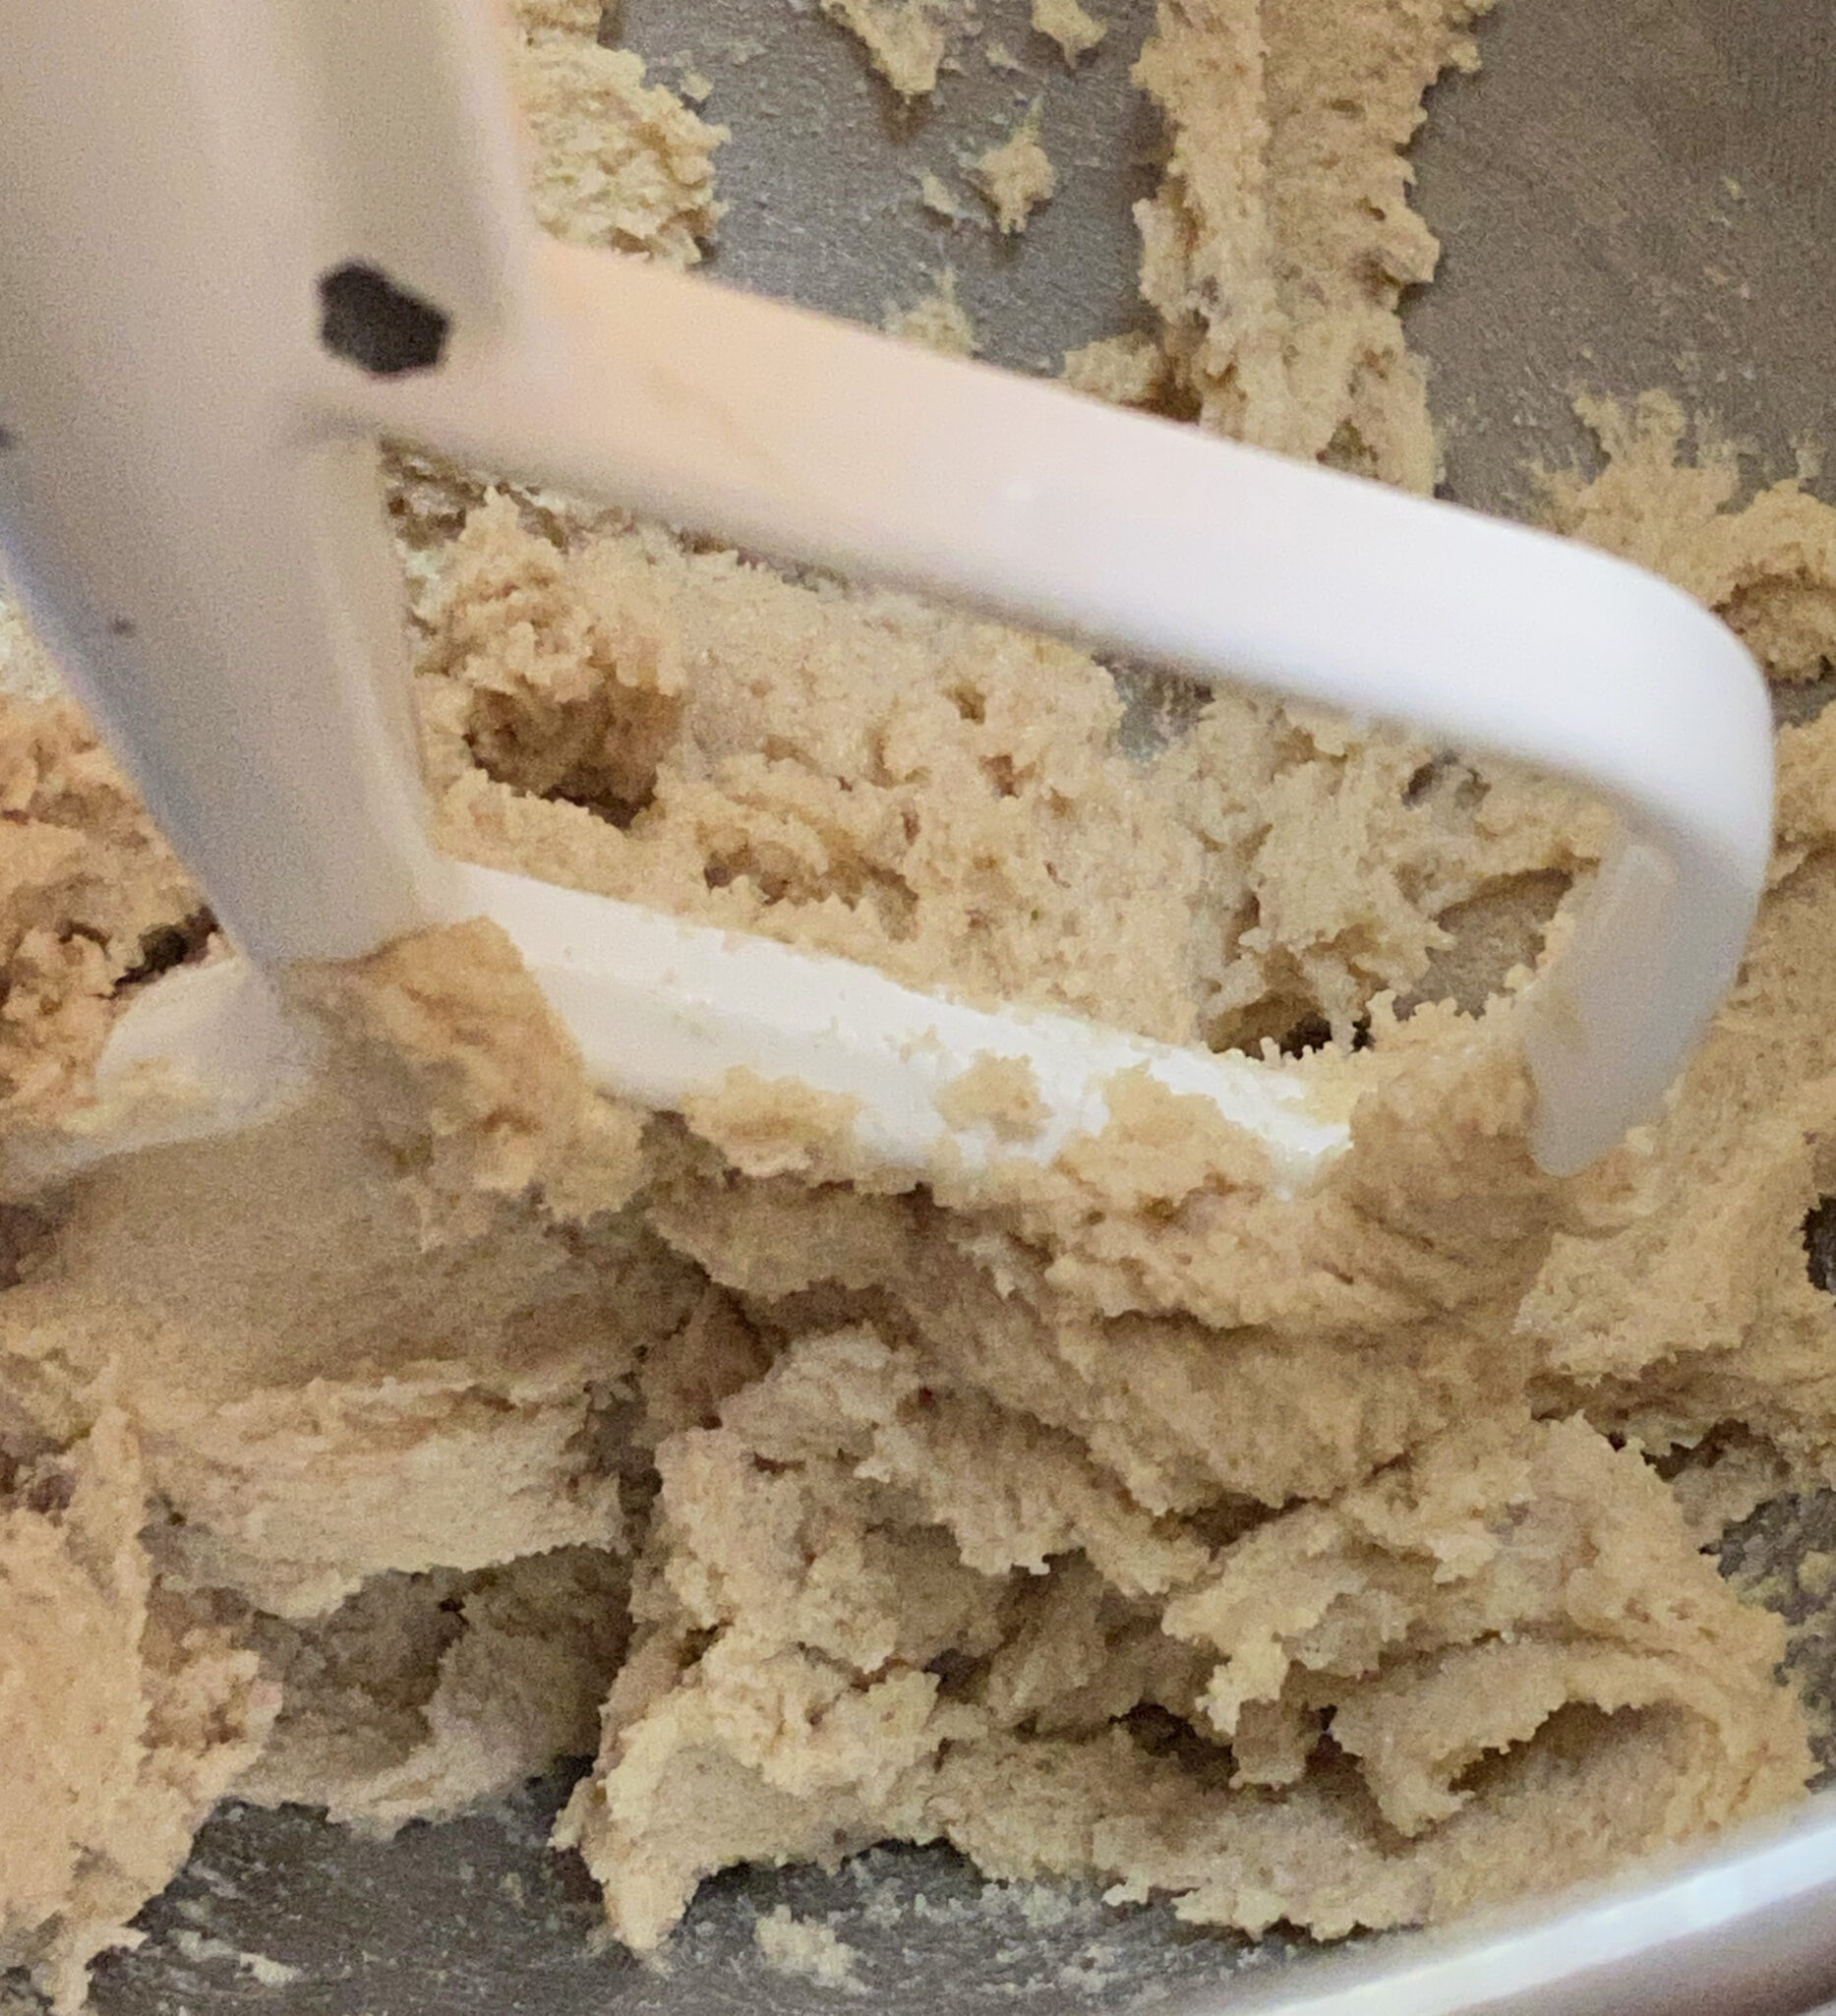
Cream the butter and sugar for 1-2 minutes until it is well blended and smooth looking, not fluffy.
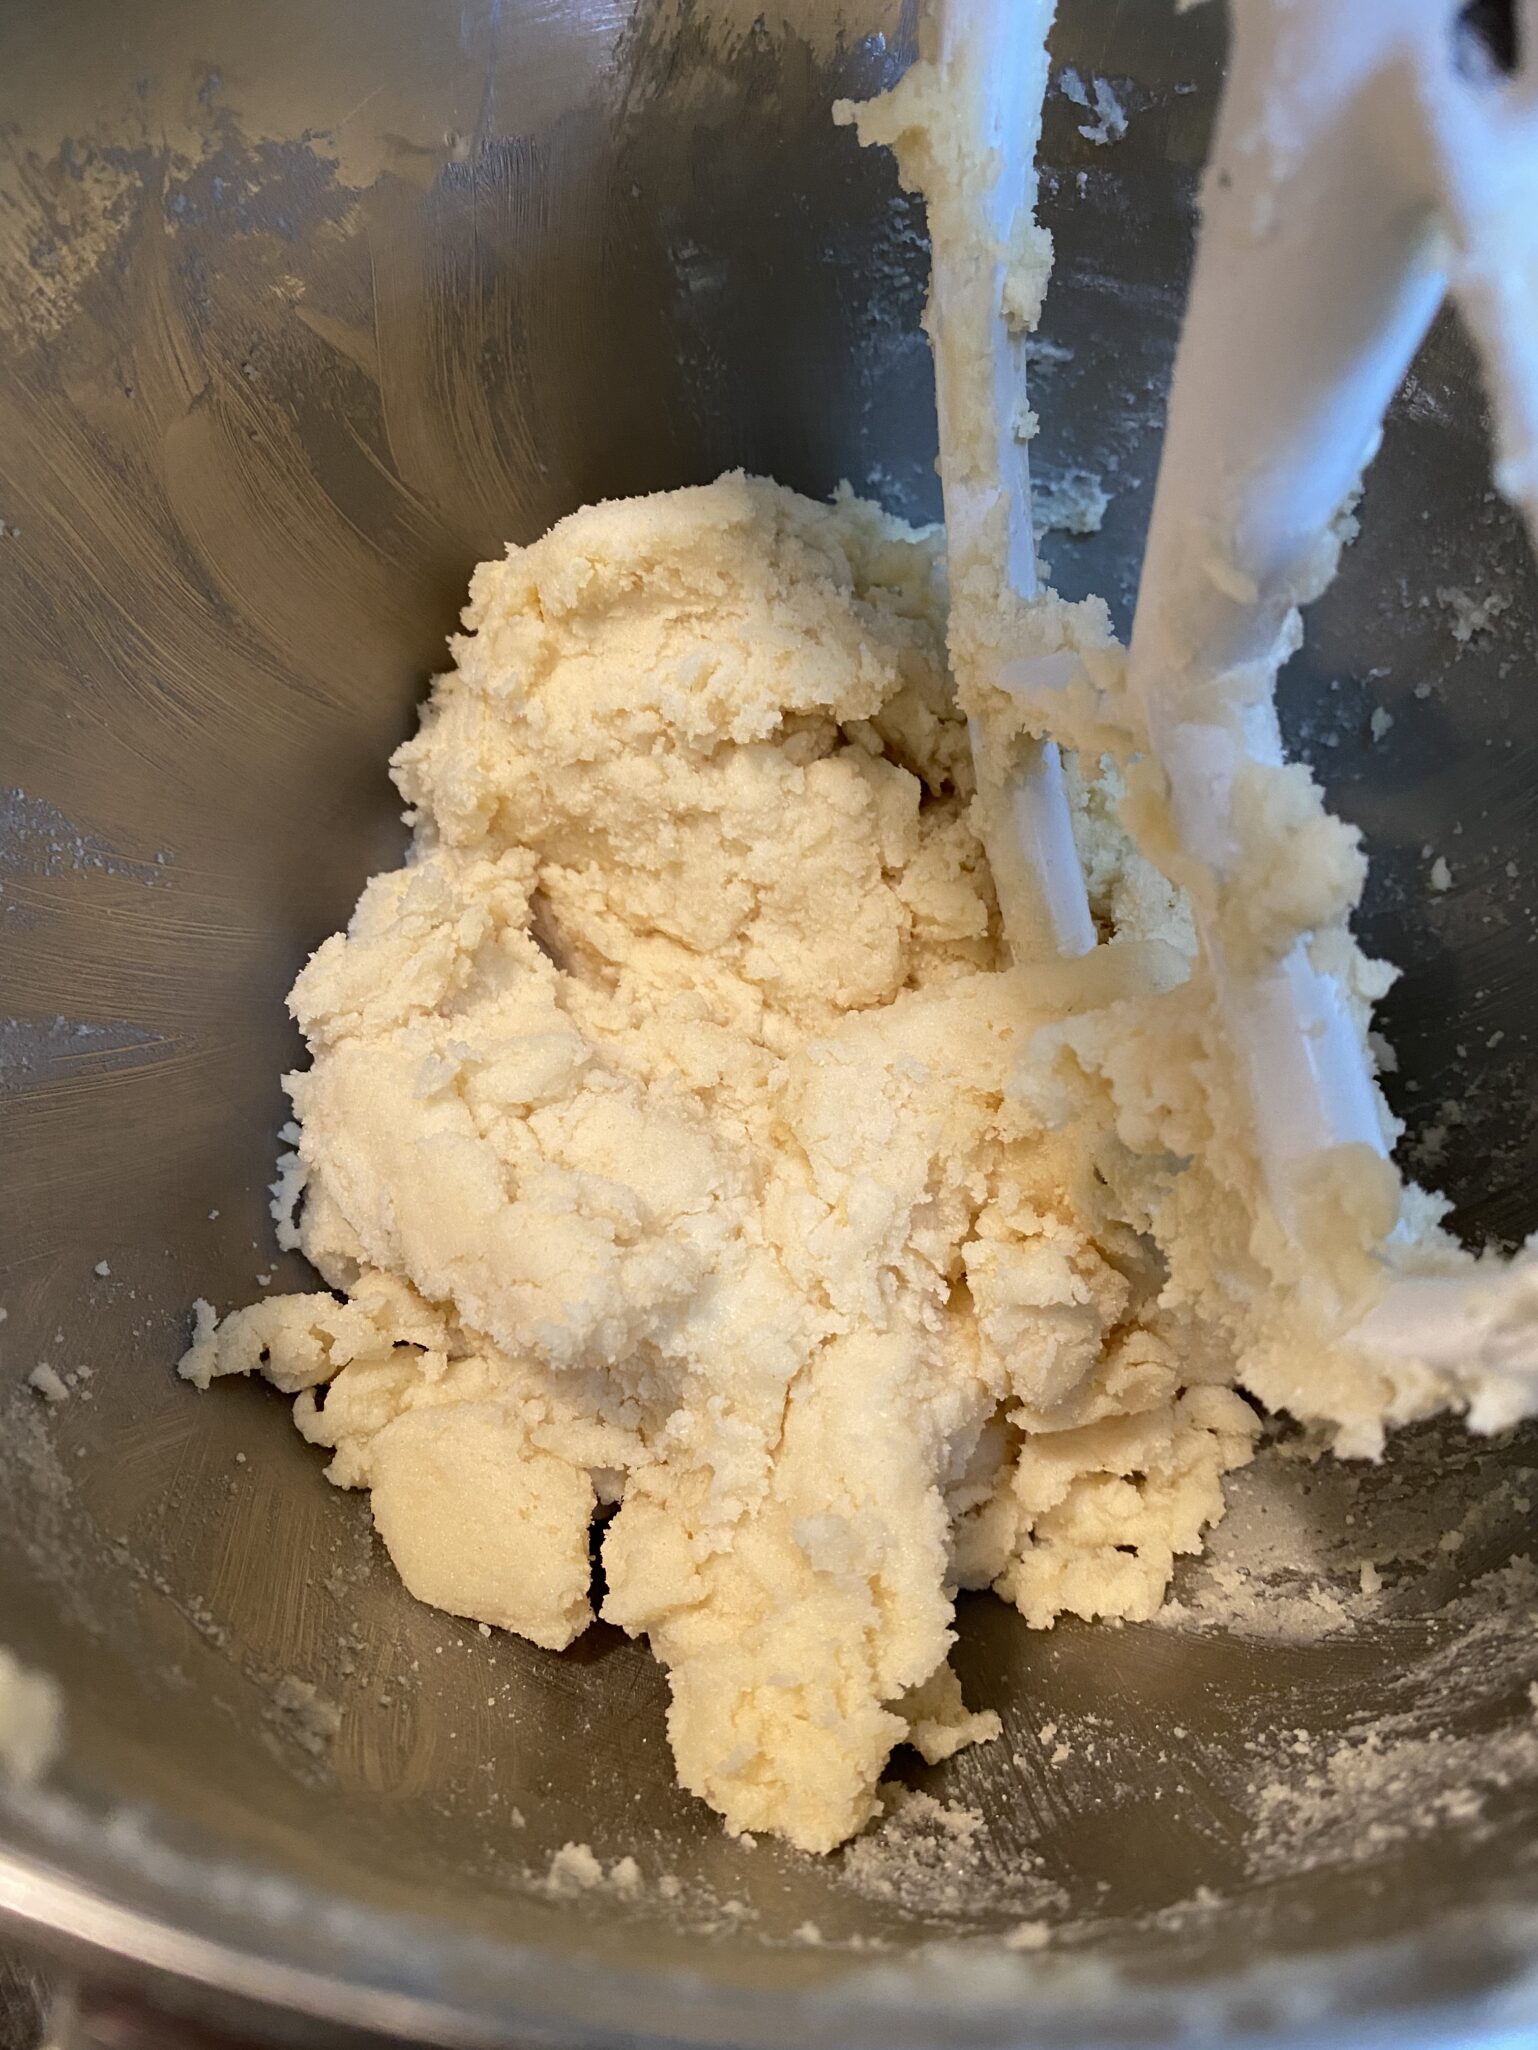
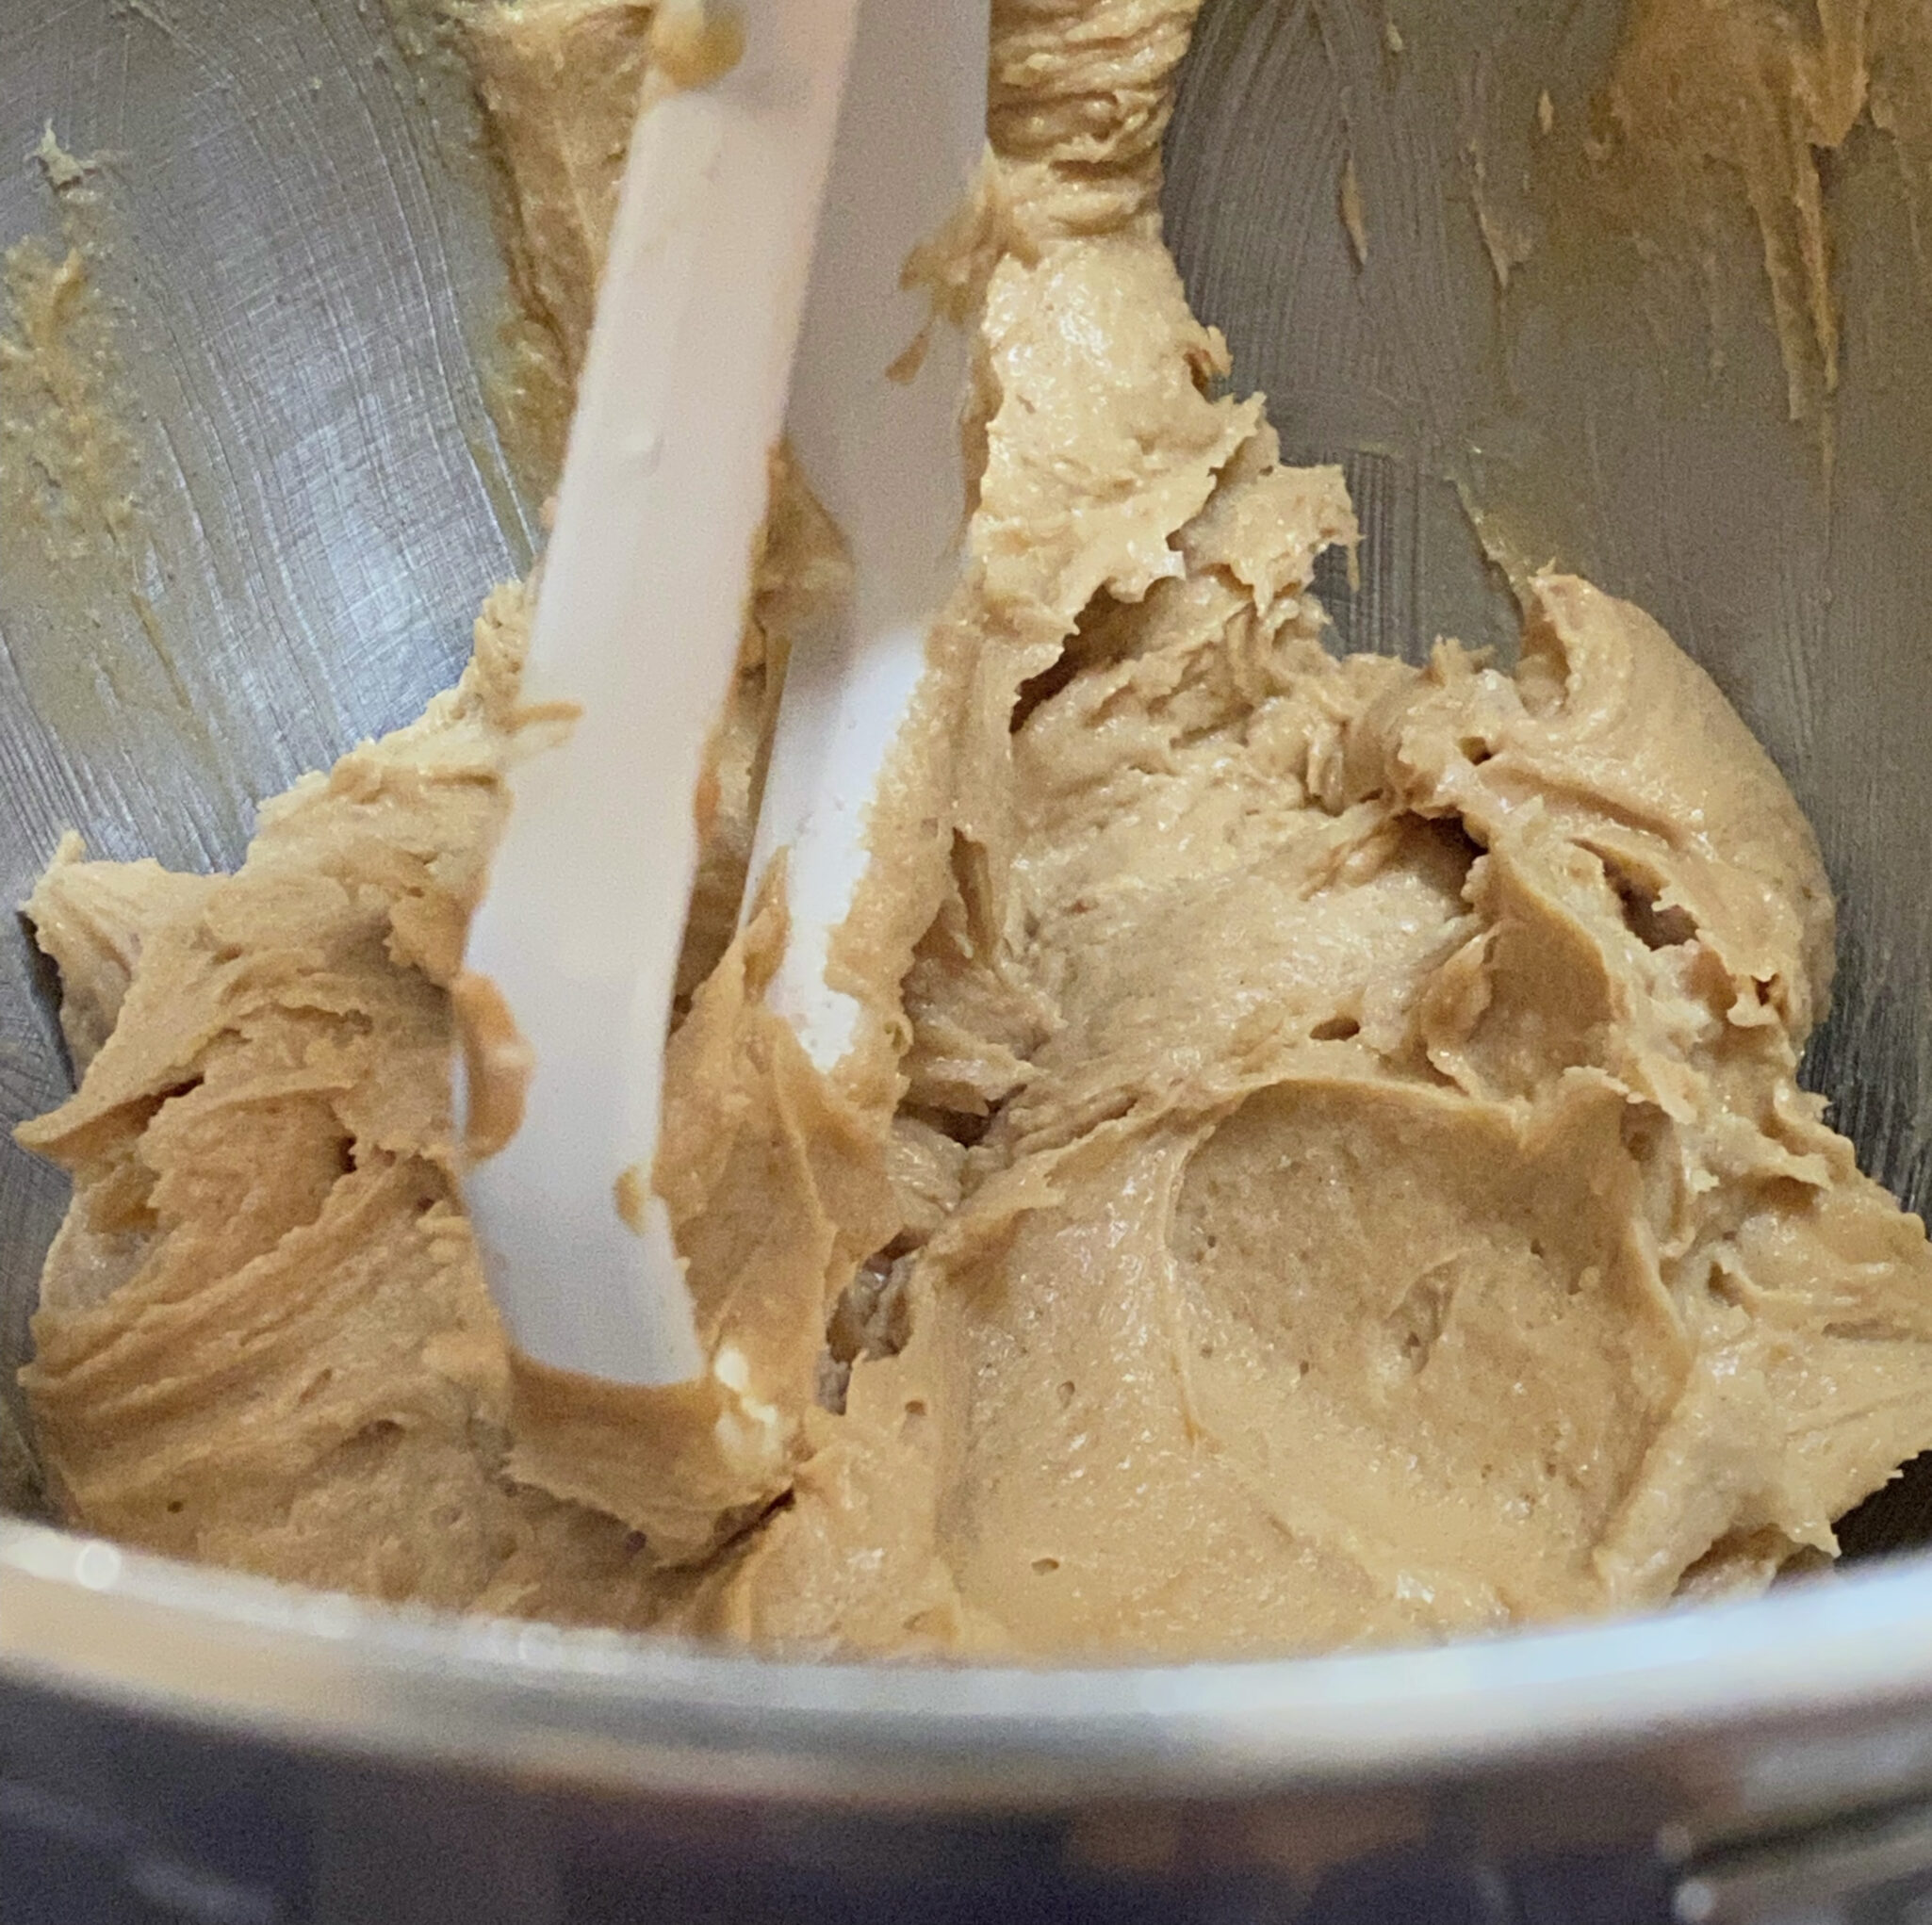
Add the peanut butter, egg, and vanilla. If you like more texture, feel free to use chunky peanut butter. Beat until well combined.
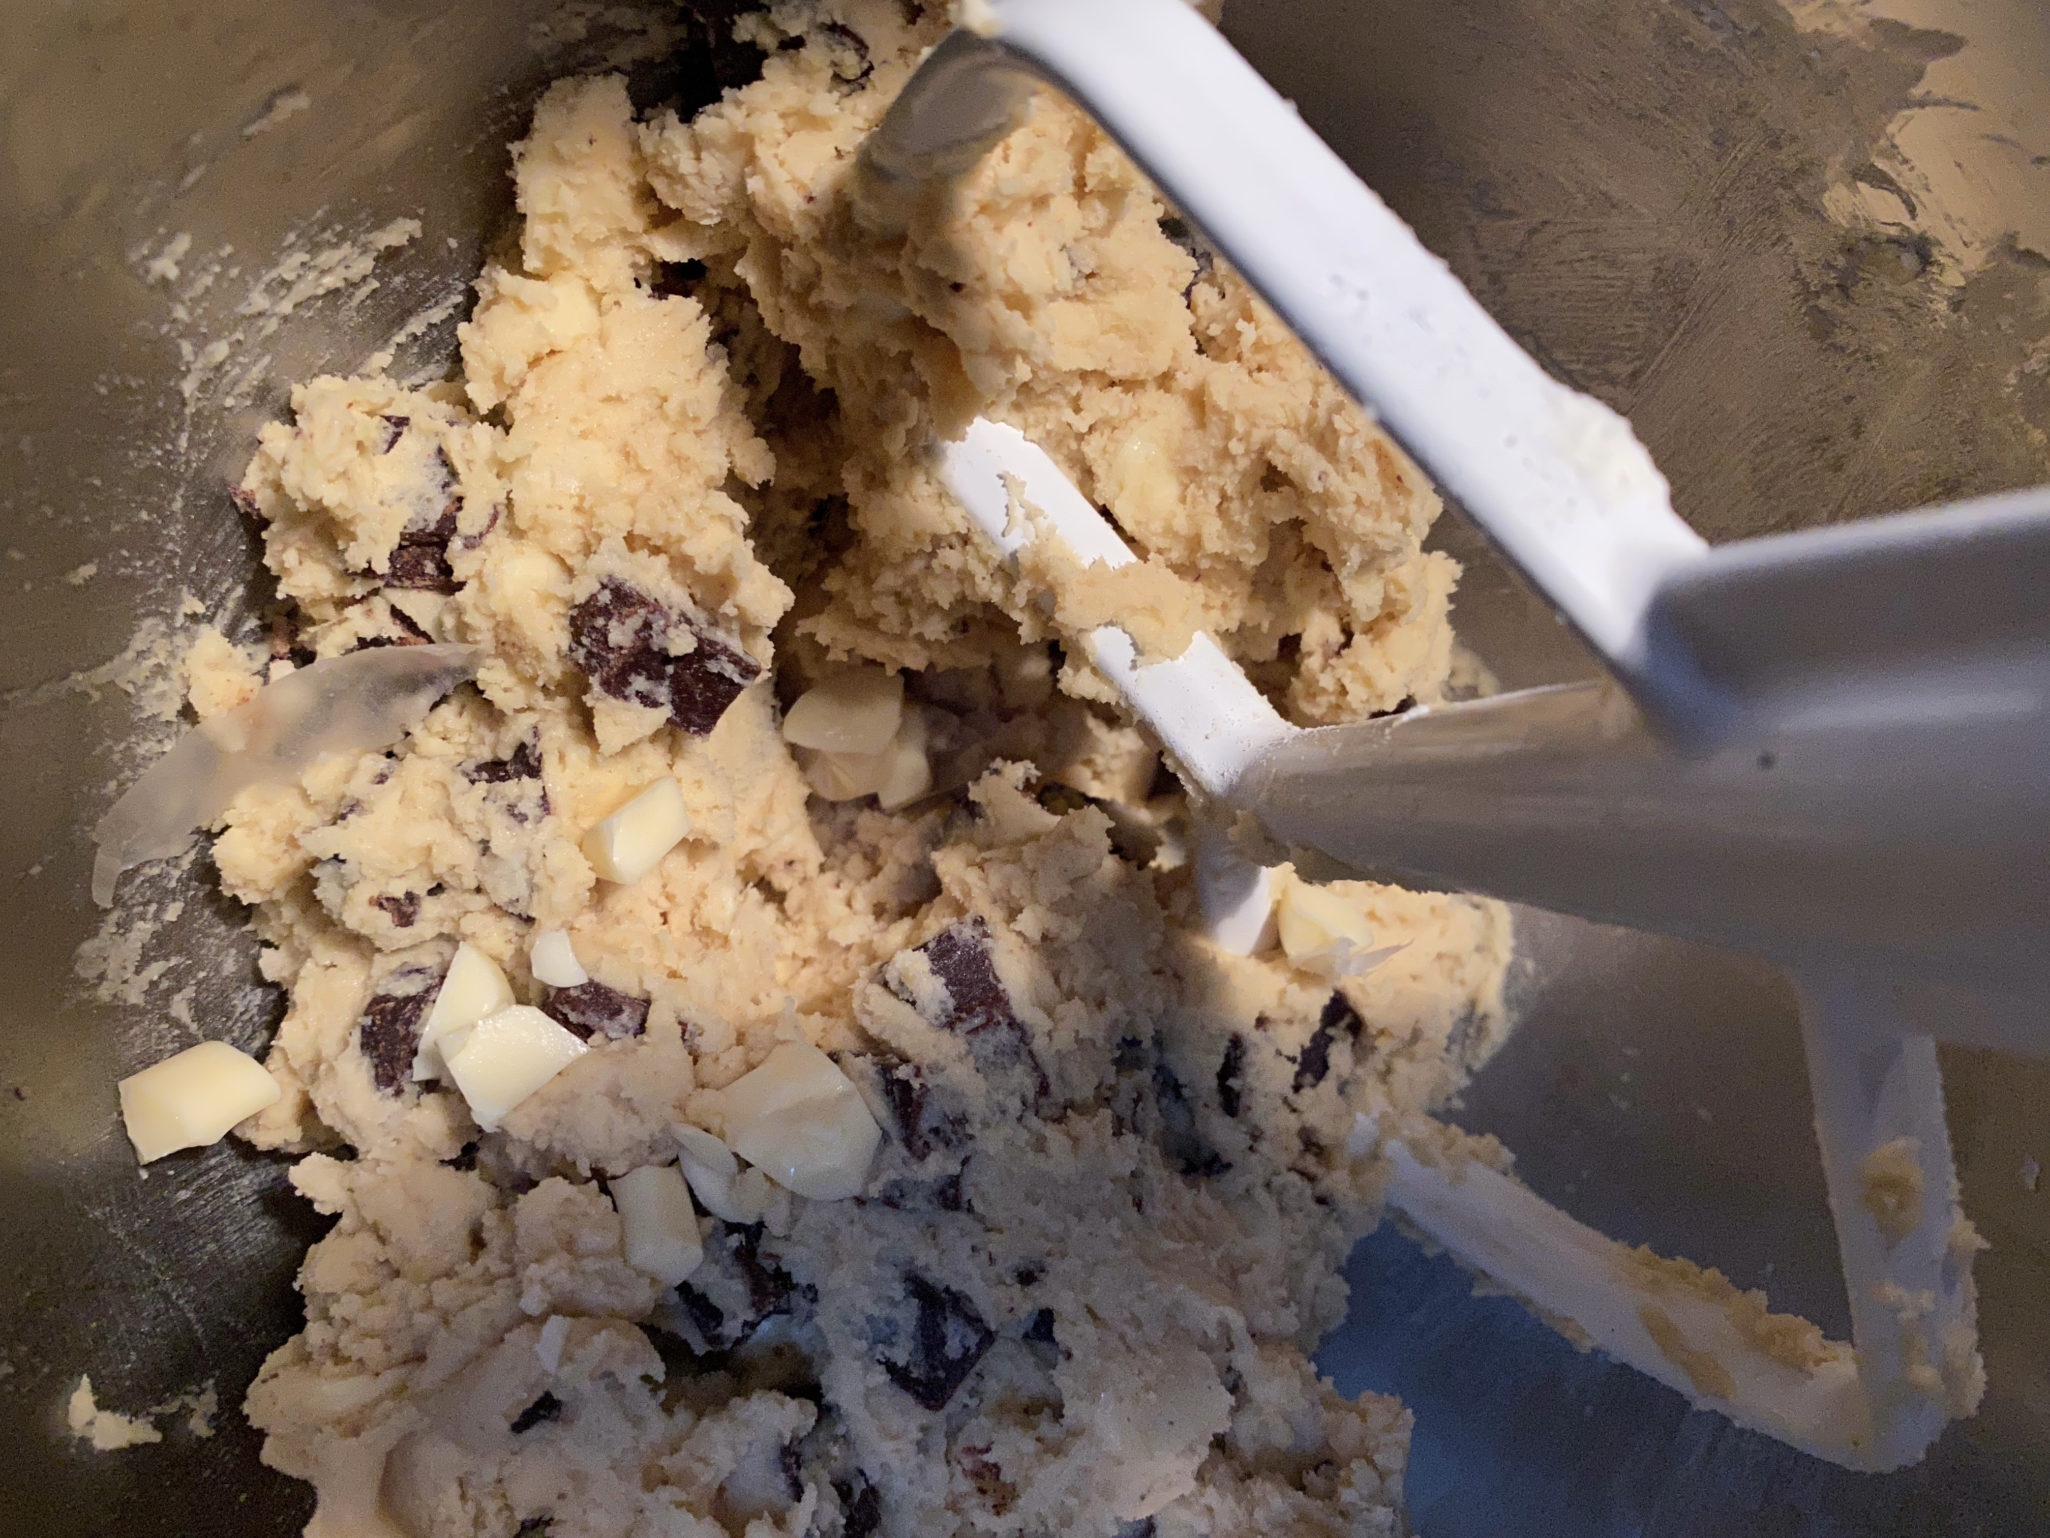
Add the flour mixture and mix on low speed just until combined with no remaining traces of flour. Do not overbeat as this will toughen the cookie.

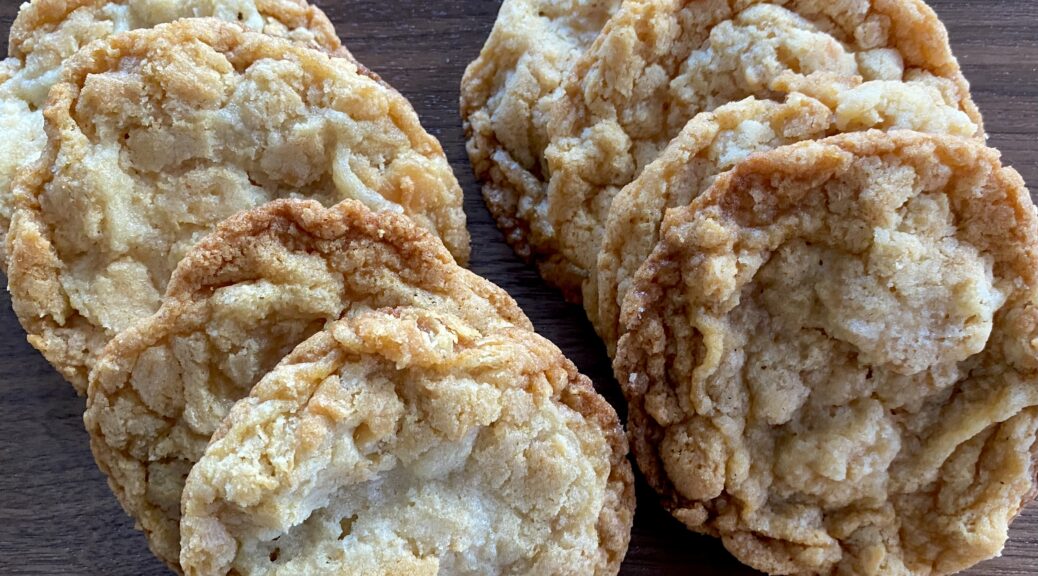
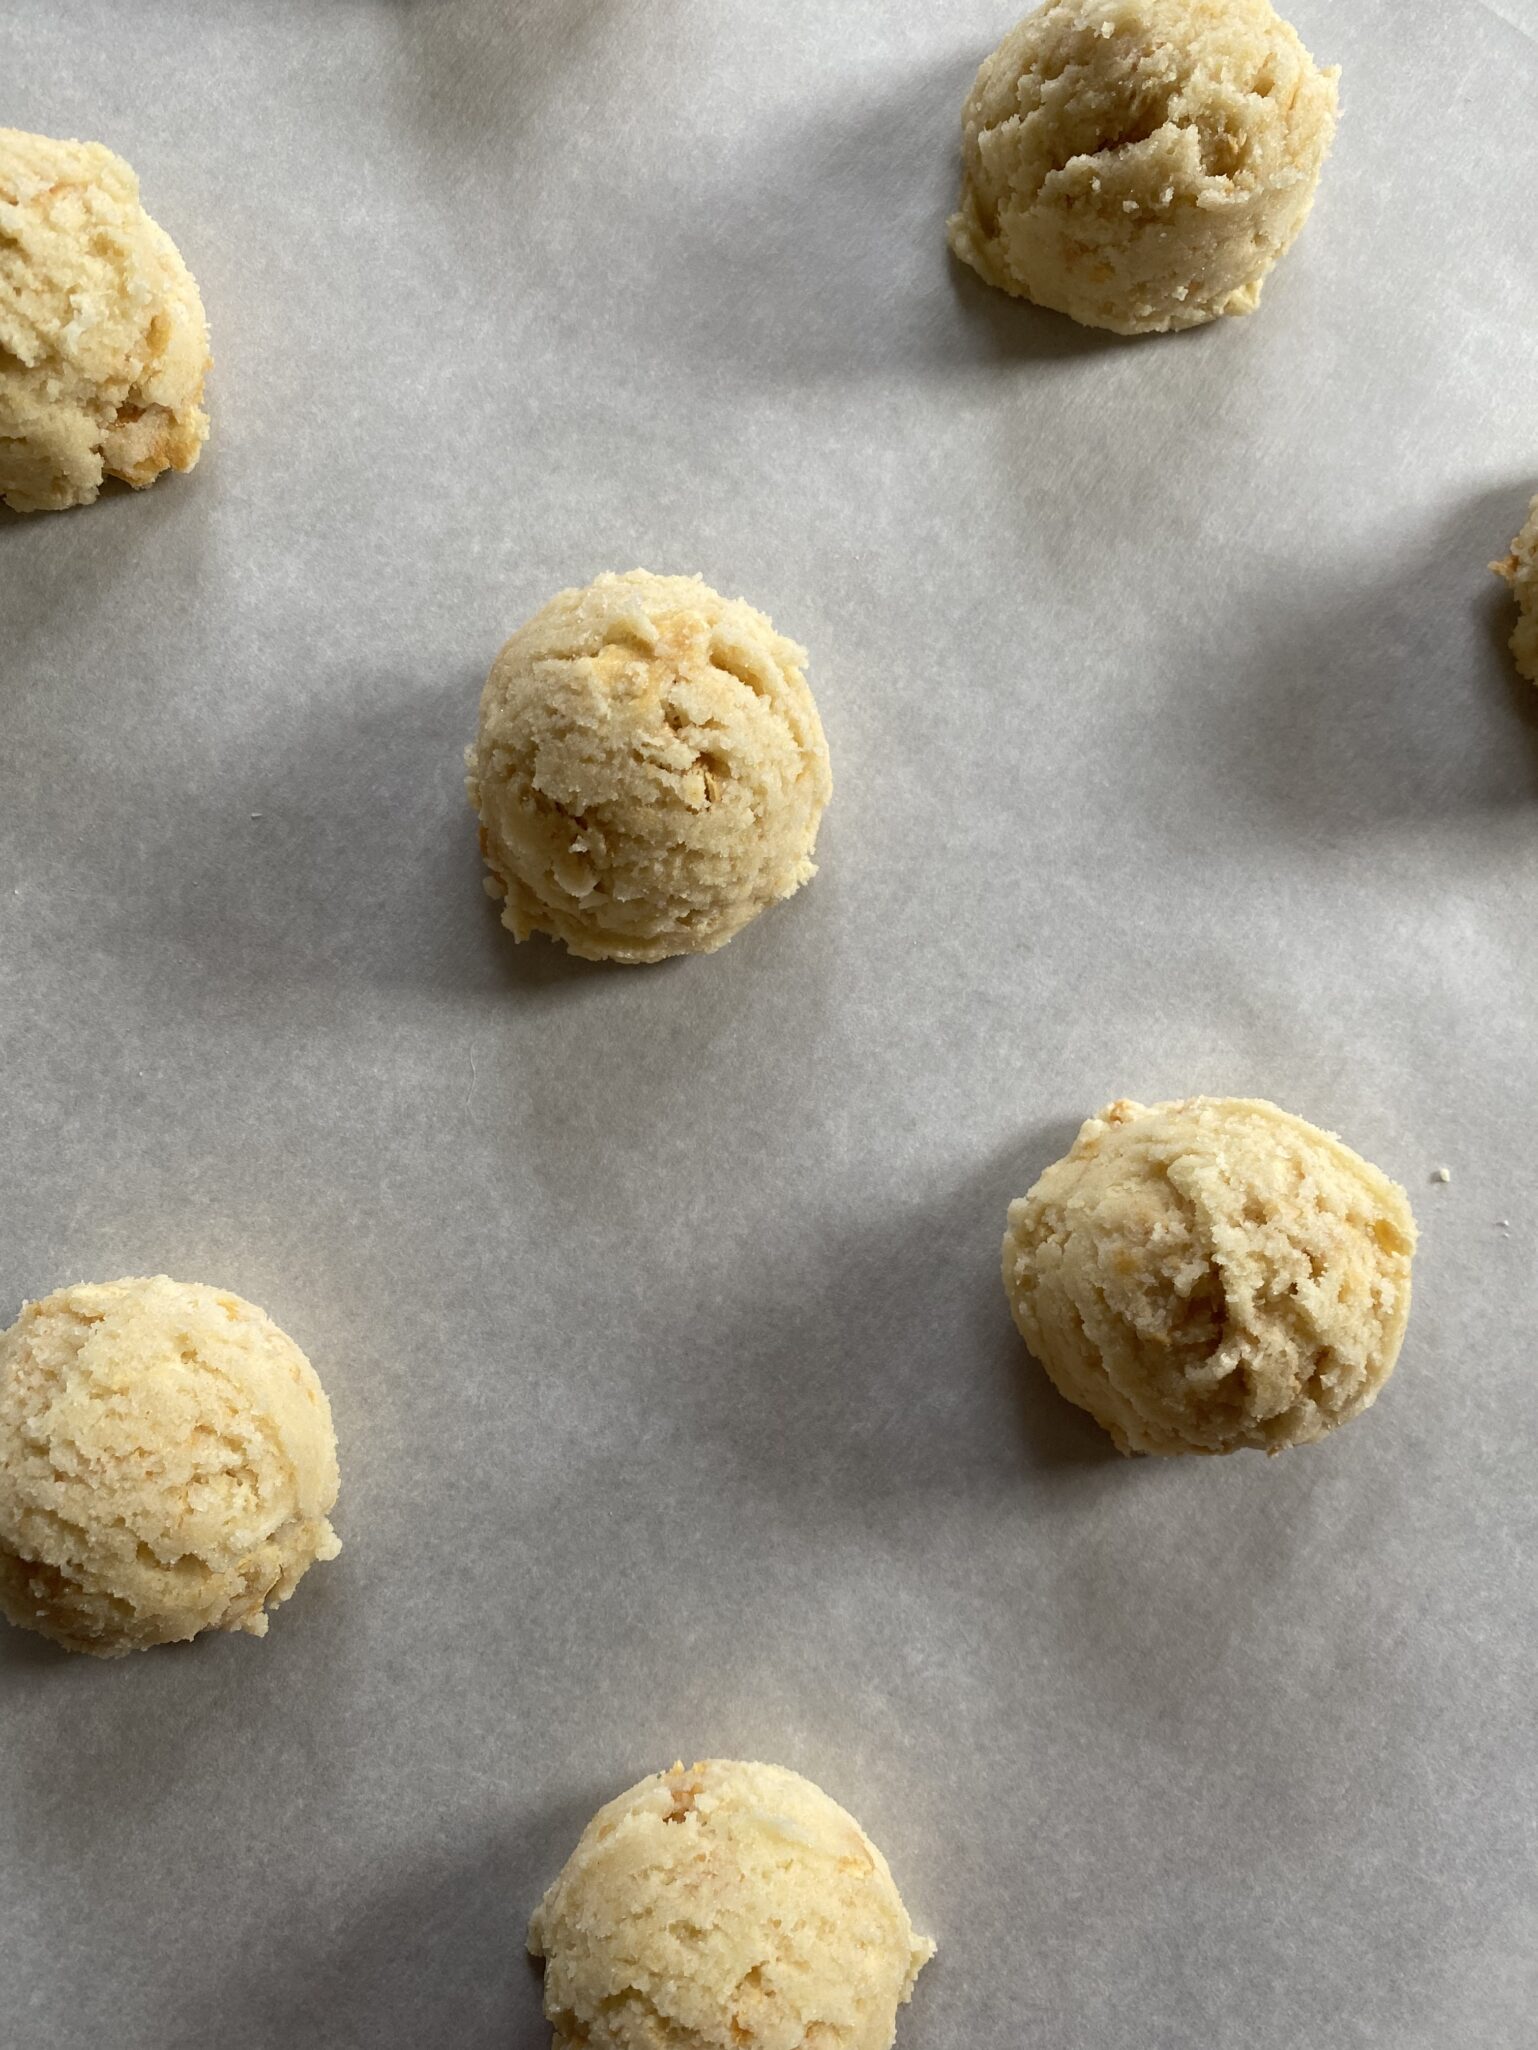
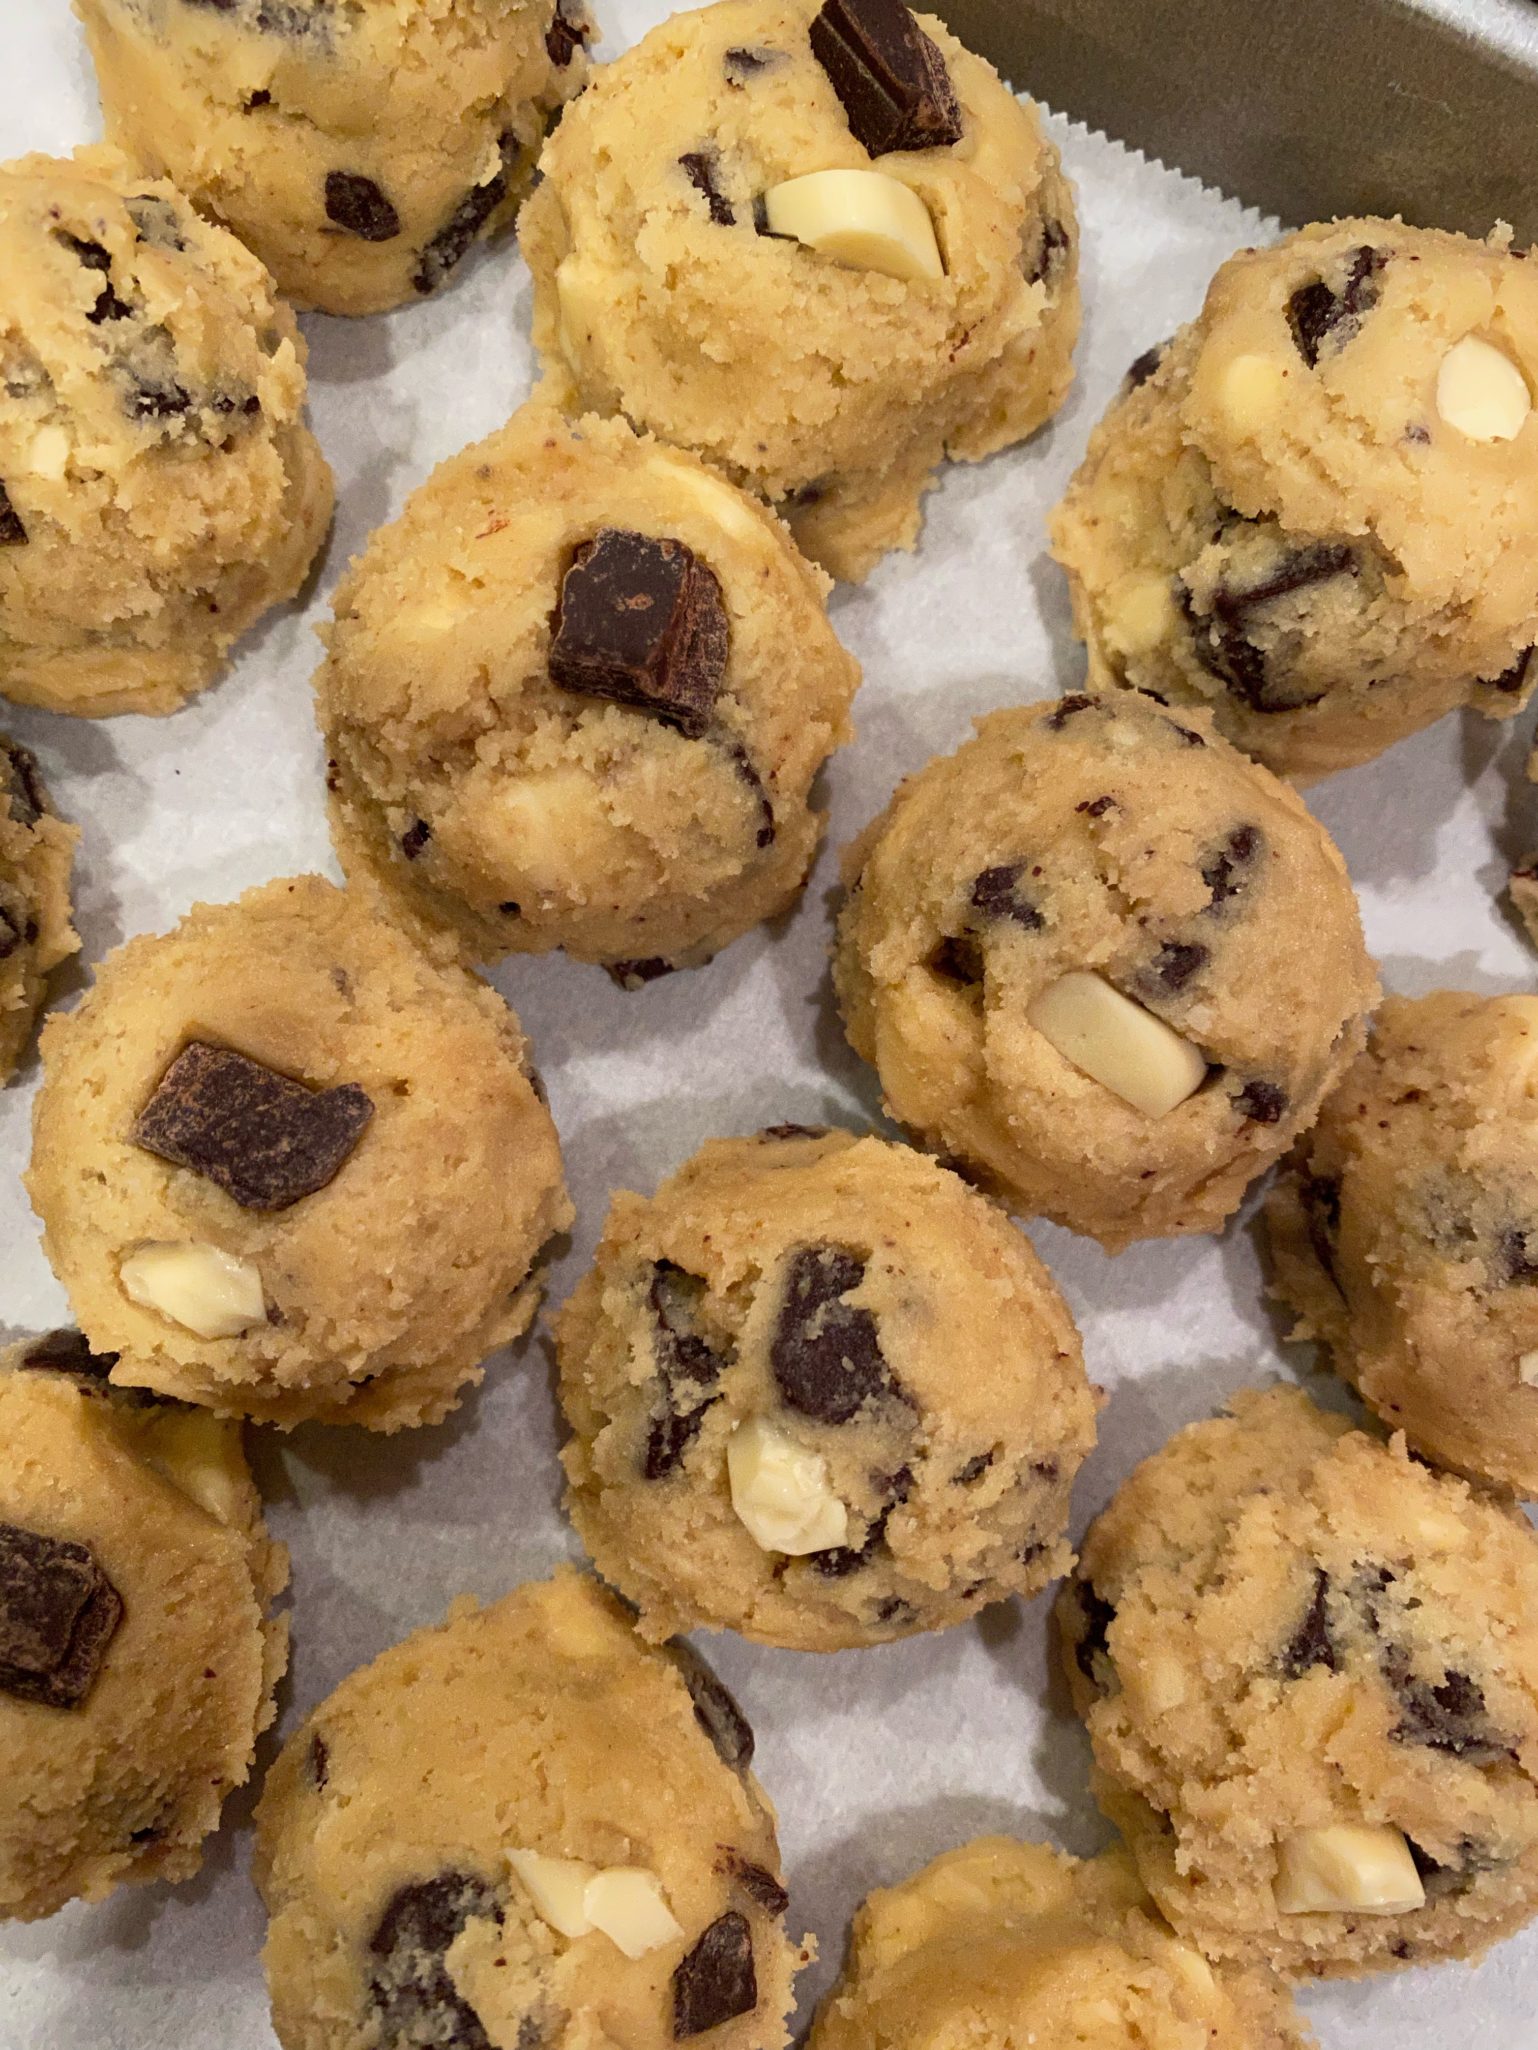
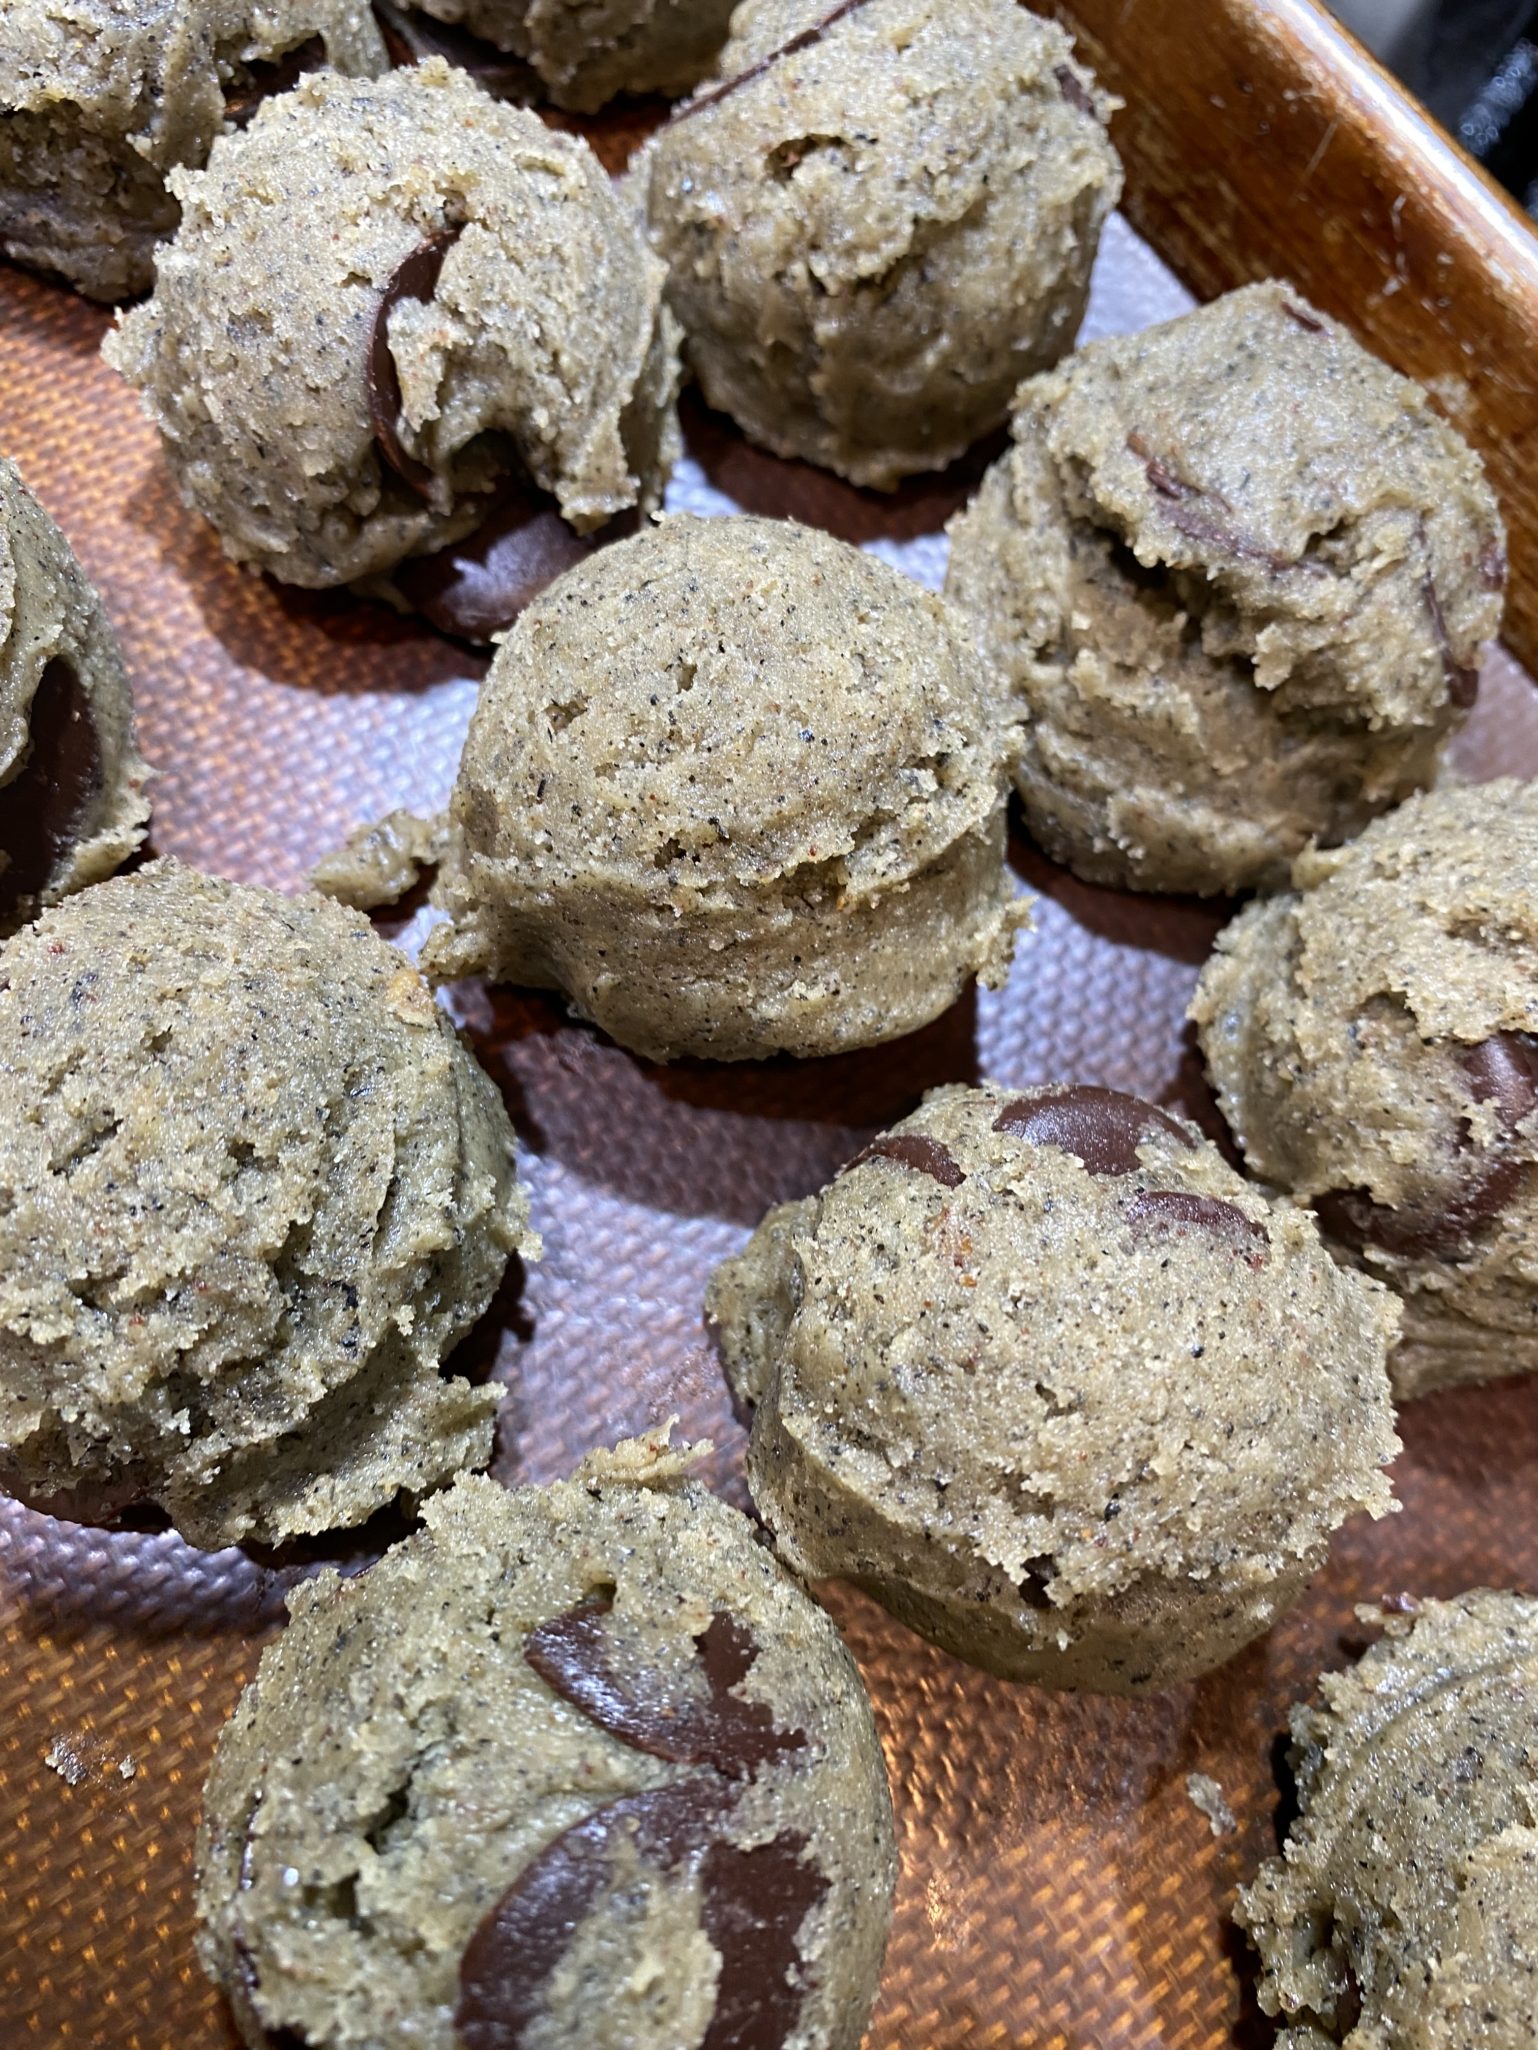
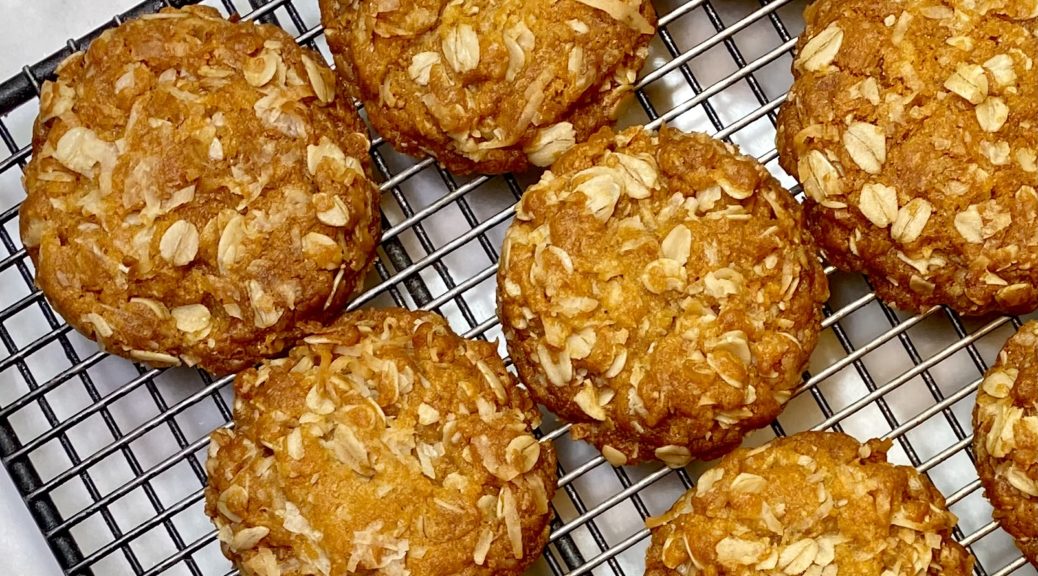
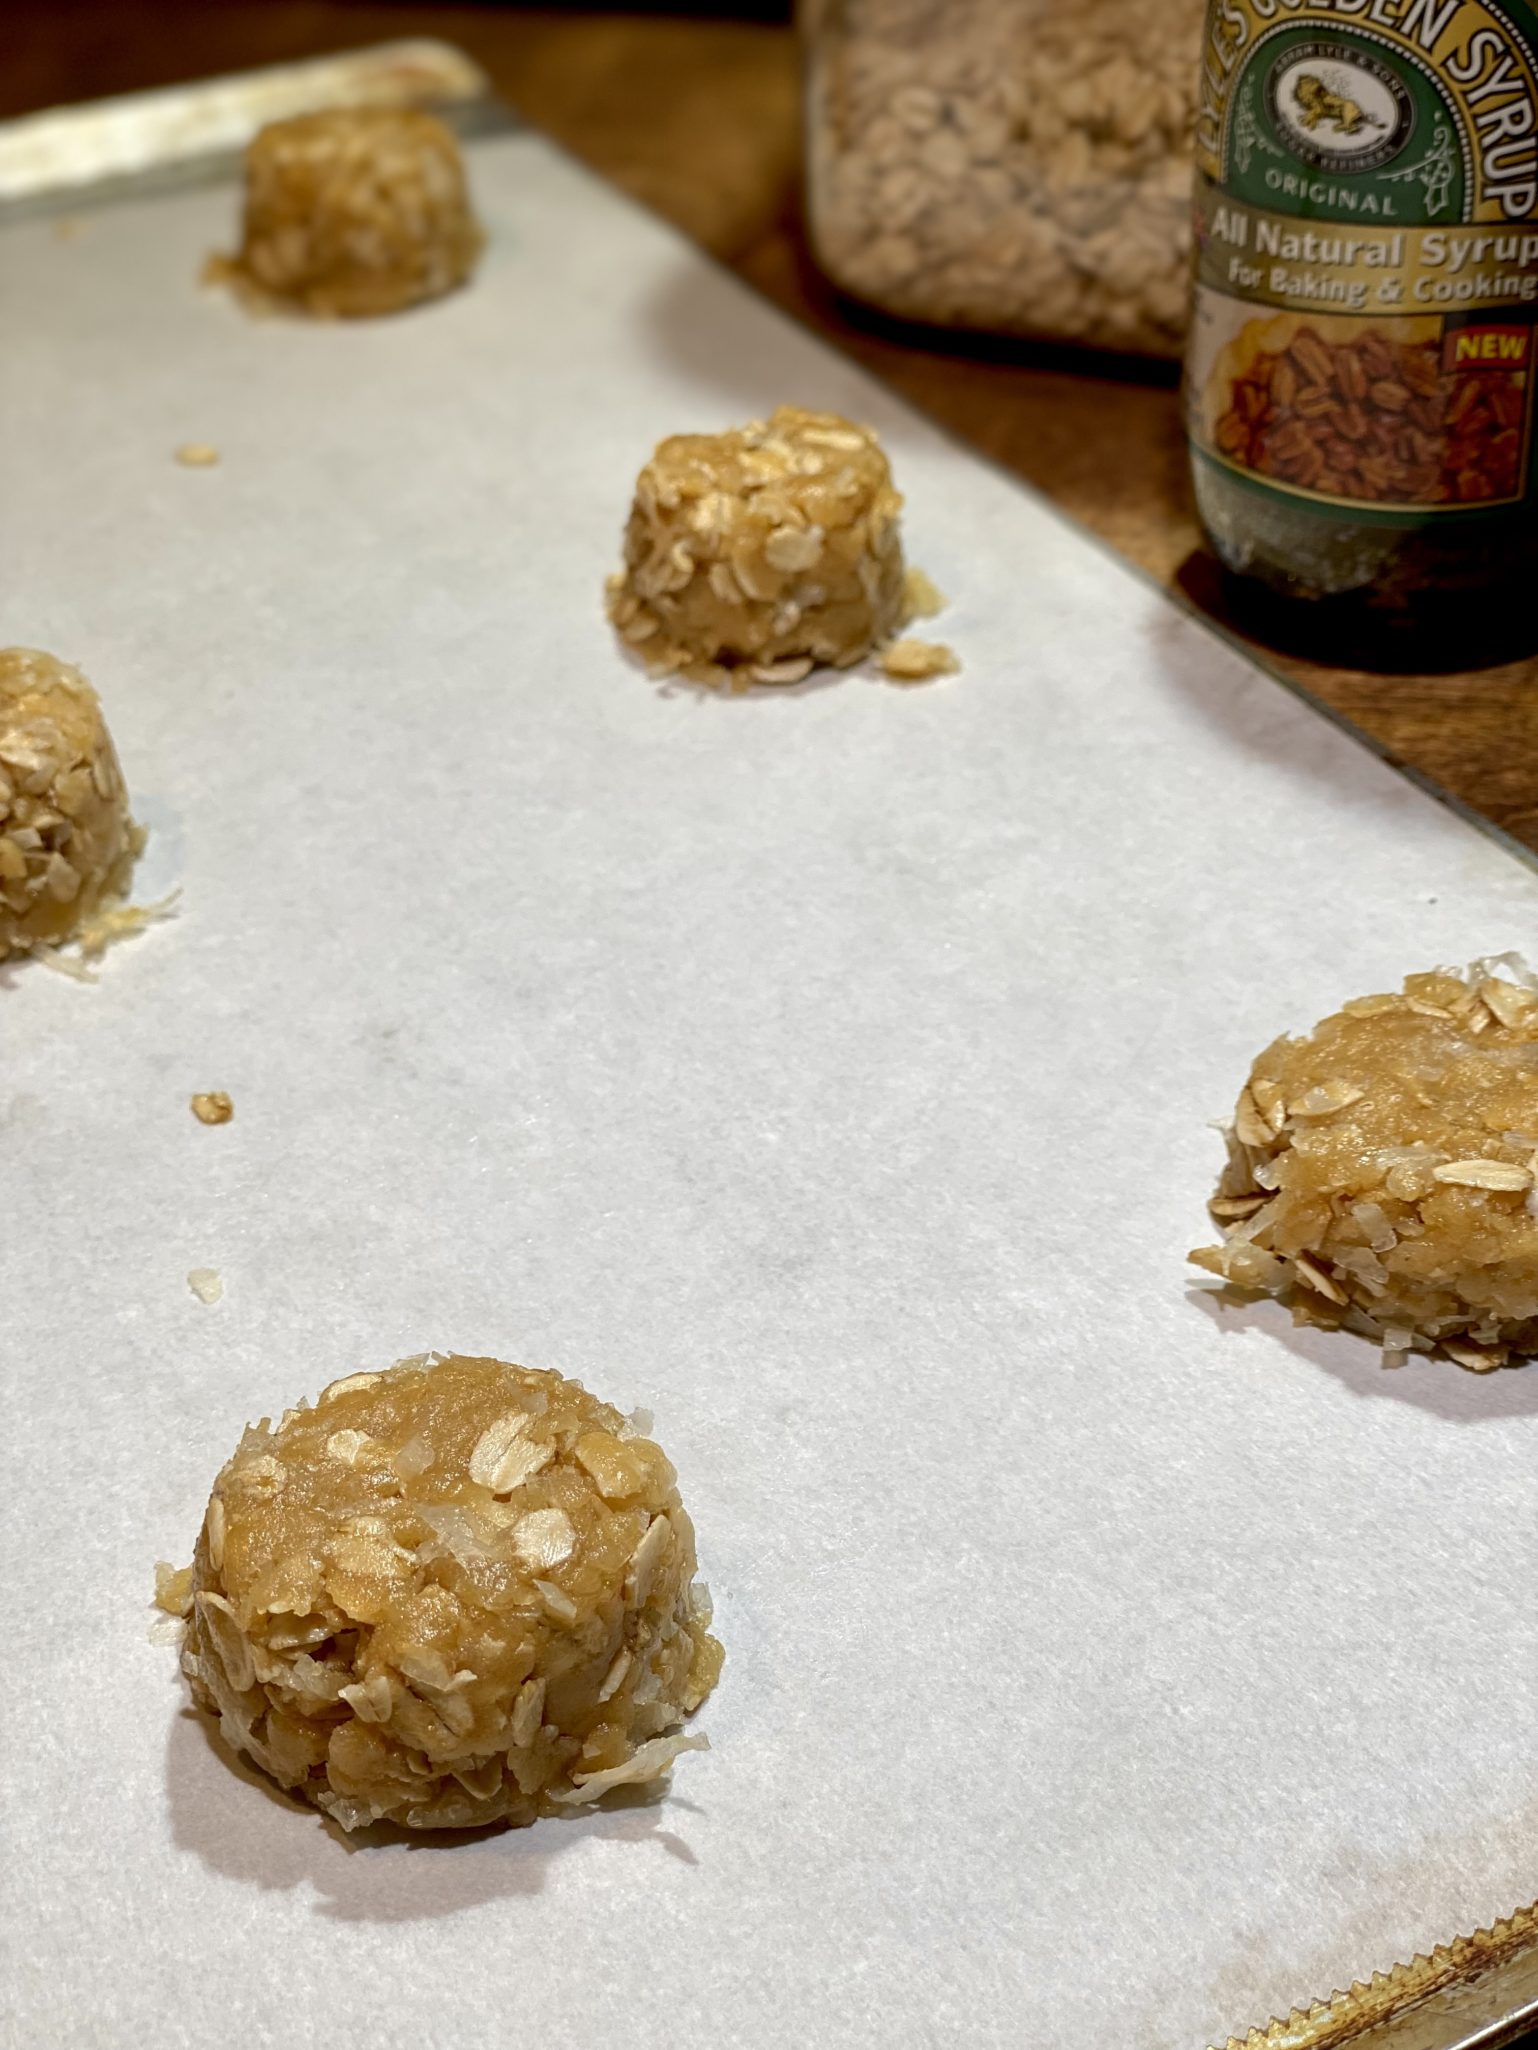
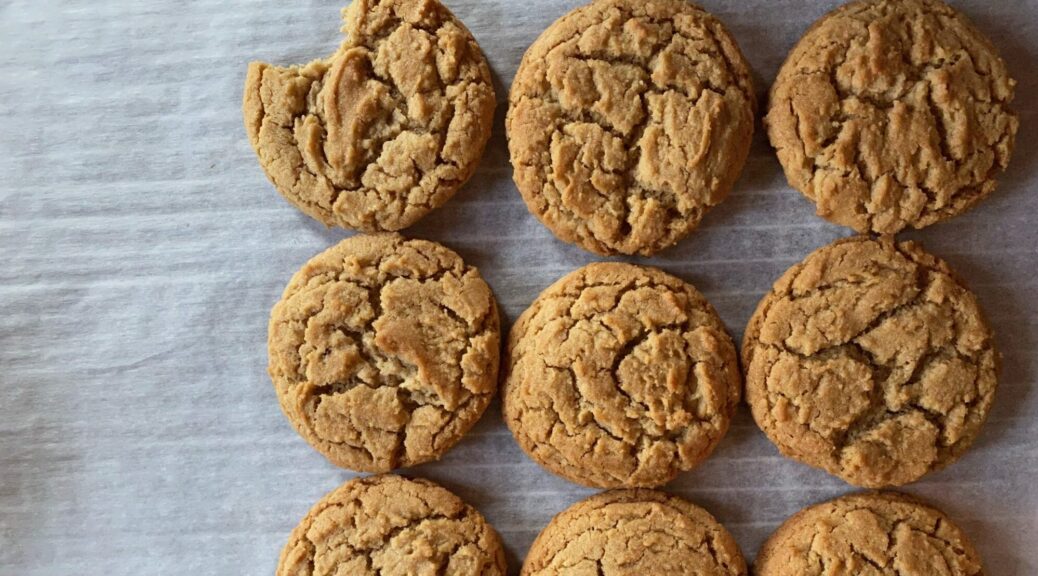
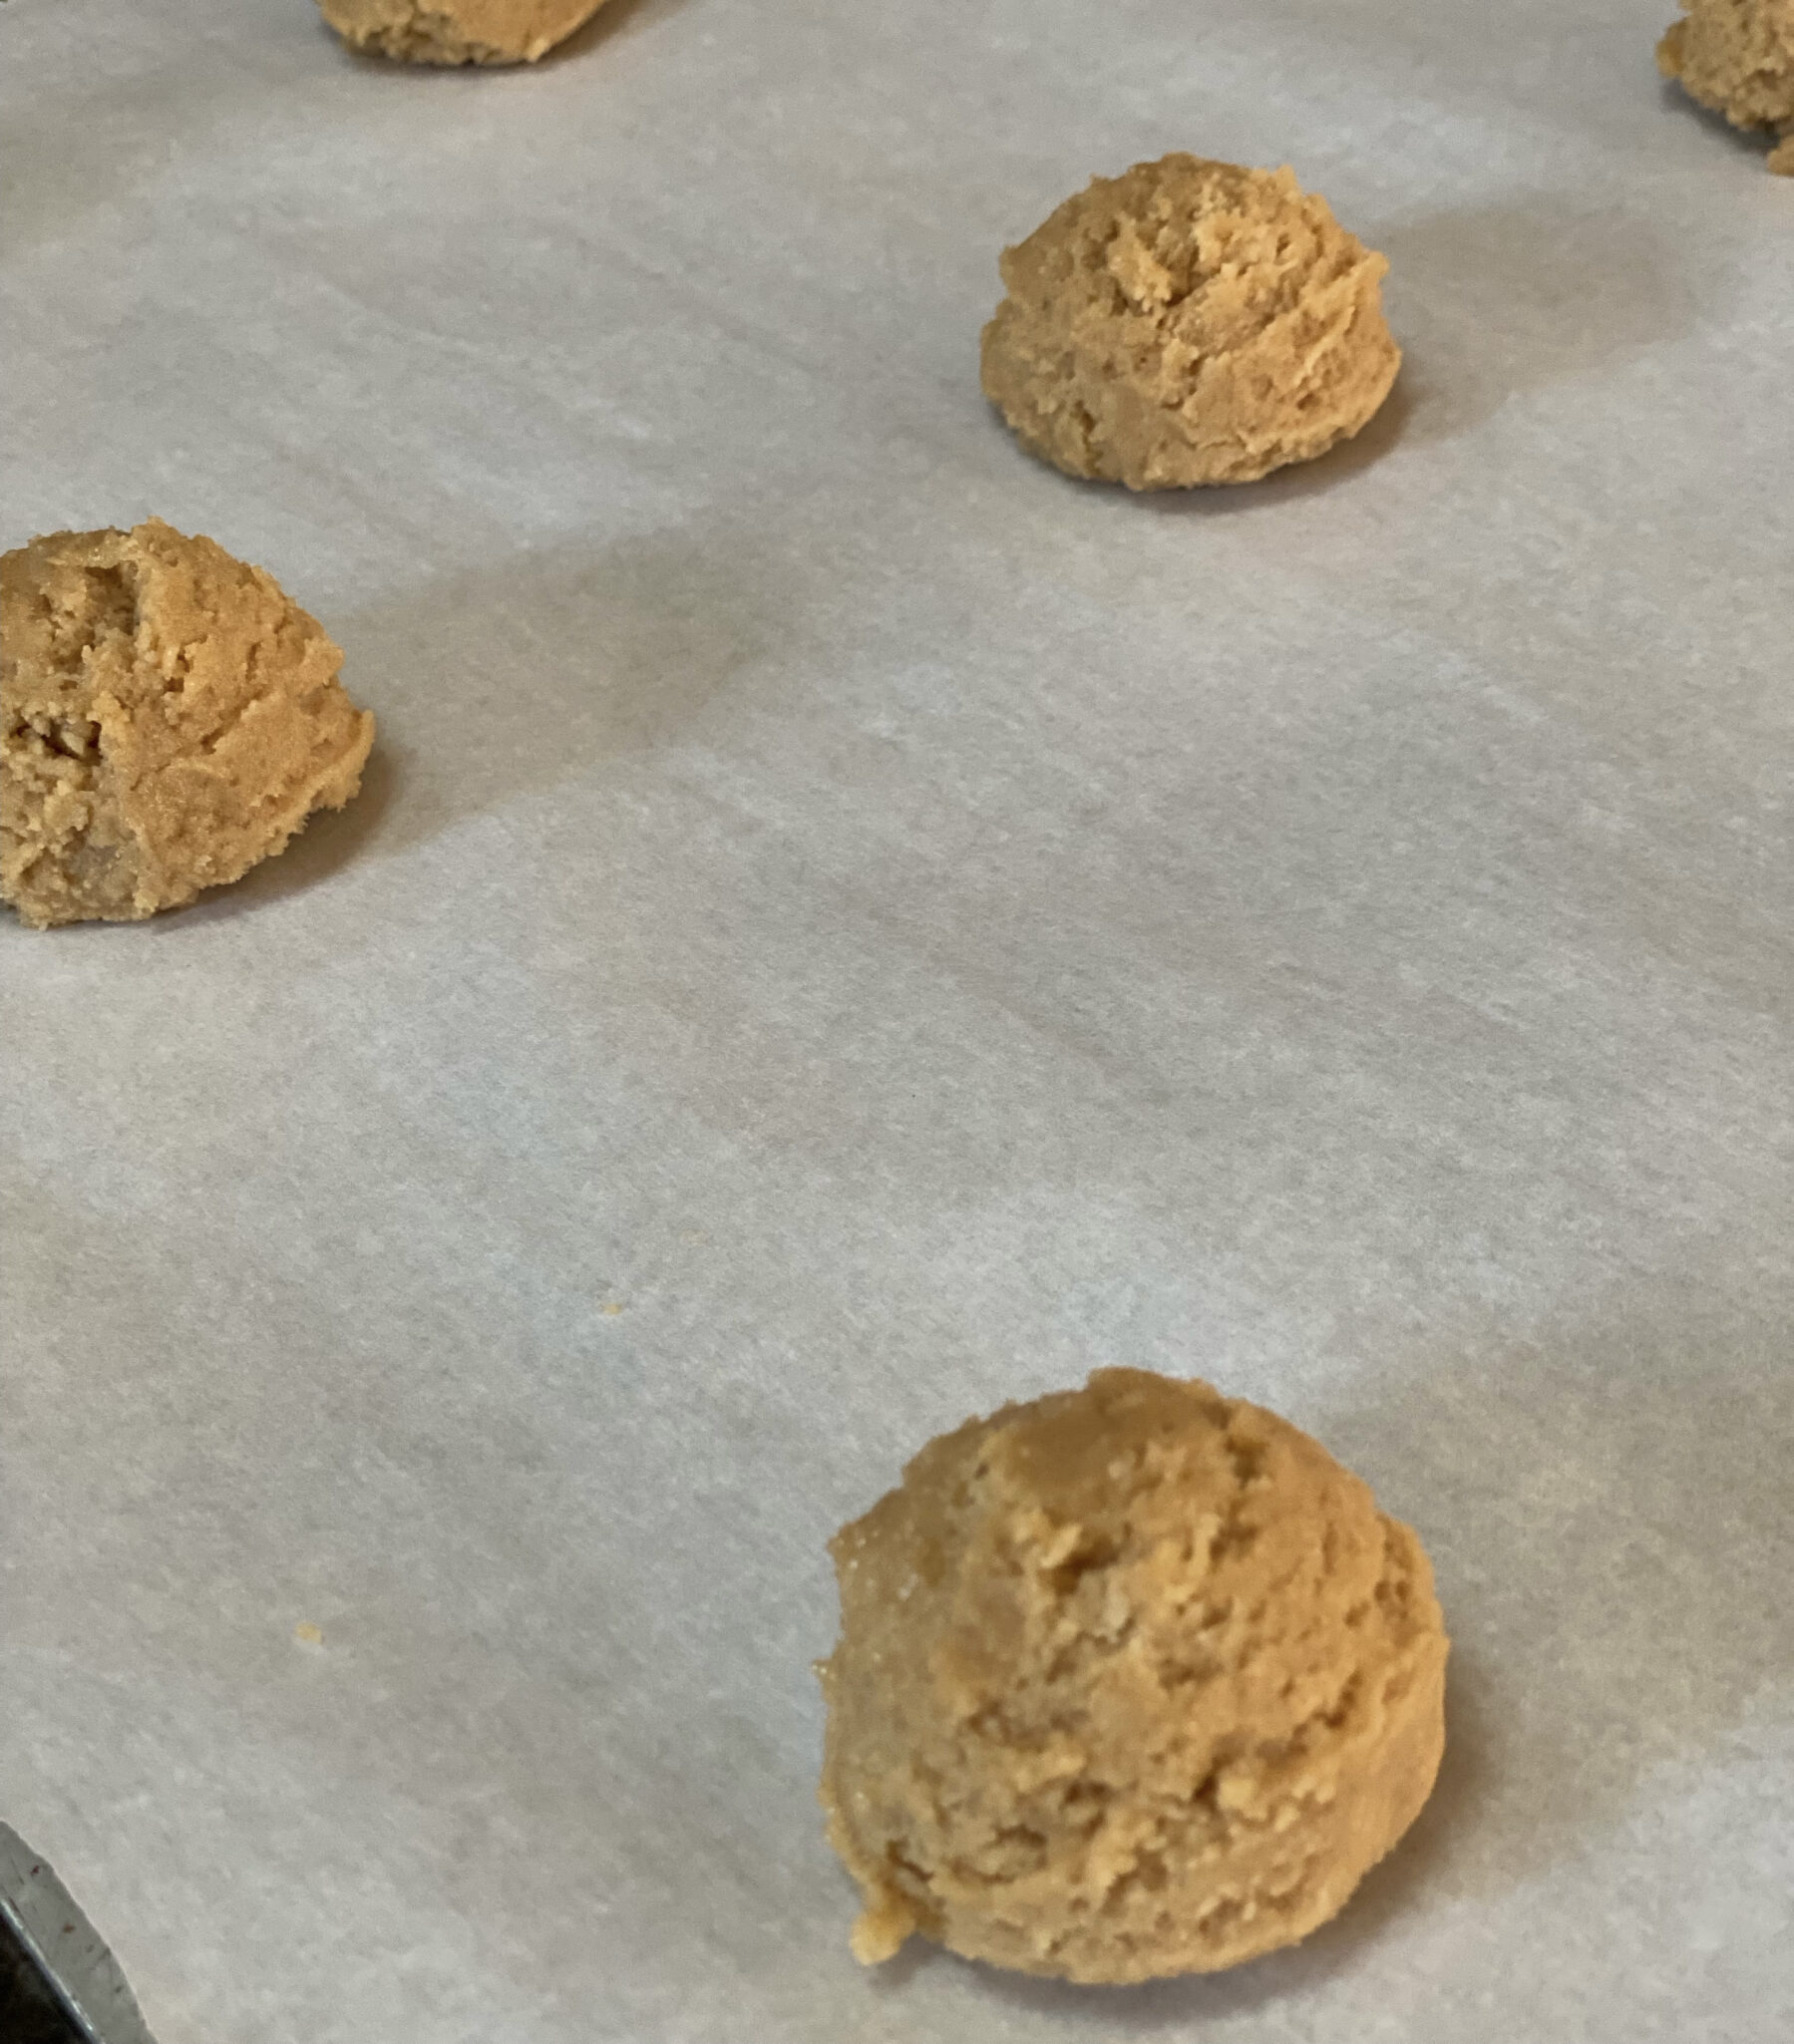
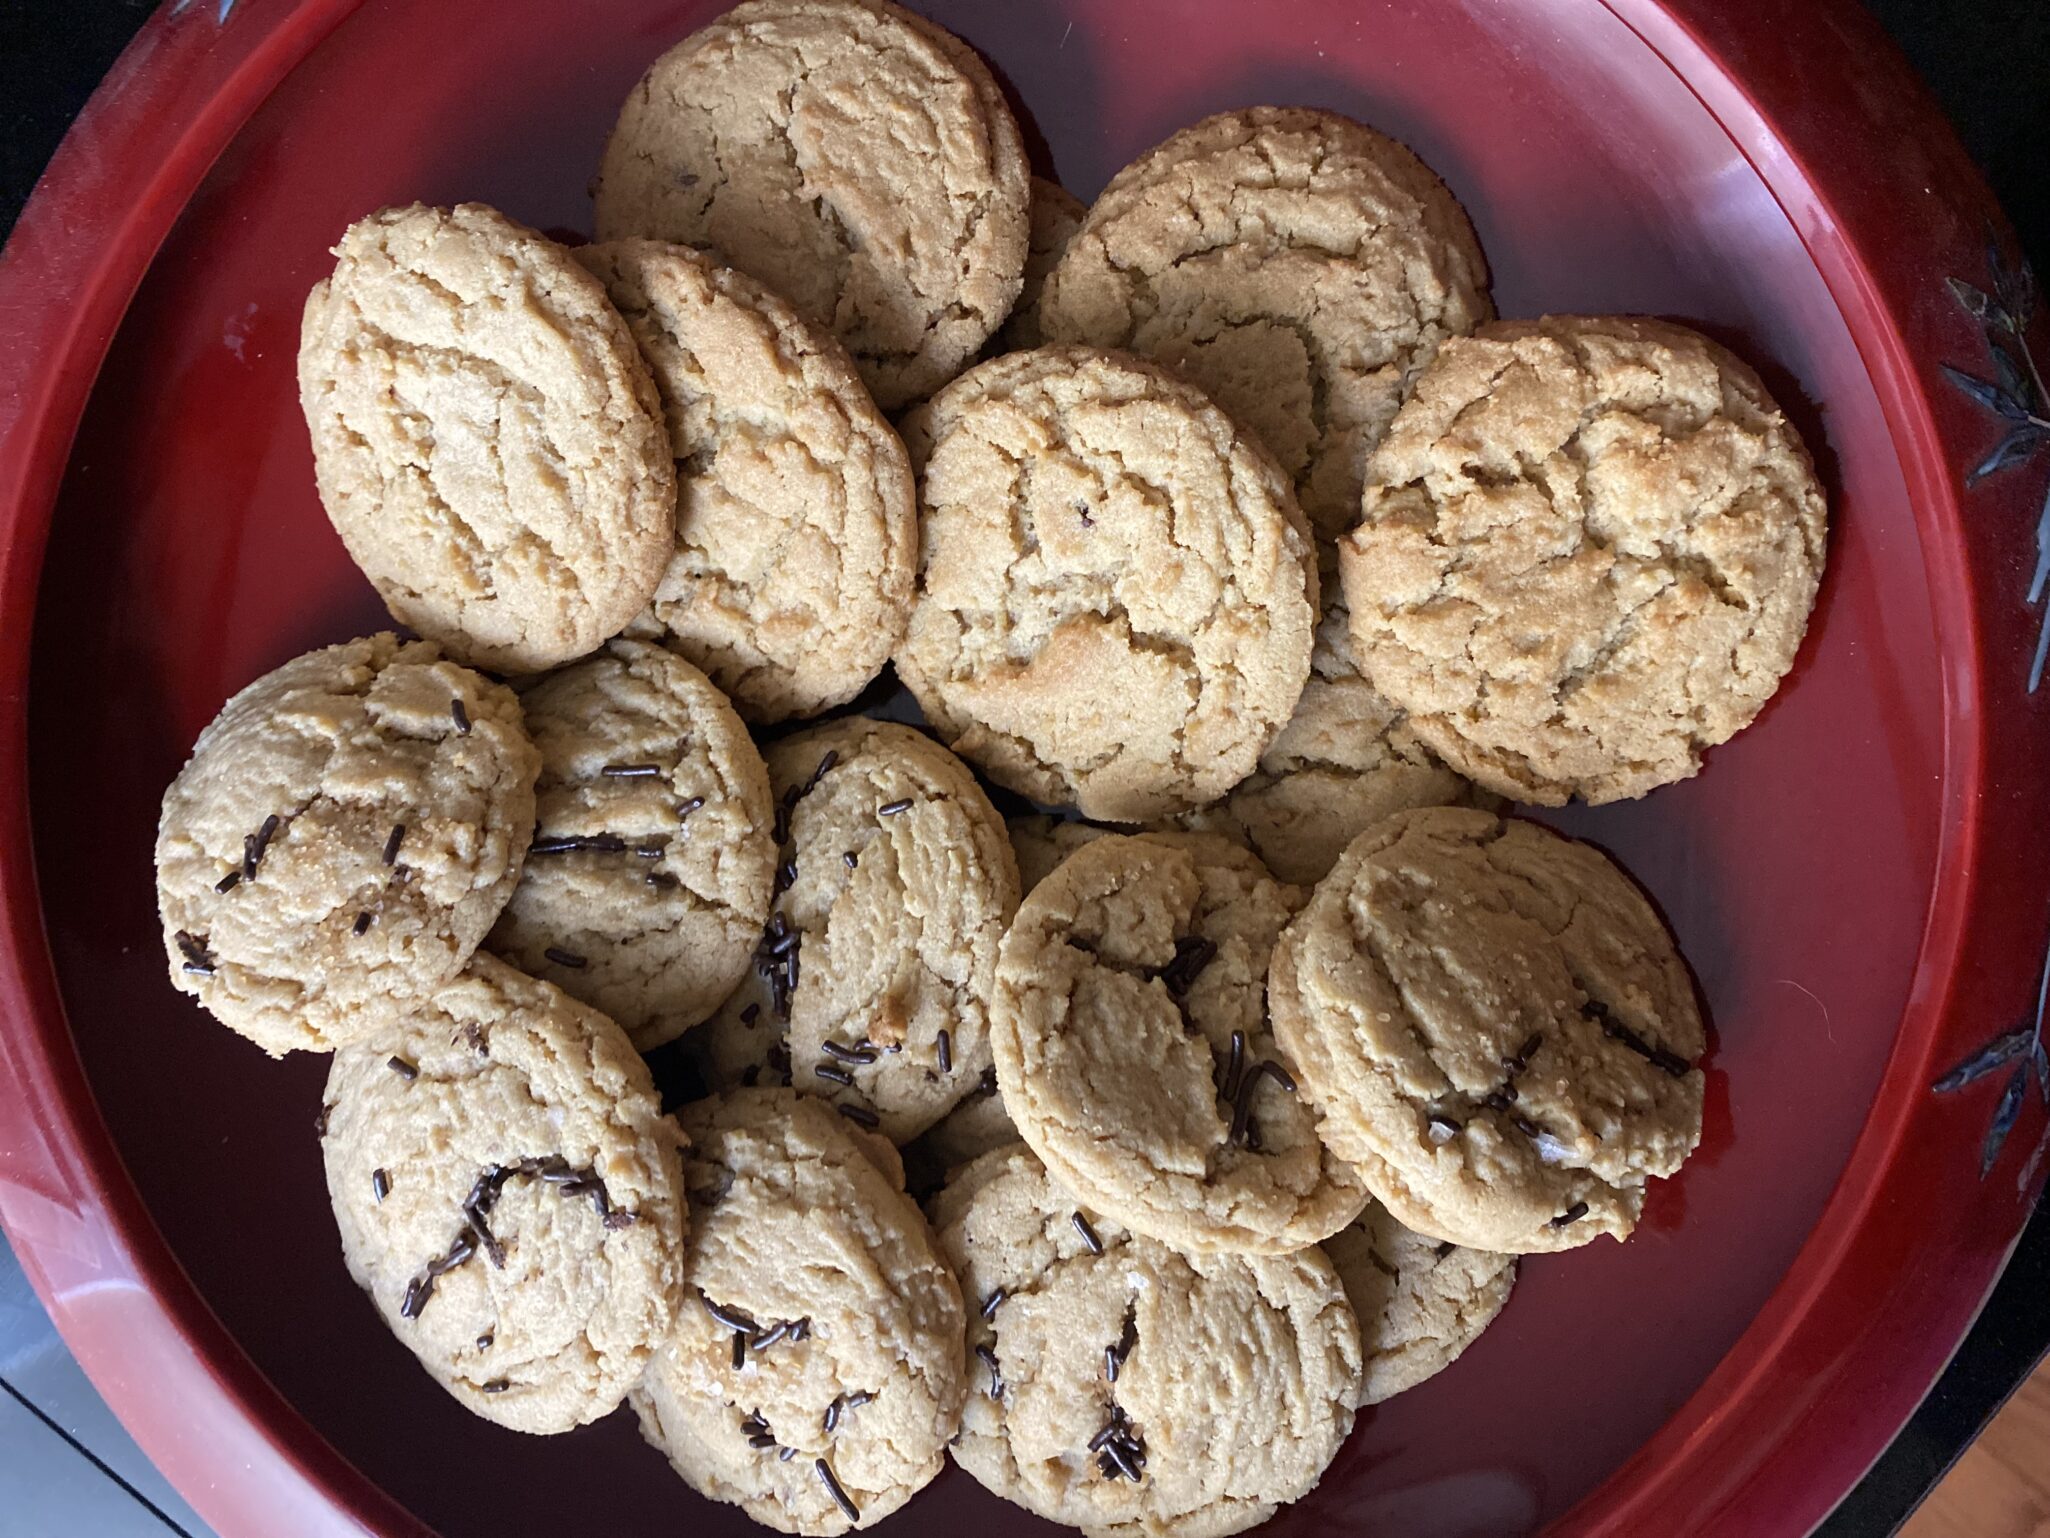
Use a #40 scoop (approximately 1.6 tablespoons) and place the dough on a parchment-lined cookie sheet. Bake one sheet at a time. Cause that’s how I roll or row actually, lol. The final cookies will be just shy of 3 inches in diameter.
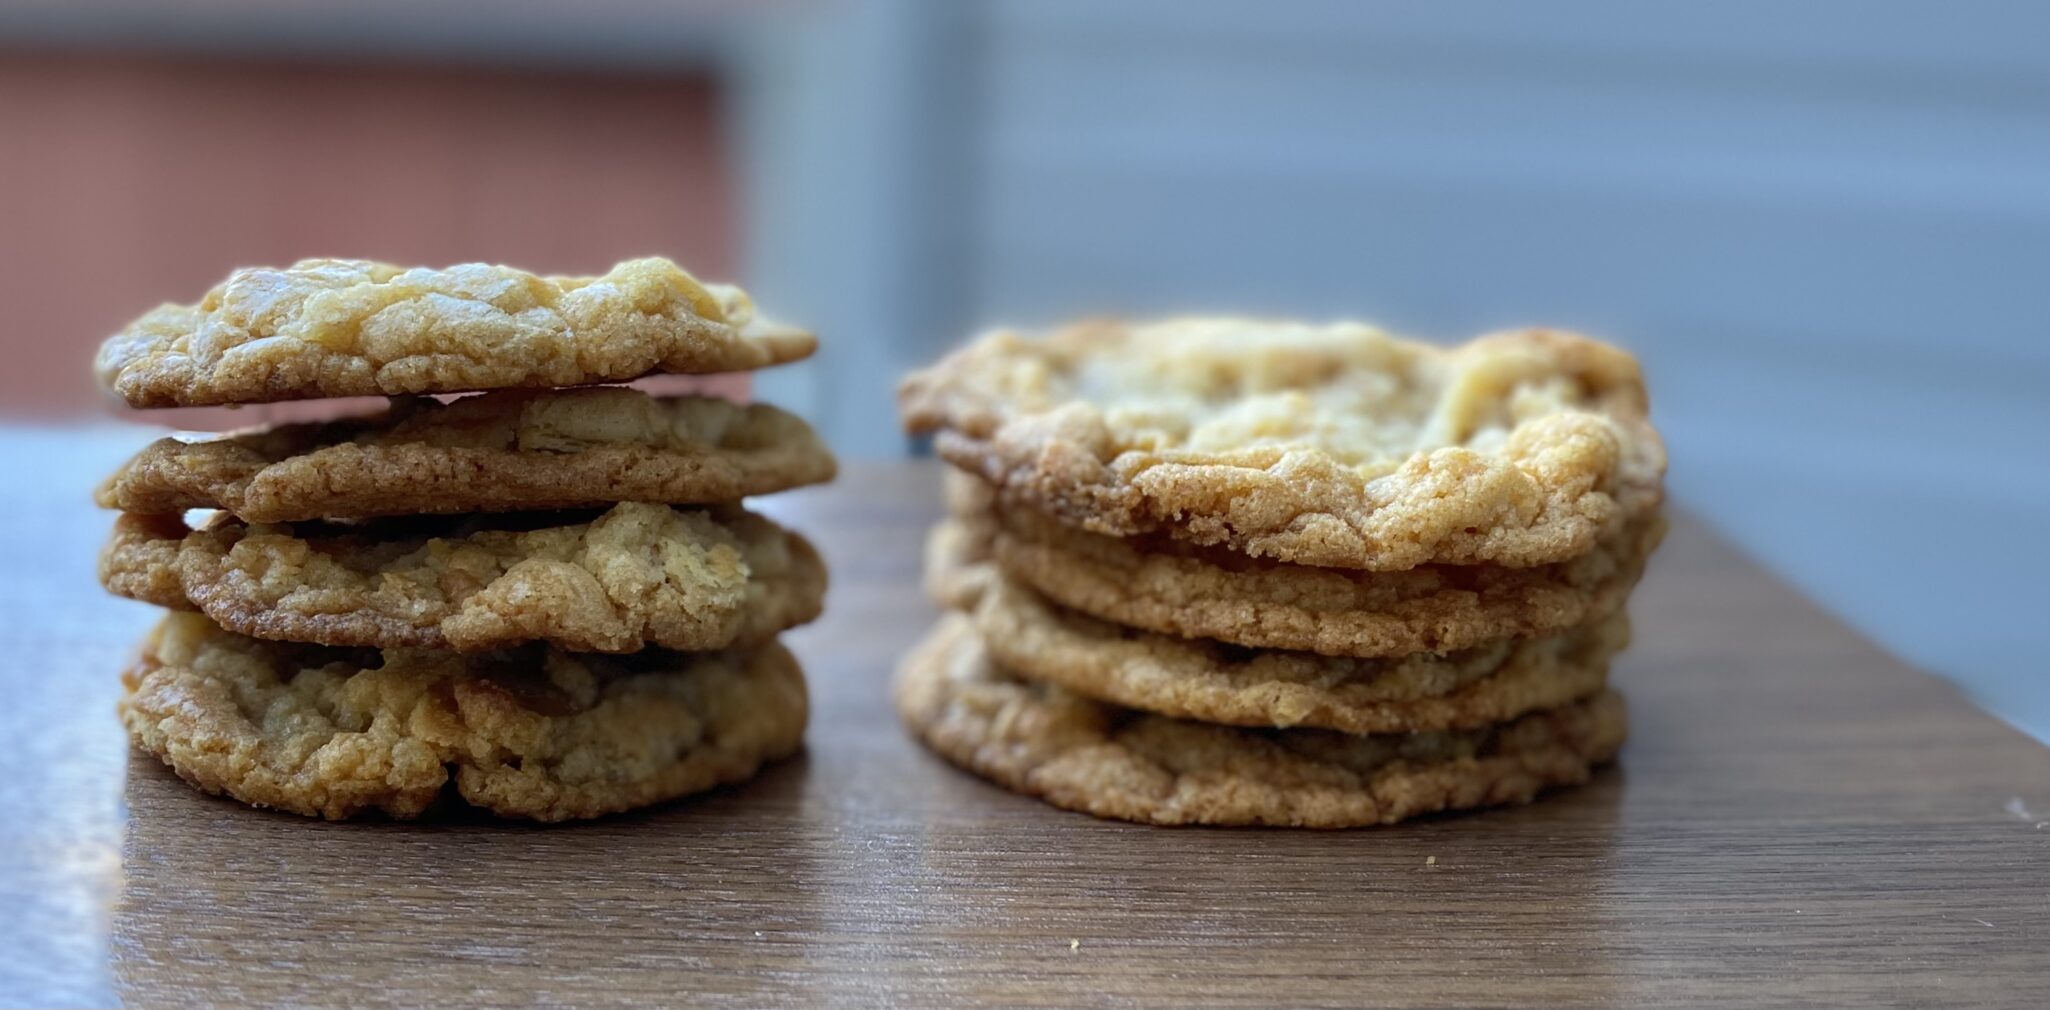
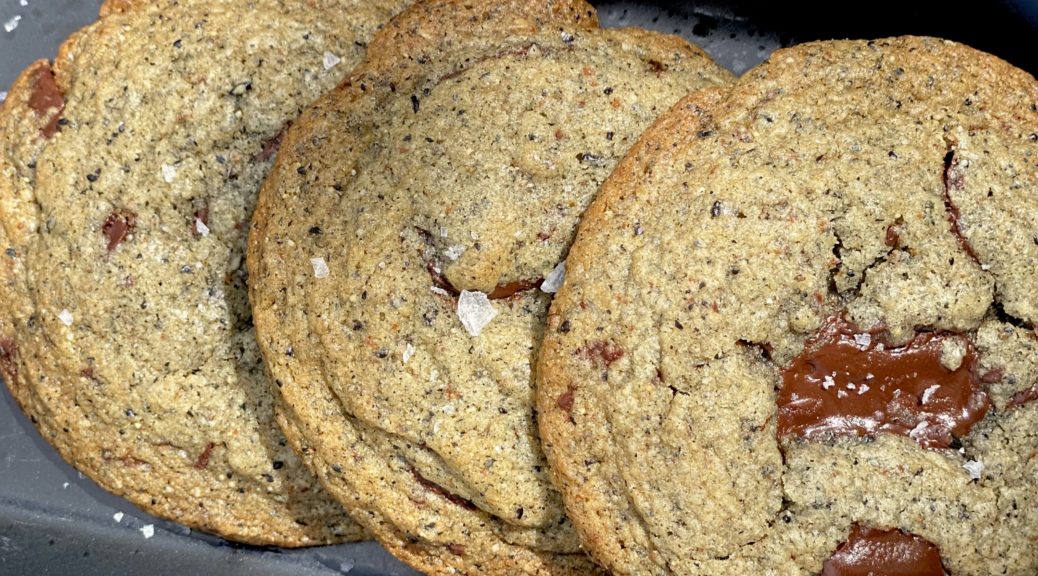
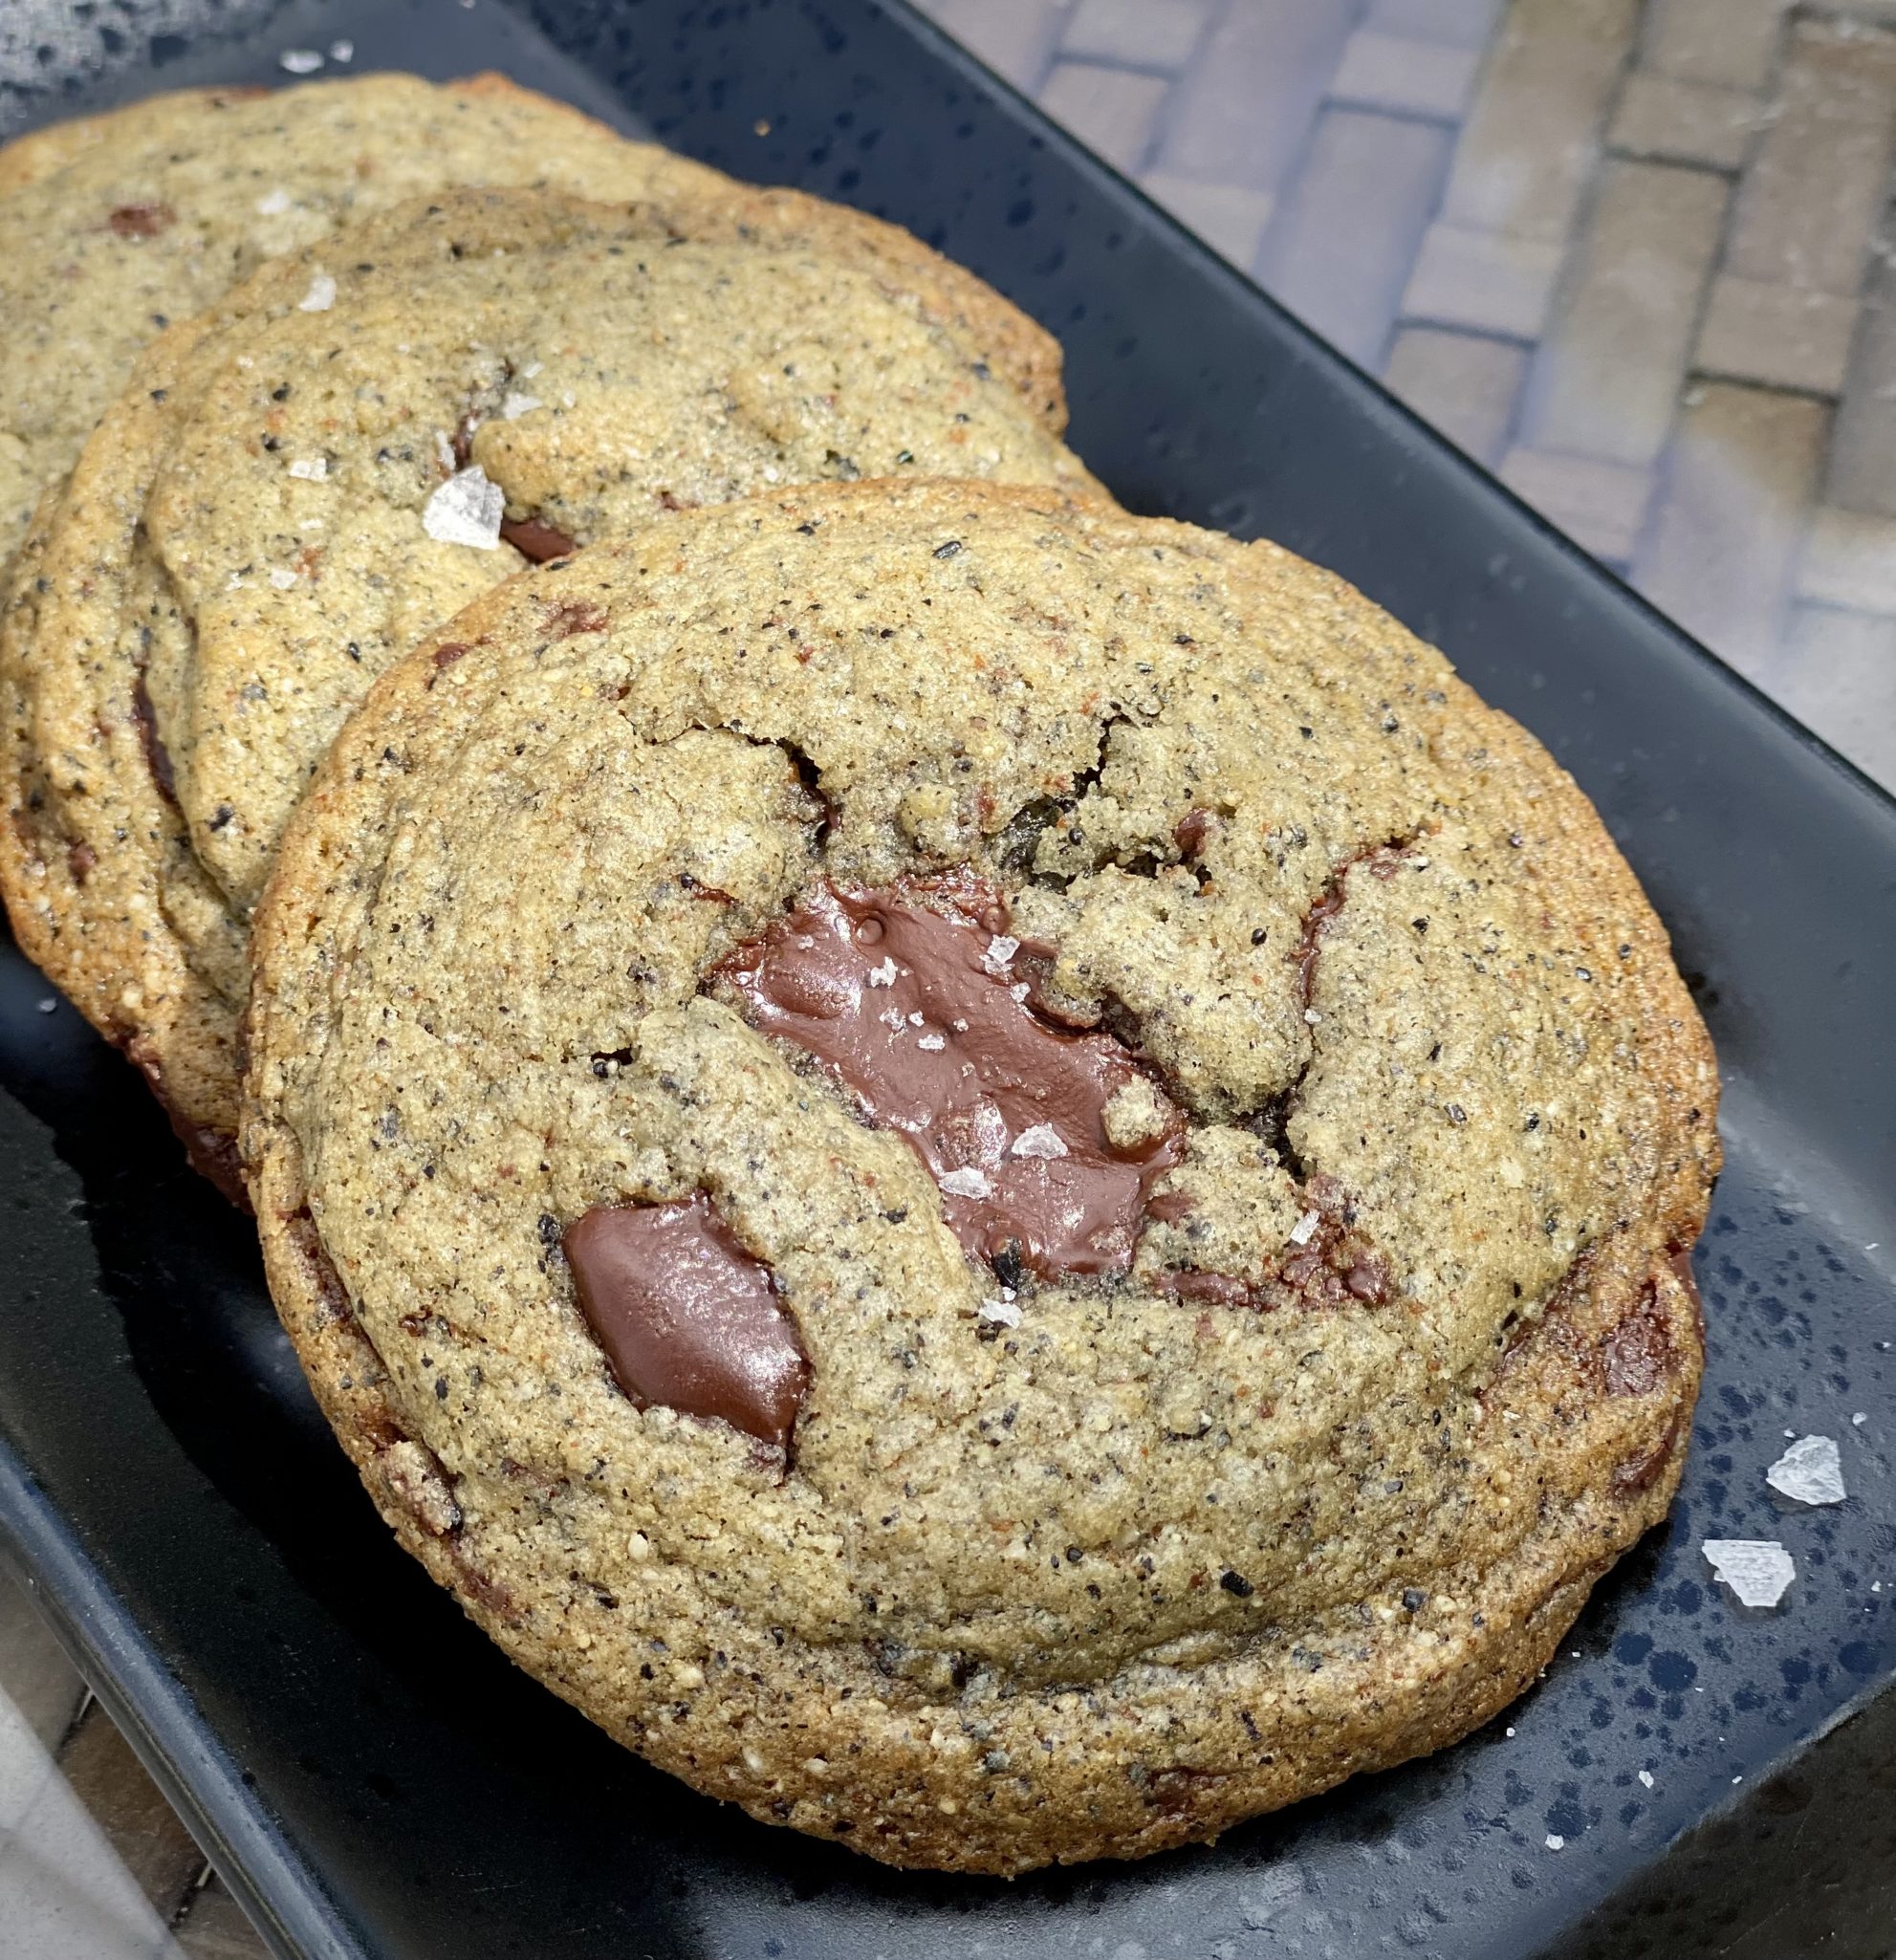
The cookies on top were baked for 12 minutes. The cookies on the bottom with sprinkles, about 11 minutes.
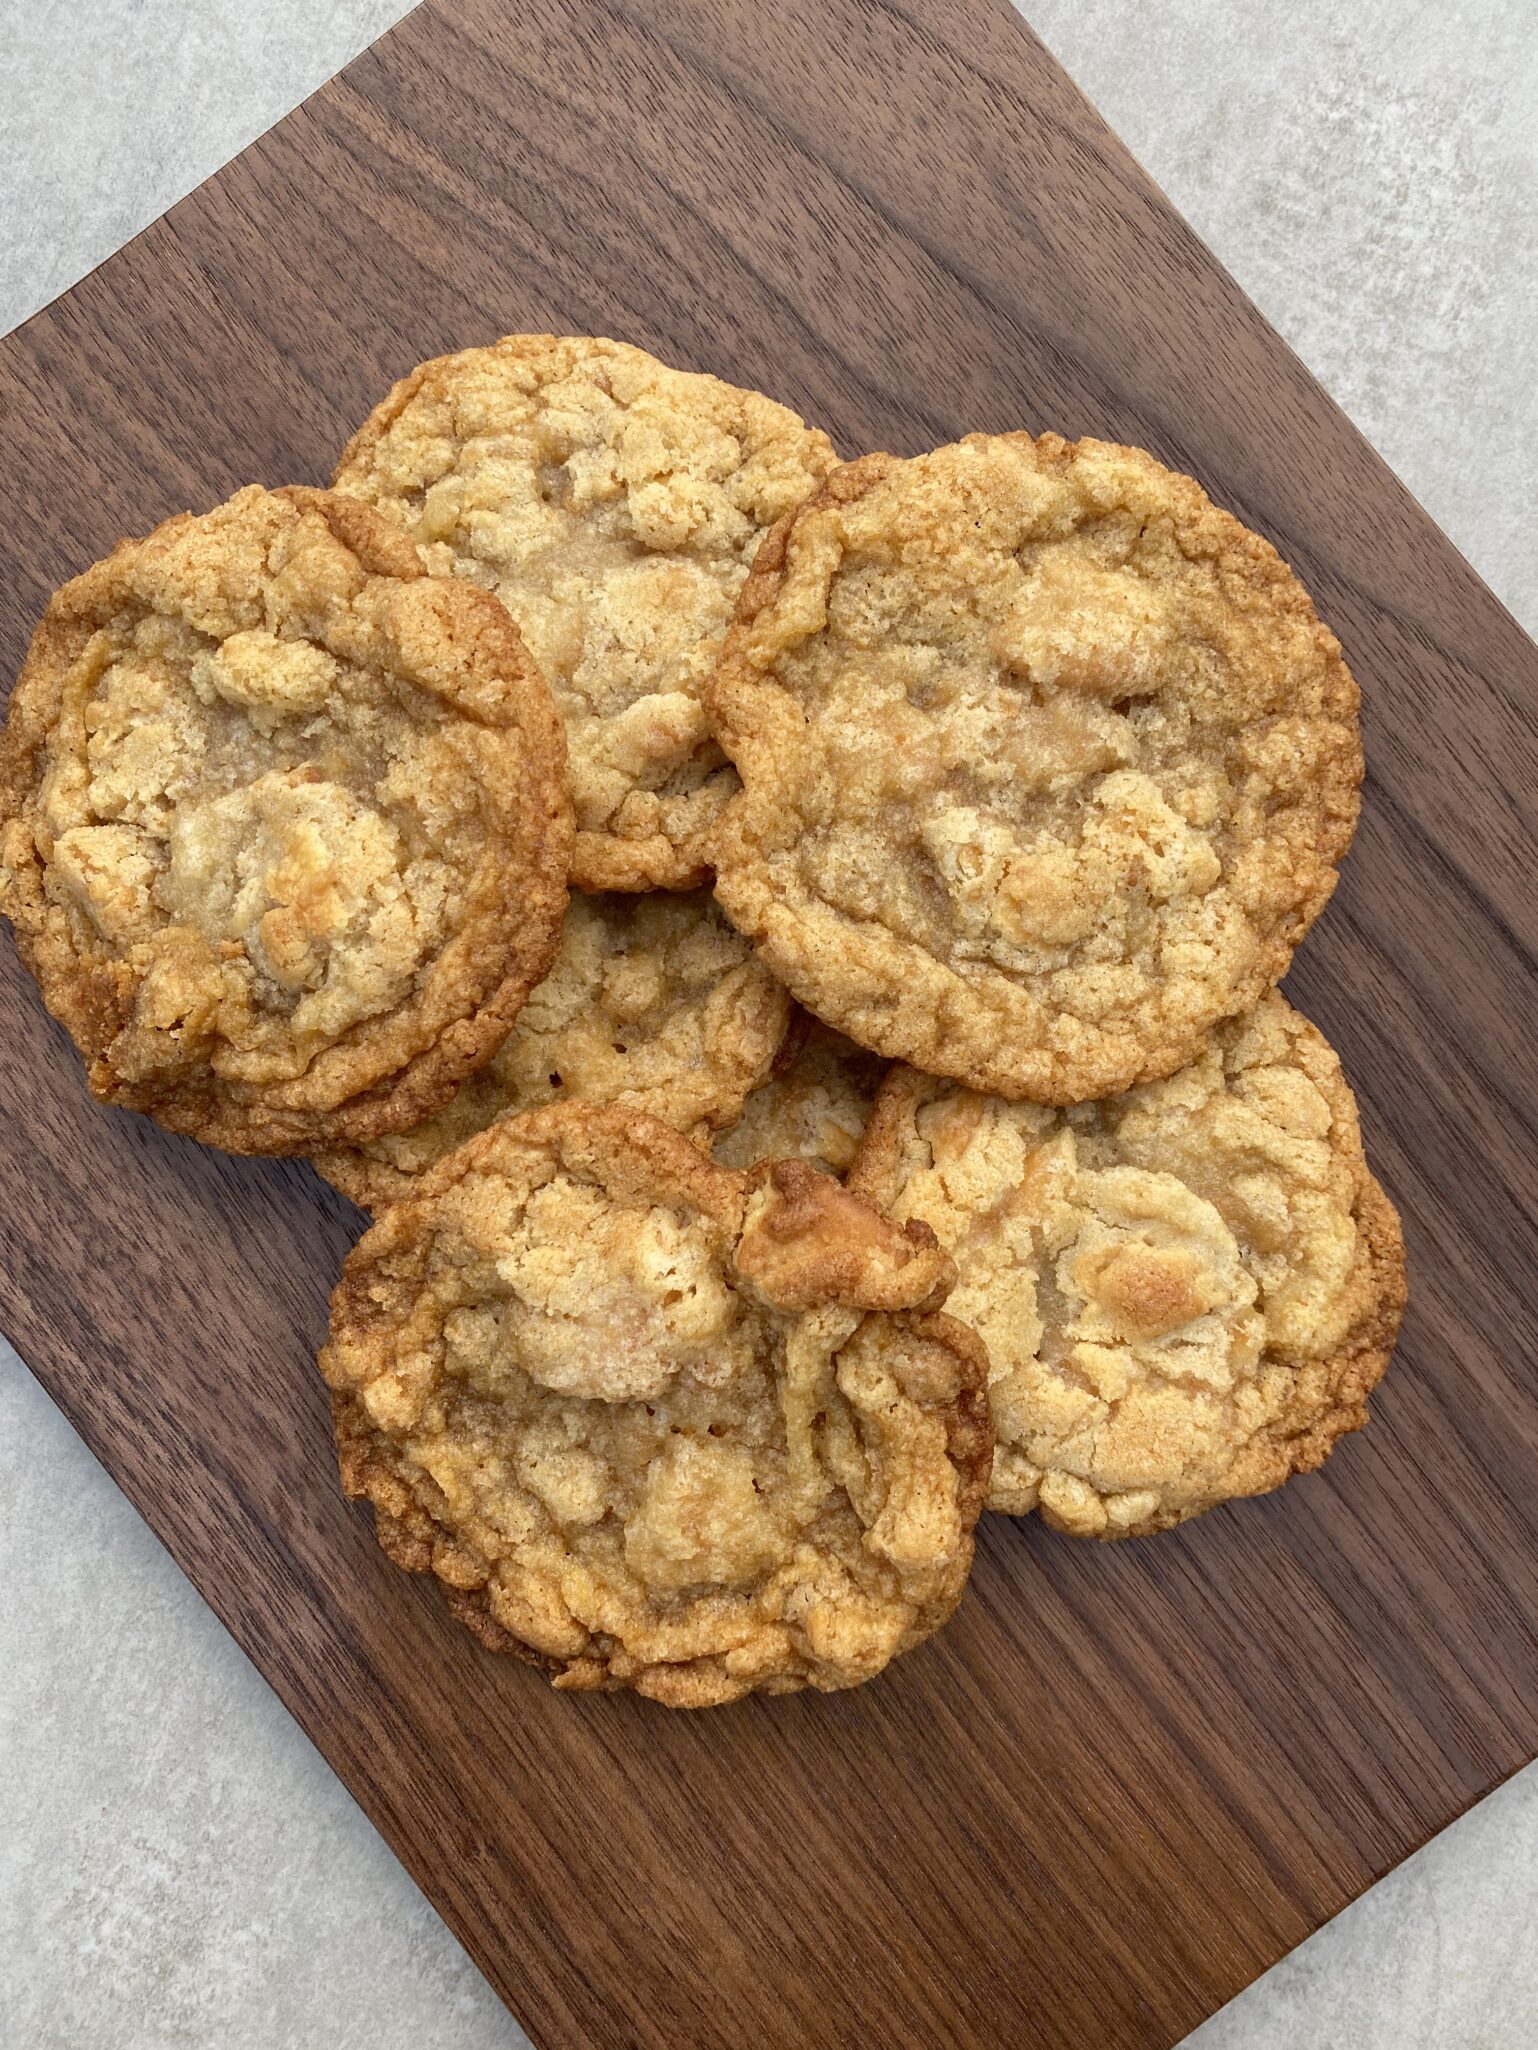
This would be a lovely holiday cookie to gift or for Santa along with an ice-cold glass of milk or a hot toddy (don’t tell the kids).
Peanut Butter Cookies
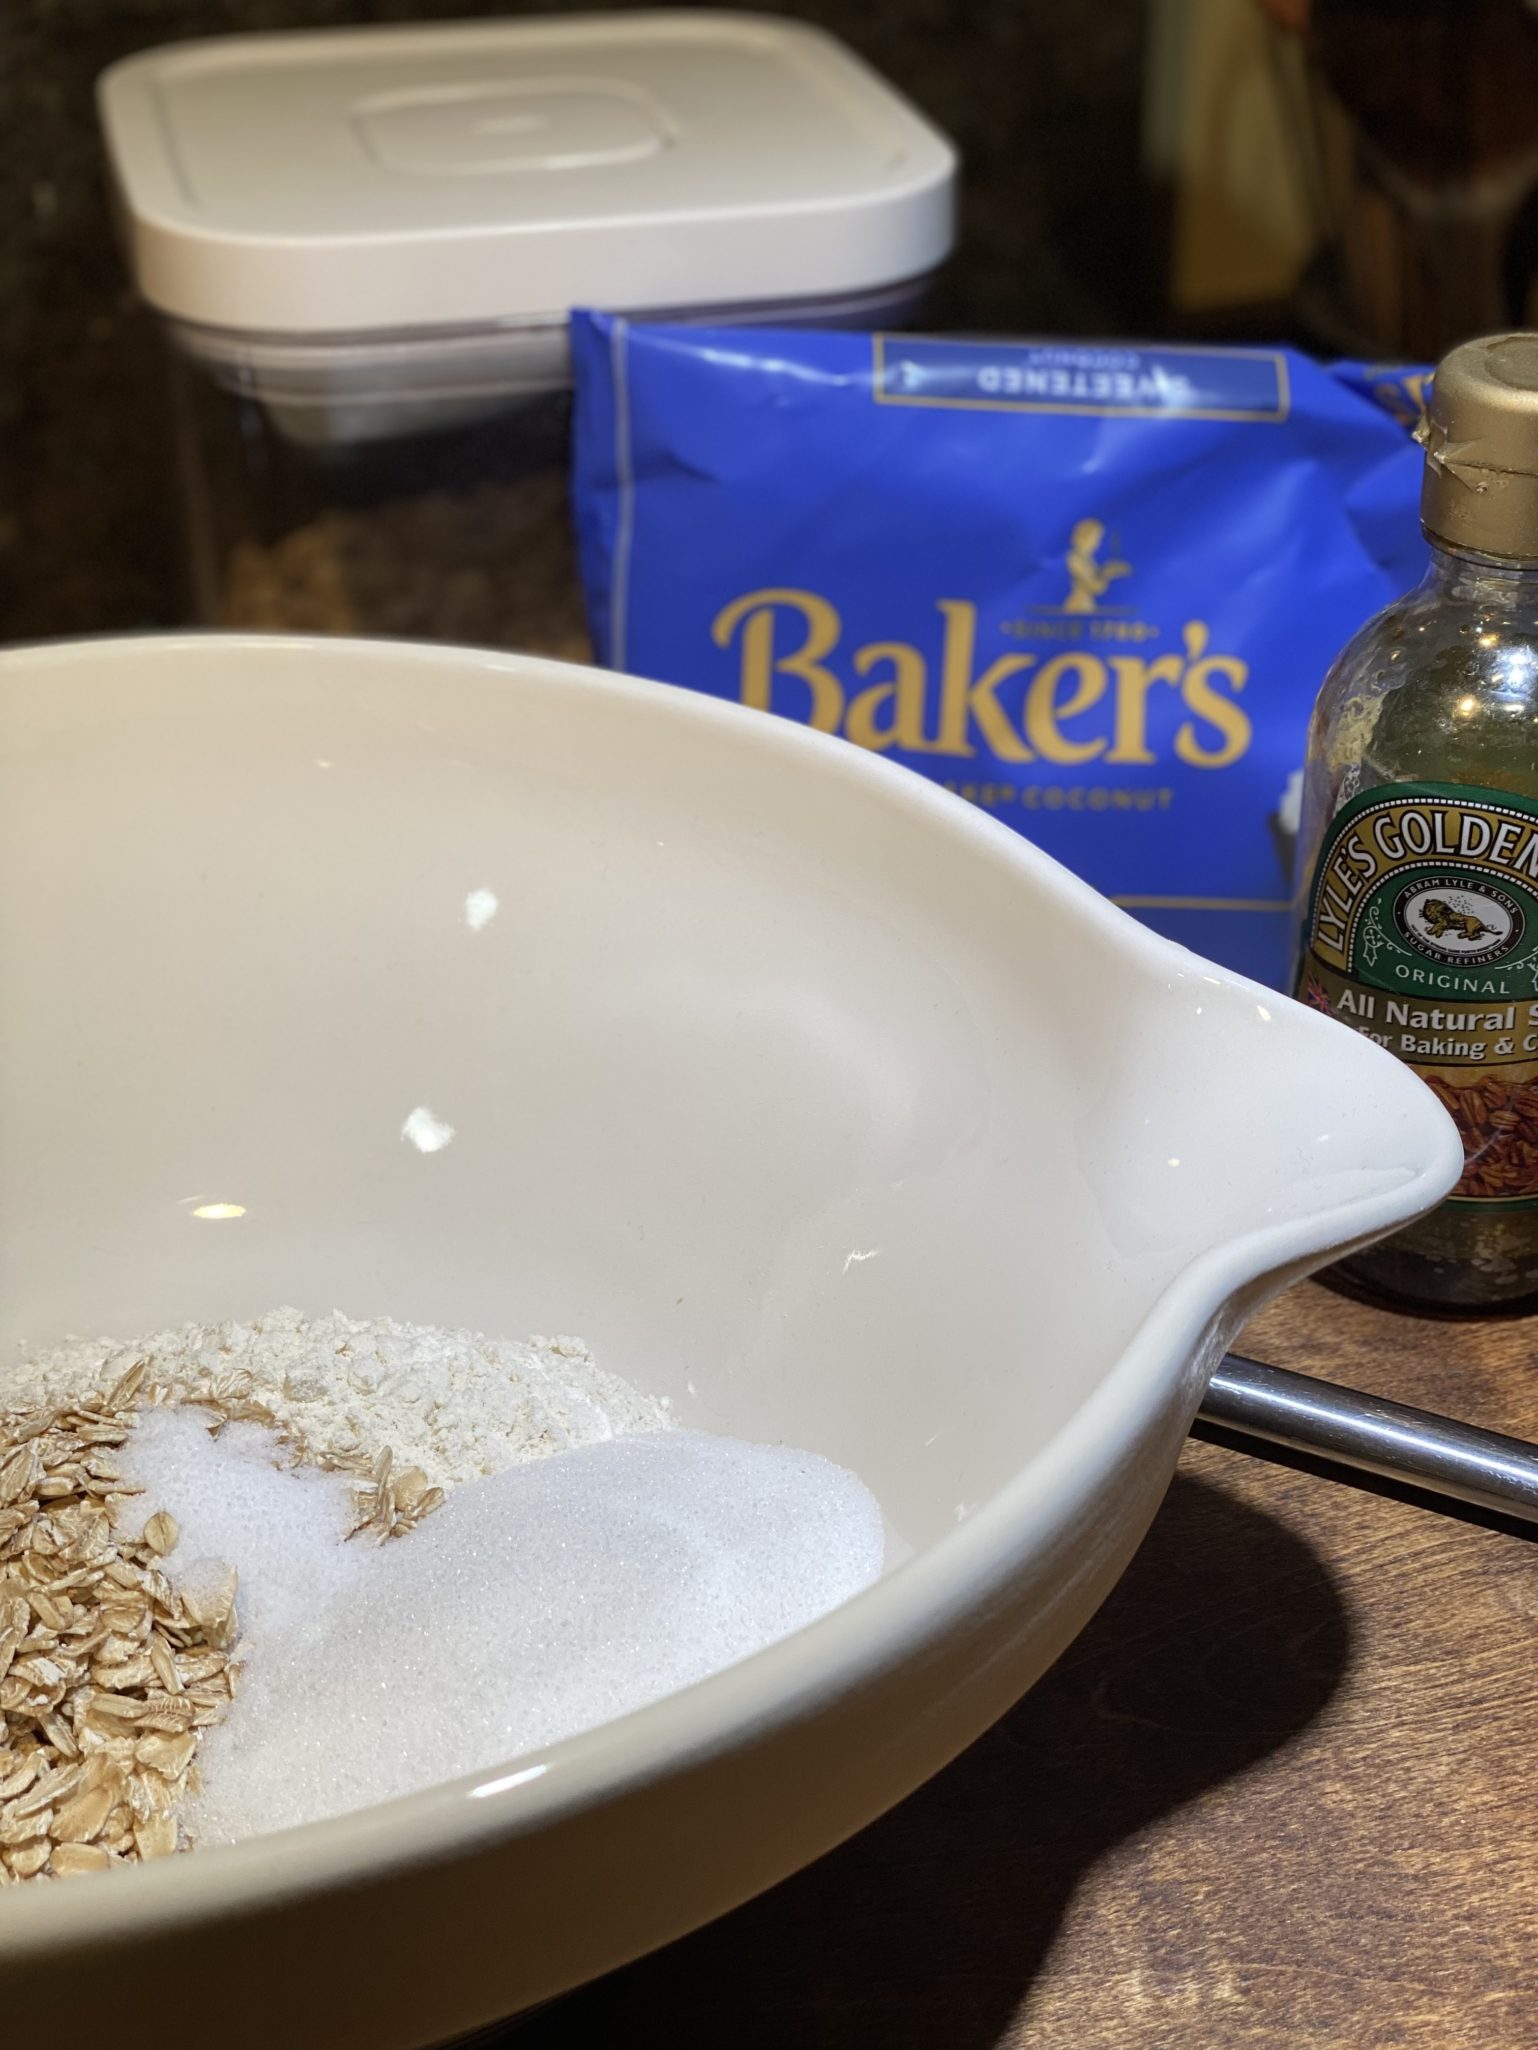
Ingredients
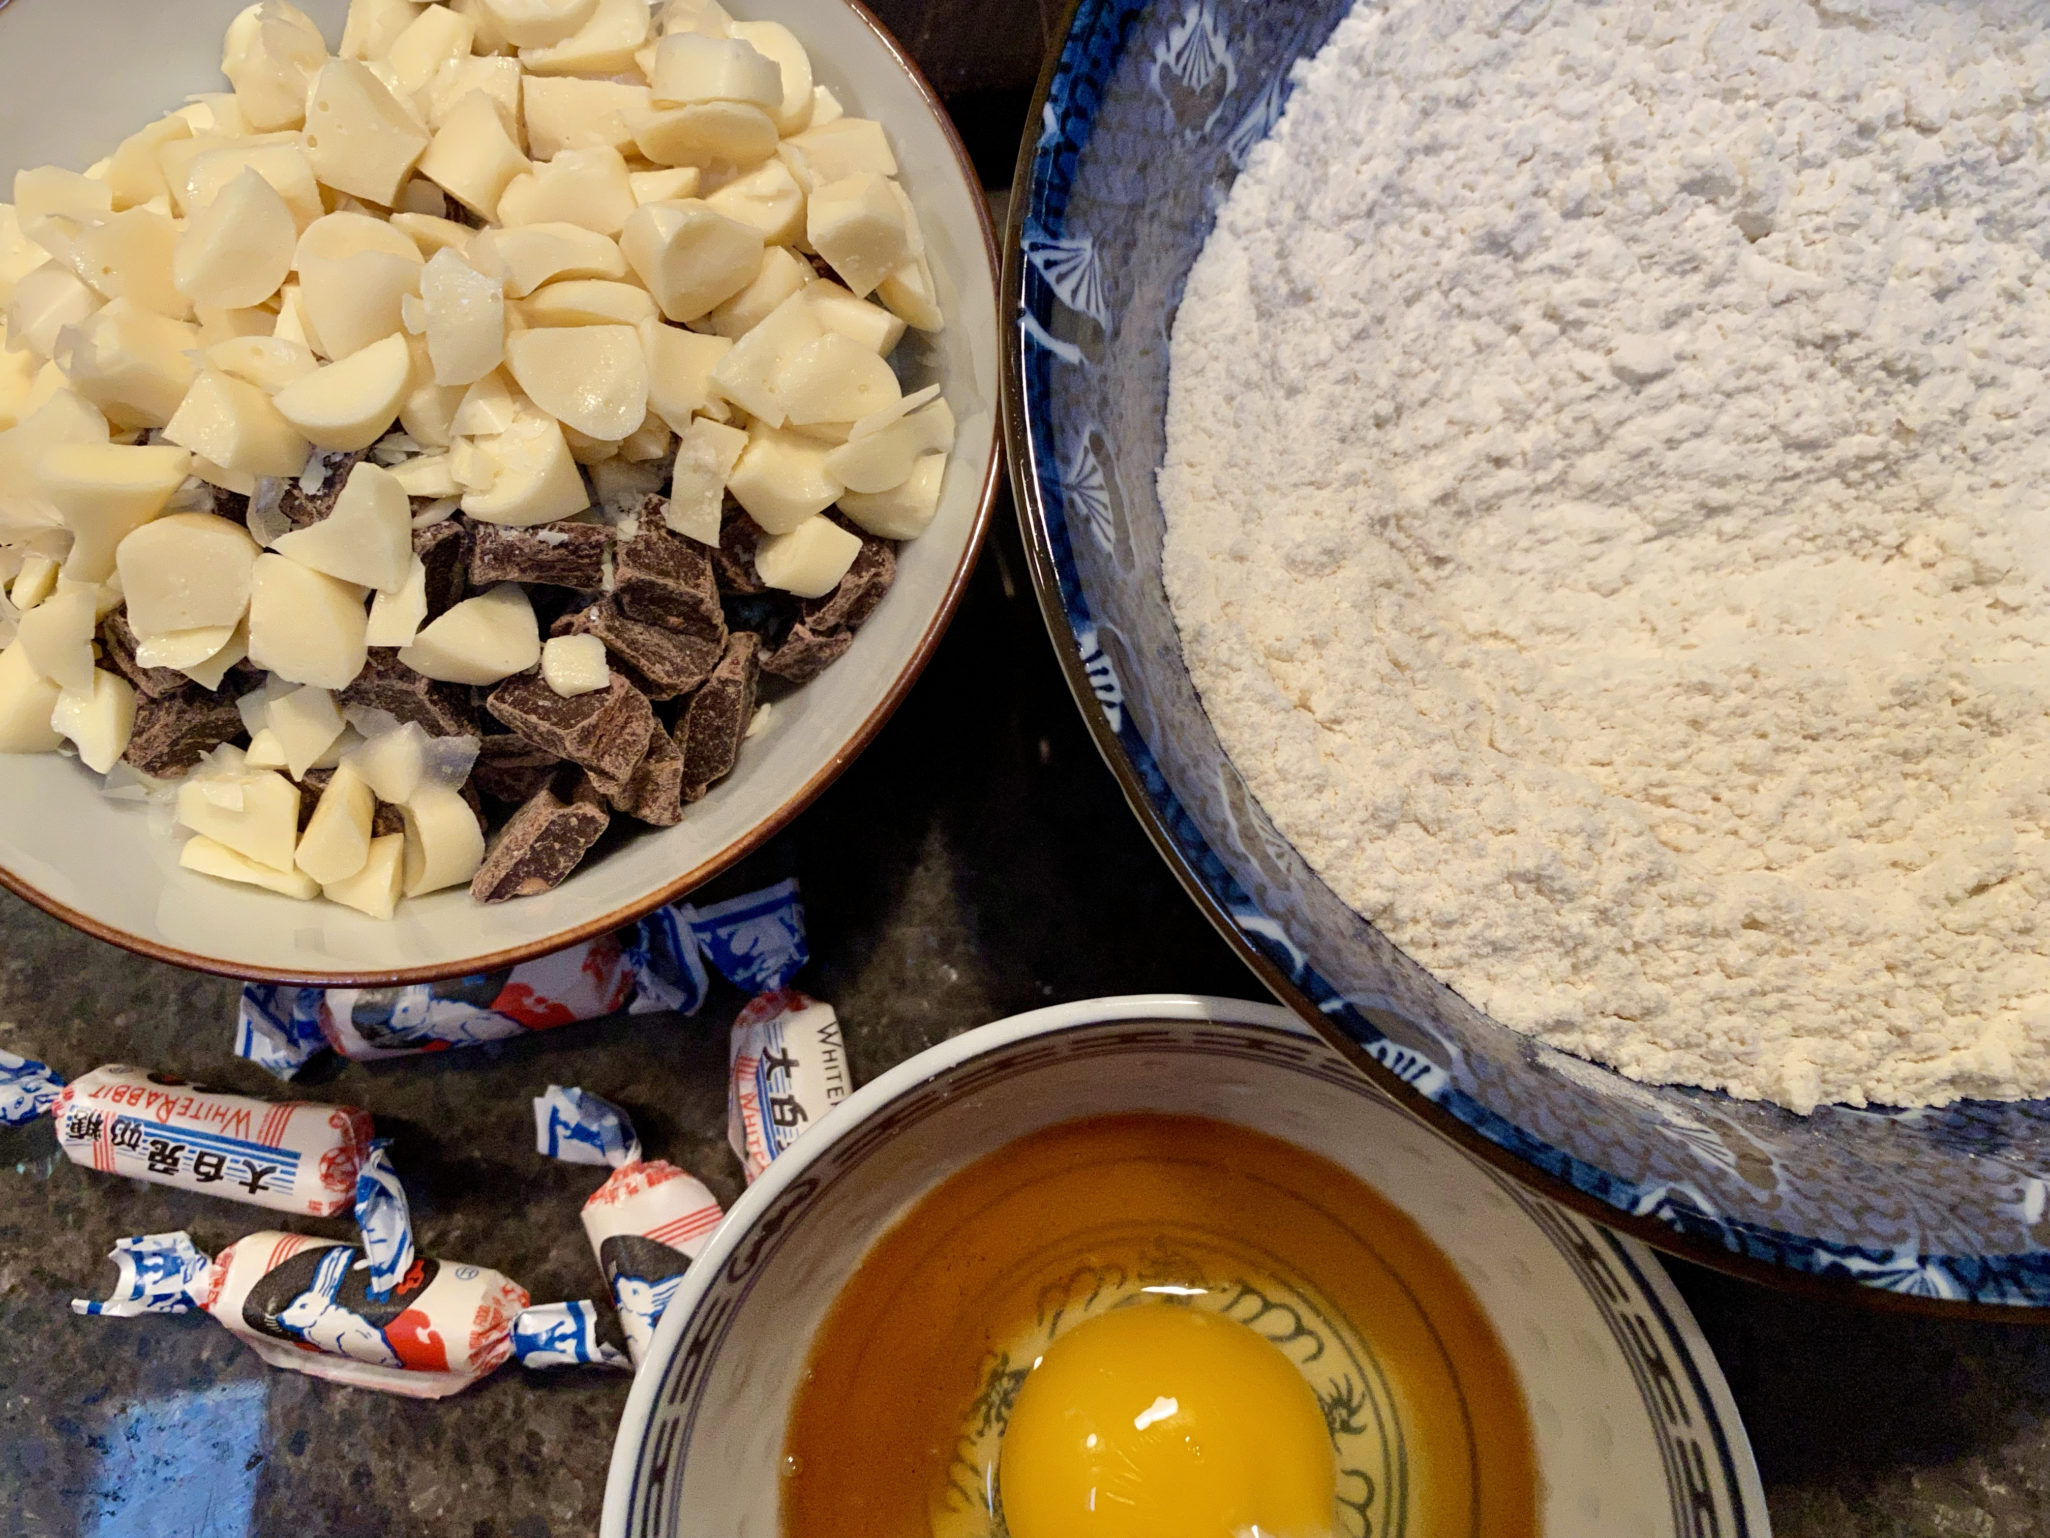
Dry Ingredients
- 1 1/2 cups all-purpose flour
- 1 tsp baking soda
- 1/2 tsp salt
Ingredients to Cream together
- 1/2 cup unsalted butter softened
- 1/2 cup granulated sugar
- 1/2 cup light brown sugar
- 1/2 cup creamy peanut butter or chunky if you like I use Skippy Natural Style peanut butter
- 1 large egg
- 1 tsp vanilla
Options
- chocolate chips or sprinkles, raw sugar, Maldon Salt
Instructions
- Preheat oven to 350 degrees. Lined cookie sheets with parchment or silpat. (note silpats retain heat, check cookies a minute or two earlier.
- In a small bowl, combine the flour, baking soda, and salt, using a whisk.
- Cream the butter and sugars together in the bowl of a stand mixer for 1-2 minutes until well combined. Batter should be smooth and creamy not fluffy which would give you cakey cookies. Use the paddle attachment.
- Add the peanut butter, egg, and vanilla. Mix well and scrape the bowl.
- Add flour mixture to the butter mixture all at once and mix on low speed just until incorporated.
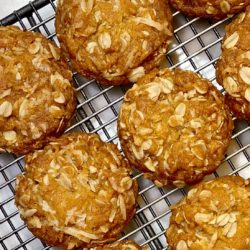
- Scoop dough onto parchment-lined baking sheets about 2 inches apart. Bake at 350 degrees for 10 to 12 minutes or until just set*.
- Allow cookies to cool slightly on the sheet for approximately 2 minutes before transferring them to a cooling rack. Store cookies in an airtight container.