Tag: Vegan

Whip It, Whip It Good (Coconut Whipped Cream)

Whip It, Whip It Good (Coconut Whipped Cream)

We’re baaackkkkkkk!  In person meetings, dinners in restaurants instead of take-out, classes on campus instead of on Zoom, we are adjusting to living with COVID.  With midterms just around the corner, our political action group hosted a Democracy Dinner to re-engage and see folks in person.  What better way to entice folks to join us than with food!

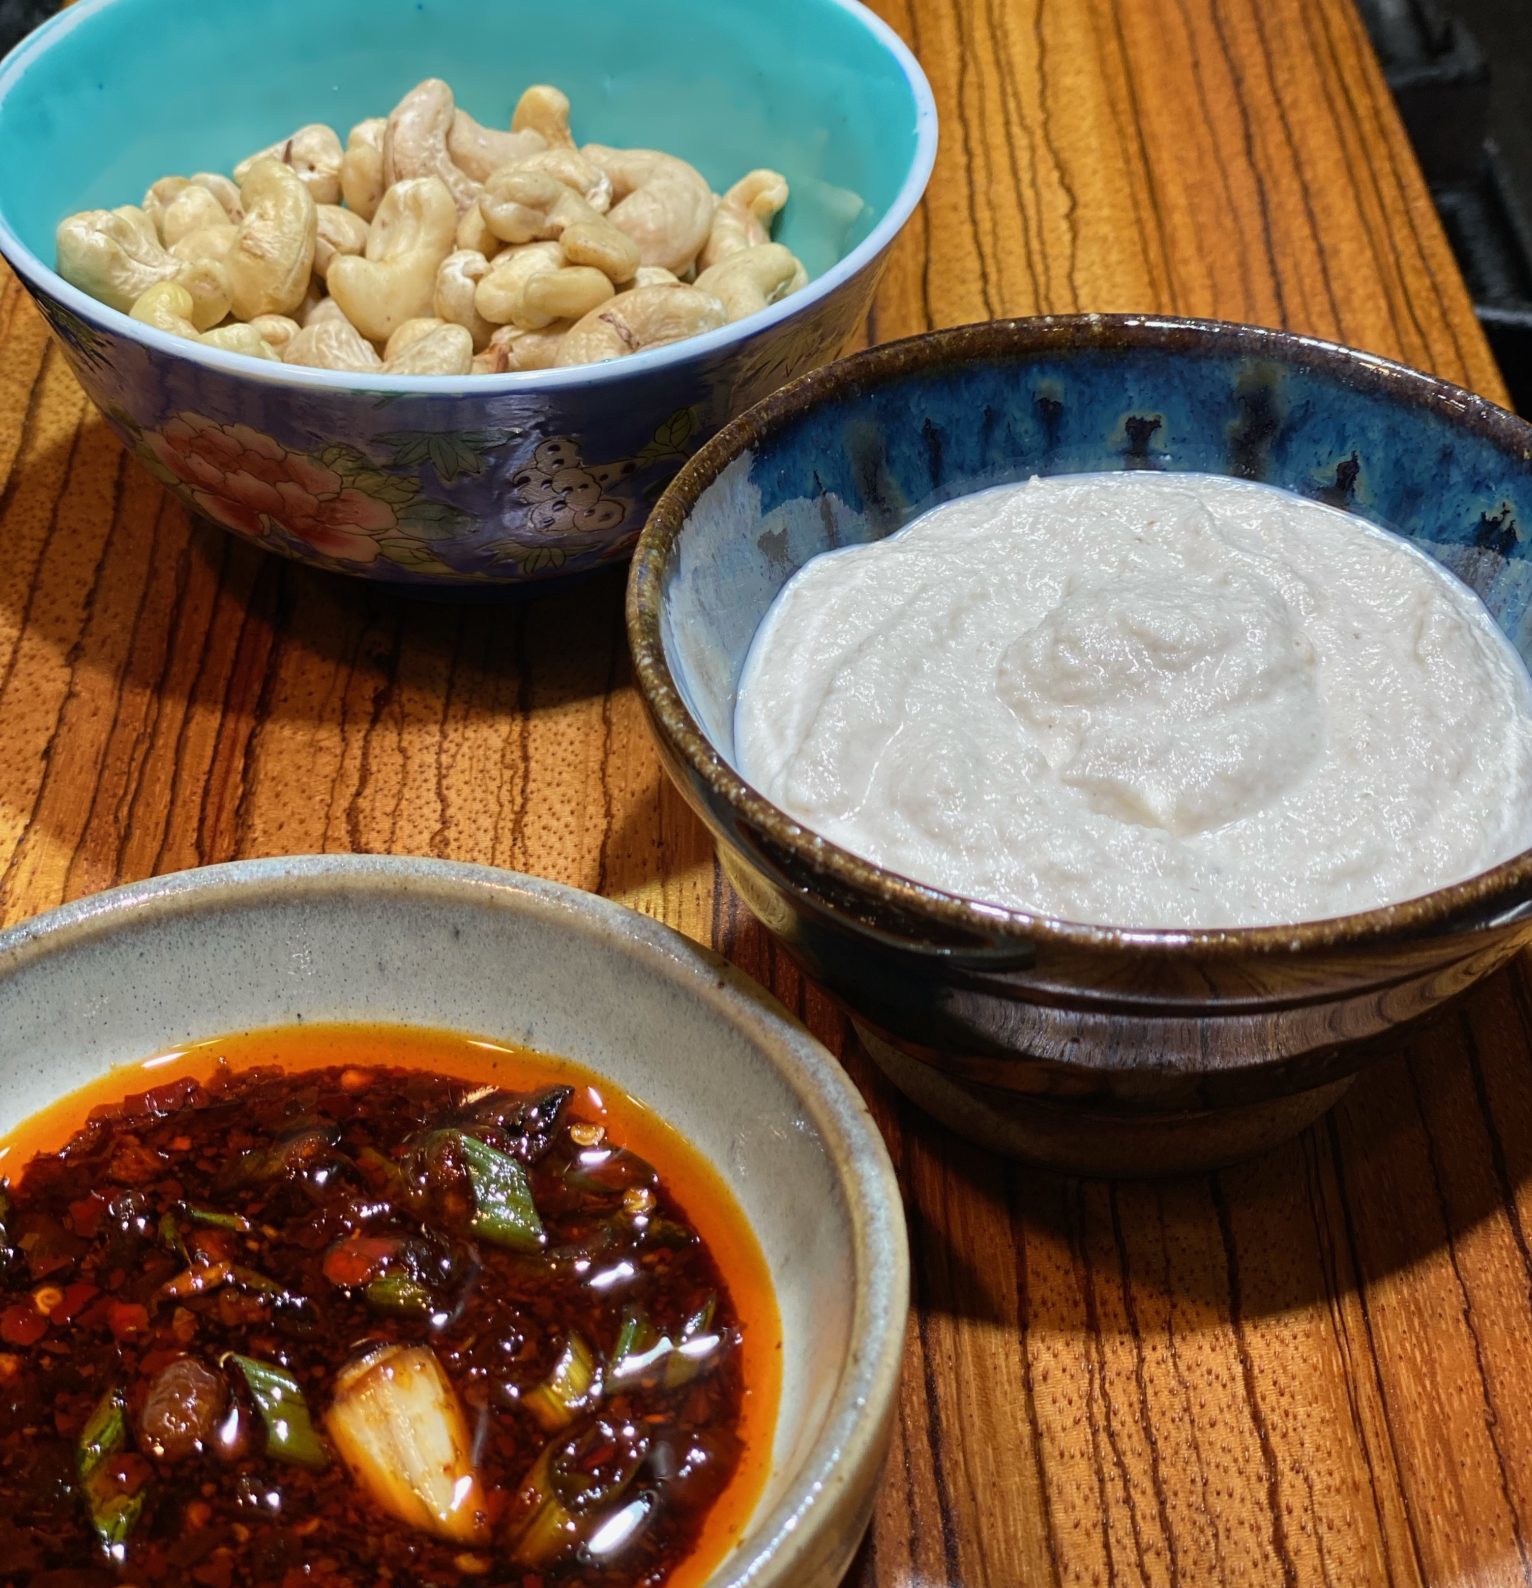
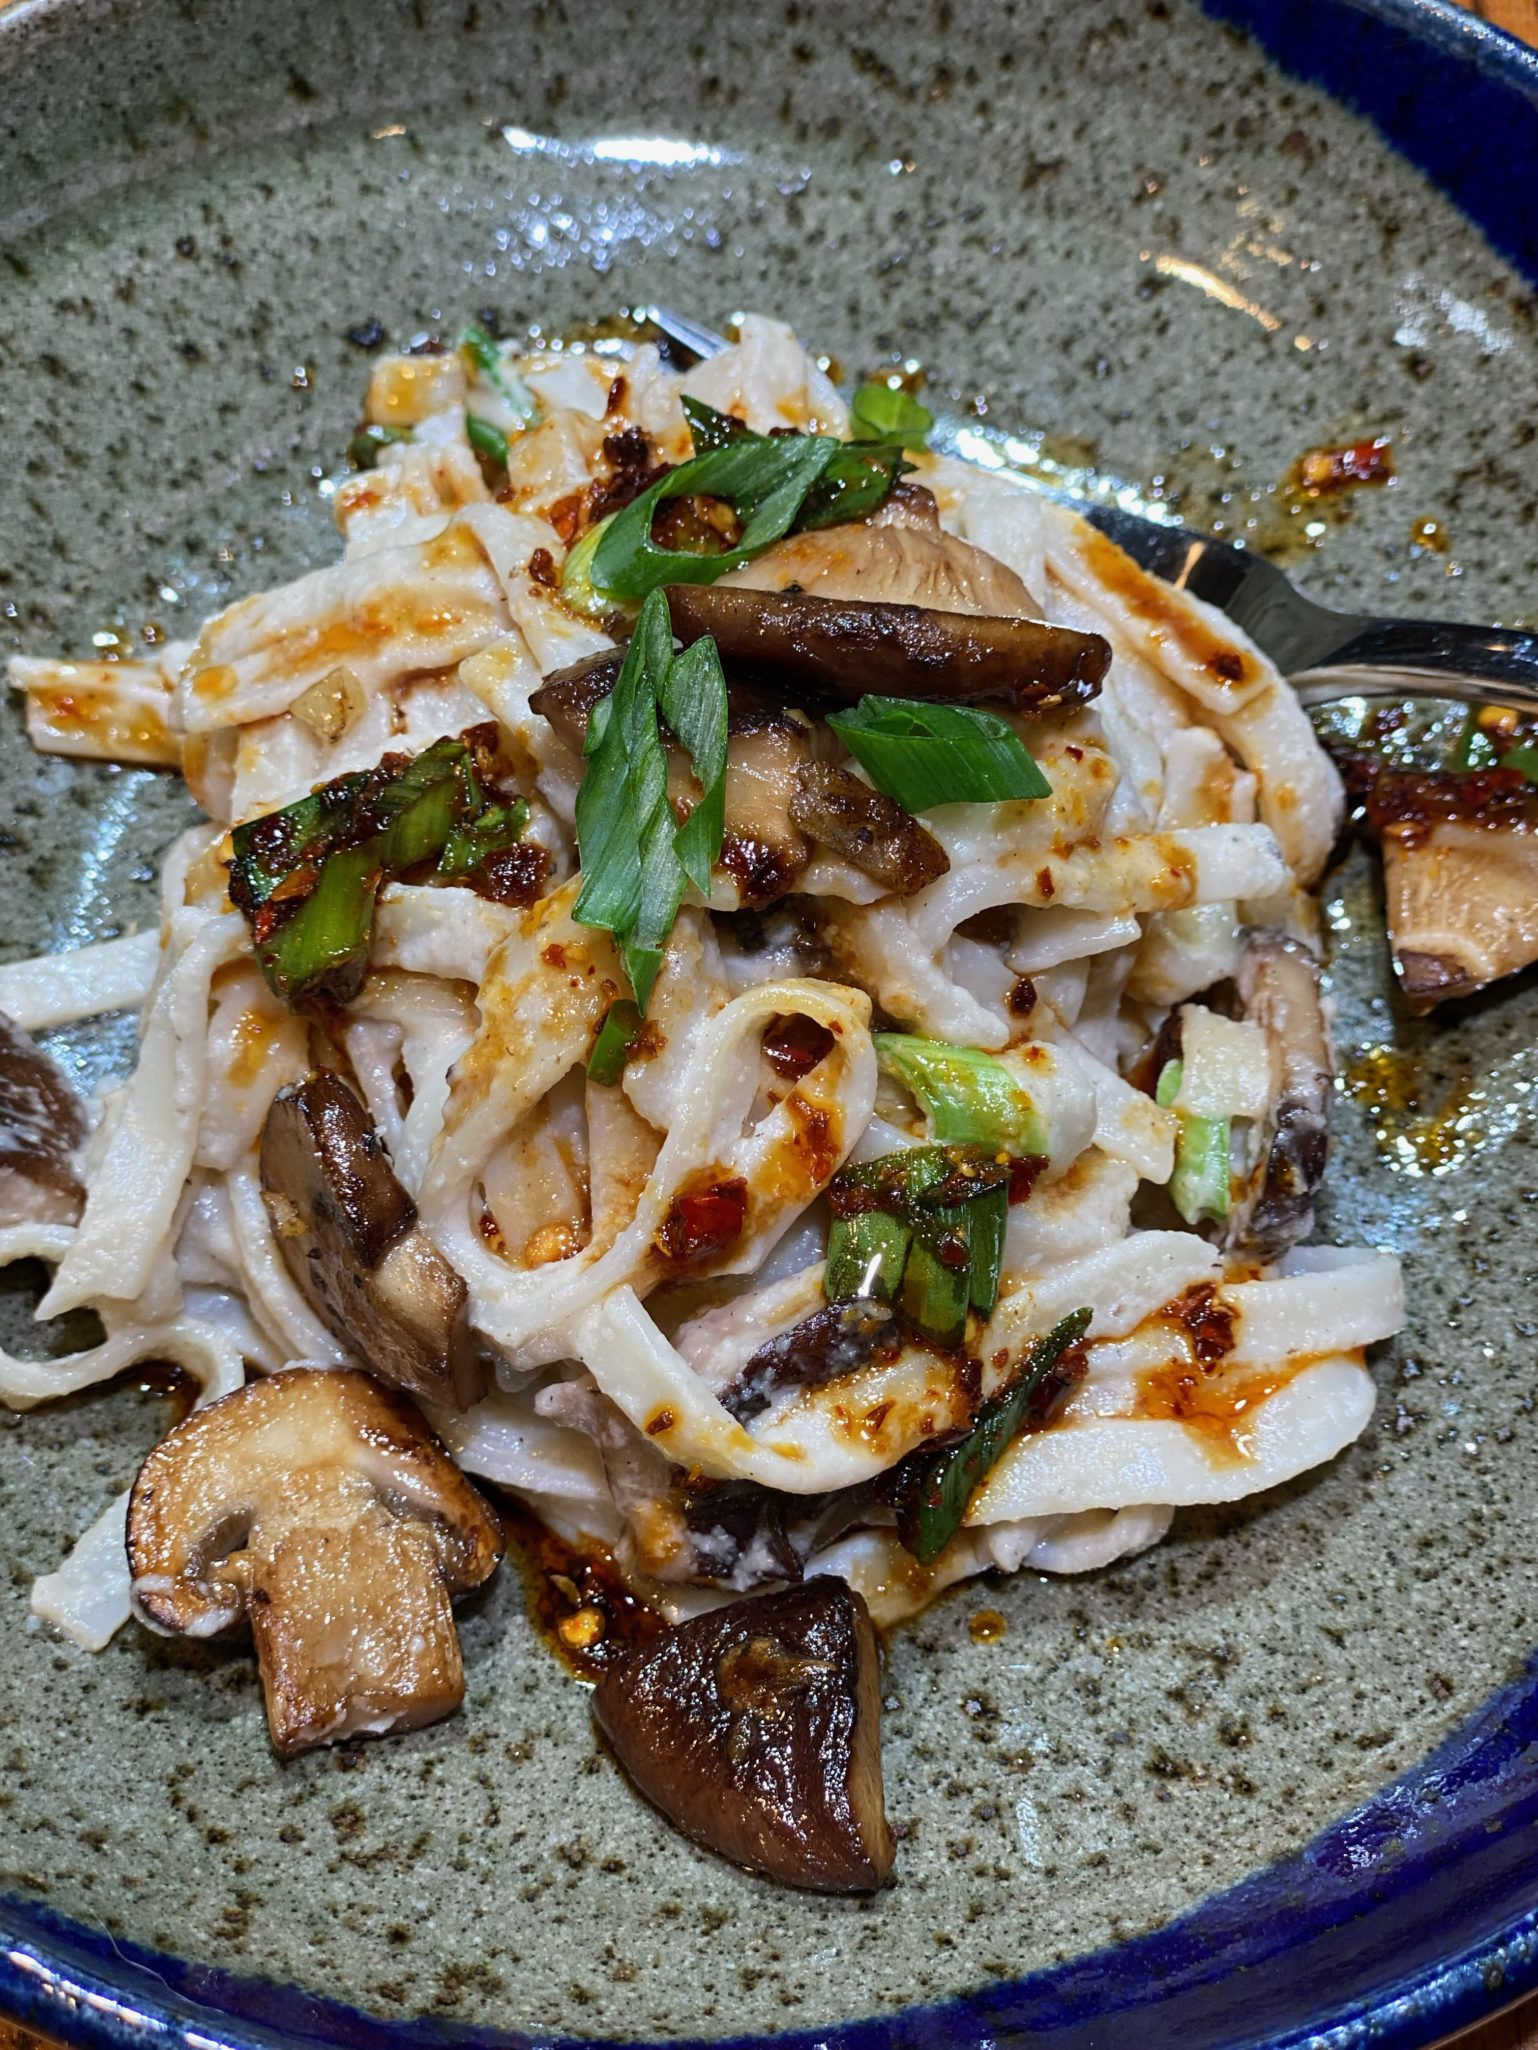
Dinner was outside, we live in California, where grillin and chillin is a distinct possibility 24-7-365.  I stepped up to create a main dish and dessert for our Vegan dinner guests. The main dish was a no-brainer,  Spicy Noodle Salad, vegan, plus perfect with whatever came off the grill, protein or veggie. The only glitch was the original recipe called for honey in the dressing.  Made by bees, honey is on the no-fly list for vegans.  I substituted Agave Syrup for the honey which worked seamlessly.  Mission accomplished, onto dessert.

Pudding It All Together

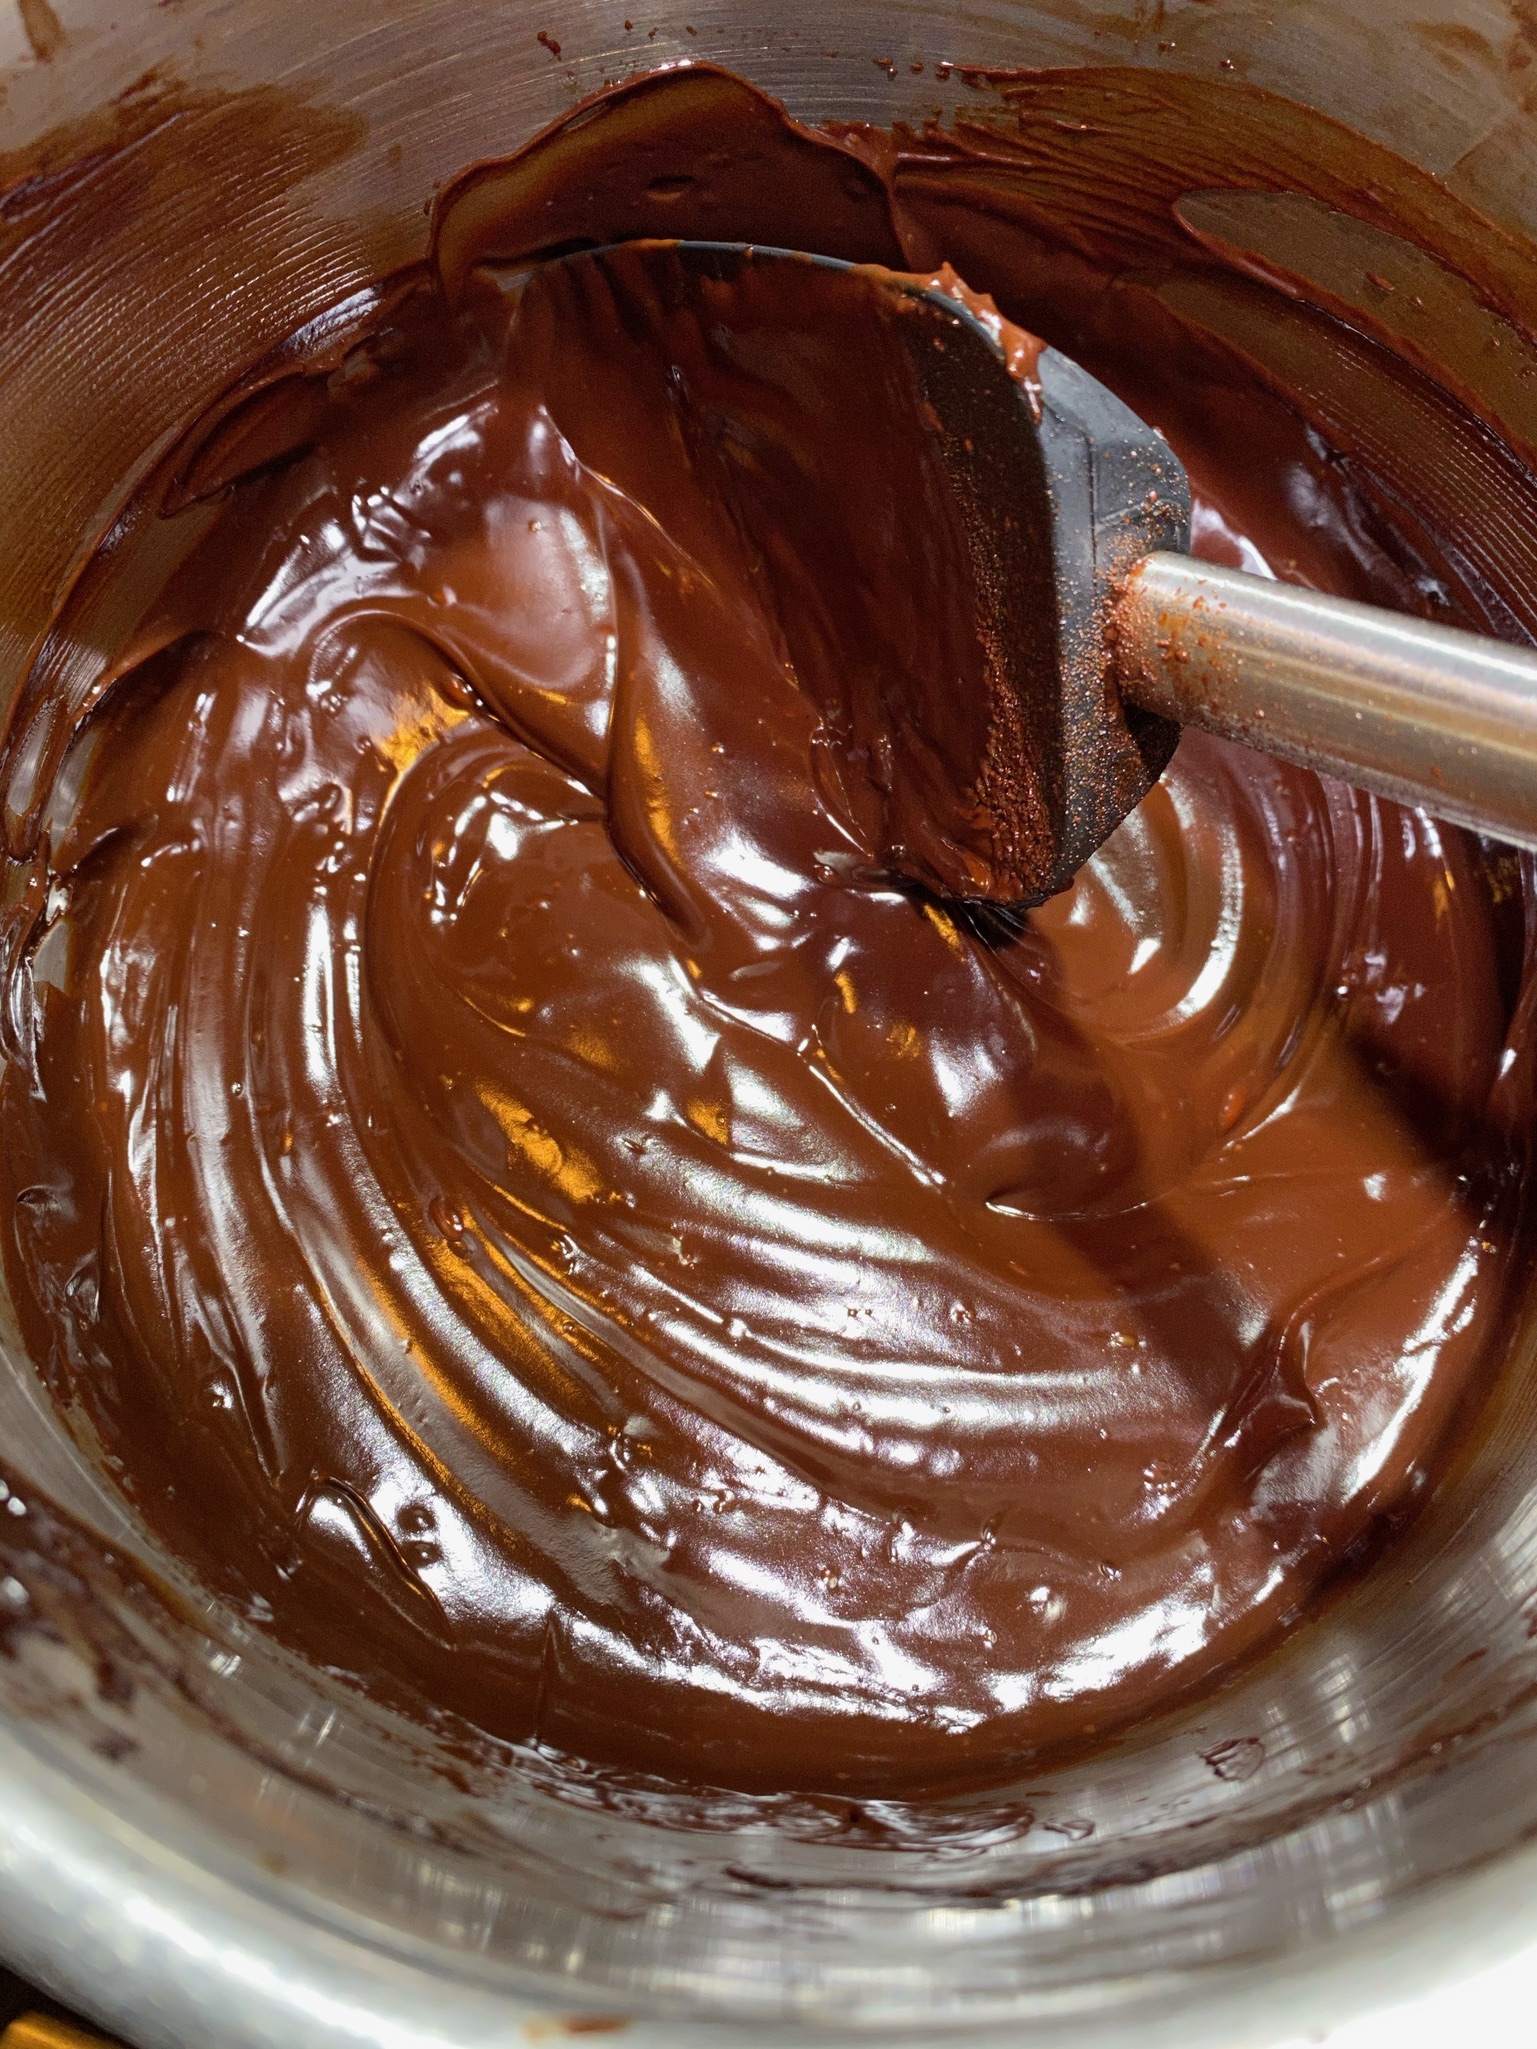
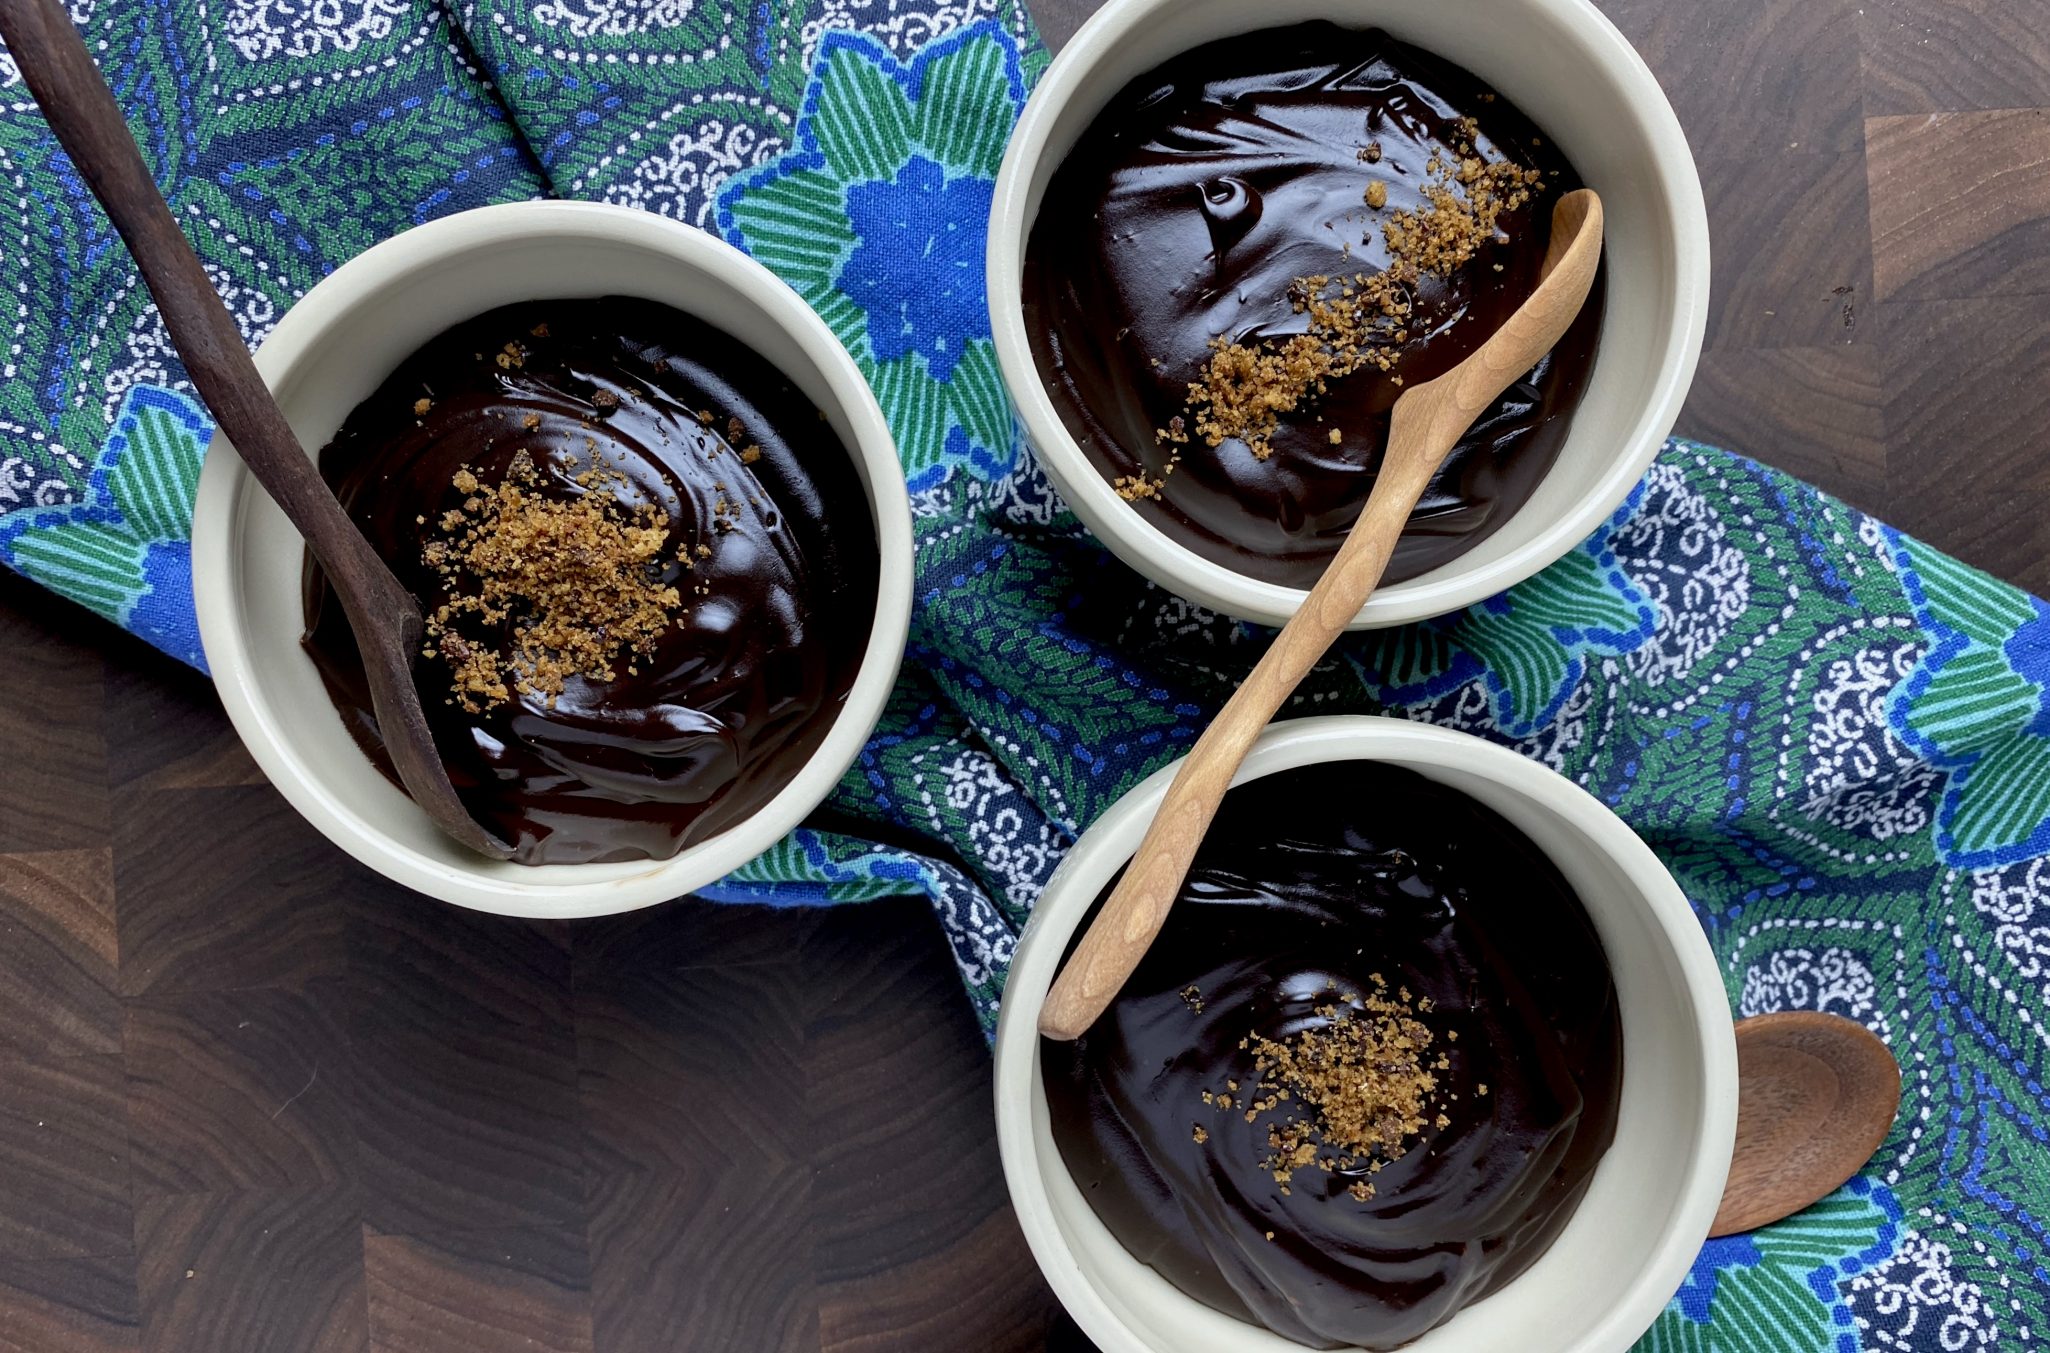
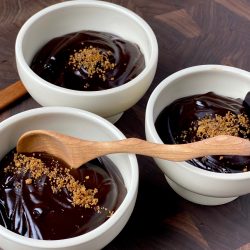
The night of the last presidential elections, as I nervously watched the results roll in, I headed to the kitchen to make something to eat to calm my frayed nerves.  I landed on NYTcooking’s recipe for a Chocolate Pudding made with Oat Milk.  A snap to make, it was chilling in the fridge within minutes.  Intensely chocolate, which appealed to my grown-up tastebuds, while the smooth, creamy texture of the pudding made me feel like a kid again.  AND, it’s vegan, oh yeah. Dessert solved.

Nifty Thrifty Wow Factor

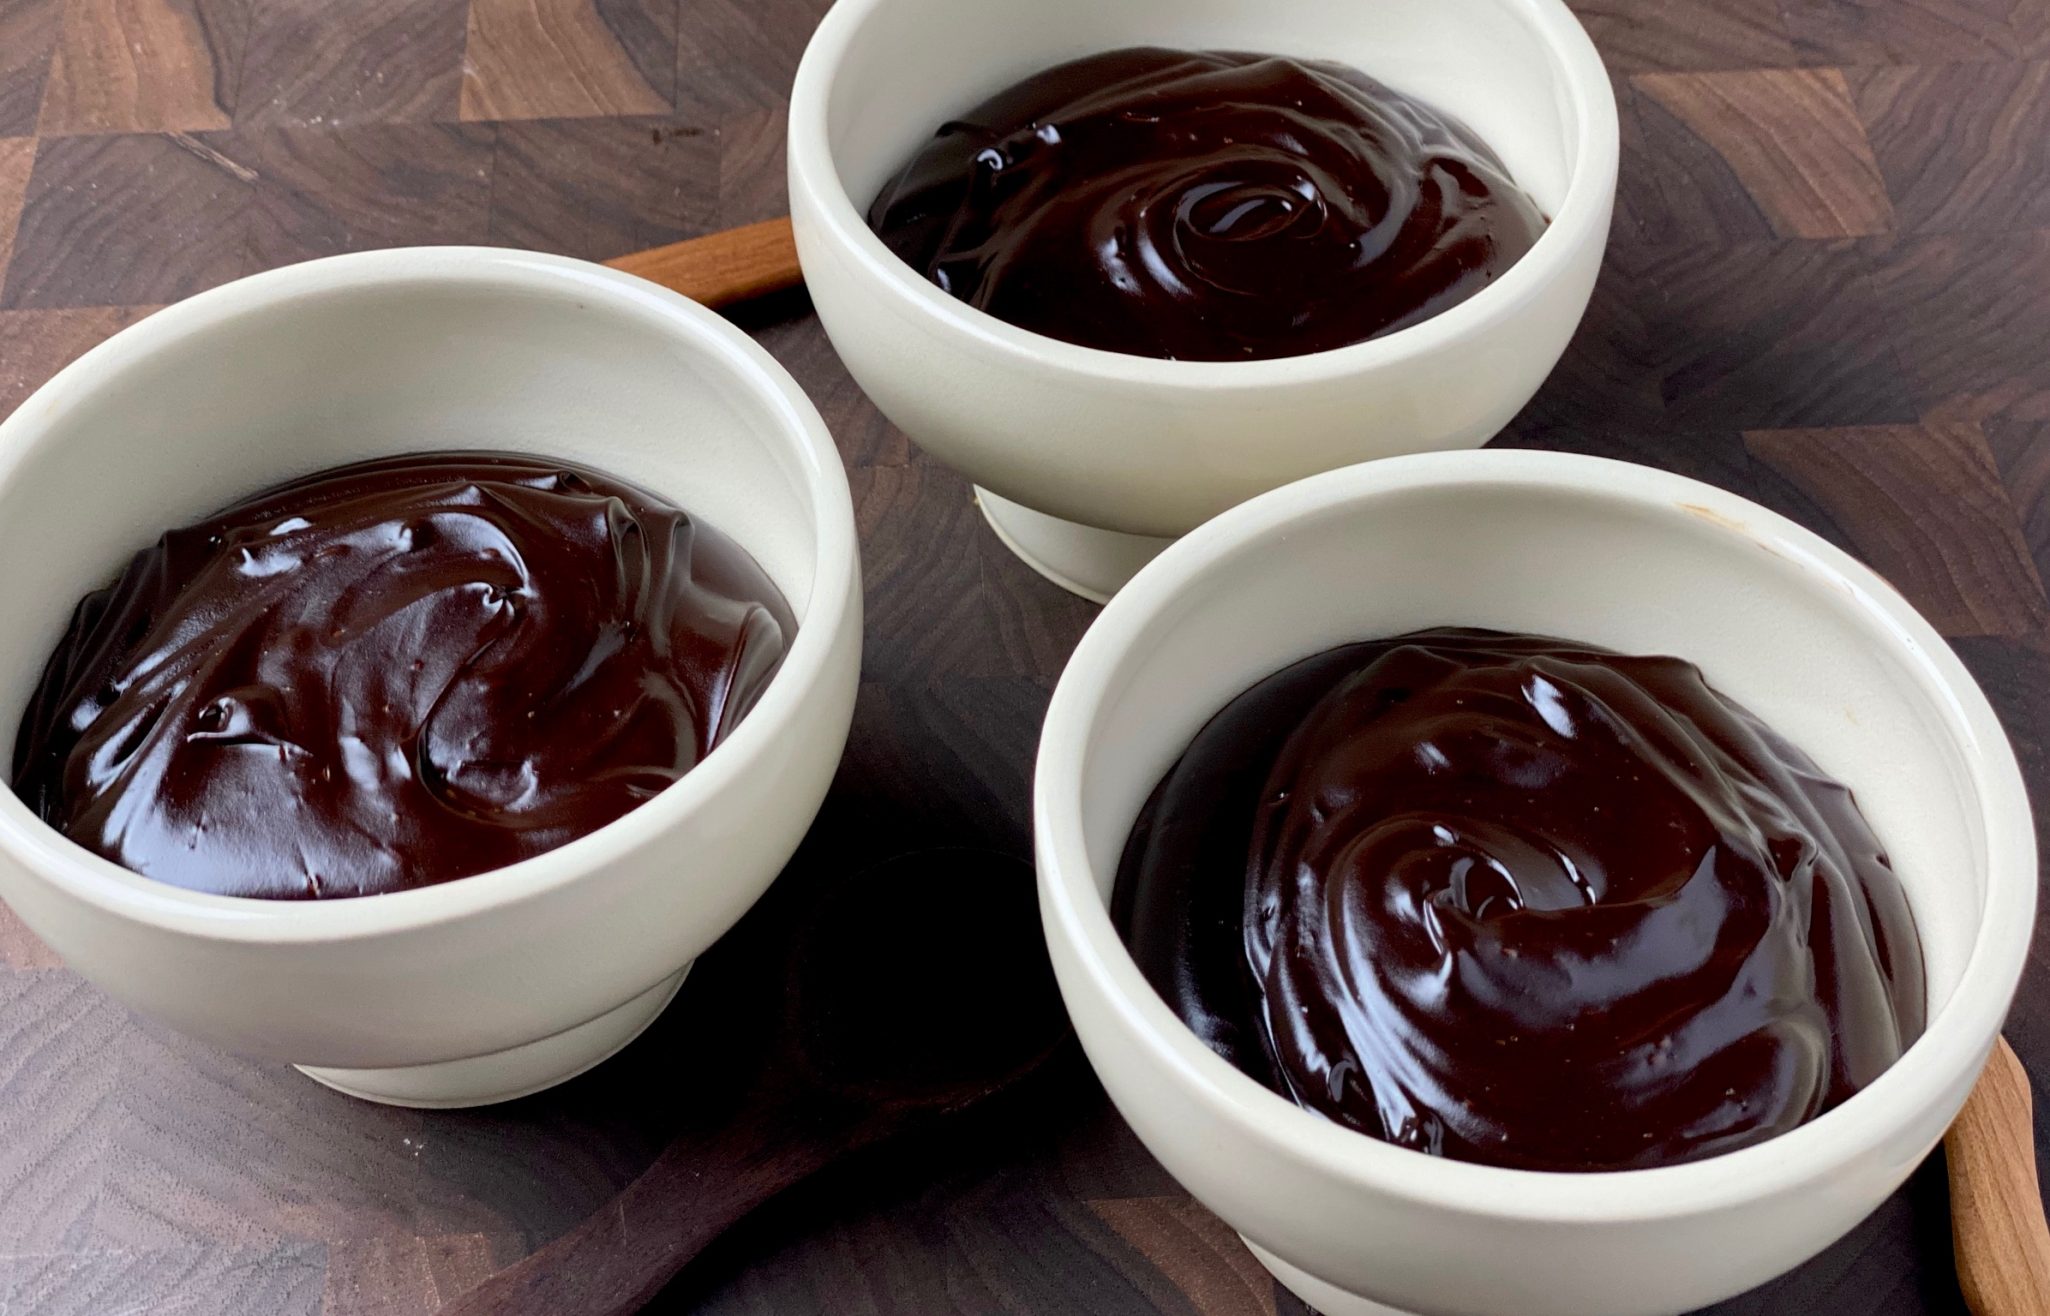
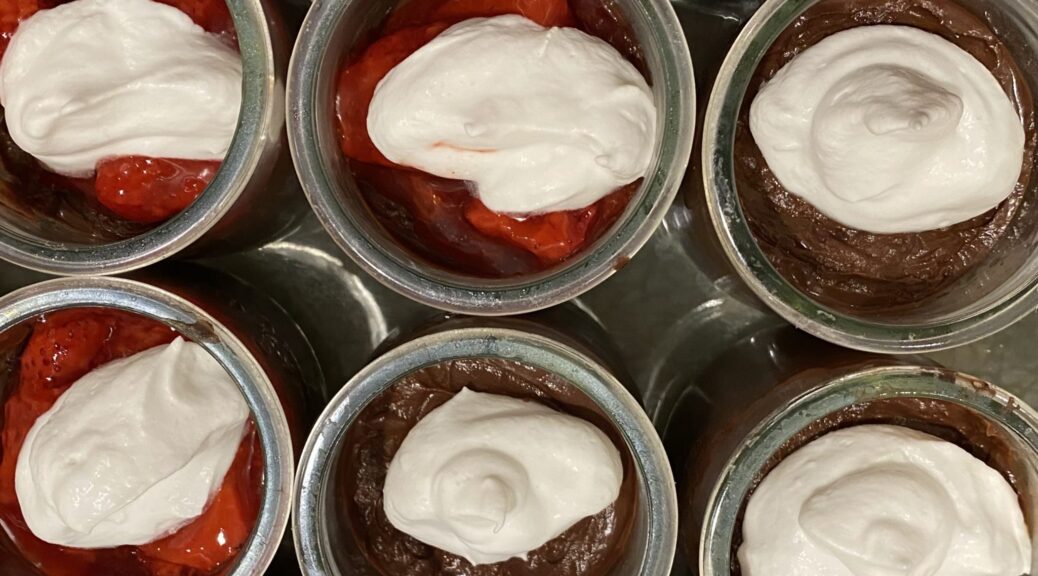
A layer of strawberry compote in between the chocolate pudding and a voluptuous coconut whipped cream on top gave the pudding a little more panache.   I rationalized splurging on expensive French yogurt by repurposing those cute little glass yogurt jars for the pudding.

Whip It, Whip It Good

I LOVE whipped cream.  So what’s a girl to do if she can’t have the perfect topping for vegan dessert?  Coconut Milk to the rescue.  A favorite vegan, gluten-free site, Minimalist Baker was ground zero for tips on how to make a delicious vegan whipped cream from coconut milk.

Start the day before you need whipped cream.  Why?  You need to chill the coconut milk to separate the cream from the liquid.  You will be using the cream part only.

My two favorite brands of coconut milk are Chaokoh and Aroy-D.  Having Aroy-D in my pantry, I placed a can in the fridge.  The overnight chill in the fridge is key to creating two distinct layers.  Aroy-D worked perfectly.  Both brands are found in most Asian Grocery stores.  Minimalist Baker likes Whole Foods 365 Coconut Milk, which might be more accessible.

Open the can, the solids will be on top, scoop all of the solidified coconut milk out and place in a chilled mixing bowl then place the coconut solids in a chilled bowl.  Whip for 30 seconds then add powdered sugar and vanilla.  I used 1/2 cup powdered sugar and it was pretty sweet. The range is 1/4 cup to 3/4 cup of sugar which you can to taste, definitely start with 1/4 cup and go from there.  Beat an additional minute or until light and fluffy.  Don’t overbeat as the cream will break down.

This is the perfect vegan substitute for regular whipped cream!  But, it is so good I would make it even if I didn’t need a vegan alternative.

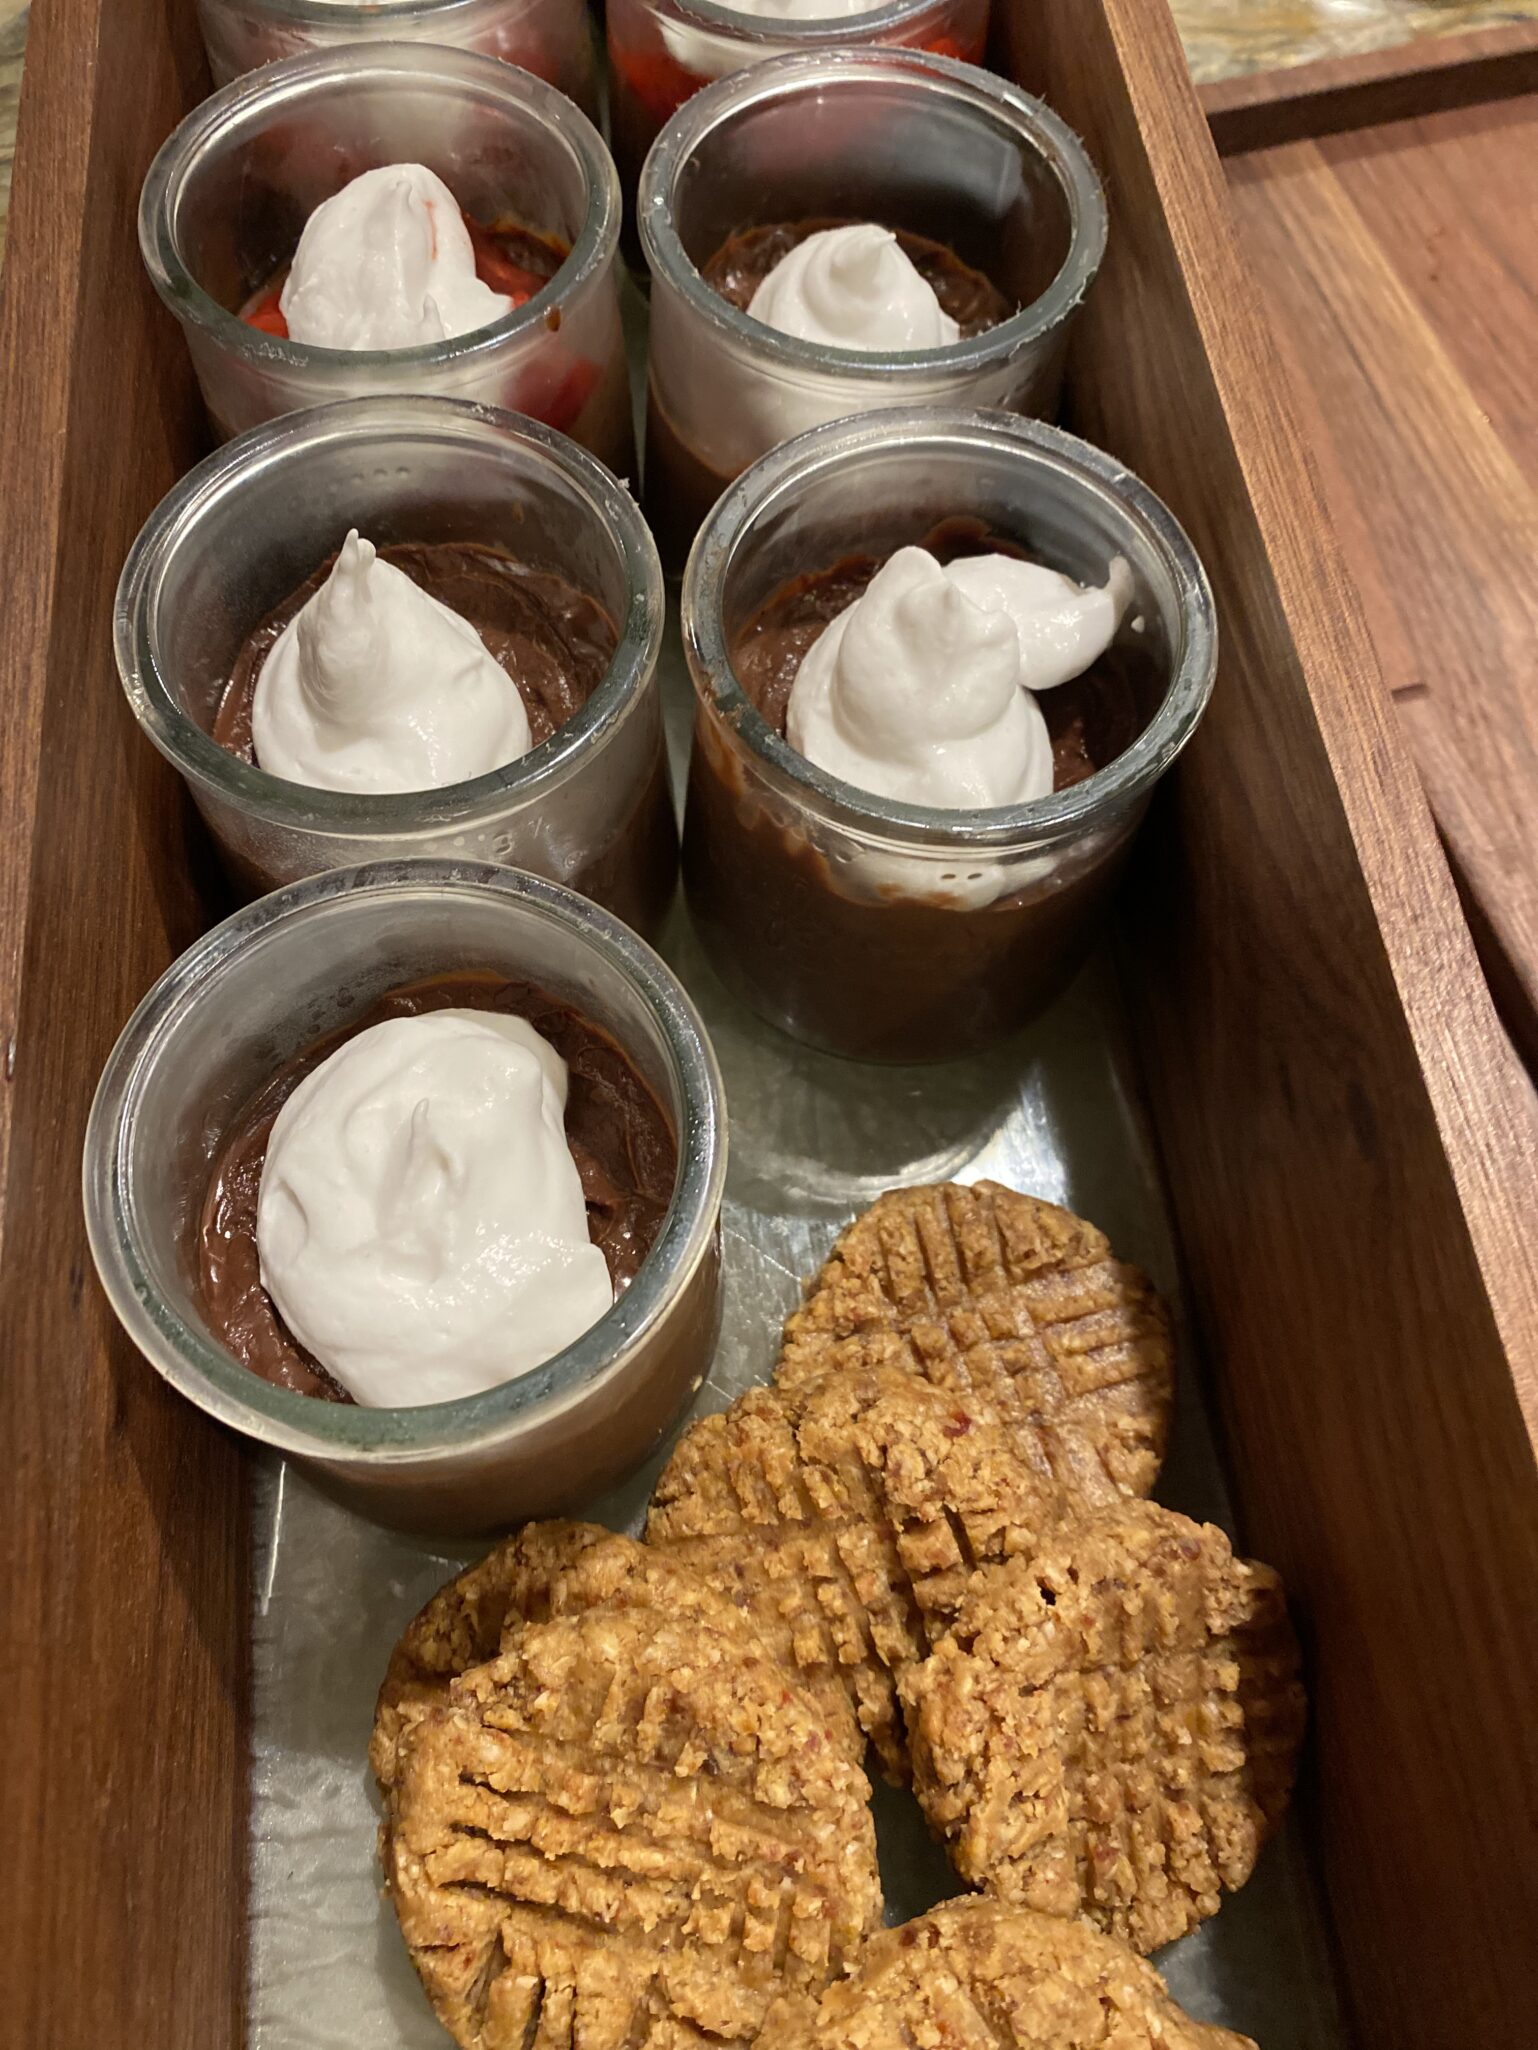
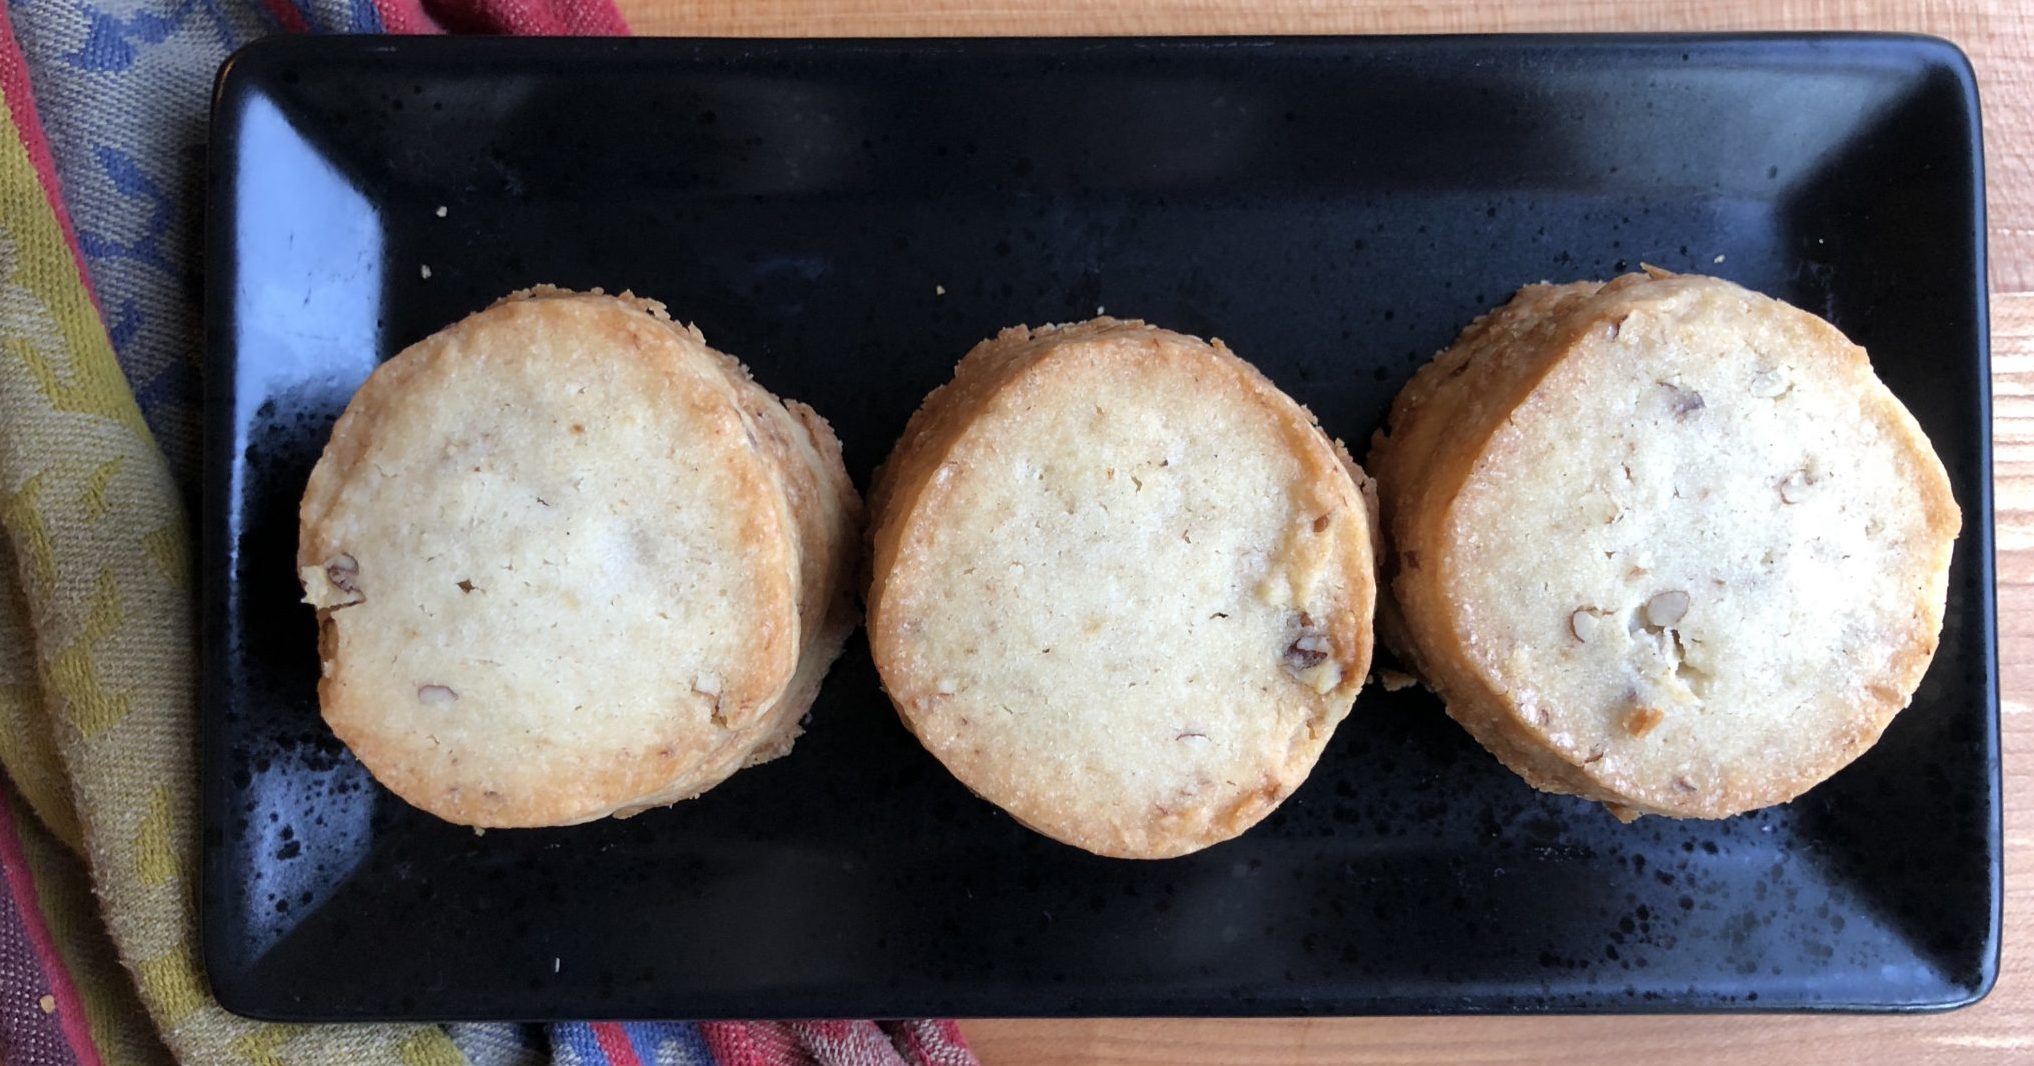
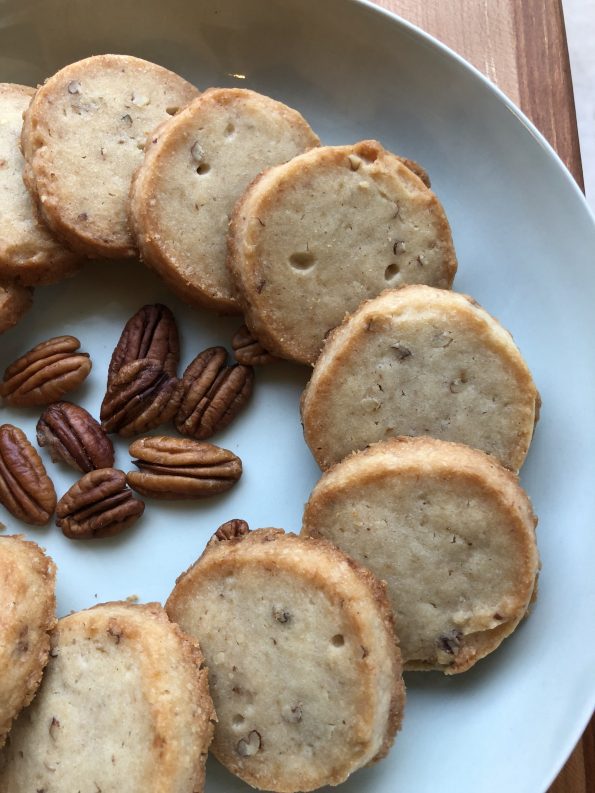
Ridiculously easy Vegan Peanut Butter Cookies,Vegan Peanut Butter Cookies, like Fred and Ginger, a perfect pairing with Chocolate Puddin

To half of the puddings I added a layer of strawberry compote. Adapted from Sally’s Baking Addiction, it’s easy and delicious.  Think of it as additional bling.

Coconut Whipped Cream

A great vegan option for whipped cream, so good you may want to use this vegan or not!
Course Dessert
Cuisine American
Prep Time 15 minutes
Chill Time 1 day
Servings 4

Ingredients

  • 1 14-ounce can coconut cream or full fat coconut milk* (Savoy Coconut Cream, Aroy-D Coconut Milk, and Nature's Charm Coconut Whipping Cream work best!)
  • 1/4 - 3/4 cup icing/powdered sugar use organic to ensure vegan friendliness
  • 1/2 tsp vanilla extract optional

Instructions

  • Chill your coconut cream or coconut milk in the refrigerator overnight (see notes for top brands!), being sure not to shake or tip the can to encourage separation of the cream and liquid. See notes for more insight / troubleshooting.
  • The next day, chill a large mixing bowl 10 minutes before whipping.
  • Remove the coconut cream or milk from the fridge without tipping or shaking and remove the lid. Scrape out the top, thickened cream and leave the liquid behind (reserve for use in smoothies).
  • Note: if your coconut milk didn't harden, you probably just got a dud can without the right fat content. In that case, you can try to salvage it with a bit of tapioca flour - 1 to 4 Tbsp (amount as original recipe is written // adjust if altering batch size)- during the whipping process. That has worked for me several times.
  • Place hardened cream in your chilled mixing bowl. Beat for 30 seconds with a mixer until creamy. Then add vanilla (optional) and powdered sugar (or stevia) and mix until creamy and smooth - about 1 minute. Avoid overwhipping because it can cause separation. Taste and adjust sweetness as needed.
  • Use immediately or refrigerate - it will harden and set in the fridge the longer it's chilled. Will keep for up to 1 - 2 weeks!
  • Coconut whipped cream is perfect for topping desserts like pie, hot cocoa and ice cream. It's also ideal for french toast, pie fillings, mousse, and even no-churn ice cream!

Strawberry Sauce

Fresh strawberries in this topping for a quick, & easy topping that gives desserts that extra bling!
Course Sauce
Cuisine American
Keyword quick and easy, strawberries, strawberry sauce
Prep Time 15 minutes

Ingredients

  • 1 Tablespoon cornstarch
  • 3 Tablespoons cold water
  • 1 lb strawberries hulled and sliced in half
  • zest and juice from 1/2 small lemon
  • 1/4 cup granulated sugar 50g
  • 1 teaspoon vanilla extract

Instructions

  • In a small bowl, whisk the cornstarch and water together until all the cornstarch has dissolved.
  • Place the cornstarch mixture, along with the rest of the ingredients, into a small saucepan over medium heat. Using a wooden spoon or rubber spatula, stir the mixture as it cooks. Break up some of the strawberries as you stir.
  • Bring it to a simmer and allow to simmer for 5 minutes, stirring constantly. After 5 minutes, remove pan from the heat and allow to cool. Add vanilla extract. The mixture will thicken as it cools.
Creamy Cashew Udon with Crispy Mushrooms

Creamy Cashew Udon with Crispy Mushrooms

I’m not a vegetarian but we are making a concerted effort to eat less meat and more veggies.  Good for us and good for the planet.  It’s much easier now with so many cookbook authors, bloggers, and chefs being much more veggie-forward.

The first new year recipe I tried was Cauliflower Steaks with a Smoky Tomato Rub from Cook the Vineyard.  Delicious, off to a good start!  I also received Hetty McKinnon’s To Asia with Love during the holidays.  A nod to her Chinese roots, she has penned a beautiful cookbook that relies on vegetables.  But before I even cracked open the book I found this recipe from her, Creamy Cashew Udon with Crispy Mushrooms, in Bon Appetit.  It’s so good.

The recipe can be broken down into 3 parts.  The creamy cashew sauce, the umami-filled chili crisp, soy, vinegar sauce, and the noodles.

Cashew Sauce

Who knew? Blending cashews with water, garlic makes an amazing, creamy, rich sauce that is the perfect stand-in for heavy cream.

It is super versatile, add herbs and spices for a sauce over roasted vegetables like carrots and broccoli. Or add some tahini for a sesame flavored sauce. Yummy.  I know, cashews can be pretty darn expensive.  I buy mine at Costco or local Indian markets which helps save some buckaroos,

The base sauce is cashews, water, garlic, salt, and a bit of oil.  It’s genius.  The cashews are hydrated first, in hot water, before tossing them in a blender or food processor with other ingredients and whirred into a sauce that provides flavor and a wonderfully creamy, decadent sauce.  Shazam.

Chili Oil

The chili sauce comes together quickly and provides that burst of flavor that brings it all together.  Use your favorite Chili Crisp Oil.  I use either the OG of Chili Crisp Oils, Lao Gan Ma, or Momofuku Chili Crisp.  Hetty McKinnon has a homemade chili crisp oil in her book.  It’s on my bucket list of things to try.

The Noods

Udon noodles are Japanese wheat noodles that are thick and springy.  Often overshadowed by its flashy cousin ramen. It is served in soup, hot or cold, and stir-fried.  My fav is in soup with shreds of beef, Niku Udon, with Aburaage, fried tofu, or simply with an egg.  Here is my Udon primerIt works really well in this dish, the creamy sauce coats the thick, sticky udon nicely. The noodles have a nice bite that compliments the mushrooms.  BUT, you could use different noodles, keep in mind you’ll want a thicker noodle, one that can stand up to the sauce (so not thin vermicelli noodles).  For a gluten-free option, a wide rice noodle would work well.

Not gonna lie, always going to love meat, but folks like Hetty McKinnon are making it much easier to make our meals much more veggie-centric.  This pasta dish is going in the regular rotation!

Creamy Cashew Udon with Crispy Mushrooms

From Hetty McKinnon an absolutely delicious pasta dish that uses cashews to create a creamy, decadent sauce, it’s vegetarian, it’s vegan, it’s yummy!
Course Main Course, one bowl meal, pasta
Cuisine Asian-American, vegan, vegetarian
Keyword Angel hair pasta, cashew, Creamy cashew sauce, mushrooms, Udon
Prep Time 1 hour 42 minutes
Cook Time 15 minutes
Servings 4 Servings

Ingredients

CASHEW CREAM

  • 1 cup raw cashews
  • 1 garlic clove coarsely chopped
  • 1 Tbsp. extra-virgin olive oil
  • ½ tsp. Diamond Crystal or ¼ tsp. Morton kosher salt

Chili Oil

  • 2 Tbsp. Chinkiang or Chinese Black Vinegar
  • 2 Tbsp. chili crisp or chili oil
  • 2 Tbsp. soy sauce
  • 1 Tbsp. toasted sesame oil
  • 1 scallion thinly sliced

The Shrooms

  • 2-3 Tbsp extra-virgin olive oil
  • 1 lb. oyster shiitake, crimini, or button mushrooms, cut into bite-size pieces
  • 1 clove garlic finely chopped
  • ½ tsp. Diamond Crystal or ¼ tsp. Morton kosher salt plus more serving
  • Freshly ground black pepper

Noodles and Garnish

  • 28 oz. fresh or frozen udon noodles Substitute wide rice noodles for gluten-free option.
  • 2 scallions thinly sliced

Instructions

Cashew Cream

  • Bring a large saucepan of water to a boil, then remove from heat. Add cashews and let sit until tender, 30–60 minutes.
  • Drain cashews and transfer to a blender (preferably high-speed) or food processor. Add garlic, oil, salt, and ½ cup water and purée until smooth.

Umami Sauce

  • Stir vinegar, chili crisp, soy sauce, sesame oil, and scallion in a small bowl to combine; set soy-vinegar sauce aside.
  • Heat 2 Tbsp. olive oil in a large skillet over medium-high. Cook mushrooms, tossing every minute or so but leaving mostly undisturbed, until mostly golden and crisp, 5–8 minutes, oyster and shiitakes will cook quicker, while crimini and button mushrooms will take a bit longer. Add garlic and kosher salt, cook, stirring often, add additional tablespoon of olive oil if the mushrooms look dry.

Noodles

  • Meanwhile, bring a large pot of salted water to a boil. Cook noodles according to package directions. You can use udon or any wide, thick noodle. For gluten-free option use rice noodles. Drain, reserving 1 cup cooking liquid.
  • Remove half of the mushrooms from the pan. Add noodles and cashew cream to pan with remianing mushrooms cook, stirring and adding reserved cooking liquid a little at a time, until cream is loose and coats noodles. Season with salt and pepper.
  • Divide noodles among bowls, garnish with reserved mushrooms generously drizzle each with reserved soy-vinegar sauce. Top with remaining scallions. Serve.

Notes

You could make this gluten free too!  Use a wheat free soy sauce, like a Tamari Sauce and a rice noodle for the udon. 
Blend the cashew sauce well, preferably use a blender or food processor.  Don’t be timid, you want a nice smooth sauce.


Pudding In the Late Night Hours Calls for Chocolate

Pudding In the Late Night Hours Calls for Chocolate

Life is on hold as we await the results of the 2020 presidential election.  I swore I wasn’t going to agonize over the process leading to the final result.  My plan was to ignore CNN, Twitter, WAPO, NYT…I decided to watch Hamilton for the umpteenth time, followed by my favorite K-drama.  As they say…

The Best Laid Plans

A quick sneak peek at Twitter and I was hooked.  It has been an agonizingly slow crawl to the finish as the Biden/Harris ticket chips away at the vote count in the battleground states. There I was tabbing back and forth between my K-drama and Twitter.  At 2am I had to stop the madness, I resorted to my favorite stress-buster activity, COOKING followed by my second favorite stress reliever-EATING.

Win-Win

At that time of the night, I needed something delicious, and comforting.  I had been eyeing a recipe in NYTcooking for a chocolate pudding made with oat milk.  Many of my friends are dairy intolerant or vegan so I am always on the lookout for desserts that fit the bill.  The fact that this pudding was quick and easy made this a no-brainer for my sleep-deprived, anxiety-riddled brain.

This pudding is so ridiculously easy and so incredibly delicious bookmark this post now.  You will thank me.  I used Planet Oat Milk but the recipe states you can use soy or almond, I’m sticking with oat milk.  I used Dutch-processed cocoa which gives the pudding its intense dark color.  You can use natural cocoa which will give you a lighter-colored pudding, either is fine.  Whisk the dry ingredients together, cocoa, sugar, cornstarch, and salt.  Slowly add the oat milk and then cook it over medium heat, STIRRING constantly so it doesn’t scorch and stays lump-free and smooth.  I used TJ’s Dark Chocolate Pound Plus Bar which resulted in a rich, intense chocolate flavor.  Experiment with different chocolates to change the sweetness and chocolate intensity.

Topped off the pudding with cocoa nib crumble from Manresa and I was in business.  Yummy.  I imagine an infinite variety of toppings would be lovely like softly Whipped Coconut Cream, whimsical sprinkles, flaked coconut, cookie crumbs, or fresh berries.

My little bowl of chocolate pudding did the trick, calmed my nerves, and gave me the courage to…GO TO BED!

Print Pin
5 from 3 votes

Oat Milk Chocolate Pudding

A delicious chocolate pudding from NYT Cooking that is dairy free and vegan
Course Dessert
Cuisine American
Keyword Chocolate Pudding, dairy-free, Dark chocolate, oat milk, Simple Bread Pudding, vegan
Prep Time 10 minutes
Cook Time 10 minutes

Ingredients

  • cup (65 grams) granulated sugar
  • cup (30 grams) unsweetened cocoa powder
  • 2 tablespoons cornstarch
  • teaspoon fine sea salt
  • 2 cups (480 milliliters) oat milk or soy or almond milk
  • 3 to 4 ounces (85 to 115 grams) bittersweet bar chocolate finely chopped, I used TJ's Dark Chocolate, which is accidentally vegan 😉
  • 1 teaspoon vanilla extract

Instructions

  • In a medium saucepan whisk together the sugar, cocoa, cornstarch, and salt. Slowly stir in the milk and stirring constantly until smooth and combined.
  • Cook over medium-low heat. Stir the mixture continuously, scraping the bottom, sides, and corners of the pan, until the pudding thickens, begins to bubble, and coats the back of the spoon or spatula, 5 to 10 minutes. Careful to not let the pudding scorch on the bottom and corner of the pot, lower heat if it cooks too fast or starts to scorch.
  • Add the chocolate and stir vigorously until the pudding is very thick and smooth, about 30 seconds longer.
  • Remove from the heat and stir in the vanilla. Spoon the pudding into a serving bowl or individual cups or ramekins. Serve warm, at room temperature or chilled. It will thicken as it cools. Garnish with whipped cream, sprinkles or chocolate chips or cookie crumbles. Use your imagination!

Notes

Before refrigerating, press plastic wrap onto the surface of the pudding to prevent a “skin” from forming on top.
The pudding will keep in the refrigerator for up to 3 days.
Piece of Cake, Chocolate Cake

Piece of Cake, Chocolate Cake

Surprise!  You are going to love this.  Did you click on CAKE-TWO from Vanilla Cake Pan Cake just out of curiosity?  The shameless two for one plug?

The Vanilla Cake Pan Cake is actually a riff on the Original Cake Pan Cake, a chocolate cake. It’s just as easy to make and just as delicious.  During WWII butter and eggs were rationed which led to the fortuitous creation of this moist, chocolatey cake. After all, necessity is the mother of invention, and chocolate cake IS a necessity.

Can you imagine a more quintessential, comforting American dessert than a chocolate cake topped with a luscious chocolate frosting?  Didn’t think so.  AND IT IS SO EASY TO MAKE!!!! Five minutes of prep and then into the oven, that’s it.  Thirty -five minutes later a rich, chocolatey, sweet, scrumptious cake is cooling on the rack.

Going Loco over Cocoa (Primer)

The cake is so easy I thought I’d talk about cocoa powder which is the foundation of this cake. For a deep dive into cocoa, here is the link to King Arthur Flour,  Here is my highlight reel on cocoa:

Cocoa powder is the powder created from dry roasted cocoa beans, grinding them to create a paste (there’s still cocoa butter in the beans). The butter or oil is extracted from the paste leaving solids that are then pulverized into a powder, cocoa powder, ta-da!

The end product is Natural Cocoa Powder which is acidic.  Good examples are Ghiradelli, Scharffenberger, and Hersey’s.

Dutch-processed is a procedure that alkalizes that natural cocoa powder (neutralizes it) so it is no longer acidic. In the process, this mellows out the flavor and makes the powder darker.  Think Oreo Cookies! Since it is no longer acidic, but has a neutral pH.  Right about now you should be having flashbacks to freshman chemistry.

Confused?  You are not alone.  The best rule of thumb, use whatever the recipe calls for, sorry not much help.  Not to worry, let’s keep going…

Recipes without Leavening Agents

Use whatever cocoa powder you like, end of story. So simple.

Recipes with Leavening Agents ie. baking powder or baking soda

If a recipe calls for baking powder and cocoa, chances are you can use Dutch-processed cocoa. This is because you don’t need an acidic medium for baking powder to work. In a pinch,  you could use natural cocoa powder since you don’t need an acid to trigger baking powder.  Flavor and color will be different but your dessert will still rise.

Recipes with only baking soda will need acid to get it going, use natural cocoa. Stay away from Dutch-process cocoa since baking soda needs an acidic medium to work.  BUT, if your recipe also has an acid like buttermilk, citrus, fruit purees, brown sugar, molasses, you might be able to use Dutch-process, all these ingredients are acidic.

You can use Natural Cocoa for Dutch-process because if you need an acidic environment you are covered.  You can’t use neutral Dutch-process for Natural cocoa without an acidifier.

So, you have Grandma’s recipe for brownies or chocolate cake that calls for cocoa powder (unspecified).  Chances are what she had available in her day was Hersey or maybe Ghiradelli.  Use a natural cocoa powder.  If the recipe calls for baking soda, definitely use natural cocoa.

To the Rescue

King Arthur flour makes the Triple Cocoa Blend which is natural and Dutch-processed combined.  YEP, doing the happy dance cause I can use this for almost any recipe that calls for cocoa powder.  No thinking involved.

I used it for this cake.  Although it doesn’t matter because the cake also has vinegar, thus creating an acidic environment.  You can use any cocoa you want for this cake. The triple cocoa created a beautiful deep brown, moist, flavorful cake-delish.

The cake is ridiculously easy.  If you need a quick dessert, add sprinkles or jimmies and you have yourself a very fine celebration cake.

King Arthur's Original Cake Pan Cake

Course Cake
Cuisine American
Keyword chocolate cake, easy recipe, king arthur flour, One pan cake
Prep Time 5 minutes
Cook Time 35 minutes

Ingredients

Cake

  • 1 1/2 cups King Arthur Unbleached All-Purpose Flour 177g
  • 1 cup sugar 198g
  • 1/4 cup unsweetened cocoa, Dutch-process or natural 21g
  • 1/2 teaspoon salt
  • 1/2 teaspoon espresso powder substitute and instant coffee powder
  • 1 teaspoon baking soda
  • 1 teaspoon vanilla extract
  • 1 tablespoon vinegar, cider or white 14g
  • 1/3 cup vegetable oil 67g
  • 1 cup cold water 227g

Icing

  • 1 1/2 cups semisweet chocolate chips 255g
  • 1/2 cup half-and-half 113g

Instructions

  • Preheat your oven to 350°F. Lightly grease an 8" square or 9" round pan that's at least 2" deep.
  • Whisk the dry ingredients together in a medium-sized bowl.
  • Combine the vanilla, vinegar, vegetable oil, and water in a separate bowl.
  • Pour the wet ingredients into the bowl of dry ingredients, stirring until thoroughly combined. Pour the batter into the prepared pan.
  • Bake the cake for 30 to 35 minutes, until a toothpick inserted into the center comes out clean, or with a few moist crumbs clinging to it.
  • Serve the cake right from the pan; warm from the oven, it's wonderful with a big glass of milk. This is a great VEGAN by accident recipe! Dust with powdered sugar and serve with berries.

Chocolate Icing

  • Or, once cool, frost the cake with chocolate frosting:
  • Heat the chocolate chips with the half-and-half until the chips melt. Microwave or doubleboiler. Stir until smooth, and pour/spread over the cake. For a non-dairy icing, substitute 1/3 cup cold-brewed coffee (or water) for the half-and-half.
  • Store cake, well covered, at room temperature for several days; freeze for longer storage.
Banana Pecan Shortbread (You Butter Believe They’re Vegan)

Banana Pecan Shortbread (You Butter Believe They’re Vegan)

Every now and then my political leanings sneak into a post. Nothing overt, a line, a sigh, a one-liner although I’m pretty sure my feelings are pretty obvious, oh well.  After the election I found myself feeling like that chicken running around screaming “the sky is falling, the sky is falling!  In order to not drive myself crazy, I decided I had to somehow channel that energy.  I had to stop lamenting over my latte’ and do something.

March for Science
March for Science

I went to marches and rallies, dressed Sammy up, and took him to marches.  Attended lectures, started reading books that didn’t have recipes, and subscribed to a bunch of podcasts.  Finally, I took the leap and joined a political action group organized by 3 amazing women in my community.  From there, I have met so many AMAZING people that I would not have met otherwise if not for the outcome of THAT election.

See, there is a silver lining to everything

One of which is meeting T&H. I adore them.  They are genuine, smart, funny, a little quirky (love that), compassionate, passionate…I could go on and on.

Wait, what the heck, they’re VEGAN? Dealbreaker

Just kidding.  The other night it was my turn to host our advocacy dinner meeting.  Most of the meal was pretty easy, spicy sesame noodles, a nice toss green salad, fresh berries.  Roasted salmon on the side for non-vegan, meat-eating folks (ME).  Easy peasy until…DESSERT.

What is a no-holds-bar, butter-obsessed, whipped cream-eating, dessert lover (ME again) to do?

So, being a “Big Tent” person, I went on the hunt for vegan desserts.  The first Vegan recipe I tried was an Olive Oil Shortbread with Rosemary & Chocolate Chunks from Smitten Kitchen. Pretty good…for a vegan cookie (ahhh, the qualifier). This time around I found a recipe for a Banana Pecan Shortbread on Minimalist Baker.  This looked promising.

Guess what, they are yummylicious (no qualifier).

Vegan Banana Pecan Shortbread

The secret ingredient? Coconut oil.  The cookie has a nice fine crumb and a bit of crispiness at the edges. These definitely give traditional shortbread a run for its money.  The pecans and banana add both sweetness and a buttery finish, you really don’t miss the butter.

I used refined organic expeller pressed coconut oil from Whole Foods.  Refined coconut oil has very little flavor and is a great substitute.  I threw it in the fridge for a couple of minutes to make sure it was completely solid and creamed the coconut oil with the sugar, just like butter.  I saw a couple of comments with regard to using coconut oil in the liquid state, but nope.  I’ll leave it to others to experiment.  I molded it into a cylinder, slipped it into my trusty PVC pipe (the secret to perfectly round cookies), and chilled it for a couple of hours. The cookies took closer to 15-18 minutes to bake in my oven, so start checking a little earlier than the stated baking time.

You could probably substitute a gluten-free flour mix to make this not only vegan but gluten-free.  Next time I might try substituting almond flour for part of the flour to see if it makes it a touch more tender cookie.  But honestly, it’s pretty darn good the way it is!

VEGAN BANANA PECAN SHORTBREAD

Vegan and gluten-free banana pecan shortbread cookies. Crisp with a slight tenderness, nutty and sweet. You won't miss the butter
Course cookies, Dessert
Cuisine American
Keyword banana, coconut oil, cookies, Shortbread, vegan
Prep Time 20 minutes
Cook Time 20 minutes
30 minutes
Total Time 1 hour 10 minutes
Servings 30 cookies

Ingredients

Creamed Ingredients

  • 1 cup refined coconut oil
  • 1/3 cup mashed ripe banana 1 small banana yields ~1/3 cup
  • 3/4 cup organic cane sugar or granulated sugar

Flavor Bumps

  • 1 tsp pure vanilla extract
  • 1/4 tsp sea salt

Dry Mix

  • 2 1/2 cups unbleached all-purpose flour
  • 1/4 cup pecans finely chopped
  • 1/4 tsp ground cinnamon optional but I do add it

Instructions

  • Cream oil, sugar and banana. Add vanilla, and salt, blend until incorporated.
  • Add flour and blend. (If you are adding cinnamon, add it to the flour). Add pecans and mix once more. Do not overmix.
  • Transfer to a large piece of parchment paper and roll into a tight log, ~ 2 inches wide. Freeze for 15 minutes to harden. Preheat oven to 350 degrees.
  • Unroll paper and slice cookies into slightly less than 1/2 inch rounds. Use a sharp or serrated bread knife. If it’s too soft, freeze it a little longer. If the dough has become too hard, let it rest for a few minutes at room temp to soften.
  • Place on an un-greased baking sheet approximately 1/2 inch apart. They won’t spread much. Bake for 18-22 minutes or until light golden brown.

Notes

With all the wonderful gluten-free flours now.  You could probably sub for the all-purpose flour to make this not only vegan but gluten-free!
Enhance the pecans by toasting them first.  Place pecans on a small baking sheet in a 350 degree oven for 5-7 minutes.  When you notice the aroma of the pecans they are done!
 
Donuts by Jamie!

Donuts by Jamie!

Hey guys! It’s Jamie, again!  I am finally back home for the summer, and I am loving it. Not only did I escape the disgustingly humid heat of Houston but I also escaped the disgustingly awful classes I took last semester.  I am petitioning to rename Sophomore Spring to Sophomore Suck.  Those classes were horrible. I digress.  I promise this post was not supposed to be me venting about my last semester.  Now that I am back, I have wasted no time in hitting up all of my favorite restaurants.  I have gorged myself on countless pieces of sushi, stuffed myself full on Los Gatos Cafe’s famous cinnamon buns, and snacked on more of my mom’s granola than I thought humanly possible. It’s been great.  In addition to eating my way through Los Gatos, I have also been partaking in one of my ultimate favorite pastimes: cooking.  Surprise, I caught the bug from my mom. I actually missed cooking a lot this past semester; not only does anything homemade taste light years better than cafeteria food but cooking also is a way for me to unwind.  No matter how many things I have going on or how stressed I am, I can always turn to baking or cooking.  It’s just me, a recipe, probably a couple episodes of Gilmore Girls, and awesome smelling (and hopefully tasting) food. It gives me a time to think for myself and get away from the stress that can sometimes be very overwhelming. This last semester, I’ve turned to watching cooking shows as a way to unwind.  IMG_1614 copyI know, I’m turning into my mom, pretty scary stuff.

My suite mate and I have gotten really into watching this one show called Raw. Vegan. Not. Gross. The girl who hosts it, Laura Miller, is kind of raw vegan, and is really cool.  She’s a huge advocate for eating food that will make you feel good and is kind of crazy/quirky in a cool way.  She blogs, wears the cutest clothes, and has a dog named Buzz.  Basically, I want to be her.  She recently came out with a cookbook, and, as I am my mothers daughter, I preordered it. I read it front to back when I got it, and I got so excited to try all of the recipes.  I made vegan tacos the other day (kind of, I may or may not have added salmon to them) and today I tried making vegan, gluten free donuts.  You bake them in the oven, and they come out light and fluffy, with a slight almond taste, which I love. I dipped them in a chocolate glaze made out of coconut oil, cocoa powder, maple syrup, and salt. Give them a try! They’re really good.

P.S. If you are a vegan food skeptic like my mother, I promise they are good.  Jordan and his friend even tried them and said they were good before they knew they were vegan.
P.P.S.  Here is a link to Laura Miller’s blog! Check her out! https://imlauramiller.com
P.P.P.S.  Hi Claire
IMG_1602

Vegan Donuts Adapted from Laura MIller

Ingredients

Donuts

  • 1 cup almond flour
  • 1 cup sorghum flour
  • 1 cup potato starch
  • 1 1/2 teaspoon baking powder
  • 1/2 teaspoon baking soda
  • 1/4 teaspoon xanthin gum
  • 1/2 teaspoon salt
  • 3/4 cup maple syrup
  • 1/3 cup applesauce
  • 1/2 cup hot water
  • 1/3 cup coconut oil
  • Juice of 1 lemon

Chocolate Glaze

  • 1/2 cup coconut oil
  • 3/8 cup cocoa powder
  • 1 Tbs maple syrup
  • Small pinch of salt

Instructions

  • Directions:
  • 1) Preheat oven to 325 degrees F
  • 2) Mix dry ingredients in a bowl
  • 3) Mix wet ingredients in a bowl
  • 4) Add wet ingredients to the dry and mix with a spatula until thoroughly combined. The batter will be a lot like pancake batter
  • 5) Add 1/4 cup of batter into each donut mold. Spread around evenly
  • 6) Optional: Add about a teaspoon of your favorite jam, nut butter, or sprinkle on coconut flakes to each donut. Spread around evenly with a spoon.
  • 7) Bake for 10 minutes, rotate, then bake for another 5-7 minutes, until browned on the top and cooked through.
  • 8) Optional: Dip the top half into chocolate glaze after donuts have cooled.

Directions Chocolate Glaze

  • Blend all ingredients until smooth, then place in a shallow bowl for donut dipping.