Tag: Smitten Kitchen

Smitten by Big Apple Crumb Cake

Smitten by Big Apple Crumb Cake

Let me rundown the reasons you should make this Apple Crumb Cake…

The original recipe is from Smitten Kitchen, and well, duh, of course, I’m going to make it.

Recommended by Ipso-Fatto, one of my favorite blogs. Her recommendations are SPOT ON. I put any recipe with her ringing endorsement on my bake it, bake it now list.

Apples and a boatload of crumb topping.  What’s Not to Love?

Finally, an excuse to buy yet another baking pan, because everyone knows you absolutely need a 12×5.5 biscotti pan, LOL.

How do you like them apples…in a cake, please

It never ceases to amaze me just how many variety of apples are now available. I snagged a bag of Crimson Crisp apples, along with Pink Ladies, and Jonagolds at the Farmer’s Market.  Back in the day, Red Delicious was the Big Kahuna, the only Kahuna (totally dating myself).  Crimson Crisp are sweet, with just a hint of tartness, an all-around apple good for snacking or baking. Or, feel free to use any apple you like as long as it will hold its shape after baking.

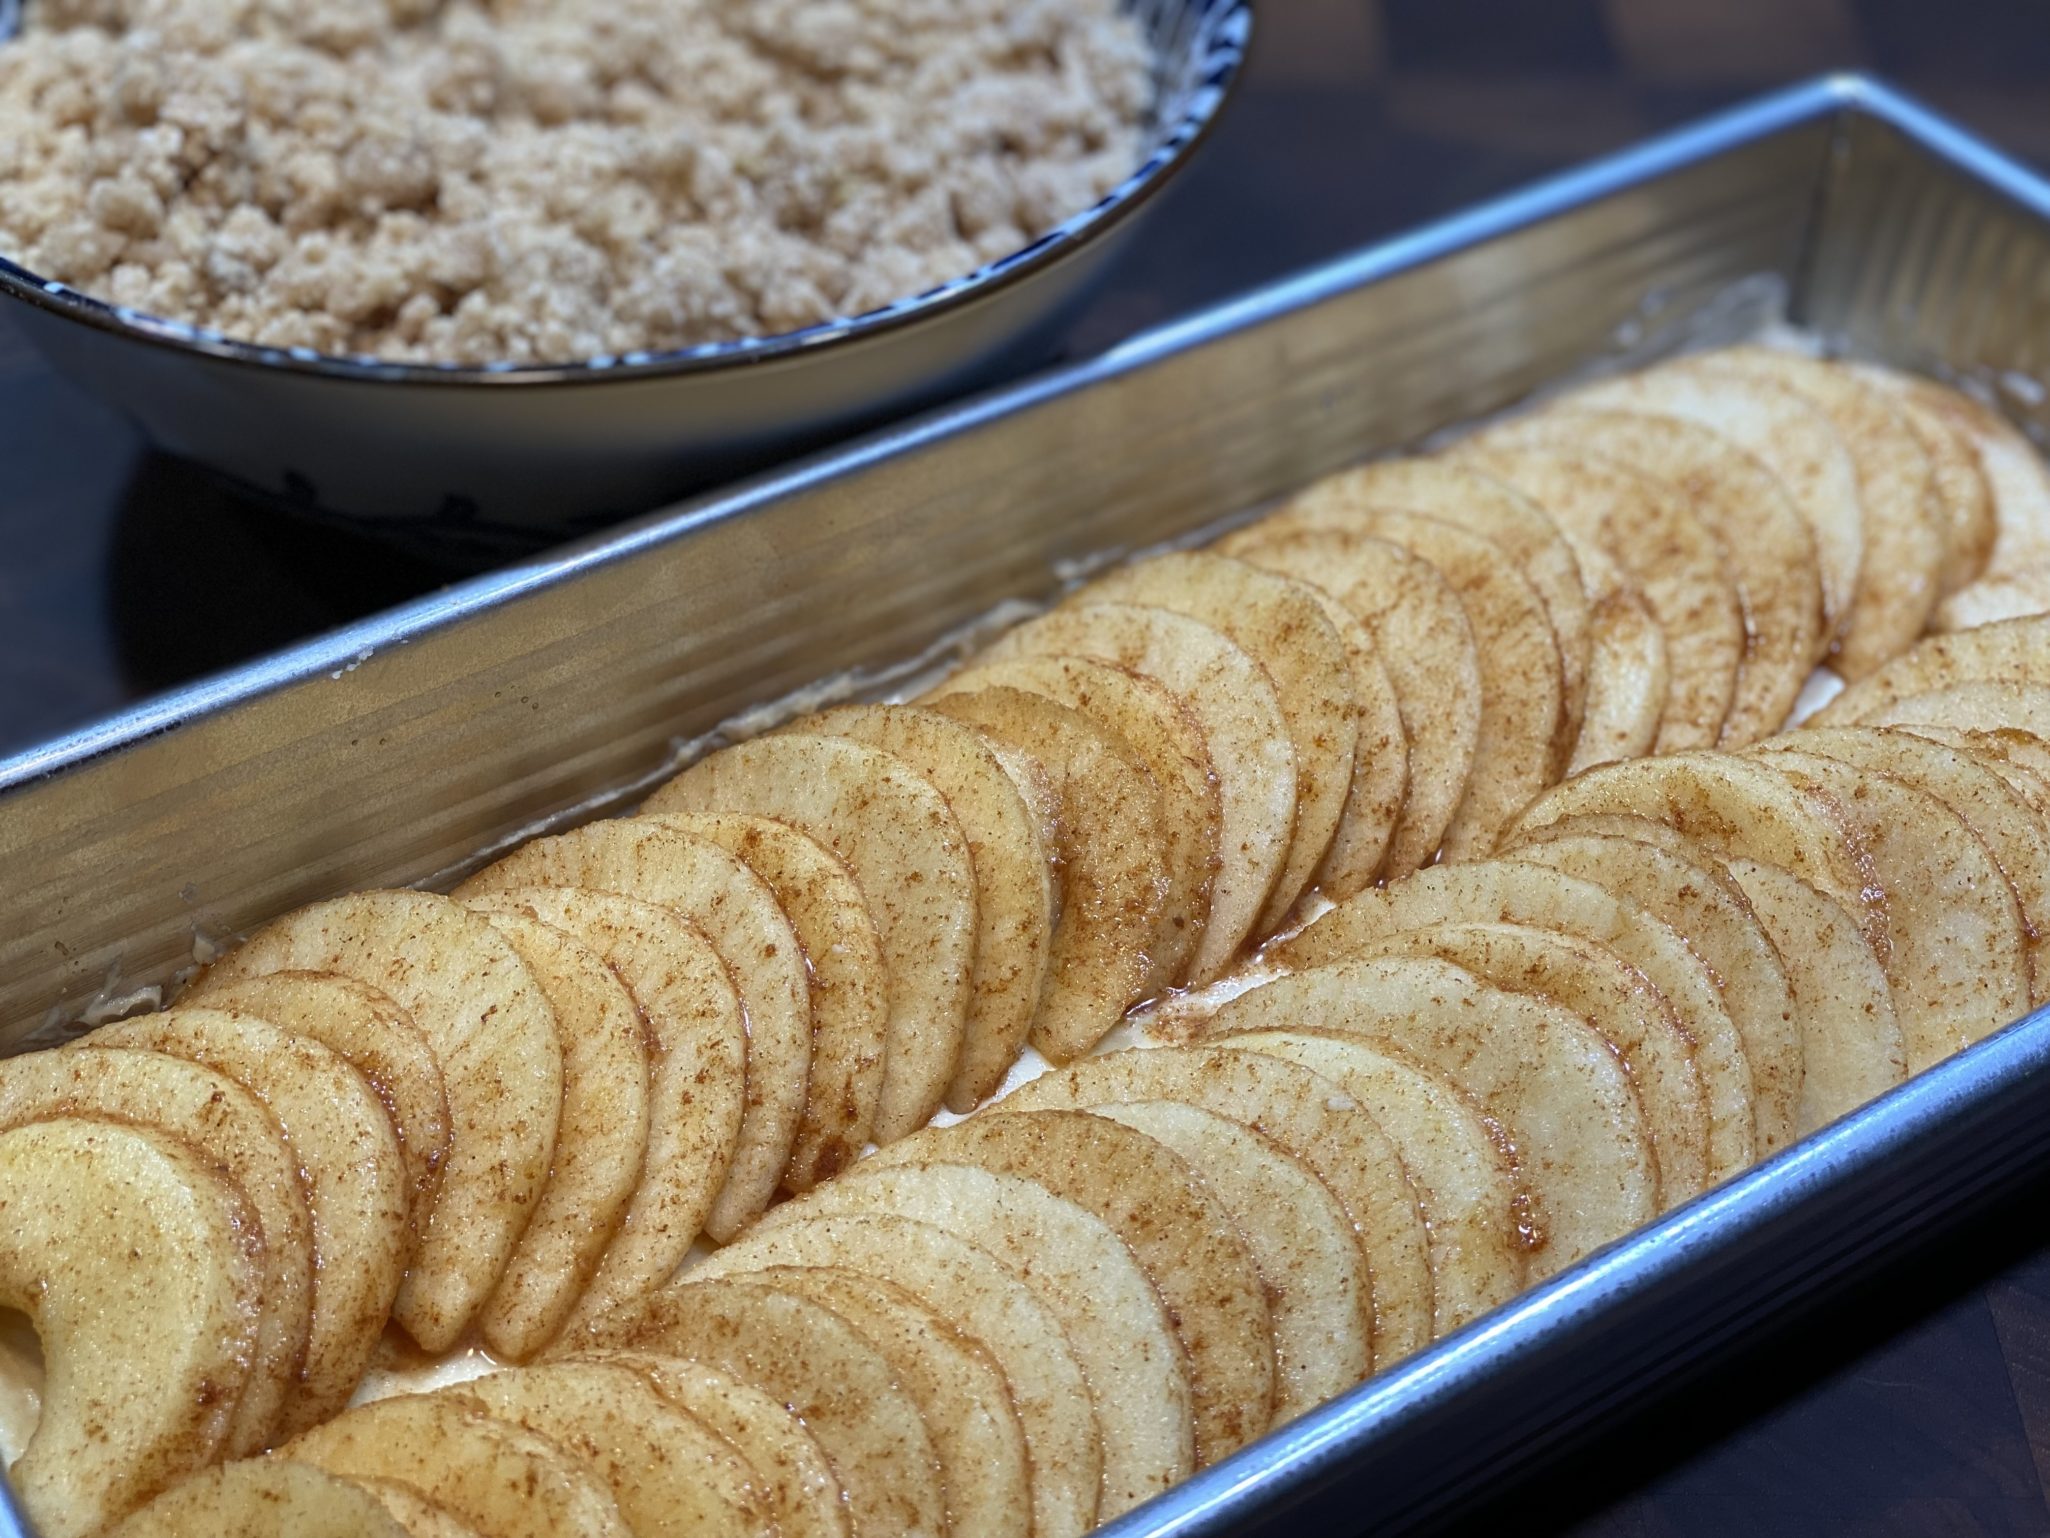
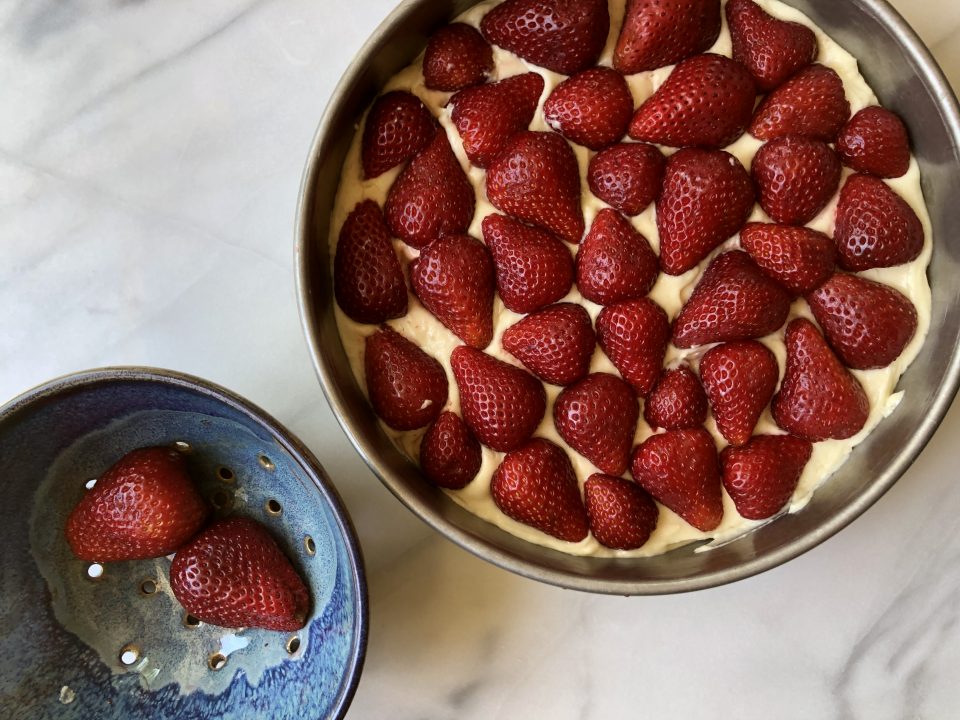
The original recipe calls for 1/2-inch thick slices randomly placed on the batter.  But, I chose to cut my apples in approximately 1/4 to 3/8-inch slices and form two rows of overlapping slices.  Do not cut the apples any thinner as the apple flavor and texture will be lost under the crumbs.  If you use all sweet apples like Golden Delicious, be generous with the lemon juice.

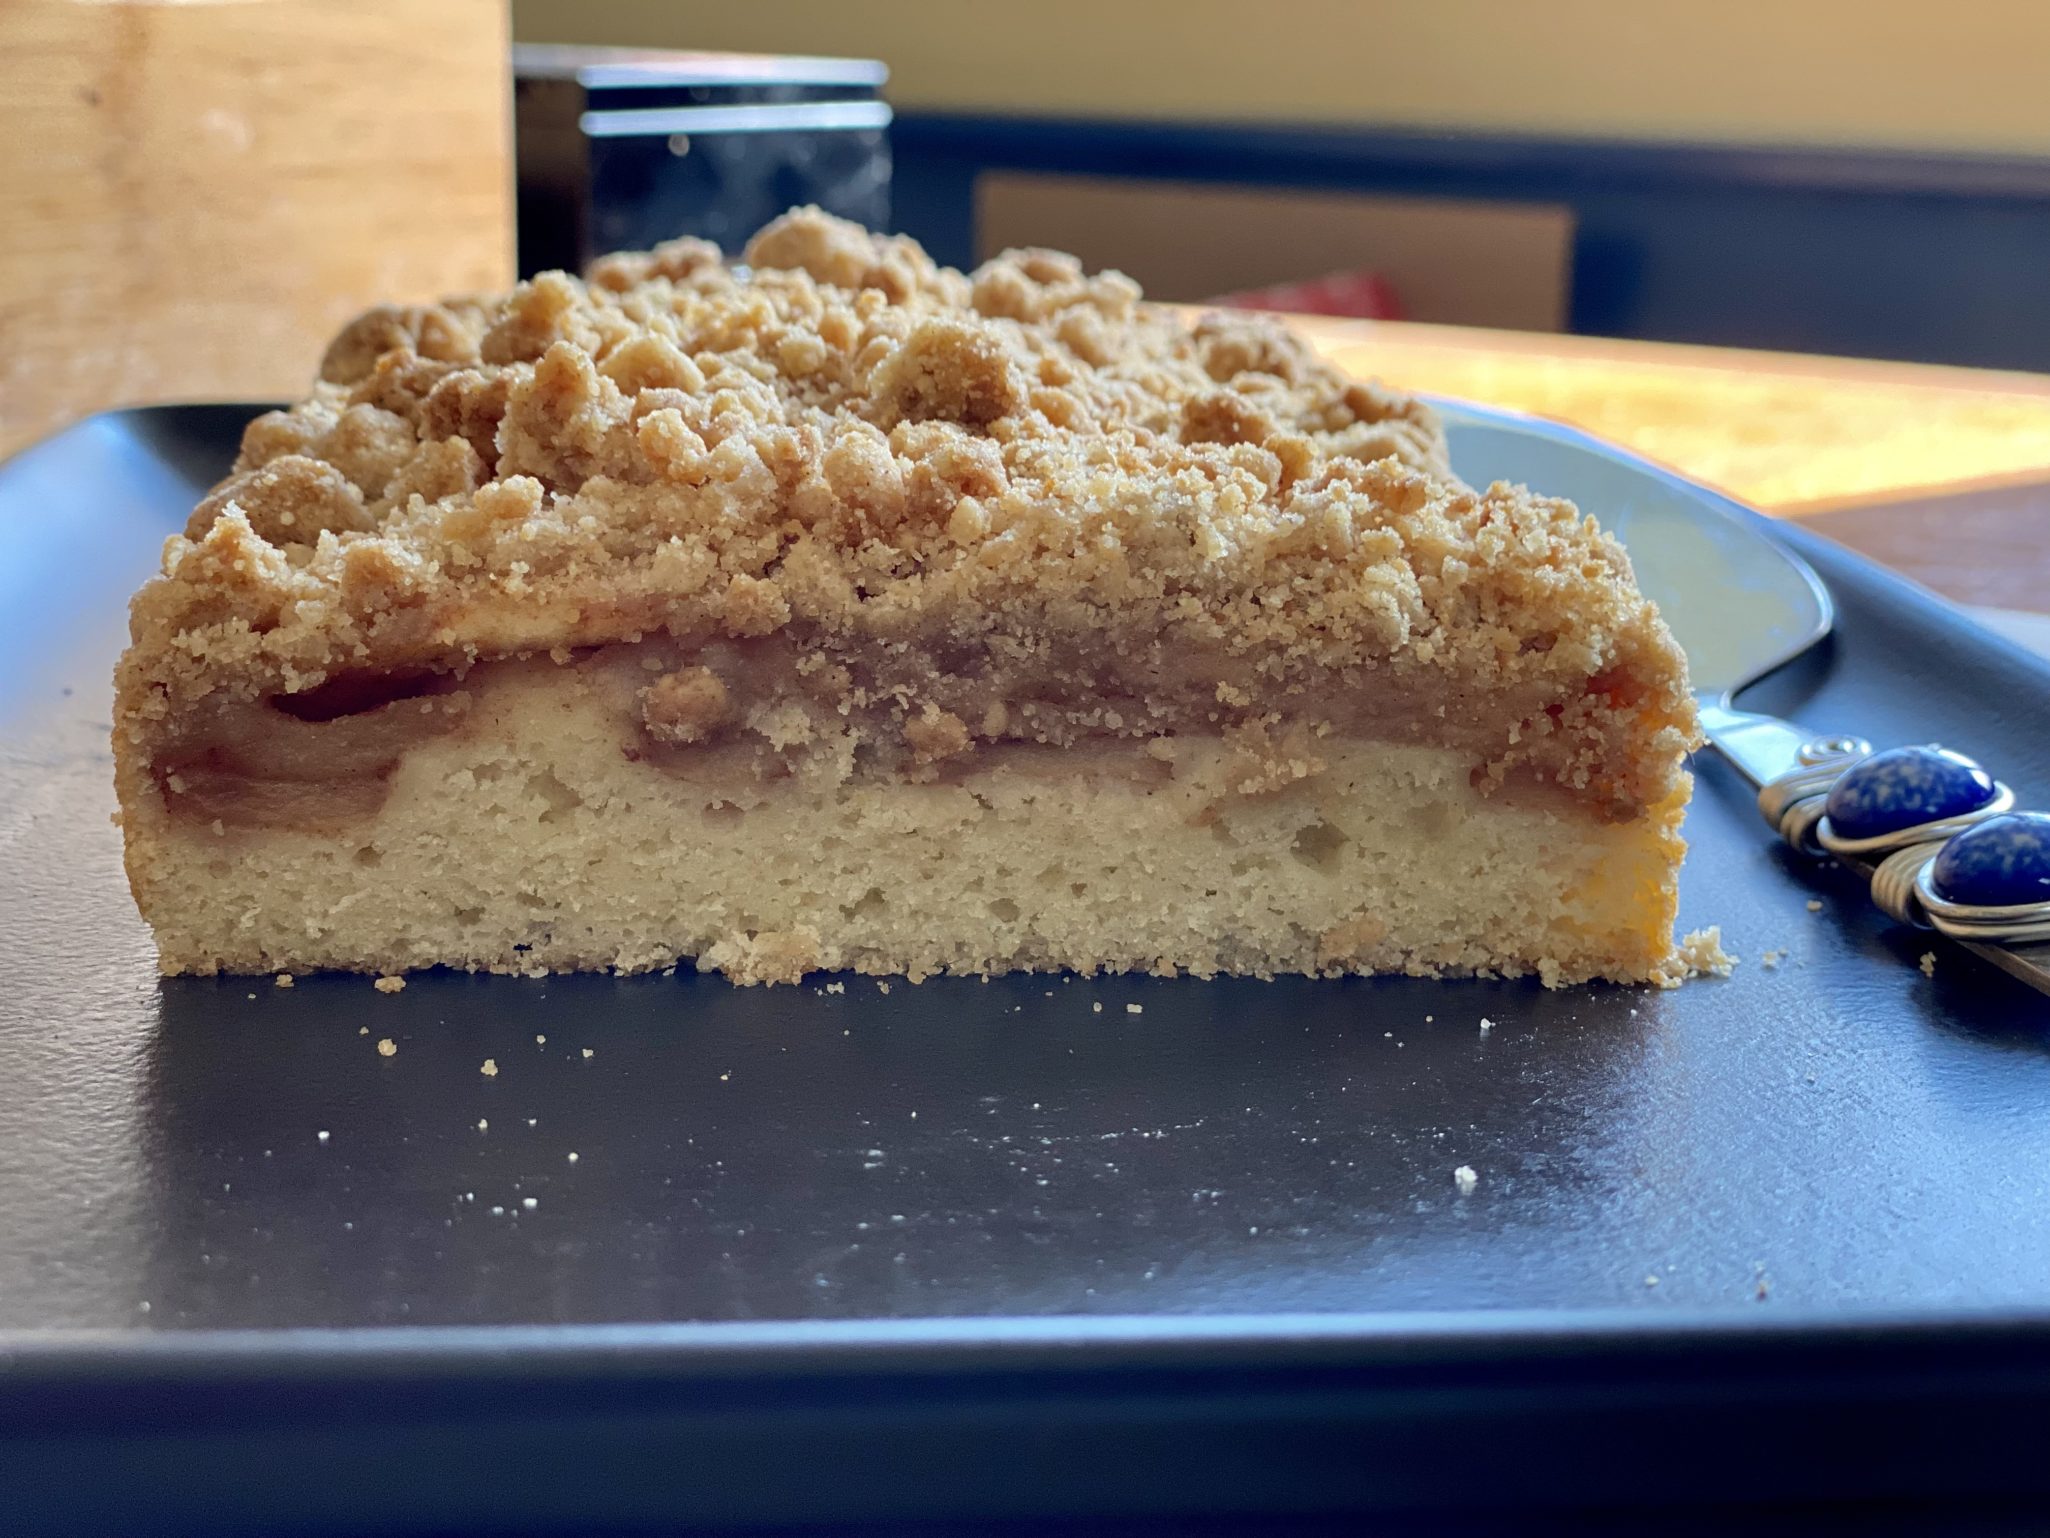
BaBaBaBaBap…Cake On the Bottom

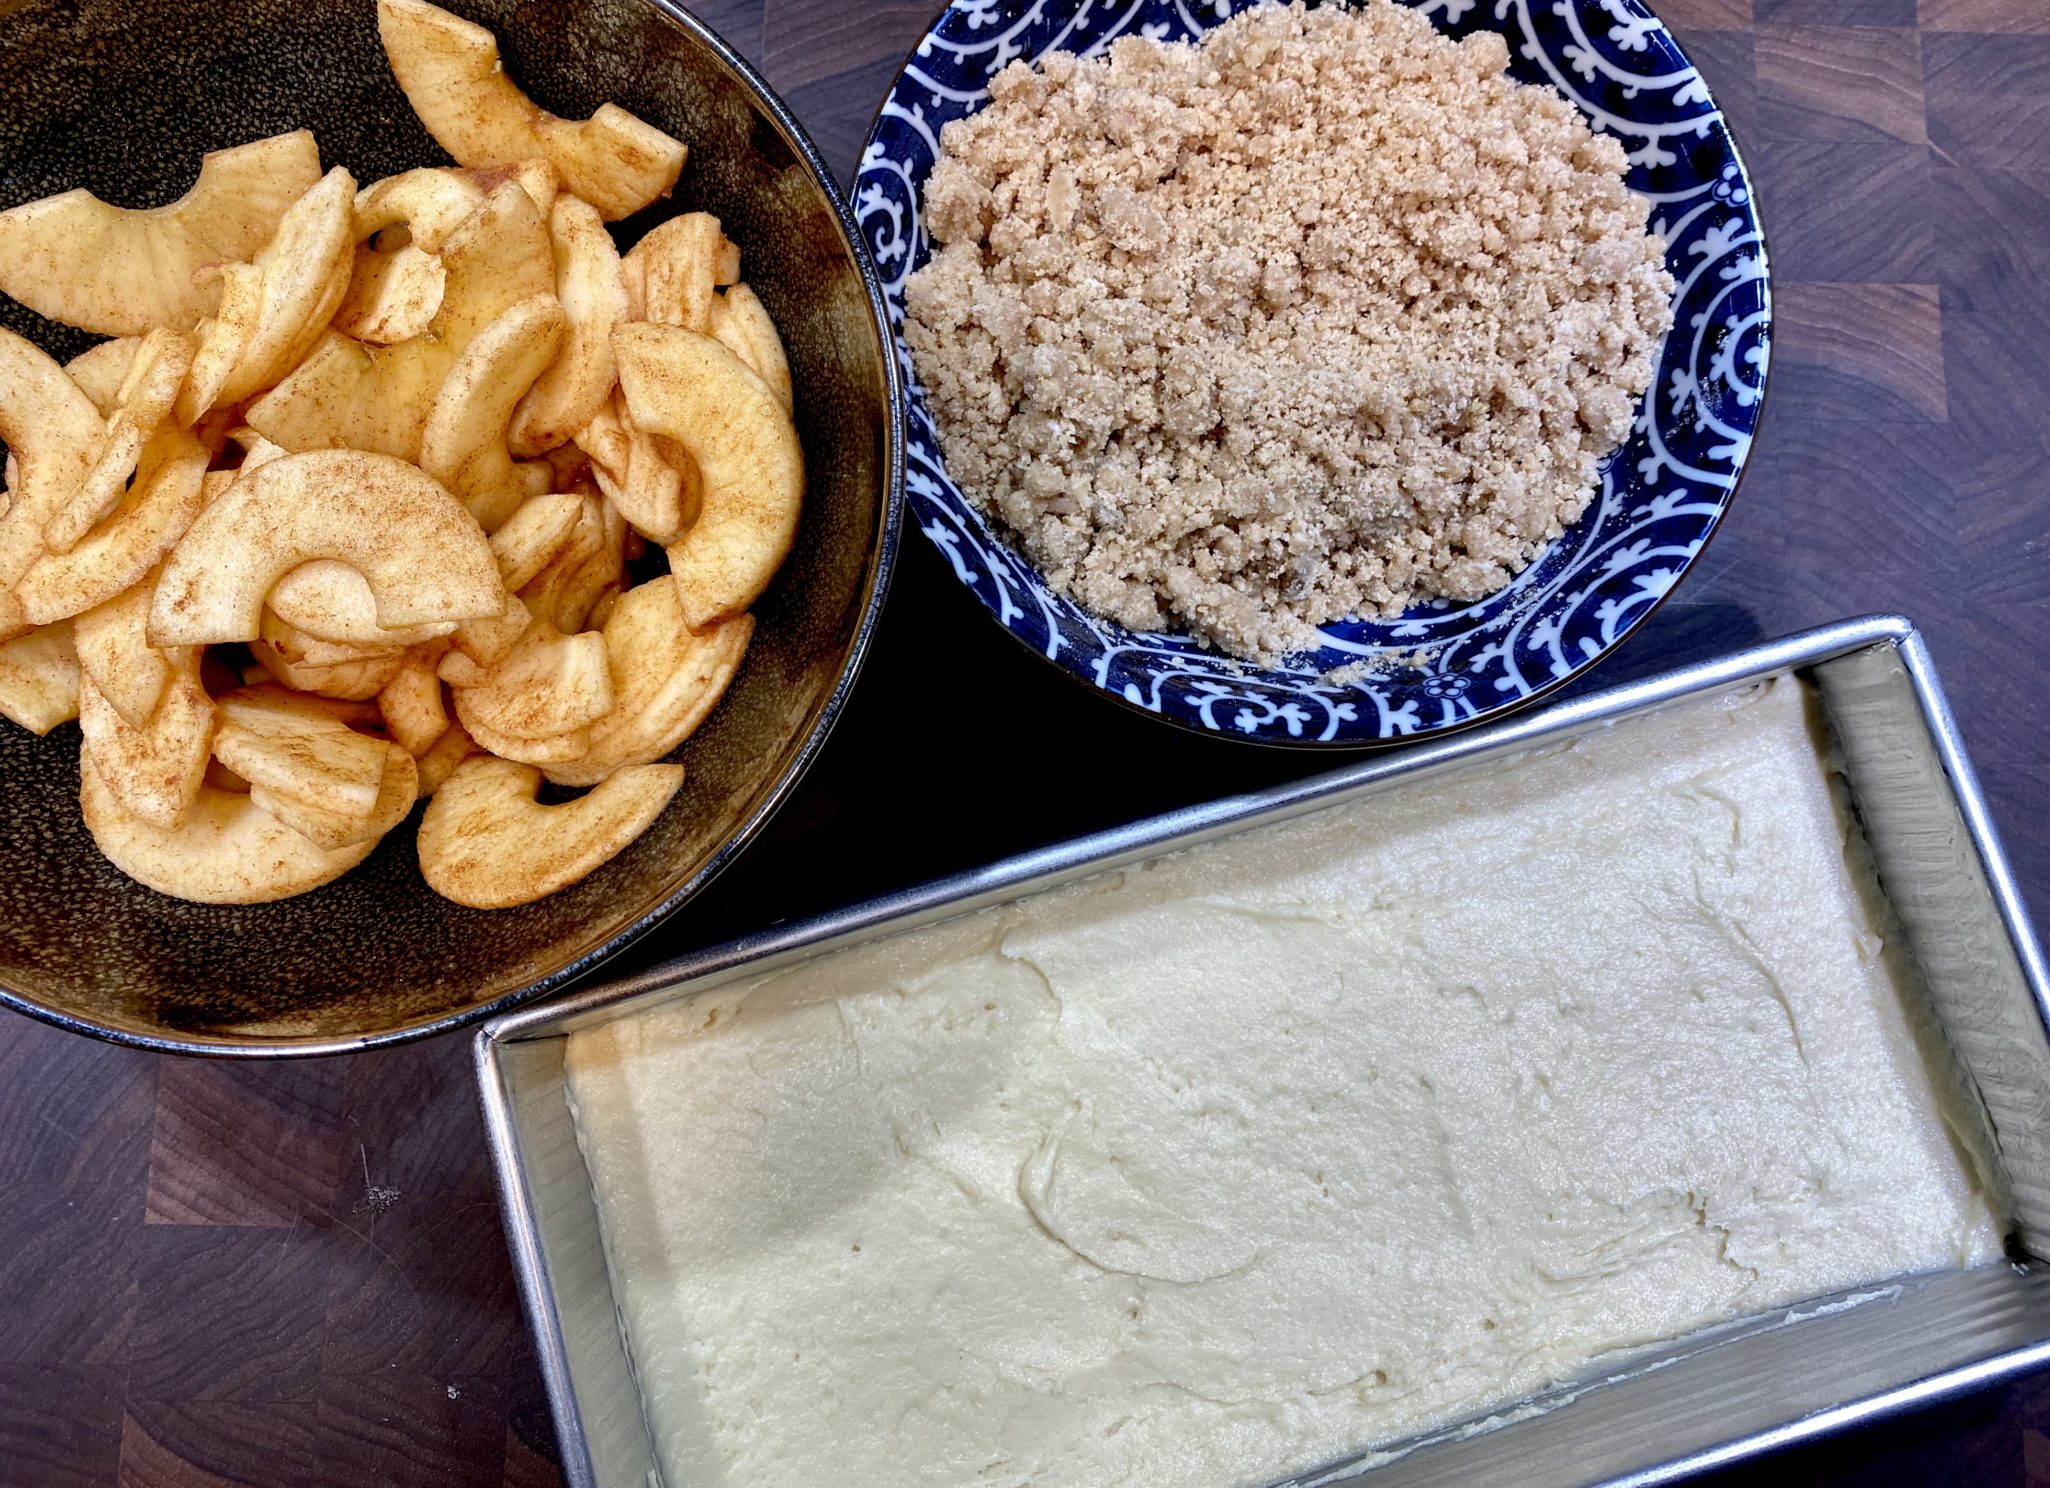
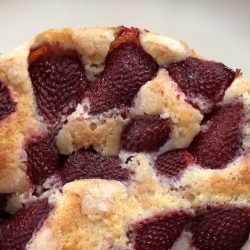
The cake layer is reminiscent of a fine crumb, not quite as dense as pound cake, snack cake  A nice foil for the apples and the topping. The batter is very thick, not really pourable. Scoop it into your pan and use an offset spatula to spread it evenly in the pan.  I used my nifty new biscotti pan (12×5.5 inches) which is equivalent to the called for 8×8 baking pan. The salt and baking powder are sprinkled on the butter, sugar, egg mixture, and blended before adding the flour.  Not sure why, my best guess is to make sure the baking powder and salt are evenly distributed in the batter.

How the Cake Crumb-les

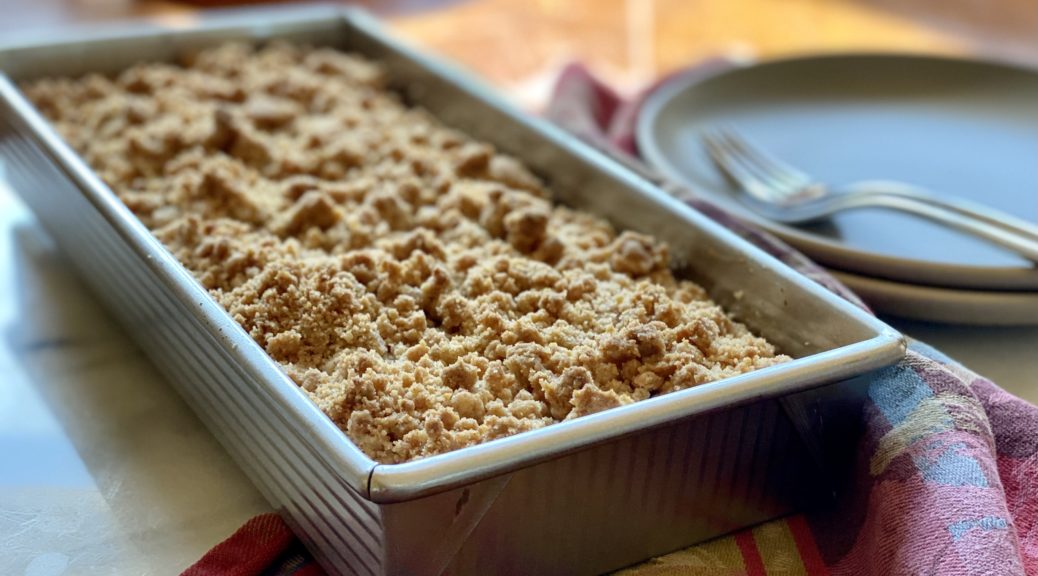
Starting with melted butter makes the crumb topping effortless. I left the crumb in random small pieces which resulted in a pebbly finish which I love.  Squeeze the crumbs together for bigger clumps of topping.  Add nuts, if you like, I tossed in half a cup of chopped pecans for texture and flavor.  It is ALOT of crumble so if that’s not your thang, leave some out.

This is a delicious snack cake that highlights both apples and crumb topping.  Put it on your bucket bake list!

Print Pin
5 from 1 vote

Big Apple Crumb Cake

From Smitten Kitchen, a delicious snacking cake topped with apples and a generous layer of crumb topping.
Course Cake
Cuisine American
Keyword apple, crumb cake
Prep Time 20 minutes
Cook Time 55 minutes

Ingredients

The Apples

  • 1 pound apples, 3 medium or 2 large, peeled, cored, cut into 1/4 -1/2-inch wedges
  • Juice of half a lemon
  • 1 teaspoon ground cinnamon
  • 1 tablespoon granulated sugar

The Crumbs

  • 1/2 cup unsalted butter, melted 4 ounces or 115 grams
  • 1/3 cup light or dark brown sugar 65 grams
  • 1/3 cup granulated sugar 65 grams
  • 1 teaspoon ground cinnamon
  • 1/4 teaspoon kosher salt
  • 1 1/3 cups all-purpose flour 175 grams
  • 1/2 cup coarsely chopped nuts, any kind optional

The Cake

  • 6 tablespoons unsalted butter, softened 85 grams
  • 1/2 cup granulated sugar 100 grams
  • 1 large egg room temperature
  • 1/3 cup sour cream 80 grams
  • 1 teaspoon vanilla extract
  • 1 cup all-purpose flour 130 grams
  • 1 1/4 teaspoon baking powder
  • 3/4 teaspoon kosher salt
  • Powdered sugar for dusting

Instructions

  • Heat oven: To 325°F (165°C). Lightly coat an 8-inch square or 9-inch cake pan with butter or nonstick spray and line with parchment paper that hangs over the long sides. Makes it easy to remove the cake after baking.
  • Slice apples into 1/4 min to 3/8 inch thick slices. Toss apples with lemon juice. Mix cinnamon and sugar together and then add to apples. Mix thoroughly and set aside.
  • Make crumbs: Whisk melted butter, sugars, cinnamon, and salt together until evenly mixed. Add flour and mix until it disappears. Add nuts if using. Set aside.
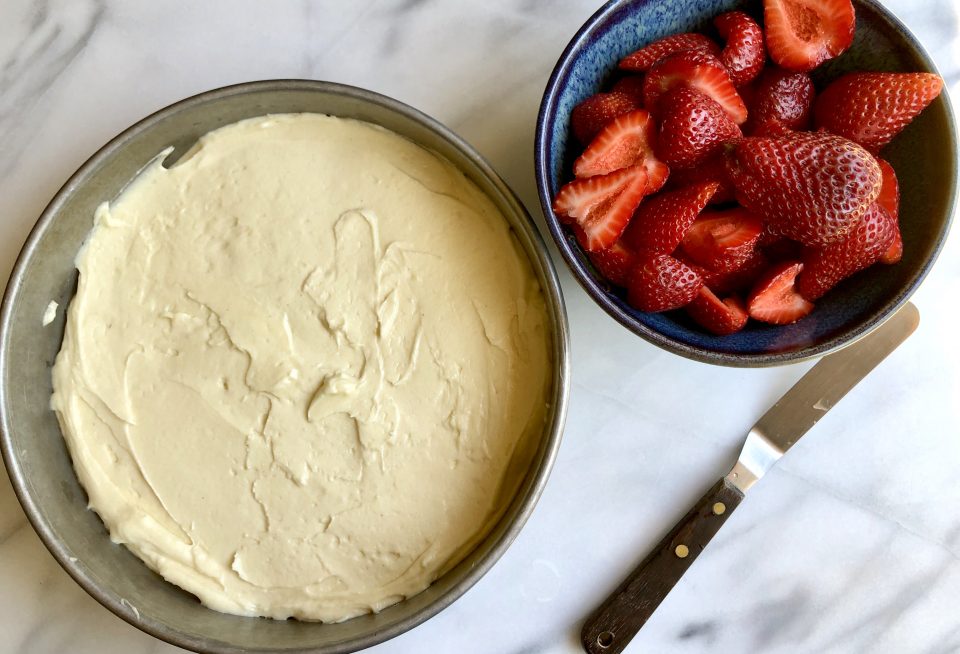
  • Beat butter with sugar until light and fluffy. Add egg, sour cream, and vanilla and beat until combined. Sprinkle surface of batter with baking powder and salt, beat well to combine. Add flour and mix only until it disappears. The batter will be very thick and not really pourable.
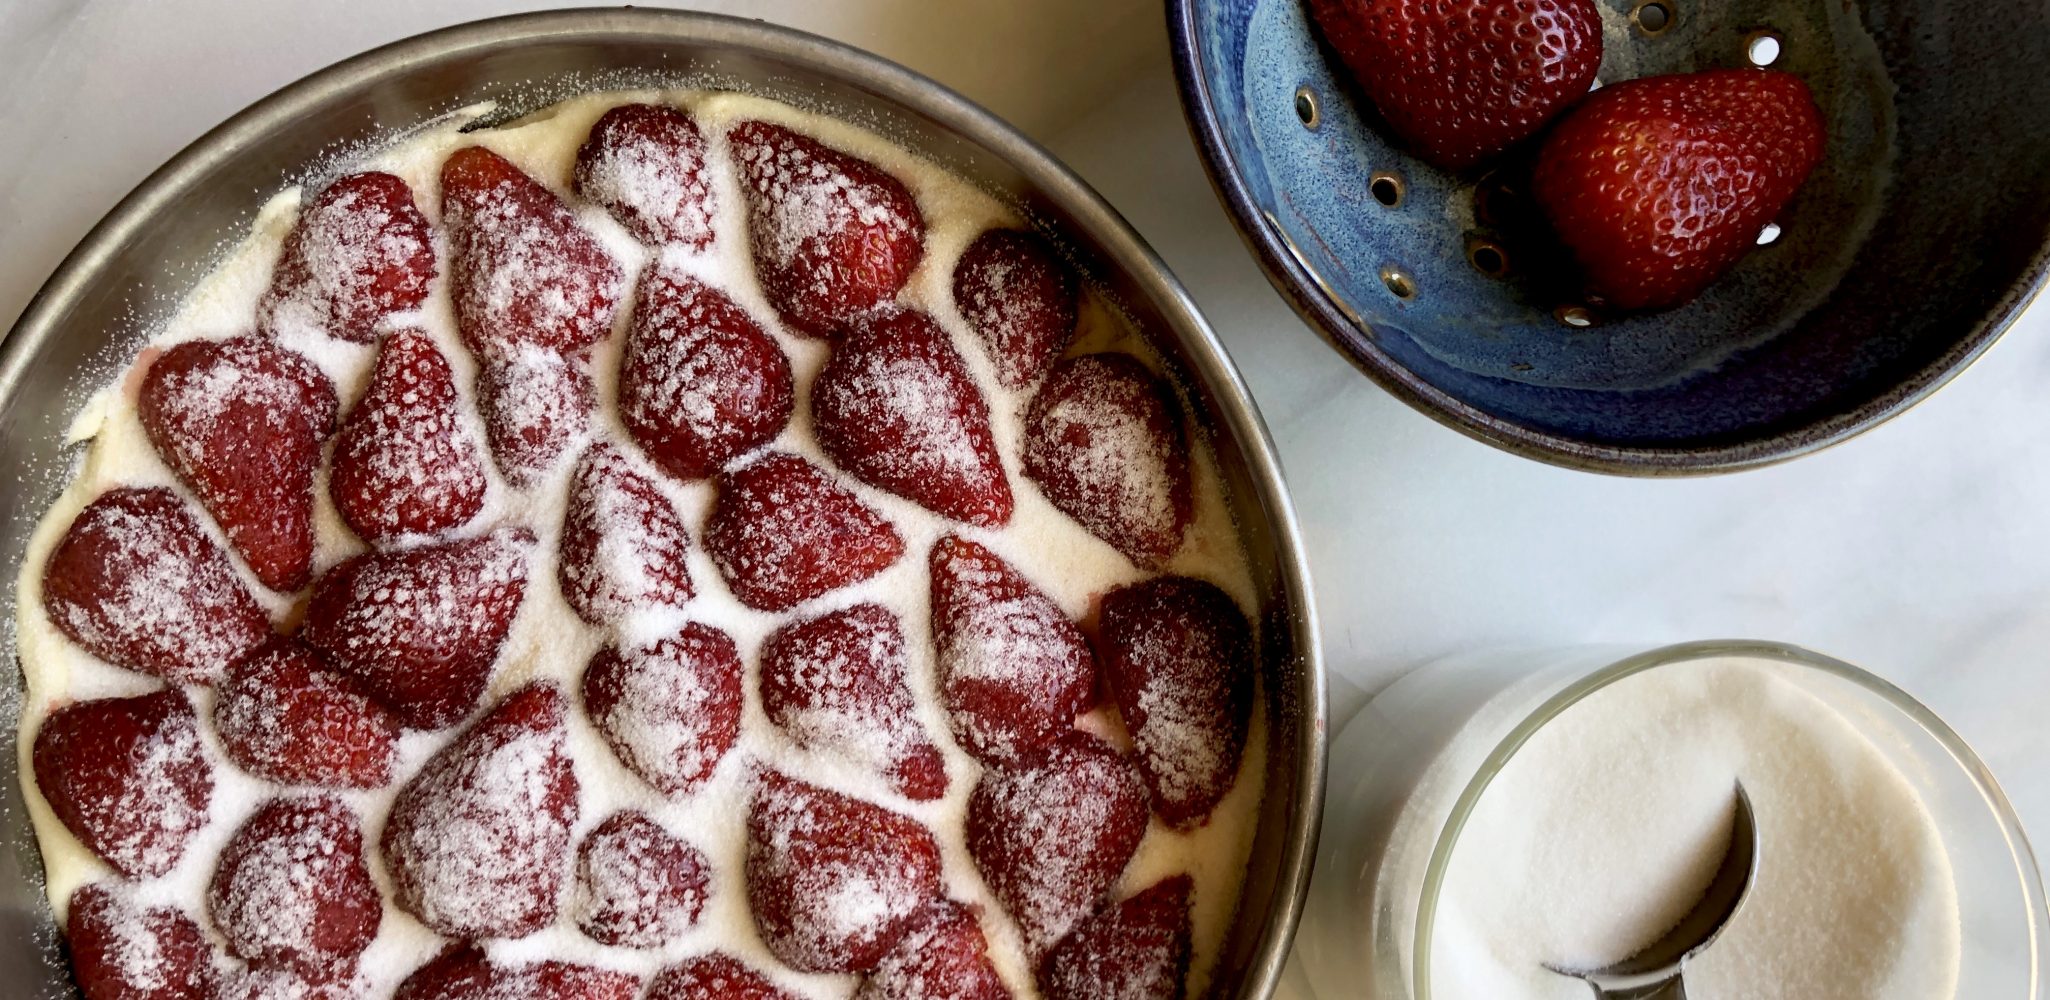
  • Scrape batter into prepared cake pan and smooth it flat. Arrange apples on cake, slightly overlapped. Resist the urge to pile all the apples on, single layer of overlapping apples is good. If you pile extra apples on, the cake may not bake evenly. Pour any cinnamon-apple juices from bottom of bowl over apples. Sprinkle crumbs over apple slices. For bigger crumbs, squeeze the crumbs into small fistfuls and break these up into a couple bigger chunks over the cake.
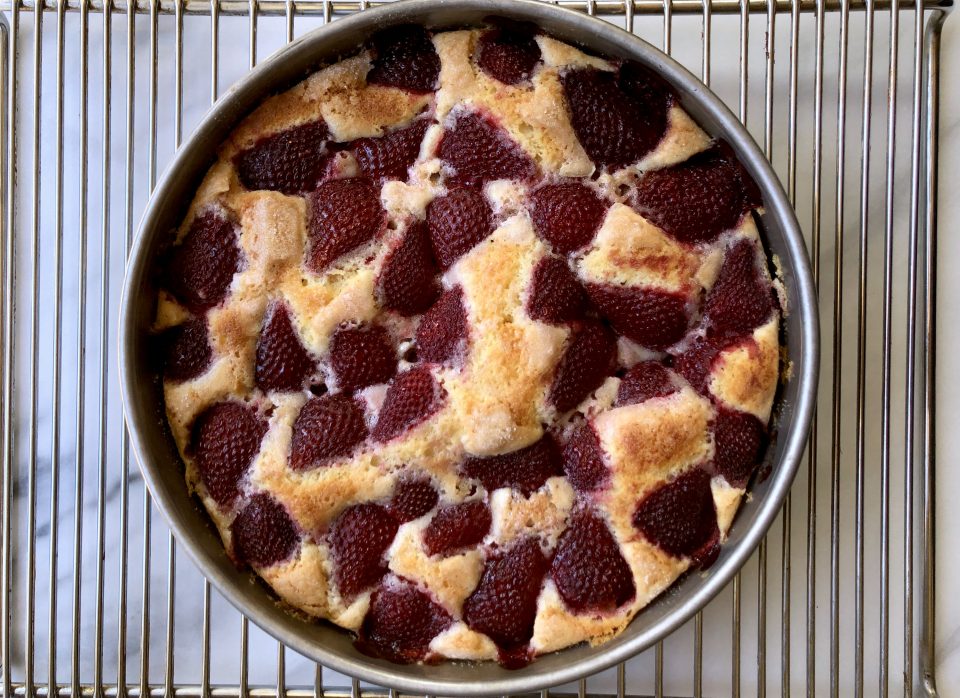
  • Bake the cake until a toothpick inserted into the apples doesn’t hit any crisp spots and comes out fairly clean, about 50 to 55 minutes.
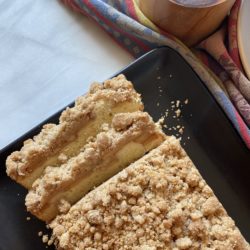
  • Cool to room temperature, if you can bear it, before cutting into squares or wedges. Dust generously with powdered sugar.
  • Cake keeps at room temperature loosely covered in an airtight container for 3 days or in the fridge.

Notes

PSA: Get yourself a scale, soooo much easier 🙂
Summer Strawberry Cake, Farmer’s Market: A Midsummer Day’s Dream

Summer Strawberry Cake, Farmer’s Market: A Midsummer Day’s Dream

Get thee to a Farmer’s Market now. It is the perfect time to visit your local market, all things fruit and vegetable are at its peak.  You can hardly walk through the market without becoming intoxicated by the aroma of vine-ripened tomatoes, peaches, and strawberries.

At my local farmer’s market, we are lucky enough to have strawberries from P&K Farms, a family run farm in the Monterey area.  I can remember a couple of years ago when I first noticed their stand at the market.  Actually, it was hard not to notice, a line easily 10 people deep had formed in front of their kiosk.  Being a true skeptic, I thought, come on, are their berries really worth the wait?

Flash forward to this past weekend.  Like an idiot, I stopped for coffee BEFORE heading to the market which then meant waiting in the “way more than 10 people” line for my 3-pack of ruby perfection.  Yes, it is worth the wait.  Their strawberries are sweet, full of flavor, and remarkably hardy.

Let Them Eat Cake!…with Strawberries

I reserved part of my strawberry treasure trove for a friend’s July 4th BBQ.  I could take the easy way out and just throw them in a bowl, serve them straight up which would be perfectly fine, but what fun would that be?  Time to try that recipe from Smitten Kitchen for a cake that showcases strawberries.  A simple butter cake LOADED with berries.  The 9-inch cake calls for a pound of strawberries which means with every bite, you sink your teeth into sweet, oozy strawberries and really that’s what it is all about.

The original recipe is from Martha Stewart and tweaked by Smitten Kitchen.  The recipe calls for combining the egg, milk, and vanilla and then adding it to the creamed mixture.  Adding all the liquid at once made for a very curdled-looking mixture.  I added the dry ingredients and the batter came together.  I found a trick, when the batter looks like it is about to curdle as you are adding the milk, toss 1 tablespoon of the flour mix into the batter.  This small amount of flour prevents the curdling but won’t toughen the cake.  Voila’.  The hulled and halved strawberries are placed cut side down in the batter.

A sprinkling of sugar to finish and into the oven for about an hour.  Bake this cake in a deep dish pie plate or a cake pan lined with parchment.  It will overflow in a traditional 9-inch pyrex pie plate.  Smitten Kitchen recently adjusted the recipe to make a 9×13 cake (two pounds of strawberries!) because let’s face it, everyone is going to want seconds.

Serve this with softly whipped cream or vanilla ice cream.  Make it earlier in the day so the cake can sit. The strawberries will marry with the cake even more.  Sooo luscious.  Sooo good.

So what are you doing this weekend?  Yep, picking up strawberries at the Farmer’s Market, baking this cake, and looking appropriately sheepish as your friends and family shower you with compliments and RAVE about this cake.

Repeat after me, “Aww shucks. It was nothing.”

Strawberry Summer Cake

An easy cake that screams summer is here. Loads of strawberries baked in a buttery sweet tender cake.
Course Cake, Dessert
Cuisine American
Keyword cake, strawberries, strawberry cake, Summer Cooler
Prep Time 20 minutes
Cook Time 1 hour 10 minutes
Servings 8

Equipment

  • 9-inch cake pan or 9-inch deep dish pie plate
  • Mixer

Ingredients

Dry Stuff

  • 1 1/2 cups (188 gram) all-purpose flour
  • 1 1/2 teaspoons baking powder
  • 1/2 teaspoon table salt

Buttah & Sugar

  • 1 cup (200 gram) plus 2 tablespoons (25 gram) granulated sugar
  • 6 tablespoons (85 gram)unsalted butter at room temperature, plus extra for pie plate

The Wet Stuff

  • 1 large egg
  • 1/2 cup 118 ml milk
  • 1 teaspoon vanilla extract

The Top

  • 1 pound 450 grams strawberries, hulled and halved

Instructions

  • Preheat oven to 350°F (180°C). Butter a 9-inch cake pan and line with parchment or 9-inch deep-dish pie pan. Don't use a regular 9-inch pie plate which is too small.
  • Whisk flour, baking powder, and salt together in a small bowl. In a larger bowl, beat butter and 1 cup sugar until pale and fluffy with an electric mixer, about 3 minutes. Add egg and beat to combine. Add milk and vanilla until just combined. The mixture may look a little curdled. It's okay, once you add dry ingredients it will come together* see post for tip. Add dry ingredients gradually, mixing until just smooth but well combined.
  • Pour into prepared cake pan. Arrange strawberries, cut side down, on top of batter, as closely as possible in a single layer, don't be afraid to really squish them together. Sprinkle remaining 2 tablespoons sugar over berries.
  • Bake cake for 10 minutes then reduce oven temperature to 325°F and bake cake until golden brown and a tester comes out free of wet batter, about 50 minutes to 60 minutes. (Gooey strawberries on the tester are a given.)
  • Let cool in pan on a rack.
  • Remove cake from pan by flipping it onto a plate and inverting it onto another. Thank goodness for parchment paper.
  • Serve with lightly whipped cream. Or Lemon Cream from another recipe, see note!

Notes

The cake can be stored at room temperature for up to 2 days, loosely covered. It really won't last that long though.
Lemon Cream
 
Just Loafing Around (Everyday Chocolate Cake)

Just Loafing Around (Everyday Chocolate Cake)

I’m not that crazy about chocolate and yet in the last few weeks I have baked a chocolate birthday cake, brownies for Jeffrey’s hockey team and today I made a quick and easy chocolate loaf cake I found on Smitten Kitchen.  Very disconcerting since I am a vanilla person.  Ninety-nine point ninety-nine percent of the time I pick vanilla.  Vanilla ice cream, vanilla pudding, all things vanilla.  Choice between vanilla wafers or chocolate cookies, not even close, give me the “Nillas”.  But this cake looked so yummy I had to try it.  The cake is a little denser than a traditional chocolate cake with a nice crumb.  It doesn’t need frosting, just a nice dusting of powdered sugar.  It comes together quickly, definitely easy enough for a weekday dessert.
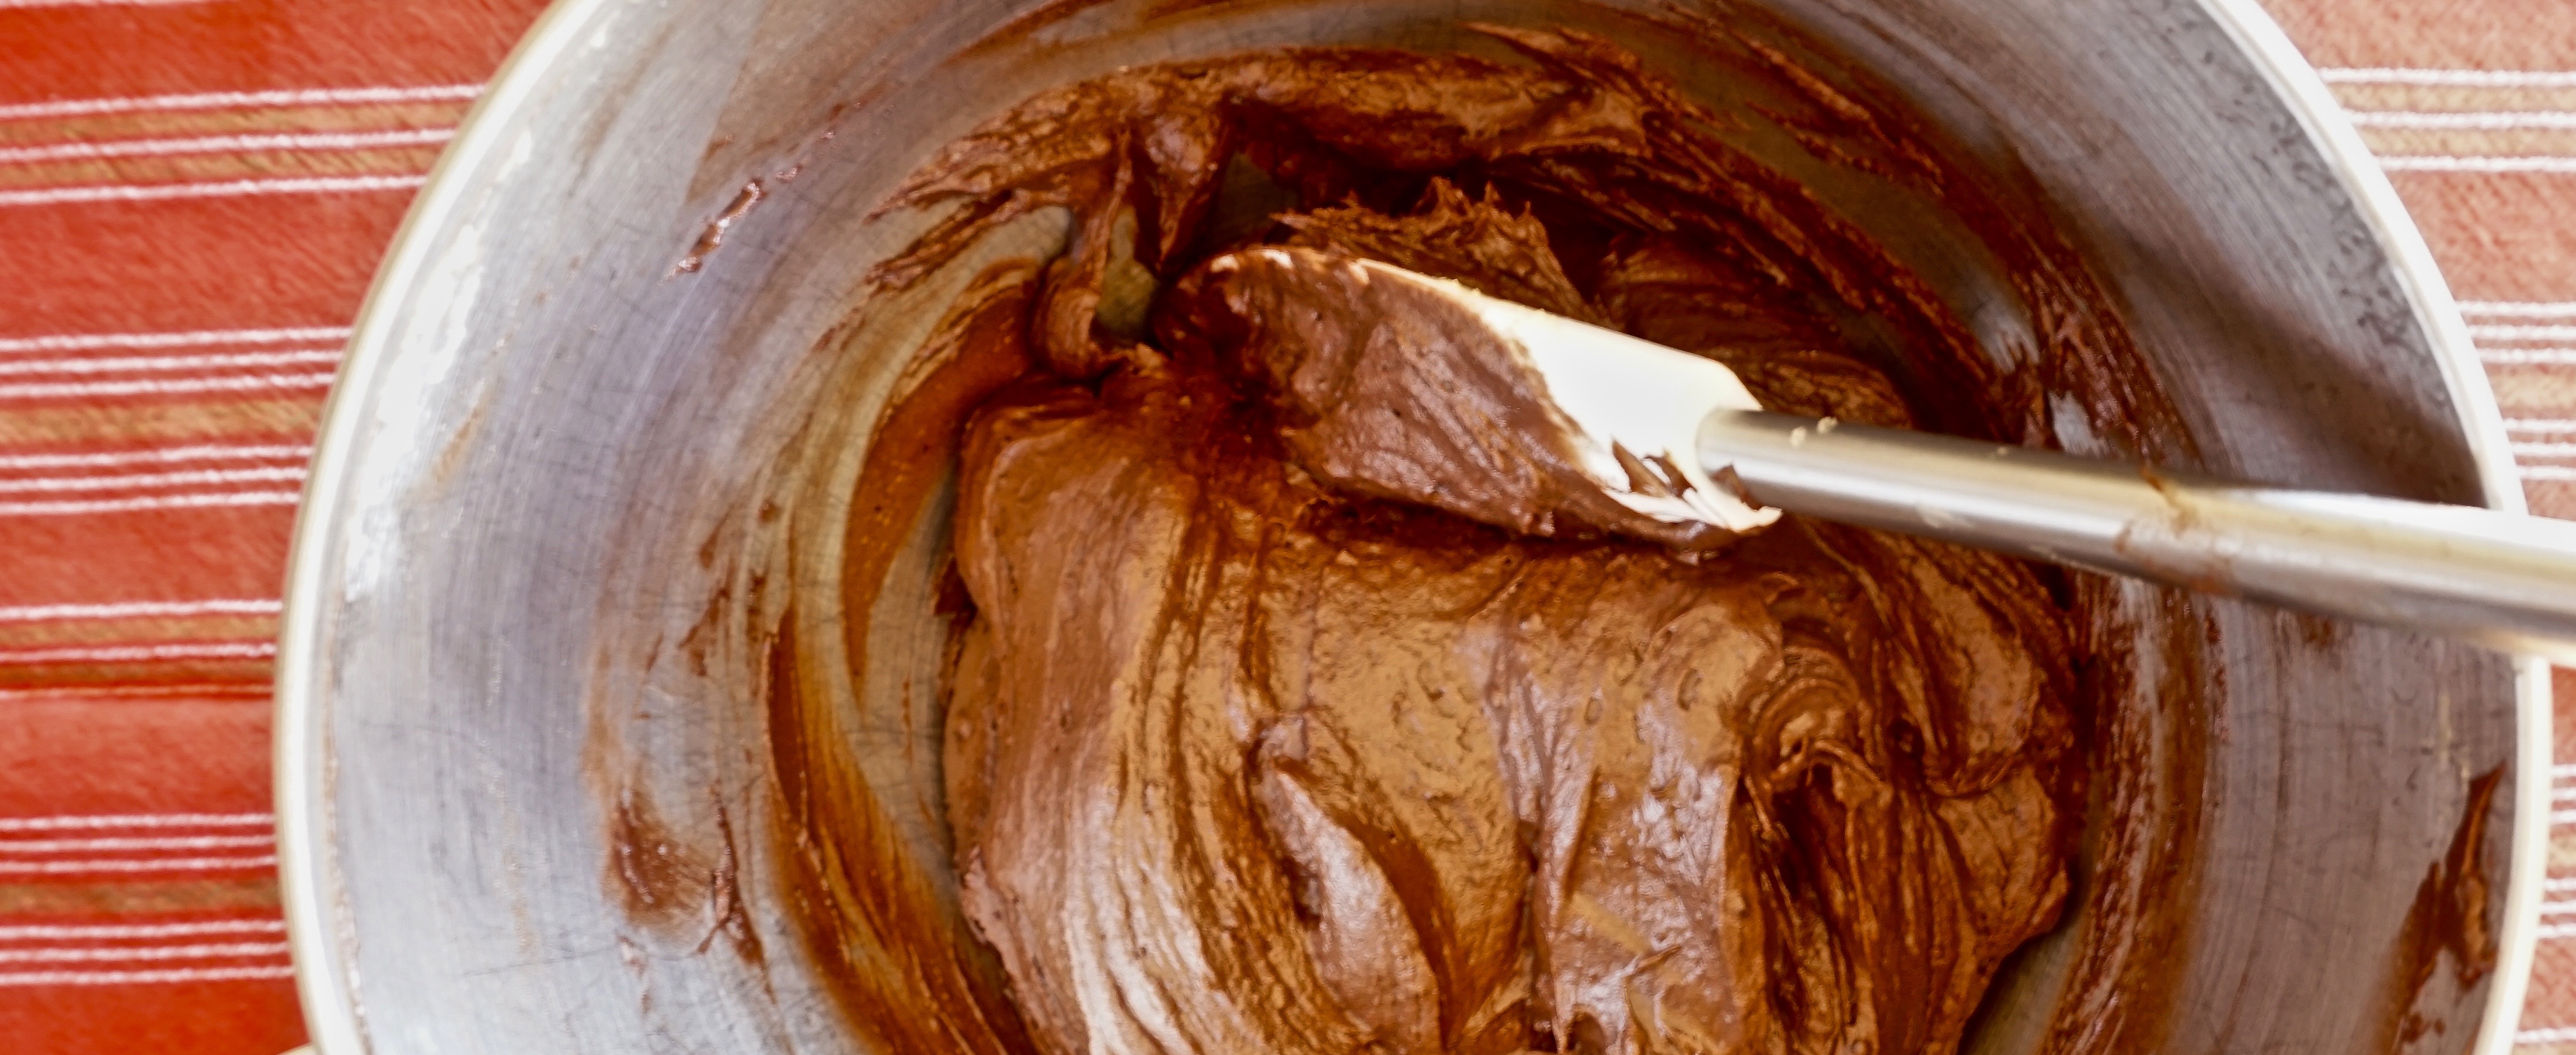
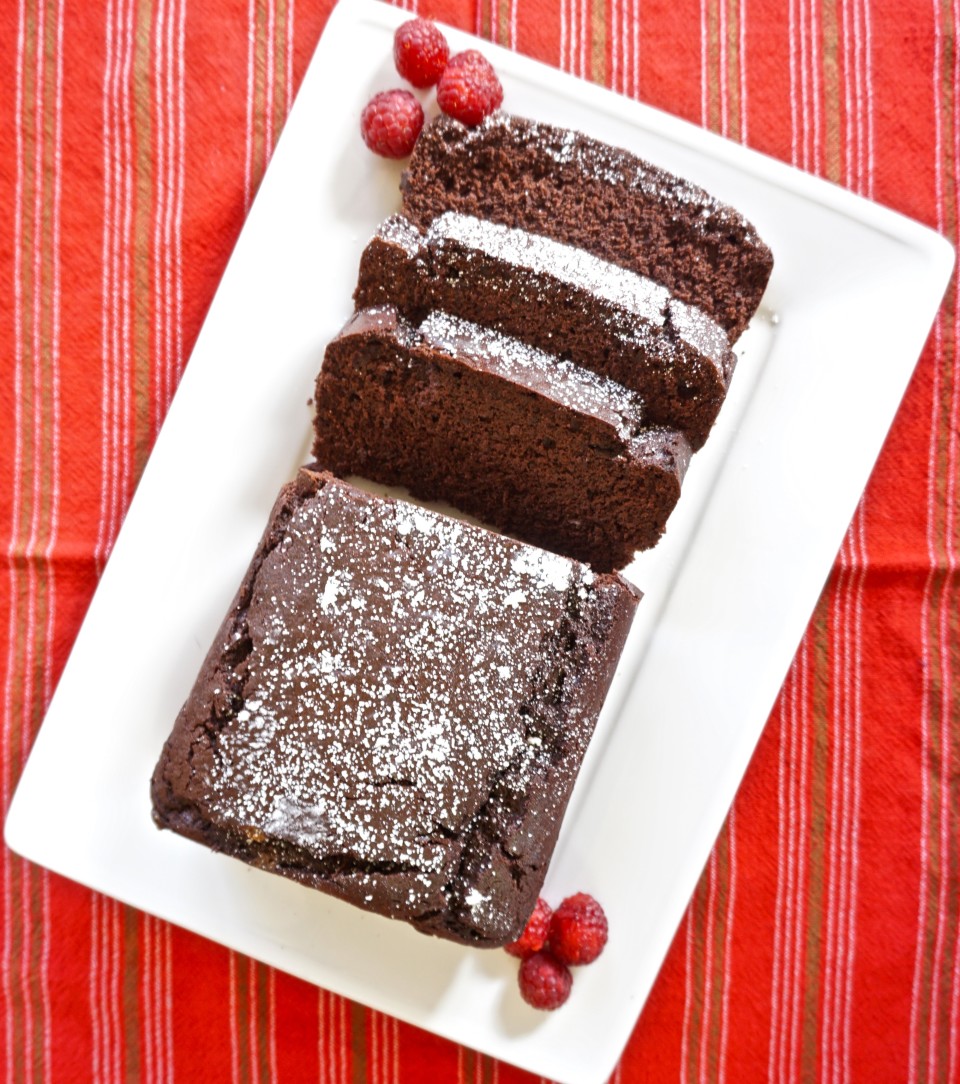
I used a dutch-processed cocoa which gives it a dark, deep color and intense chocolate flavor.    If you like chocolate this is a great little cake. Serve with a dollop of whipped cream and fresh berries.  Or if you’re like me, a big scoop of VANILLA ice cream would be perfect.

You can find the recipe on Smitten Kitchen, Everyday Chocolate Cake from Magnolia Bakery at Home.  It’s a keeper.


Halfway There! Pecan Sandies Day 6 Holiday Cookies

Halfway There! Pecan Sandies Day 6 Holiday Cookies

Day 6 of #holidaycookies!  Another one bite wonder, this time brought to you by the delightful blog Smitten Kitchen.  I have to admit, I love SK but she is making me feel like a slacker.  As I struggle to get my 12 days of holiday cookies completed, multiple posts pop up daily from SK.  She must have a band of elves that help her every night or perhaps she spent summer trying winter holiday recipes that she is now posting.  I have this vision of her baking gingerbread in July in her apartment in one hundred degrees and the AC is broken.  I think the Holiday Cookie Countdown is turning me into Grinch.

The recipe is from The Last Course by Claudia Fleming which unfortunately is not in print anymore. If you ever see a copy grab it, the Caramel Chocolate Tarts are worth the purchase alone.  Smitten Kitchen + Claudia Fleming + Pecans = Appointment baking.

The key to these cookies is toasting the pecans.  It’s a good cookie not great.  Like many shortbread cookies they may benefit from sitting a day for the flavor to develop. I sprinkled some sanding sugar on them but I think I may make a blend of Fleur de Sel and sugar to sprinkle on my next batch (my sweet salty fixation) or maybe dip them in chocolate.  The cookies are cut into 1 inch squares and 3/16 of an inch thickness.  I would prefer the cookie a little larger, say 1.25 inches square and 1/4 inch thick just to give the cookie a little more substance.  My little cheats call for using a ziplock bag to roll the dough in for straight edges and a pizza cutter to cut the squares, nifty huh.  Still a lovely cookie to present on a platter with other nibbles.

Smitten Kitchen in July + Sand-ies which makes me think of beaches = a tropical holiday song! Mele Kalikimaka by the Brothers Cazimero.  Enjoy!

Pecan Sandies

Ingredients

  • 1 cup about 110 grams pecans
  • 2 cups 250 grams all-purpose flour
  • 1 cup 225 grams or 2 sticks unsalted butter, softened
  • 2/3 cup 80 grams confectioners’ sugar
  • 2 teaspoons 10 ml vanilla extract
  • 1 teaspoon salt
  • 1/2 teaspoon baking powder
  • 2 tablespoons 25 grams turbinado (raw) sugar (I used white sanding sugar)
  • 1 teaspoons of Fleur de Sel

Instructions

  • Preheat the oven to 350 degrees F. Spread the nuts out in one layer on a baking sheet and bake them, stirring occasionally, until they are well browned, 10 to 13 minutes (they will smell toasted and nutty). Transfer the pan to a wire rack to cool.
  • In a food processor, grind the nuts with 1/4 cup of the flour. Set aside.
  • Using an electric mixer, beat the butter and sugar until creamy and smooth, about 2 minutes. Add the vanilla and beat well. Sift together the remaining 1 3/4 cups of flour, the salt, and the baking powder, and add it to the dough, mixing until just combined. Stir in the nut mixture. Form the dough into a disk, wrap in plastic wrap, and chill for at least 3 hours.
  • Preheat the oven to 325 degrees F. Roll the dough between two sheets of wax paper to 3/16 inch thick (a rectangle approximately 10 x 14 inches). Using a sharp knife, cut the dough into 1-inch squares, then cut the squares on a diagonal into triangles (I skipped the last cut into triangles). Sprinkle the cookies with the turbinado sugar. Place them 1 inch apart on ungreased cookie sheets (do not reroll the scraps). Prick the cookies with a fork and bake until pale golden all over, about 10 to 12 minutes. Cool on a wire rack.
Stupid Easy: Homemade Vanilla Extract

Stupid Easy: Homemade Vanilla Extract

DSC02426Hard to believe the holidays are just around the corner!  Unfortunately, I am not a brick and mortar shopper, thank goodness for online shopping.  I’m the one dragging my feet in the malls and whining “are we done yet?”  To appease me (get rid of me), my family will tell me to go to the nearest bookstore (unfortunately there aren’t as many nowadays) or cookware store and they will retrieve me when they are done.  So as you can imagine gift buying is not high on my bucket list of things to do.  I do like giving gifts from my kitchen.  This year I’ll be adding homemade vanilla extract to my holiday goodies. I am really excited.  It is so simple its ridiculous.  I did find beans at Costco but a good online source is Beanilla.  Use the 2nd grade which is actually better for extract as the beans have less moisture in them.  I used vodka since it does not impart any flavor.  Rum and bourbon have been suggested but they will add their flavor to your vanilla.  I made my first batch a couple of weeks before Halloween and put them in the pantry.  Occasionally I take the bottles out and give them a peek and a shake. The extract will sit for about 8 weeks before I slap a cute label on them and give them to friends and family. My recipe source comes from a favorite blog Smitten Kitchen but I did find another site that described the process incredibly well, Will Cook for Friends.  Worth the time reading through both.  Next year I will start earlier so my tiny bottles of liquid gold can sit for longer.


Stupid Easy: Vanilla Extract

Ingredients

  • Vodka no need to buy expensive vodka, I got mine from TJ's
  • Vanilla beans I used bourbon madagasgar beans
  • Bottles 4 to 8 oz size I put mine in the dishwasher, you can sterilize bottles in boiling water if you want
  • Tincture of time Allow min of 6-8 weeks, it will have a nice brown color and should smell like vanilla not alcohol
  • I ordered glass bottles from Amazon in 5 ounce size.

Instructions

  • THIS IS STUPID EASY.
  • Split vanilla beans lengthwise leaving the top inch unspilt (to keep the bean in one piece)
  • Scrape seeds from inside the bean and reserve for bottle. This is optional. If you do not plan to strain your extract the seeds will stay in clumps so not really pretty.
  • If necessary cut beans in half cross wise to fit in bottles
  • Place beans in bottle or jar. I used 2 whole beans for 4 ounces of vodka
  • Fill with vodka/alcohol so beans are fully submerged. Remember those cute little funnels you bought and never used? Break them out now.
  • Cap and store at room temp away from light. Shake occasionally.
  • It is up to you if you want to strain the extract or leave the beans in the bottle.
  • Depending on when you started you now have weeks, maybe even months to design cool labels for your vanilla.
  • How easy is that?