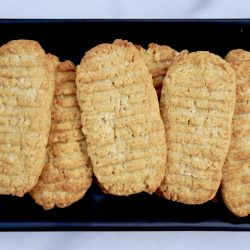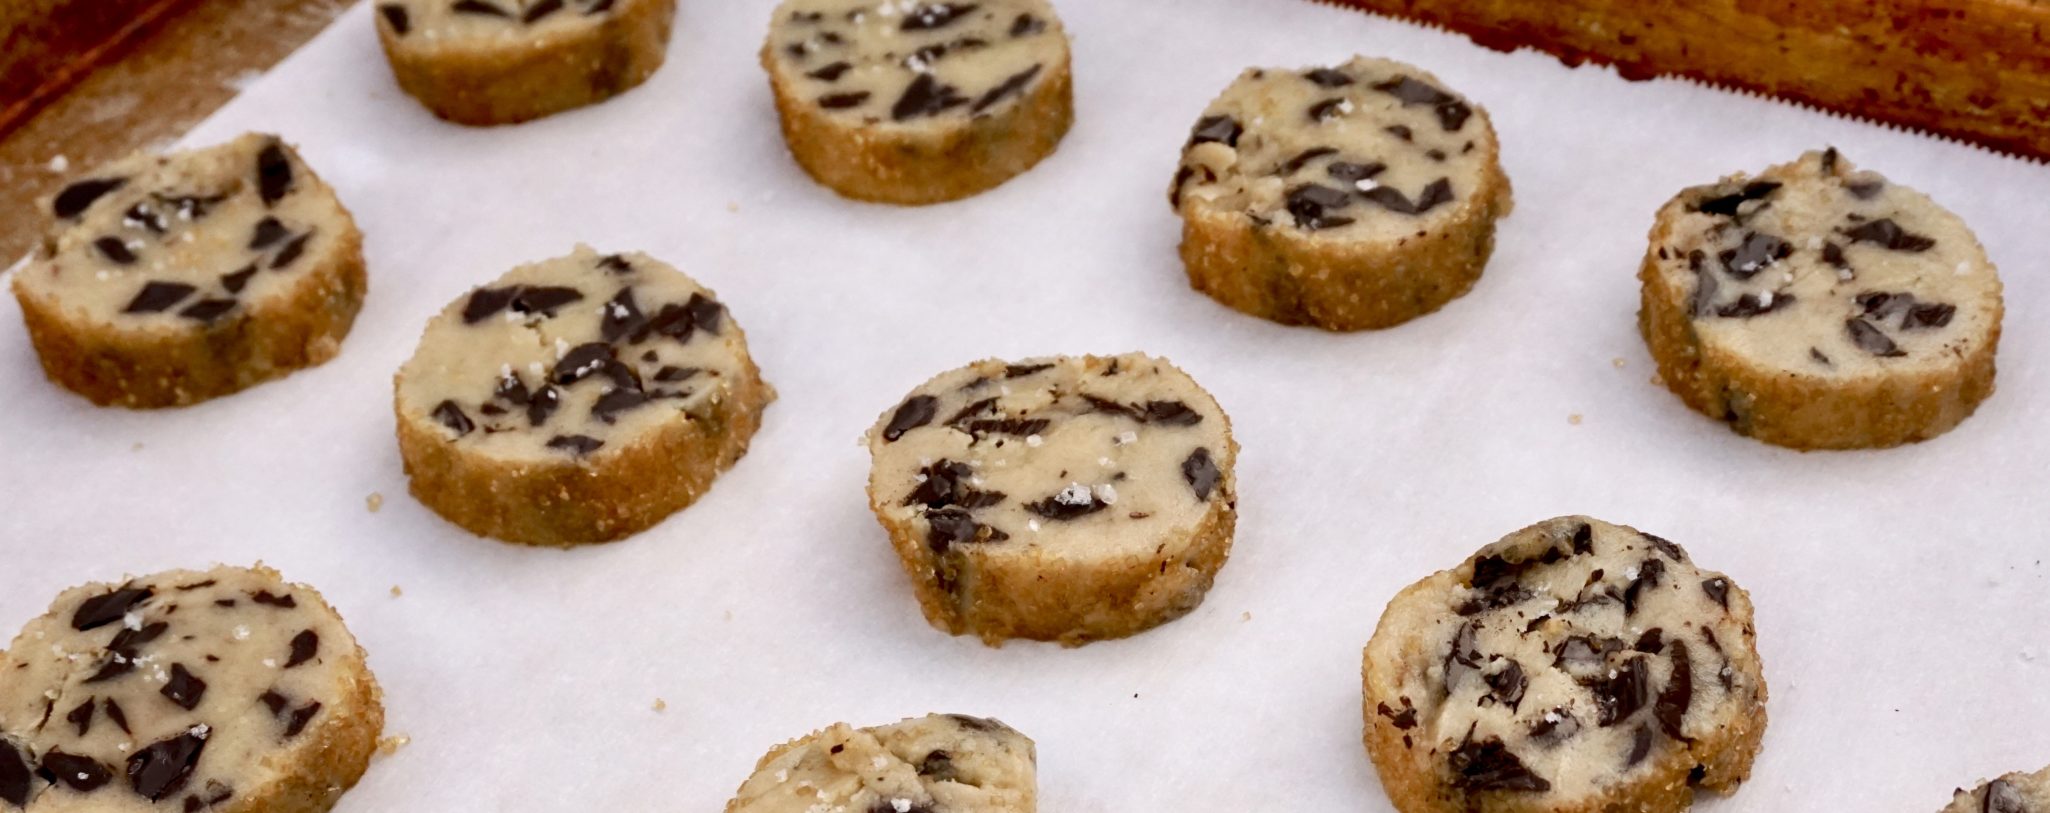
Waiting to Bakehale (Salted Butter & Chocolate Chunk Shortbread) Day 7 Holiday Cookies:
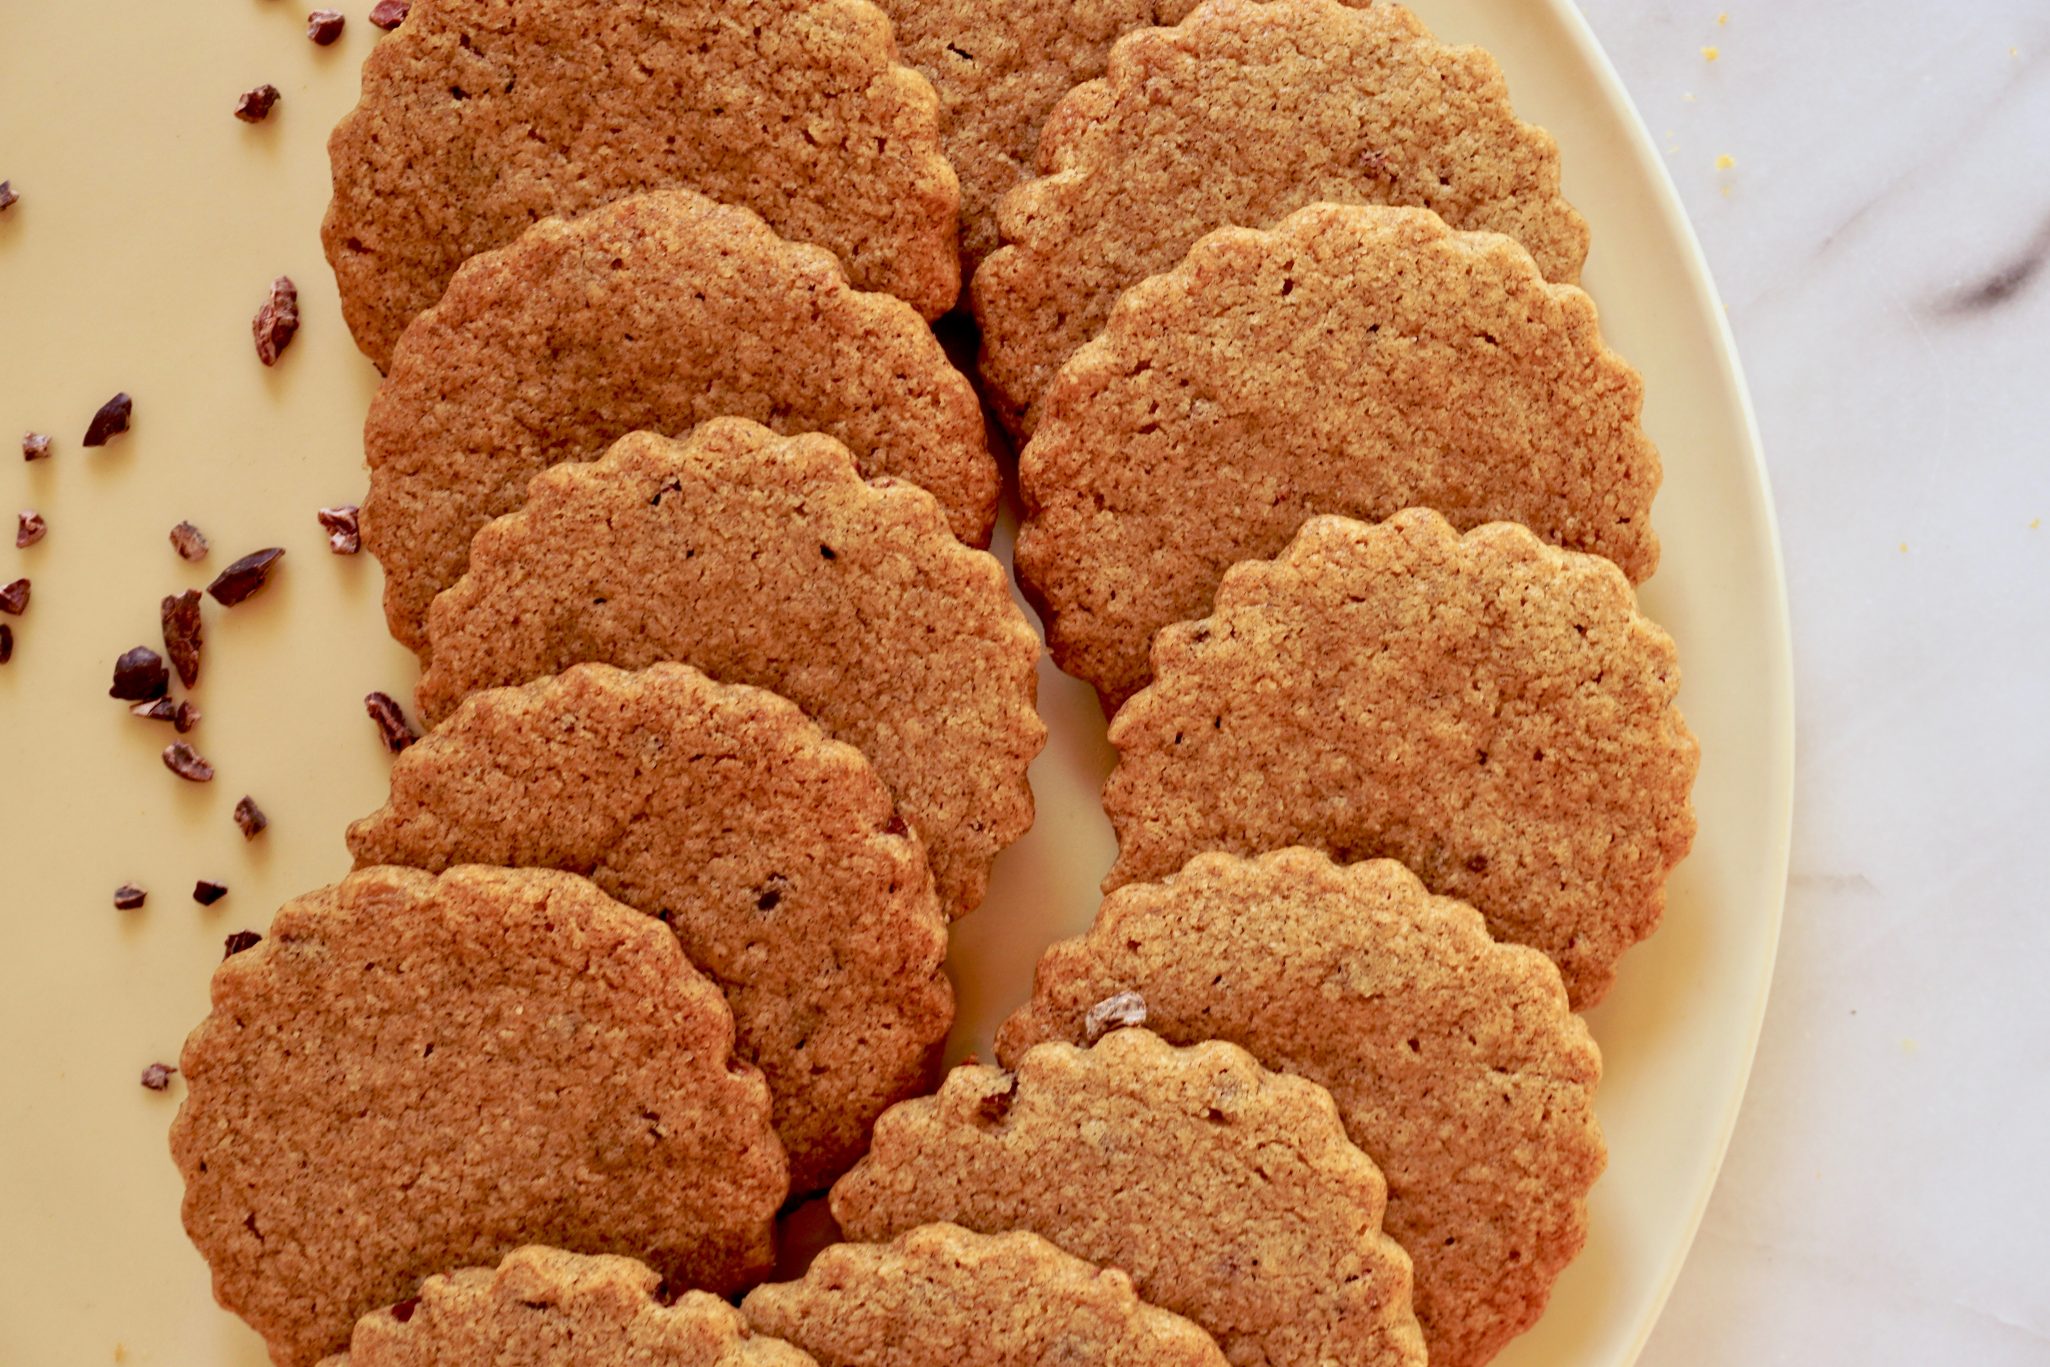
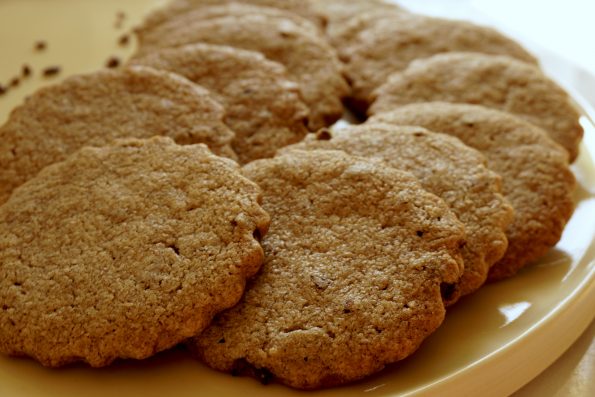
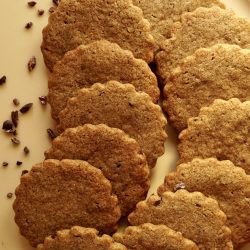
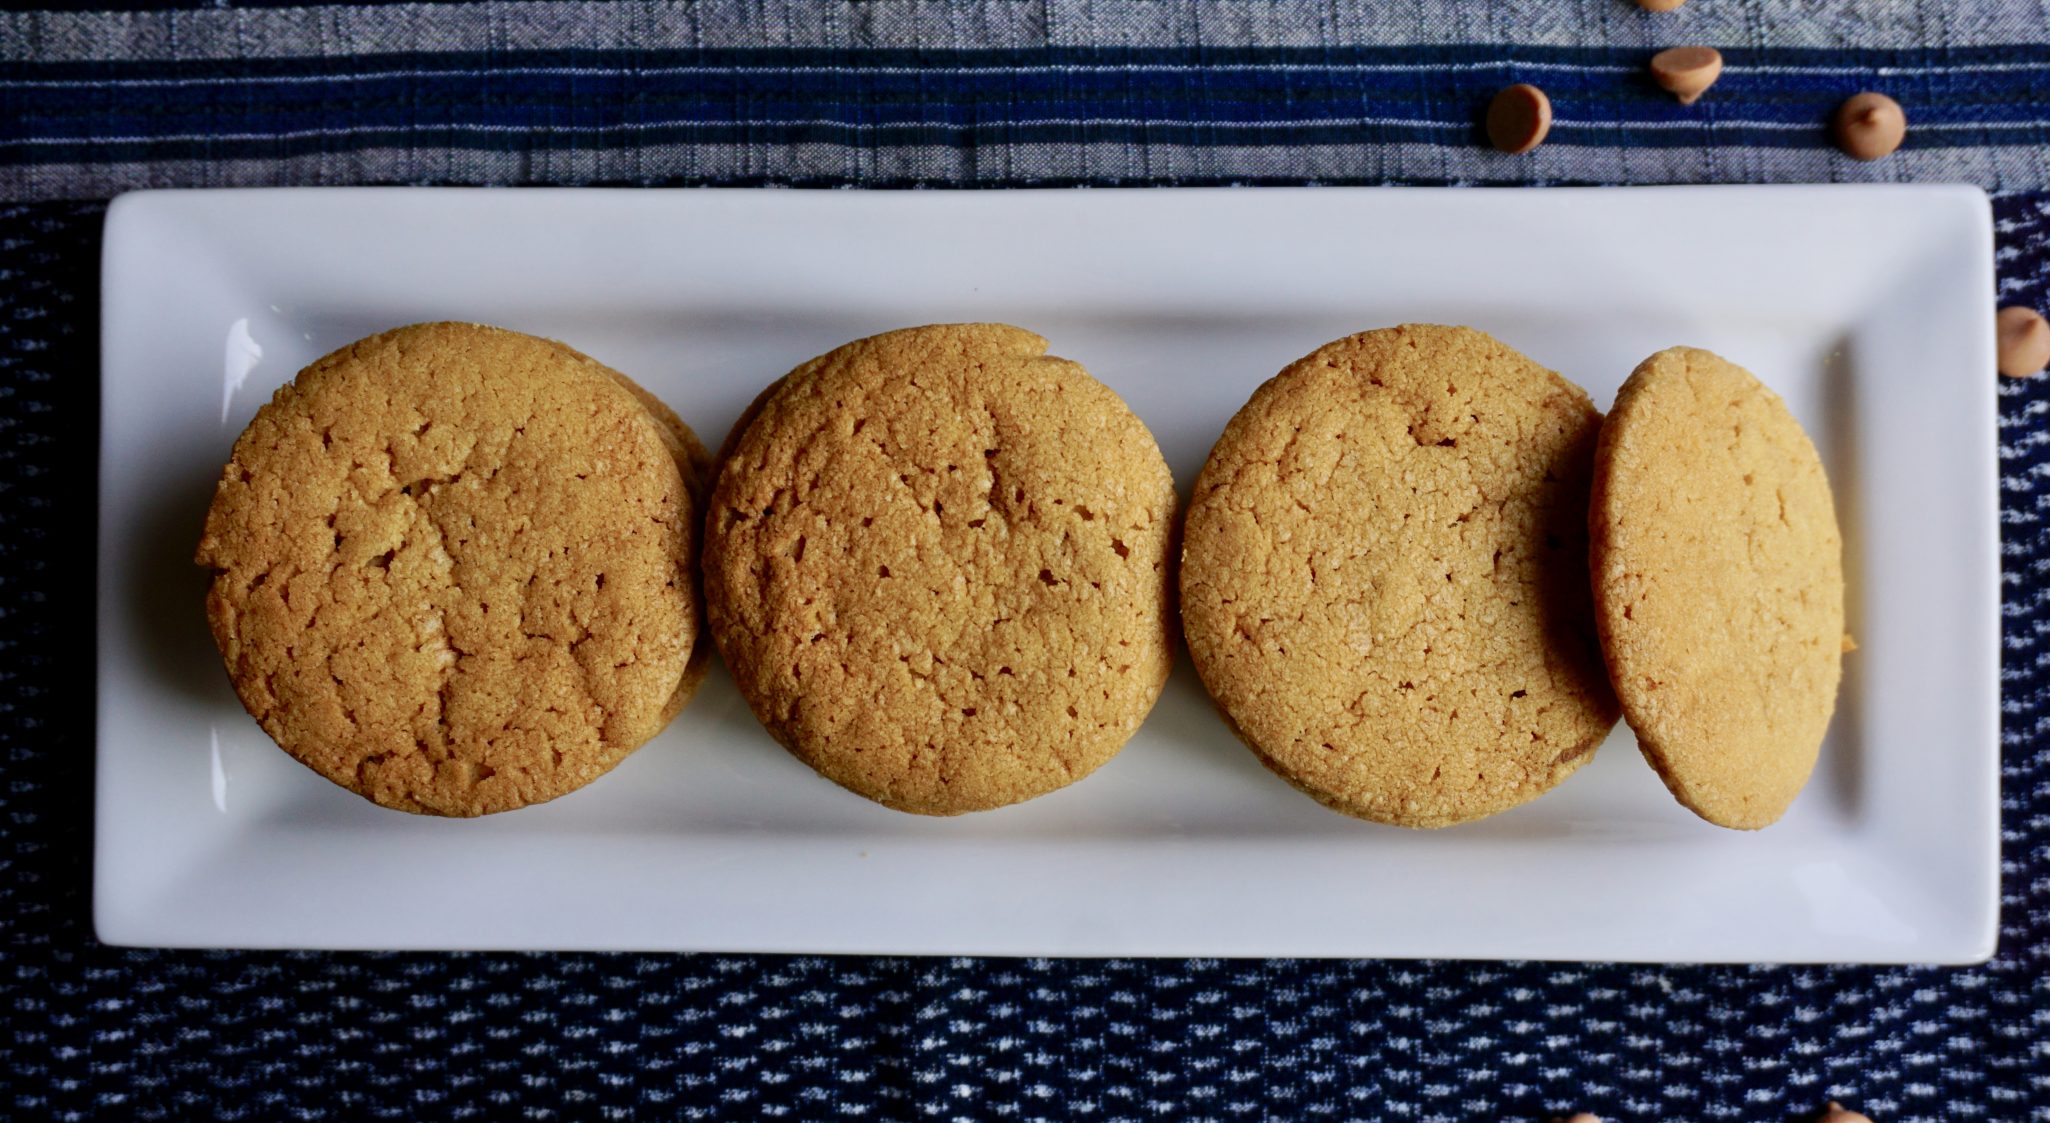
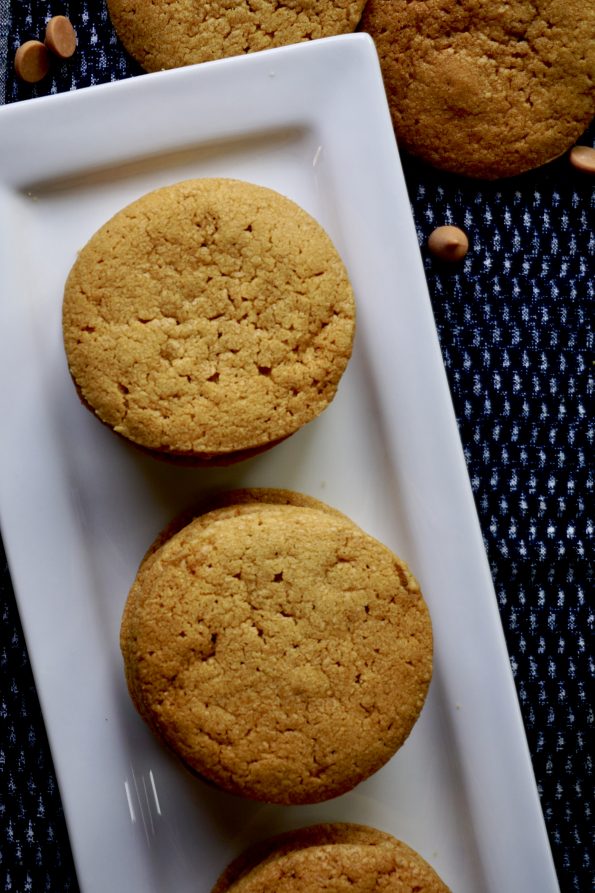
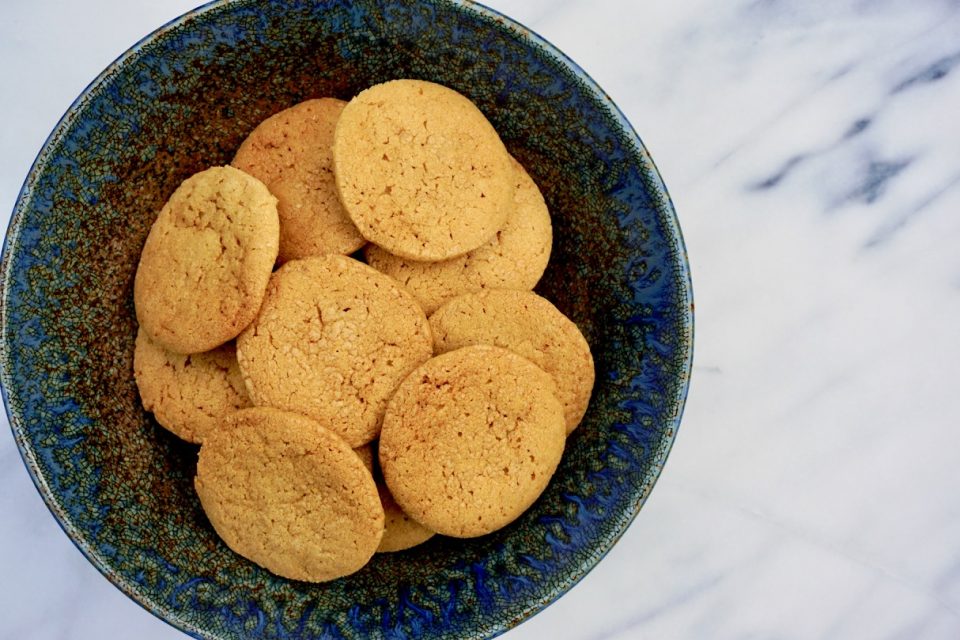
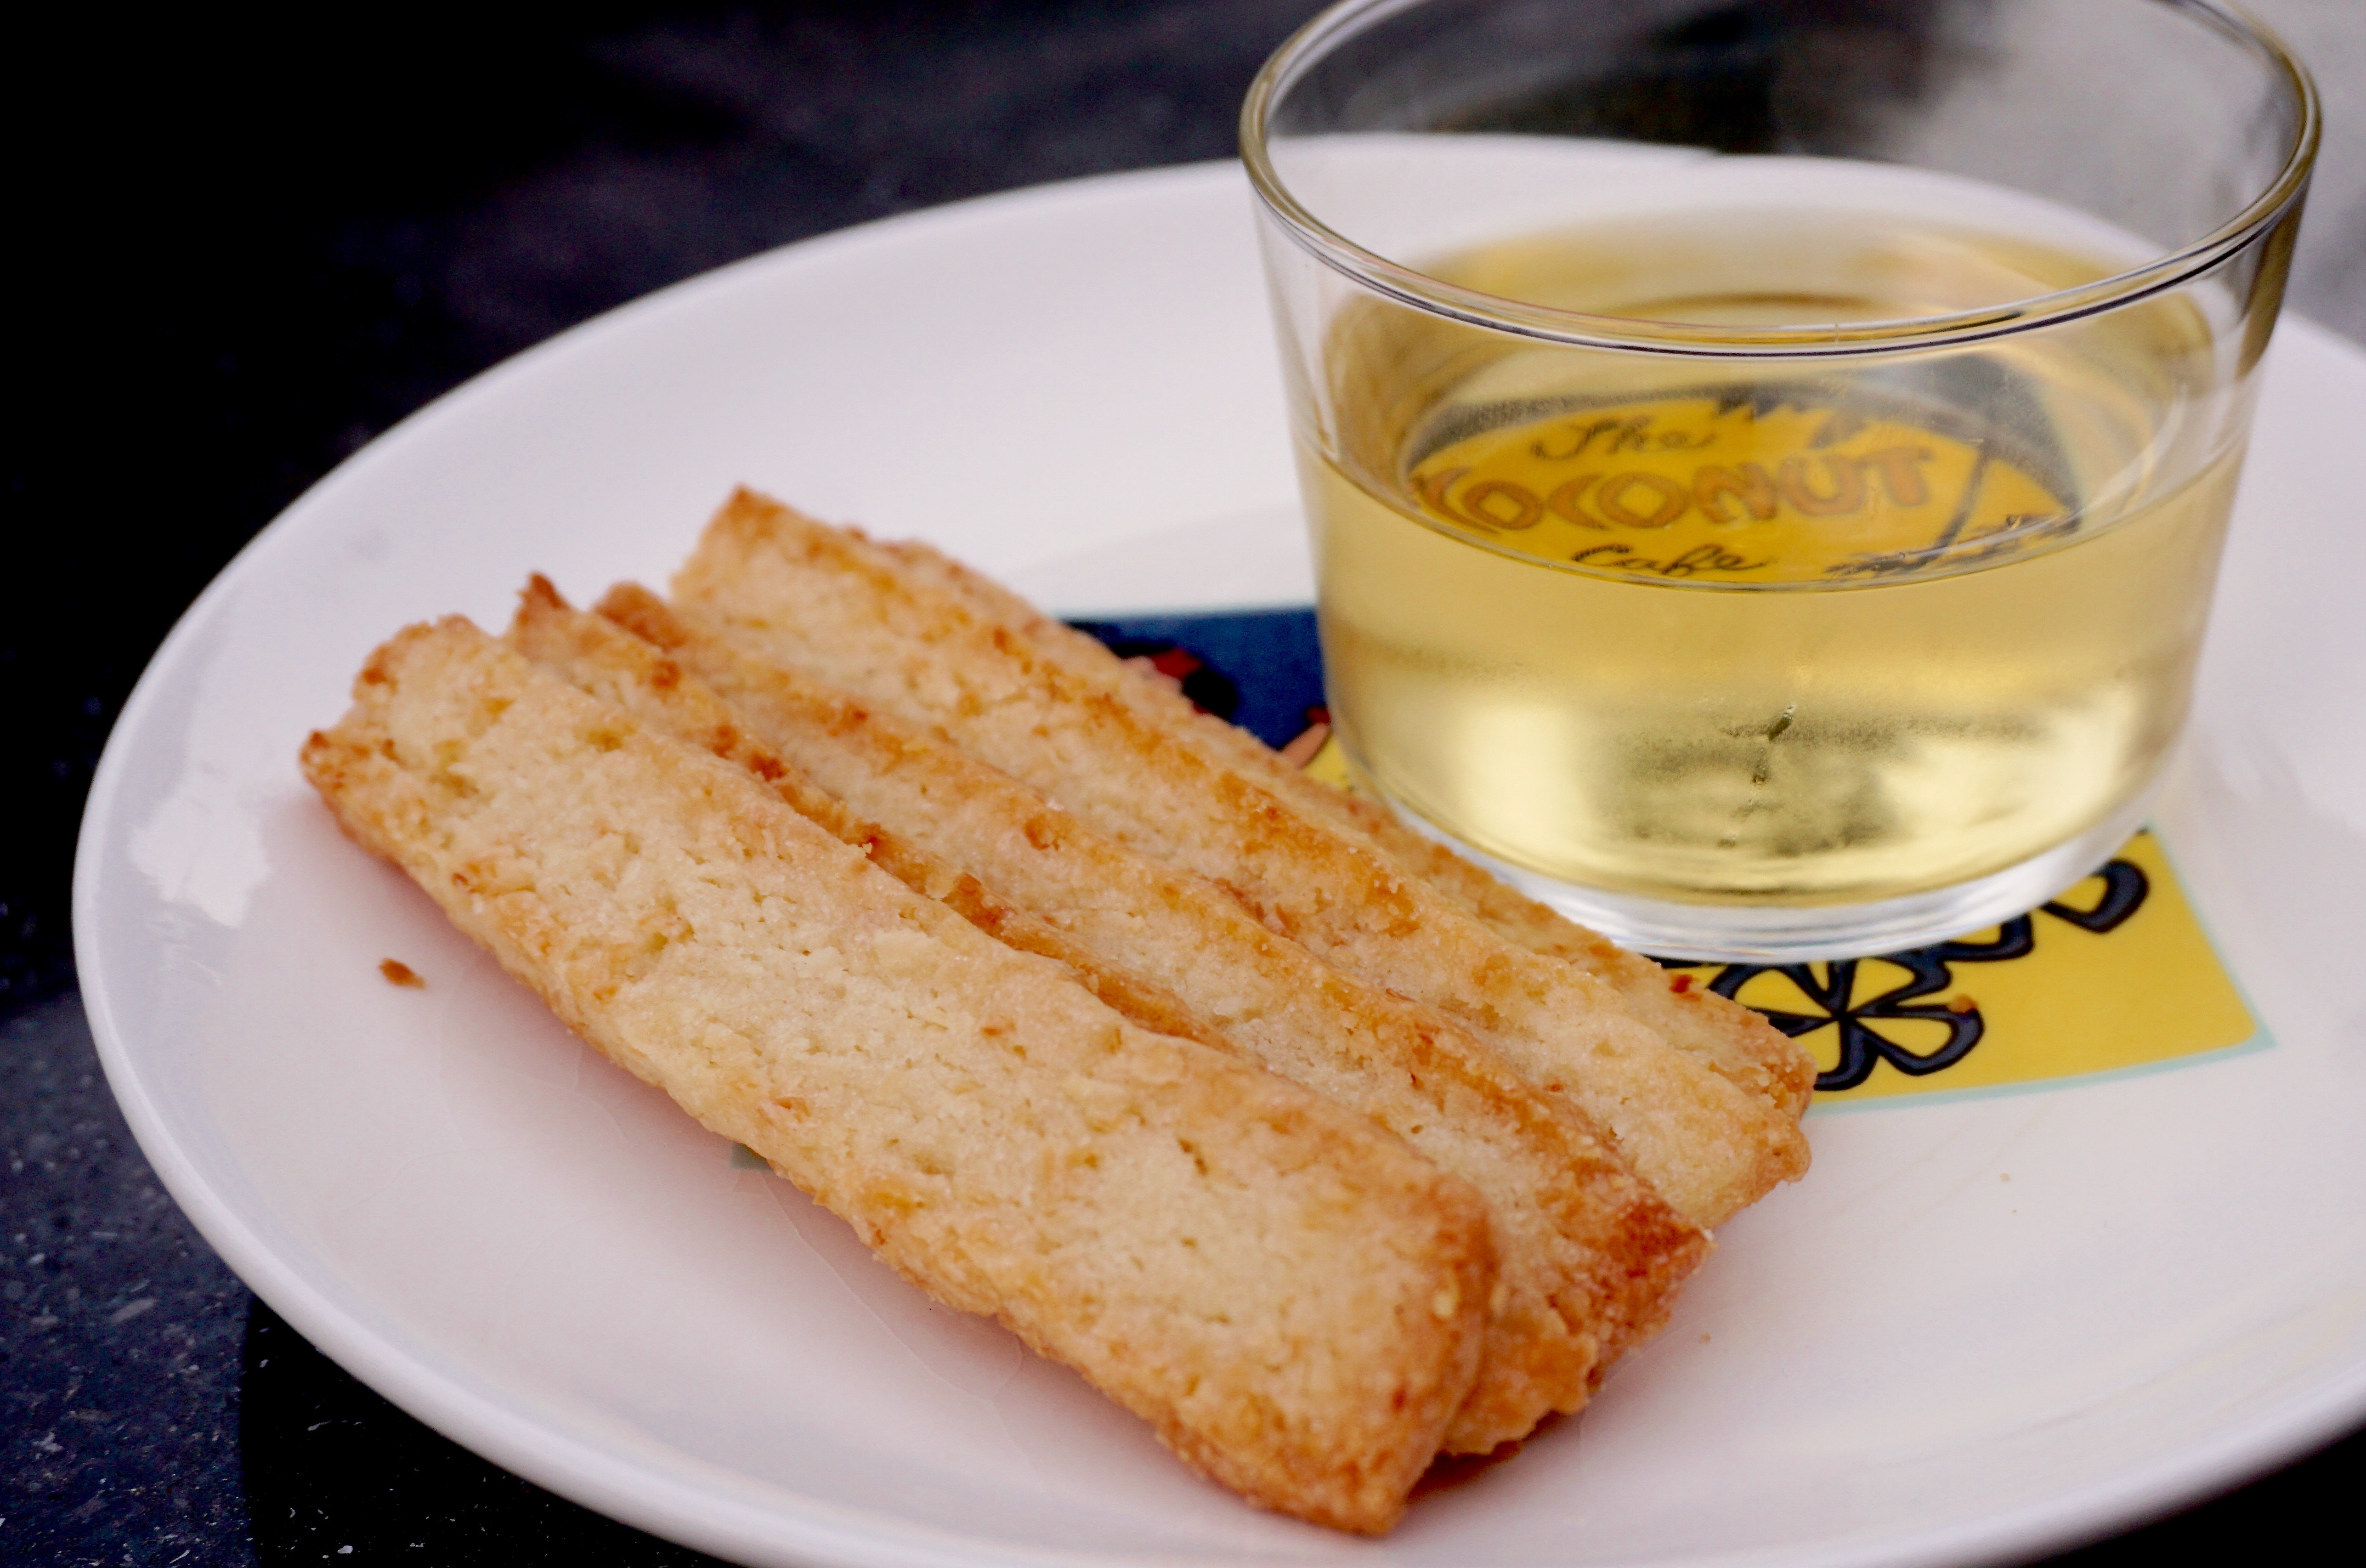
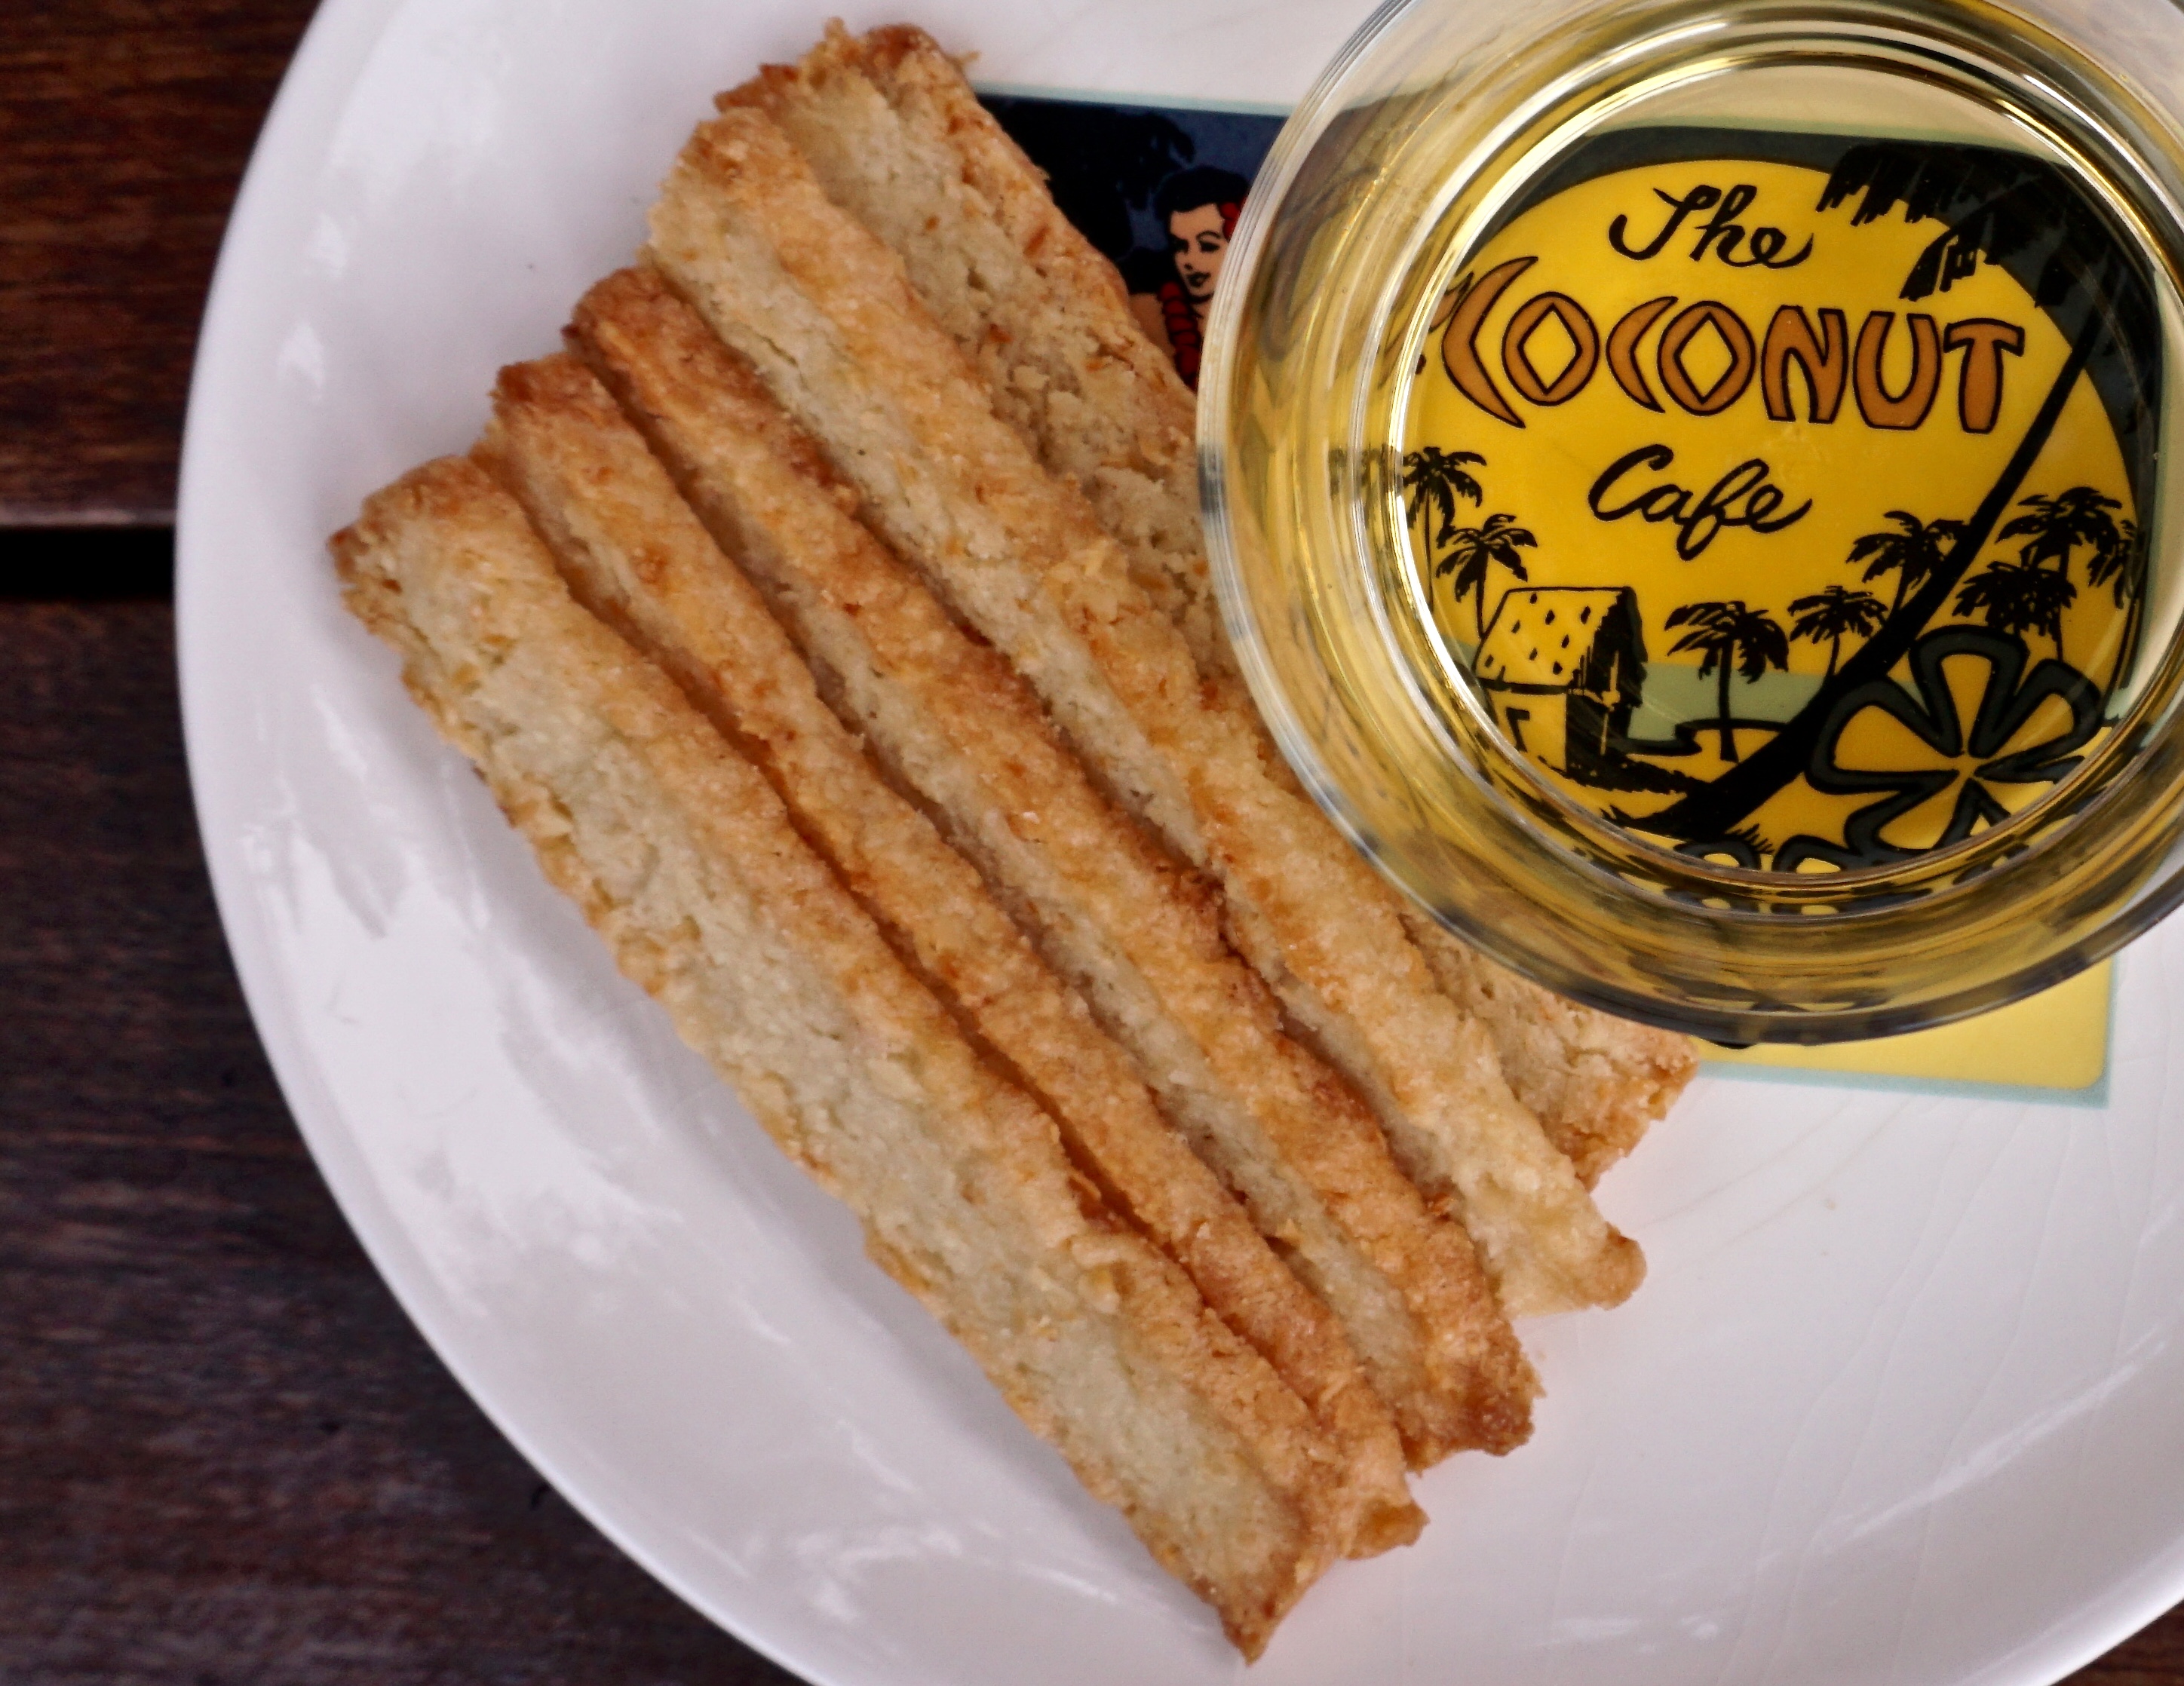
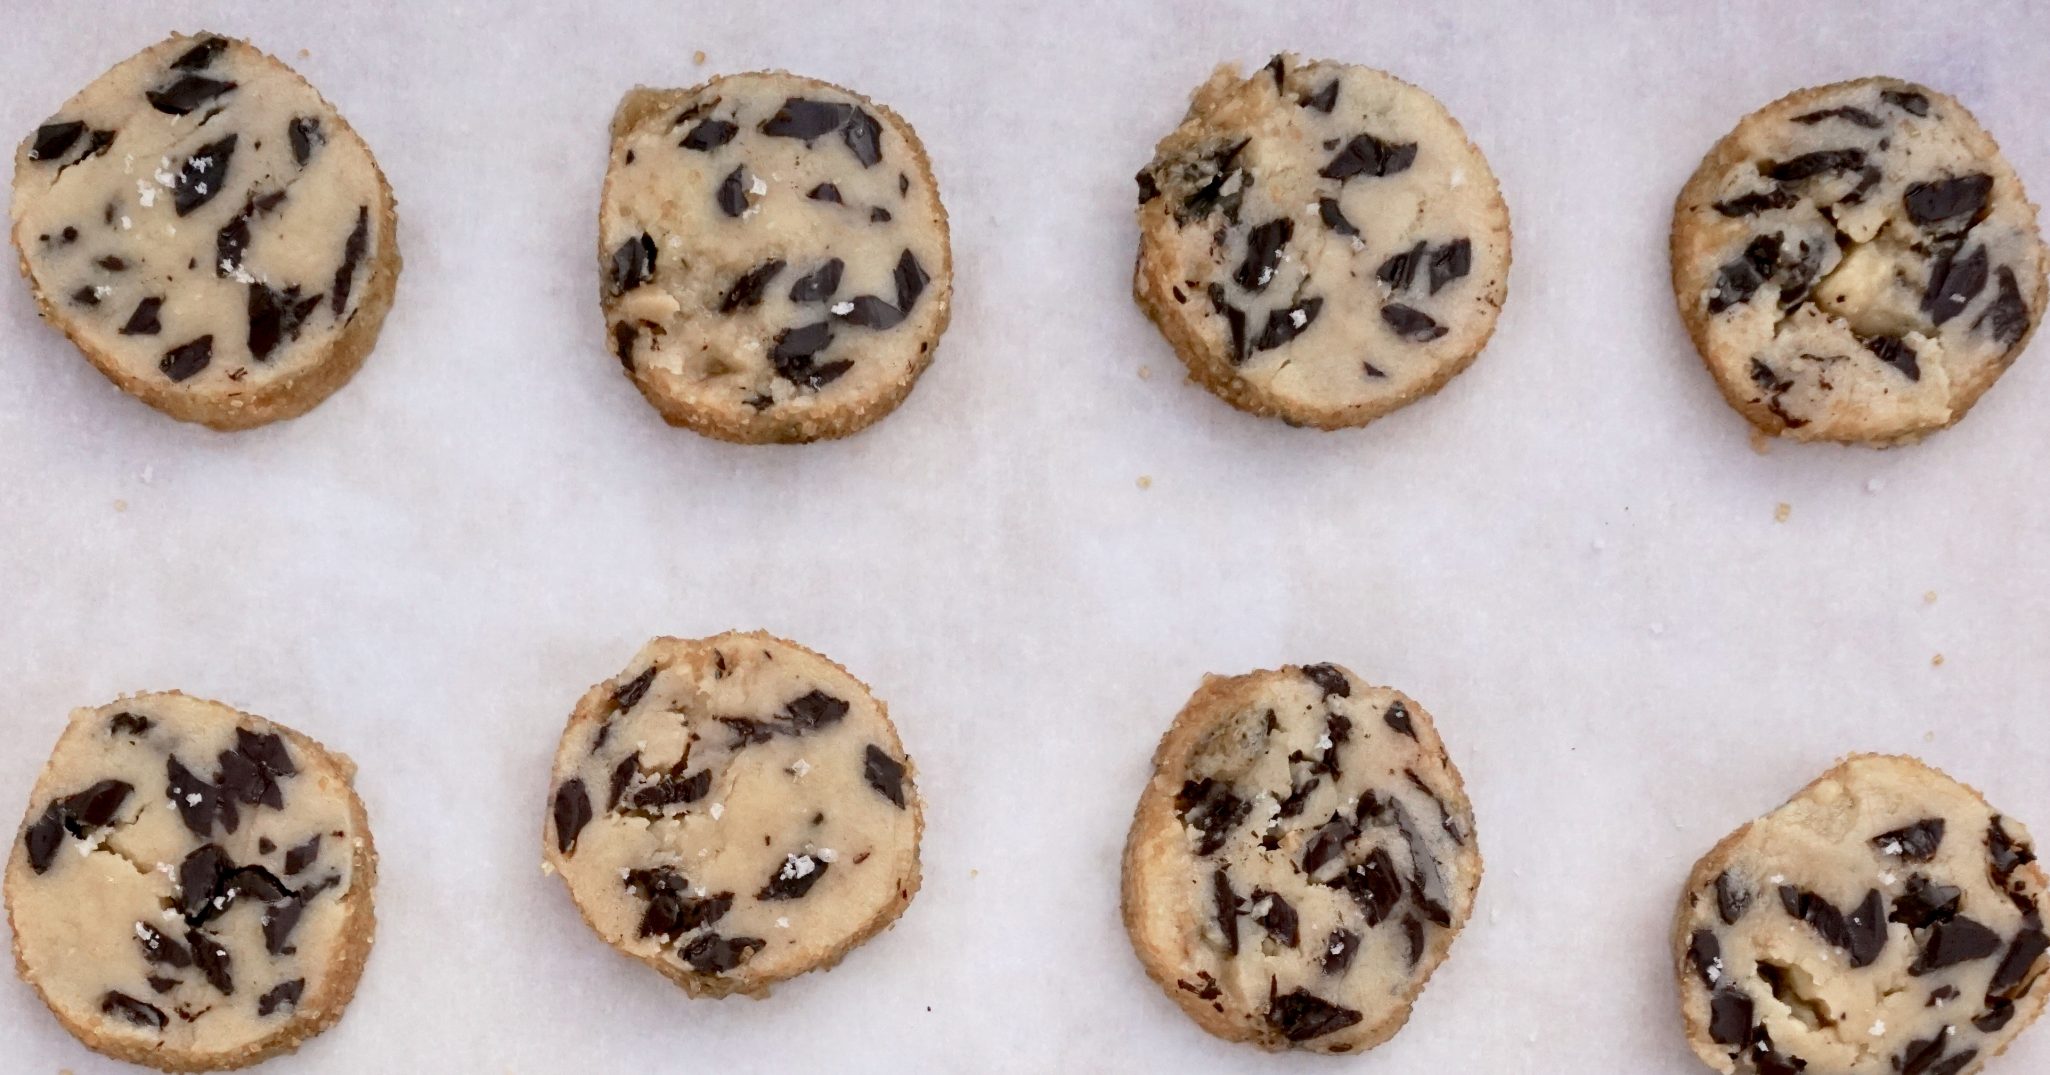
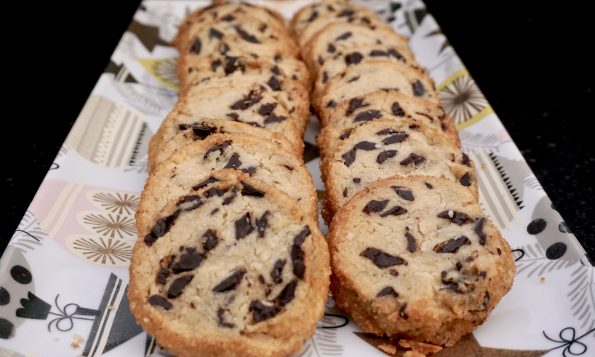
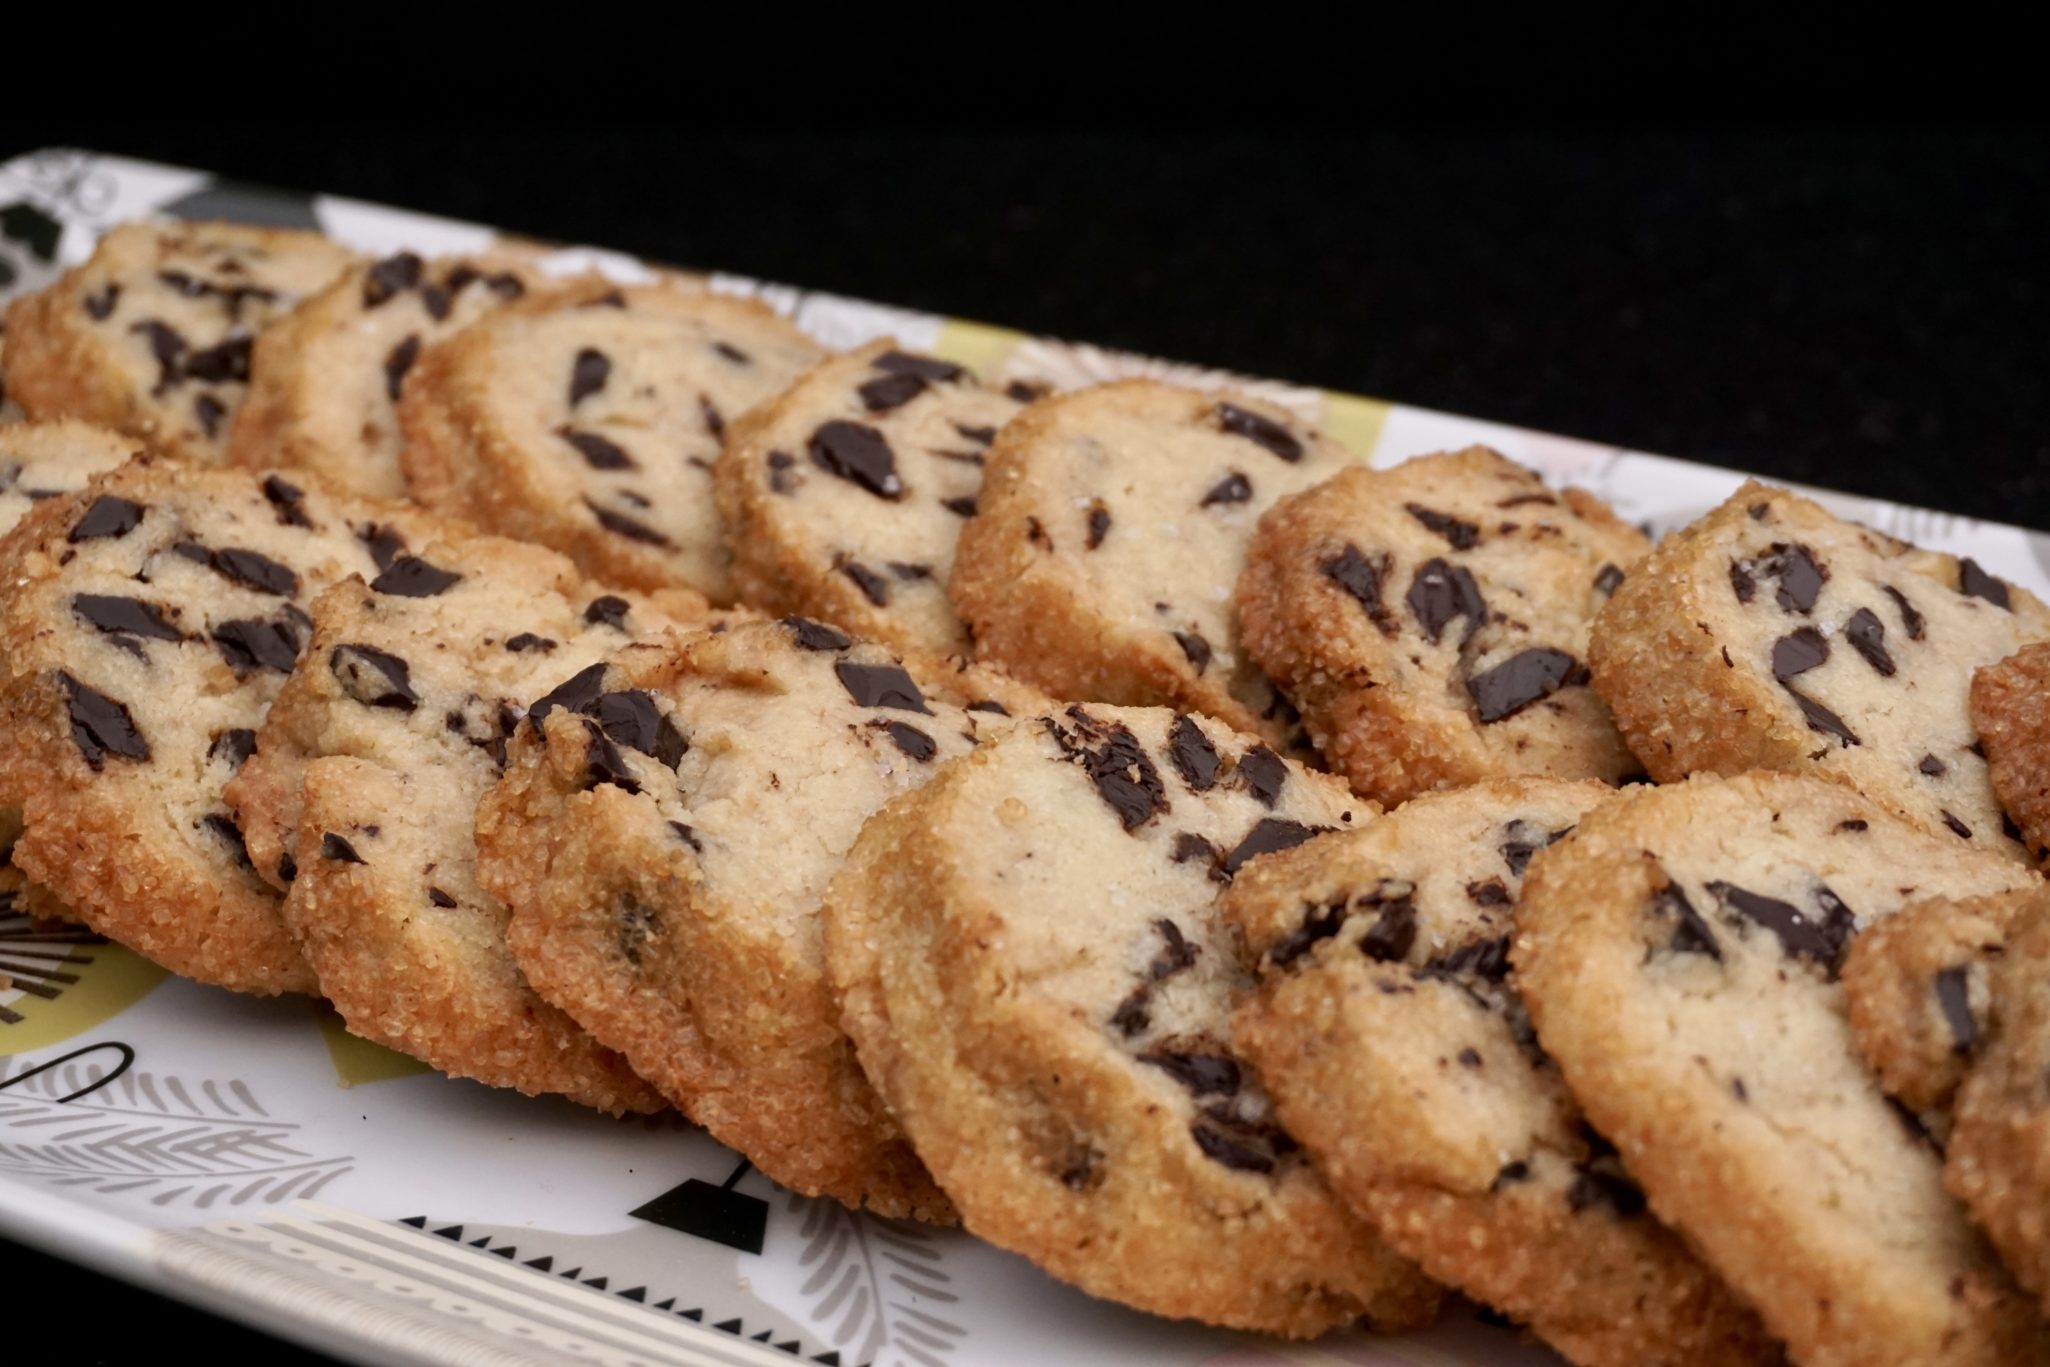
From the 2018 cookie annals, I give you Salted Butter & Chocolate Chunk Shortbread. Why re-post? How many cookies are the focus of a magazine article? Such is the case in this month’s Atlantic, The Rise of Anxiety Baking. Apparently, since “he who shall not be named” has unwittingly been thrust into “public service”, there has been a corresponding rise in anxiety in Americans, especially Millennials. This heightened feeling of impending doom has apparently caused a significant uptick in cookie baking in an effort to soothe the soul and calm the nerves. The one cookie that has become the poster child for anxiety baking is Alison Roman’s Salted Butter & Chocolate Chunk Shortbread. It definitely helps that this cookie is damn delicious. A buttery, tender shortbread dotted with nuggets of dark chocolate and edged with crunchy Demerara Sugar. Are you salivating? You should be.
Yep, that is me. No, not a millennial, but a no holds barred bake to relieve stress crazy person. I made batches of this cookie. I took them to work, to coffee with the moms, to the Omnivore Books Cookie Contest. (I didn’t win AGAIN). Think of this cookie as a tasty prescription. Bake it, feel better and make other people happy. A pharmacist’s advice for free. You’re welcome.
(Salted Butter & Chocolate Chunk Shortbread) New Year’s Resolution #2 Finish 12 Days of Cookies
Ingredients
- 1 cup plus 2 tablespoons 2 1/4 sticks salted butter, cut into 1/2-inch pieces
- 1/2 cup granulated sugar
- 1/4 cup light brown sugar
- 1 teaspoon vanilla extract
- 2 1/4 cups all-purpose flour
- 6 ounces semi- or bittersweet dark chocolate chopped (but not too fine, you want chunks)
- 1 large egg beaten
- Demerara sugar for rolling
- Flaky sea salt for sprinkling
Instructions
- The cookie dough can be made ahead and stored, tightly wrapped in plastic, up to 1 week in the refrigerator, or 1 month in the freezer. Cookies can be baked and stored in plastic wrap or an airtight container for 5 days.
- 1. Line a rimmed baking sheet with parchment paper.
- 2. Using an electric mixer and a medium bowl or a stand mixer fitted with the paddle attachment, beat the butter, both sugars, and vanilla on medium-high till it’s super light and fluffy, 3 to 5 minutes. Using a spatula, scrape down the sides of the bowl and, with the mixer on low, slowly add the flour, followed by the chocolate chunks, and beat just to blend.
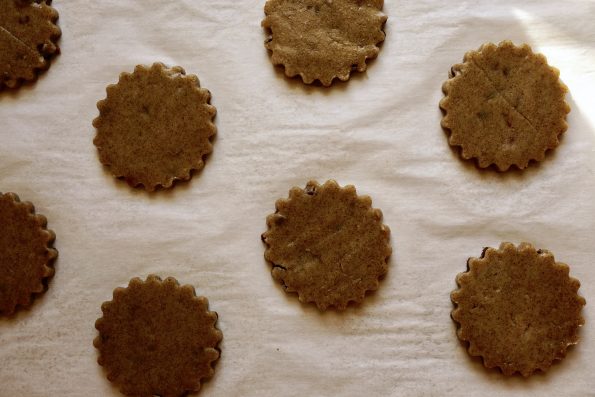
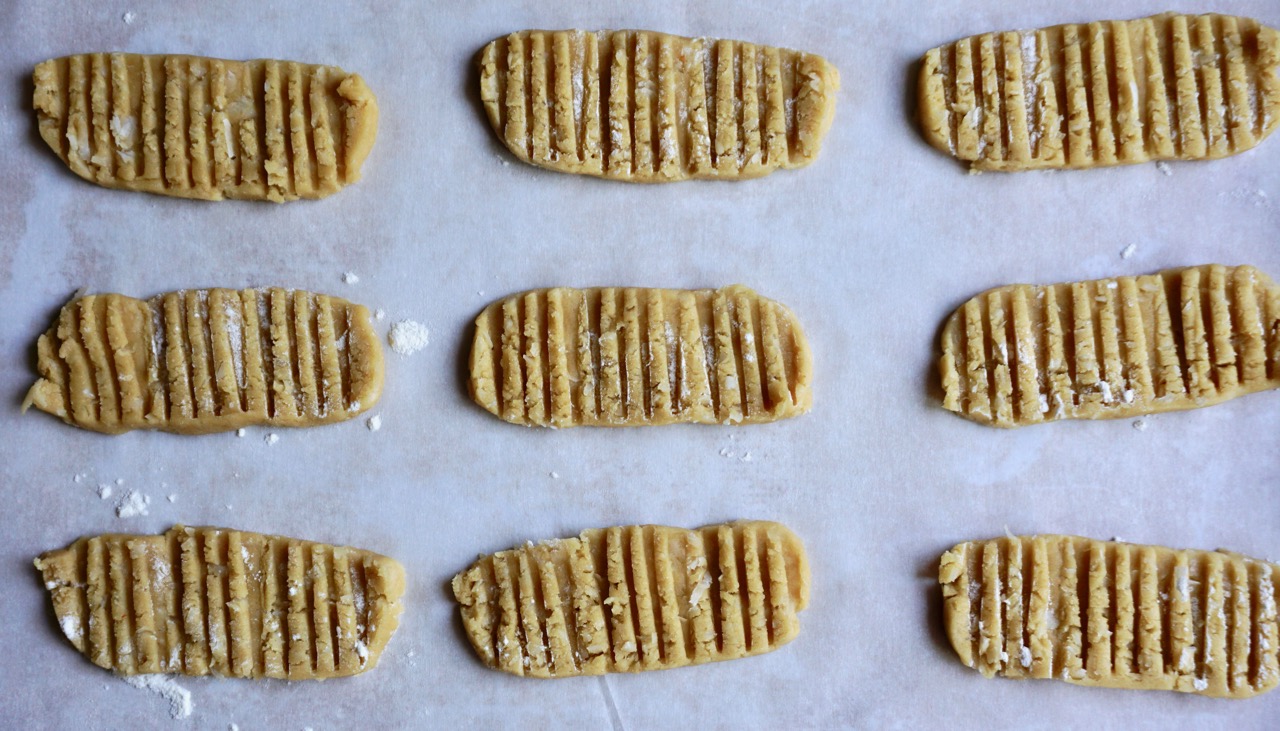
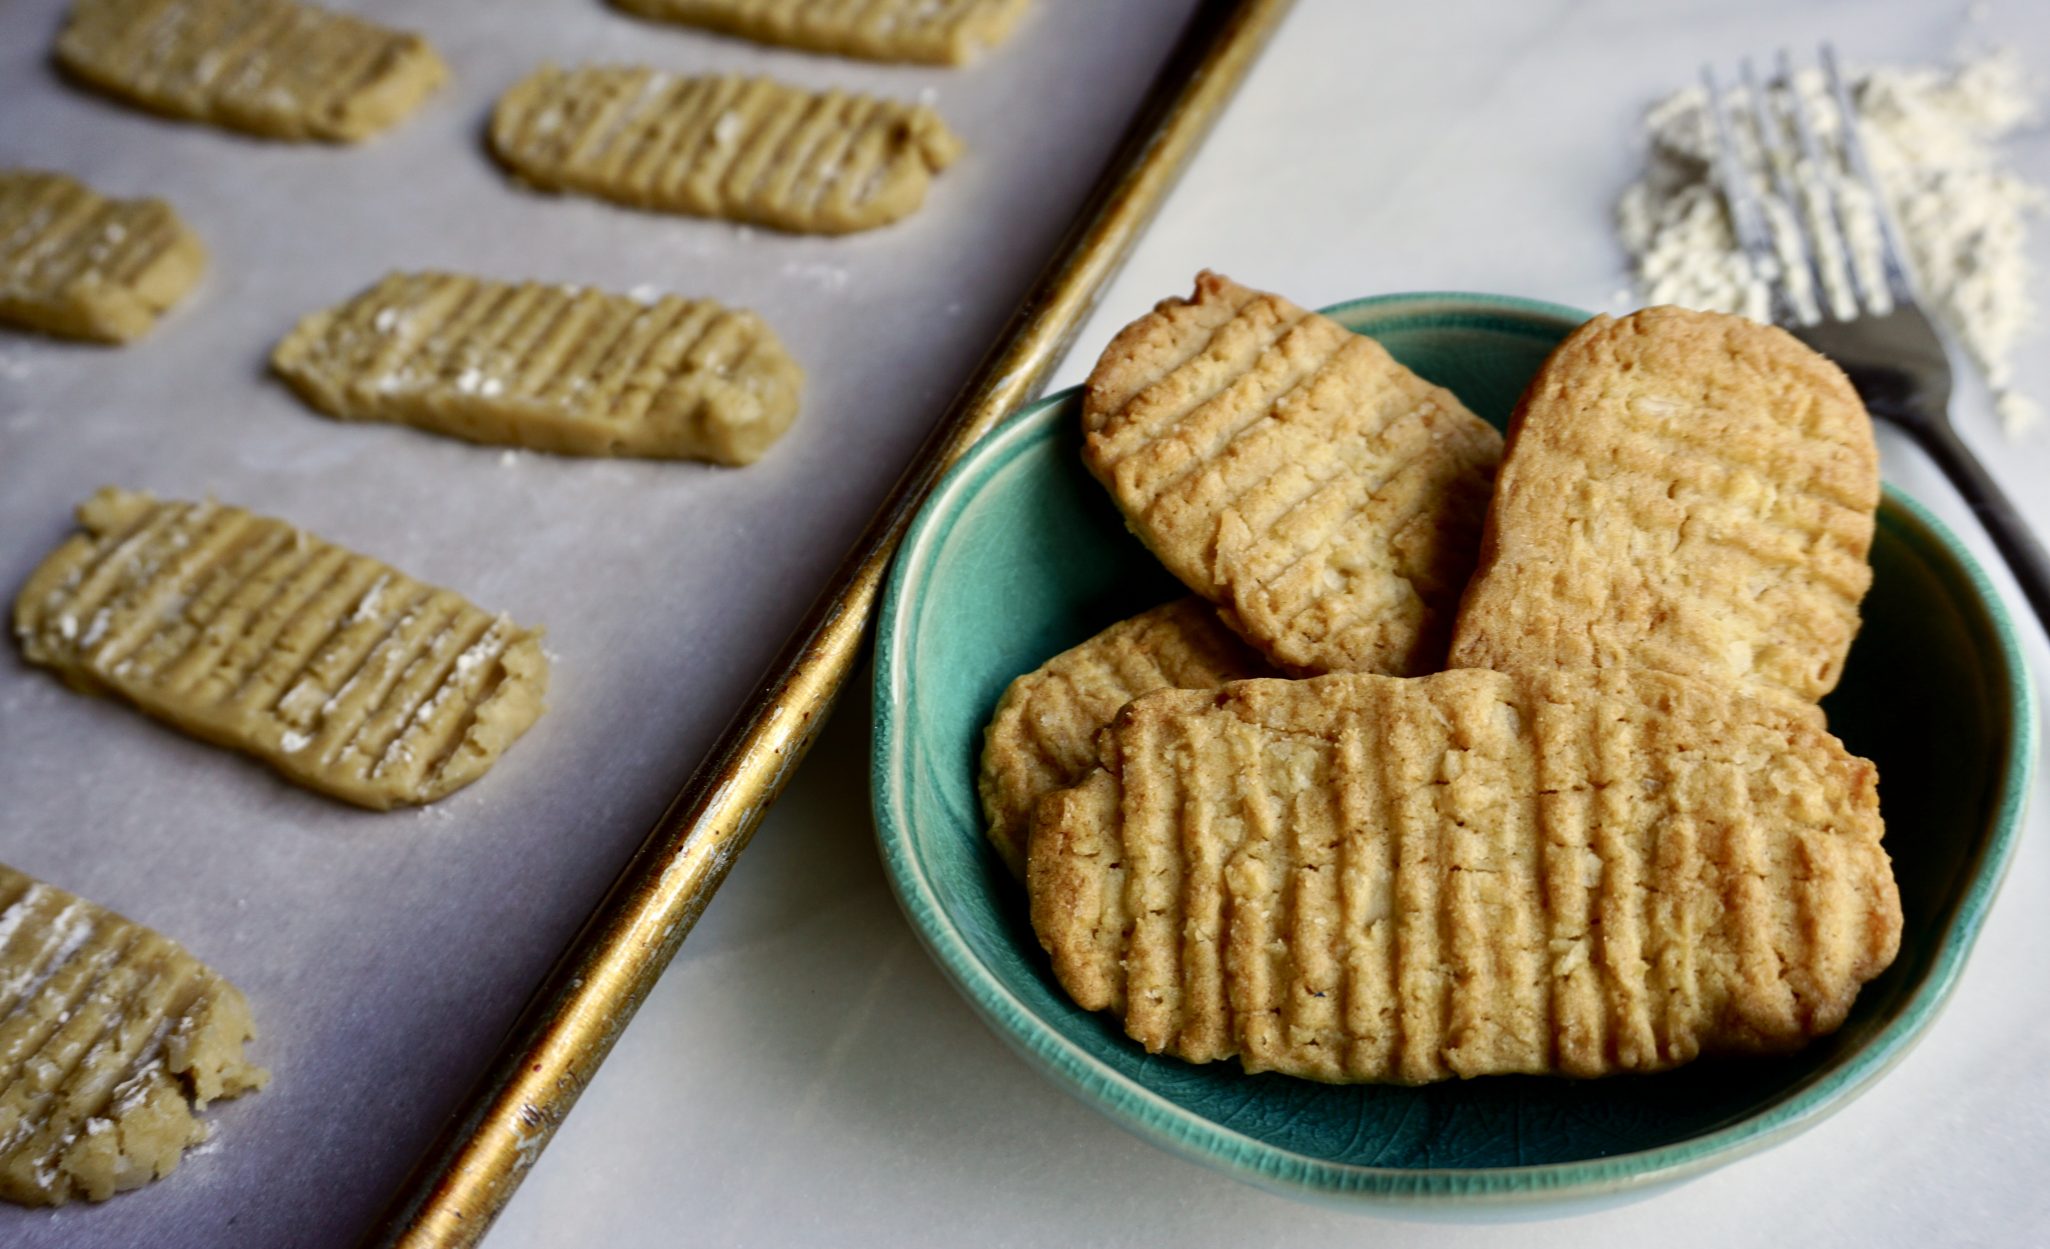
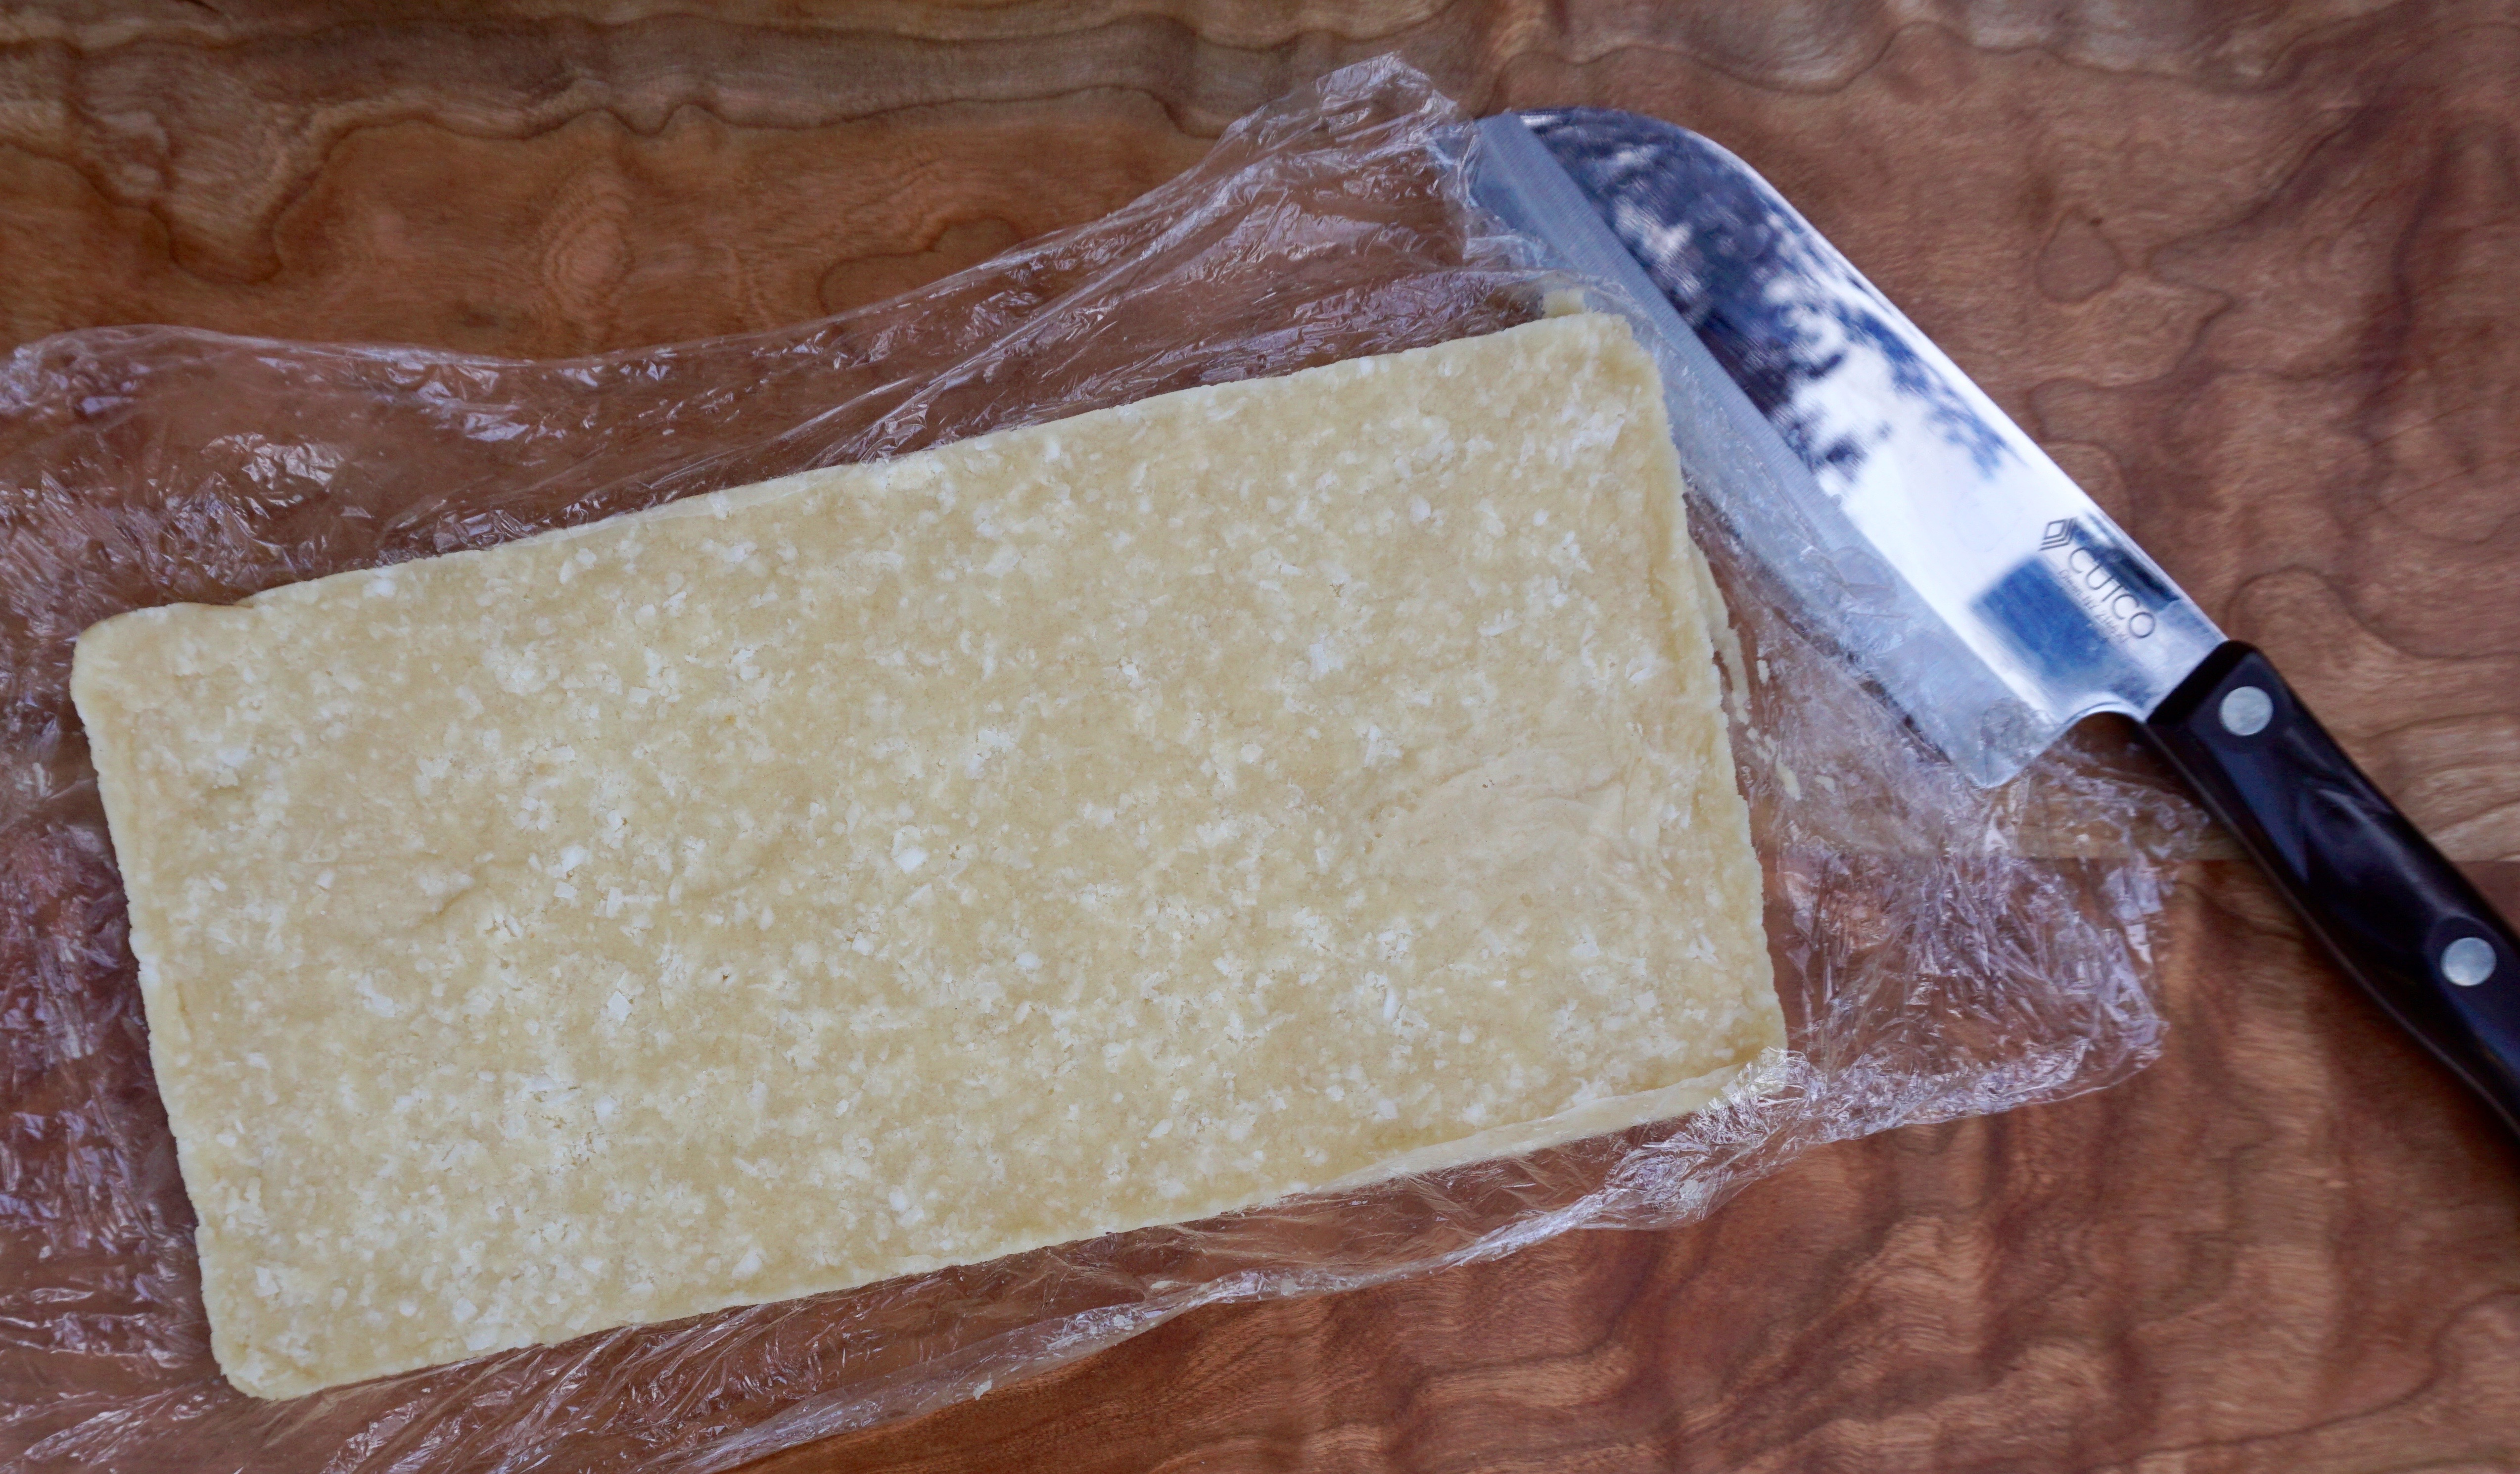
- 3. Divide the dough in half, placing each half on a large piece of plastic wrap. Fold the plastic over so that it covers the dough to protect your hands from getting all sticky. Using your hands (just like you’re playing with clay), form the dough into a log shape; rolling it on the counter will help you smooth it out, but don’t worry about getting it totally perfect. You can also do this using parchment paper, if you prefer, but I find using plastic wrap easier when it comes to shaping the log. Each half should form two logs 2 to 2 1/4 inches in diameter. Chill until totally firm, about 2 hours.
- 4. Preheat the oven to 350°F.
- 5. Brush the outside of the logs with the beaten egg and roll them in the Demerara sugar (this is for those really delicious crispy edges).
- 6. Slice each log into 1/2-inch-thick rounds, place them on the prepared baking sheet(s) about 1 inch apart (they won’t spread much), and sprinkle with flaky salt. Bake until the edges are just beginning to brown, 12 to 15 minutes. Let cool slightly before eating them all.