Everything Everywhere All At Eri-onCe (Cream Cheese Pound Cake)
I am seriously thinking about adding a new category to 3Jamigos. I’m going to call it “Everything Everywhere All at Eric”. Serving a dual purpose, a nod to the movie EEAAO and its amazing cast, and of course to Eric. For those of you not “in the know”, I am referring to Eric Kim, food writer, cookbook author (Korean American: Food that Tastes Like Home), Food52 alum, and current columnist of lots of yummy stuff at the New York Times.

I’ve been following him since his days at Food52 where he wrote a column, Cooking for One. His writing is gorgeous and his recipes are simple, straightforward, and delicious. I have a backlog of his recipes I have made but just haven’t had the time to do them justice in a post. I will get to them soon, promise! During the holidays I made his Cream Cheese Pound Cake, it’s divine. Posting about it is long overdue! So here is the list of Eric recipes I have made and love. Links to the ones I have posted. Hope you will try them!
Savory
- Cold Tomato Noodles
- Gochugaru Salmon with Crispy Rice
- Roasted Chicken and Cabbage
- Roasted Chicken and Fish-Sauce Butter Sauce and Croutons
- Ritzy Cheddar Cheese Chicken Breasts
- Sheet Pan Bibimbap
- Tomato Banchan
- Gochujang Buttered Noodles
Sweet
- Lofthouse Grocery Store Cookies
- Camomile Tea Cake with Strawberry Icing
- Cream Cheese Pound Cake with a Raspberry Icing
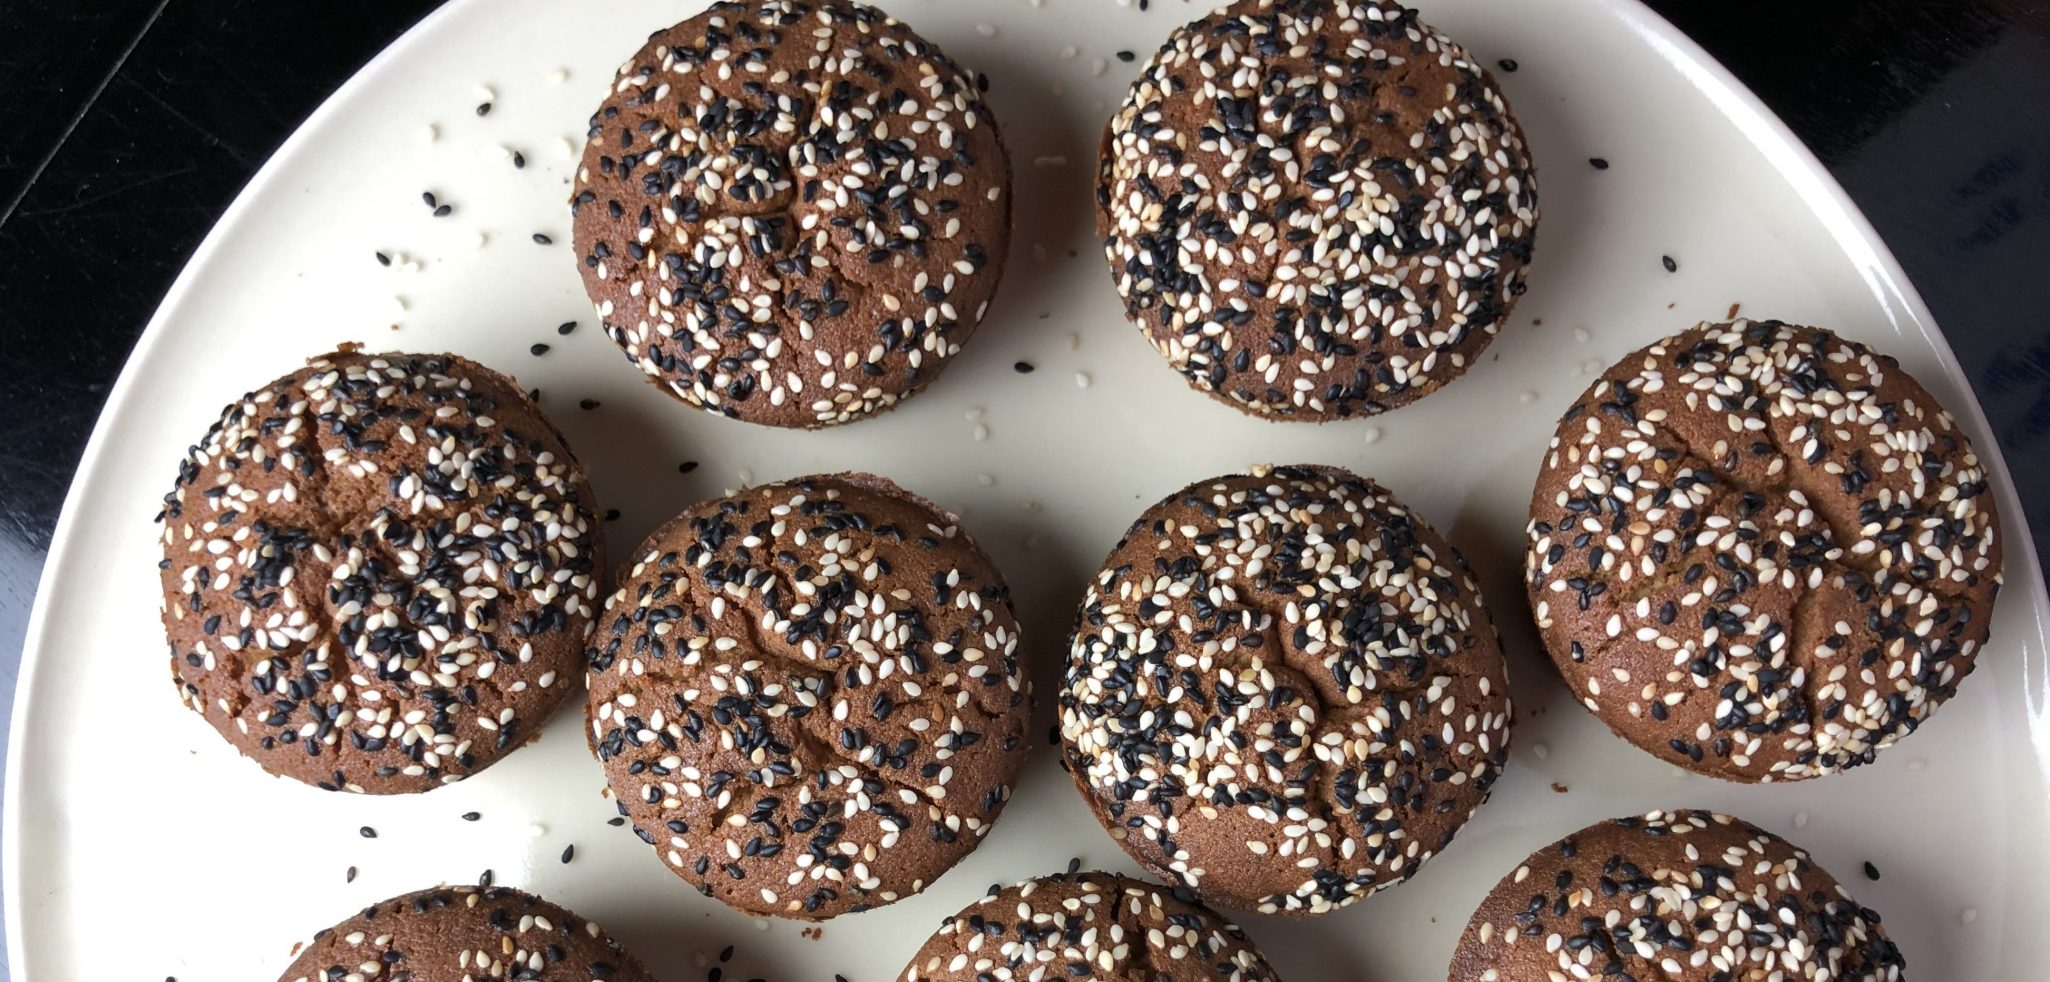
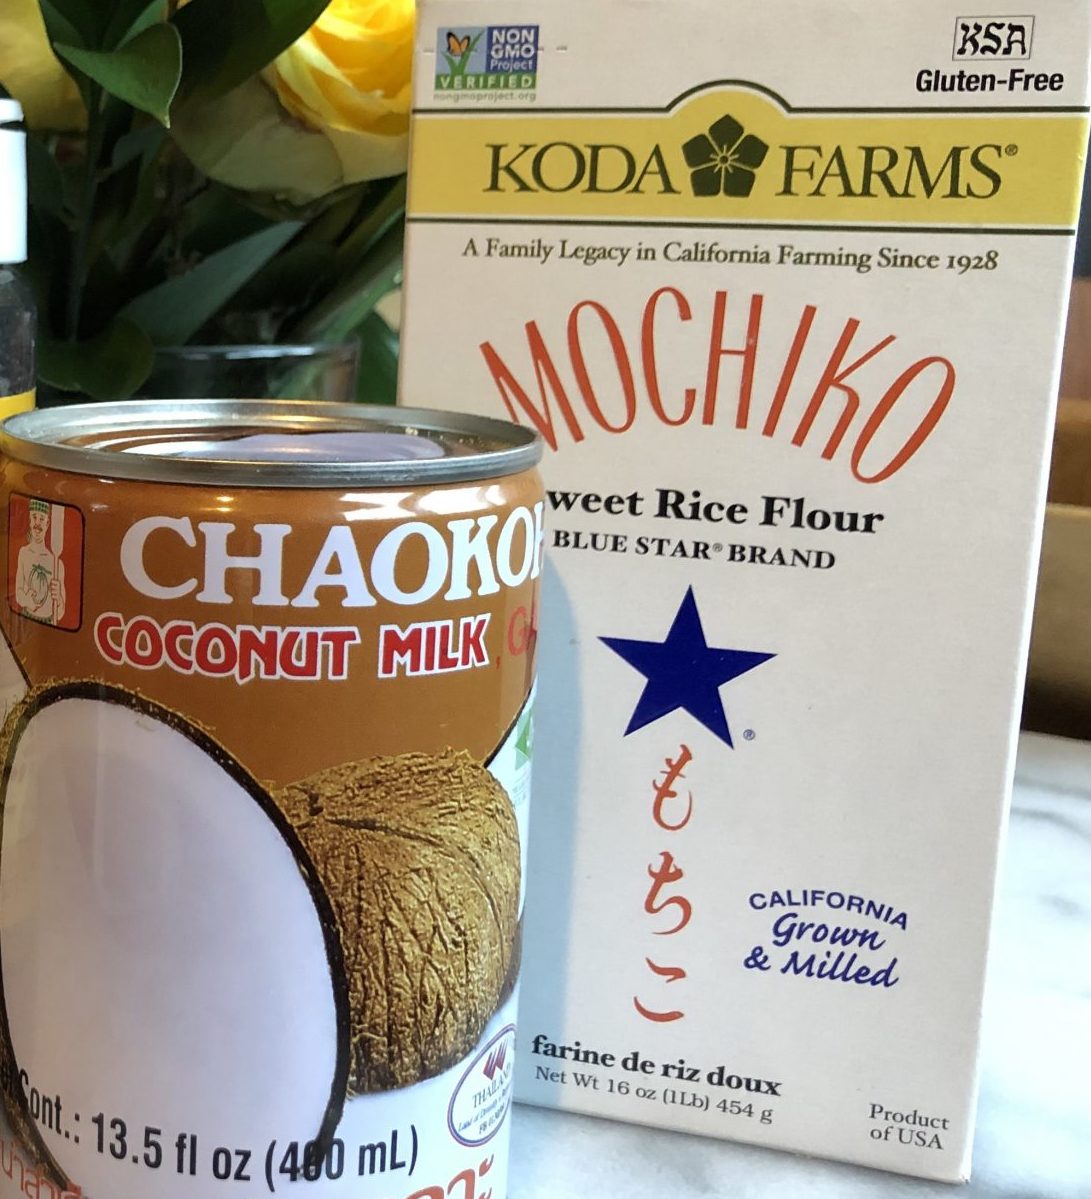
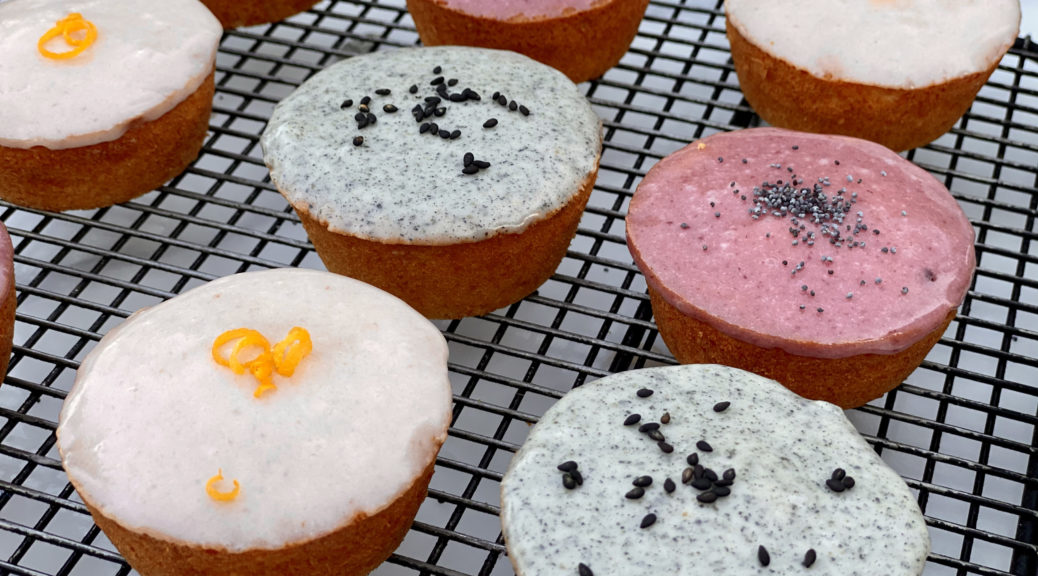
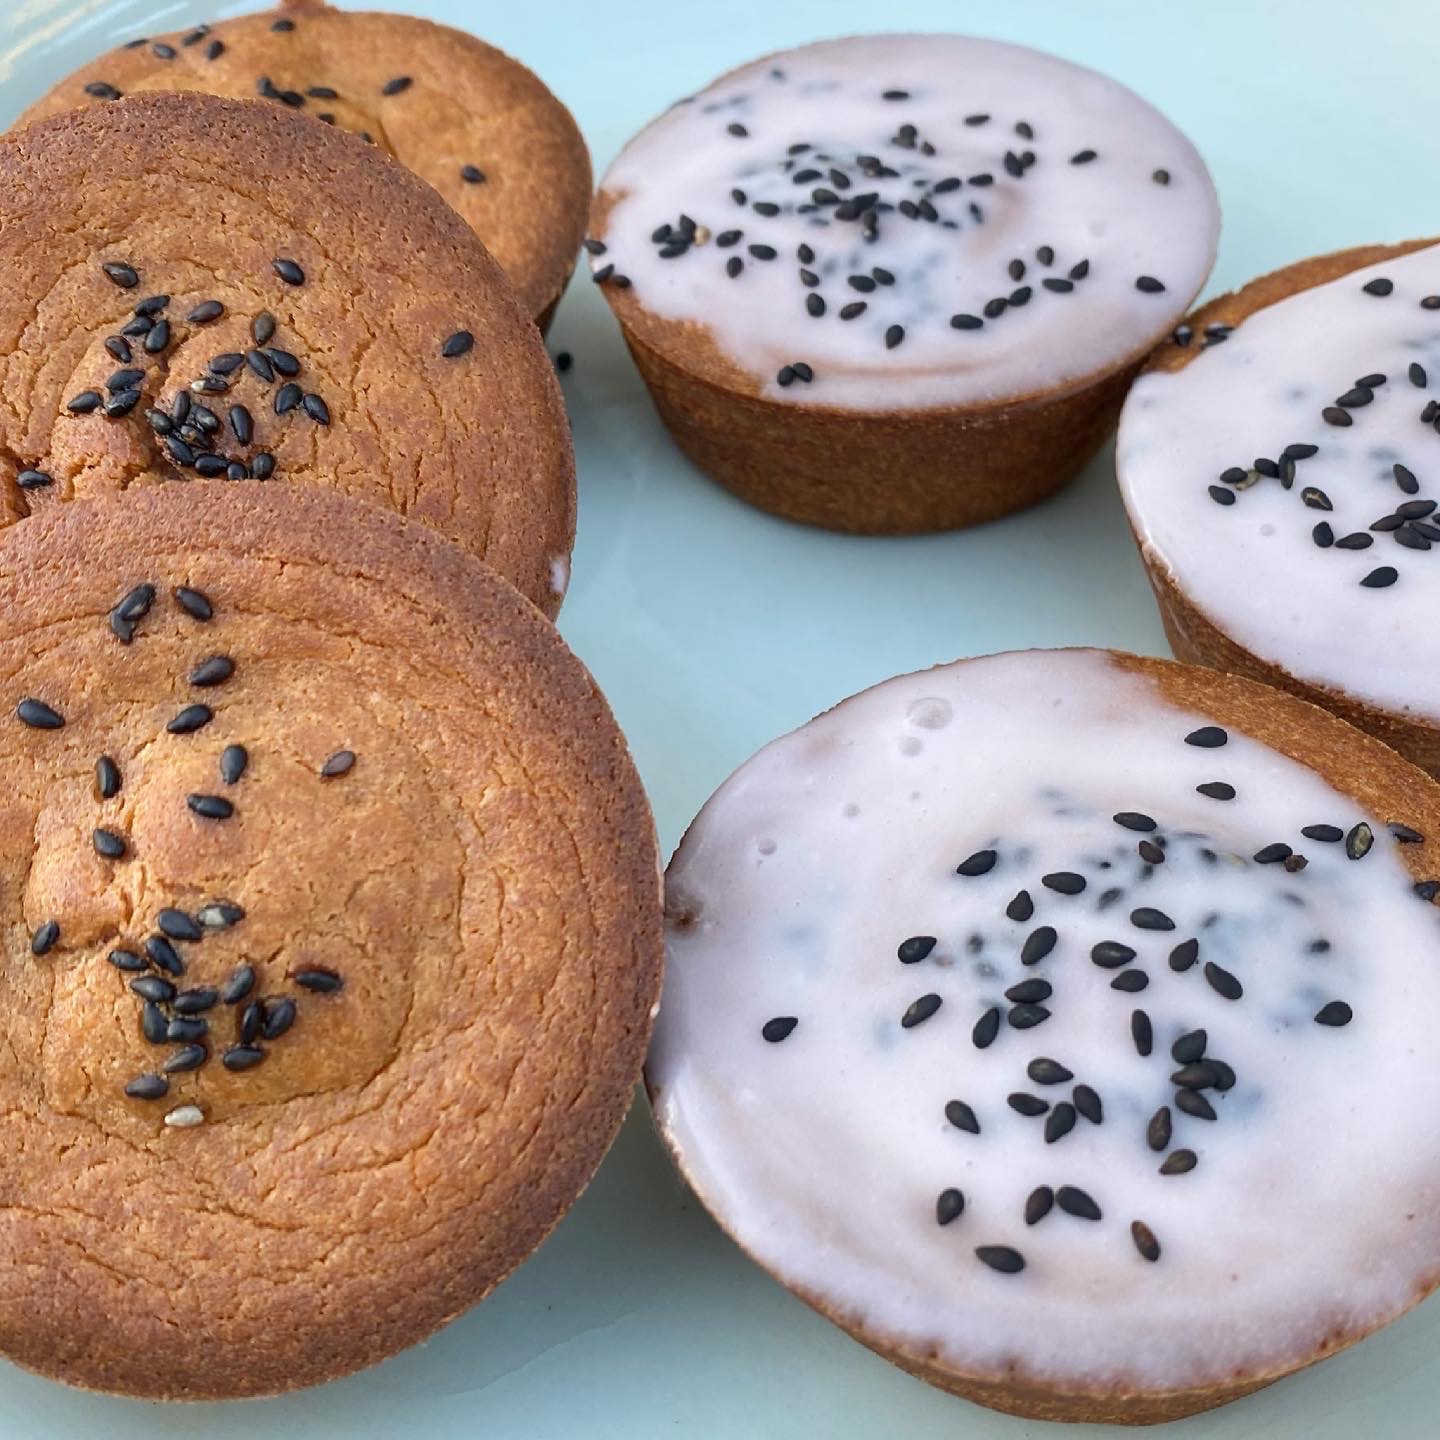
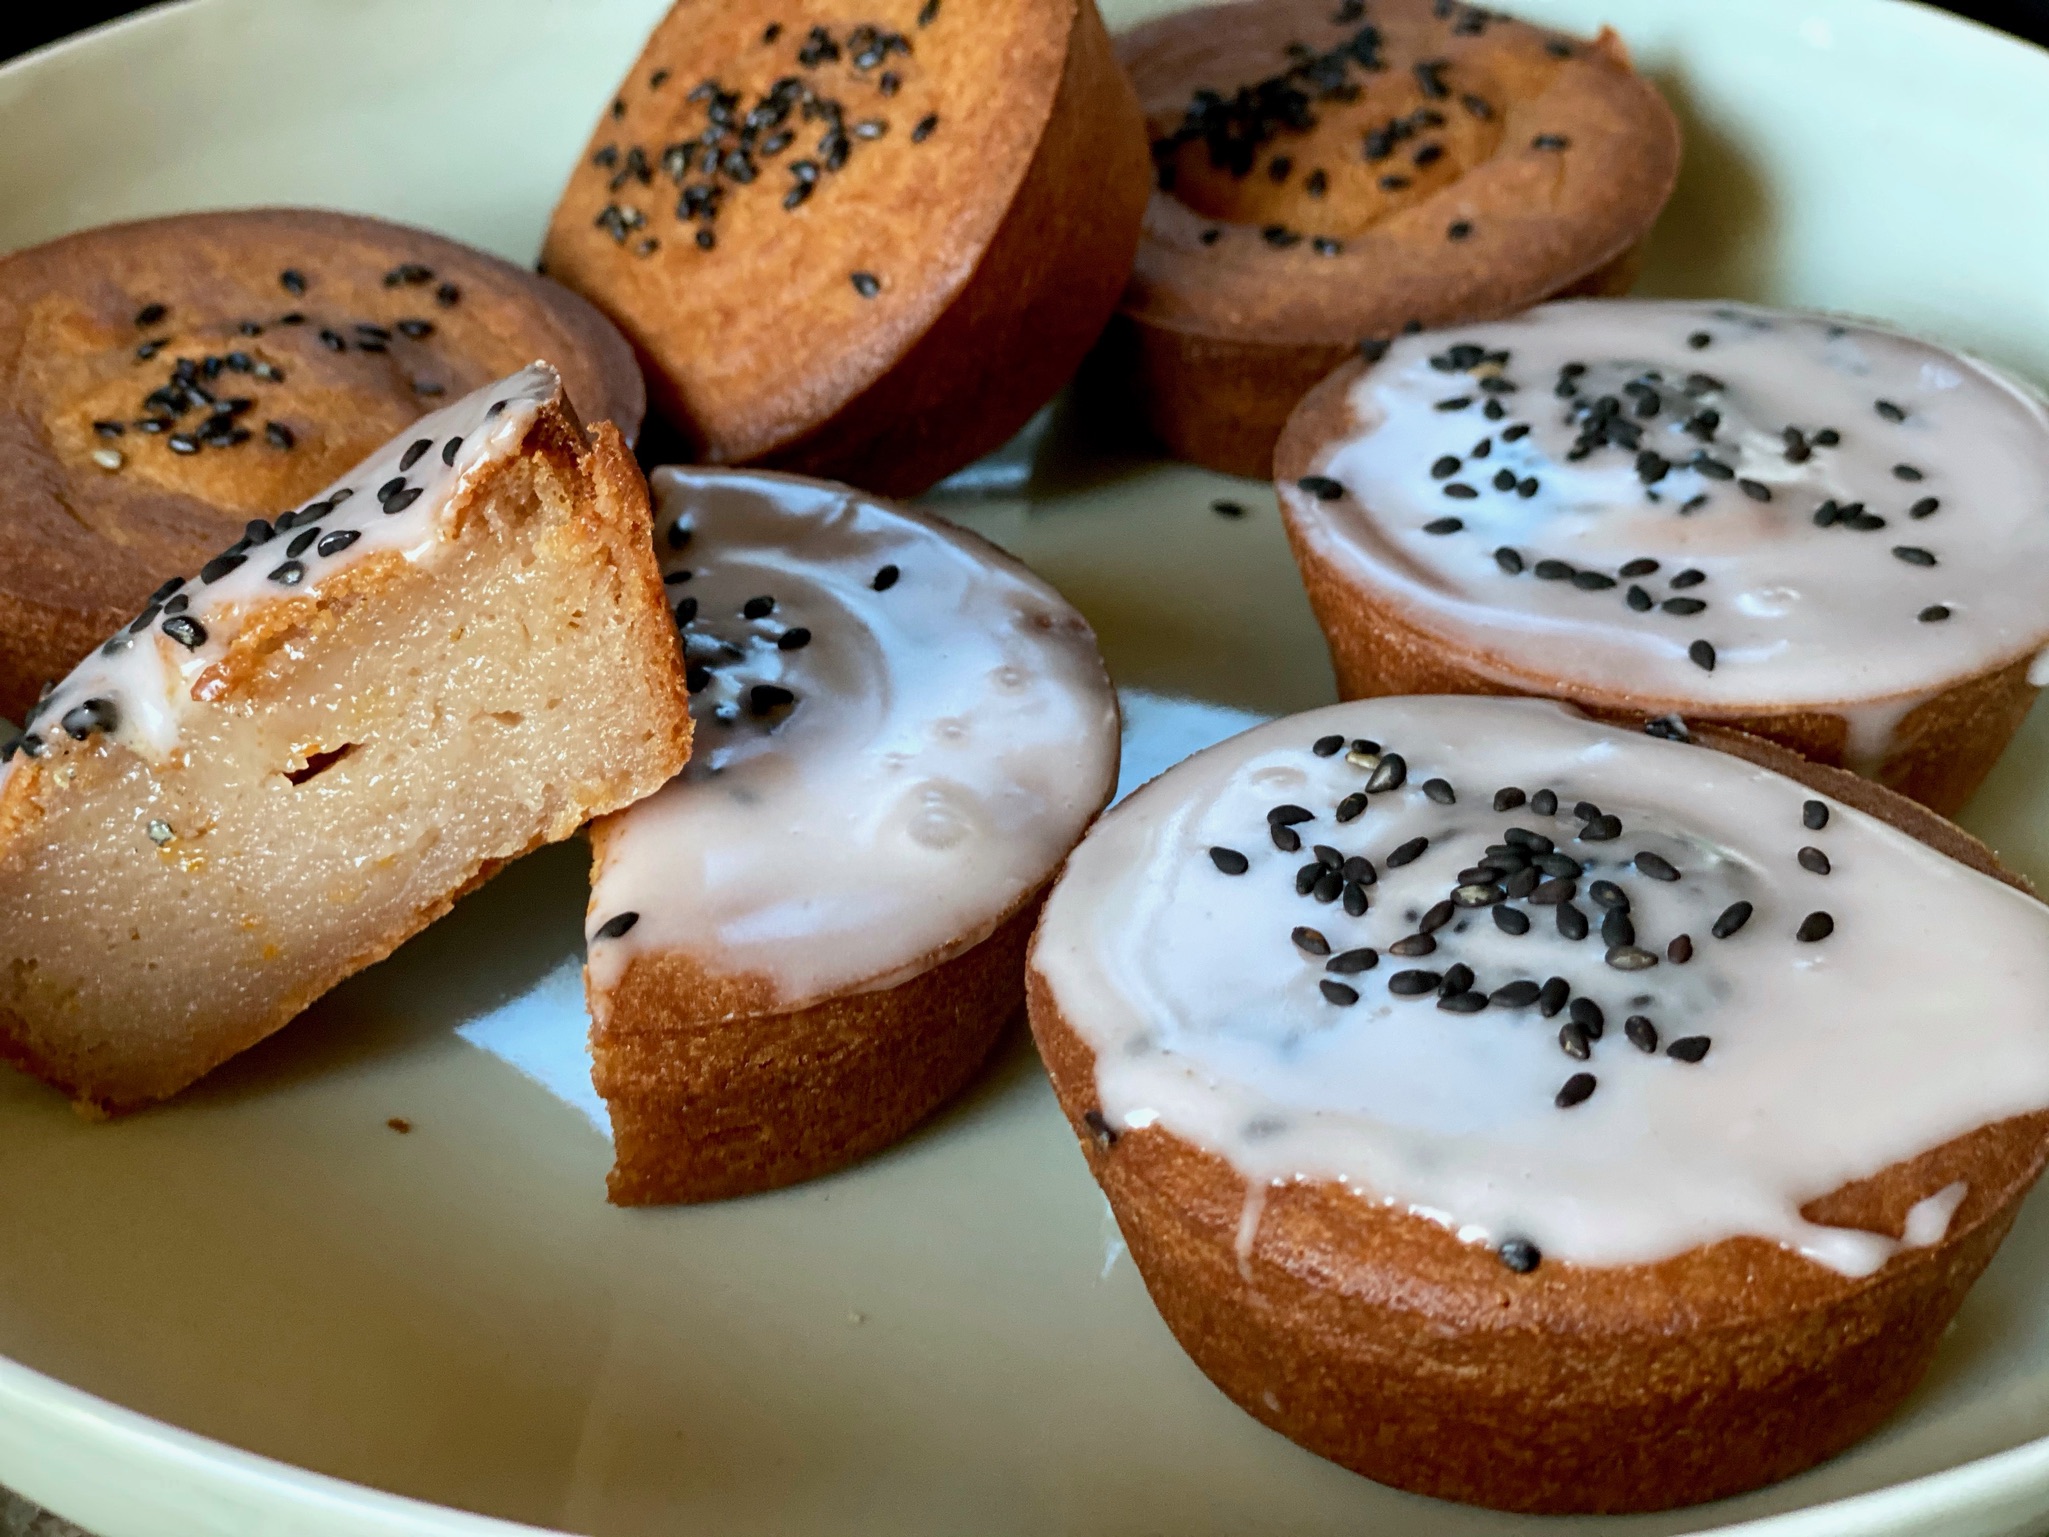
- Black Sesame Rice Cake
- Gochujang Caramel Cookie
- M&M Cookies
- Sweet Buttermilk Biscuits
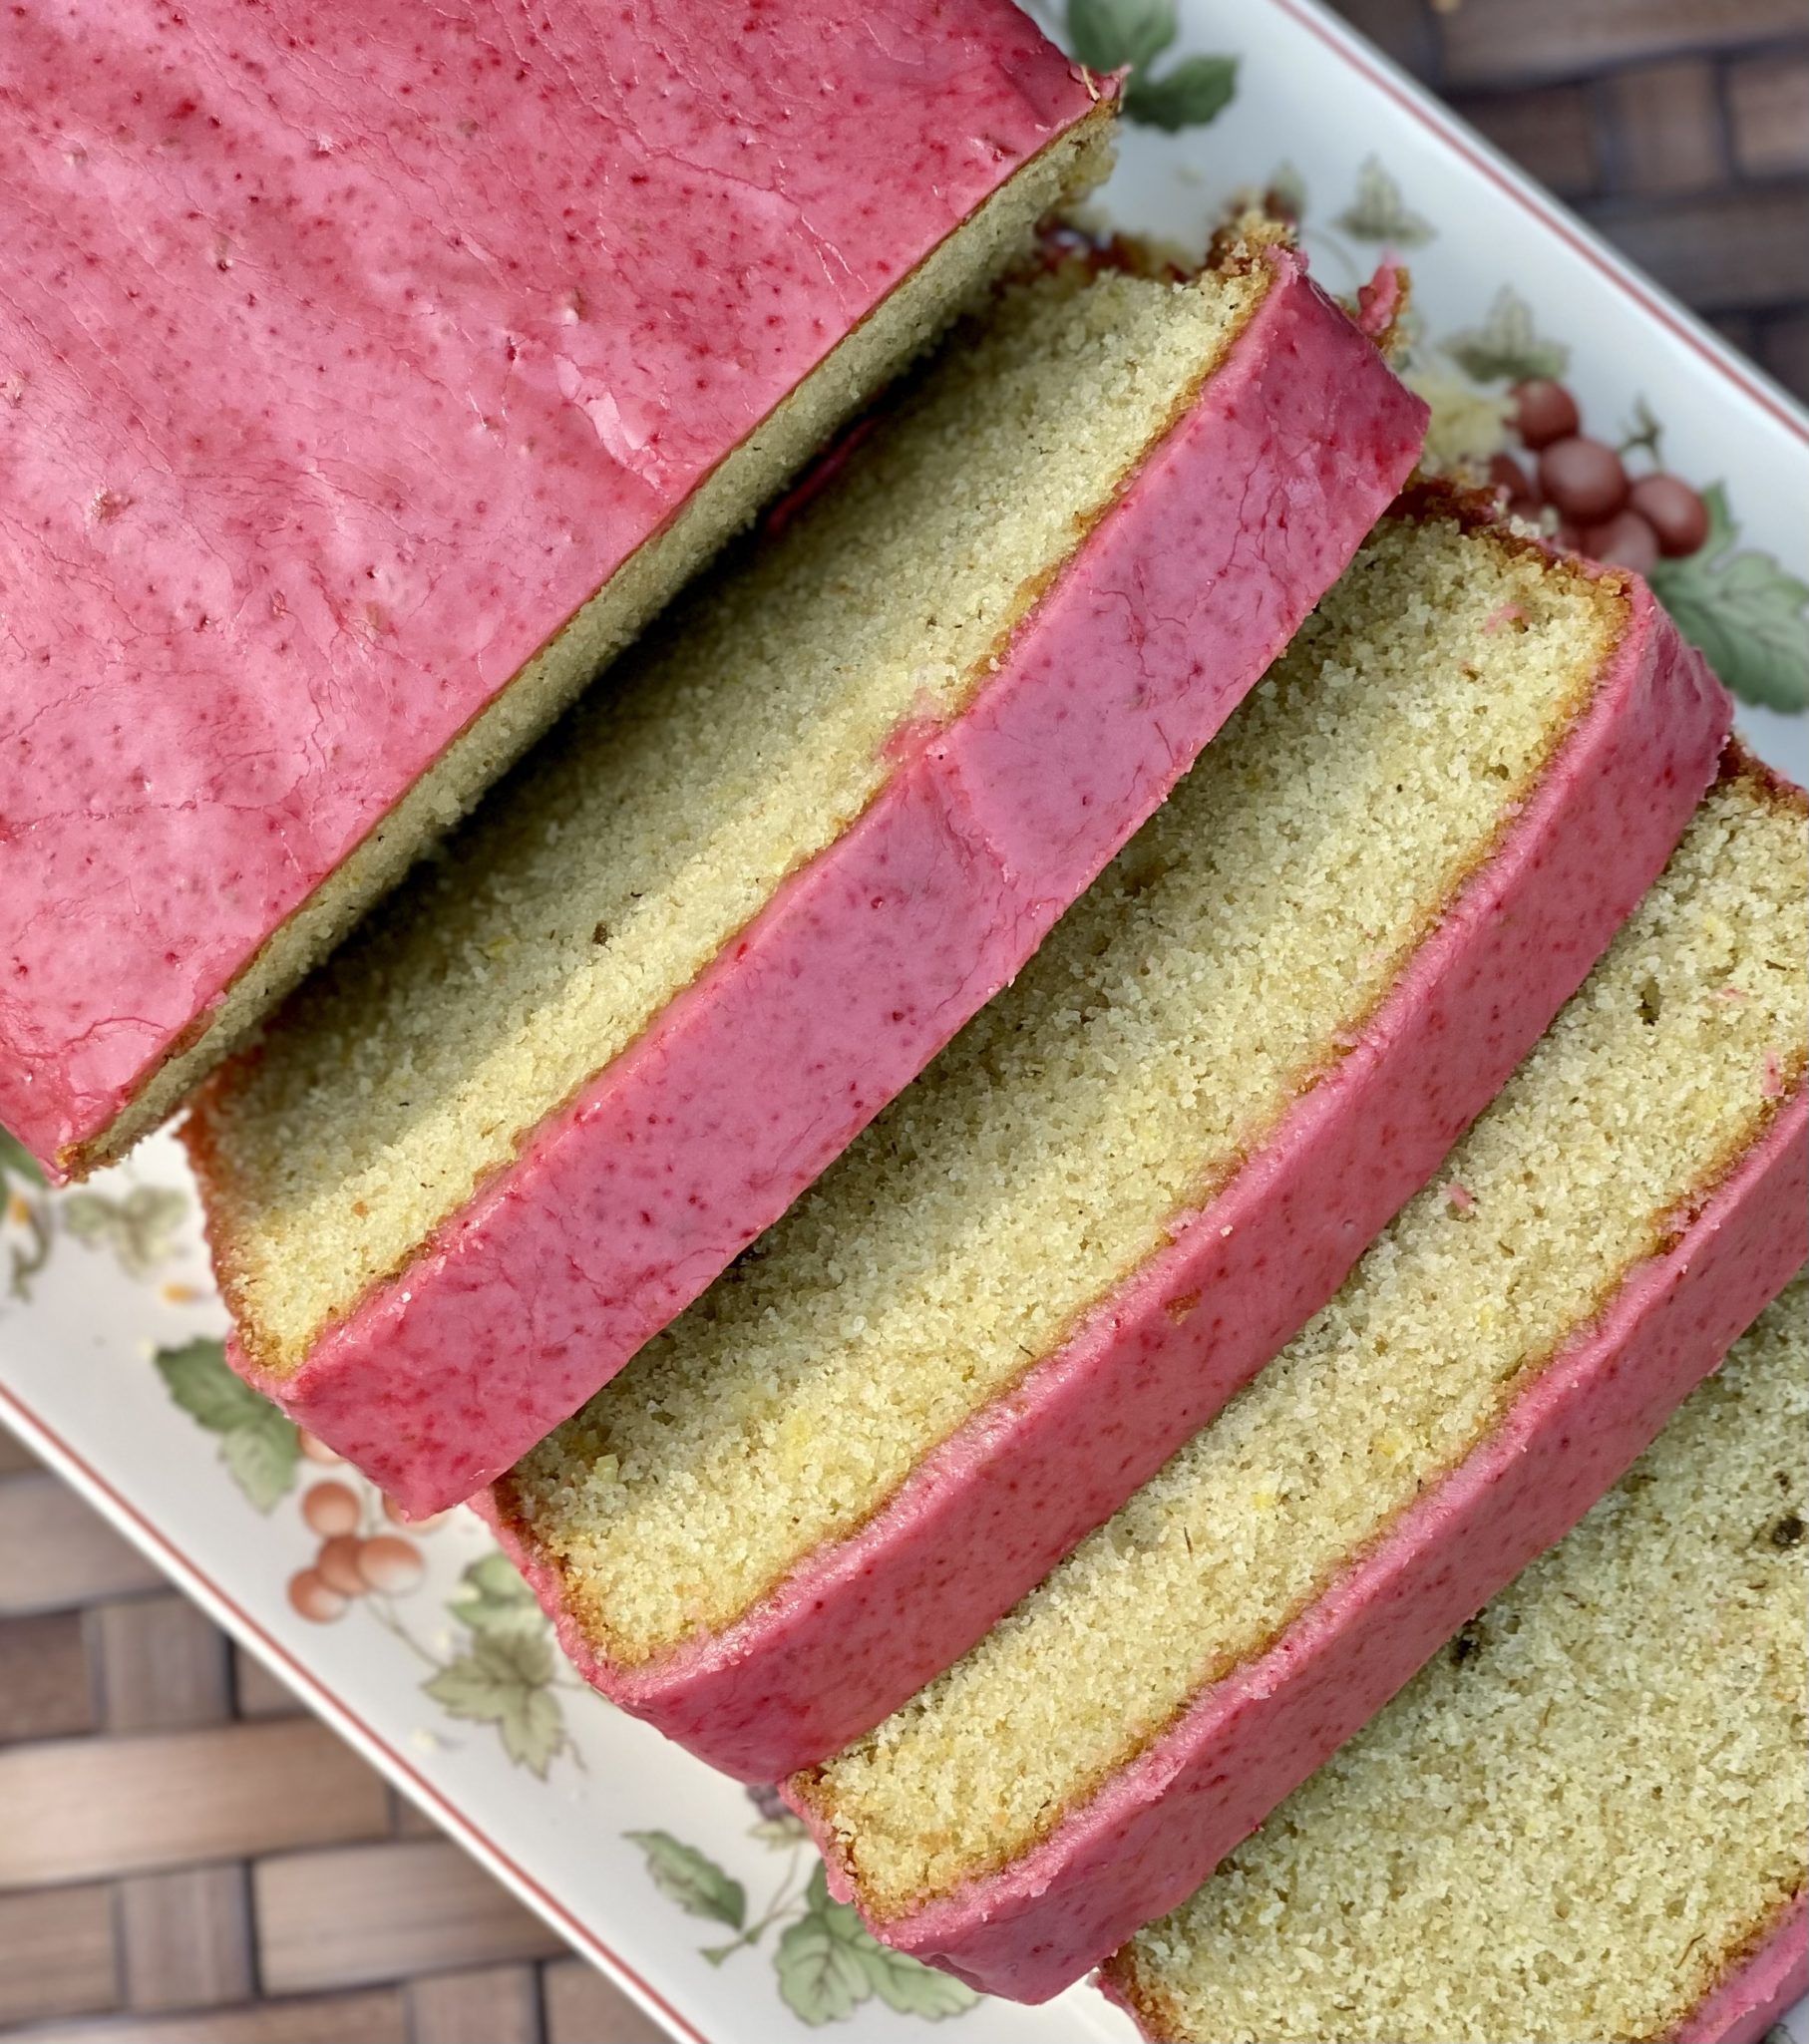
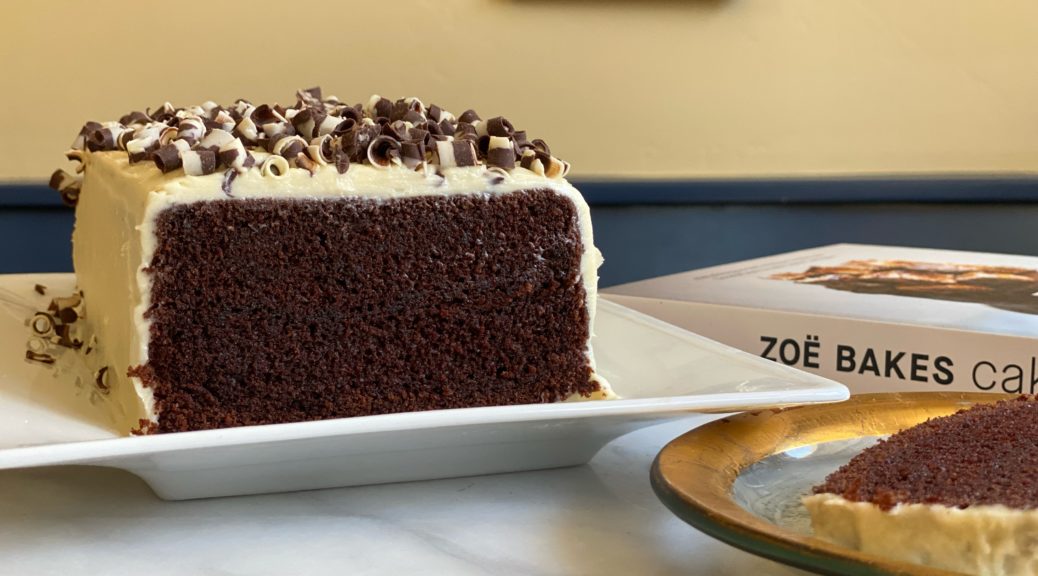
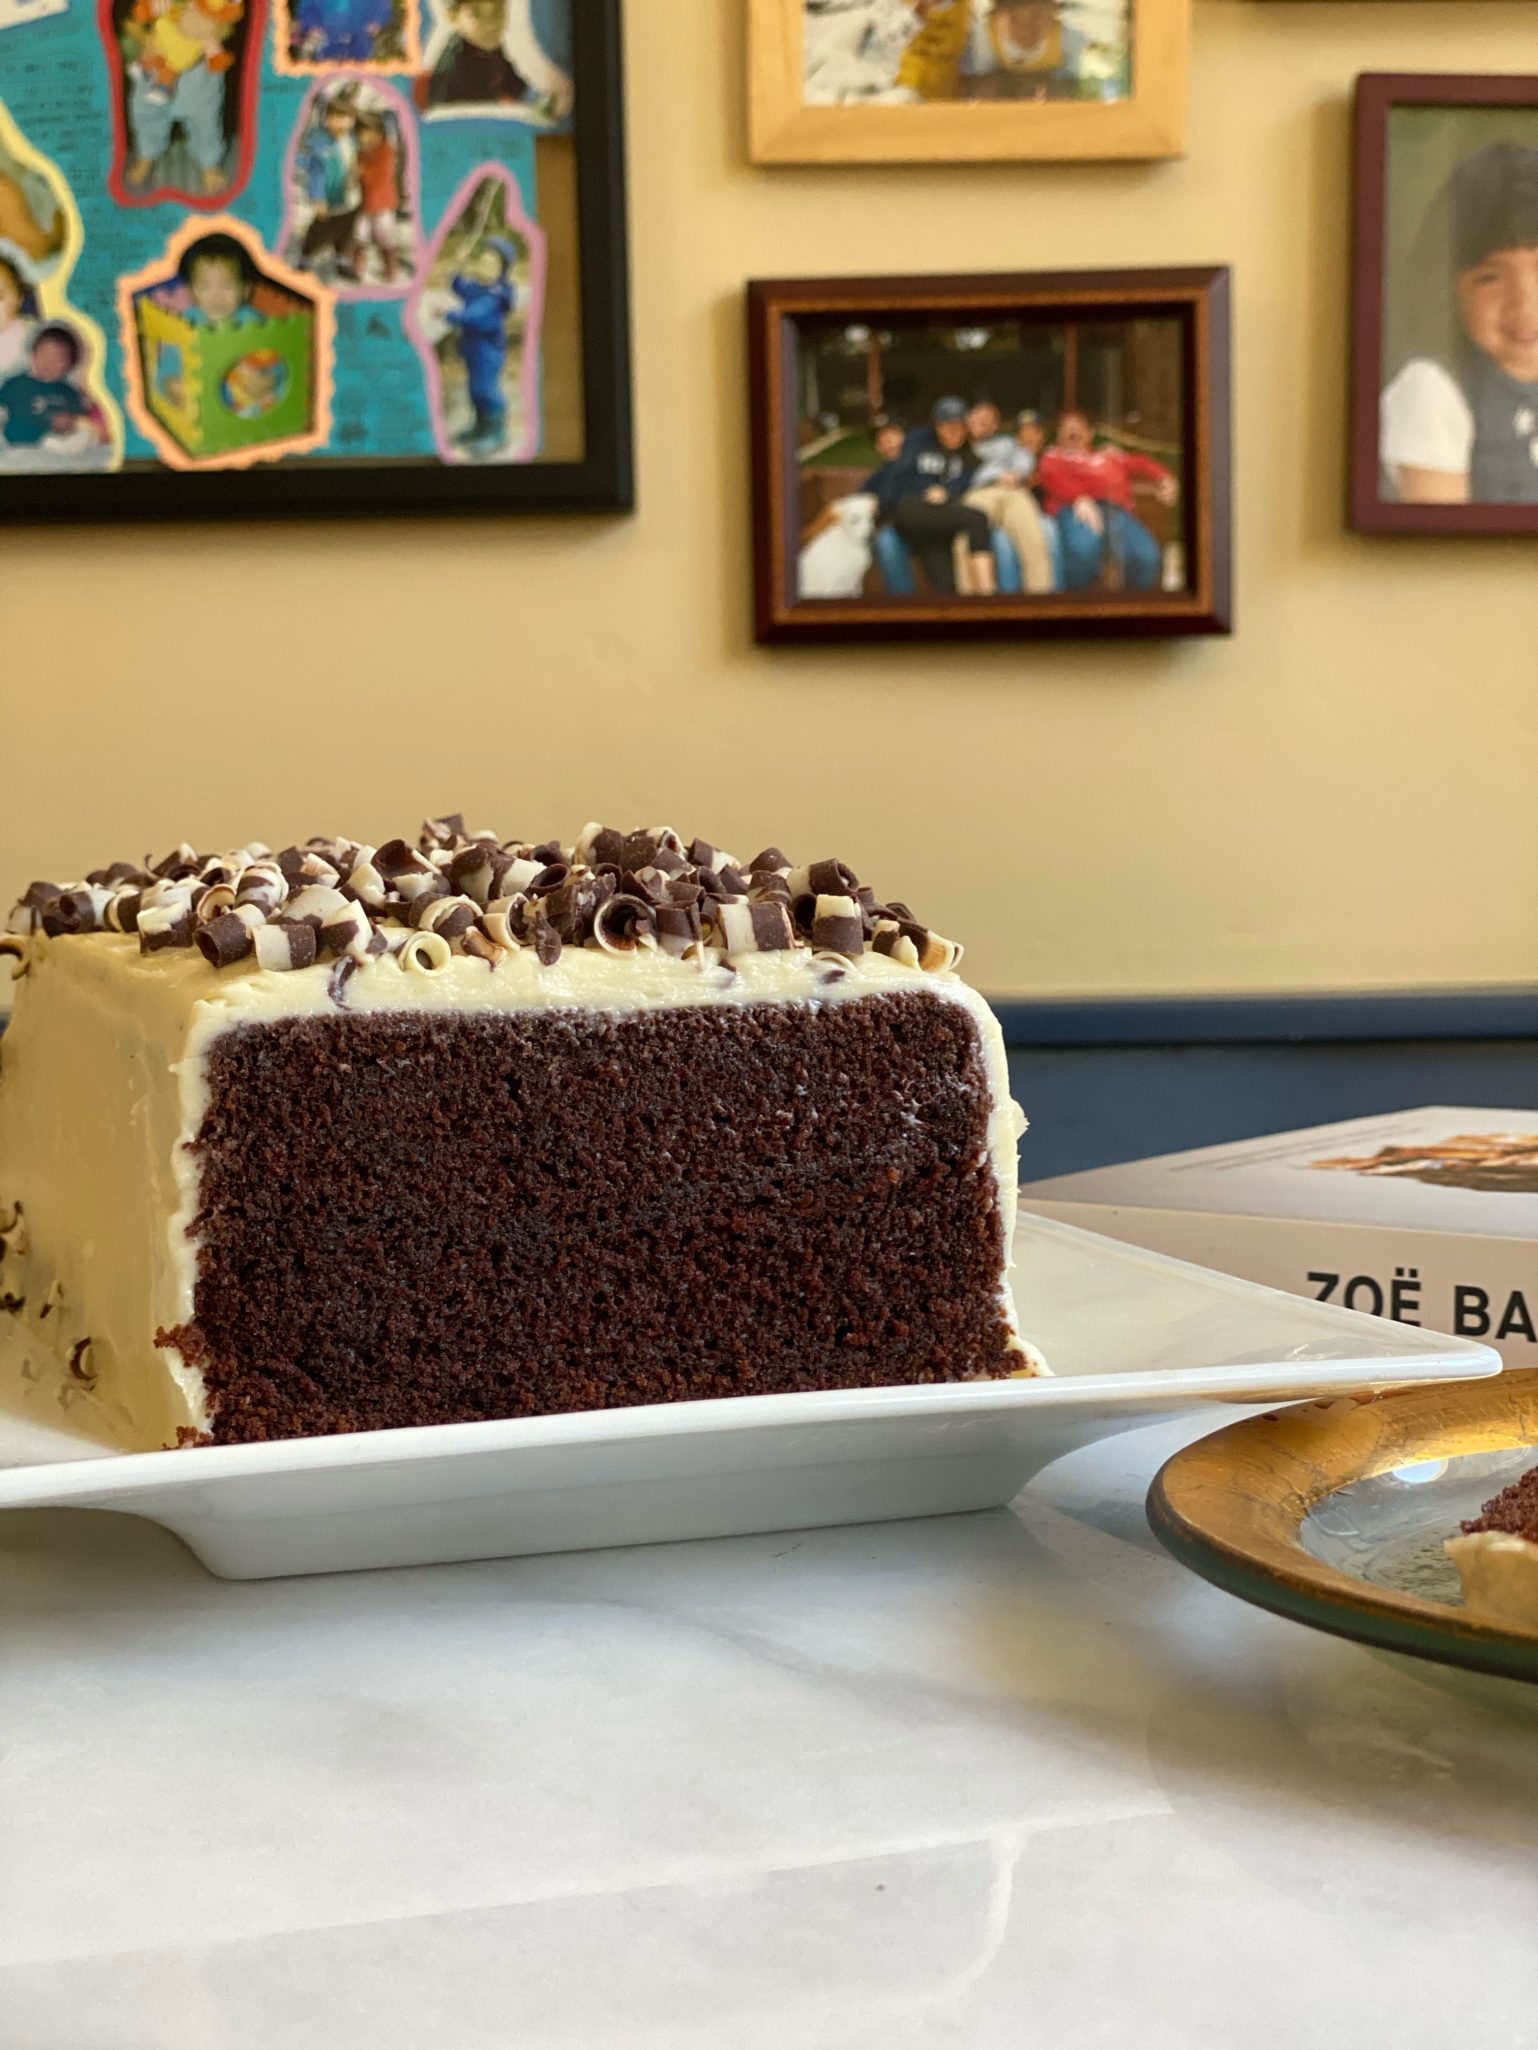
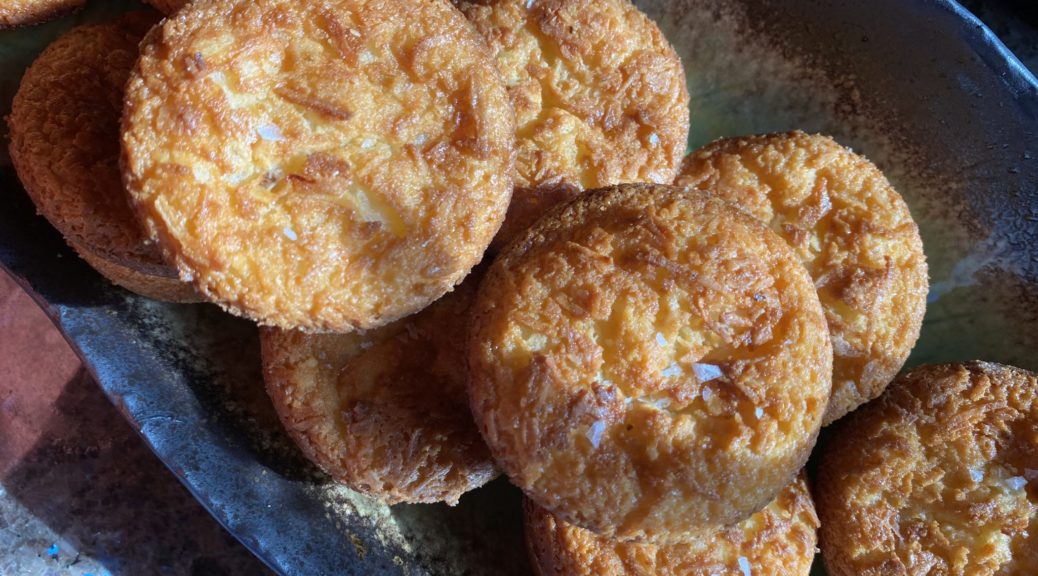
Well, the list of savory is overwhelming at this point so I am going to finish off the Sweet category with his Cream Cheese Pound Cake. It’s delicious and something you should bake right now. It will fill your home with the aroma of butter and sugar and help keep the house warm, since our cold, wet, weather is back again. This is the perfect antidote.
Does it bother you when you make something from scratch and the person eating it says, “wow this tastes just like the one in the grocery store!” Unless it is your hubby, who you would slug, you politely smile, laugh, and let it go. Well, this cake is reminiscent of the Sara Lee Poundcake we all grew up with. Don’t be surprised if someone exclaims “this is like Sara Lee’s” and definitely take it as a compliment.
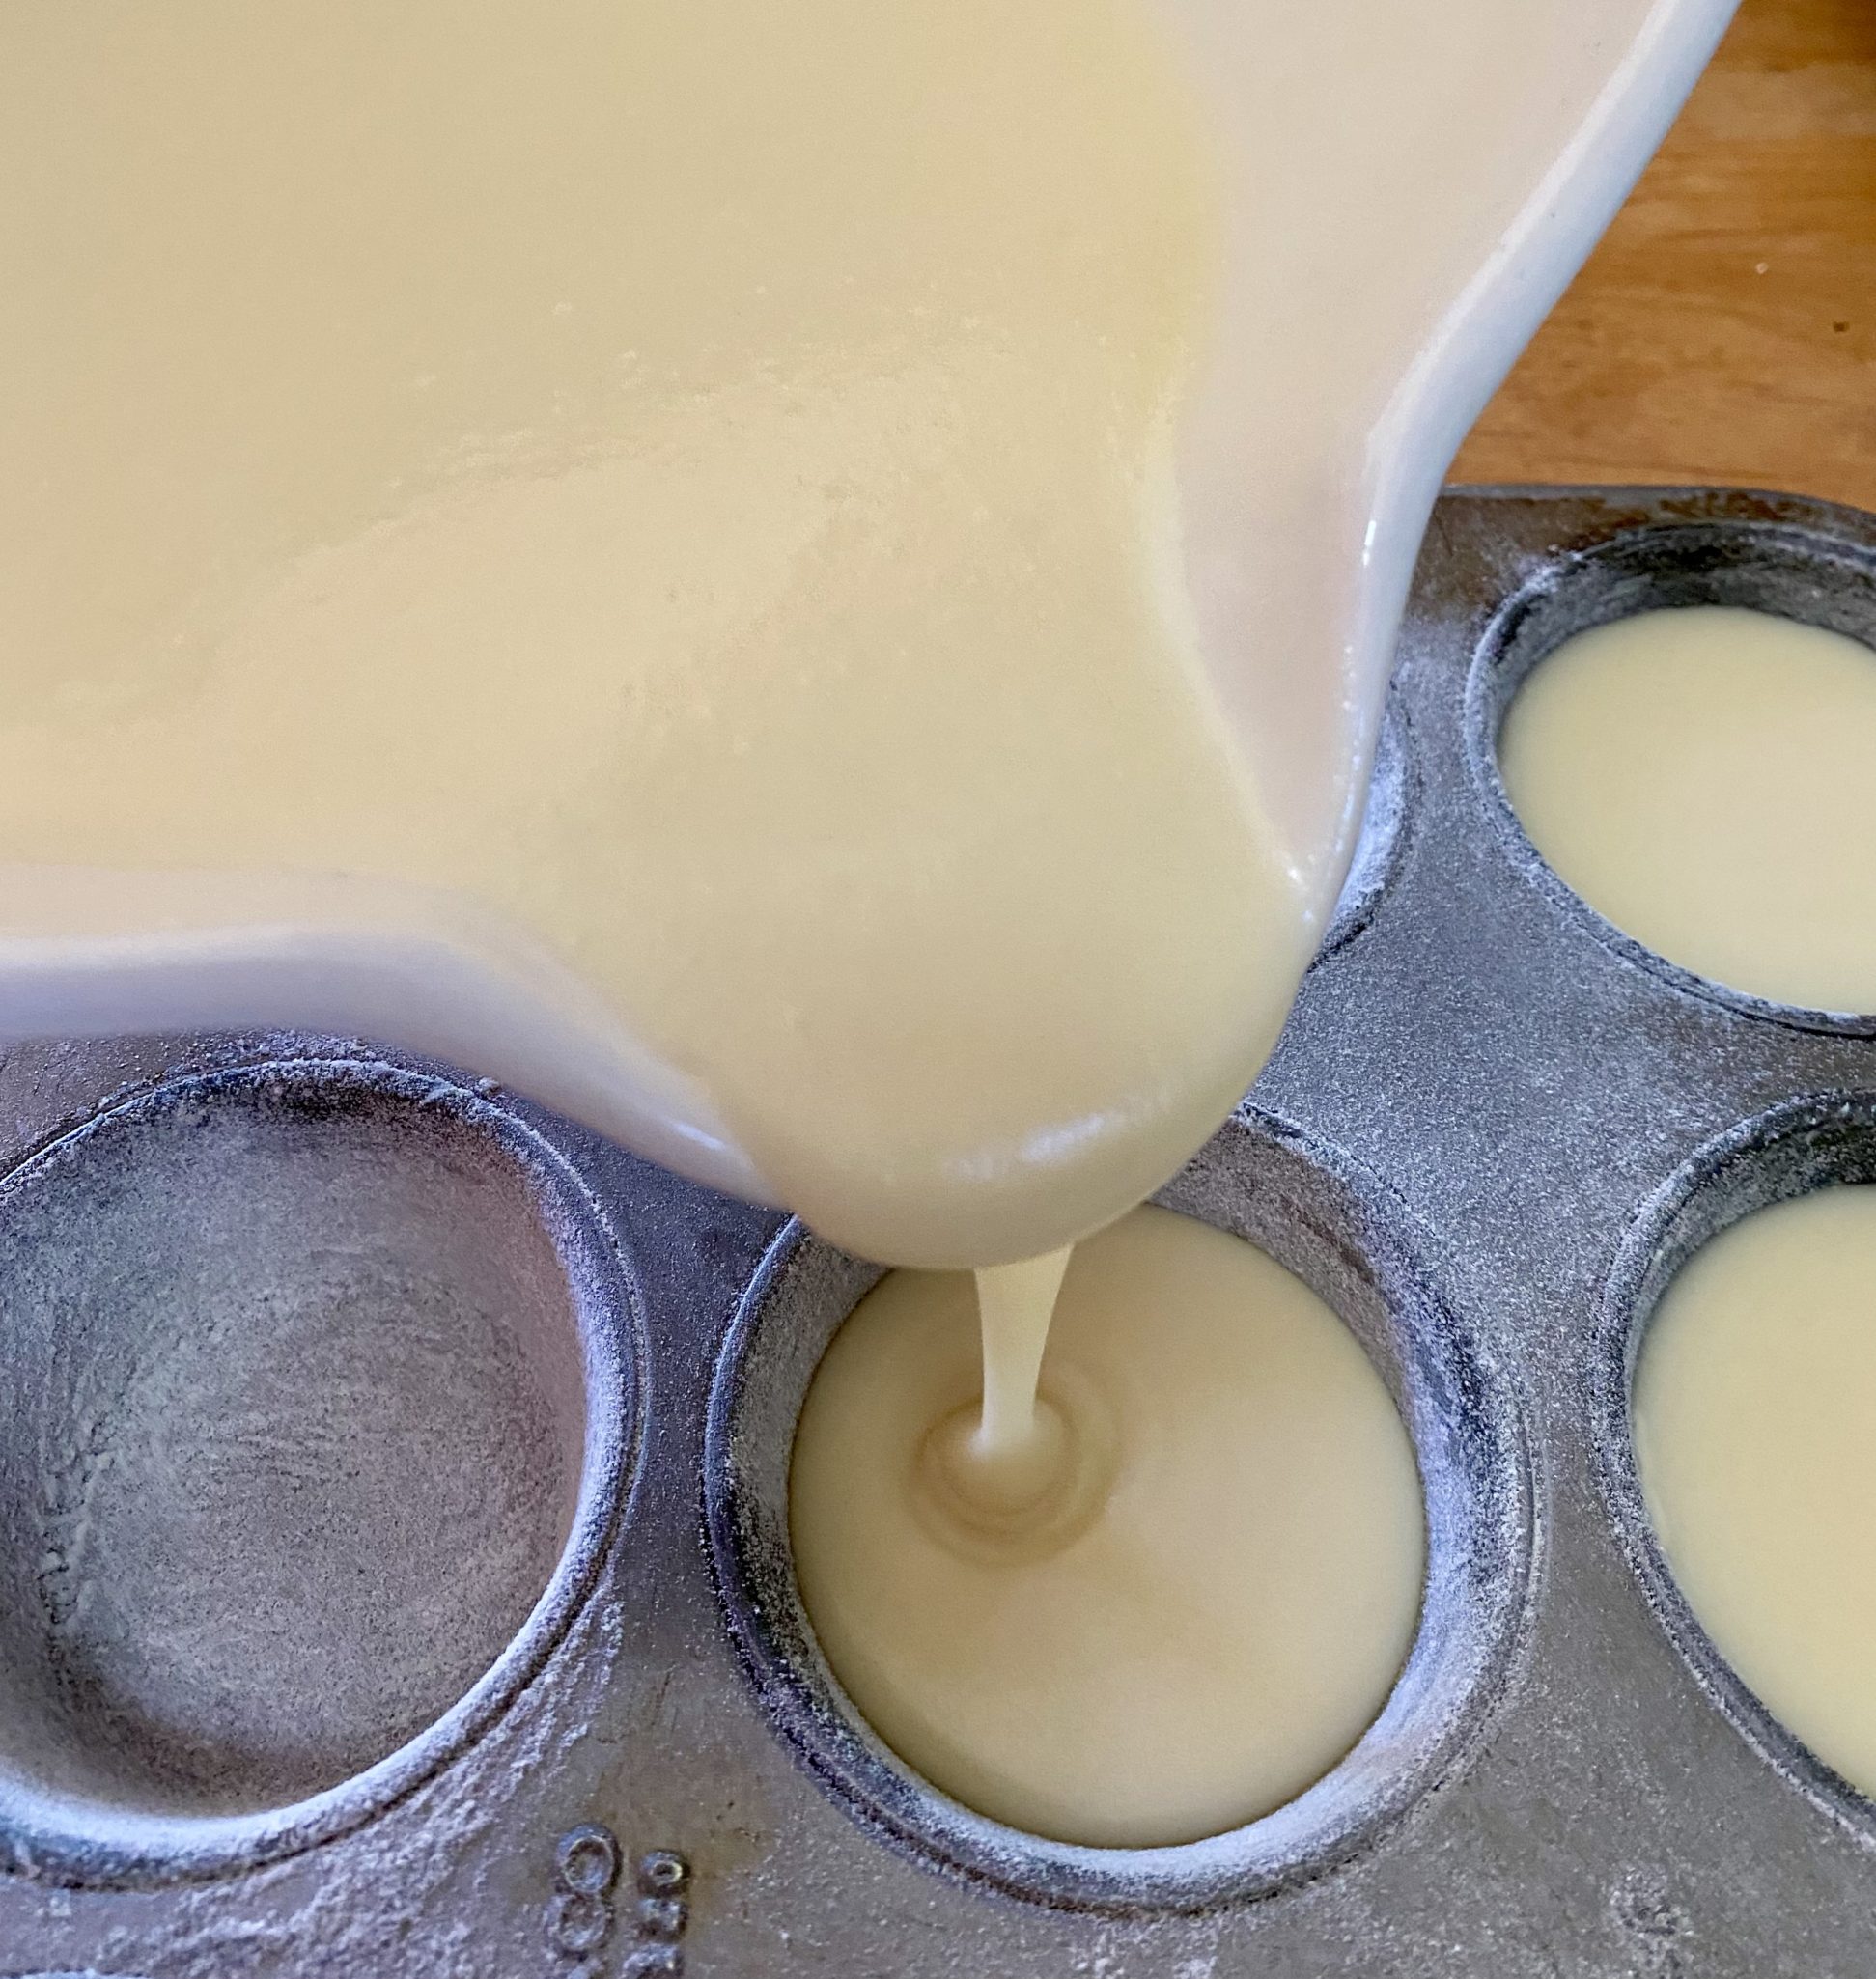
Lets Get Baking
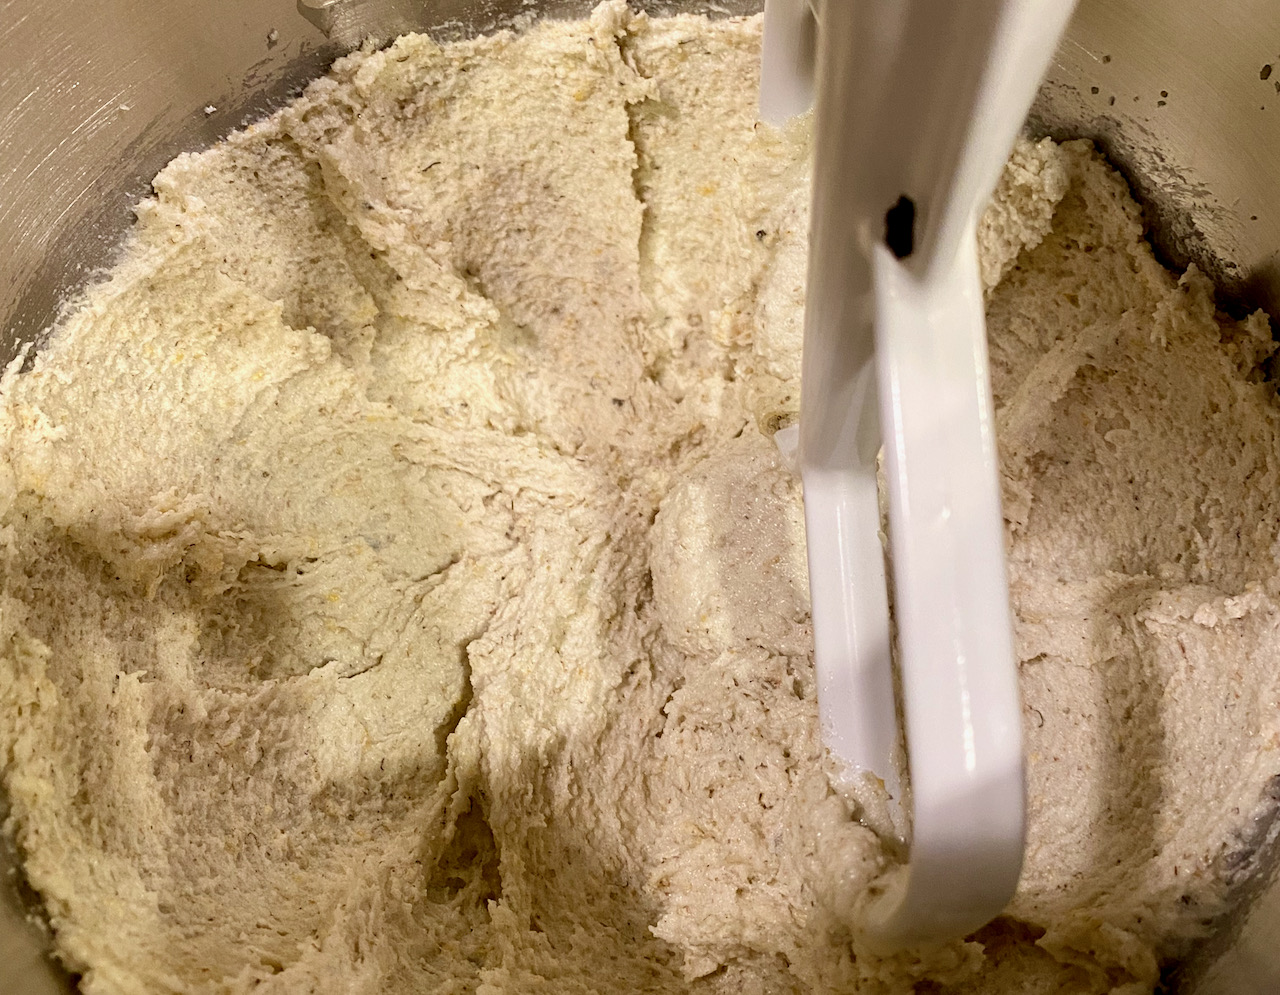
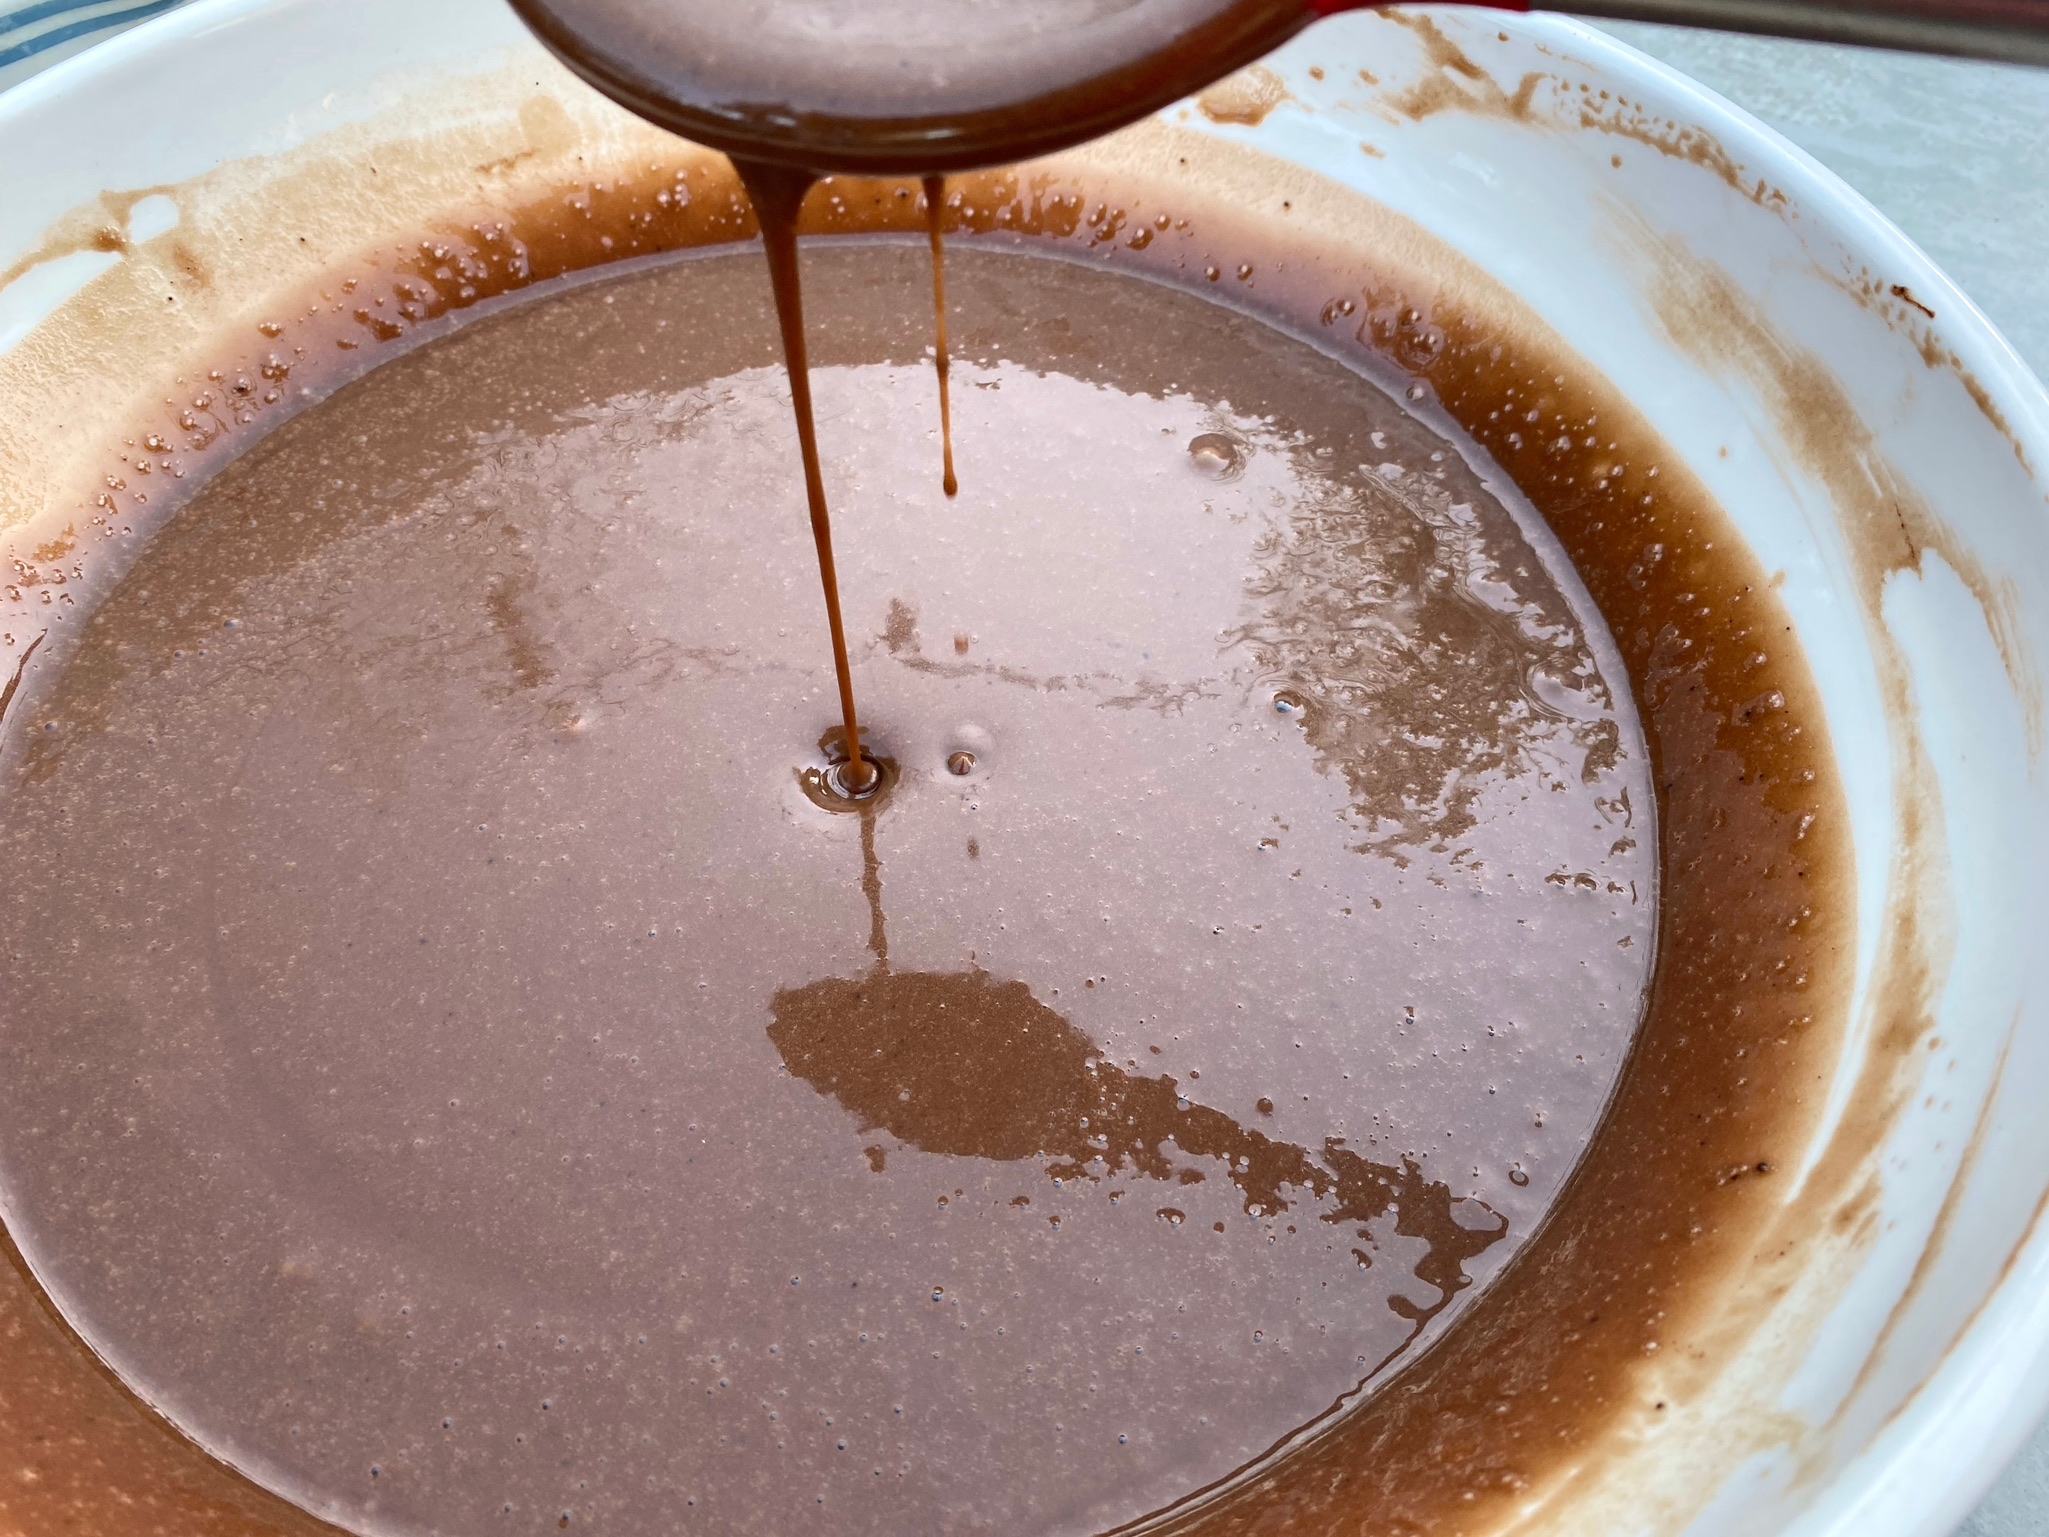
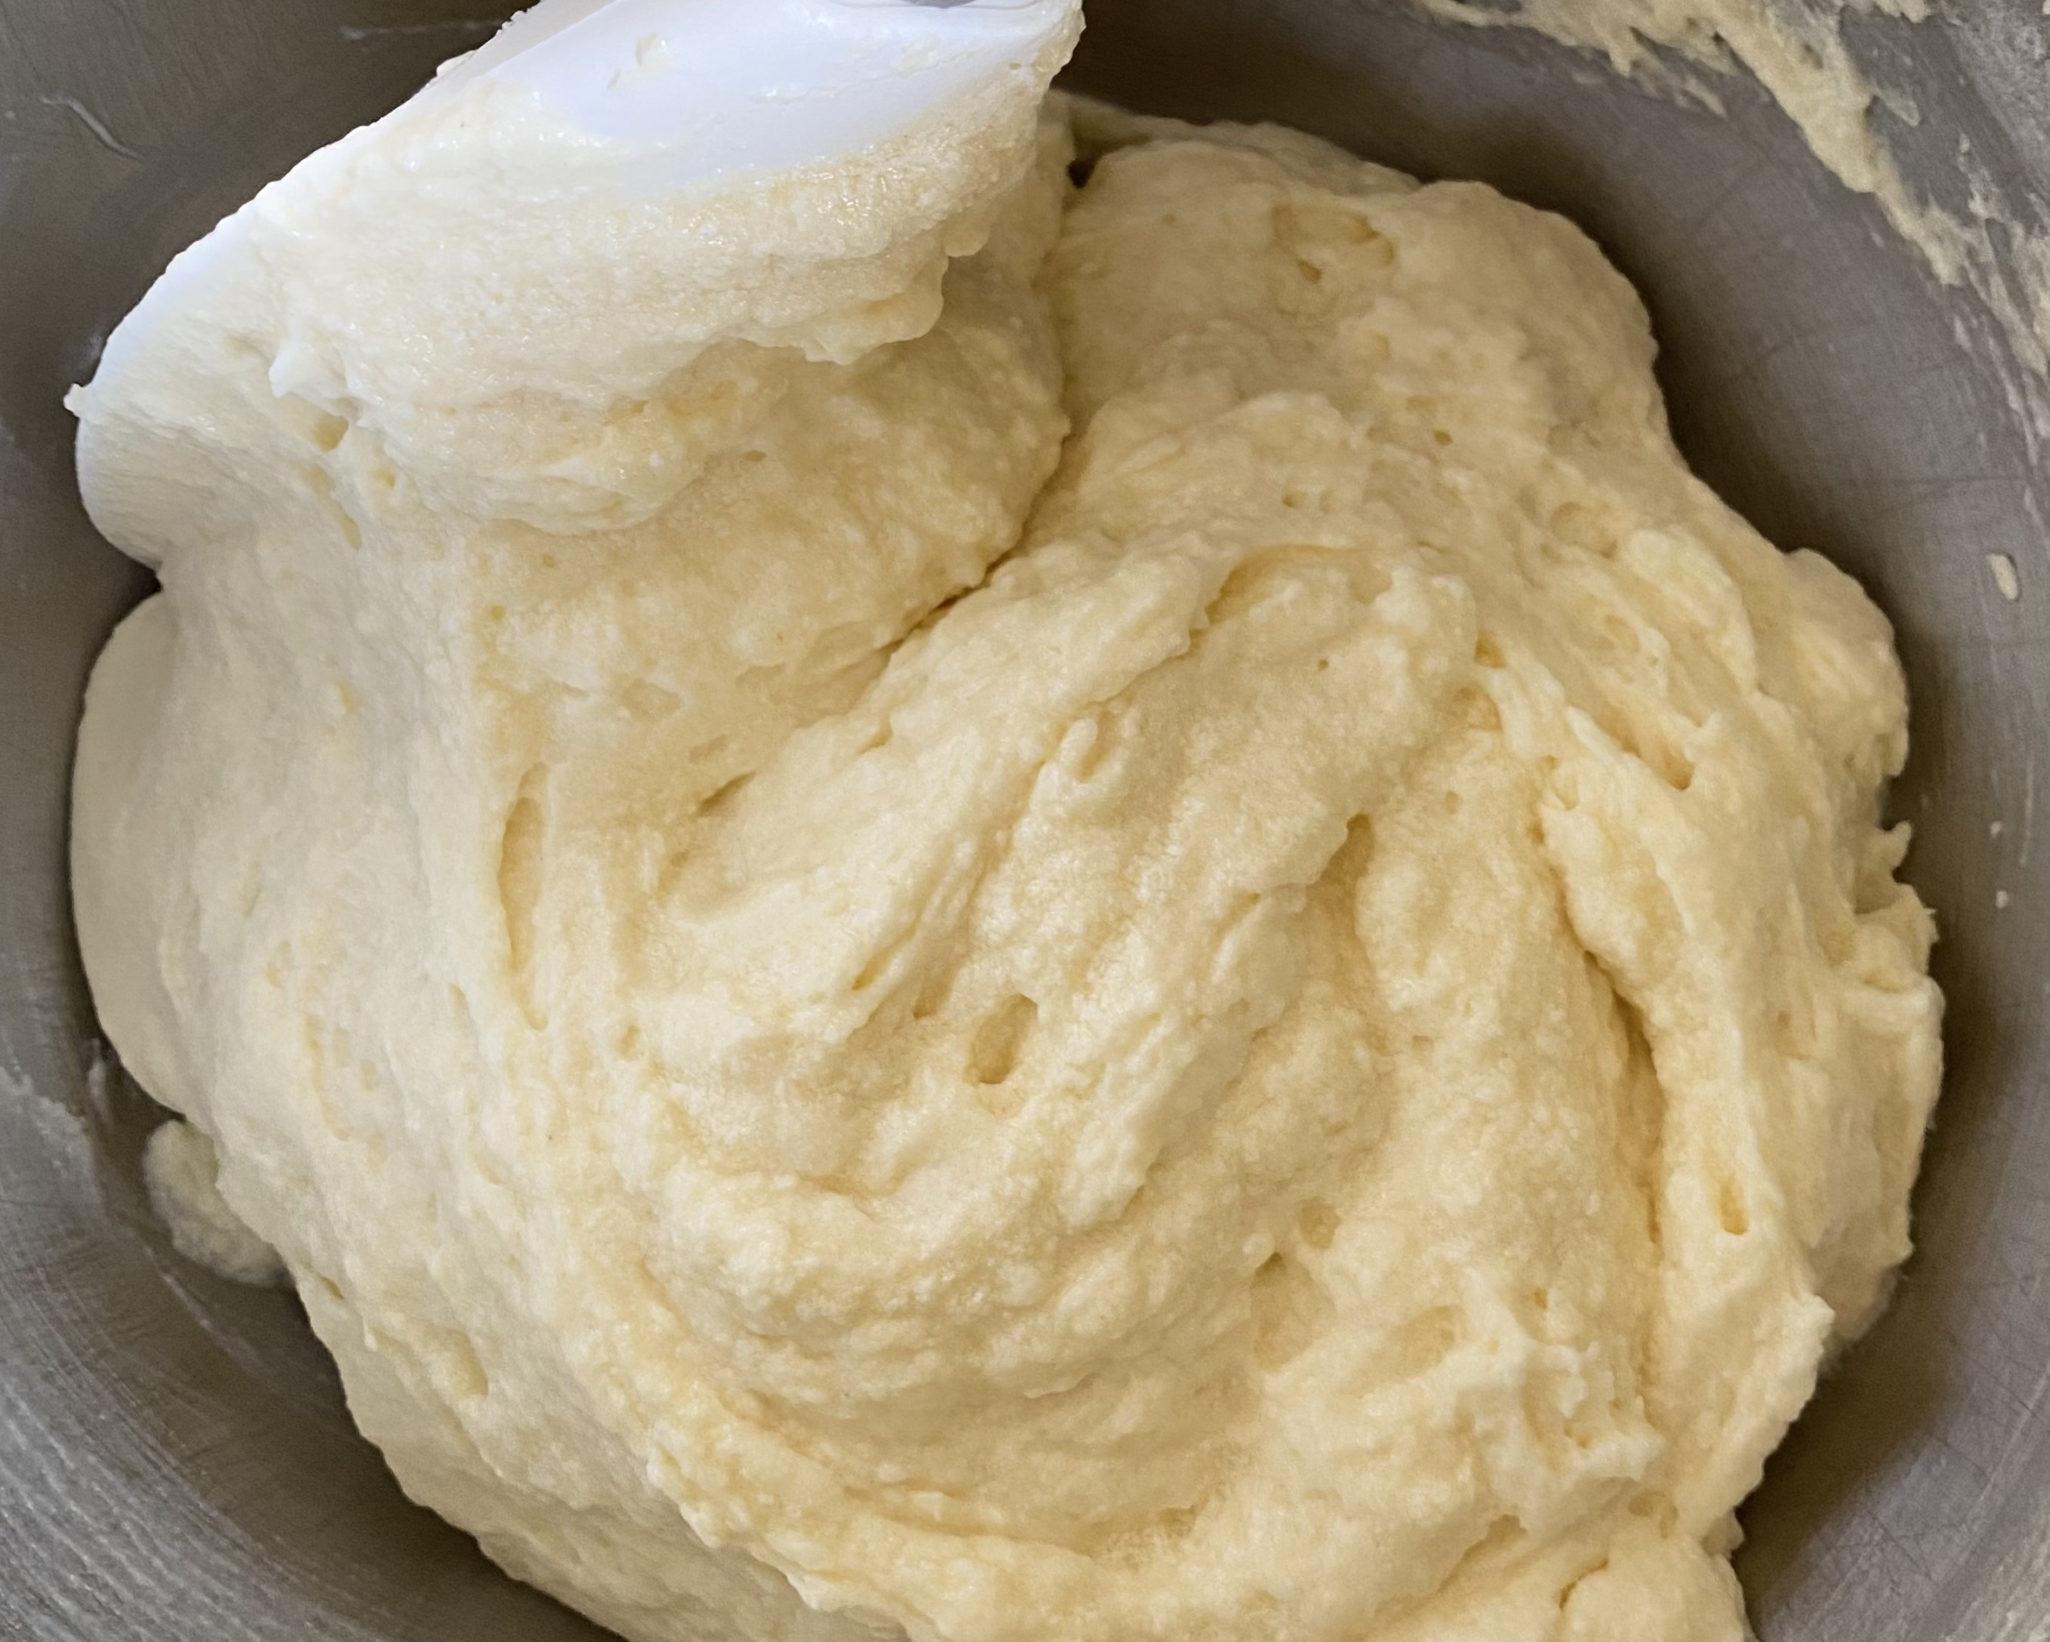
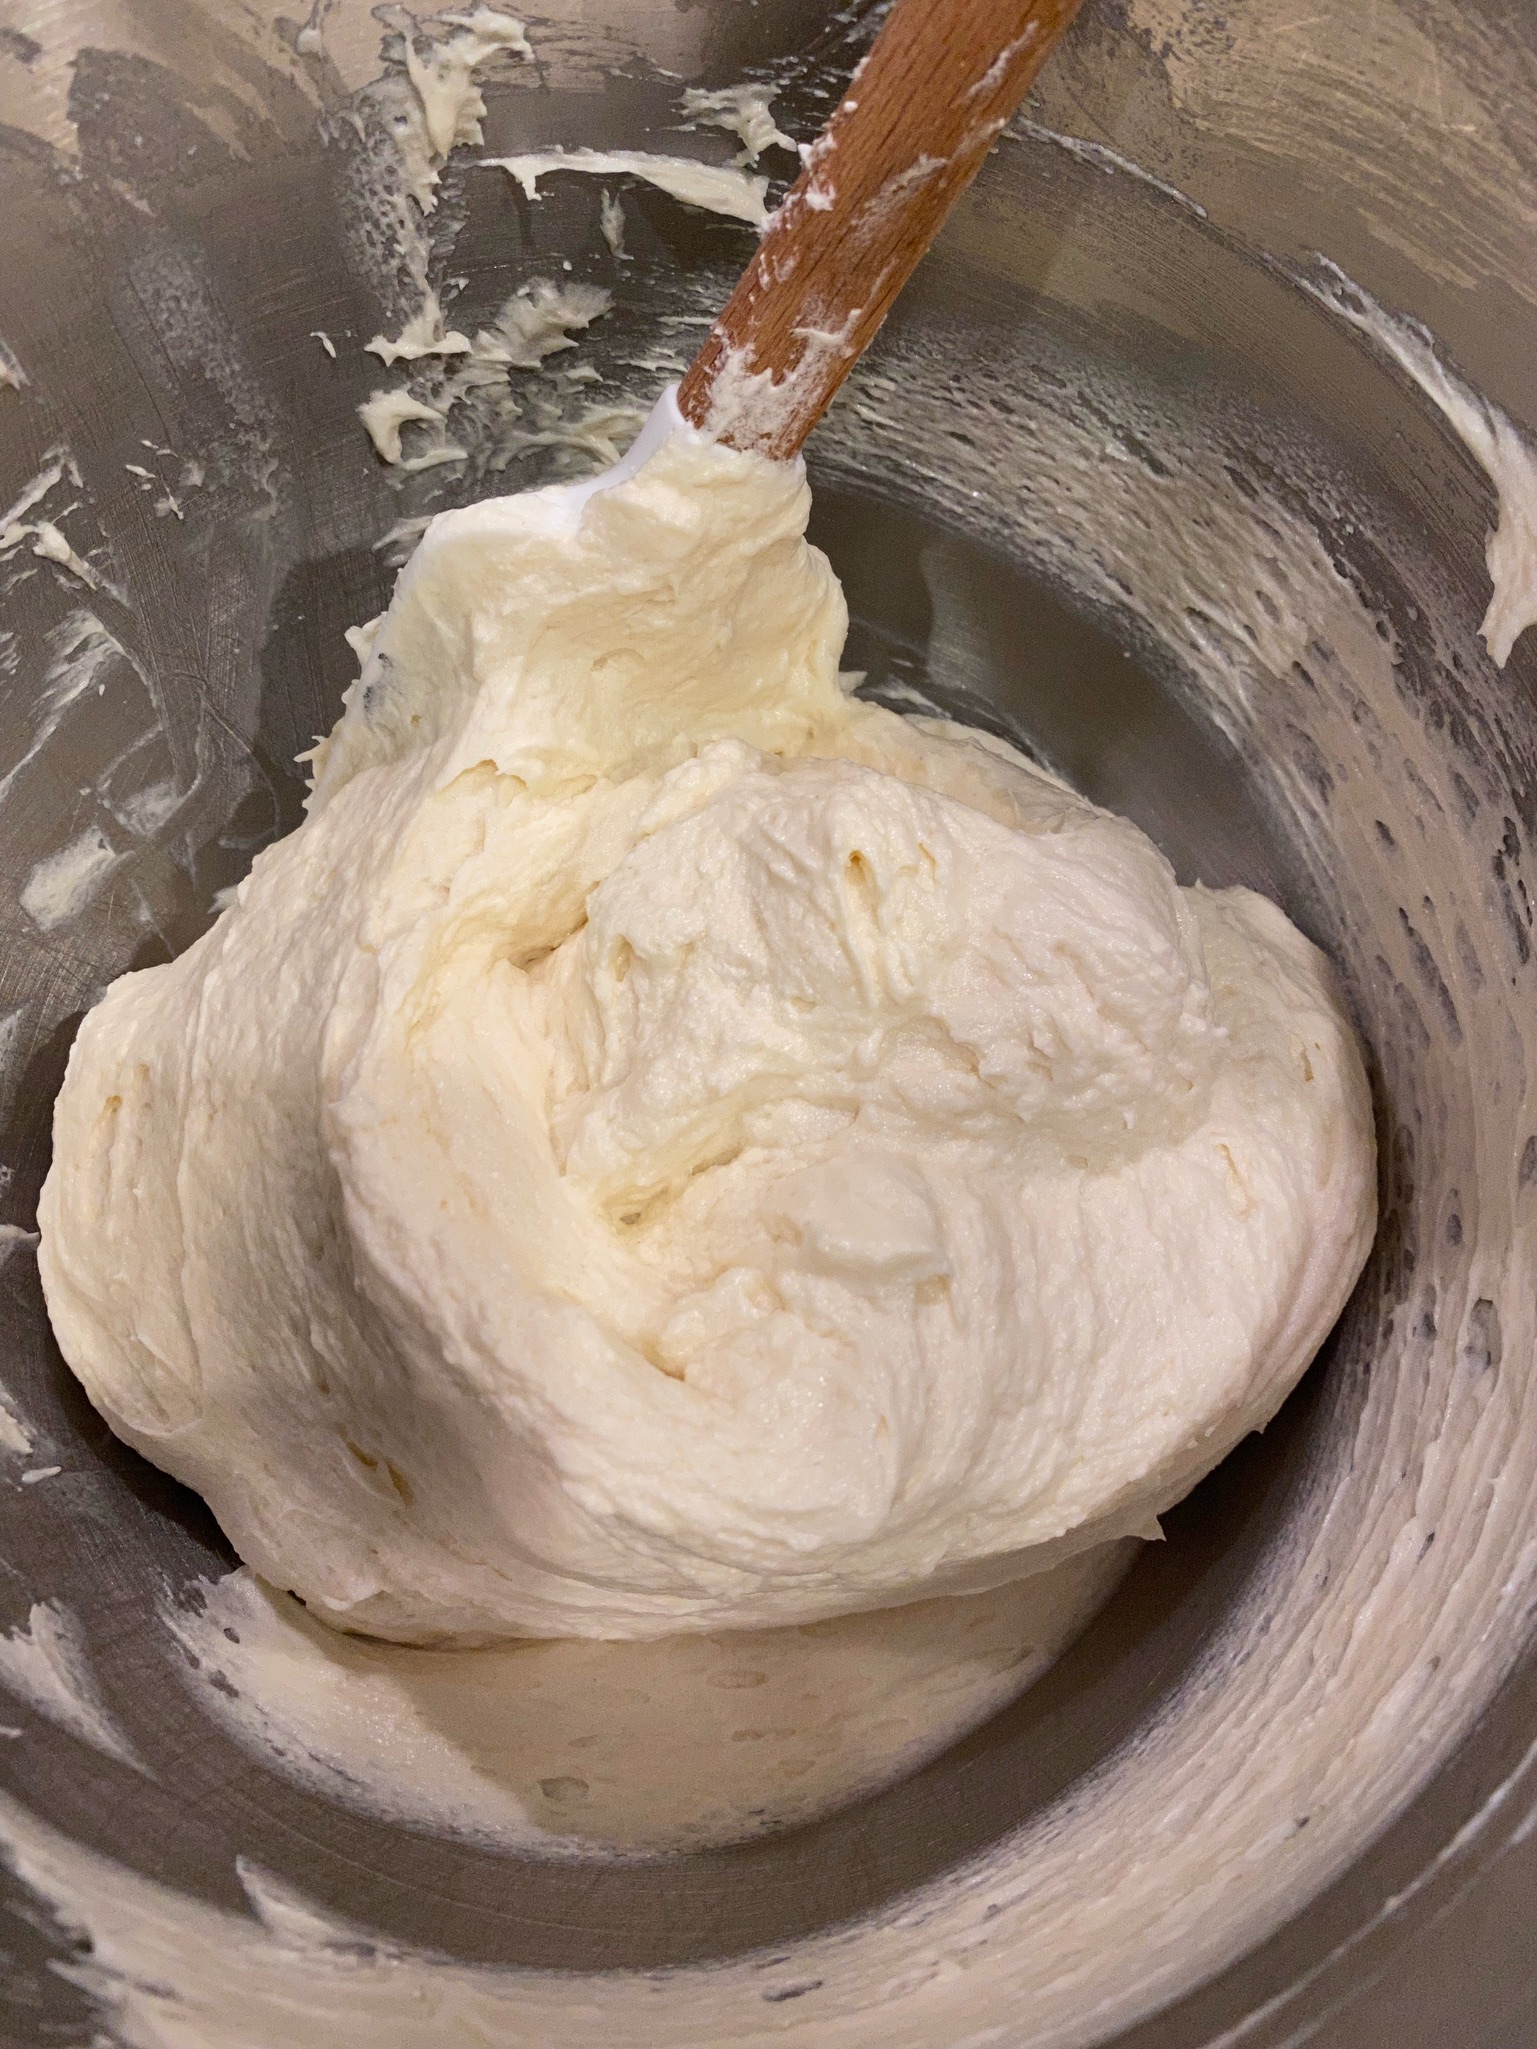
Make sure your butter and cream cheese are at room temperature (about 68 degrees). Cream cheese adds moisture, richness, and flavor to the cake. Three cups of sugar is pretty typical for a pound cake although this cake may be a little sweeter since it has a smaller amount of flour. Cream the butter, cream cheese, sugar, salt, and vanilla. Then add the eggs, one at a time, beating until smooth. Finally, add the dry ingredients at low speed. Do not overbeat after adding the flour, this would toughen the cake.
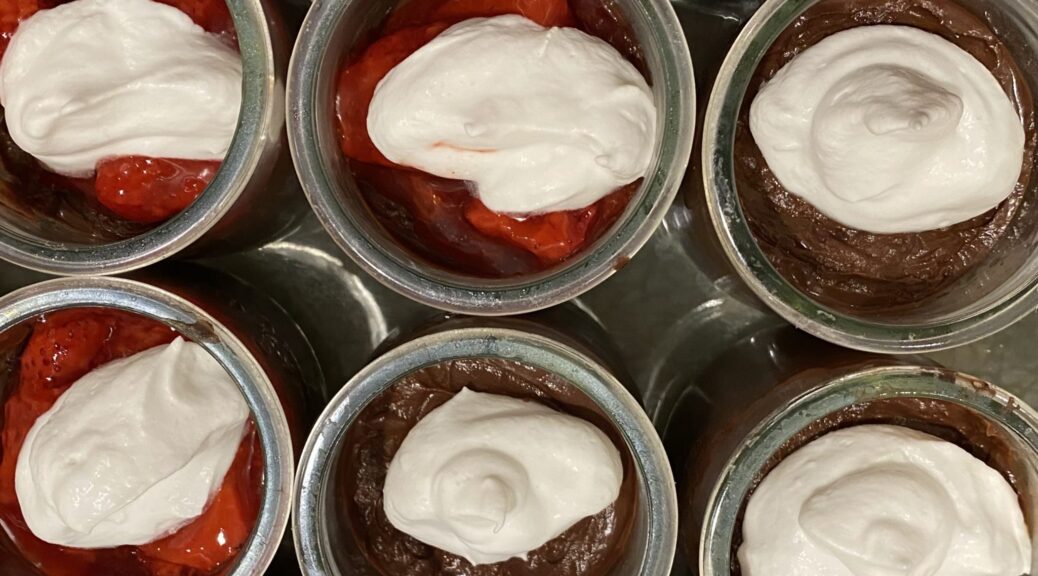
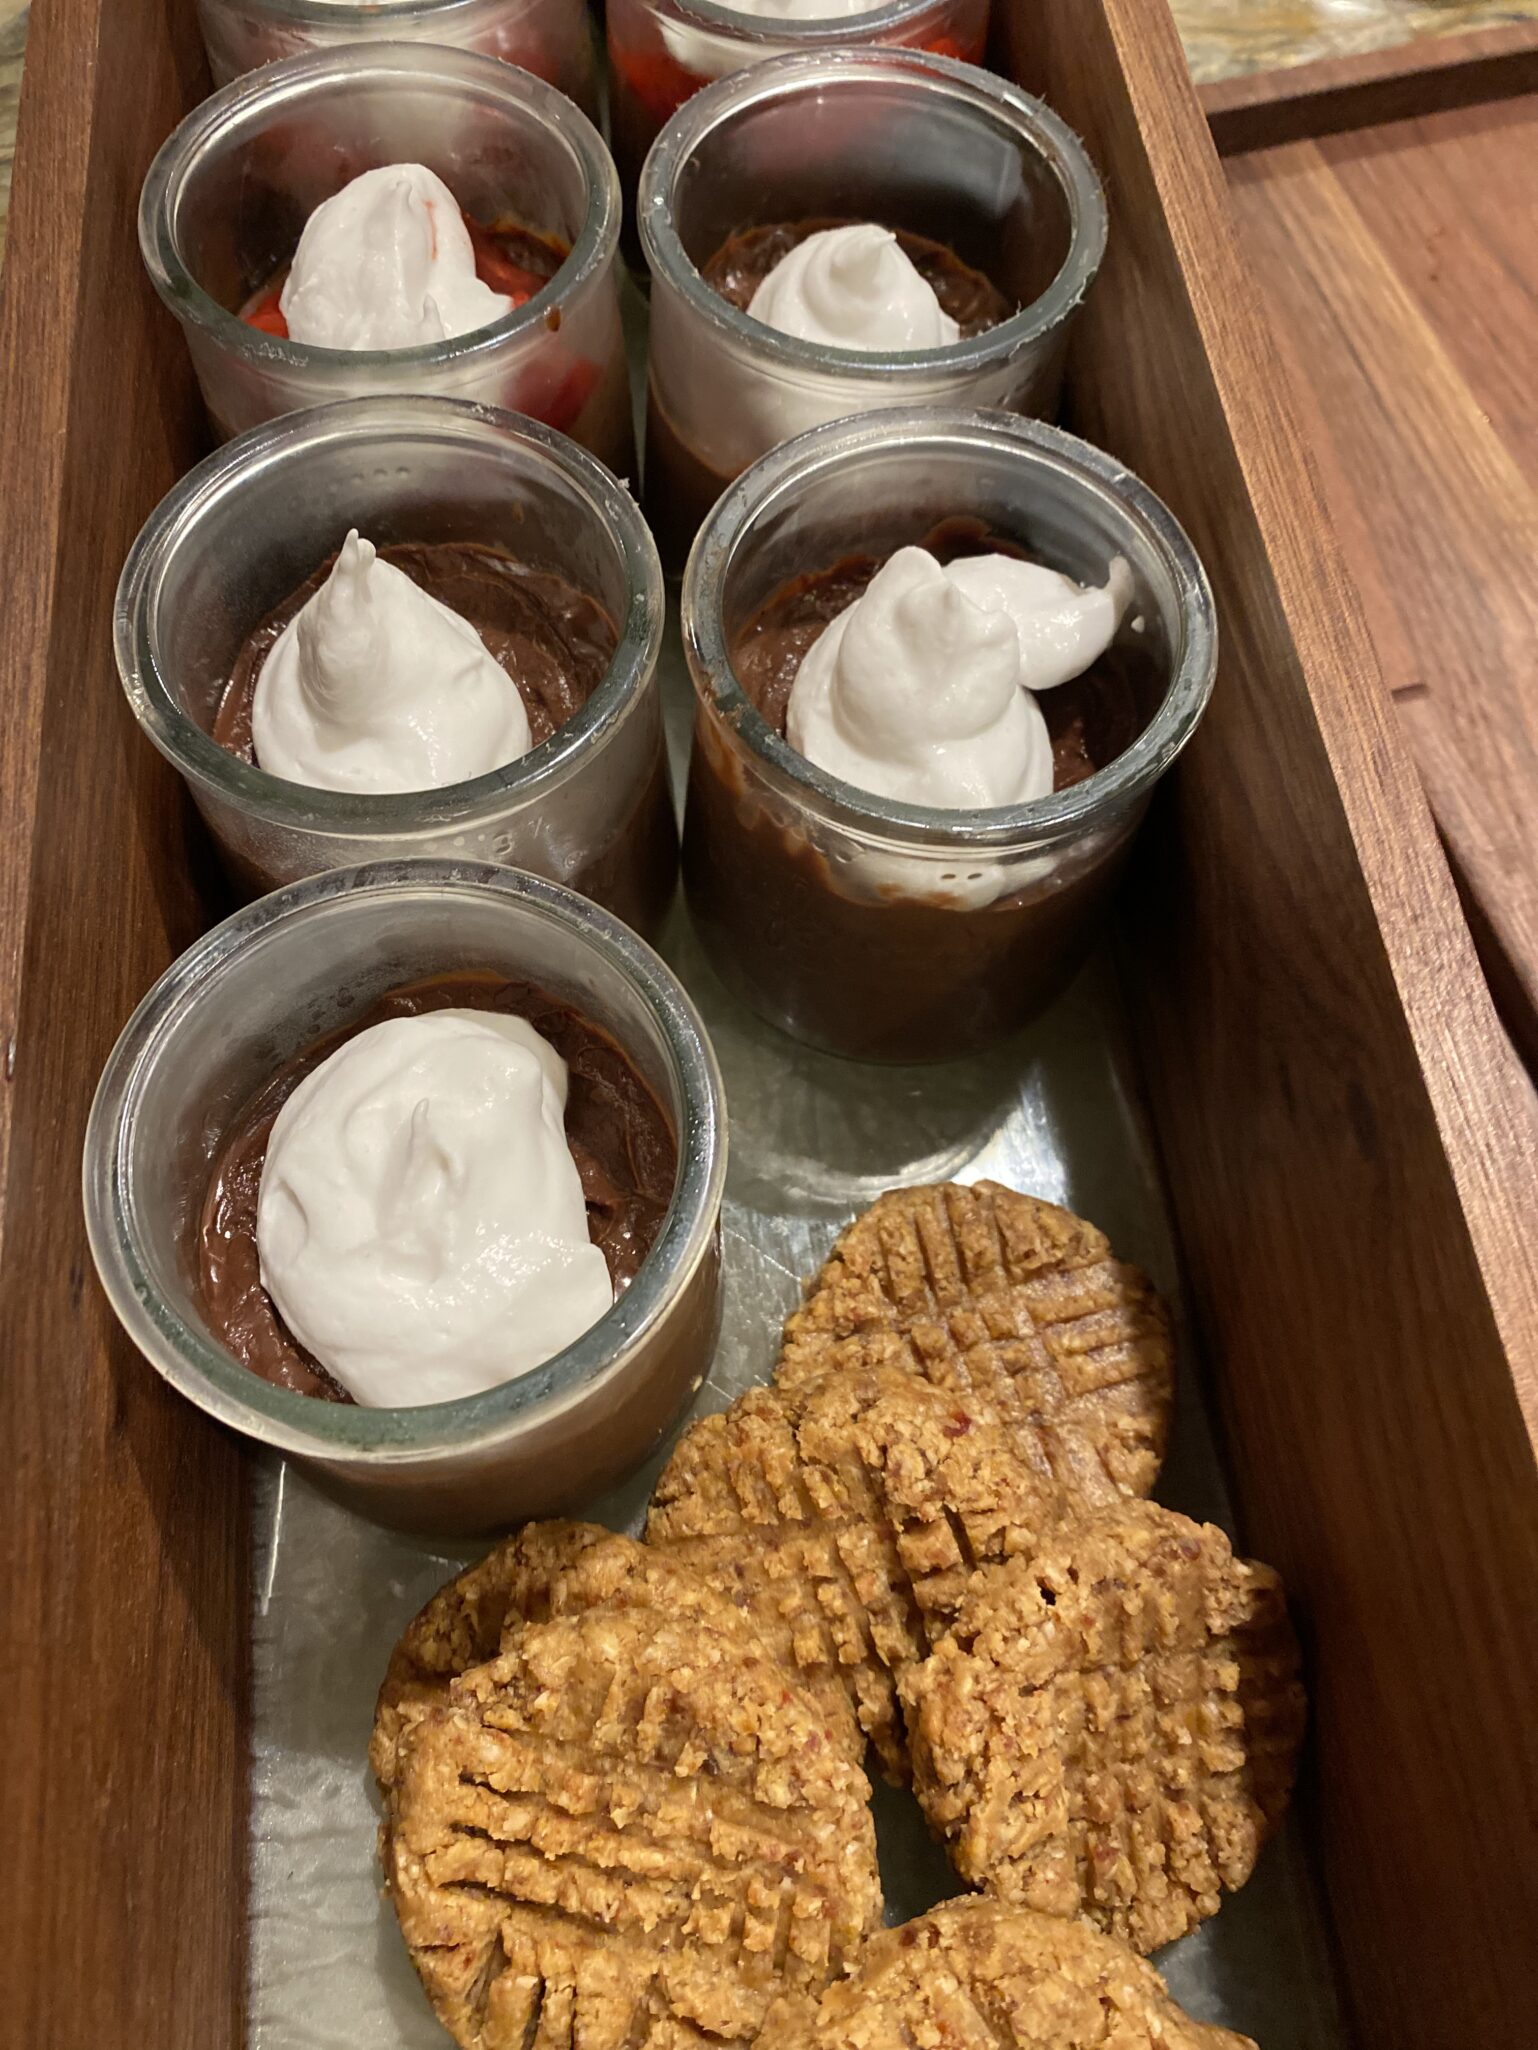
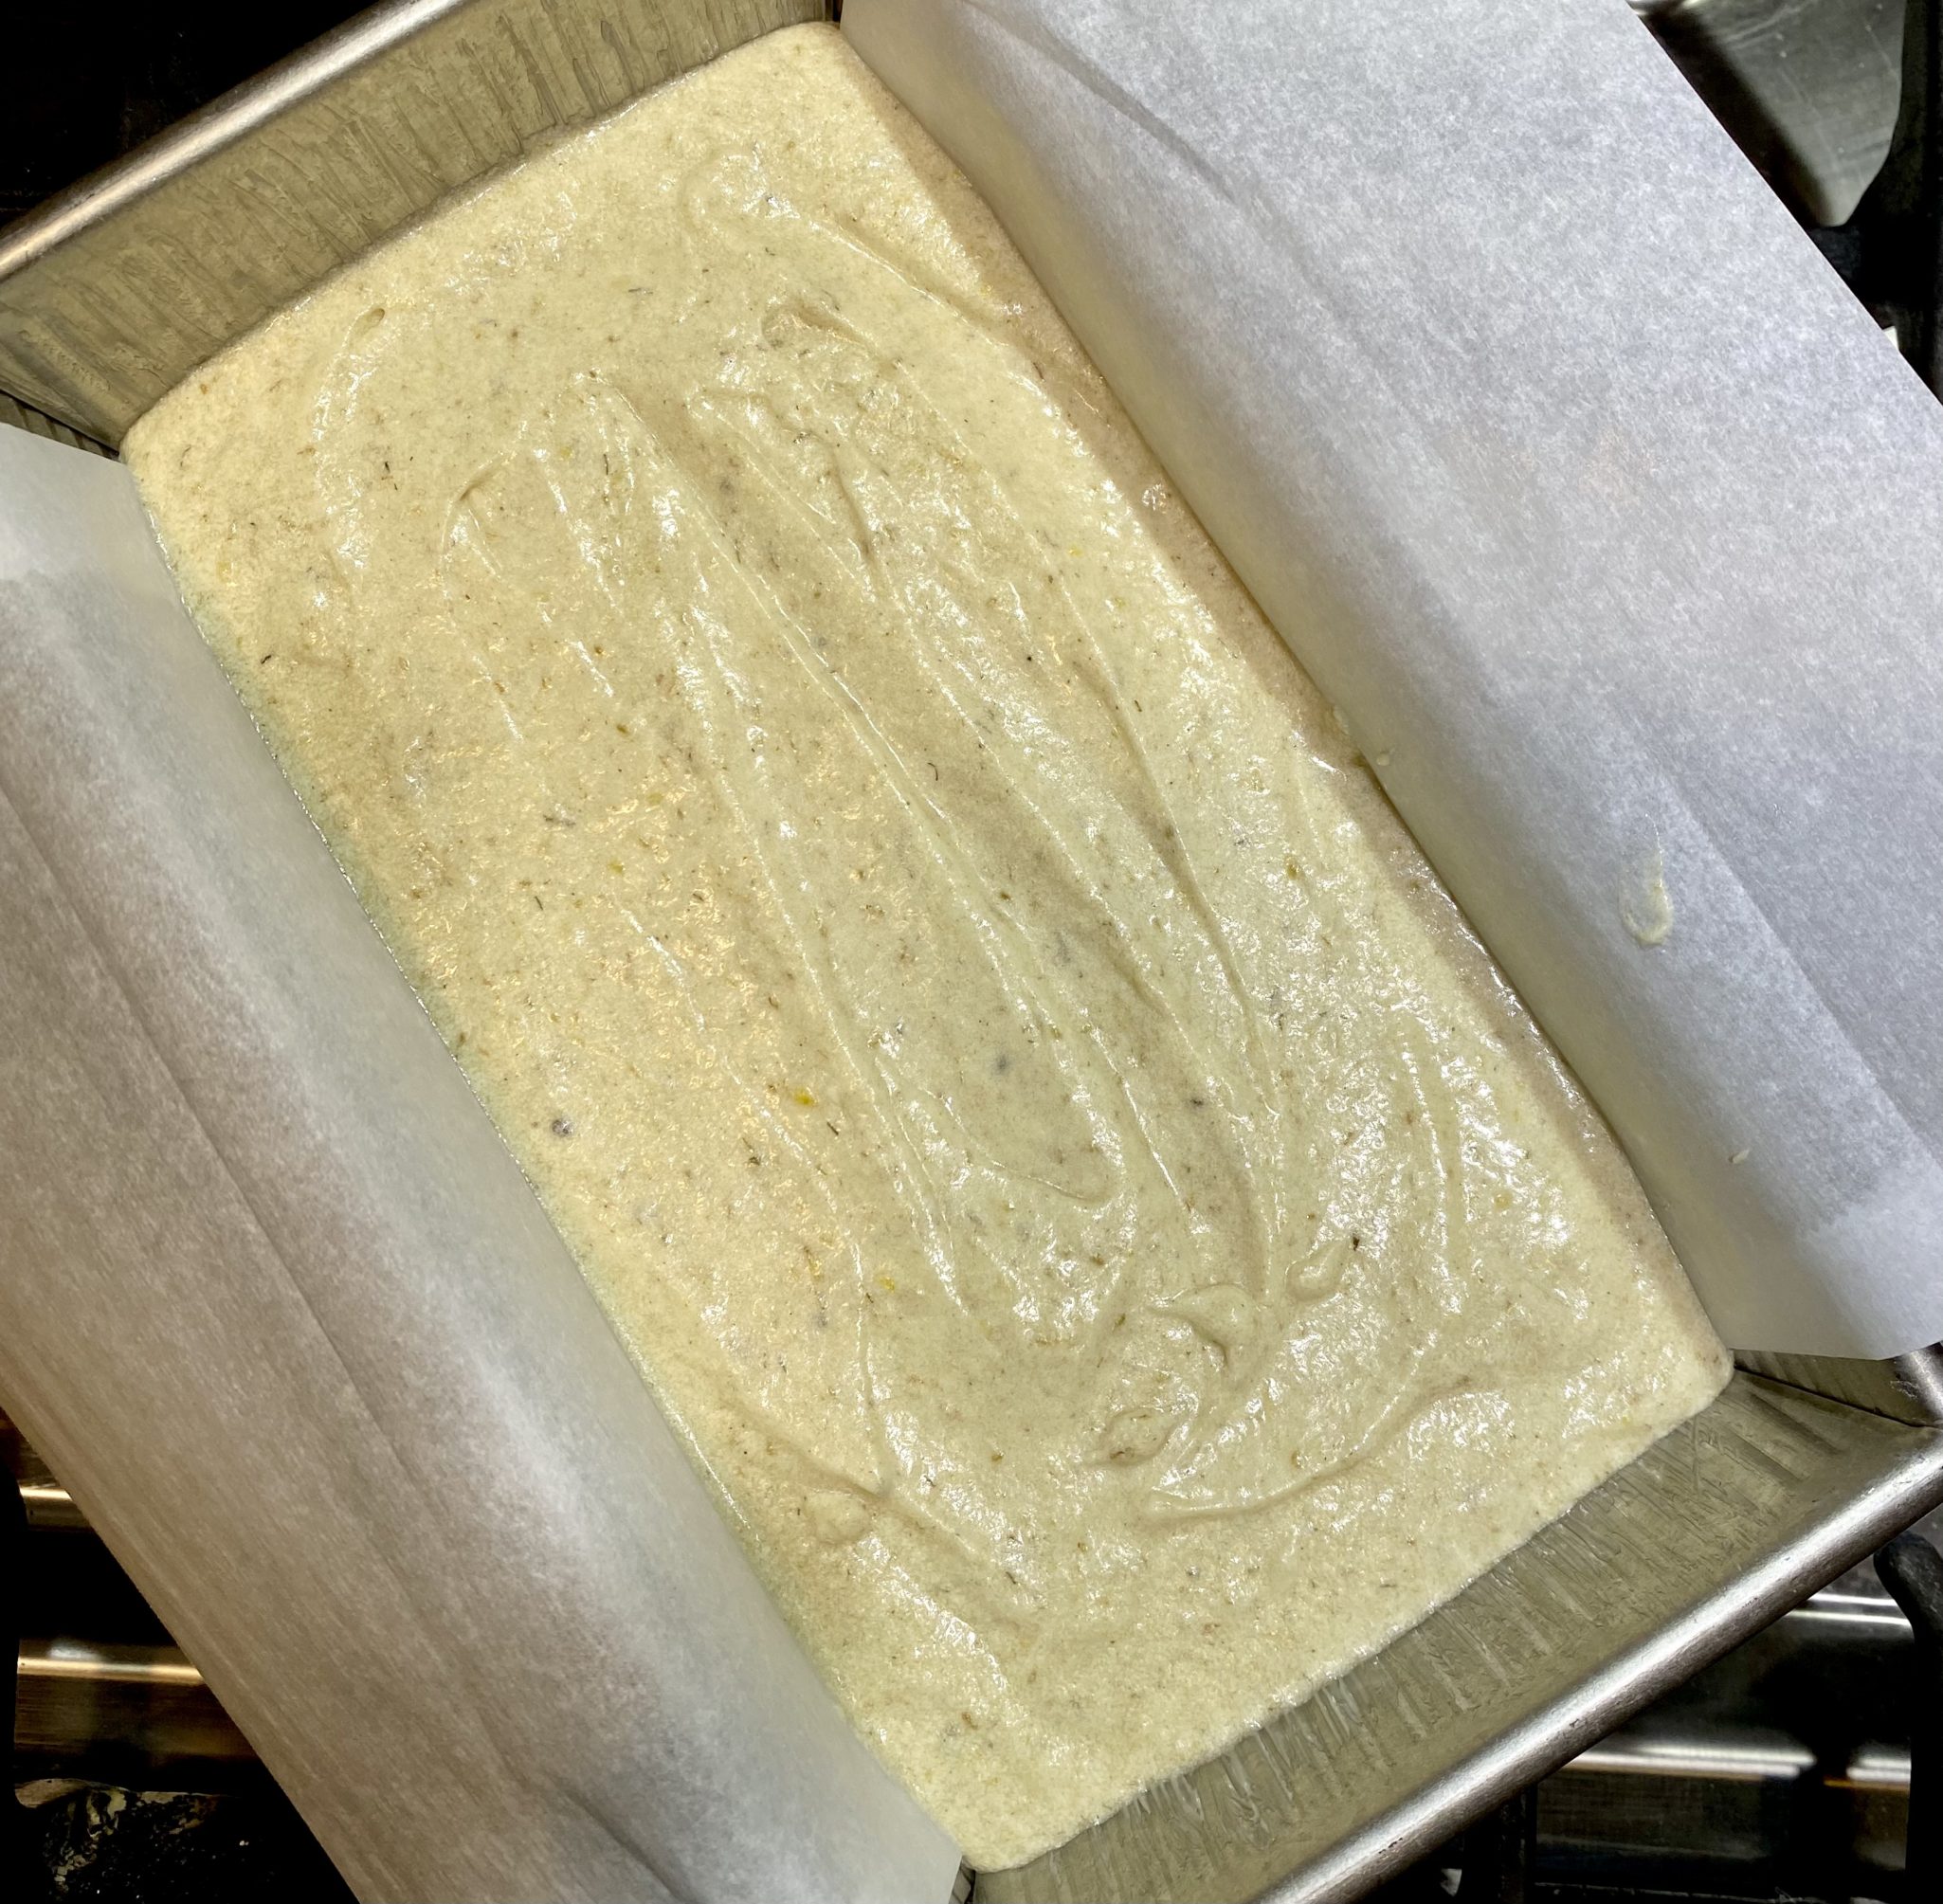
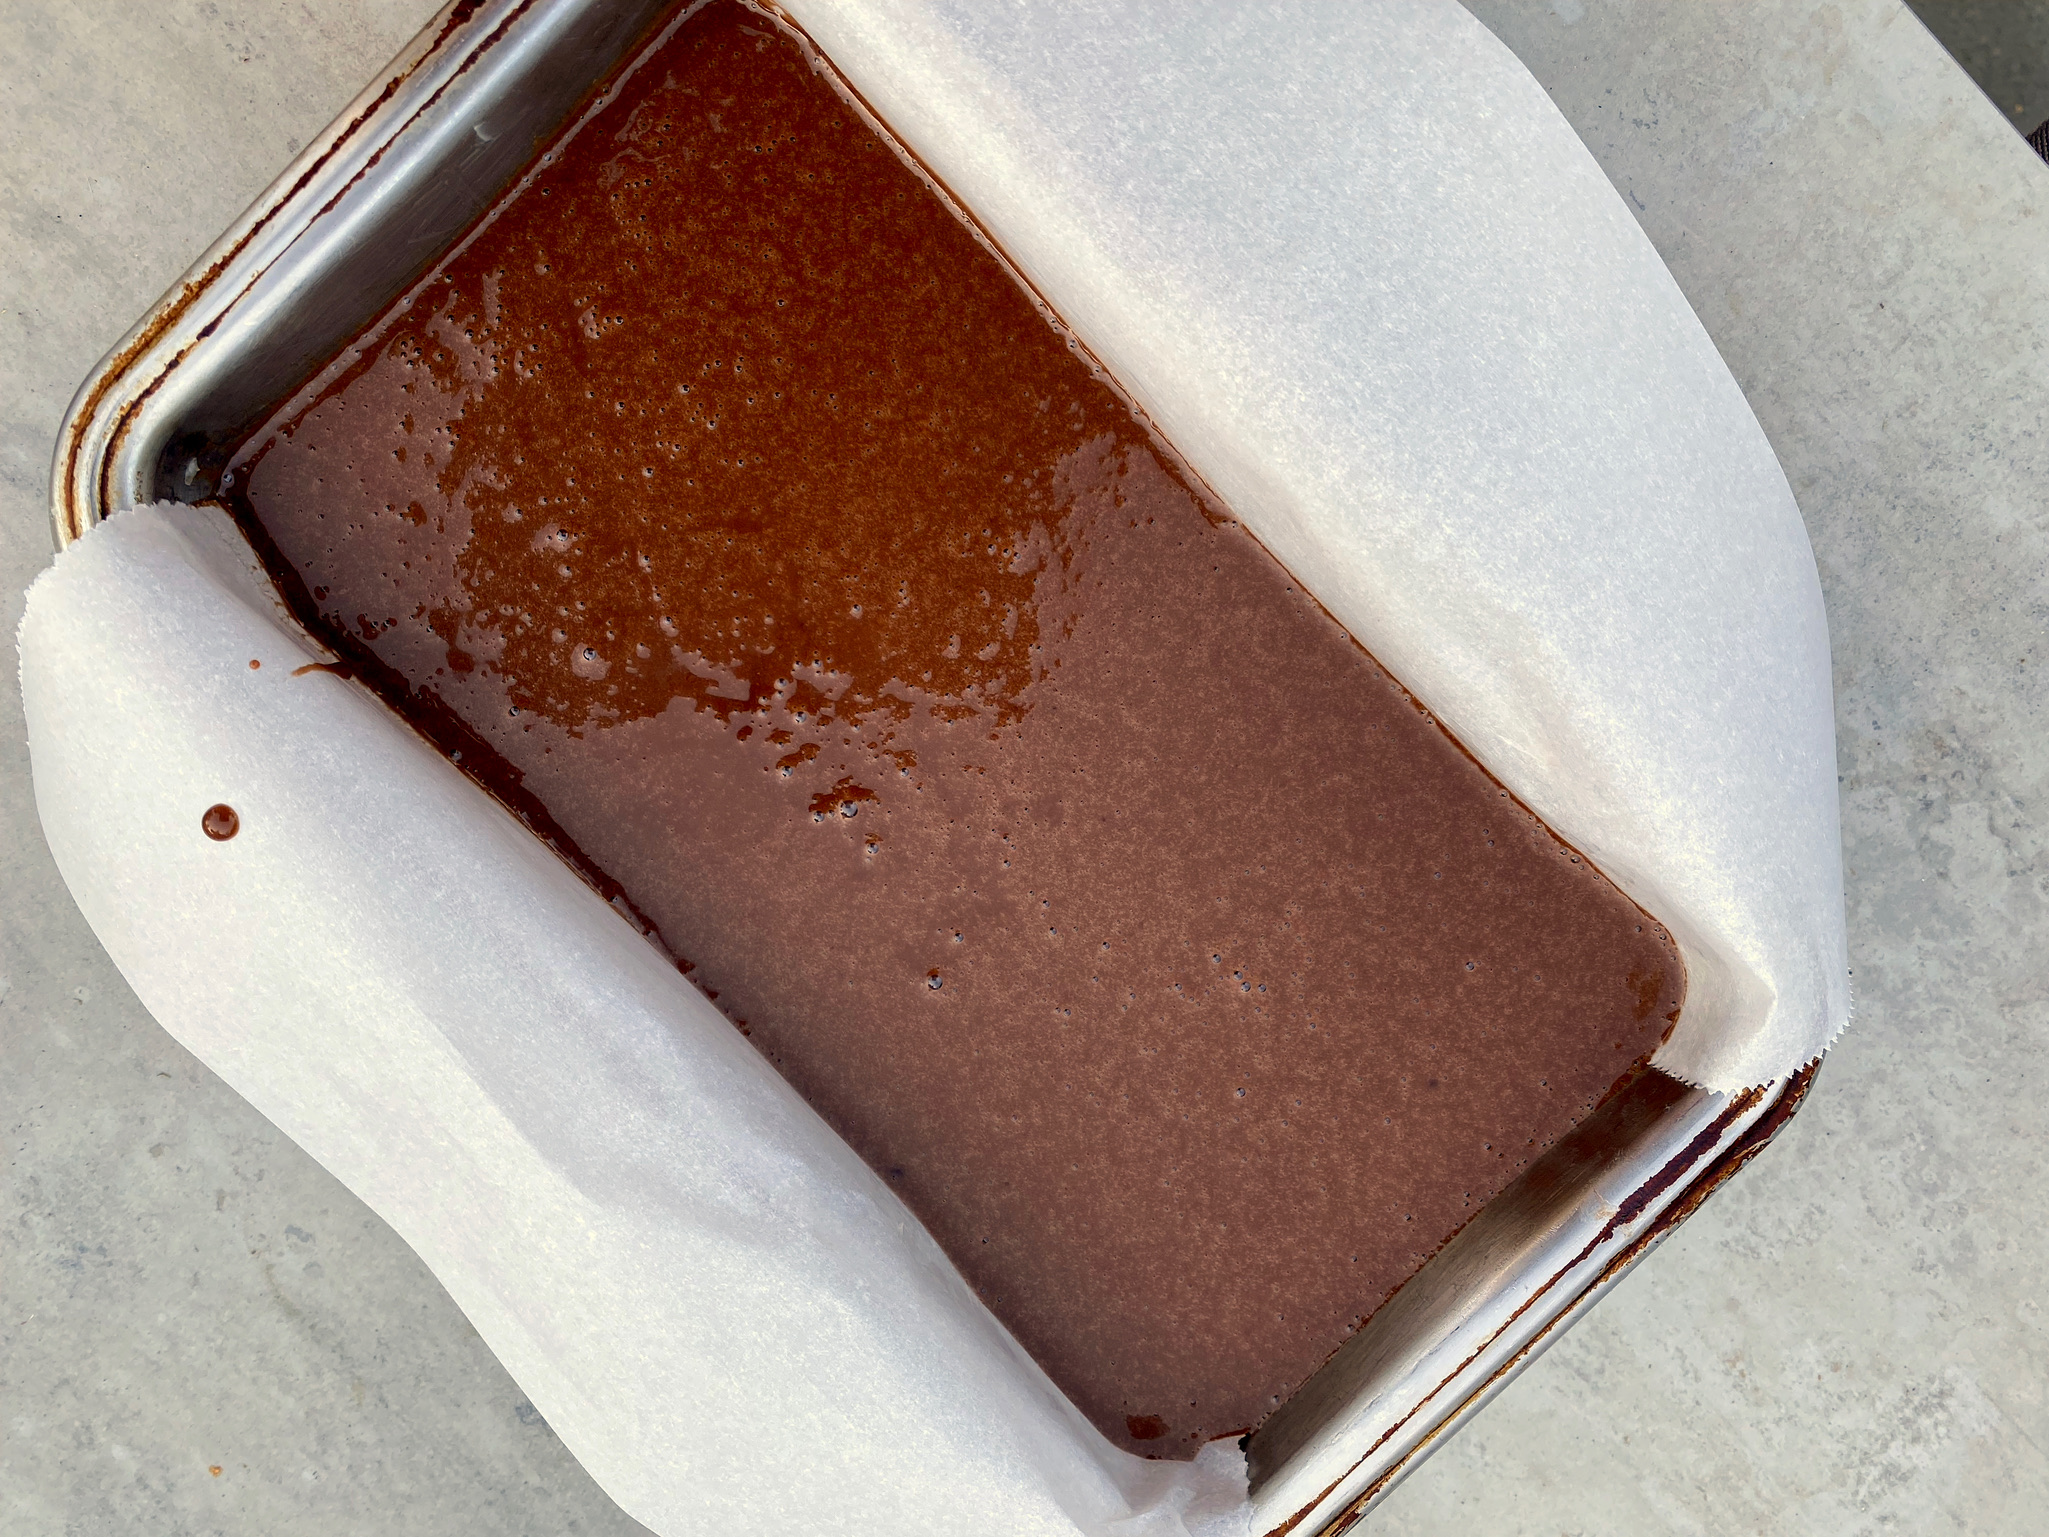
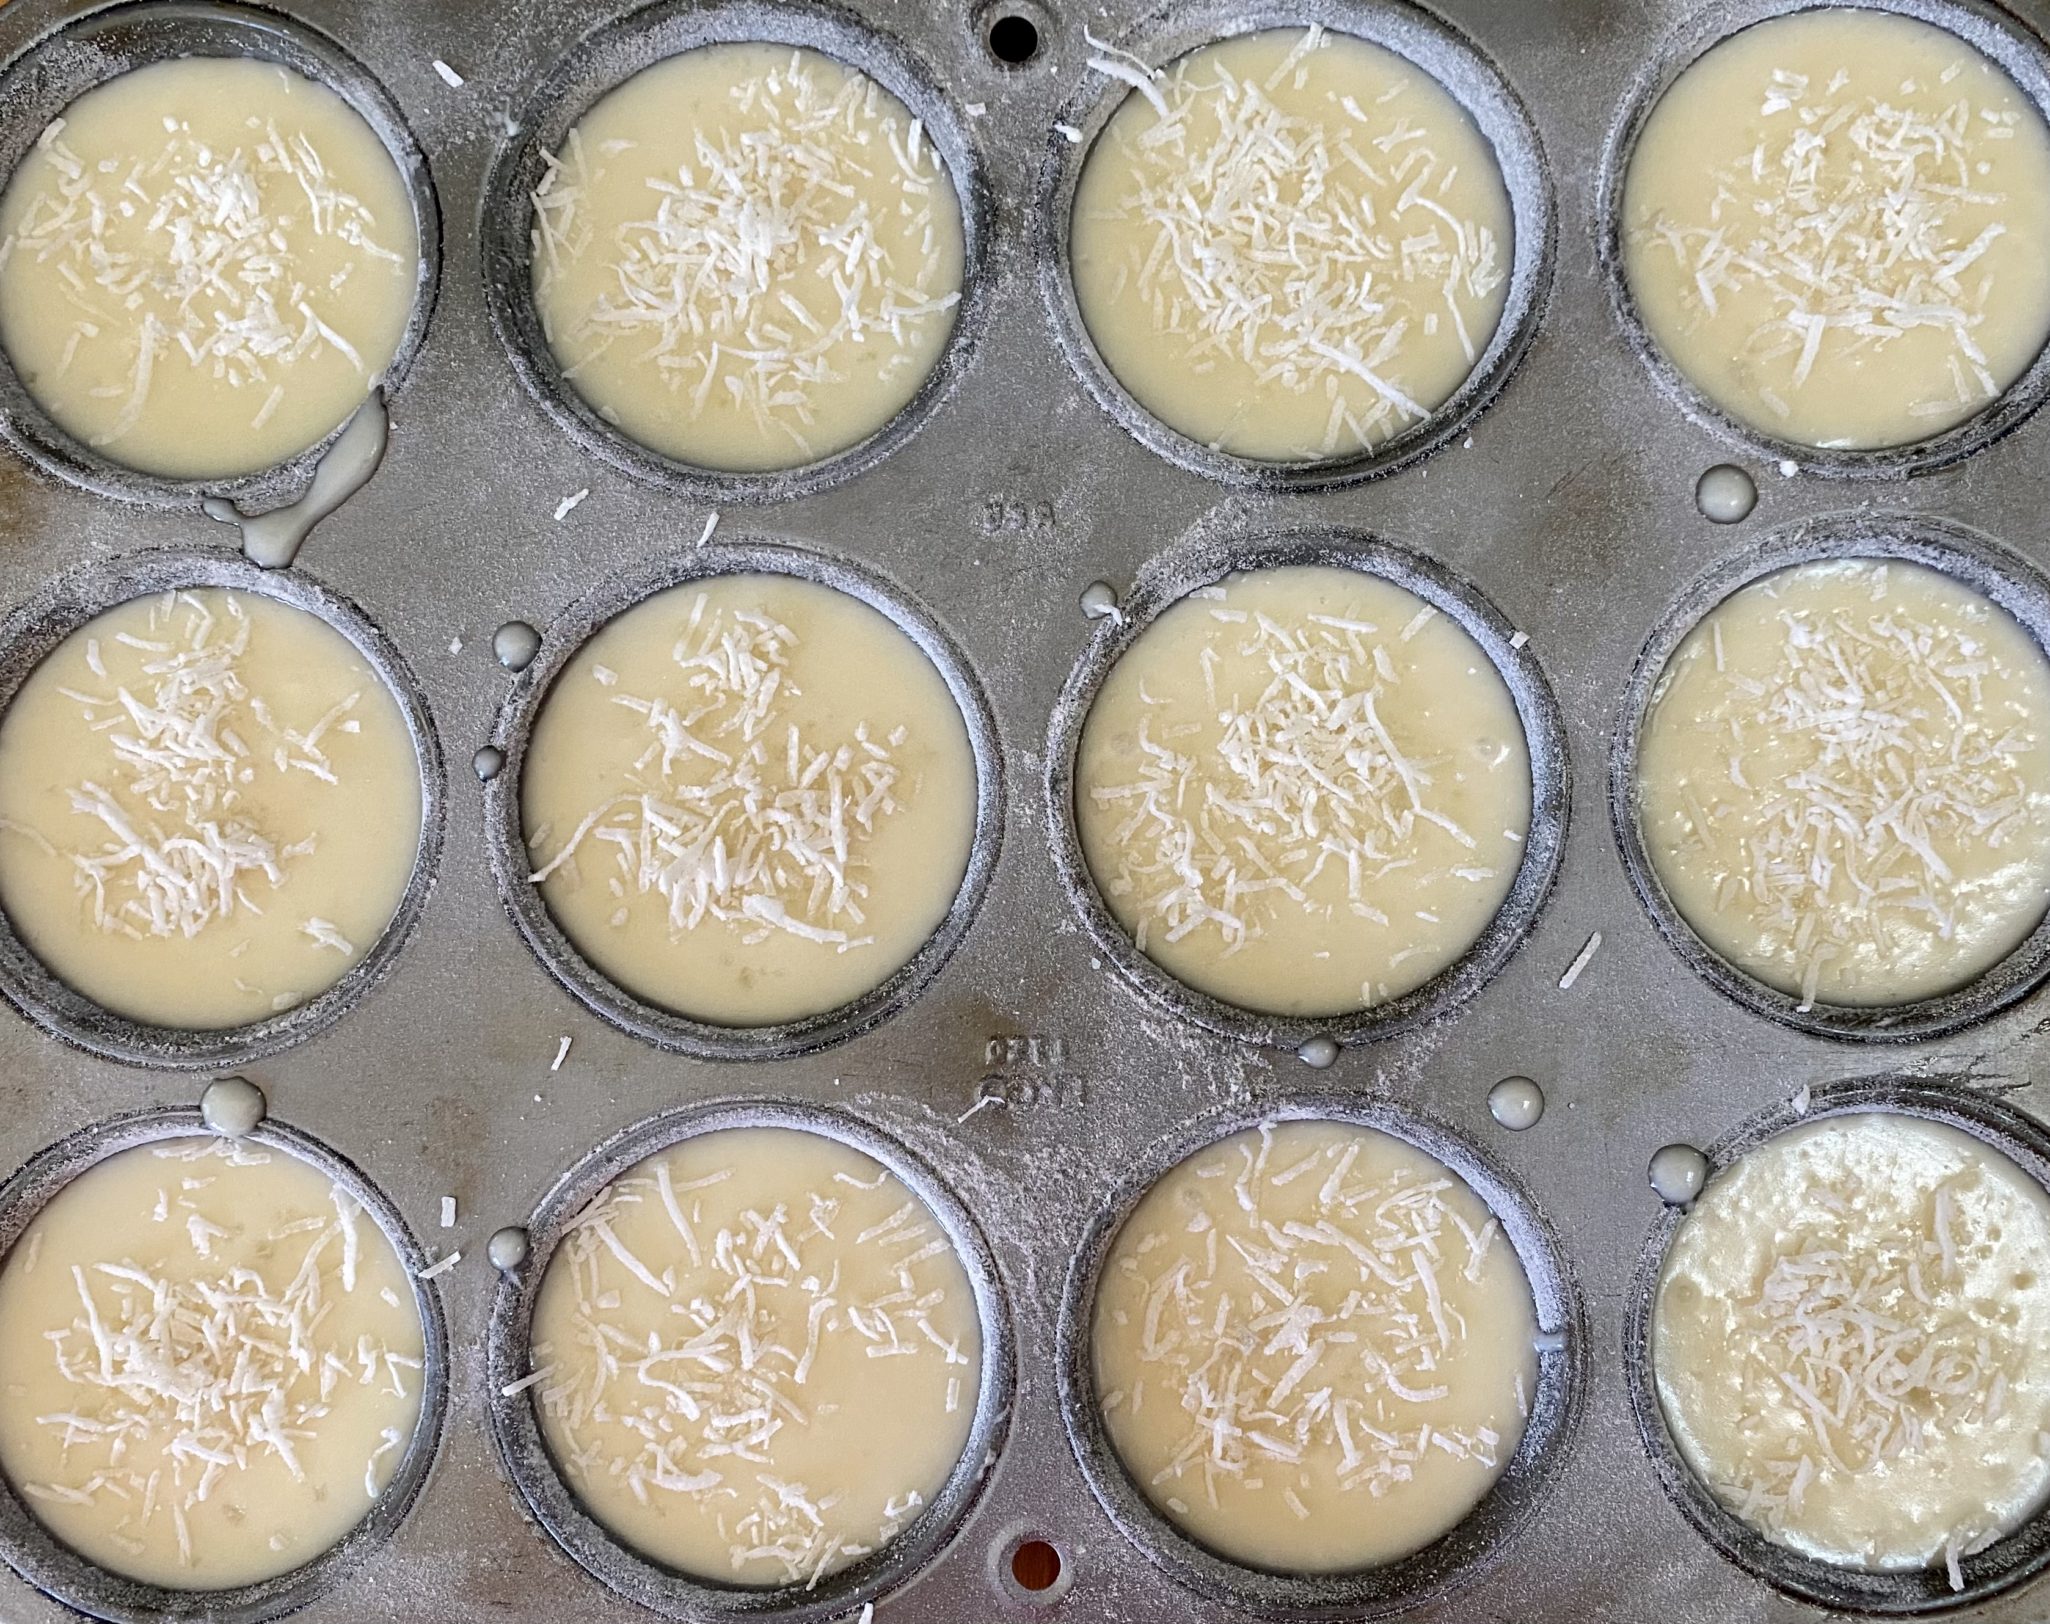
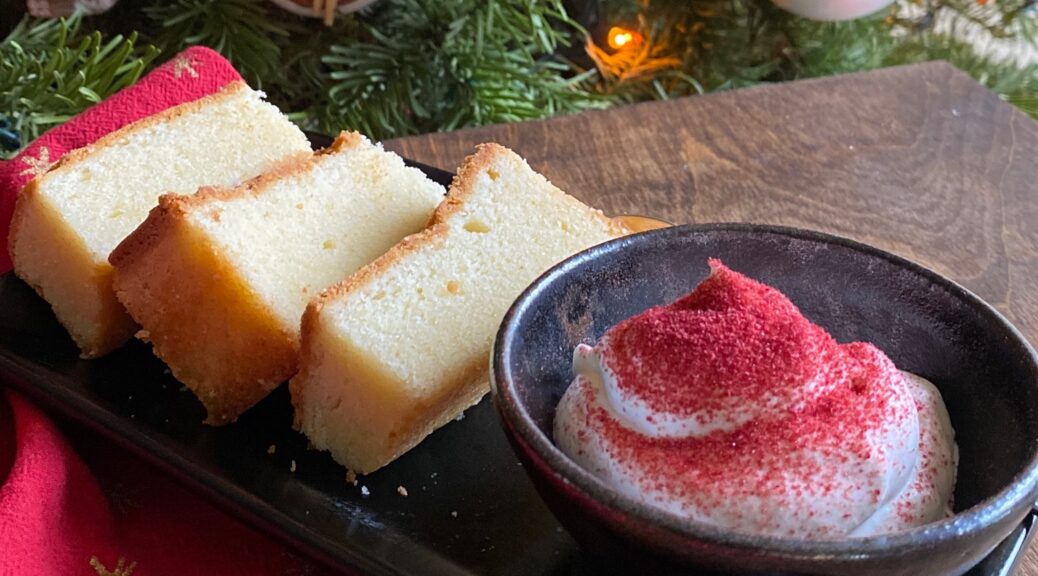
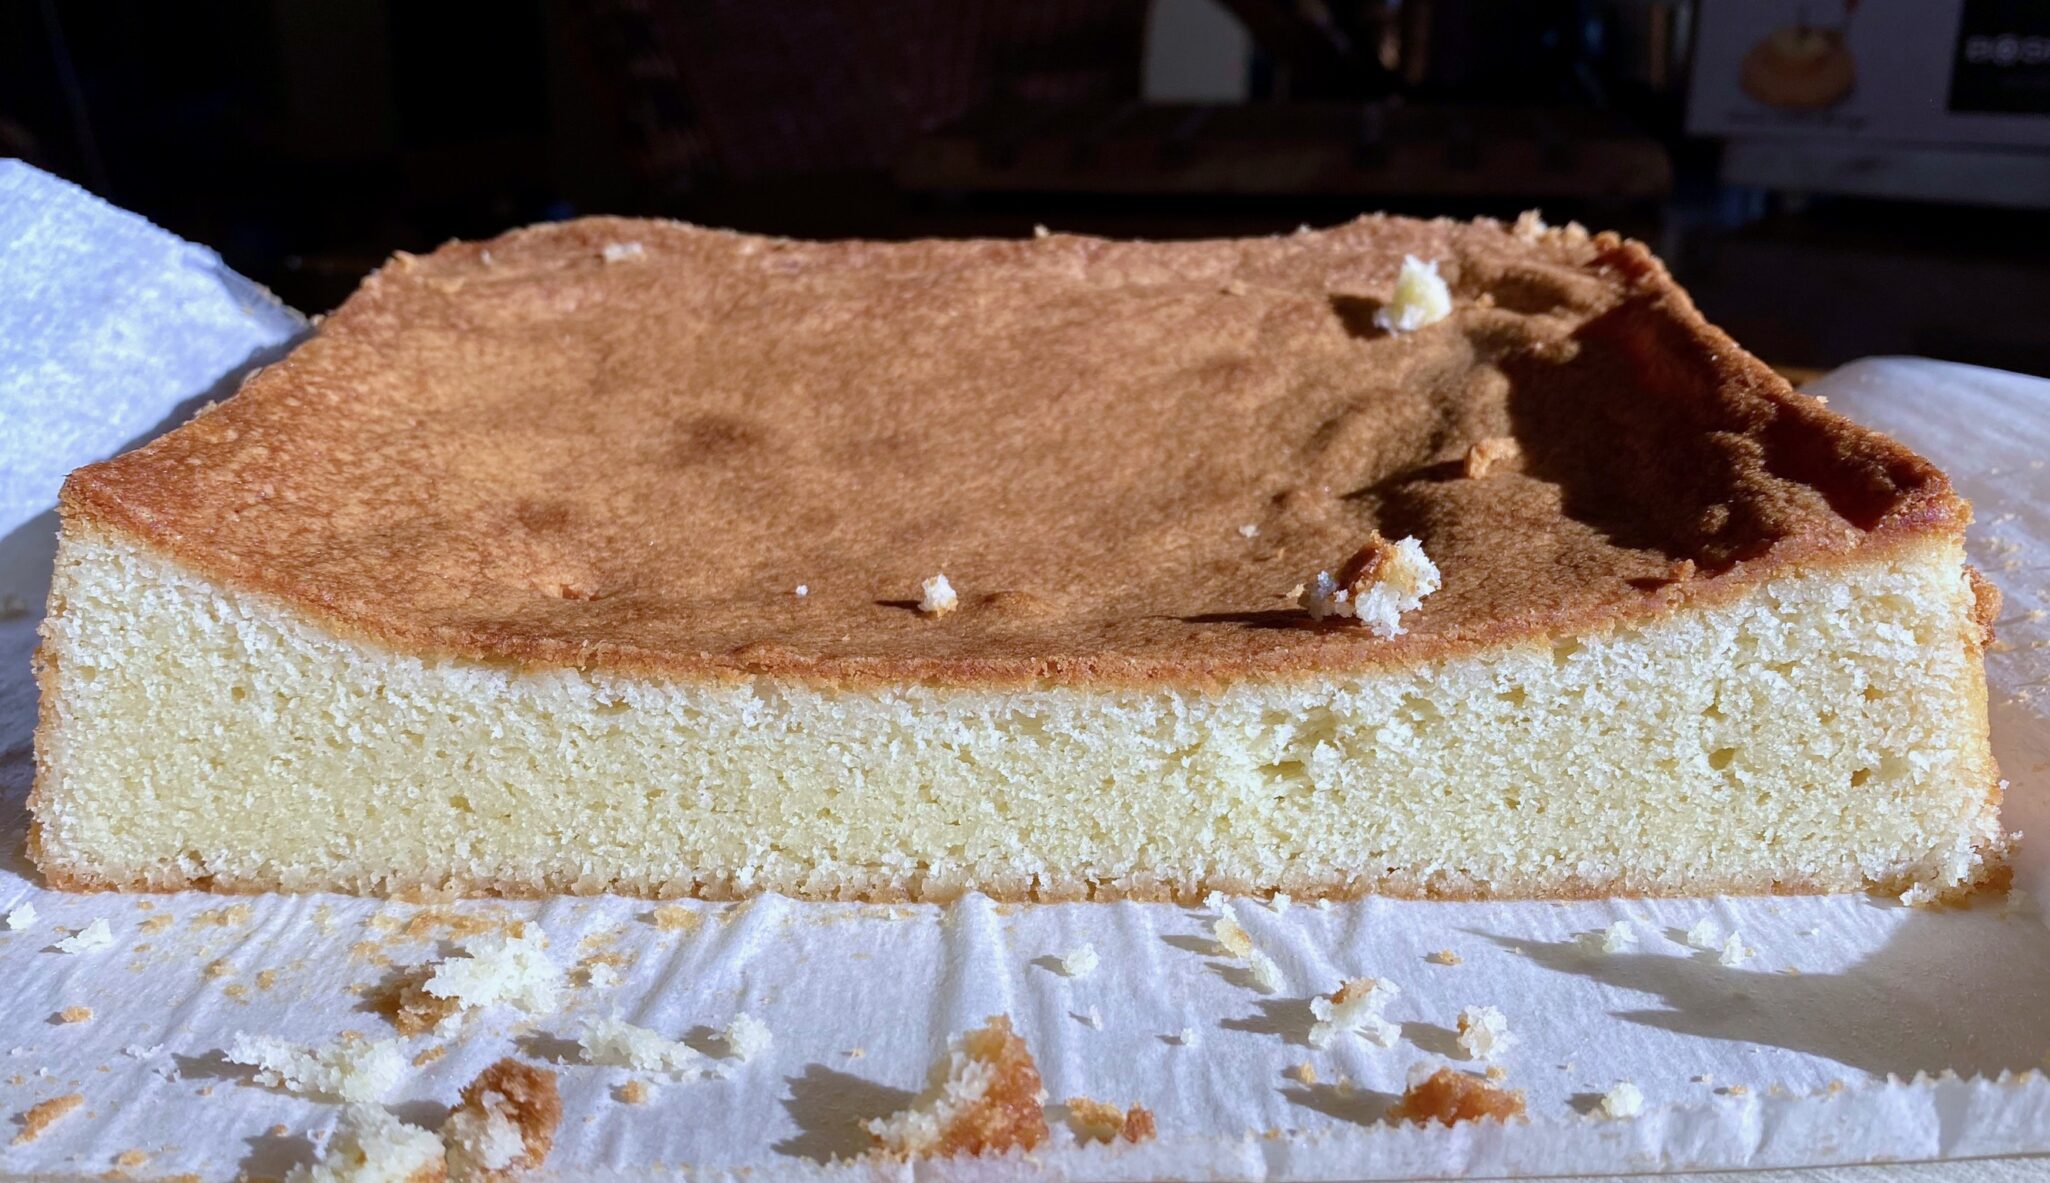
I cut the recipe in half using weights to split it and baked it in an 8×8 square pan. The cake dipped in the middle despite being fully baked. Looking at a couple of recipes for pound cake, for the equivalent amount of butter and sugar, most used 3 cups of flour. Using less flour, in this case, 2.5 cups, may make a softer cake with less structure and therefore lower in the center. It was still delicious and nothing a nice dollop of whipped cream couldn’t hide.
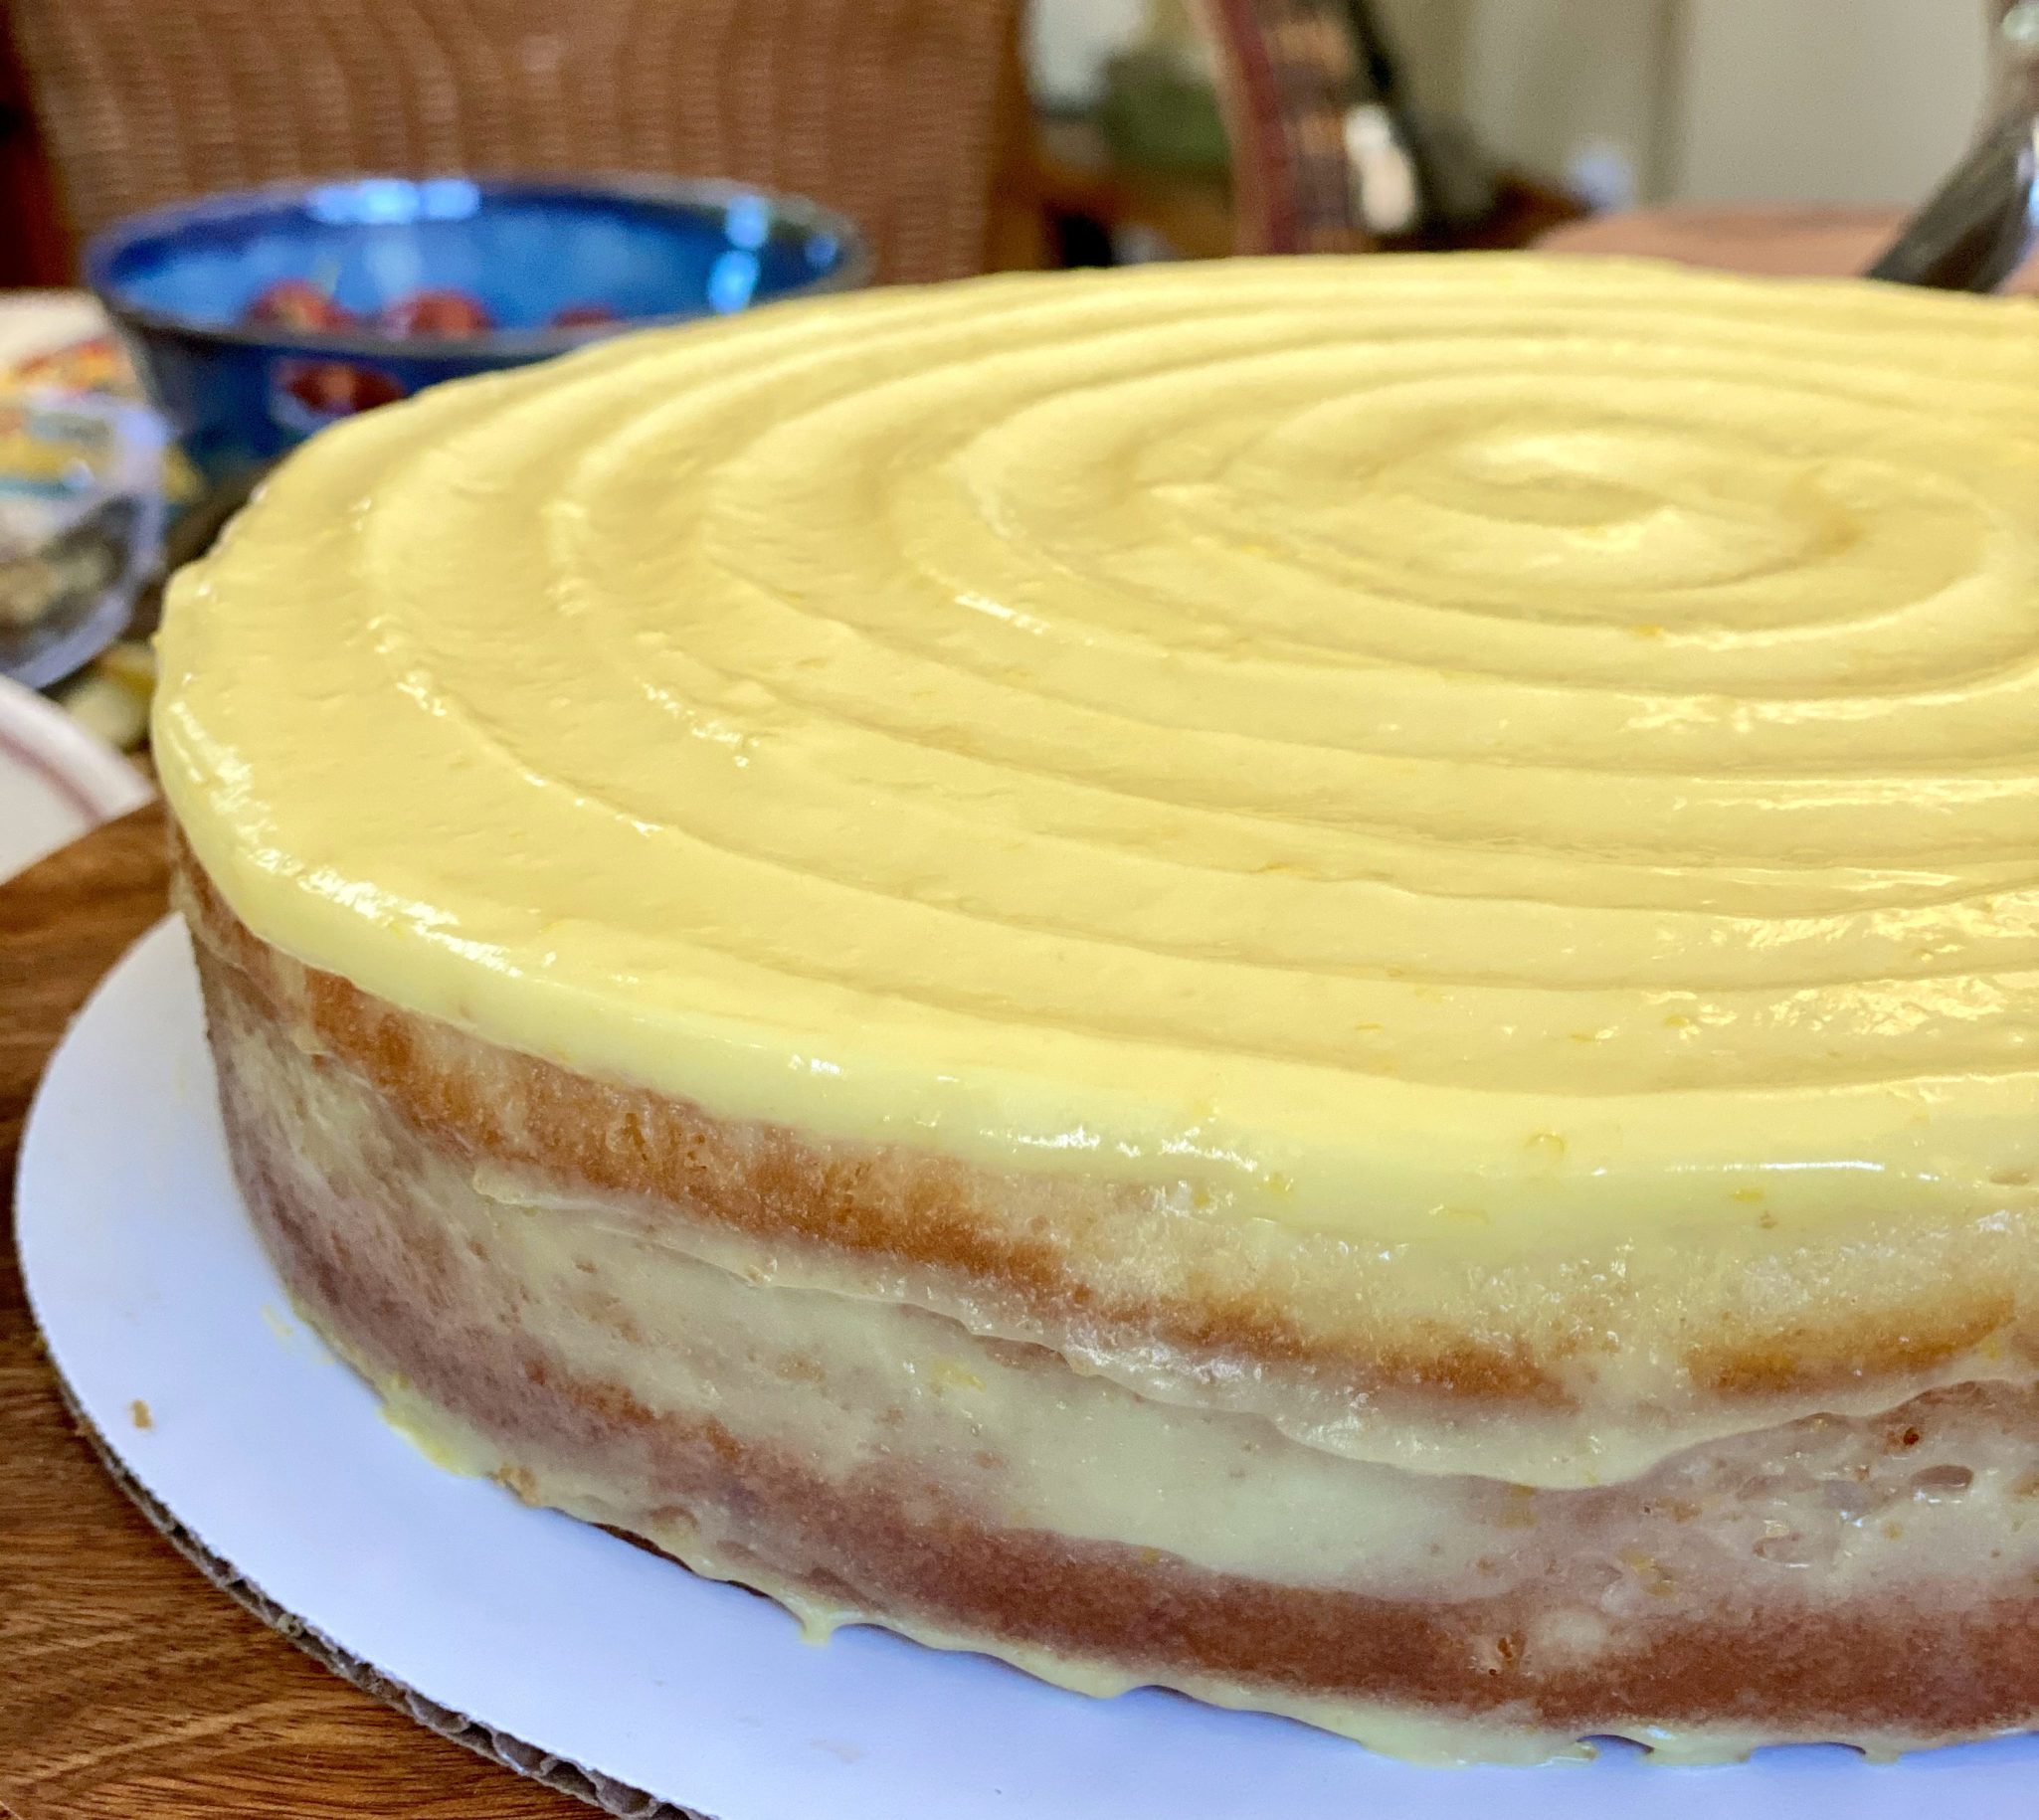
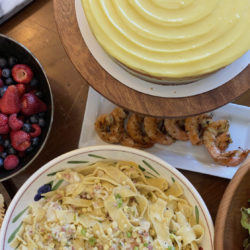
The whipped cream, jam and raspberry dust are nice additions to the cake but not absolutely necessary. I skipped the jam and the cake was delicious with just whipped cream and a dusting of ground freeze-dried raspberry. Fresh berries instead of jam would be lovely too.
Cream Cheese Pound Cake
Ingredients
It's All About the Cake
- 2½ cups all-purpose flour (320 grams)
- 1 teaspoon baking powder
- 1½ cups unsalted butter (345 grams) at room temperature
- 8 ounces cream cheese (226 grams) at room temperature
- 3 cups granulated sugar (600 grams)
- 1 tablespoon vanilla extract
- 1¼ teaspoons fine sea salt
- 5 large eggs at room temperature
The Bling Finish
- 2 cups cold heavy whipping cream (473 milliliters)
- 2 tablespoons granulated sugar
- ½ teaspoon fine sea salt
- 1 cup raspberry preserves (305 grams) see notes
- 1½ cups freeze-dried raspberries (34 grams)
Instructions
Make the cake:
- Position a rack in the center of the oven and heat the oven to 325 degrees. Grease a 9-by-13-inch baking pan; line the bottom and long sides with parchment.
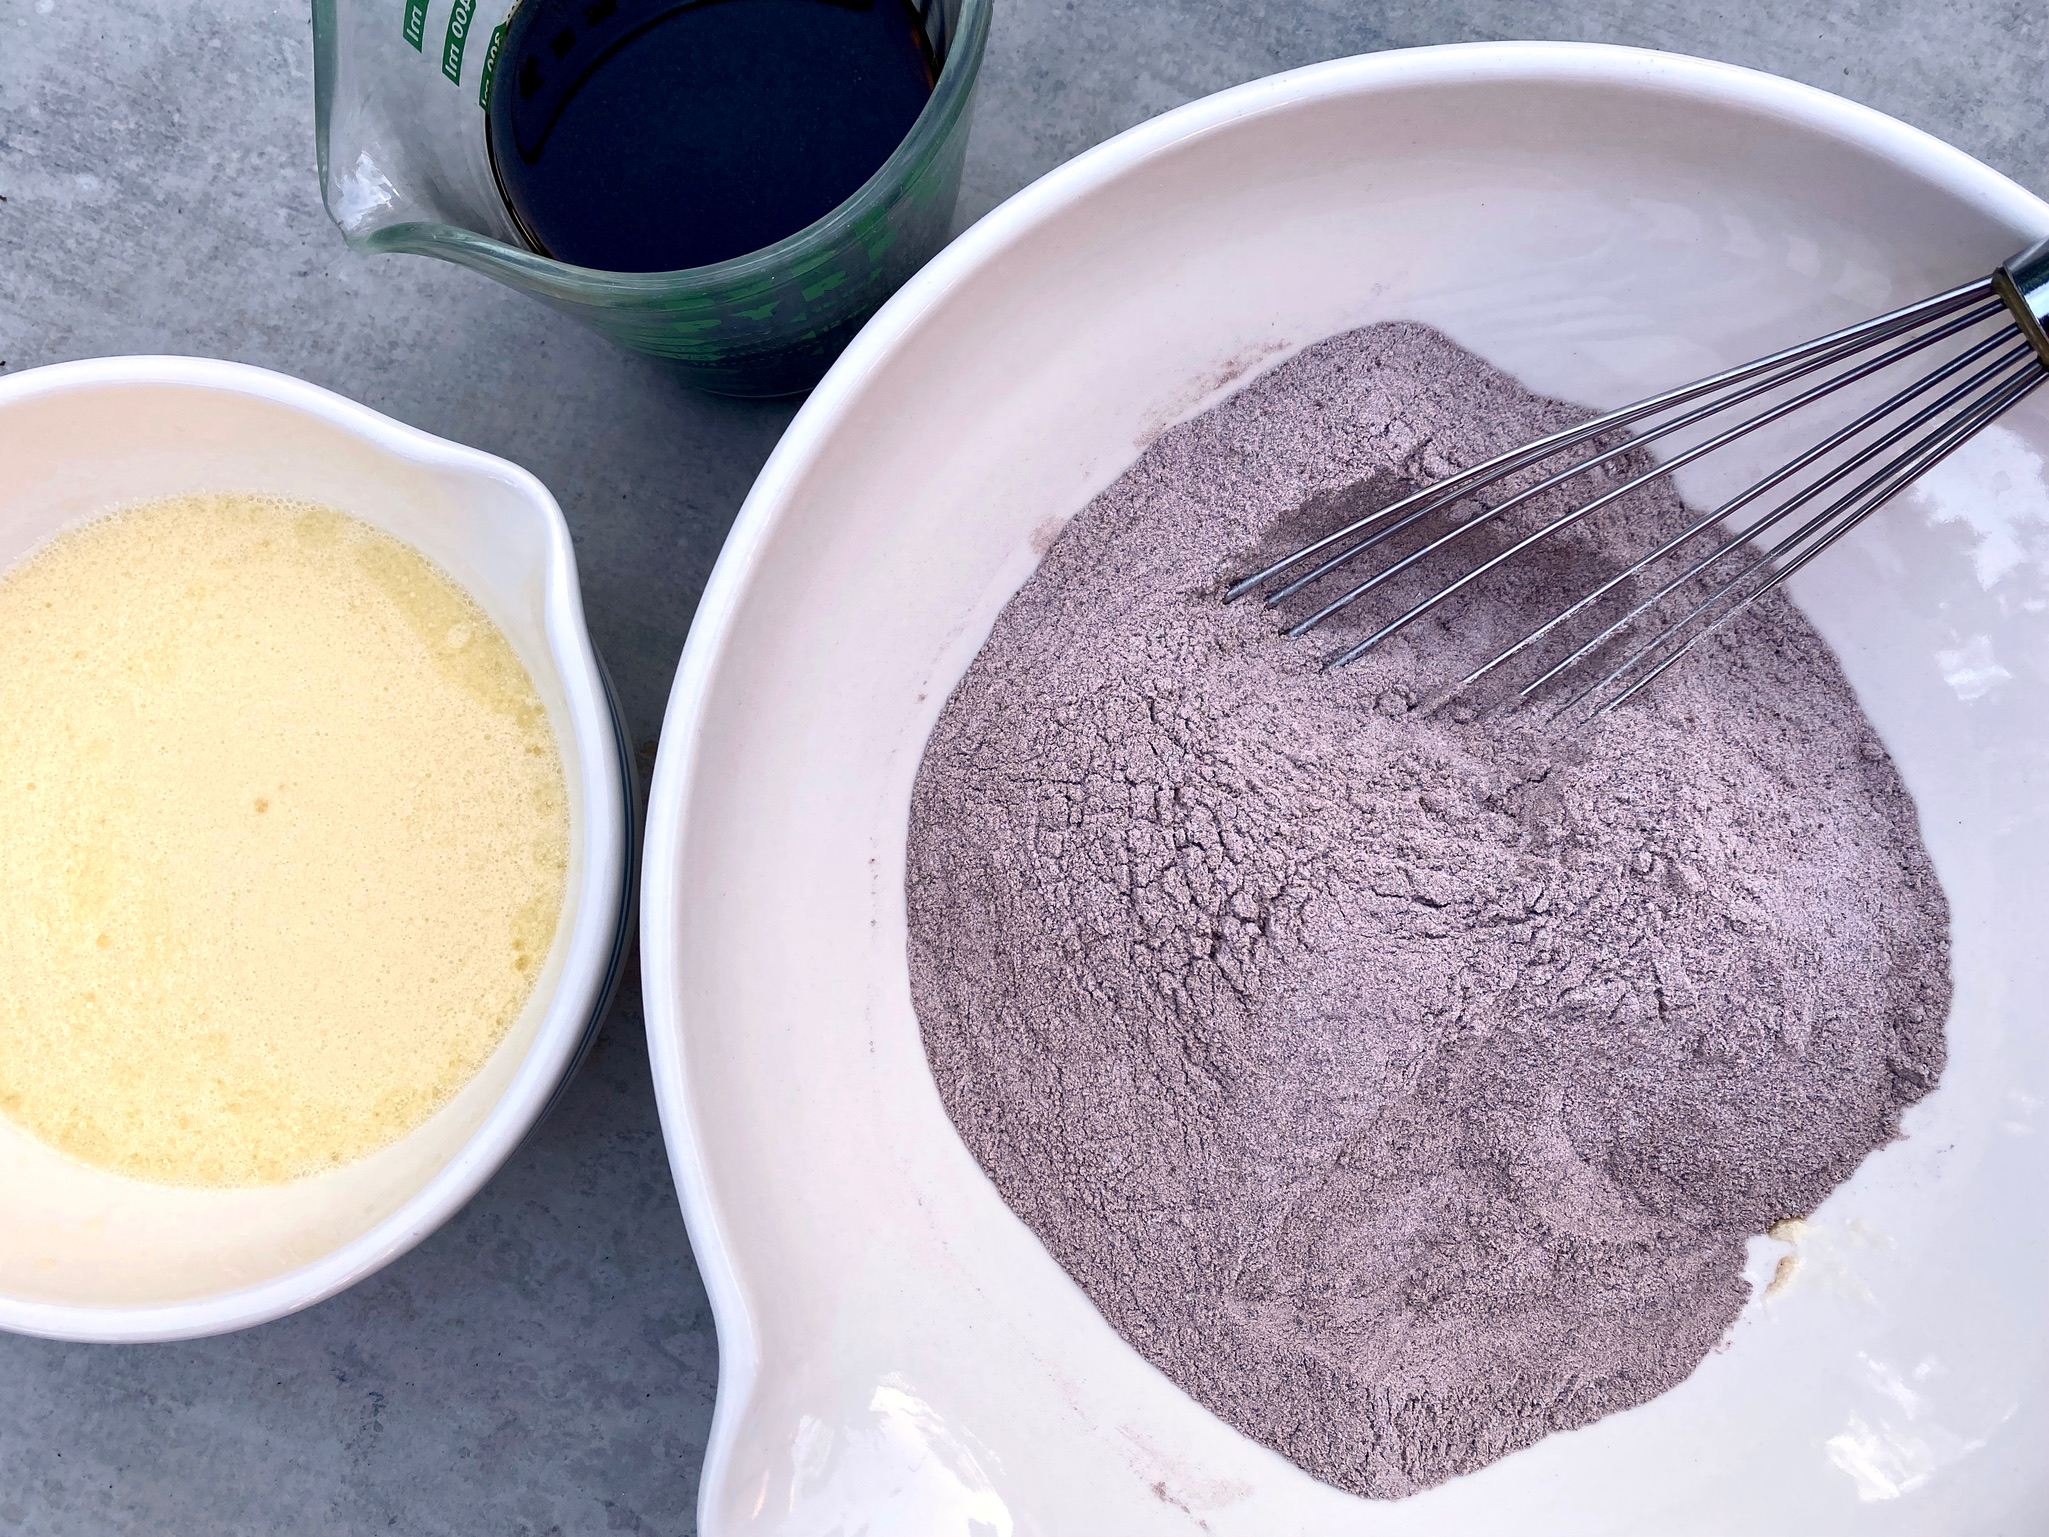
- In a medium bowl, add the flour and baking powder. Whisk to combine and to break up any lumps. Set aside.
- Add the butter,cream cheese, sugar, vanilla and salt to the bowl of a stand mixer fitted with the paddle attachment. Mix on medium-low speed to combine. Increase the speed to medium-high and beat until fluffy, almost white, and the sugar is mostly dissolved about 5 to 7 minutes. With the mixer on medium speed, add the eggs one at a time, mixing until smooth after each addition. Use a flexible spatula to scrape the bowl, then beat over medium speed for another minute.
- With the mixer on low speed, gradually add the dry ingredients and mix until most of the flour streaks have disappeared. Using the spatula, scrape the bowl and gently stir until you eliminate the flour streaks. Scrape the batter into the prepared pan, then smooth out the top.
- Bake, rotating the pan halfway through, until golden brown and a skewer or cake tester inserted in the center comes out clean, 60 to 65 minutes. When you gently press on the center of the cake with your fingertip, you shouldn’t leave a dent. The internal temperature of the cake should be about 205 degrees. Let cool completely in the pan. (The cooled cake can be covered and kept at room temperature for up to 3 or 4 days.)
Putting it all together
- If using the jam, spread layer on top of the cake. You could use strawberry or a mixed berry jam also.
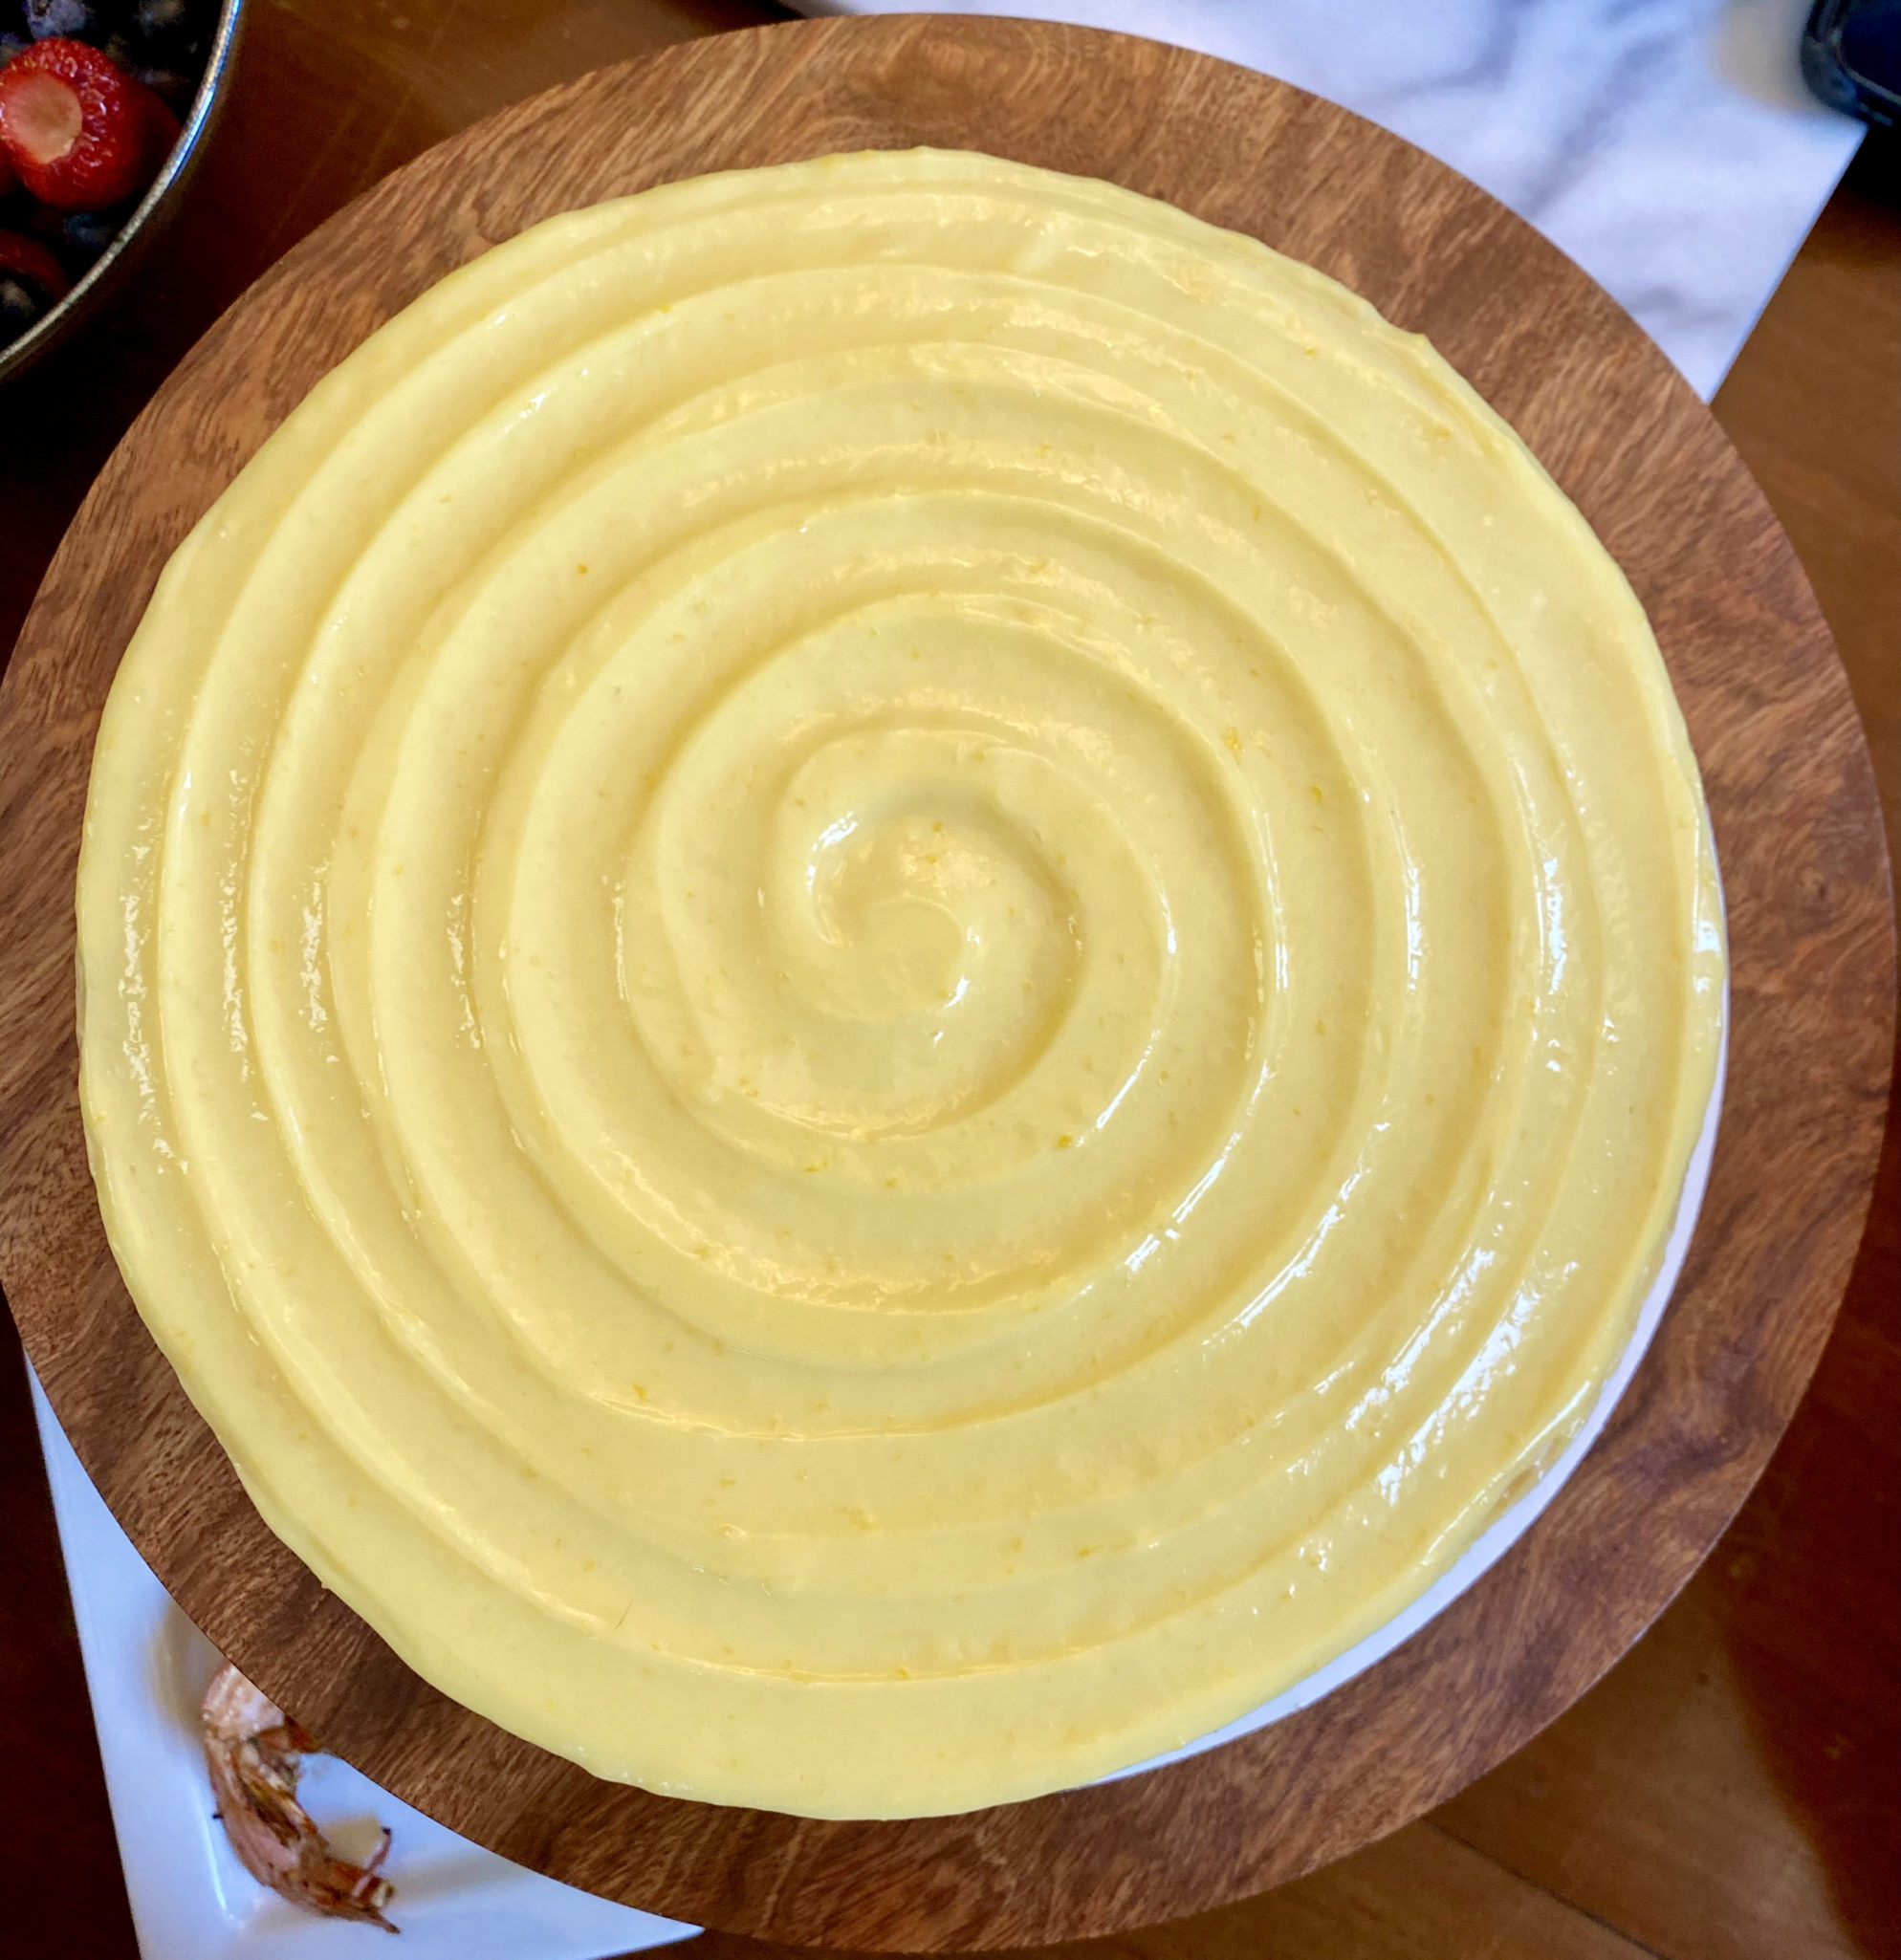
- In the bowl of a stand mixer, whisk the heavy whipping cream, sugar and salt over medium-high until billowy soft peaks form. When you lift the whisk out of the bowl and turn it upside-down, a peak of cream should flop over slightly like a Santa hat. Evenly spread the whipped cream over the jam-topped cake.
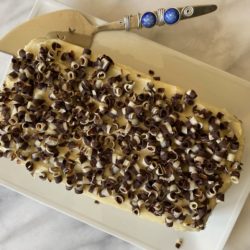
- Add the freeze-dried raspberries to a fine-mesh sieve and hold it over the cake. Using your fingers, pass them through until most of the magenta powder rests atop the frosting like fresh snow and most of the seeds are left behind in the sieve. The entire surface of the whipped cream should be covered in pink dust. Discard the raspberry seeds. Serve immediately.