Tag: Coconut

Rowing for Coconut & Jam Oat Bars

Rowing for Coconut & Jam Oat Bars

About this time of year, I wax nostalgic about one of my passions (not food this time), rowing.  Say what?  Yes, rowing.  I started rowing, gosh too many years ago to count, and it changed my life.  Instead of trudging toward a sedentary, middle-aged lifestyle, it became my sport and form of exercise.

Spending early morning hours on the water (trust me, I am not a morning person) watching the sunrise, the first rays of light hitting the ripples of water made by the boat, it’s magical.  Beyond that (there’s more?), I have made lifelong friends, found a community, and experienced the camaraderie created by competition, joy, and pain.  #Crewlife

Rock Star Regatta

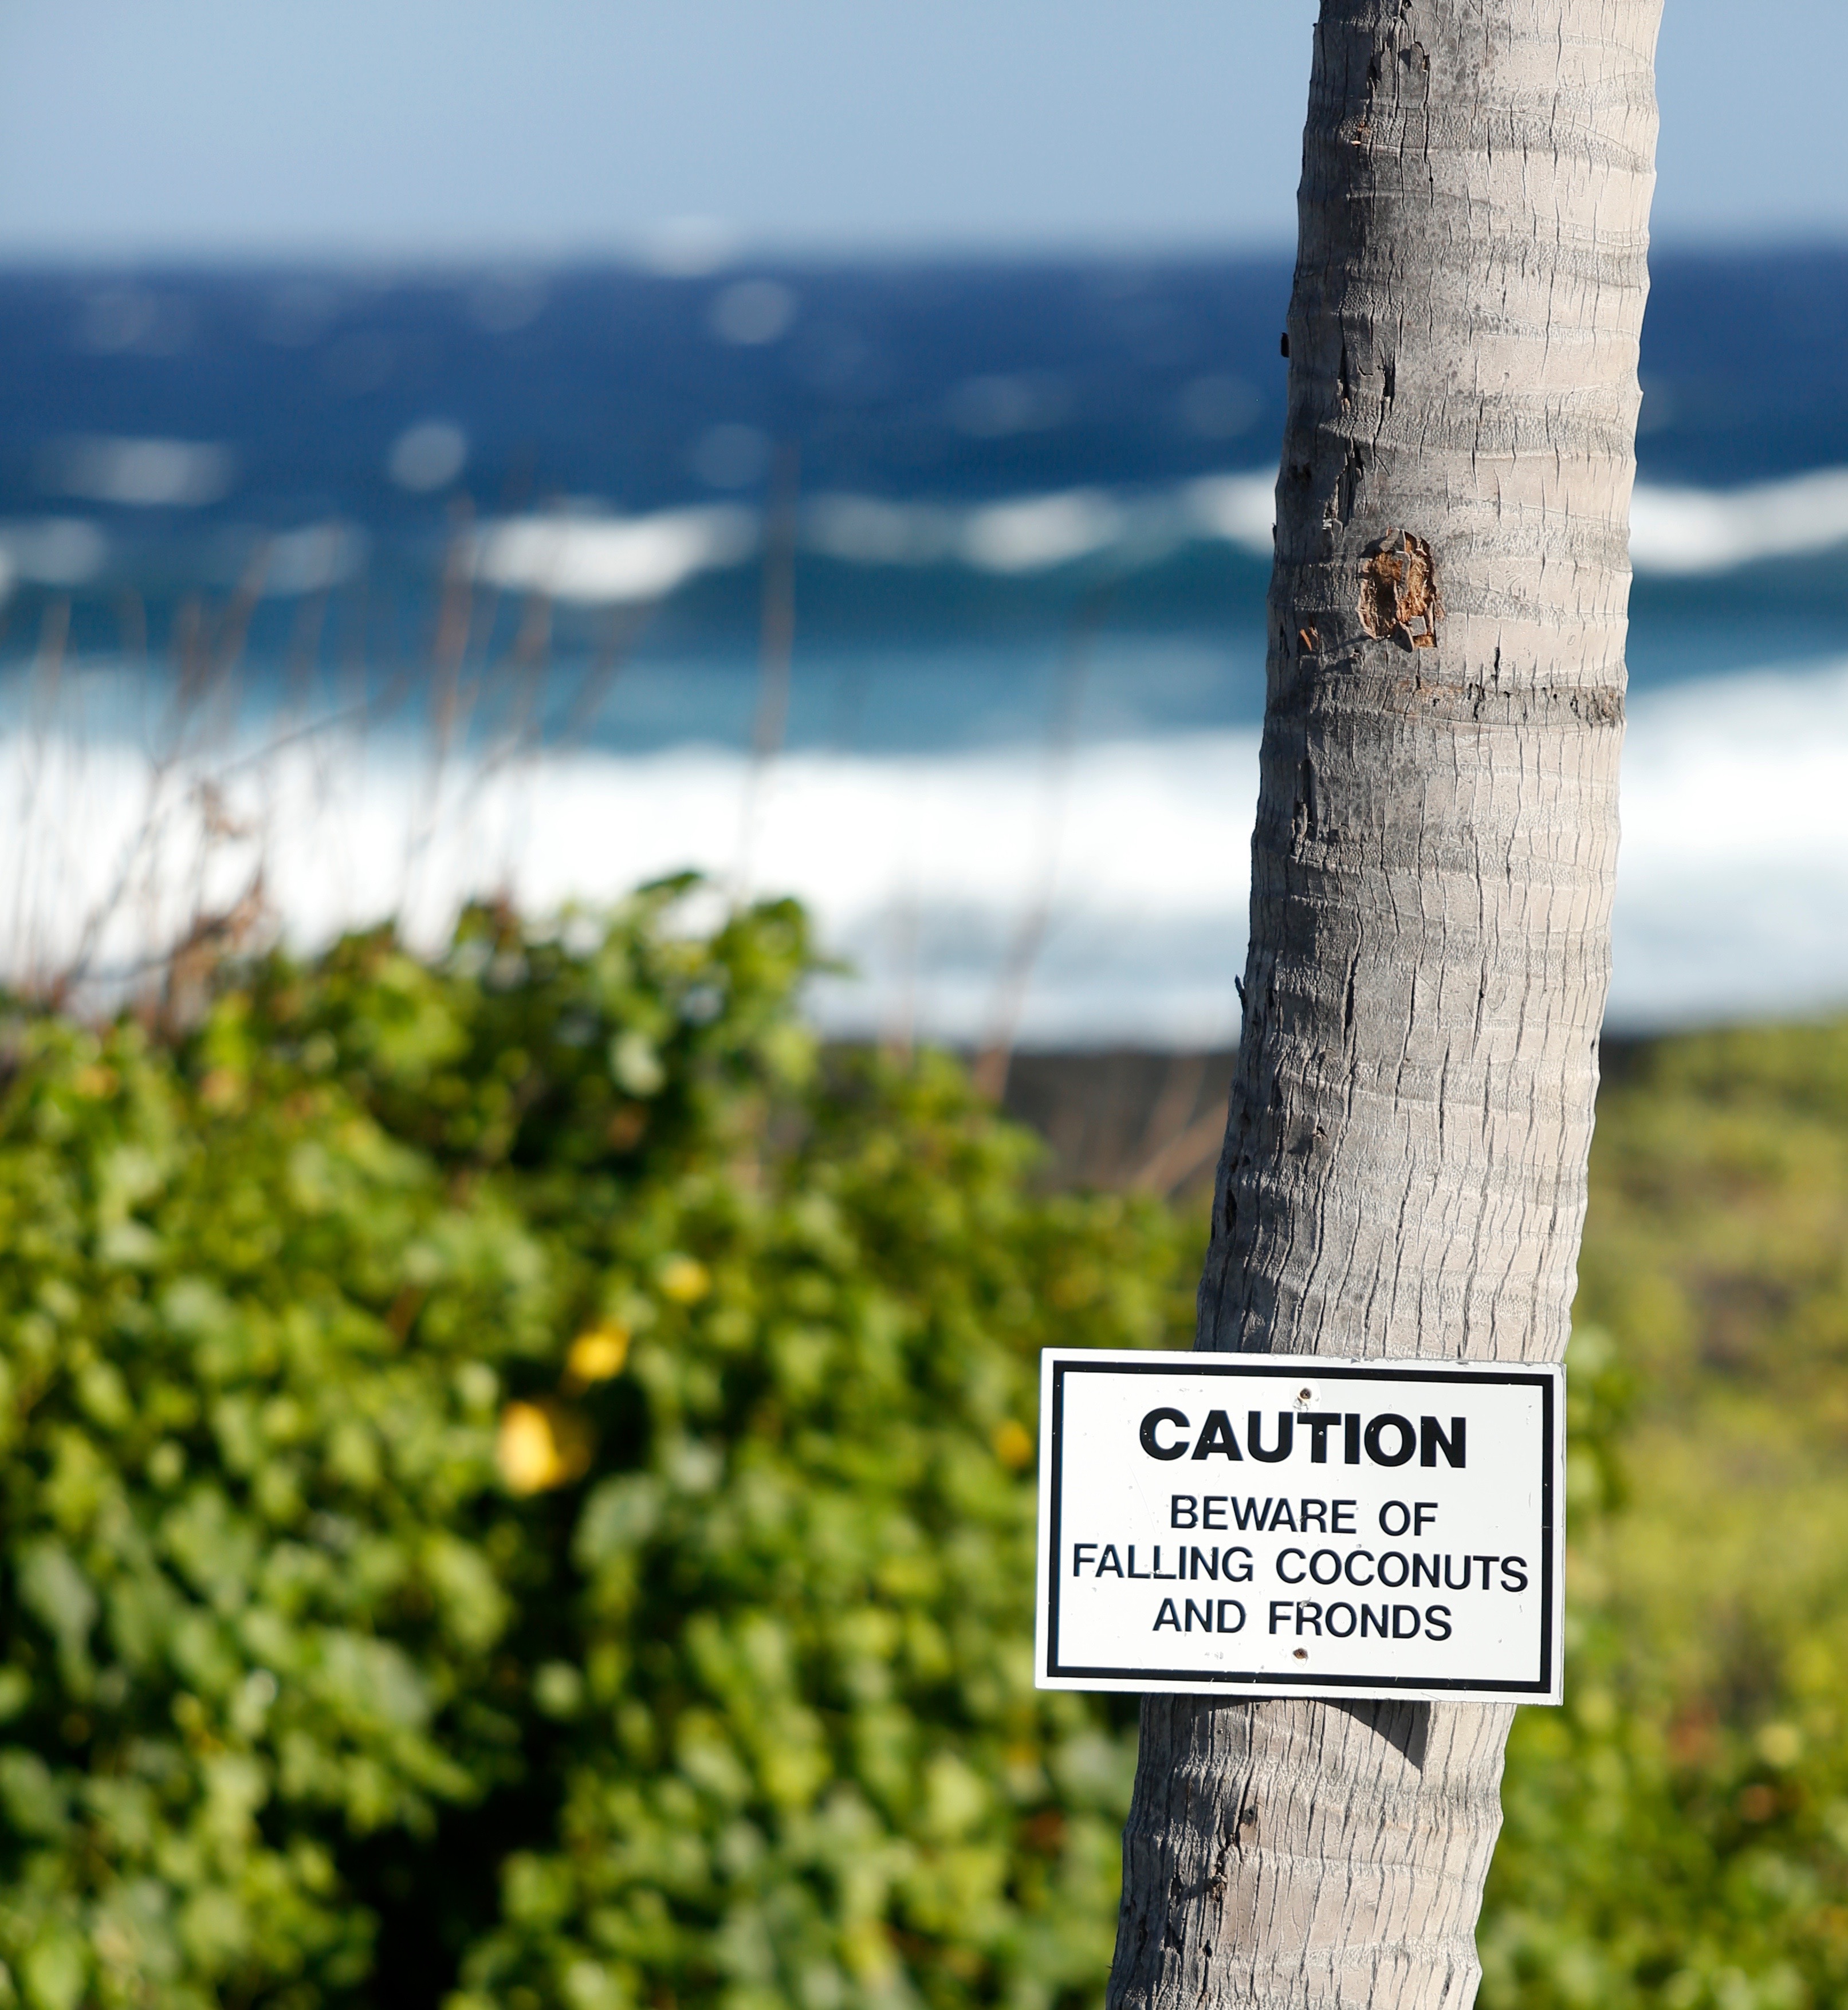
Boston annually hosts the largest regatta (rowing competition) in the world, the Head of the Charles.  Every October, collegiate, high school, Masters (anyone out of school) converge for the regatta.  Imagine the Boston Marathon but with a bunch of really tall people, wearing spandex (lol) in boats on the Charles.  We row as hard as we can for 5km.  All the while navigating through boats, under bridges (5), and around turns.  Throngs of spectators line the bridges and banks of the Charles to watch and root their rowers on.  It’s exhilarating, I haven’t raced there in a while and I miss it.

Side Trip Fun

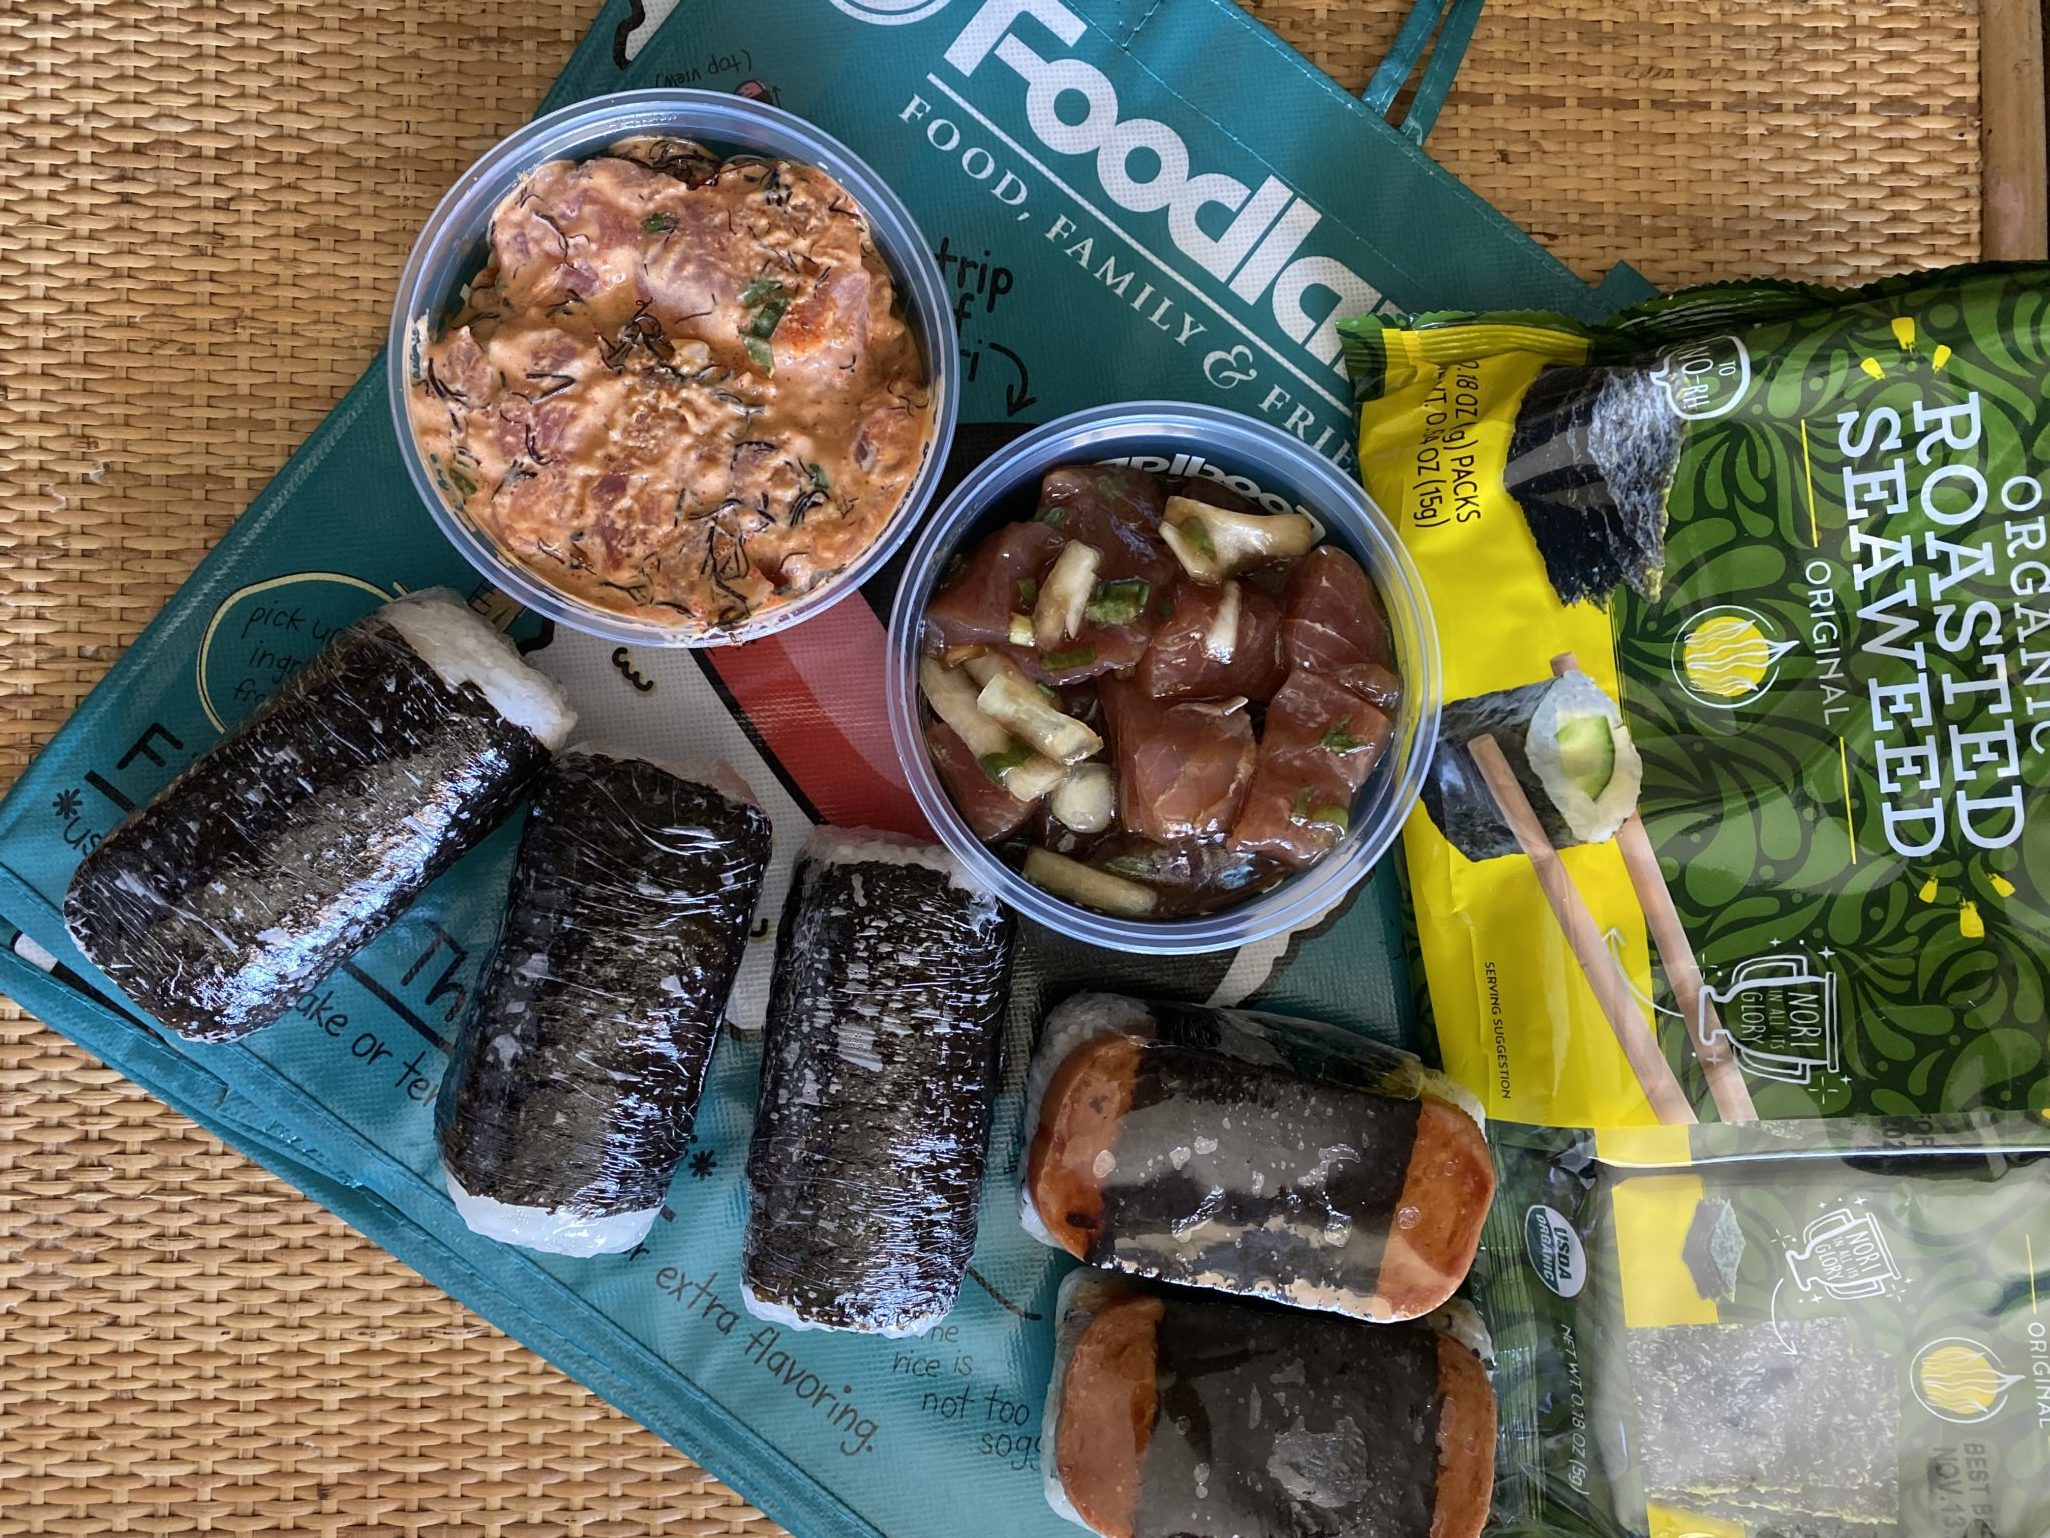
If you go that far to race for twenty minutes, you might as well take advantage of being there.  We began taking side trips after Head of the Charles. One year we went to Vermont to find pie, visit King Arthur Flour, and tour Ben and Jerry’s.  Another year found us in Martha’s Vineyard.  The crowds of summer long gone, we wandered the island taking in the cool, crisp, fall weather, foliage colors, and FOOD!  We stopped at 7aFoods for pastries and coffee which I highly recommend.  Finally, a stop at  Morning Glory Farm to roam their pumpkin patch and eat more pie, the Buttermilk Pie was a standout.

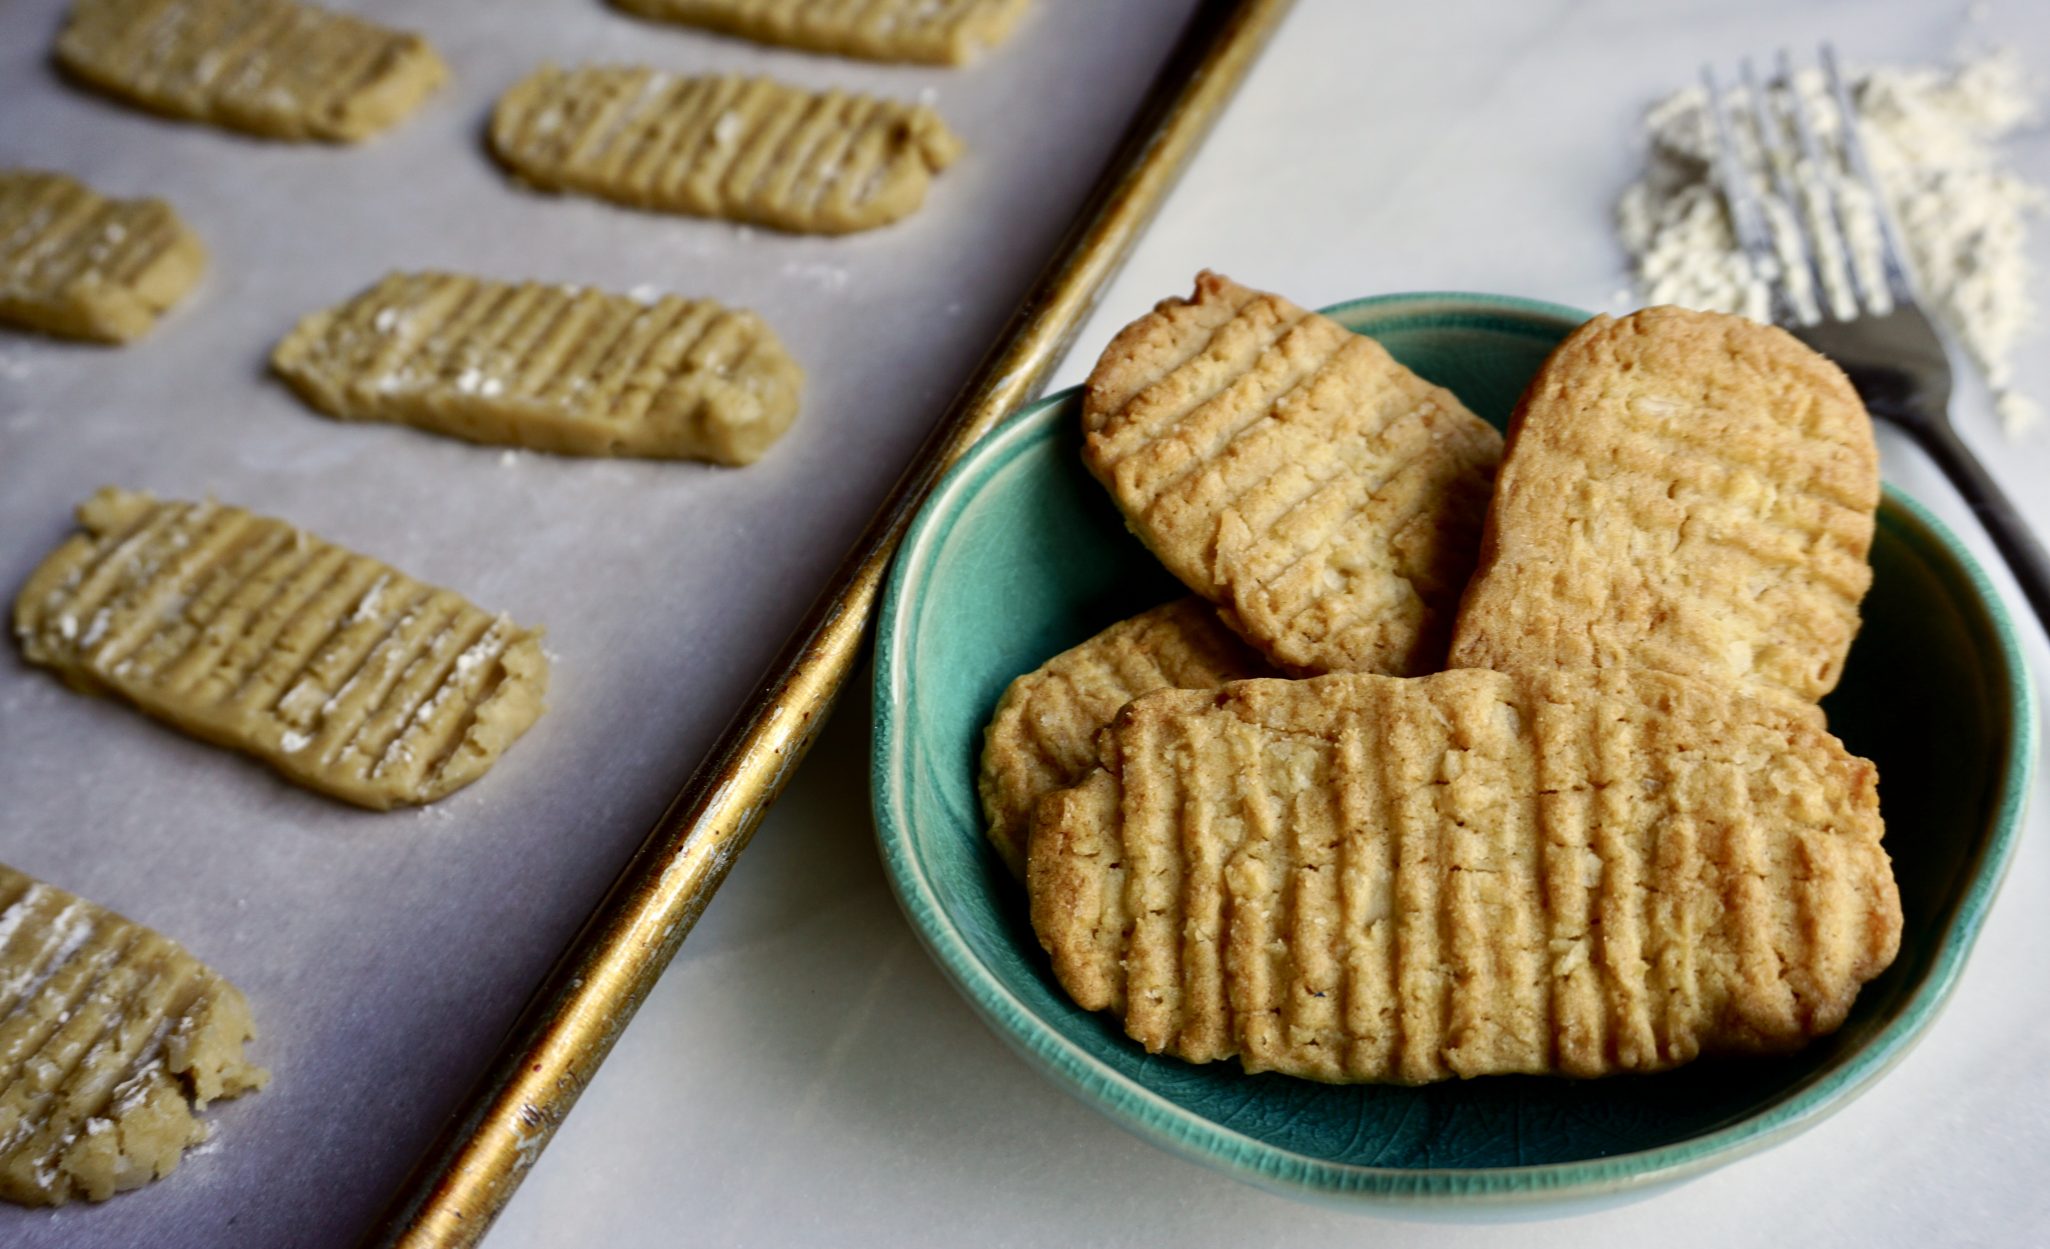
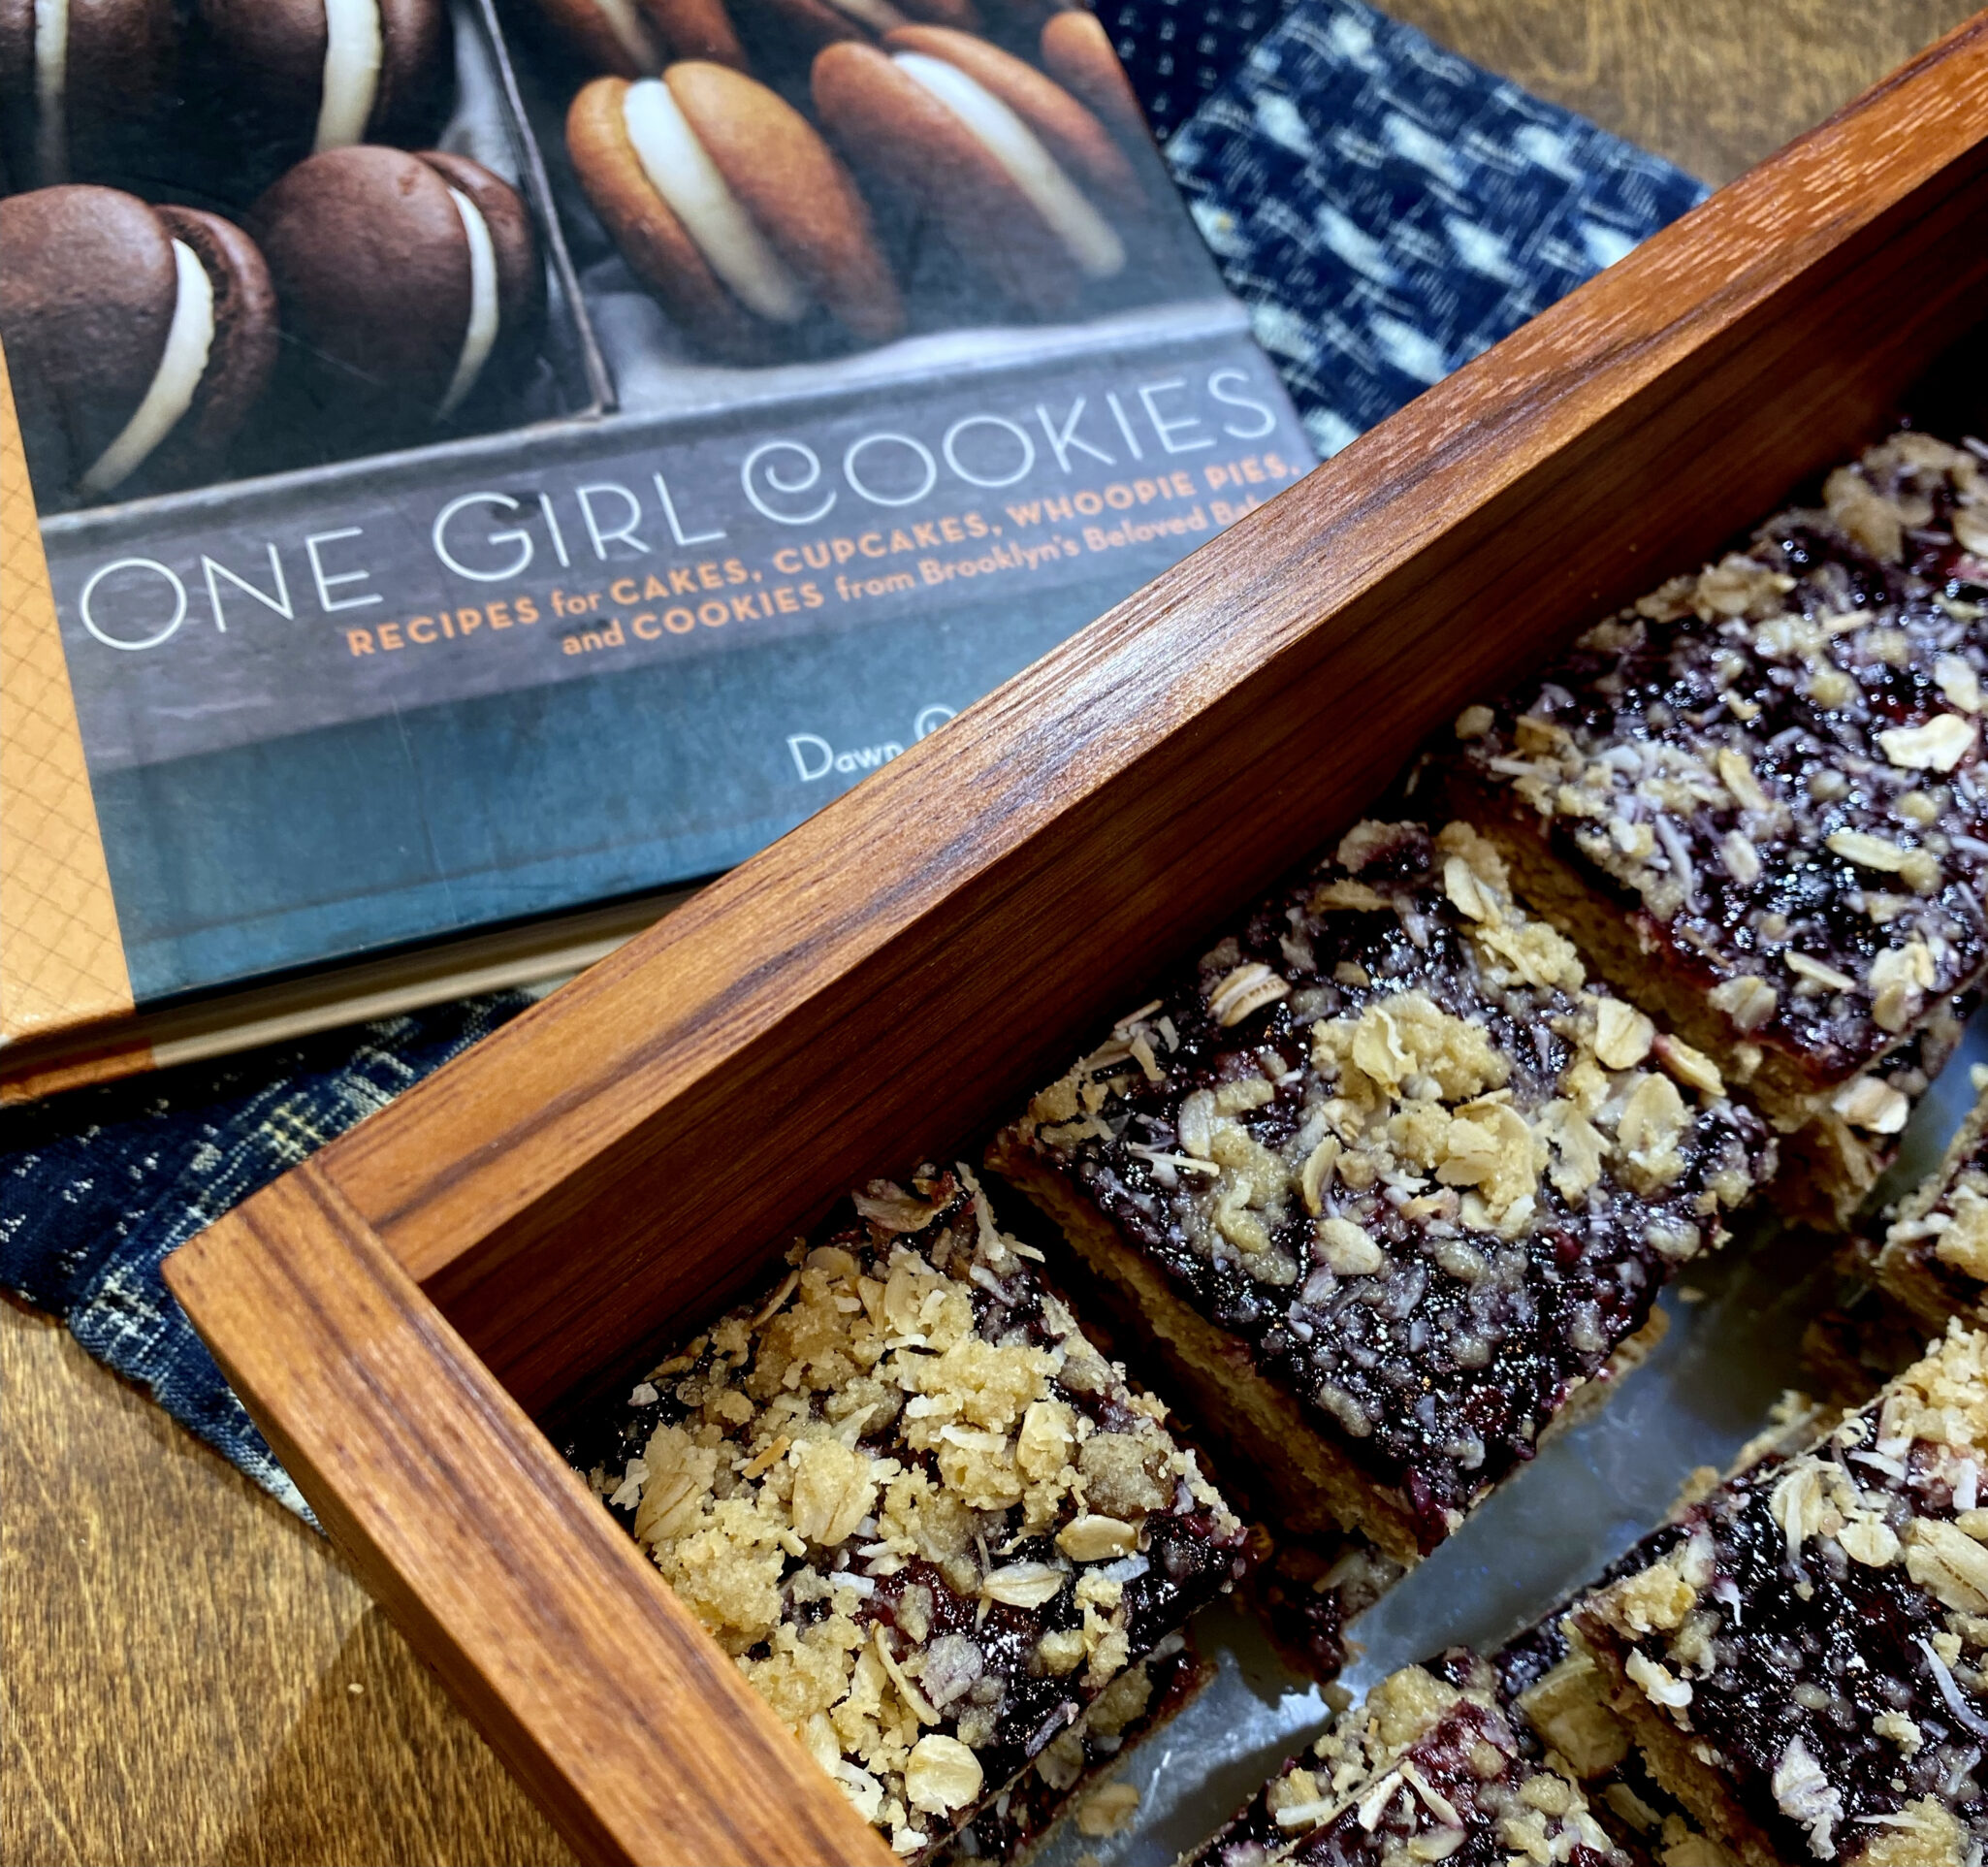
The 7AFoods Oat and Fruit Bars were dreamy-a buttery crust topped with blueberry preserves, dried fruits, oat, and a delicious crumble. I asked for the recipe which they graciously sent BUT I have yet to try as it makes two full sheets of bars!  So I searched for a simpler, smaller recipe that would satisfy my 7AFoods bar craving.  Luckily, I found a delightful, easy-to-make Raspberry Coconut Oat Bar cookie from One Girl Cookies that did the trick.

So, I made a batch of these delicious bars while watching this year’s Head of the Charles Regatta.  Sigh, maybe next year I’ll be rowing instead of baking.

Finally, Notes on the One Girl Cookies Raspberry Coconut Oat Bar

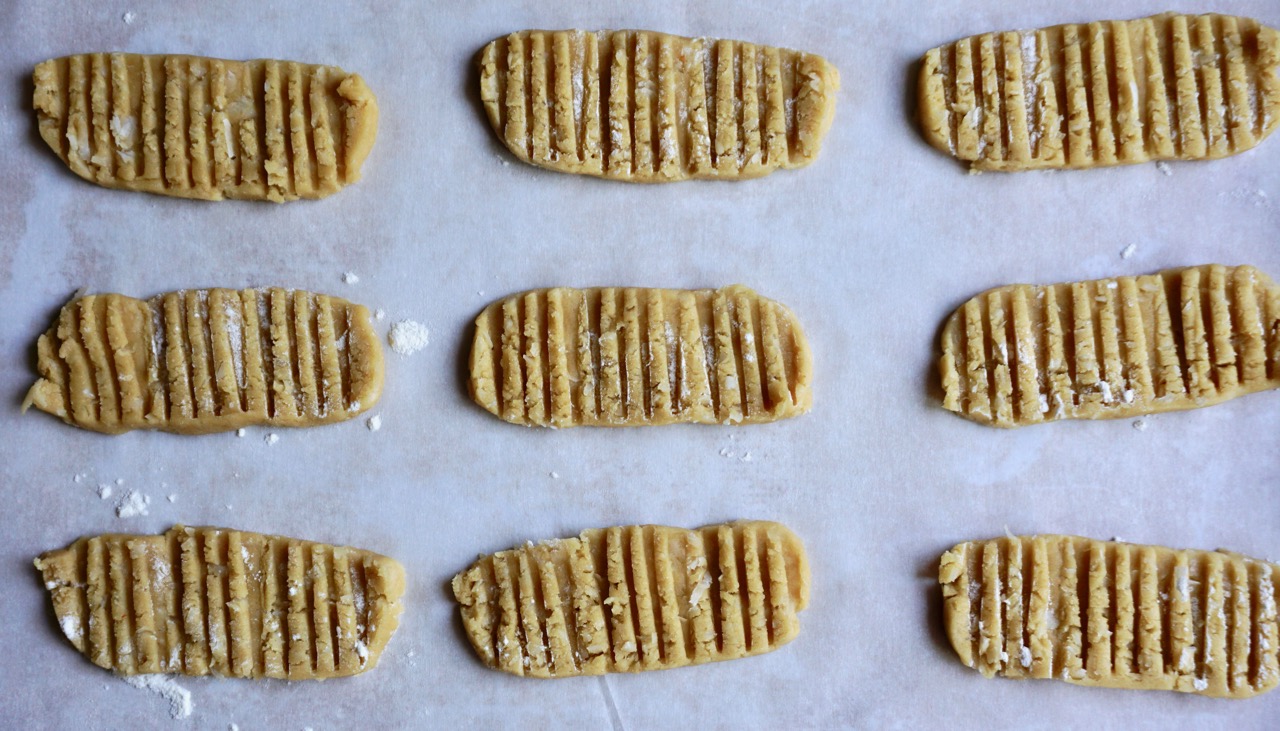
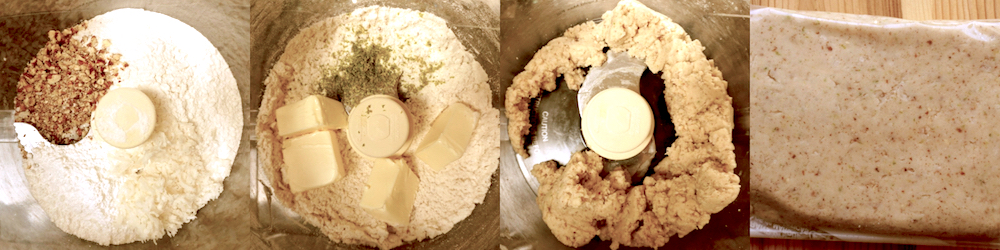
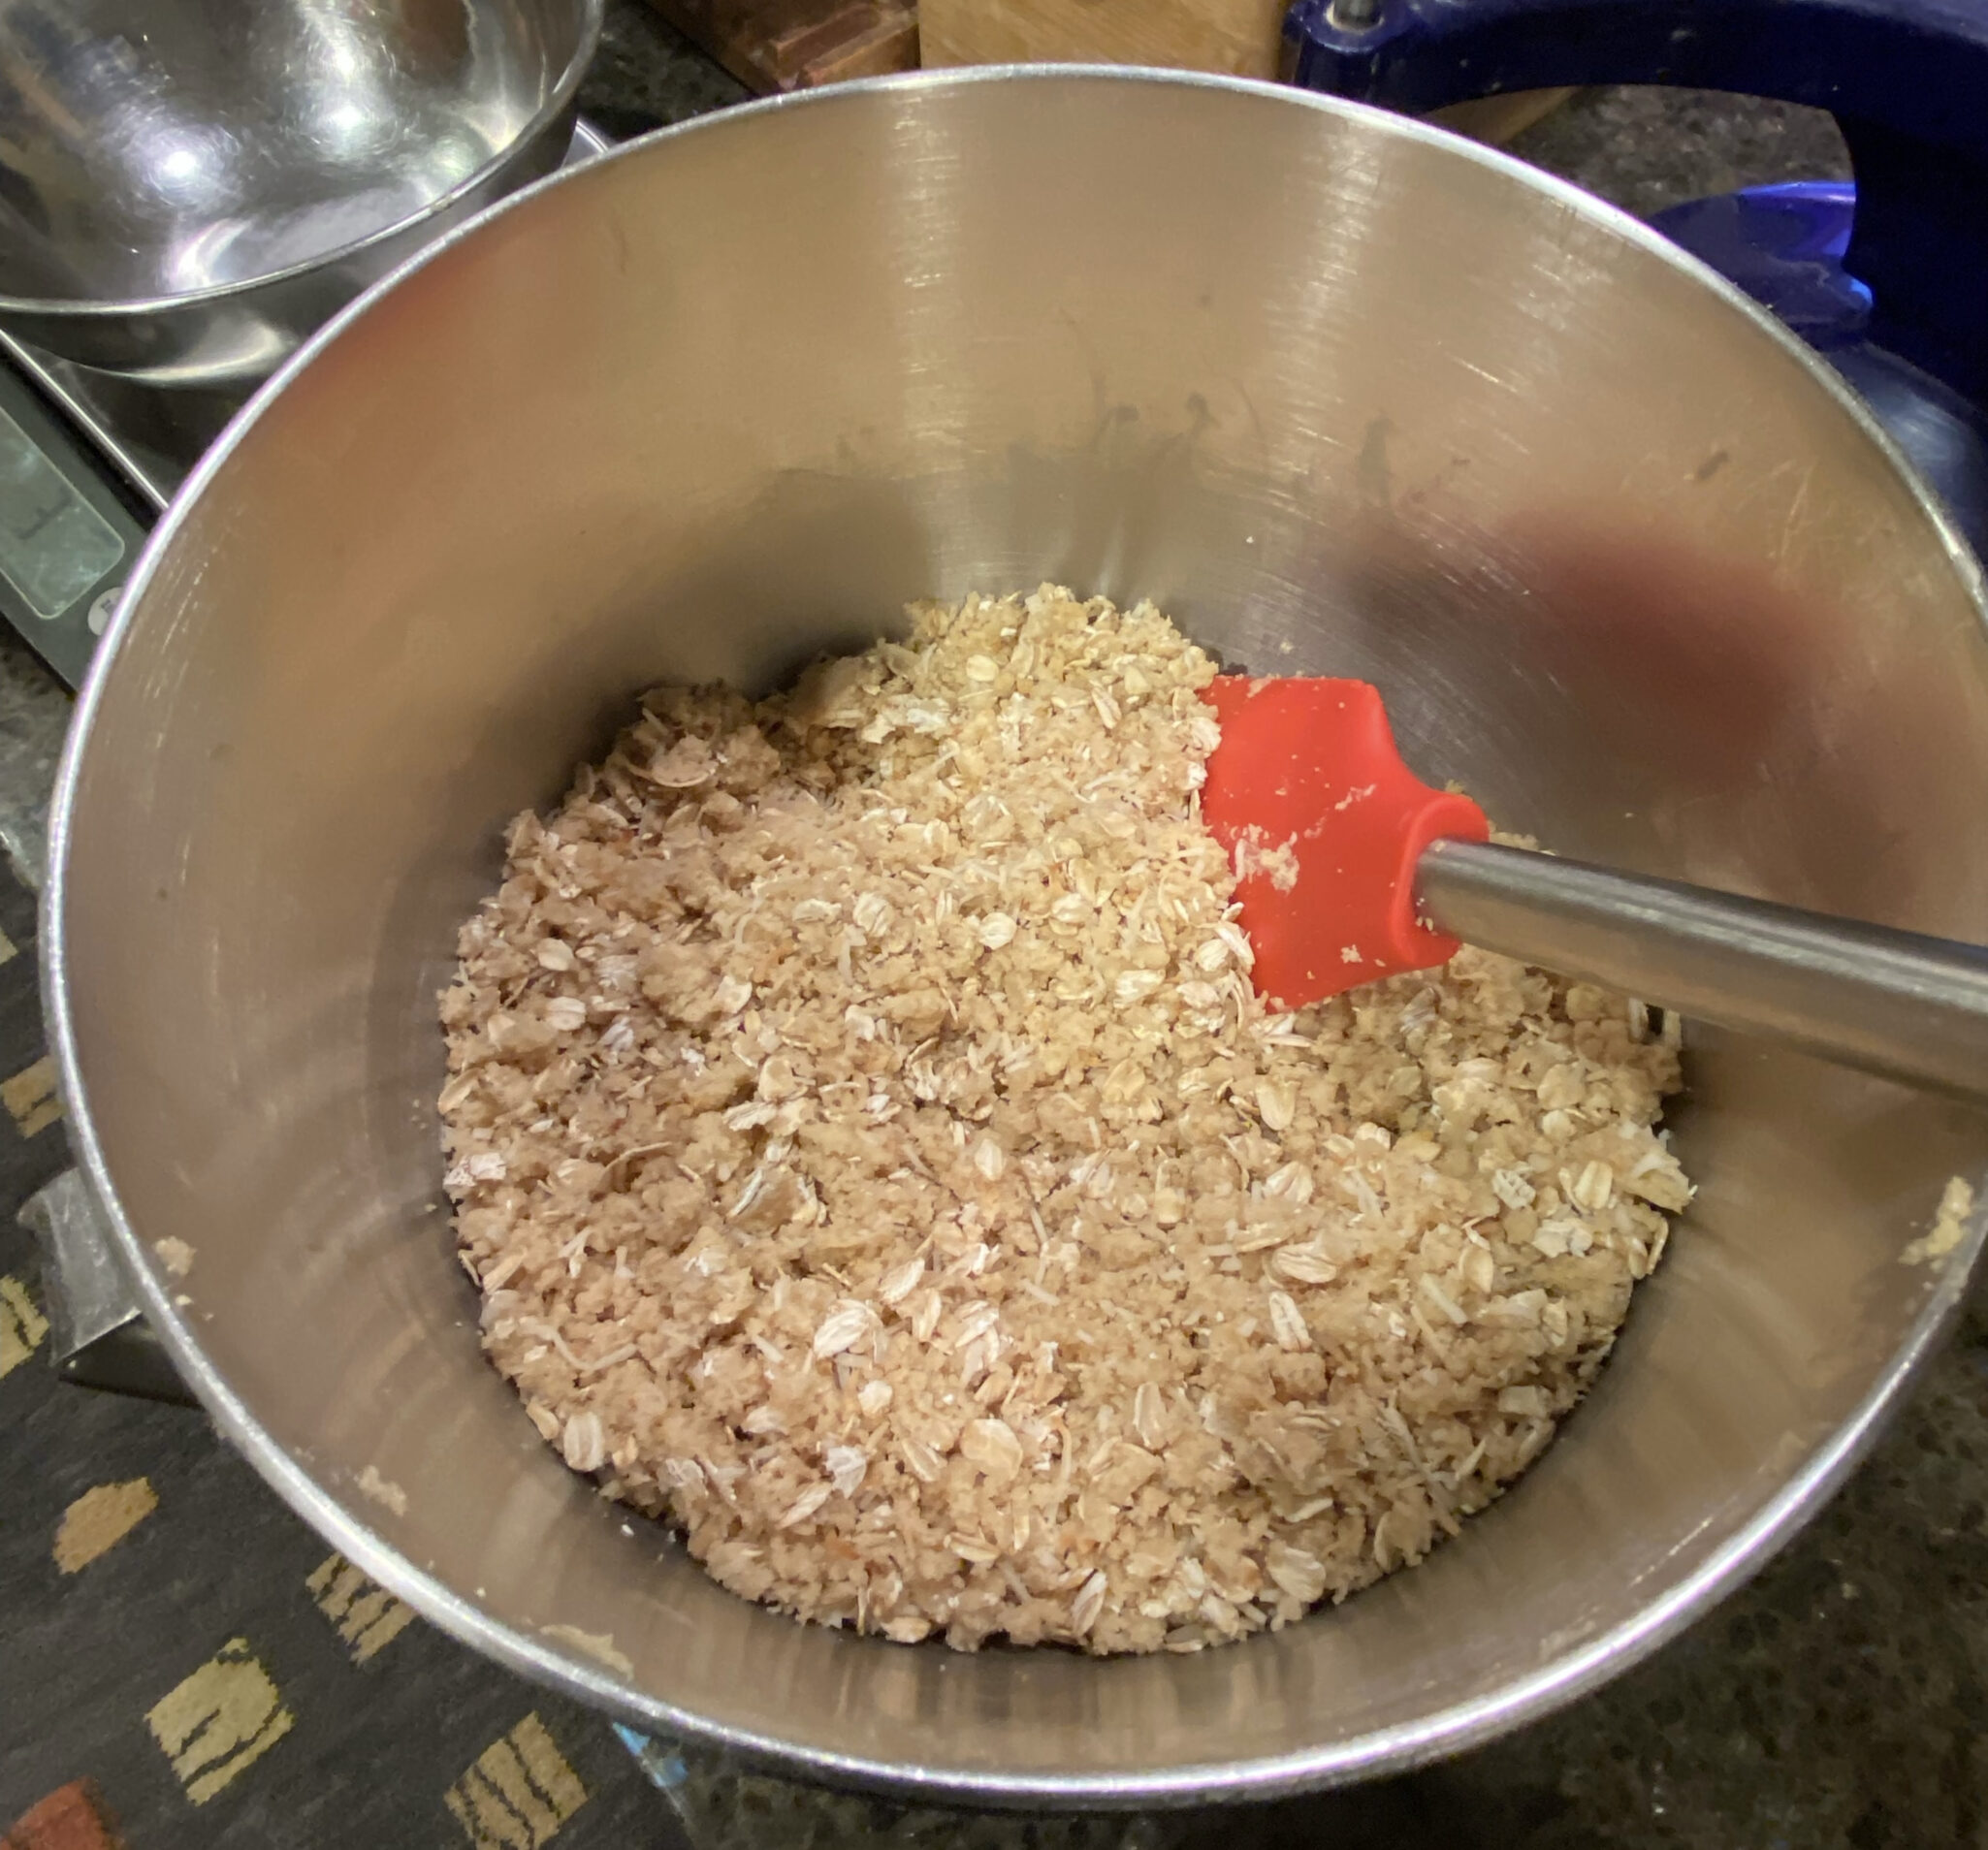
These bars are easy to make.  The base crust and crumble are from the same dough.  The dough starts with cold butter, eliminating the time to soften butter, and can be made in a mixer or by hand.  Yep, that easy.  Use a mixer, add the flour, sugars, salt, and butter (diced into little pieces) and mix until it forms a crumble, then add coconut and oatmeal.  Use a pastry blender to cut butter into flour and sugar mixture.  This is much like making pie dough.  Do not blend until it forms a single mass as that would result in a tough crust.  As it bakes, the bits of butter in the dough melt and create steam that makes a tender, flaky crust.

NACL Note

The recipe calls for 1 teaspoon of salt.  It is intentionally salt-forward, a play on the salty and sweet vibe.  If you use a really sweet jam, I would leave the amount of salt.  If you are salt sensitive, try 3/4 teaspoon instead.  You do need some salt as a flavor booster.

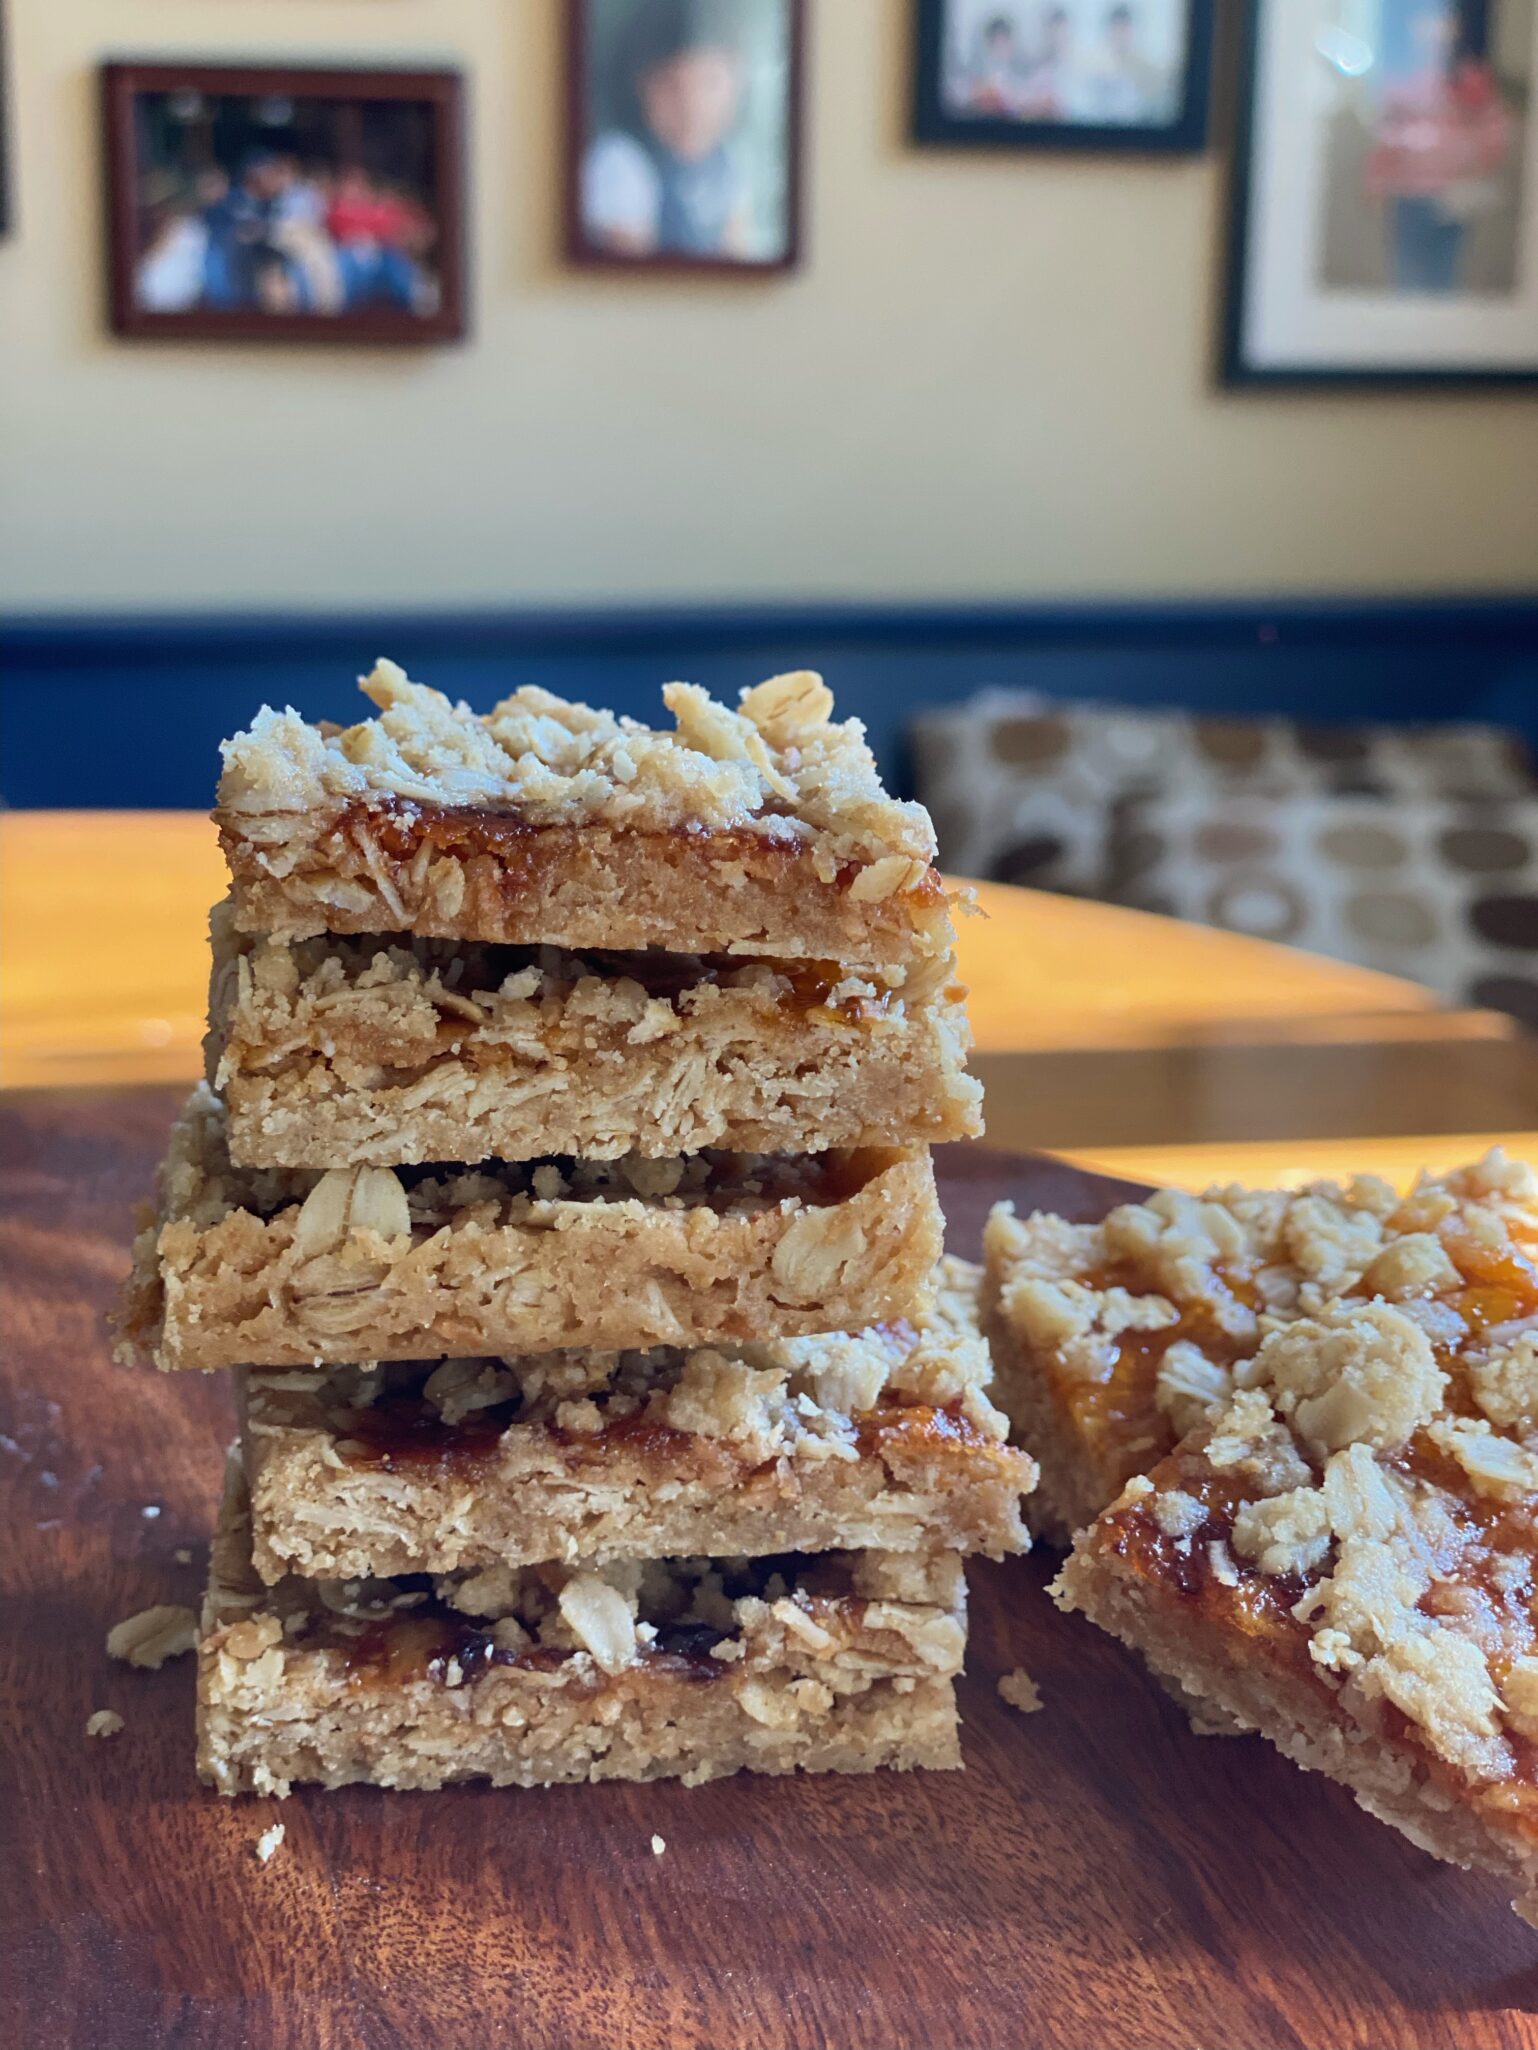
Reserve 3/4 to 1 cup of the crumble mixture.  Press the remaining dough into a 9×13 baking pan that has been lined with parchment.  The recipe calls for baking the crust for 14 minutes, it took a couple of minutes more for the edges to brown for me.  Spread preserves over the cooled crust.  I have used blueberry, mixed berry, and apricot, it’s your choice. The base crust is pretty thin so a thin layer of jam is all that is needed.  I might sprinkle the jam layer with dried fruit and sliced almonds before adding the crumble next time.

Before adding the crumble, squeeze the crumble mixture so there are some bigger crumbs, it looks nicer.

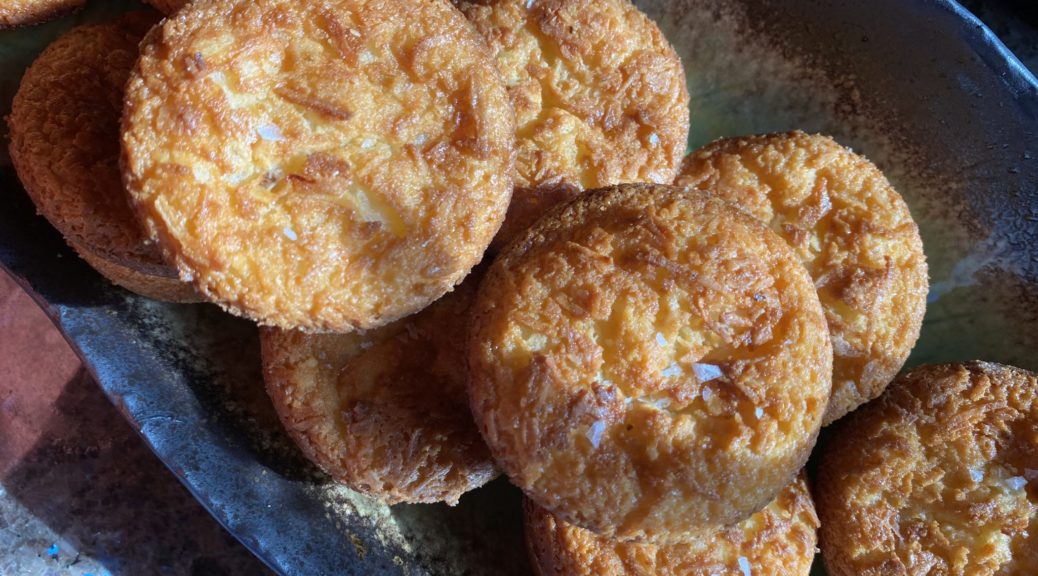
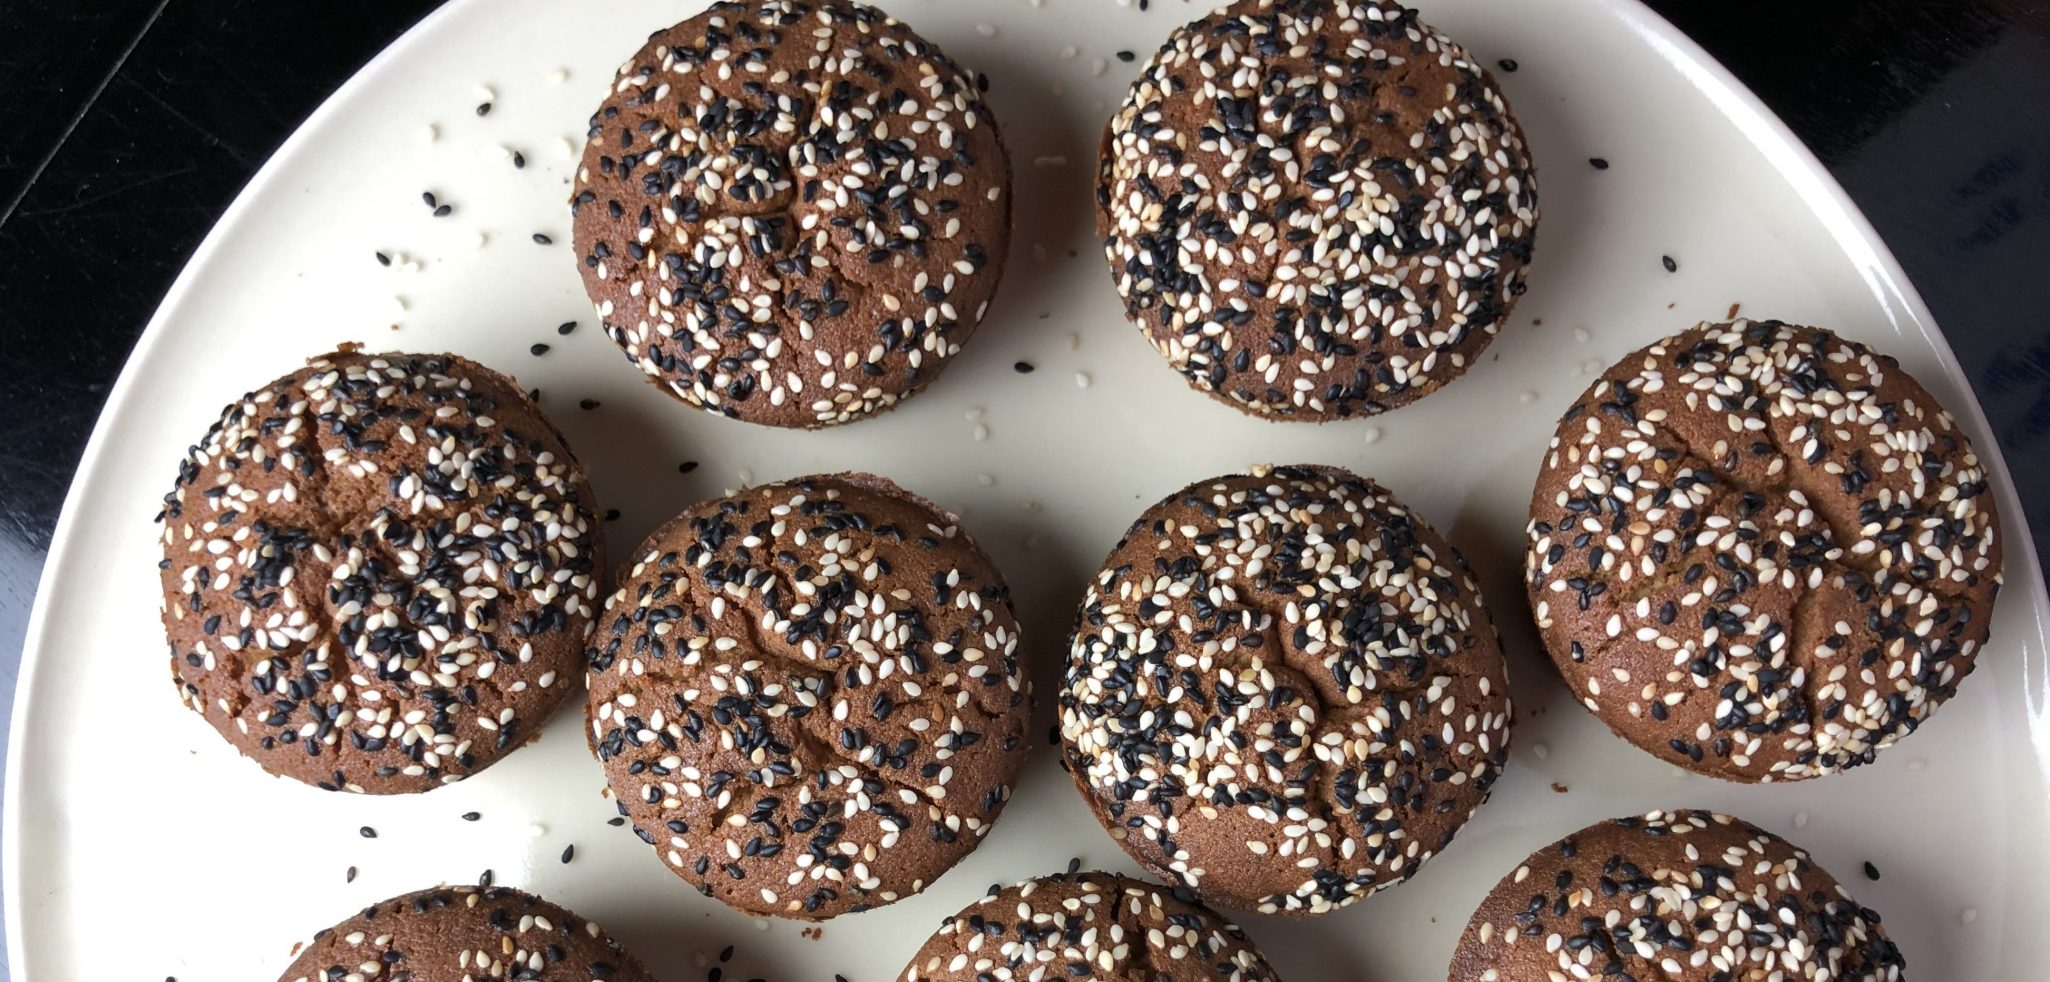
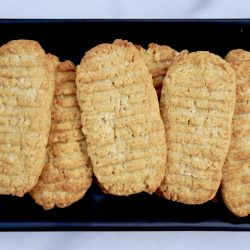
With Blueberry Lichi Jam!

With apricot cherry preserves!

JAMMY COCONUT OAT BARS

Jam & Coconut Oat Bars, a buttery shortbread base topped with preserves and a coconut oatmeal crumble. Adapted from One Girl Cookies.
Course bar cookies, cookies, desserts
Cuisine American
Keyword bar cookies, Jammy Coconut Oat Bars, One Girl Cookies
Prep Time 15 minutes
Cook Time 25 minutes
Resting Time 10 minutes

Ingredients

All About the Dough

  • 1-1/4 cups (150g) all-purpose flour
  • 3/4 cup (150g) packed light brown sugar
  • 1/3 cup (67g) granulated sugar
  • 12 tablespoons (170g) unsalted butter, cold and cut into small pieces
  • 1 teaspoon salt Very salt forward, decrease to 3/4 tsp. if desired

Add to Dough Crumble

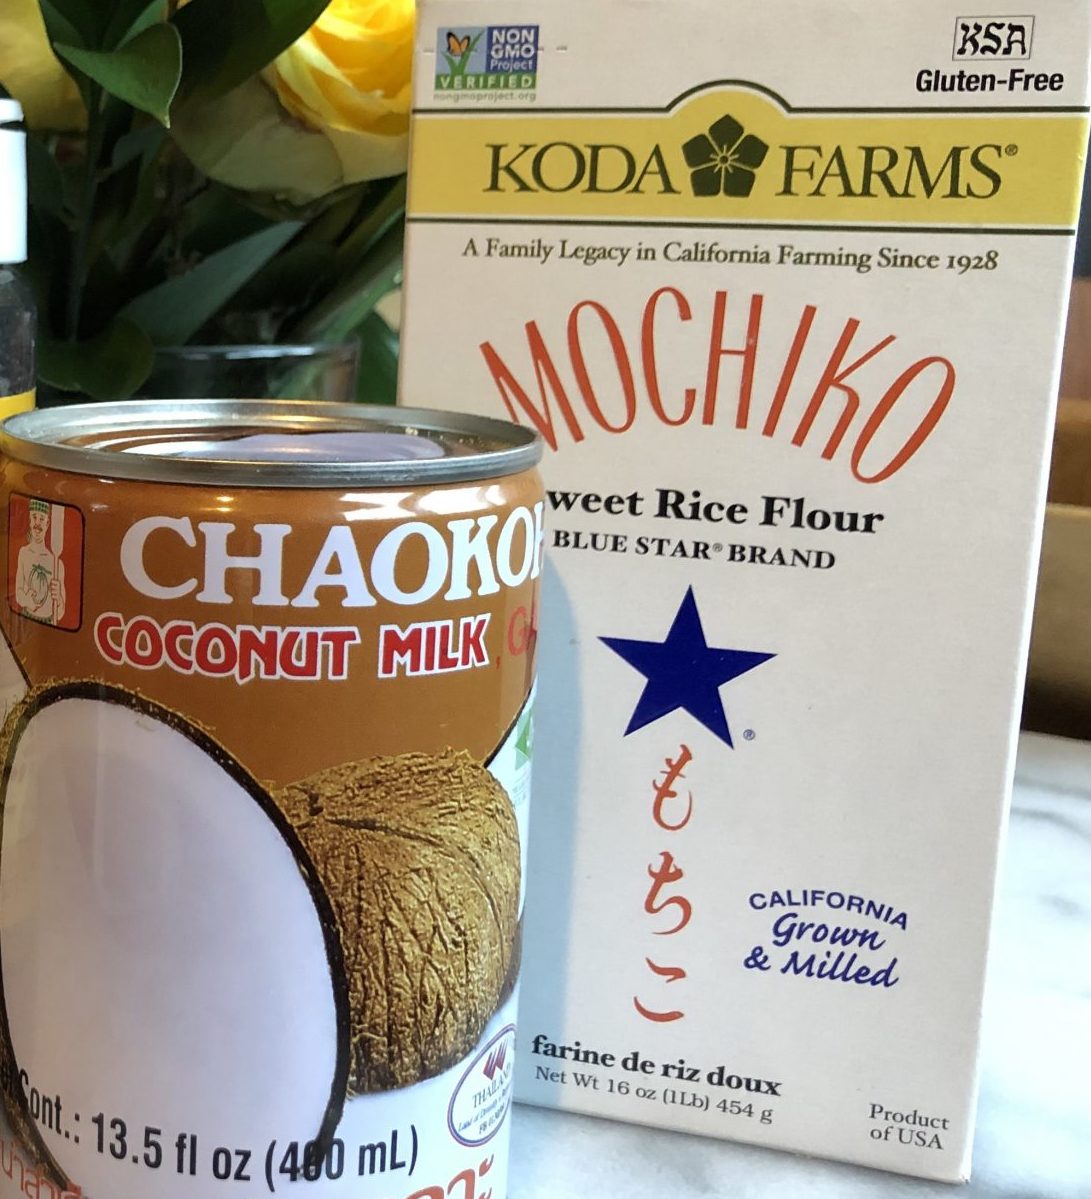
  • 3/4 cup (85g) unsweetened shredded coconut
  • 1-1/2 cups (148g) old-fashioned rolled oats

The Finish

  • 1/2 cup raspberry preserves or use your favorite preserves

Optional Adds

  • 1/4-1/3 cup diced dried fruit that compliments the preserves you use
  • 1/4-1/3 cup sliced almonds or chopped nuts of your choice

Instructions

  • Preheat oven to 350°F.
  • Spread the coconut on a baking sheet. Toast 2-3 minutes. Remove from the oven and allow to cool. Keep your eye on it as coconut will brown quickly
  • Grease a 9"x 13"x 2" baking pan. Line the bottom with parchment paper.
  • In an electric mixer on low speed, mix the flour, brown sugar, granulated sugar, and salt until combined. Add the butter and continue mixing until the dough begins to come together. Stir in the coconut and oats.
  • Remove 3/4-1 cup of the crust dough. Set aside. If adding optional ingredients remove 3/4 cup of crumble.
  • Pour the remaining dough to pan. Press evenly into the bottom of the prepared pan, I use a flat bottom cup to press dough into pan. Bake 14-17 minutes, rotating the pan halfway through baking. The crust should be golden brown around the edges. Allow the crust to cool for 10 minutes.
  • Spread the preserves evenly over the crust, leaving a scant 1/2-inch border. If you are adding nuts or dried fruit, sprinkle on preserves now then crumble the reserved dough over the top. Bake 7 minutes, or until the preserves are bubbly. Cool completely in pan.
  • Run a knife around the edges of the bars. Place a baking sheet on top of the pan and flip the pan over to release the bars. Peel the parchment paper off. Then flip again. Using a sharp knife, cut the bars into squares, which in a 9x13 won't be exactly squared, lol.
Hawaiian Butter Mochi (Mo Buttah’ Mo Bettah’)

Hawaiian Butter Mochi (Mo Buttah’ Mo Bettah’)

Right before the pandemic hit we capped off a year of traveling by going to Maui.  A celebration for the hubster’s birthday and his early retirement was our excuse to pack our bags and head out for some sun, fun, and food.  Little did we know it would be our last trip for quite a while.

Hawaiian Delights

I am a sucker for Hawaiian food.  A fusion of Native, Chinese, Japanese, Filipino, Portuguese, Korean and all of it tweaked so it taste great and is easy to eat while sitting on a beach!  Our bucket list of food included Spam Musubi, a hunk of rice topped with a fried slice of SPAM and wrapped in seaweed, Poke’ (seasoned raw fish in a bowl with rice), island style bbq, Huli, Huli Chicken. YUM.

Then there are the sweets, Malasadas (best damn donuts), Haupia (coconut jello) and my favorite, Butter Mochi. Hawaiian Butter Mochi is the island’s answer to Blondies or Brownies but better (I know, them is fighting words).  Buttery, gooey, sweet and so satisfying.  Like our Spam Musubi quest, we went out of our way to find all things mochi.

This isn’t my first mochi rodeo, I posted a Butter Mochi Muffin recipe a while back that peeps really like (so says Google analytics, lol).  Since then it has been off to the “rices” trying recipes with Koda Farms Sweet Rice (glutinous rice flour).  Mochi now merits its own category in my recipe index.  These muffins started it all, dense, chewy, with a touch of familiar cakiness, and the perfect amount of sugar. They are a great introduction to mochi-based desserts.  BONUS: Mochi is gluten-free!

Butter Mochi Muffins
The Muffins that started it all!

Mochi Mania-Island Style

Hawaiian Butter Mochi takes mochi back closer to its Japanese roots, lighter, springier, and less cakey.  The recipe calls for coconut milk and regular milk.  The regular milk and less mochi flour are the “denseness” buster and gives the mochi its characteristic texture.  Butter adds flavor.  It is usually baked in a pan and then cut into squares but I decided to bake them in muffin tins.  All for the edges folks.  Each person ends up with their own gooeylicious mini-cake highlighted by a crispy, buttery edge, and finished with toasty shredded coconut and a sprinkle of Fleur de Sel, soooooo yummy.

Inspired by Aloha Kitchen and the website Catherine Zhang, these Butter Mochi Mini-Cakes are onolicious.  I hope you will try them!

The two key ingredients you can find at most Asian stores, sweet rice flour and coconut milk. My go-to brands are Koda Farms Mochiko and Chaokoh or Arroy-D for coconut milk.

The batter will be very pourable due to the use of milk as part of the liquid and less mochi flour.

Don’t be afraid to fill the cups to 7/8.  The mini-cakes will puff up but will fall as they are cooling.  You will end up with a flat top or sometimes even a slight depression, it’s all good.

Enjoy!

Print
5 from 1 vote

Hawaiian Butter Mochi Muffins

This muffin is a mash-up of Hawaiian Butter Mochi and Butter Mochi Muffins! Gooier and less cake-like than my butter mochi muffins. Baked as muffins they have crispy edges and a soft center-onolicious!
Course Dessert, Snack
Cuisine Asian, Fusion
Keyword butter mochi, hawaiian, Mochi, muffin
Prep Time 15 minutes
Cook Time 45 minutes
Total Time 1 hour

Ingredients

Da Wet Stuff

  • 1/4 cup Unsalted butter 55gm
  • 3/4 cup Coconut milk 170gm
  • 1 cup Whole milk 240gm
  • 2 Eggs

Da Dry Stuff

  • 1 3/4 cup Glutinous rice flour 225gm
  • 1 cup Granulated sugar 200gm
  • 1 tsp Baking powder
  • Flaked or shredded coconut for garnish, preferably unsweetened but use what you like

Prep Yo Pan

  • Butter
  • Rice flour optional

Instructions

  • Preheat the oven to 375 degrees
  • Generously grease 12-cup muffin tin with butter and dust with rice flour, if you don't have rice flour, skip it. The flour does help the batter rise in the pan and getting crispy edges.
  • In a large, microwave safe bowl combine the coconut milk and butter, heat in the microwave for 1 minute
  • Add the milk and 2 eggs, whisk until combined. I like whole milk but you can use 2% milk or alternative milk like oat milk.
  • In a medium sized bowl combine the glutinous rice flour, sugar and baking powder
  • Add the dry ingredients to the wet ingredients and whisk until smooth
  • Pour the batter evenly into the 12 muffin cups
  • Sprinkle with coconut and bake for 45 minutes, or until golden brown
  • Remove and cool. Muffins will keep for a couple of days on the counter. Pop them in a toaster oven to re-crisp edges. They also freeze pretty well.
Coco-Nuts for Washboard Cookies

Coco-Nuts for Washboard Cookies

My grandma had a washboard she kept next to the bathtub in a round, white tin basin.  For those of you thinking “washboard?”, picture a rectangular wooden frame holding a corrugated metal sheet about the size of a full sheet pan.  As a kid, I watched my grandma rub wet soapy garments along the metal ridges to clean them.  All I can say is…THANK GOODNESS WE HAVE WASHING MACHINES NOW.

So much for nostalgic moments.  These delicious coconut cookies derive their name from that very same washboard that has gone the way of manual typewriters, record players, and cassette tapes.  Luckily this cookie hasn’t followed suit.

Cuckoo for Coconuts

I spent most of my life hating coconut. Shredded, flaked, milk, you name it, my immediate reaction was “yuck”.  But somewhere along the line, I did a 180 and now I am making up for lost time.  Coconut recipes now seem to jump out at me. I imagine those little white shreds, waving like a kindergartener with his hand up in the air telegraphing “pick me, pick me”.  As I was perusing America’s Test Kitchen’s The Perfect Cookie book-I came to a screeching halt at yep, these Coconut Washboard Cookies.

These cookies remind me of Pepperidge Farms Bordeaux Cookies. Crisp, light, buttery with the added bonus of coconut.  I might try replacing the milk in the recipe with coconut milk to see if this heightens the coconut flavor but they’re still pretty darn good without this tweak.  The dough is shaped into a rectangular roll and chilled until firm enough to cut.  Press the tines of a fork, well floured, into the dough slices to create the ridges grooved into the top of each cookie.  The perfect imitation of that old washboard.

These delectable bites are perfect with a steaming cup of coffee or tea.  Tasty and easy to make they deserve a spot on your cookie list.

This recipe is from America’s Test Kitchen’s The Perfect Cookie.  Get the Kindle edition right now!  Besides this recipe gem, the book is filled with info, tips, advice and a wonderful photos.

Coconuts

Washboards Cookies

Coconutty, crispy, buttery cookies that look like Grandma's washboard!
Course cookies, desserts, sweets
Cuisine American
Keyword buttery, coconut, Coconut cookies, Crispy, washboard cookies
Prep Time 25 minutes
Cook Time 15 minutes
Total Time 40 minutes
Servings 30

Ingredients

The Dry Mix-Combine and set aside

  • 2 cups all-purpose flour 10 oz
  • 1/2 teaspoon baking powder
  • 1/4 teaspoon baking soda
  • 1/4 teaspoon salt
  • 1/4 teaspoon ground nutmeg

The Wet Stuff

  • 8 tablespoons 1/2 cup or 1 stick unsalted butter, softened
  • 1 cup packed light brown sugar 7 oz
  • 1 large egg room temperature
  • 2 tablespoons milk sub coconut milk

The Add-In Star

  • 1 cup sweetened shredded coconut 3 oz
  • 1/4 cup finely diced dried pineapple optional to pump up the island factor!

Instructions

  • Whisk flour, baking powder, baking soda, salt, and nutmeg together in a bowl. Using stand mixer fitted with paddle, beat butter and sugar on medium-high speed until pale and fluffy, about 2 minutes. Add egg and milk and beat until well combined. Reduce speed to low, add flour mixture and coconut, and mix until just incorporated.
  • Transfer dough to a counter and, using your floured hands, roll dough into 15-inch log, then flatten top and sides to measure 3 inches by 1 inch. Wrap log tightly in plastic wrap and refrigerate until firm, at least 45 minutes or up to 3 days.
  • Adjust oven racks to upper-middle and lower-middle positions and heat oven to 350 degrees. Line 2 baking sheets with parchment paper.
  • Slice chilled dough into 1/4-inch-thick rectangles and space them 1 inch apart on prepared sheets. Using floured fork, make crosswise indentations in dough slices. Bake until toasty brown, 15 to 18 minutes, switching and rotating sheets halfway through baking. Let cookies cook on sheets for 10 minutes, then transfer to wire rack. Let cookies cool completely before serving.
Finding Ranger Cookies

Finding Ranger Cookies

We are a divided family. Hubby likes chewy oatmeal cookies and ooey-gooey chocolate chip cookies.  Me? I love shortbread, crumbly, buttery, melt-in-your-mouth cookies with a hint of sweetness, and decidedly not chewy. Perhaps, cookie preference is a dominant gene trait?  ALL my kids love chewy cookies just like Wes.  I thought it was a kid thing (I consider the hubs a kid).  I assumed when they got older their palates would become more refined, sophisticated m.  Surely, they would come around.

Nope

Even now, when I make cookies that aren’t chewy the response is “They’re ok” or “I like chewy cookies better” or “Wonder if Dad can make some Good Cookies.” The only rational explanation?  Mendelian Genetics. Yep, a predisposition to chewy cookies. Ooh, did you just have an involuntary flashback to high school biology? I concede, in our house, chewy cookies reign supreme.

I Went to a Garden Party

For a summer fundraiser, I volunteered to make Mexican Wedding Cookies. My partner at the dessert table, Emily, brought an unassuming looking oatmeal cookie,   They disappeared in a flash which caught my attention.  I grabbed one and took a bite.  Yum!  This cookie was CHEWY, sweet, buttery, with a bit of crunch.  It definitely fell into the Wes and kids’ cookie camp.  I snuck a couple (ok, more than a couple) onto my cookie plate to take home.

As soon as I got home, Jordan grabbed one of the cookies and gobbled it down, then he grabbed another and exclaimed: “This might be the best cookie yet!”

Determined to make them asap, I Googled cookies, coconut, Rice Krispies, and oatmeal, the ingredients Emily had rattled off to me.  Instantly, a bunch of recipes popped up for Ranger Cookies.  Some had chocolate or butterscotch chips, and some had different cereals.  The blog, Let’s Dish, contained all the ingredients Emily mentioned so this became my starting point.  I hit the jackpot, these were just like hers.

Ranger Cookie Tips

Start by creaming butter and sugar until light and fluffy should take about 2-3 minutes tops. Then add eggs and vanilla, mix until well combined.  The recipe calls for gradually adding dry ingredients.  My detour, add it all at once and combine at low speed just until dry ingredients are fully incorporated.  Finally, stir cereal, coconut, and oatmeal in by hand.

Chilling the dough before baking prevents spreading.  Use an ice cream scoop to portion out the dough. Bake cookies on parchment paper.  With 3-4 minutes left to bake, rap the pan on the wire rack to get the cookies to fall, this helps create those cool crevices.

If your cookies aren’t perfectly round, after taking the cookies out of the oven, quickly invert a glass over each cookie and swirl it around.  This will shape cookies into perfect little circles.  Or skip it, they’ll be gone before anyone besides you notices.

Feel free to add chocolate chips or butterscotch chips for a twist. You can replace the Rice Krispies with partially crushed Corn Flakes, they’rrrrre great!  All you Tony the Tiger fans.

Ok, maybe chewy is not a genetic thing…maybe chewy cookies are just really, really delicious (don’t tell my kids I said that).  Either way, they belong on your gotta bake cookie list.

RANGER COOKIES

Chewy oatmeal cookies loaded with coconut and crisp rice cereal. Simple and delicious, these cookies are a favorite with kids and grown-up kids as well!
Course cookies, Dessert
Cuisine American
Keyword coconut, cookies, oatmeal, ranger cookies, rice krispies
Prep Time 15 minutes
Cook Time 15 minutes

Ingredients

Creaming Mixture

  • 1 cup butter softened, this is an old recipe, before unsalted butter was so widely available. I would guess folks normally used salted butter. If using unsalted butter, increase salt in recipe to 1 teaspoon.
  • 1 cup white sugar
  • 1 cup packed brown sugar light or dark

The Wet Ingredients

  • 2 eggs
  • 1 tablespoon vanilla extract

The Dry Ingredients-Combine and set aside

  • 2 cups all-purpose flour I use King Arthur Flour and it worked fine. Once again an old recipe, Gold Medal was probably the standard, which has slightly less protein than KA.
  • 1 teaspoon baking soda
  • 1/2 teaspoon baking powder
  • 1/2 teaspoon salt

The Adds

  • 2 cups quick cooking oats NO instant oatmeal please
  • 2 cups Rice Krispies cereal
  • 1 cup flaked sweetened coconut you could probably use unsweetened coconut too.

Instructions

  • Preheat oven to 350 degrees.
  • In a medium bowl, whisk together flour, baking soda, baking powder, and salt. Set aside.
  • In a large bowl, cream butter and sugars until light and fluffy. (2-3 min) Beat in eggs and vanilla.
  • Gradually add flour mixture to creamed mixture and mix well (do not overmix though). Stir in oats, cereal, and coconut.
  • Drop by rounded tablespoonfuls onto ungreased baking sheets. If you have a #40 ice cream scoop (1.75 Tablespoons) use that to create uniform dough balls.
  • Bake 8-10 minutes or until golden brown. Let cool on pan for 3-5 minutes before removing to a wire rack to cool completely.

Notes

I use parchment paper to line my baking sheets.  These cookies can be baked directly on an ungreased cookie sheet.
Tropical Flair to Mexican Wedding Cookies when Married with Lime and Coconut

Tropical Flair to Mexican Wedding Cookies when Married with Lime and Coconut

The political action group I belong to (please continue to read, that is as political as this post is going to get) hosted a fundraiser this past weekend.  A garden party with a Mexican theme. Of course, I volunteered to make something sweet.  Cookies, specifically, Mexican Wedding Cookies, instantly popped into my head.  Usually, I bake a batch of these nutty, buttery, nuggets during the holidays but it is the middle of summer so I wanted to change it up just a bit.  I found the perfect riff on the classic wedding cookie, a coconut lime version, on the blog Once Upon A Chef by Jenn Segal.  Garden Party, Fiesta theme, coconut, lime-yep, spot on.

Delicious AND easy to make.  The dough is made in a food processor which makes these cookies STUPID easy.  You throw the dry ingredients into your food processor bowl, give it a couple of whirls, add the butter, vanilla and lime zest, pulse to it comes together and boom, you are done.  Wrap the dough in plastic wrap, and forget about it in the fridge for about an hour.  Use a teaspoon ice cream scoop to make balls of dough, bake, and roll in a ton of powdered sugar.  HOW EASY IS THAT? Ipso Facto Dunzo.

Coconut-Lime Mexican Wedding Cookies

Course cookies, Dessert
Cuisine American
Keyword Mexican Wedding Cookies
Prep Time 10 minutes
Cook Time 12 minutes
Total Time 22 minutes

Ingredients

  • 1 cup all-purpose flour spooned into measuring cup and leveled-off
  • 1/4 teaspoon salt
  • 1/2 cup confectioners' sugar plus about 3/4 cup more for coating
  • 1/3 cup pecans
  • 1/4 cup sweetened flaked coconut
  • 1 stick 1/2 cup unsalted butter, softened
  • 1 packed teaspoon lime zest from 1 lime
  • 1 teaspoon vanilla extract

Instructions

  • In the bowl of a food processor fitted with the steel blade, combine the flour, salt, confectioners' sugar, pecans and coconut. Process until the pecans and coconut are finely ground, and the mixture looks like sand. Add the butter, lime zest, and vanilla extract; process until the mixture comes together into a cohesive dough. Remove the dough from the bowl and wrap in plastic. Chill until firm enough to roll, 45 minutes to 1 hour.
  • Meanwhile, preheat the oven to 350°F. Line two baking sheets with parchment paper.
  • Measure the dough into heaping teaspoon-size pieces and roll each piece into a ball. Place the balls about 1-1/2 inches apart on the prepared baking sheets. Bake until the edges of the cookies barely begin to brown, 12 to 14 minutes. Let cool on the baking sheets, then roll in the confectioners' sugar while still warm. Let the cookies cool on a rack, then roll again in confectioners' sugar once they are cool. Store in an airtight container at room temperature.

Like Mother, Like Daughter Day 3: Dorie’s Blondies

Like Mother, Like Daughter Day 3: Dorie’s Blondies

Hi! Jamie here. I’m back for a holiday season of cookies, Christmas music, and lying on the couch watching TV. If you haven’t guessed by now, my mom is kinda crazy about cookies—especially during the holidays. Although I beg her every year not to bake 36 dozen cookies—I eat so many of them—she somehow turns it around and gets me to bake cookies, too. Yup, I’ve caught the baking bug.

We recently had our annual cookie exchange party last week, and, being the ridiculously hyper competitive person I am, I set out to bake the best cookie. Yes, only I would try to make a fun get together an intense competition. I’m just as crazy as my mom. I choose to blame her.

Anyways, as I was looking around for the best cookie recipe, my eyes were drawn to the THREE huge purple books that my mom had sitting on our coffee table. Yes, you guessed it, they were Dorie Greenspan’s cookie books. And no, it isn’t unusual that my mom has multiple copies of the same book, especially when they are Dorie Greenspan’s. I swear she is OBSESSED with that lady. So, I decided to rifle through the book to find the best recipe. I LOVE everything coconut, so, naturally I flipped to the back of the book to find all the recipes with coconut in them. I was surprised to find a recipe for blondies. Dorie adds sweetened coconut, chopped pecans, and chocolate chips to these classic bar cookies, and she bakes them in muffin tins. Intrigued, I set to work. I substituted unsweetened coconut for the sweetened and added a bit more sugar. I also did half mini semi-sweet chocolate chips and half toffee bits, for a little extra sweetness to make up for the unsweetened coconut.

Of course, as soon as I started scooping the cookies into mini muffin tins, my mom came over and FREAKED out over the size. Apparently Dorie’s mini muffin tins were bigger than normal mini muffin tins. I didn’t want to redo them, so I just tossed the pan into the oven, used regular tins with the leftover dough, and waited. I pulled them out in 15 min…I was scared that I would over bake them in the mini tin! I’m sure glad I did, too. The blondies came out incredibly gooey and chewy on the bottom, but had a nice crunch on top. Perfect. I sprinkled mini chocolate chips on the tops because they started to sink and then threw on some red and green sprinkles to make them really festive. They are sweet, and the nuts and coconut give it a great texture without overpowering the blondie flavor. The recipe makes about 30 mini blondies, so I would recommend doubling the recipe if you have a lot of people over.  There is a great article on Kitcn that covers these delicious blondies made 3 different ways.  Check it out!

Dories Blondies blew all the other cookies out of the water, of course. I mean, we all saw that coming.

Like Mother, Like Daughter Day 3: Dorie’s Blondies

Ingredients

Another winner from Dorie Greenspan's Cookies Book!

    Makes about 30

      Cooking spray or butter, for coating the pan

      • 1/2 cup coarsely chopped pecans toasted
      • 2 ounces best-quality milk chocolate finely chopped
      • 1/3 cup shredded sweetened coconut
      • 8 tablespoons 4 ounces unsalted butter, cut into chunks, at room temperature
      • 3/4 cup packed light brown sugar
      • 1/4 cup granulated sugar
      • 1/4 teaspoon fine salt
      • 1 large egg at room temperature
      • 1 teaspoon vanilla extract
      • 1 cup all-purpose flour

      Instructions

      • Arrange a rack in the middle of the oven and heat to 325°F. Butter or spray a 24-well mini-muffin tin.
      • Stir the pecans, chocolate, and coconut together in a medium bowl; set aside.
      • Place the butter, brown sugar, granulated sugar, and salt in a stand mixer fitted with the paddle attachment and beat on medium speed until smooth, about 3 minutes. (Alternatively, use a large bowl and electric hand mixer.) Add the egg and beat on low, scraping the bowl as needed, until you have a smooth, creamy mixture. Beat in the vanilla.
      • Turn the mixer off, add the flour all at once, and pulse a few times to start incorporating it. Mix on low speed until the flour is almost fully blended into the dough. Add the pecan mixture, mixing just until they're evenly distributed; if you'd like, you can do the last few turns by hand with a sturdy rubber spatula.
      • Using a small cookie scoop, scoop out level portions of dough or use a teaspoon to make rounded spoonfuls and place one in each mini-muffin well. When each well has dough (you will use about half the dough), press each mound of dough down very lightly with moistened fingertips.
      • Bake until the cookies are firmly set around the edges and golden-brown in the center, 14 to 16 minutes. A tester inserted in the center of a blondie should come out clean.
      • Place the tin on a cooling rack and let the blondies rest for 3 minutes. Unmold the blondies either by turning the tin over and rapping them against the counter or popping the blondies out with table knife. Transfer the blondies to the rack and and let cool to room temperature, about 10 minutes.
      • Let the mini-muffin tin cool and and repeat baking the remaining dough.
      • Recipe Notes
      • Make ahead: You can scoop the dough out onto a lined baking sheet, pat it down, freeze until firm, and then pack the pucks in an airtight container and freeze for up to 2 months. Leave the pucks at room temperature while you heat the oven before baking.
      • Storage: The blondies are best eaten soon after they're baked, but they can be kept in a covered container at room temperature for up to 1 day. They can also be frozen, wrapped airtight, for up to 2 months.

      Hi Claire J


      Kid Approved Cookies (Worlds Best Cookies)

      Kid Approved Cookies (Worlds Best Cookies)

      DSC02598There are two types of cookies in this world, kid cookies and adult cookies and lately I’ve been baking lots of kid cookies especially  chocolate chip.  Tired of making chipsters,  I pulled out a recipe that I haven’t made in awhile, World’s Best Cookies.  I needed lots of cookies (enough to feed a hockey team, literally) and these fit the bill. The recipe comes from San Francisco a la Carte, a junior league cookbook that’s easily 25 years old. The cookies are crispy, crunchy, chewy, buttery, and nutty all at once. Cookie Nirvana.  The crisp texture comes from using oil in the cookie as well as butter.  Cornflakes give it additional crunch while the flaked coconut and oatmeal give it a bit of chewiness.  After creaming the butter and sugar, oil is added, keep mixing, the dough will look curdled but will smooth out.  Add the dry ingredients and mix until the flour is incorporated.  The dough is soft and will be easier to work with if you chill it.  Use a tablespoon ice cream scoop to form the dough.  A fork dipped in sugar serves to press the cookies flat and give them that distinctive crosshatch mark also found on old fashioned peanut butter cookies.  The recipe makes approximately 6 dozen cookies plenty for a crowd.

      Worlds Best Cookies

      Ingredients

      • adapted from the San Jose Mercury News and San Francisco a la carte
      • 1 cup butter softened
      • 1 cup granulated sugar
      • 1 cup brown sugar packed
      • 1 egg
      • 1 teaspoon vanilla
      • 1 cup vegetable oil
      • 1 cup crushed cornflakes
      • 1 cup oatmeal not quick cook 1/2 cup shredded coconut
      • 1/2 cup chopped nuts walnuts or pecans
      • 3 1/2 cups sifted all-purpose flour
      • 1 teaspoon baking soda
      • 1 teaspoon salt

      Instructions

      • Preheat oven to 325F.
      • Cream butter and sugars until smooth and light. Add in egg and vanilla. Add in oil and mix well. At this point, the batter will look a little strange, but keep going.
      • Add in the cornflakes, oatmeal, coconut, and nuts. Mix well. Sift together flour, baking soda and salt and add to mixture. Mixture will be soft, chill for 30-60 minutes.
      • Using a cookie scoop, measure 1 tablespoon of dough and drop onto a parchment lined cookie sheets. Using a fork dipped, flatten the top of each cookie. If the fork begins to stick, dip it into a glass of cold water.
      • Bake 15-18 minutes (the recipe in the paper said 12 minutes, but in my oven, that was not enough time, or else, I like my cookies a little crispier!). Cool on cookie sheets for a few minutes, then transfer to rack to cool completely.