Tag: #Cake

Everything Everywhere All At Eri-onCe (Cream Cheese Pound Cake)

Everything Everywhere All At Eri-onCe (Cream Cheese Pound Cake)

I am seriously thinking about adding a new category to 3Jamigos. I’m going to call it “Everything Everywhere All at Eric”.  Serving a dual purpose, a nod to the movie EEAAO and its amazing cast, and of course to Eric.  For those of you not “in the know”, I am referring to Eric Kim, food writer, cookbook author (Korean American: Food that Tastes Like Home), Food52 alum, and current columnist of lots of yummy stuff at the New York Times.
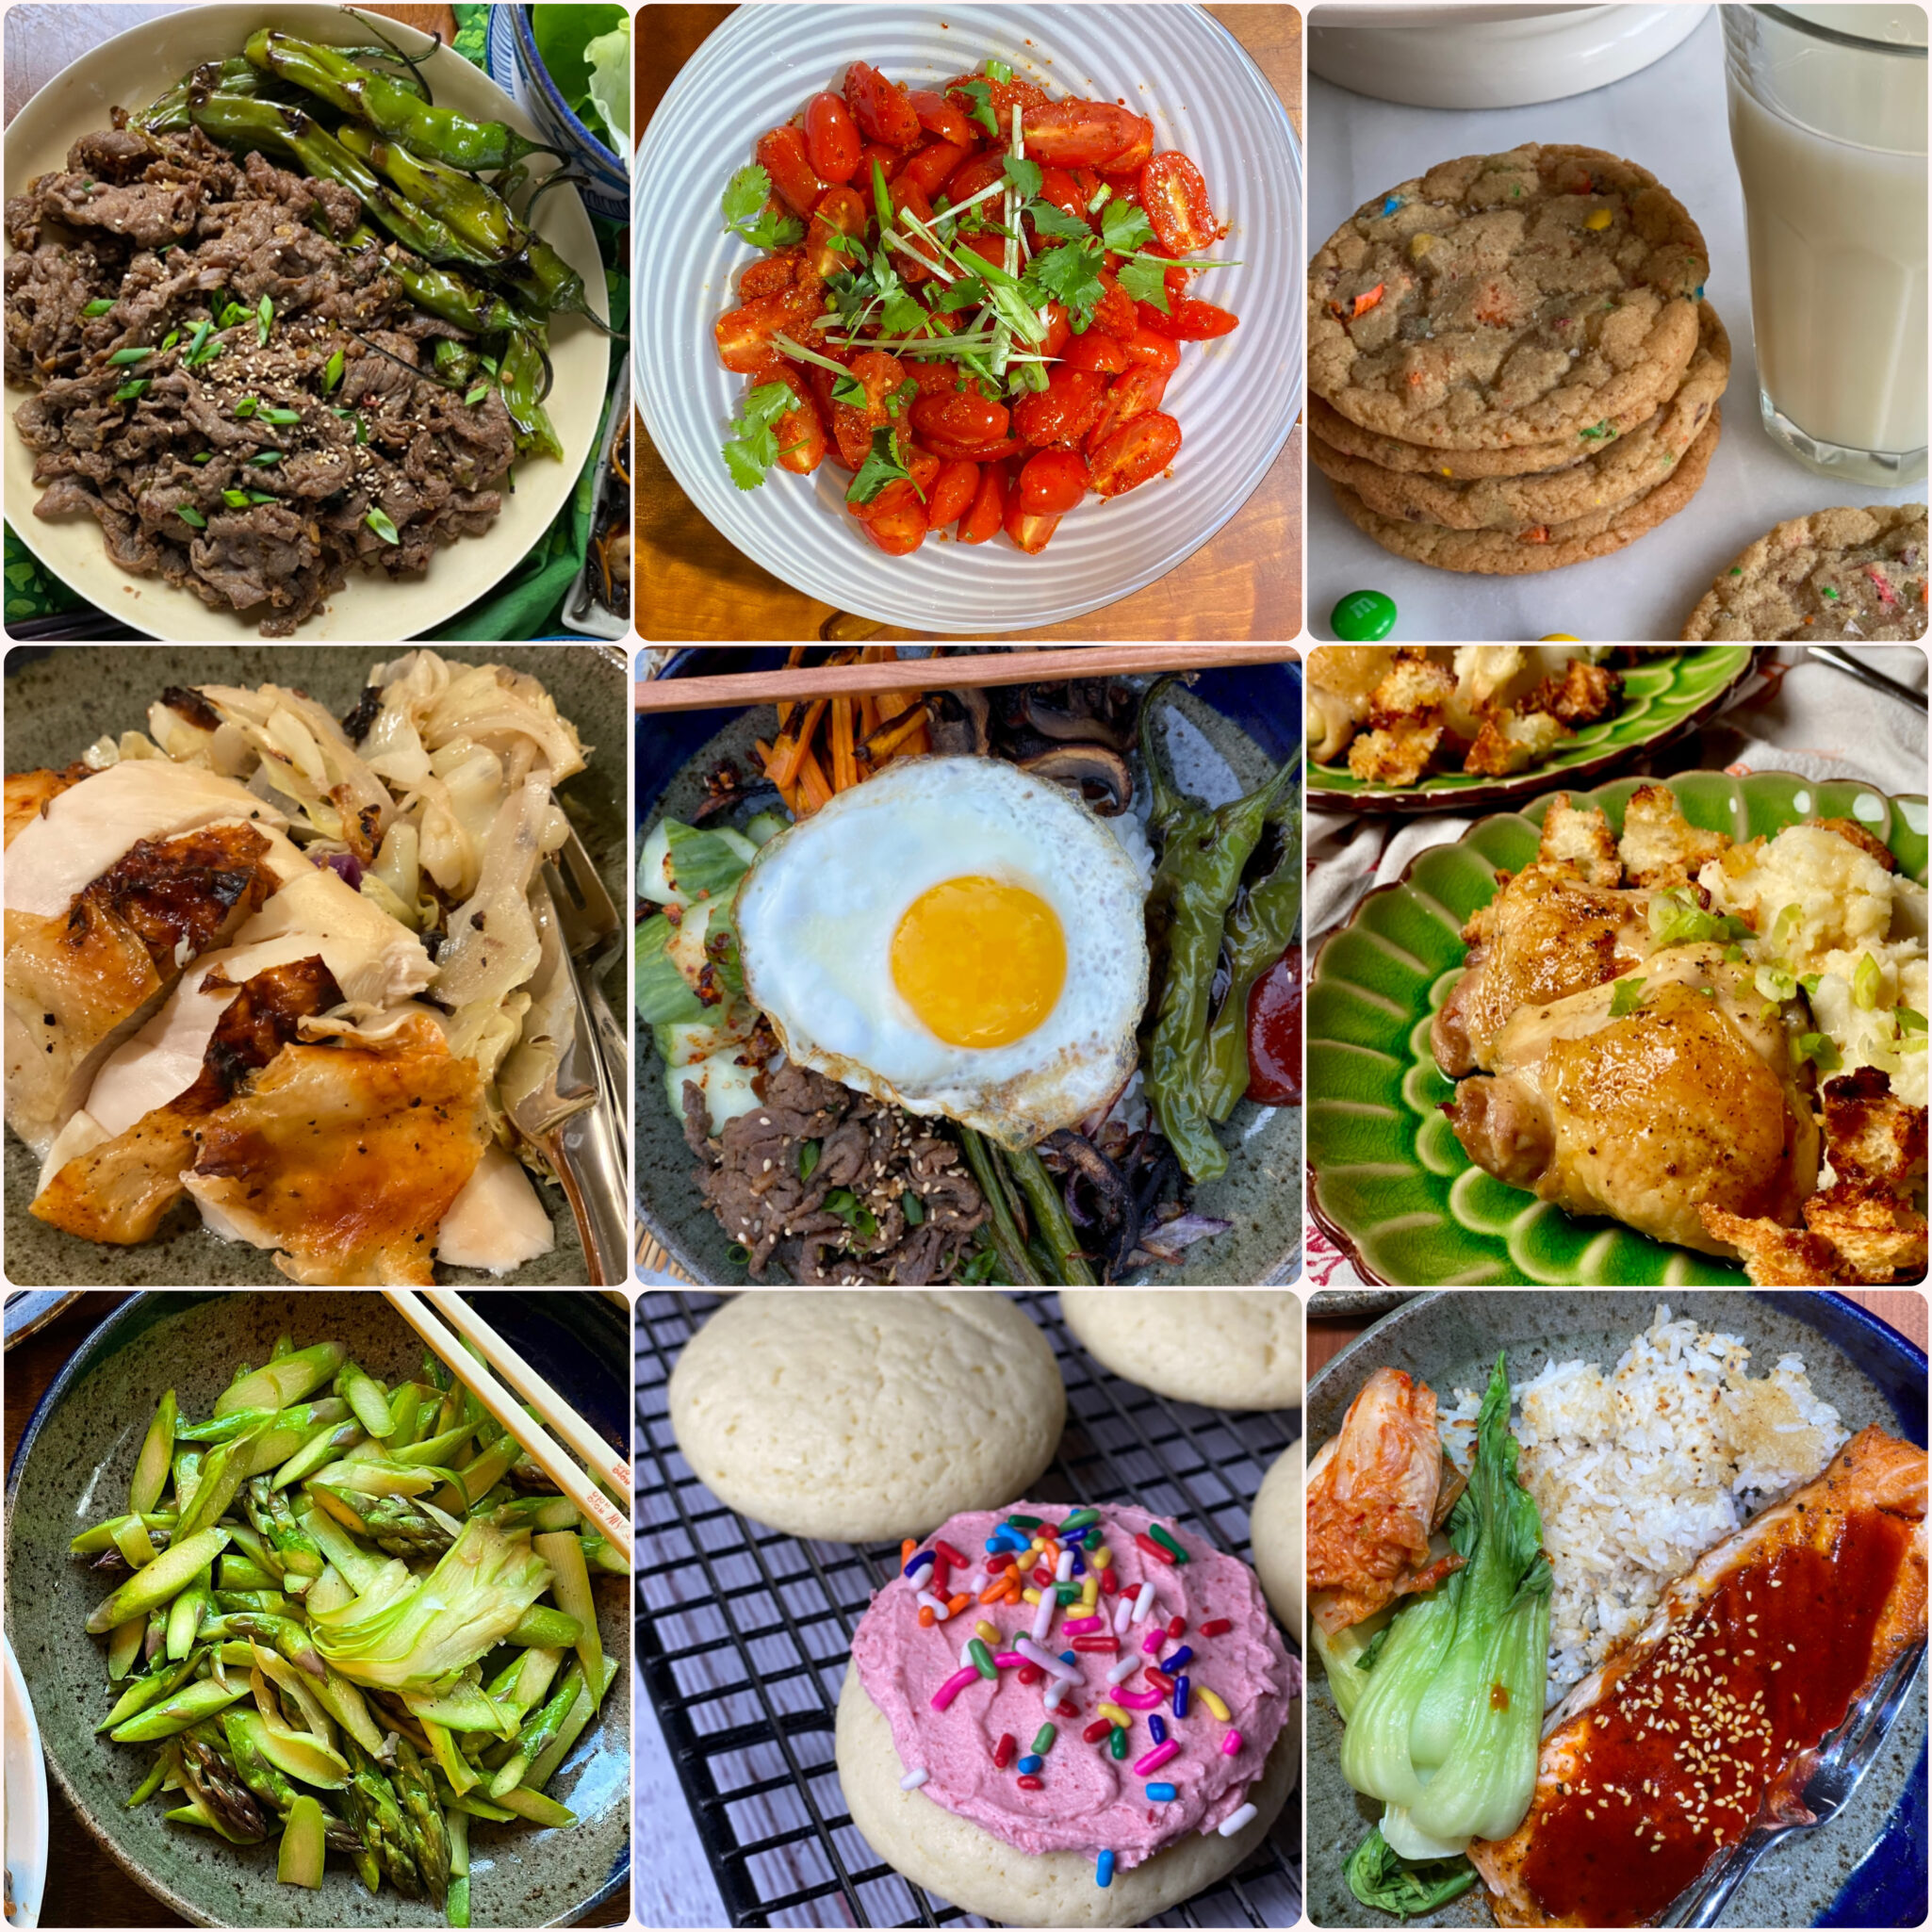
I’ve been following him since his days at Food52 where he wrote a column, Cooking for One.  His writing is gorgeous and his recipes are simple, straightforward, and delicious.  I have a backlog of his recipes I have made but just haven’t had the time to do them justice in a post.  I will get to them soon, promise!  During the holidays I made his Cream Cheese Pound Cake, it’s divine. Posting about it is long overdue! So here is the list of Eric recipes I have made and love. Links to the ones I have posted. Hope you will try them!

Savory

Sweet

Well, the list of savory is overwhelming at this point so I am going to finish off the Sweet category with his Cream Cheese Pound Cake.  It’s delicious and something you should bake right now. It will fill your home with the aroma of butter and sugar and help keep the house warm, since our cold, wet, weather is back again.  This is the perfect antidote.

Does it bother you when you make something from scratch and the person eating it says, “wow this tastes just like the one in the grocery store!” Unless it is your hubby, who you would slug, you politely smile, laugh, and let it go.  Well, this cake is reminiscent of the Sara Lee Poundcake we all grew up with.  Don’t be surprised if someone exclaims “this is like Sara Lee’s” and definitely take it as a compliment.

Lets Get Baking

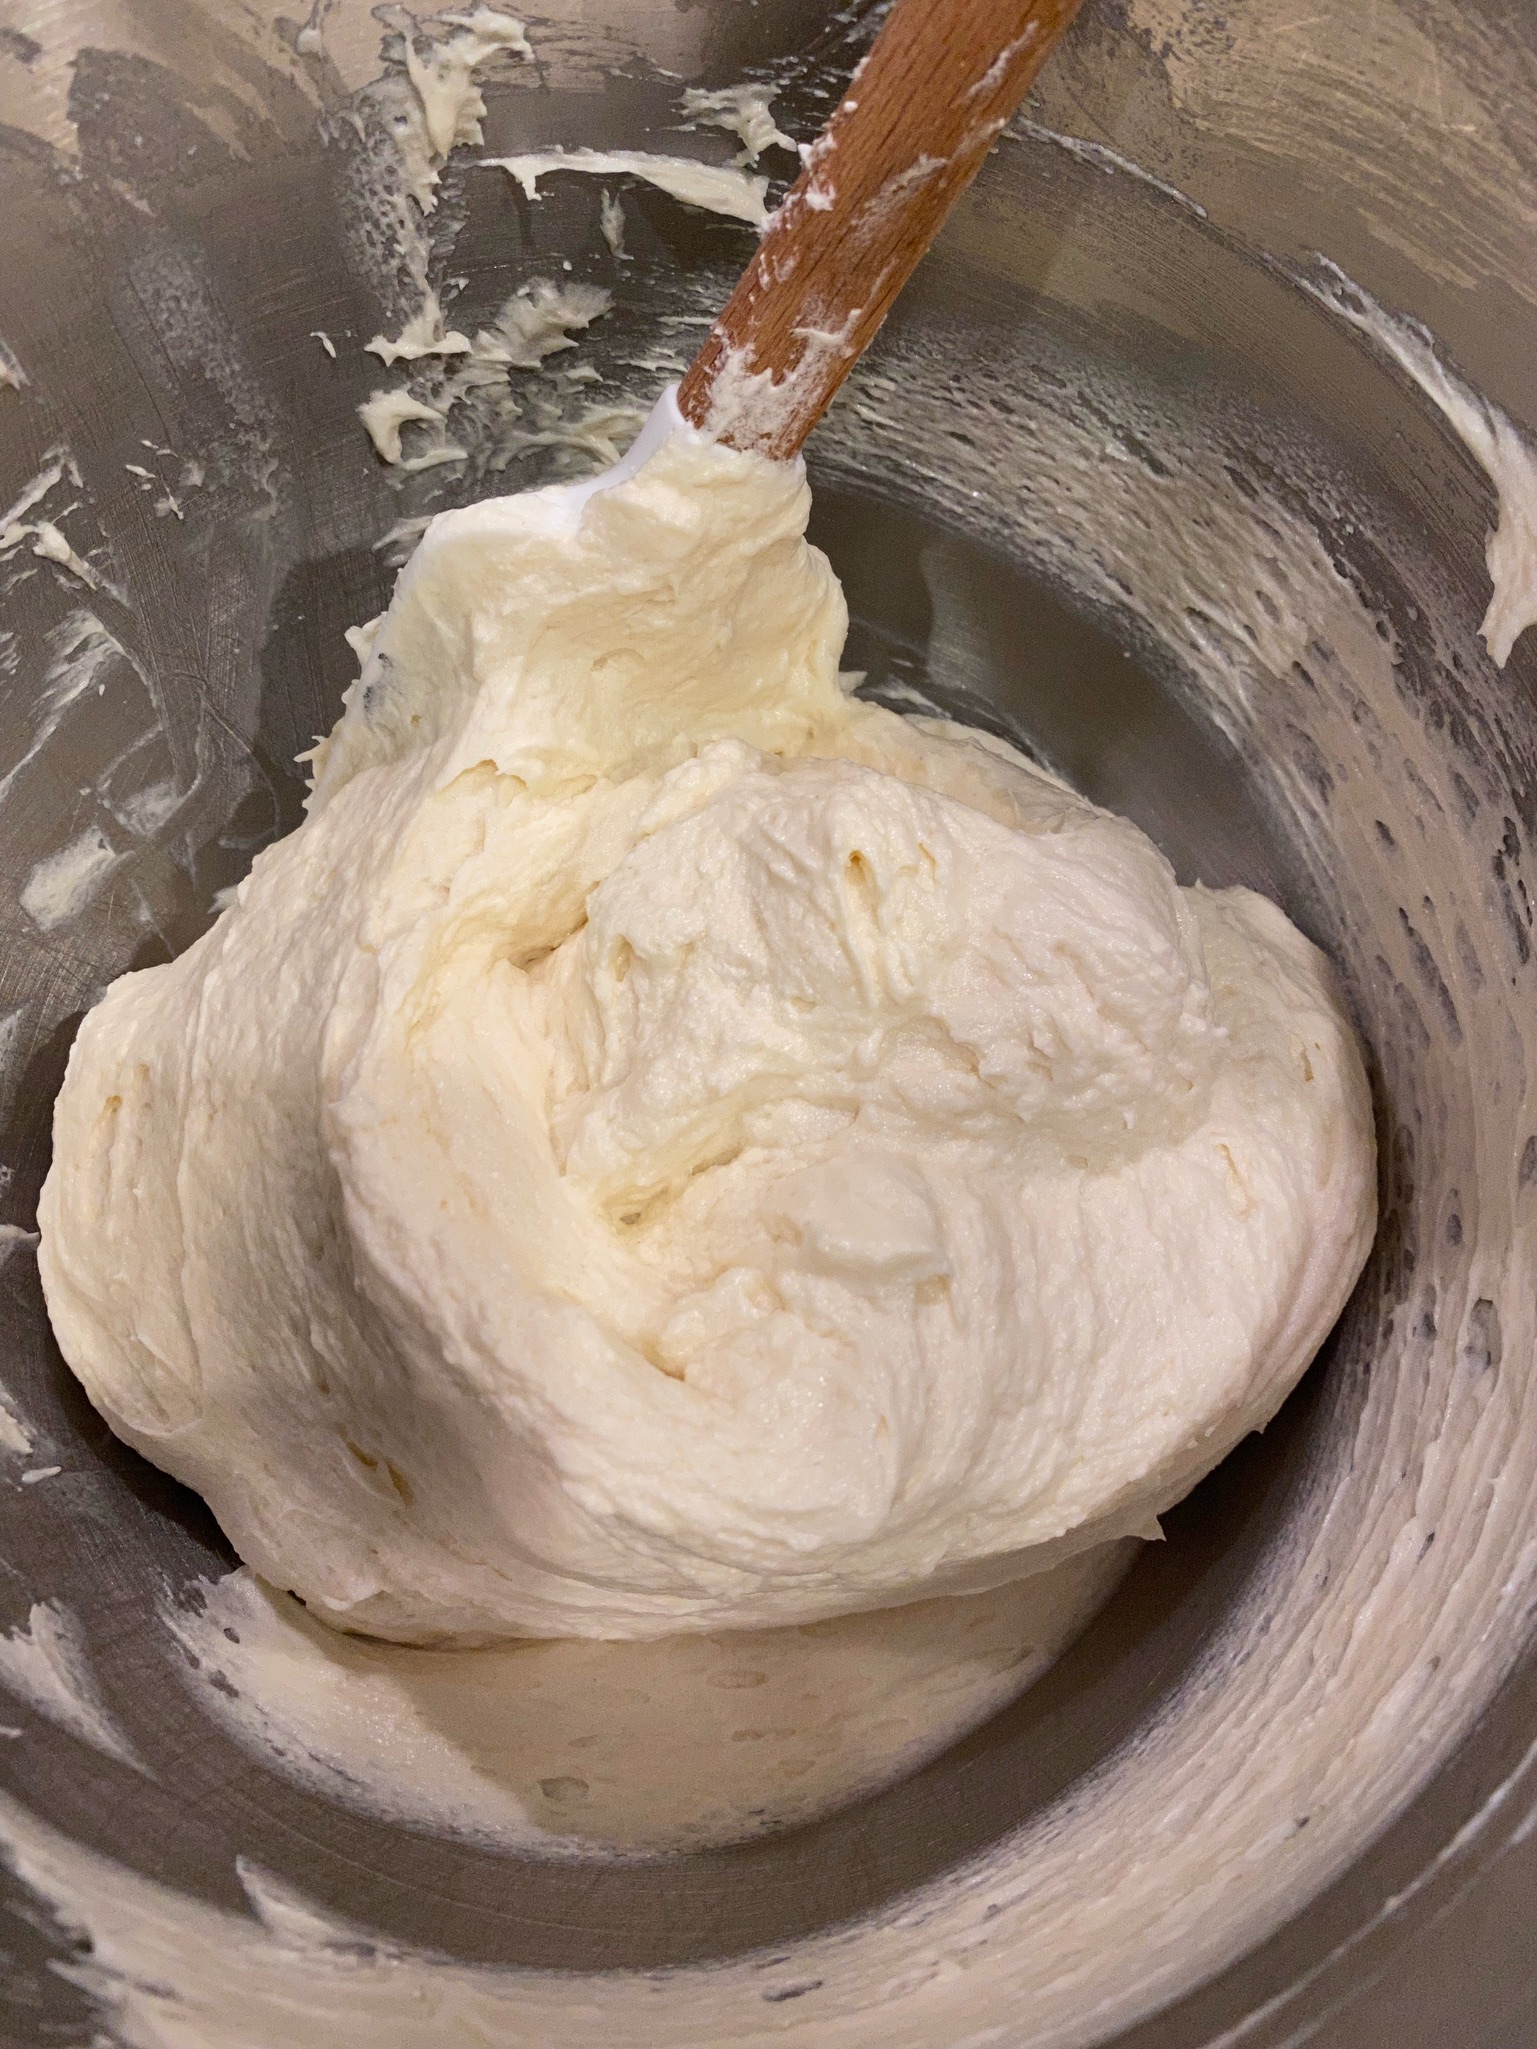
Make sure your butter and cream cheese are at room temperature (about 68 degrees).  Cream cheese adds moisture, richness, and flavor to the cake. Three cups of sugar is pretty typical for a pound cake although this cake may be a little sweeter since it has a smaller amount of flour.  Cream the butter, cream cheese, sugar, salt, and vanilla.  Then add the eggs, one at a time, beating until smooth.  Finally, add the dry ingredients at low speed.  Do not overbeat after adding the flour, this would toughen the cake.
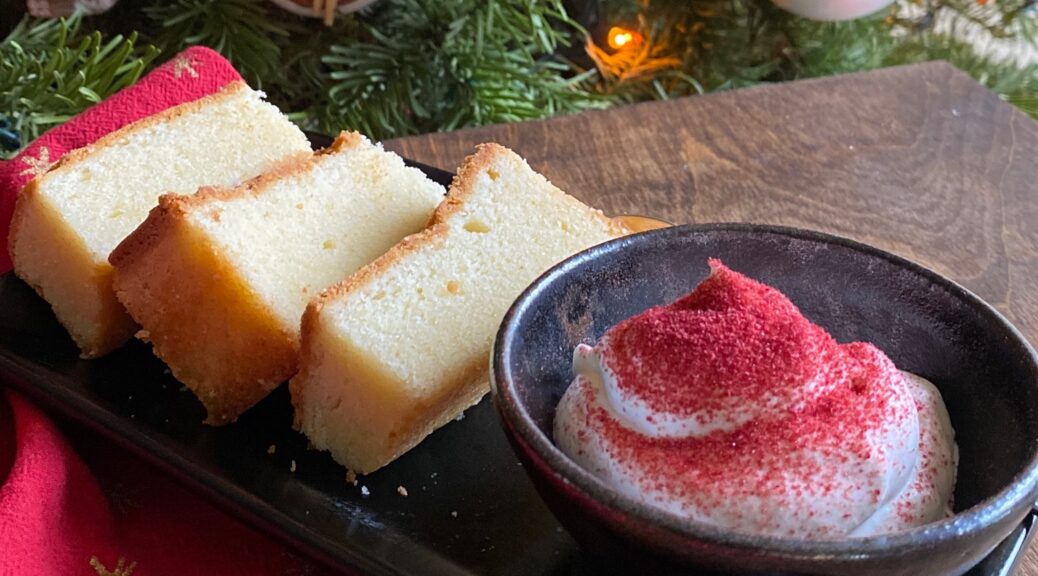
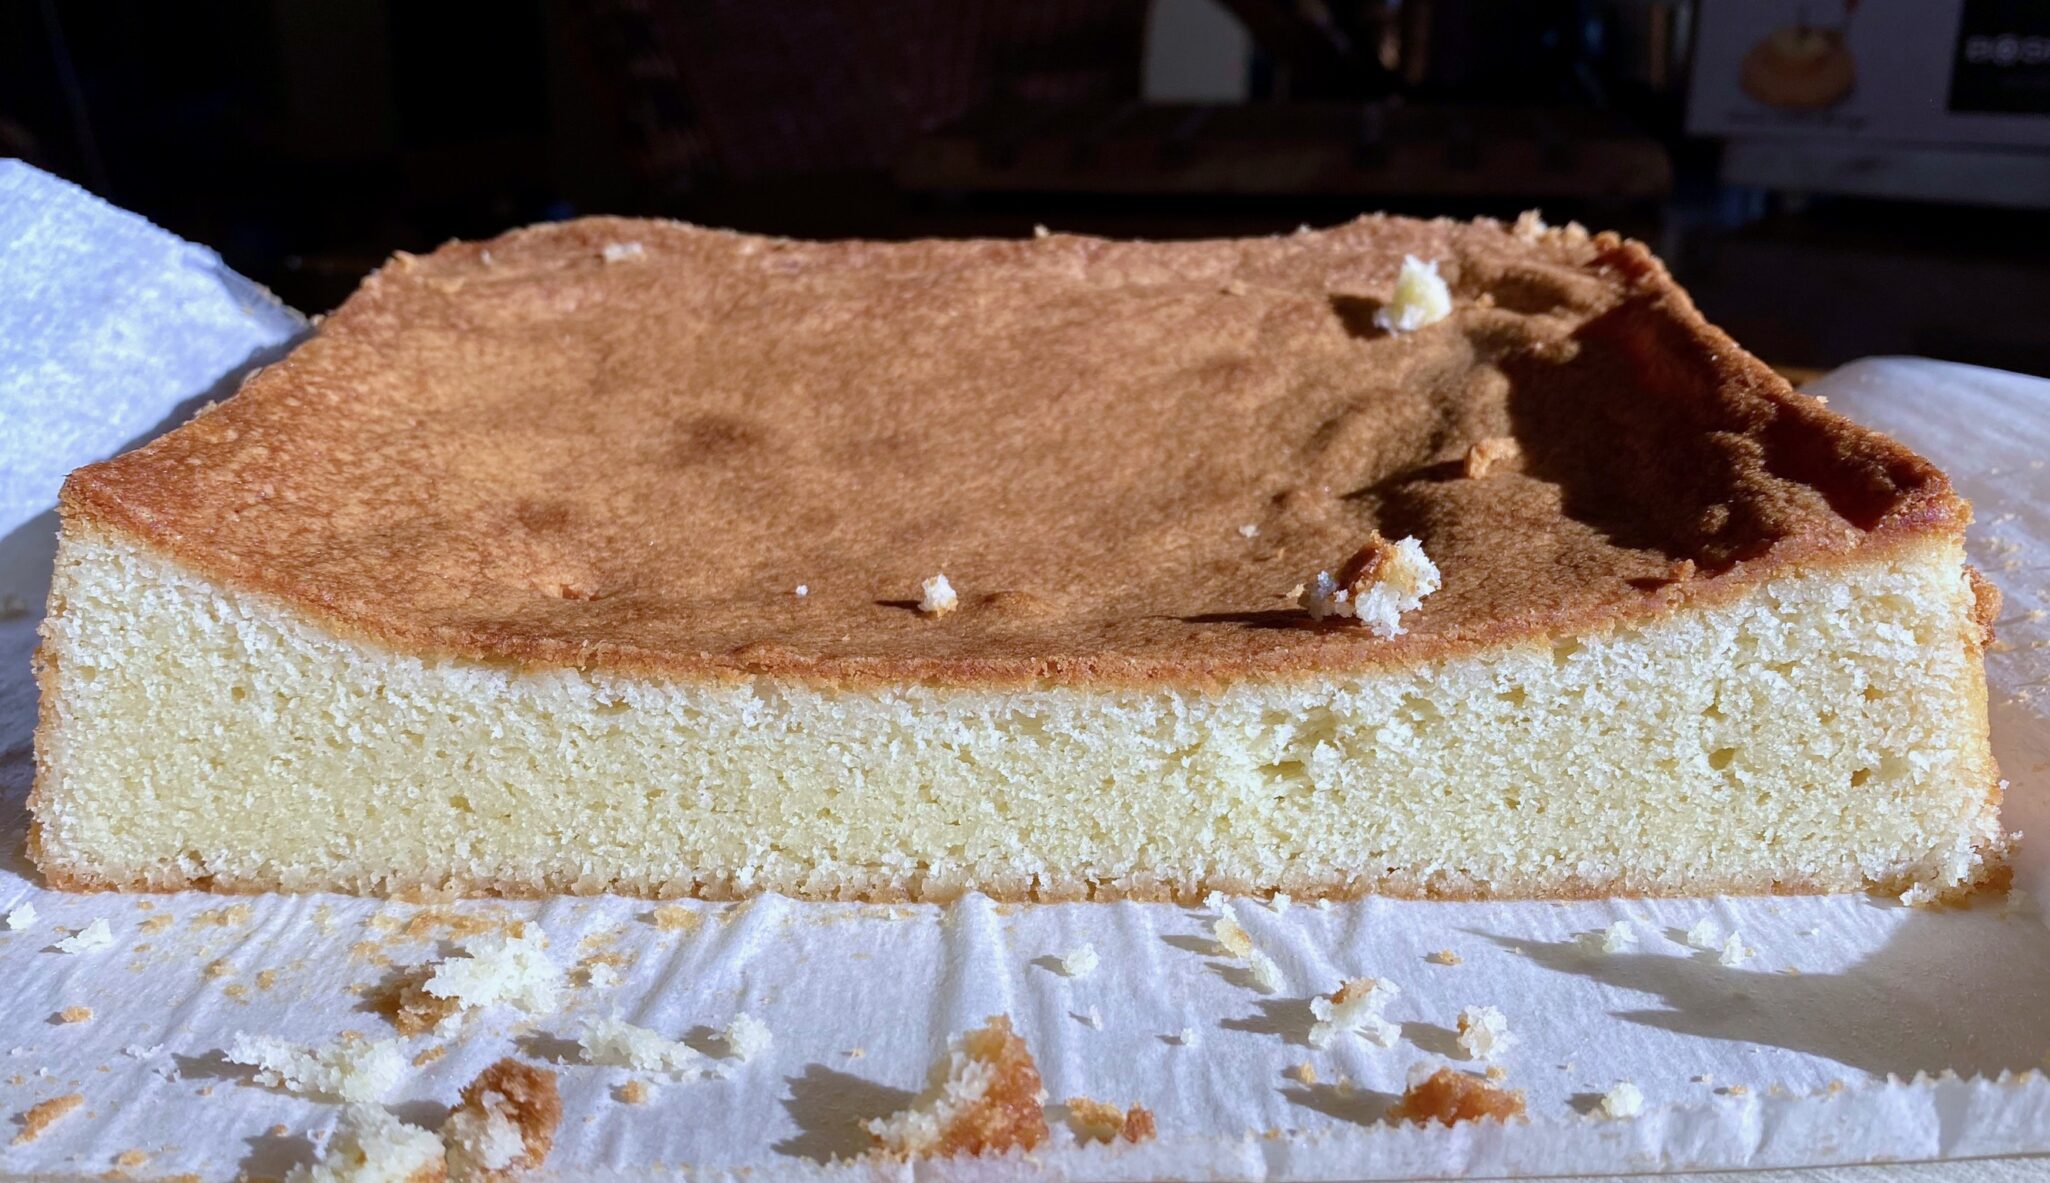
I cut the recipe in half using weights to split it and baked it in an 8×8 square pan. The cake dipped in the middle despite being fully baked. Looking at a couple of recipes for pound cake, for the equivalent amount of butter and sugar, most used 3 cups of flour. Using less flour, in this case, 2.5 cups, may make a softer cake with less structure and therefore lower in the center.   It was still delicious and nothing a nice dollop of whipped cream couldn’t hide.
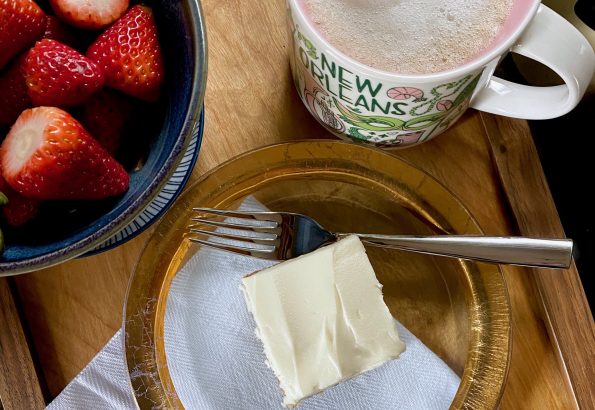
The whipped cream, jam and raspberry dust are nice additions to the cake but not absolutely necessary.  I skipped the jam and the cake was delicious with just whipped cream and a dusting of ground freeze-dried raspberry.  Fresh berries instead of jam would be lovely too.

Cream Cheese Pound Cake

Just like Sara Lee's Pound Cake! Buttery, slightly dense but tender with a fine crumb. From Eric Kim and the NYT, an absolutely delicious pound cake that will transport you to your childhood.
Course Dessert
Cuisine American
Keyword buttery, Dessert, ERic KIm, freeze-dried raspberries, NYT Cooking, pound cake, whipped cream
Prep Time 20 minutes
Cook Time 1 hour 5 minutes

Ingredients

It's All About the Cake

  • cups all-purpose flour (320 grams)
  • 1 teaspoon baking powder
  • cups unsalted butter (345 grams) at room temperature
  • 8 ounces cream cheese (226 grams) at room temperature
  • 3 cups granulated sugar (600 grams)
  • 1 tablespoon vanilla extract
  • teaspoons fine sea salt
  • 5 large eggs at room temperature

The Bling Finish

  • 2 cups cold heavy whipping cream (473 milliliters)
  • 2 tablespoons granulated sugar
  • ½ teaspoon fine sea salt
  • 1 cup raspberry preserves (305 grams) see notes
  • cups freeze-dried raspberries (34 grams)

Instructions

Make the cake:

  • Position a rack in the center of the oven and heat the oven to 325 degrees. Grease a 9-by-13-inch baking pan; line the bottom and long sides with parchment.
  • In a medium bowl, add the flour and baking powder. Whisk to combine and to break up any lumps. Set aside.
  • Add the butter,cream cheese, sugar, vanilla and salt to the bowl of a stand mixer fitted with the paddle attachment. Mix on medium-low speed to combine. Increase the speed to medium-high and beat until fluffy, almost white, and the sugar is mostly dissolved about 5 to 7 minutes. With the mixer on medium speed, add the eggs one at a time, mixing until smooth after each addition. Use a flexible spatula to scrape the bowl, then beat over medium speed for another minute.
  • With the mixer on low speed, gradually add the dry ingredients and mix until most of the flour streaks have disappeared. Using the spatula, scrape the bowl and gently stir until you eliminate the flour streaks. Scrape the batter into the prepared pan, then smooth out the top.
  • Bake, rotating the pan halfway through, until golden brown and a skewer or cake tester inserted in the center comes out clean, 60 to 65 minutes. When you gently press on the center of the cake with your fingertip, you shouldn’t leave a dent. The internal temperature of the cake should be about 205 degrees. Let cool completely in the pan. (The cooled cake can be covered and kept at room temperature for up to 3 or 4 days.)

Putting it all together

  • If using the jam, spread layer on top of the cake. You could use strawberry or a mixed berry jam also.
  • In the bowl of a stand mixer, whisk the heavy whipping cream, sugar and salt over medium-high until billowy soft peaks form. When you lift the whisk out of the bowl and turn it upside-down, a peak of cream should flop over slightly like a Santa hat. Evenly spread the whipped cream over the jam-topped cake.
  • Add the freeze-dried raspberries to a fine-mesh sieve and hold it over the cake. Using your fingers, pass them through until most of the magenta powder rests atop the frosting like fresh snow and most of the seeds are left behind in the sieve. The entire surface of the whipped cream should be covered in pink dust. Discard the raspberry seeds. Serve immediately.
Notes

Personally, the cake is so damn good, I don't think it needs the jam.  The whipped cream is great and the sprinkling of raspberry dust is more than enough. YOu could also substitute strawberry for raspberry.
This is from the original recipe
Look for a brand of raspberry preserves with minimal ingredients: They should consist of only raspberries, sugar, pectin and some kind of citrus. That will taste more tart and less artificial than one with, say, high-fructose corn syrup and other fruit juices that muddy the natural raspberry flavor. If your preserves taste especially sweet, you can stir in up to 3 teaspoons of fresh lemon juice for added tartness.
Chamomile Tea Cake with Strawberry Icing (Slice of Tea Cake & A Cuppa Tea)

Chamomile Tea Cake with Strawberry Icing (Slice of Tea Cake & A Cuppa Tea)

He needs to stop.  I would like to dive into Eric Kim’s cookbook, Korean-American but have not been able to and it is all his FAULT.  Yep, the blame lies squarely on his shoulders.

Eric is on staff at the NYT Cooking.  I’m not sure what his obligation is to the venerable paper, a column every week, every couple of days.  Don’t know.  What I do know is he keeps coming up with tasty recipes for the NYT that prevent me from cracking open his book.

Sheesh

So I am asking Eric to please STOP, or at least, slow down with the content for NYT cooking so I can finally try the recipes in your beautiful book.  I’ve only had time to read the stories, which I love, while making your recipes in the NYT.

I’m kidding of course (am I?).  His recent contribution to NYT was a Chamomile Tea Cake with Strawberry Icing.  It looked luscious and sounded delightful …so of course, I made it. His cookbook, Korean-American, will just have to wait a little longer.  Although, in all fairness, many of the recipes printed in the NYT are also in his wonderful book.

But Not This Cake

I adore this cake and I wasn’t sure I was going to.  First, I’ve never had a cup of Chamomile Tea in my life.  I’m Asian…it’s Oolong, Jasmine, Roasted Barley, Green Tea…no herbal teas in my house.  My only non-Asian Tea is Lipton”s Black Tea (I’m not even sure I would call it non-Asian, lol)  and that’s to make Hong Kong-style Milk Tea. But the cake looked luscious, very maker-friendly and is an Eric creation, so my knee-jerk reaction after seeing the recipe was to pull out my loaf pan.

A Cup of Tea

This cake can be made by hand, yep, you don’t need to drag out that 50-pound mixer BUT I was lazy so I pulled mine out. This makes the cake incredibly easy to make.  The key is to not overmix to avoid toughening the cake…this is the universal problem when using your mixer, too much muscle.

I bought a box of Chamomile teabags, and the first thing I did was make a cup of tea and try it.  It was soothing, mild, and refreshing…in other words, perfect for this cake.

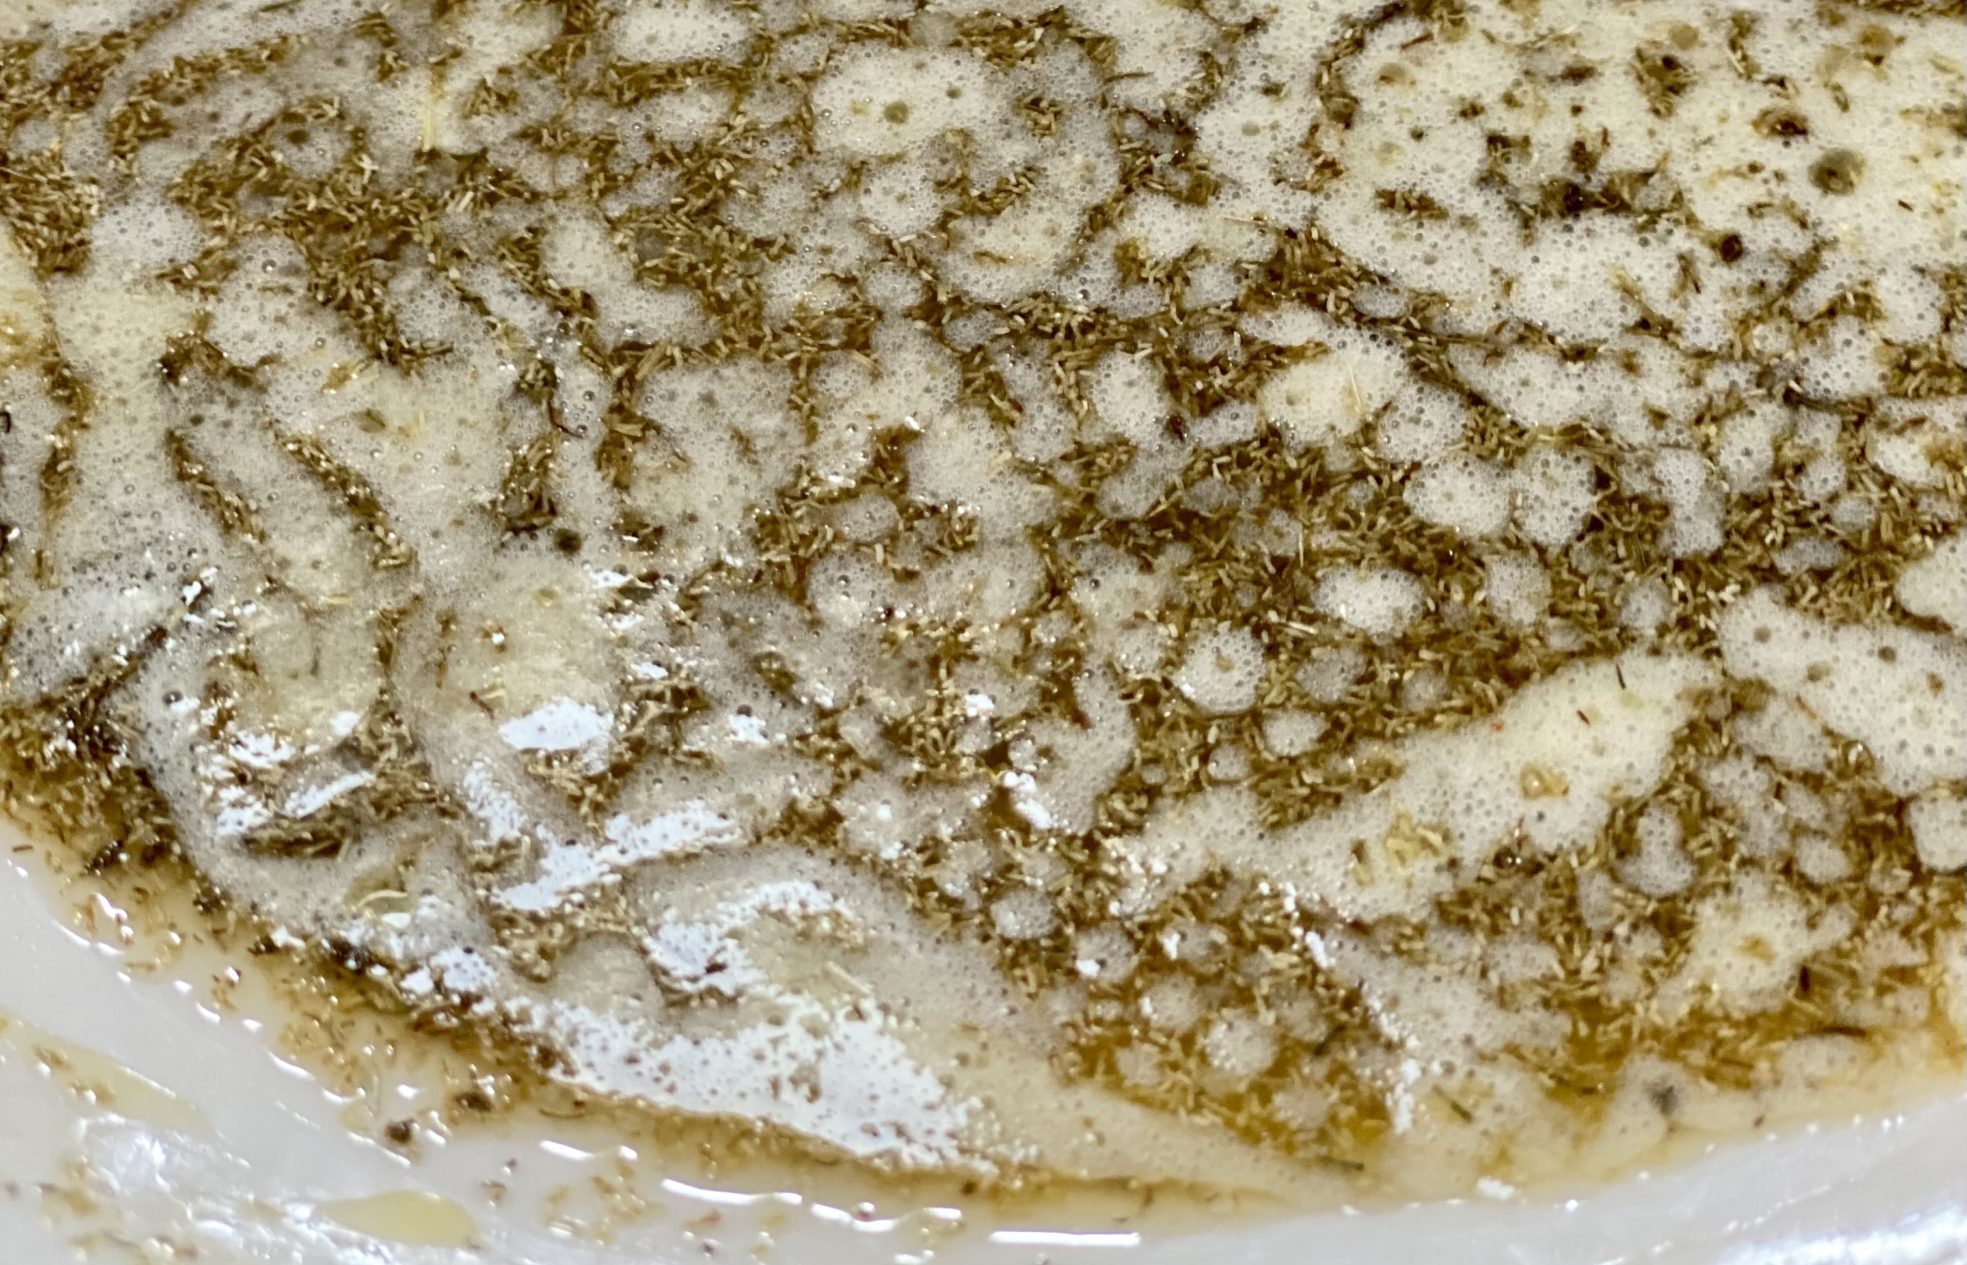
Chamomile Tea swimming in a butter bath, the life.  The tea is infused in every step of this cake, the butter, and the milk, so the flavor of the tea really shines. I might try it with different teas in the future, like Jasmine, my favorite.

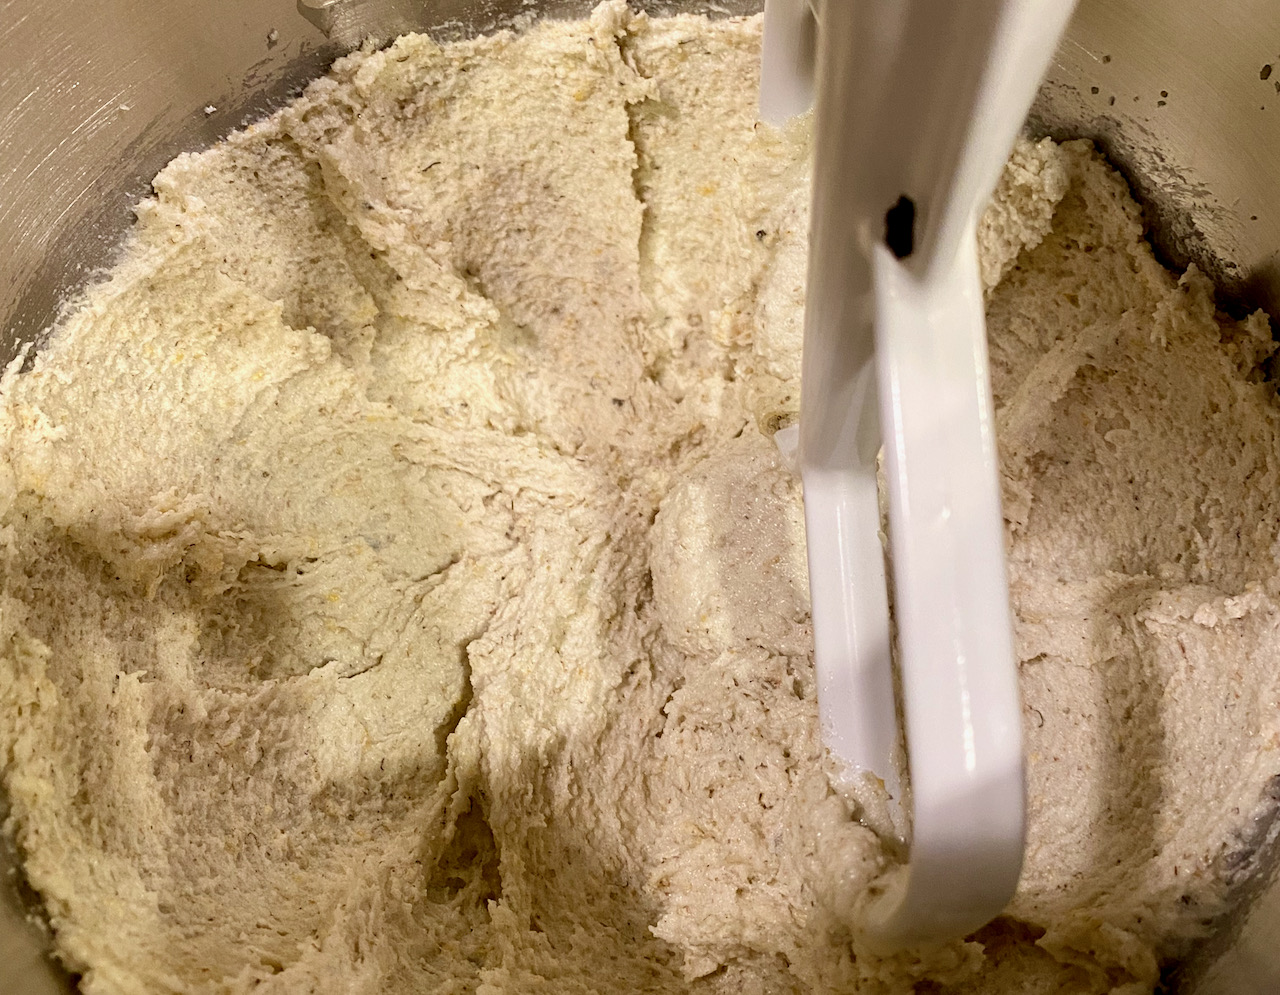
Back to Cake by the Machine.  The butter will solidify a bit as it sits with the tea.  Beat the butter, sugar, and salt until light and creamy, about 1 minute on medium speed.  It will be light in color and fuller in volume, add your eggs one at a time.  The eggs should be at room temperature which helps minimize curdling or breaking of the batter when liquid is added to your fat mixture.

Creamed butter and sugar

Deb Tip-when adding zest to a recipe. I reserve a couple of tablespoons of sugar from the recipe and run that with the zest in a mini-food processor, then add it back to the original sugar.  No big pieces of zest and the citrus flavor is well distributed.  That’s just me though.

You can add your zest, baking powder, and vanilla as listed in the recipe.  The recipe calls for adding vanilla, and leavening agent into the creamed mixture before adding the flour.  This works since you haven’t added the flour yet, no worries about overmixing and developing gluten.

Flour Power

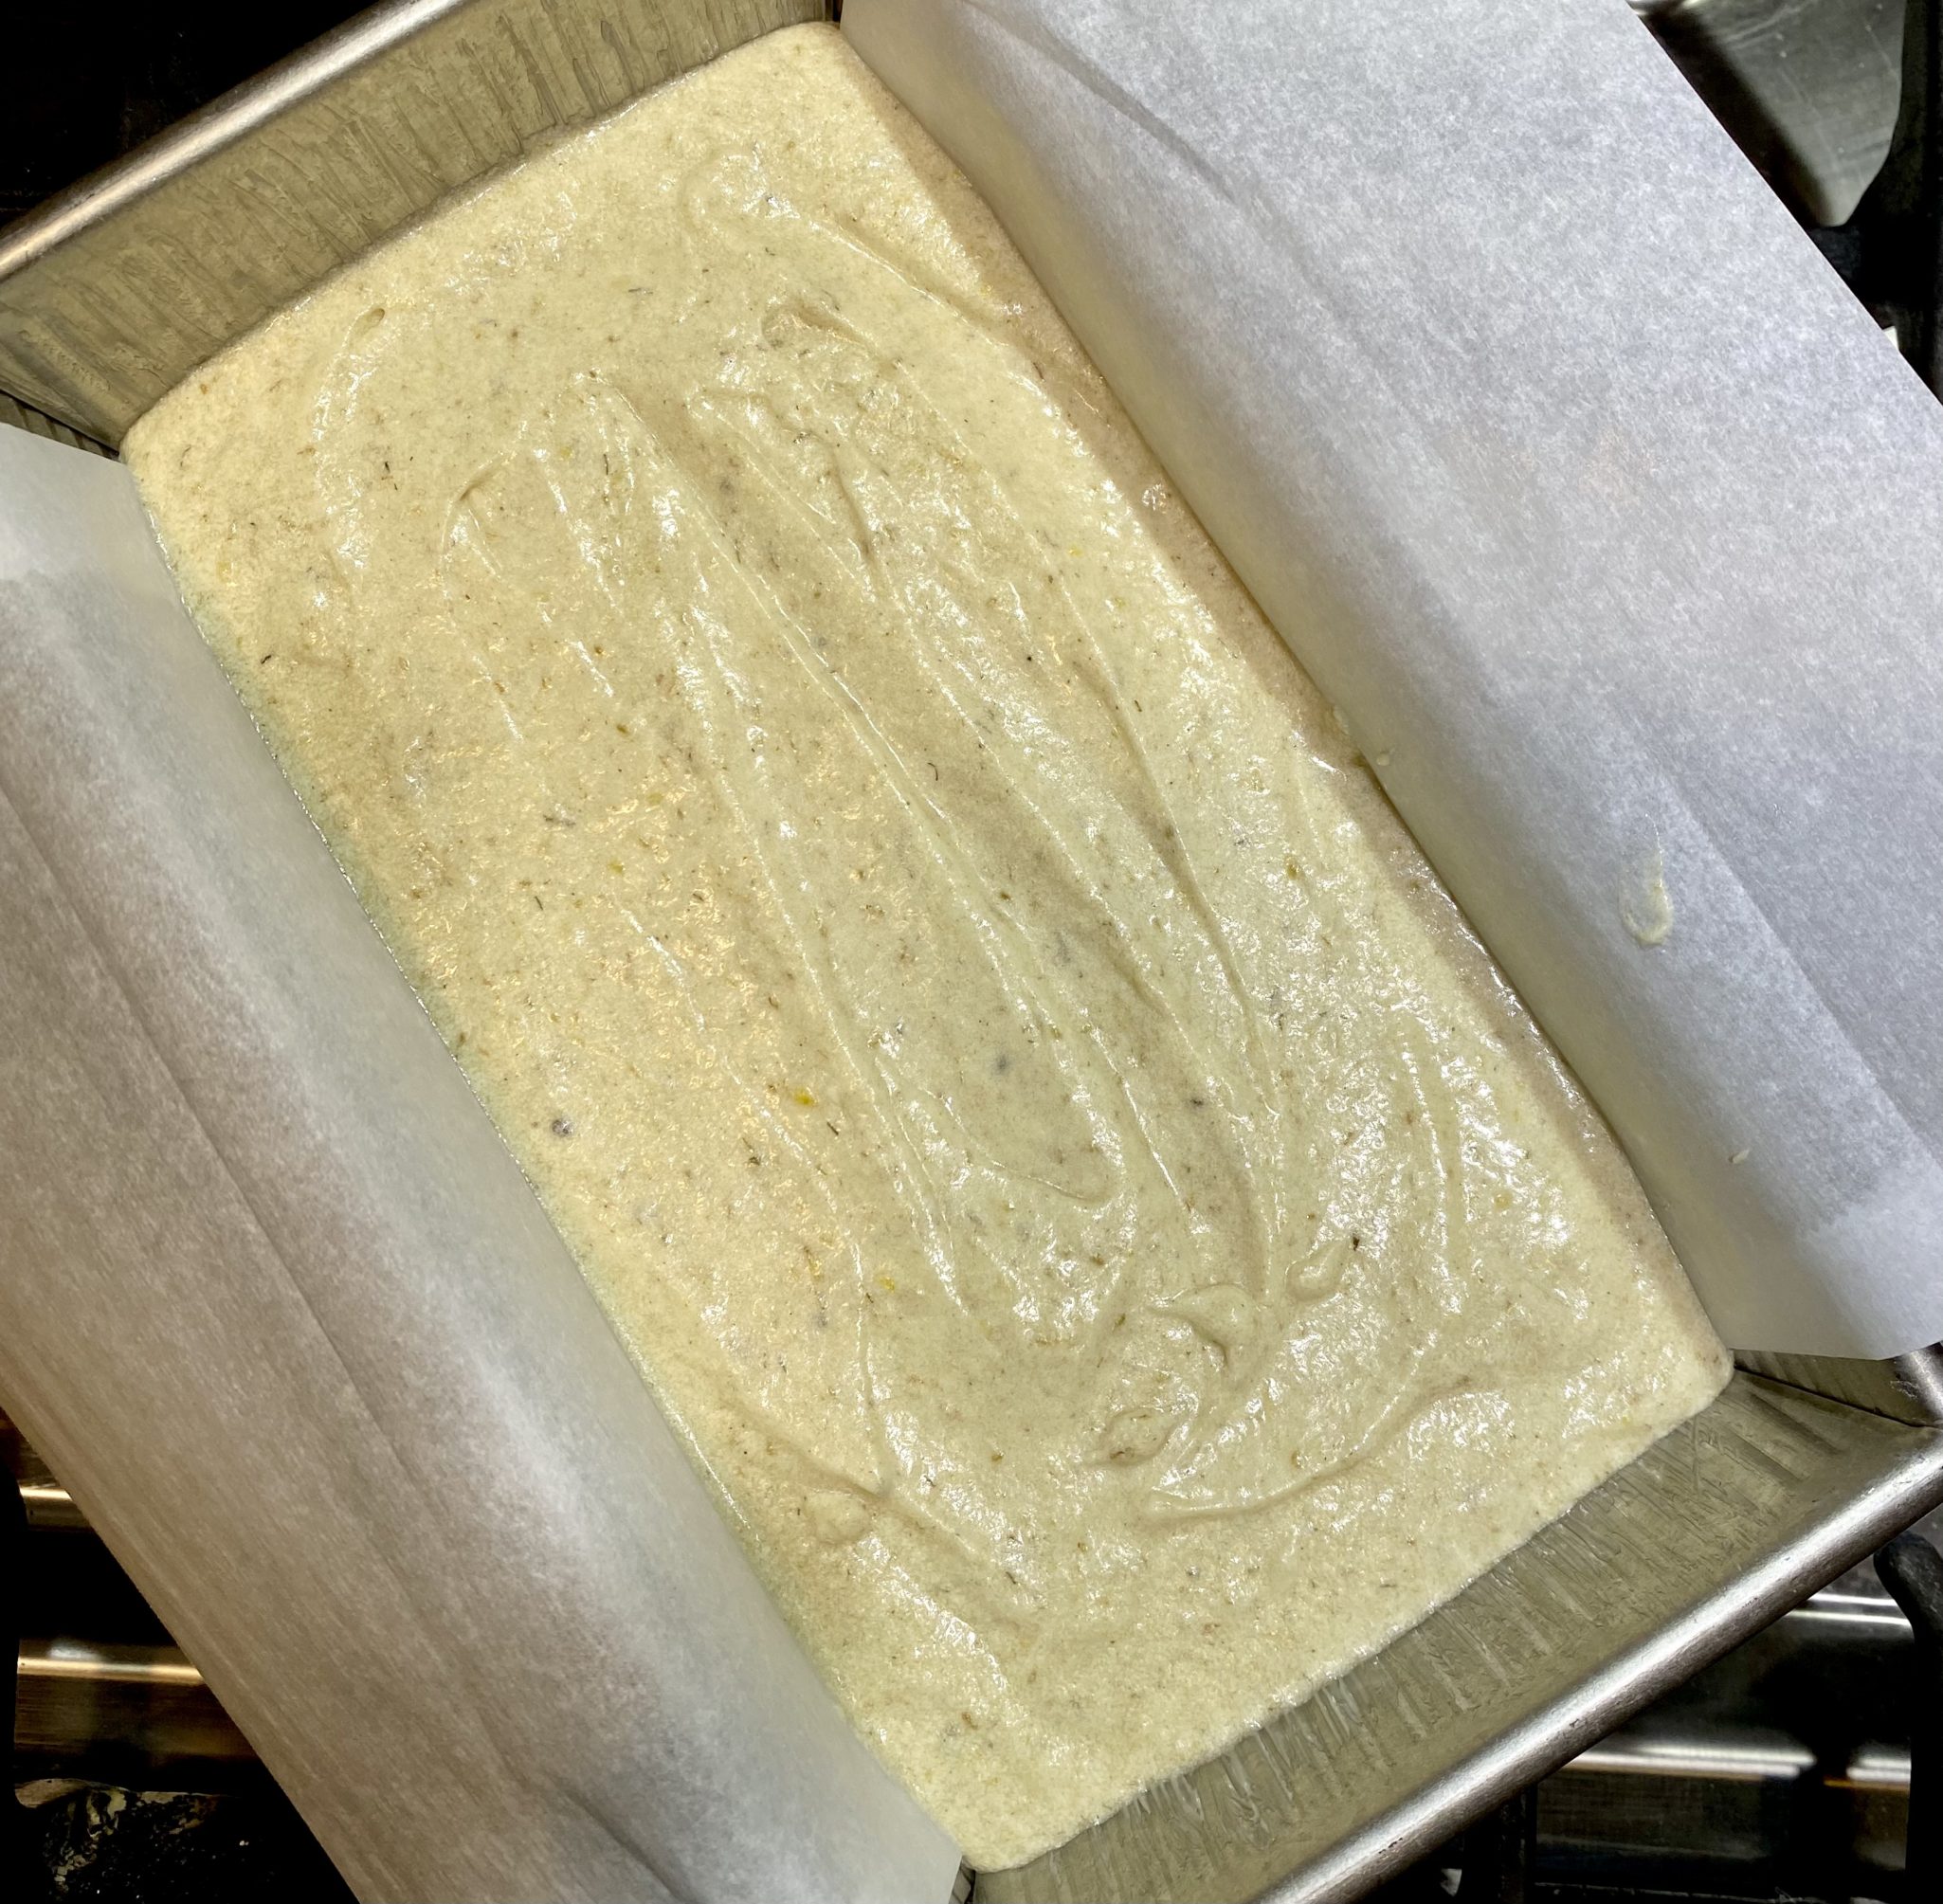
First, add half the flour, mix on medium just until the flour disappears, then add the milk, mixing just to incorporate.  Finally, add the remaining flour and mix at medium speed.  Mix until you don’t see any streaks of flour, it should look cohesive.  Avoid overbeating which can lead to a tough cake (gluten development) did I already mention that, lol.

The Icing On the Cake

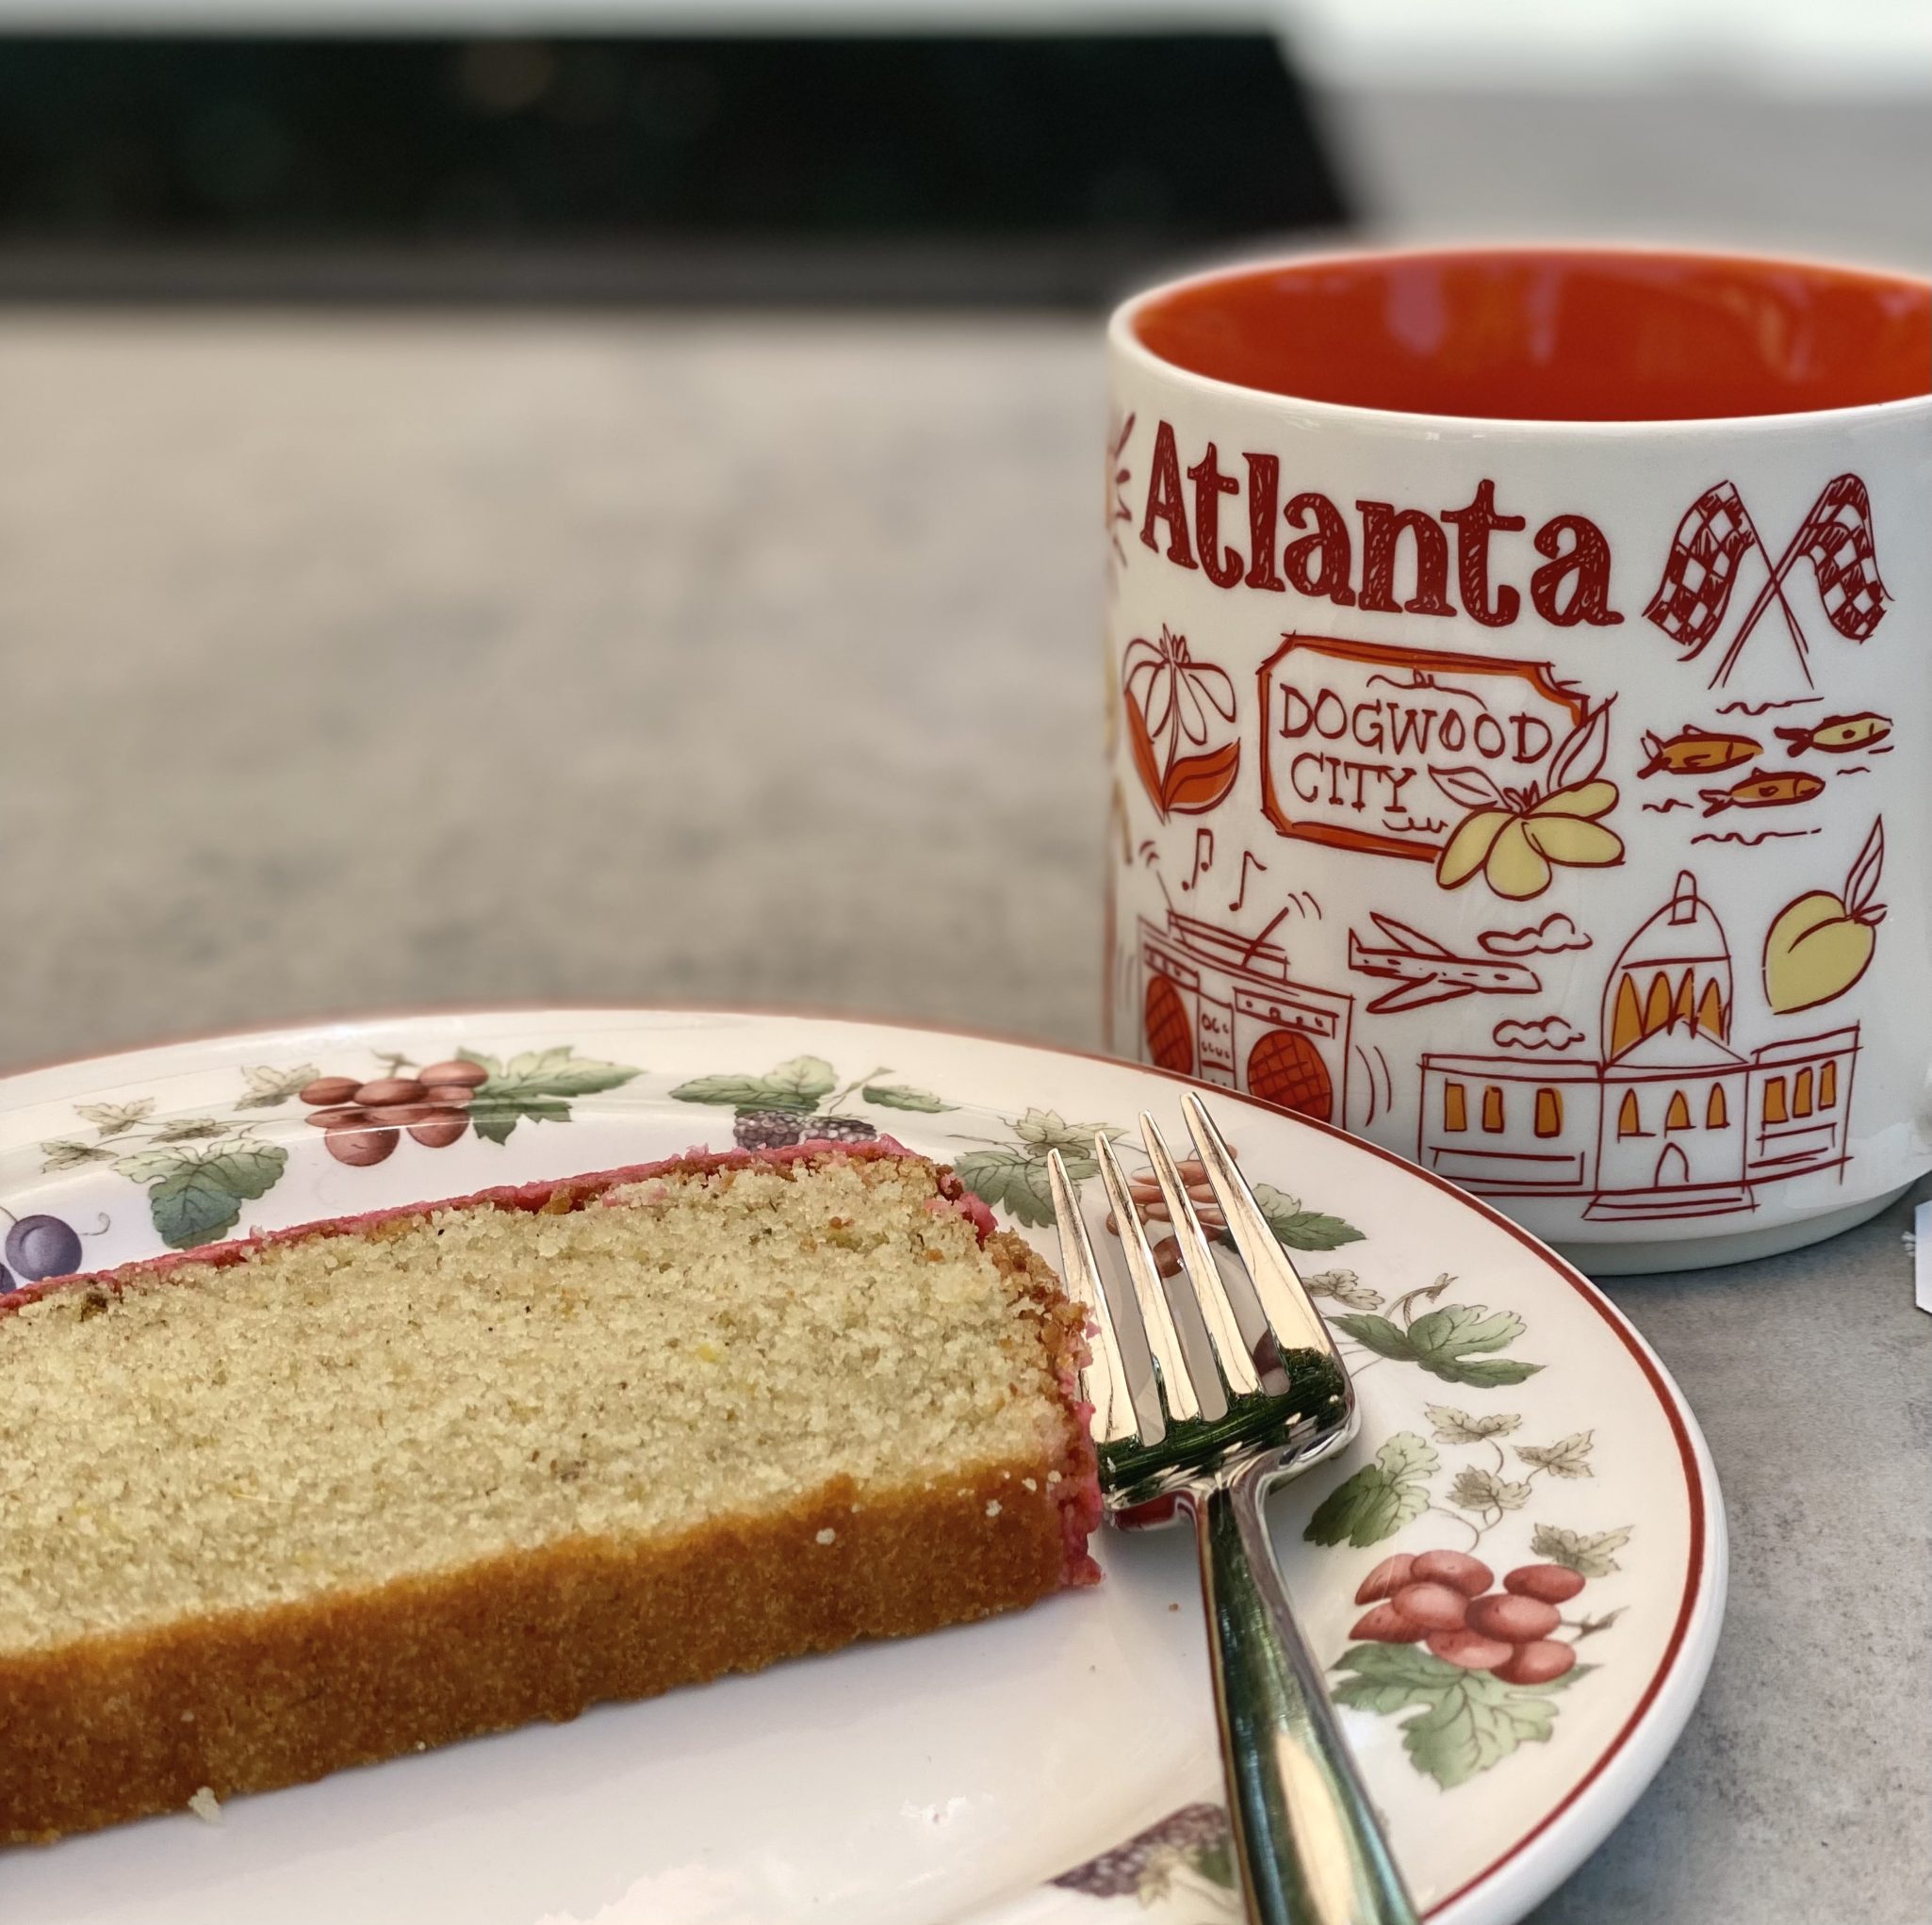
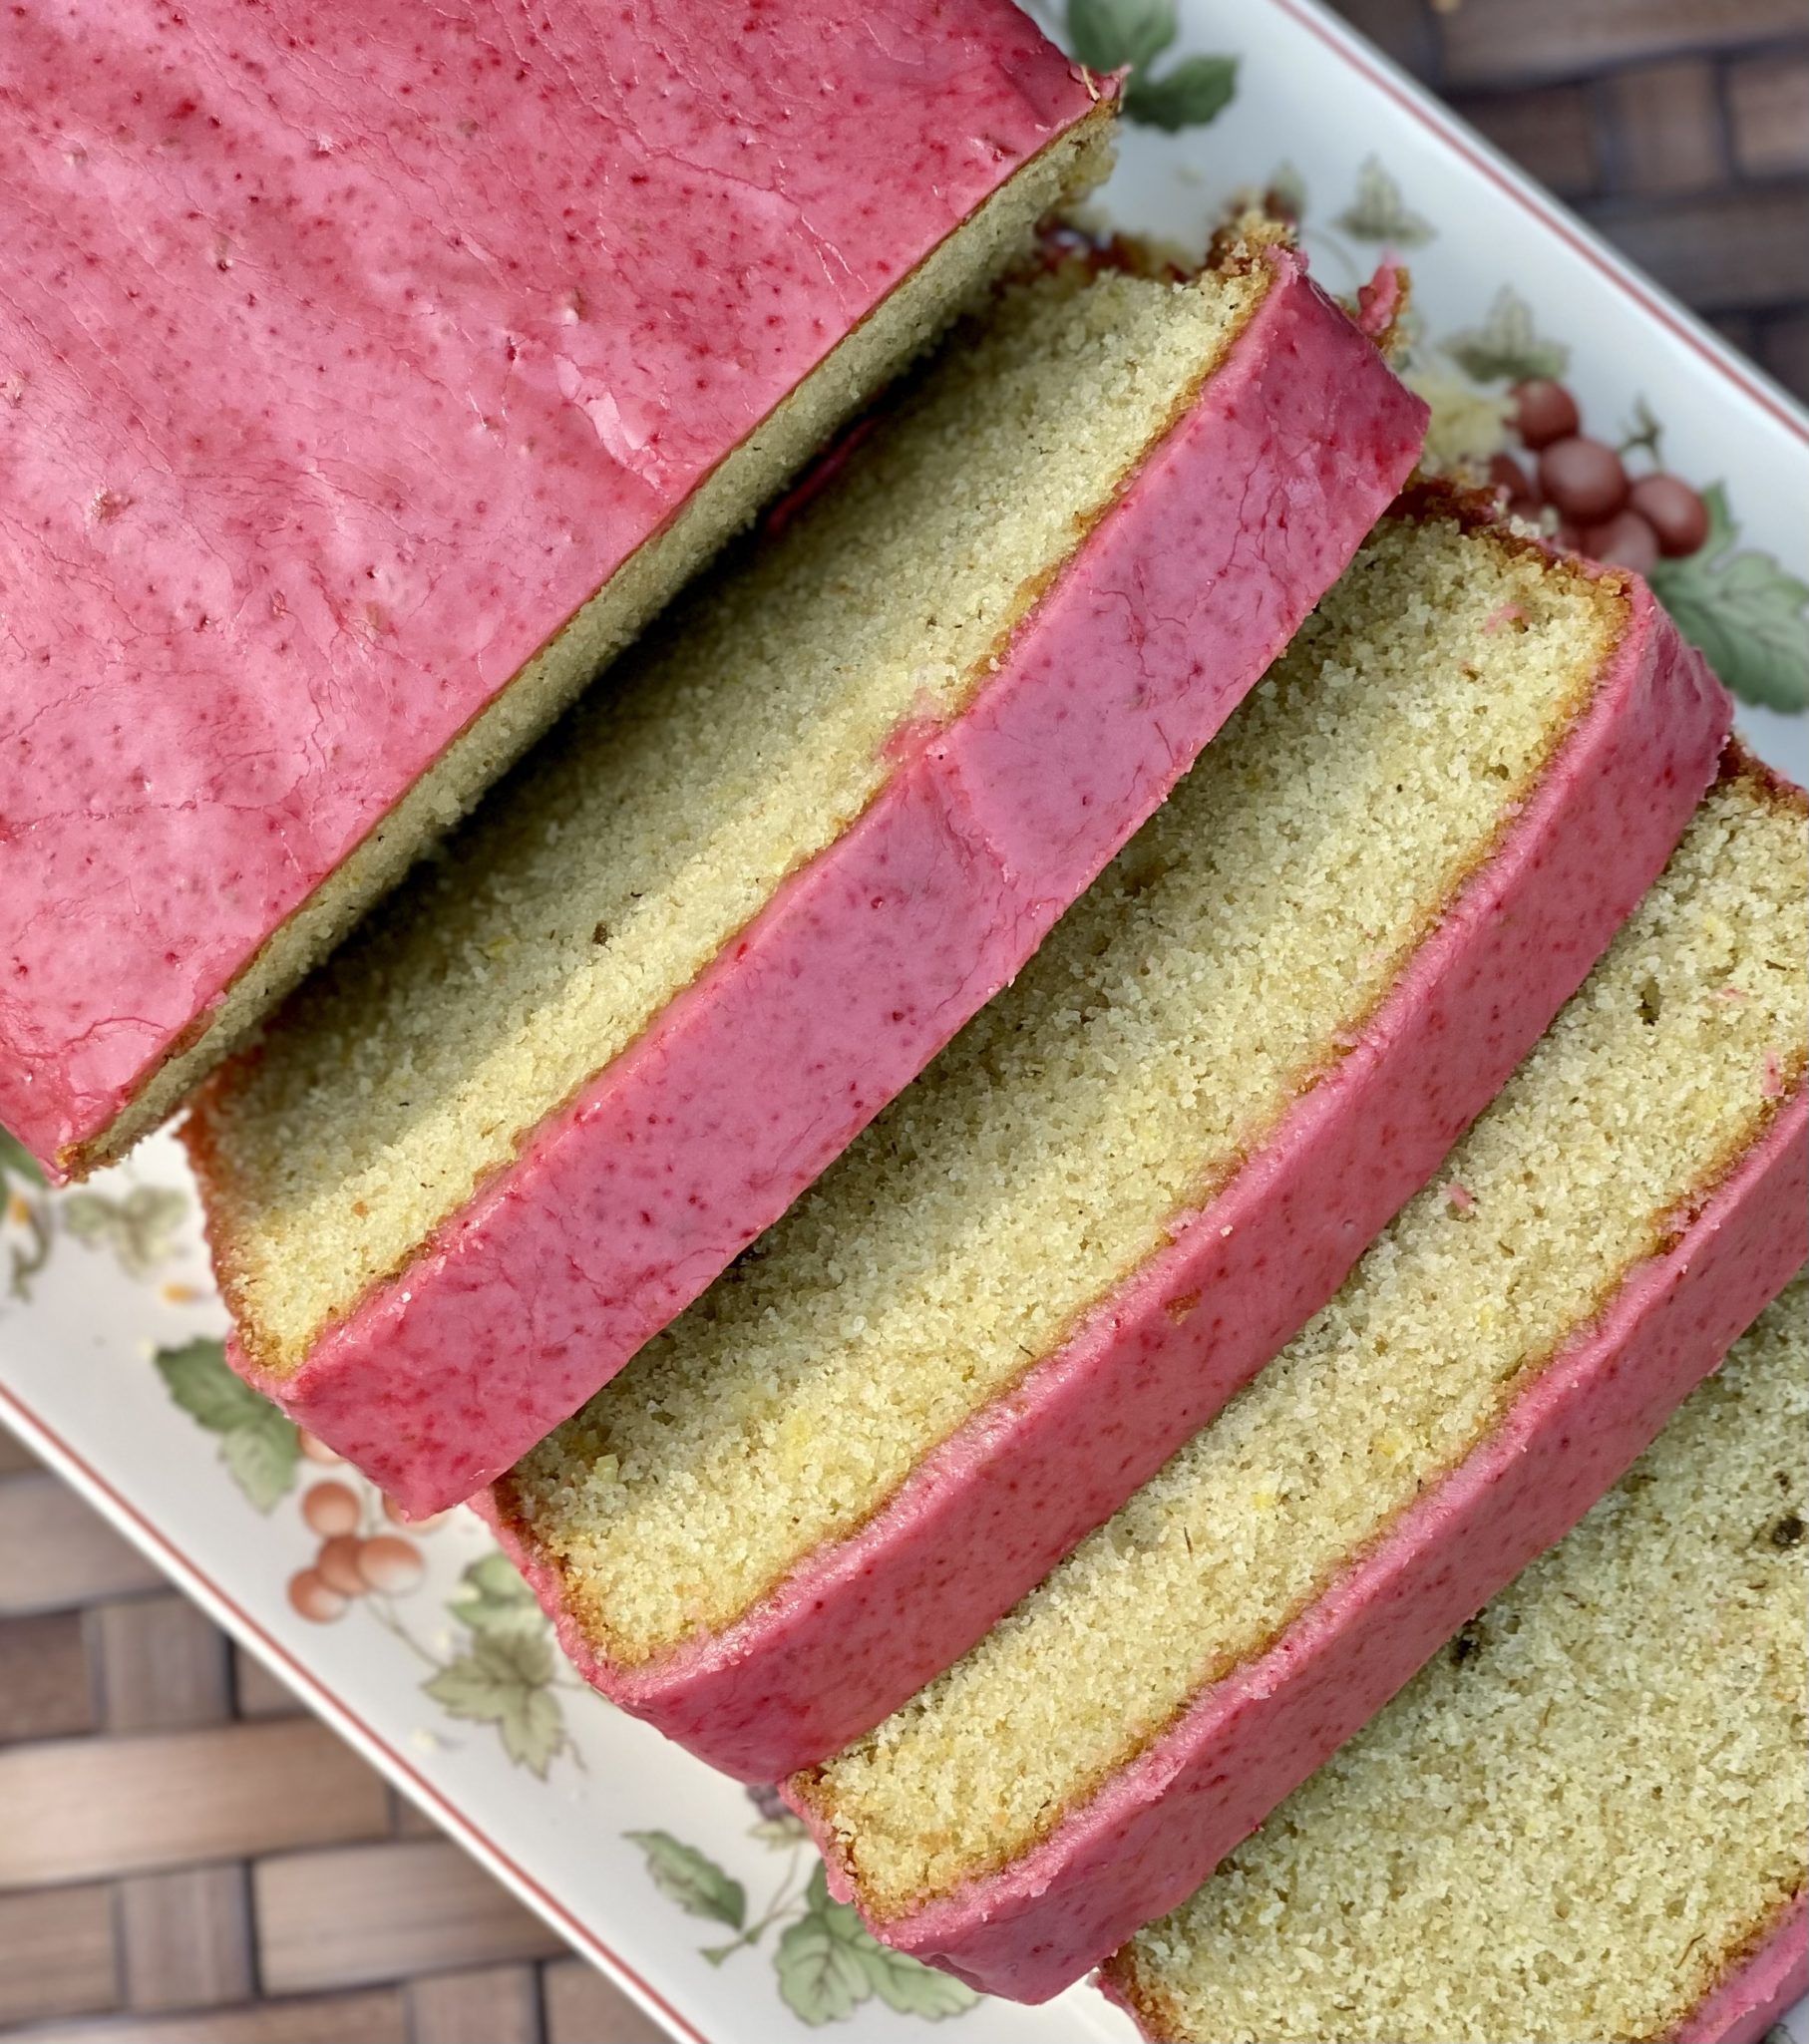
The icing is key. It adds a bit of sweetness and a textural complement to the cake.  I saw a few complaints that the cake was overly sweet.  I didn’t think so although I did use freeze-dried raspberries instead of strawberries which have a bit more tartness.  The raspberries made a vibrant garnet-hued icing that was very eye-catching.

The weight to volume of freeze-dried fruit was off, possibly due to humidity.  I used the half-cup volume measurement, you can adjust the taste and color to your liking.

Print
5 from 1 vote

Chamomile Tea Cake With Strawberry Icing

From Eric KIm, tea cake flavored with Chamomile Tea that is as delicious as it is easy to make!
Course Cake, Dessert
Cuisine American, Asian-American
Keyword chamomile tea, ERic KIm, Strawberry, tea cake
Prep Time 1 hour 25 minutes
Cook Time 50 minutes

Equipment

  • 1 9x5 loaf pan

Ingredients

  • Nonstick cooking spray To prep loaf pan

Steep 2 Tea Blends: butter + tea and milk + tea and set aside

  • 2 tablespoons (6 grams) chamomile tea, divided in half approximately 4 to 6 tea bags, crushed fine if coarse
  • 1⁄2 cup (115 grams) unsalted butter
  • 1 cup (240 milliliters) whole milk

Cream Tea + Butter Mixture

  • 1 cup (200 grams) granulated sugar
  • 2 large eggs

Add to Creamed Tea-Butter Mixture

  • 1 tbsp lemon zest (original recipe calls for zest of 1 large lemon) You can increase or decrease zest to your taste or use combination of orange and lemon zest 1.5 teaspoons of each. Keep the lemon, yiu will use the juice in the icing
  • 1⁄2 teaspoon Morton's coarse kosher salt or increase to 3/4 tsp if using Diamond Kosher Salt
  • 1 teaspoon pure vanilla extract
  • 2 teaspoons baking powder
  • 1 1⁄2 cups (192 grams) all-purpose flour

Icing

  • 2 tbsp Lemon juice from zested lemon
  • 1 cup (124 grams) confectioners’ sugar
  • 1⁄2 cup (8 grams) freeze-dried strawberries

Instructions

  • In a small saucepan, melt the butter over medium heat (or microwave until melted). Add 1 tablespoon chamomile to a large mixing bowl. Pour the hot melted butter over the chamomile and stir. Set aside to steep and cool completely, about 1 hour.
  • Use the same saucepan (without washing it out) to bring the milk to a simmer over medium-high heat, keeping watch so it doesn’t boil over. Remove from the heat, and stir the remaining 1 tablespoon chamomile into the hot milk. Set aside to cool
  • Heat oven to 350 degrees. Grease a 9-by-5-inch loaf pan with the nonstick cooking spray and line with parchment paper so the long sides of the pan have a couple of inches of overhang to make lifting the finished cake out easier.
  • Add the sugar and salt to the bowl with the butter, and whisk until smooth and thick, about 1 minute. Add the eggs, 1 at a time, vigorously whisking to combine after each addition. Zest the lemon into the bowl; add the baking powder and vanilla, and whisk until incorporated. Add the flour and stream in the milk mixture while whisking continuously until no streaks of flour remain.
  • Transfer the batter to the prepared pan and bake until a skewer or cake tester inserted in the center comes out clean (a few crumbs are OK, but you should see no wet batter), 40 to 45 minutes. Cool in the pan on a rack for 30 minutes.
  • While the cake cools, make the icing: Into a medium bowl, squeeze 2 tablespoons juice from the zested lemon, then add the confectioners’ sugar. Place the dehydrated strawberries in a fine-mesh sieve set over the bowl and, using your fingers, crush the brittle berries and press the red-pink powder through the sieve and into the sugar. (The more you do this, the redder your icing will be.) Whisk until smooth.
  • If needed, run a knife along the edges of the cake to release it from the pan. Holding the 2 sides of overhanging parchment, lift the cake out and place it on a plate, cake stand or cutting board. Discard the parchment. Pour the icing over the cake, using a spoon to push the icing to the edges of the cake to encourage the icing to drip down the sides dramatically. Cool the cake completely and let the icing set.
Smitten by Big Apple Crumb Cake

Smitten by Big Apple Crumb Cake

Let me rundown the reasons you should make this Apple Crumb Cake…

The original recipe is from Smitten Kitchen, and well, duh, of course, I’m going to make it.

Recommended by Ipso-Fatto, one of my favorite blogs. Her recommendations are SPOT ON. I put any recipe with her ringing endorsement on my bake it, bake it now list.

Apples and a boatload of crumb topping.  What’s Not to Love?

Finally, an excuse to buy yet another baking pan, because everyone knows you absolutely need a 12×5.5 biscotti pan, LOL.

How do you like them apples…in a cake, please

It never ceases to amaze me just how many variety of apples are now available. I snagged a bag of Crimson Crisp apples, along with Pink Ladies, and Jonagolds at the Farmer’s Market.  Back in the day, Red Delicious was the Big Kahuna, the only Kahuna (totally dating myself).  Crimson Crisp are sweet, with just a hint of tartness, an all-around apple good for snacking or baking. Or, feel free to use any apple you like as long as it will hold its shape after baking.

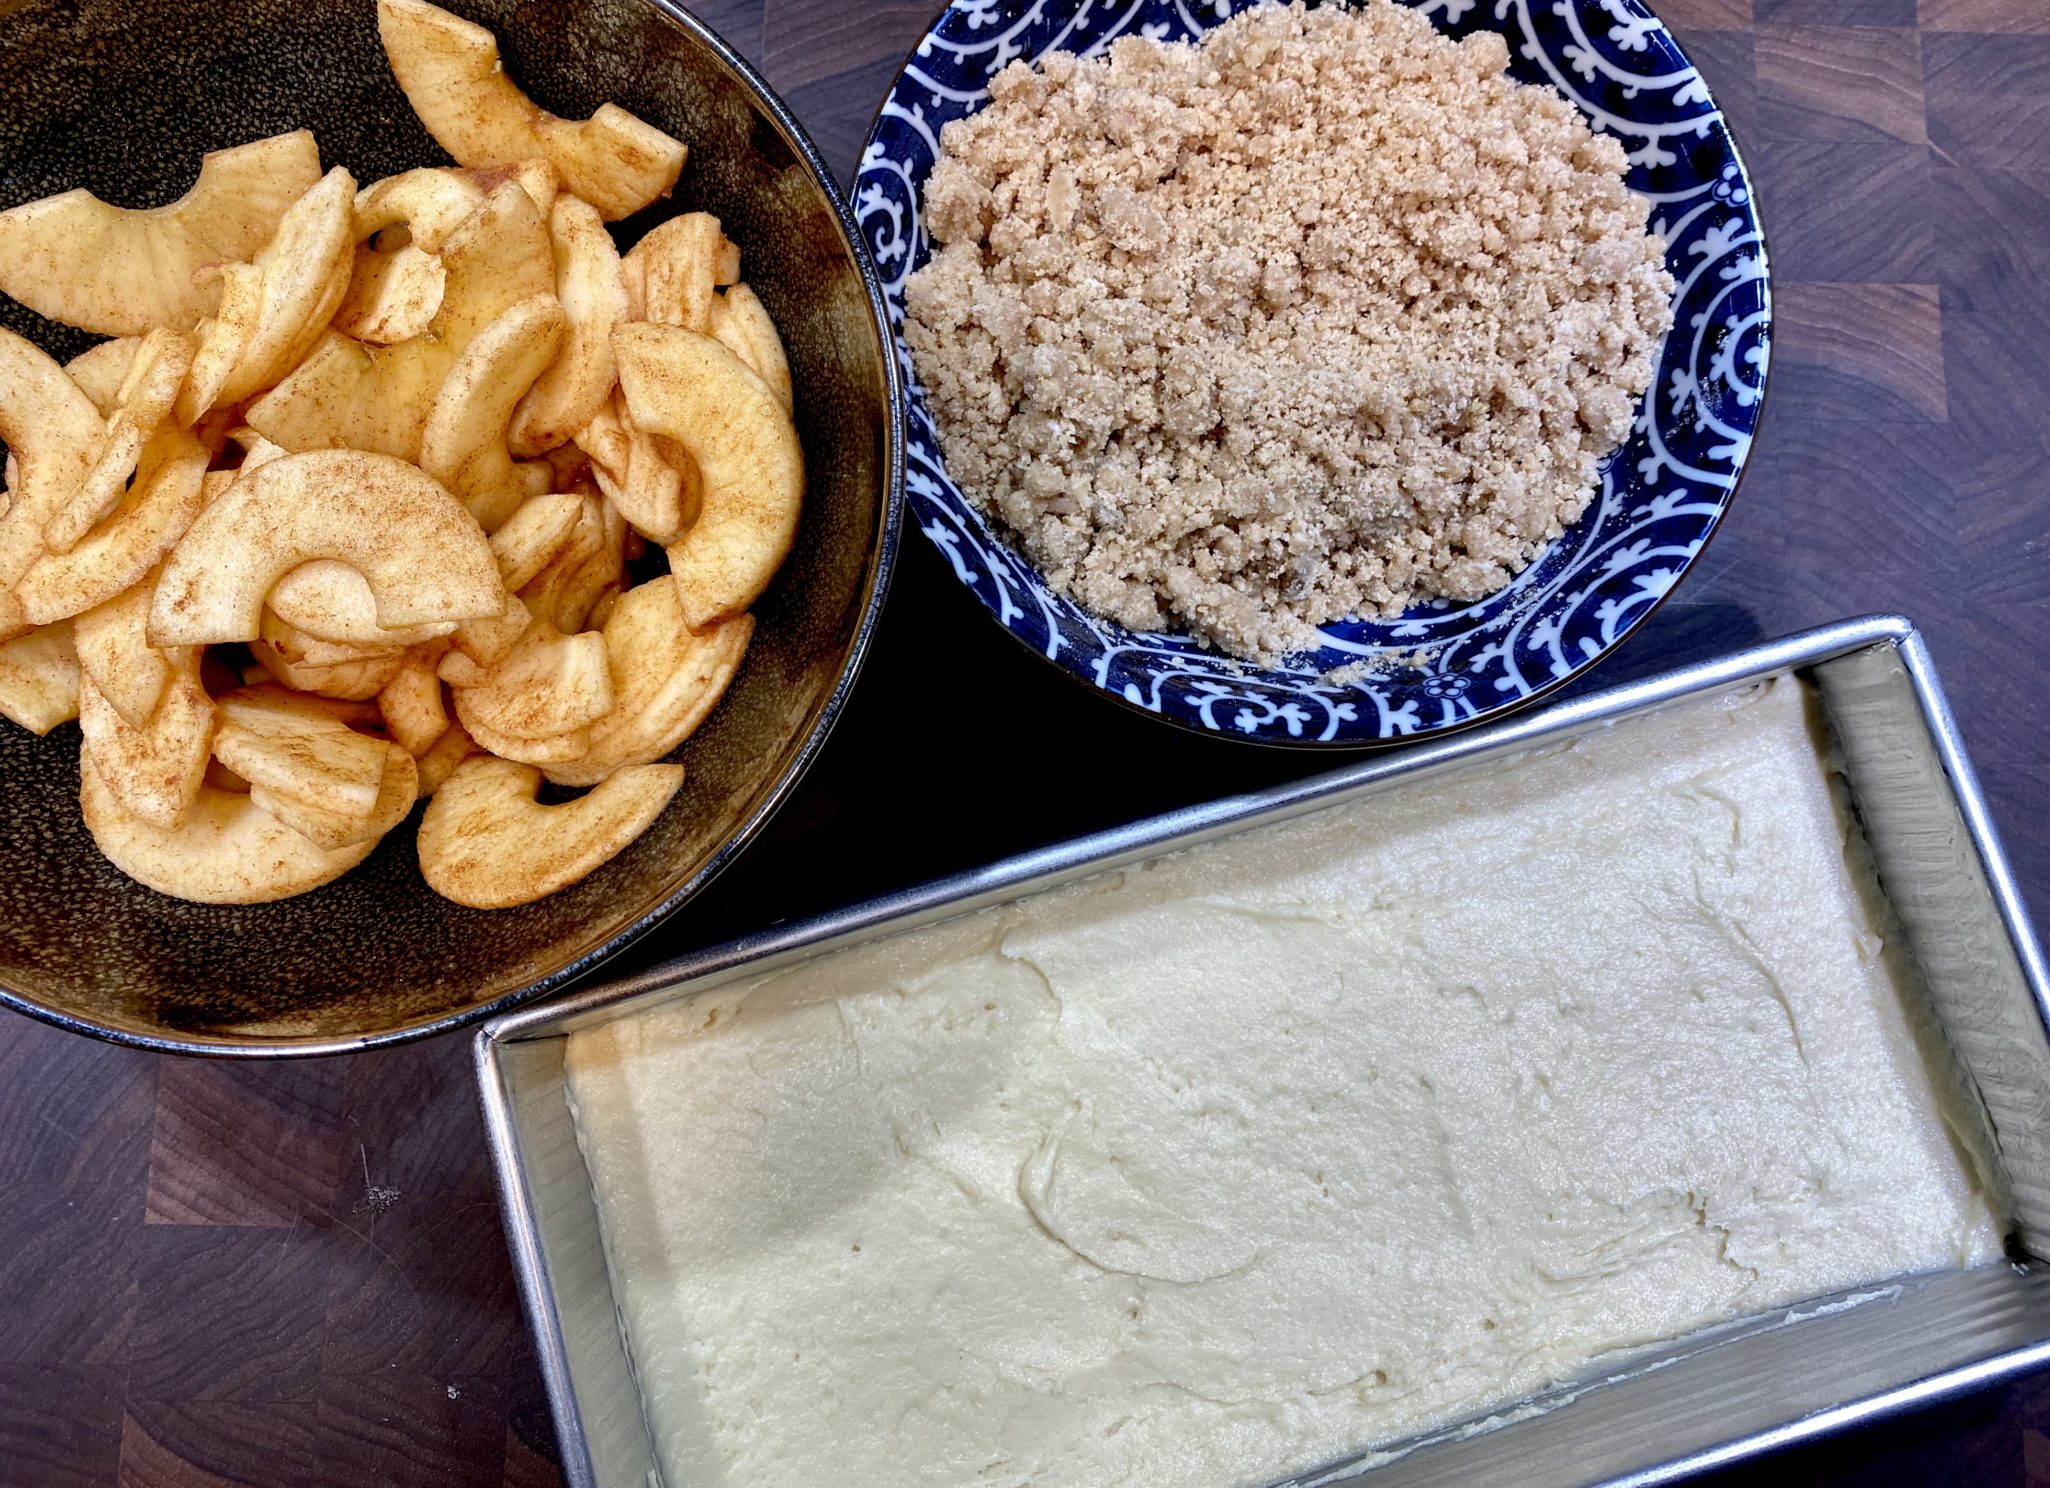
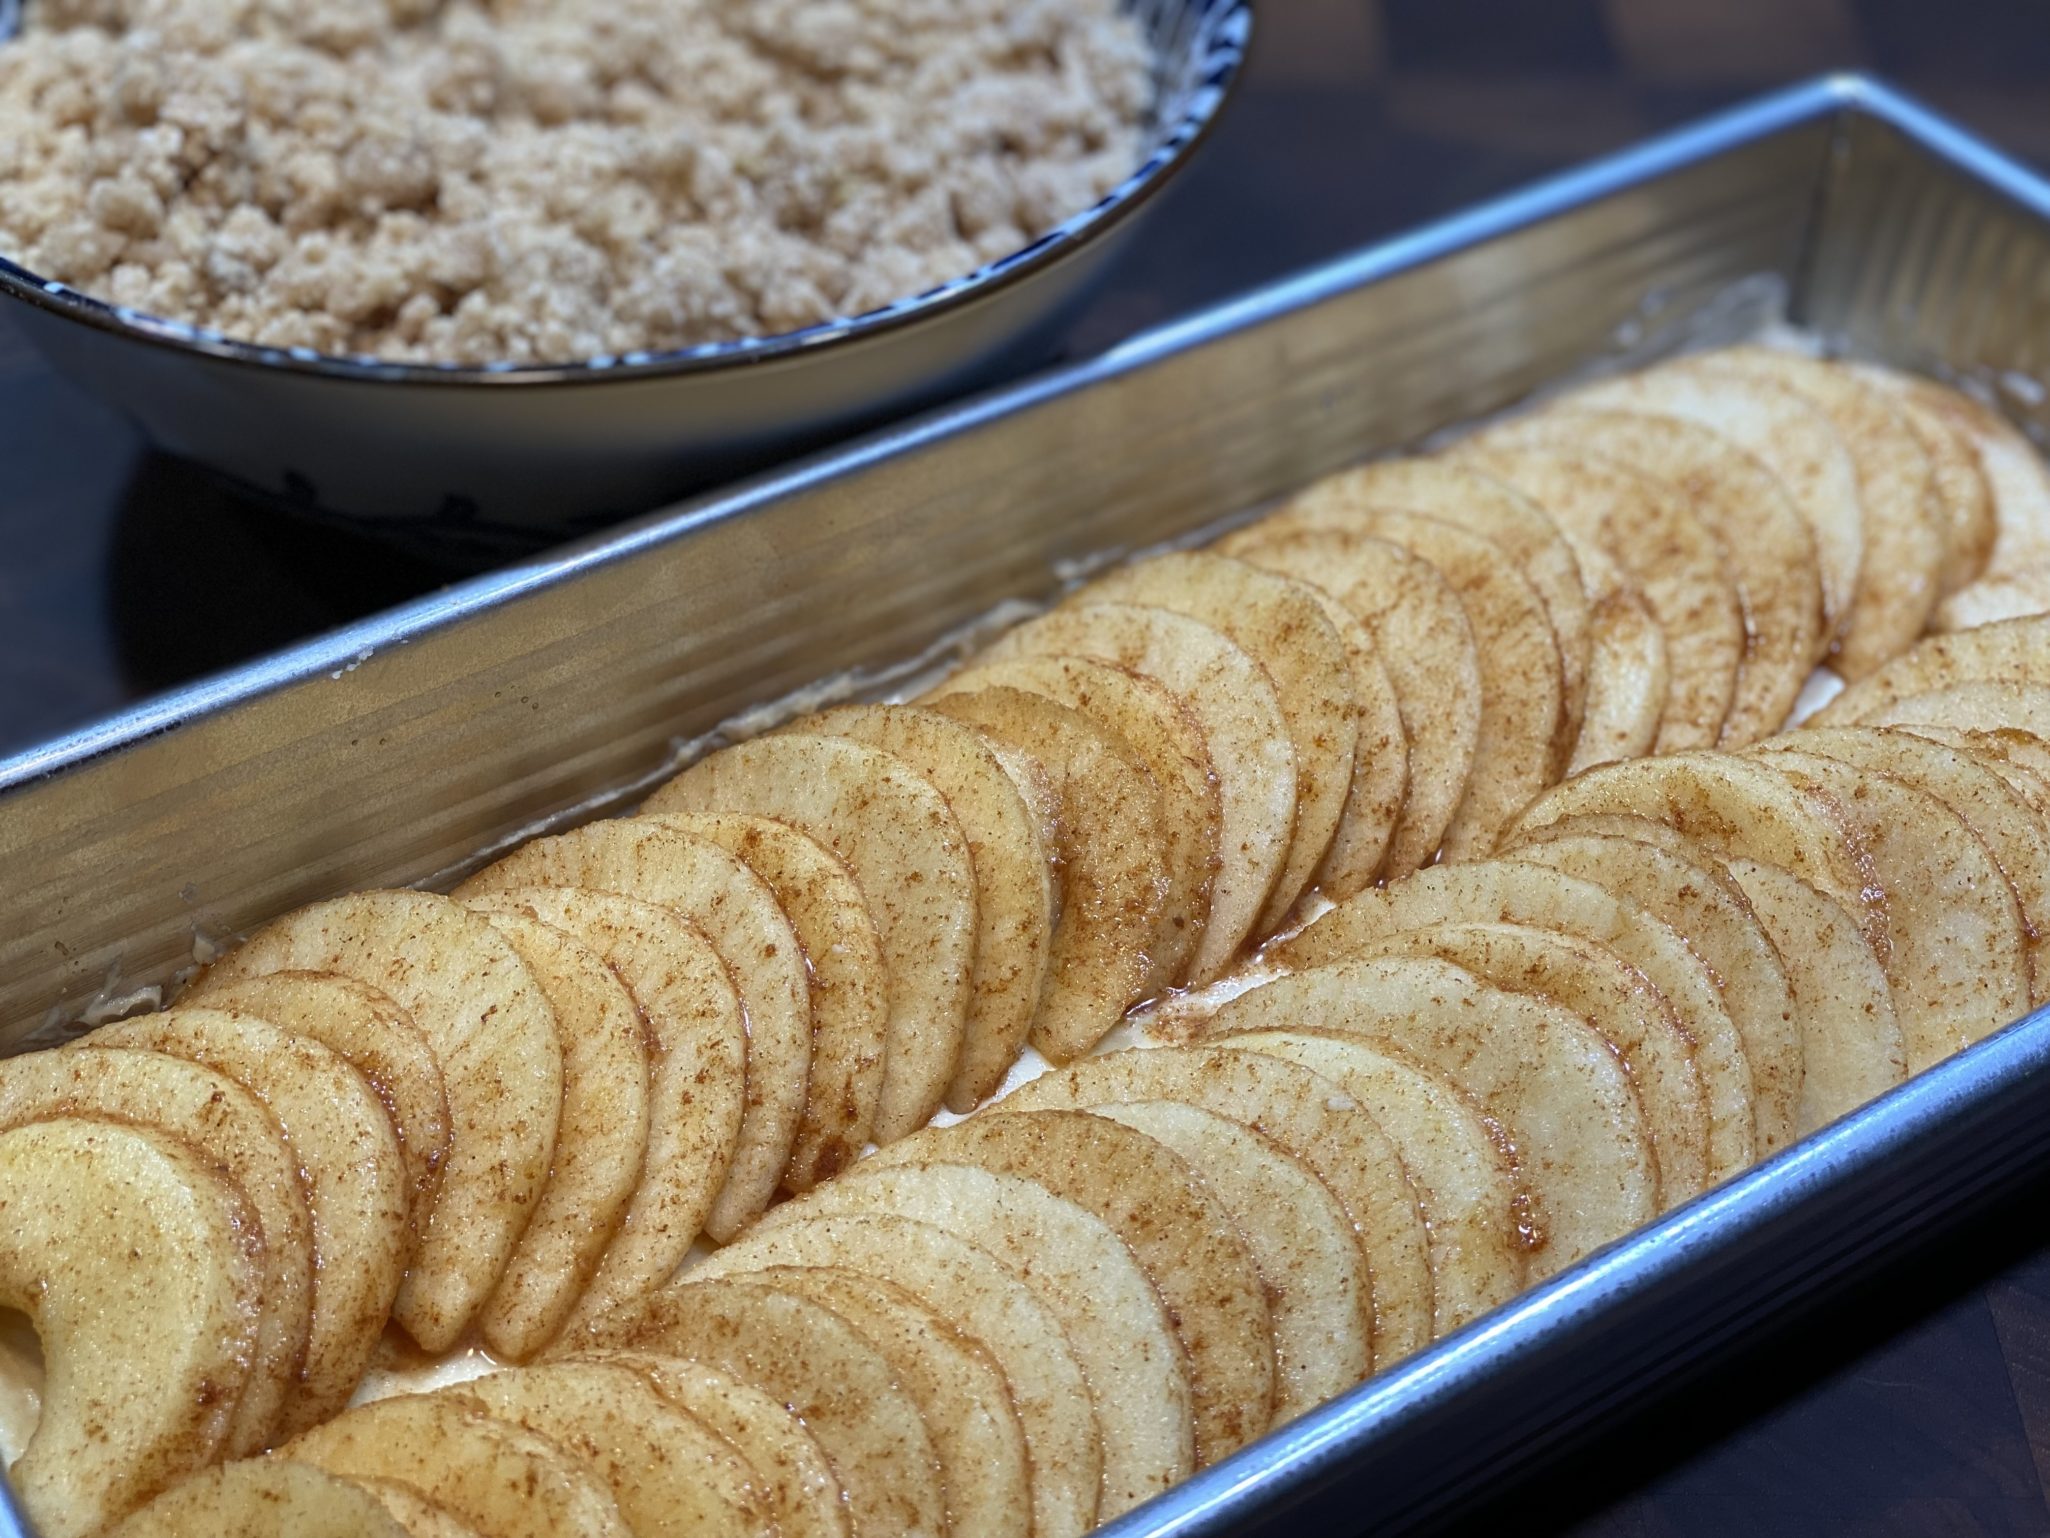
The original recipe calls for 1/2-inch thick slices randomly placed on the batter.  But, I chose to cut my apples in approximately 1/4 to 3/8-inch slices and form two rows of overlapping slices.  Do not cut the apples any thinner as the apple flavor and texture will be lost under the crumbs.  If you use all sweet apples like Golden Delicious, be generous with the lemon juice.

BaBaBaBaBap…Cake On the Bottom

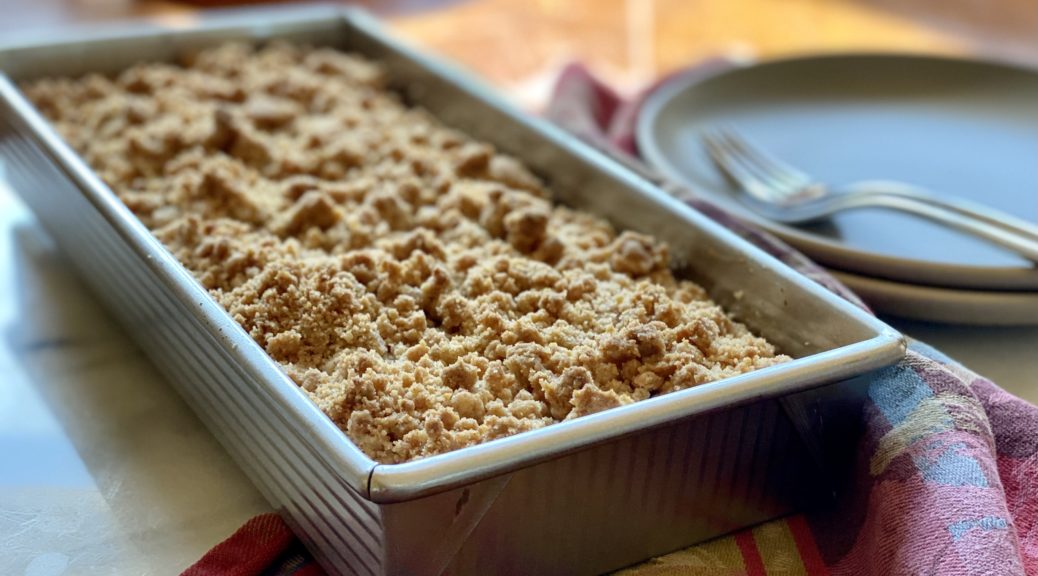
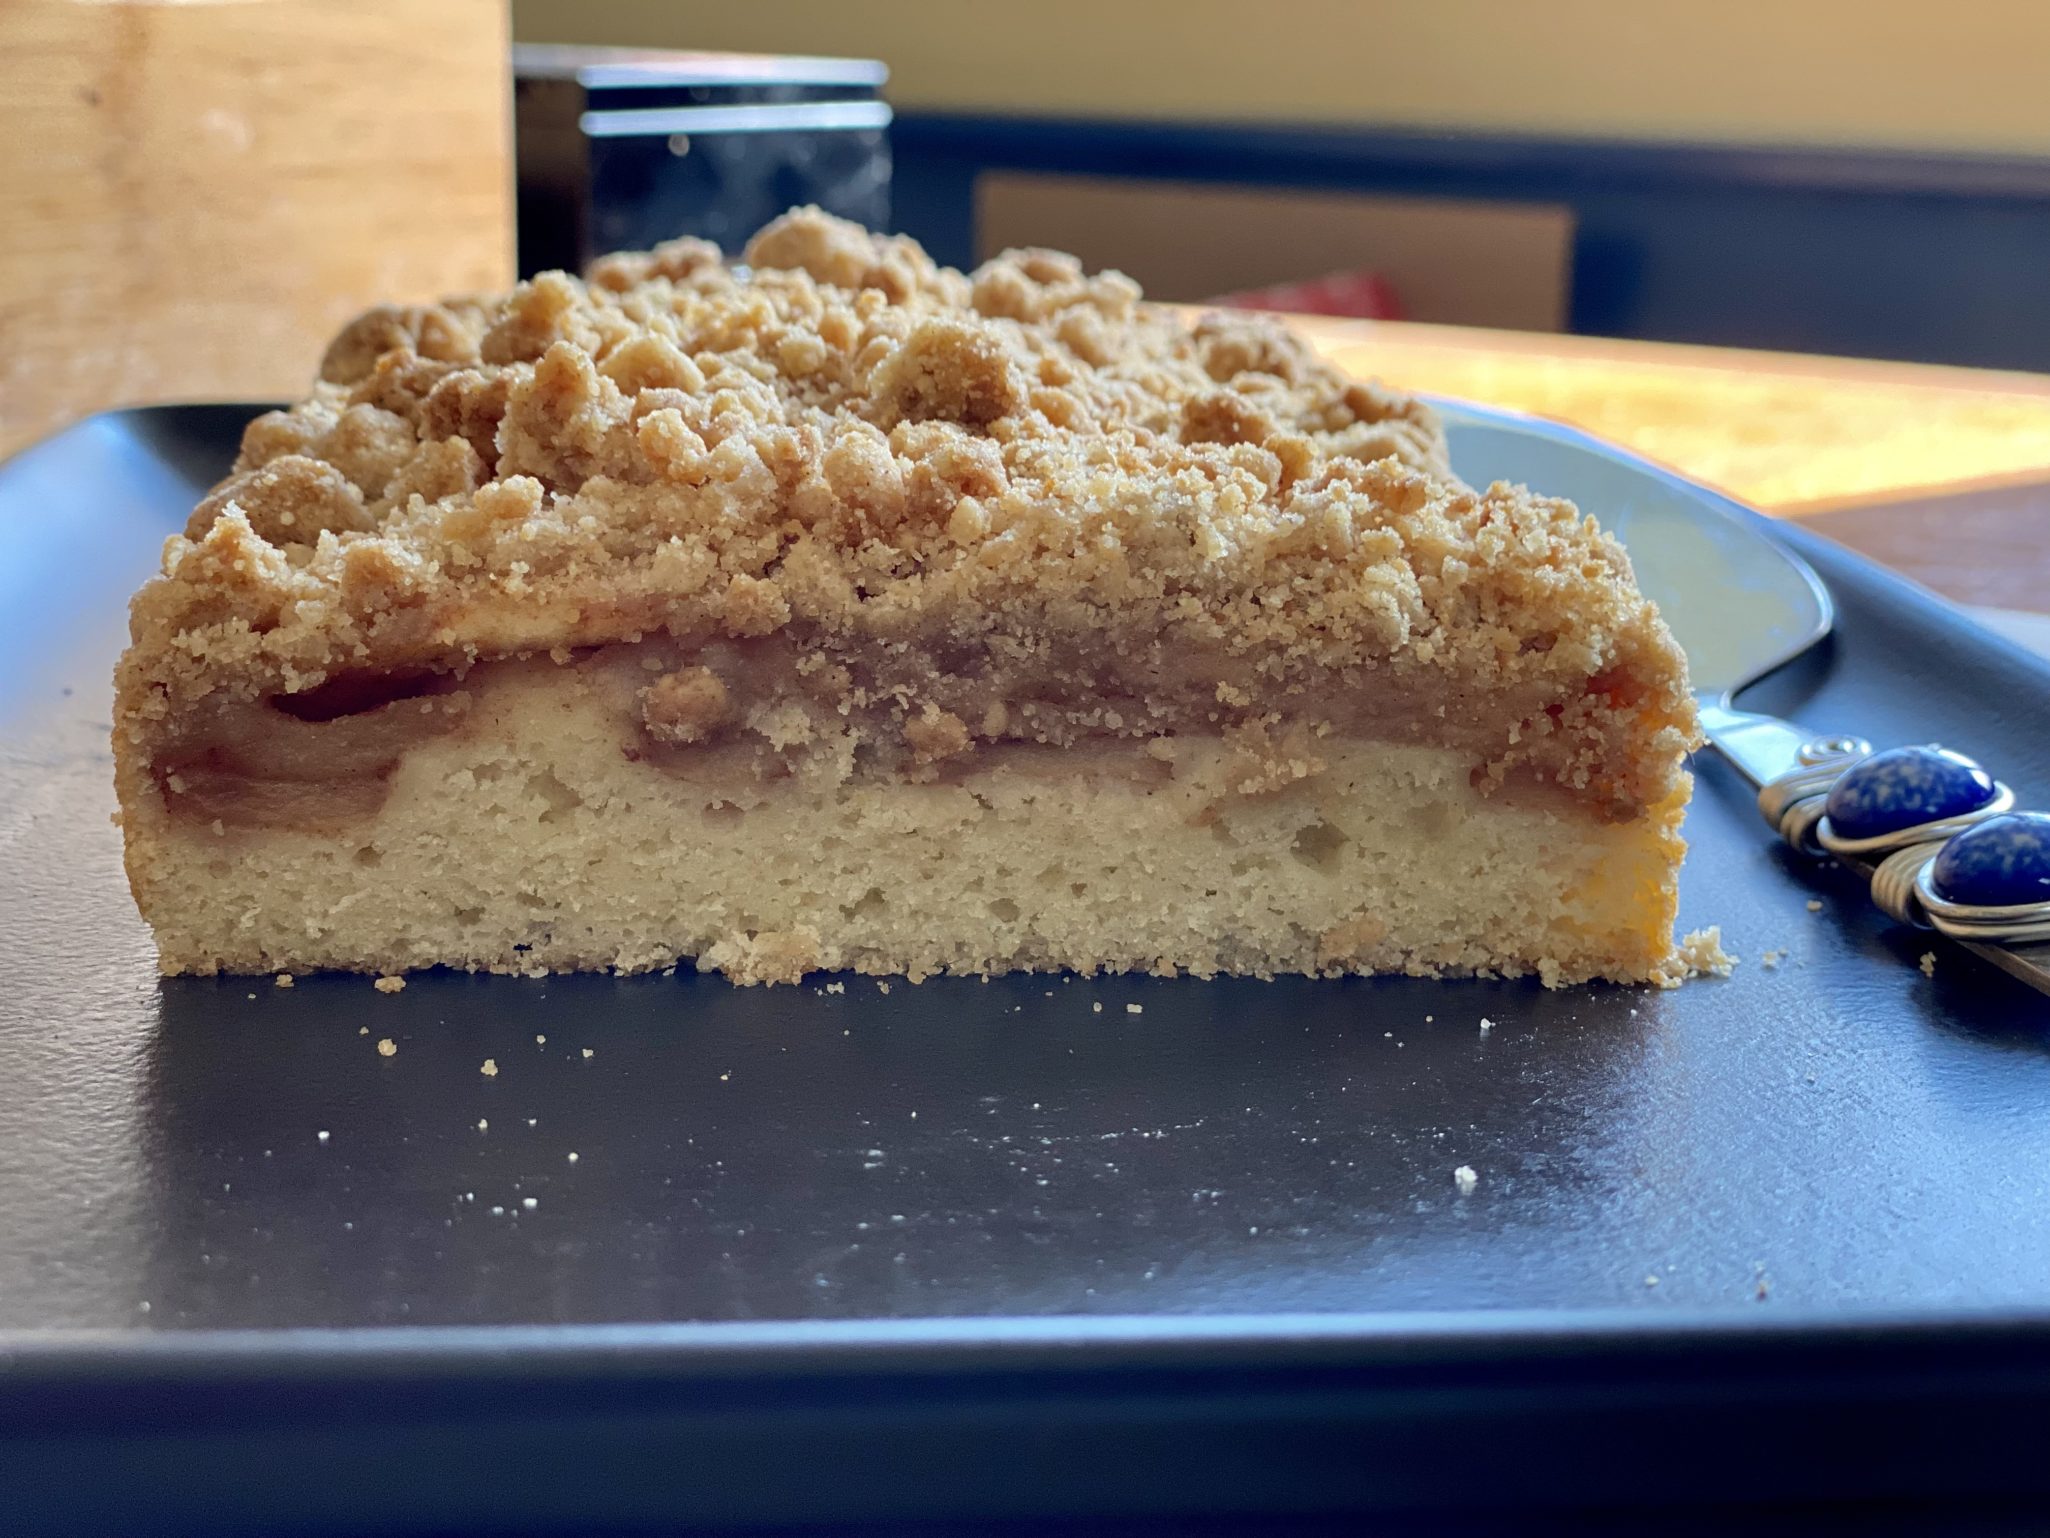
The cake layer is reminiscent of a fine crumb, not quite as dense as pound cake, snack cake  A nice foil for the apples and the topping. The batter is very thick, not really pourable. Scoop it into your pan and use an offset spatula to spread it evenly in the pan.  I used my nifty new biscotti pan (12×5.5 inches) which is equivalent to the called for 8×8 baking pan. The salt and baking powder are sprinkled on the butter, sugar, egg mixture, and blended before adding the flour.  Not sure why, my best guess is to make sure the baking powder and salt are evenly distributed in the batter.

How the Cake Crumb-les

Starting with melted butter makes the crumb topping effortless. I left the crumb in random small pieces which resulted in a pebbly finish which I love.  Squeeze the crumbs together for bigger clumps of topping.  Add nuts, if you like, I tossed in half a cup of chopped pecans for texture and flavor.  It is ALOT of crumble so if that’s not your thang, leave some out.

This is a delicious snack cake that highlights both apples and crumb topping.  Put it on your bucket bake list!

Print Pin
5 from 1 vote

Big Apple Crumb Cake

From Smitten Kitchen, a delicious snacking cake topped with apples and a generous layer of crumb topping.
Course Cake
Cuisine American
Keyword apple, crumb cake
Prep Time 20 minutes
Cook Time 55 minutes

Ingredients

The Apples

  • 1 pound apples, 3 medium or 2 large, peeled, cored, cut into 1/4 -1/2-inch wedges
  • Juice of half a lemon
  • 1 teaspoon ground cinnamon
  • 1 tablespoon granulated sugar

The Crumbs

  • 1/2 cup unsalted butter, melted 4 ounces or 115 grams
  • 1/3 cup light or dark brown sugar 65 grams
  • 1/3 cup granulated sugar 65 grams
  • 1 teaspoon ground cinnamon
  • 1/4 teaspoon kosher salt
  • 1 1/3 cups all-purpose flour 175 grams
  • 1/2 cup coarsely chopped nuts, any kind optional

The Cake

  • 6 tablespoons unsalted butter, softened 85 grams
  • 1/2 cup granulated sugar 100 grams
  • 1 large egg room temperature
  • 1/3 cup sour cream 80 grams
  • 1 teaspoon vanilla extract
  • 1 cup all-purpose flour 130 grams
  • 1 1/4 teaspoon baking powder
  • 3/4 teaspoon kosher salt
  • Powdered sugar for dusting

Instructions

  • Heat oven: To 325°F (165°C). Lightly coat an 8-inch square or 9-inch cake pan with butter or nonstick spray and line with parchment paper that hangs over the long sides. Makes it easy to remove the cake after baking.
  • Slice apples into 1/4 min to 3/8 inch thick slices. Toss apples with lemon juice. Mix cinnamon and sugar together and then add to apples. Mix thoroughly and set aside.
  • Make crumbs: Whisk melted butter, sugars, cinnamon, and salt together until evenly mixed. Add flour and mix until it disappears. Add nuts if using. Set aside.
  • Beat butter with sugar until light and fluffy. Add egg, sour cream, and vanilla and beat until combined. Sprinkle surface of batter with baking powder and salt, beat well to combine. Add flour and mix only until it disappears. The batter will be very thick and not really pourable.
  • Scrape batter into prepared cake pan and smooth it flat. Arrange apples on cake, slightly overlapped. Resist the urge to pile all the apples on, single layer of overlapping apples is good. If you pile extra apples on, the cake may not bake evenly. Pour any cinnamon-apple juices from bottom of bowl over apples. Sprinkle crumbs over apple slices. For bigger crumbs, squeeze the crumbs into small fistfuls and break these up into a couple bigger chunks over the cake.
  • Bake the cake until a toothpick inserted into the apples doesn’t hit any crisp spots and comes out fairly clean, about 50 to 55 minutes.
  • Cool to room temperature, if you can bear it, before cutting into squares or wedges. Dust generously with powdered sugar.
  • Cake keeps at room temperature loosely covered in an airtight container for 3 days or in the fridge.

Notes

PSA: Get yourself a scale, soooo much easier 🙂
Strawberries Fields for…Cake (Strawberry Buttermilk Cake with Lemon Cream)

Strawberries Fields for…Cake (Strawberry Buttermilk Cake with Lemon Cream)

The Life of a Strawberryholic

Since strawberries returned to our local farmers market our Sunday mornings start with a run to the market.  As soon as we arrive home, the first couple of baskets of strawberries go into a colander, given a quick rinse, and placed on the counter for immediate consumption.  The rest of the berries are placed in paper towel-lined containers and enjoyed throughout the week.  Somewhere in the middle of the week, we start thinking of different ways to serve those little red gems.  Luckily, both the internet and cooking mags are filled with recipes that highlight berries.  While thumbing through the latest issue Baking from Scratch, Jamie came across a mouthwatering recipe for a Strawberry Buttermilk Cake with Lemon Cream.  She immediately set upon making it.

Another Strawberry Cake, Deb?  Why?

I had previously posted a recipe just for that “save me from all the strawberries I bought” moment, Summer Strawberry Cake from Smitten Kitchen A delish, jam-packed full of strawberries cake. So why another strawberry cake recipe?  This one is easy to make and pretty darn delicious too, but the smile, fist bump the guy next to you moment is the Lemon Cream. Sure, a simple dusting of powdered sugar would be fine, BUT, oh, that Lemon Cream takes it over the top. It is creamy, sweet with a lemony zing, and adds the wow factor.  Do not skip it.

To make the cake batter, cream softened butter with sugar and lemon zest until light and fluffy. Add the dry ingredients mixture alternating with the buttermilk always starting and ending with the dry ingredients.  Jamie baked it in a regular cake pan although the recipe calls for either a cast iron pan or cake pan.  I imagine a cast iron pan would result in crispy edges. I leave it to you to decide what pan to use.

The cake is not quite as dense as a coffee cake and has a nice crumb. The strawberries provide the flavor punch and the sprinkle of Turbinado Sugar adds a nice finishing crunch.

The next time you go to your local farmer’s market, pick up an additional pint or two of strawberries, and make this cake. It’s berry delicious and don’t skip the Lemon Cream!

Print Pin
5 from 1 vote

Strawberry Buttermilk Cake

From Bake from Scratch, a delicious buttery cake topped with strawberries and a killer lemon cream!
Course Cake, Dessert
Cuisine American
Keyword buttermilk, lemon cream, Strawberry
Prep Time 20 minutes
Cook Time 1 hour

Ingredients

Creamed Mixture

  • 6 tablespoons (84 grams) unsalted butter, softened
  • 1 cup (200 grams) granulated sugar
  • 2 large eggs
  • 1 tablespoon lemon zest

Dry Stuff

  • 1⅔ cups (209 grams) all-purpose flour
  • 1 teaspoon (5 grams) baking powder
  • ½ teaspoon (1.5 grams) kosher salt

Finish

  • ½ cup whole buttermilk
  • 1 teaspoon vanilla extract
  • 8 ounce fresh strawberries, halved
  • 2 tablespoons (24 grams) turbinado sugar

Lemon Cream

  • cups heavy whipping cream
  • 2/3 cup (80 grams) confectioners’ sugar
  • 2 teaspoons lemon zest
  • 1 tablespoon fresh lemon juice
  • 1 teaspoon vanilla extract
  • ¼ teaspoon (0.75 gram) kosher salt

Instructions

The Cake

  • Preheat oven to 325°F. Spray a 9-inch cast-iron skillet or cake pan with baking spray with flour.
  • In the bowl of a stand mixer fitted with the paddle attachment, beat butter, granulated sugar, and lemon zest at medium speed until fluffy, 3 to 4 minutes. Add eggs, one at a time, beating well after each addition.
  • In a medium bowl, whisk together flour, baking powder, and salt. Gradually add flour mixture to butter mixture alternately with buttermilk, beginning and ending with flour mixture, beating just until combined after each addition. Beat in vanilla.
  • Pour batter into prepared pan, using an offset spatula to smooth top. Top with strawberries, and sprinkle with turbinado sugar.
  • Bake until golden brown and a wooden pick inserted in center comes out clean, 45 minutes to 1 hour. Serve warm with Lemon Cream.

Lemon Cream

  • In the bowl of a stand mixer fitted with the whisk attachment, beat cream and confectioners’ sugar at medium speed until soft peaks form. Add lemon zest and juice, vanilla, and salt, beating to combine. Makes about 3 cups
Banana Cake with Cream Cheese Frosting (Coop-vid Up and Going Bananas)

Banana Cake with Cream Cheese Frosting (Coop-vid Up and Going Bananas)

I bought WAY TOO many bananas on my COVID reconnaissance to the grocery store last week.  Luckily, too many bananas is a happy problem.  Eat em’, freeze em’, bake em’ in a cake.

Banana Bread was out. I had just baked a loaf of banana bread from Shauna Severs’ latest book, Midwest Made.  These overripe bad boi bananas were destined for a banana cake with CREAM CHEESE FROSTING. After all, calories don’t count during the time of COVID-19.  That’s right, zippo calories.

Let them eat CAKE

My favorite Banana Cake recipe comes from Clementine Bakery in Los Angeles. I found it on the blog site, Ipso Fatto (love, love, love). How good is it?  It’s our 2nd most favorite birthday cake, right after Wes’s Carrot Cake.  It’s really good.  Mui just made one and took it to another level by adding a layer of chocolate ganache in the middle and gorgeous sprinkles on the top. Just for little, OLD, me for my birthday.  Time to find another banana cake recipe to add to my evergrowing “all things banana” arsenal of recipes.  I went back to Ipso Fatto (she loves all things bananas as much as I do) and whaddya know, this popped up on her site.

Best Banana Cake I’ve Ever Had

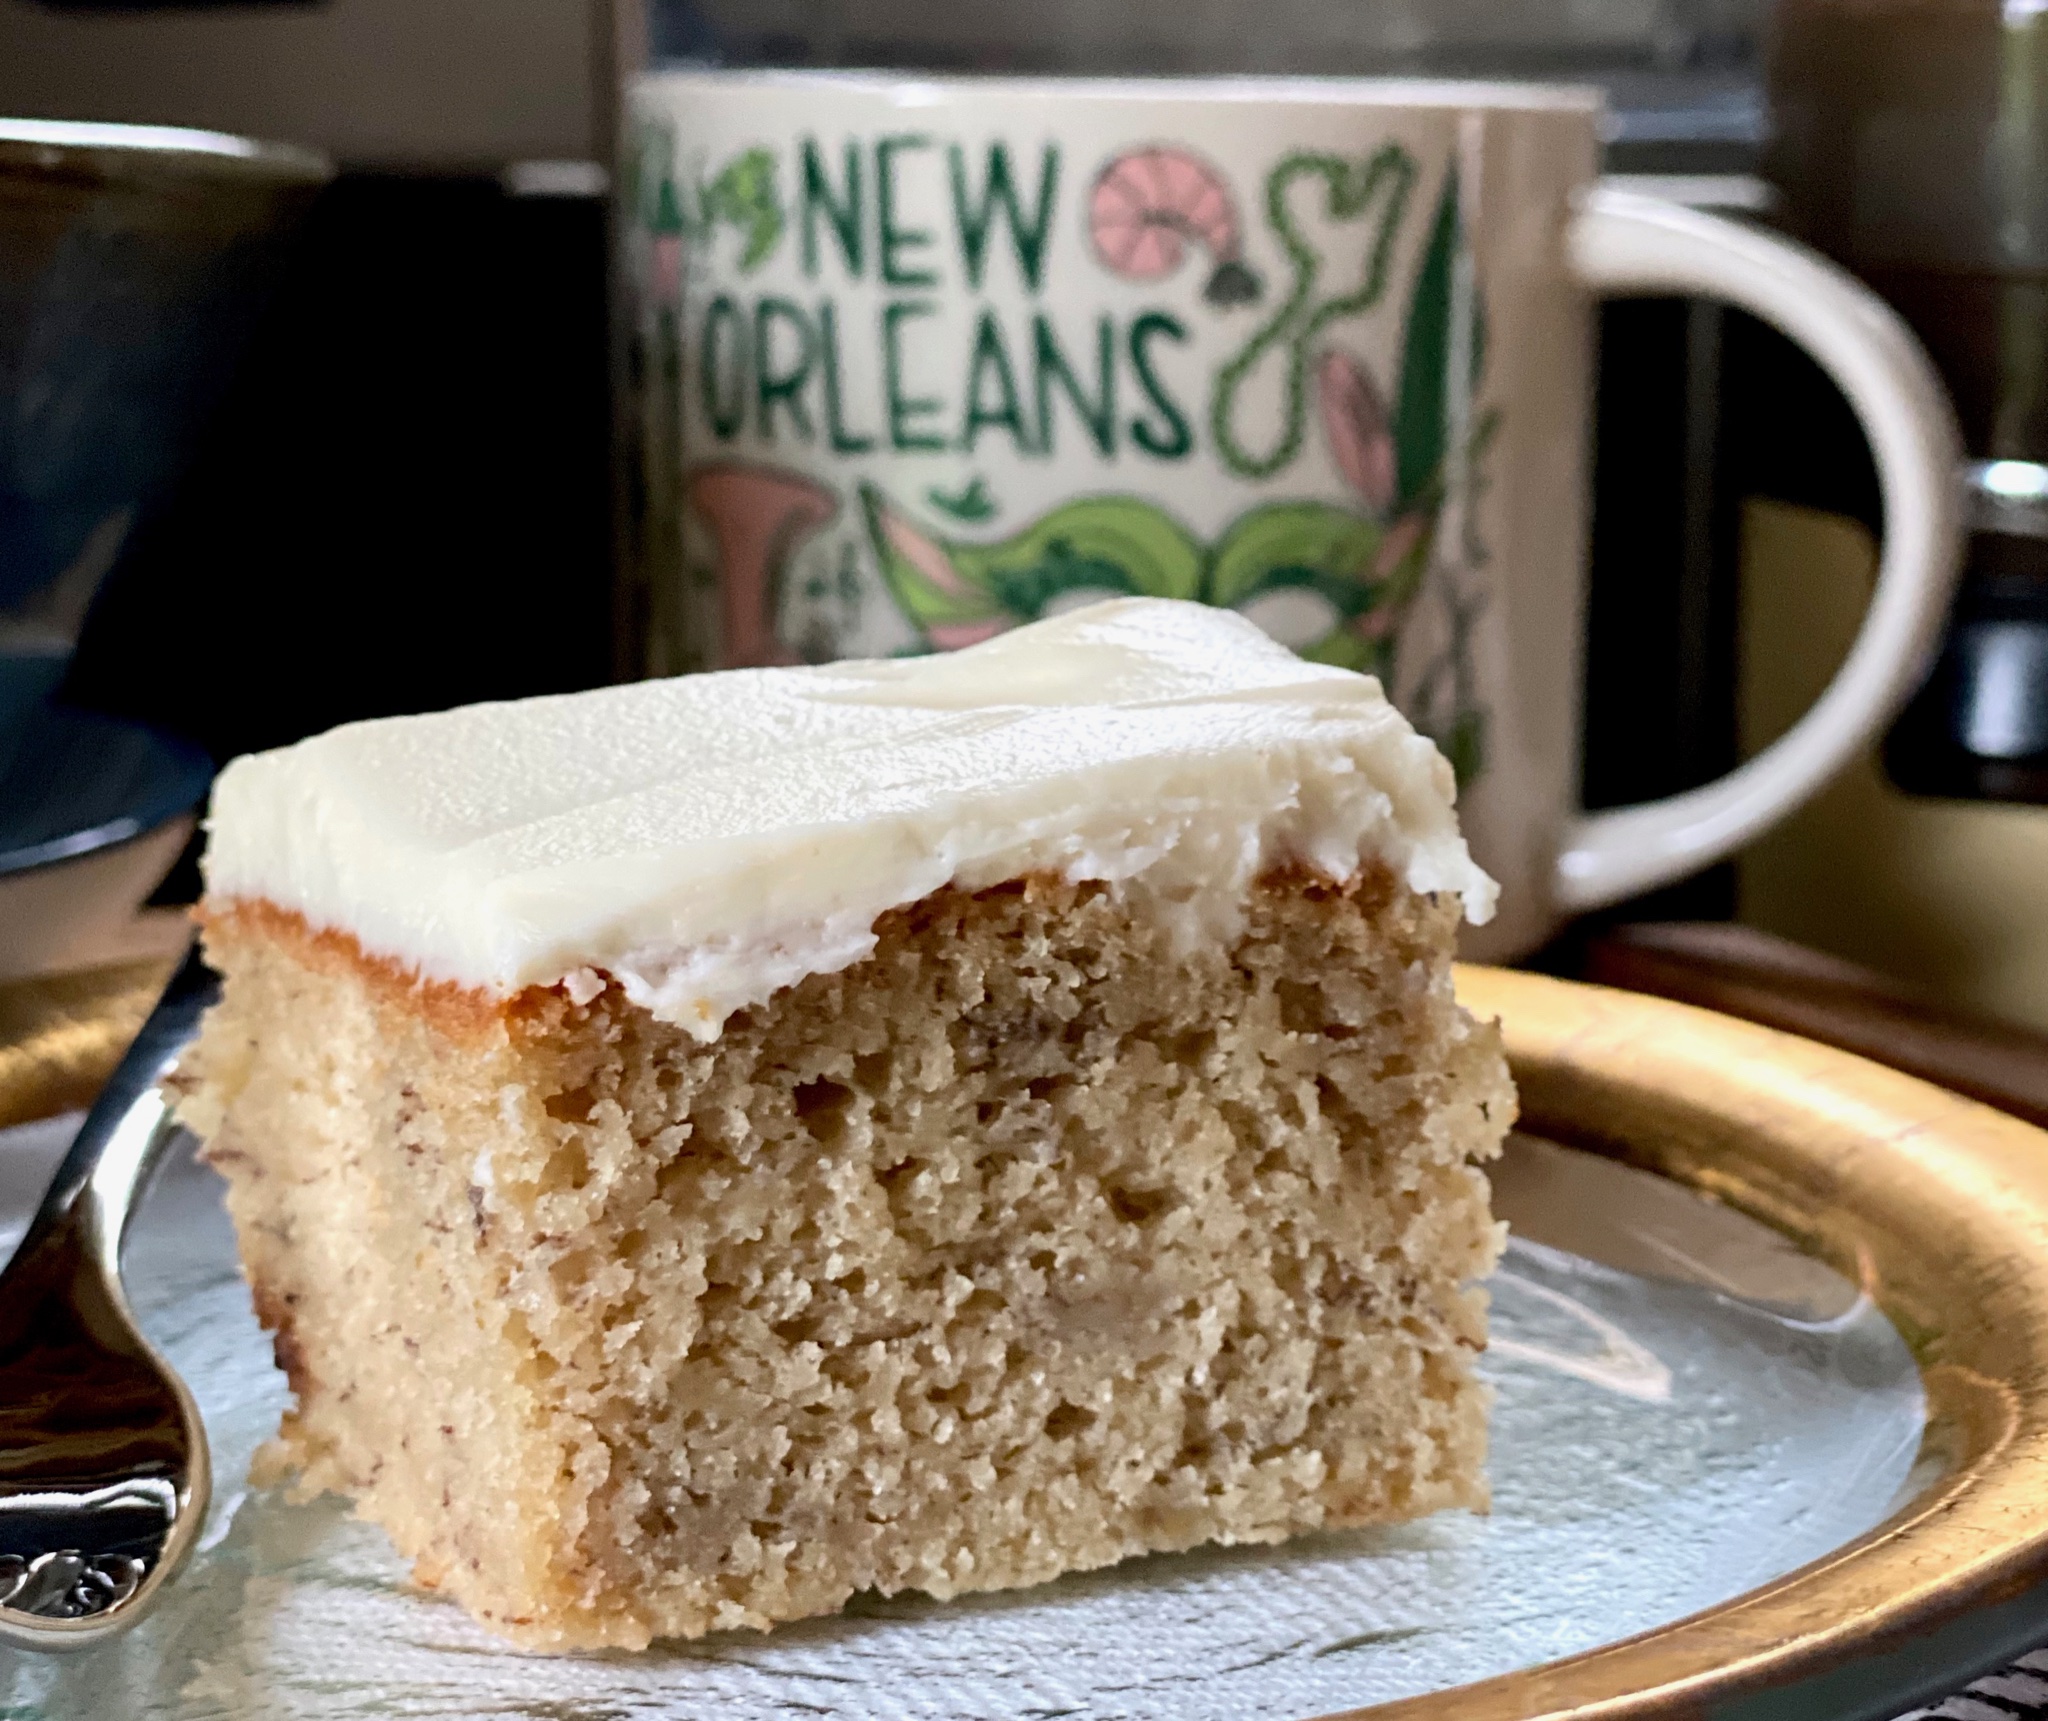
Ever had?  That sounds like a challenge.  Game on. The recipe comes from Sally’s Baking Addiction.  It’s straightforward and comes together easily.  I made this late at night so no process pics. Classic cake instructions-cream the butter, add the sugars (in this case dark brown sugar-sweet and caramel-ly), eggs, and mashed bananas. Then alternate the dry ingredients with buttermilk (nice little tang).  Don’t worry if at various points the mixture looks curdled, it will come together as you add the dry ingredients.  The batter will be lumpy-looking but pourable at the end.  While it’s baking, start the best part of any cake, the frosting, in this case, my favorite, cream cheese frosting.

I used hubby’s cream cheese frosting recipe, I think it’s perfect but then again I am biased. Sally’s recipe calls for 3 cups of powdered sugar, while hubby’s calls for only 3/4 cup to 1 cup at most, plenty for my taste.  Beat the cream cheese and butter until creamy and smooth BEFORE adding the powdered sugar.  This is key, once you add the sugar, mix just until blended and to the consistency you like.  Don’t overbeat as the sugar will break down the frosting.  You’ll end up with runny, loose frosting.  Spread the frosting on the cake and then lick the spatula-perks of being the baker.  The cake is yummy at room temperature or chilled, straight out of the fridge.

Texture-wise this cake reminds me of a snack cake, springy, with a little density, and a compact crumb. You want a tall glass of cold milk to go along.  I still like the Clementine Banana Cake more, but that’s probably my personal preference.  Clementine’s cake has a looser crumb and isn’t quite as dense, perfect for a layer cake.  But both are delicious.

That’s it folks…enjoy!

Banana Cake (Sally's Baking Addiction)

Best Banana Cake with Cream Cheese Frosting from Sallys Baking Addiction
Course Cake, Dessert
Cuisine American
Keyword Banana Cake with Cream Cheese Frosting
Prep Time 30 minutes
Cook Time 50 minutes
Servings 10

Ingredients

The Cake

    Dry Ingredients

    • 3 cups all-purpose flour (spoon & leveled) 375g
    • 1 teaspoon baking powder
    • 1 teaspoon baking soda
    • 1/2 teaspoon ground cinnamon
    • 1/2 teaspoon salt

    Wet Ingredients

    • 3 large ripe bananas about 1 and 1/2 cups mashed
    • 3/4 cup unsalted butter, softened to room temperature 170g
    • 1 cup granulated sugar 200g
    • 1/2 cup packed light or dark brown sugar 100g
    • 3 large eggs at room temperature
    • 2 teaspoons pure vanilla extract
    • 1-1/2 cups buttermilk, at room temperature 360ml

    Sally's Cream Cheese Frosting

    • 8 ounces full-fat block cream cheese, softened to room temperature 224g
    • 1/2 cup unsalted butter, softened to room temperature 115g
    • 3 cups confectioners’ sugar, plus an extra 1/4 cup if needed 360g
    • 1 teaspoon pure vanilla extract
    • 1/8 teaspoon salt

    Hubby's Cream Cheese Frosting

    • 1 brick Philadelphia Cream Cheese 8 ounces
    • 1 stick salted butter 4 ounces
    • 3/4-1 cup powdered sugar
    • 2 tsp vanilla extract

    Instructions

    • Preheat the oven to 350°F (177°C) and grease a 9×13 inch pan. I always use parchment on the bottom of my pan, makes it easier to remove the cake.
    • Make the cake: Mash the bananas. I use a potato masher. Set mashed bananas aside.
    • Whisk the flour, baking powder, baking soda, cinnamon, and salt together. Set aside.
    • Using a mixer fitted with a paddle attachment, beat the butter on high speed until smooth and creamy – about 1 minute. Add both sugars and beat on high speed for 2 minutes until creamed together. Scrape down the sides and up the bottom of the bow. Add the eggs and the vanilla. Beat on medium-high speed until combined, then beat in the mashed bananas. Scrape down the sides and the bottom of the bowl as needed. With the mixer on low speed, add the dry ingredients in three additions alternating with the buttermilk and mixing each addition just until incorporated. Always start and finish with the dry ingredients. Do not overmix. The batter will be slightly thick, a few lumps is OK.
    • Spread batter into the prepared pan. Bake for 45-50 minutes. Baking times vary, so start checking at 40 minutes. Keep an eye on it. The cake is done when a toothpick inserted in the center comes out clean. If you find the top of the cake is browning too quickly in the oven, loosely cover it with aluminum foil.
    • Remove the cake from the oven and set on a wire rack. Allow to cool completely. After about 45 minutes, I usually place it in the refrigerator to speed things up.
    • Make the frosting: In a large bowl using a handheld or stand mixer fitted with a paddle or whisk attachment, beat the cream cheese and butter together on high speed until smooth and creamy.
    • Add 3 cups confectioners’ sugar, vanilla, and salt. Beat on low speed for 30 seconds, then switch to high speed and beat for 2 minutes. If you want the frosting a little thicker, add the extra 1/4 cup of confectioners sugar (I add it). Spread the frosting on the cooled cake.
    • Refrigerate for 30 minutes before serving. This helps sets the frosting and makes cutting easier.
    • Cover leftover cake tightly and store in the refrigerator for 5 days.

    Hubby's Cream Cheese Frosting

    • Beat butter to soften before adding the cream cheese, 15-30 seconds. This helps prevent lumps. Add cream cheese and beat on medium high speed until smooth, light, and creamy. Beat on high if using a handheld mixer.
    • Add vanilla and beat on medium to blend. Add powdered sugar and beat on low speed to blend in and then increase to medium speed to incorporate, at most 1 minute. Do not OVERBEAT!!! Taste the frosting, add additional 1/4 cup of sugar if you want it sweeter. If it seems a little flat, add a pinch of salt.
    • Spread on the cooled cake. For special occasions flip the cake out of the pan and frost top and sides. You may need to make a recipe and a half of frosting in that case.

    Notes

    Make Ahead Instructions: Prepare cake through step 5. Cover the cake tightly and refrigerate for up to 2 days or freeze up to 3 months. Bring to room temperature, make the frosting, frost, and serve. Frosted cake freezes well, up to 3 months. Thaw overnight in the refrigerator, bring to room temperature or serve cold.
    Buttermilk: If you don’t have buttermilk, you can add 1 Tablespoon fresh lemon juice or white vinegar to a large liquid measuring cup. Then add enough regular room temperature milk (whole milk is recommended) to make 1 and 1/2 cups total. Stir and let sit for 5 minutes. This soured milk can be used in the recipe instead of buttermilk.
    Cupcakes: I’ve gotten a few questions about turning this cake into cupcakes. For about 2 dozen cupcakes, fill the cupcake liners halfway and bake for about 20-22 minutes. Same oven temperature.
    Bundt Cake: You can bake this batter in a 10-12 cup bundt pan, but I find it’s not quite as moist when baked in the bundt shape. Bake for 50-65 minutes, give or take. Use a toothpick to determine doneness. Same oven temperature.
    Layer Cake: I use this recipe to make my banana layer cake. If you want to make a 2 layer cake, divide batter between 2 greased 9-inch cake pans, and bake at 350°F (177°C) for 26-30 minutes or until a toothpick inserted in the center comes out clean.
    Summer Strawberry Cake, Farmer’s Market: A Midsummer Day’s Dream

    Summer Strawberry Cake, Farmer’s Market: A Midsummer Day’s Dream

    Get thee to a Farmer’s Market now. It is the perfect time to visit your local market, all things fruit and vegetable are at its peak.  You can hardly walk through the market without becoming intoxicated by the aroma of vine-ripened tomatoes, peaches, and strawberries.

    At my local farmer’s market, we are lucky enough to have strawberries from P&K Farms, a family run farm in the Monterey area.  I can remember a couple of years ago when I first noticed their stand at the market.  Actually, it was hard not to notice, a line easily 10 people deep had formed in front of their kiosk.  Being a true skeptic, I thought, come on, are their berries really worth the wait?

    Flash forward to this past weekend.  Like an idiot, I stopped for coffee BEFORE heading to the market which then meant waiting in the “way more than 10 people” line for my 3-pack of ruby perfection.  Yes, it is worth the wait.  Their strawberries are sweet, full of flavor, and remarkably hardy.

    Let Them Eat Cake!…with Strawberries

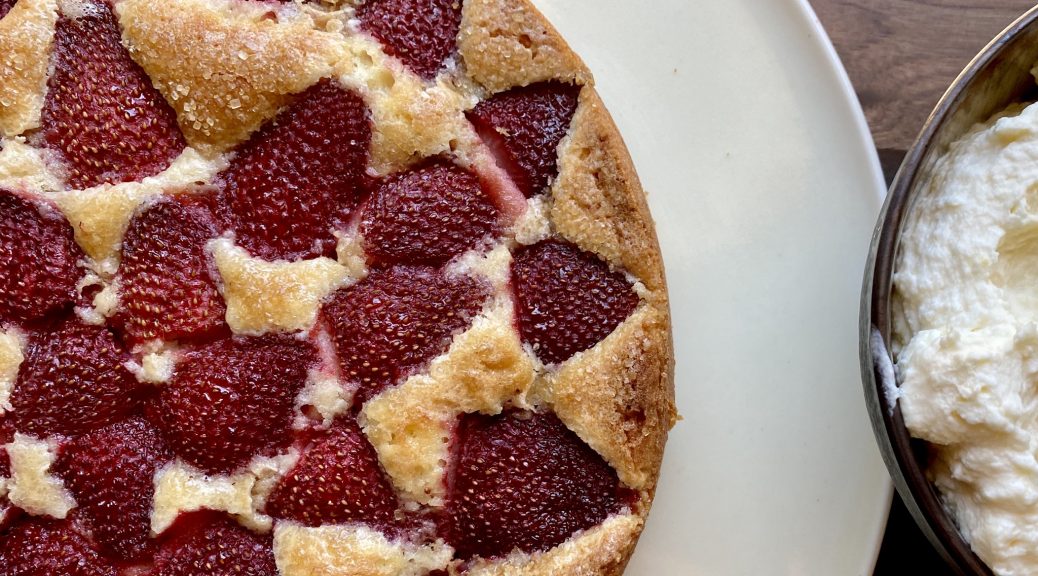
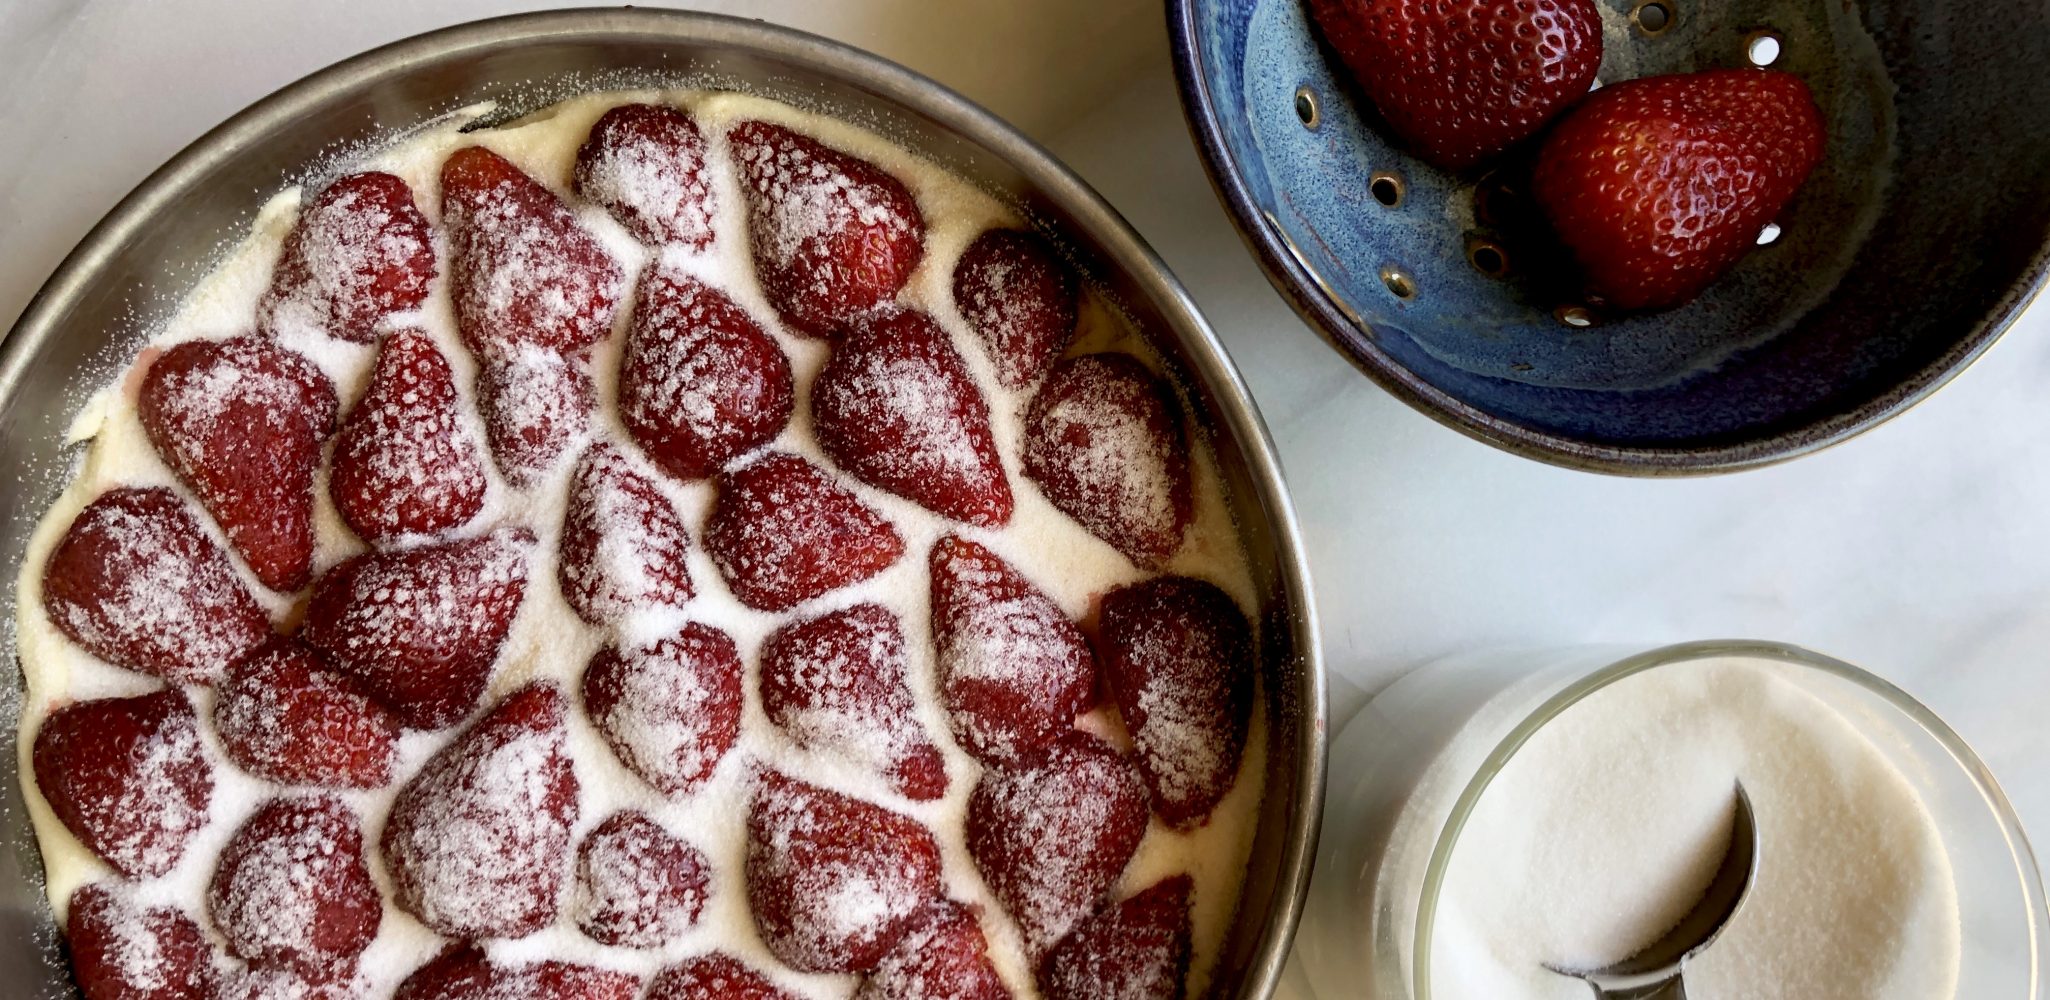
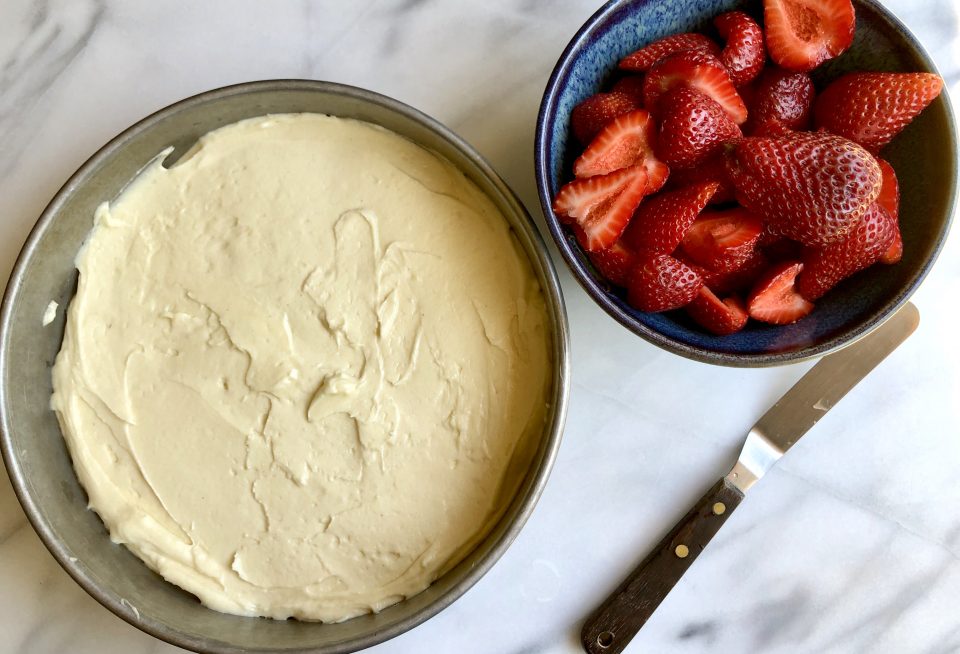
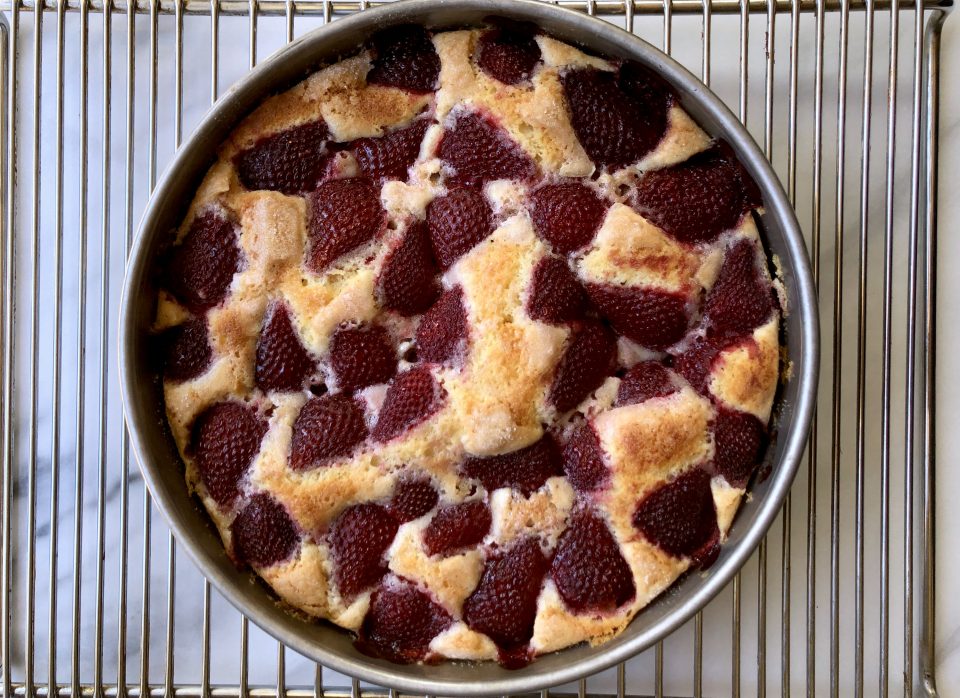
    I reserved part of my strawberry treasure trove for a friend’s July 4th BBQ.  I could take the easy way out and just throw them in a bowl, serve them straight up which would be perfectly fine, but what fun would that be?  Time to try that recipe from Smitten Kitchen for a cake that showcases strawberries.  A simple butter cake LOADED with berries.  The 9-inch cake calls for a pound of strawberries which means with every bite, you sink your teeth into sweet, oozy strawberries and really that’s what it is all about.

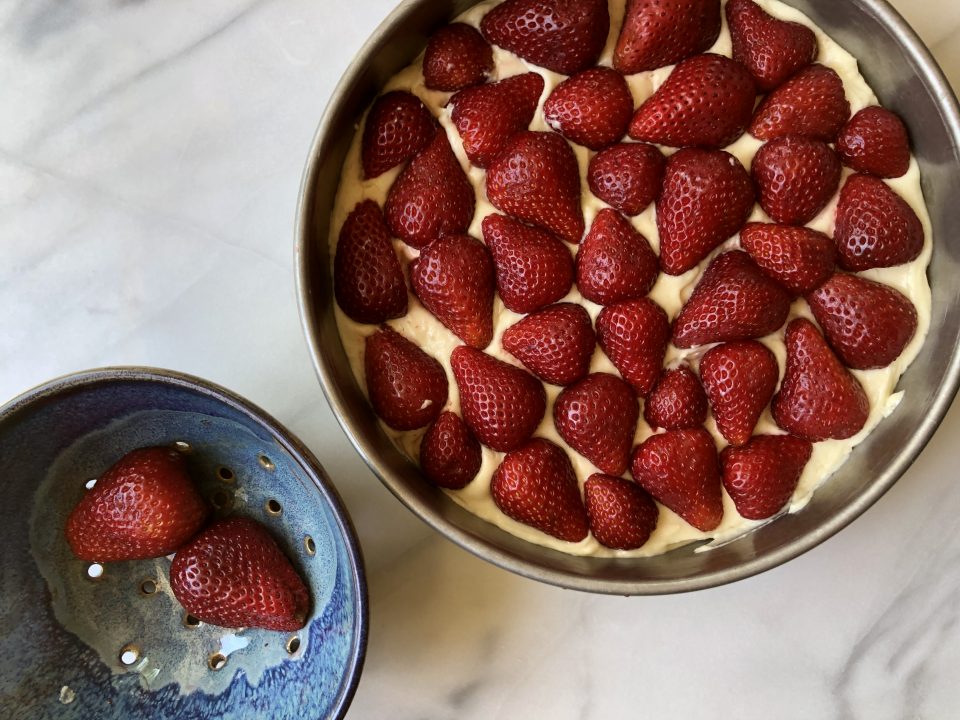
    The original recipe is from Martha Stewart and tweaked by Smitten Kitchen.  The recipe calls for combining the egg, milk, and vanilla and then adding it to the creamed mixture.  Adding all the liquid at once made for a very curdled-looking mixture.  I added the dry ingredients and the batter came together.  I found a trick, when the batter looks like it is about to curdle as you are adding the milk, toss 1 tablespoon of the flour mix into the batter.  This small amount of flour prevents the curdling but won’t toughen the cake.  Voila’.  The hulled and halved strawberries are placed cut side down in the batter.

    A sprinkling of sugar to finish and into the oven for about an hour.  Bake this cake in a deep dish pie plate or a cake pan lined with parchment.  It will overflow in a traditional 9-inch pyrex pie plate.  Smitten Kitchen recently adjusted the recipe to make a 9×13 cake (two pounds of strawberries!) because let’s face it, everyone is going to want seconds.

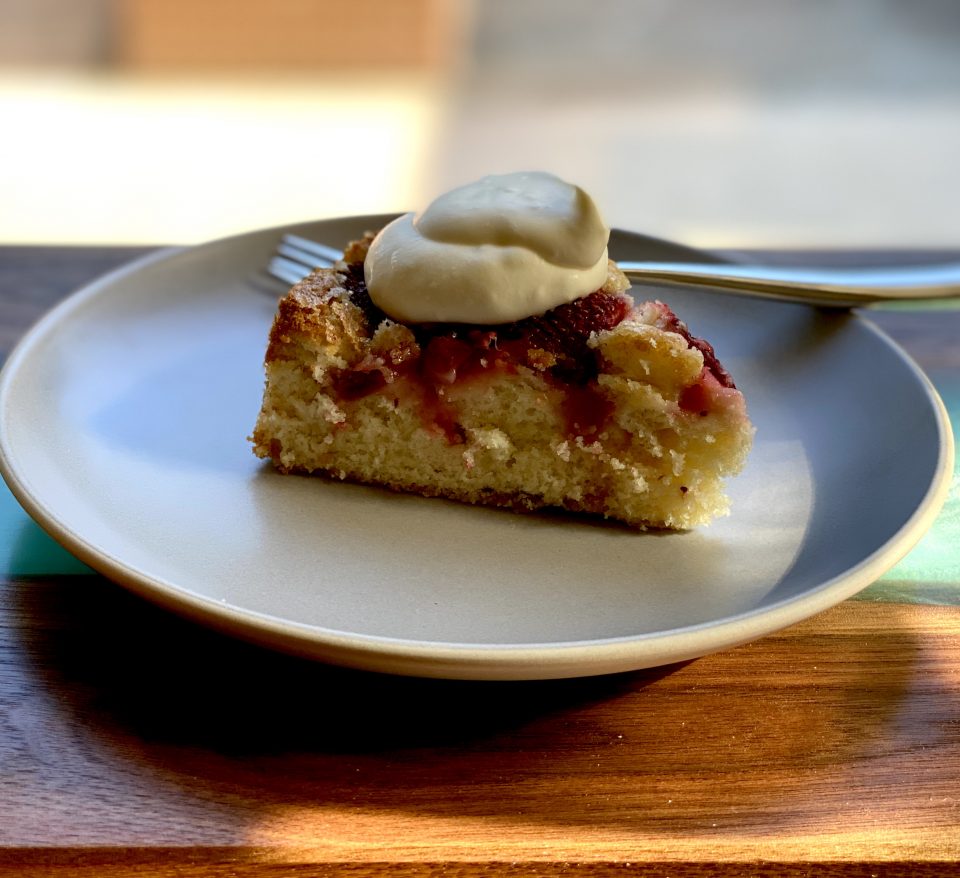
    Serve this with softly whipped cream or vanilla ice cream.  Make it earlier in the day so the cake can sit. The strawberries will marry with the cake even more.  Sooo luscious.  Sooo good.

    So what are you doing this weekend?  Yep, picking up strawberries at the Farmer’s Market, baking this cake, and looking appropriately sheepish as your friends and family shower you with compliments and RAVE about this cake.

    Repeat after me, “Aww shucks. It was nothing.”

    Strawberry Summer Cake

    An easy cake that screams summer is here. Loads of strawberries baked in a buttery sweet tender cake.
    Course Cake, Dessert
    Cuisine American
    Keyword cake, strawberries, strawberry cake, Summer Cooler
    Prep Time 20 minutes
    Cook Time 1 hour 10 minutes
    Servings 8

    Equipment

    • 9-inch cake pan or 9-inch deep dish pie plate
    • Mixer

    Ingredients

    Dry Stuff

    • 1 1/2 cups (188 gram) all-purpose flour
    • 1 1/2 teaspoons baking powder
    • 1/2 teaspoon table salt

    Buttah & Sugar

    • 1 cup (200 gram) plus 2 tablespoons (25 gram) granulated sugar
    • 6 tablespoons (85 gram)unsalted butter at room temperature, plus extra for pie plate

    The Wet Stuff

    • 1 large egg
    • 1/2 cup 118 ml milk
    • 1 teaspoon vanilla extract

    The Top

    • 1 pound 450 grams strawberries, hulled and halved

    Instructions

    • Preheat oven to 350°F (180°C). Butter a 9-inch cake pan and line with parchment or 9-inch deep-dish pie pan. Don't use a regular 9-inch pie plate which is too small.
    • Whisk flour, baking powder, and salt together in a small bowl. In a larger bowl, beat butter and 1 cup sugar until pale and fluffy with an electric mixer, about 3 minutes. Add egg and beat to combine. Add milk and vanilla until just combined. The mixture may look a little curdled. It's okay, once you add dry ingredients it will come together* see post for tip. Add dry ingredients gradually, mixing until just smooth but well combined.
    • Pour into prepared cake pan. Arrange strawberries, cut side down, on top of batter, as closely as possible in a single layer, don't be afraid to really squish them together. Sprinkle remaining 2 tablespoons sugar over berries.
    • Bake cake for 10 minutes then reduce oven temperature to 325°F and bake cake until golden brown and a tester comes out free of wet batter, about 50 minutes to 60 minutes. (Gooey strawberries on the tester are a given.)
    • Let cool in pan on a rack.
    • Remove cake from pan by flipping it onto a plate and inverting it onto another. Thank goodness for parchment paper.
    • Serve with lightly whipped cream. Or Lemon Cream from another recipe, see note!

    Notes

    The cake can be stored at room temperature for up to 2 days, loosely covered. It really won't last that long though.
    Lemon Cream
     
    Ottolenghi-Ototalyummi Blueberry Lemon Almond Cake

    Ottolenghi-Ototalyummi Blueberry Lemon Almond Cake

    I am a big fan of Ottolenghi’s cookbooks, the photos are mouthwatering and every dish I have tried has been delicious.  My favorite book is Jerusalem and not just for the recipes and photos but it’s premise. Two men who grew up in opposite ends of Jerusalem, one Jewish, one Arab create wonderful food together.

    In today’s America we seem so divided…we should just have a ginormous potluck where everyone brings their favorite dish to share. The rule would be bring a dish your grandmother or your grandfather made for you.  Can you imagine that table?  It would be filled with dishes from every corner of the world.  Hard to hate on someone sharing a bowl of their grandmother’s mandu or kreplach. Mean words to a guy who hands you a plate of brisket perfectly smoked the way his dad taught him?  I hope not.  Food soothes the soul, heals the heart and sways the mind.

    A girl can dream right?

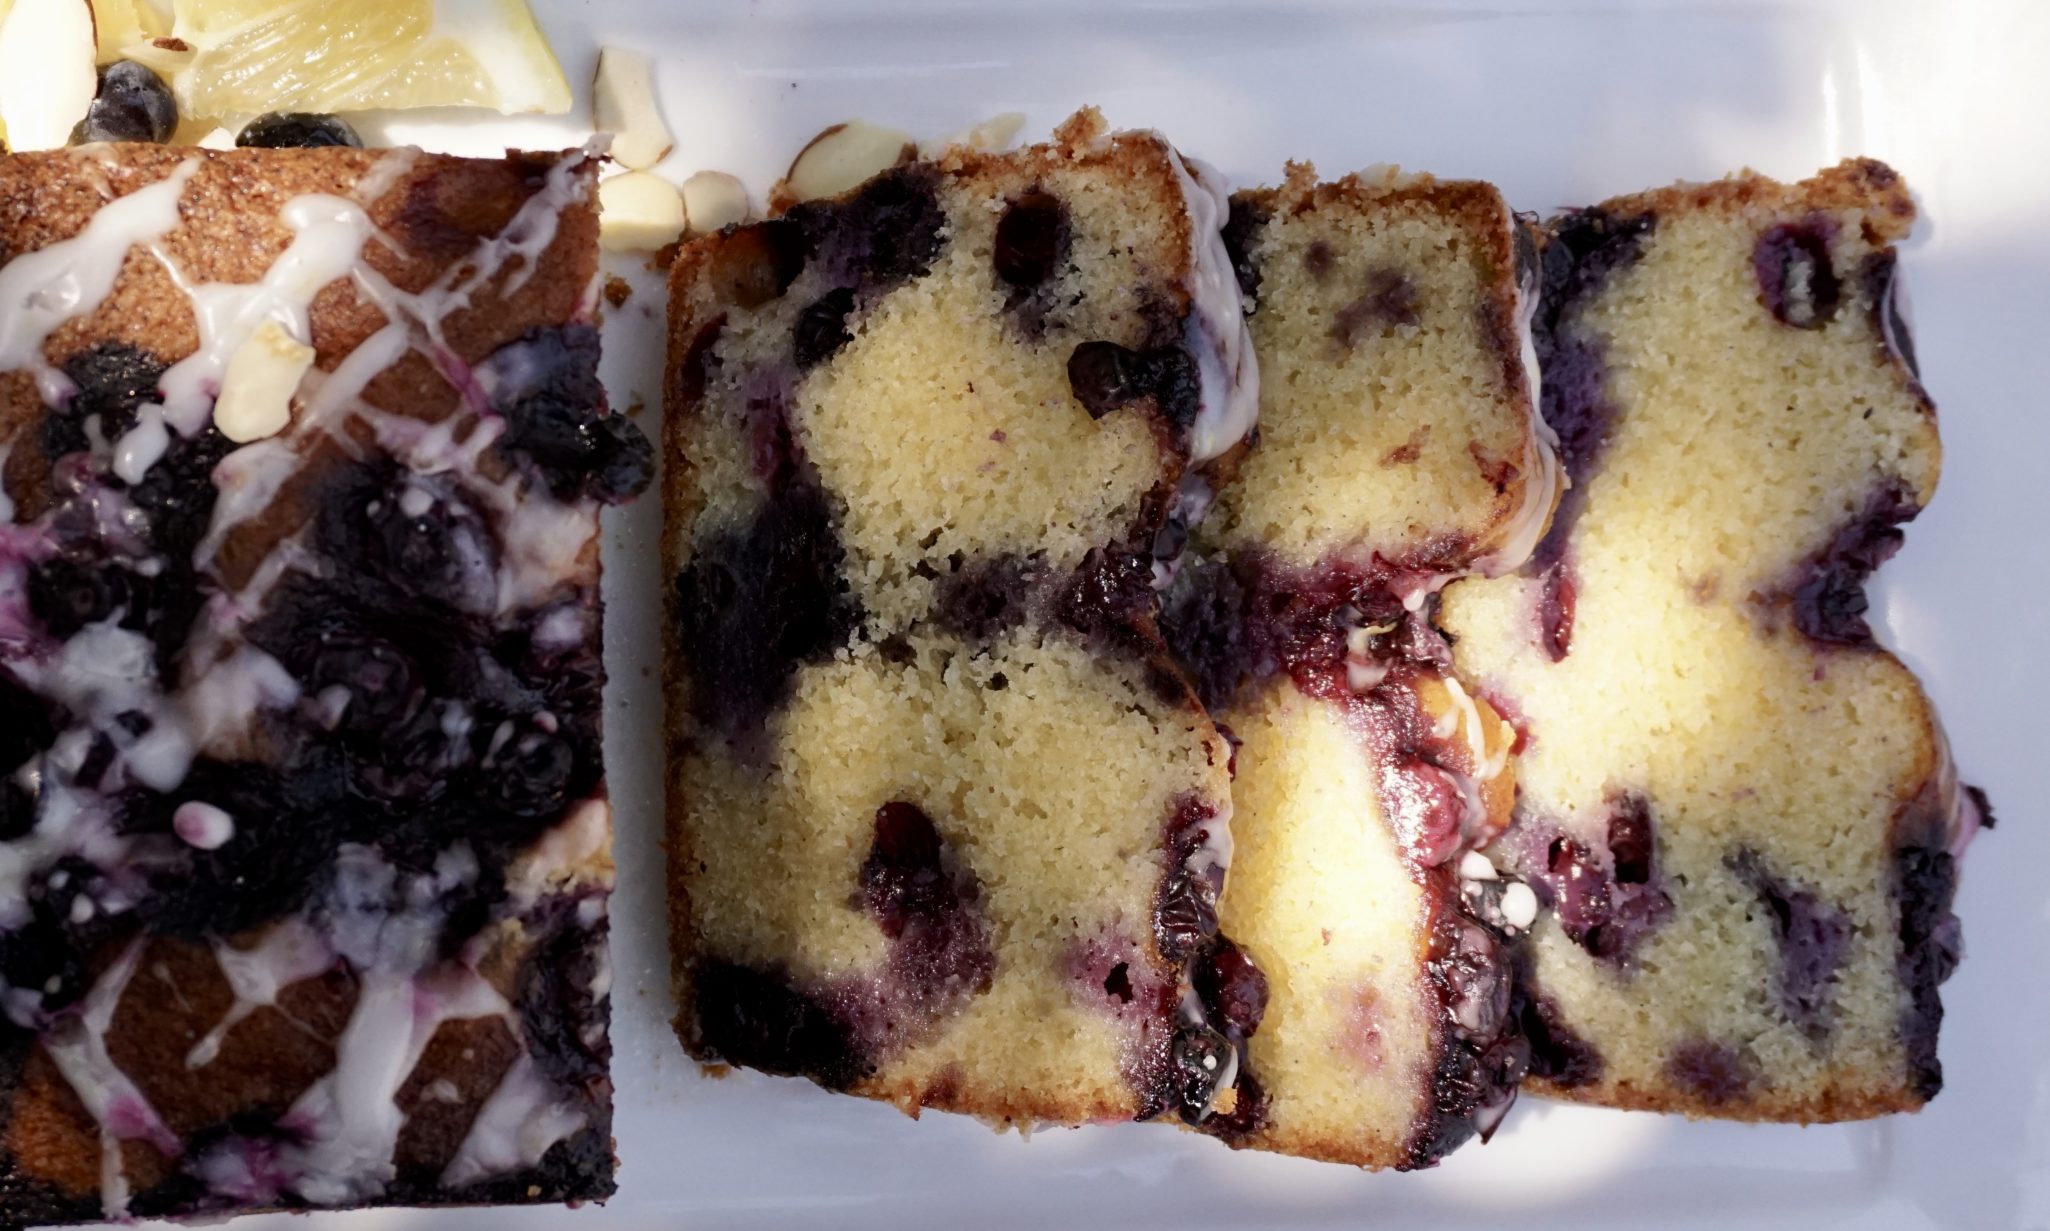
    A couple of weeks ago Ottolenghi posted a recipe in his New York Times column that looked absolutely scrumptious.  A Blueberry Lemon Almond Loaf.  Lucky for me I have a lemon tree in my garden (an endless supply of lemons makes me happy) and had ripe, sweet blueberries from my trip to the farmers market over the weekend.

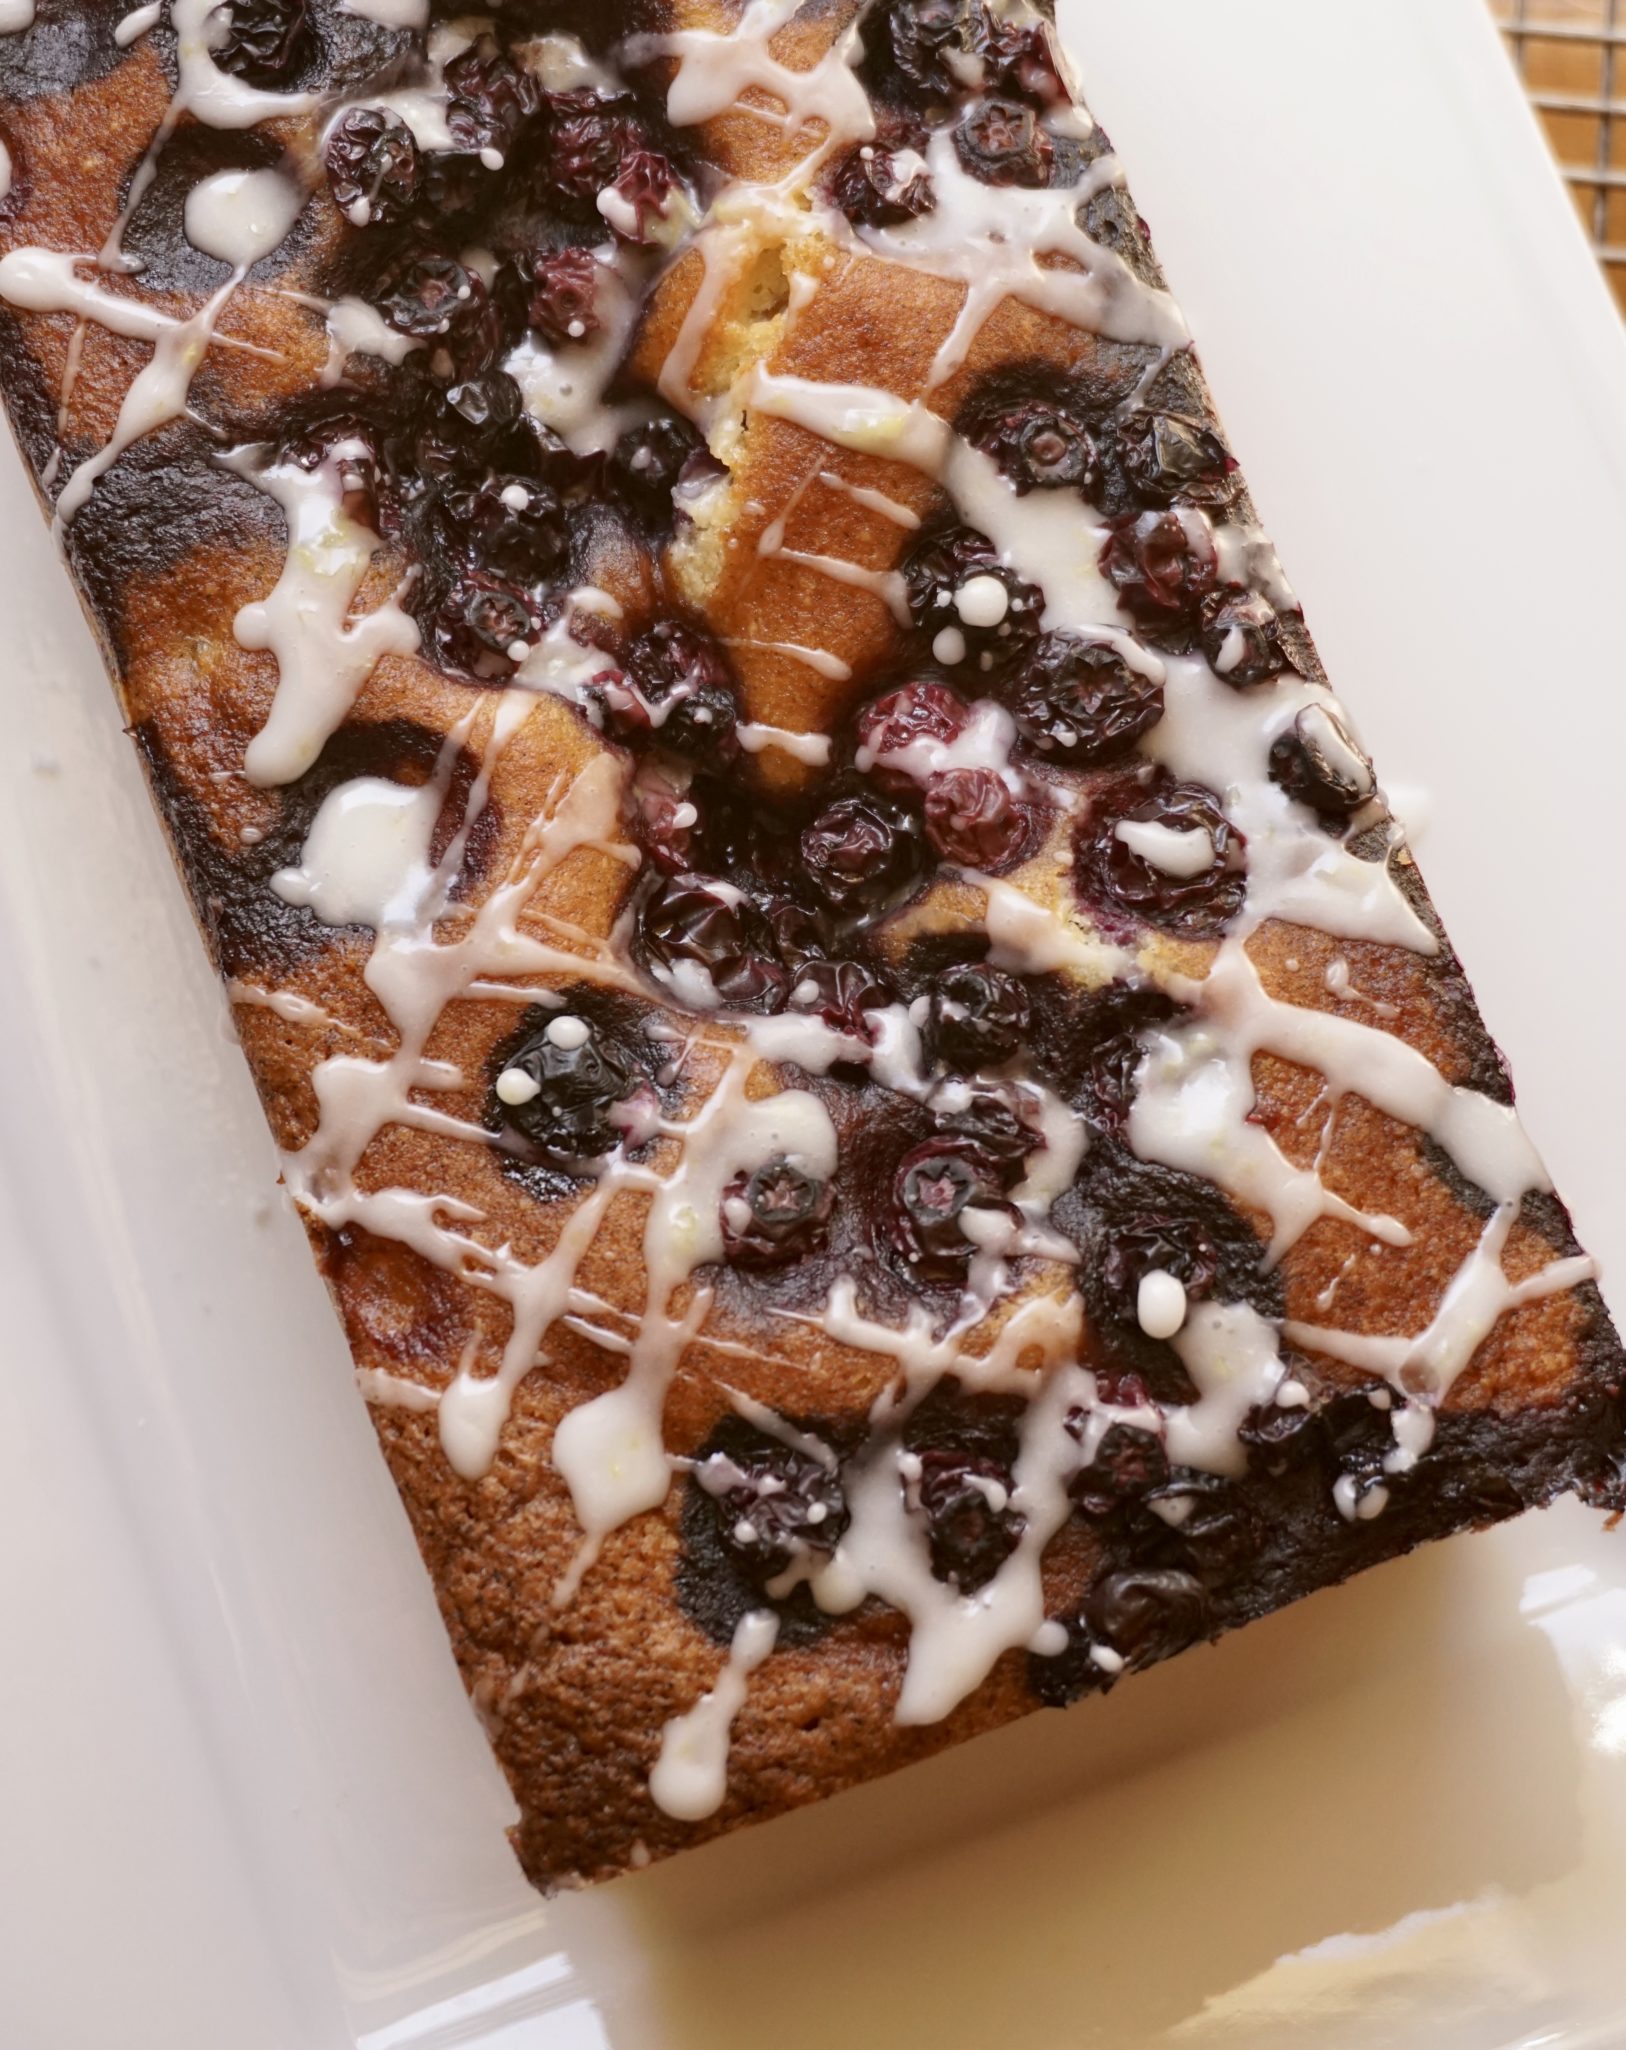
    Buttery goodness is brightened by lemon zest, with a generous amount of blueberries, and finished with a zingy lemon icing. Yep, making cake, then eating cake.

    The batter comes together quickly. The addition of almond flour produces a tender crumb. The only glitch I encountered was adding a reserved portion of blueberries to the batter after 15 minutes in the oven.  At this point, the top of the loaf was brown and pretty set. I ended up throwing the blueberries on top and pushing them down-with a bit of success. Next time I’d check the loaf earlier and throw the berries on a bit earlier so they sink into the batter a bit. I love lemon so I pumped up the amount of lemon zest in the cake and added some to the icing. Bake this cake it’s lemonlicious and bluerrific.

    Ottolenghi-Ototalyummi Blueberry Lemon Almond Cake

    Blueberry Lemon Almond Cake from Ottolenghi. Buttery, filled with citrus flavor
    Course Cake, Dessert
    Cuisine European
    Keyword Apple Cake, blueberry, lemon, ottolenghi
    Prep Time 20 minutes
    Cook Time 43 minutes

    Ingredients

    Ottolenghi New York Times Cooking

      Creamed Mixture

      • 11 tbsp 1 stick plus 3 tablespoons(150 grams) unsalted butter, at room temperature, plus extra for greasing the pan
      • 1 scant cup (190 grams) granulated or superfine sugar caster sugar
      • 1 teaspoon lemon zest
      • 1 teaspoon vanilla extract
      • 3 large eggs beaten

      Dry Mixture

      • cup (90 grams) all-purpose flour plain flour, sifted
      • 1 ¼ teaspoons baking powder
      • teaspoon salt
      • 1 cup (110 grams) almond flour finely ground almonds
      • 1 ½ cups (200 grams) fresh blueberries Split into scant 1 cup for the batter and 3/8 cup for top of cake

      The Finish

      • cup (70 grams) confectioners’ sugar icing sugar, powdered
      • 1 tbsp lemon juice (or more juice as needed)

      Instructions

      • Heat oven to 375 degrees Fahrenheit/200 degrees Celsius. Grease a 9- or 8-inch/21-centimeter loaf pan with butter, line it with a parchment paper sling and butter the paper. Set the pan aside.
      • In a separate bowl, whisk together flour, baking powder, salt and almond flour. Set aside.
      • Place butter, sugar, lemon zest and vanilla extract in the bowl of a stand mixer fitted with the paddle attachment. Beat on high speed for 3 to 4 minutes, until light, then lower speed to medium. Add eggs in three additions, scraping down the sides of the bowl a few times as necessary. The mix may split (look curdled) a little but don’t worry: It’ll come back together once you add the dry ingredients.
      • With the stand mixer on low, add the reserved dry ingredient mixture in three additions, mixing just until no dry specks remain. Fold in about 3/4 of the blueberries by hand, then scoop batter into the prepared loaf pan.
      • Bake for 15 minutes, then sprinkle the remaining blueberries over the top of the cake. Check the cake at the 10 minuteReturn to the oven for another 15 to 20 minutes, until cake is golden brown but still uncooked. Cover loosely with foil and continue to cook for another 25 to 30 minutes (less for a 9-inch pan, more for an 8-inch pan), or until risen and cooked, and a knife inserted into the middle of the cake comes out clean.
      • Remove from oven and set aside in its pan to cool for 10 minutes before removing cake from pan and placing on a wire rack to cool completely.
      • When cake is cool, make the icing: Add lemon juice and icing sugar to a bowl and whisk together until smooth, adding a bit more juice if necessary, just until the icing moves when you tilt the bowl. Pour over the cake and gently spread out. The blueberries on the top of the cake may bleed into the icing a little, but this will add to the look.
      • Let icing set (about 30 minutes), slice and serve.

      My Tweaks

      • I added another teaspoon of lemon zest to the batter and 1/2 teaspoon of zest to the icing. I ❤️ lemon
      • I did not use all the icing, I drizzled the icing on instead. Not a big fan of lots of icing.